DavePete
-
Posts
24 -
Joined
-
Last visited
Recent Profile Visitors


-
 FrankWouts reacted to a post in a topic:
Dave Pete's carving log
FrankWouts reacted to a post in a topic:
Dave Pete's carving log
-
DavePete reacted to a post in a topic:
Skipjack 19 foot open launch By Michael Mott 1/8th scale Small
-
I realized that I can contact other upper NYS folk on MSW through the “Community” function. Here is an out-reach I am planning to send to about 35 folk as far away as the Albany area. Have any comments or suggestions.?
JoeAllow me to introduce our model ship group located in Rochester NY to you. We are a small group that was founded in late 2015. We have members in Buffalo, Rochester, Syracuse, Florida, and even one in Lisbon Portugal. We meet monthly and through the Zoom application we have been able to include our more distant members. You can learn more about us by visiting our web site modelshipwrightguildwny.org.
We have located you through the “Community” drop down function on the Model Ship World forum and are reaching out to explore your possible interest and participation in a lively and talented group of modelers from all walks of life.
Generally, sessions are structured with introductions of visitors, followed by a brief business segment and then we almost always have a central presentation topic or two ending with a show and tell of group models. The sessions usually last two hours.
So you are invited to visit us (tune in via Zoom) this Fall and see what we are all about. You might find us interesting enough to join us on a more consistent basis. Please PM me, with your email address or cell, and I will put you on distribution for our Fall schedule.
We will not badger you beyond this outreach if you are not interested.
Hoping to hear from you.
Thistle17 (Joe)
-
DmitriyMarkov reacted to a post in a topic:
Rattlesnake by DmitriyMarkov - Model Shipways - 1:64
-
looking very good. You have a lot of patience doing all of the tree nails.
-
mtaylor reacted to a post in a topic:
Allège d’Arles by Javier Baron - FINISHED - 1:200
-
johnp76 reacted to a post in a topic:
Allège d’Arles by Javier Baron - FINISHED - 1:200
-
BobG reacted to a post in a topic:
The Peterboro Canoe by Duanelaker - FINISHED - Midwest Products - 1:12
-
Duanelaker reacted to a post in a topic:
The Peterboro Canoe by Duanelaker - FINISHED - Midwest Products - 1:12
-
Looks very good. You have done a nice job. Small boats have a charm all of their own. Looking forward to seeing the final photos. Your build log makes me think about getting into a project again. Thank you for sharing.
- 113 replies
-
- 2
-
-
- small
- Peterboro Canoe
- (and 2 more)
-
popeye the sailor reacted to a post in a topic:
Two Edwardian type launches by Cap'n'Bob - small - 1:48 - Finished
-
Canute reacted to a post in a topic:
Two Edwardian type launches by Cap'n'Bob - small - 1:48 - Finished
-
You launches are little gems. Well done.
-
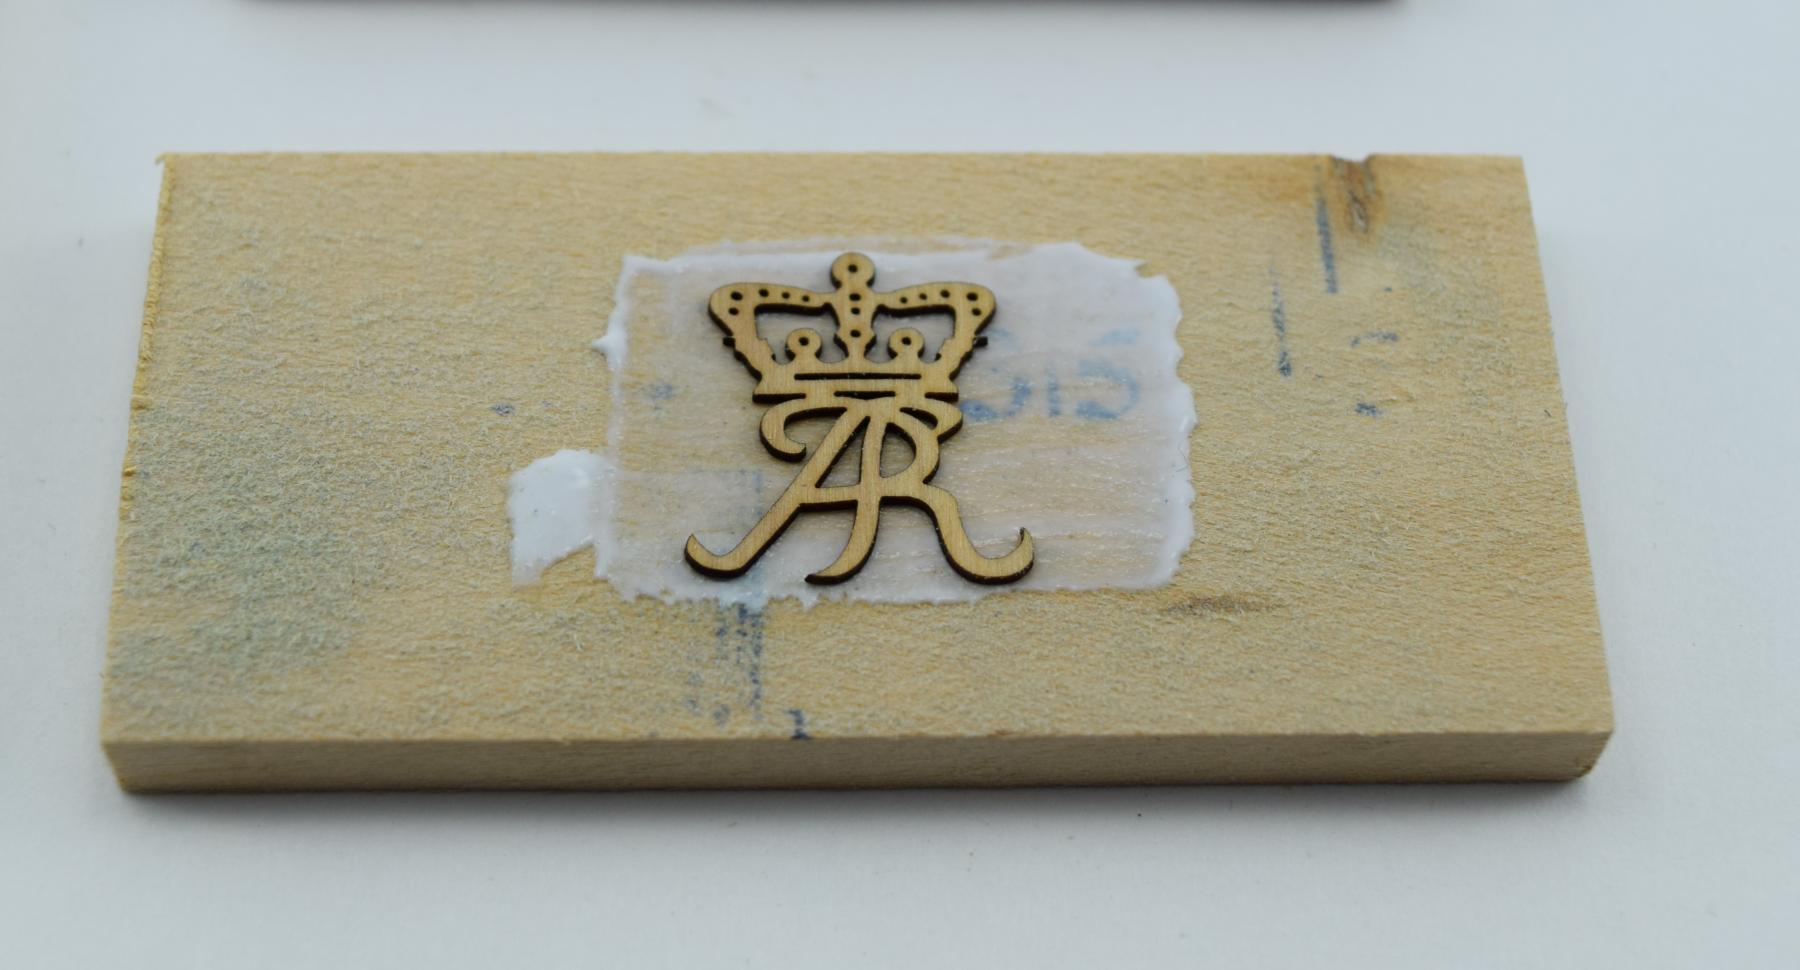
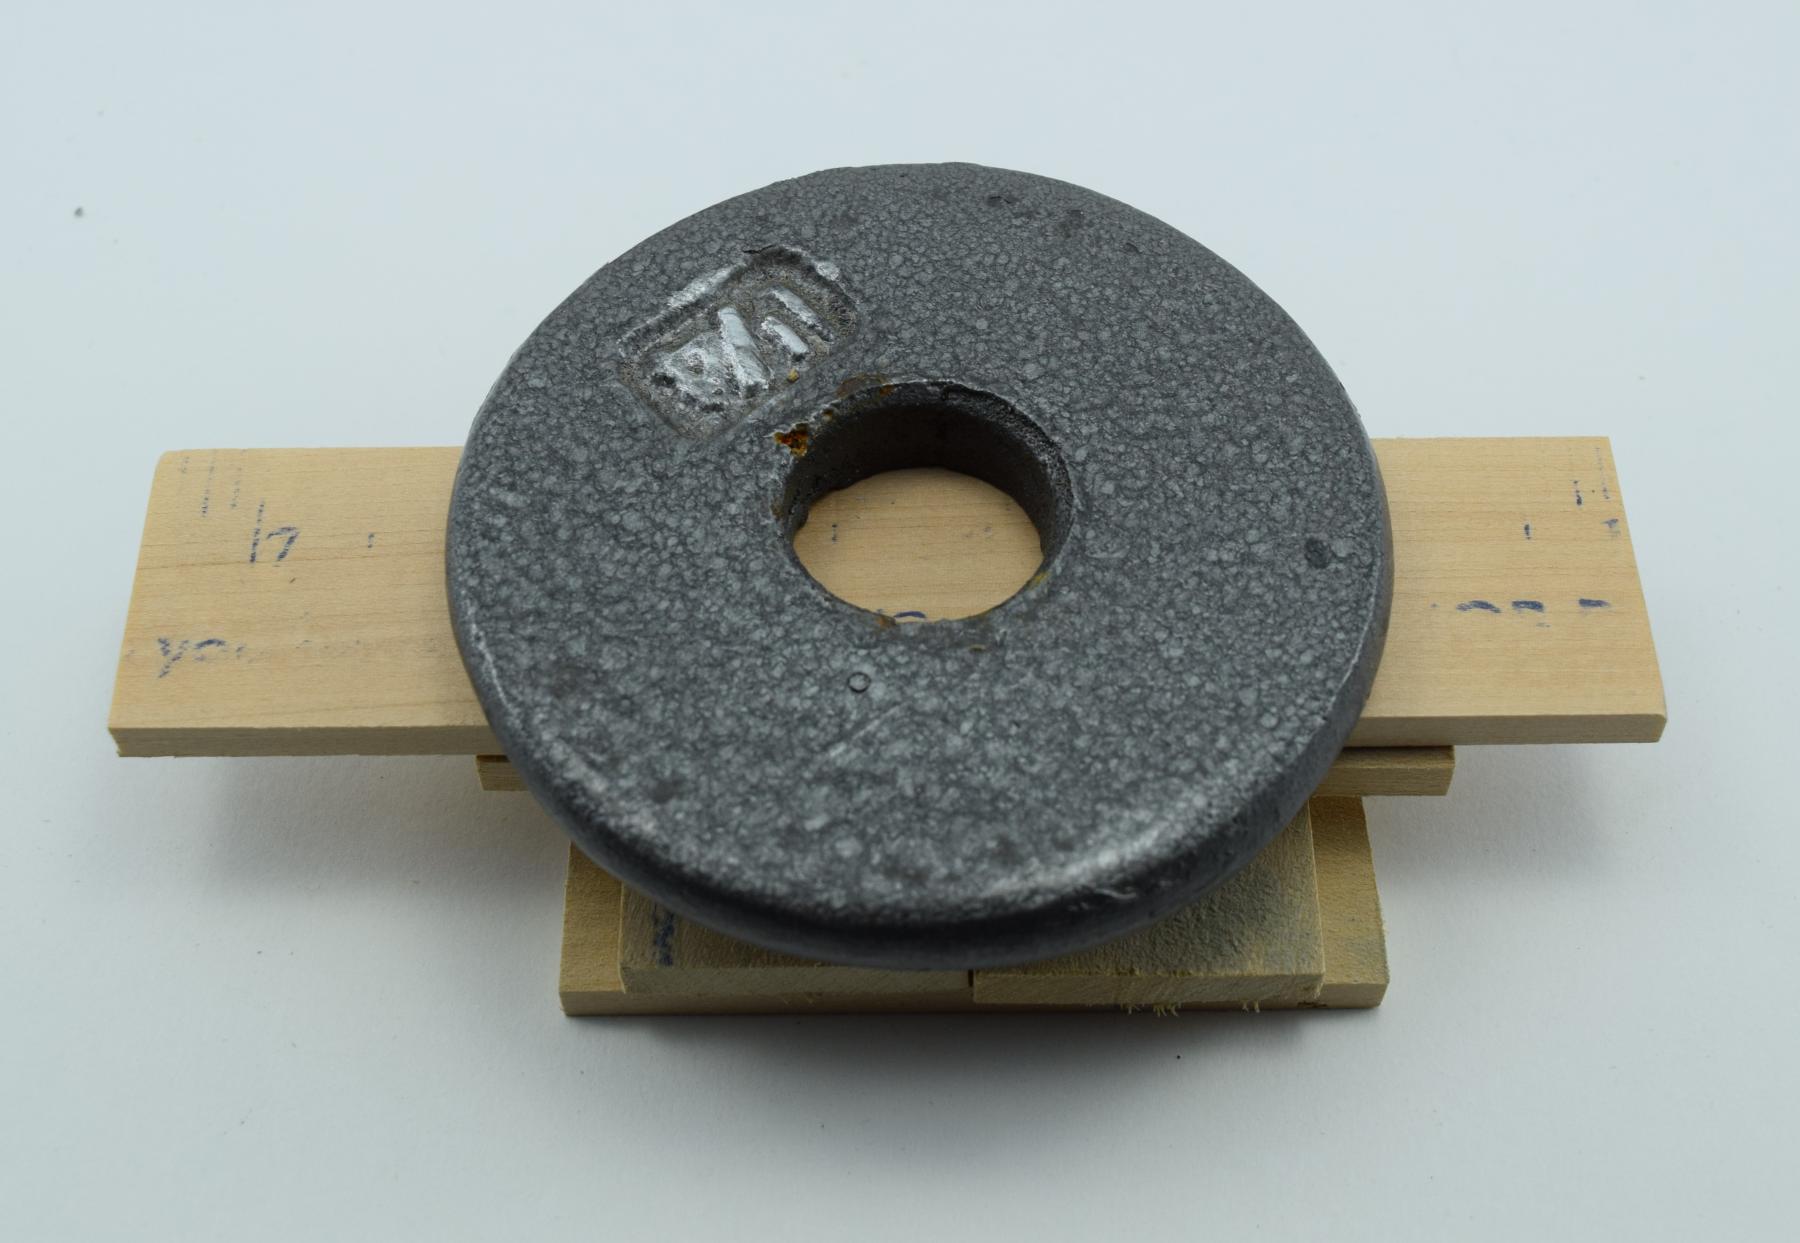
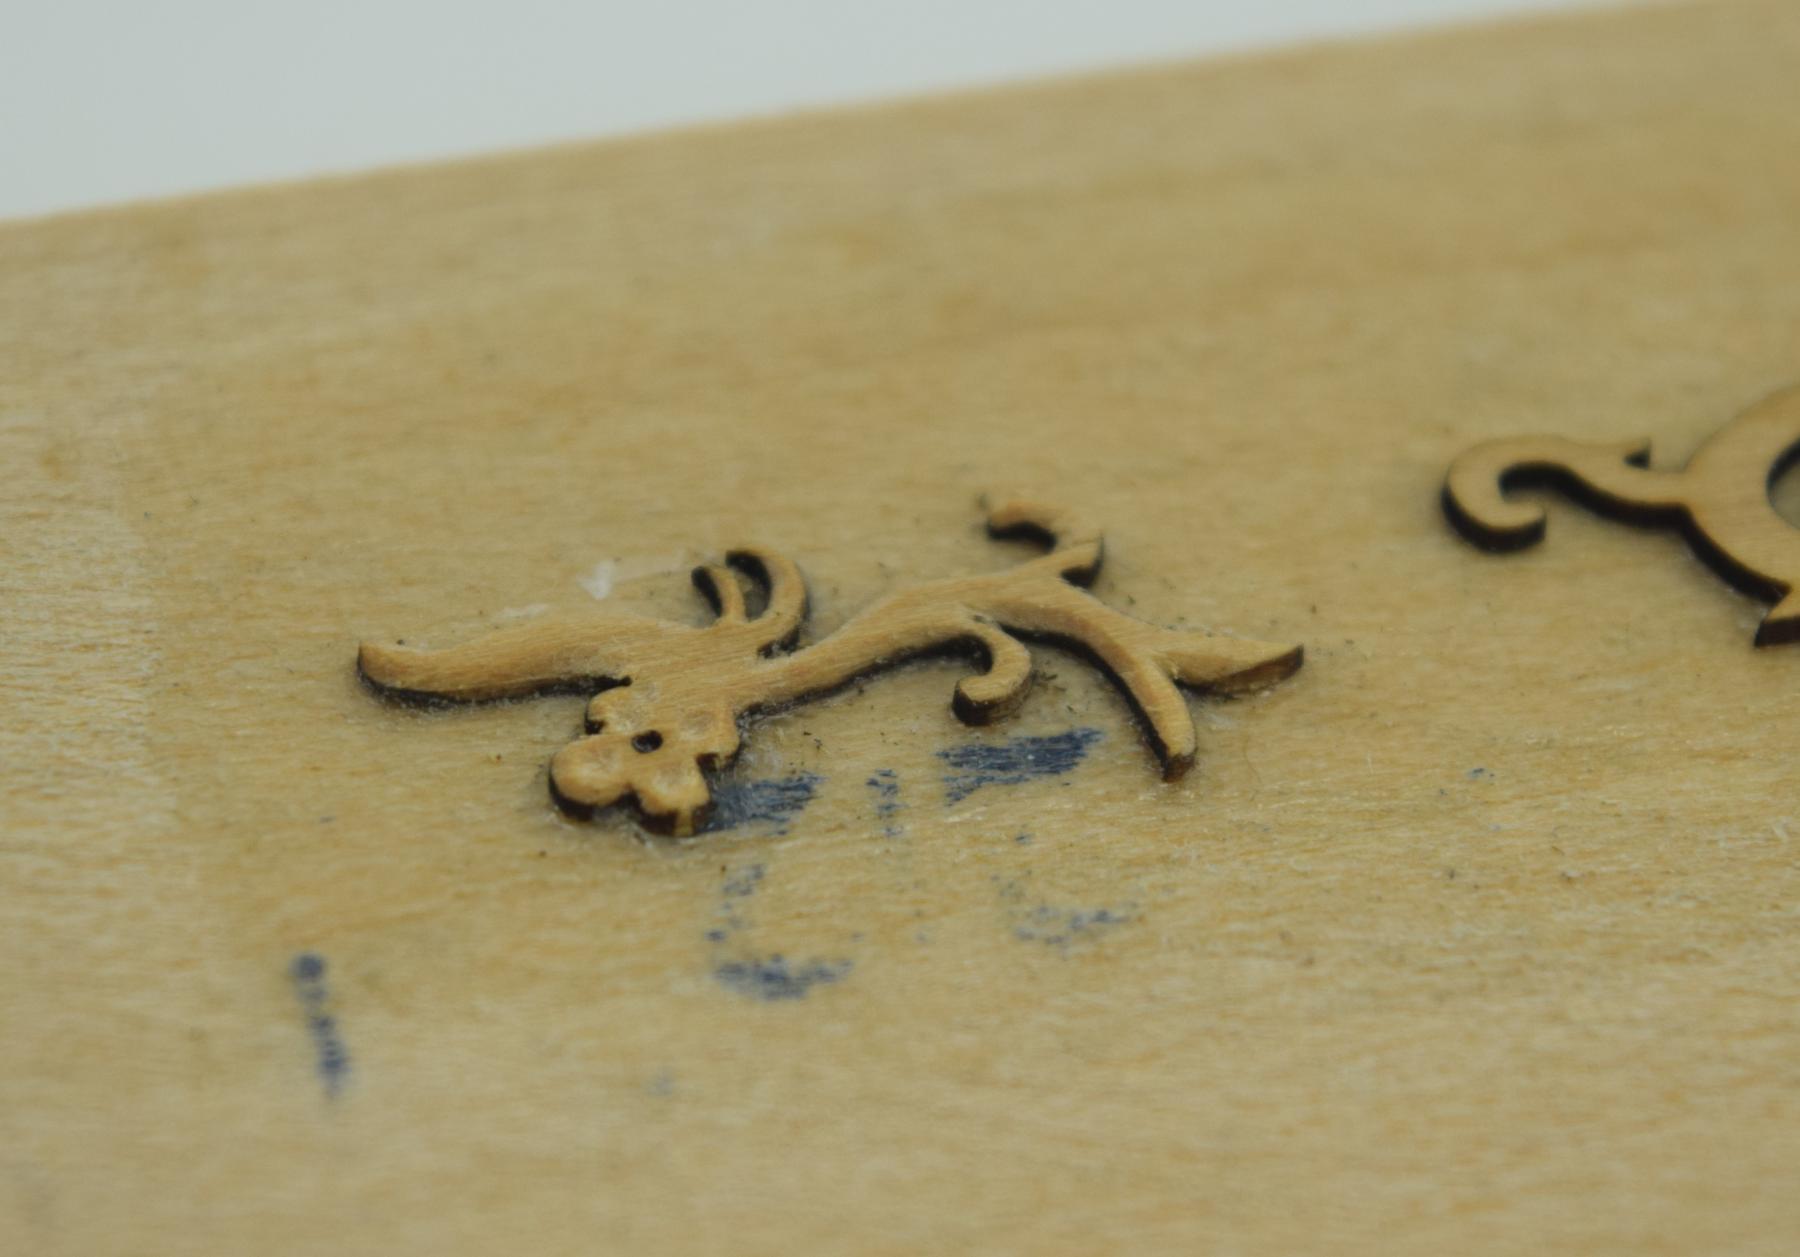
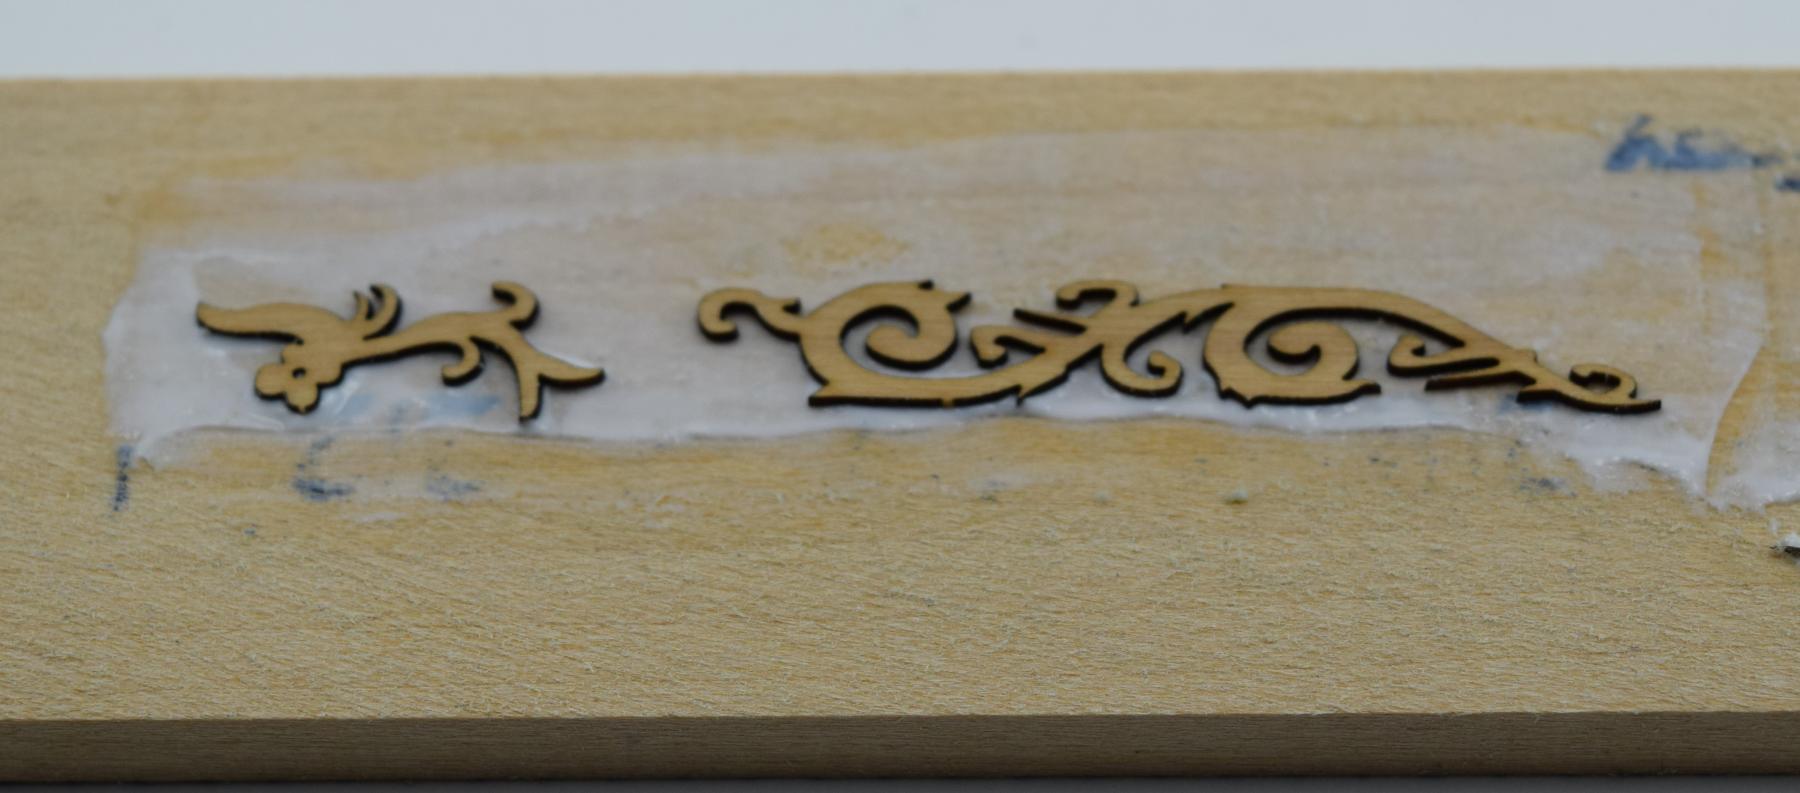
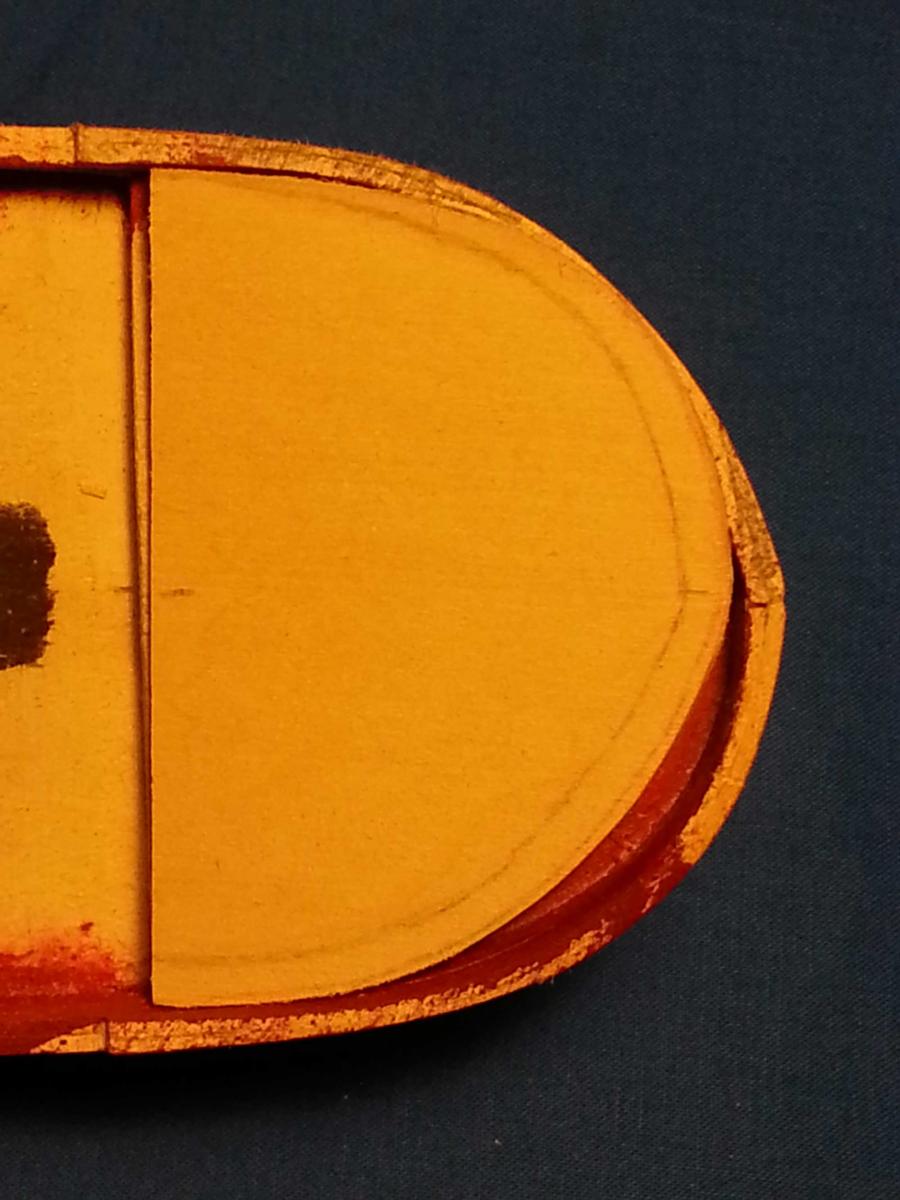
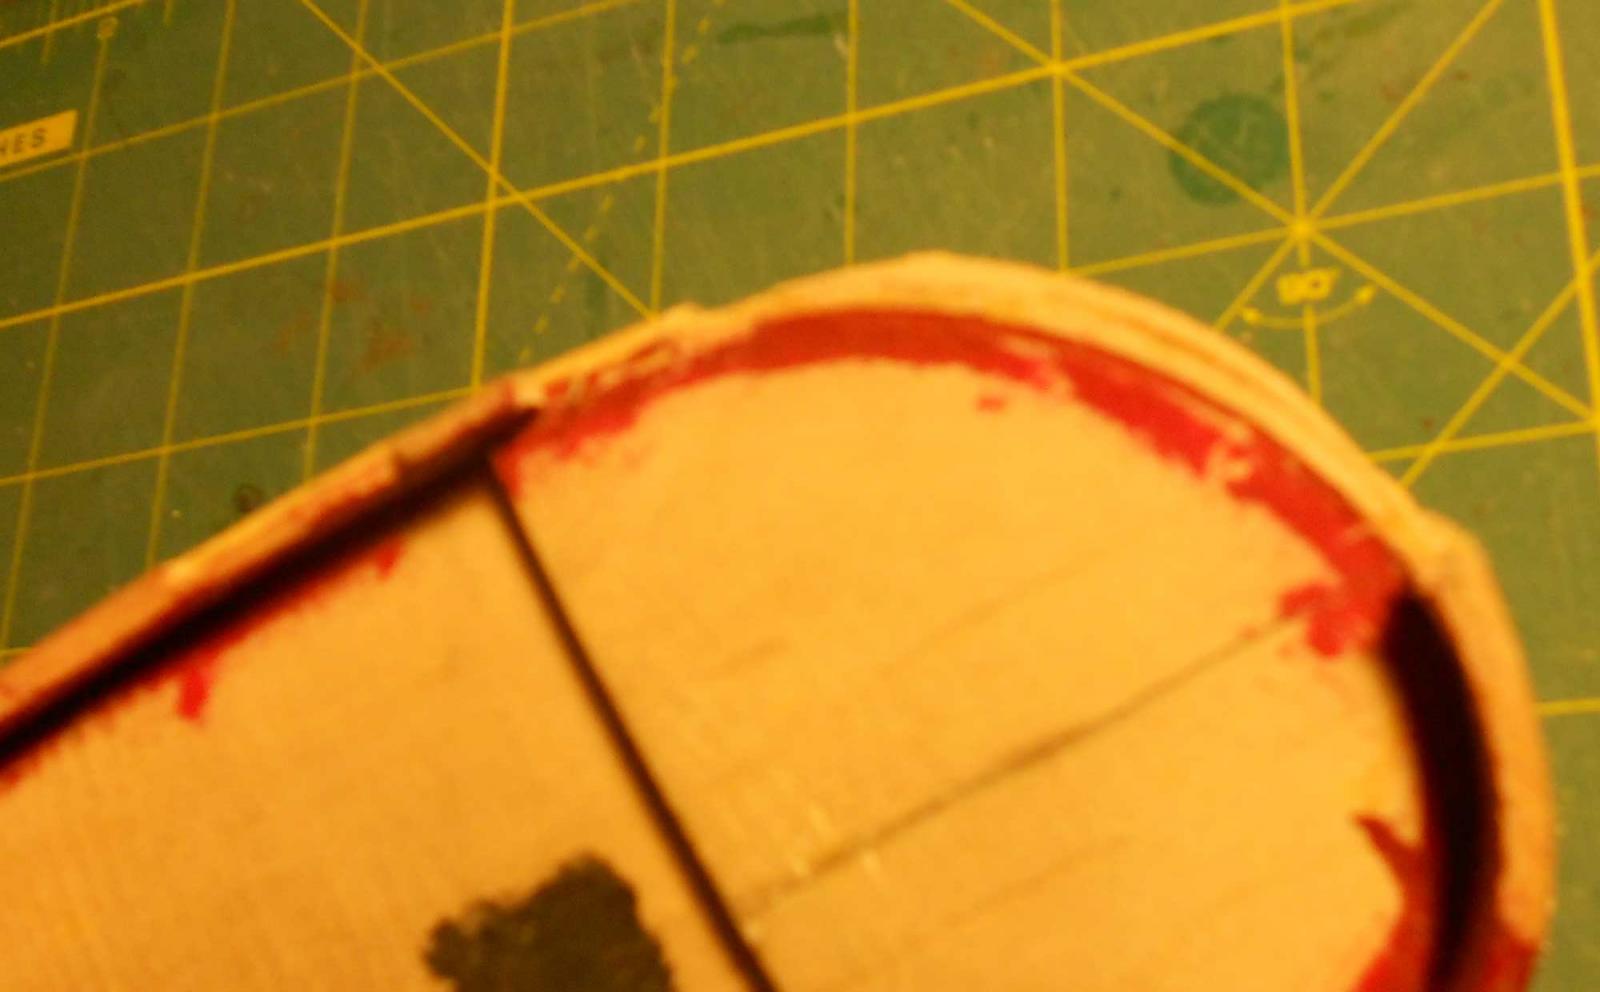
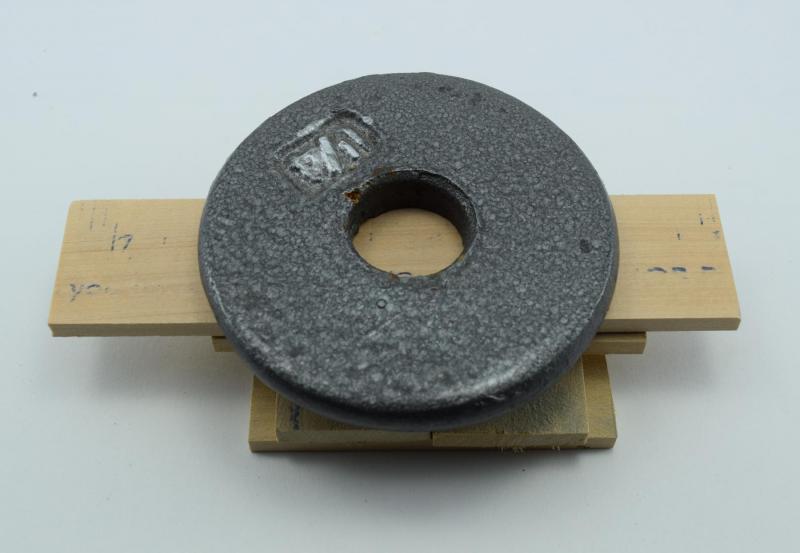
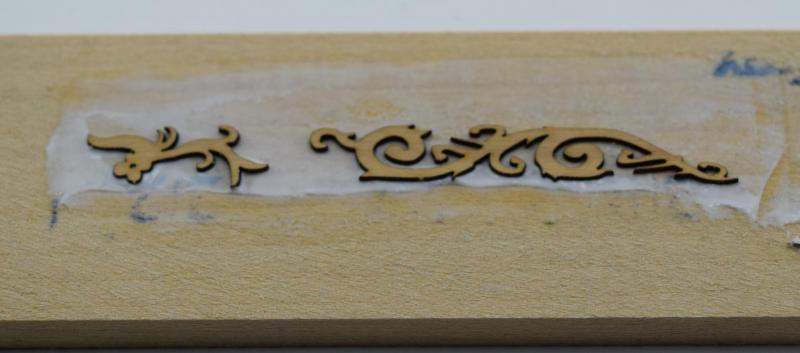
I decided to join in on the carving practice. New skills comes in handy. Picked up two sets of blanks and an NRG membership at the same time. Seemed like a good idea at the time... I have used a cut yardstick as my mounting blocks. Cheap and easy to cut to size. I sanded off most of the printing before gluing on the blanks. For glue I used Weldbond. I tested the glue to verify it would come apart if soaked in alcohol before mounting the blanks. I should have scrapped off the excess glue when I mounted them. some of the glue got on the side of the blanks making it harder to carve. I did use a weight on top of the stack to get a good bond. First results.. not yet finalized. Used a #11 blade knife for most of it. Used a small burr bit by hand for the 4 indentations.


-
Very well done. How do you hold the pieces to carve them? How about holding the blade? in a knife or just with your fingers?
-
Some criteria for starting a new group project
DavePete replied to Chuck's topic in Group Projects on Model Ship World
Looks like the topic has cooled off a bit so let throw some coal on the fire. With the summer coming to a close now is a good time to consider it. A carving "build' holds some interest for me as it would stretch my skill. One for just a deck section with some masts and rigging would do well also. I agree with TLAVINE mentioned earlier that large projects are problematic for previous reasons mentioned and a smaller 'build' might be a better fit. A small build project sounds like a shorter term obligation than a long term one. It is certainly a better fit into my current life. So with fall and winter ( northern hemisphere ) model building season beginning any other thoughts or interest out there? -
Many of you know that there is a magnetic building jig with magnets and a small flat steel tray to hold the magnets you can purchase for about $30.00... If you want inexpensive or larger consider an older discarded PC. Many have a flat steel removable side access panels that would be about 14" X 14" +/- and a lot less expensive than you can buy online. You can pick up magnets for about $11 If you haven't used magnets to hold things in place they are very handy and well worth the money.
-
Well camping season is winding down and modeling season is starting up again... What a coincidence...
-
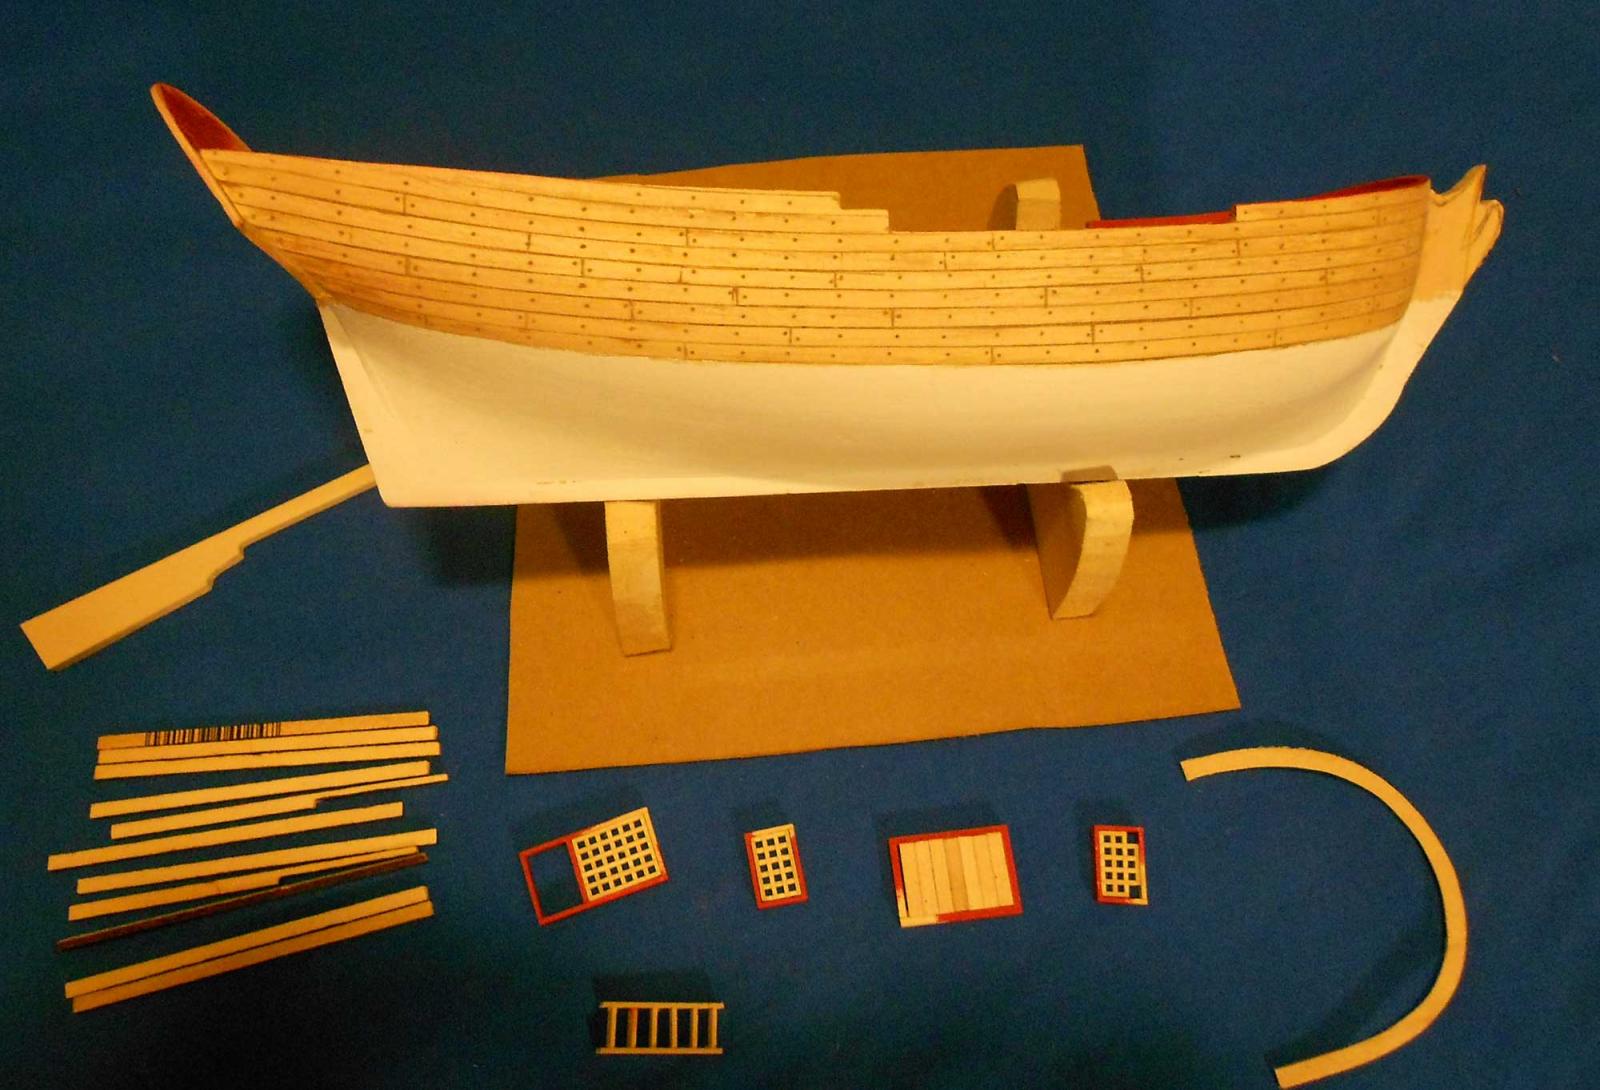
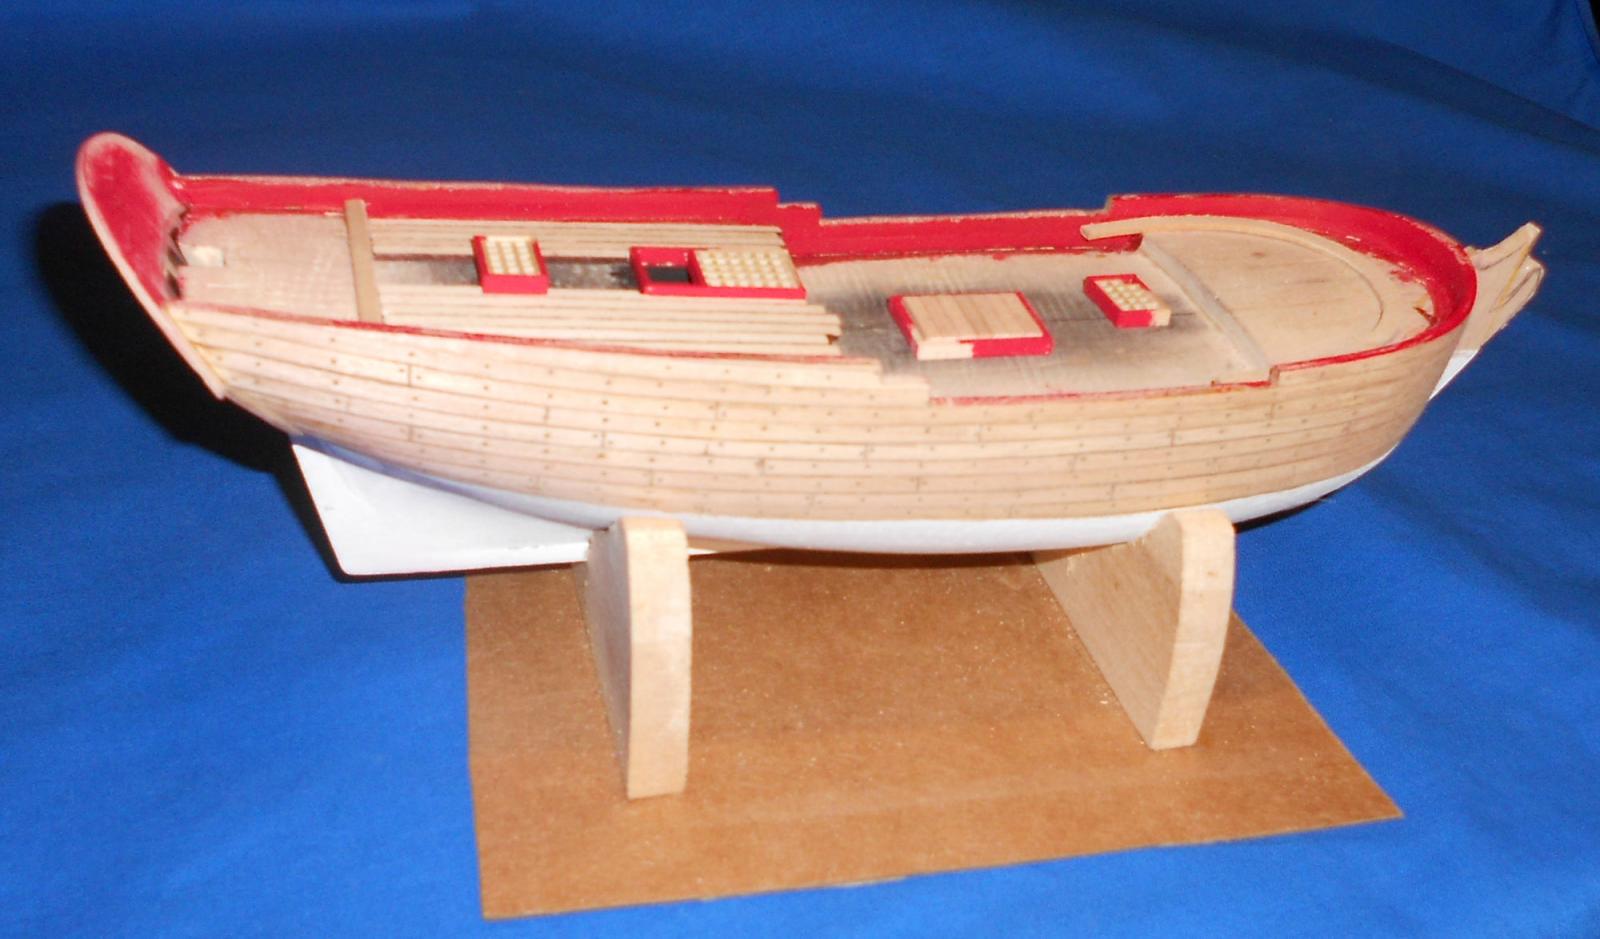
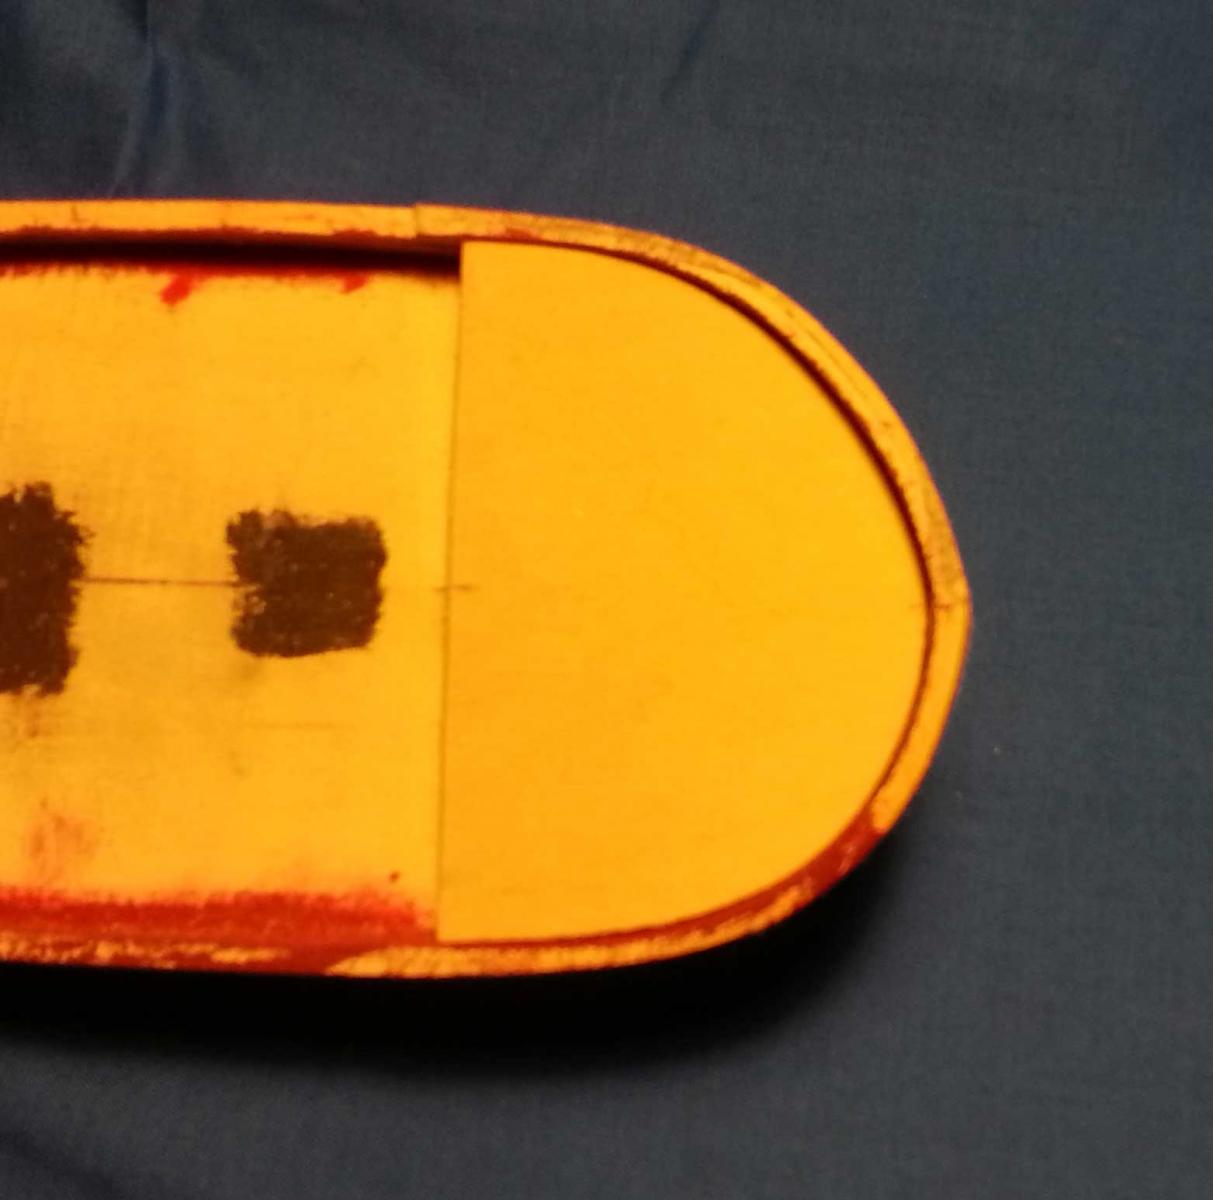
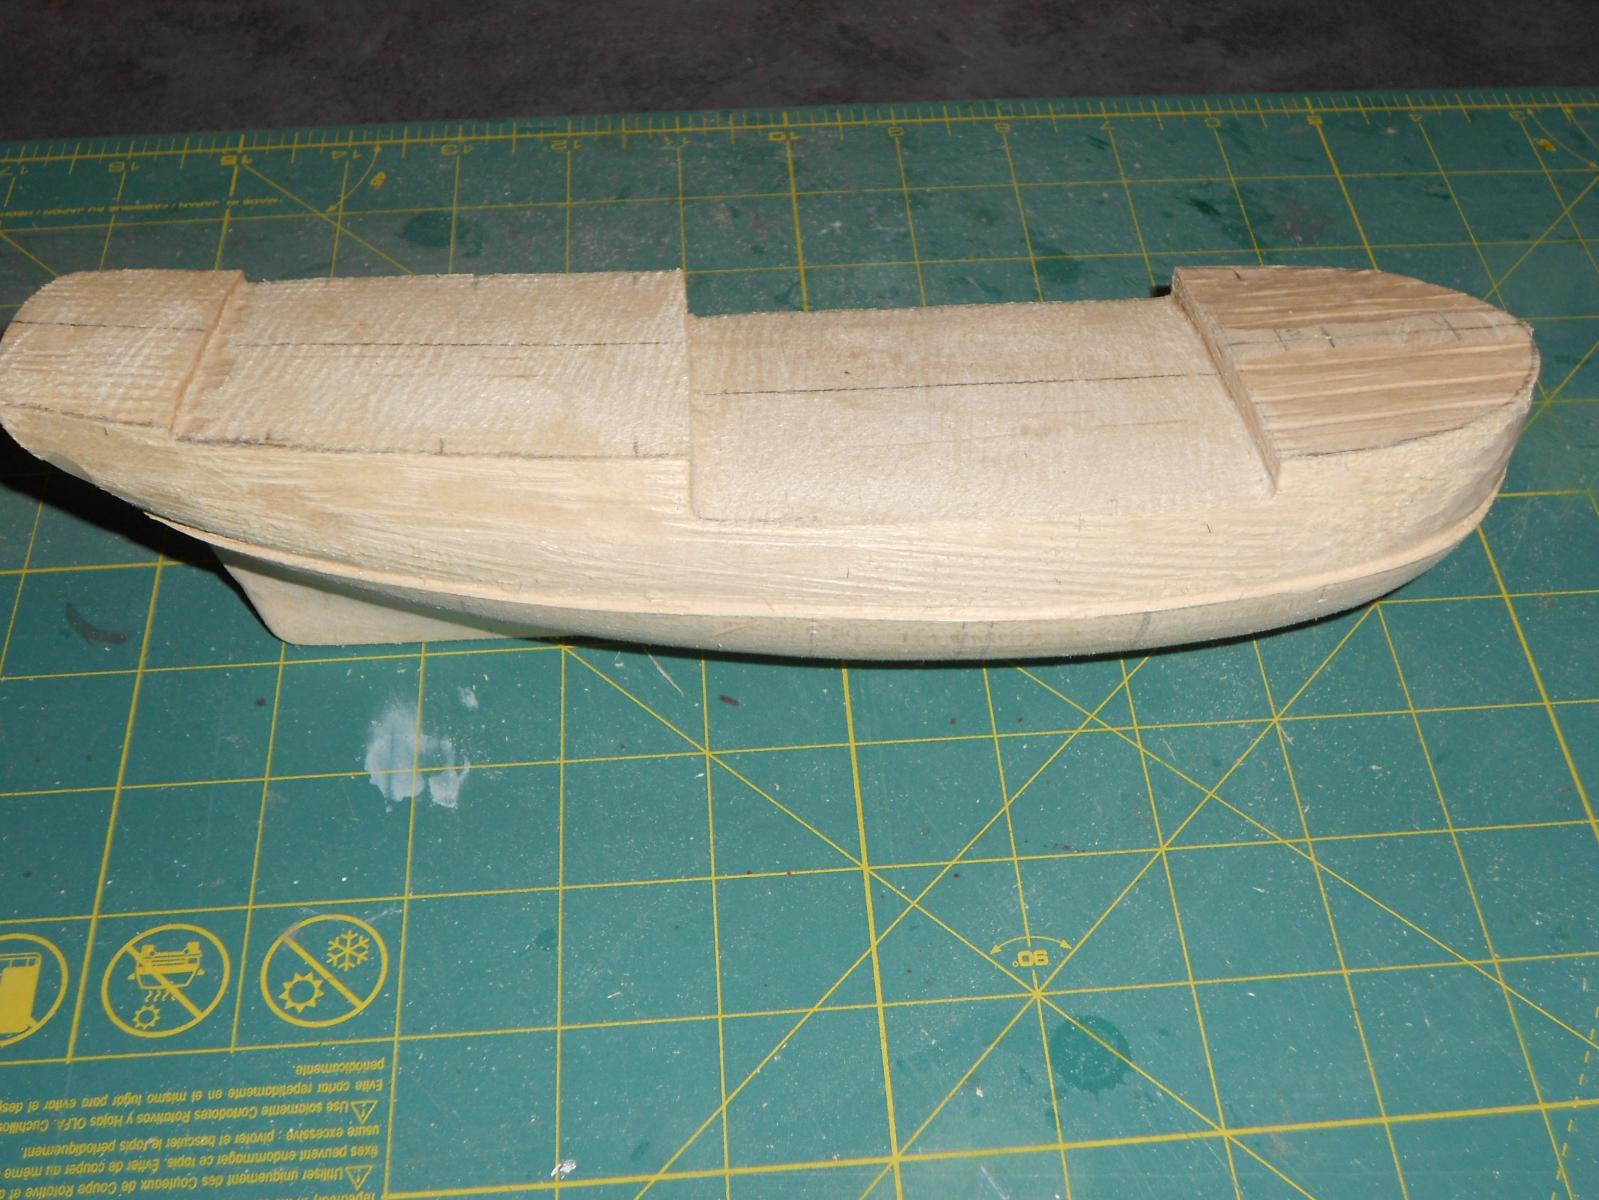
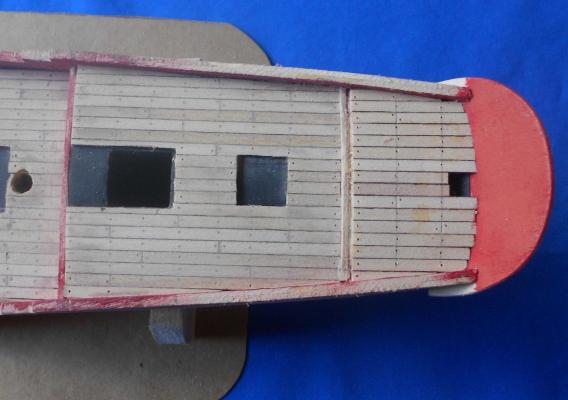
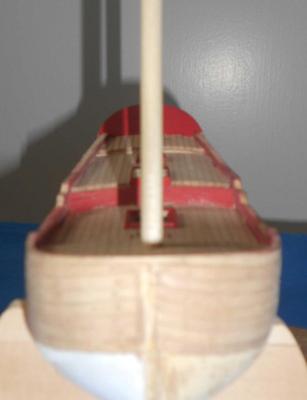
Been moving slowly along on this project. The decks are planked and just about ready for stain. The four photos with this post show the progress. I drilled for the masts and aligned them before doing the decking. Using a hand drill to put a hole at the right angle is a challenging endeavor. In order to get the masts properly aligned the holes required some minor enlargement, then filler to set the proper angle. In looking at the plans the front and rear mast were slightly different angles. The decking went in pretty well. I started by centering some deck fixtures. Calculated how many planks it would take to surround them and then cutting those deck planks to fit. I then glued them down and once set proceeded to fill in the others. Since this project is kind of an experiment in what works for me I tried drilling for the treenails before putting them down. That didn't go as well as hoped so I finished gluing them down them marked and drilled the holes. One thing that did work well was a brown Sharpie for edging the planks. Black is too dark, but brown worked very well. I used it on the sides only. If used on the end the wood grain sucks it in too much. The edges get dark filler to simulate caulking. When I filled the holes on the side planking I used a homemade concoction of wood putty and some dark stain I had. It spread well and filled smoothly. The only issue is the stain in the wood putty also stained the side planks somewhat. An observation, not a complaint. For the decking I picked up some commercial dark wood putty. It gives a nice result, but dries too fast to spread well and didn't fill the holes as well as I would have liked. I will use the same wood stain for both and should end up with a slight contrast between the two. I strongly encourage experimentation on scrap wood before using a technique. Mid deck shows results - aft deck is holes drilled, no filler yet Putty applied I'll be working on finishing the decking and building a better base next. I want the spar to be somewhat protected once I put it on.


-
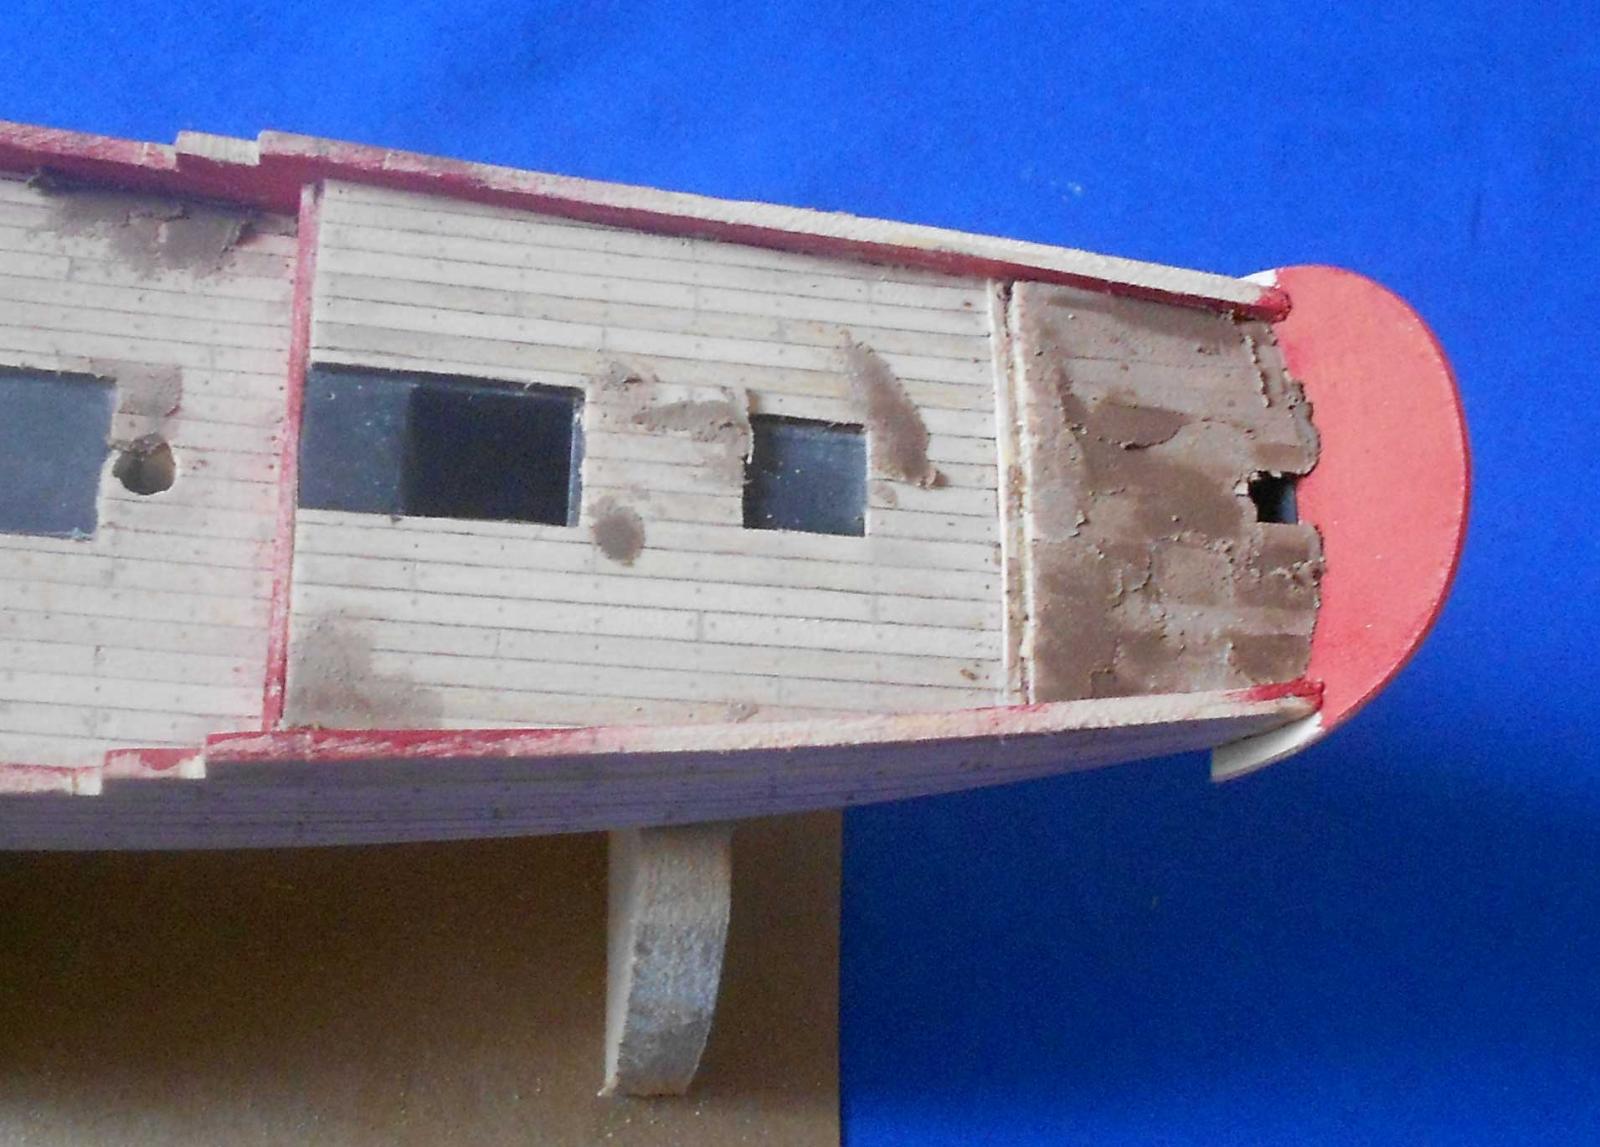
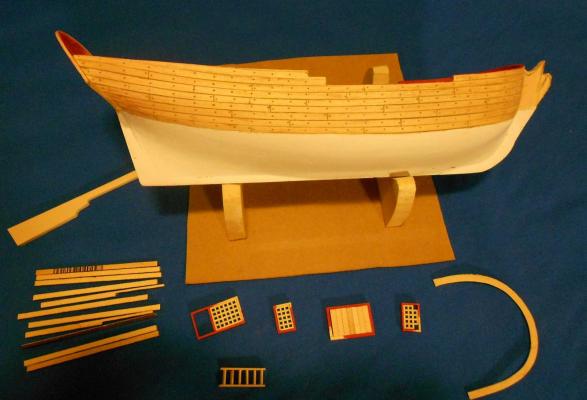
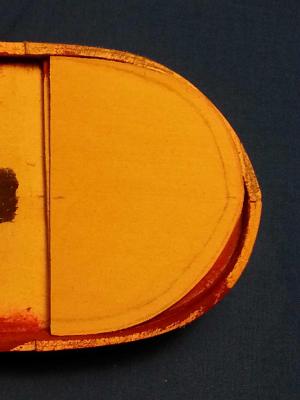
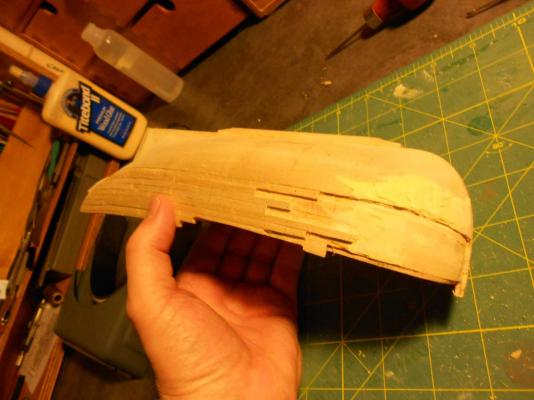
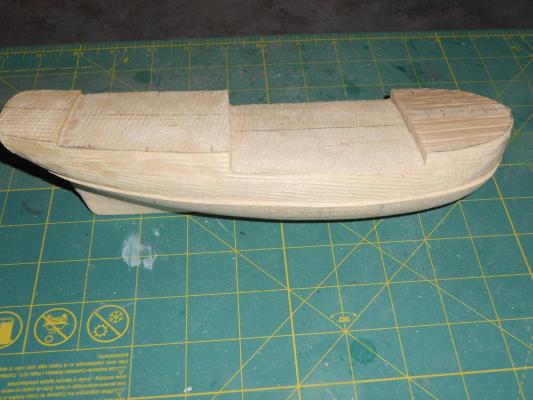
Below are a few pictures of the current state of the build. I did not make a decision to post a build log until well into the model. Actually a major, almost 'turn it into firewood issue' showed up. It actually was part of the decision to do the build log. Here are few photos up to this stage, after the fix. The almost firewood issue is shown in the photos below. The bow was lopsided. I didn't see it when working on it. I found it when I turned over the piece I was going to use for the margin plank at the bow. Keep in mind I found this issue AFTER installing the side planking and making it pretty. doesn't look too bad... maybe a little bit noticeable. Now, with the piece flipped over... Holy crap ! how did that happen ! Ok.. let's fix this puppy. I decided to fix the issue by reshaping the port side of the bow to match the starboard side. If you look close you can see some of the planking left in place to improve the Bow shape. Some of the planking is excised out so the bow can be reshaped and new planking installed. Now ..go back and look at the second picture in this post. The repair blended in well with the original work. To avoid this kind of mistake I should have checked the symmetry of the hull before starting the planking. Lesson learned. I didn't get it 100% where it should be, but I'm happy with the outcome. If you didn't see the problem pictures you would probably never know there was an issue. I share this in hopes others do better at avoiding the problem. Anyway.. I built some of the deck fixtures and starting work on the deck planking.


-
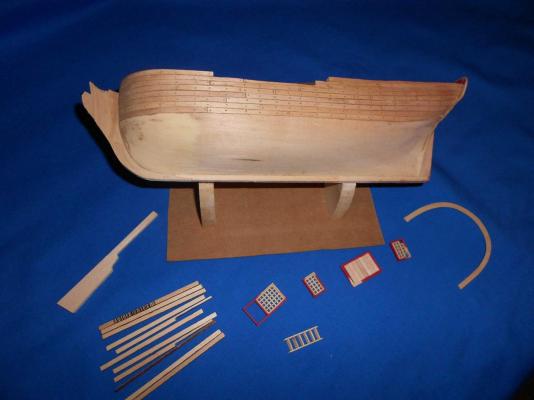
This build log is kind of a late start on the building. I currently have the hull in pretty good shape and about to plank the deck. I'll post a few pictures of the early stages, but it is well underway at this point. Chuck's practicum on it is what drew me to this kit. This is the farthest I've gotten on a sailing ship build to date and intend on actually completing it. I got the kit on sale, as Model Expo prices fluctuate wildly. I'm cheap, so if I find something I want, I'll follow the prices and purchase at what I think is a fair price. It seems like a good kit to work on building skills. Hopefully, others can avoid the mistakes I've made along the way. In the beginning ...
-
I have a pin vice and picked up one of the spiral drills form Amazon. I've had the pin vice 40 plus years and it works great. Squeaks when you turn it though.. The spiral drill works pretty well when I drill plastic, but would not want start a precision critical location hole with it. The chuck is not that accurate. Still it works fast if you need to drill a lot of holes. Also have used with a T pin filed flat on opposite sides, stuck in a slot cut in the end.a dowel rod. That actually did pretty well, best part of that arrangement is it is tapered so you can go very tiny on the hole size.