-
Posts
256 -
Joined
-
Last visited
-
 Duanelaker reacted to a post in a topic:
Benjamin W Latham by chompsalot - Model Shipways - 1:48 Scale
-
 GrandpaPhil reacted to a post in a topic:
Swift 1805 by PopJack - FINISHED - Artesania Latina - Virginia Pilot Boat - Older version
-
 GrandpaPhil reacted to a post in a topic:
Swift 1805 by PopJack - FINISHED - Artesania Latina - Virginia Pilot Boat - Older version
-
 lmagna reacted to a post in a topic:
Swift 1805 by PopJack - FINISHED - Artesania Latina - Virginia Pilot Boat - Older version
-
 Hiltz reacted to a post in a topic:
Bluenose by PopJack - Model Shipways - 1:64
-
Just bought this kit. Found the original receipt in the box, sold at Karl's Toys and Stationary in 1975 for $24.97. I paid $25.00. Kit appears intact. Molded parts have great detail, but will need paint. Plans have everything labeled in German and the English. Instructions are... well, they appear to be lacking, but I haven't started yet. This is going on my shelf for right now- but any comments or ideas on this old kit would be appreciated.
-
 fnkershner reacted to a post in a topic:
Bluenose by PopJack - Model Shipways - 1:64
-
 Dimitris71 reacted to a post in a topic:
Bluenose by PopJack - Model Shipways - 1:64
-
 Dimitris71 reacted to a post in a topic:
Bluenose by PopJack - Model Shipways - 1:64
-
 popeye the sailor reacted to a post in a topic:
Bluenose by PopJack - Model Shipways - 1:64
-
 popeye the sailor reacted to a post in a topic:
Bluenose by PopJack - Model Shipways - 1:64
-
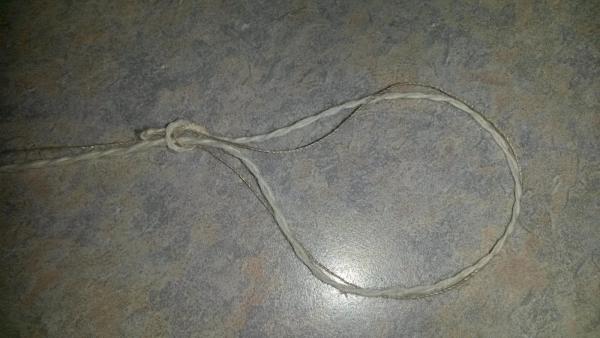
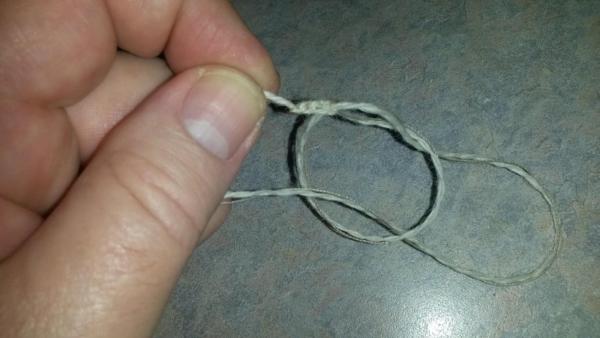
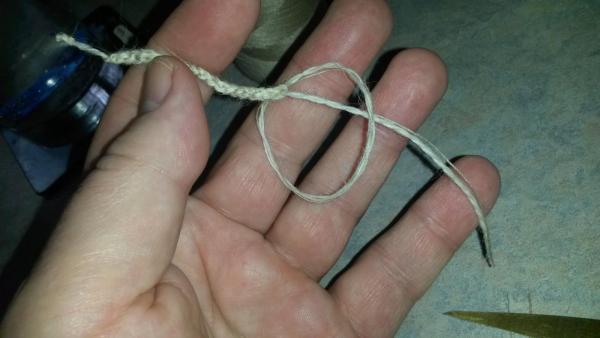
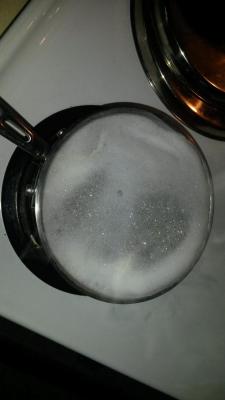
Making a bit of progress again. So I was experimenting with a way to make baggywrinkles that were somewhat realistic for the scale and not impossible to make. I looked at pipe cleaners and a couple of other options but nothing struck me. The idea came when my wife talked about "felting" wool knitted items. To felt something, you knit it first from wool and then wash it in hot water in the washing machine. The problem is that wool yarn isn't strong enough to support the weight of the rigging, I therefore laid a thread along the yarn I had chosen and made a series of running stitches (where you make a loop and pull another loop through it over and over again). Instead of washing, I boiled the yard in a soapy mixture into which I had added some baking soda. This, of course, had to be done when SWMBO was not at home. After boiling for 45 minutes I hung the yarns to dry overnight. I then tied them on regular rigging. The yarn I used didn't "felt" as well as I had hoped. I think it wasn't actually wool. The idea seems reasonable though, so I thought I would go ahead and post it with some photos of how well I did. Current Boat Progress: Tieing thread and yarn. And how she looks. Not bad for the first experiment. I think there is potential here.
-
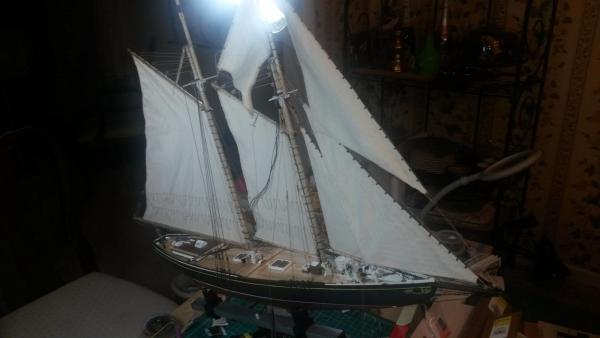
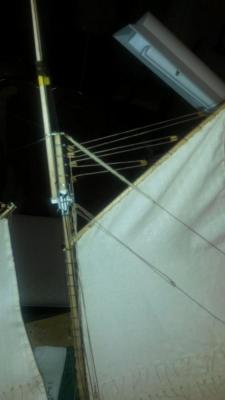
Just a note to say this project isn't dead. Life just got in the way. I am putting the sails and rigging on and its a slow process. I also tried to use the rigging to hold the booms and gaffs in places. This turned out badly when my hooks straightened out, imagine chaos. I now drill a small hole and put a pin in the mask and in the clapper on the boom. I used a brass pin to take the stress of tight sails and ropes and it is working much better. I made some baggy wrinkles which look okay from a distance. Photos in a few days.
-
I've been thinking about trying my hand at an RC boat. A tug- not a speed boat. Problem is, I am completely ignorant of where to start- from hull sealing to hull penetrations for the prop shaft. Is there a book that I could read to get into this? My google searches are not being productive. Thanks
-
 PopJack reacted to a post in a topic:
USS Constitution by Hipexec - FINISHED - Constructo - 1:82
-
 PopJack reacted to a post in a topic:
80' ELCO PT Boat by Timothy Wood - FINISHED - BlueJacket Shipcrafters - Scale 1/4" = 1'
-
 PopJack reacted to a post in a topic:
80' ELCO PT Boat by Timothy Wood - FINISHED - BlueJacket Shipcrafters - Scale 1/4" = 1'
-
Not following you. If you could post some photos, I might be able to pitch in. I don't think I used the great beam in my kit- if I remember correctly I got a better fit by making it from scratch. Sorry.
-
 PopJack reacted to a post in a topic:
USS Constitution by Hipexec - FINISHED - Constructo - 1:82
-
 PopJack reacted to a post in a topic:
Swift 1805 by Cannon Fodder - FINISHED - Artesania Latina - Scale 1:50 - Second ship built
-
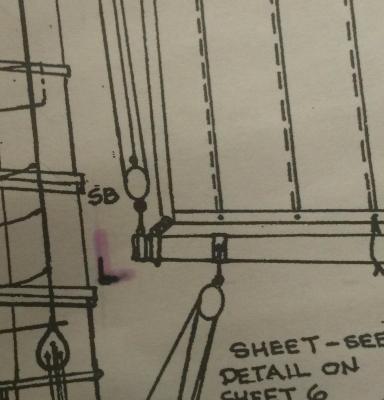
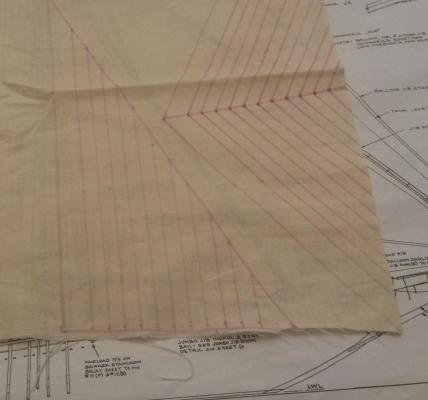
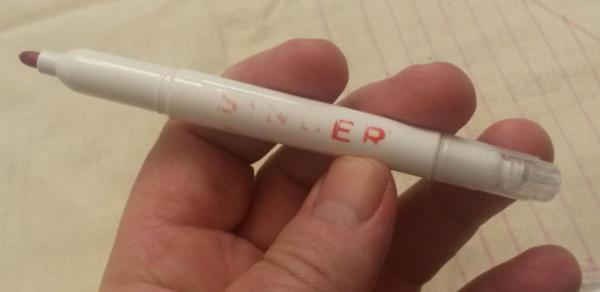
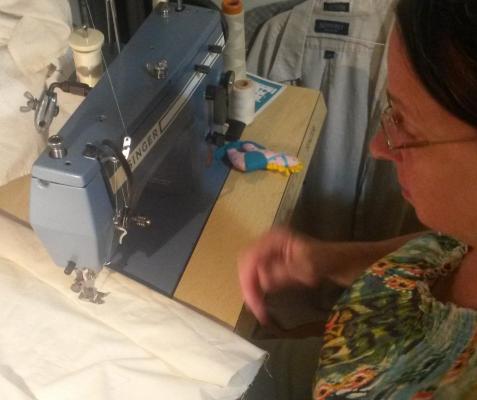
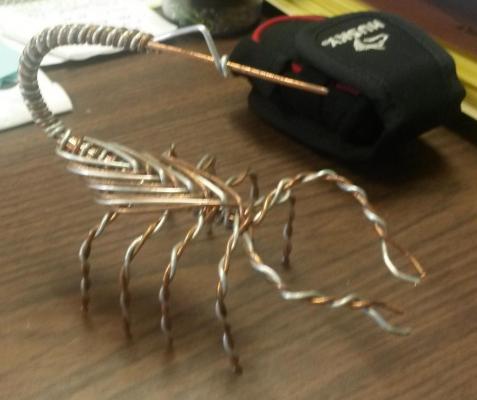
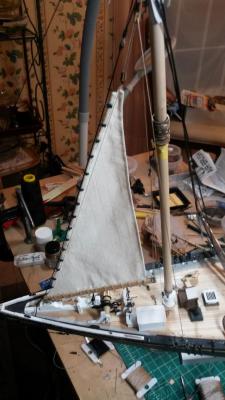
Wow- two months with no update. Before starting, I recall that I read about sailors creating crafts in their spare time. They took scraps of rope and made decorative macrame, made ship models, etc etc. I work with linemen and I discovered that some take the scrap clippings from skinning and trimming wires and make things out of them. This scorpion was made from one underground transformer installation's clipped ground wire. On to my toy boat. I have finished all of the metal work. I decided against trying to form hooks on all of the blocks, but have made them for a few of the bigger more prominent ones. The others I'm tying on. I started making sails. This is how I did it. I wanted 1/4" extra materials on all sides to that I could make a 1/8" casing for the cue lines. (The casing is folded twice). So, I carefully measured on the plans and marked the intersections of the 1/4" extended lines. Then I laid the fabric on the plans and using a disappearing fabric marker and drafting techniques laid out the sail on the fabric. Then, it was off to the sail making department where skilled craftswoman turned my sketches into reality. (SWMBO or Admirable). I installed the first sail and am generally happy. I plan on using glue water and gravity to finish it up after the others are installed.
-
Good luck with the move and finding a great rewarding position.
- 84 replies
-
- swift
- artesania latina
-
(and 1 more)
Tagged with:
-
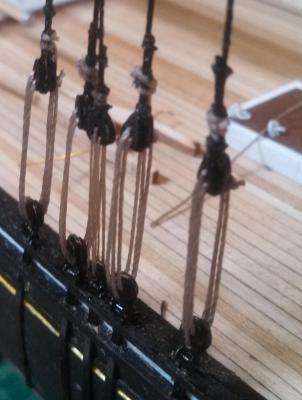
That is how it was done on the real ships I looked at, each deadeyes had carves channels for the ropes. In this case, however, the rope supplied with the kit is rather stiff (very stiff when scale is considered... hum "scale stiffness"). Even with some substantial tension it doesn't want to bend sharply. In other words, I don't think it would follow the carved channels unless you glued it in. I kept hoping that sustained tension would 'shape' the rope, but so far, no joy. I'm sure I'll be able to address it with some glue and judicious use of hemostats.
-
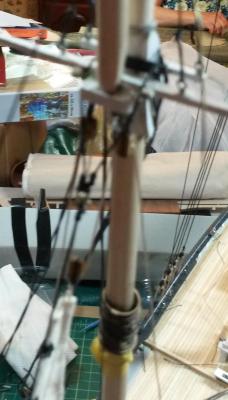
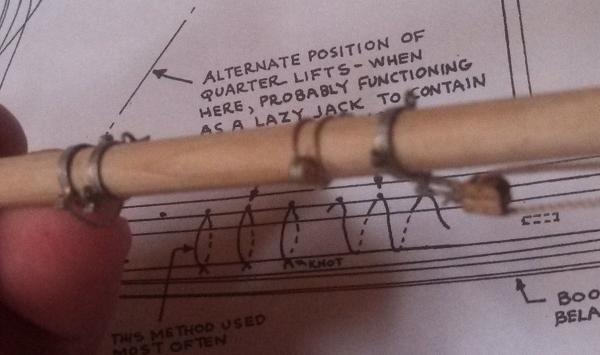
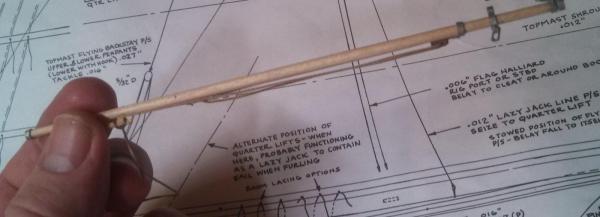
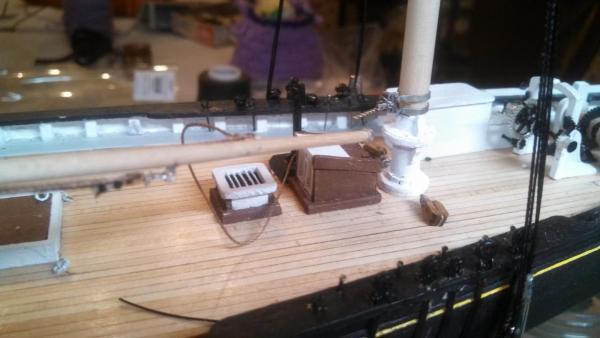
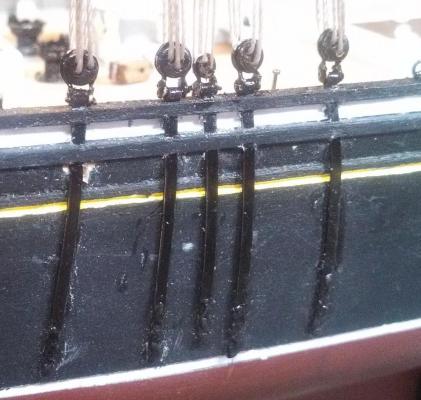
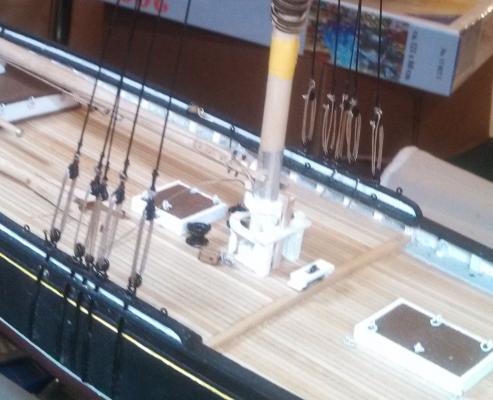
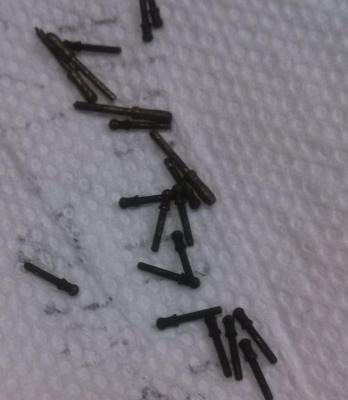
A bit of catching up. First, I have completed the metal work on the two booms. I'm particularly tickled with the "drilled toothpick fairleads." Turns out this ship has a lot of fairleads, and this technique has worked well. I was finished up the shrouds for the main mast- minus the ratlines. I am not happy with the "puffy" look of the lanyards at the bottom of the shrouds. Since the lines are tight I thought at first they might stretch out, but so far no luck. I'm thinking of putting CA glue on the lines at the deadeyes and then using hemostats to hold the lines against the deadeyes until they stick. Ideas welcome, of course. Finally I followed advice found here and diluted the brass black stuff and tried it on my belaying pins. It worked much better. I'm actually going to dilute it more so that the blackening takes even longer and will hopefully be more consistent.
-
 PopJack reacted to a post in a topic:
Rattlesnake by Brian Parsons - Model Shipways - Scale 1:64
-
 PopJack reacted to a post in a topic:
Swift 1805 by Cannon Fodder - FINISHED - Artesania Latina - Scale 1:50 - Second ship built
-
 PopJack reacted to a post in a topic:
Swift 1805 by Cannon Fodder - FINISHED - Artesania Latina - Scale 1:50 - Second ship built
-
 PopJack reacted to a post in a topic:
Swift 1805 by Cannon Fodder - FINISHED - Artesania Latina - Scale 1:50 - Second ship built
-
I tried several things to bend those planks. After soaking them for a while, I found a curling iron worked pretty well to shape them. I also used a steam iron - but be careful, you're holding really close to the iron and you can get "steamed." In the end I bought one of the electric tools that looks like a soldering iron with a round head on it. That way I could bend planks when SWMBO was home. I have a crimper and it works, but I had a lot of issues not being able to control it and cutting planks in half. Other people have excellent luck with them.
- 84 replies
-
- swift
- artesania latina
-
(and 1 more)
Tagged with:
-
 PopJack reacted to a post in a topic:
USS Constitution by Hipexec - FINISHED - Constructo - 1:82
-
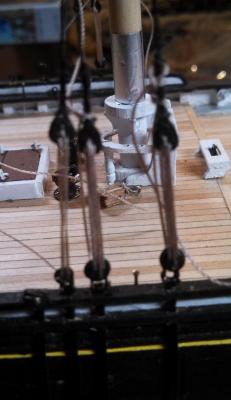
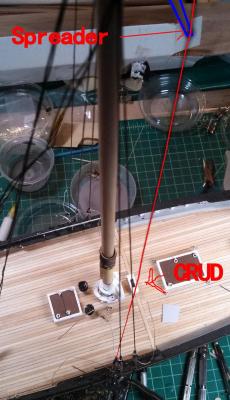
Here's a funny one. The way I figure it, the only person I can safely laugh at is myself, so why not share the mirth? So, I'm happily working along today with my magnifiers on and my tweezers making lanyards. I'm thinking, these look pretty good! The left most in the photo is the top mast shroud that I'm working on. It goes to a smaller deadeye and when it's tightened up, should pull just about perfect! SWMBO comes in and I start showing here what I was working on when I realize that stepping back is sometimes a good thing. The Main Top Mast Shroud on this side passed from near the top of the mast, through the end of a spreader and then .... ooops.... wraps around and then passes BEHIND the other shrouds before coming to its dead eye. DANG.
-
I moved to installing the shrouds today. There is a lot to do before I had to go there, but i enjoy standing up some- so its all good. I had a lot of trouble getting the specified thread through the holes in the deadeyes. I tried drilling the holes out and ended up breaking two of the teardrop ones. In the end I discovered that using a smaller drill bit I could enlarge the holes SLIGHTLY without destroying them. After a lot of experimentation I discovered (or, perhaps I should say "rediscovered" since I'm sure many have done this) that if I twist the rope between my fingers so as to tighten the winding as much as possible, and then while holding it, dip it in CA it will freeze in its compact shape. There is a certain amount of wiping the excess off, which is why I'm nervous that I may mistakenly glue my index finger to the "h" key on my keyboard.
-
Thanks to both for the replies. Please leave the photos- I am sure they will be helpful not only to me but to others who may follow. I have never used galvanized wire- so off to the hobby shop tomorrow to pick some up to play with. I told SWMBO last night that the next ship I modeled was going to have all brass hardware because of I was tired of having to paint or treat every piece of metal. Perhaps I spoke too soon.
About us
Modelshipworld - Advancing Ship Modeling through Research
SSL Secured
Your security is important for us so this Website is SSL-Secured
NRG Mailing Address
Nautical Research Guild
237 South Lincoln Street
Westmont IL, 60559-1917
Model Ship World ® and the MSW logo are Registered Trademarks, and belong to the Nautical Research Guild (United States Patent and Trademark Office: No. 6,929,264 & No. 6,929,274, registered Dec. 20, 2022)
Helpful Links
About the NRG
If you enjoy building ship models that are historically accurate as well as beautiful, then The Nautical Research Guild (NRG) is just right for you.
The Guild is a non-profit educational organization whose mission is to “Advance Ship Modeling Through Research”. We provide support to our members in their efforts to raise the quality of their model ships.
The Nautical Research Guild has published our world-renowned quarterly magazine, The Nautical Research Journal, since 1955. The pages of the Journal are full of articles by accomplished ship modelers who show you how they create those exquisite details on their models, and by maritime historians who show you the correct details to build. The Journal is available in both print and digital editions. Go to the NRG web site (www.thenrg.org) to download a complimentary digital copy of the Journal. The NRG also publishes plan sets, books and compilations of back issues of the Journal and the former Ships in Scale and Model Ship Builder magazines.


