
Bender
-
Posts
213 -
Joined
-
Last visited
Recent Profile Visitors
1,056 profile views


-
 jenikstav reacted to a post in a topic:
San Felipe by Bender - Mantua/Panart --Scale 1:75--Rebuild Log
jenikstav reacted to a post in a topic:
San Felipe by Bender - Mantua/Panart --Scale 1:75--Rebuild Log
-
Major6 reacted to a post in a topic:
Ragusian Carrack by Bender - Marisstella - 1:59
-
Clark reacted to a post in a topic:
San Felipe by Bender - Mantua/Panart --Scale 1:75--Rebuild Log
-
bartejo reacted to a post in a topic:
San Felipe by Bender - Mantua/Panart --Scale 1:75--Rebuild Log
-
bartejo reacted to a post in a topic:
San Felipe by Bender - Mantua/Panart --Scale 1:75--Rebuild Log
-
Clark reacted to a post in a topic:
Reale de France by Clark – FINISHED - Corel - Scale 1:64
-
 Clark, it is good to see another Reale in the build logs. I look forward to your progress. That is a good idea how you used the wedge to keep the keel straight.
- 112 replies
-
- 1
-
-
- corel
- reale de france
- (and 1 more)
-
drobinson02199 reacted to a post in a topic:
Cutty Sark by drobinson02199 - FINISHED - Mantua/Sergal - Scale 1:78
-
David, your Cutty Sark looks great. My first ship model was a Cutty Sark in plastic. I was a junior in high school back in 75. I built several more plastic over the next few years and moved to wooden when I was in my thirties. I’ve built 15 wooden ships and boats in the last 30 years. I want to build the Cutty Sark again and am always looking for the “best” wooden kit. This kit seems to be a top quality kit. After starting this kit and seeing other build longs, are you still happy that you chose this kit or do you sometimes think one of the other kits would have been better? Second question: Does the plans sheet include sail patterns? Thanks for sharing your process.
- 133 replies
-
- 1
-
-
- cutty sark
- mantua
- (and 3 more)
-
GrandpaPhil reacted to a post in a topic:
San Felipe by Bender - Mantua/Panart --Scale 1:75--Rebuild Log
-
BLACK VIKING reacted to a post in a topic:
San Felipe by Bender - Mantua/Panart --Scale 1:75--Rebuild Log
-
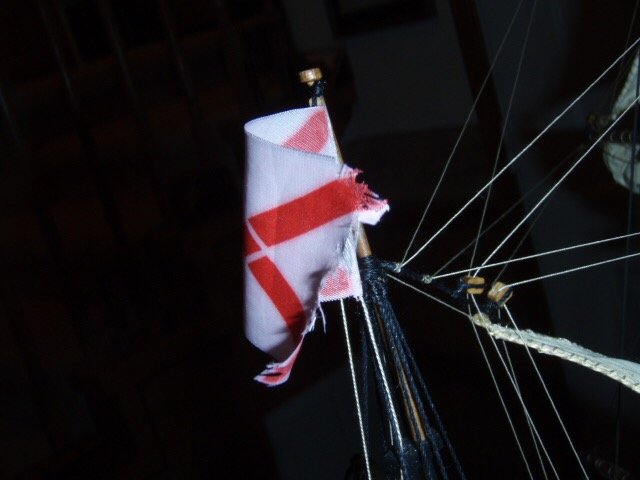
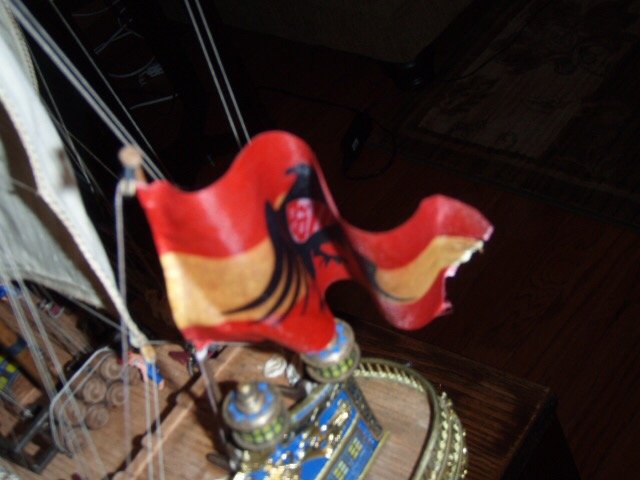
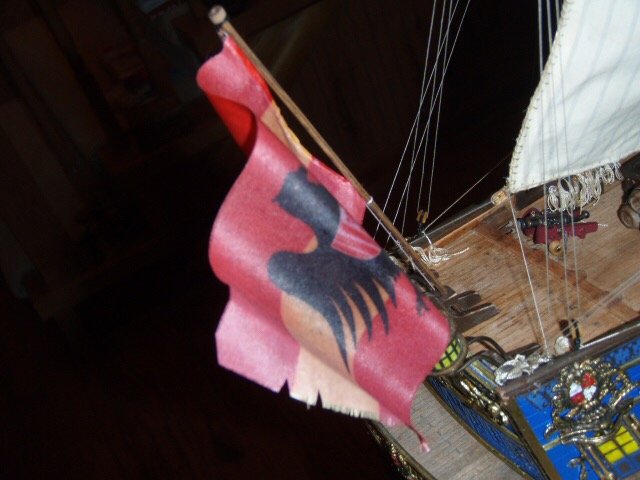
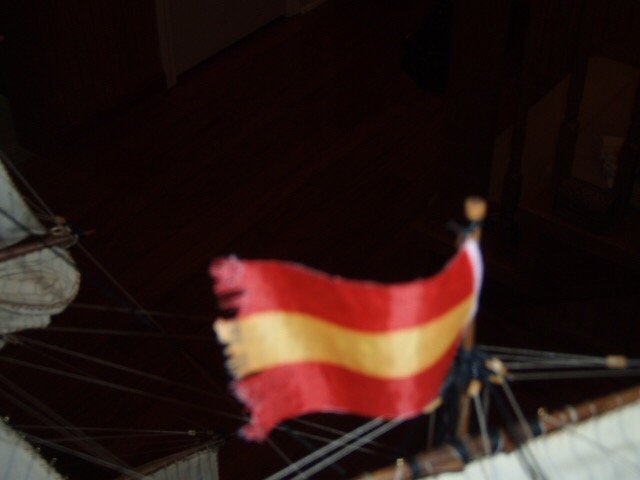
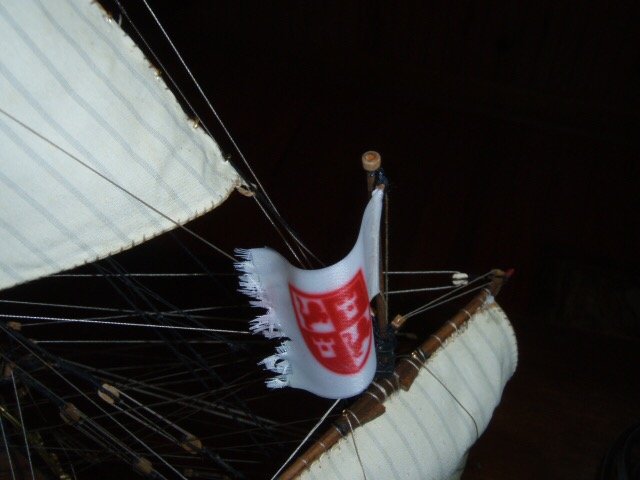
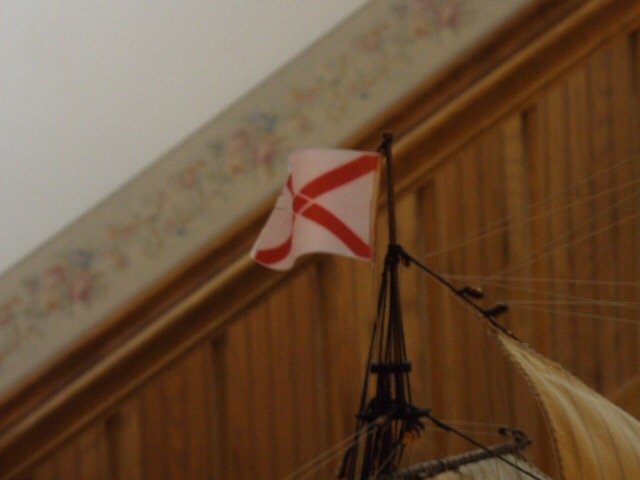
I used my wife’s curling iron to give the flags a little bit of the “wind waving” look.
-
GrandpaPhil reacted to a post in a topic:
San Felipe by Bender - Mantua/Panart --Scale 1:75--Rebuild Log
-
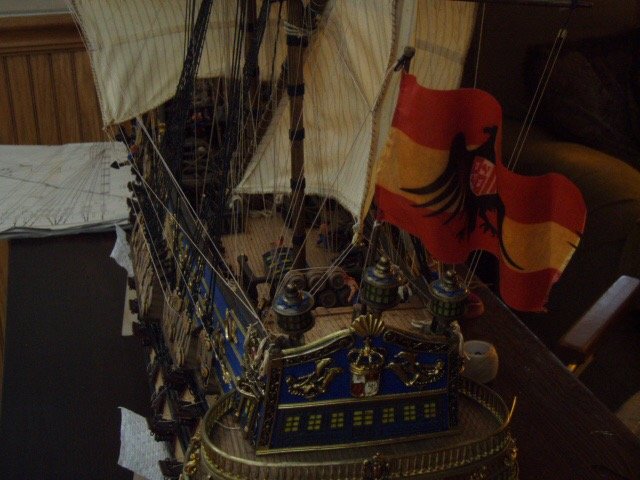
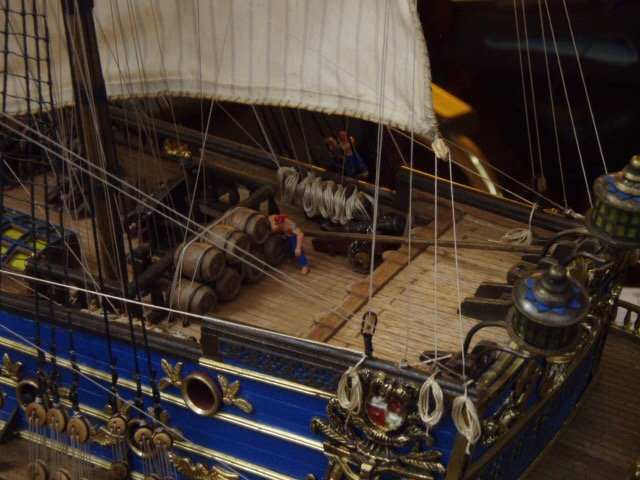
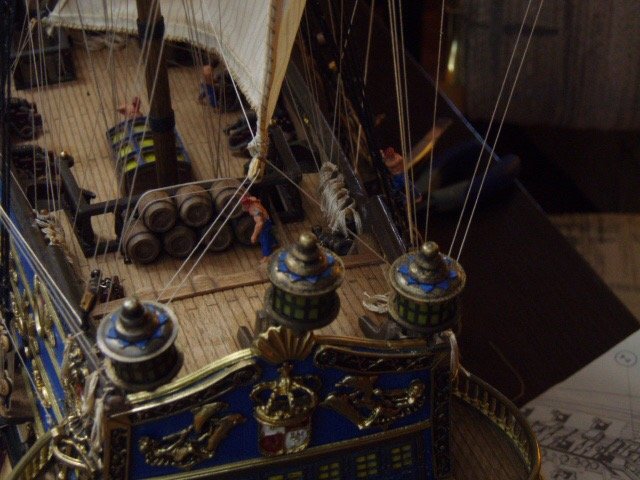
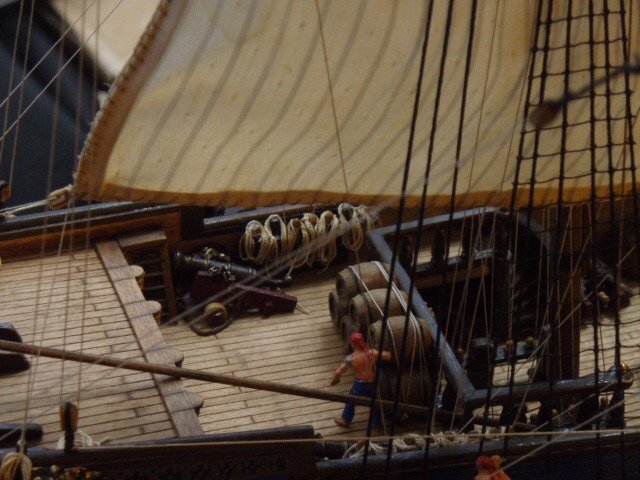
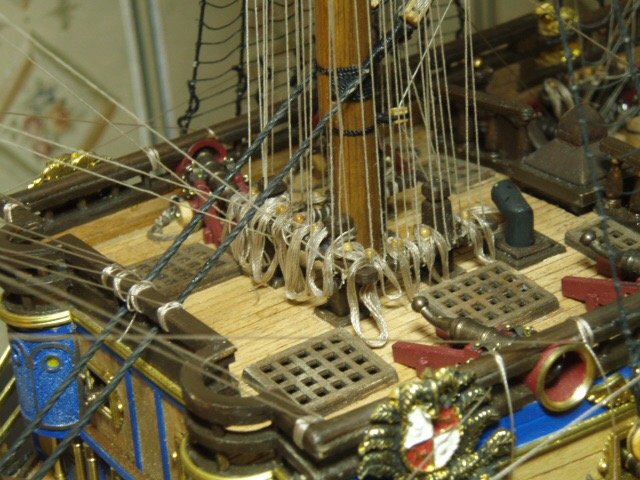
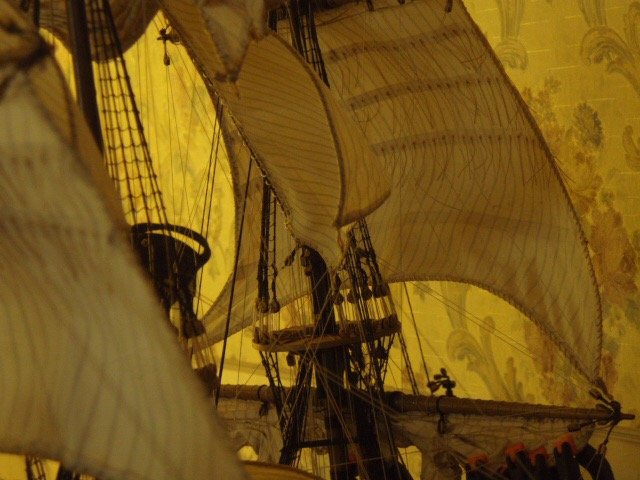
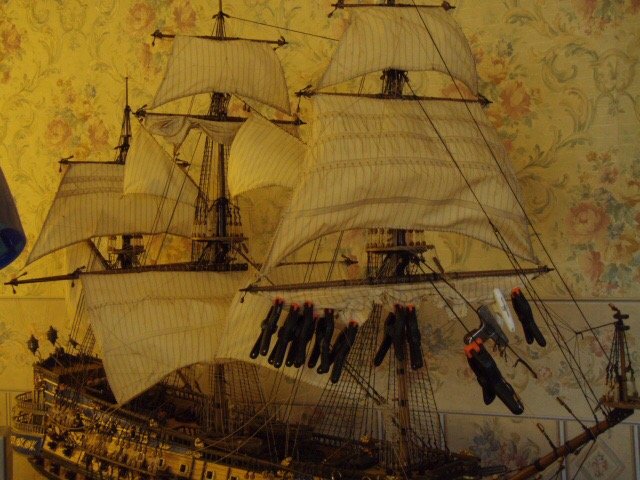
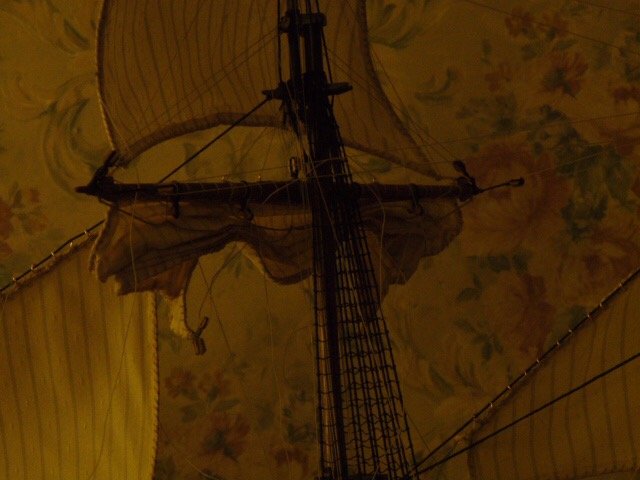
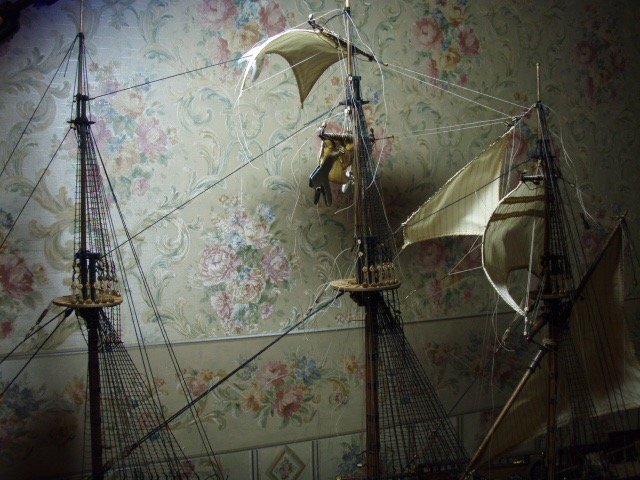
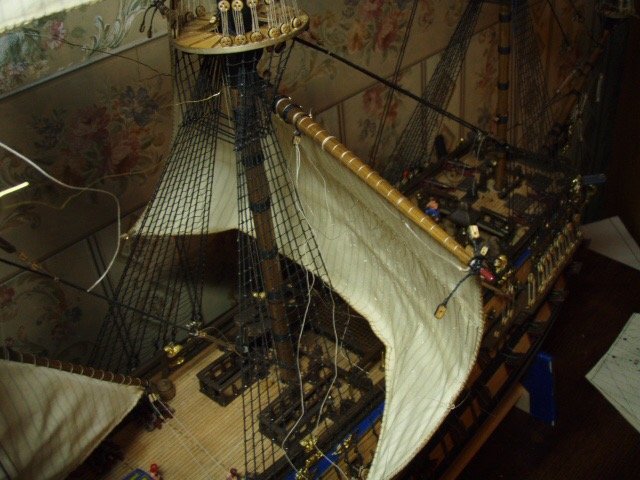
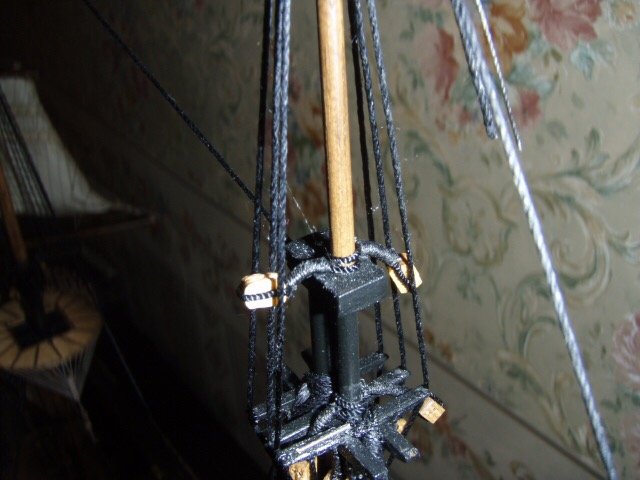
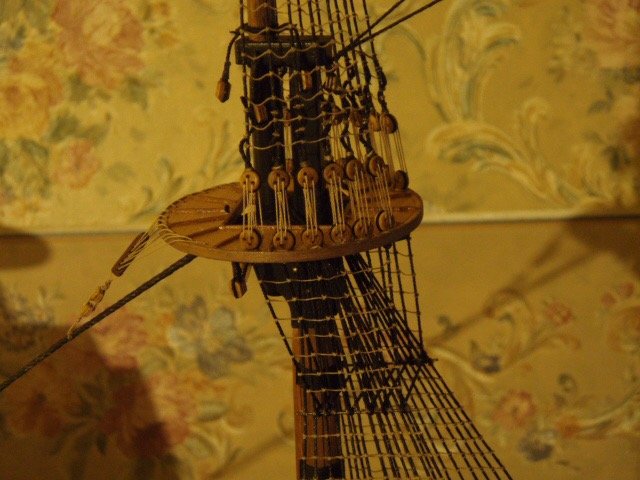
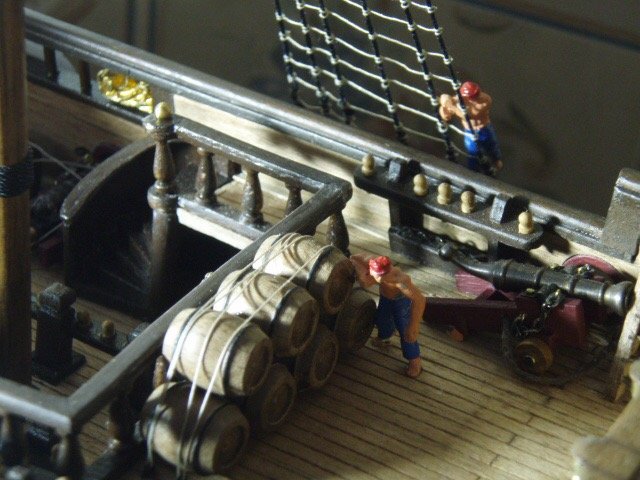
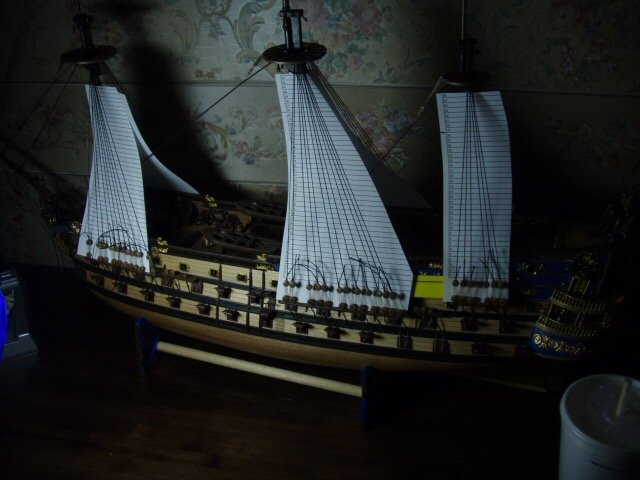
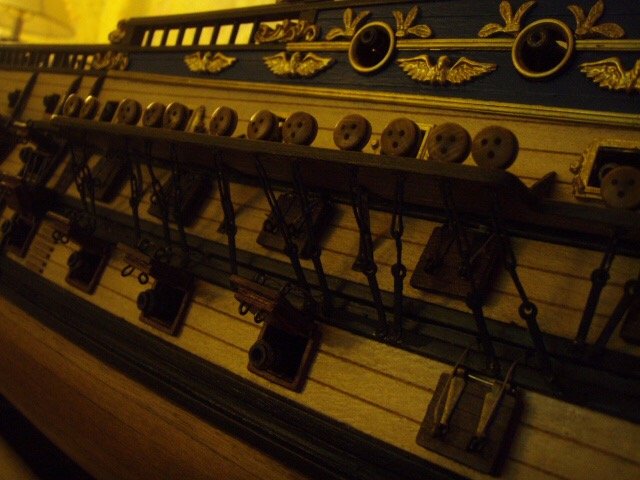
HThis is a good picture that shows the sails. For lines that are tied off at the pin rails, I work my way from the top down. For example: I start by attaching the line to the sail, run the line though all the blocks, and finish at the pin rail by poking the line through a hole in the pin rail. I press a pin in the hole to hold the line in place. When I’m finished with all the lines I can readjust the tension if needed. I don’t glue the pin in until I’m sure everything in in the correct spot, the tension is good, and no lines cross each other. I finish up by making a bunch of rope coils and gluing them to each pin. Some more pictures showing rope coils. And I had a few little plastic guys I painted and placed around the ship.
-
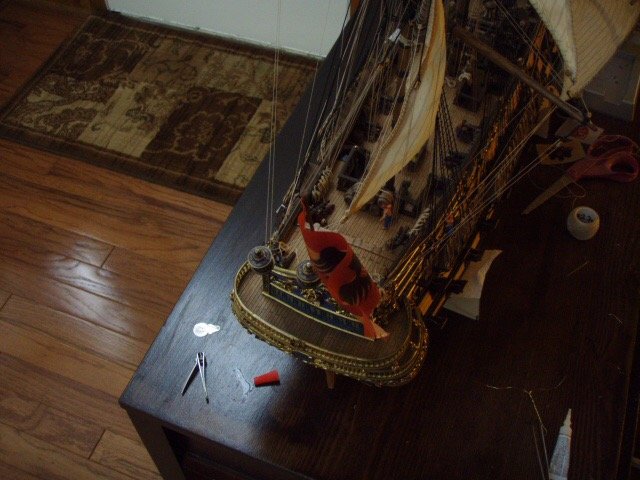
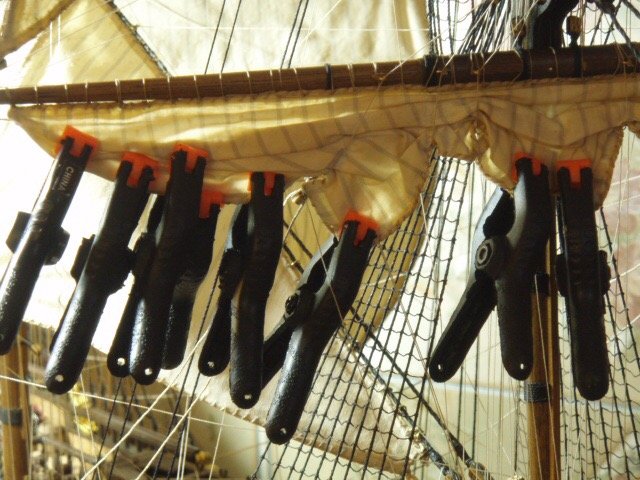
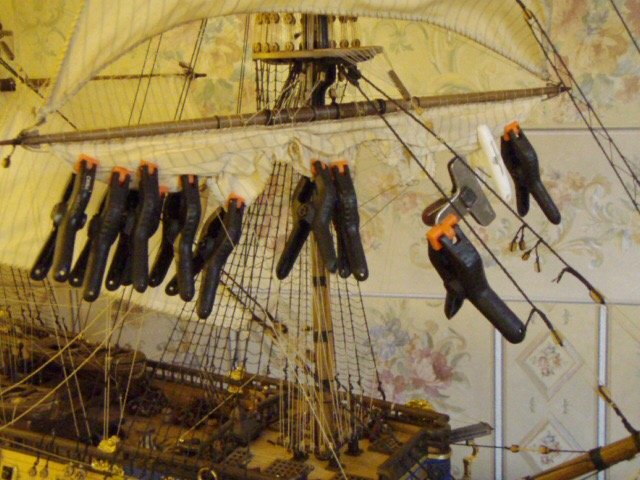
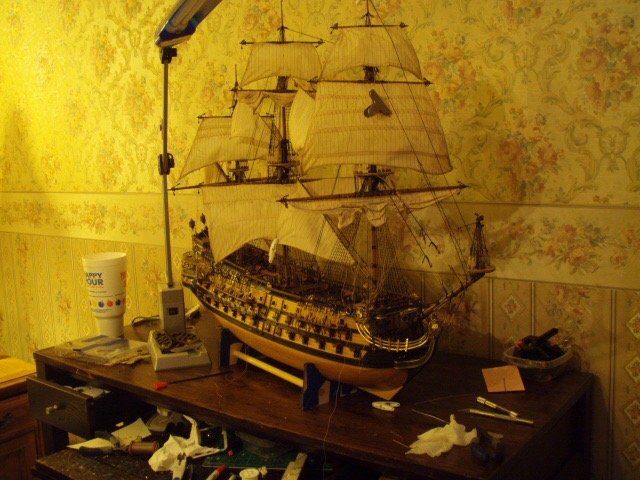
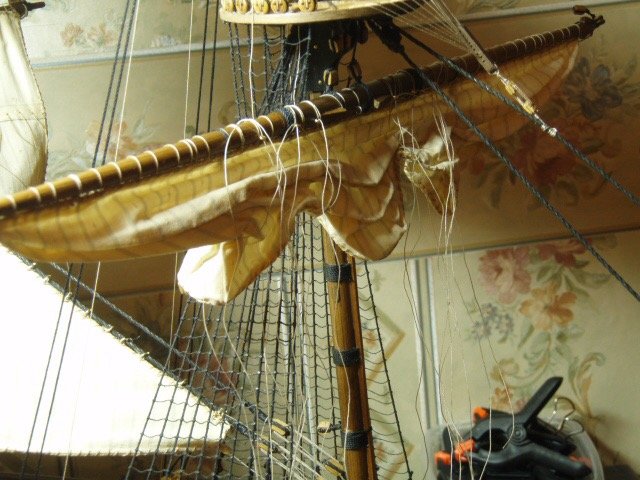
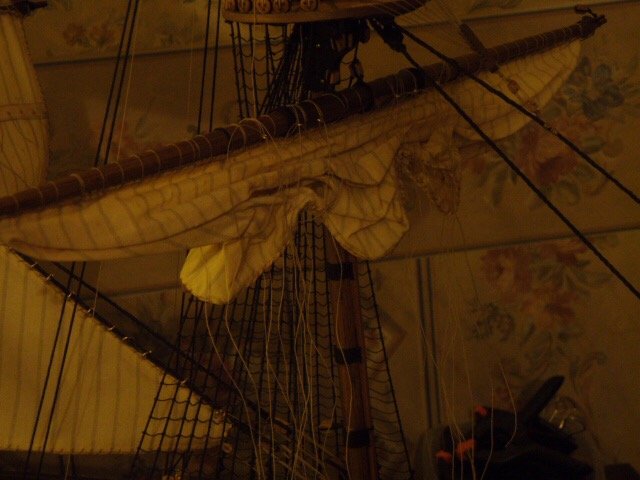
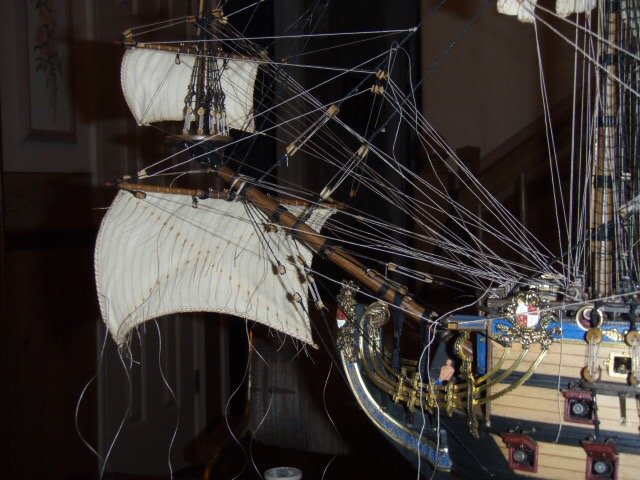
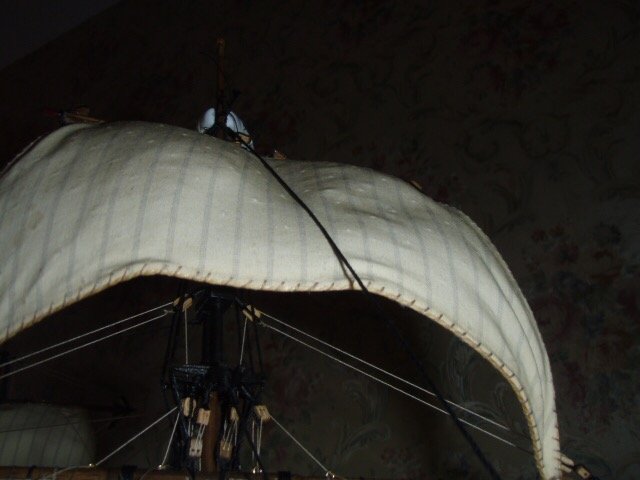
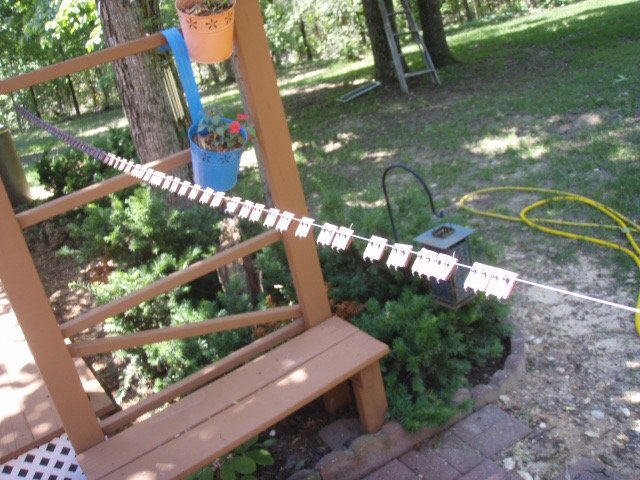
For the furled sails I attached them to the yard and coated them with diluted glue. I then tied loops around the sail were a line would crease the sail and let it dry. This process left the sail too bunched up and looking like a sail where weight was not pulling it down. After attaching the yard to the mast I sprayed the sail with more water and used a bunch of clips to give the sail the appearance of weight. And it ends up lookin like this.


-
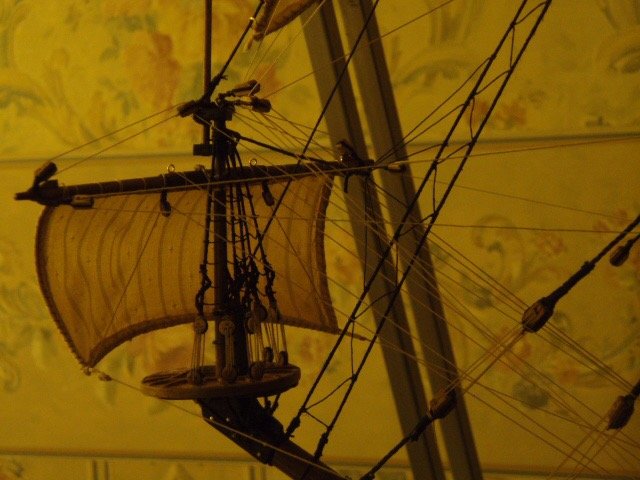
Here’s some pictures of attaching sails.
-
Here’s some pictures of attaching sails.
-
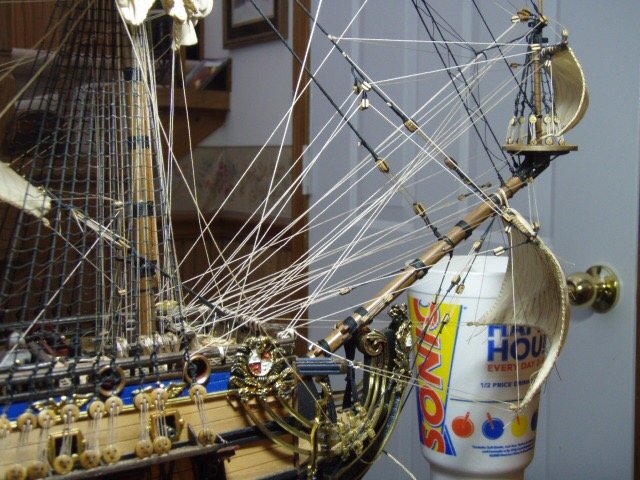
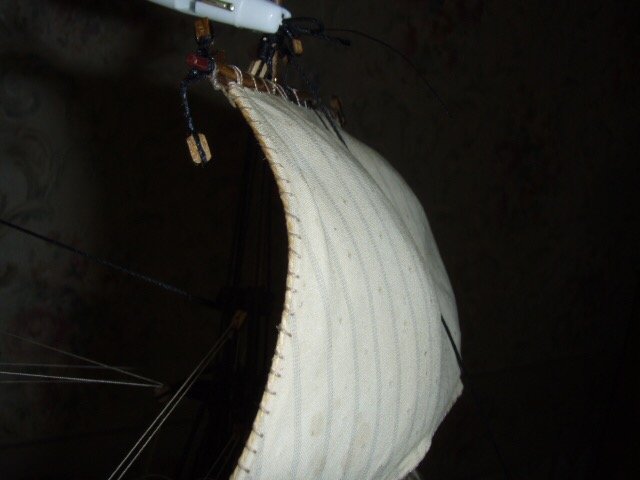
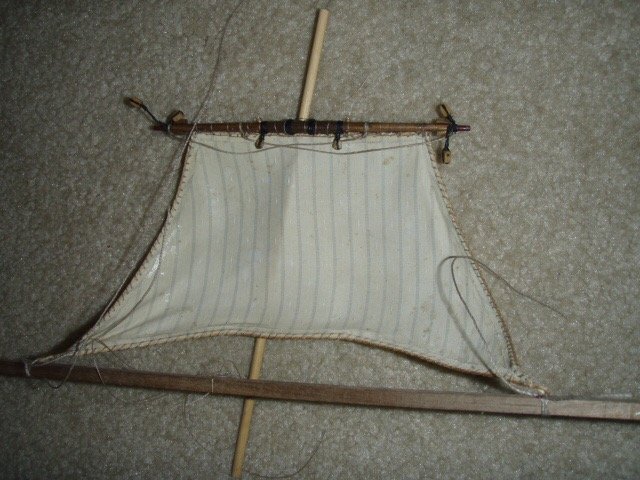
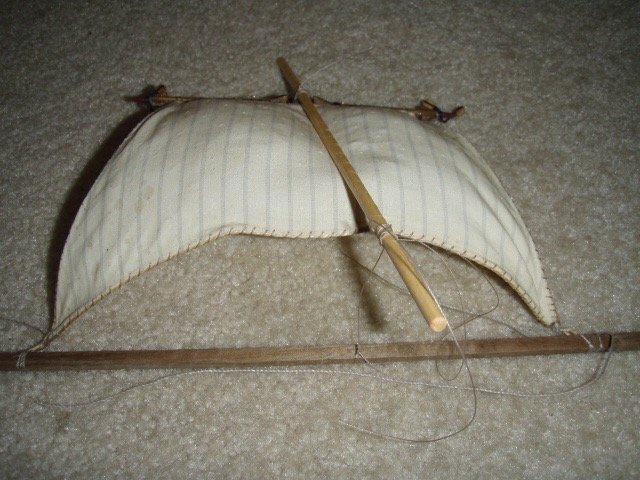
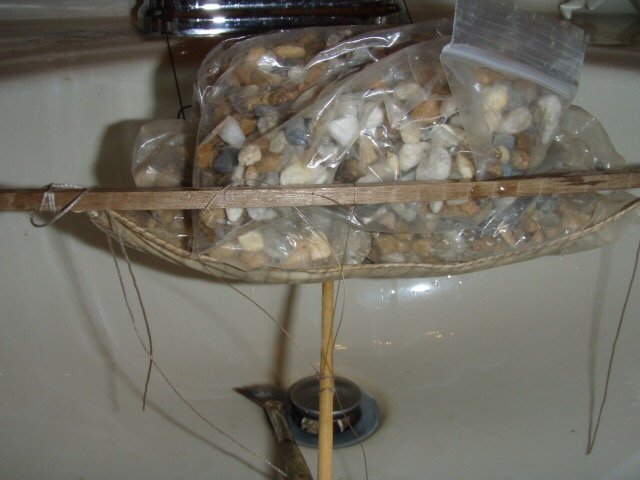
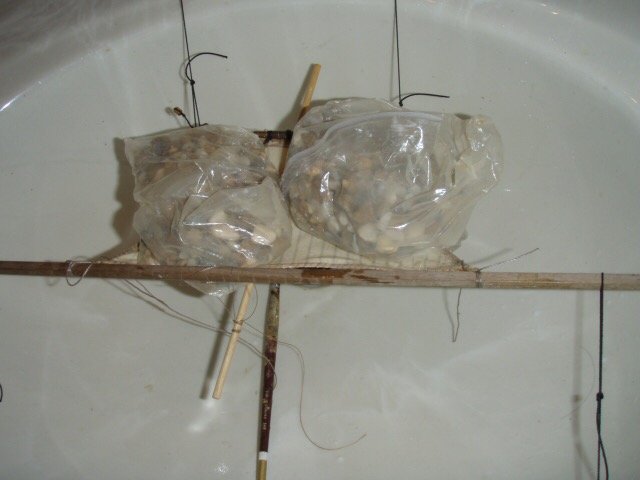
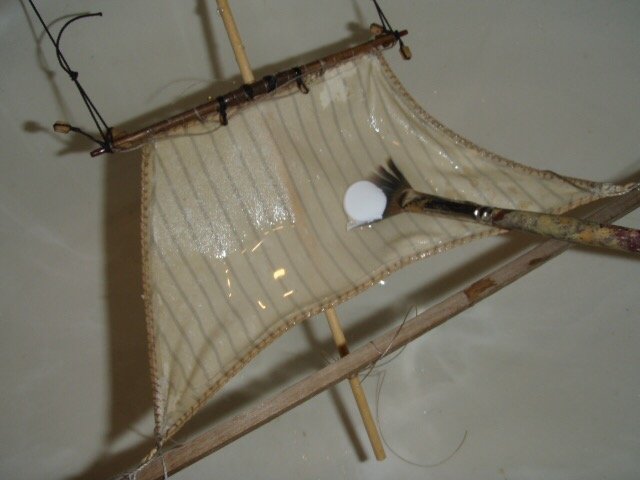
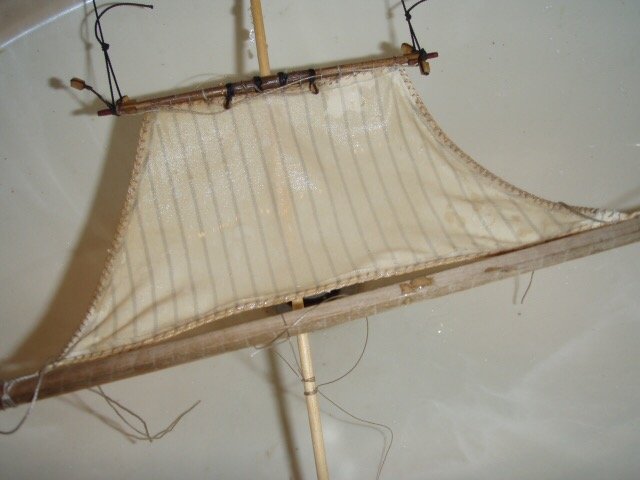
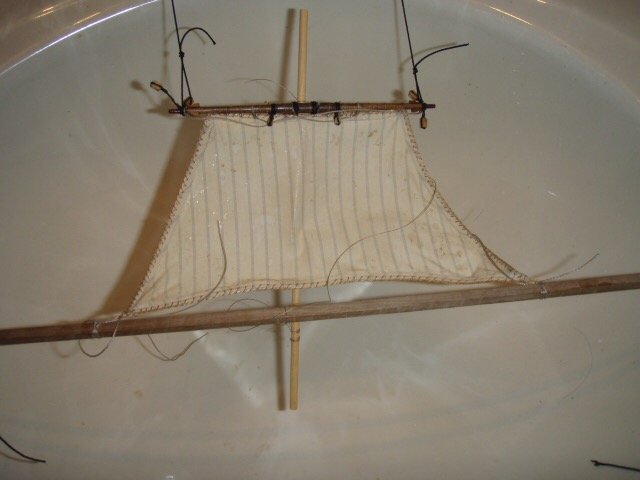
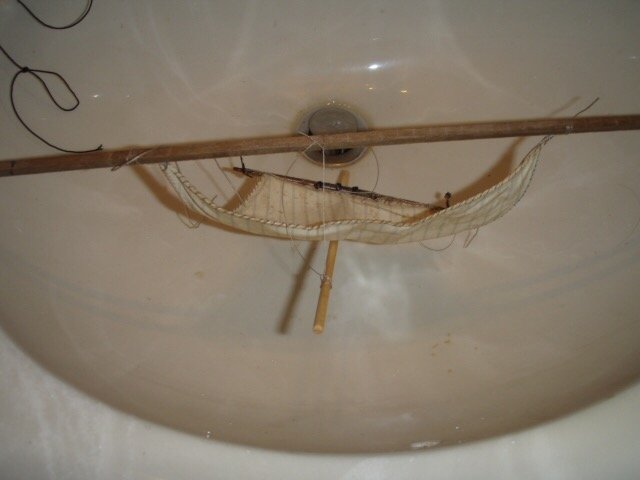
I had ordered sails from Model Expo, knowing they were back ordered. (Remember this was back in 2009.) I had been sitting around looking at the ship, wanting to do something. So I decided to try my hand at making sails. The kit comes with sail patterns. Sewing machines are not easy to use. It is easy to sew but not easy to sew in a straight line. Making a hem tiny enough for a model ship takes more practice than I have patience for, not to mention all of the parallel stitches one would have to do. First attempt found the trash. After reading more posts and tutorials here on MSW and reading on the model shipwrights’ database, I found out they make stuff for stitchless hems. You just place the stuff within the fold of the material and iron the hem. Works great. I found some thin cotton that already had the parallel lines. (Is that cheating?) I hand sewed the clew lines on and stuck myself several times. On the model shipwrights’ database, under sail making, I found several ways of making the sail appear to be windfilled. While ironing the hem, I put wire in the hem. Then after attaching the sail to the yard I made a sling in the bathroom sink (lavatory in the water closet.) Then I moistened the sail, put a little glue on it, then smoothed out the glue until the sail was evenly covered with the diluted glue. I laid little plastic bags of pea gravel on the sail and let the sail dry. When the sail was completely dry I took it to the back porch where I made another sling to hold the sail and sprayed it with lacquer. These pictures were of my third attempt for this one sail. I ended up emailing model expo to cancel the back order for the sails. It had been over two months. You can see that the sail presses against a fore stay, which is the reason for the dowel that is crossways to the yard in the above pictures.
-
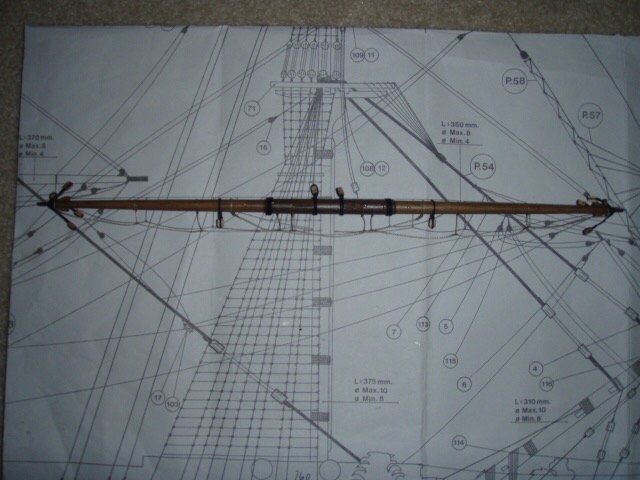
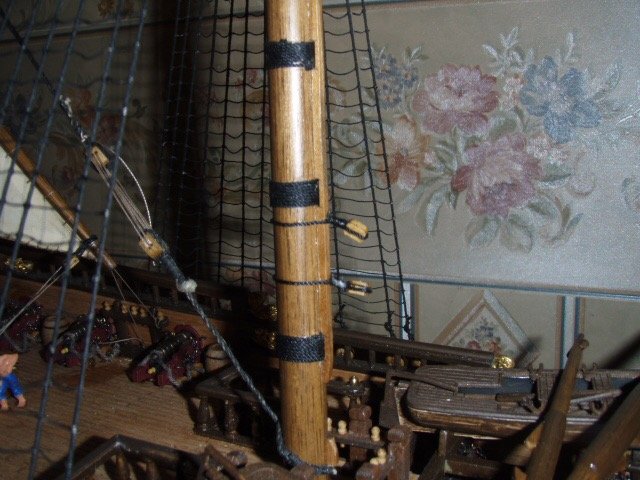
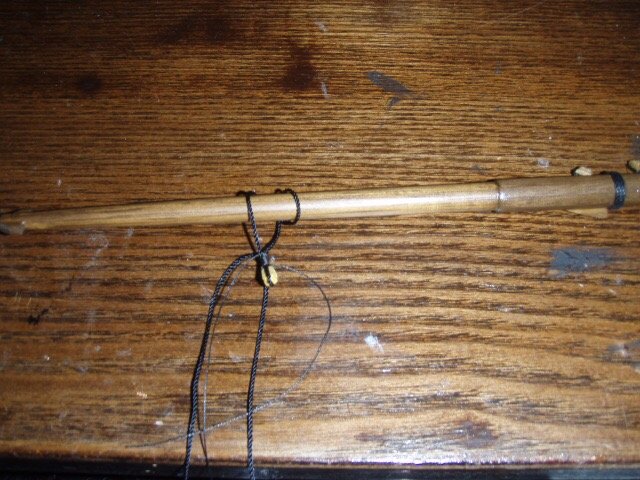
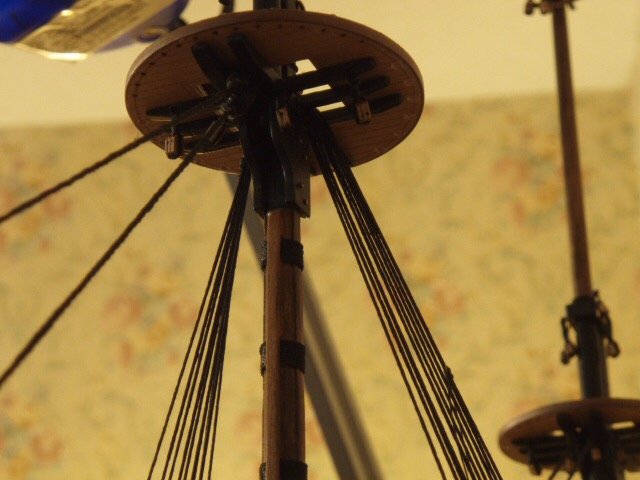
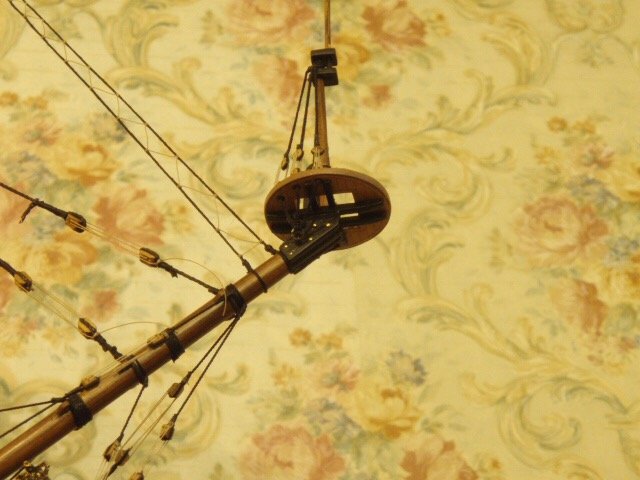
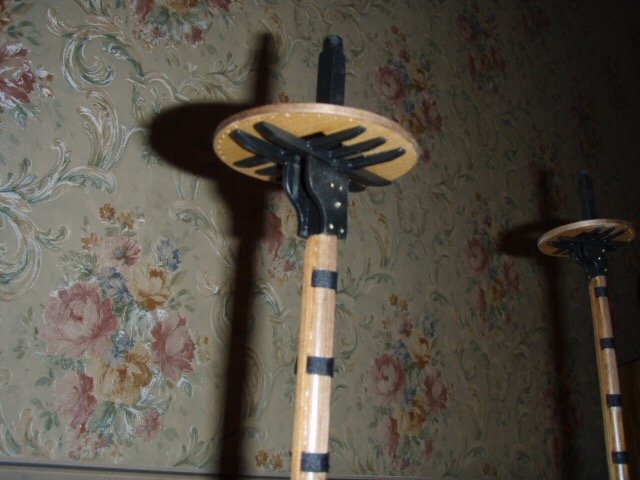
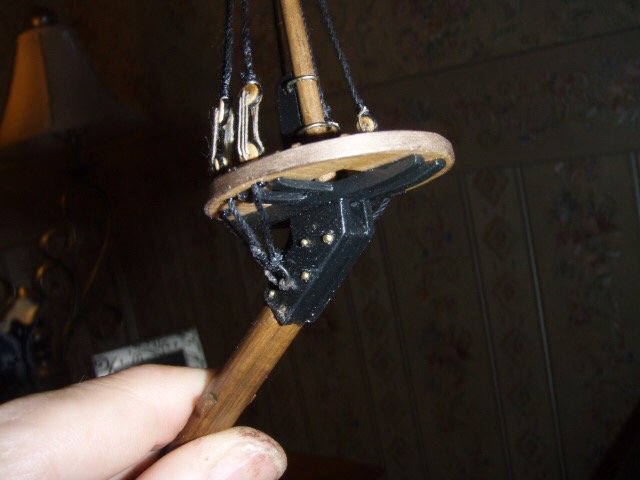
I tapered the masts and yards by chucking a piece of dowel in my drill and spinning the dowel against a bench top belt sander. When the dowel was nearly the correct size, I finished up by spinning the dowel inside a piece of folded over fine sandpaper. I came up with a “cheat” for tying blocks to yards, masts, and tops. I made a crude drawing. The thinner thread—with ends marked A and B—can be wrapped around the thicker thread four times to as many as ten or more depending on the length you need. I usually tighten the thread around the block first and then slip the other loop around the yard or mast. A drop of CA glue holds it. I’ve never had a block come loose using this method. If the block is attached to an eye, I thread the string through the eye and then do the tying as shown in the crude drawing above. Here is a link to a post I made several years ago that better explains this method. http://modelshipworld.com/index.php/topic/1056-tying-blocks-to-yards-or-masts/?p=17489


-
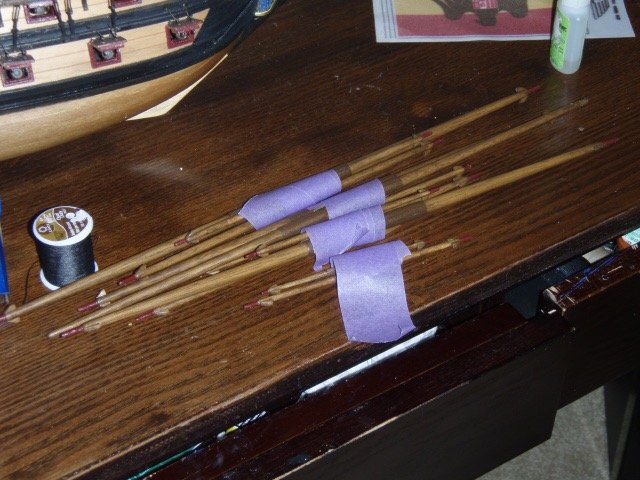
Pictures of ratline tying. I used Microsoft Excel to print parallel lines the correct distance apart to keep the ratlines straight, level, and uniform.


-
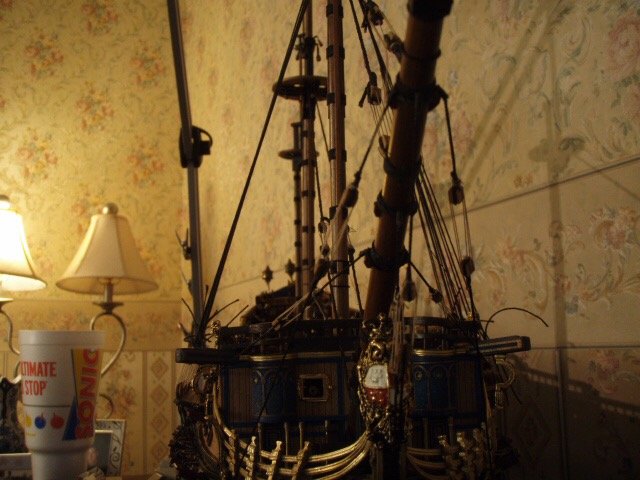
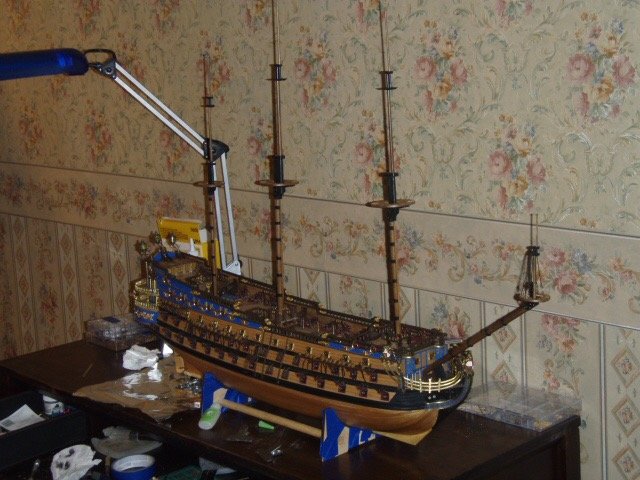
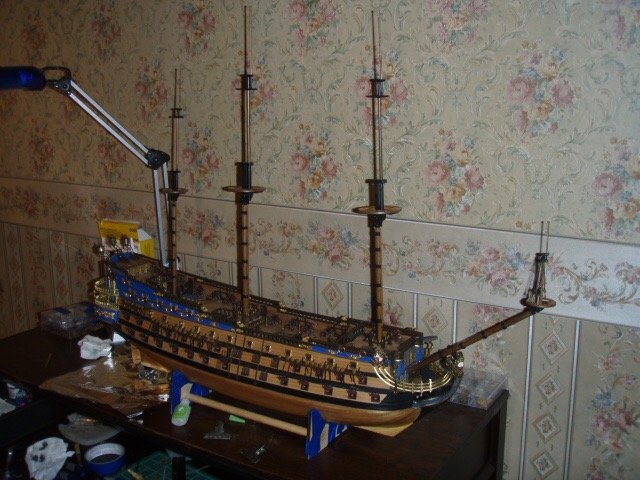
Notes from 8/6/2009 Everything is built: nothing but rigging left. Although, I am still trying to build a ship’s boat by scratch. Two attempts have left me with nothing I would want to show off. I will try one more time. If after this third attempt and the ship’s boat does not look good I will go with the kit supplied plastic/ wood boats. I have all the standing rigging on the bowsprit, all the forestay on the fore mast except for the fore topgallant stays, the ten shrouds on the fore mast, and one fore stay on the main mast attached. A thought occurred to me at this point: There are 10 shrouds each side on the fore mast, the main mast will have 12 shrouds each side and the mizzen mast 6 shrouds each side. I started thinking: that’s going to be a lot of ratlines. . . a lot of ratline knots. So I multiplied shrouds by ratlines, added up those from each mast and came up with 3110 knots. The plan—when the time comes—is to tie 100 knots a day for 31 days. We will see. Rigging really is my favorite part. I have decided to add sails; this requires 96 additional blocks tied to masts, yards and stays.
-
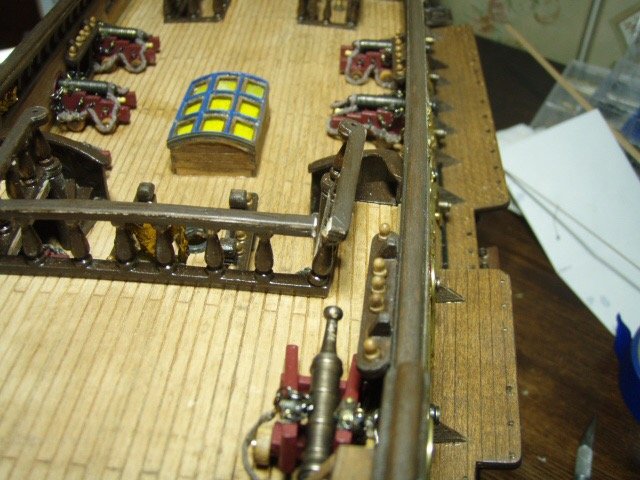
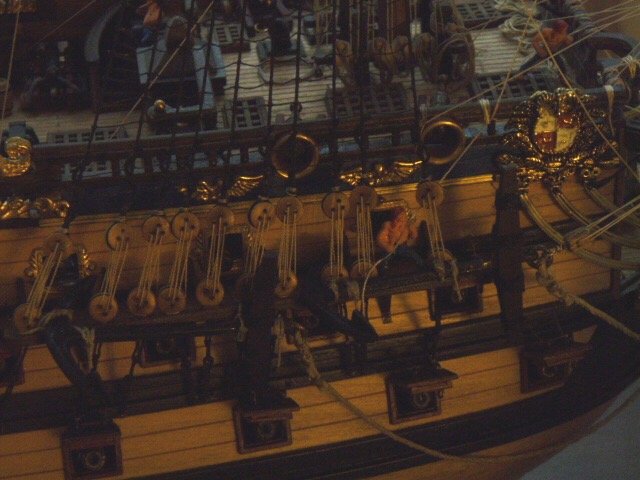
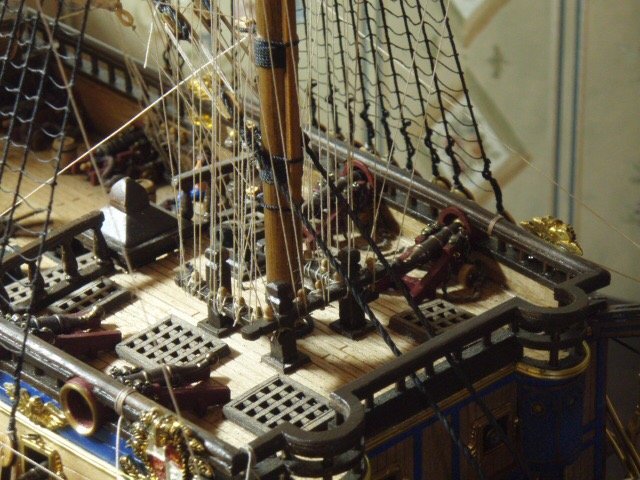
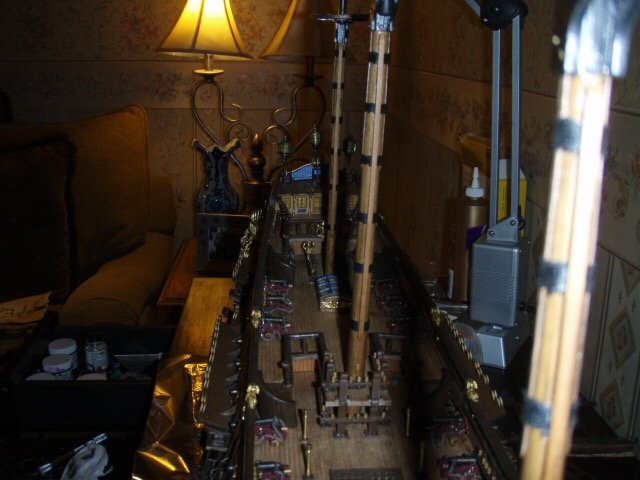
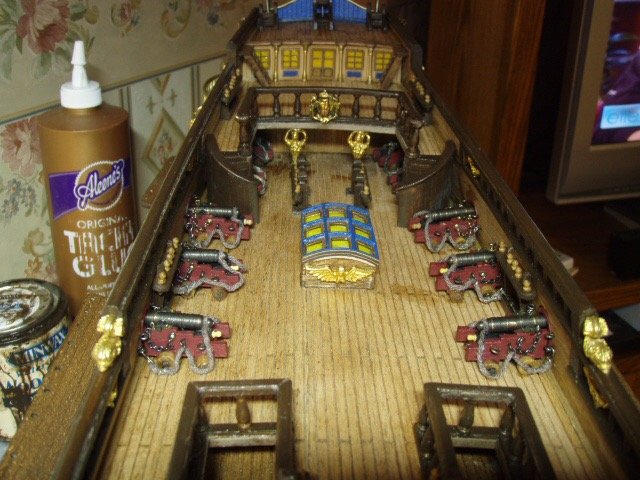
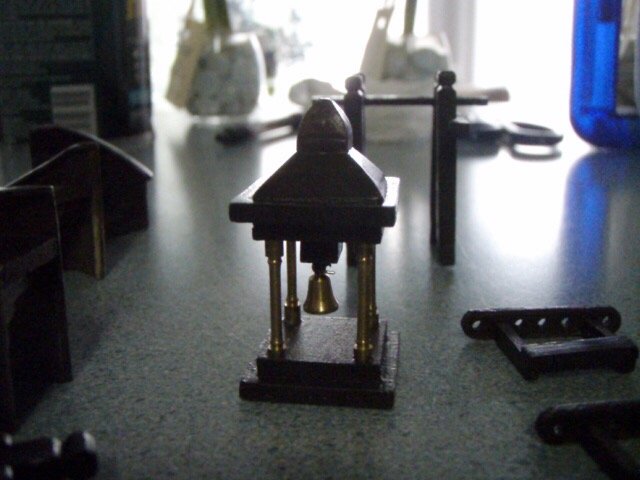
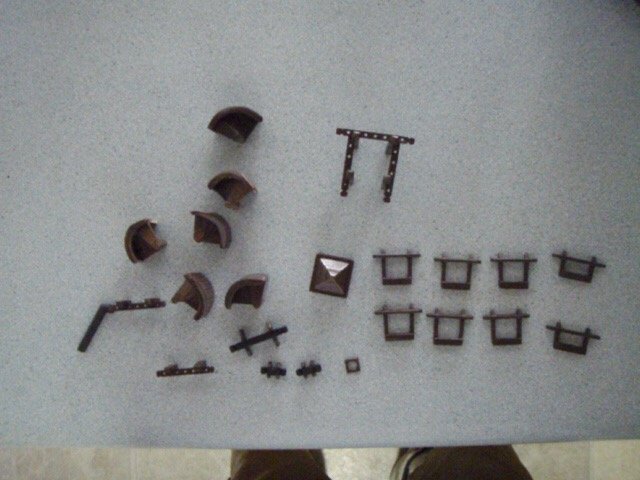
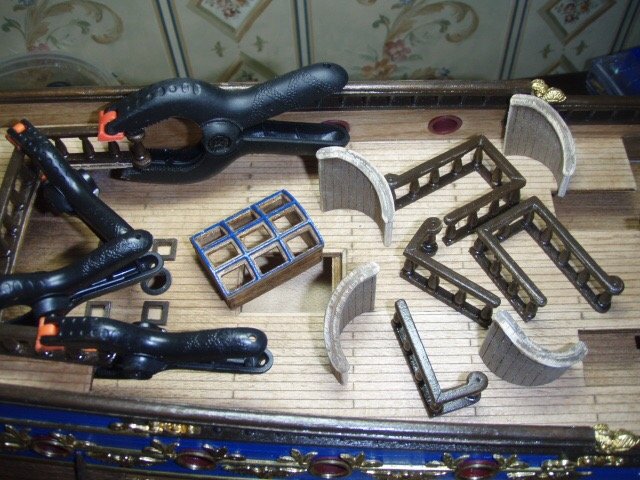
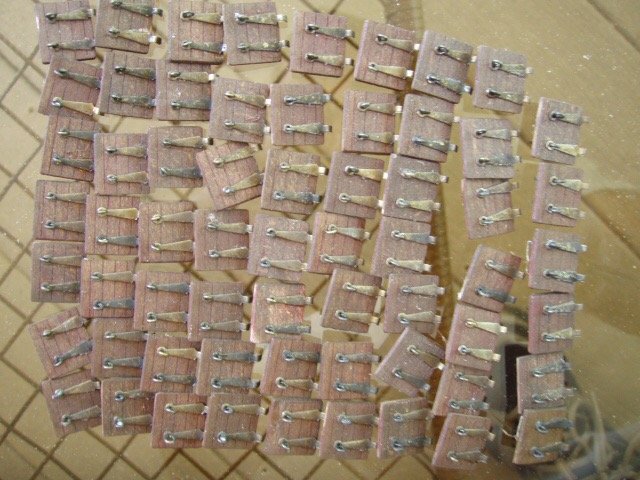
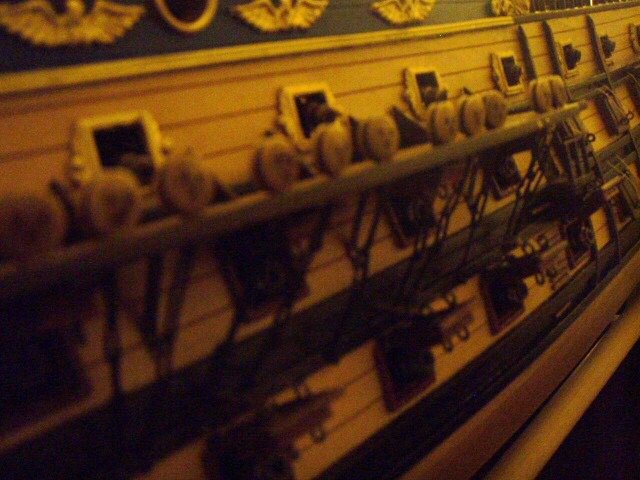
Thought I’d attach a few random pictures that I left out. Parts of the lids for the cannon ports. All the lids finished and ready to be painted. I strung a string through the eyes of the port lids and hung it out out to paint. Rails, stairs, pin rails Skylight and stair rails
-
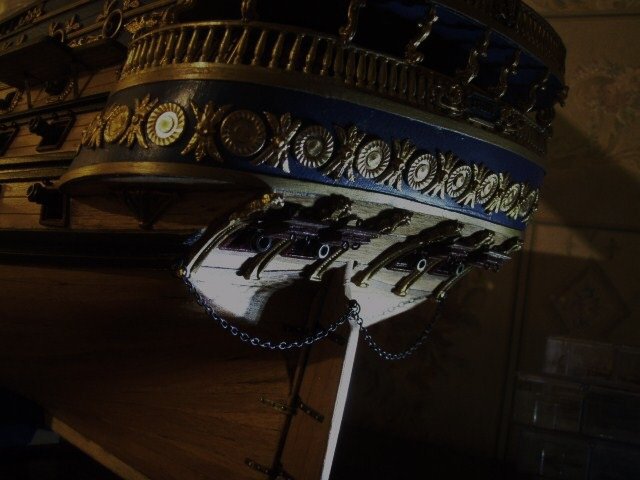
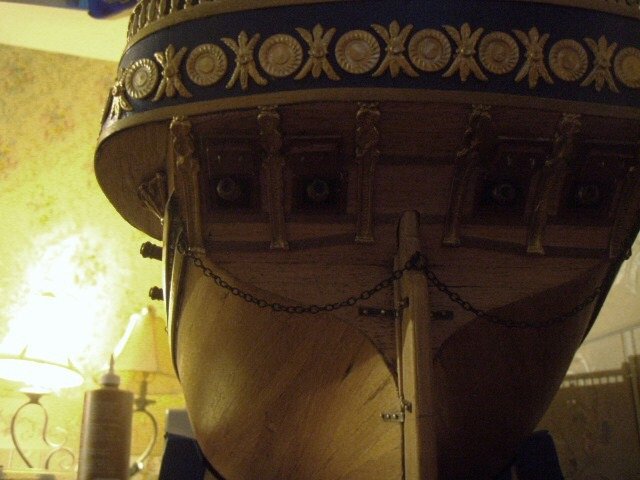
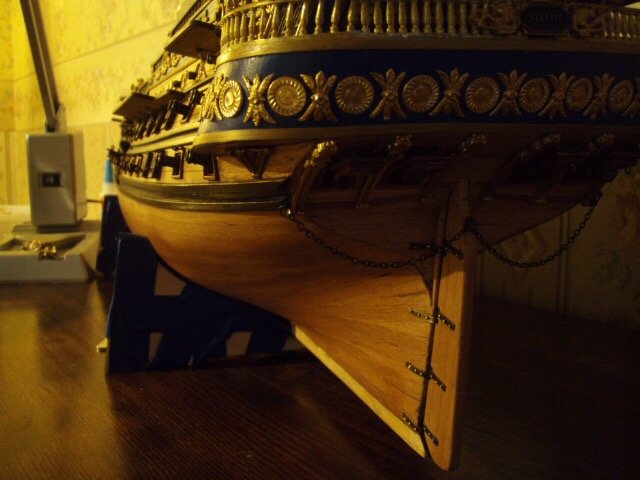
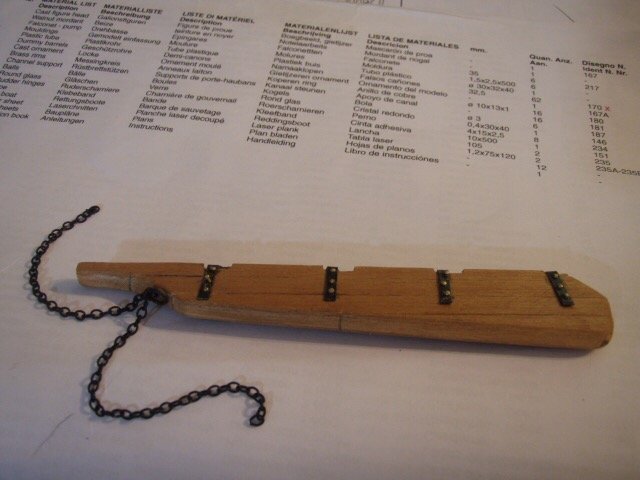
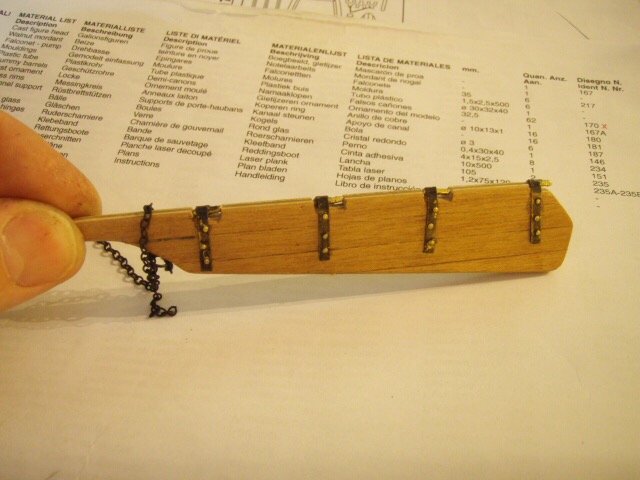
Notes from 7/23/2009 I have never soldered anything before this build, so to say I could not solder is an understatement. And now after soldering 66 sets of chain plates—many of them four of five times—I am better but still cannot solder very well. The tutorials are a big help. I did not know how to start, so I went through the tutorial over on the left: “A guide to Silver Soldering, by Russell Barnes.” I found the needed supplies that Russell Barnes suggested at Ace Hardware. I would solder a link then test it by inserting a length of wire in the link and pulling with a little force. If it broke I would do it again—sometimes as many as five times. After three to five times though, the ends of the wire forming the link would be burned short. The kit supplied 66 of the middle links. I ended up making 52 because of burning the kit supplied links. I got a lot a practice, a whole lot. Of the last ten links, only one link had to be soldered for a second time. There is a learning curve. The chain plates were the last of the hull building. Now starts my favorite part: masts, yards and the rigging. I started with the bowsprit.

-
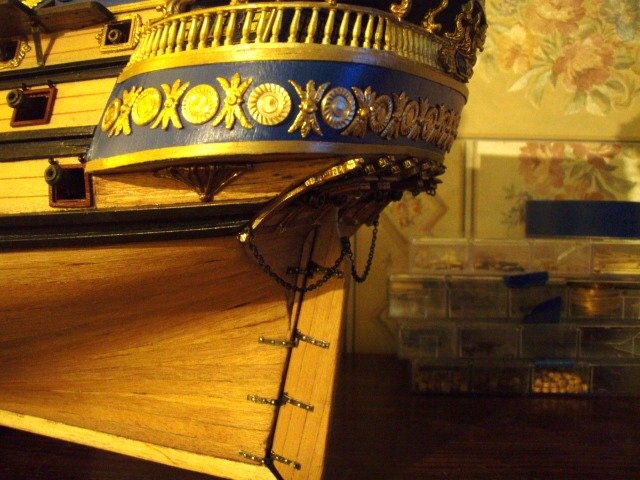
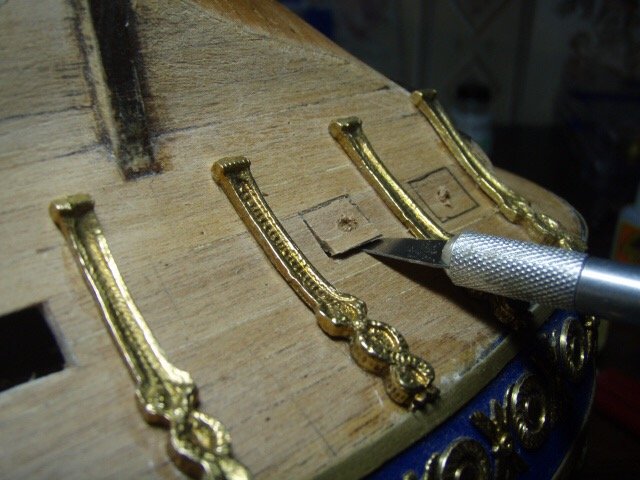
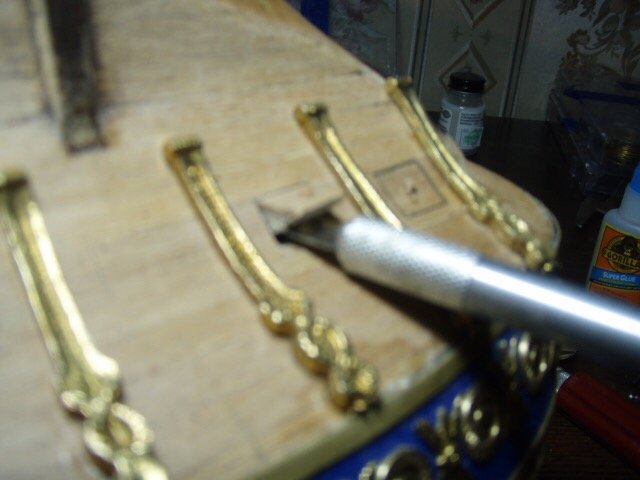
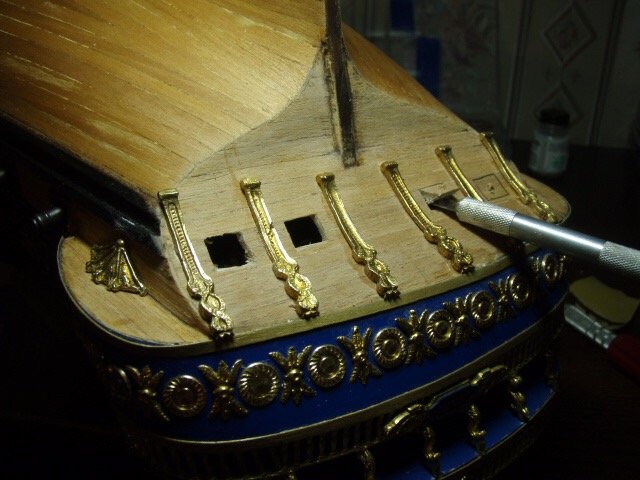
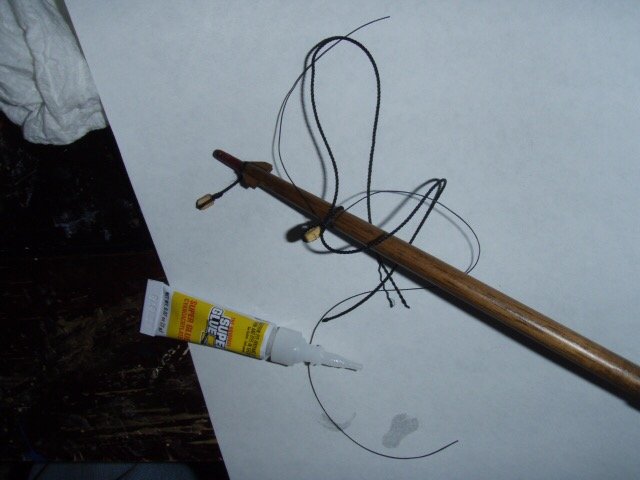
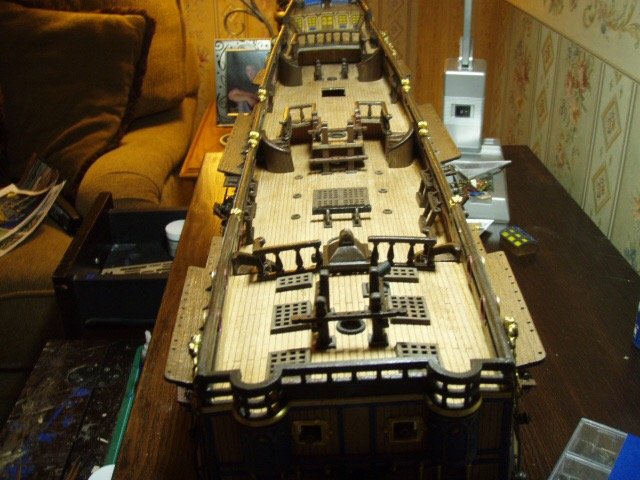
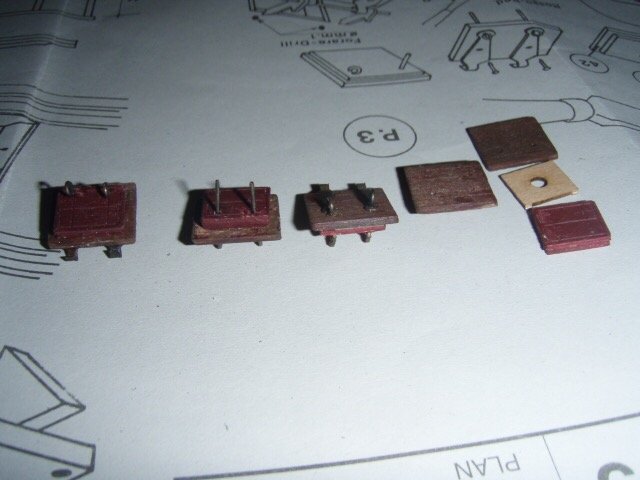
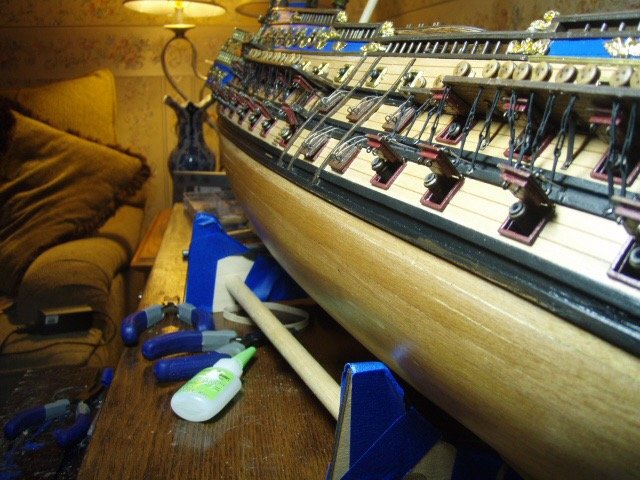
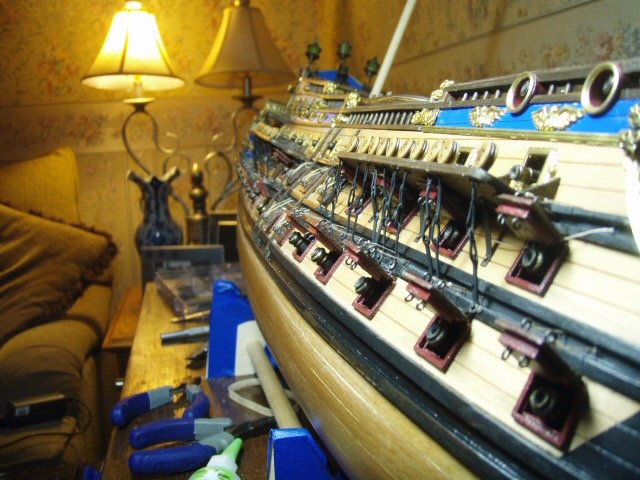
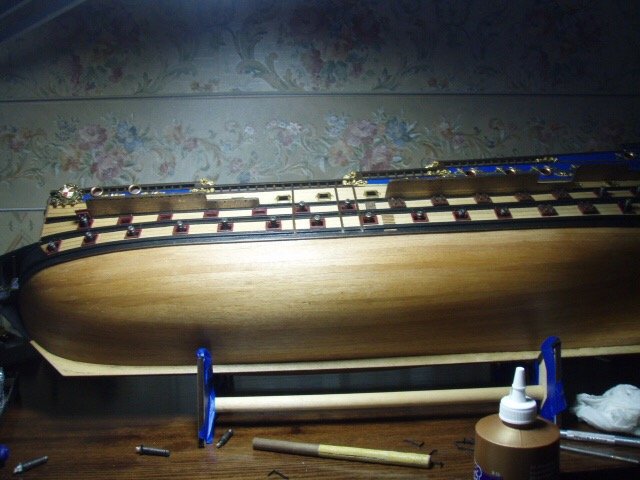
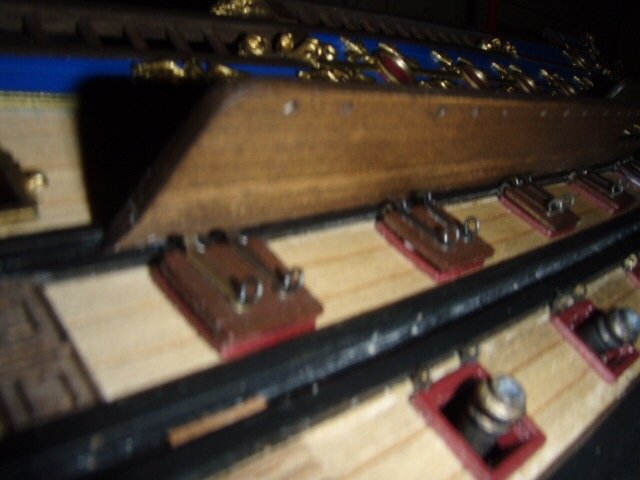
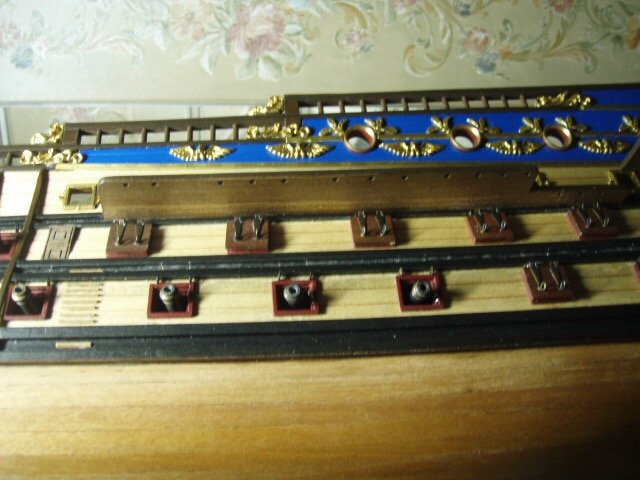
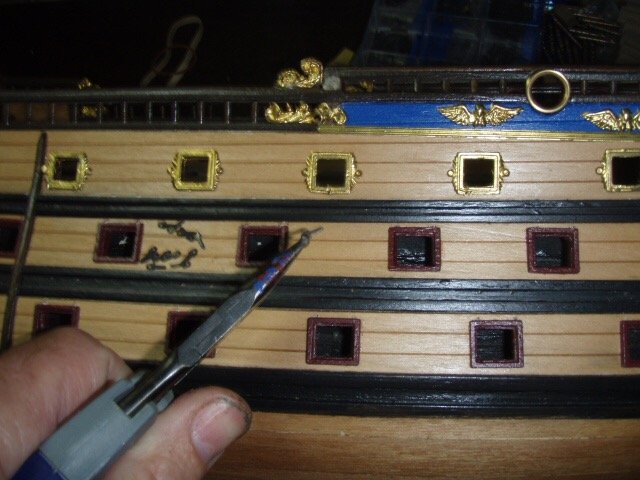
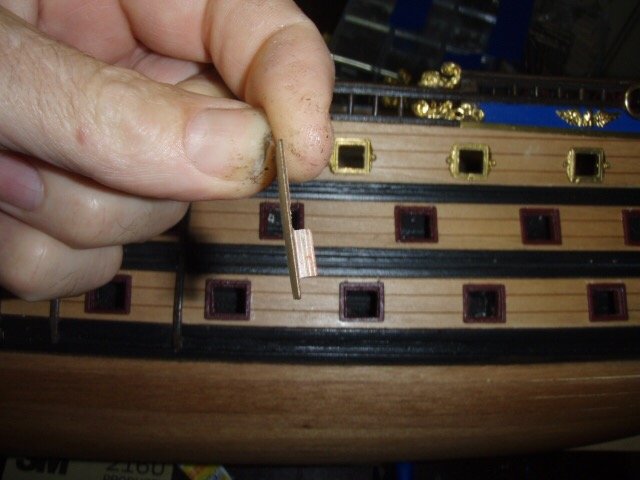
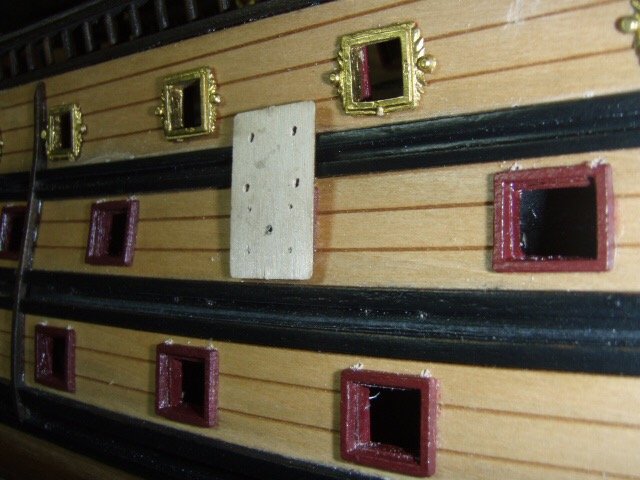
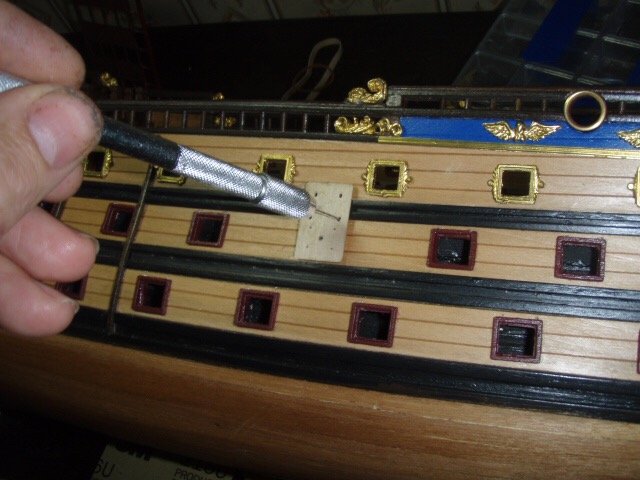
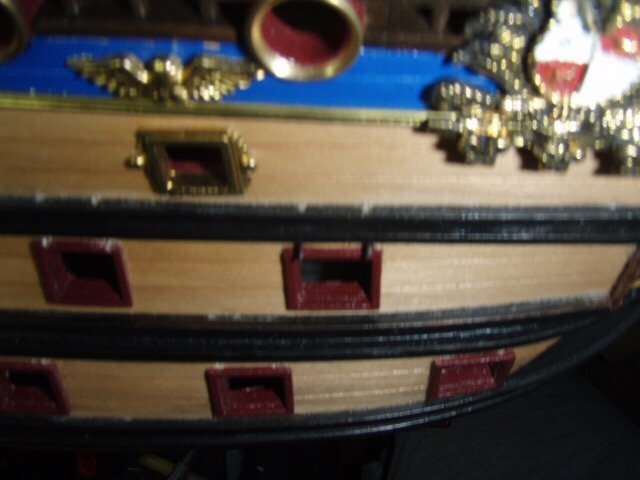
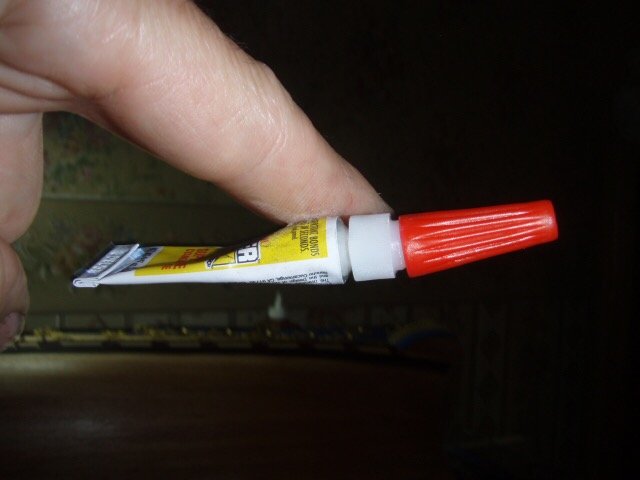
Notes from 7/14/2009 Mantua supplied a jig for drilling the two holes for the gun ports lid’s hinge pins and the two holes for the rope that would open the lids. After drilling the holes, I inserted the hinge pins. And glued the glue tube to my finger. There was a problem with the supplied drilling jig. After installing the channels, the holes for the lid ropes are above the channels. Also, as I was drilling the holes for the middle roll of guns, ( note in the picture above the white scuff marks above the rubbing strakes) I noticed the drill bit was piercing the hull inside above the main deck. I ended up having to put down a waterway to cover up all the holes. Another problem. With the lid up the eye-bolts hits the bottom of the channels, but the lid does not open high enough. On one side I left the ten lids under the fore and main channels closed. On the other side I clipped the eye-bolts off and glued the lid open.

-
Some more pictures and notes from 7/7/2009. I glued the last of the brass on. My next build will have no brass. The last four gun ports—the four under the curve of the transom—are finished. The last four guns ( chasers ) are in. And I’m in the process of installing the gun port lids. I have discovered a problem with some of the lids and will write about it on my next post. While the ship was up-side-down I built and fastened the rudder. When I turned the ship back over I discovered I had damaged the hand rail. A little CA glue took care of that. And some more pictures.