-
Posts
2,241 -
Joined
-
Last visited
About Beef Wellington

- Birthday June 26
Profile Information
-
Gender
Male
-
Location
Connecticut
Recent Profile Visitors
-
 mtaylor reacted to a post in a topic:
Le Rochefort by No Idea - 1/24th Scale - First POF Build
-
Best wishes Rob, I'm sorry my hiatus delayed responding to yours!
- 284 replies
-
 Beef Wellington reacted to a post in a topic:
Barque Stefano by robdurant - MarisStella - 1:63
-
 Beef Wellington reacted to a post in a topic:
Barque Stefano by robdurant - MarisStella - 1:63
-
 Beef Wellington reacted to a post in a topic:
HMS Sphinx 1775 by mugje - Vanguard Models - 1:64
-
 Beef Wellington reacted to a post in a topic:
HMS Fly by aliluke - Amati/Victory Models - 1/64
-
 Beef Wellington reacted to a post in a topic:
HMS EURYALUS by Matiz - FINISHED - scale 1:56
-
 Keith Black reacted to a post in a topic:
Le Rochefort by No Idea - 1/24th Scale - First POF Build
-
 Beef Wellington reacted to a post in a topic:
HMS Bellona by yvesvidal - CAF Model - 1:48
-
 Beef Wellington reacted to a post in a topic:
Le Rochefort by No Idea - 1/24th Scale - First POF Build
-
 Beef Wellington reacted to a post in a topic:
Cruiser Varyag 1901 by Valeriy V - FINISHED - scale 1:75
-
 Beef Wellington reacted to a post in a topic:
Cruiser Varyag 1901 by Valeriy V - FINISHED - scale 1:75
-
 Beef Wellington reacted to a post in a topic:
Cruiser Varyag 1901 by Valeriy V - FINISHED - scale 1:75
-
 Blue Ensign reacted to a post in a topic:
HMS Indefatigable 1794 by Blue Ensign - FINISHED - Vanguard Models - 1:64 scale
-
 thibaultron reacted to a post in a topic:
Chris Watton and Vanguard Models news and updates Volume 2
-
 CiscoH reacted to a post in a topic:
HMS Sphinx 1775 by mugje - Vanguard Models - 1:64
-
 mtaylor reacted to a post in a topic:
Chris Watton and Vanguard Models news and updates Volume 2
-
Awesome progress! Question on the galleries, do you think you will be using the resin/plastic galleries in the final version? It feels a little our of keeping with the other wonderful wood of the model.
- 132 replies
-
- Portland class
- 4th rate
-
(and 2 more)
Tagged with:
-
 egkb reacted to a post in a topic:
HMS Jason by Beef Wellington - Caldercraft - 1:64 - Artois-class frigate modified from HMS Diana 1794
-
 Mr Whippy reacted to a post in a topic:
HMS Sphinx 1775 by mugje - Vanguard Models - 1:64
-
 chris watton reacted to a post in a topic:
HMS Sphinx 1775 by mugje - Vanguard Models - 1:64
-
 mugje reacted to a post in a topic:
HMS Sphinx 1775 by mugje - Vanguard Models - 1:64
-
Your planking looks spot on, very nicely done. I'm pleased to see that you appear to have filled in the stern a little to allow the planking to sit nicely against the sternpost, think you will be much happier with that result. The shaping of the plank ends in this area can be challenging further up the hull, definitely not something to rush. Looking at what you have done so far, sure you will encounter no major problems. You have a wonderful model coming together here.
-
Looks like the perfect balance to my eye...1 too few, 3 too many 🙂 The different paint tones really catch the eye and enhance the whole, very much to my taste as well. Wonderful model you have there, very well done indeed!
- 614 replies
-
- Indefatigable
- Vanguard Models
-
(and 1 more)
Tagged with:
-
Love the picture of the stern Christian, the more muted monochromatic approach is definitely to my tastes as well...the Norman knights don't look quite so...Norman! Good luck moving forward, but you already seem to have the major challenging elements completed successfully.
- 19 replies
-
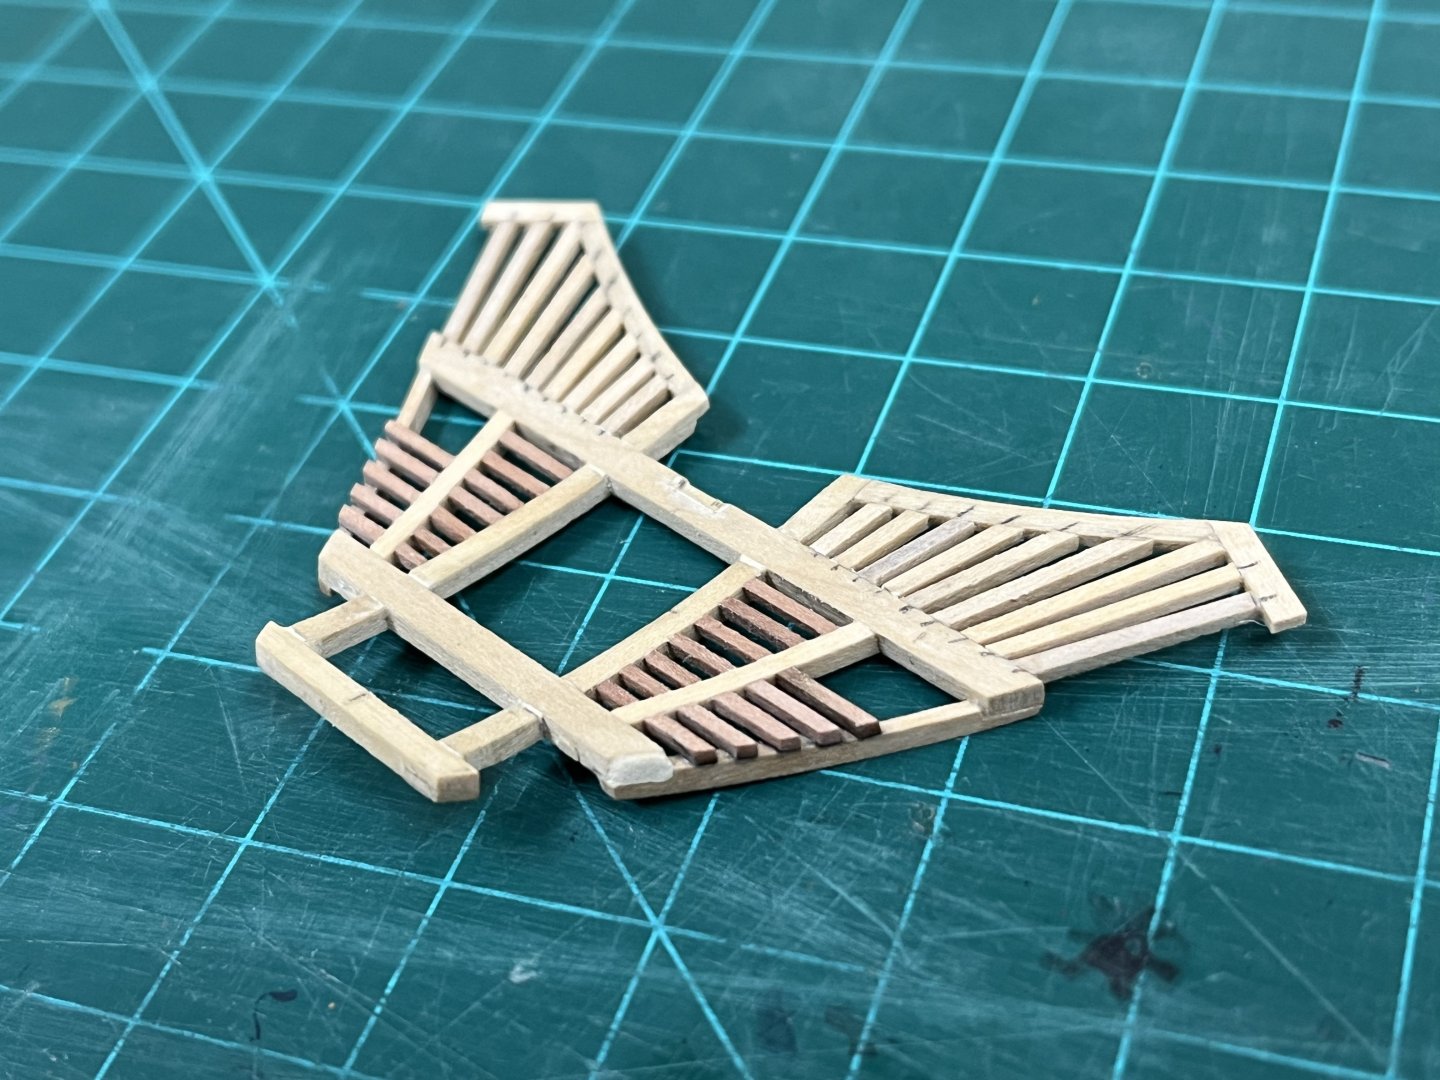
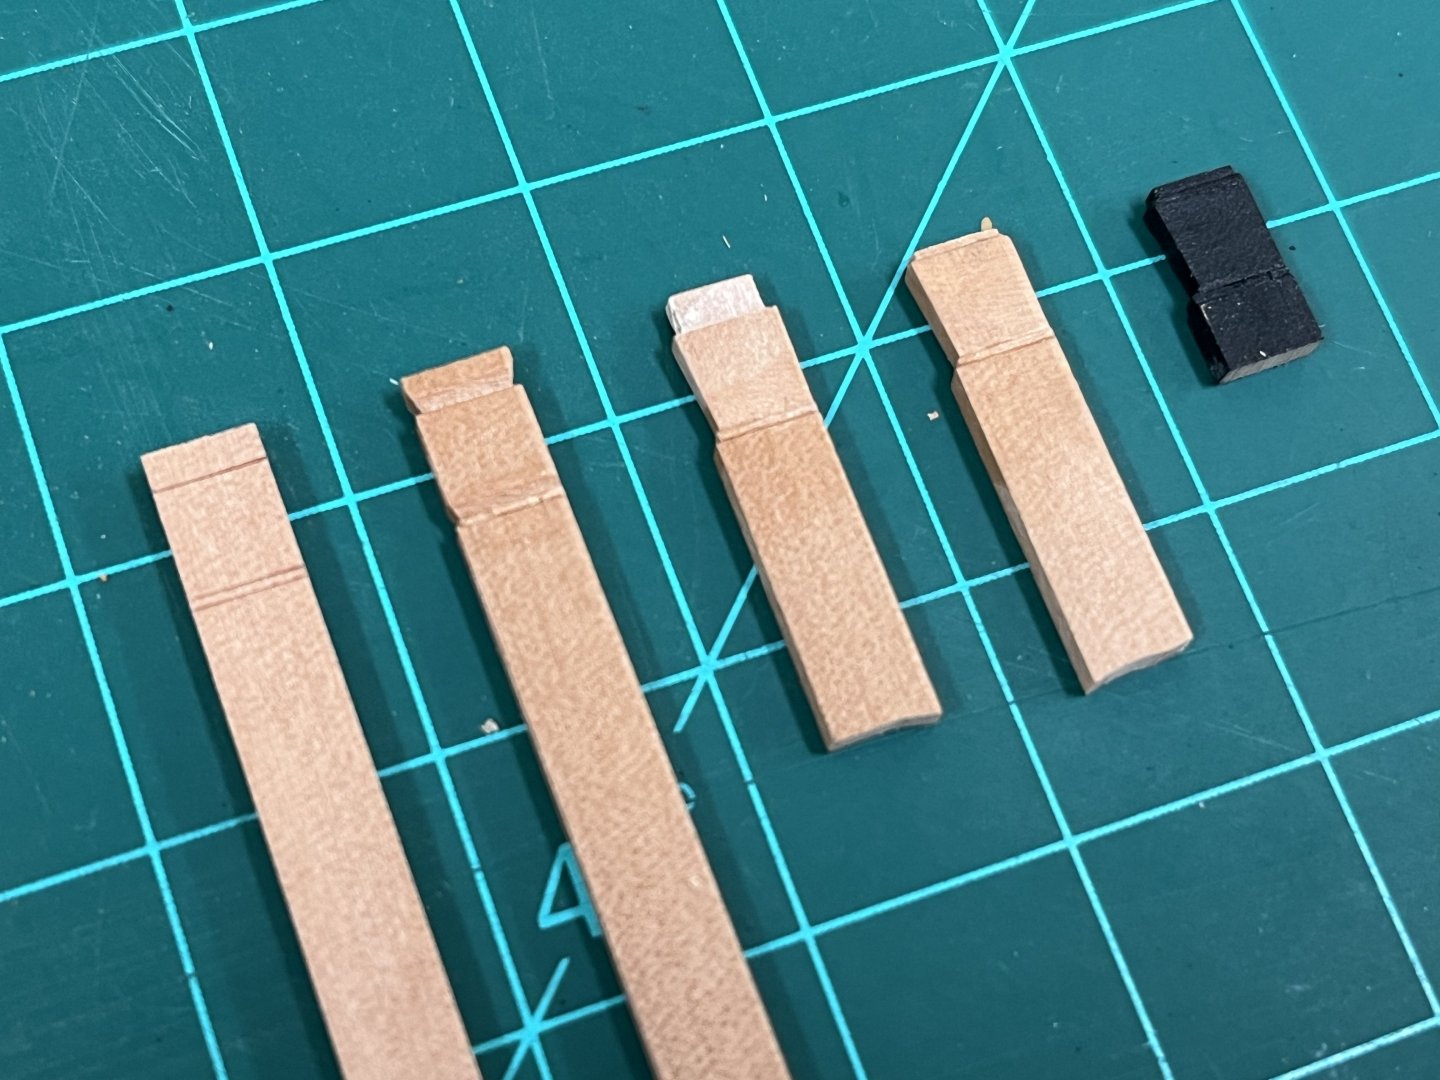
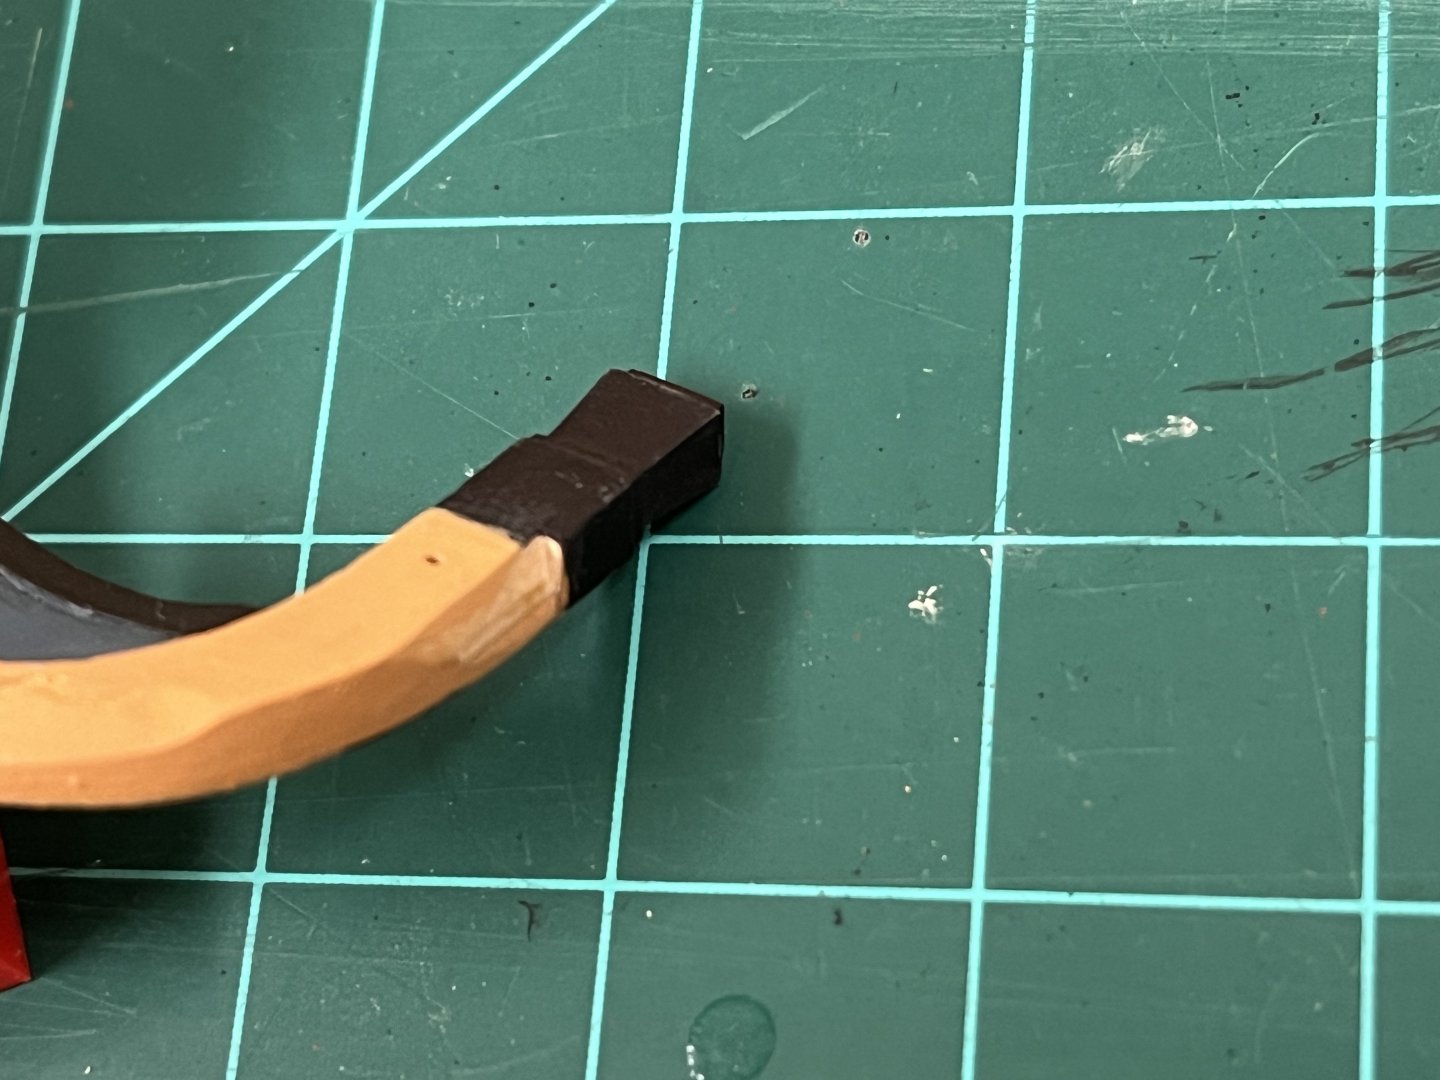
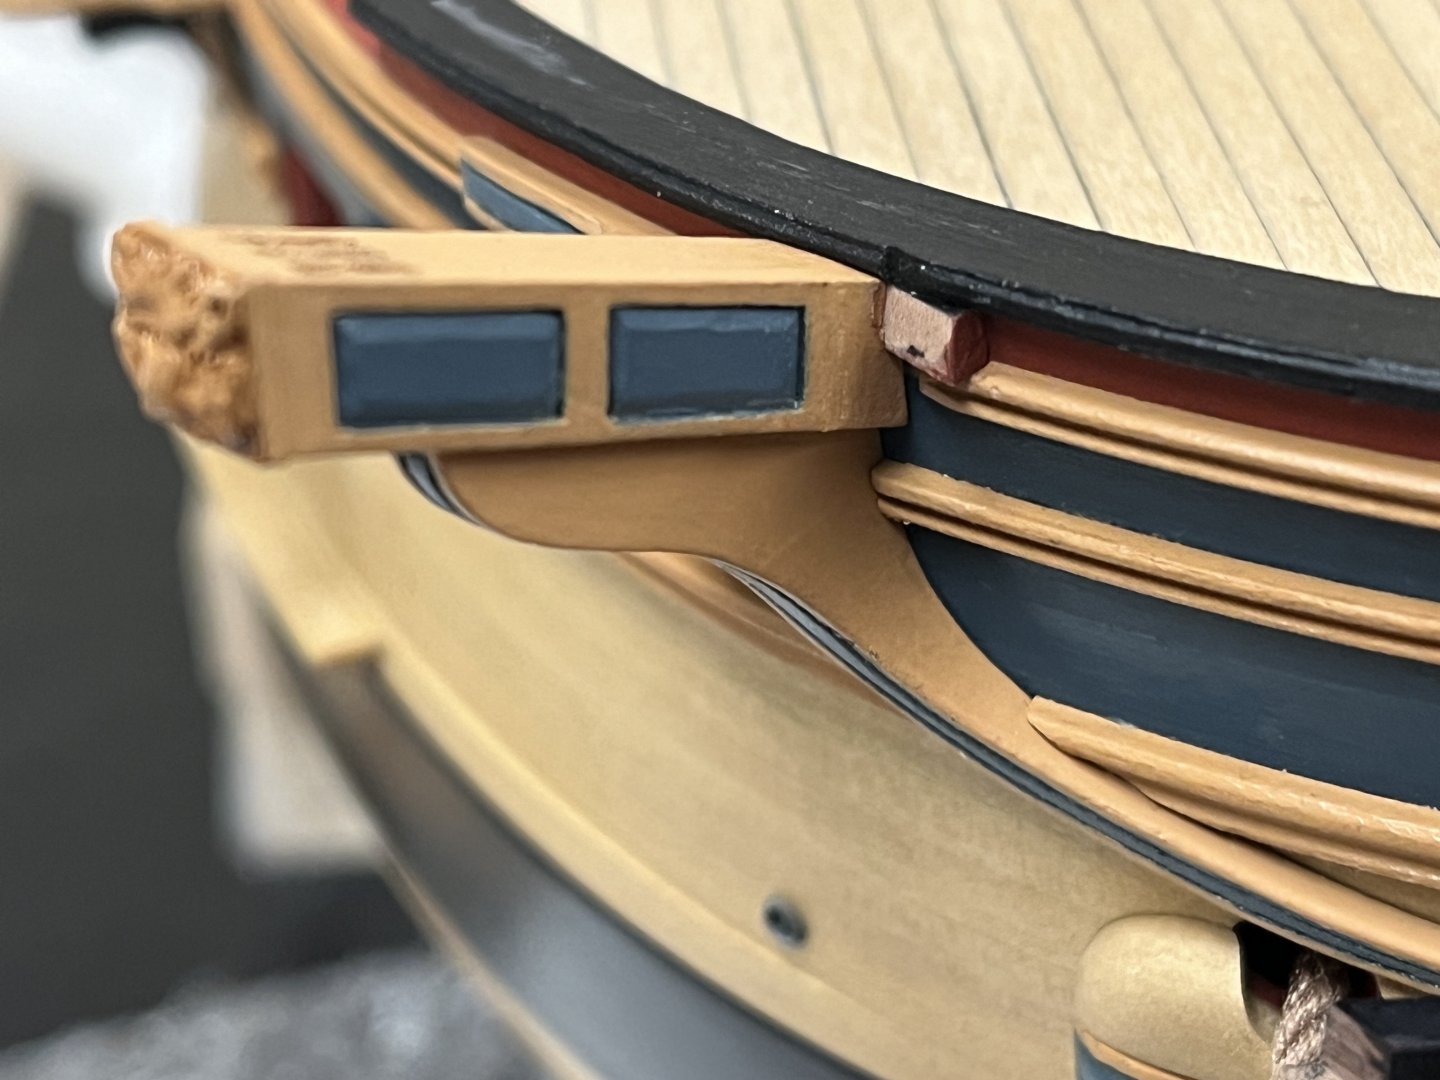
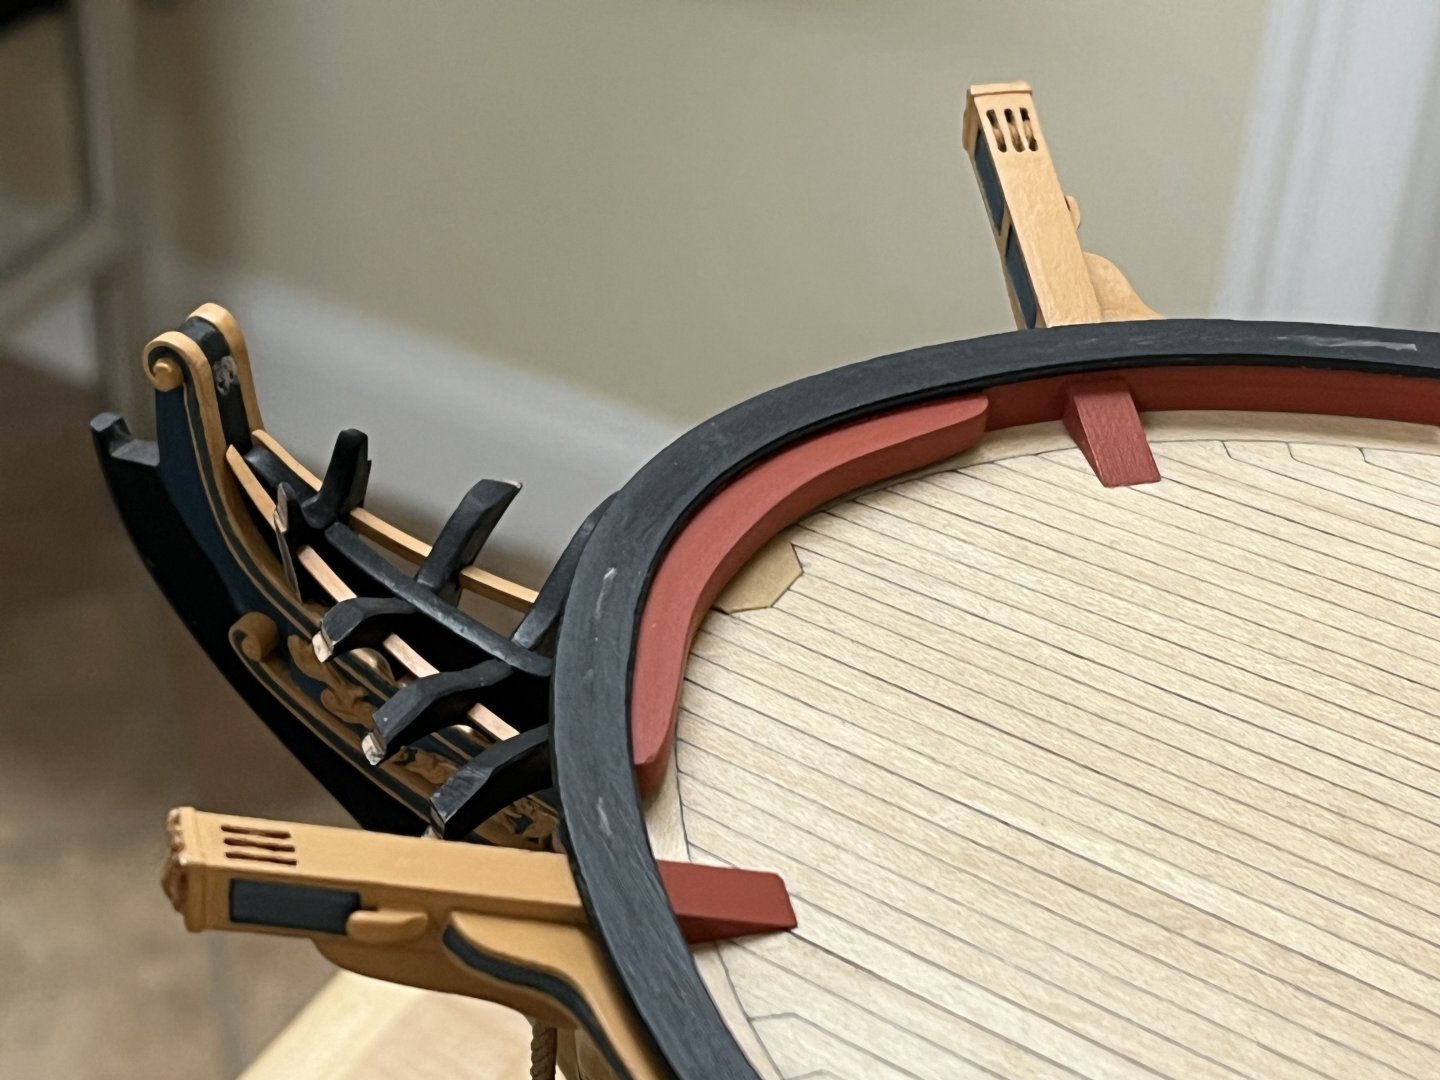
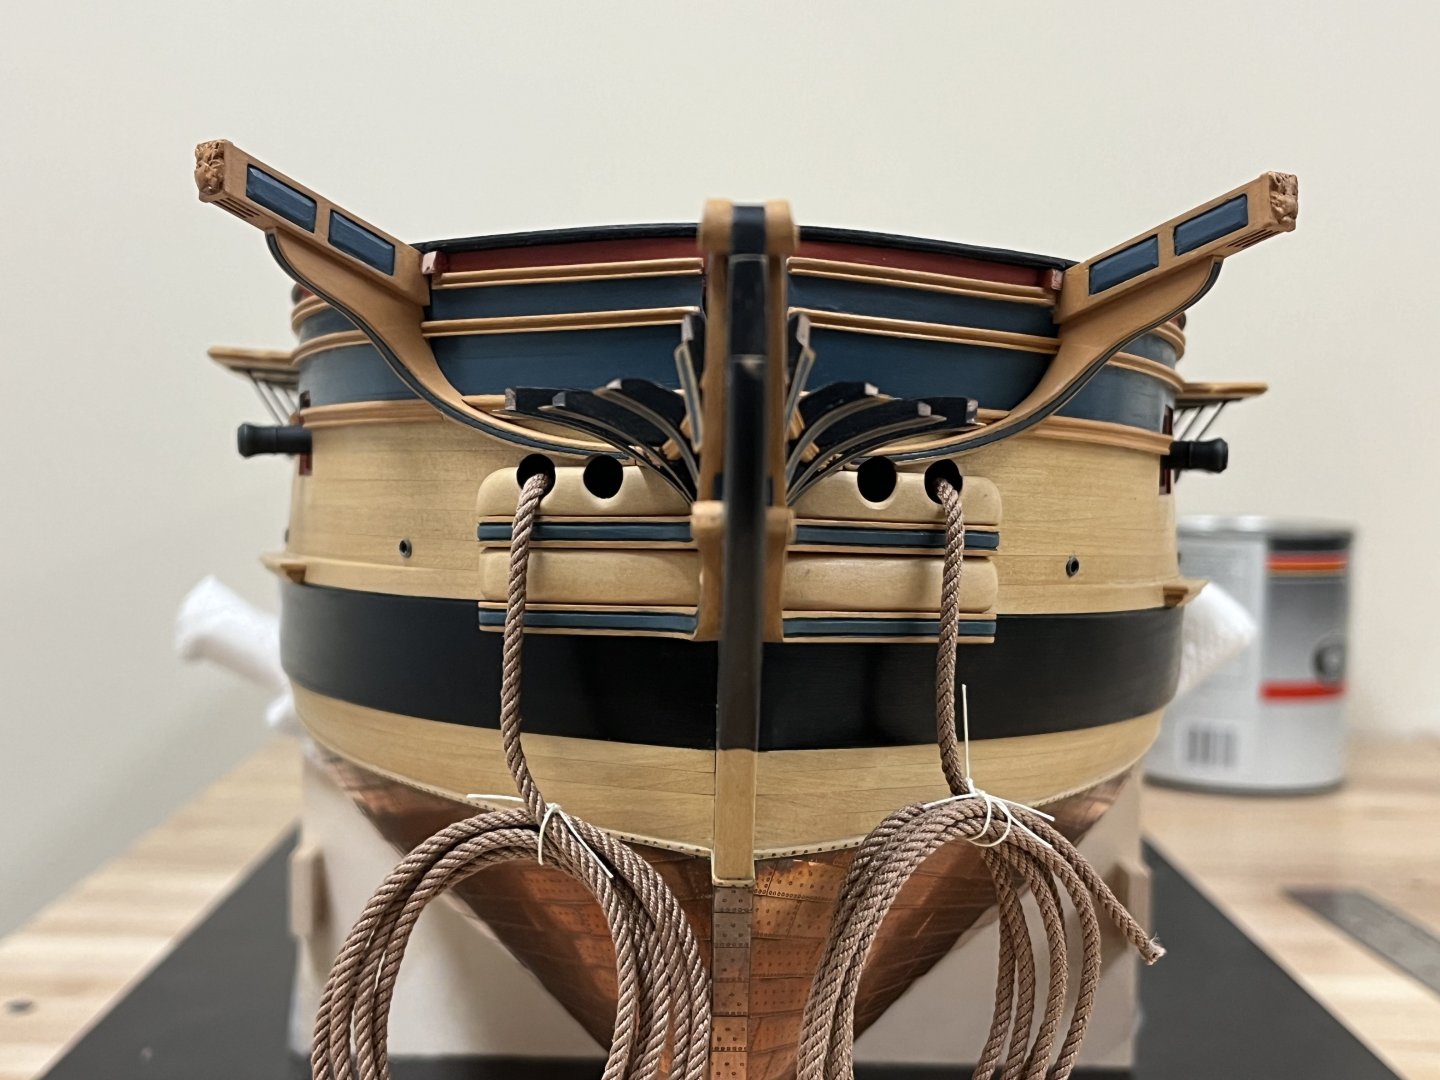
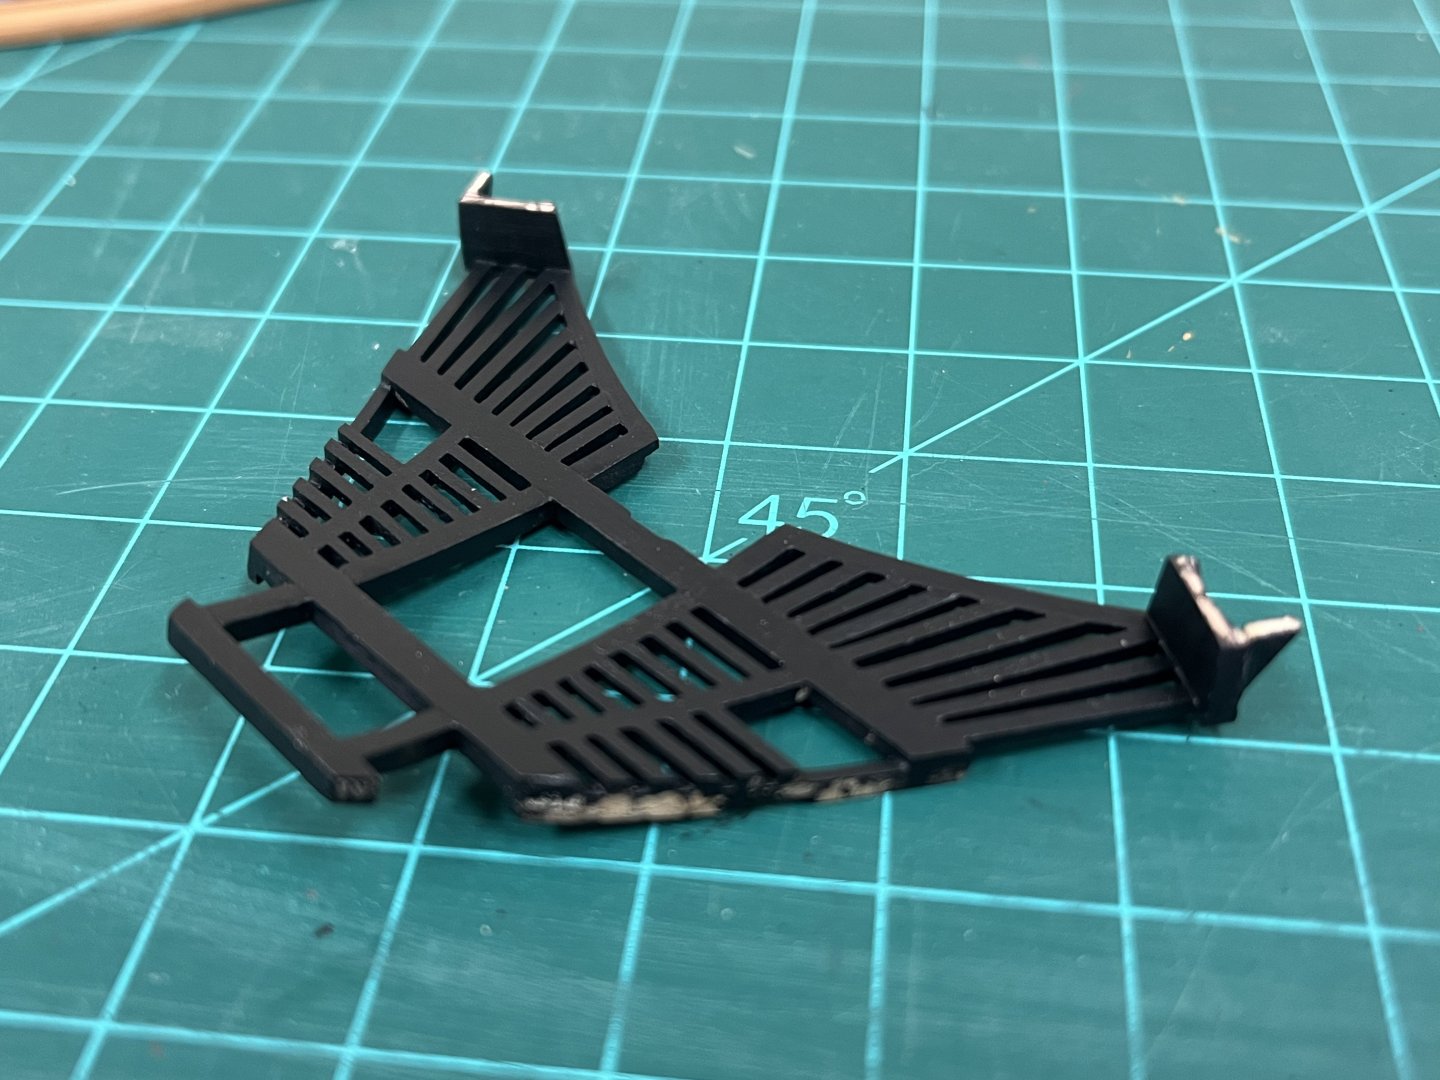
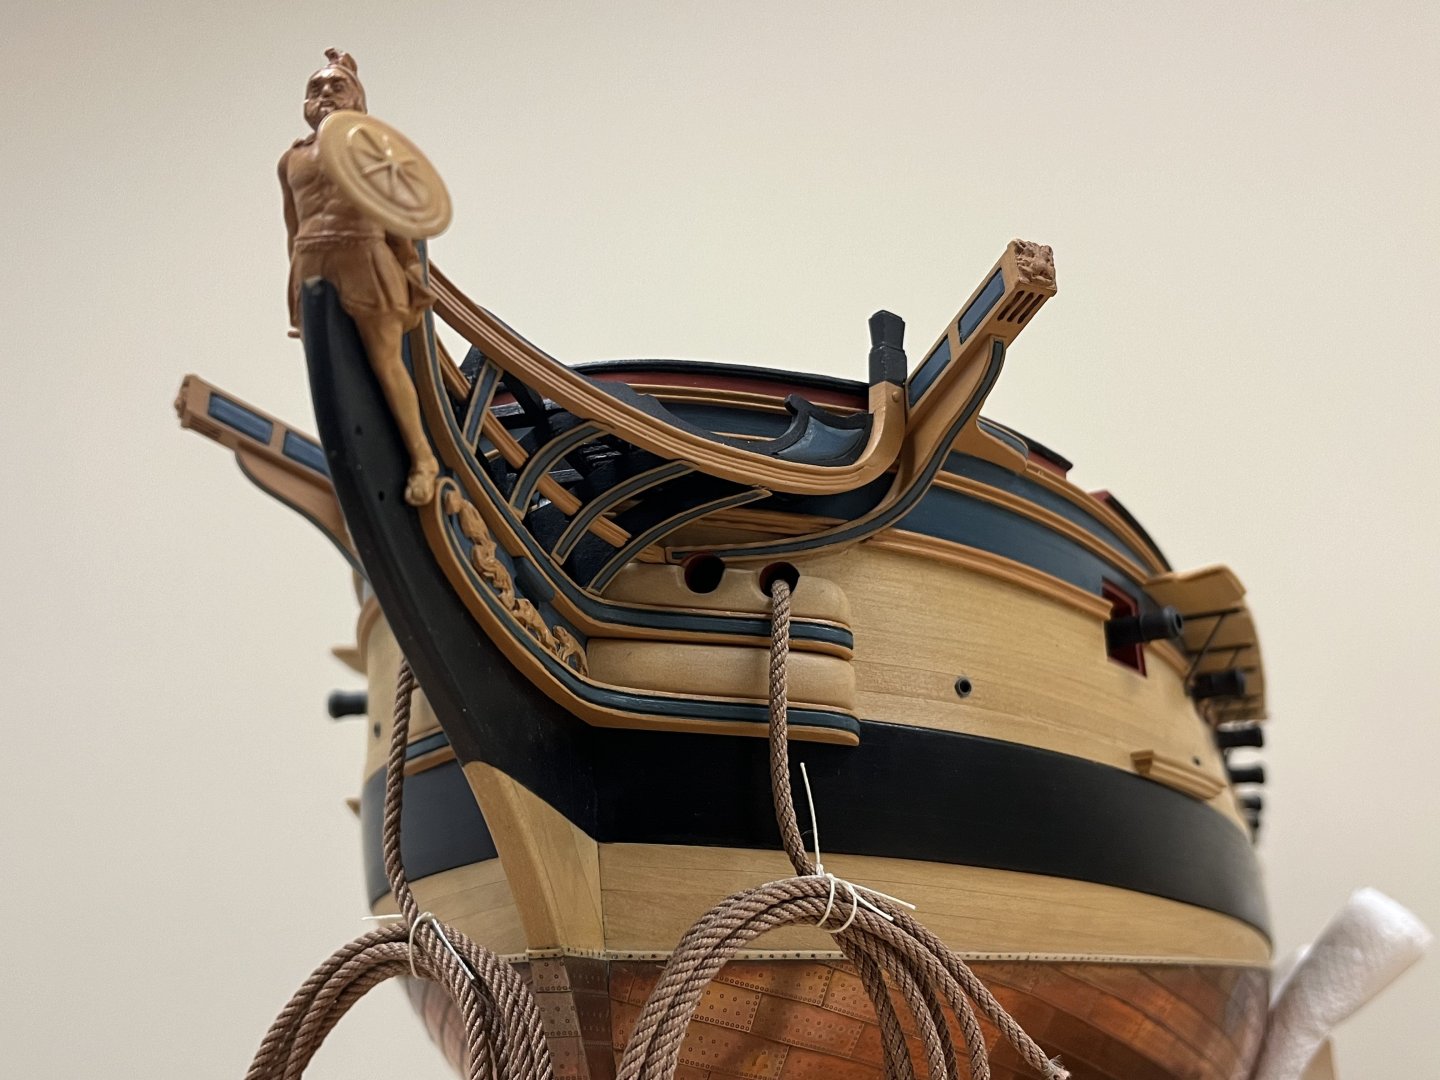
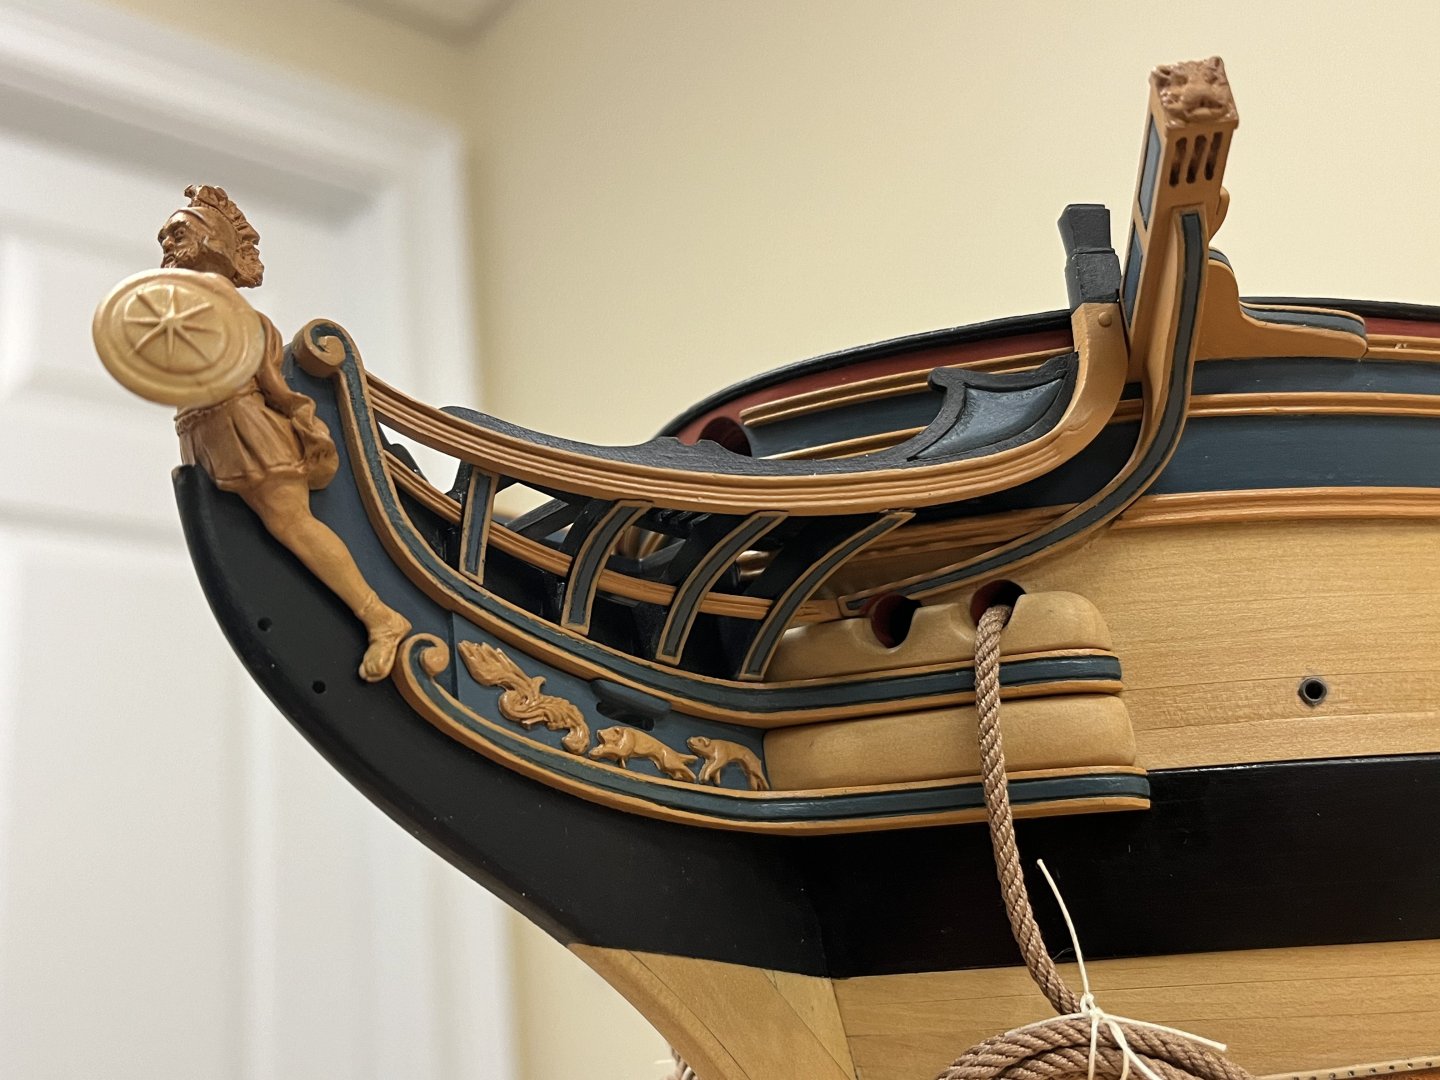
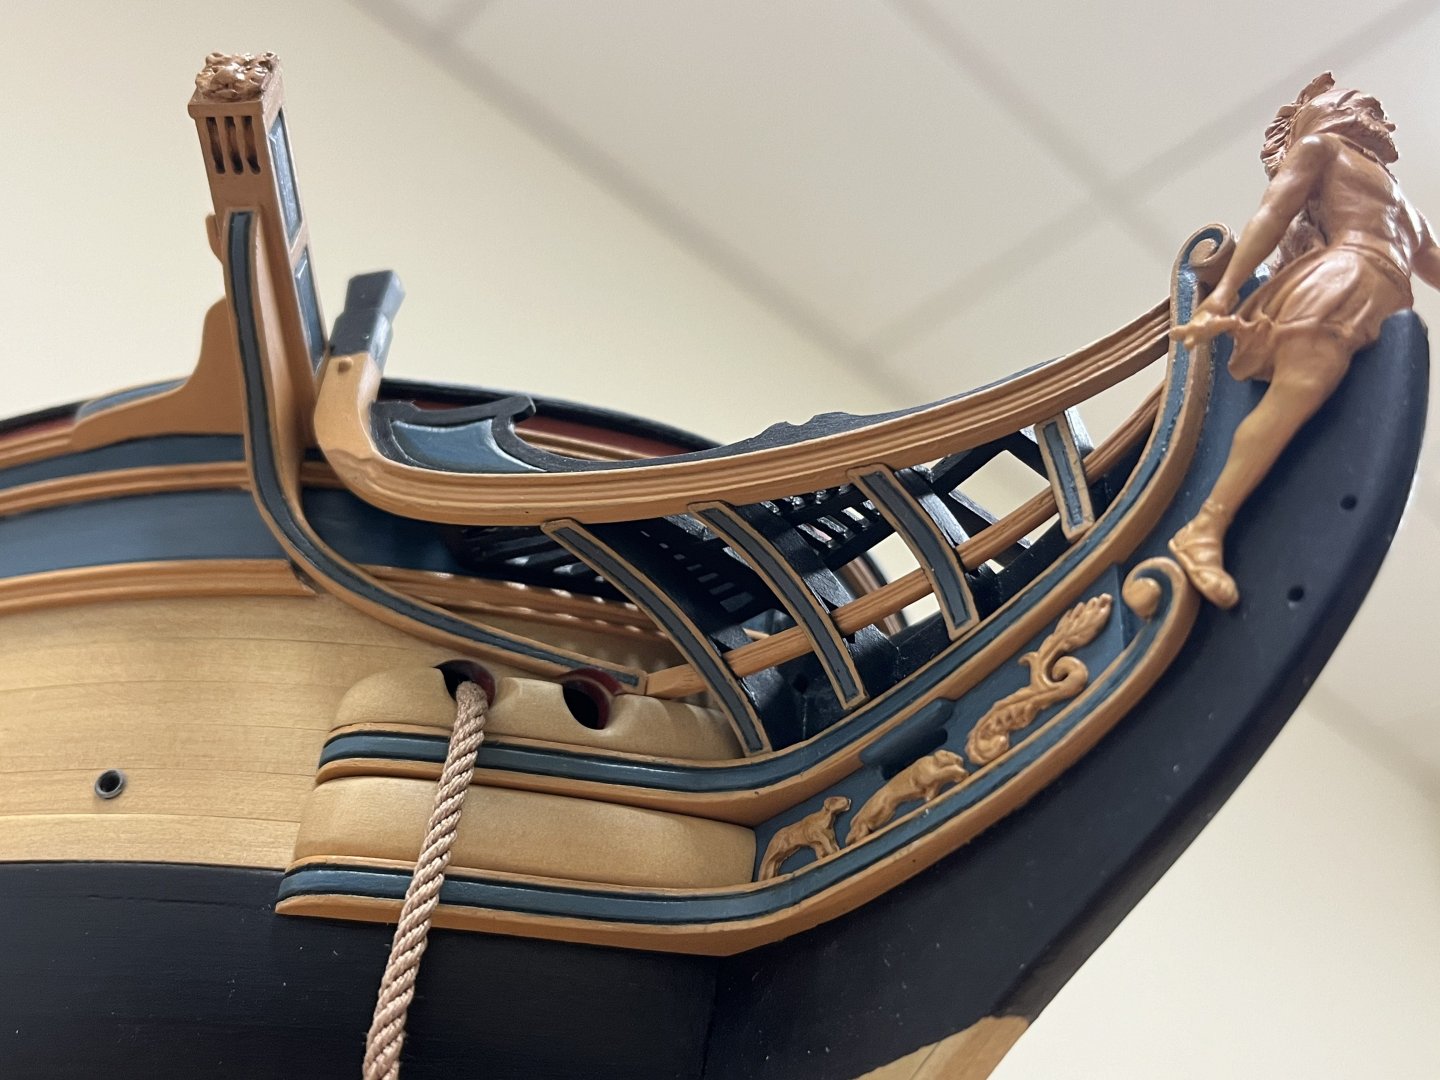
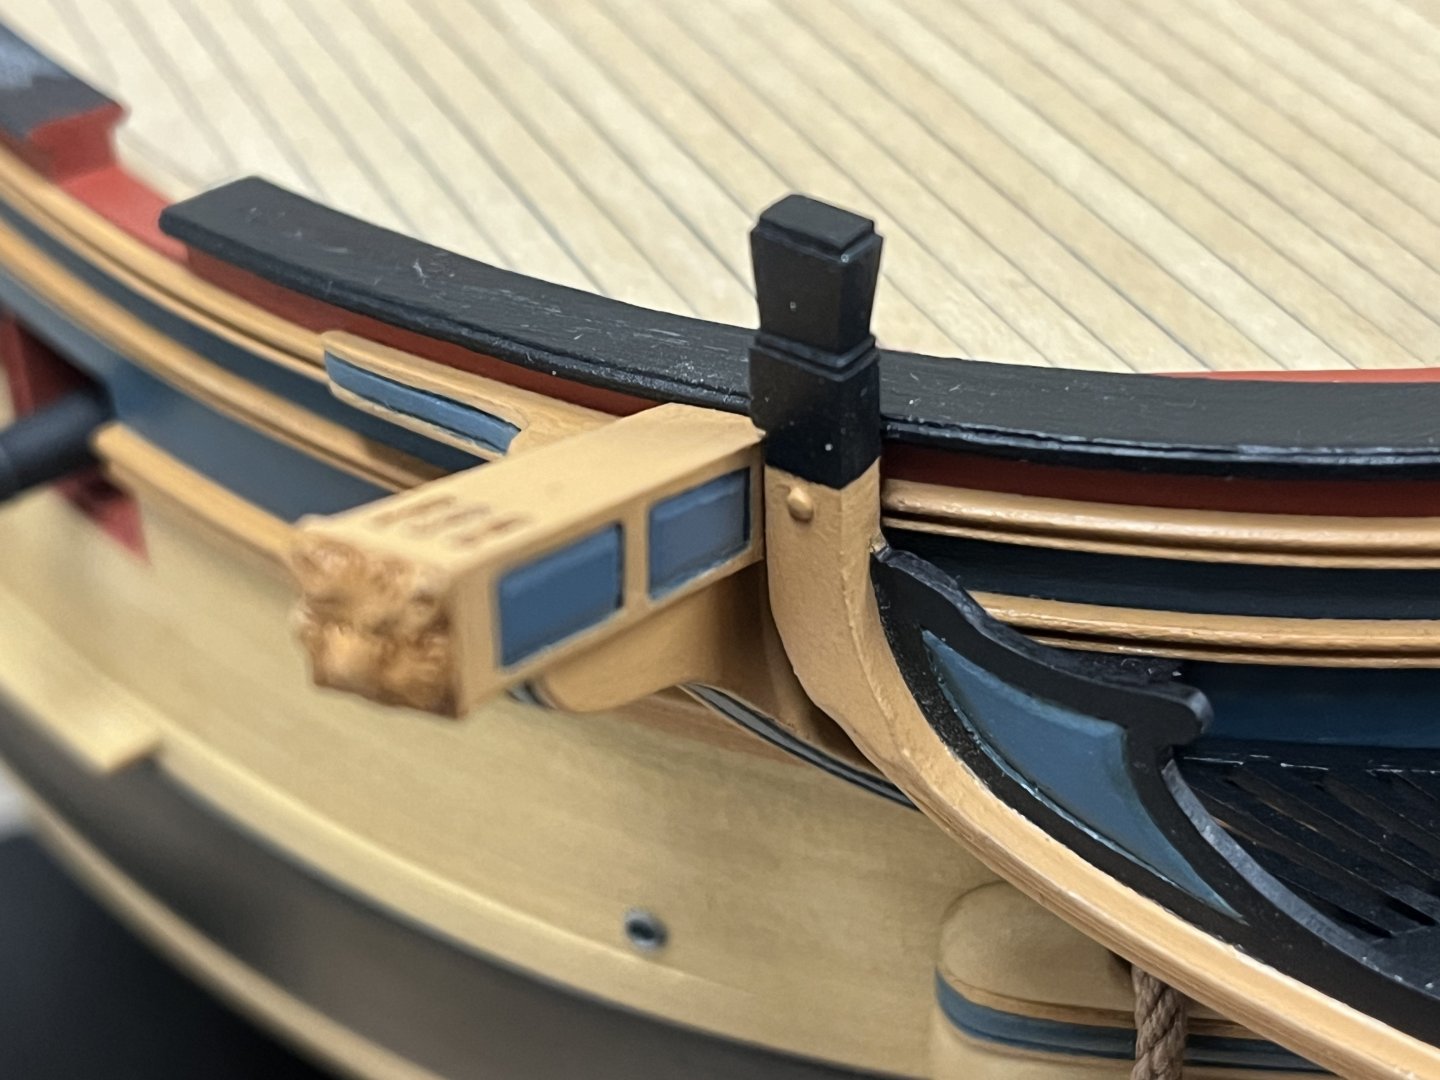
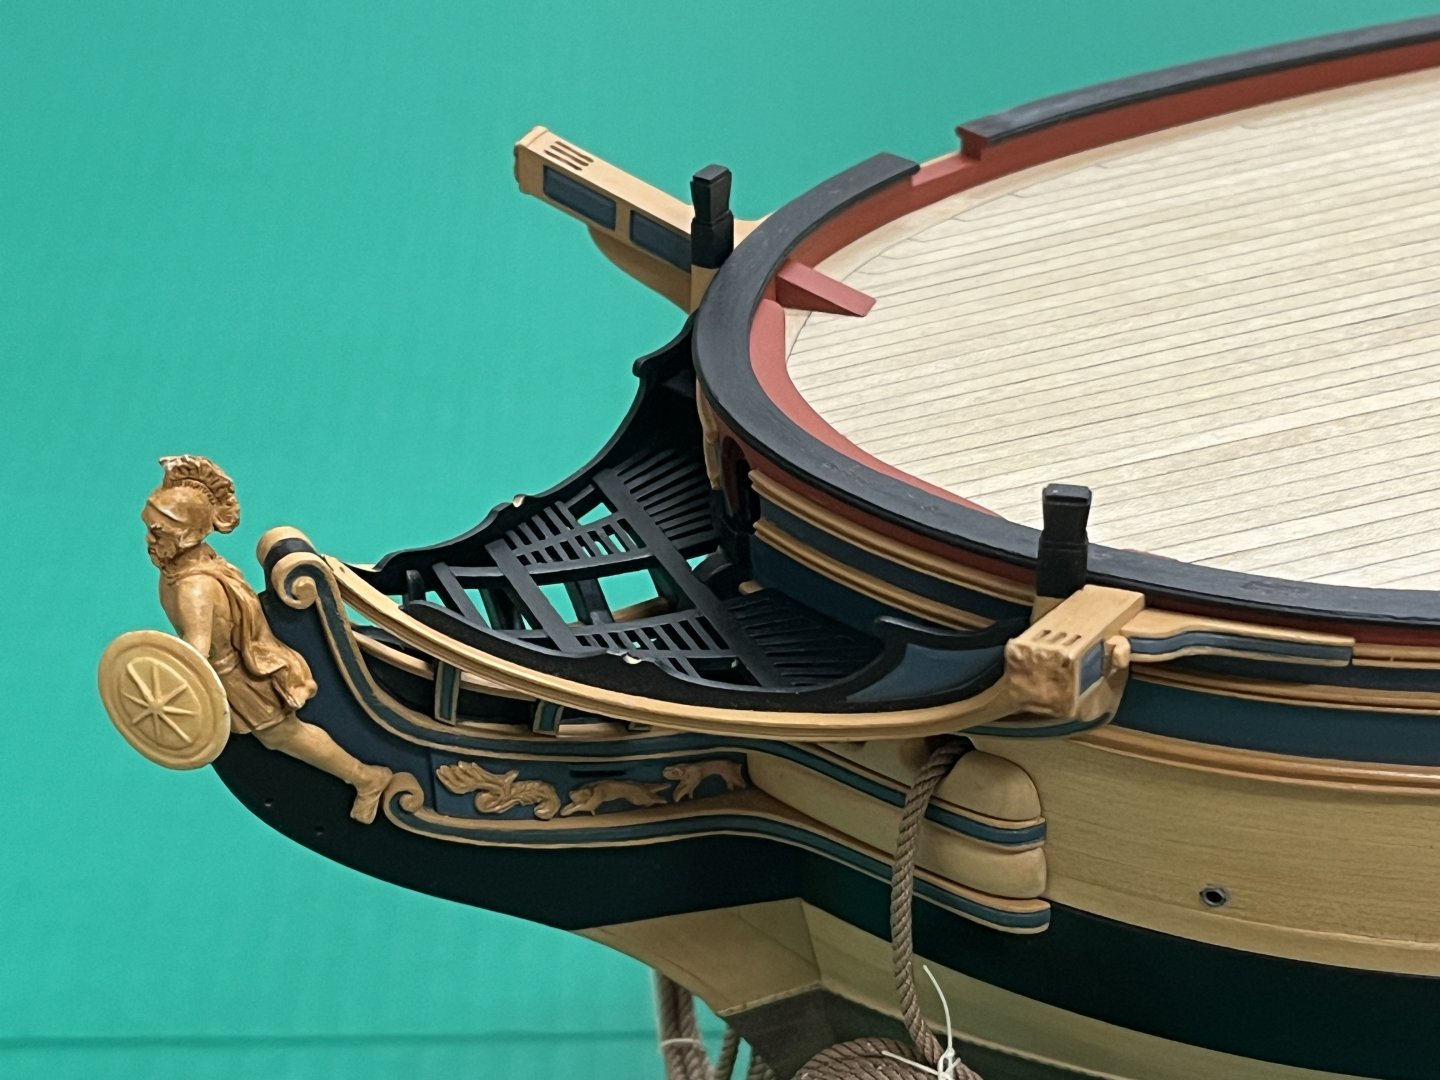
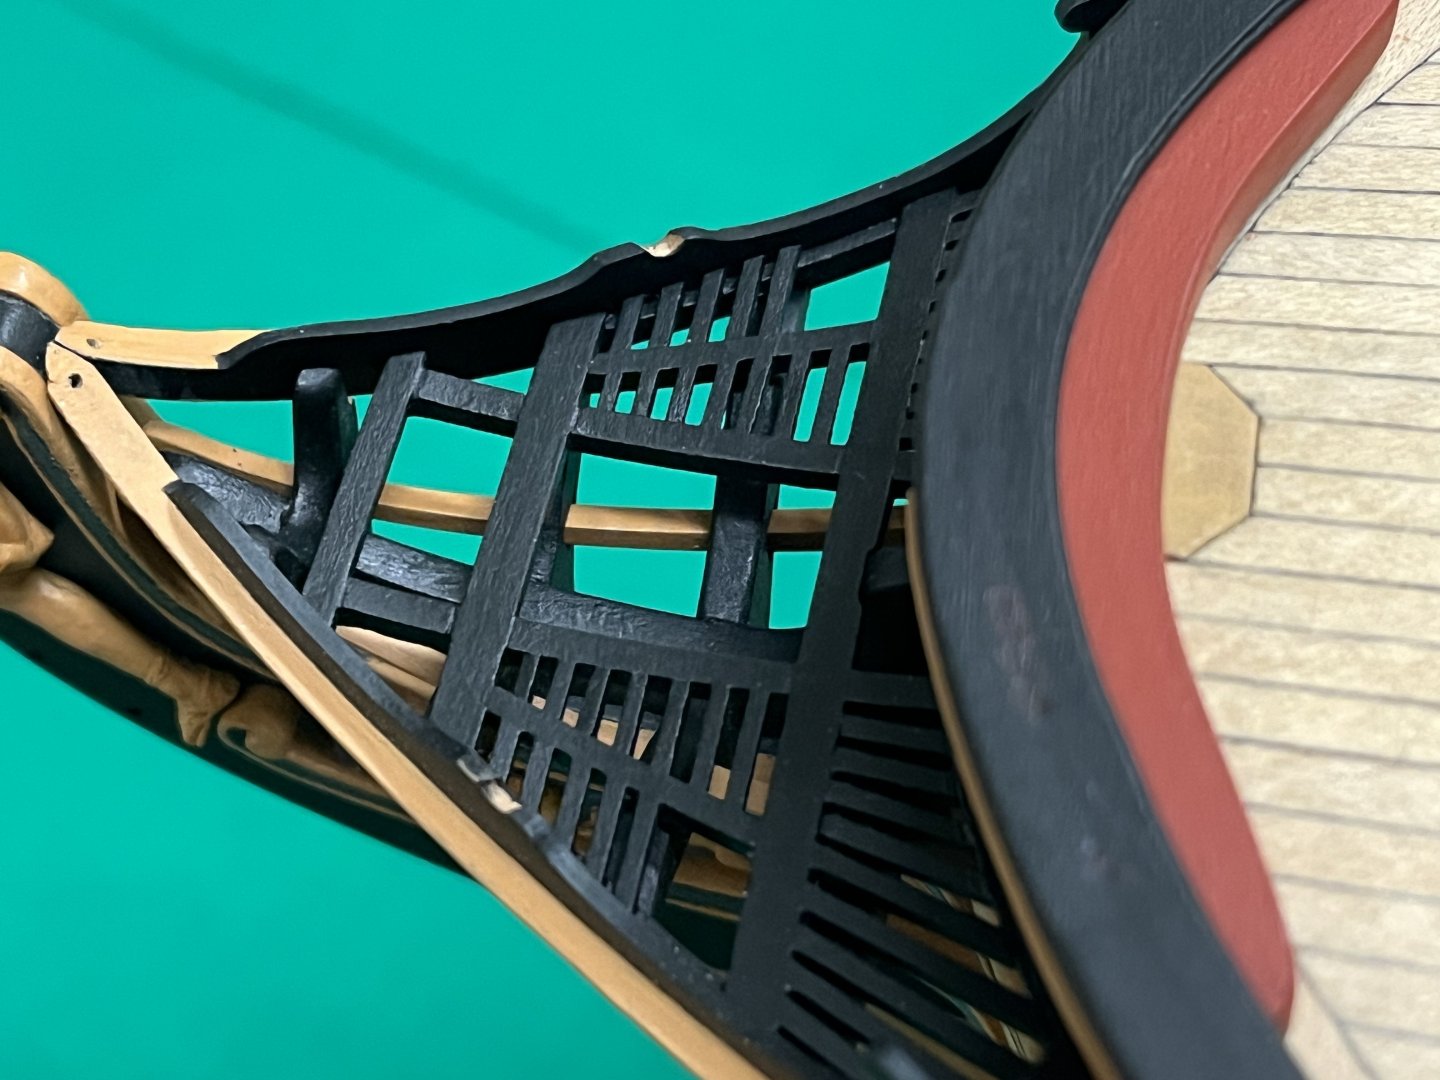
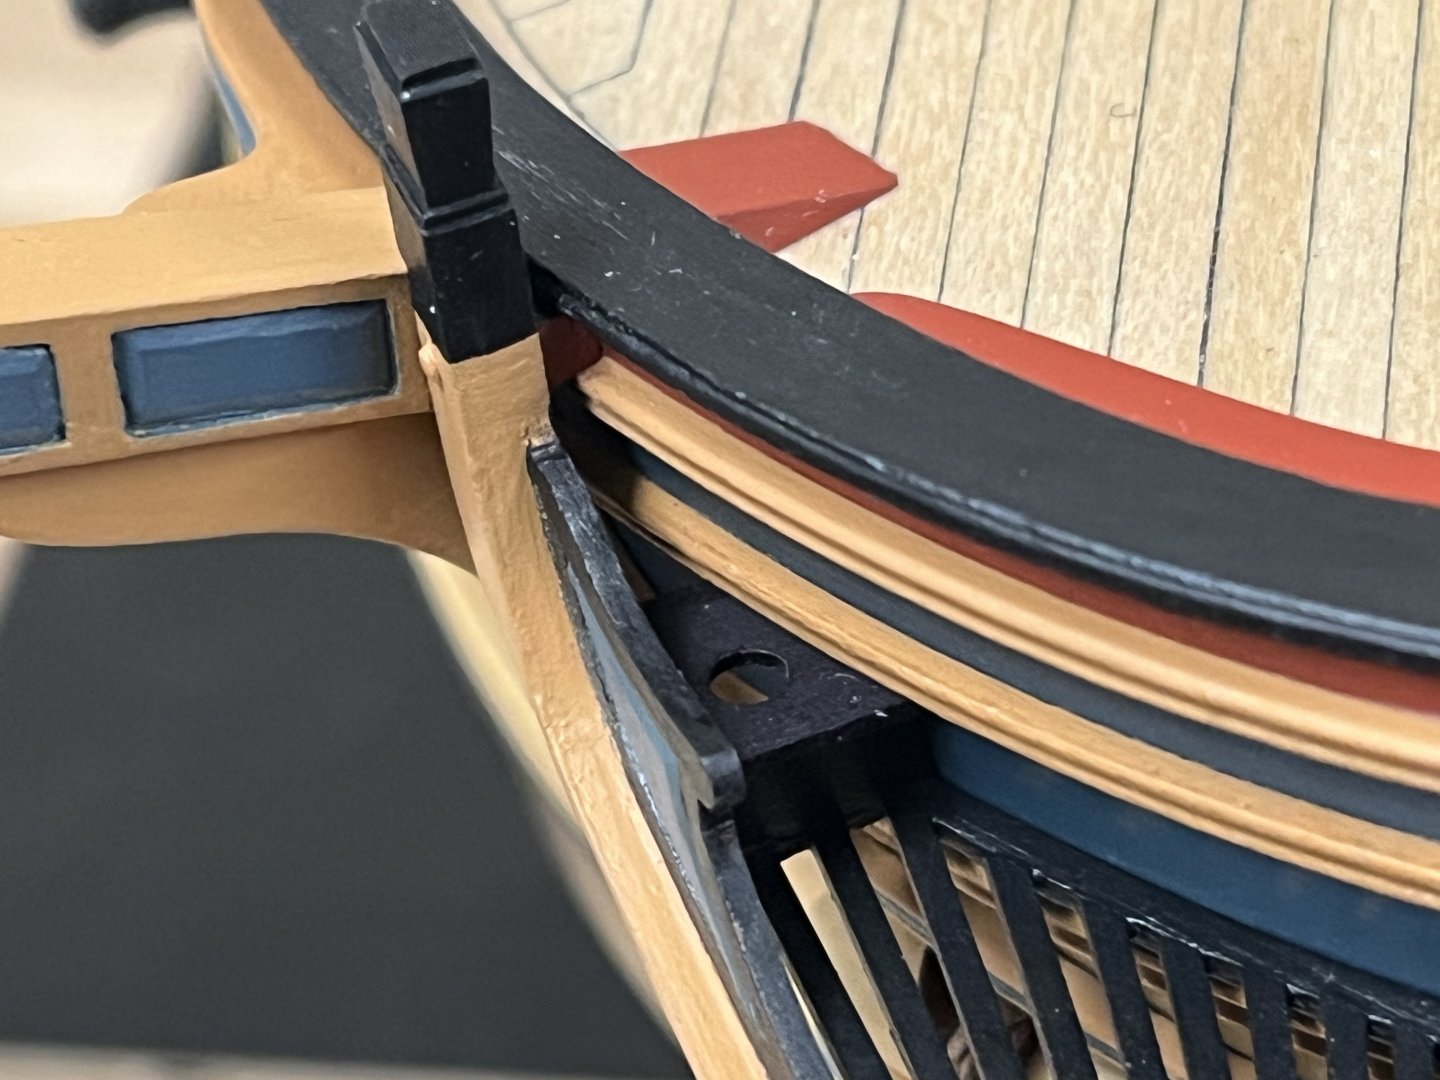
Its scary to note that my last update was 9 months ago, much has dragged me away from keeping current with other's builds on this wonderful site, and making progress myself. While not much, this brings me up to date. Head Grating: This caused much pondering! Like everything, this had to be scratch built. and wasn't quite sure whether I could pull of the gracefully curved gratings that grace many period models. In the end, this turned out to be a highly enjoyable little project. The main framing elements were built following the layout and dimensions of previously assembled components. The outside angled edge follows the curve of the main headrail, and the inside a foreshortened version. No real secret other than use of lots of templates and continual trial fitting. The larger framing elements were joined with a simple box joint for strength, the battens were individually shaped and glued end on. Once completed, the front of the seats of ease were attached to simplify final installation. Catheads, fo'c'sl plansheer and breasthook: With the gratings finalised, it was possible to install the catheads with some confidence. The breasthook was cut following dimension estimates from contemporary models (as much as possible) Prior to that however, the fo'c'sl plansheer was finalised, which required the underside where the catheads are located to be slightly angled to allow for the upward slope of the cathead given the overlap of the plansheer, and to ensure it sits flat. Timberheads: It was necessary t get my head around how I was going shape the timberheads, and figure out what was possible, so that I could both get some practice in shaping these and maximise the chance that these could be kept consistent and of an acceptable appearance. I did not want to have to redo the head rails as these had taken many hours to make. After some experimentation, the following approach seemed to provide the most consistent results for me. 2x5mm pear was used. From left to right: Preventer cuts were carefully made using a jig and #12 Exacto blade The edges were cut back gently to roughly preform the shape. I found the wood surface had a tendency to break off even with care so there were losses. Wipe on poly was applied at the cuts at this stage to both prove better visibility for further shaping, and also to harden the edges that had been formed The sloped faces were further refined, again carefully using a #12 Exacto blade, sanding sticks and microfiles. The top is deliberately made a little overlong as it makes shaping easier The top is reduced to final dimension... The overall height is reduced to final dimensions (in this case 10mm) Finalisation and installation of the main rail and grating: The main rail could now be finally dimension and shaped. As identified in TFFM, it did prove necessary to shape for rear outside profile to ensure it fits nicely to the cathead. I couldn't find much in the way of detail here, but the AOTS Diana book shows a slight wedge of wood sitting between the hull and the head rail. I decided to add two small wedges to ensure the headrail is fully secured to the hull. The plansheer also had to be nicked to allow it to sit properly. And with everything finally installed...I am greatly relieved and pleased with the way this has turned out as this proved to be a most challenging, but ultimately satisfying, adventure. The fore seats of ease have been made up and will ultimate slot into the grating, but these will not be installed until the placement of the boomkins is determined as everything is very tight in this small area.
-
Looking very good moonbug, coming together very nicely. Where did you find info on the 'swifter'?
- 300 replies
-
- Victory Models
- Pegasus
-
(and 3 more)
Tagged with:
-
Glad I've found your log sizzolo, you have made an outstanding start with some great details. Quick comment on the coppering, believe that the method was somewhat nation specific. US practice as you show was to have a parallel band at the waterline, RN practice was to copper from the keel upward. None of that takes away from the wonderful work you've done and would not be noticeable at this scale.
-
Hi David, when I first saw your log I was a little unclear on what you were looking to do, but I stand in awe of your efforts to fix this ugly duckling as she was. I have enough challenges putting up with my own mistakes and shortcomings to be able to deal with someone elses! Its commendable what you are looking to accomplish and I sincerely hope that you are able to enjoy the process and the ultimate results, will definitely be following along for future installments.
-
Been a long time since I've commented, but very much enjoyed catching up on your excellent work on this wonderful build. Love the colours you've chosen on the pinnace which are a pleasant change and gives a very period feel. I've just ordered this little kit myself from Chris, so hoping mine turns out half as well as yours. Great stuff!
- 614 replies
-
- Indefatigable
- Vanguard Models
-
(and 1 more)
Tagged with:
-
Hi David, so pleased to see you have completed her, unfortunately I've not been 'around' for a bit so missed the last steps in real time. Congratulations! You have created a truly spectacular model, and I have greatly enjoyed following your build from the start and learning with you, one of the great fellowship of Diana builders 🙂 I look forward to catching up with your future builds! All the best, Jason
- 302 replies
-
- Diana
- Caldercraft
-
(and 1 more)
Tagged with:
About us
Modelshipworld - Advancing Ship Modeling through Research
SSL Secured
Your security is important for us so this Website is SSL-Secured
NRG Mailing Address
Nautical Research Guild
237 South Lincoln Street
Westmont IL, 60559-1917
Model Ship World ® and the MSW logo are Registered Trademarks, and belong to the Nautical Research Guild (United States Patent and Trademark Office: No. 6,929,264 & No. 6,929,274, registered Dec. 20, 2022)
Helpful Links
About the NRG
If you enjoy building ship models that are historically accurate as well as beautiful, then The Nautical Research Guild (NRG) is just right for you.
The Guild is a non-profit educational organization whose mission is to “Advance Ship Modeling Through Research”. We provide support to our members in their efforts to raise the quality of their model ships.
The Nautical Research Guild has published our world-renowned quarterly magazine, The Nautical Research Journal, since 1955. The pages of the Journal are full of articles by accomplished ship modelers who show you how they create those exquisite details on their models, and by maritime historians who show you the correct details to build. The Journal is available in both print and digital editions. Go to the NRG web site (www.thenrg.org) to download a complimentary digital copy of the Journal. The NRG also publishes plan sets, books and compilations of back issues of the Journal and the former Ships in Scale and Model Ship Builder magazines.




.thumb.jpg.a354db03134920ba16c2c840f8430fbb.jpg)

