Search the Community
Showing results for tags 'constellation'.
Found 17 results
-
 Hello All, First of all I guess I should state this is my first time building a wood ship. I received my Artesania Latina USS Constellation kit as a gift and after looking it over and getting ready to start I did some Interweb searches and came across MSW. I've been lurking on this site for about a month now looking at tips and other builds posted here. I have to say there are some Talented Builders on this site. So, after researching the USS Constellation I soon discovered that the Artesania Latina kit is really more or less the 1854 Sloop of War and does not really resemble the 1797 USS Constellation. With $12 dollars and Amazon's help I received a copy of Chapelle's "The American Sailing Navy" which has Humphrey's Building Draught for the 38-gun Frigates Constellation and Congress, so armed with what little information is available on the 1797 Constitution I began my build..........
-
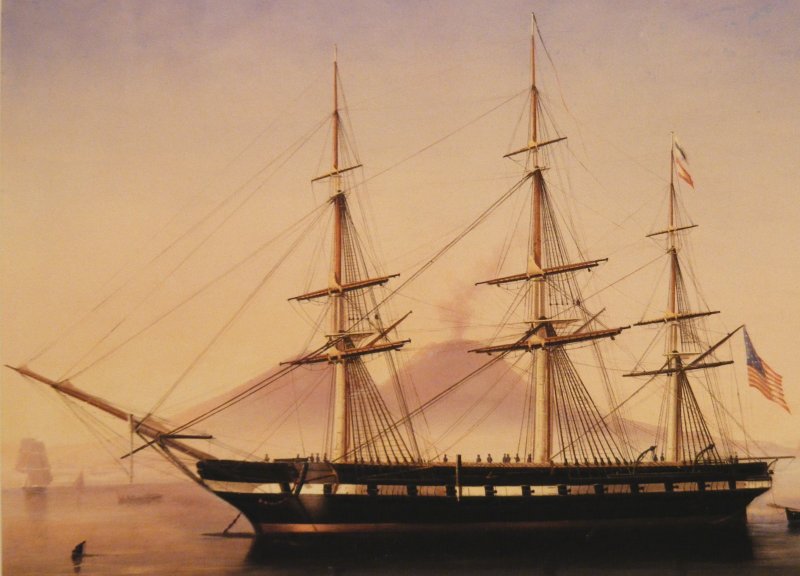
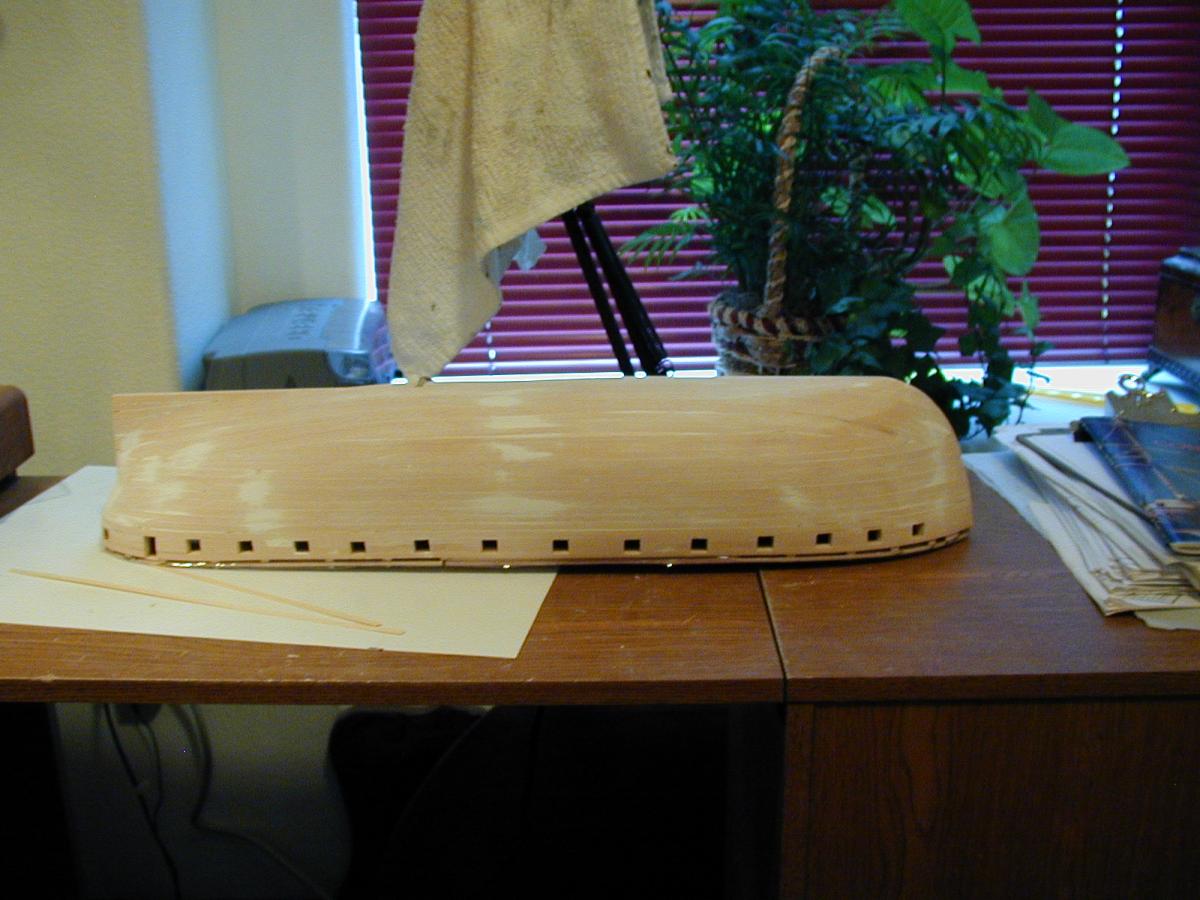
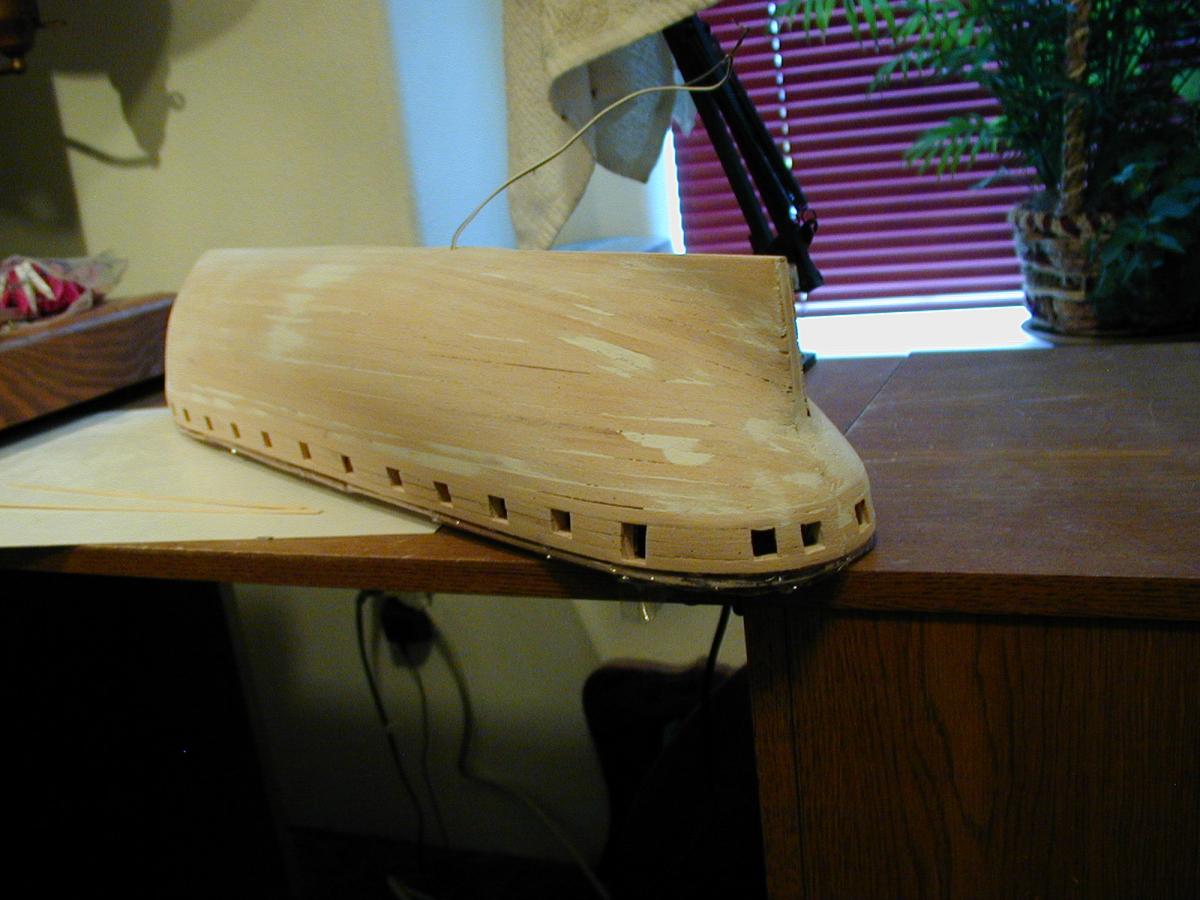
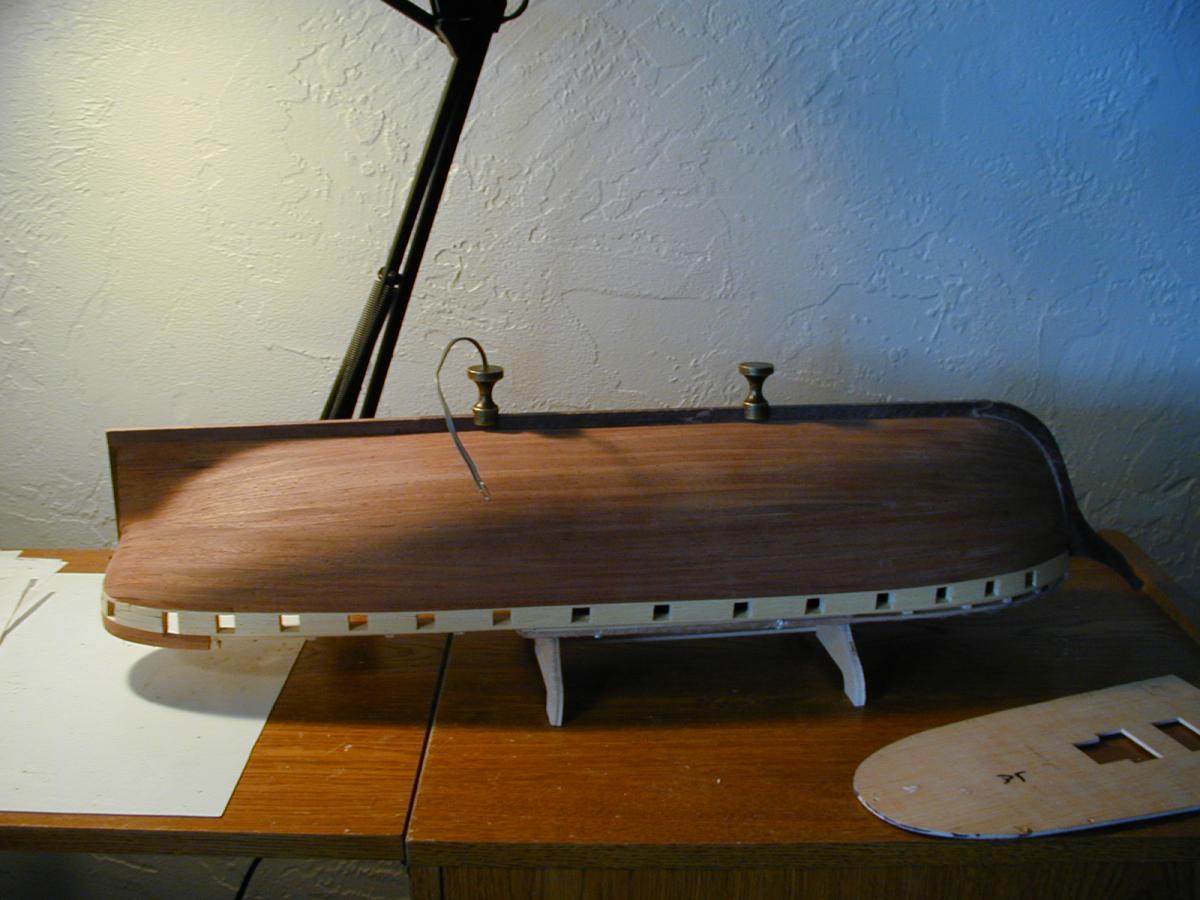
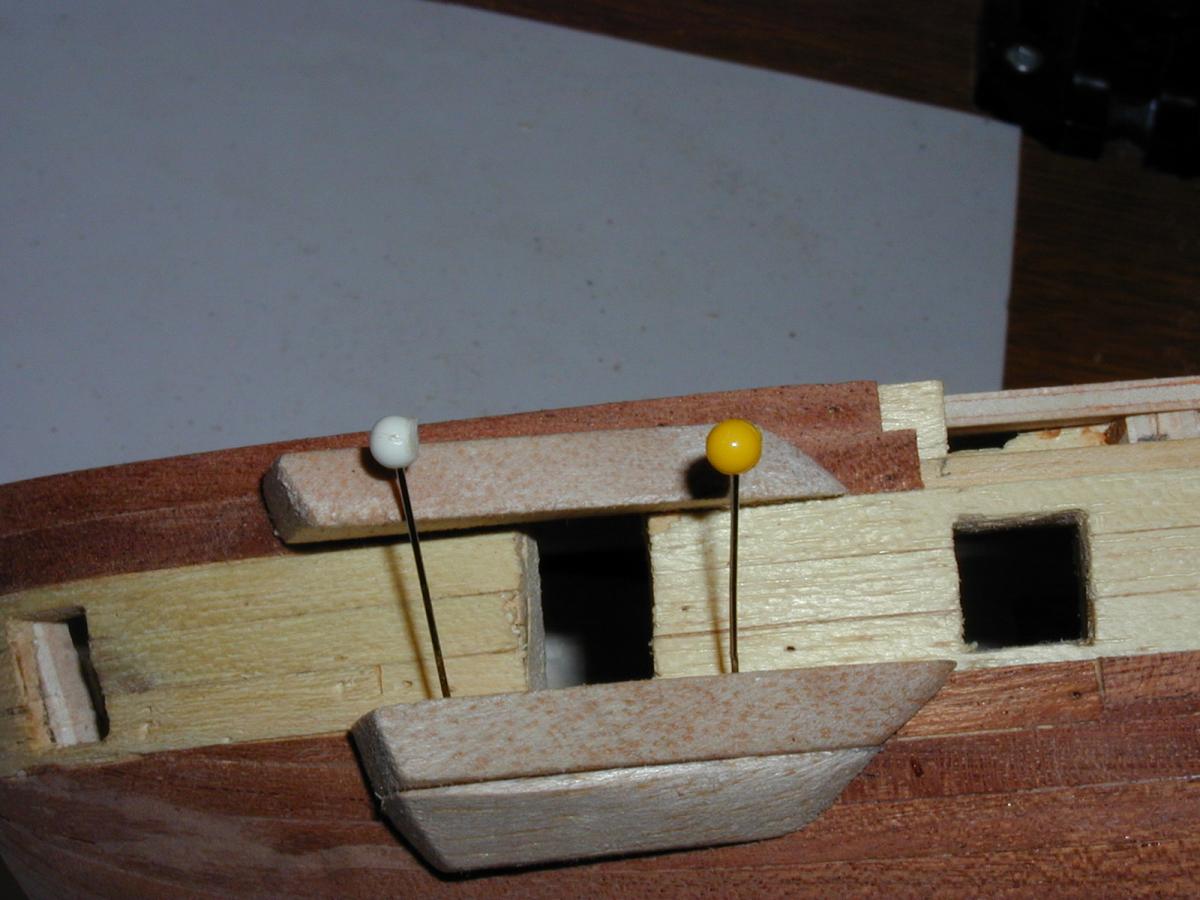
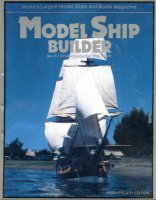
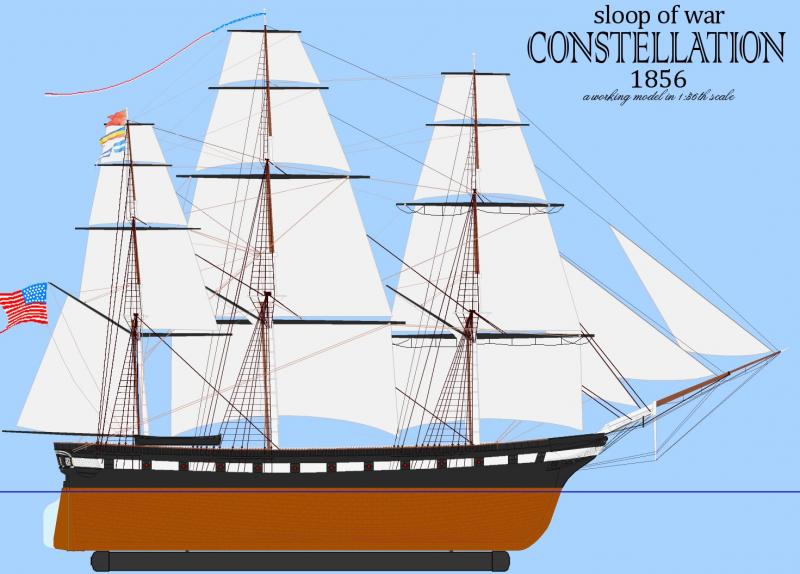
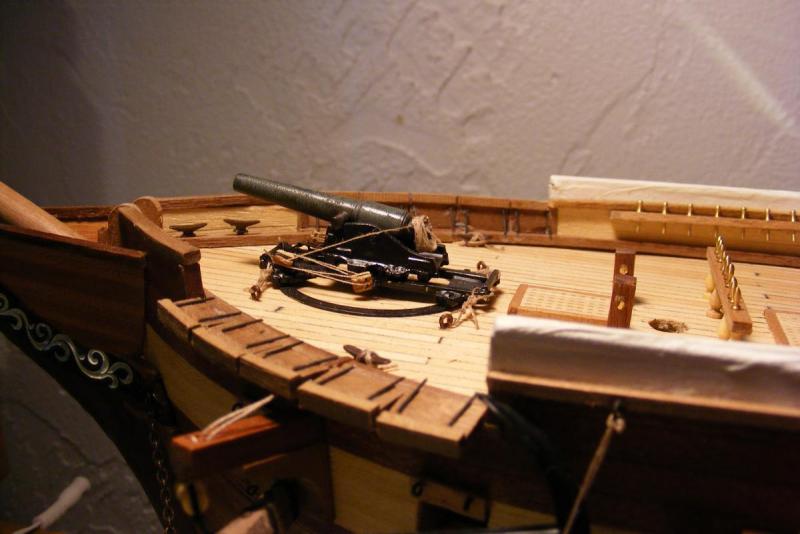
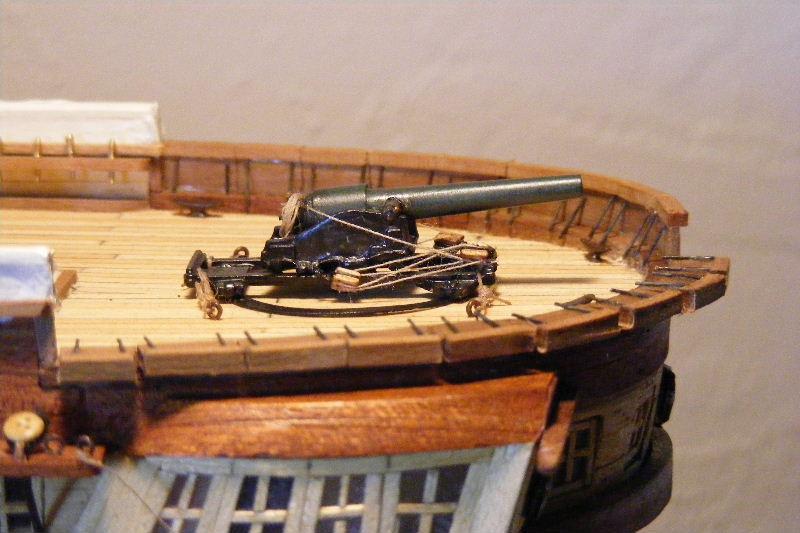
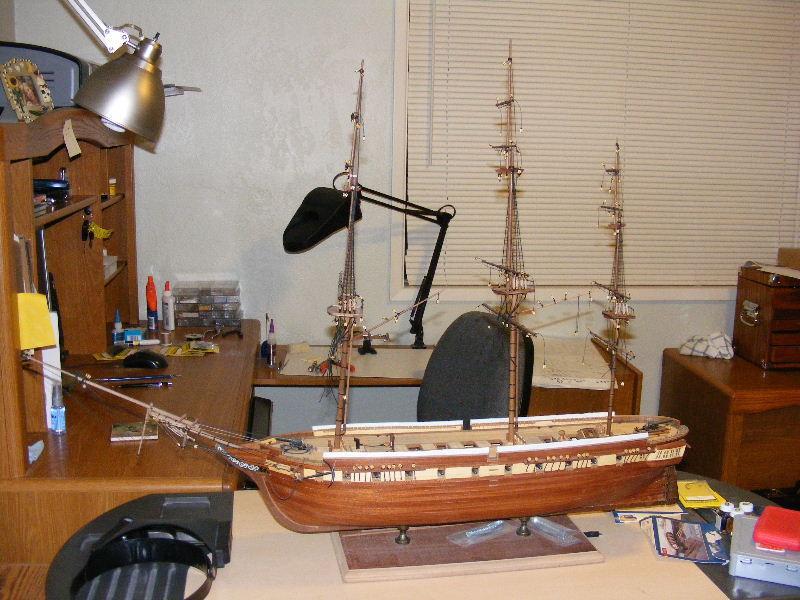
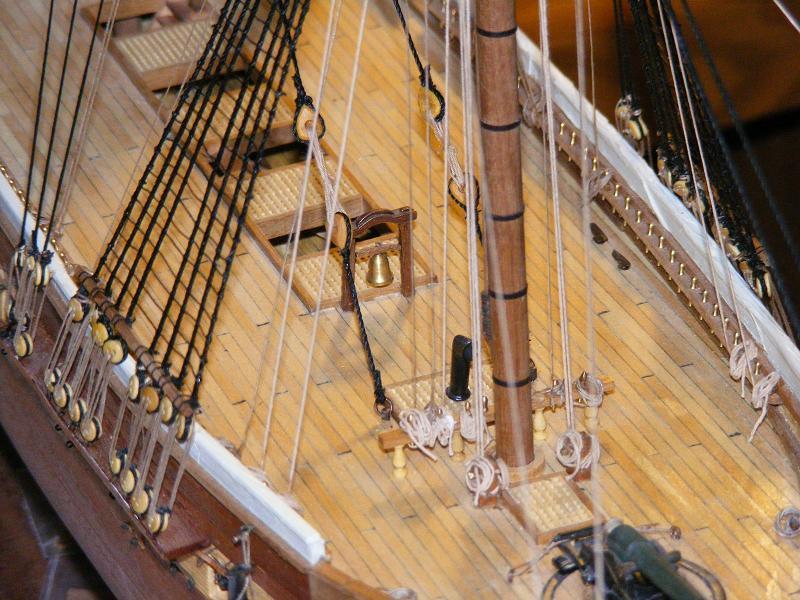
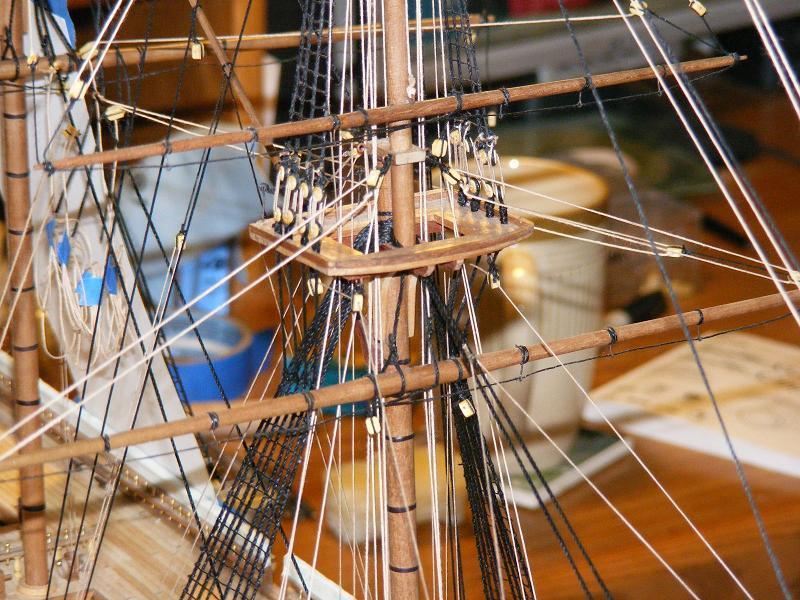
 Inspired by a large RC model of the Rattlesnake featured in an issue of Model Ship Builder magazine, I looked around for a subject to built and decided to built the ship in my own back yard, the sloop of war Constellation tied up in Baltimore's Inner Harbor since the mid 1950's. Some video of Rattlesnake Constellation was a sloop-of-war, of 22 guns, designed by John Lenthal, and built in 1854 by Gosport Navy Yard at Norfolk, Virginia; the last US warship designed and built to operate under sail alone. For a long time she was believed by many to be the old frigate of 1797, rebuilt and moderized, and that debate has raged in the maritime history community for decades. Her lines and sail plan were acquired from the National Archives where I got to handle the actual hand drawn documents. I decided to build her as she appeared in a portrait by deSimone when she was in Naples in 1856 and still a new ship. Her lines were drawn in 1:36 scale, which was perfect, giving a model: Beam: 13-5/8" (34.713 cm) Length over the rig: 96" (243.84 cm) Width over the rig: 36" (91.44 cm) ~ Main yard w/o stuns'l booms. Length on deck: 61" (154.94 cm) Length between perpendiculars: 59-1/8" (150.178 cm) Draft, without ballast keel: 7" (17.78 cm) With 3-1/2" ballast keel: 10-1/2" (27.94 cm) Height bottom of keel to main truck, without ballast keel: 65" (165.1 cm) With ballast keel: 69" (175.26 cm) Sail Area: 2,807.01 square inches in 17 sails (19.5 sf, 18,109.7 scm, 1.8 sqm) This log will cover my work on this model since it began in 1999 up to where it is now. Author's Note: This is a log of how I am building this model, not a guide to how a model such as this ought to be built. It's full of fits and starts, changes of mind, errors, re-do's, more error's, a few mistakes; and somehow, despite all this, it seems to be becoming a working, sailing model that actually looks something like it's namesake. The director of the actual ship recognized it on first sight - I take that as a good sign! If you're considering taking on a project like this, please, please, don't let this build log deter you - it's not nearly as difficult as I make it seem. Just take away from it that which helps you along, and ignore the rest.
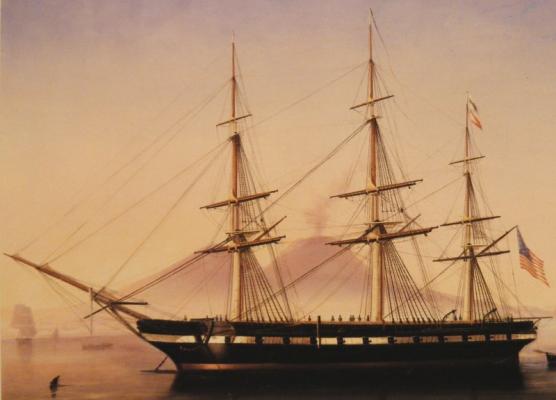
- 524 replies
-
- 4
-

-
- sloop of war
- constellation
- (and 9 more)
-
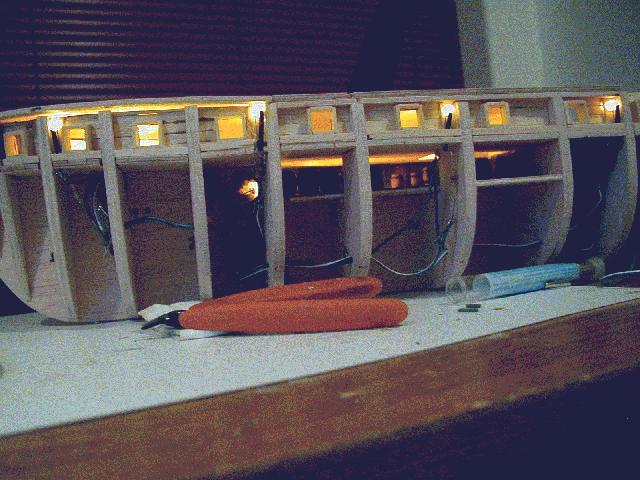
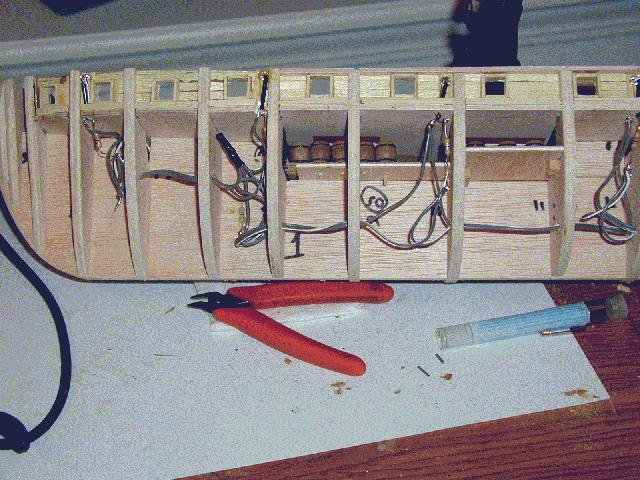
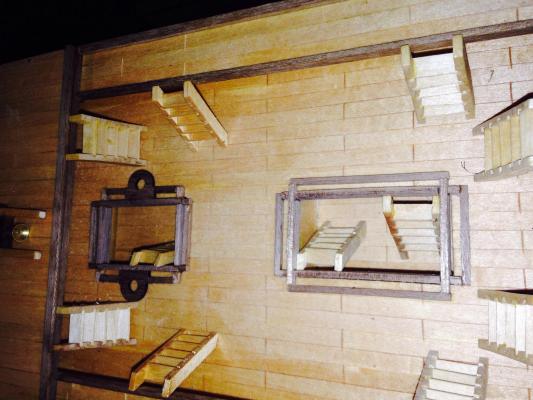
 I'm not going to try to recreate the whole log, but here's all the pictures from the previous log. They're not in any particular order but they might help someone. Feel free to hit me with any questions.
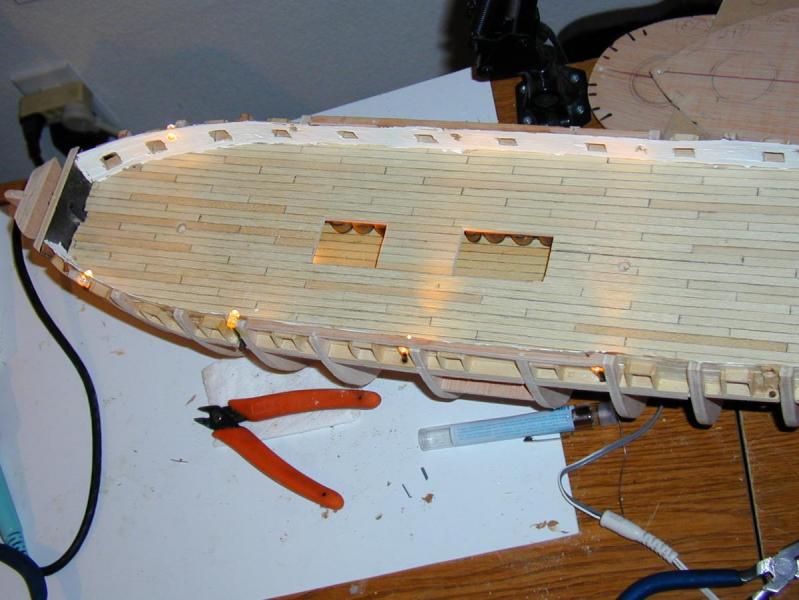


- 28 replies
-
- 5
-
-
- artesania latina
- constellation
- (and 1 more)
-
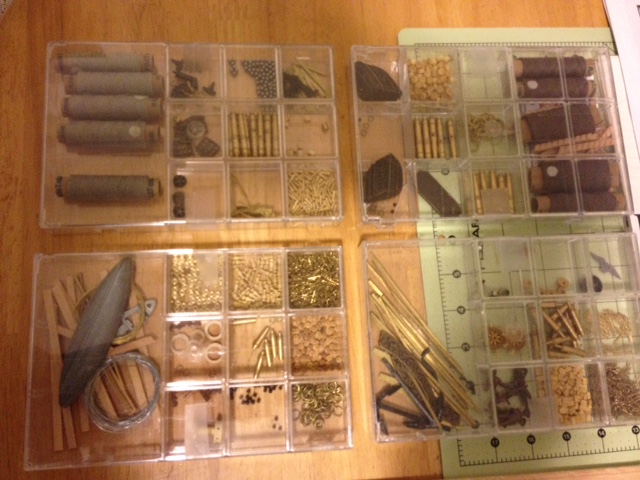
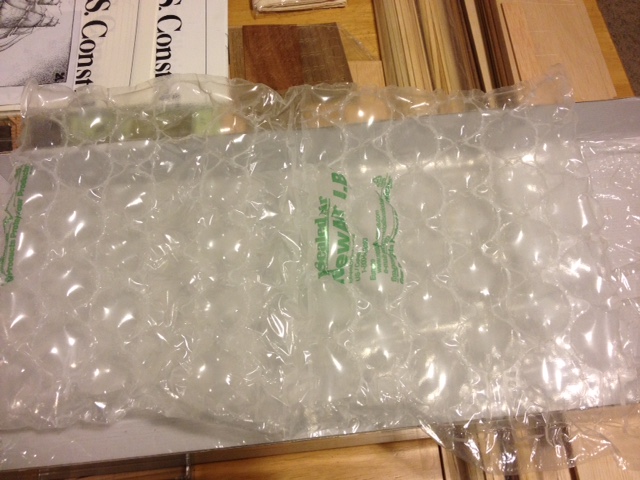
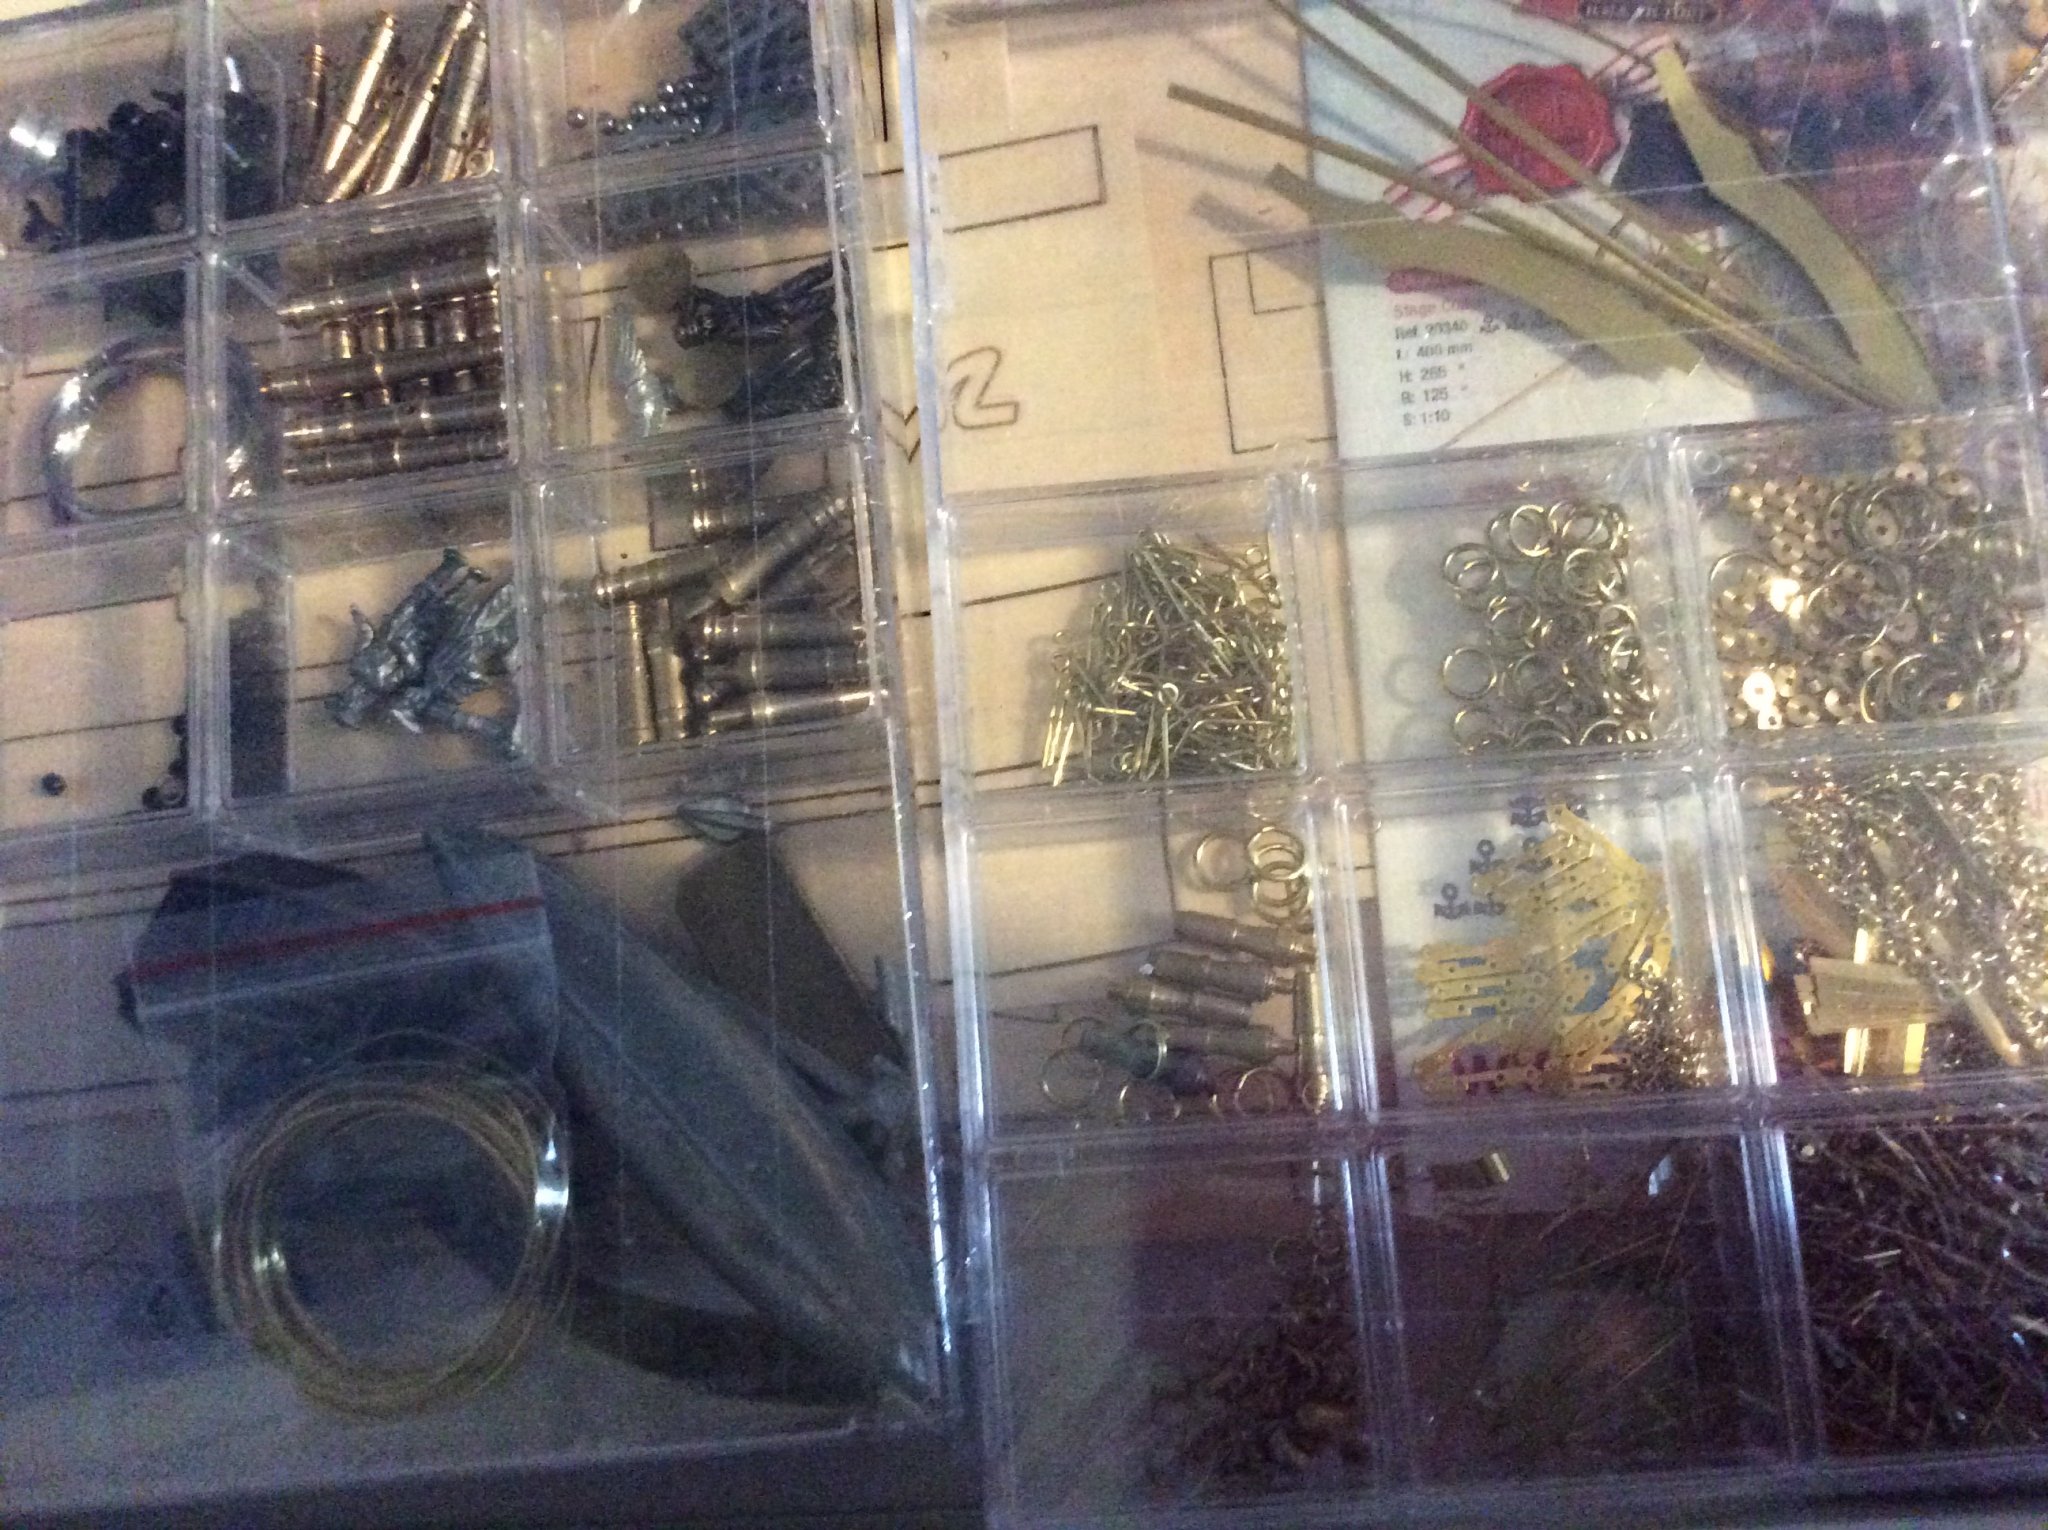
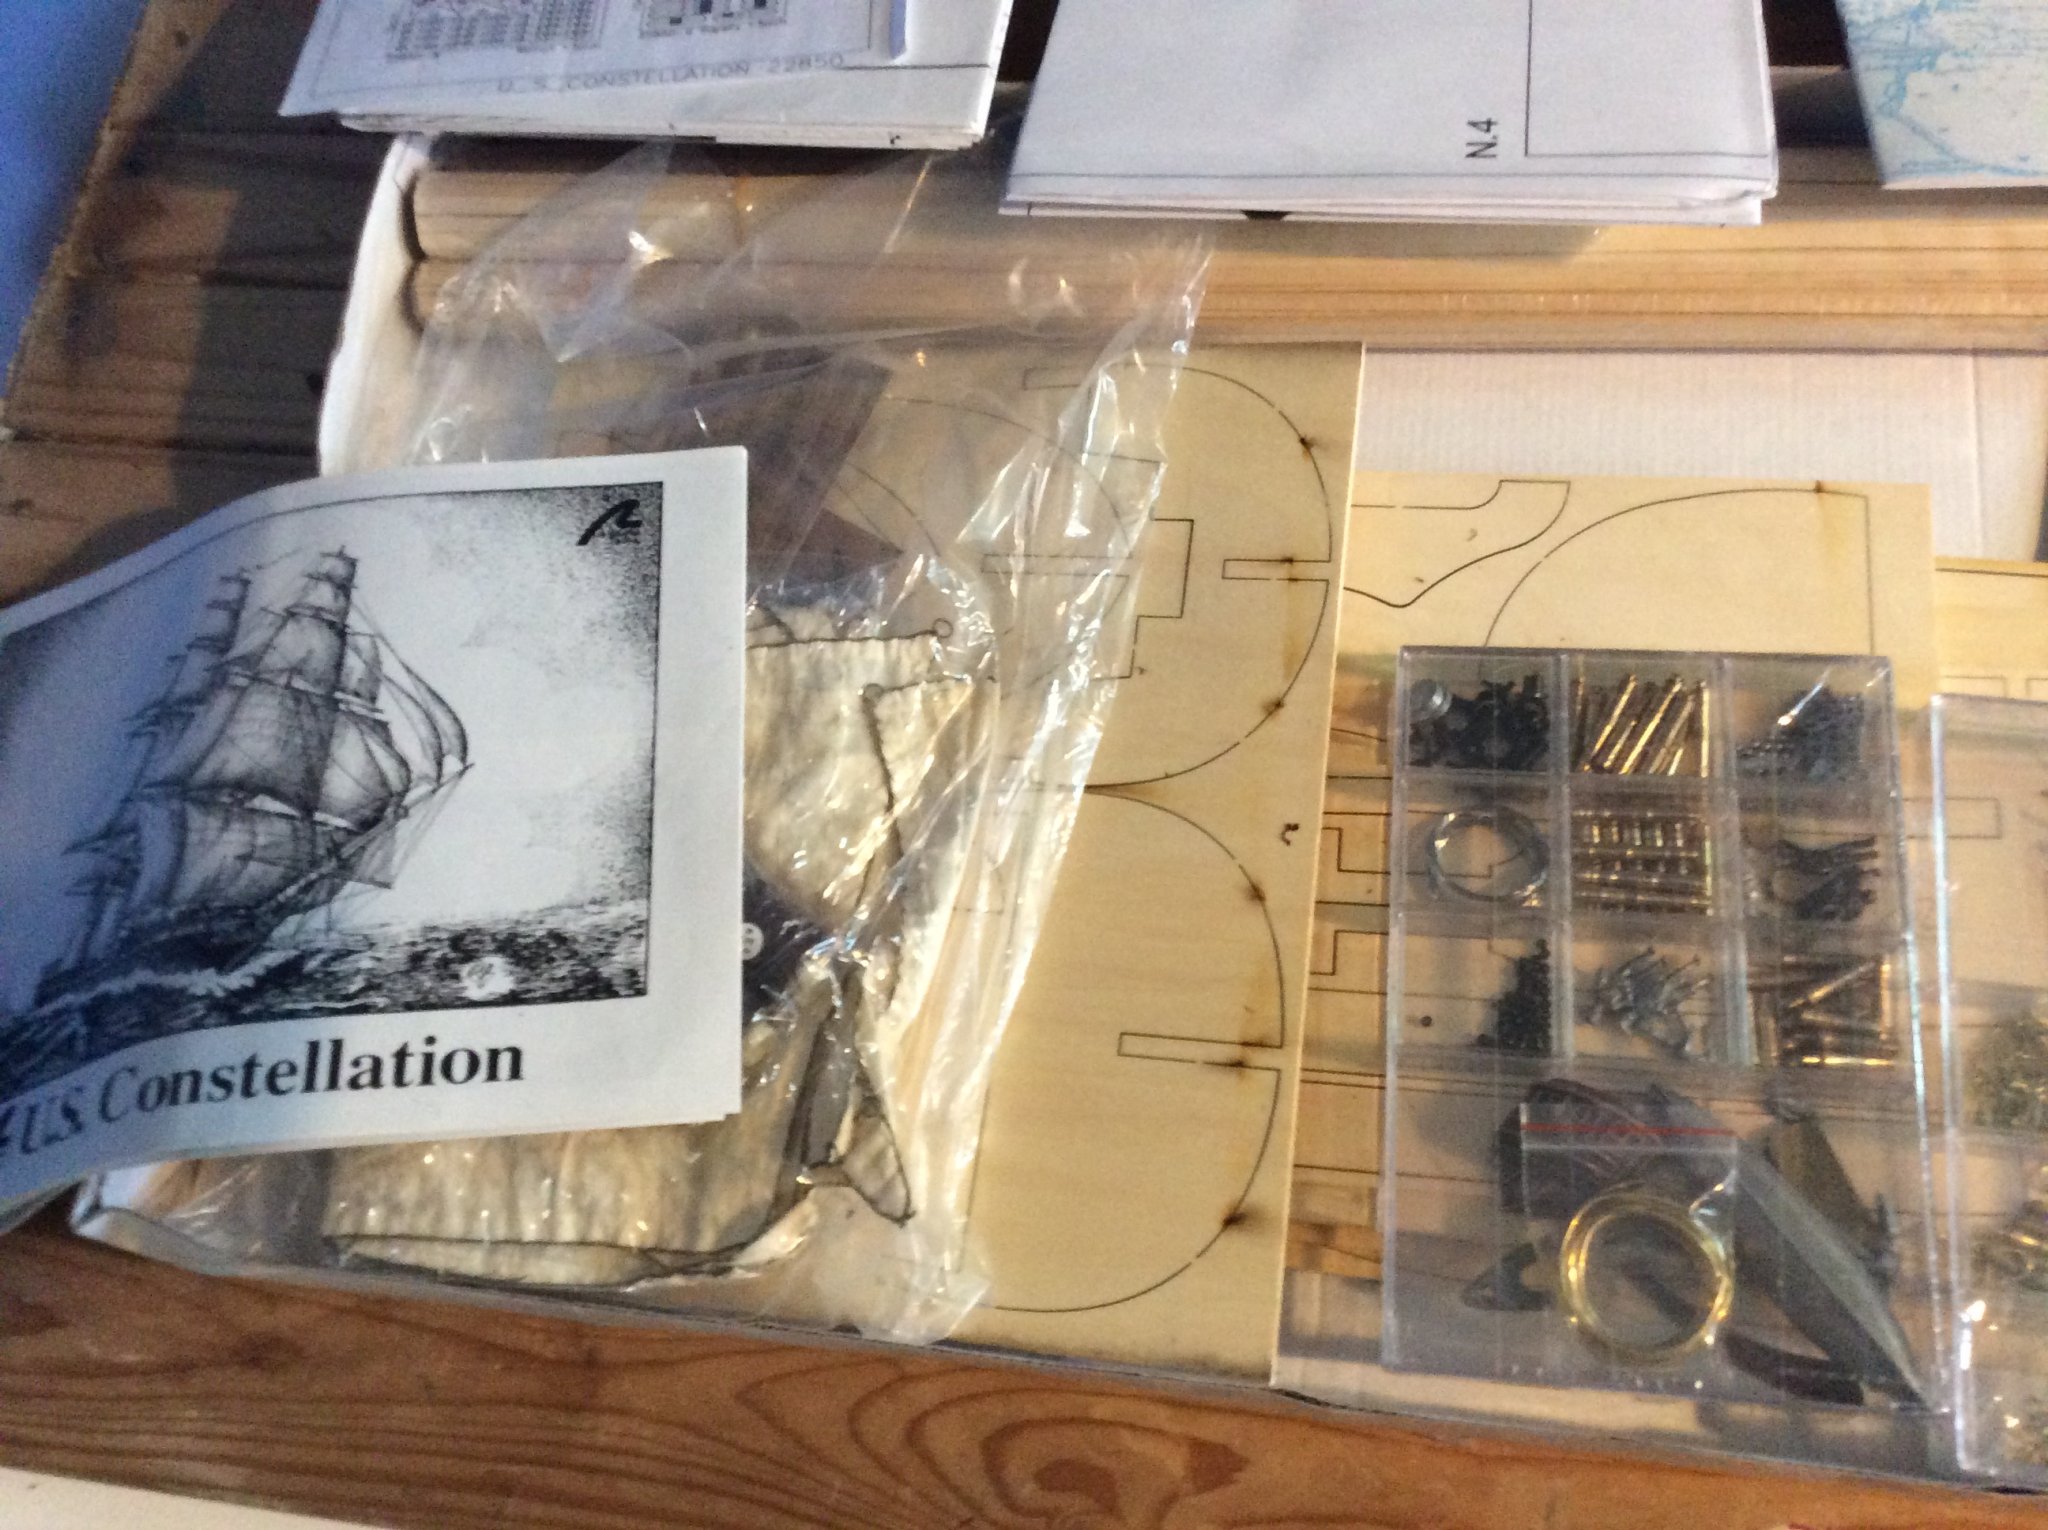
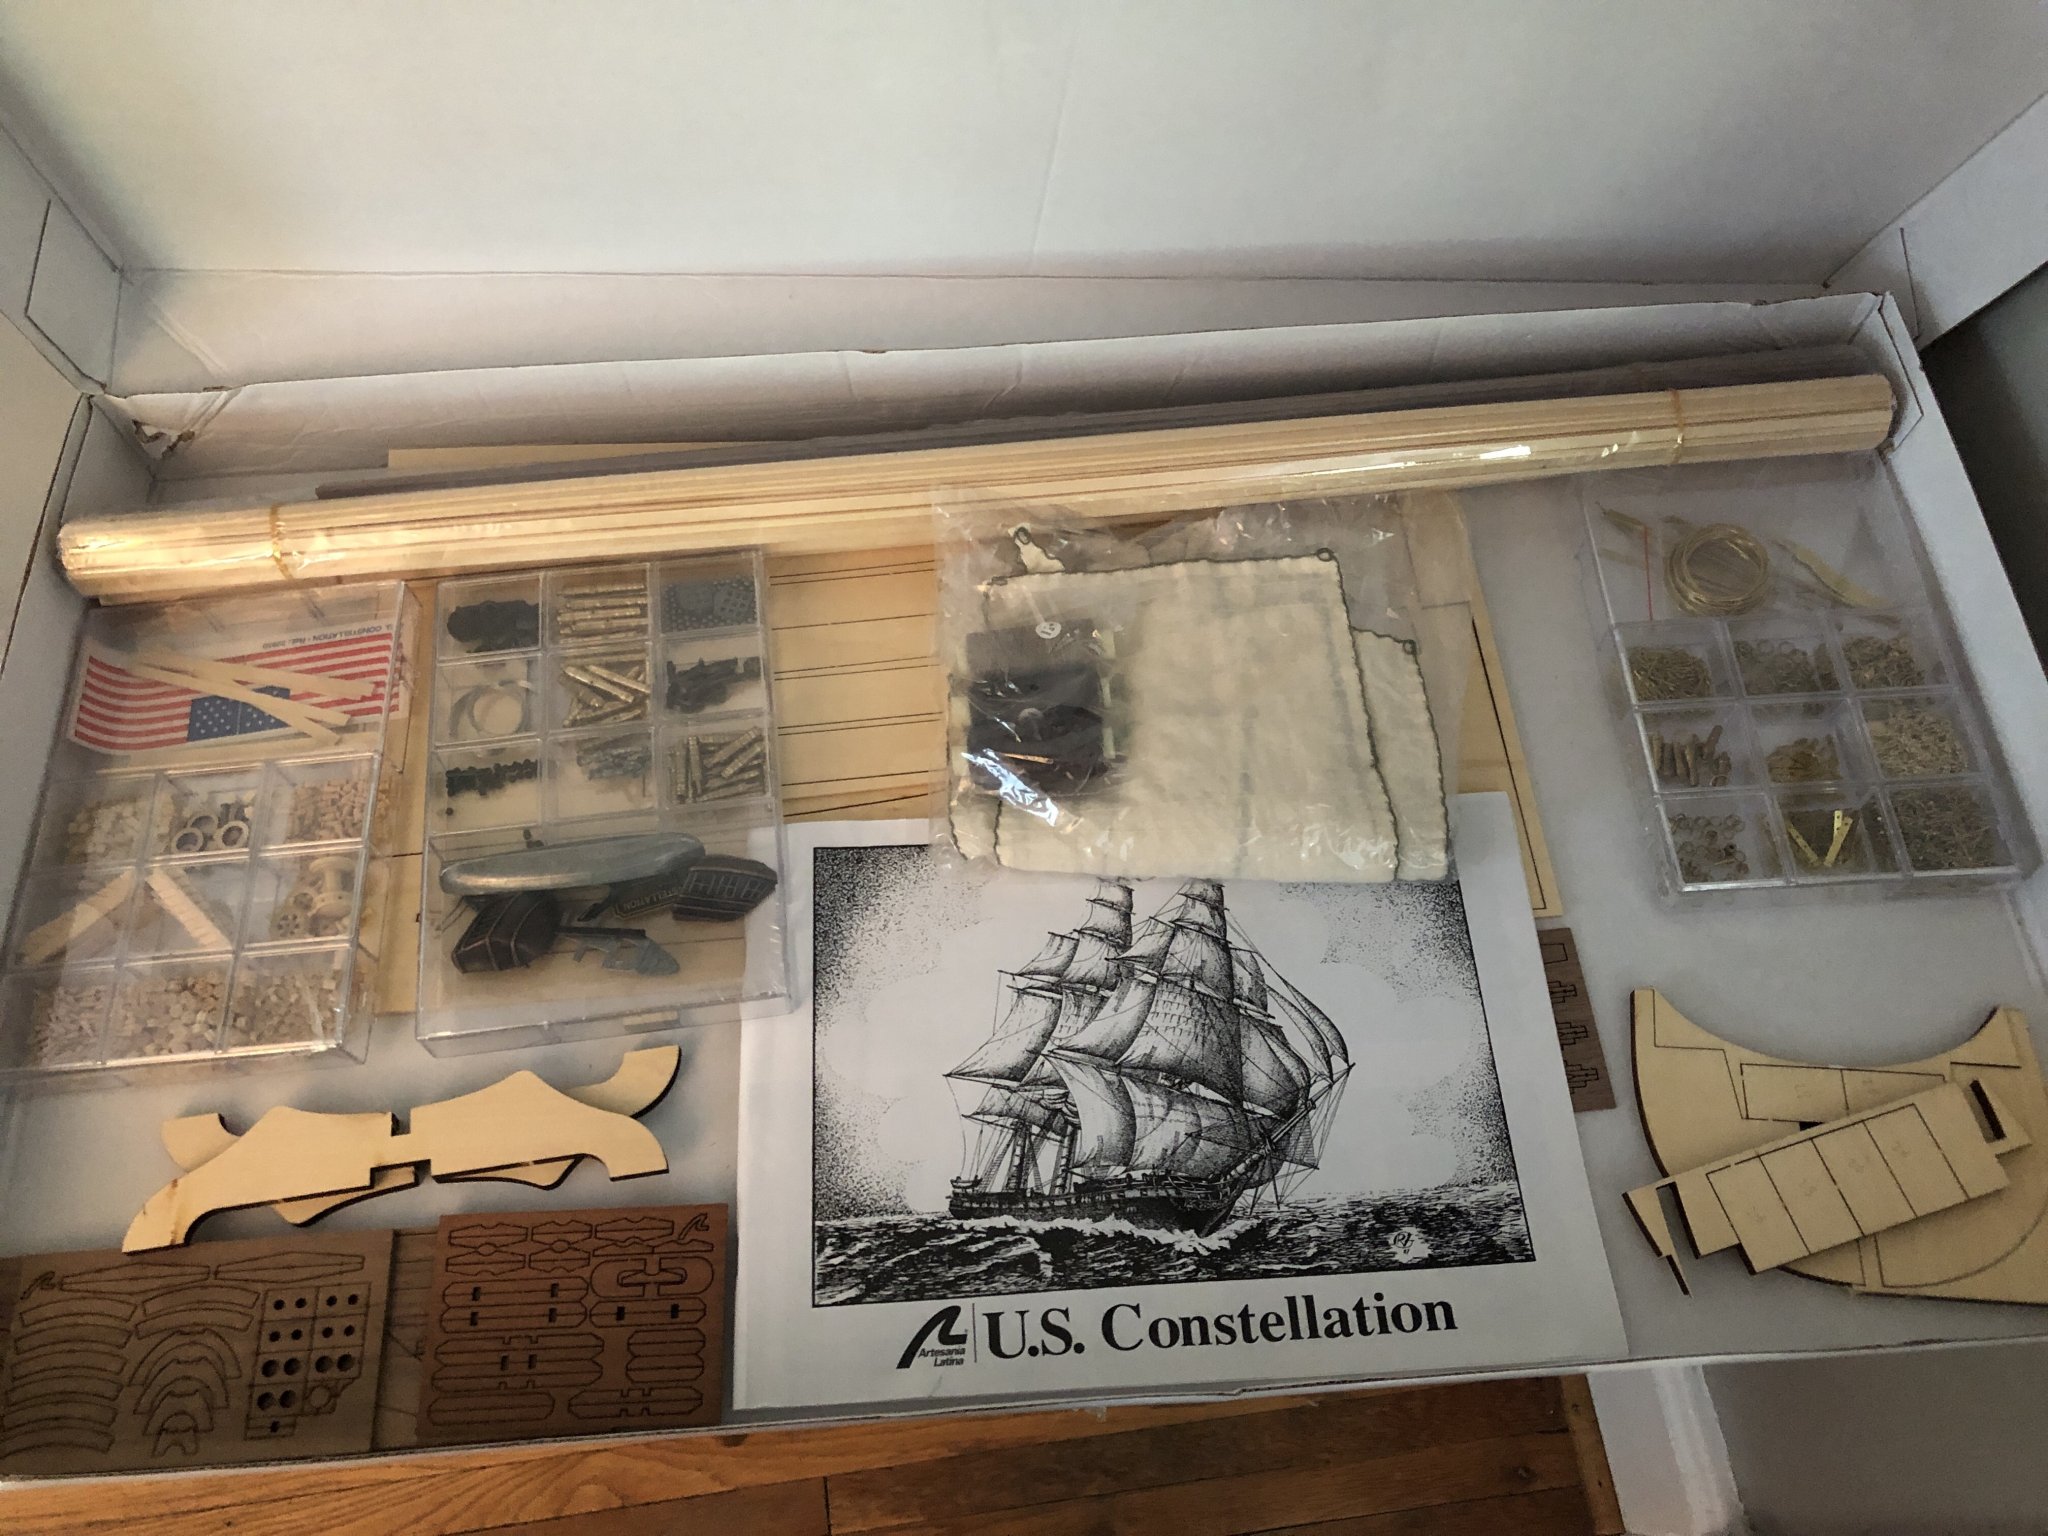
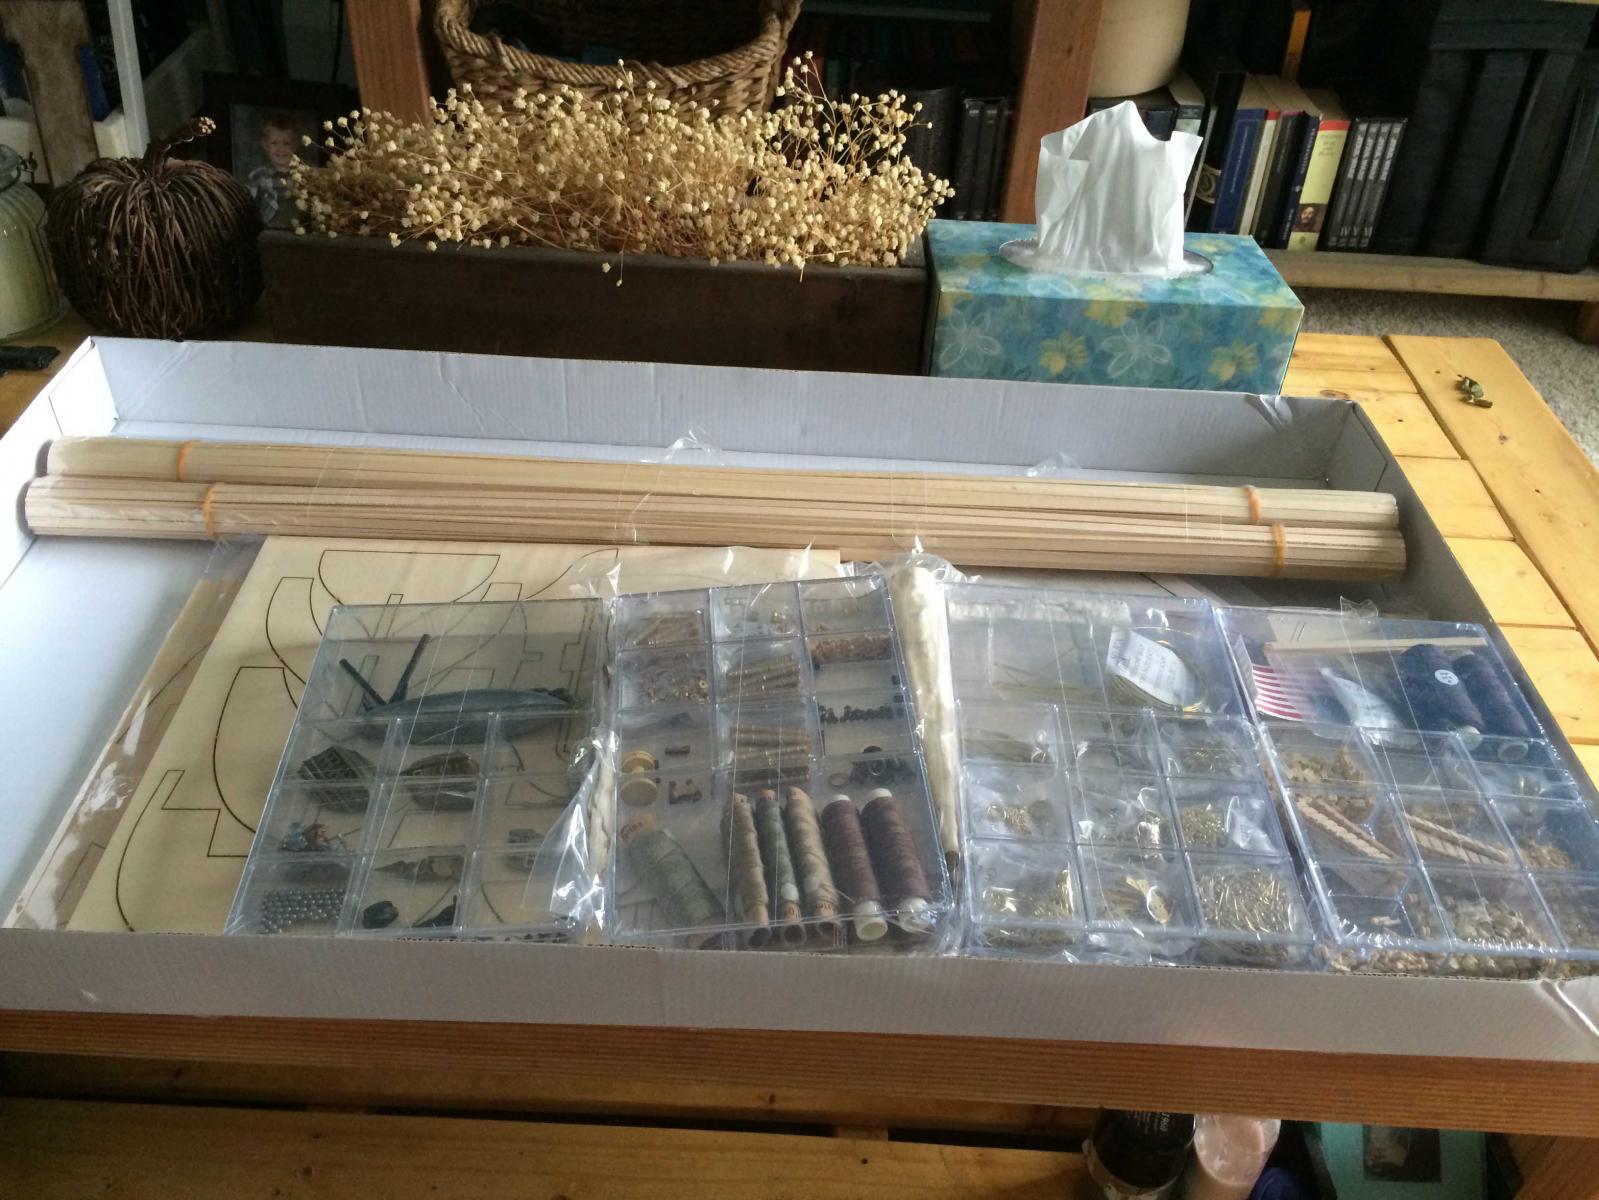
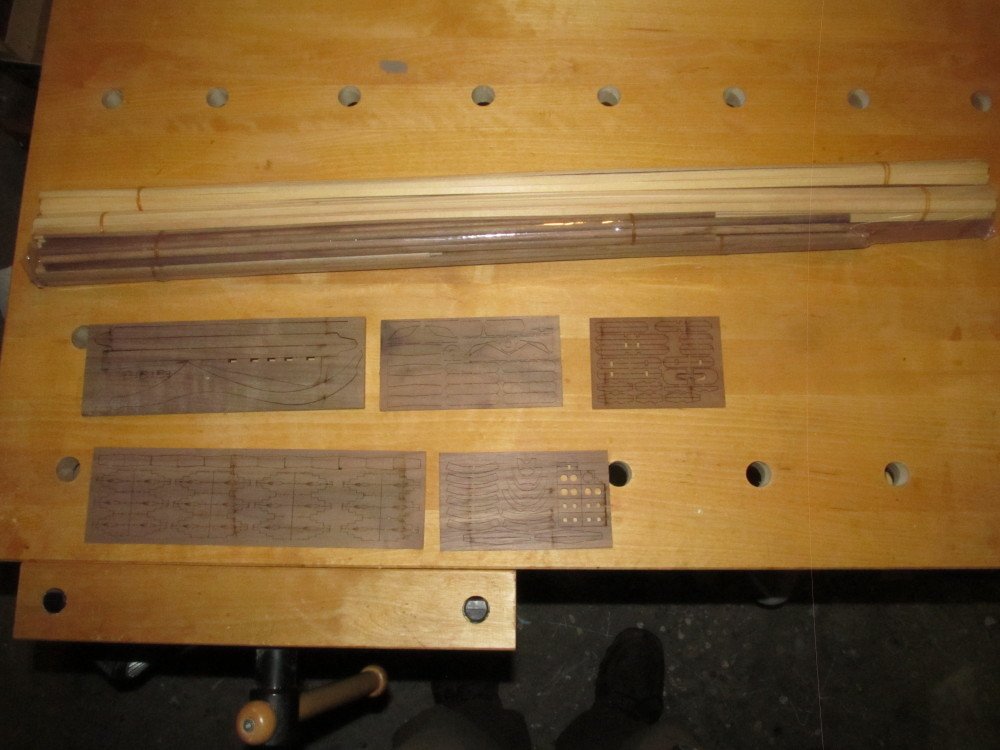
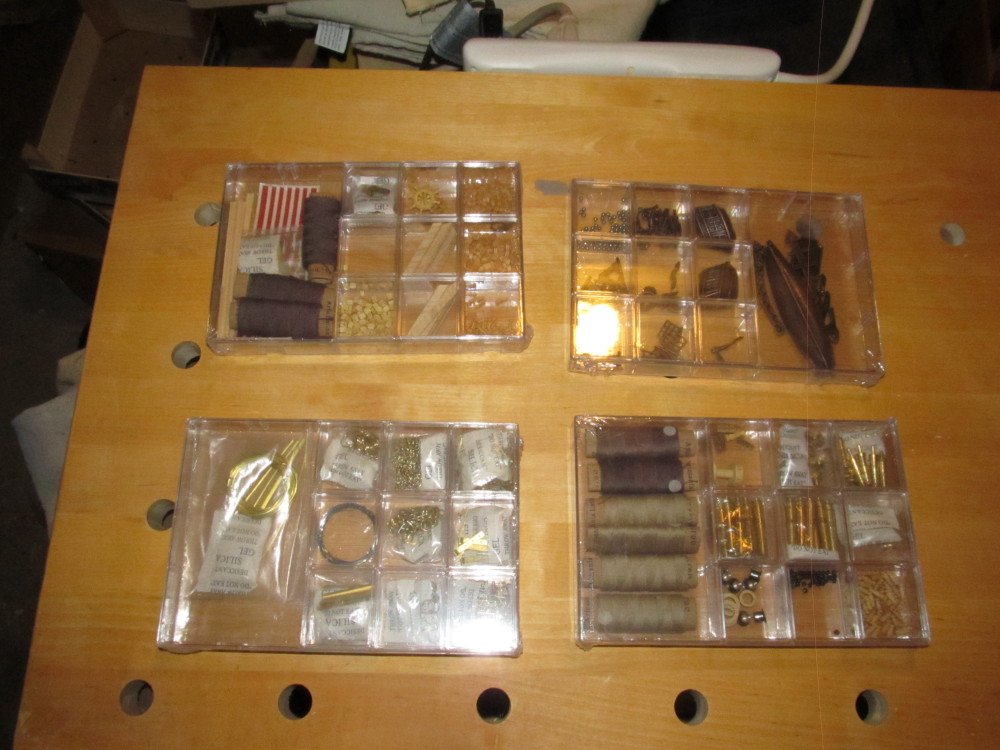
 Hello MSW. I am starting my AL Constellation kit I purchased from a fellow MSW member. As a newbie, I followed many of the build logs for a while and found them to be full of great ideas and advice. Hopefully, someone will benefit in the same way from mine. Cutting to the chase, I opened the box and did a parts list inventory... which took way longer than I anticipated. The way AL set up the parts list was "interesting" with regards to all the strips of wood. Instead of having a list of what should be in the box, i.e. 30 strips of this and 40 strips of that, you need to go through all 446 parts. Each part that was made from the various wood strips was listed with its approximate finished size. So if you needed 10 pieces of a part that were 30mm long you would have to measure off 300mm from one of the supplied strips. Unless you want to spend days checking everything it is a virtually impossible task. I would imagine someone at AL has already done this so why not supply a general what's in the box list along with the detailed list already given? I didn't bother checking the wooden strips, just the individual pieces. There were a few items that came up slightly short in the count like some deadeyes, blocks, belaying pins and some other minor things that can be picked up on-line or at a local hobby shop. What did surprise me is that there were no chains at all for the anchor and stern decor. No biggie, picked that up at a dept. store. Here is what was inside. Reviewing the instructions, it is a good thing I have an engineering background. They are somewhat vague but there are a lot of pics to go by. Then probably the most important part of the kit... the bubble wrap. I plan on taping it to the wall behind my chair so when I bang my forehead into the wall for doing something stupid it won't hurt so much!! My next step will be to set up my work area and create a fixture to squarely secure the keel while I start the framing (bulkheads). As with any project, if the frame is not right, the rest will follow as such.
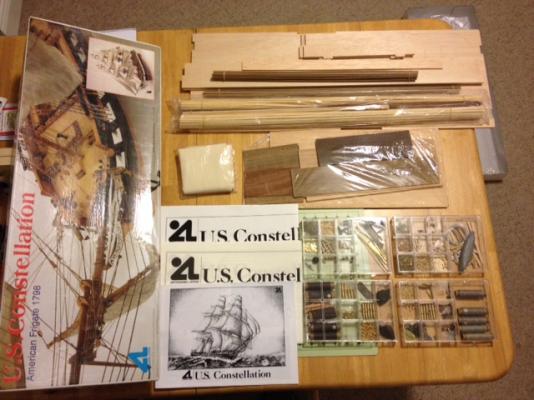


- 211 replies
-
- 5
-
-
- constellation
- artesania latina
- (and 2 more)
-
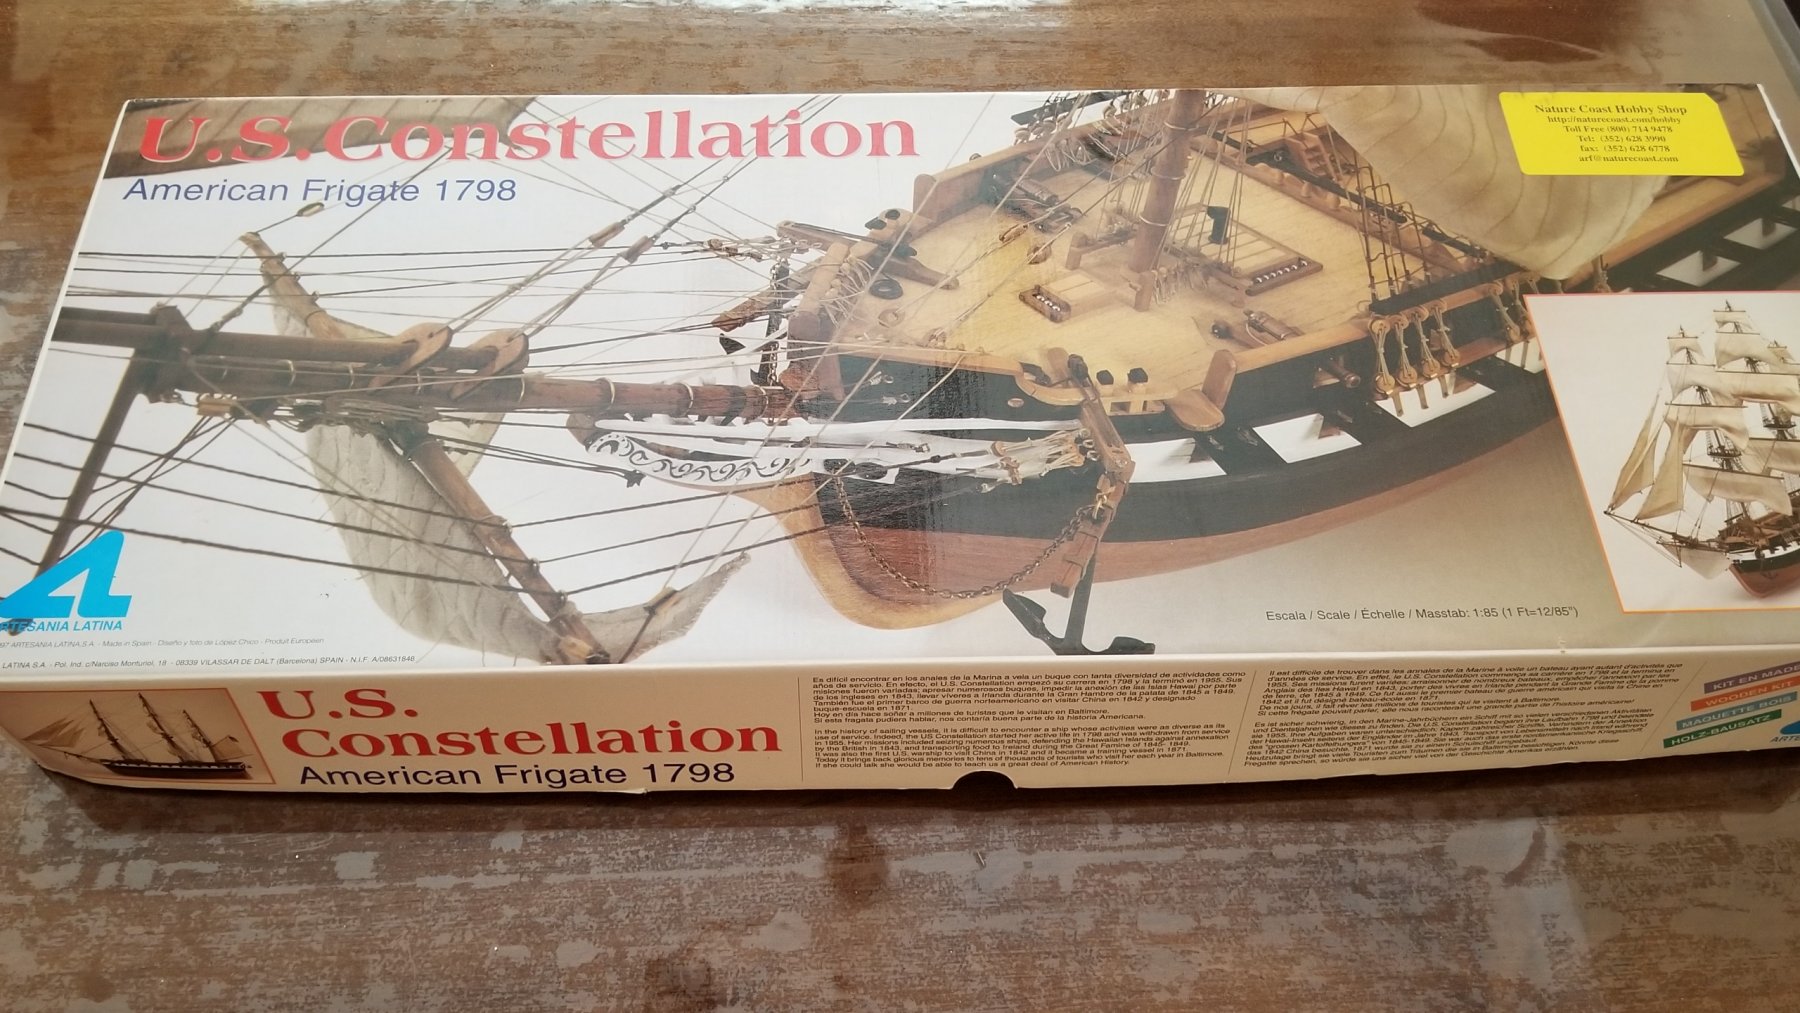
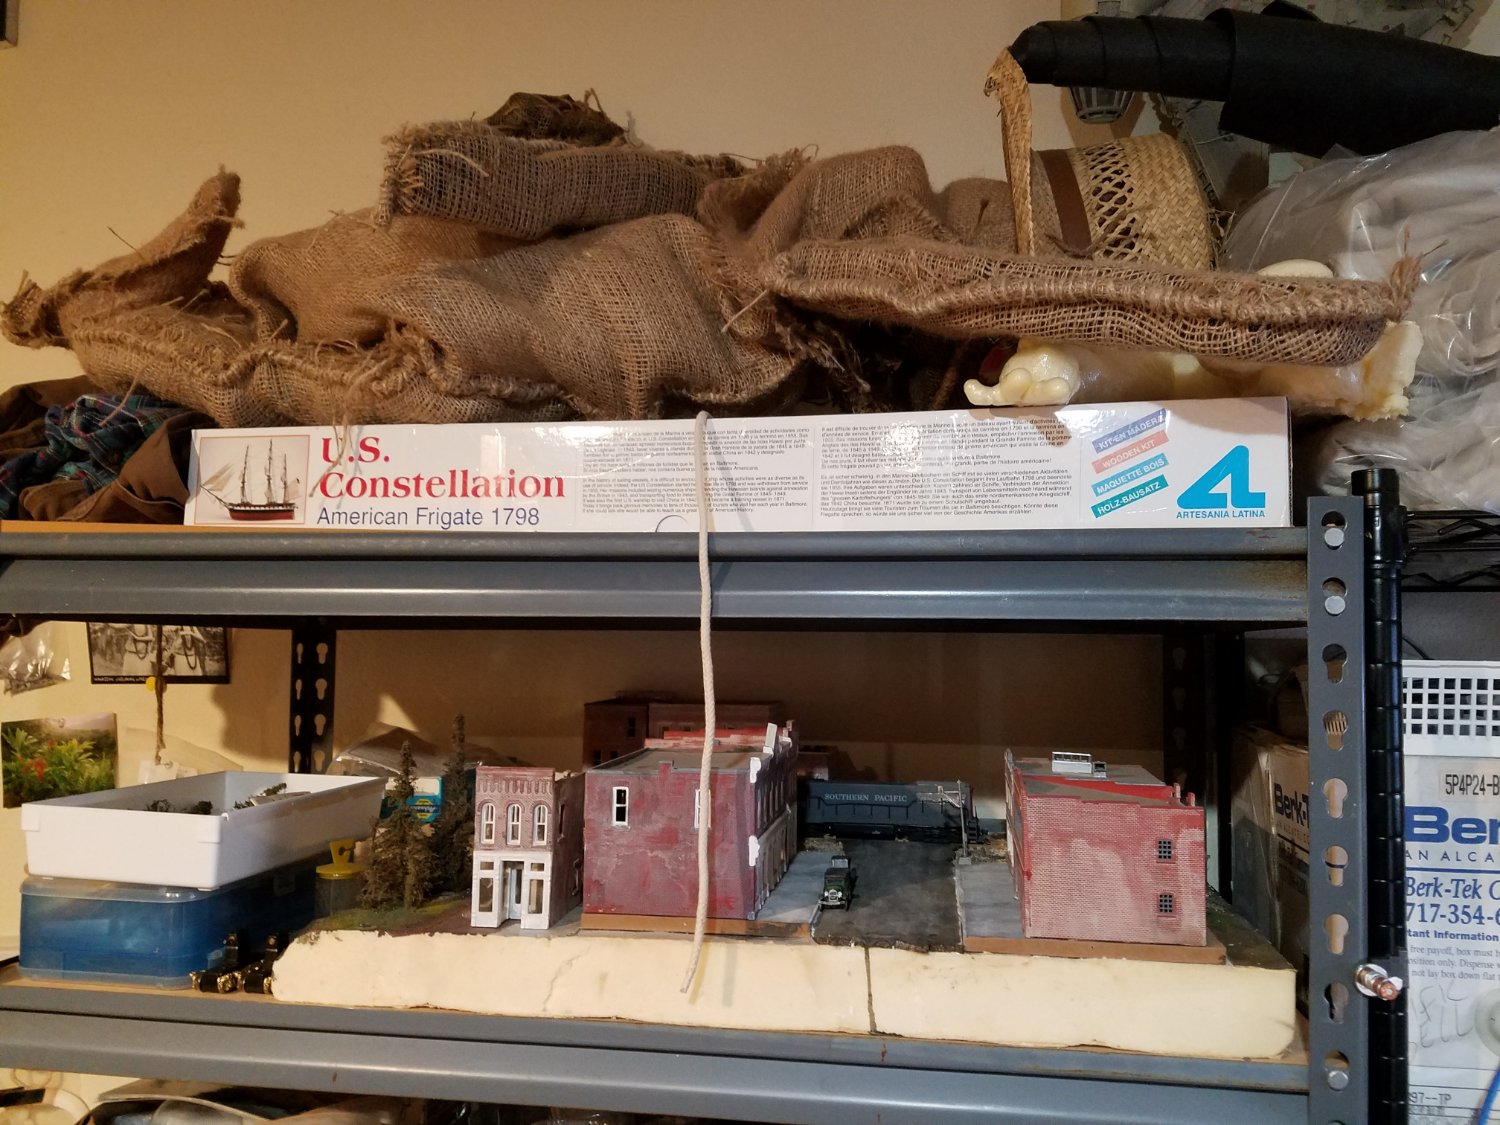
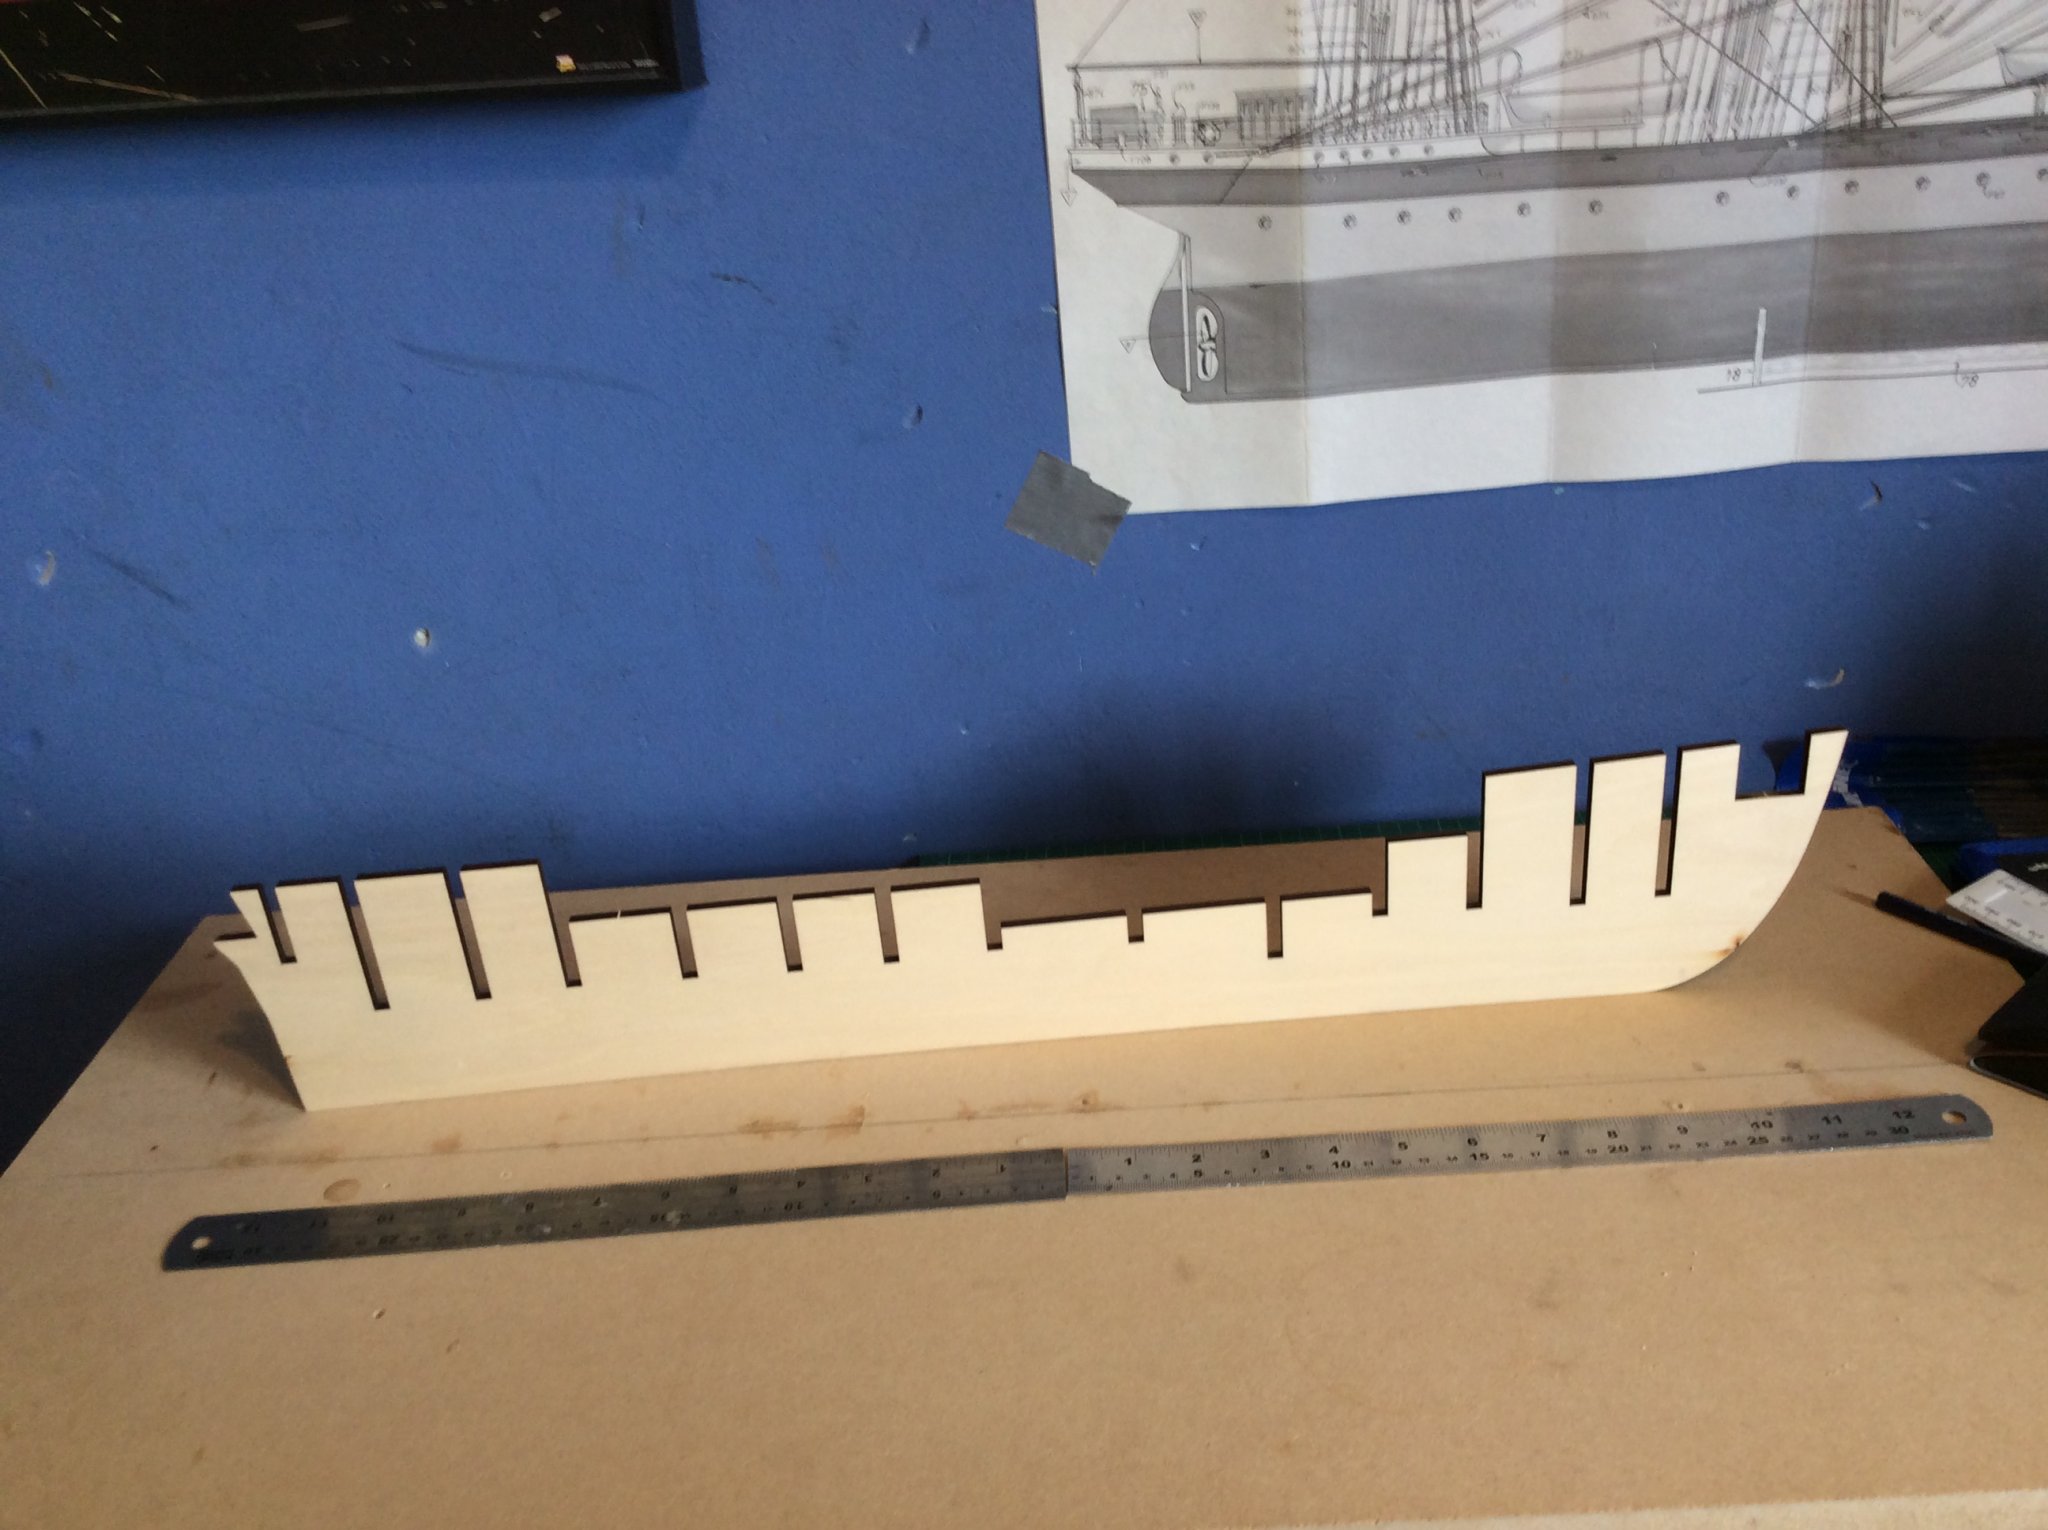
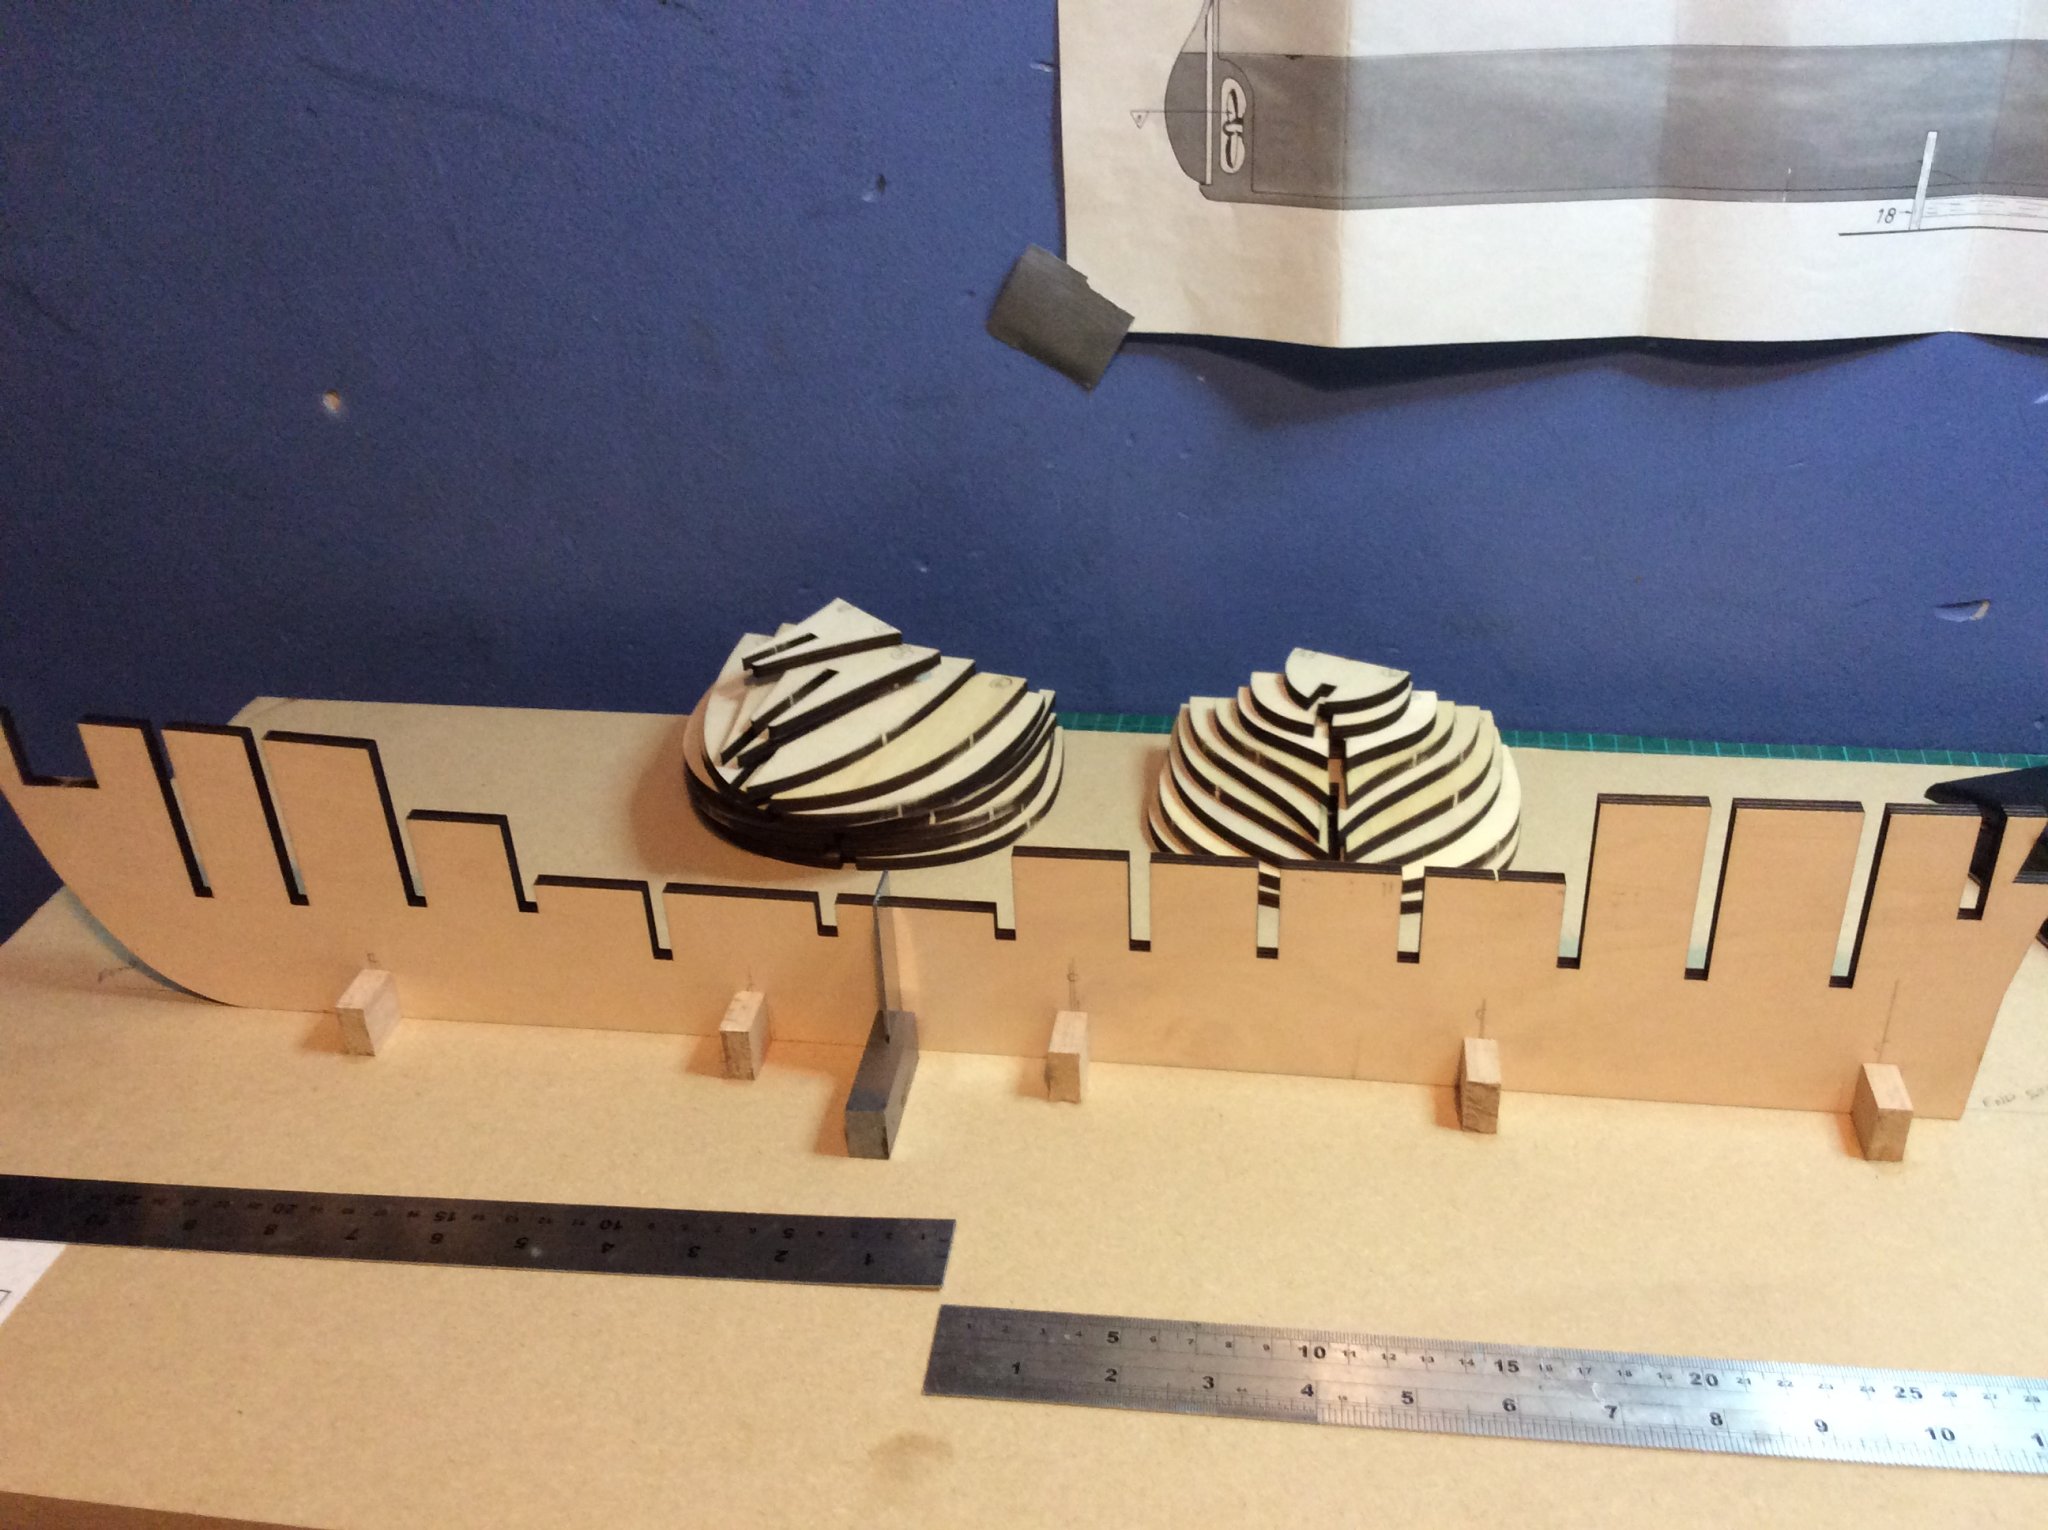
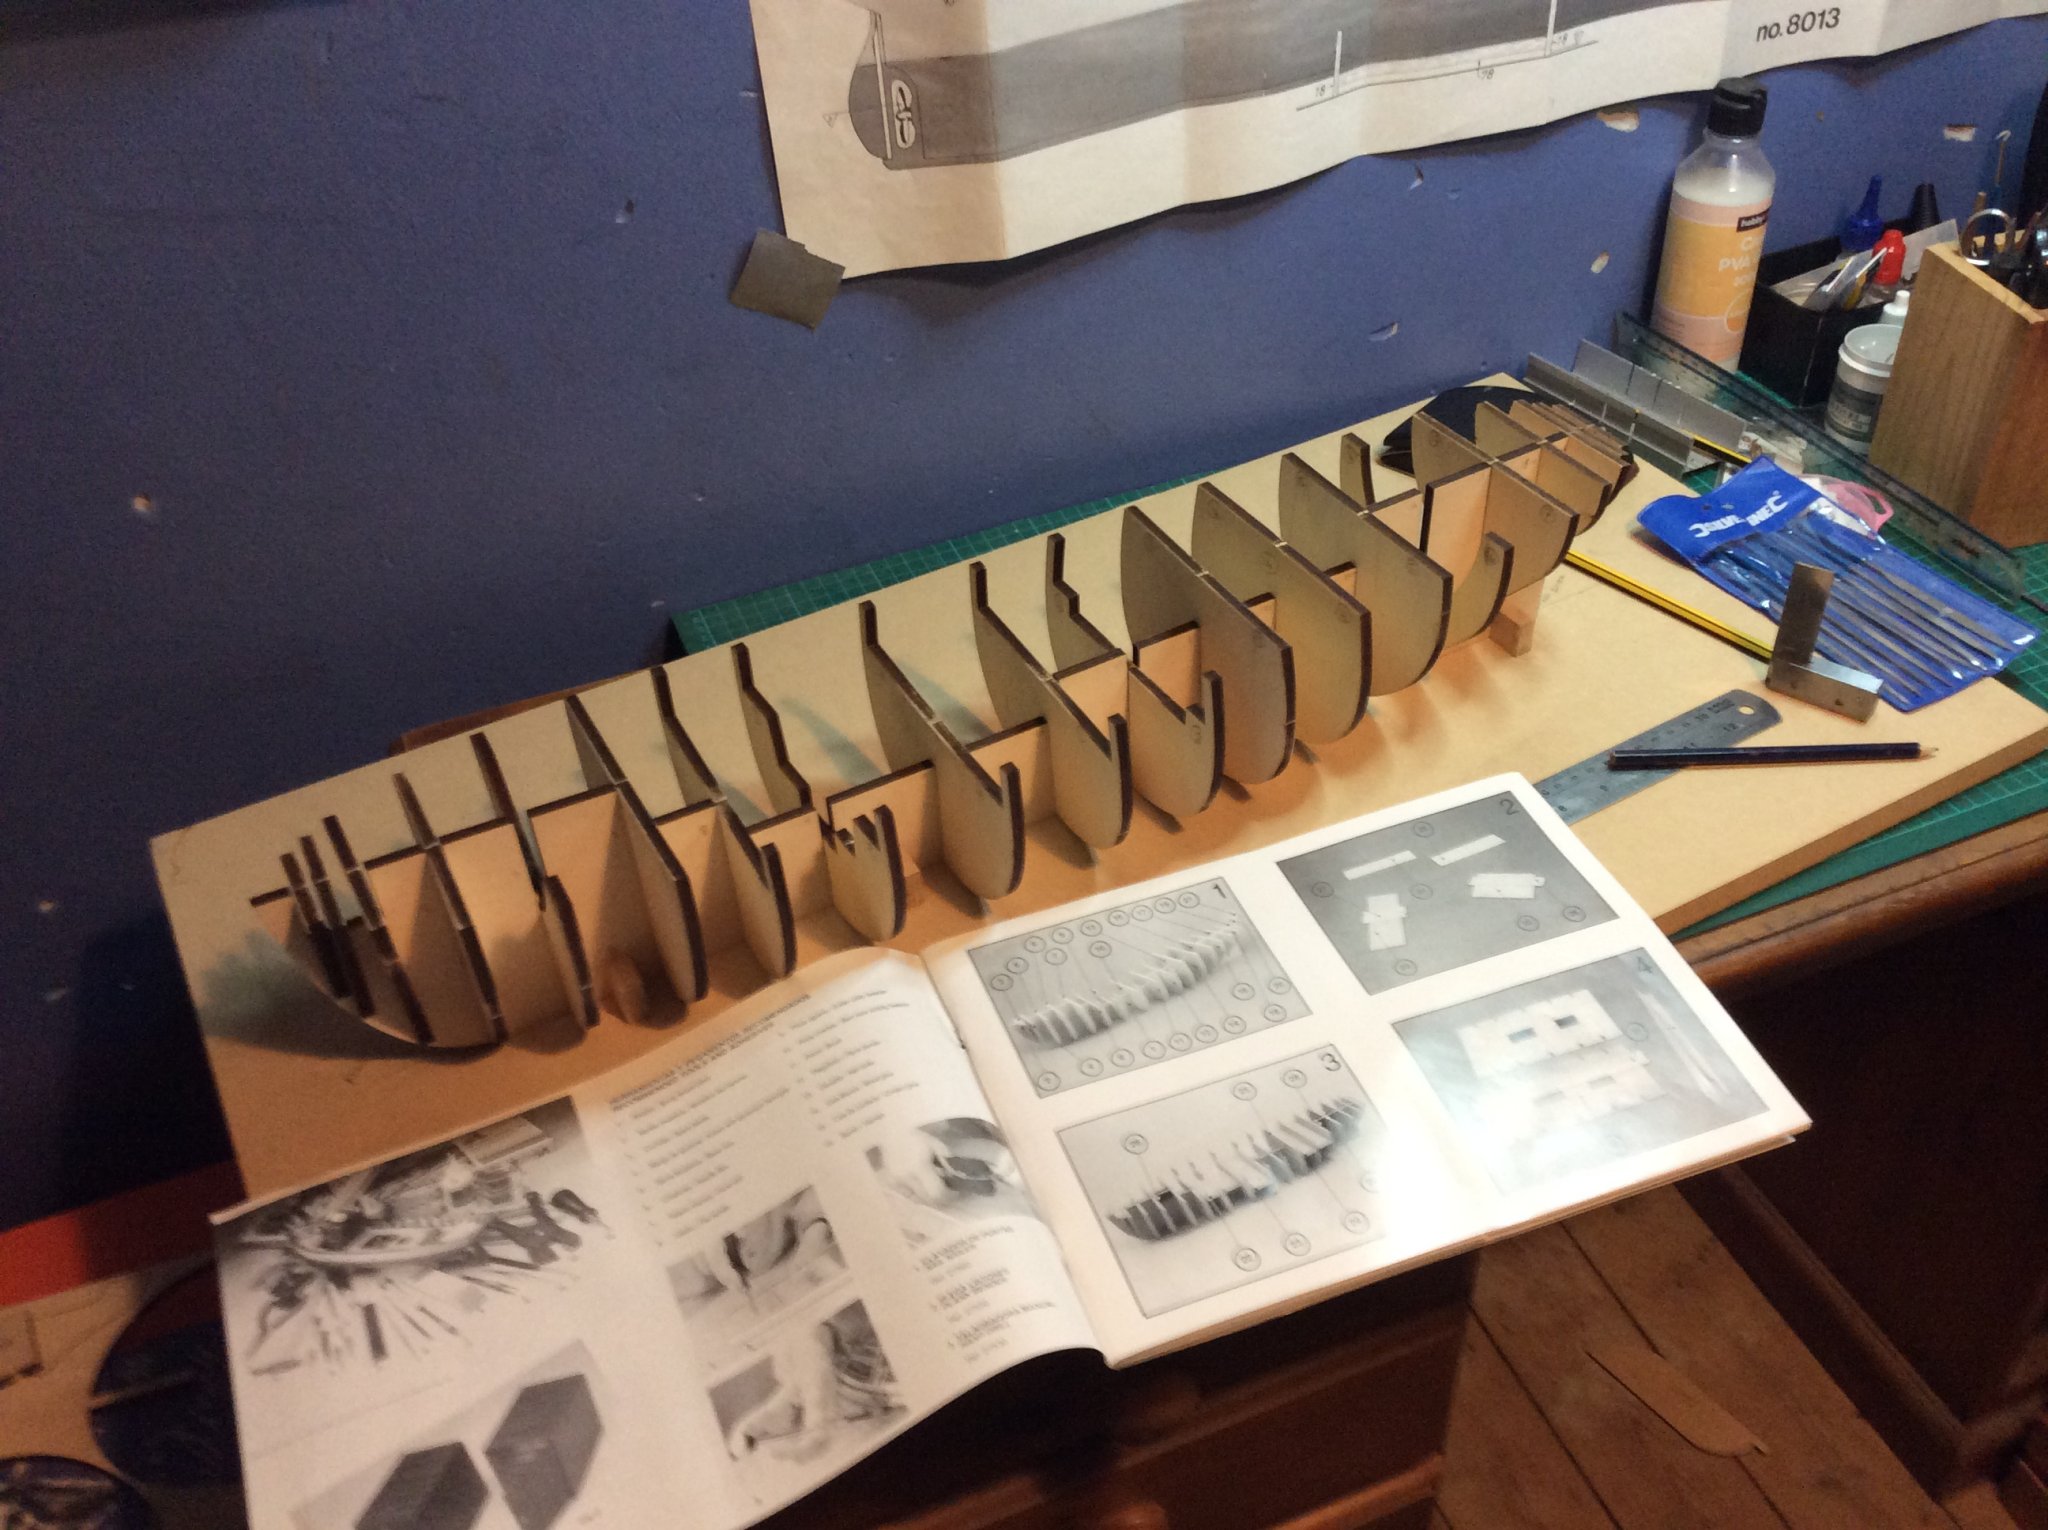
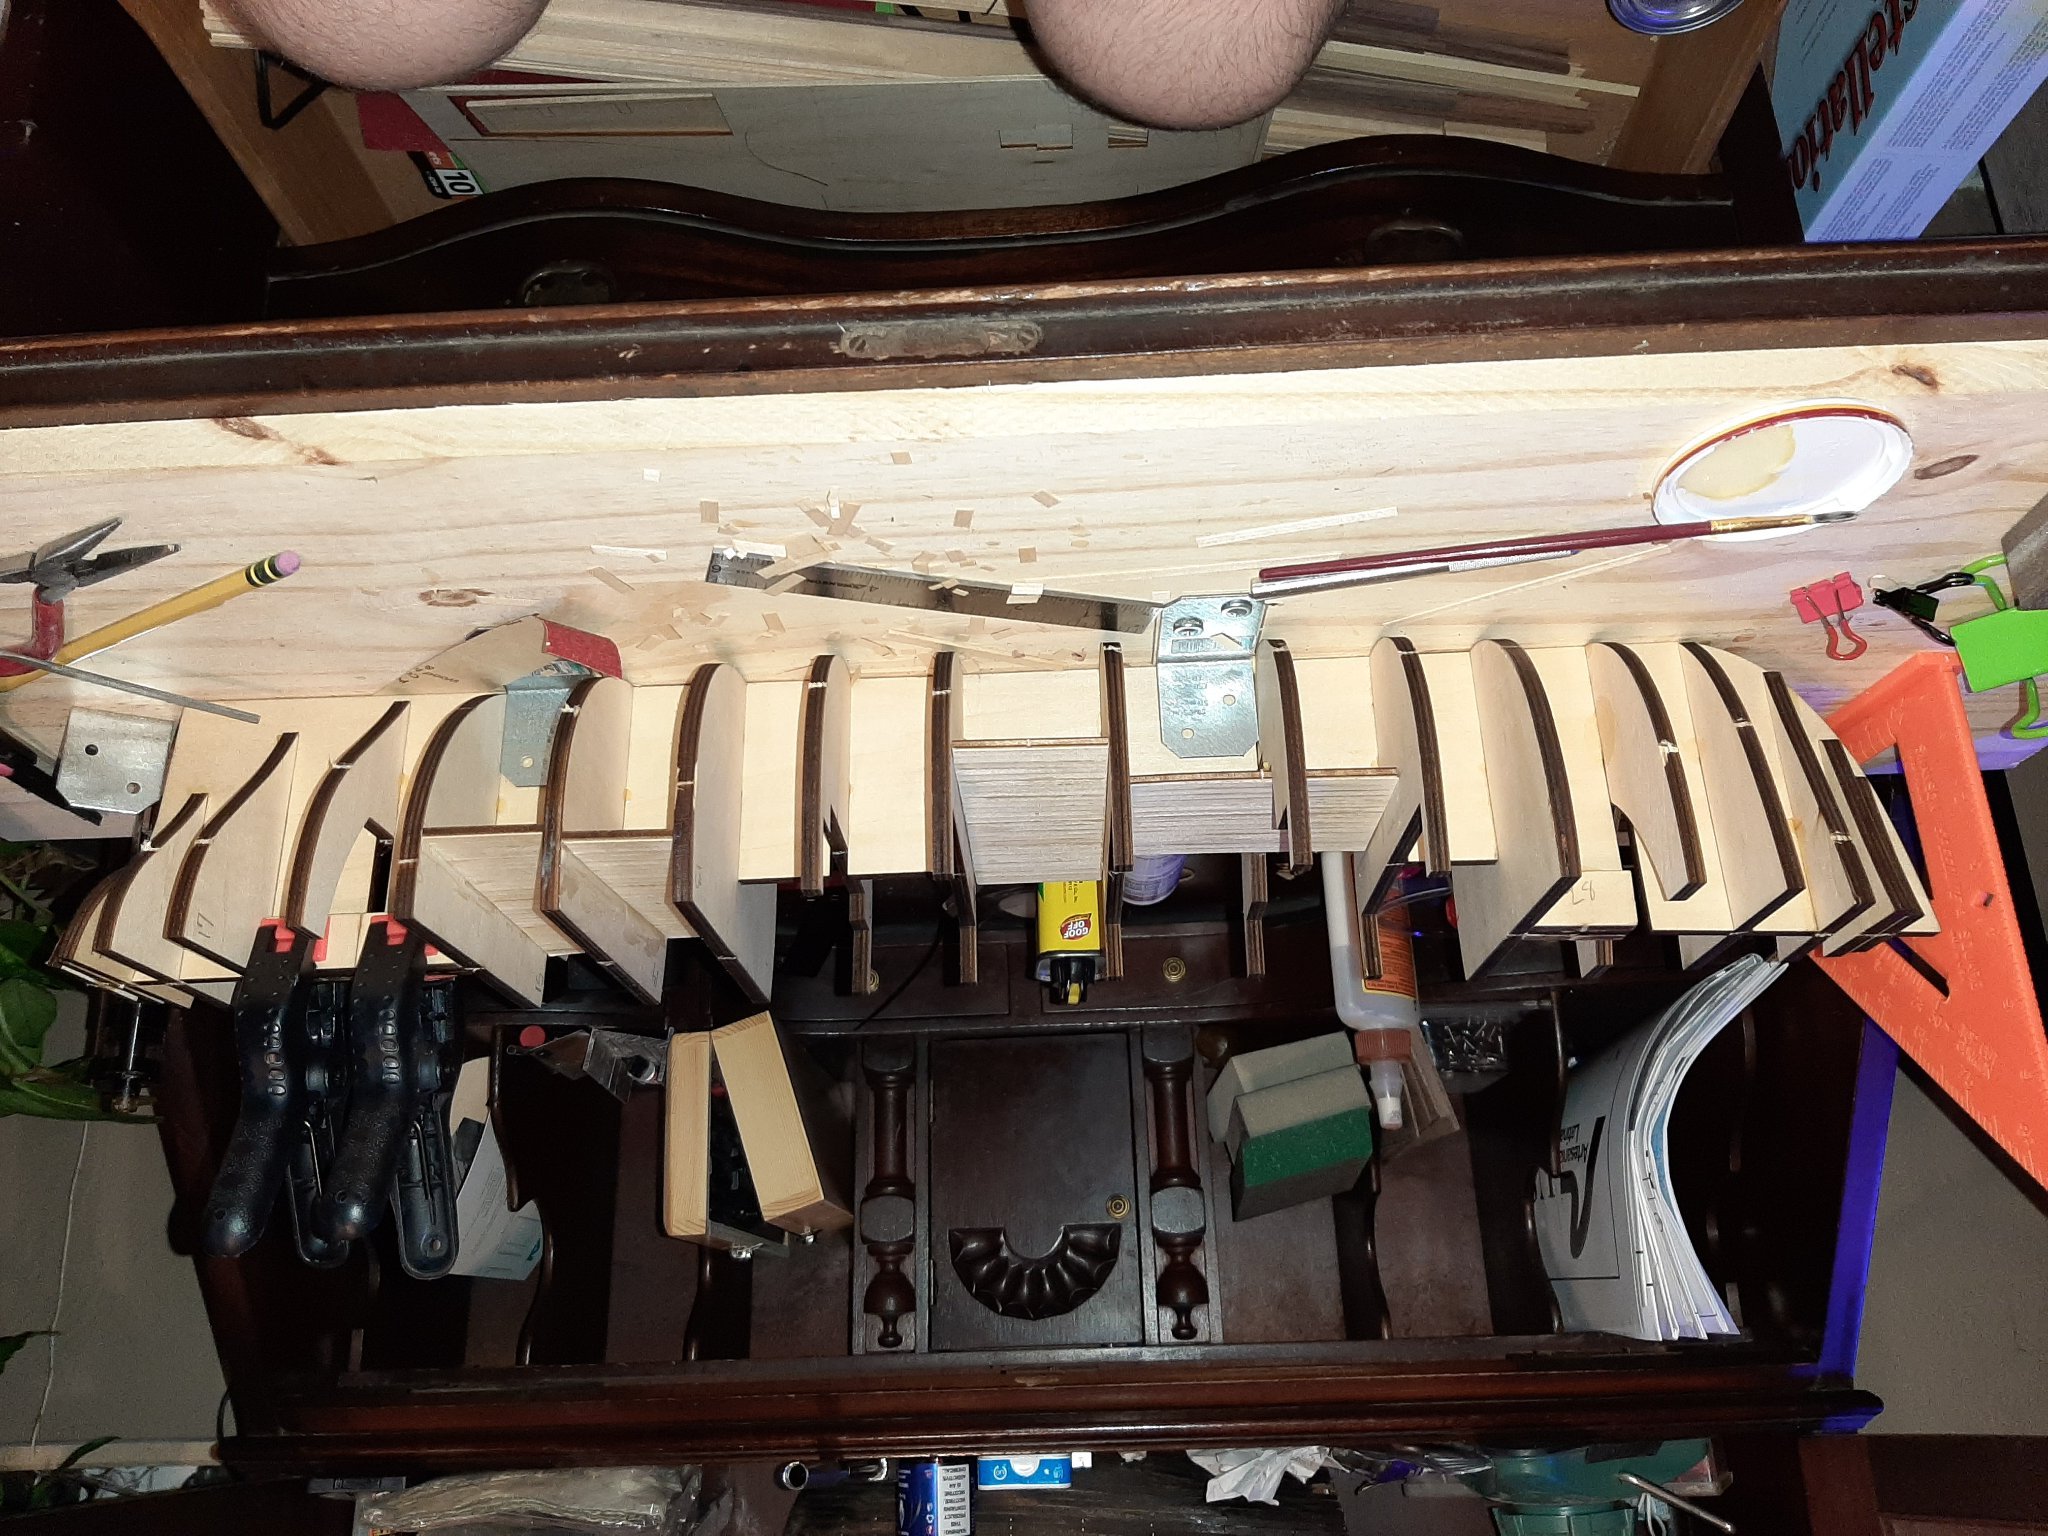
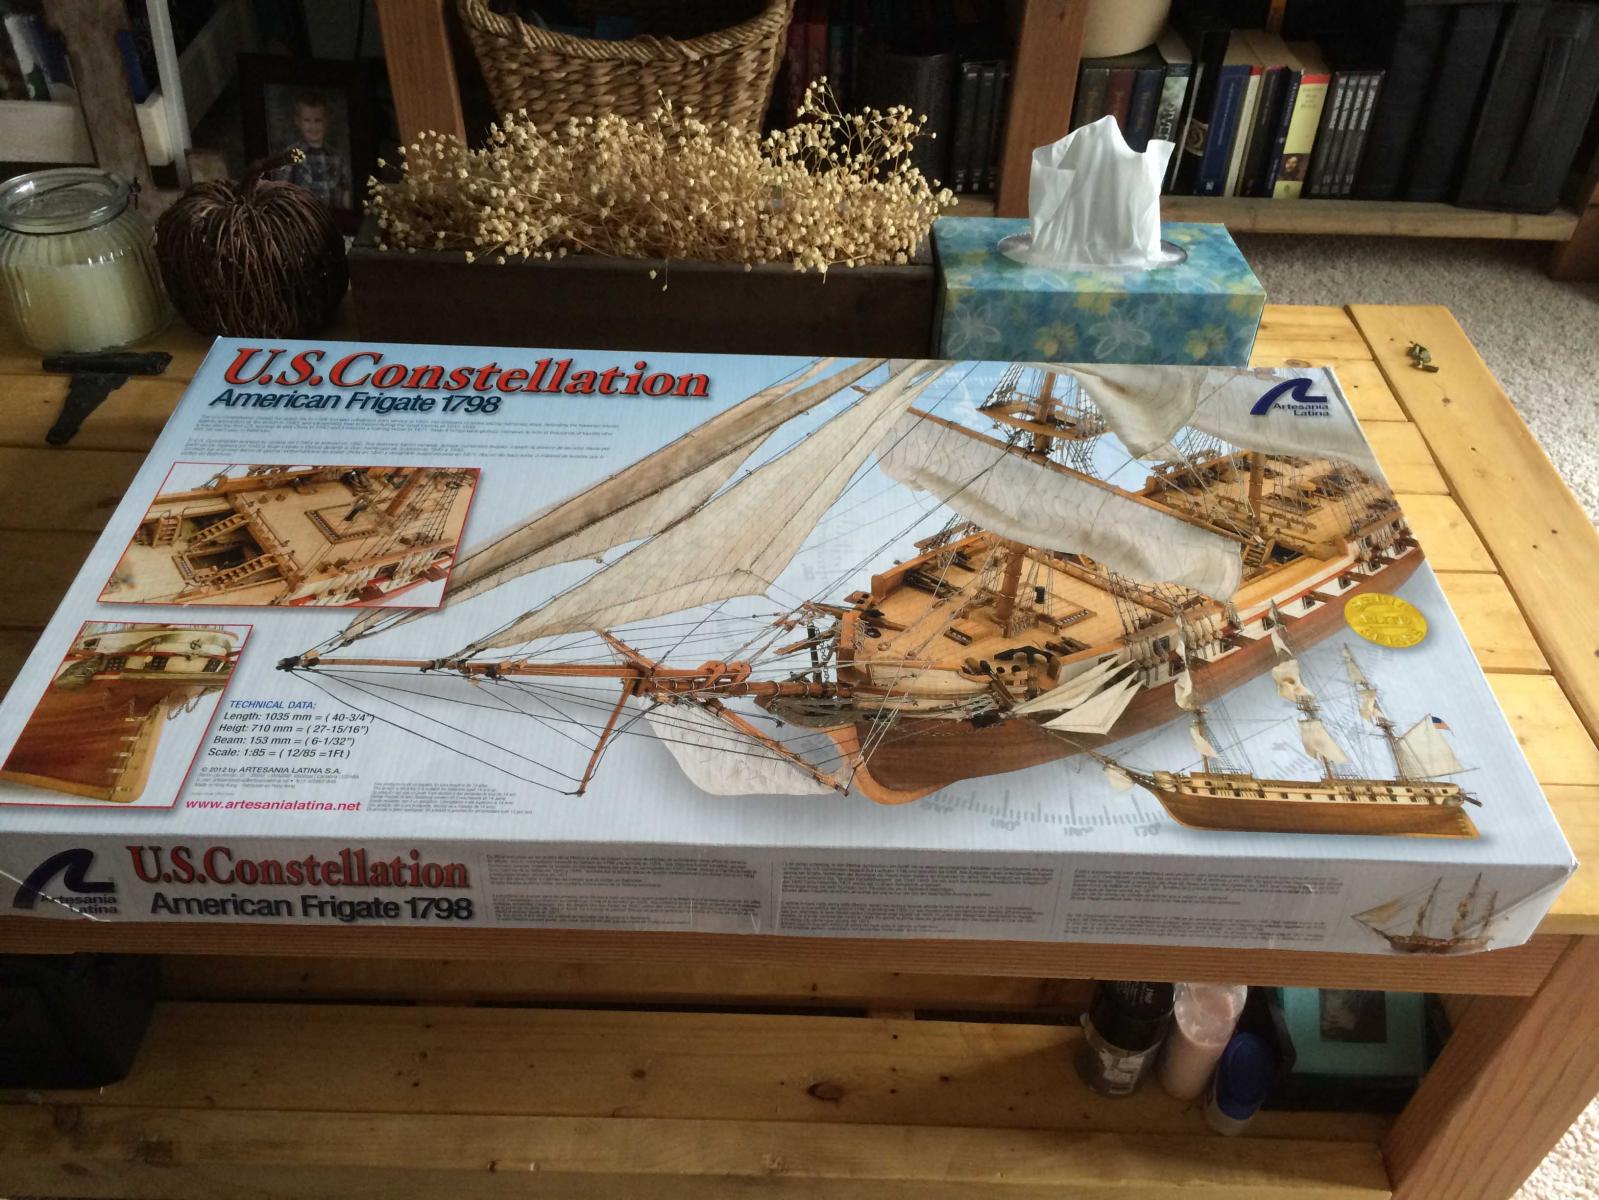
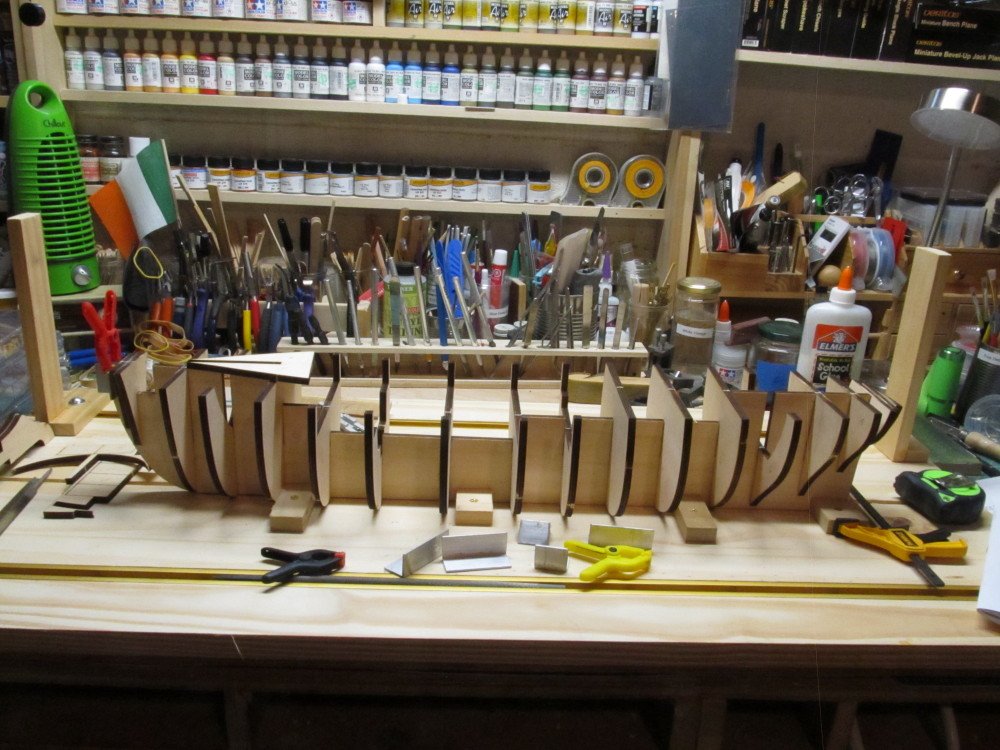
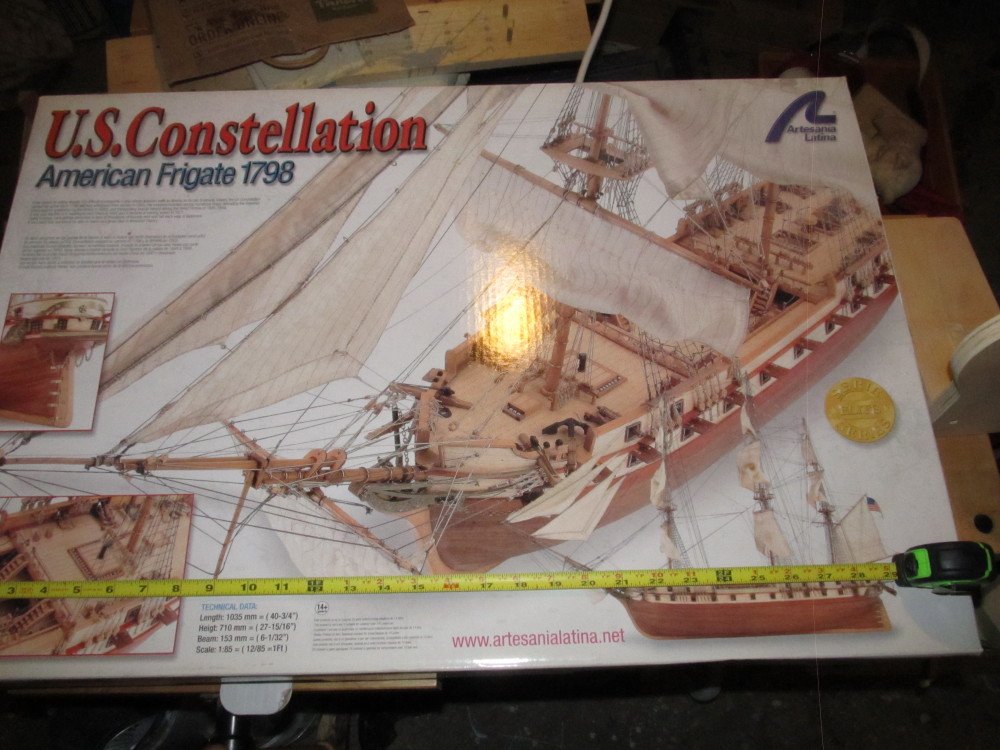
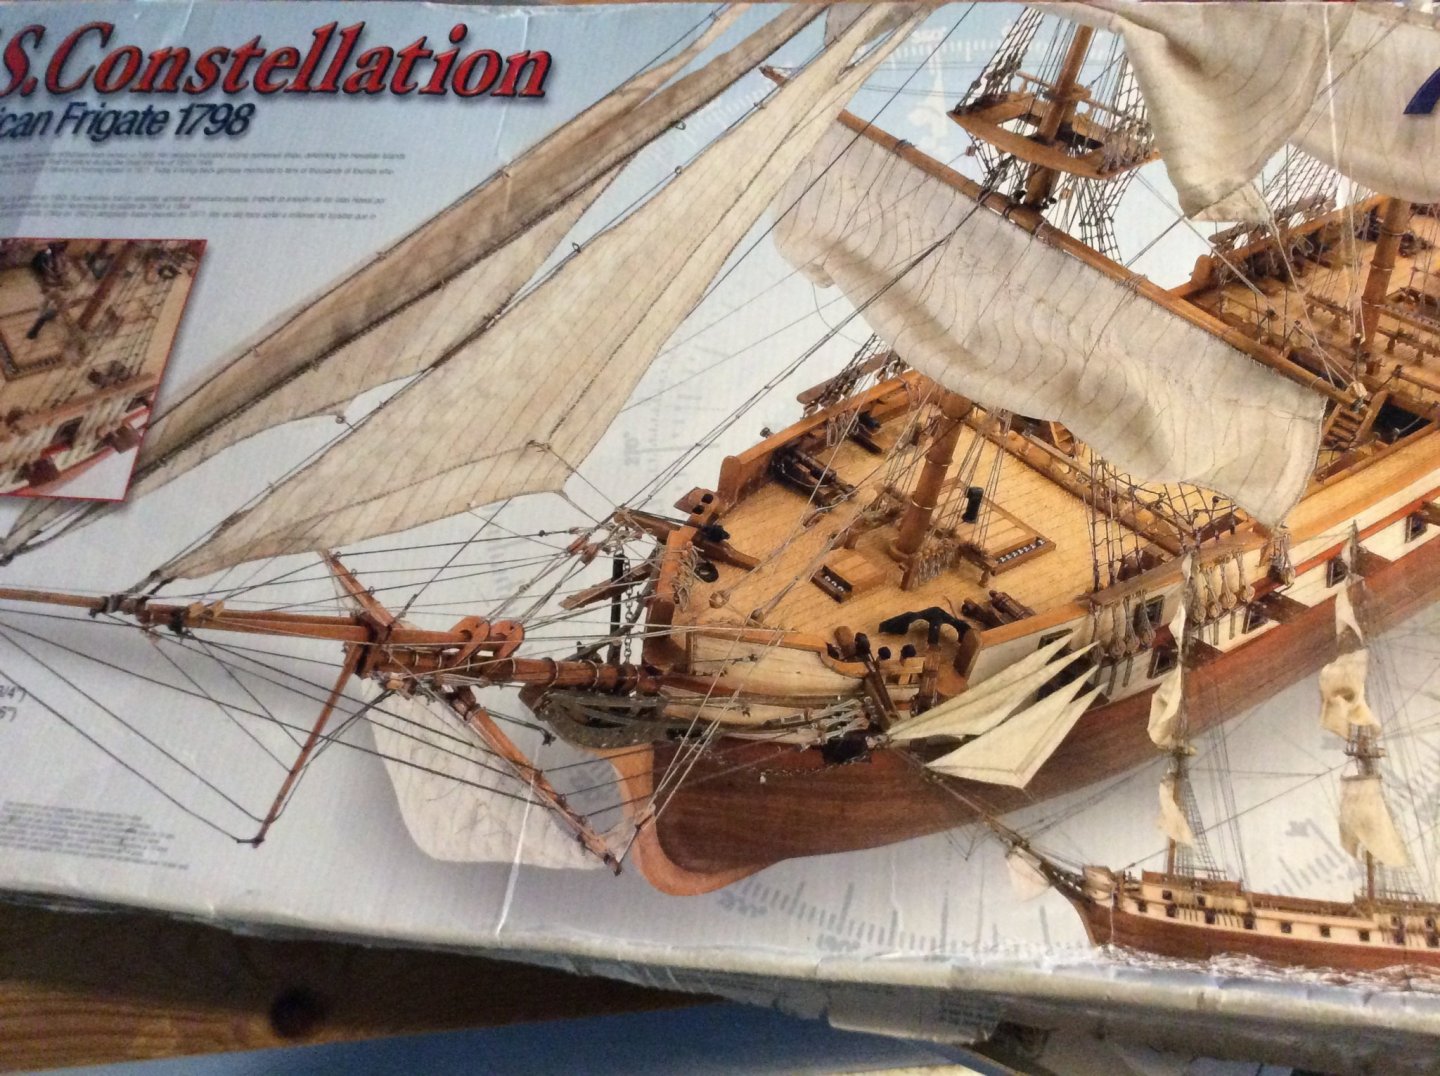
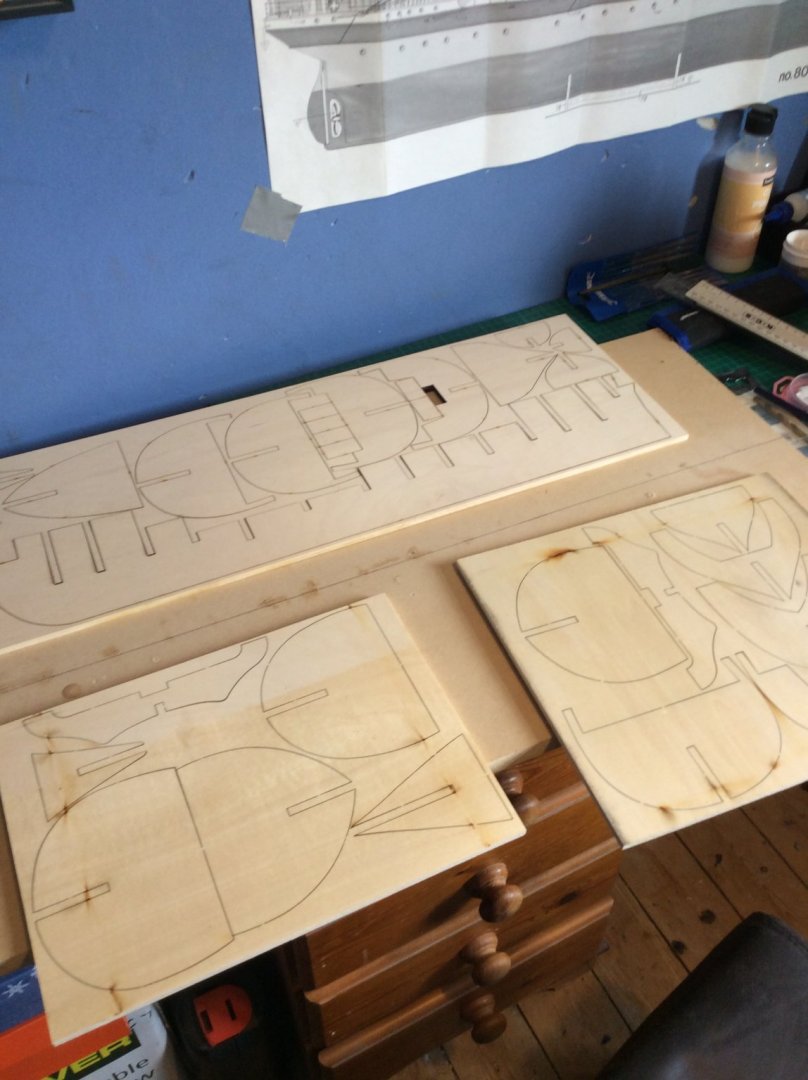
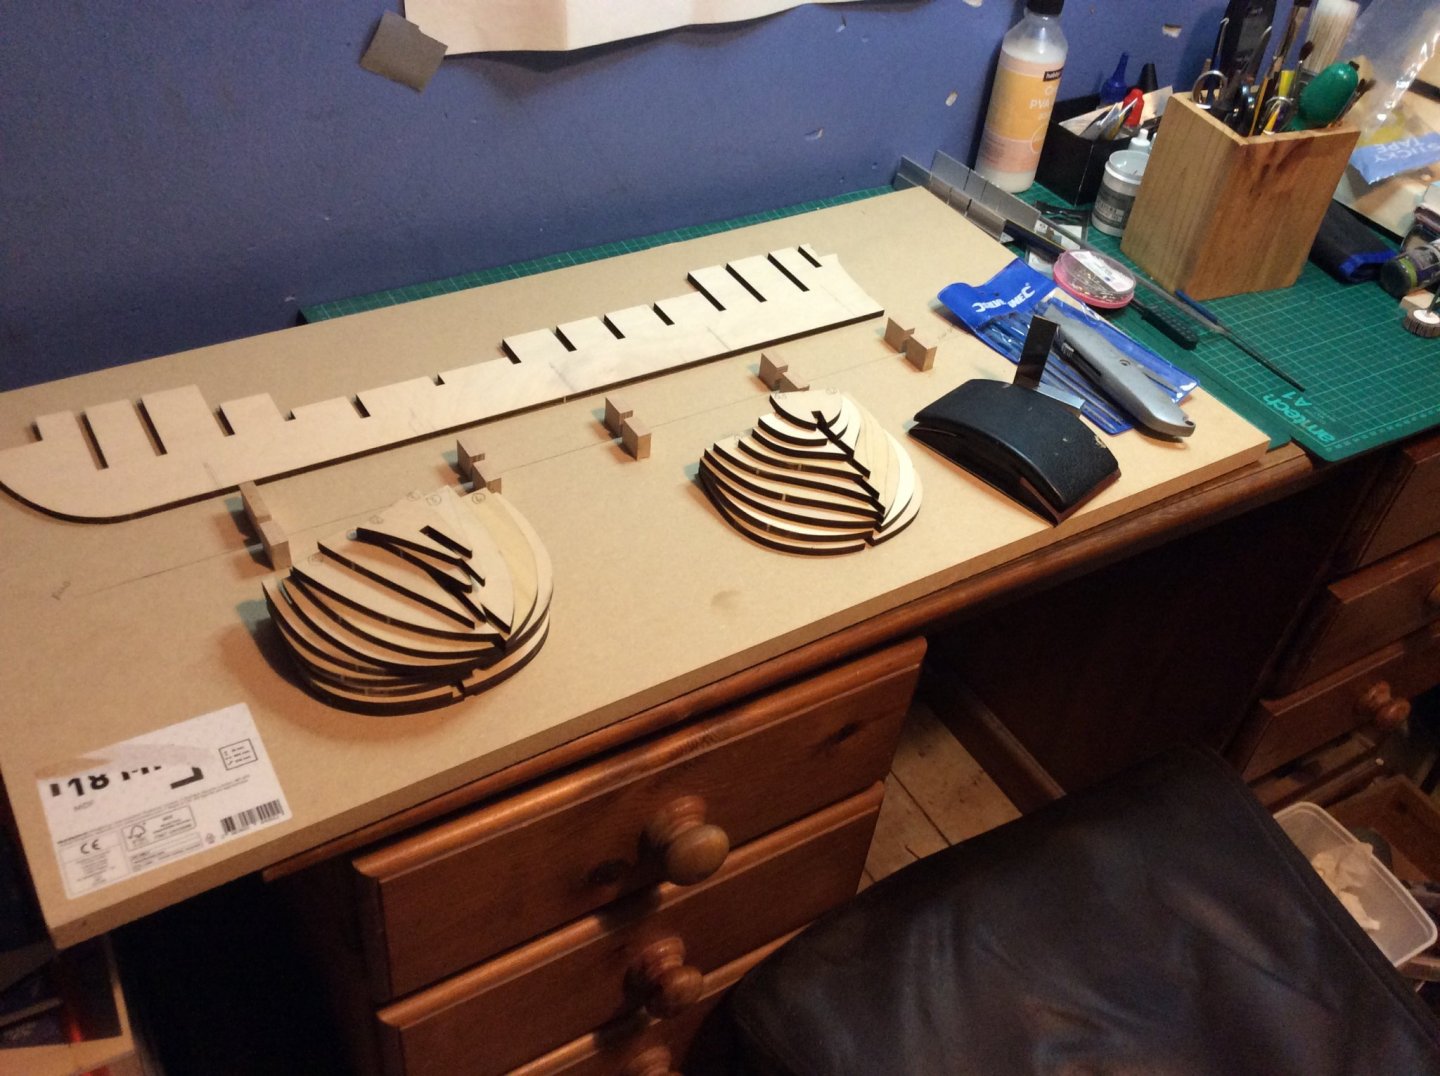
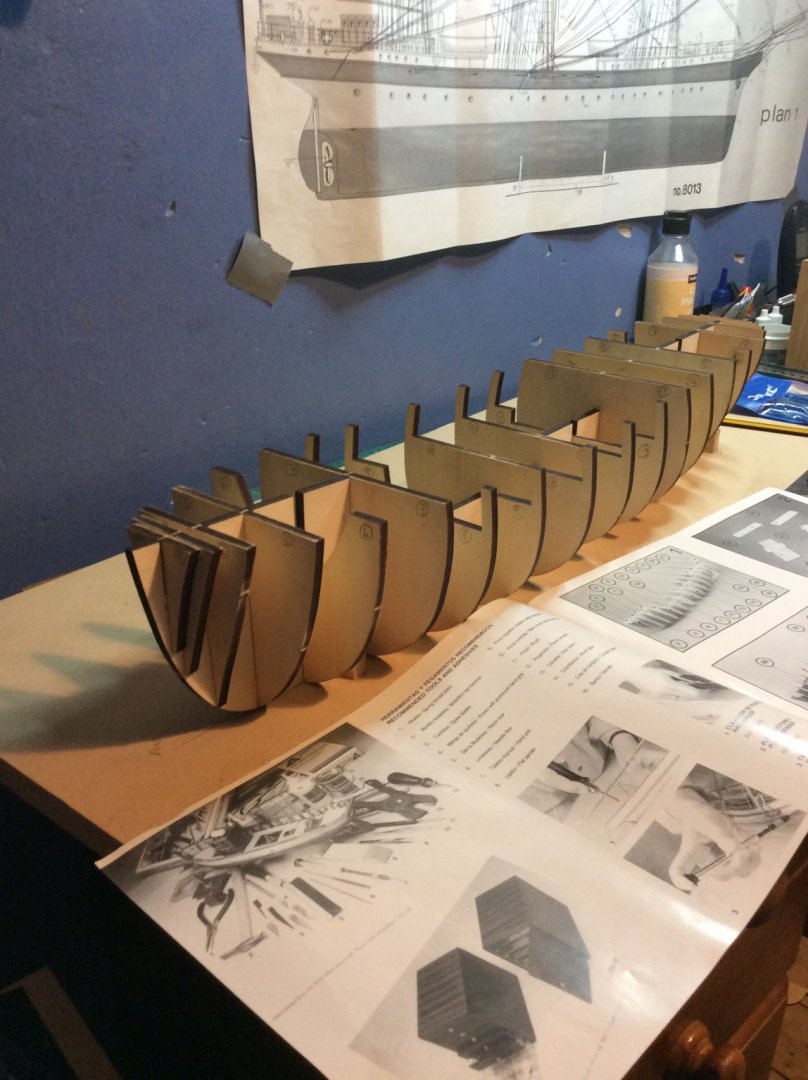
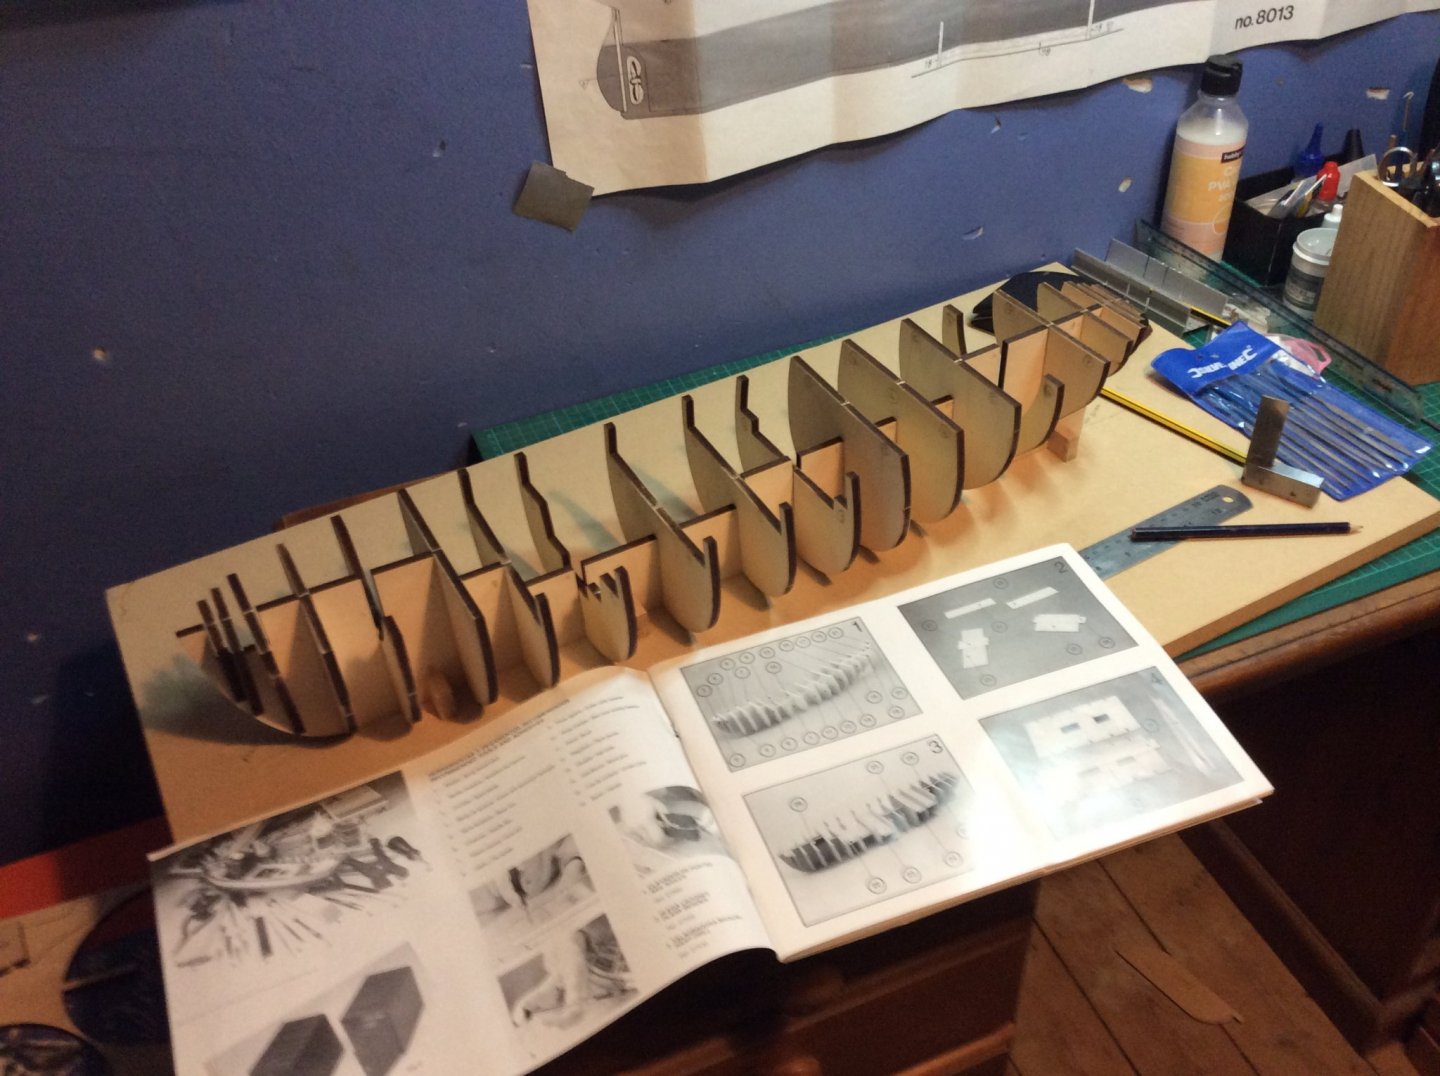
 For my next ship build I decided to finally drag the Artesania Latina US Constellation kit out of my stash and start building it. It was given to me by a good friend as a birthday present 9 years ago and has languished on the shelf since then; partly because it was intimidating, but mostly because I did not have the work space big enough to set it up and build it and lastly I did not know where I would display it once built - still don't but that will be dealt with later on. Even the box it comes in is huge and intimidating. I first constructed a build board that will hold it. Unfortunately I routed a groove along the centerline of the board to hold the keel but when the keel sits down in the groove the bulkheads don't seat fully, so I set it flush on the board and screen small cleats alongside the keel to keep it upright and straight. Some startup photos are below: So far I have dry fit all the bulkheads, sanded them as needed and am now slowly gluing them in place use small pieces of aluminum angle to keep everything perpendicular to the false keel. At this point everything is just dry fit
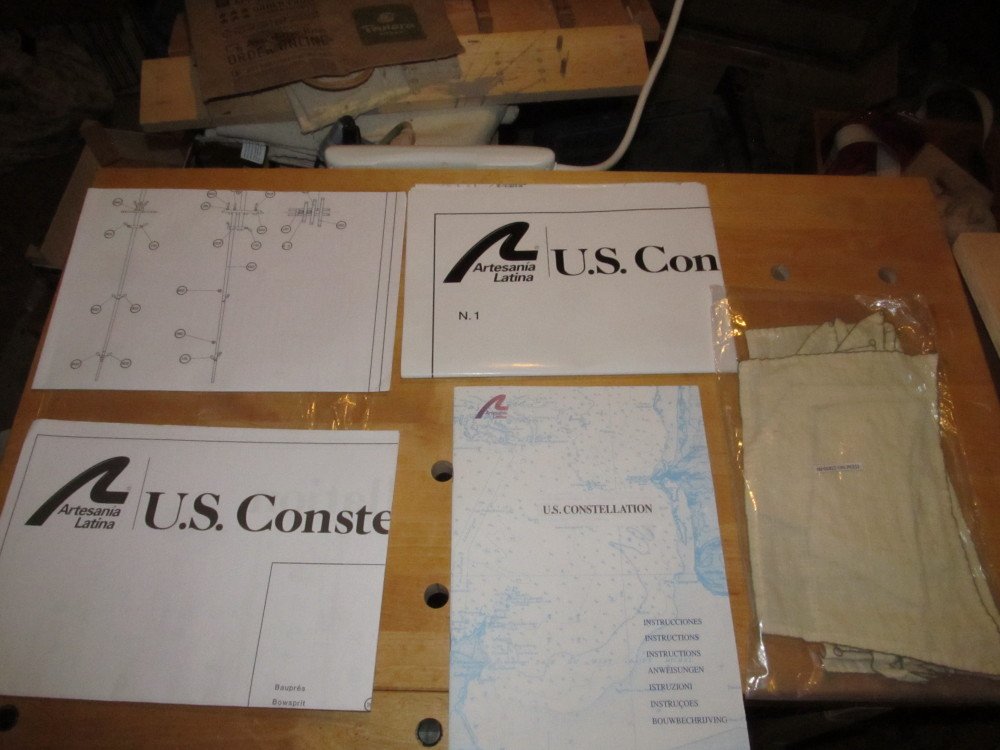

-
 Hello everyone, I'm new to model ship building kits and to this site. I found this site while googling for information about the Constellation and have already learned more reading one topic here, than I have on anything else Google pulled up. It's been sitting on the shelf in my shed since 2003. It is one of the 3 models I bought from our local hobby shop which was going out of business. The others were the Swift and the Mayflower. These are the only kits I've built. Normally, I build train models, some from scratch, some from kits, some live steam, some electric, HO, O, 1:20.32 and 7/8ths. I finished the Swift in a short period of time compared to the Mayflower, which I started in 2006 and I'm just now getting to the rigging, I think that's due to the fact that this Mayflower is from a Billing's kit that looks nothing like the Mayflower II which is the prototype image I am going for. So I had to cut the bowsprit beak down 3/4" and add 3/4" to the back of the model. I also had to change the location of the masts. I've made a lot of mistakes on the Mayflower, and I want to make sure I don't make them on the Constellation. I think I'll move faster and with better results if I redraw the plans that came with the kit. I'm not sure when I'll get to building the Constellation but before I do, I am going to make sure I make the necessary changes to the plans that were included with the kit while I'm finishing up on the Mayflower. I've skimmed through this topic so far and got some good info: It helped me to confirm my suspicions that this kit is not actually the Frigate, but is more like the sloop in that it's transom is rounded while the real Frigate's transom was square. What I'm not sure about is, are the quarter deck and forecastle separated on the Frigate as Bill Morrison describes, or is the deck just one piece like it is on the plans and model shared by j11 on that same topic? I'm also wondering about the position of the Masts, the size of the masts and spars. There seems to be a lot of knowledgeable model ship builders on this site, and I'm pretty much a newbie so I'm hoping someone can point me in the right direction to some accurate plans. Thanks in advance for your help.
-
 Hello, I am a new member and thank you. Bare with me, never posted in a build log before so this will be a learn as you go process. This is the second time I have built this kit. The first kit , twenty years ago I did not finish after getting to rigging. This time should go much better, being a home owner with a dedicated build room , finacelly sound, better equipments and the internet. I have already noticed one draw back, my eyes are not what they use to be, ha ha. Here we go.
-
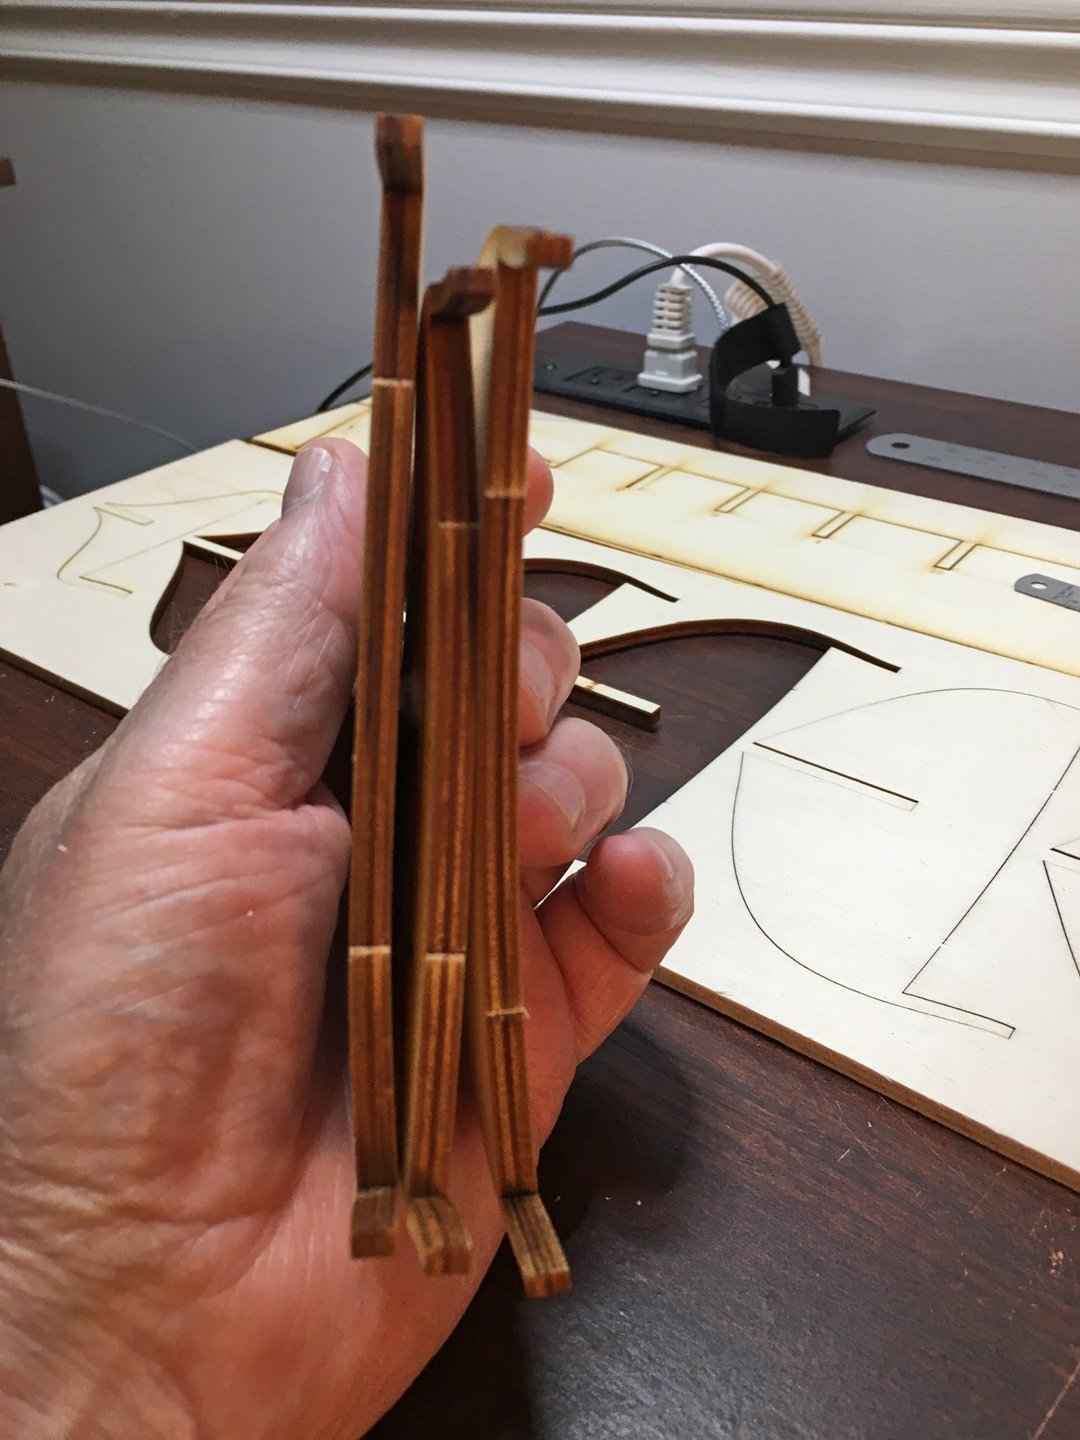
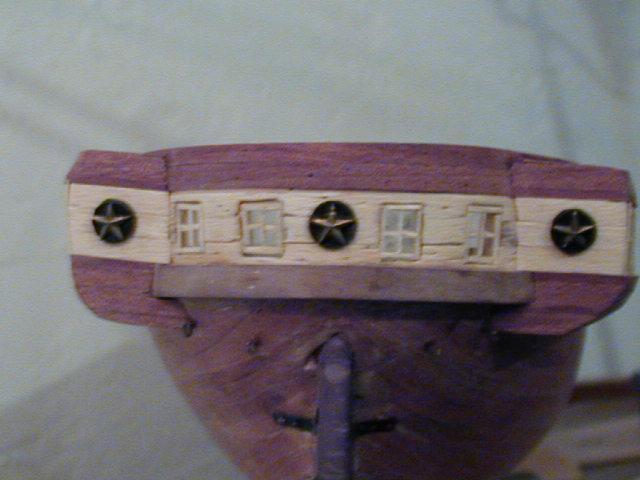
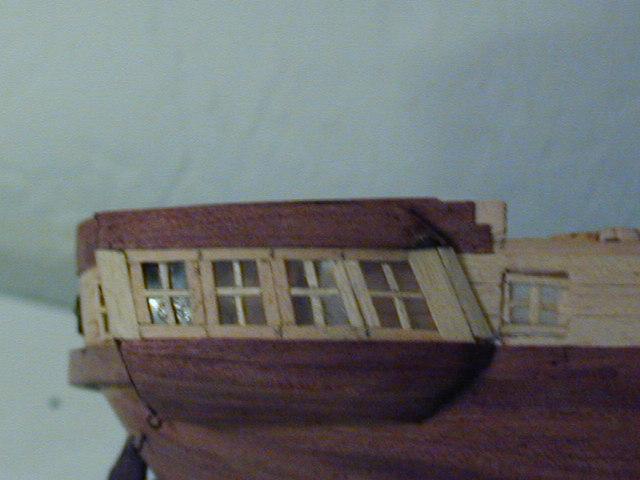
 Hi Everyone, i’m still very new to this site and am a little confused on how to get started with a build log i’d like to share. This isn’t my first build, i’ve made a few in my time this would be my 5th wooden ship kit. I’m still a novice at building them but the more i do the better they get. This is the first time i’ve started a log on any site so not sure what to expect. I’m hoping to pick up a few tip on improving many aspects of my work. To my latest build the USS Constellation by Artesania Latina. I’ve spent the the last few week researching this ship, i did find that the ship herself has changed over the years from her original 1798 form. Don’t think i’ll do much in the way of kit bashing but keep her to the ship George Washington commissioned. I have noticed a few things i’d like to change though for starts the guns look way over sized for its 1/84 scale. I did order some 30mm brass gun barrels from Poland but got a message today saying that all internal post was suspended to at least the end of March because of the Coronavirus. I’m also looking to do something about the gallery windows which are cast metal and basically just painted black and stuck in the stern of the ship, not very realistic. Anyway i’m looking forward to any replies i may get and look forward to hearing from other members and hopefully we can all enjoy this build. Until next time....
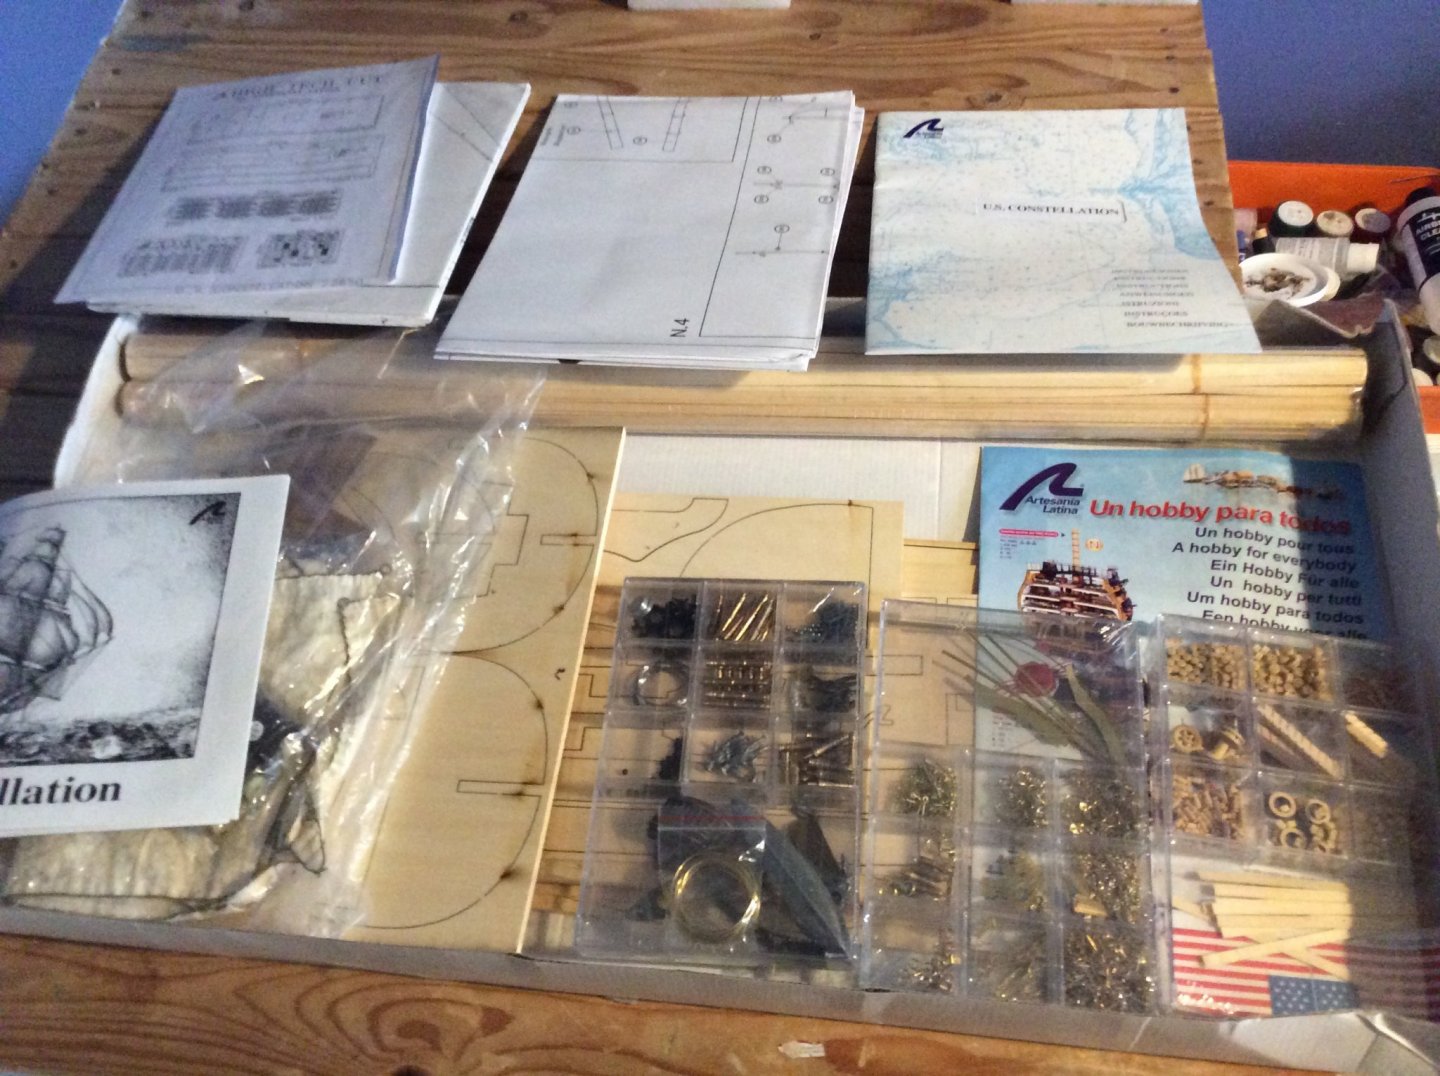


-
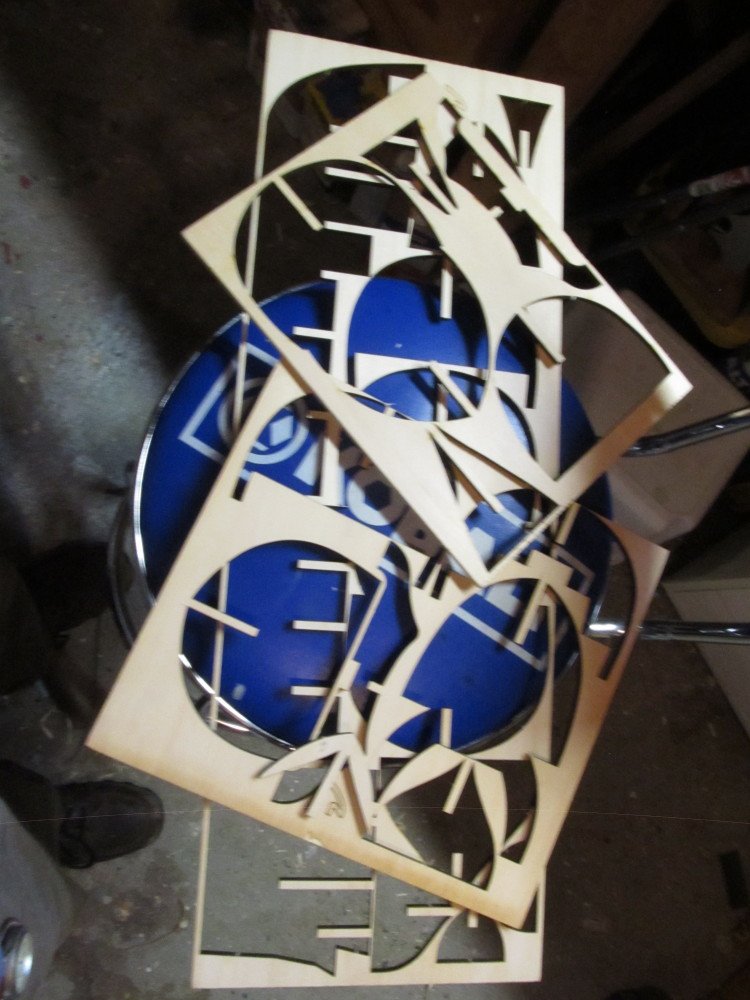
 I got this kit in the mail last weekend from micro mark. I got it out that night and started going through everything. A few days later started cutting bulkheads and the keel out. Dry fitted everything and then eyeballed the keel. Man is it twisted.
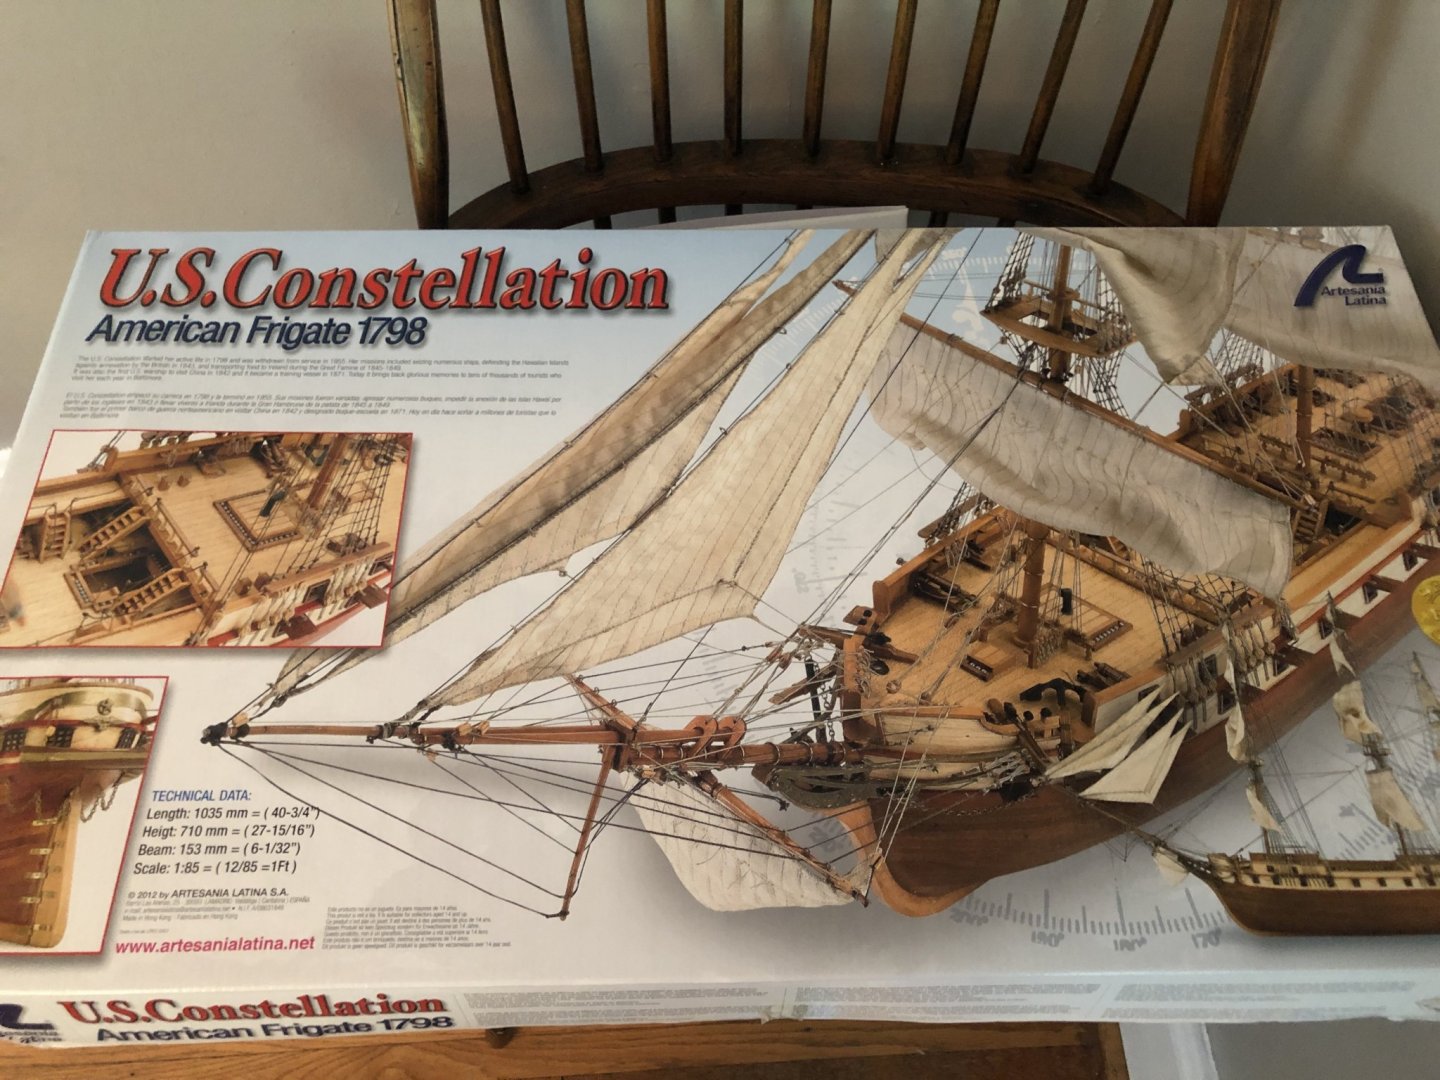

-
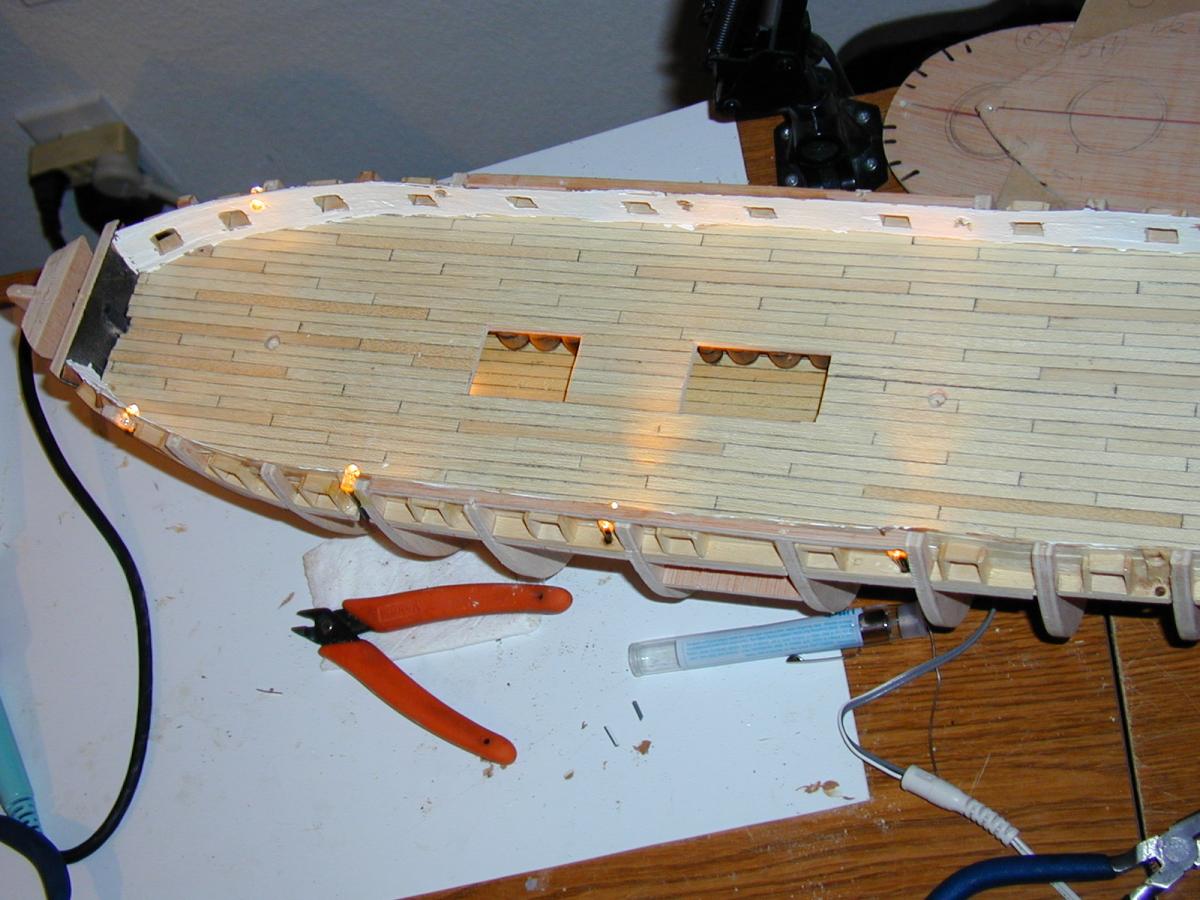
 So this is my second build, my first being a constructo golden hind. Now I have put that away for awhile but I do intend to fix it at some point, I made multiple mistakes with it, its fixable but I want to start a fresh one. I didnt square my bulkheads, also over faired them aswell and ultimately was trying to go to fast. I think part of the problem was I got a ship that I couldn't find any logs on lol But here's my start to this one here, if got the bulk heads on and starting to plank the lower decks. The quality isn't the greatest but its actually better than the constructo. I do plan on changing a couple things thoough.
-
 This is my First Build since I was a child, My first boat is unfinished and gathering dust at my Mothers house with copious amounts of filler. Im going to have lots of questions and I'm hoping to find some good tips here.
 -
 Click on the tags in the title above (shown in black) for an instant list of all the build logs for that kit subject.
 -
 Sorry for my confusion
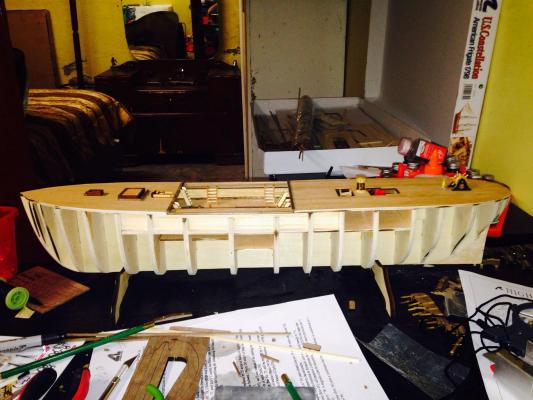
-
 Ahoy, everyone. Been lurking on MSW for awhile and decided the time was right to contribute in whatever way I can. I’m a total amateur so you’re likely to witness a lot of rookie mistakes along the way. Happy to hear your constructive criticism and suggestions. There are some very talented builders here! A little background on me to set some expectations. I’ve completed one ship previously (maybe 10 years ago, now) and was reasonably pleased with the outcome but for various reasons haven’t had the time to do a second. Until now. Between work, a child, a wife, traveling and 2 dogs, I still don’t have a lot of time to work on the Constellation each day, but I am trying to do at least an hour every night. I enjoy wood working and have all the tools and supplies I need, but have almost no expertise in ship building so I am learning what I can by reading and by just doing. I actually started this project on June 1st so I have a fair amount of progress to share for my first few posts. Going forward I will keep this log updated as close to daily as I can. I am too much a novice to get into modifications to the kit so I will follow the instructions as much as I can (the AL instruction book sucks). Thank you, and hope this log won’t disappoint.
 -
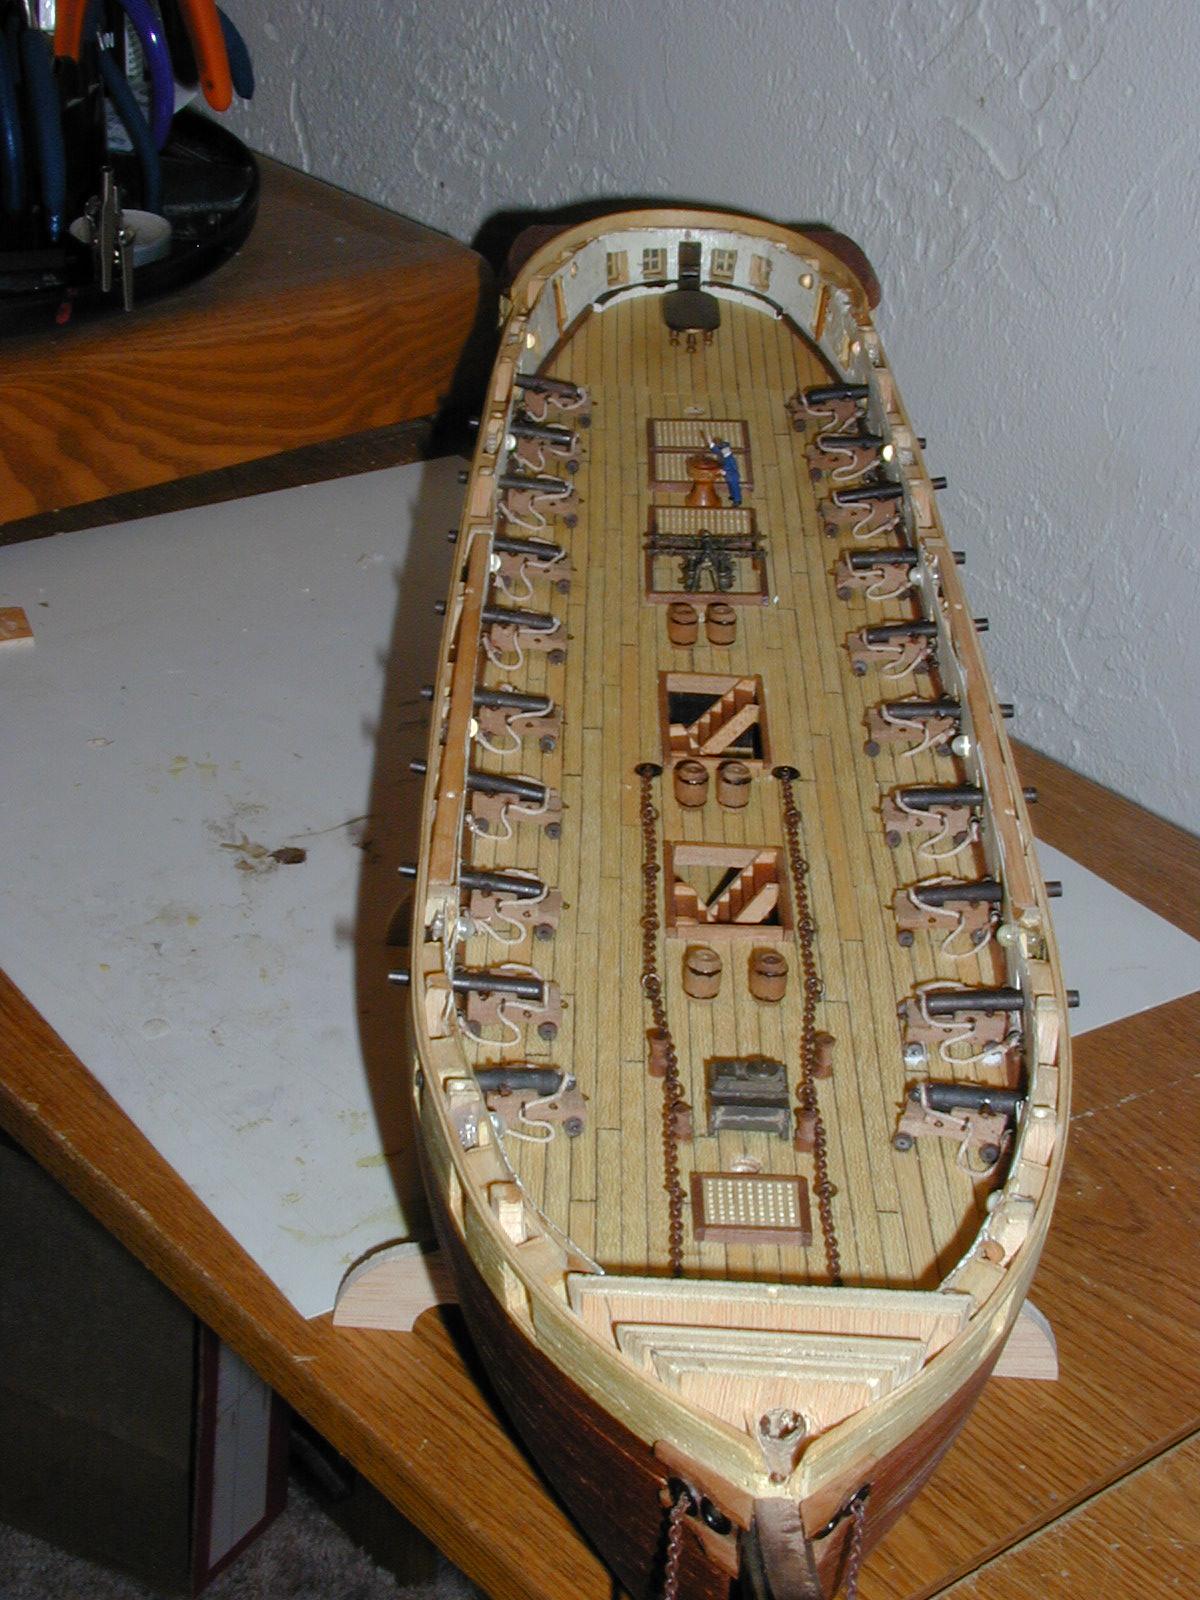
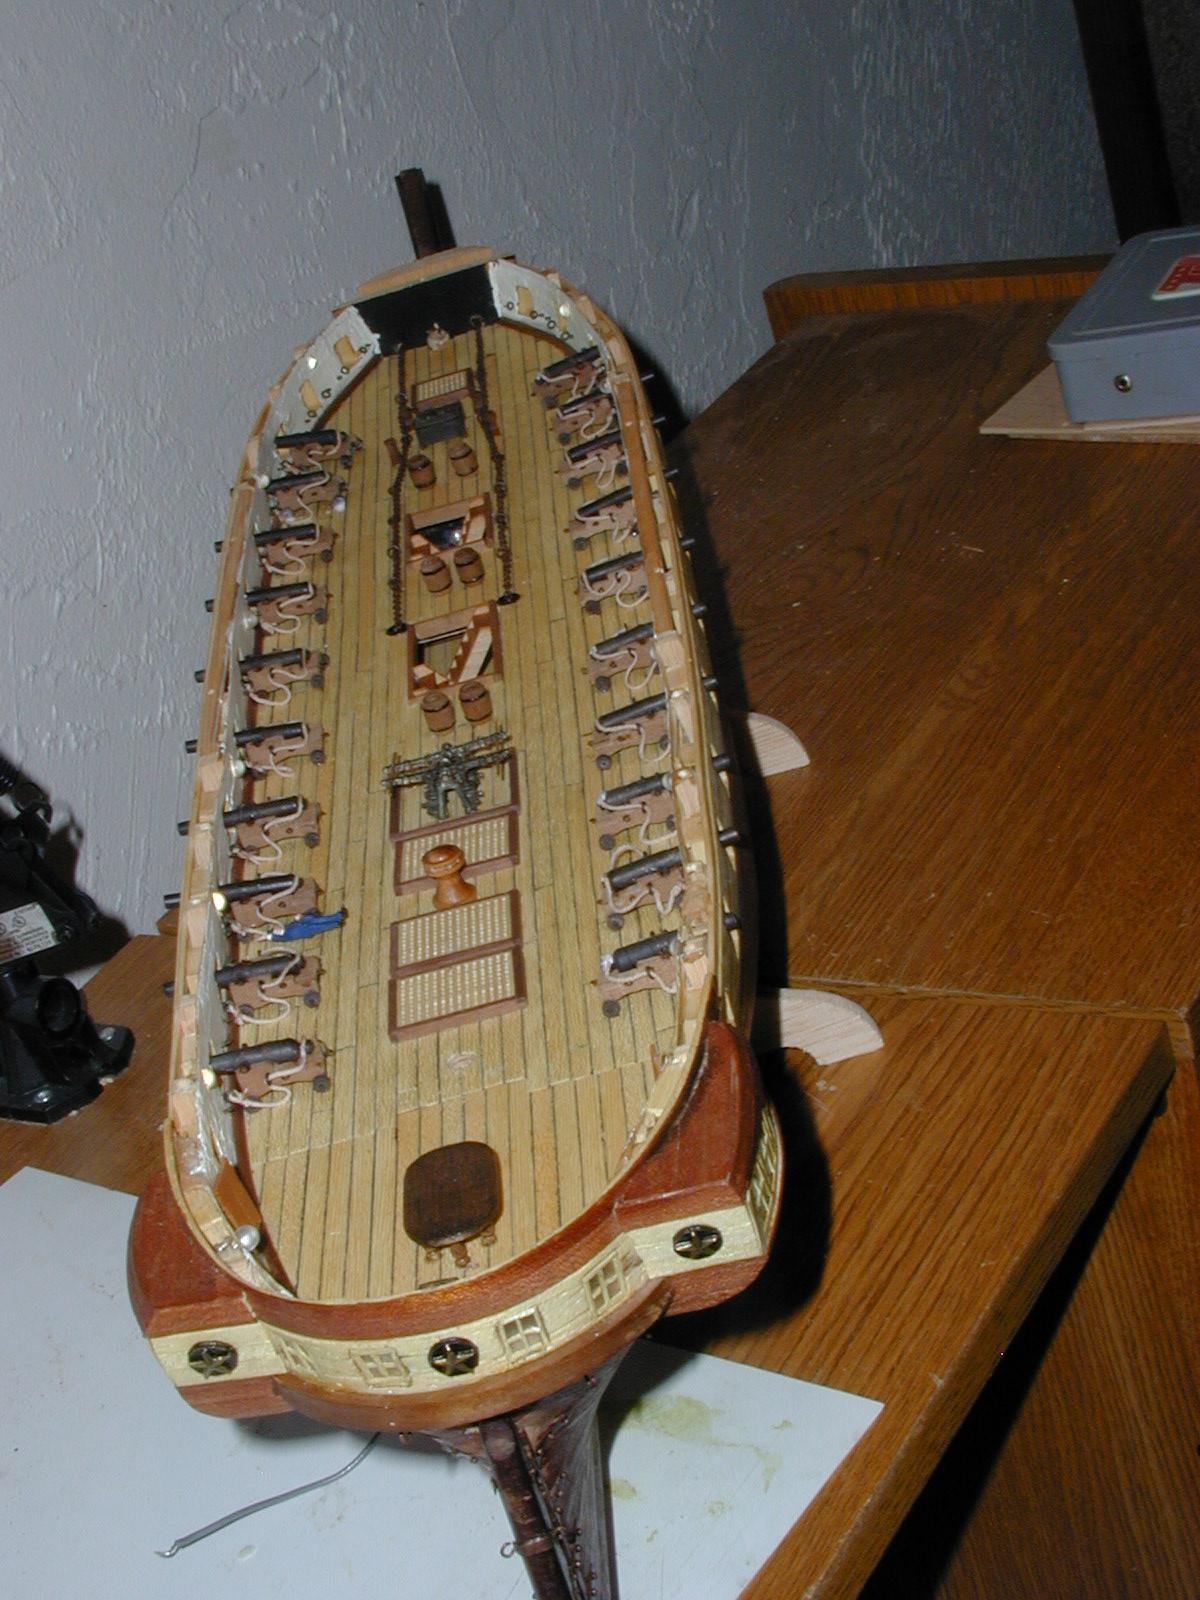
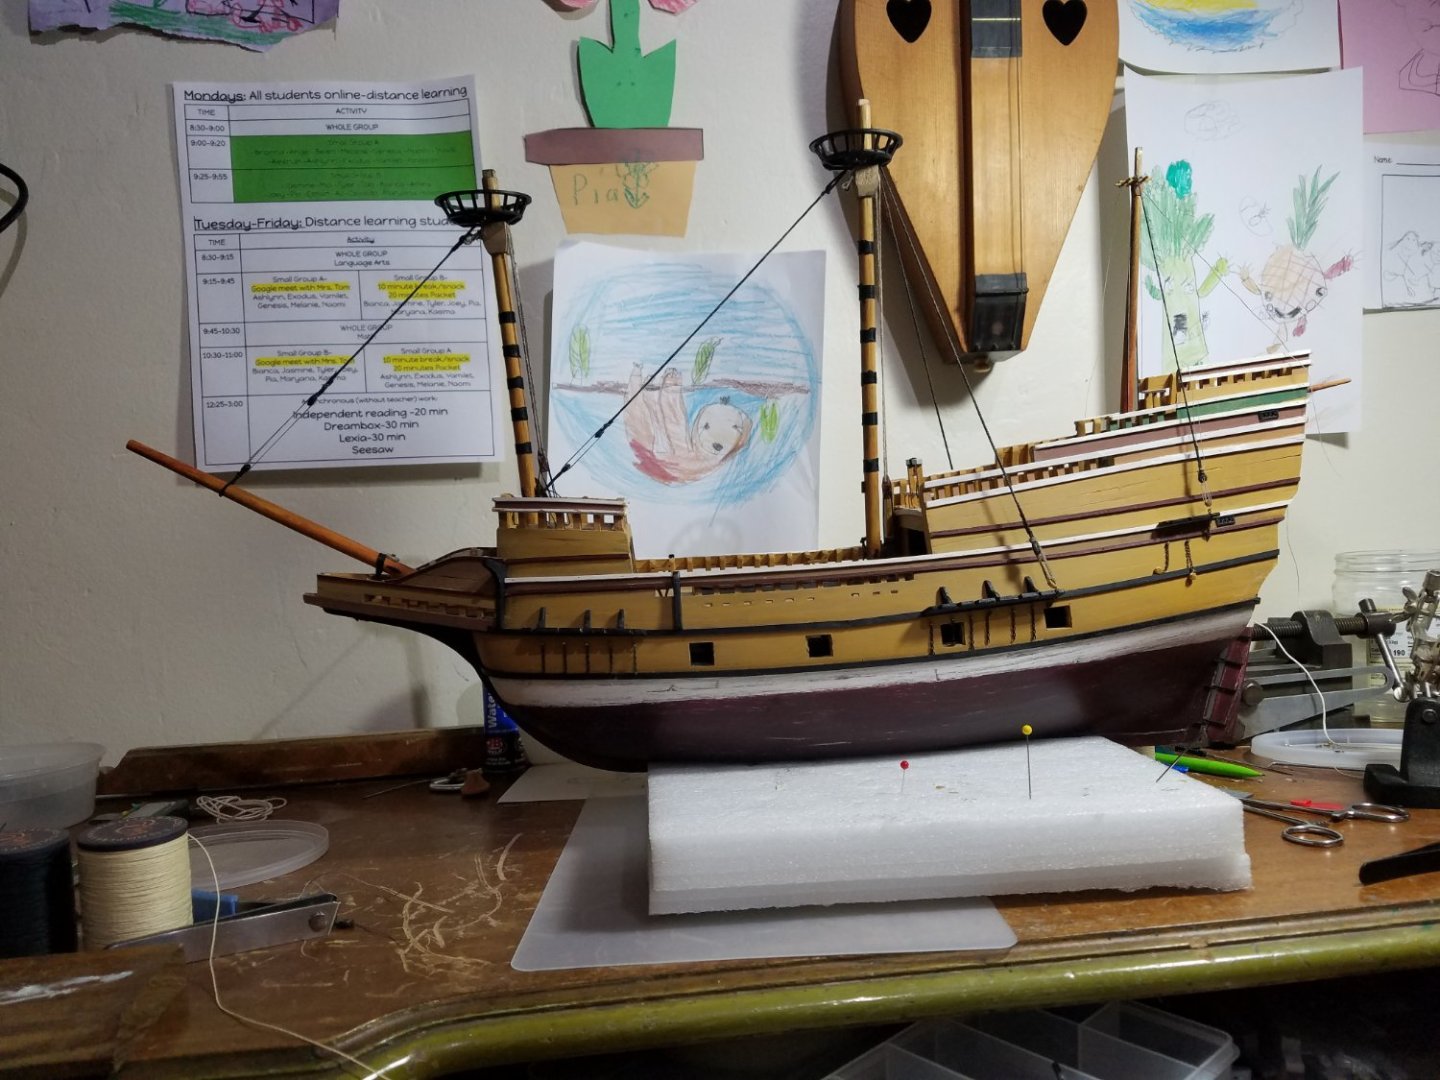
 This build has a bit of a backstory to it. I'm currently the Skipper for the Rocky Mountain Shipwrights an incredible ship modeling club in the Denver area. I sometimes get calls from outside the club requesting help with models particularly fixing up old models. I try to help them best I can and there's a couple of us that don't mind helping people with that sort of work. Well I got a call from a lady that needed some help. Her father was trying to complete a ship model but his hands had gotten to shaky. I told her I'd come have a look. So I go and meet this man and have a look at the ship. He told me he had some family member's helping him out but they didn't have much time or knowledge. He had wanted to get the model done by his 97th birthday and that was two weeks ago. He was a marine and model builder though I think his expertise was in river boats. He has a model in the Cincinnati library if any one is around there. All the models he built he had either sold or were given away. This was to be his last model and I suspect the only one to be passed down within his family. Well my heart went out to him and I agreed to finish this model as soon as possible. So I took it home and started digging in. It had a few problems to fix right off the bat. The mast doublings were facing to the stern so I had to turn those around and the port holes were drilled in some cases just wide enough for the cannon and nothing more. There's a lot of deck fittings missing. So I've gone to work. This build is a race against time. He's 97 and I want him to be able to enjoy this model for as long as possible. Here she is after I got the masts in the right direction.
-
 Here we go with project two. I finished my San Francisco II model and really enjoyed it. Very quickly I found myself bored watching TV in the evenings without something else to keep my hands busy. One thing led to another and the postman had a package for me today. With a couple kits under my belt I'm feeling more confident in my modeling. I will post more as I go along so I can get some feedback.

- 116 replies
-
- 1
-
-
- constellation
- artesania latina
- (and 1 more)
-
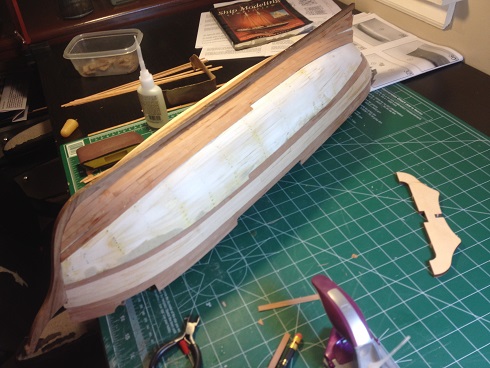
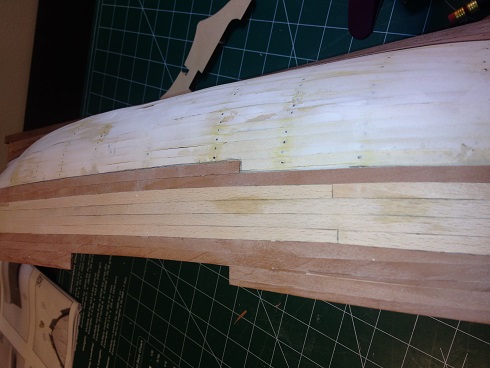
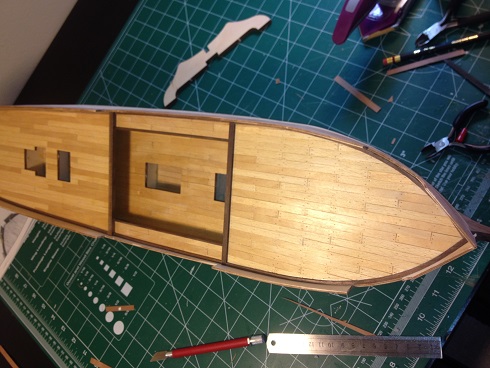
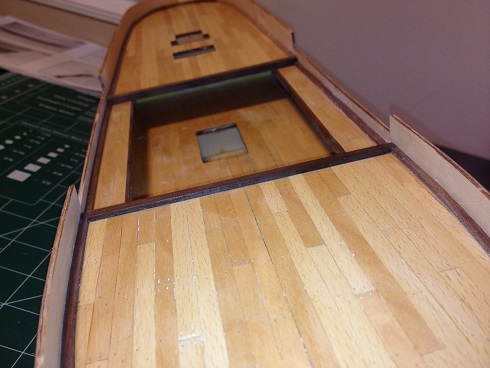
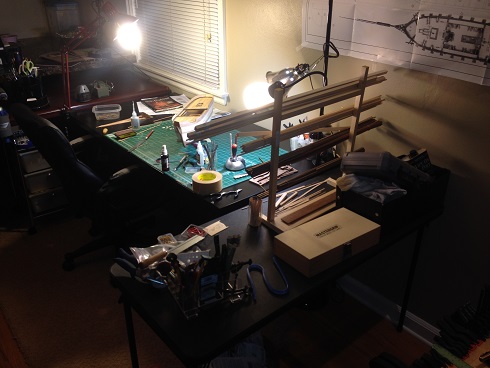
 Ok, so here goes my first attempt at a build log. I'm hoping you all enjoy my posts and I will try and update it regularly. This is a bit late in the proccess as I have already gotten the first set of planks down and the deck planking is done and sealed. I am doing some kit bashing as noted in the title. I have read lots of negatives about this specific kits mostly related to the accuracy so rather than focus on getting it authentic I figured I would go for making it mine. My first changes to the stock kit were in the planking. I decided to buy some better wood than the Sapele that comes with the kit and got some Pear veneer. I stripped it down, and also made them a little bigger at 6.5mm instead of the 5mm that comes with the kit. I thought the wider strips looked a little better. For the lighter wood planking along the lower gundeck I went with Birch. I liked the color and its a pretty good wood to work with. I actually used an "odd" technique for cutting my strips. I will post pictures of this later if I get a chance. Below are the pictures of where I currently am on the boat, midway through the second layer planking. Any and all comments and tips are welcome and thanks for taking a look. Also a pic of my work bench.