Search the Community
Showing results for tags 'serv-o-matic'.
Found 3 results
-
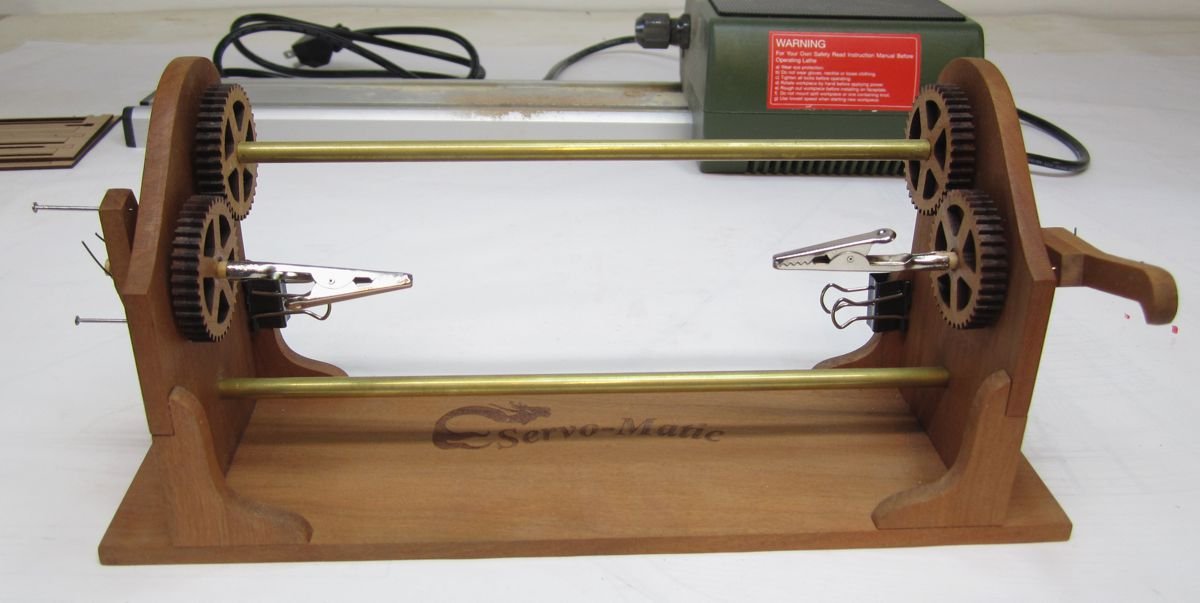
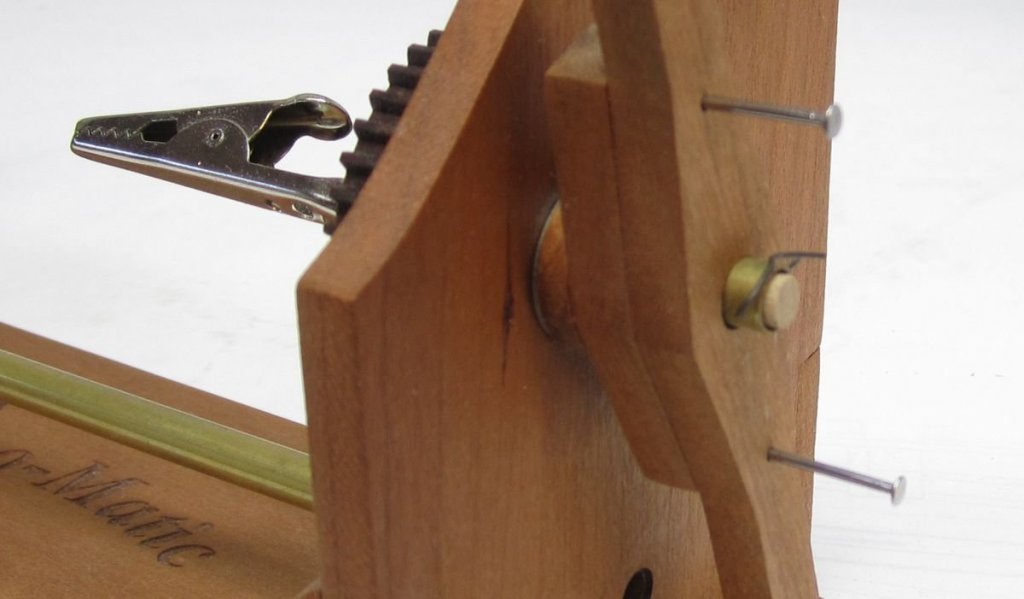
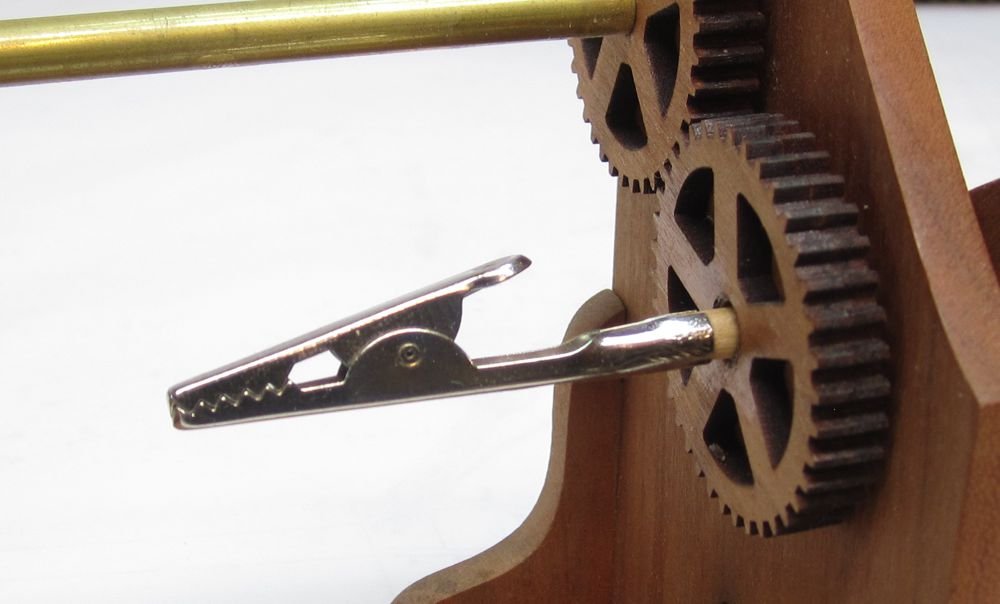
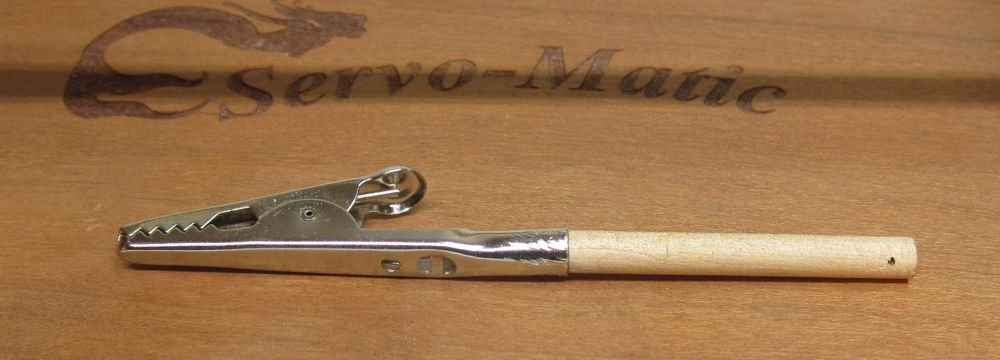
 I am often asked by folks who own my Serving machine how to use it to seize blocks or make a mouse etc. Truthfully it was never designed to do those things but because it is a very simple tool it can be modified/augmented very easily. In fact I have written directions to dozens of folks about how easy it is to make a jig of sorts that can be used to hold and seize blocks using the serving machine. So I figured to save time I would also post it here. As you know it is very simple "Amish" technology to say the least. The jig/attachment for holding and seizing blocks or even making a mouse is equally as simple. I will not include these devices with the machine because they literally cost only pennies to make but will take about 20 minutes in time. The cost isnt the issue, its the time and folks would probably balk at having to pay me for that time when they could make these on their own for literally pennies. So here is how it is done...or at least one method. So first...to make a block fixture..... You will need a wooden dowel that fits snug in the 1/4" tube of the serving machine.....two alligator clips or any other clips.....and some glue. That is it, although you could get fancy and use another brass tube or rod and fancy clips. For me it isnt about the materials used but the functionality. The brass tubes that are used on the serving machine protrude just a bit from the handles as shown. This was done on purpose because I always knew the extra meat would be used for stuff like this, I am just surprised nobody has done so yet. Drill a small hole through this tube protrusion...straight through so it goes through both sides. You will use it to insert a pin and secure the dowel/block holder. I actually just use a length of 22 gauge wire. It works great. Then take a short wood dowel and drill another small hole through the end as shown. You can slide the pin through the tube and dowel to secure it....easy-peasy. The dowel should be a snug fit in the tube. The other end of the dowel is cut to length so after attaching say....an alligator clip....it will be close to the side and gears. The back of the alligator clip is opened up and crimped onto the dowel....also secured with glue. That is it. very simple. Its so simple in fact that its easy and more economical for you make these on your own rather than pay me to make them. This same concept can be used to make a jig for making a mouse too!!! Just use another brass tube rather than a dowel or rod. I am sure that you have seen these... It makes the Serv-o-matic an even more versatile , low cost and simple machine to own. If you have other jigs and modifications that you have made to your serv-o-matic.....please share them here. I am sure that everyone could benefit from them. Chuck
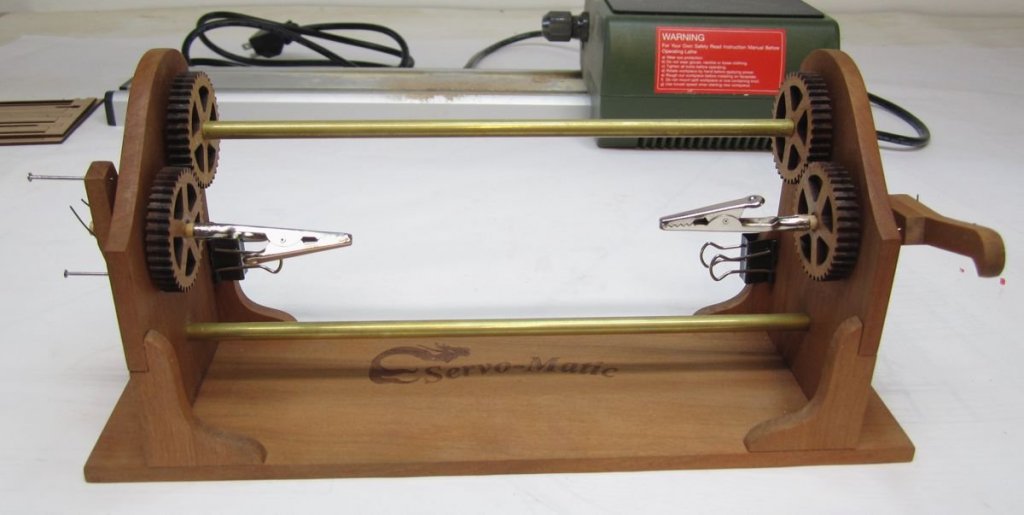
- 10 replies
-
- 18
-

-
- block seizing serving
- syren ship model
- (and 1 more)
-
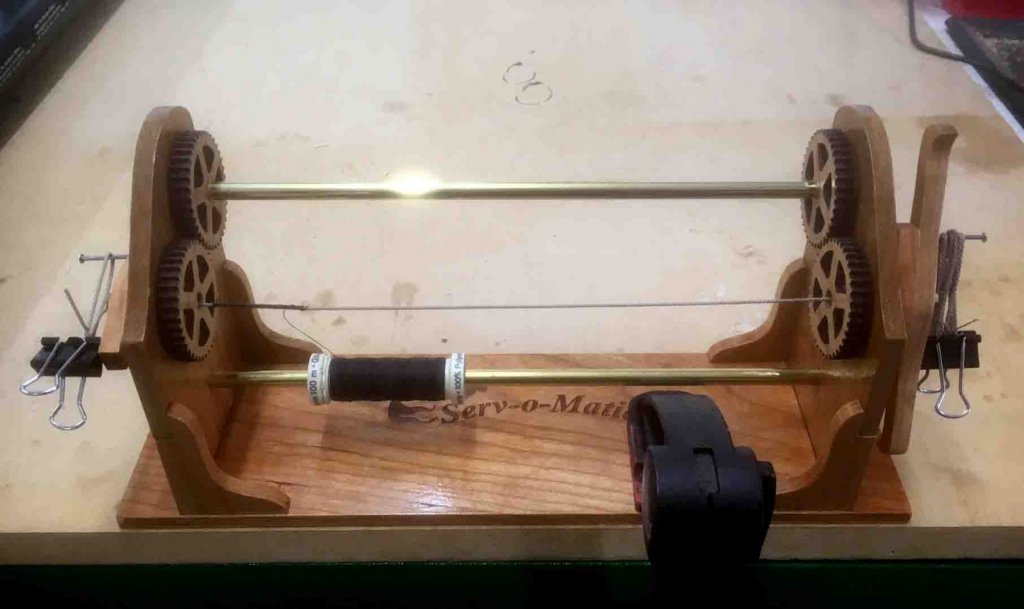
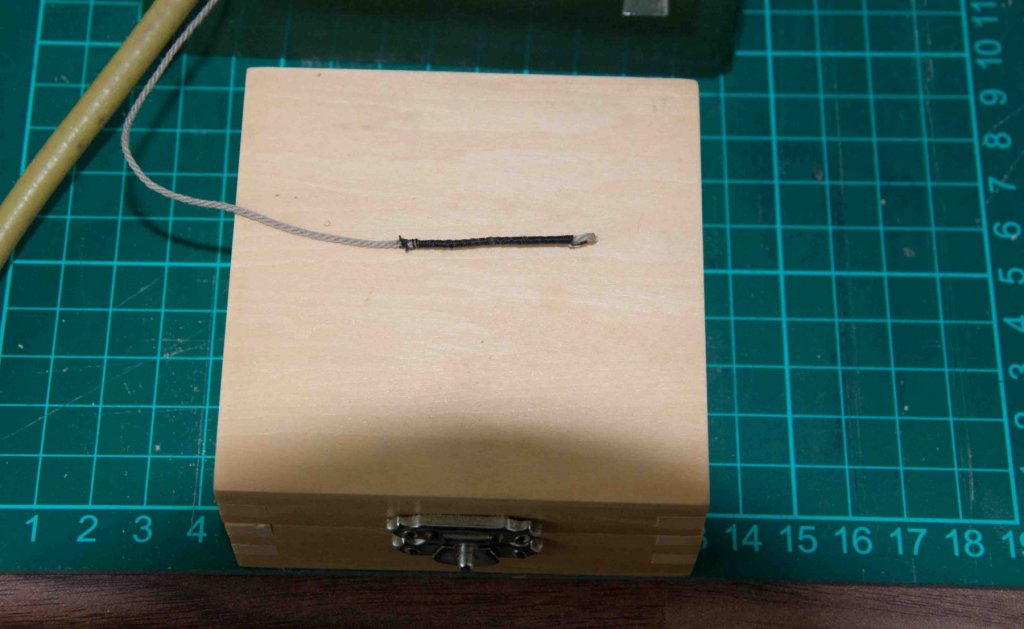
I've just had my first go with the Syren Serv-o-Matic. As with the Rope Rocket that I used for the first time last week, I cleaned off the laser char and applied a couple of coats of varnish. I really felt this was worth the trouble, to bring out the fine cherry. As with the Rocket however, I made the mistake of assembling the components before varnishing them. I was too impatient, and assembled both machines before realising it was then harder to apply the varnish - especially without gumming up the moving parts. I should have followed Chuck's instructions, which as usual are comprehensive and well illustrated. A couple of points I would emphasise from my own experience. First, it really is vital to ensure all the gears move freely - to the extent that they almost feel loose and sloppy. If you watch Chuck's short Youtube video you'll get an idea of how everything should move, powered by just one finger. Another point Chuck makes in the instructions that I would echo is the importance of getting the right tension in the rope being served - too loose and it is difficult to get the serving thread to lay on properly; too taut and the rope will pull the handles in to the machine ends and make the gears too stiff to turn freely. I quickly found there is a knack to serving. It's not super difficult, but it does need practice. I experimented on a piece of light coloured rope for contrast, which tends to highlight the mistakes. I'm not sure how easy it is to see in the picture, but the serving starts out a bit gappy and lumpy on the lefthand side, then gets better towards the right as my technique improved. Also, I should have used a less 'hairy' serving thread. Being hand powered, it's a simple matter to put mistakes right; as soon as you see a gap, or you overlap the serving thread, you just reverse direction to before the error and then continue. In summary, another useful addition to the workshop which I'm looking forward to using in conjunction with the Rope Rocket. Derek
- 7 replies
-
- 4
-
-
- serving
- syren ship model
- (and 1 more)
-
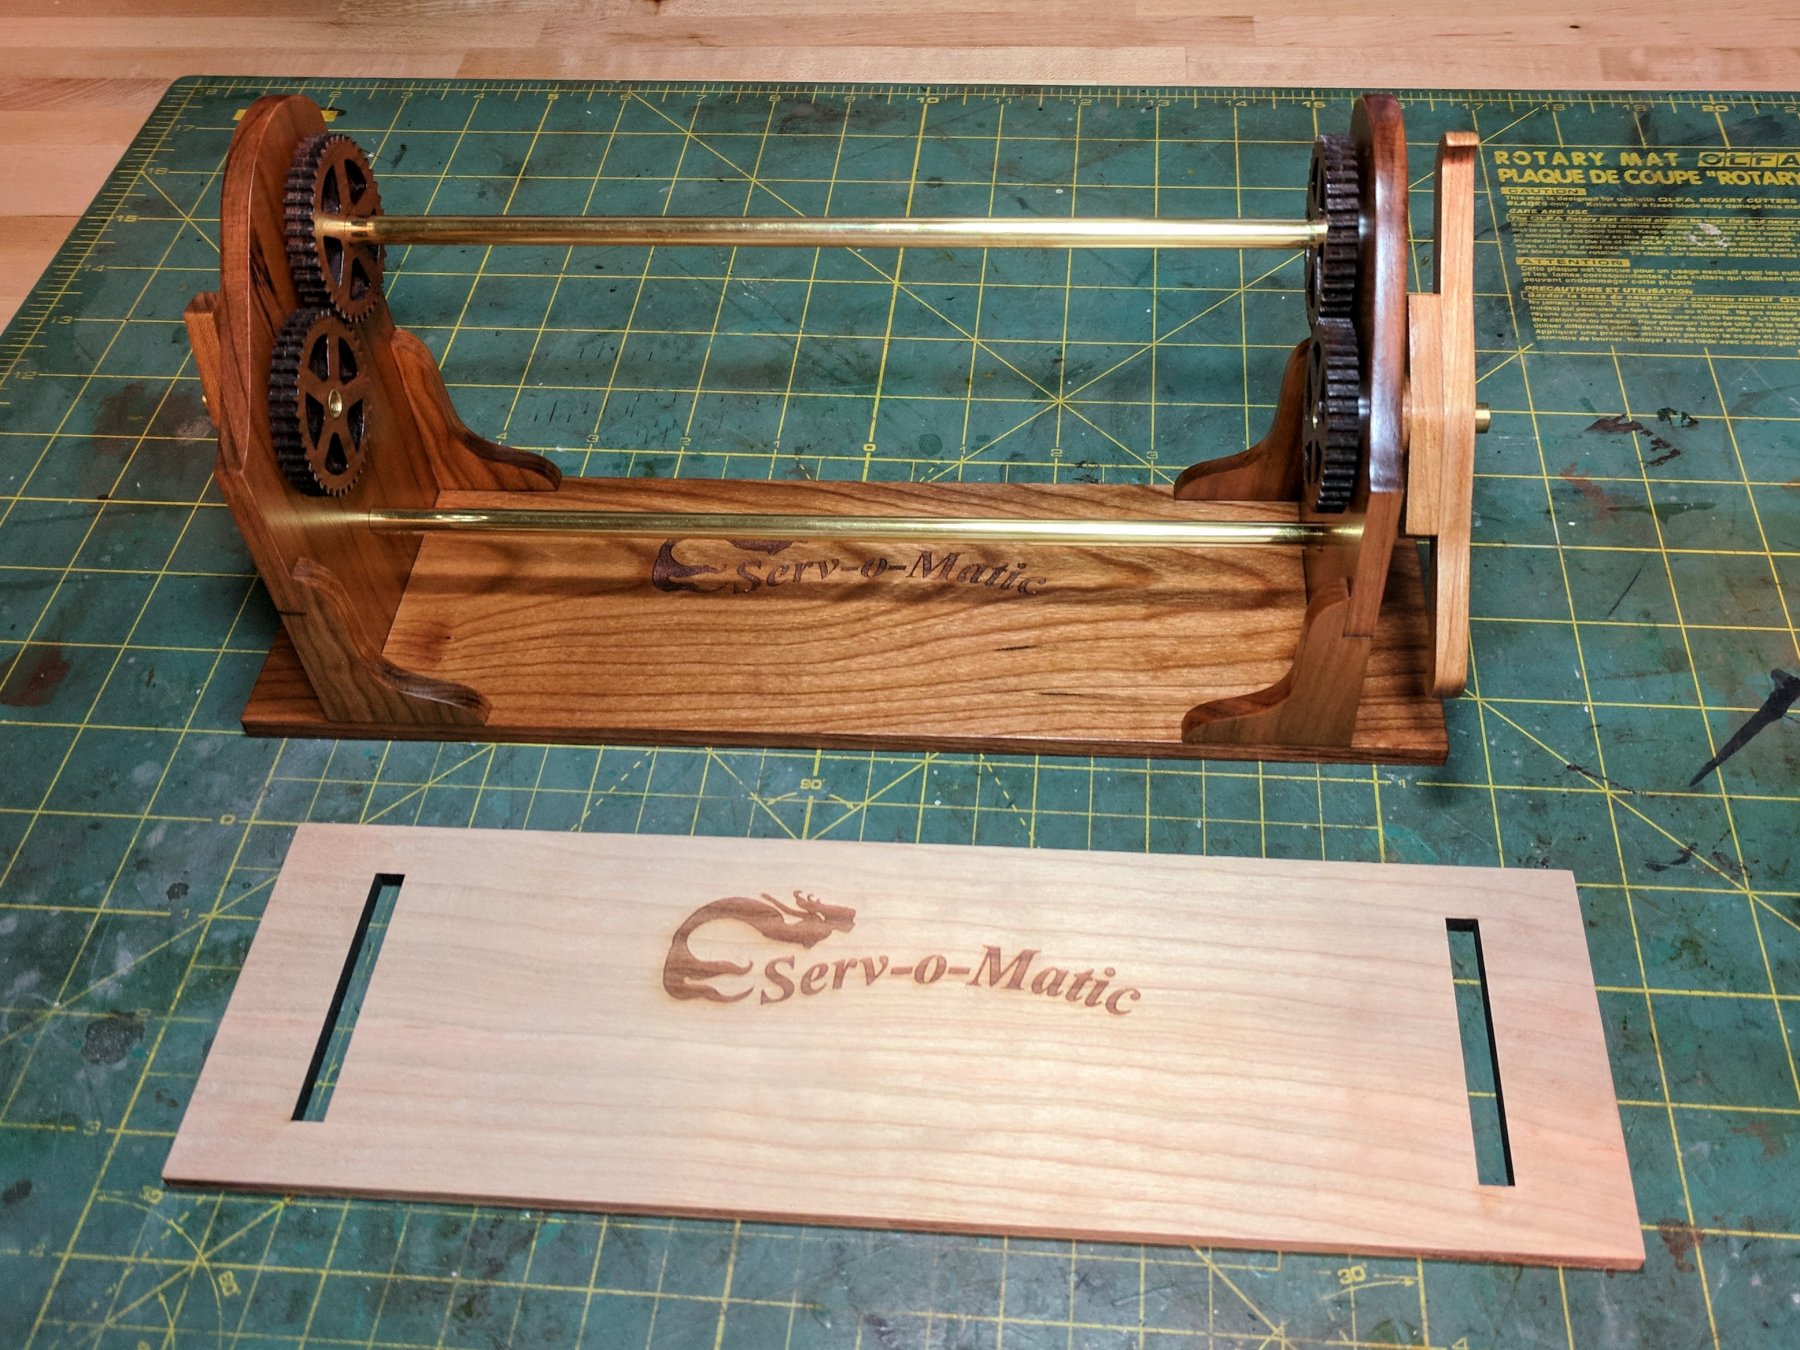
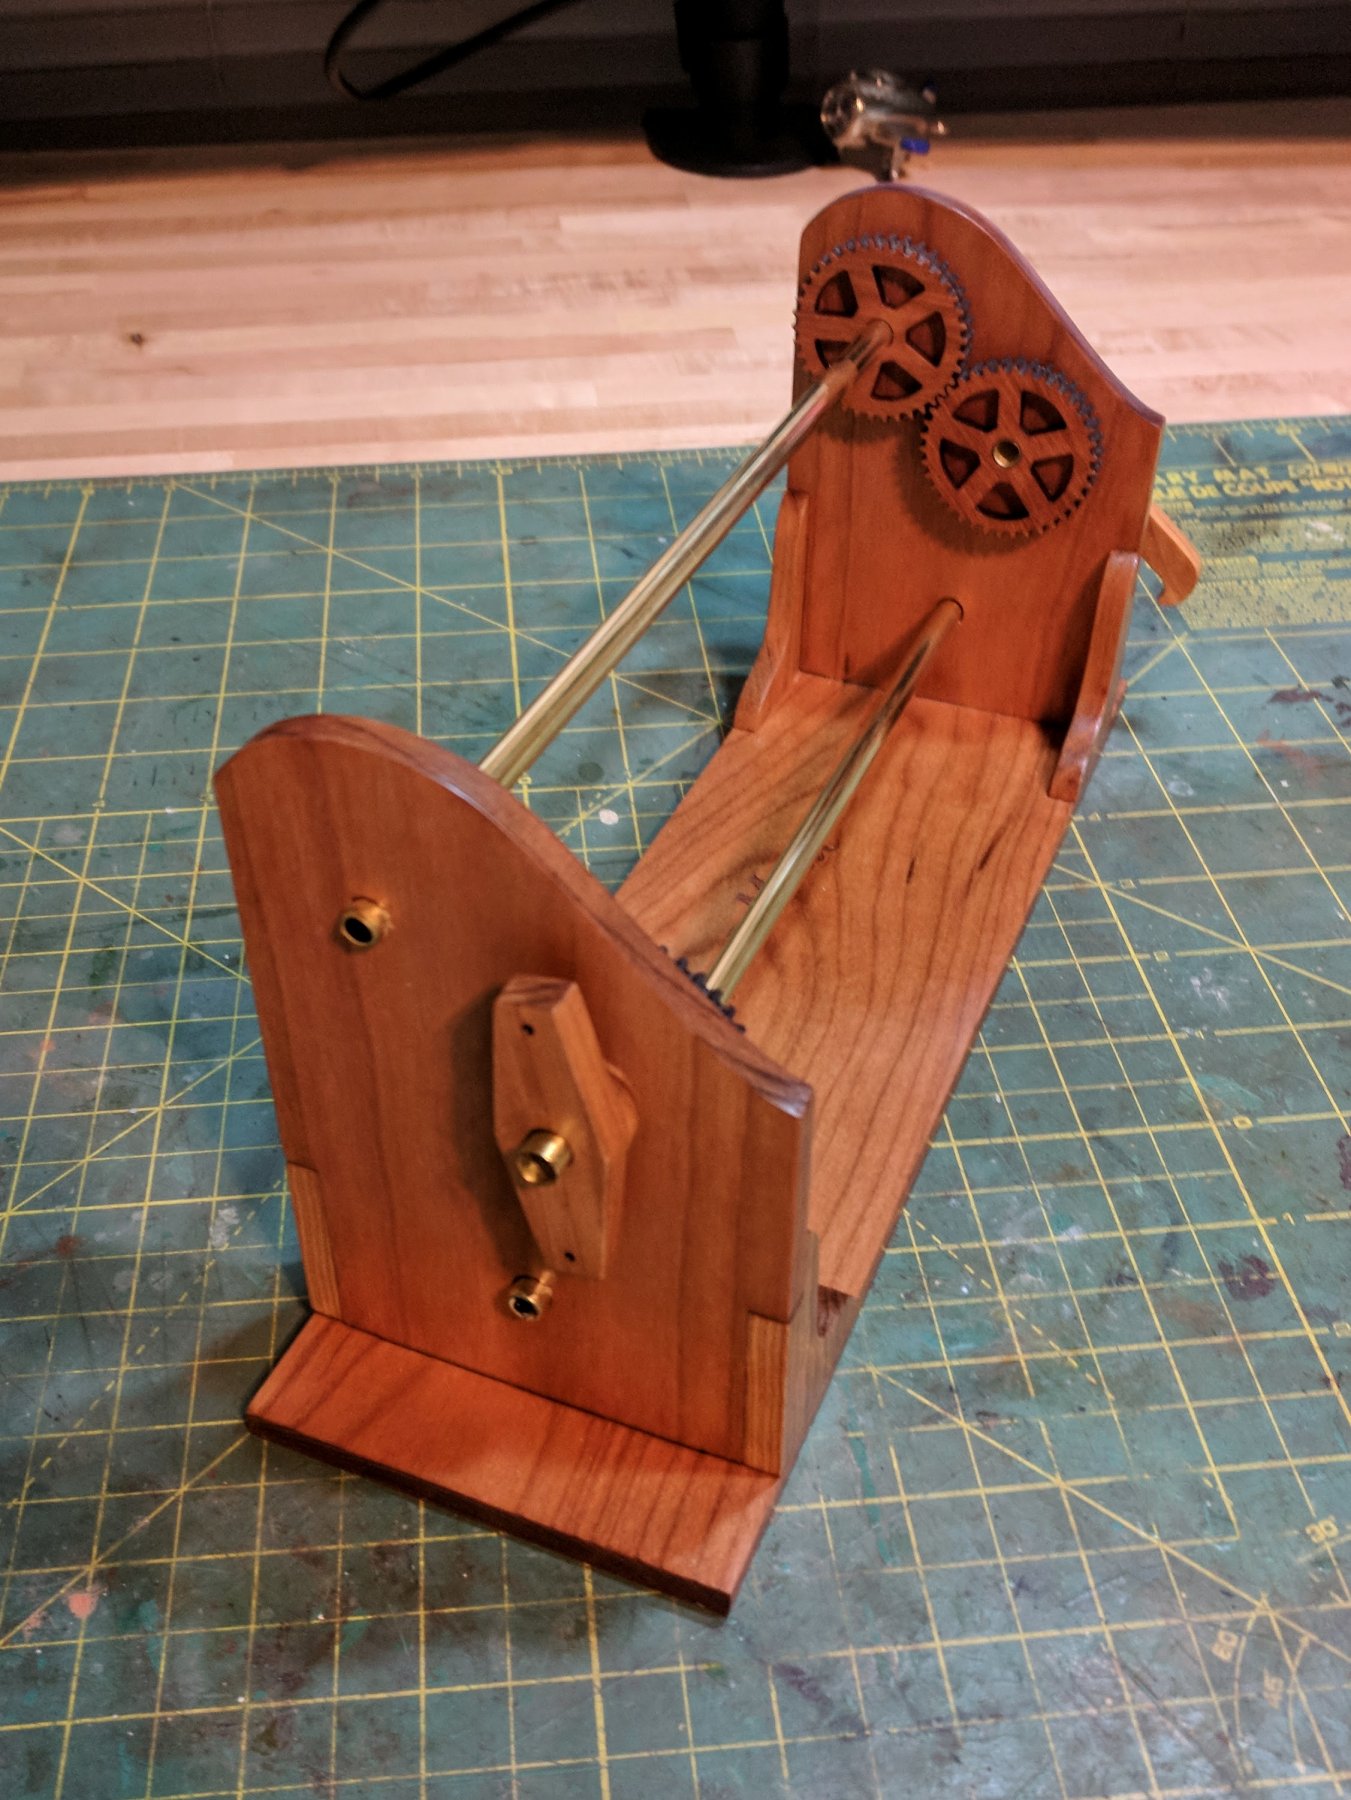
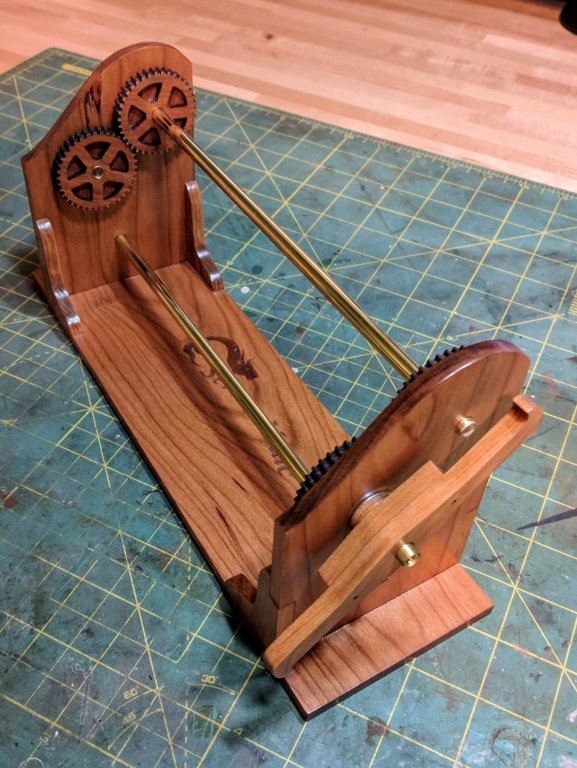
Howdy all. My modeling time is currently in short supply thanks to my three-month-old baby. Even though I don’t have the time, energy or concentration to really dig into a model I’ve still had the urge to work on something. ANYTHING. I had recently purchased a Serv-O-Matic from Syren and the cherry it’s made of was so beautiful I decided to make it my project. I don’t think I need to do a review of the project as I see so many of them in use on various build logs, but I’ll just say to anyone debating about getting one – Get it! The quality is terrific, and Chuck’s service can’t be beat. Mine had a very minor issue when I received it and Chuck had it corrected wicked quick. I followed Chuck’s instructions and spent a goodly amount of time removing all the char from the pieces. Time consuming but worth it. I used a true sander as much as possible to avoid rounding the edges too badly. After sanding to 220 grit I assembled everything but did not affix the gears or end pieces. Then I rubbed in by hand a coat of 100% pure Tung oil, wiped off the excess after an hour or so and then repeated the oil coat the next day. After that I allowed the unit and all the pieces to sit in the brightest window of the house for about a week turning the pieces each day to make sure they got even coverage. As most of you probably know Cherry darkens and reddens naturally and that process can be sped up by exposing it to bright natural light. Once I figured the Tung oil was as cured as it was going to get (not really at all but it’ll at least stop seeping) I applied two coats of semi-gloss water based polyurethane with a careful sanding between coats. Lastly, after allowing the poly a week or so to cure I applied a coat of past wax to get that soft burnished look. So below you see the result of me turning what most people would do in a few hours into a two or three week project. In one of the pictures you can see an untreated piece of cherry which gives you an idea of just how much a little work will bring out the color and character of the wood.


- 5 replies
-
- 17
-
-
- syren ship model
- serving machine
- (and 1 more)