Search the Community
Showing results for tags 'tool'.
Found 3 results
-
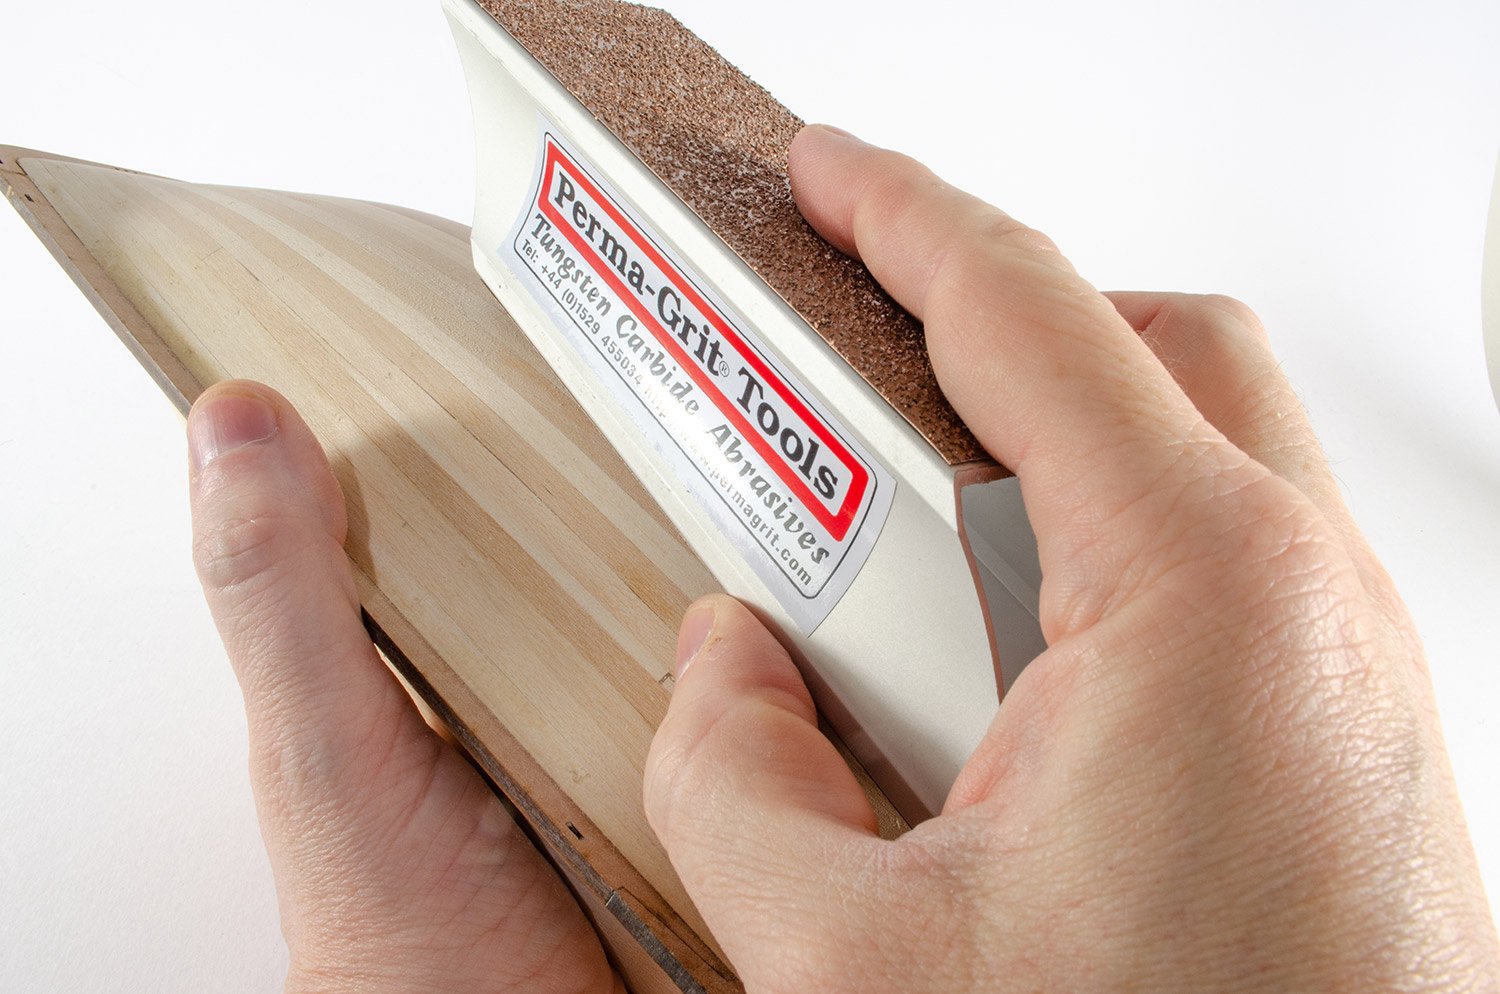
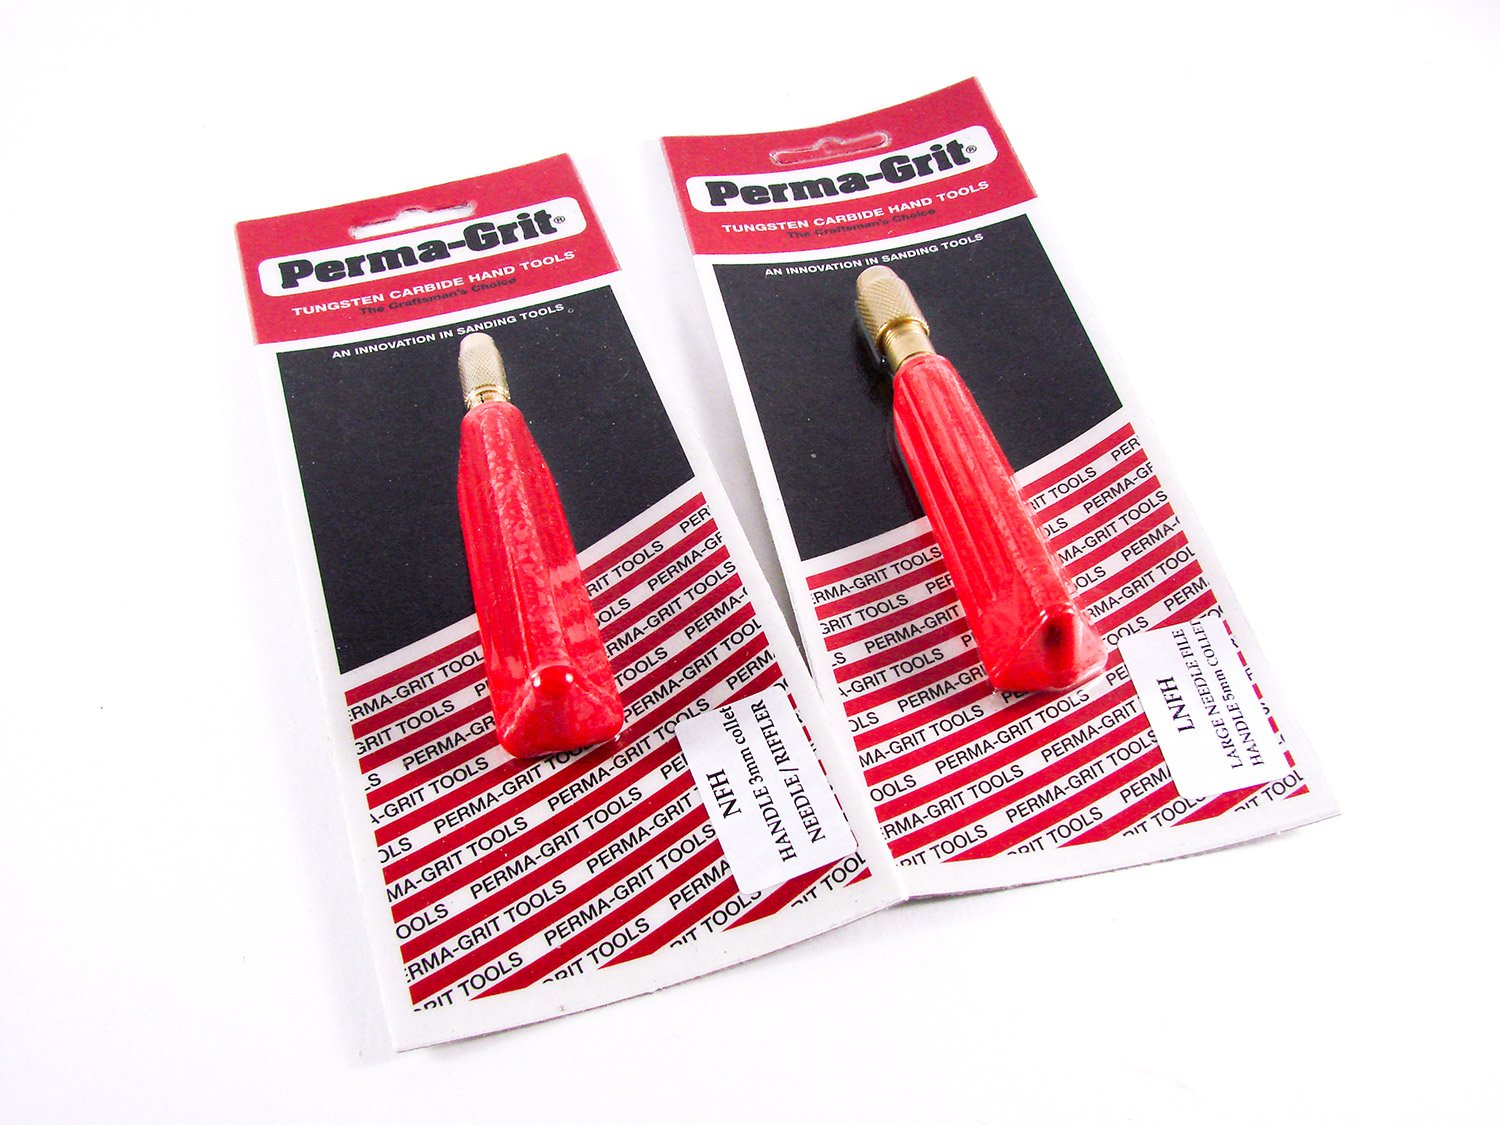
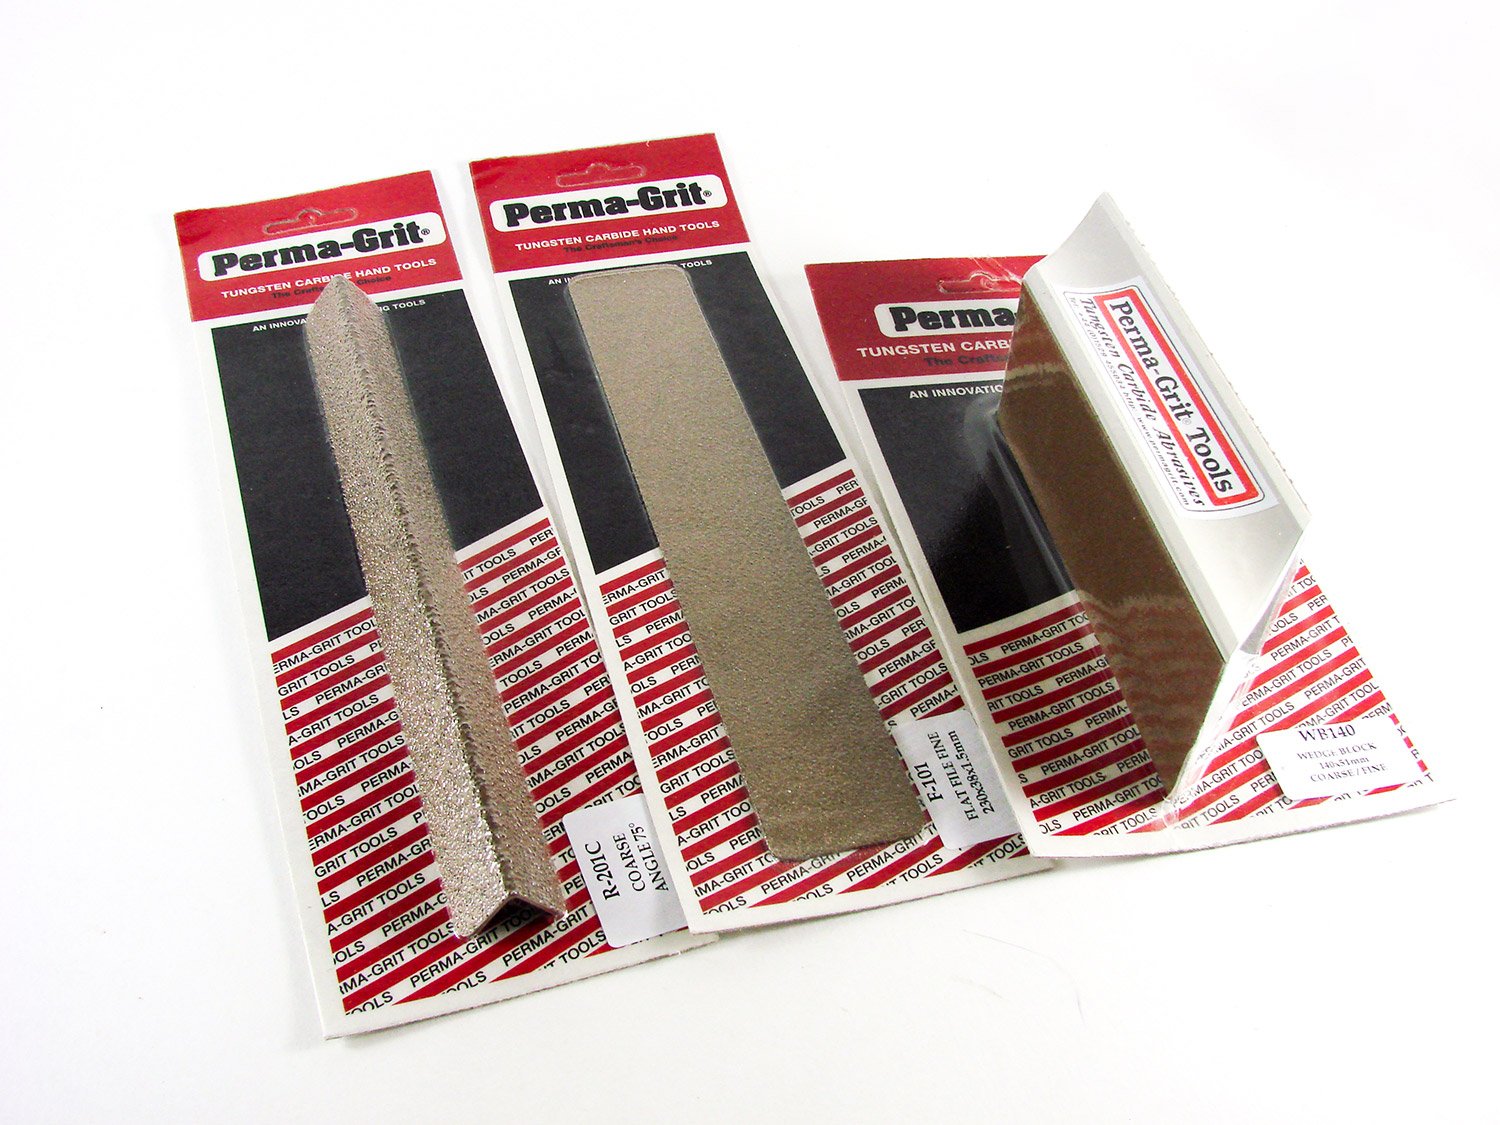
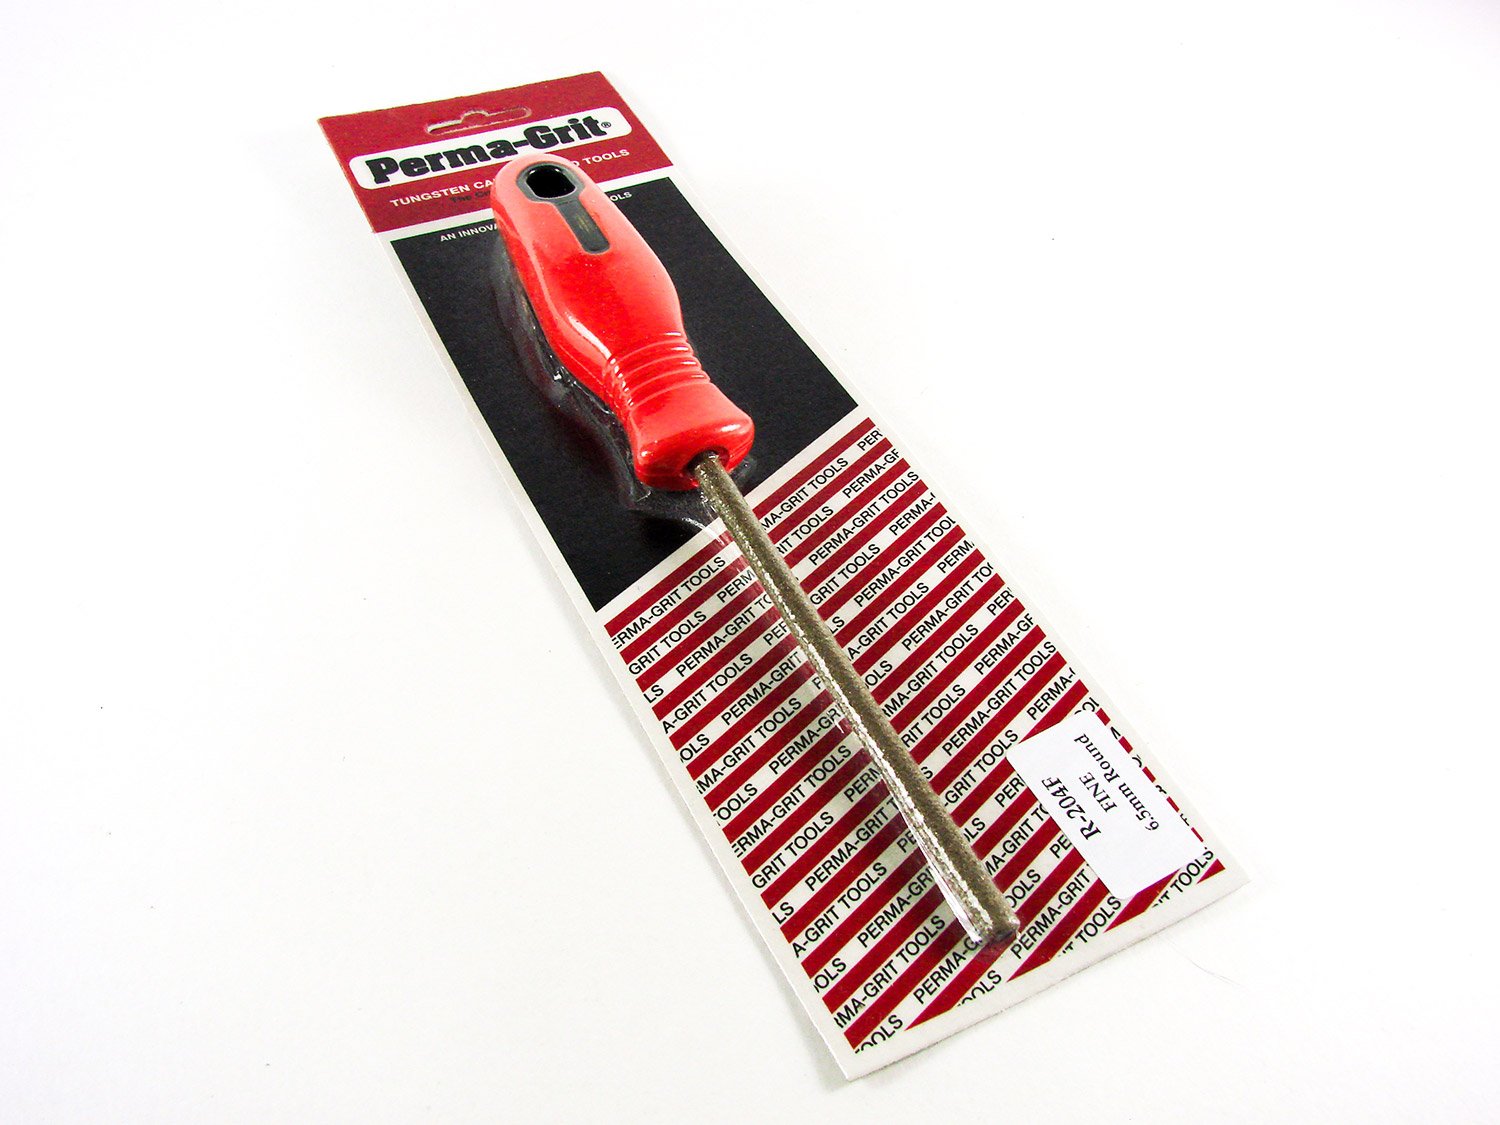
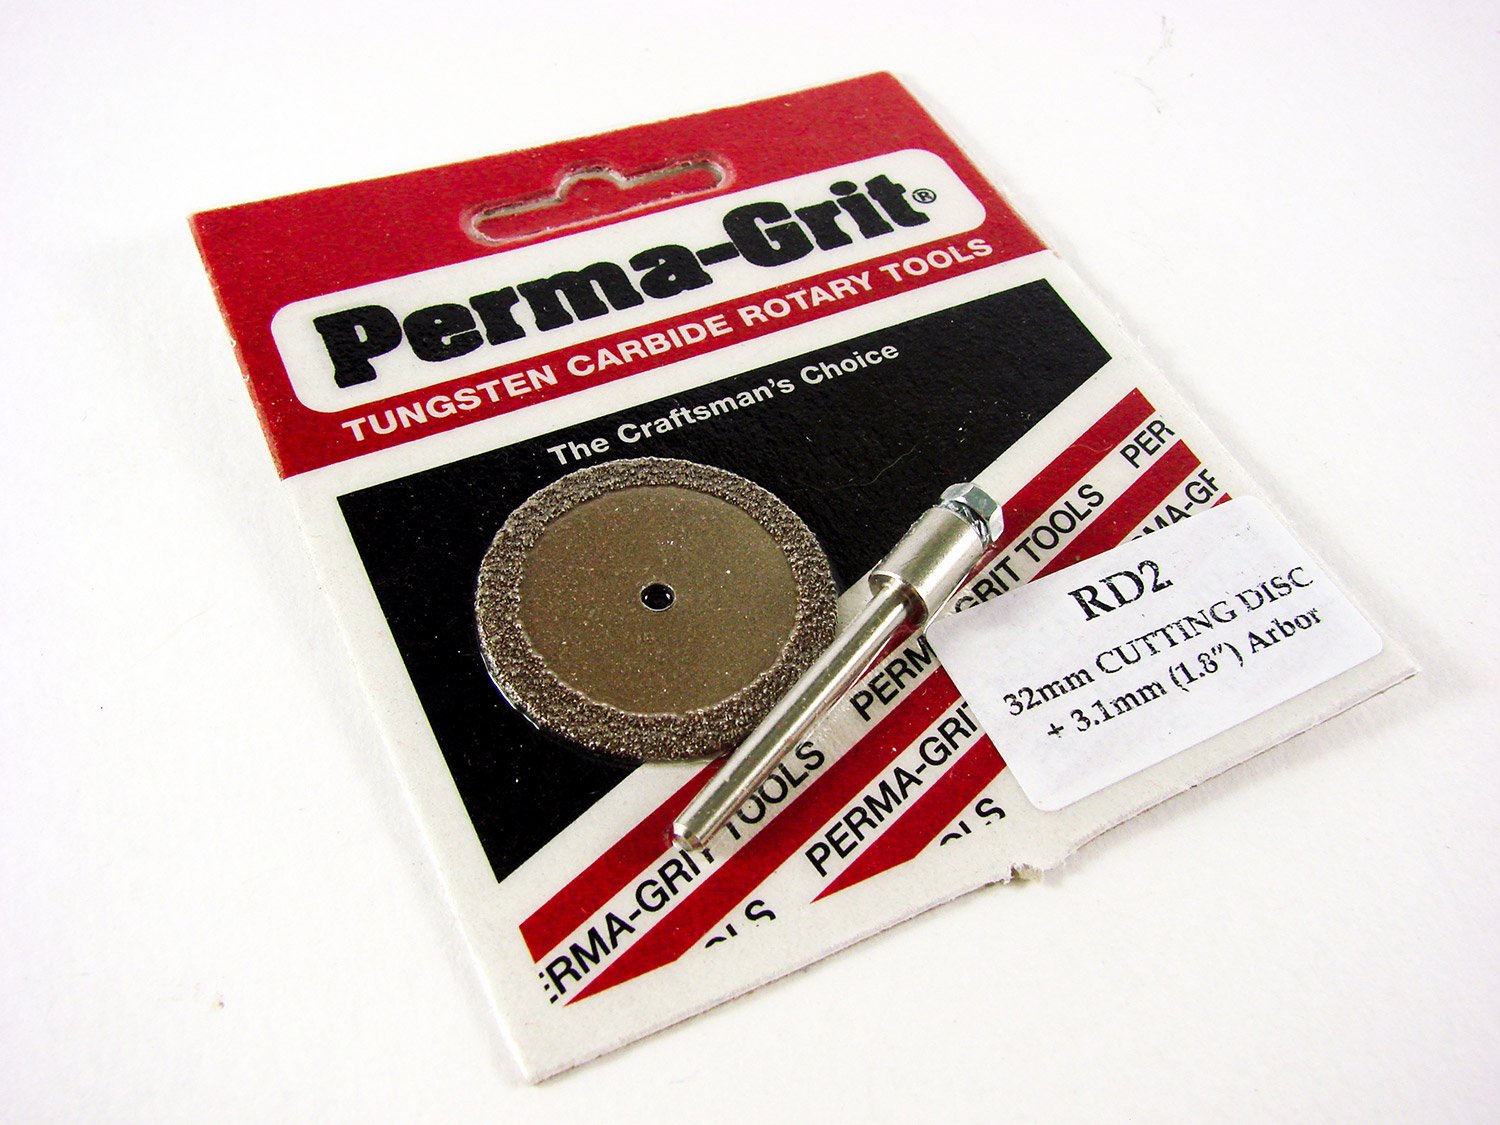
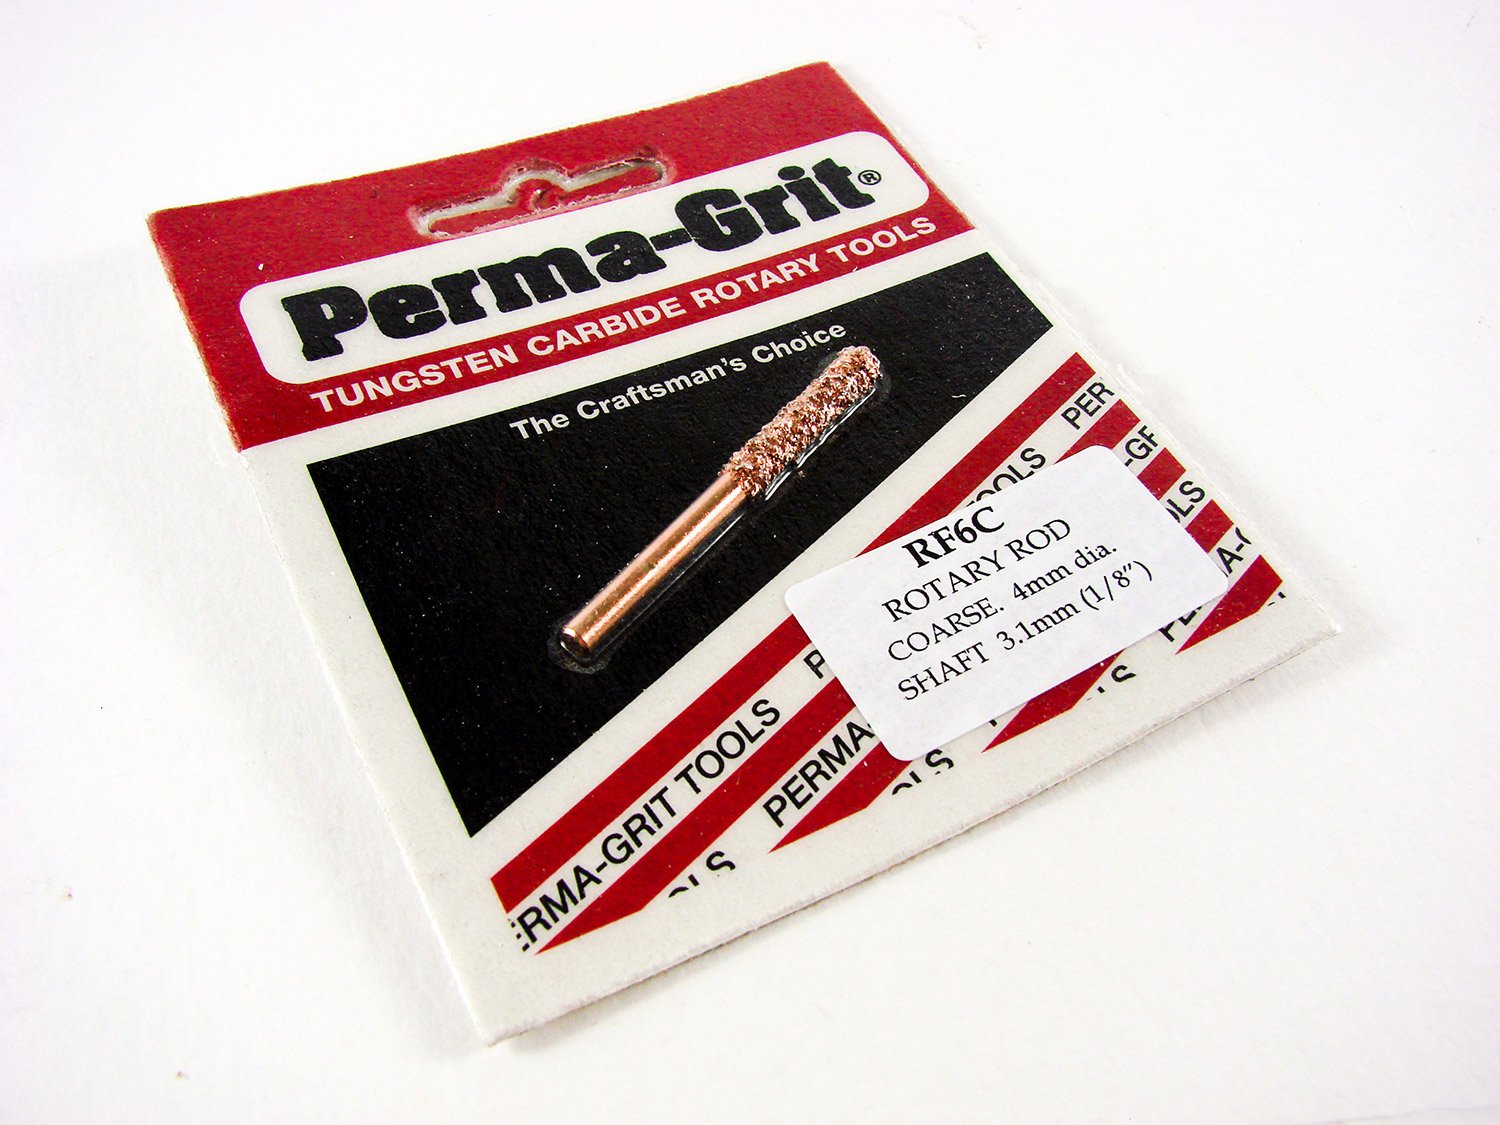
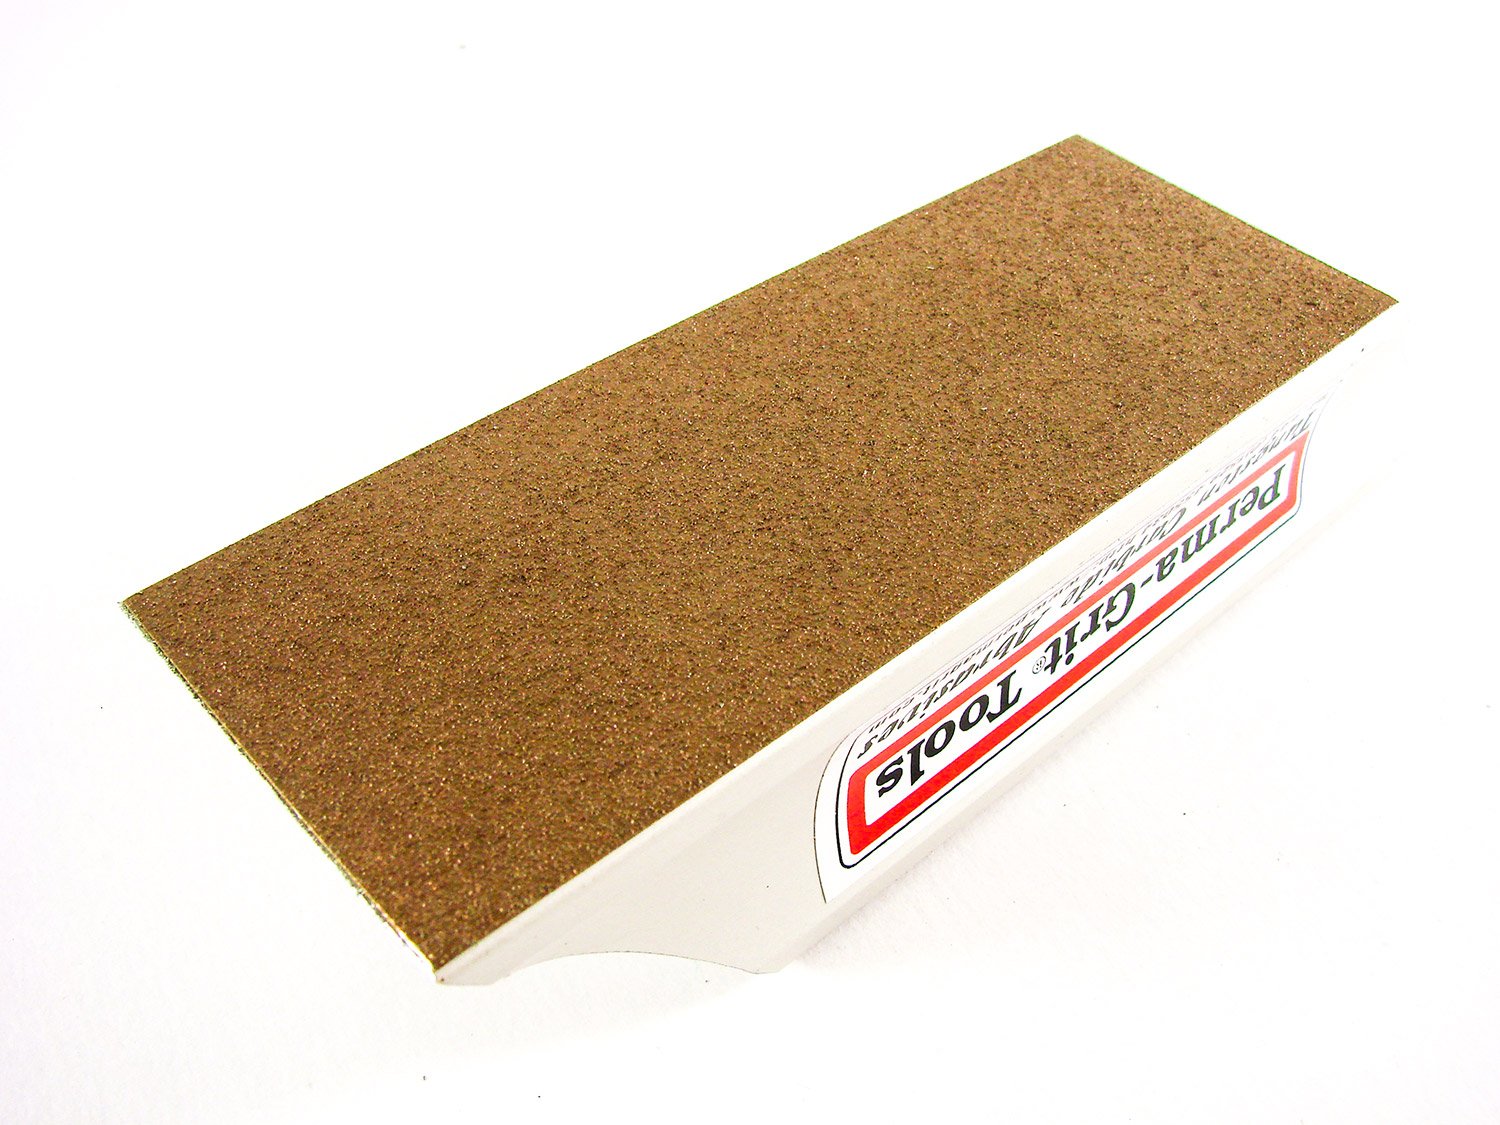
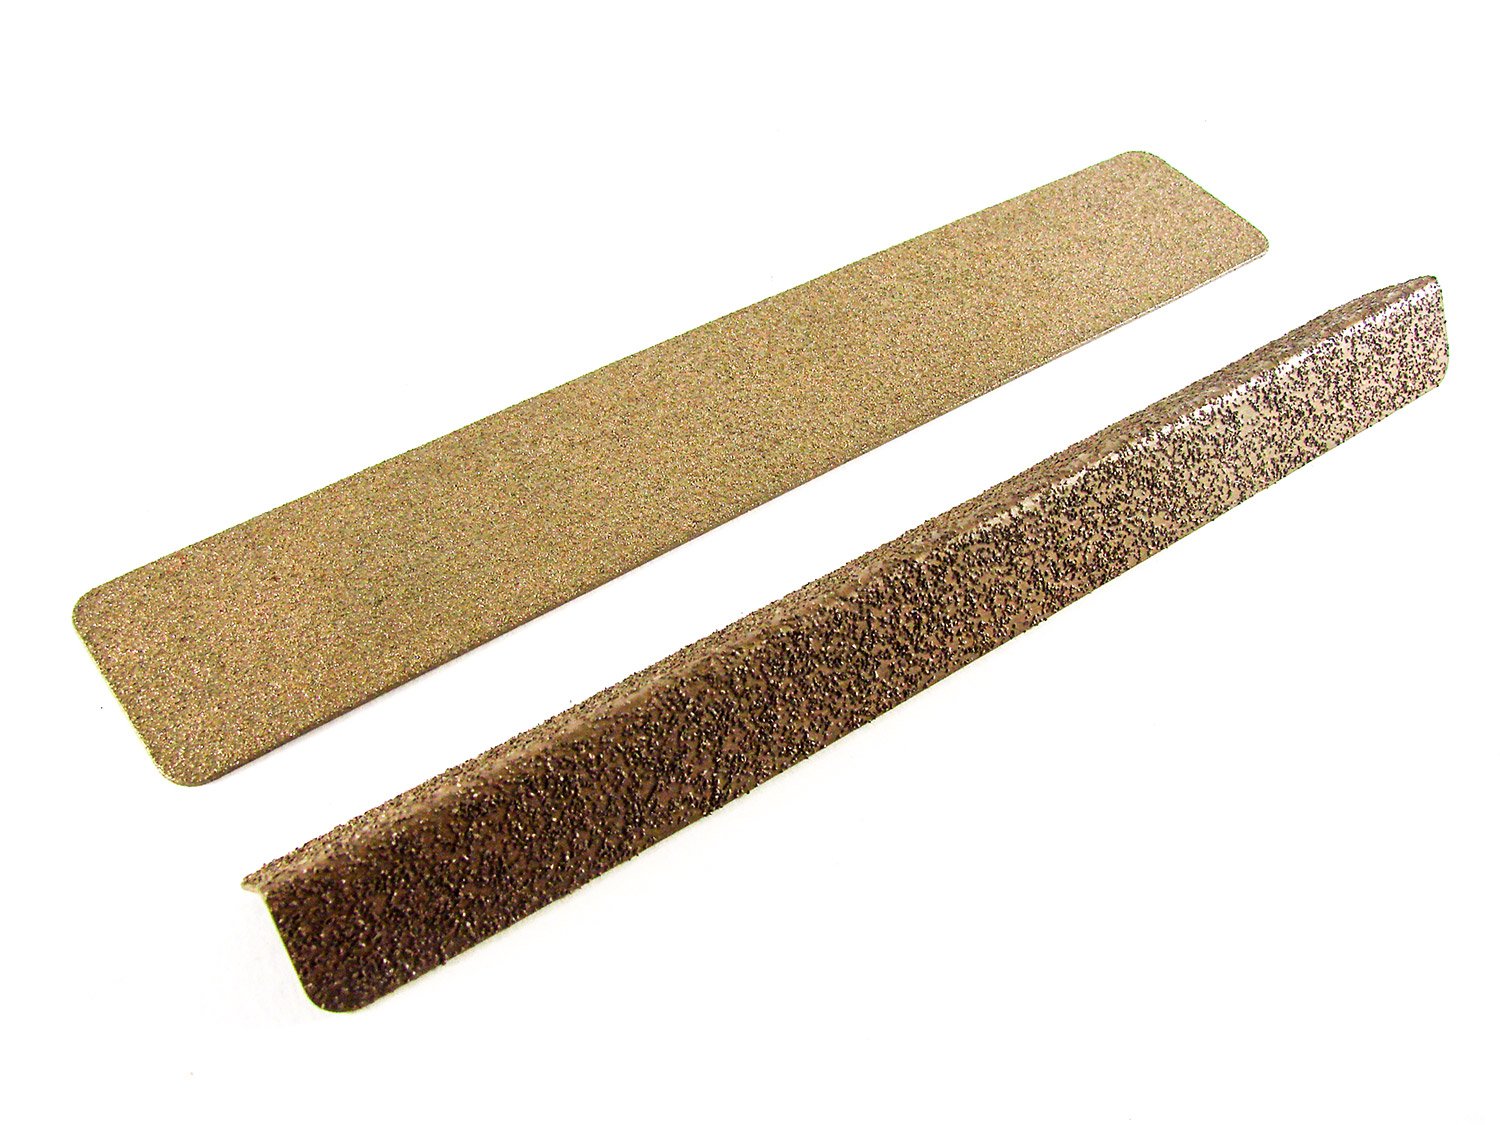
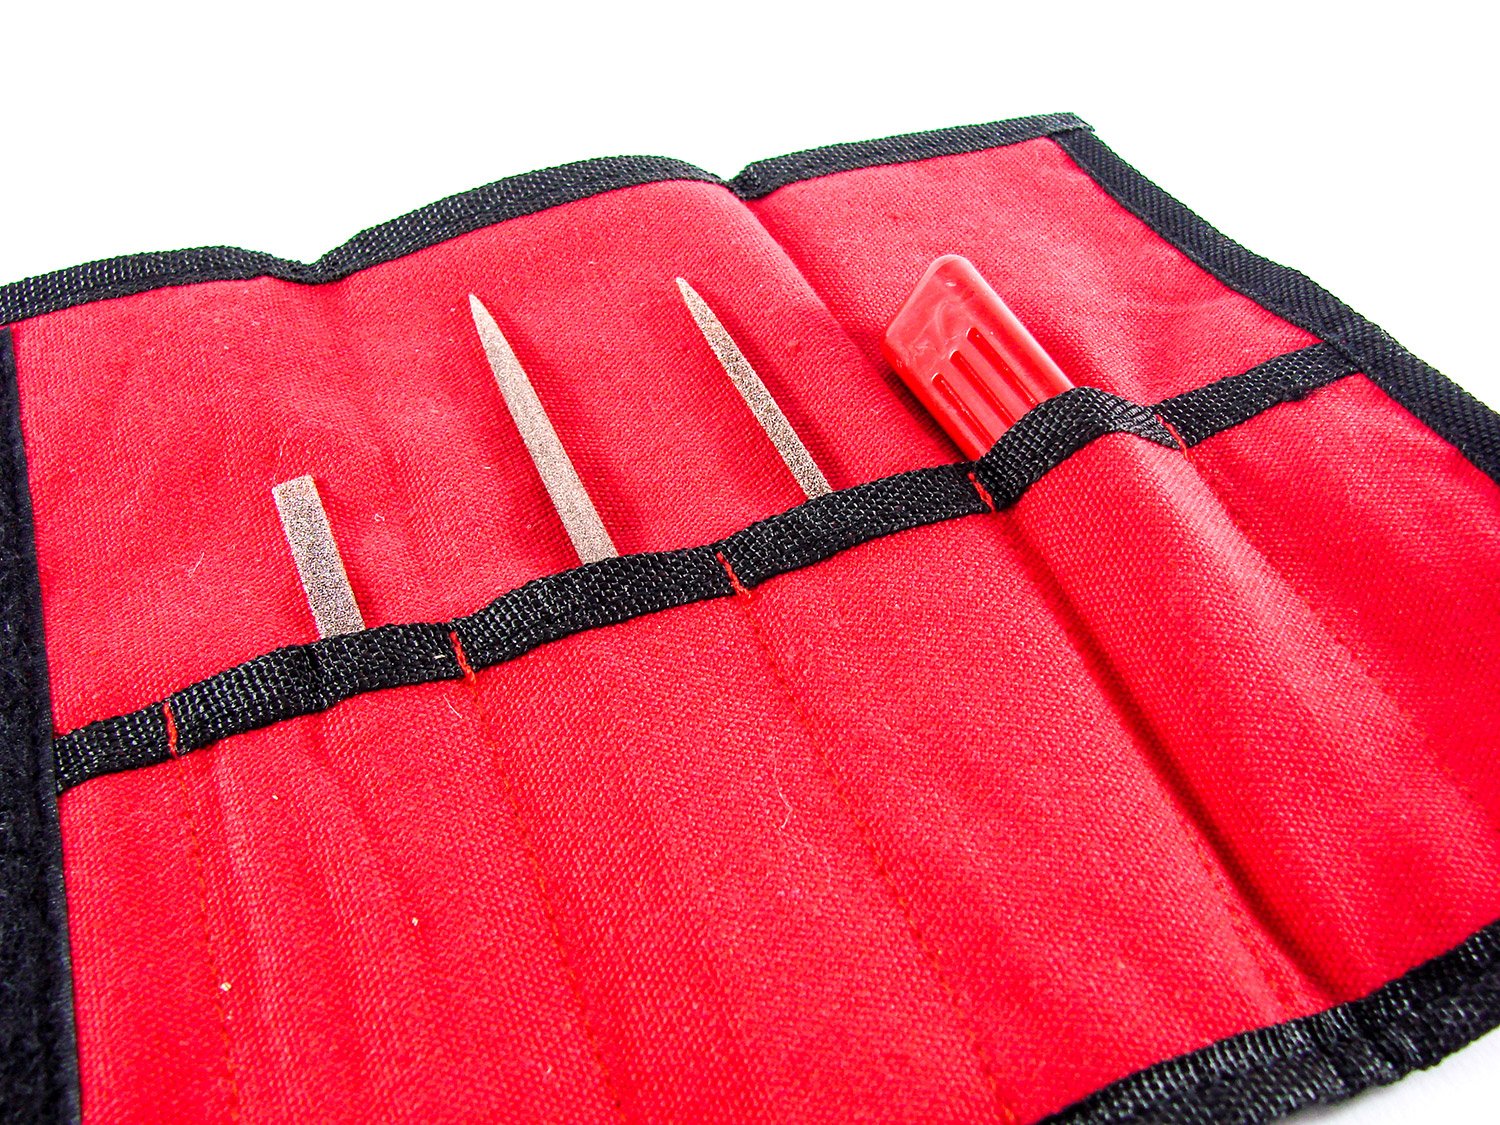
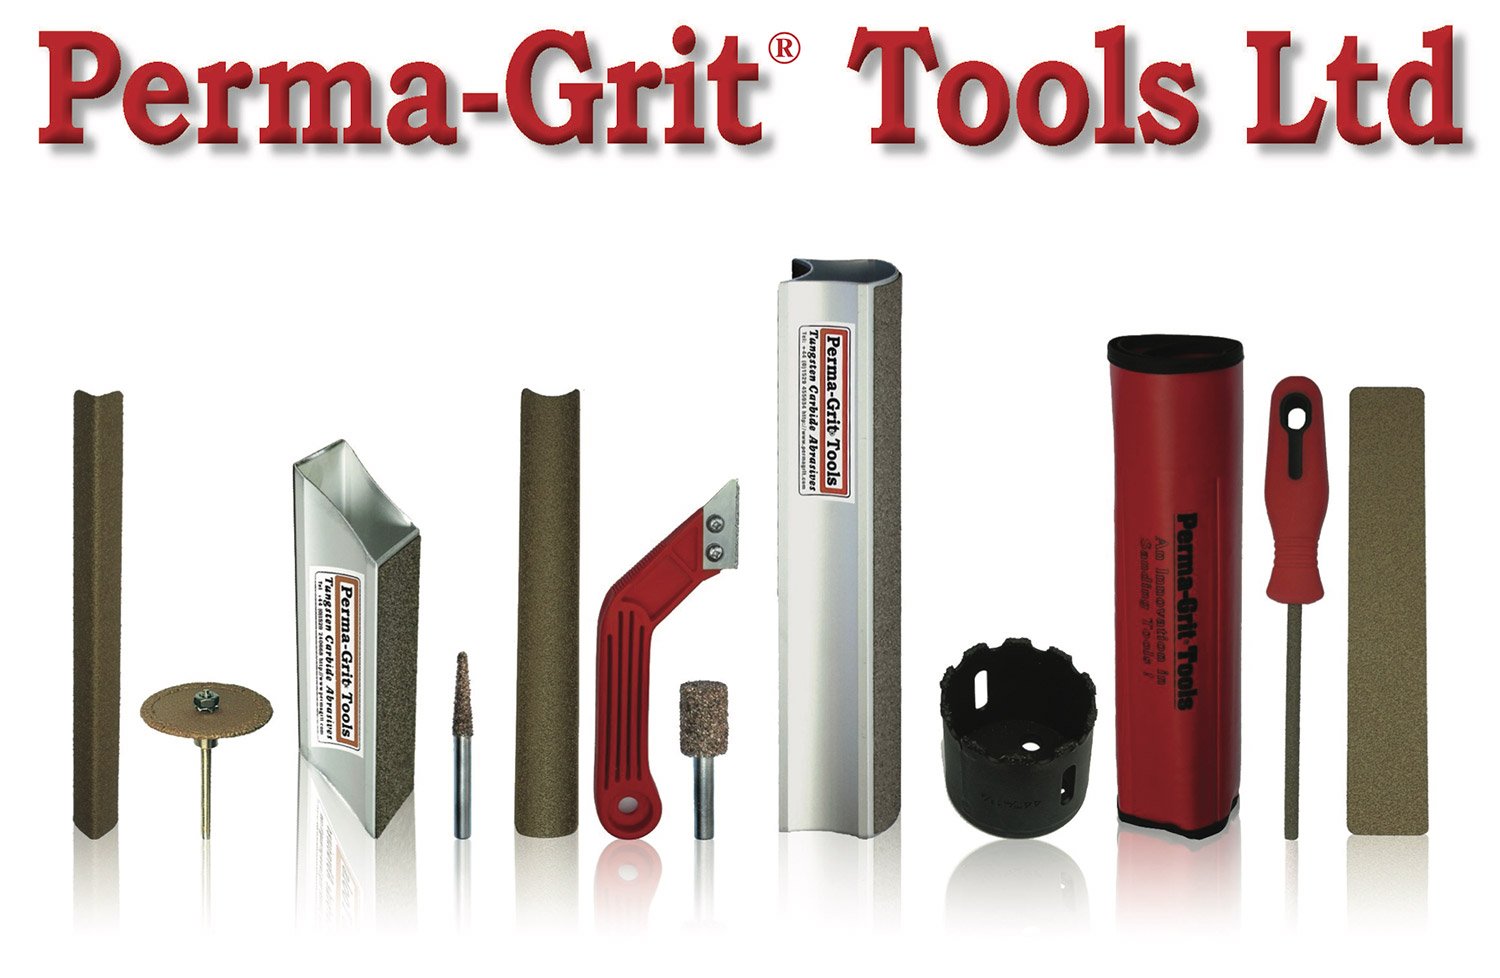
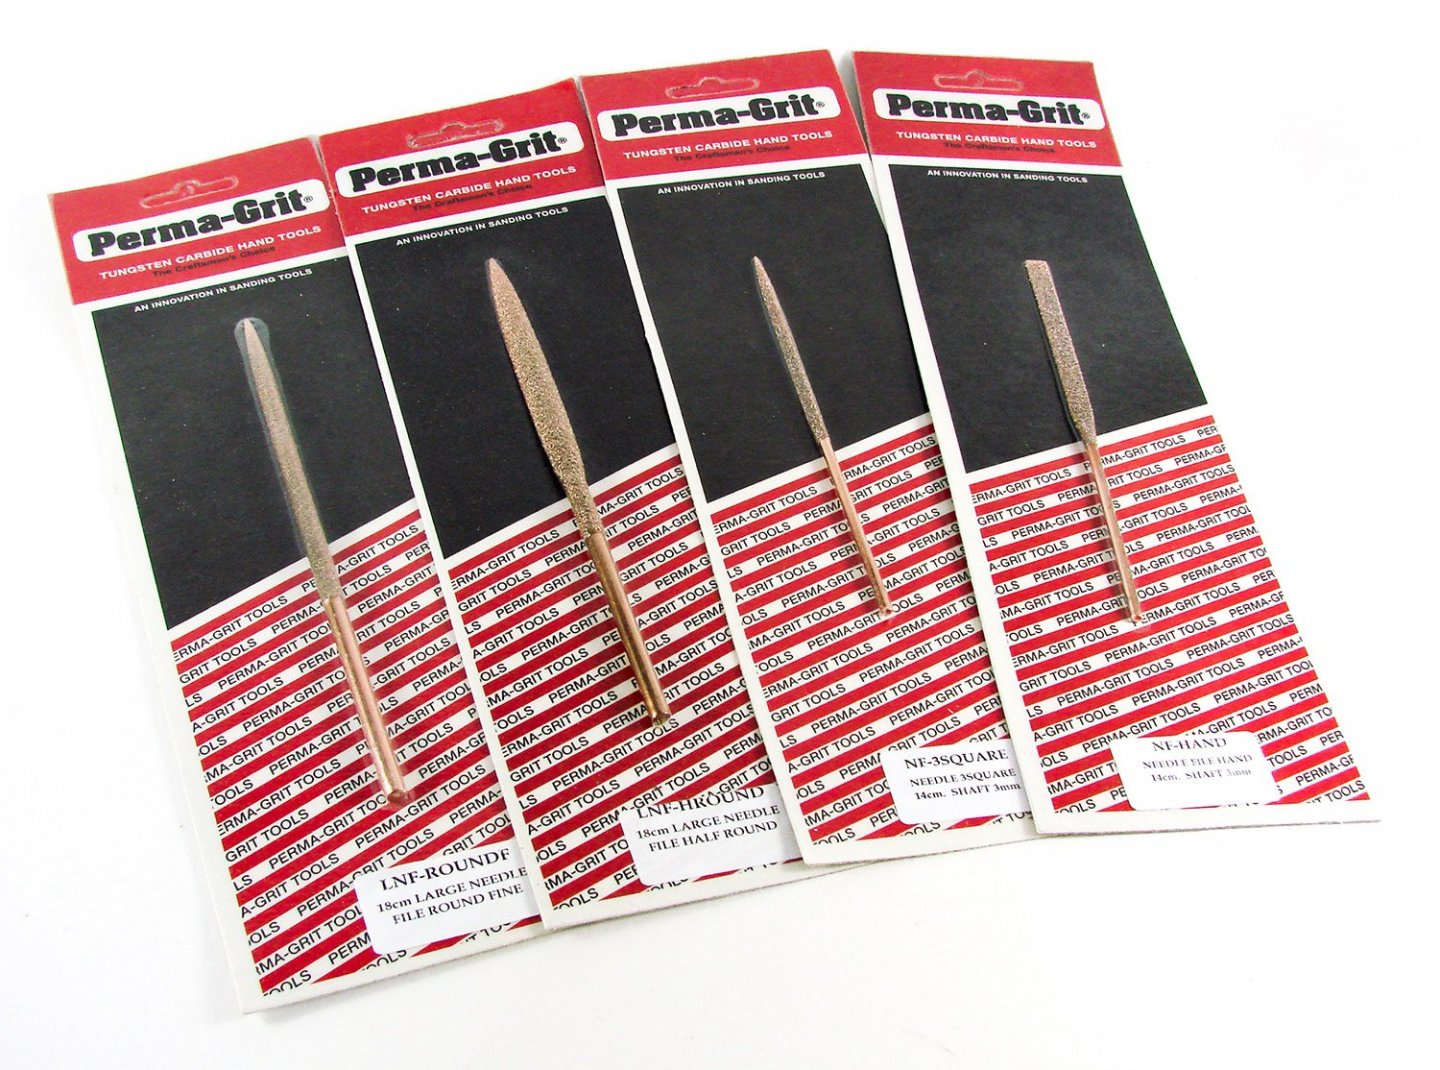
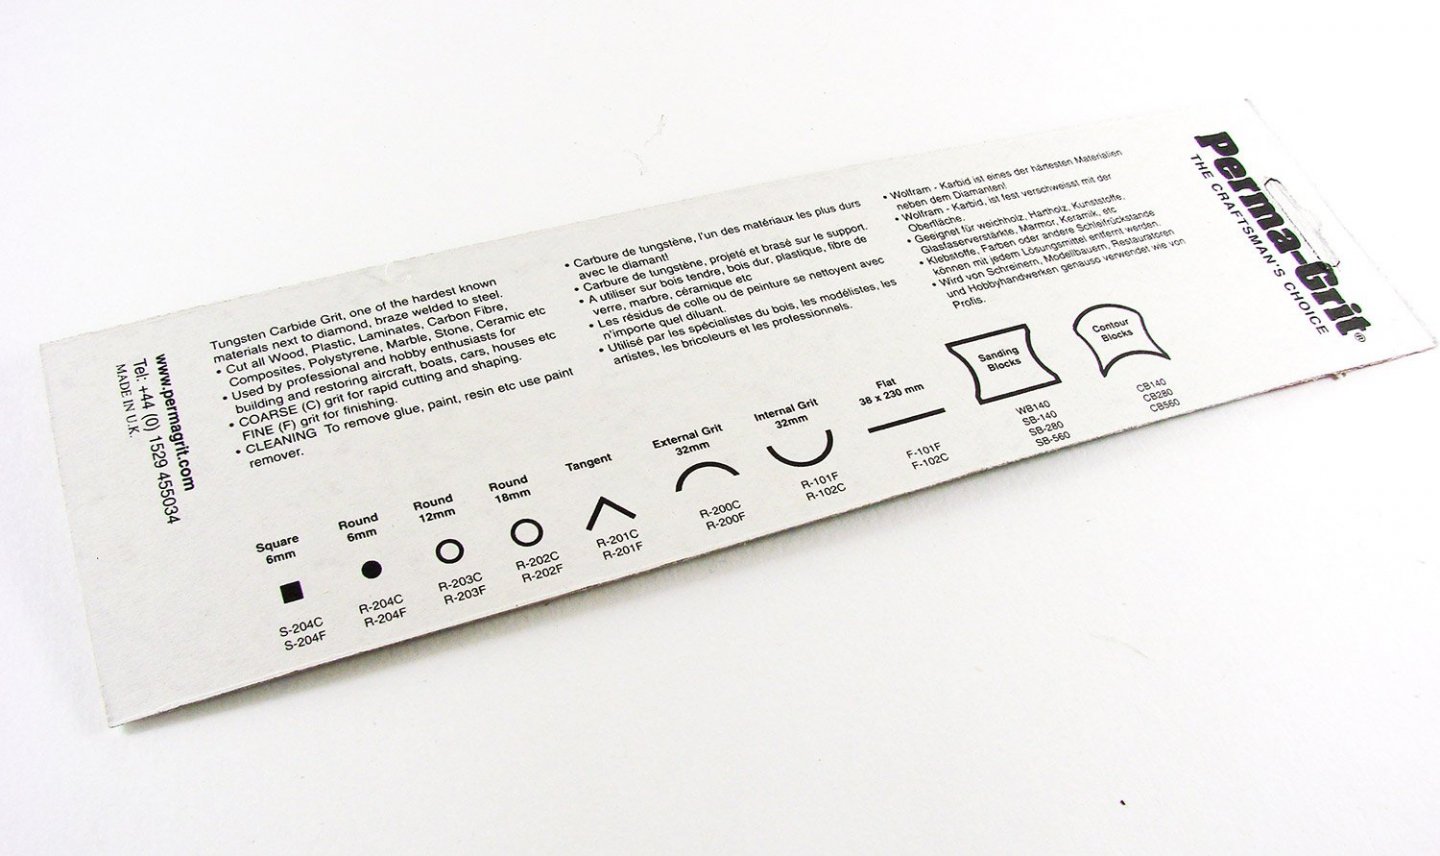
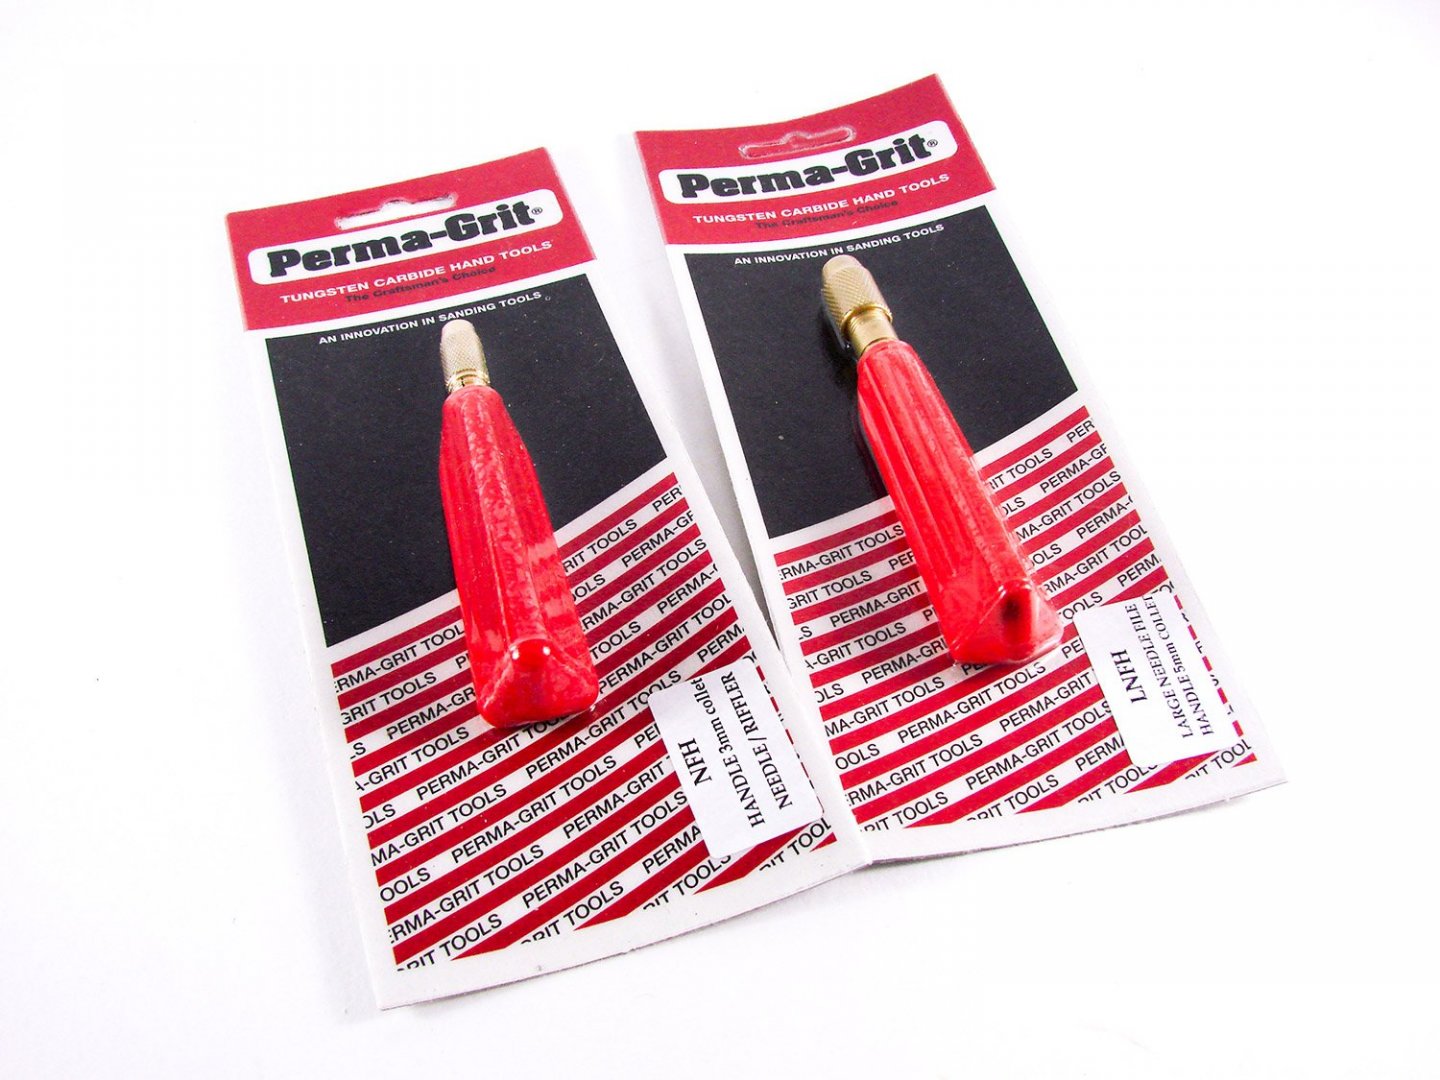
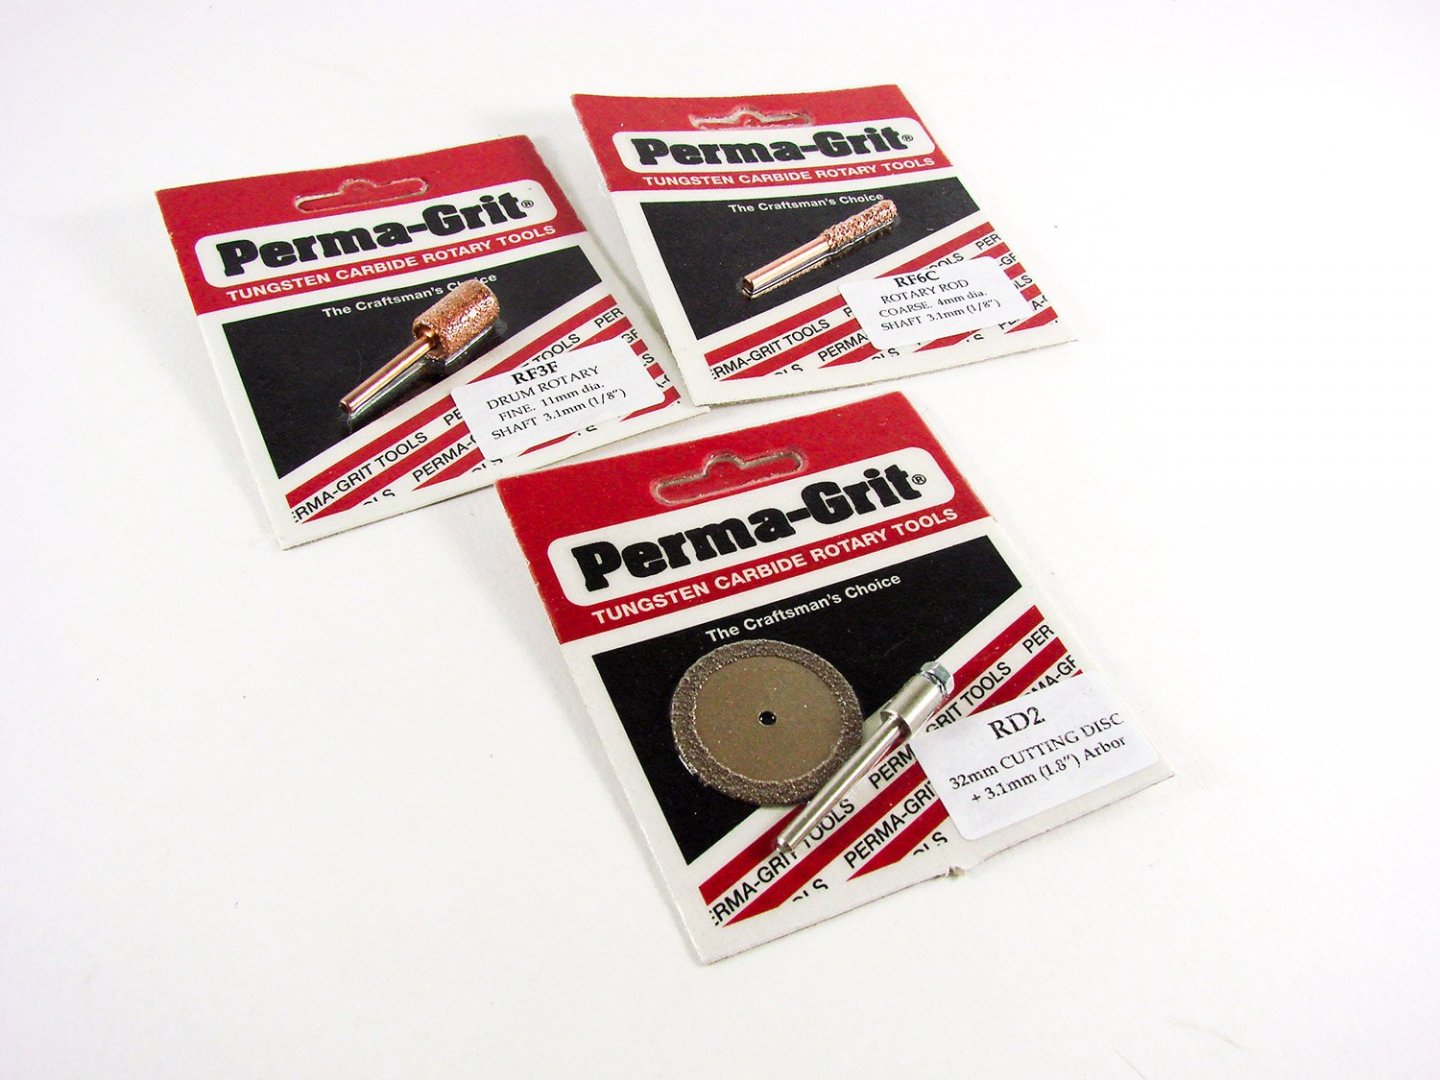
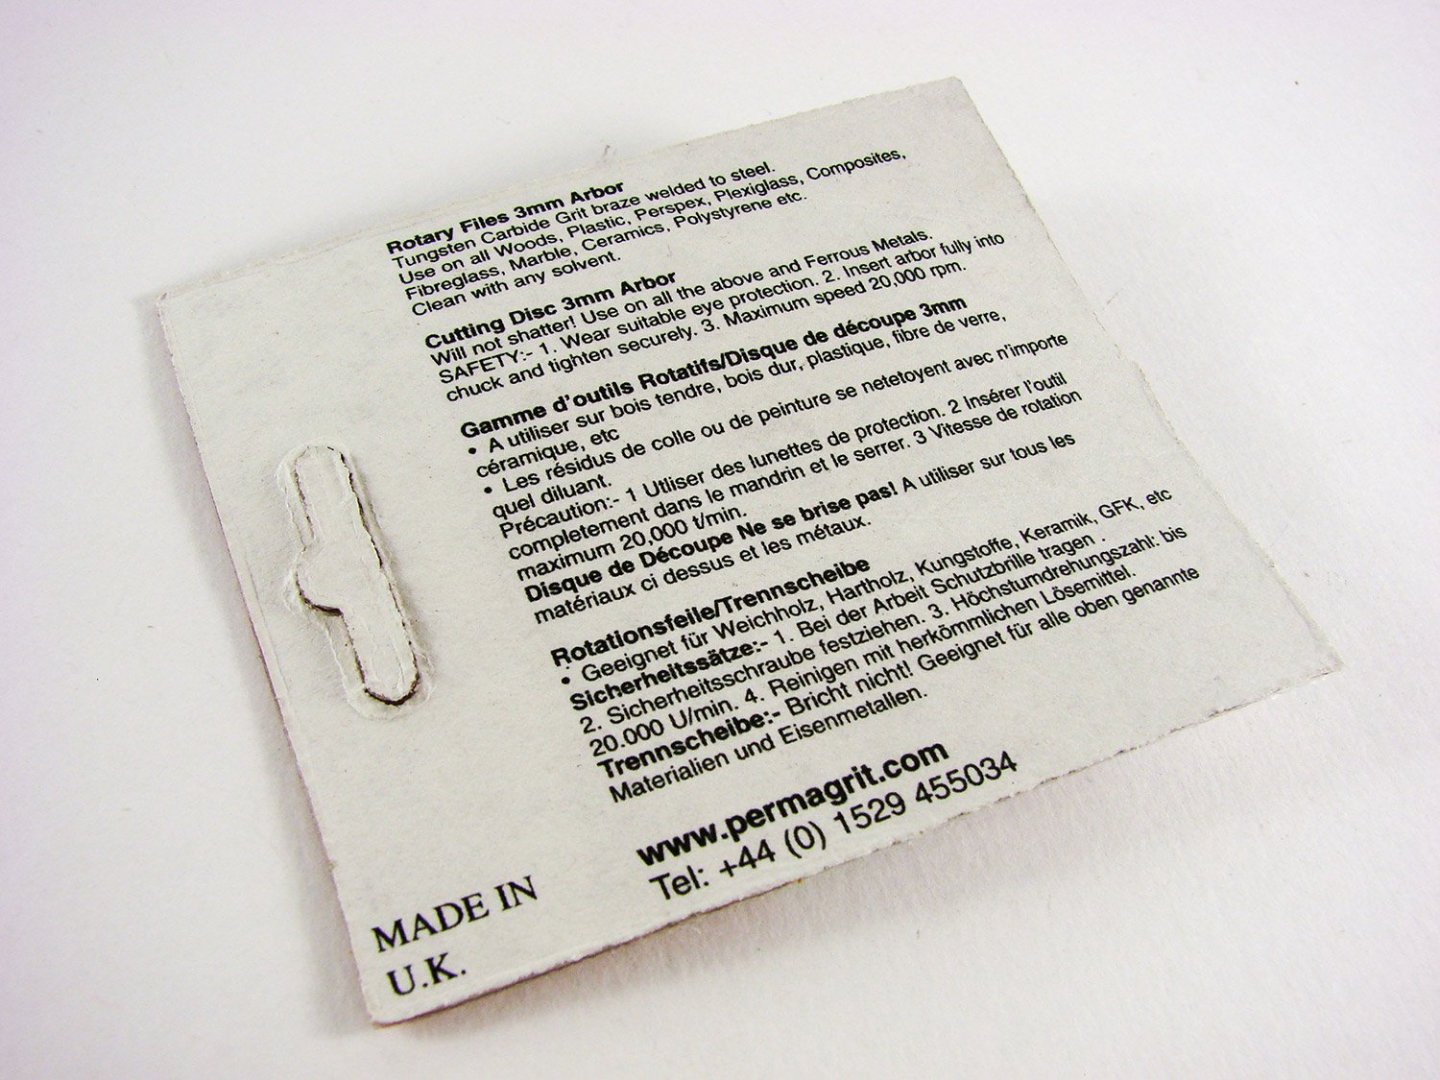
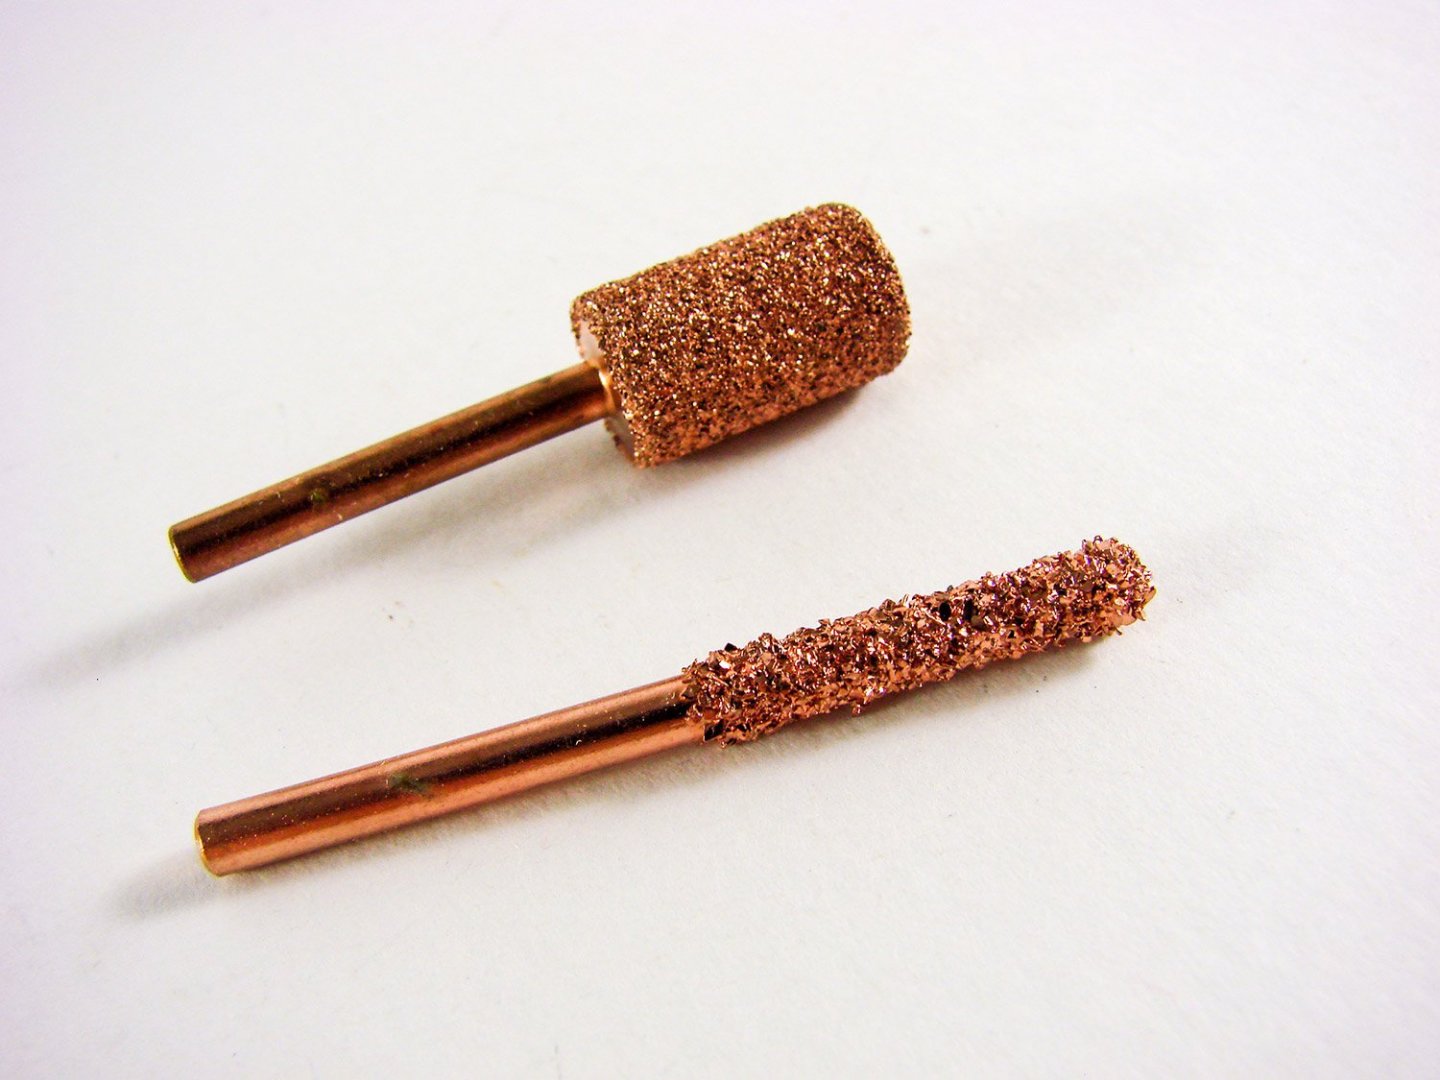
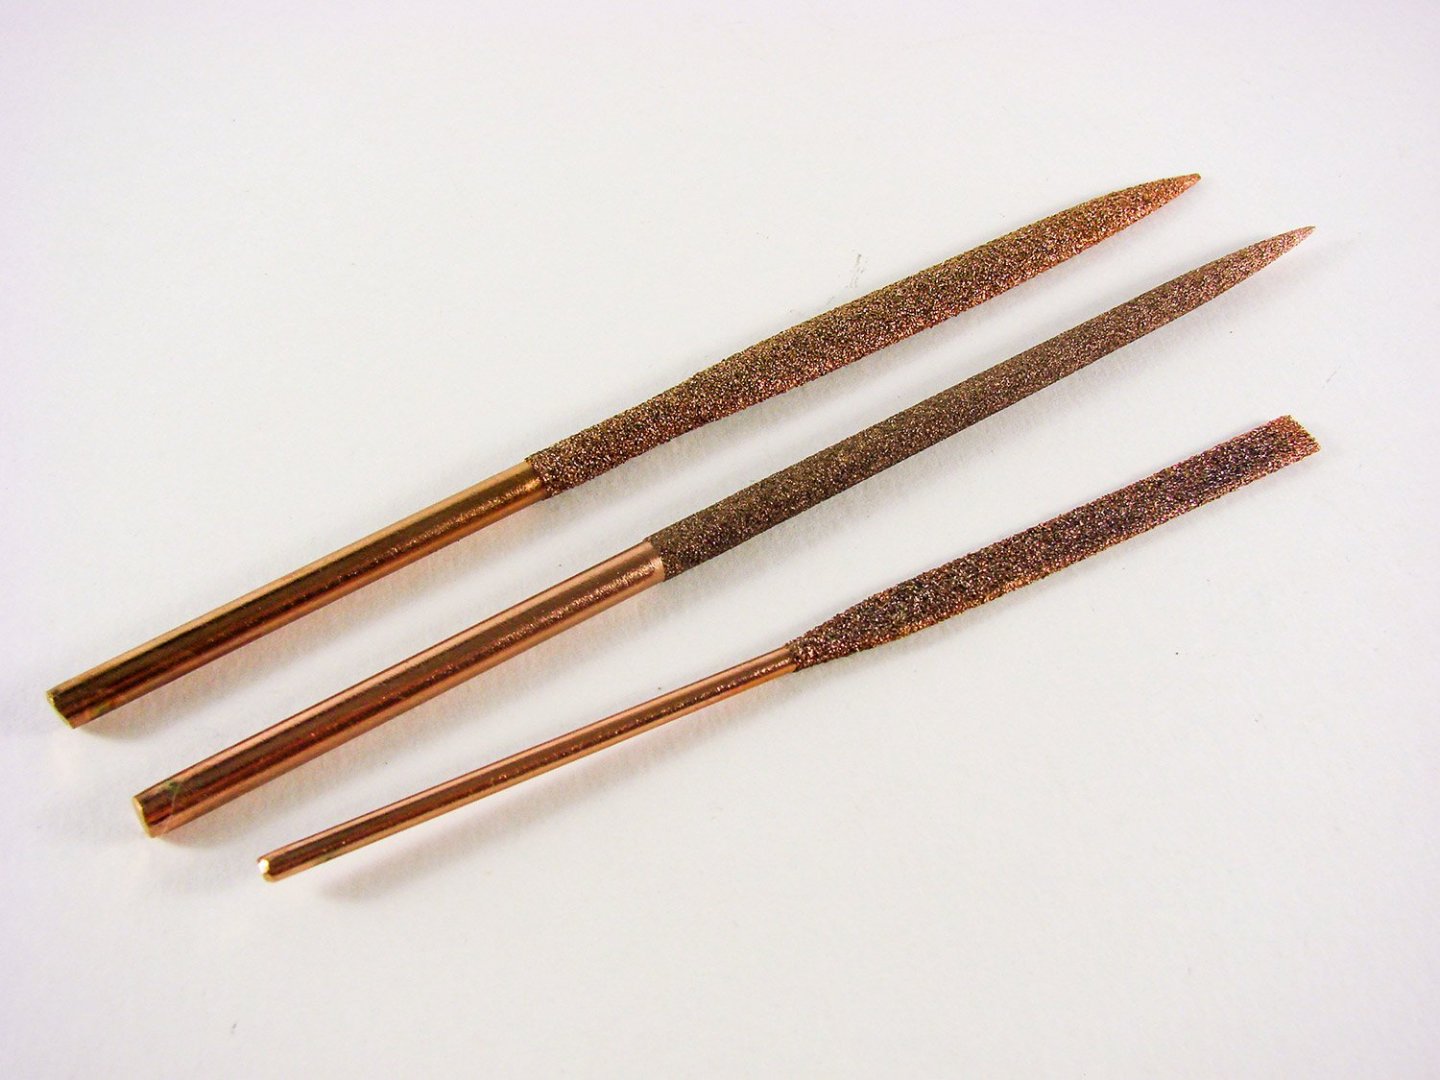
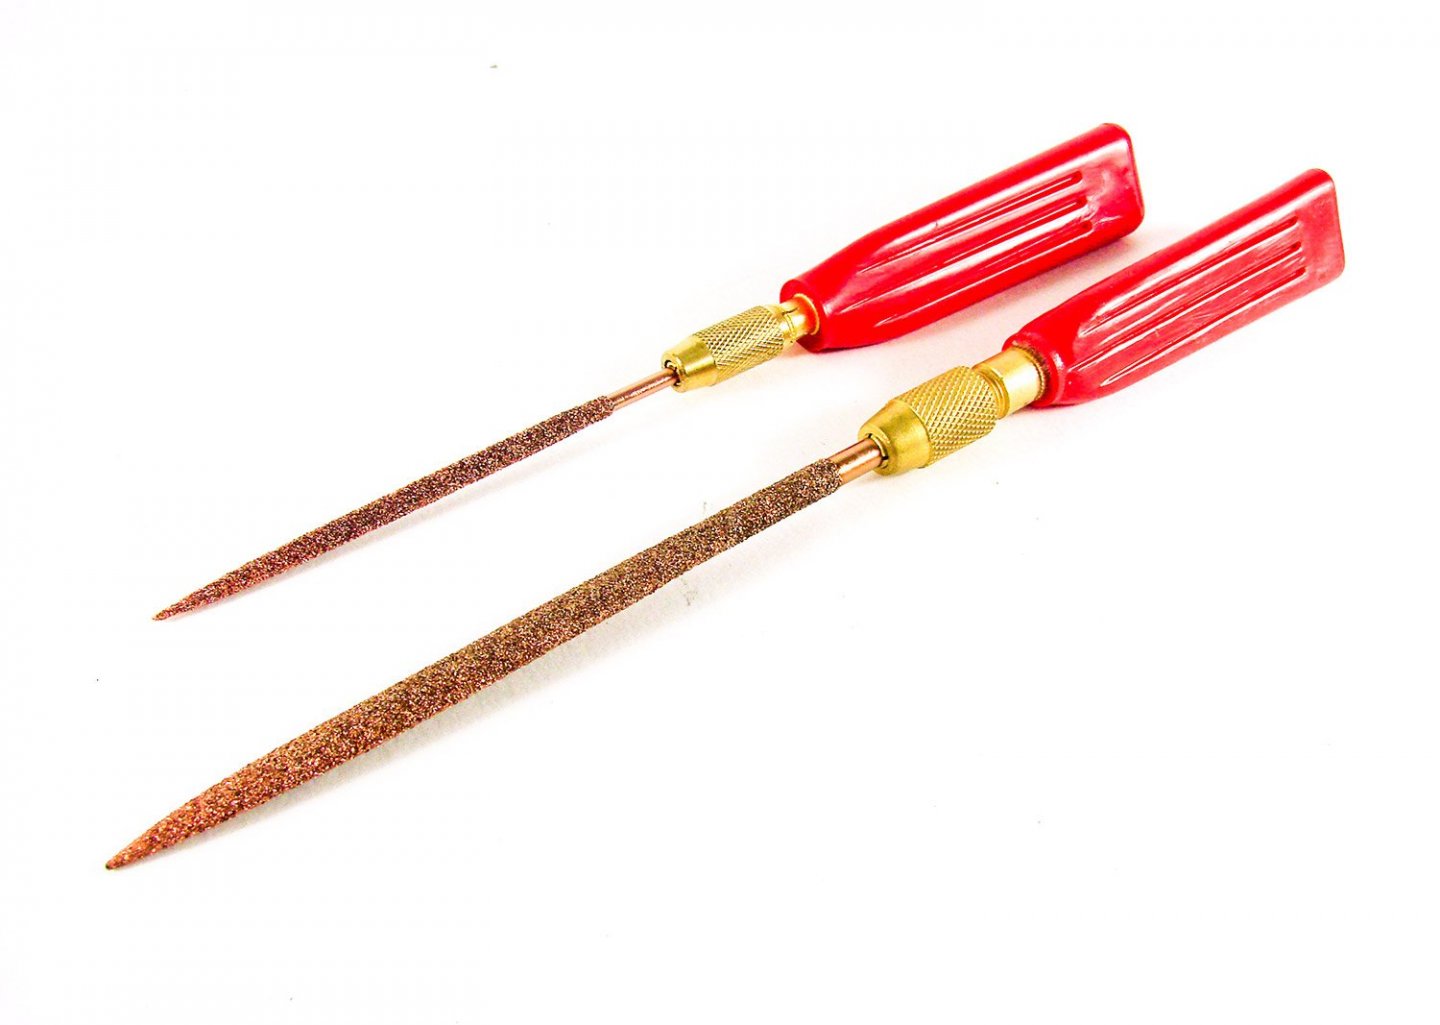
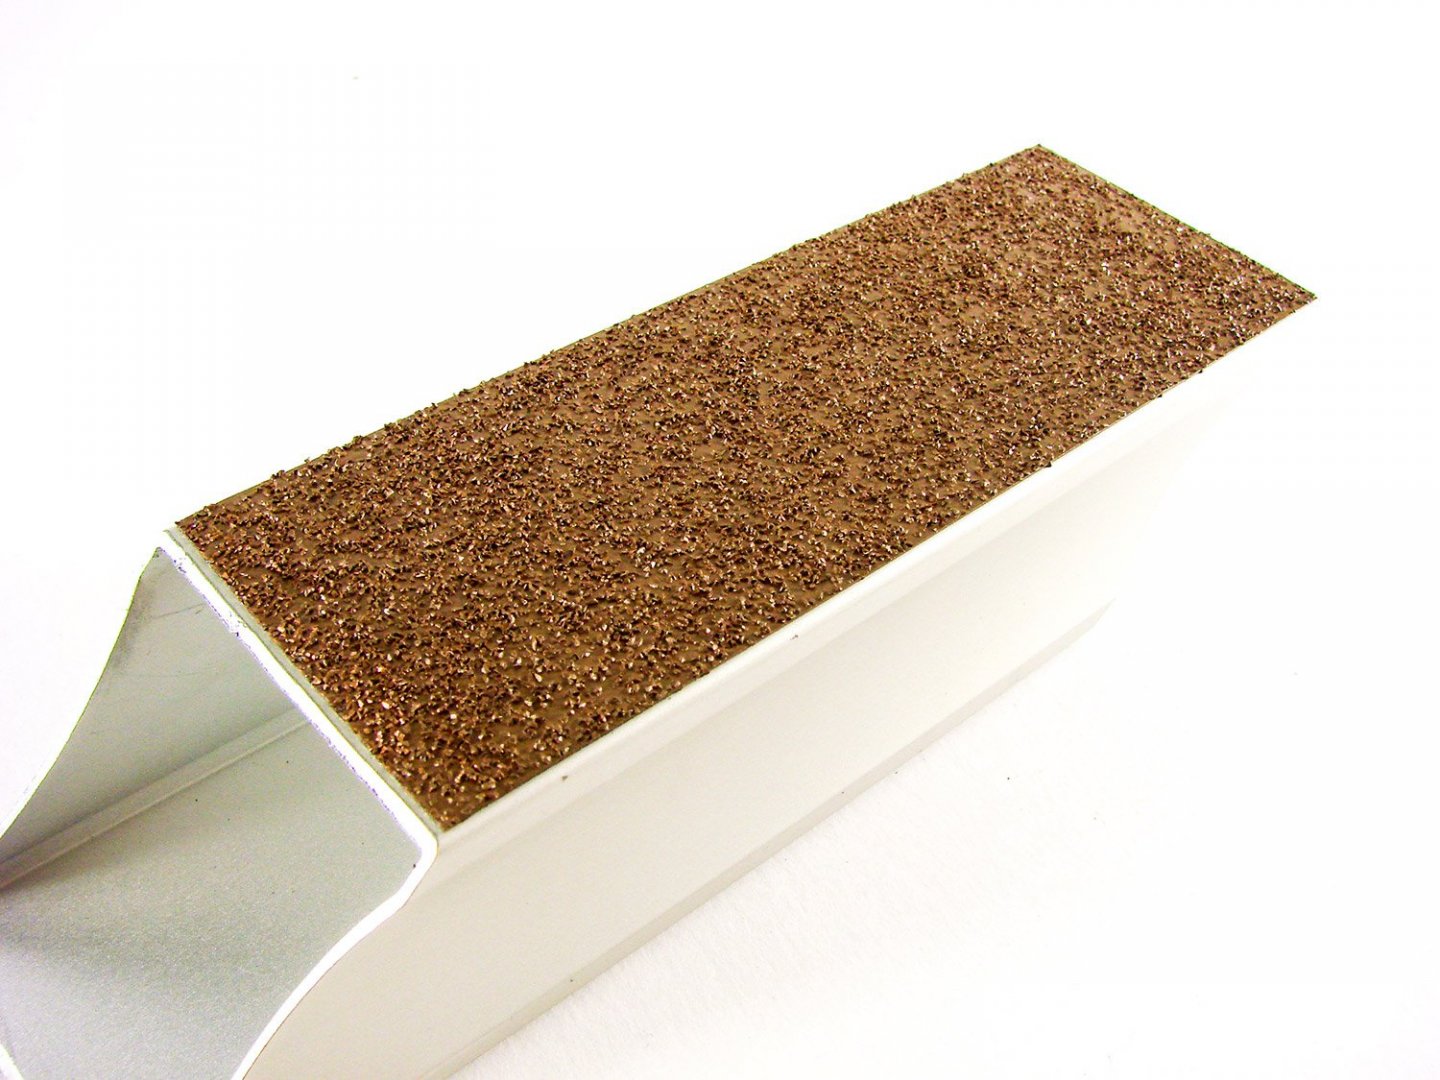
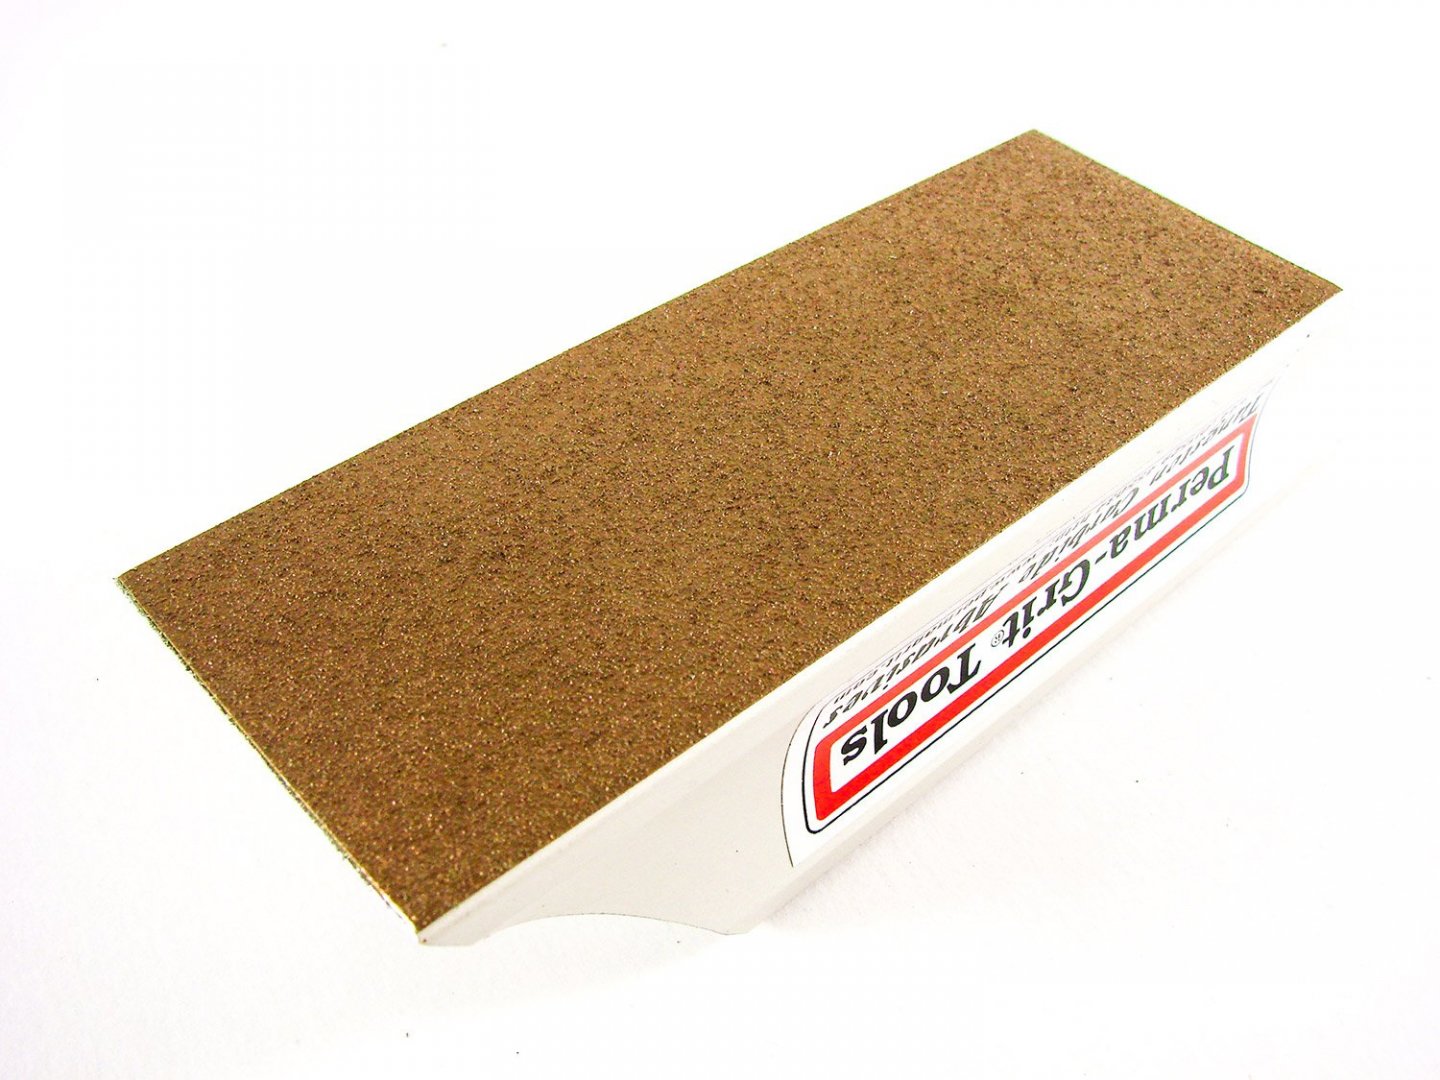
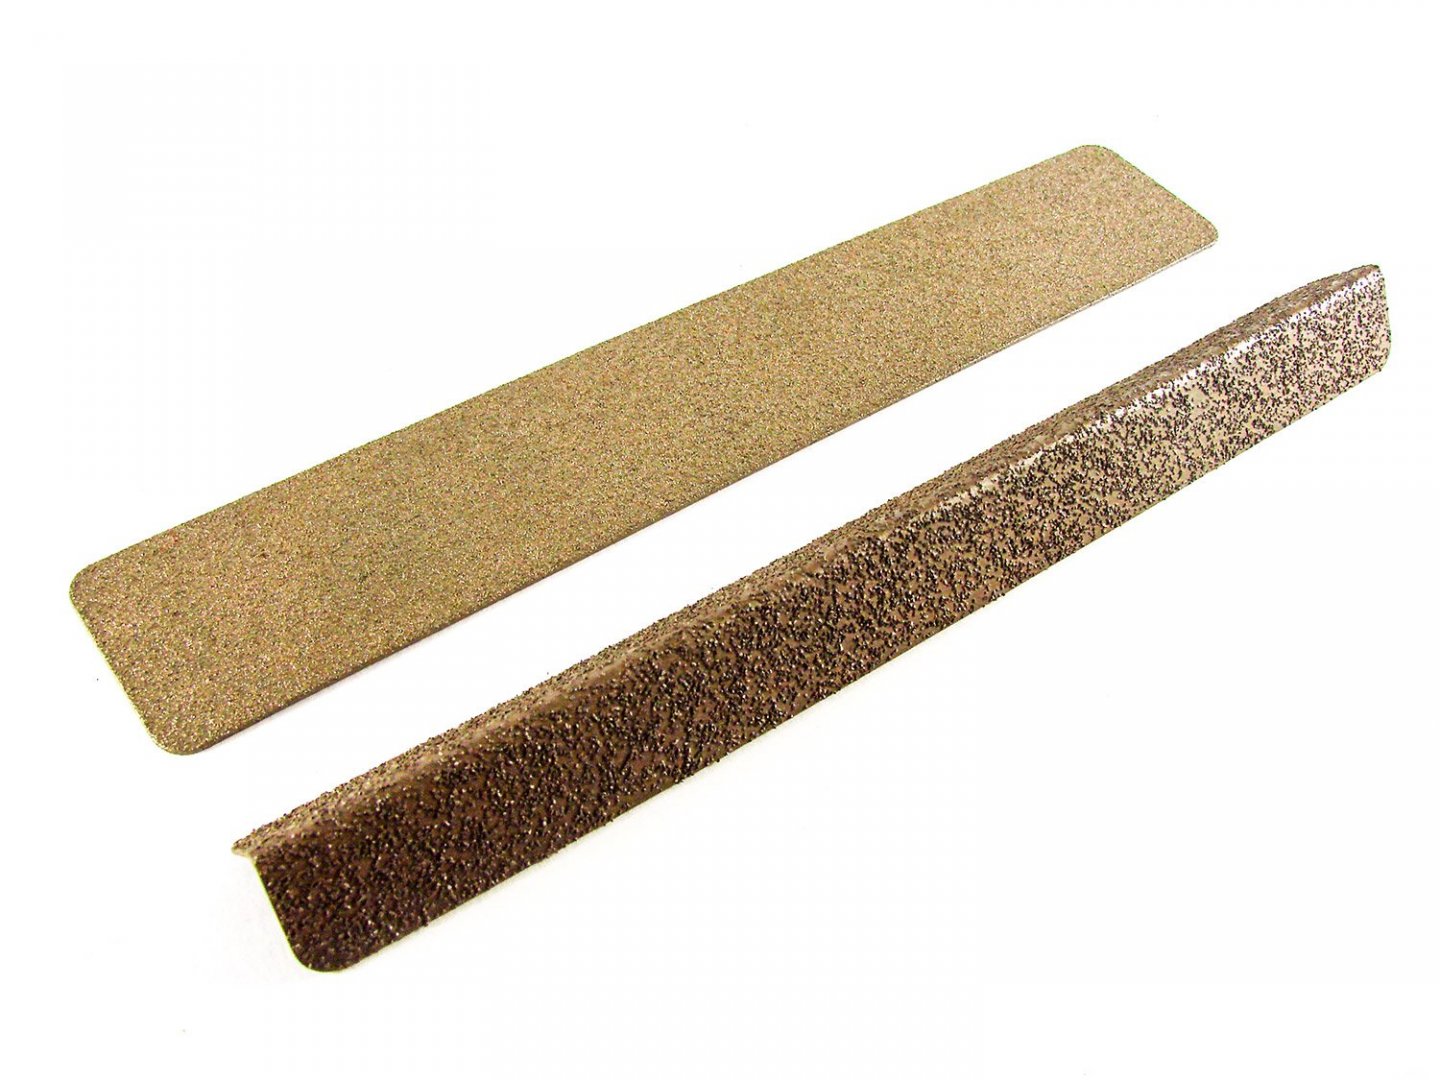
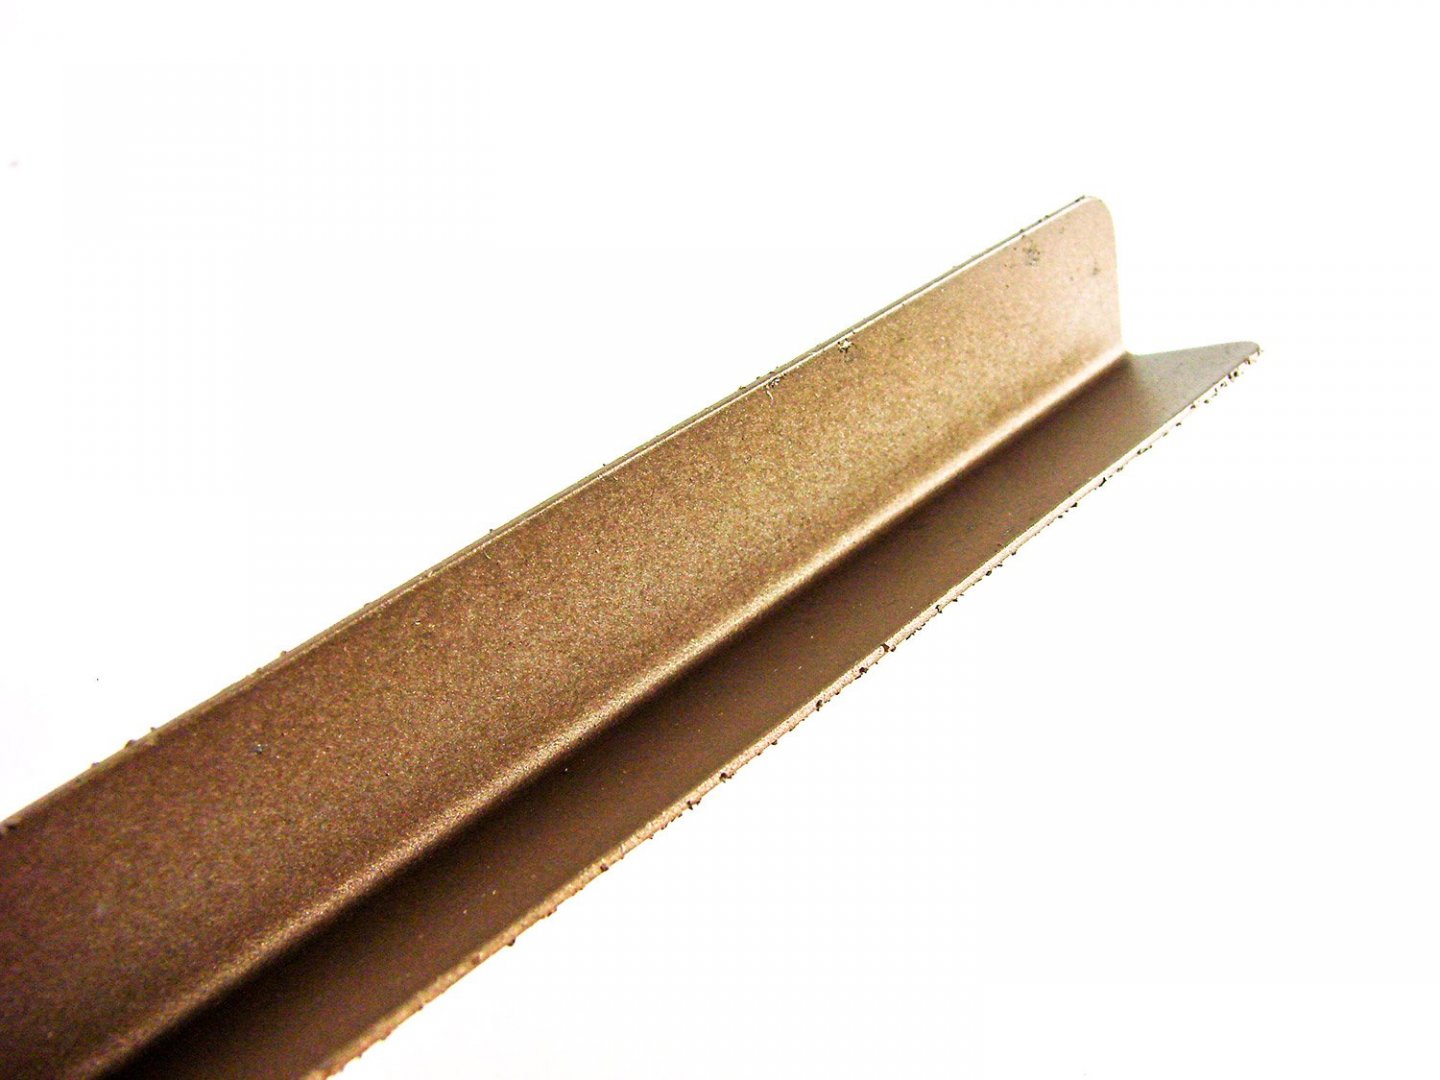
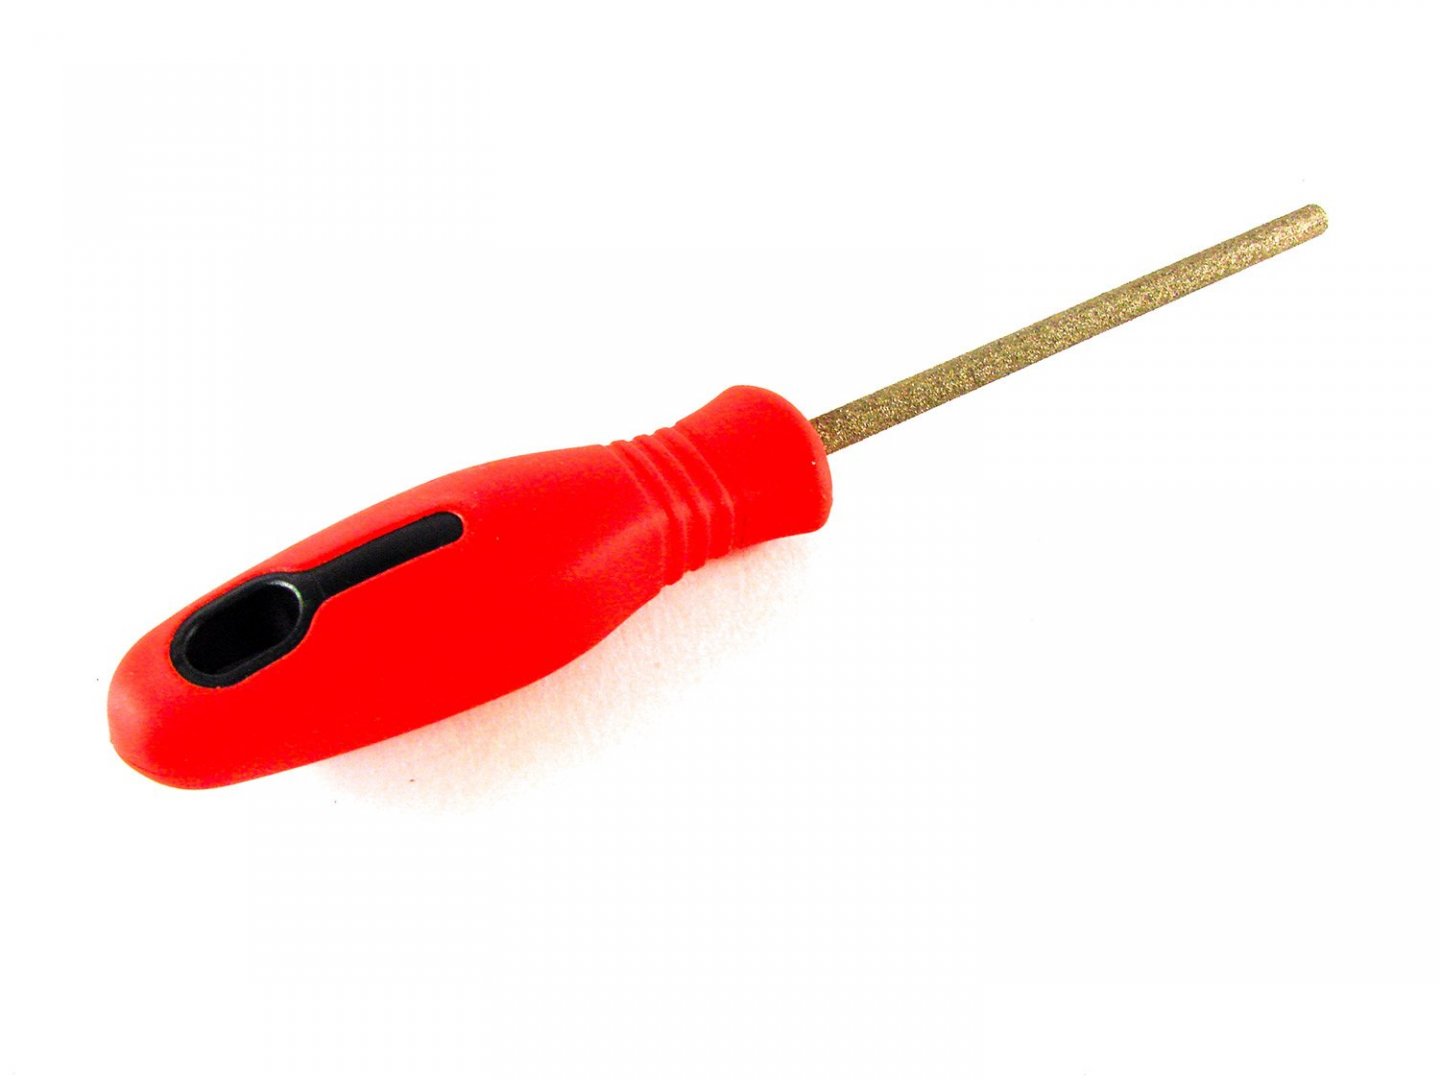
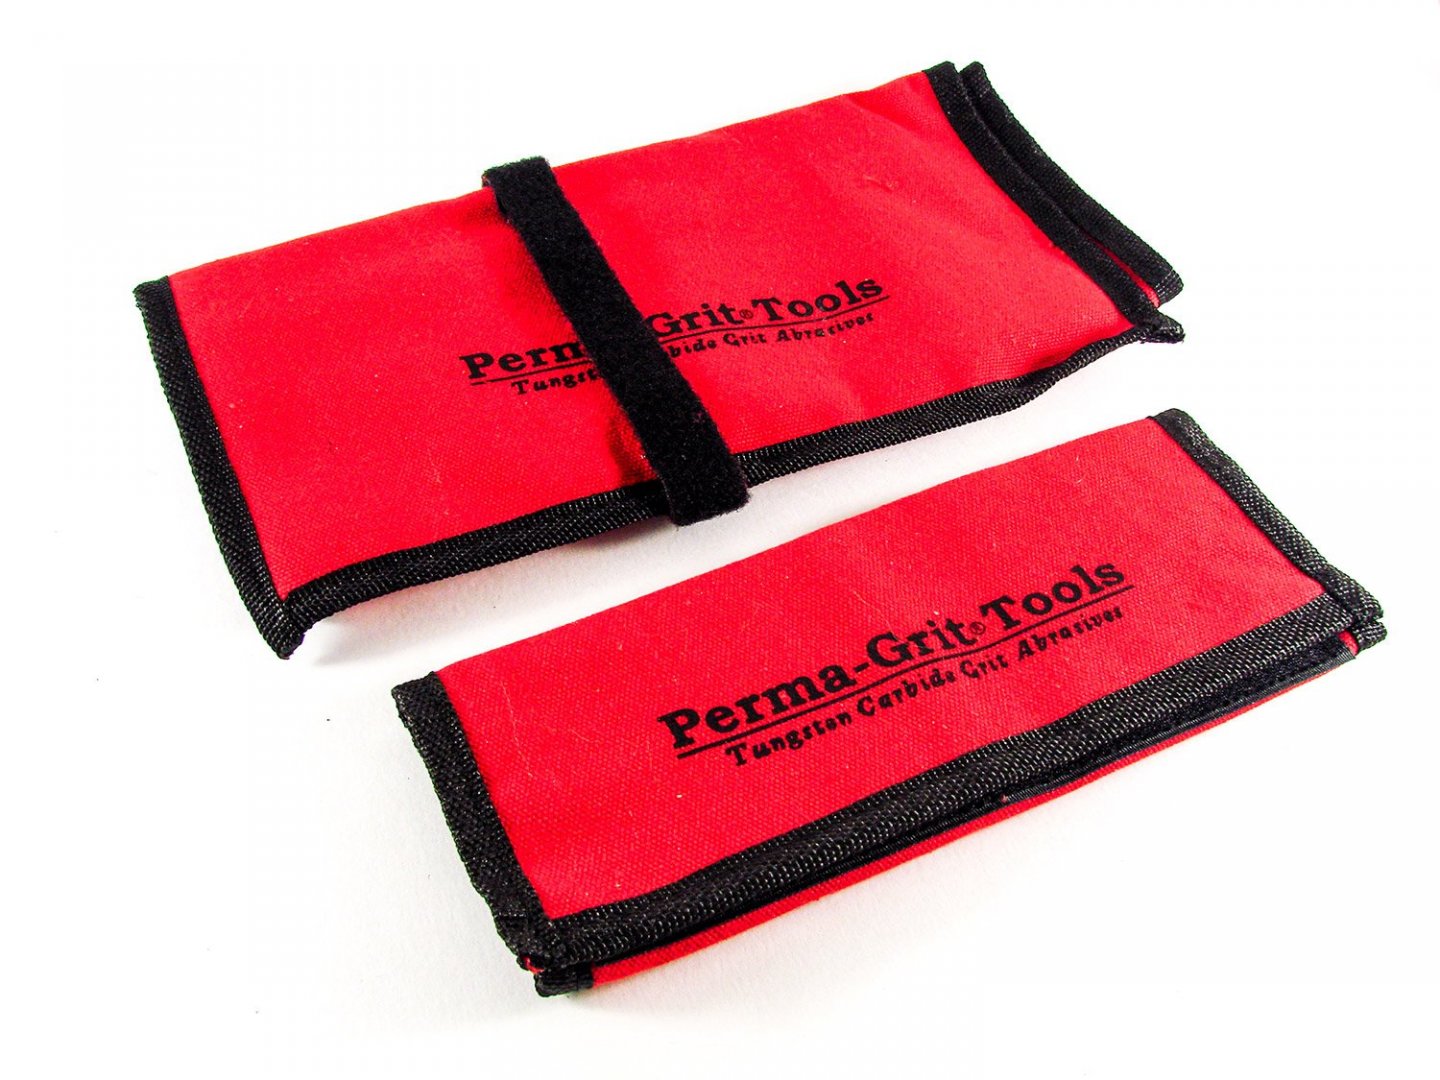
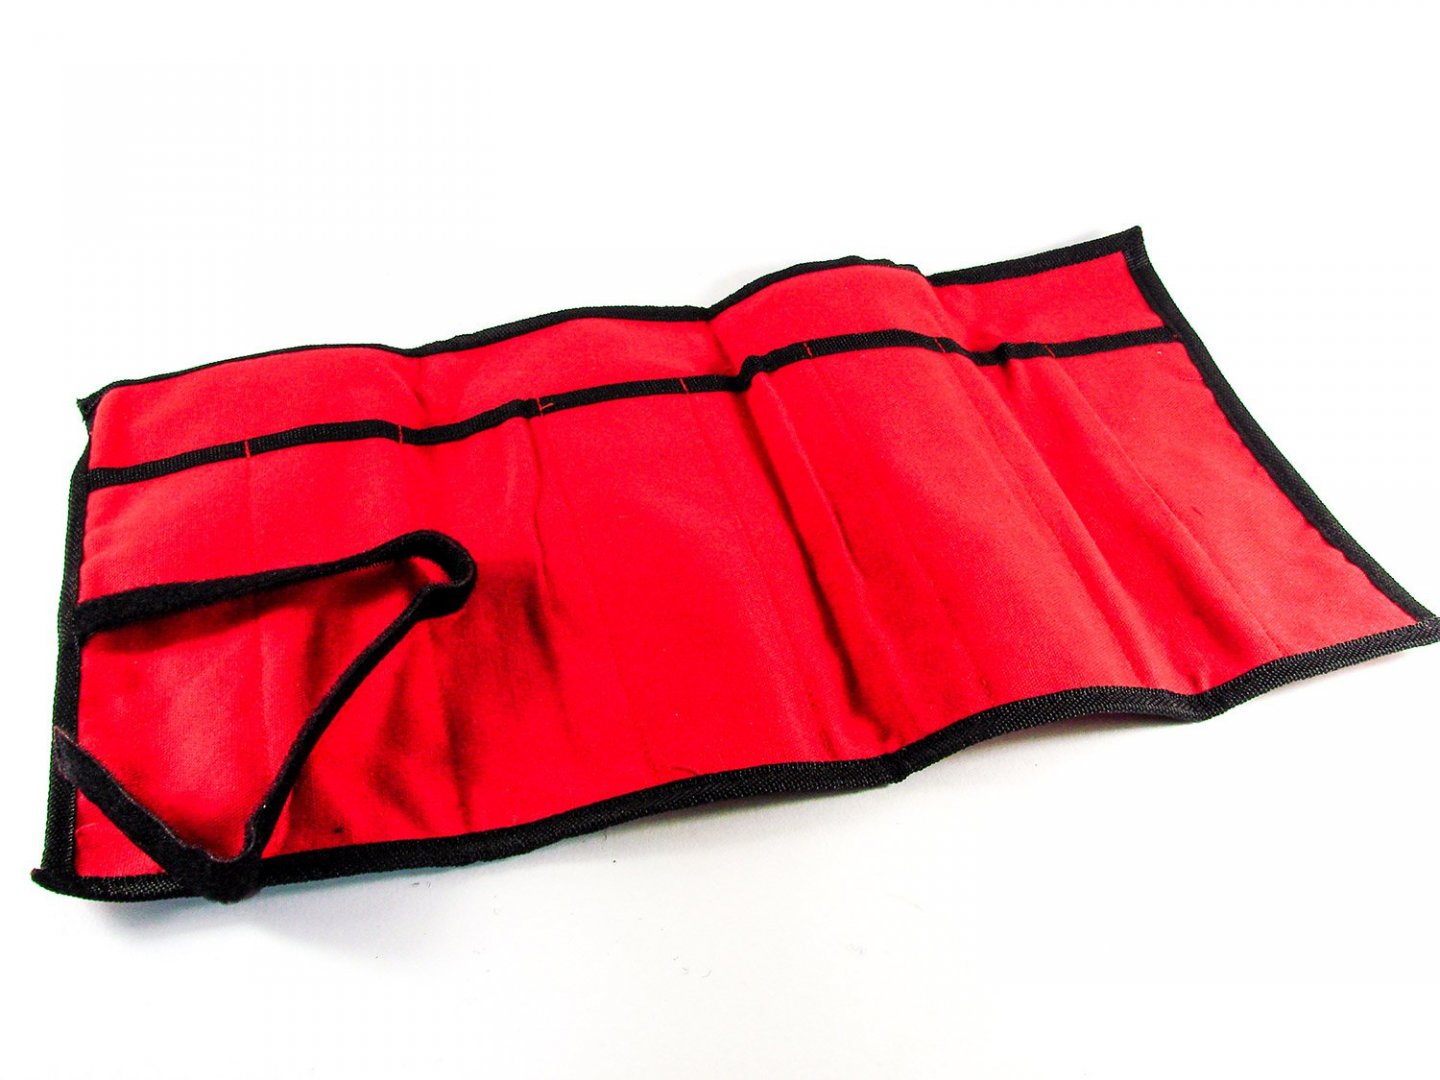
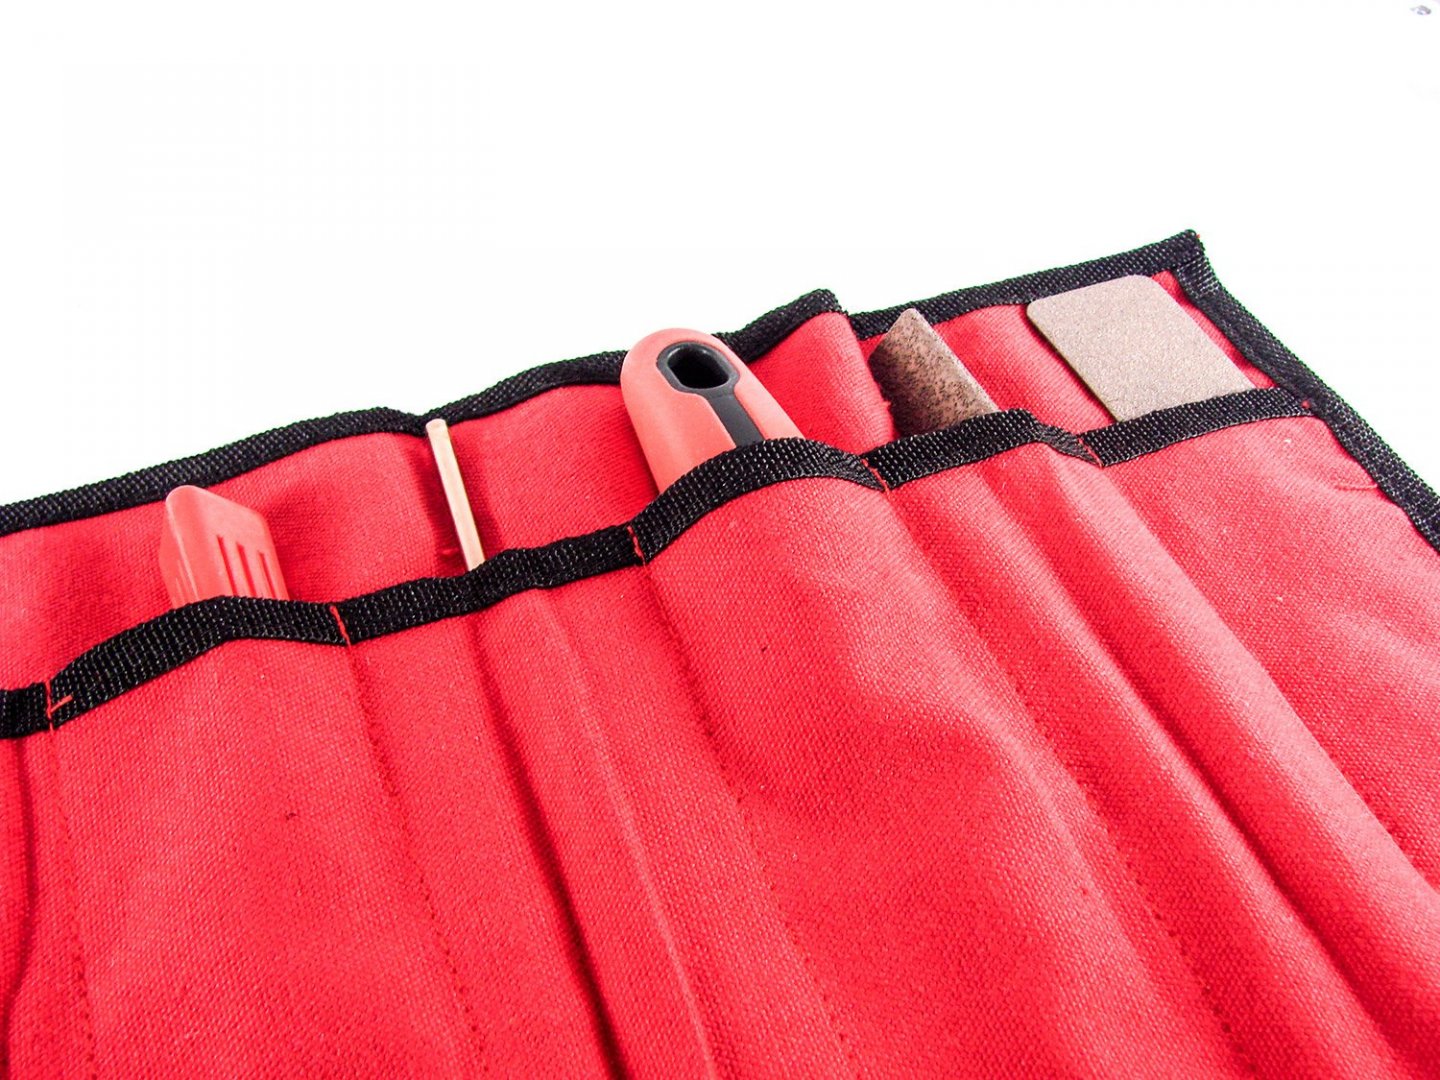
 Perma-Grit Tools Perma-Grit Ltd. For purchase and enquiries, visit www.permagrit.com We all know the old adage when it comes to making purchases, ‘Buy well, or buy twice’. That is especially true with regard to buying tools. We’ve all bought things for our hobby which looked great at the time or looked like a bargain. I know that in my case, very few of those purchases were actually money well spent. One area, working with wood, that we all need to buy for, is the sometimes-onerous task of sanding our models. Over the years, I’ve learned that buying good quality aluminium oxide paper is probably a better deal than cheap silicon carbide paper. However, when it comes to specific tools to do the job, one of the best names on the market, and one of the most respected, is English firm, Perma-Grit. This company has built its reputation up over a period of almost 30yrs now, manufacturing Tungsten Carbide grit tools of different grades, by bonding it to steel under extremely high heat, in a furnace. Perma-Grit have sent us a sample of their tools which a modeller could find very useful on the workbench, and I have taken the opportunity to use a small number on my current Zulu fishing boat. Needle Files (different size shafts) In my sample pack were these four needle files. These are the 18cm/5mm shaft, and 14cm/3mm shaft. All Perma-Grit tools are packaged against a card backing and shrink sealed in clear plastic. The rear of the packet also has information relating to the specific product range. The tools you can see here are: 18cm Large Needle File (Round, fine), # LNF-ROUNDF 18cm Large Needle File (Half round, fine), # LNF-HROUND 14cm Needle 3 Square, (medium), # NF-3SQUARE 14cm Needle File, Hand (medium), #NF-HAND Firstly, a little about the grade of grit with these needle files. Files with ‘fine’ grit are classed as an equivalent of UK 320 grit sandpaper. Those with ‘medium’ grit as classed as UK 220 grit sandpaper. The surface of these files is densely packed with grit, and I can’t see any of this coming away readily. Whilst Perma-Grit don’t supply a lifetime’s guarantee, if you feel that any tool from them hasn’t met your expectations, then you are always welcome to let them know of this. Cleaning the surface of these has also been thought of. These files are pretty impervious to most chemicals, so you can use acetone to remove any CA, and Nitromors/paint stripper to remove general debris. Whilst these tools can be used ‘as is’, some modellers will feel more comfortable using a handle, and I’m also one who would feel that I can exercise more control with a handle fitted. To cater to shaft size, Perma-Grit offer these two handles: Handle 3mm collet, # NFH Handle 5mm collet, # LNFH These are simple to use. You just twist the knurled ring to loosen the collet and then slot the file in before retightening. Of note here is that the red handle is hollow and can accommodate quite a lot of the file shaft so you can adjust the file to what suits you best. Sanding blocks, angles, and flat files Sanders come in all shapes and sizes, and so they do from Perma-Grit too. We have three types here, all very different and with a wide range of roles in our hobby. For your info, tools classed as ‘coarse’ have an equivalent UK sandpaper grit of 180. Angle 75 Degrees (coarse), # R-201C Flat File (fine), # F-101 Wedge Block (coarse, fine), # WB140 The Angle sander is an unusual thing. It’s very easy to hold and manipulate, with two sanding faces. This one has a coarse grit, but can also be bought with a fine grade, which, given the shape and possible modelling uses, would perhaps be a safer bet. The Flat File is simple in approach. This is long length of steel with a fine abrasive coating on one side. This could be used for getting the squareness of a freshly planked hull, removing a lot of that waste until you switch to a sanding block or just manual sanding paper. With the Wedge Block, you get something more akin to a traditional sanding block, except in metal of course. Where this differs is that one side of this is fine grit for some nice finishing work, and the other side is coarse. As I’d already done the rough work on my model hull, I took the opportunity to do some fine sanding. The grit on these sure takes off material superbly, and I went very gentle with this. 6.5m Round File (fine), # R-204F If traditional style files feature in your workshop, then this one is very similar to that, being a regular looking round file with an integrally moulded handle. The whole shaft on this is coated in Tungsten Carbide and the handle is very comfortable in the hand as well as being nicely weighted. Rotary tool bits Perma-Grit sent me a small number of their most commonly used rotary tools. All of these have 3.1mm shafts and are compatible with Dremel rotary tool products. The ones I have here are: Rotary Drum (fine, 11mm diameter), # RF3F Rotary Rod (coarse, 4mm diameter), # RF6C Cutting Disc (32mm diameter), # RD2 The Drum tool is as you would expect and very similar in appearance to Dremel except that this doesn’t need to be assembled, nor will it wear out as quickly. Being fine grade, this will be perfect for the hobby, when bevelling bulkheads etc. The Rod tool is exactly that. Tungsten Carbide has been fused to the shaft, enlarging its diameter to 4mm. The one I have here is coarse but can also be purchased in a finer grade. Of course, the Cutting Disc does need a little assembly. All that’s involved is slipping the disc underneath the nut and spring washer, tightening with a small spanner. It MUST be noted the rotary tools running speeds are anywhere from 5000rpm to 20,000rpm, and they are NOT recommended for metal Whilst these tools have been supplied as separates, they can also be bought as sets. If you already have several of these tools, then the sleeves (tool rolls) can be purchased separately. I have two such sleeves here. One is designed for the larger tools, and the other for smaller tools. These are made from red canvas so are rugged, and they are secured with a Velcro fastener. My sincere thanks to Perma-Grit for sending these tools out for me to take a look at for Model Ship World. To buy these and check out the rest of their extensive range, visit www.permagrit.com
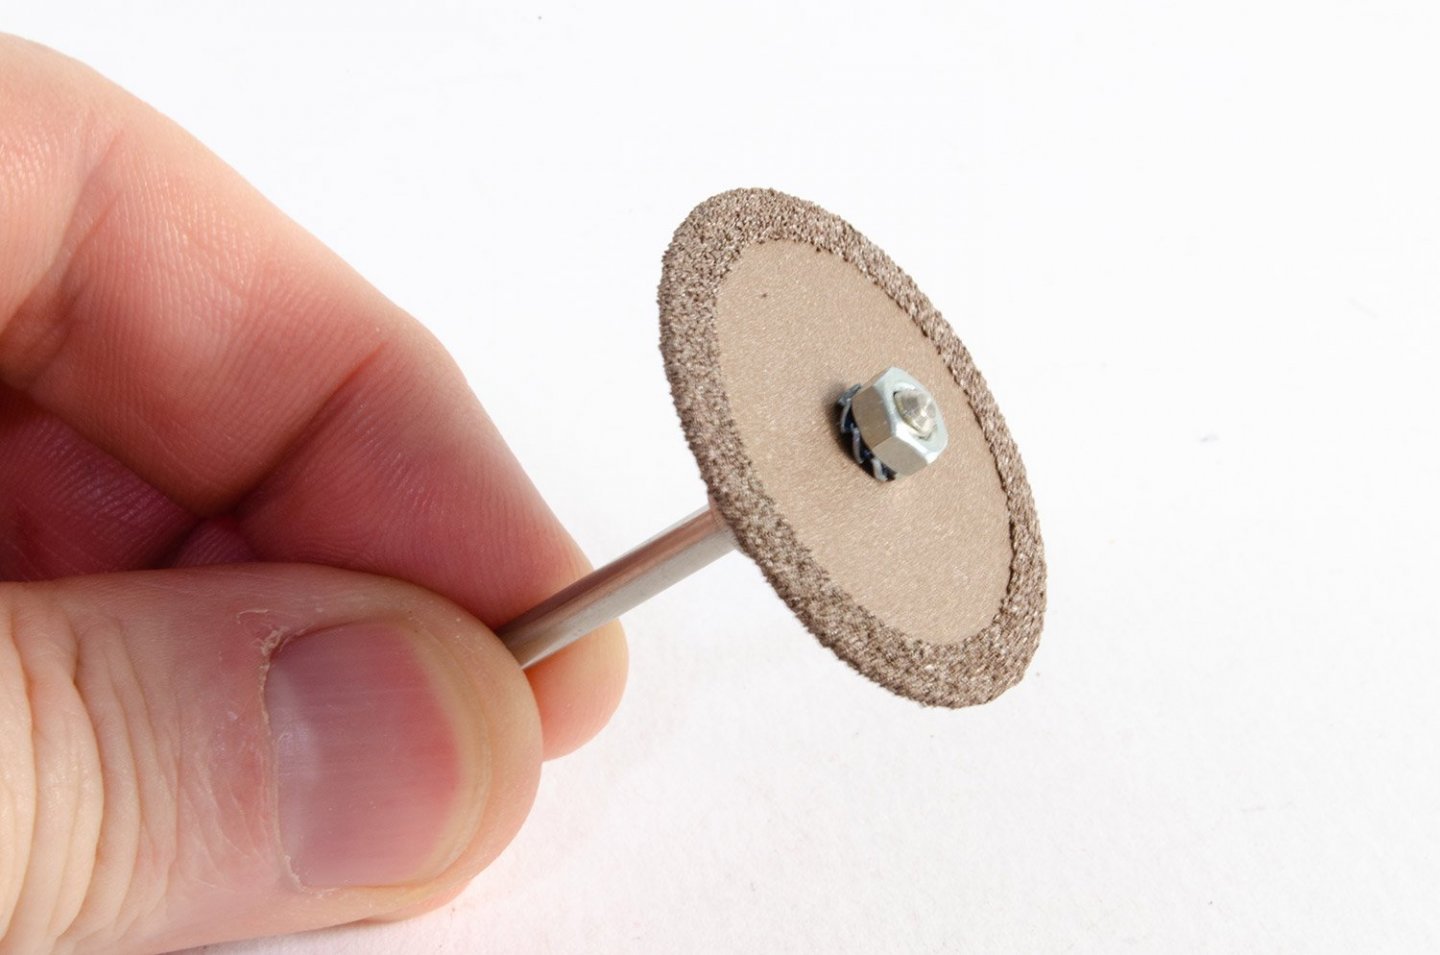


- 17 replies
-
- 16
-

-
- permagrit
- perma-grit
- (and 3 more)
-
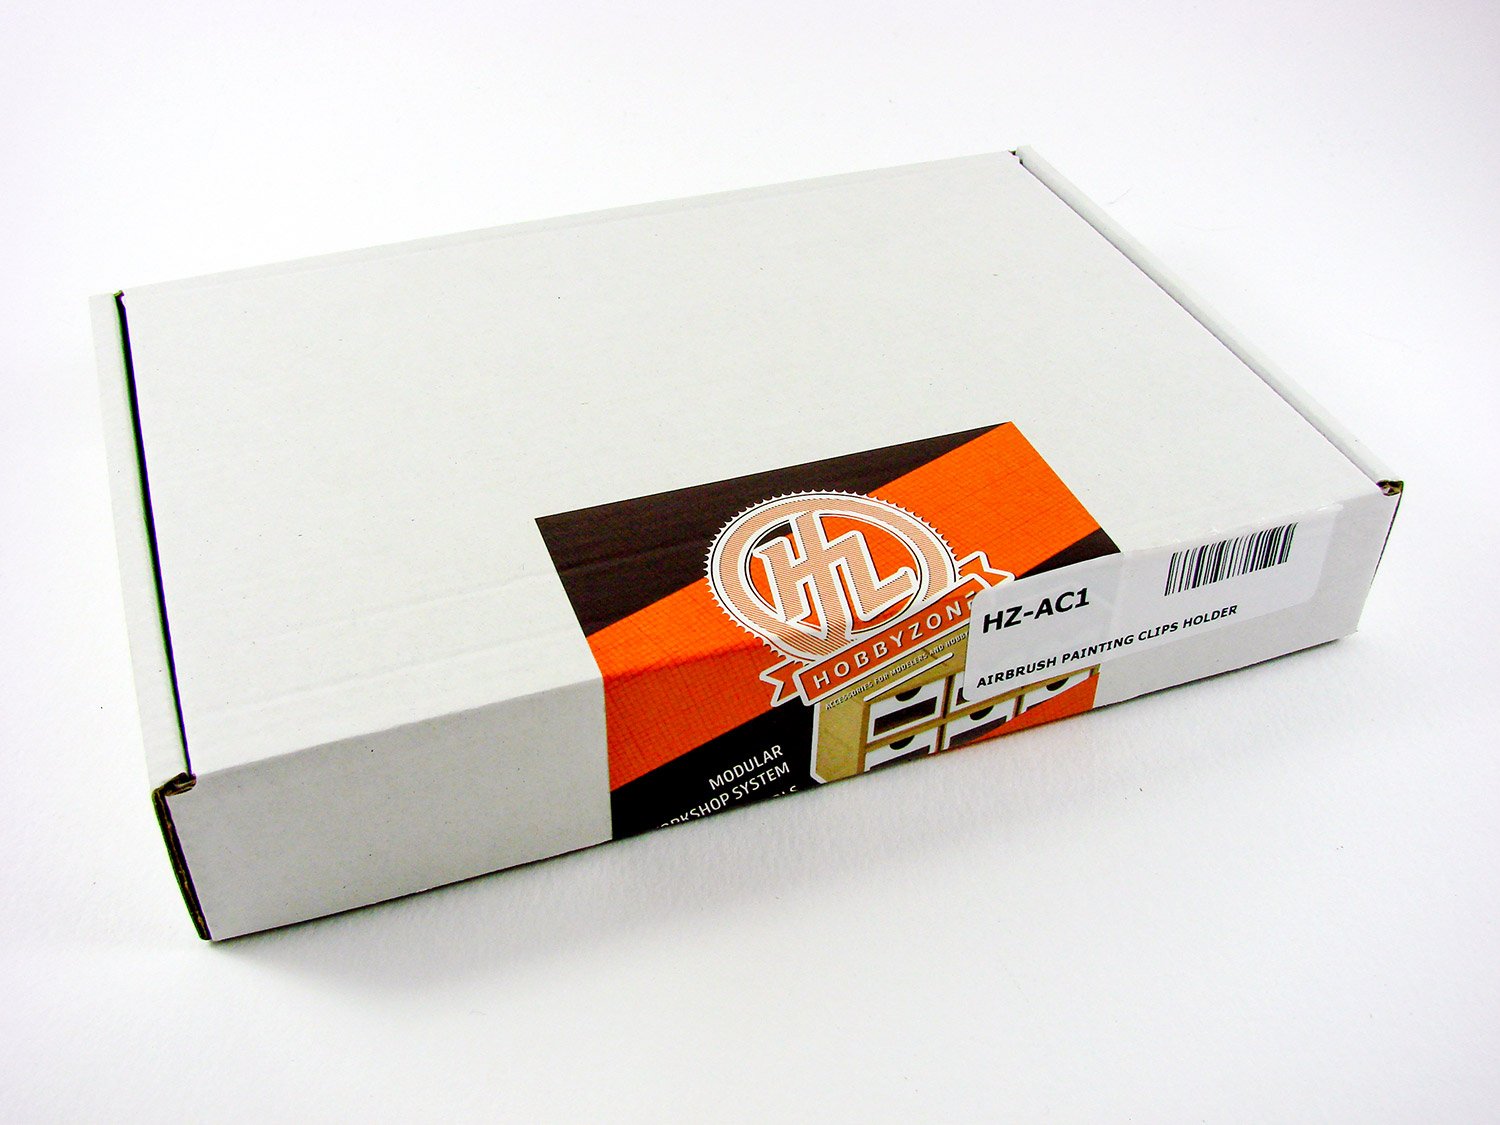
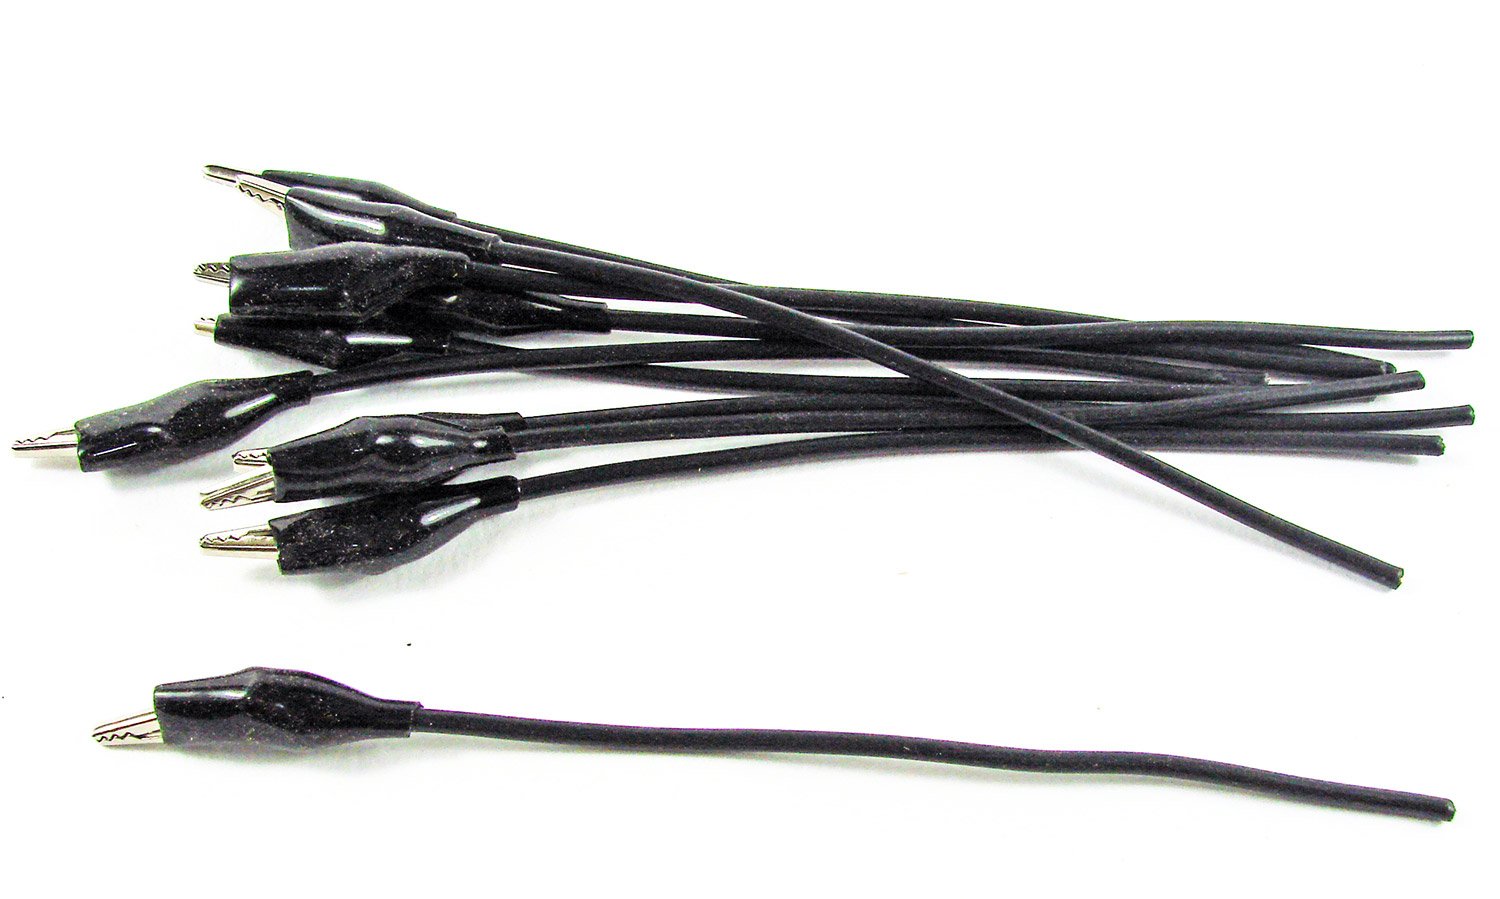
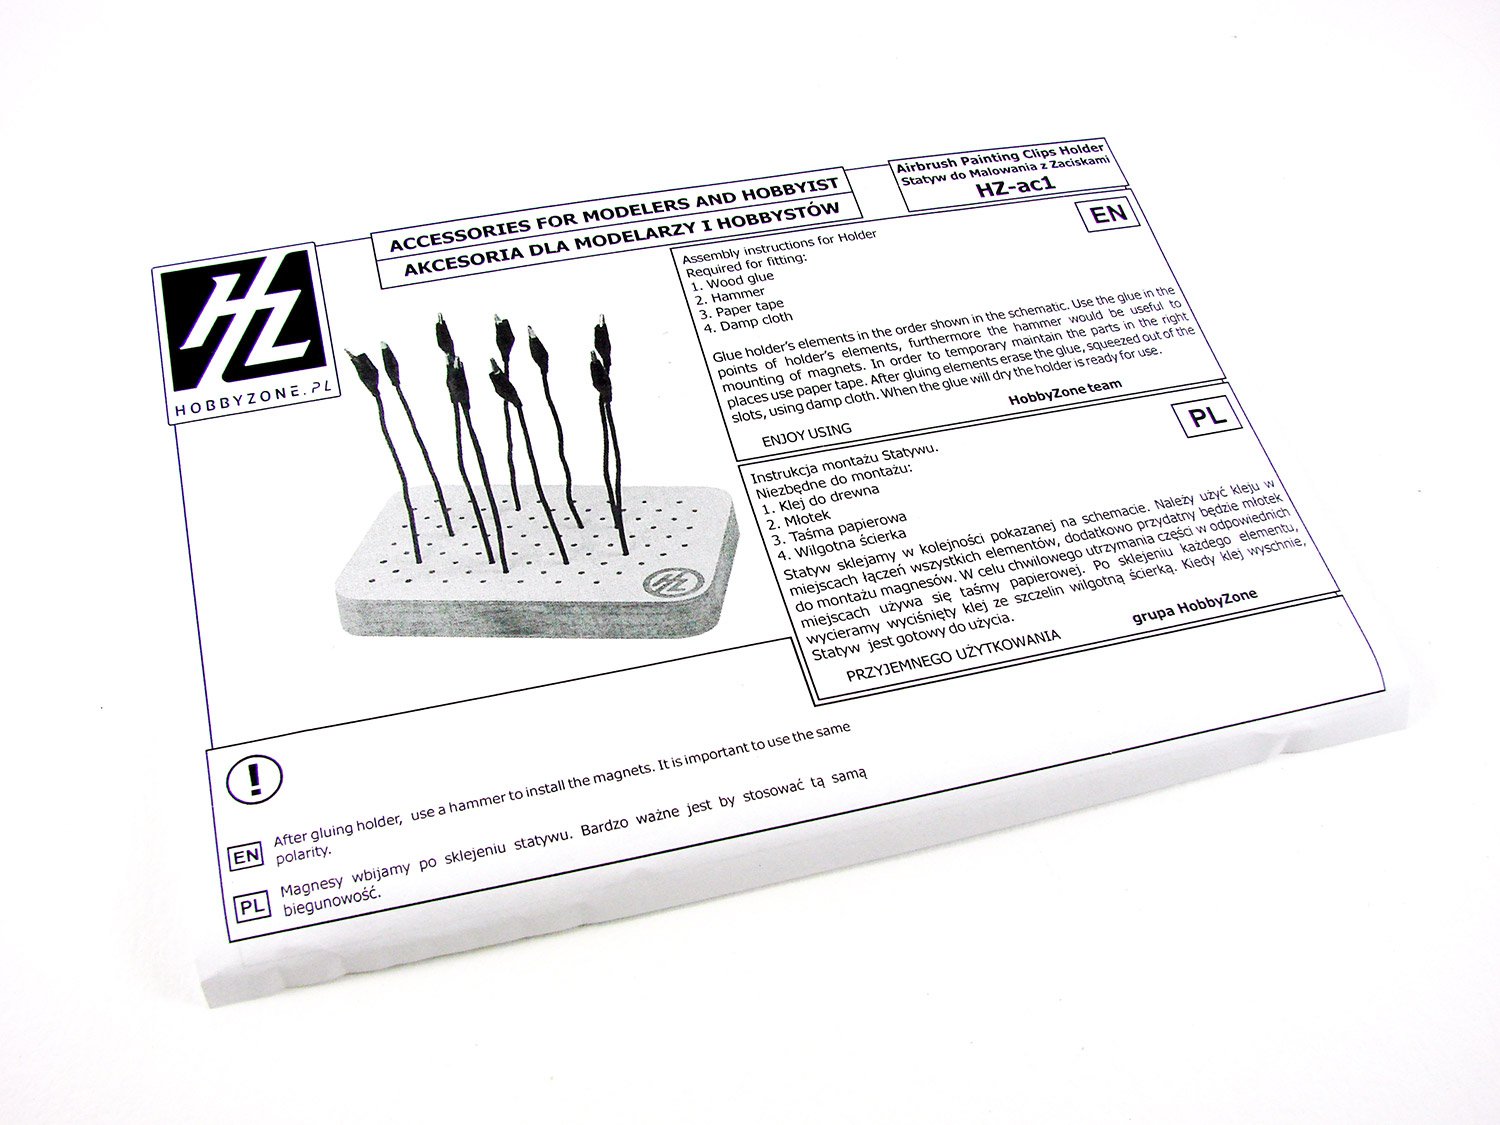
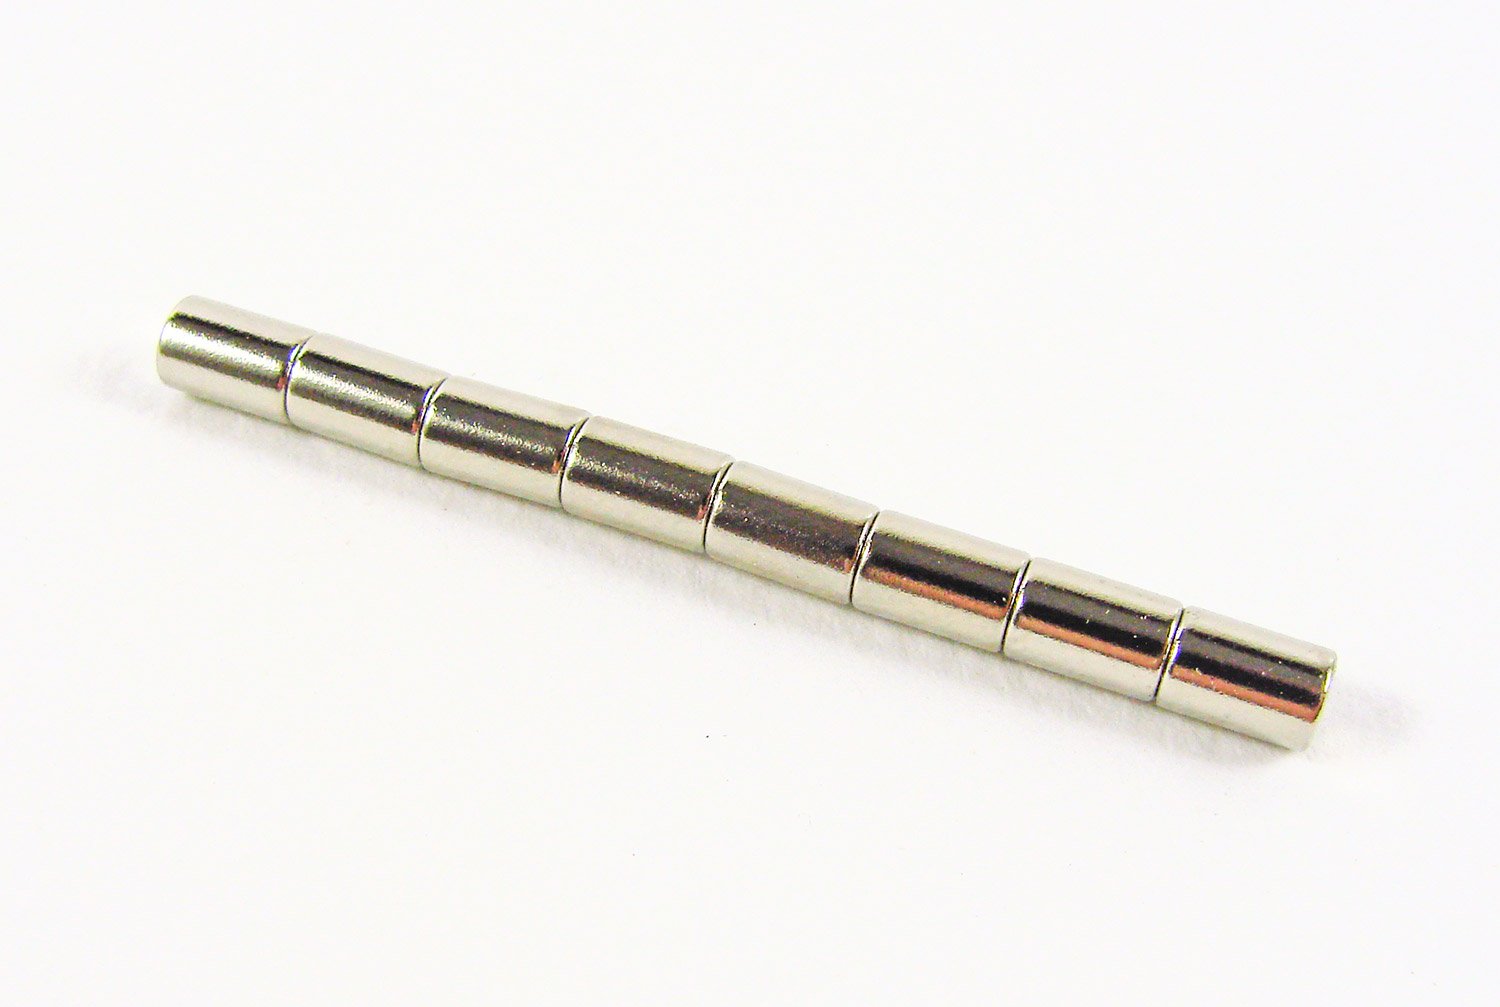
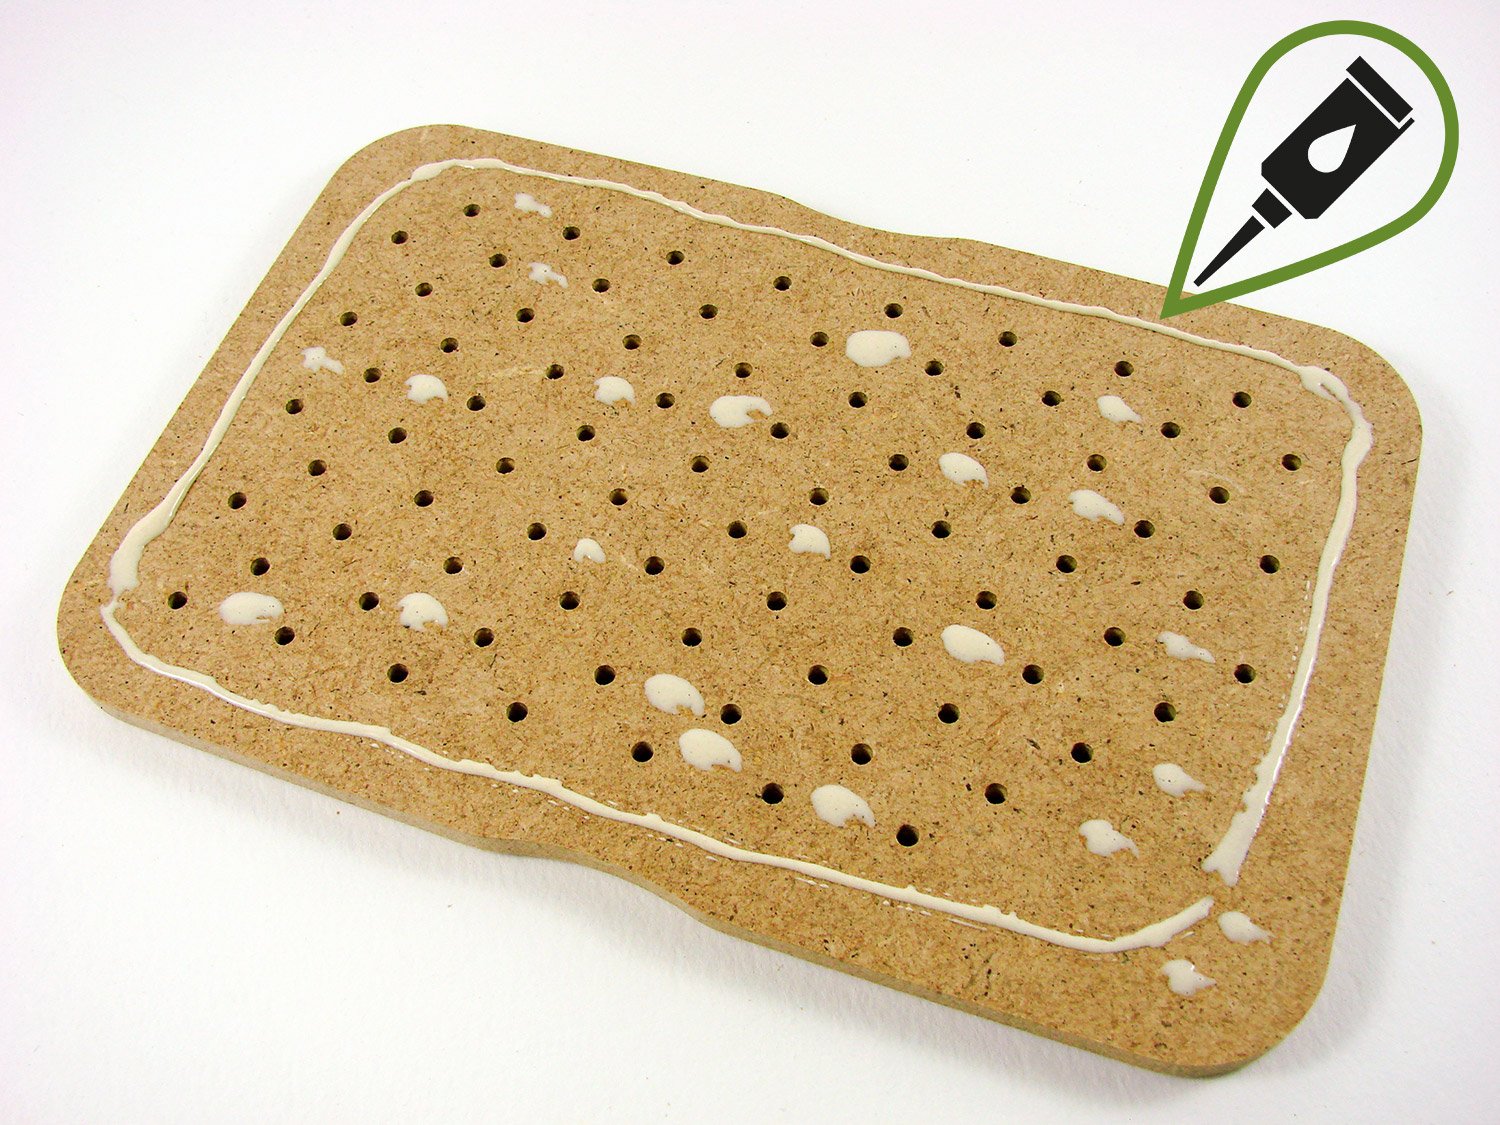
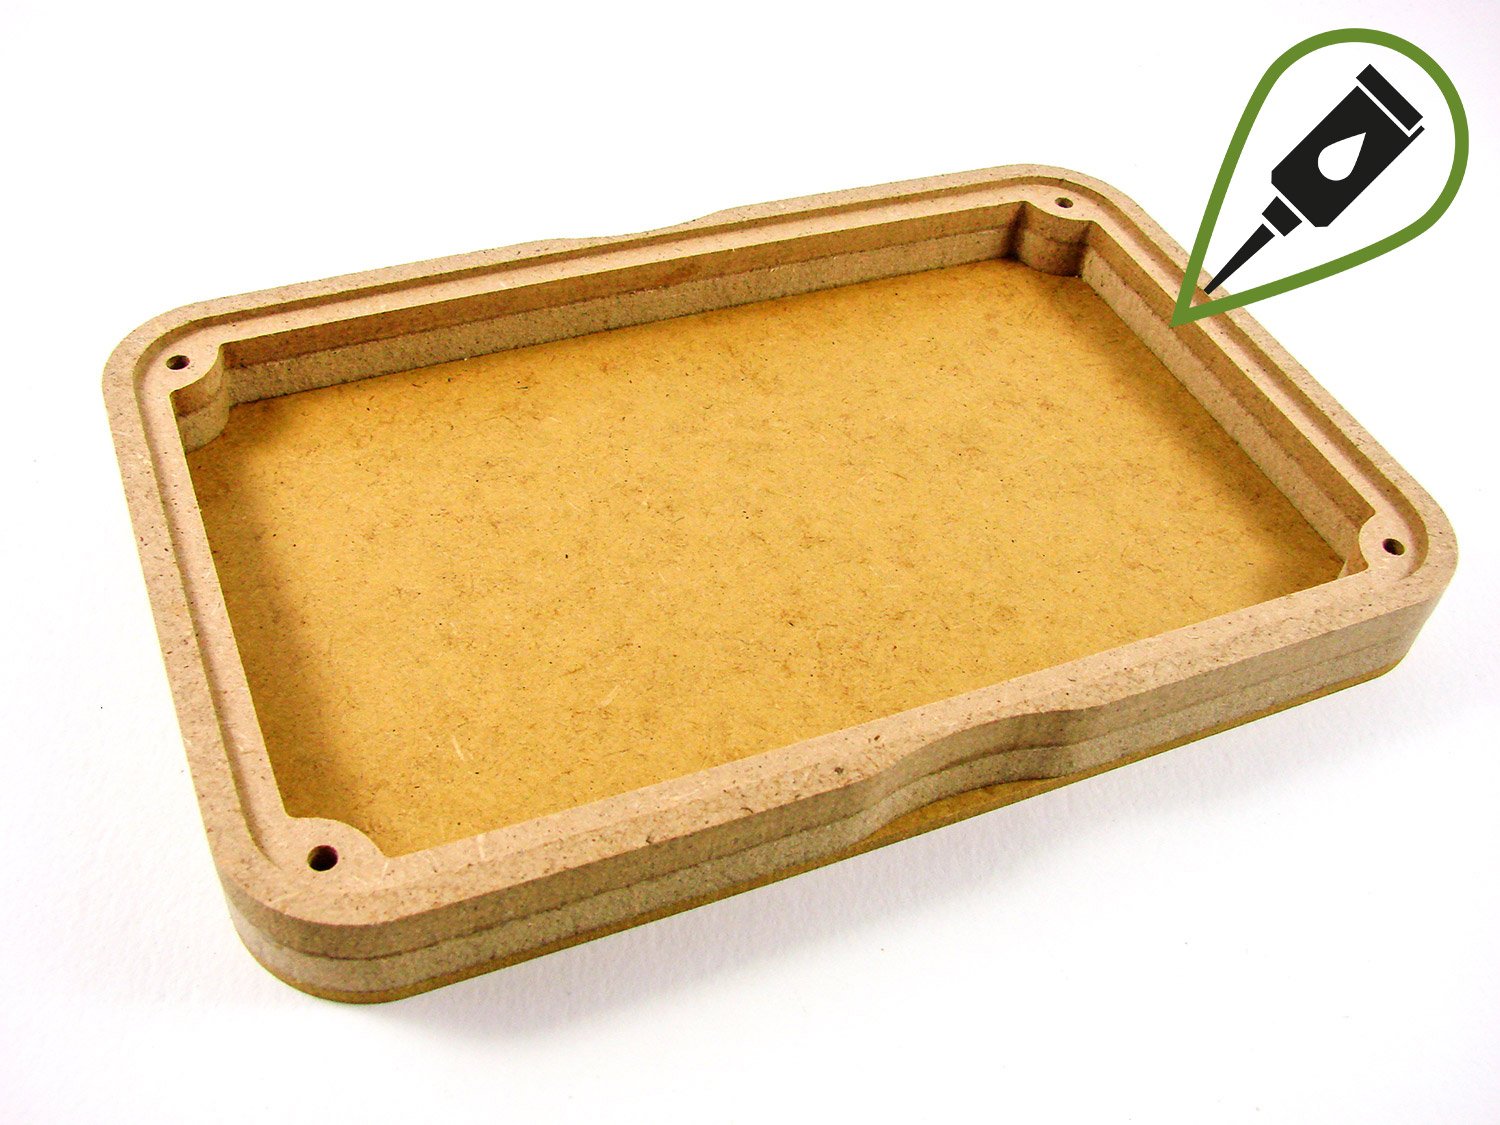
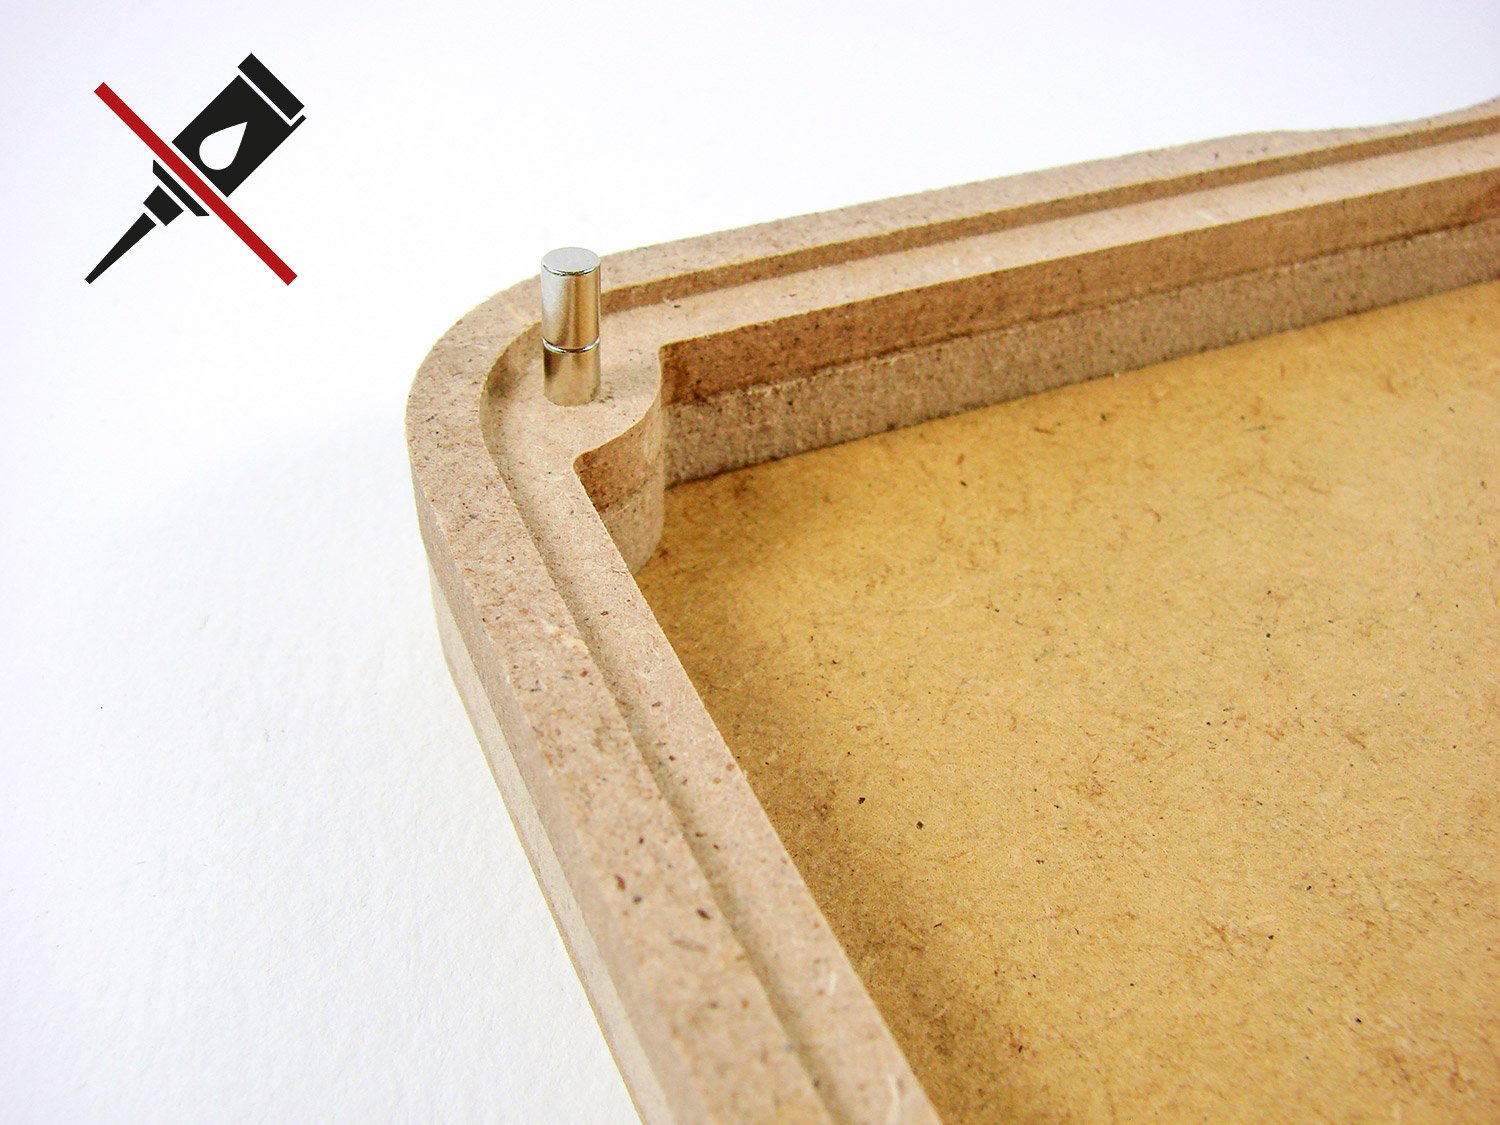
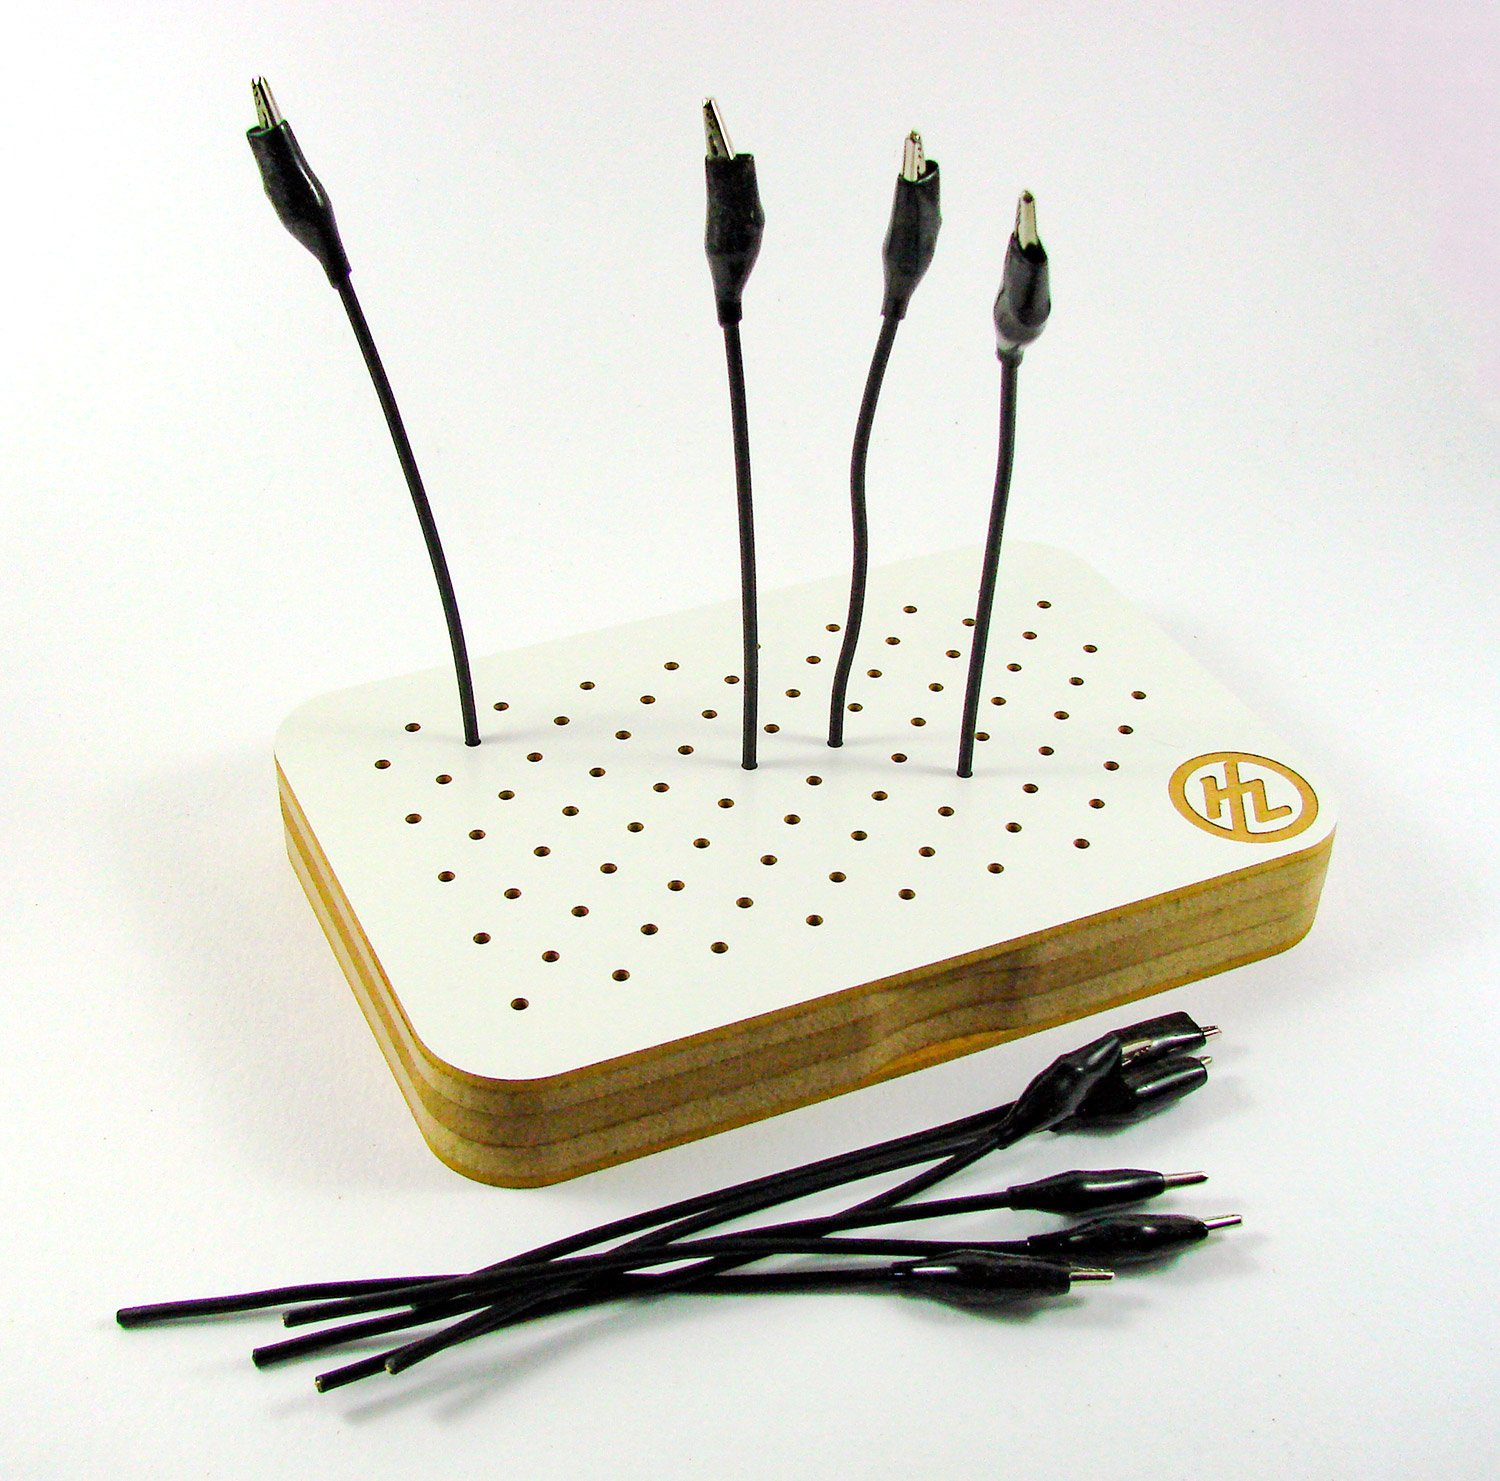
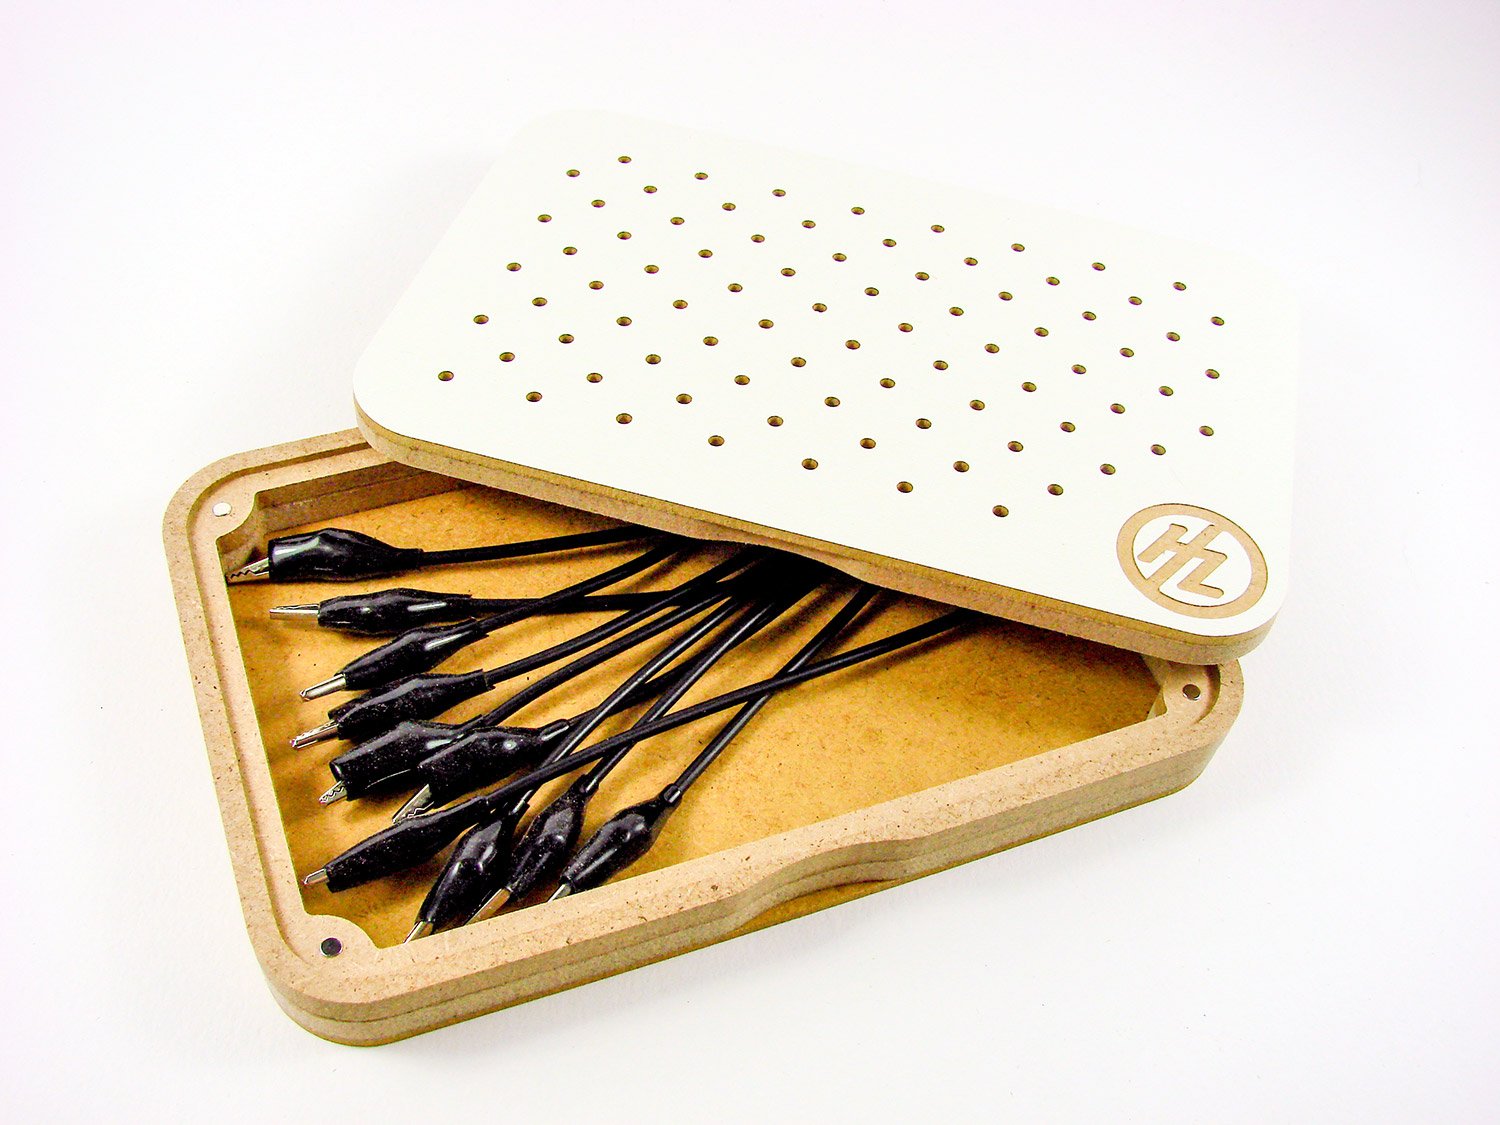
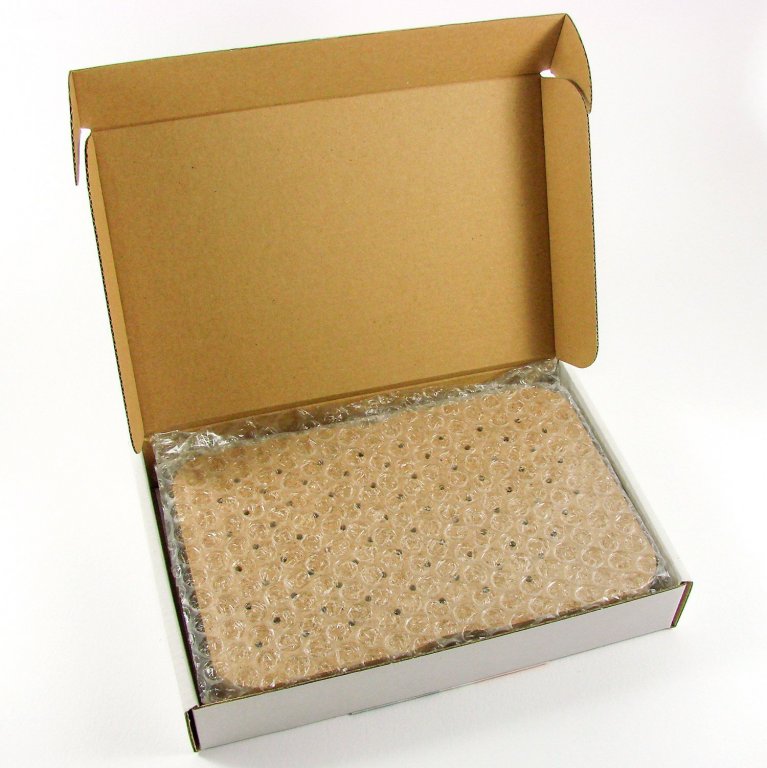
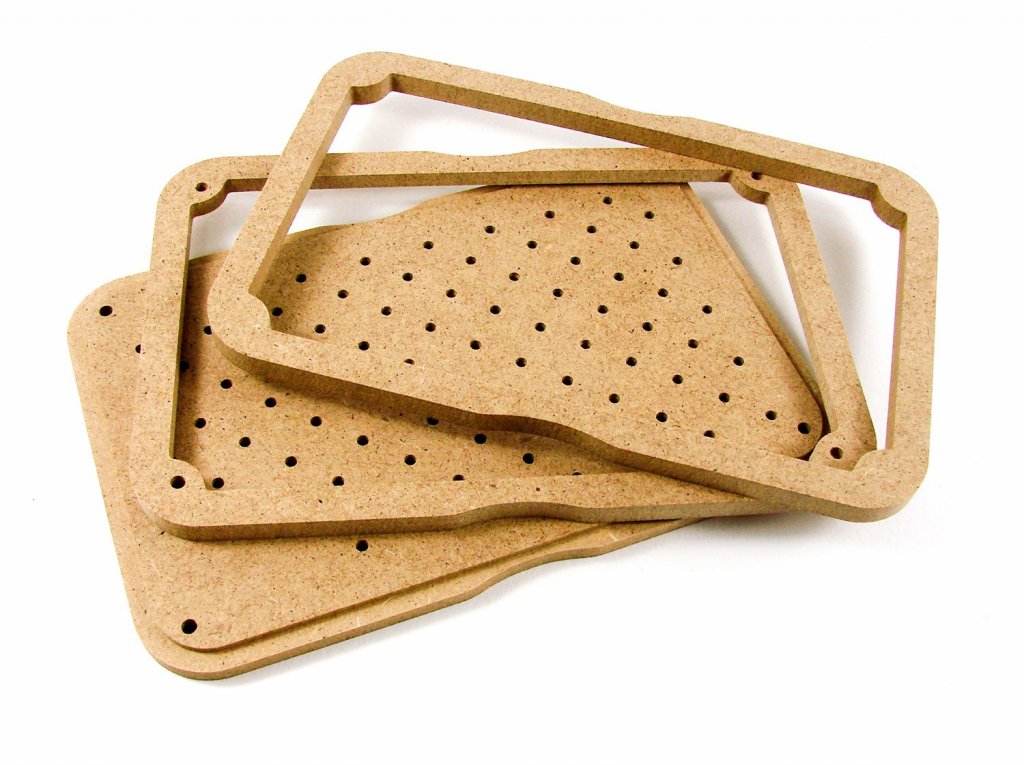
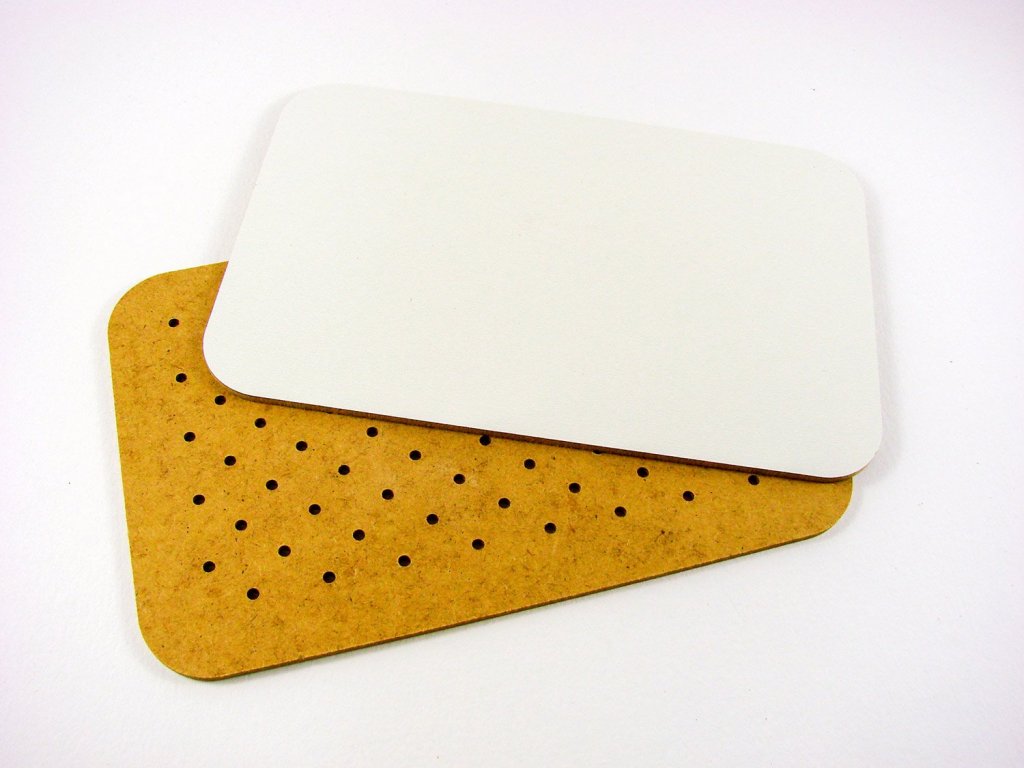
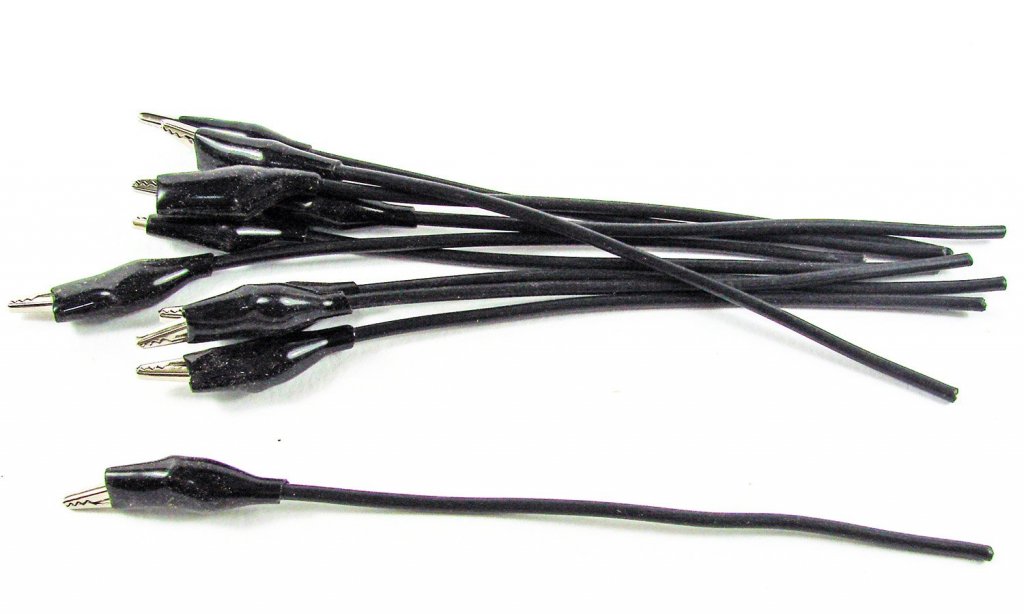
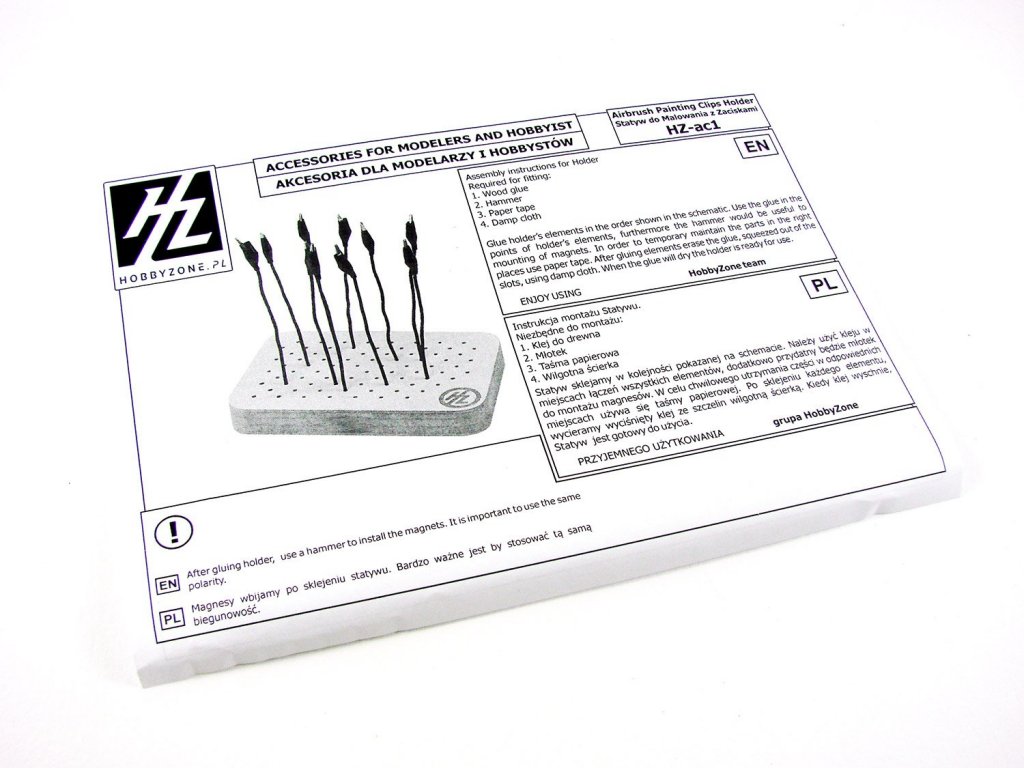
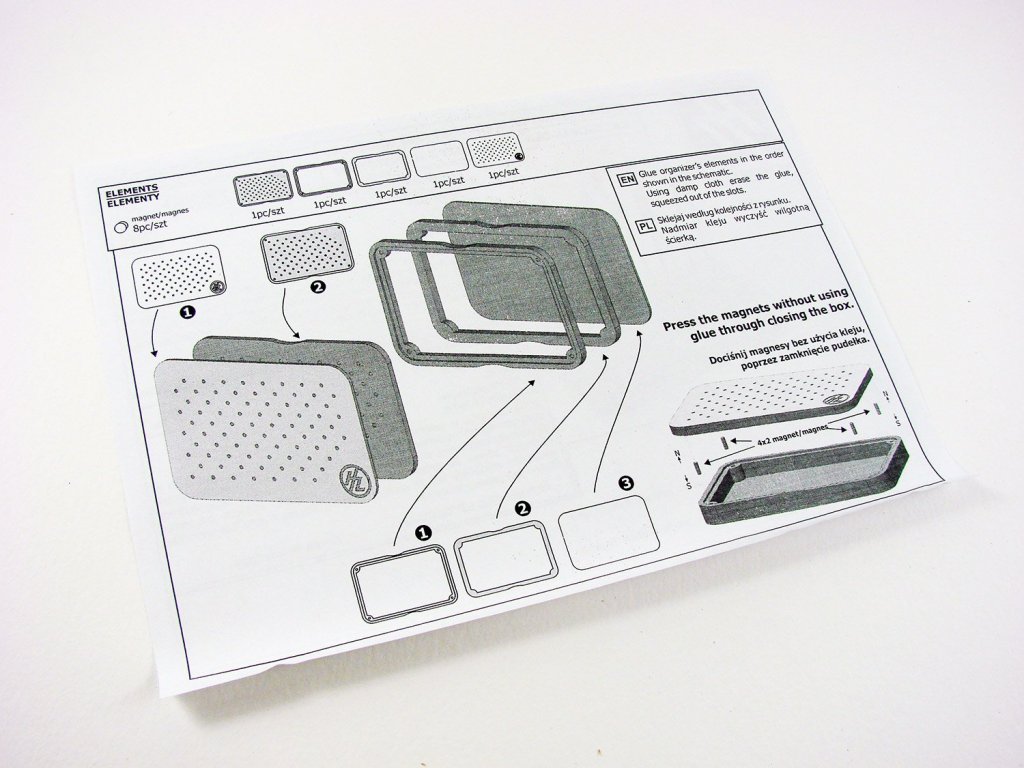
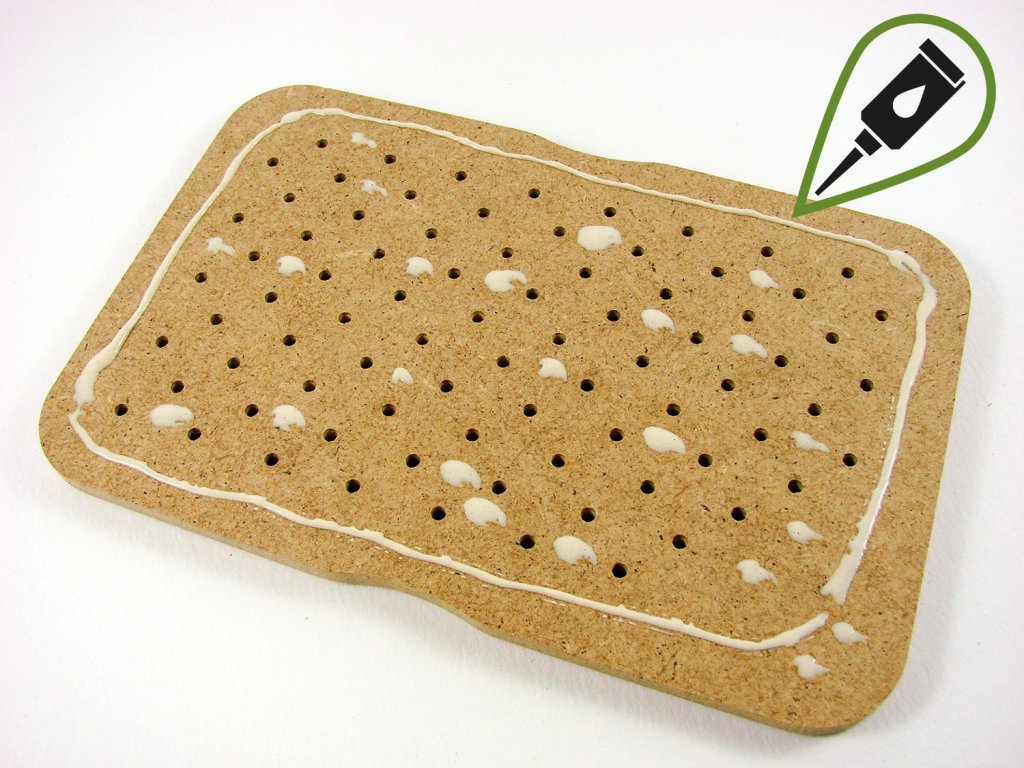
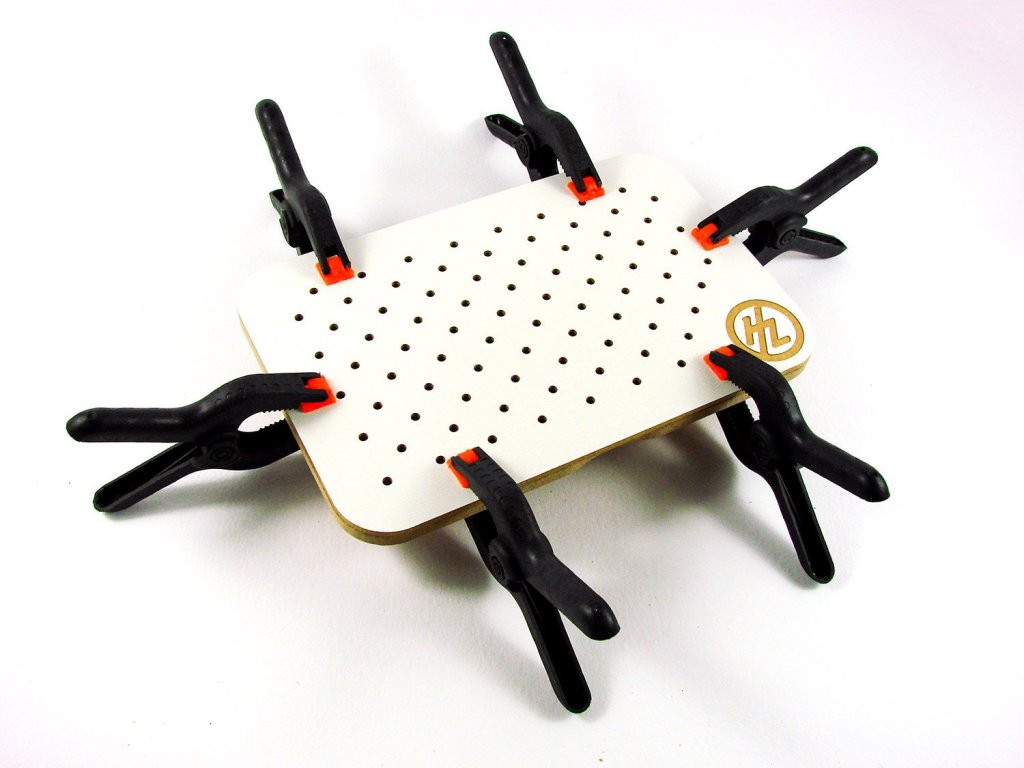
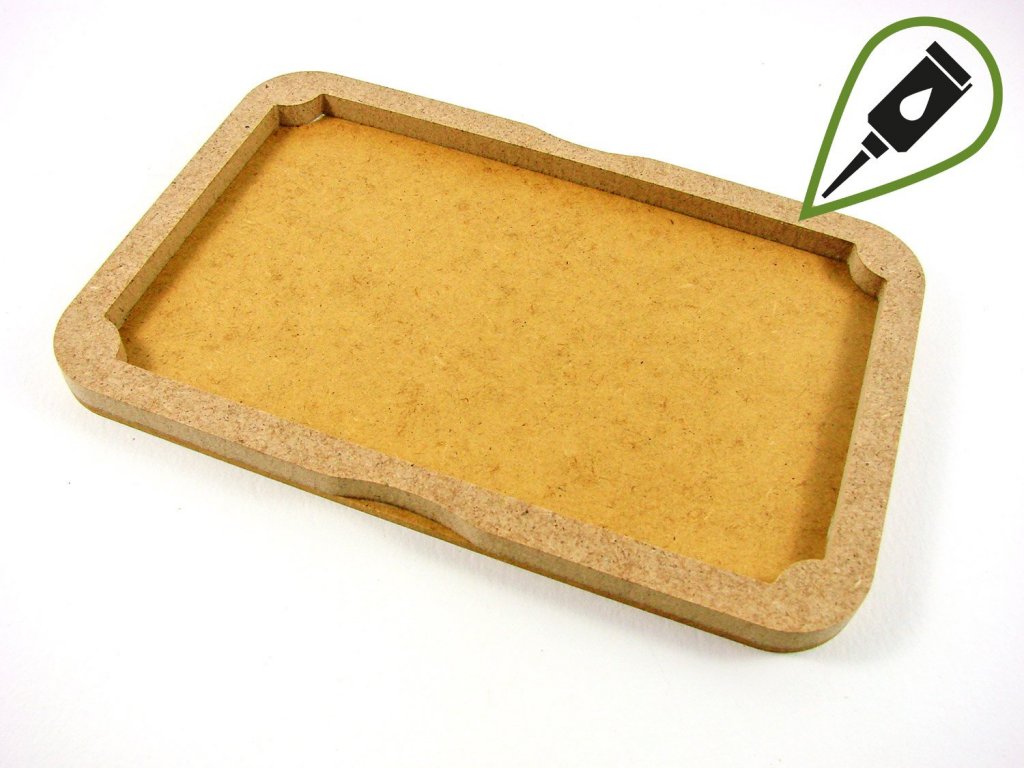
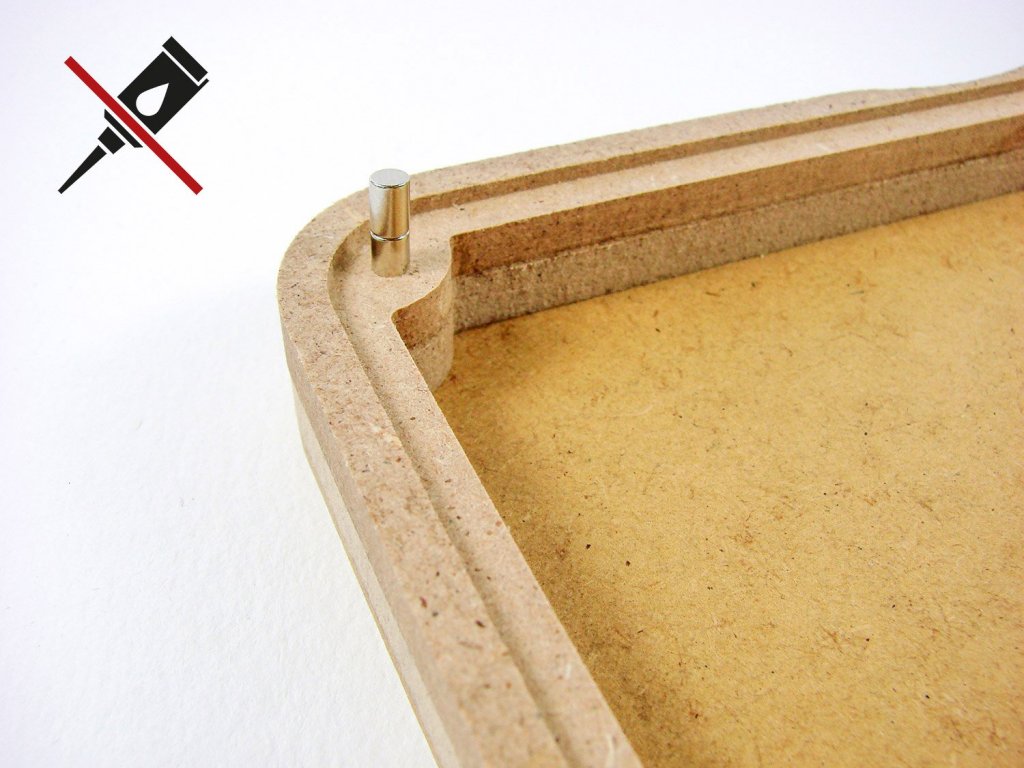
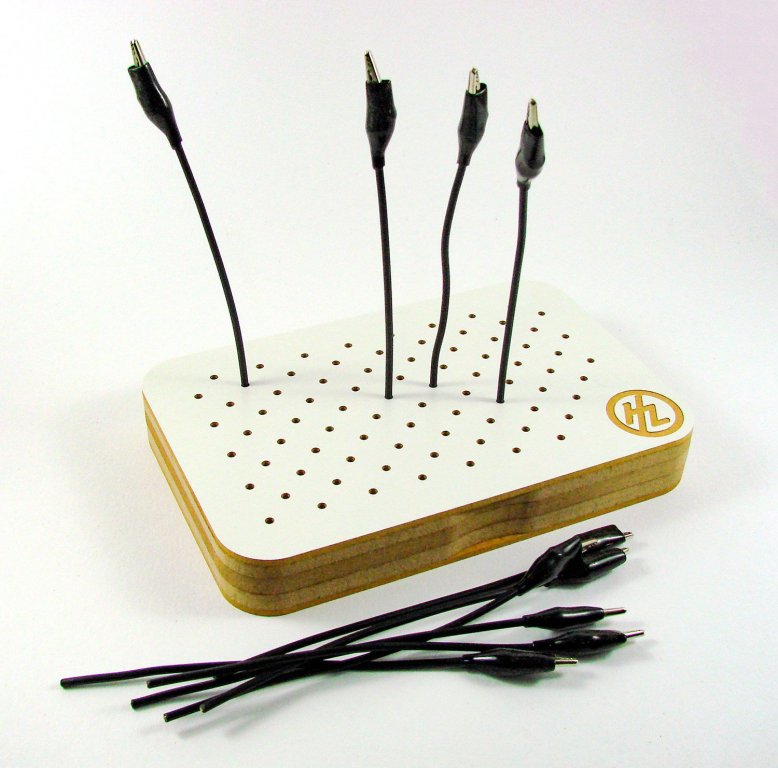
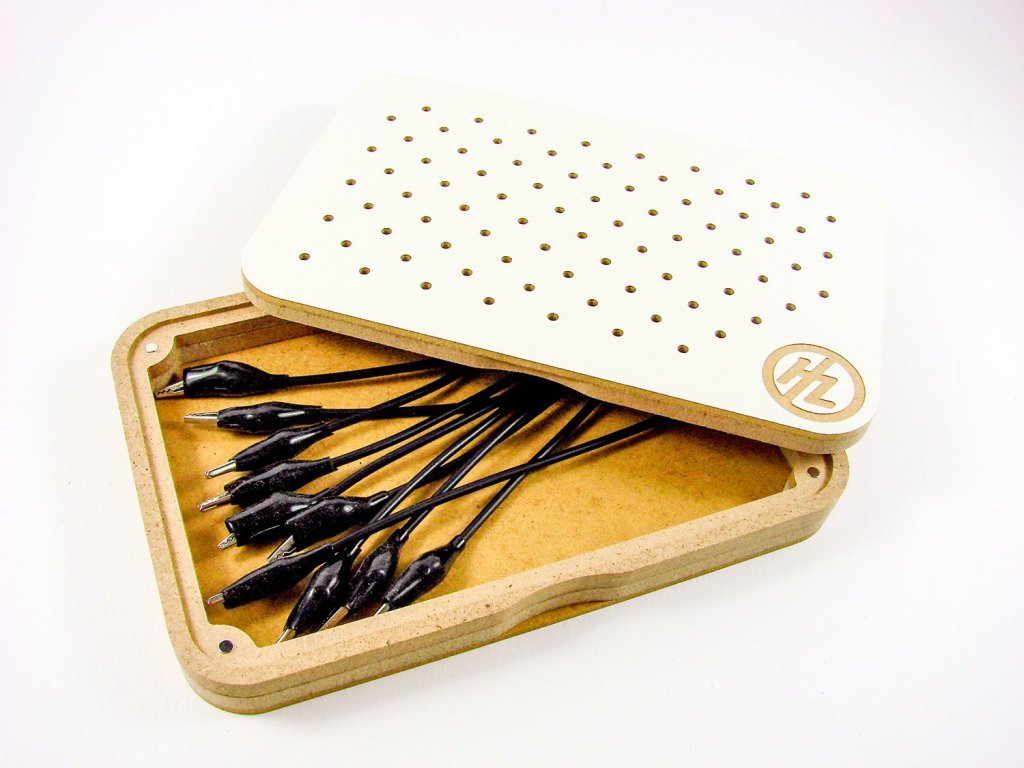
Airbrush Painting Clips Holder HobbyZone Catalogue # HZ-AC1 Available from HobbyZonefor £13.54 (at current rates) Modellers tend to be quite resourceful and innovative folks, from scratch-building parts, to fabricating things to make their hobby a little easier. One such fabrication, for me, is a polystyrene foam block with cocktail sticks to hold parts whilst I airbrush them. I also stick parts to steel rules that have been covered in masking tape, plus I’m always using bits of Blue-Tack to mount parts to whilst I paint. It just seems to be the way I’ve always worked. Doubtless, you do the same, or have your own bespoke solution. HobbyZone have quite a nice solution to this that you may just be interested in. I’ve actually been sitting on this review for a couple of months now, pending the release of this new product from HobbyZone. Today, they asked me to publish it for you. The concept is very simple. It’s essentially a magnetic box with a series of holes in the lid. Into these will fit stiff wires that are furnished with a shrouded crocodile clip on one end. You pop your model part into the jaws and then paint. Whilst drying, you can stand the wire upright in the lid. After your work, all the wires sit neatly in the box, out of the way. This product, like all those from HobbyZone, are machine cut from MDF, and require assembly. This one is packed into a sturdy corrugated box with a simple product label. Upon opening the box, you’ll note that all parts are protected with a covering of bubble-wrap. Upon removing that, you’ll note that the box itself is built up from five layers of MDF. These form the base with a white plastic outside coating, and two frame parts, one of which glues to the base, and another recessed frame which glues to the top of this. The two-part lid then sits in this and is held via magnets. To complete the package, a series of nine neodymium (rare earth) magnets are included, as are nine croc-clip wires and a set of instructions. The instructions are nice and simple to follow and I had no issue with understanding them at all, but for the ease of explaining this product to you, I’ve built this up as a guide for you. Here we go! 1. I start with the lid. Using TiteBond adhesive, I run a line of this around the non-recessed face of this part, and add some spots between the holes, being careful not to put too much glue there, or get too close to the holes. 2. The white, plastic-coated lid is now fitted to the previous part and held with clamps until fully cured. 3. The base is now clued to the lower frame section (the one without the holes) and clamped until fully set. 4. Now we can glue the upper frame in situ, being careful of alignment. Again, clamps hold this until filly set. Note the frames are slightly scalloped on each of the long edges. This is to give your fingers something to hold whilst you remove the lid. 5. Now, this part is VERY important. We need to ensure that the magnets all fit into the holes, so the same pole is facing upwards on each one. This is dead easy. Keeping the stack of magnets upright, and keeping the same orientation, remove two of them and push into the one of the corner holes. Do the same with the others, again, without changing the orientation of your stack of magnets. These push in quite easy, but you know they won’t come out afterwards! Now fit the lid to the box so that the magnets align with the holes in the lid. Push firmly down, and if necessary, gently tap the lid into place with a small hammer, being careful to protect the surface of the product. That’s it! The lid will now come off with magnets and will reattach in the same way. Job complete! 6. After your work, store the wires/clips in the box and replace the lid. There’s plenty of room in there for more, in case you want to make your own clip holders. Conclusion A superbly simple idea, carried off very nicely. As with all of HobbyZone’s products, this is designed to keep your workbench in tidy order, and of course, this has the functionality added to it. I’m quite a fan of HobbyZone, with my workshop being fitted out with all of their various storage modules, so I’m more than happy to stay true to the brand and its style/quality, with this addition. My sincere thanks to HobbyZone for the review sample seen here. To purchase directly, click the link at the top of the article.


-
Probably a dumb question but how do you use this tool? http://shop.excelblades.com/p/nail-setter Wife and I are still trying to figure out how to use this in getting nails in planks. More accurately, into planks and then frame.