All Activity
- Past hour
-
 chadwijm6 reacted to a post in a topic:
AEG G.IV - Creature of the Night by DocRob - Wingnut Wings - 1/32
chadwijm6 reacted to a post in a topic:
AEG G.IV - Creature of the Night by DocRob - Wingnut Wings - 1/32
-
 Rick310 reacted to a post in a topic:
Kate Cory by Capt. Kelso (Quint) - Model Shipways - 3/16" scale - Whaling Brig
Rick310 reacted to a post in a topic:
Kate Cory by Capt. Kelso (Quint) - Model Shipways - 3/16" scale - Whaling Brig
-
Matt D reacted to a post in a topic:
USS Constitution by Der Alte Rentner - Model Shipways - 1/76
-
Matt D reacted to a post in a topic:
USS Constitution by Der Alte Rentner - Model Shipways - 1/76
-
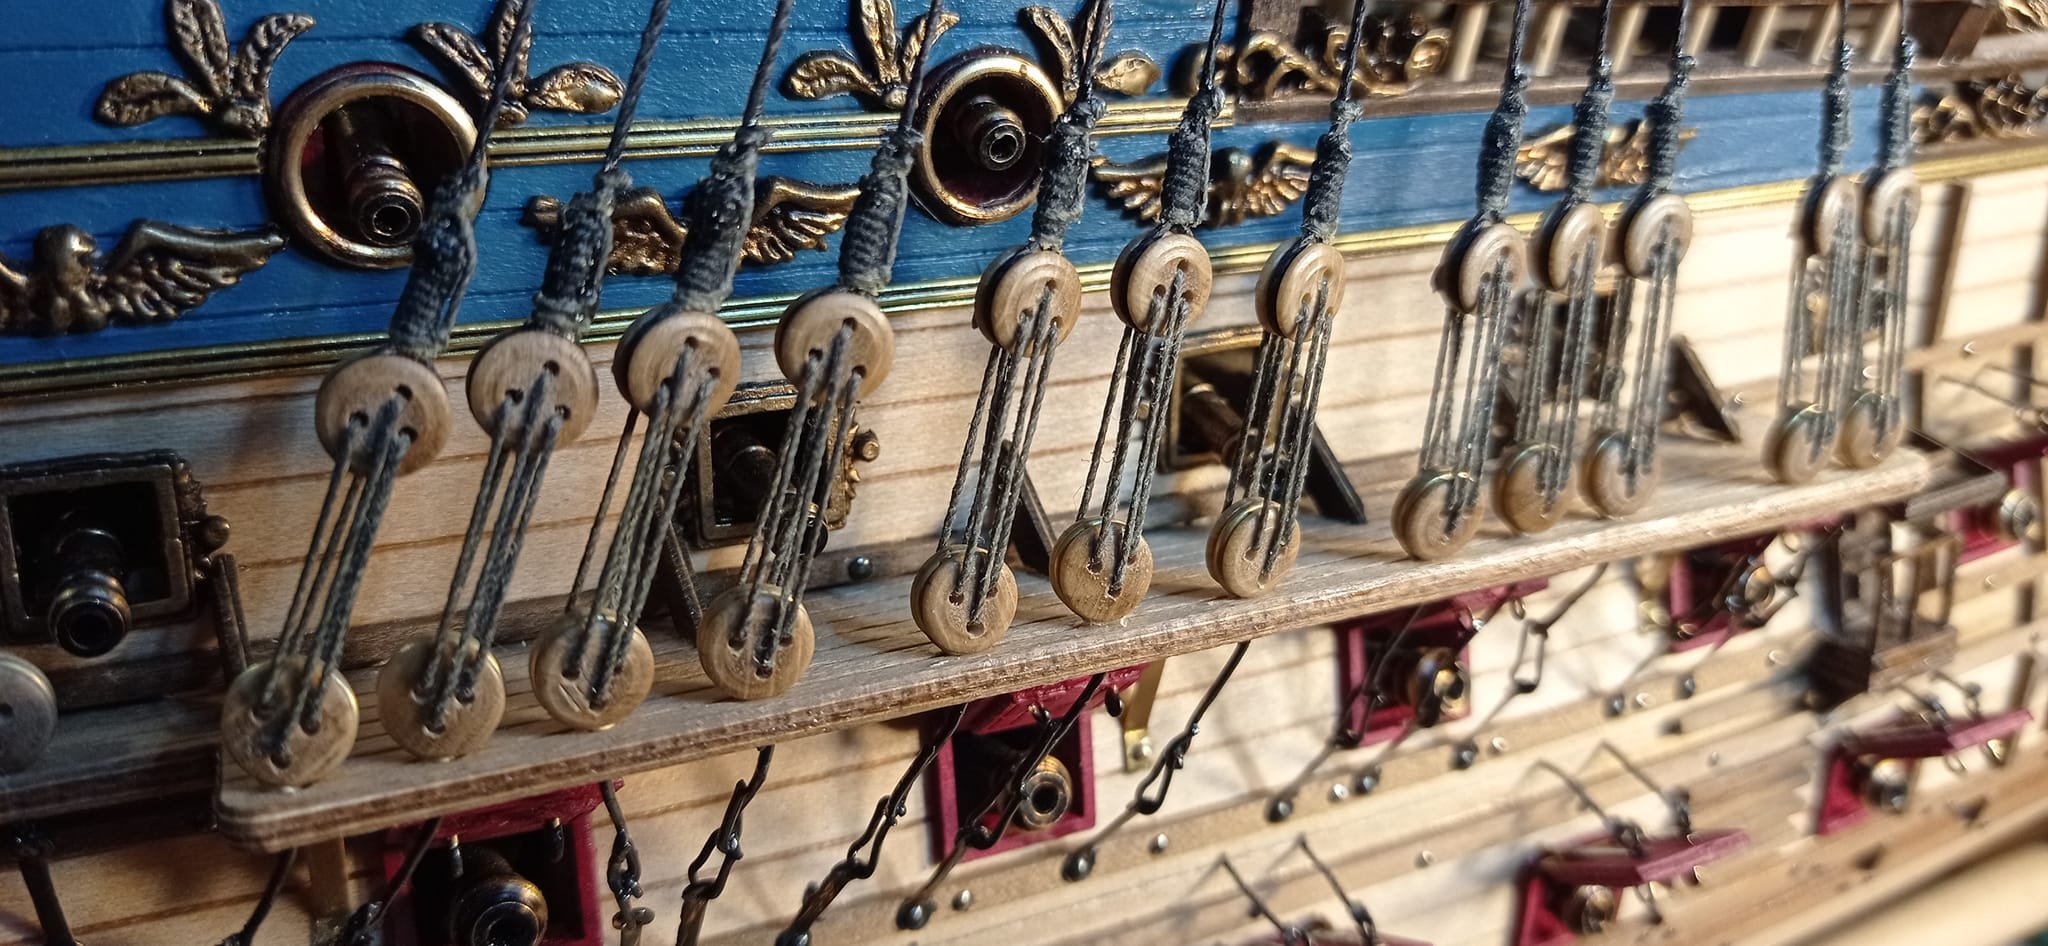
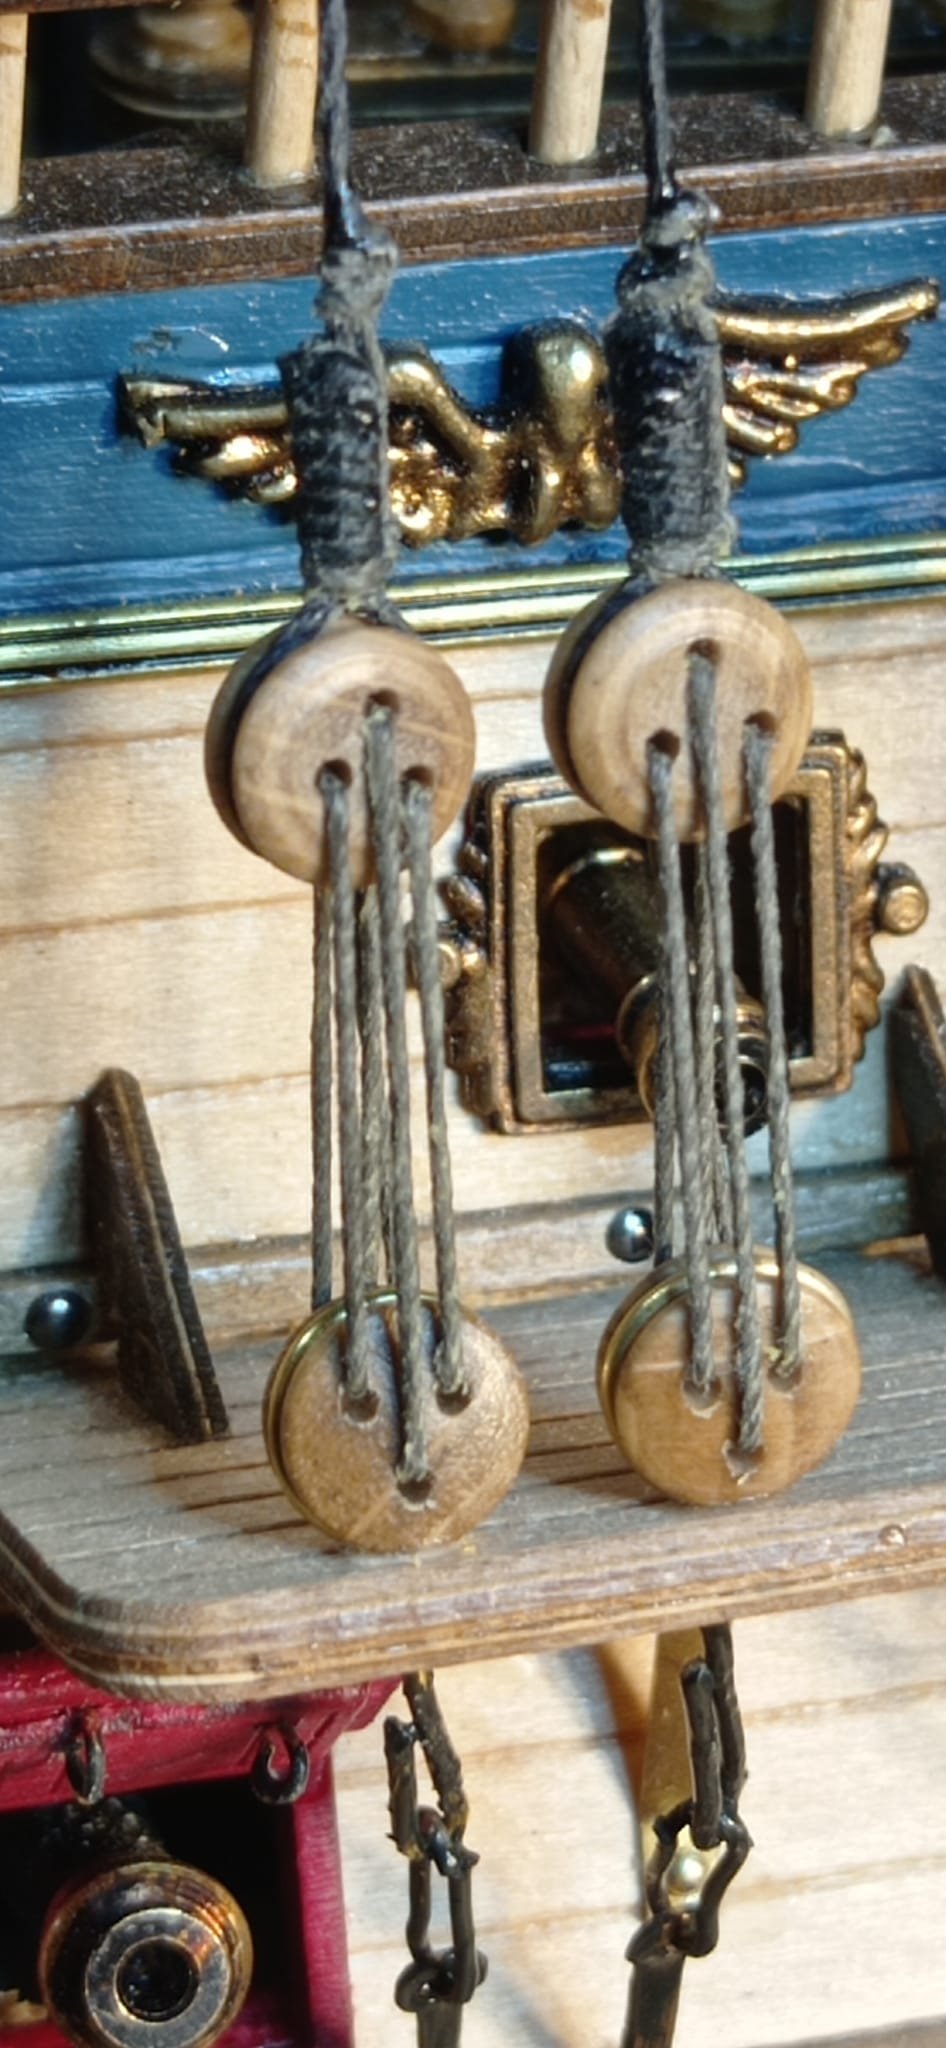
 The big bat flexes it´s wings. Today, I finished rigging the wings and I´m happy to have that behind me. It was not overly difficult on the outer wings, but fiddly with lots of scissors and tweezers involved, always adjusting the light and try not to knock off or scratch parts. I loosely attached the rudder, but not the elevators. The tail will be last, as until now, it´s easy to set the plane onto some foam, bottom up. With about 60 cm of wingspan the bat starts to handle a bit awkward and it´s relatively heave, luckily quite robust. It´s hard to see on the pics, but the white rudder has spar markings visible. I used 1mm masking tape over the spars, when I sprayed the tinted varnished over the whole airframe. Cheers Rob
 -

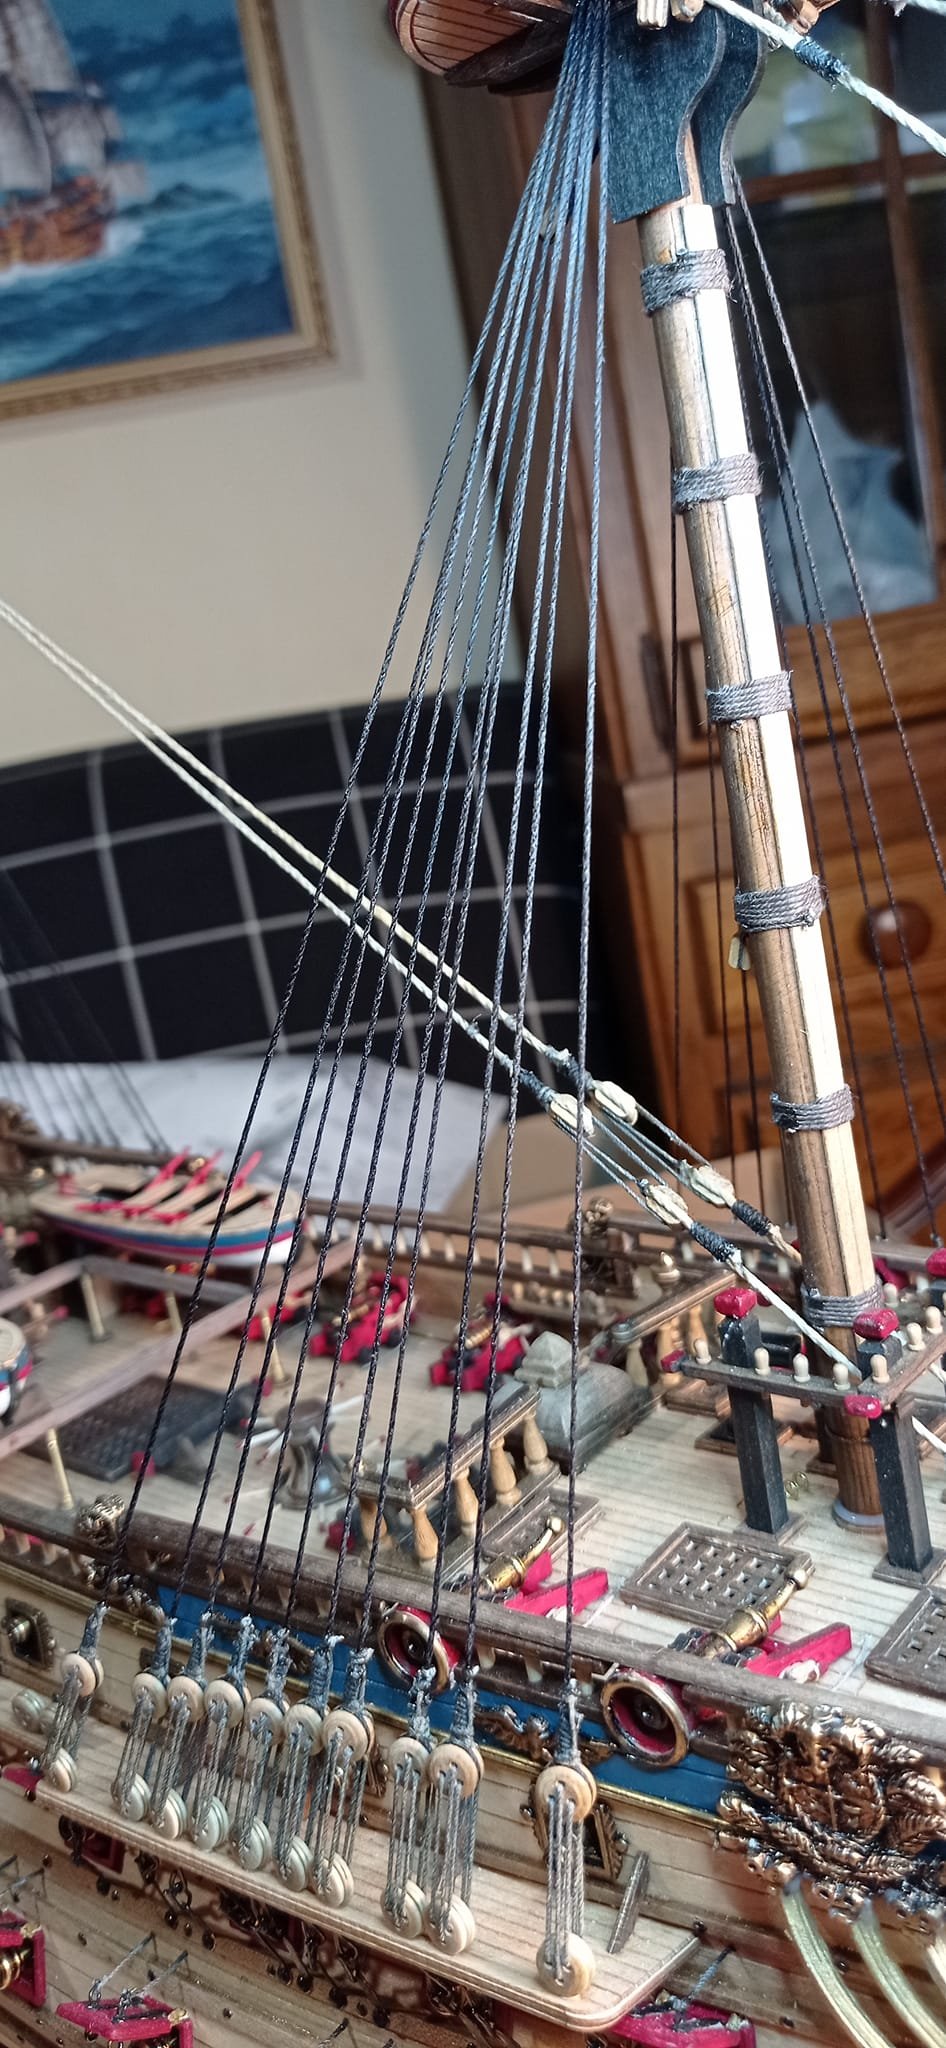
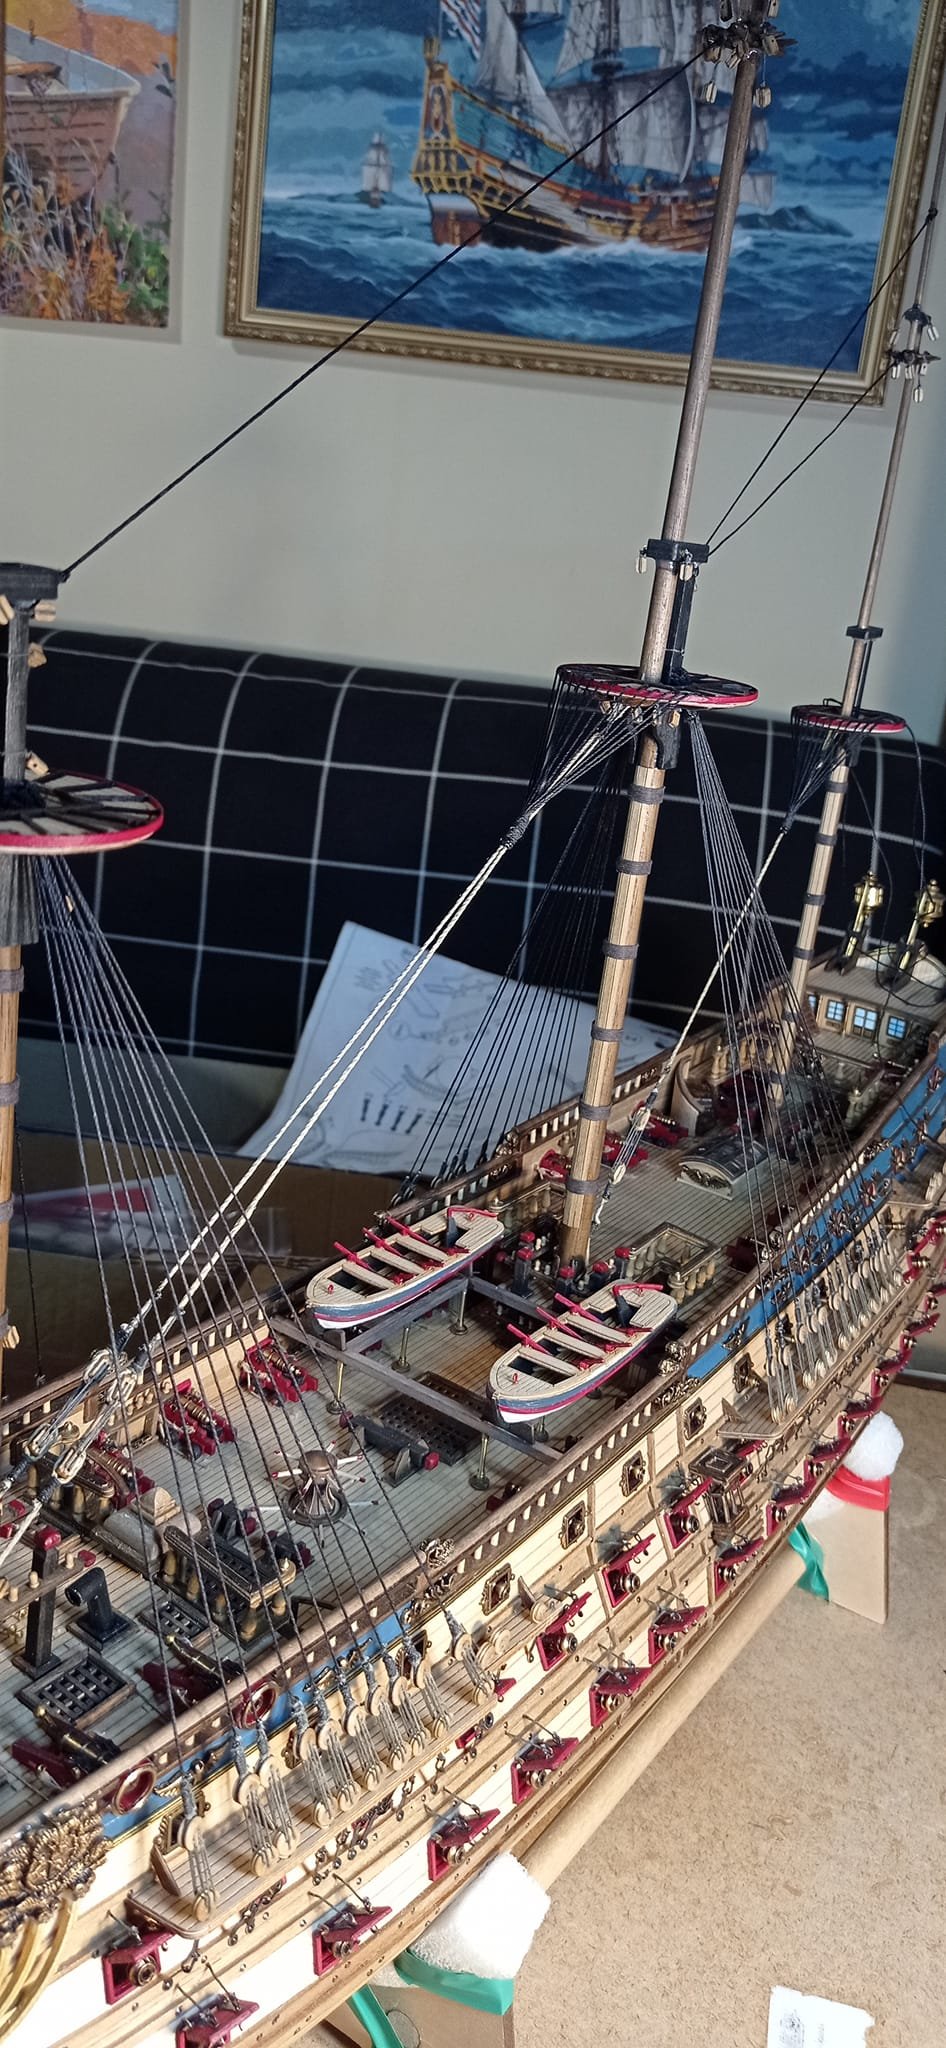
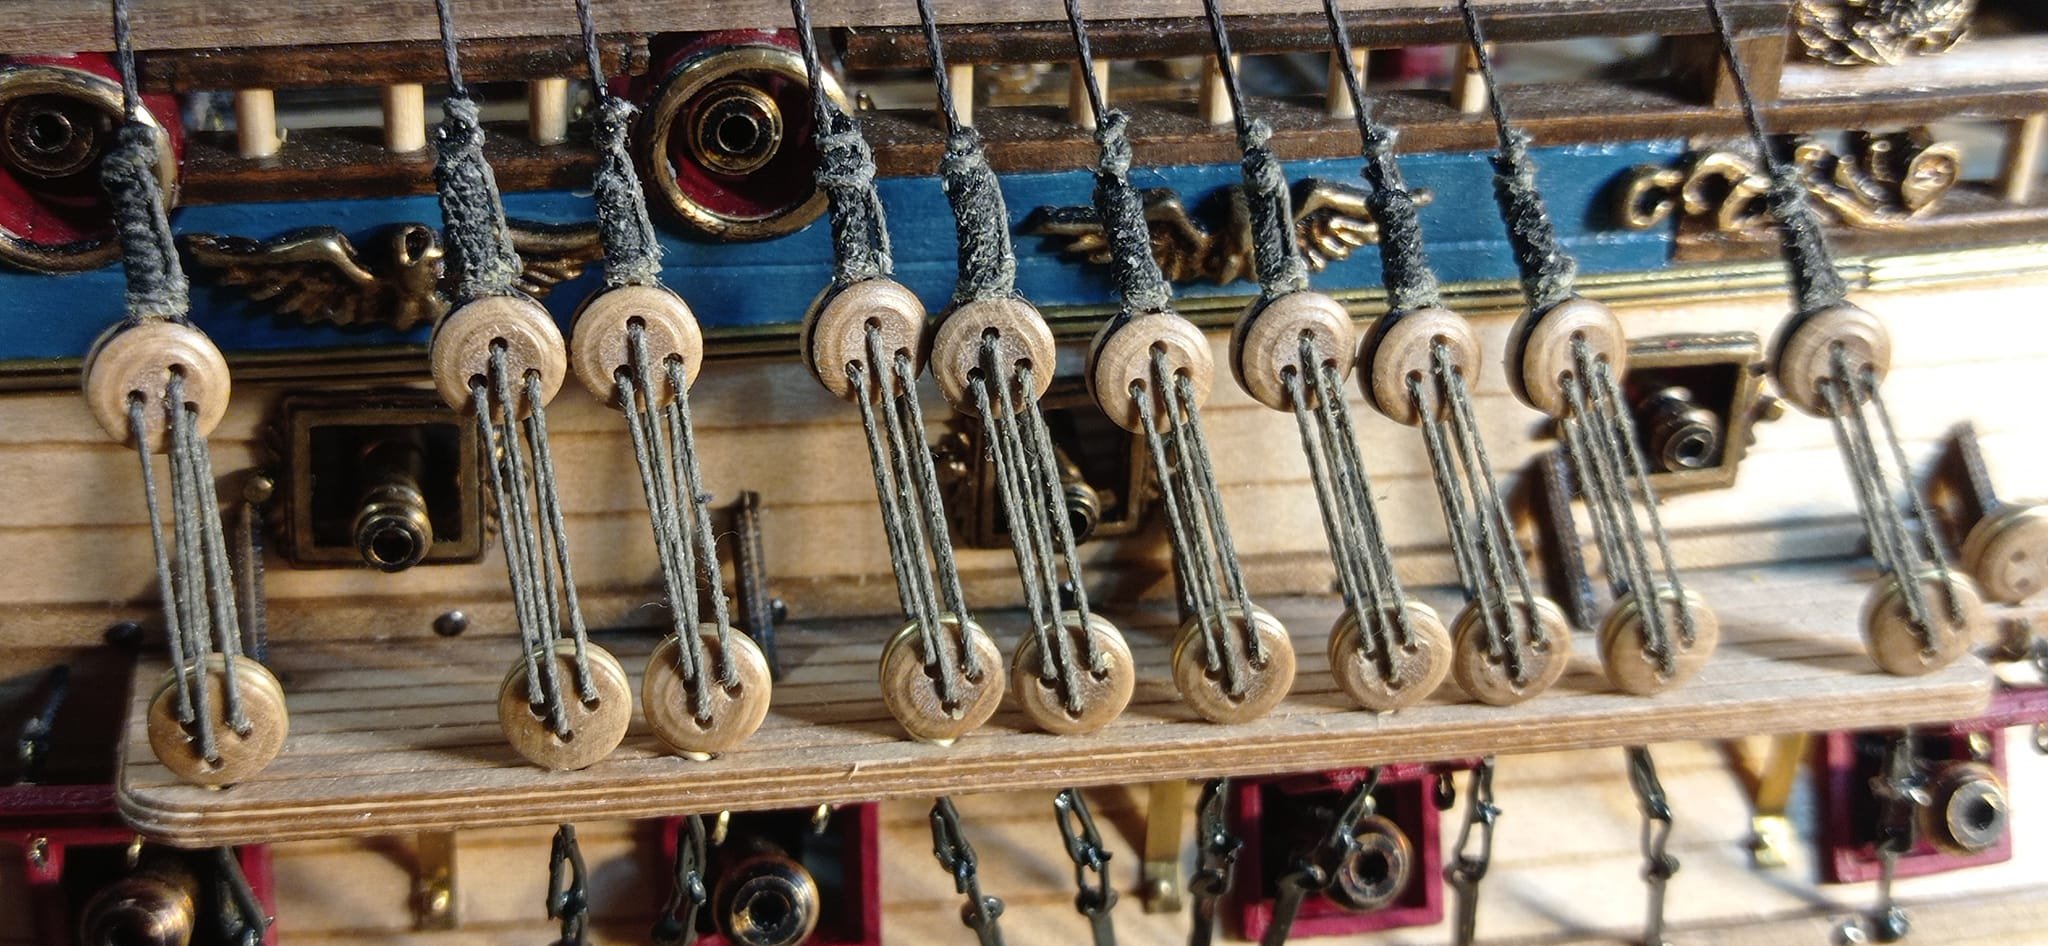
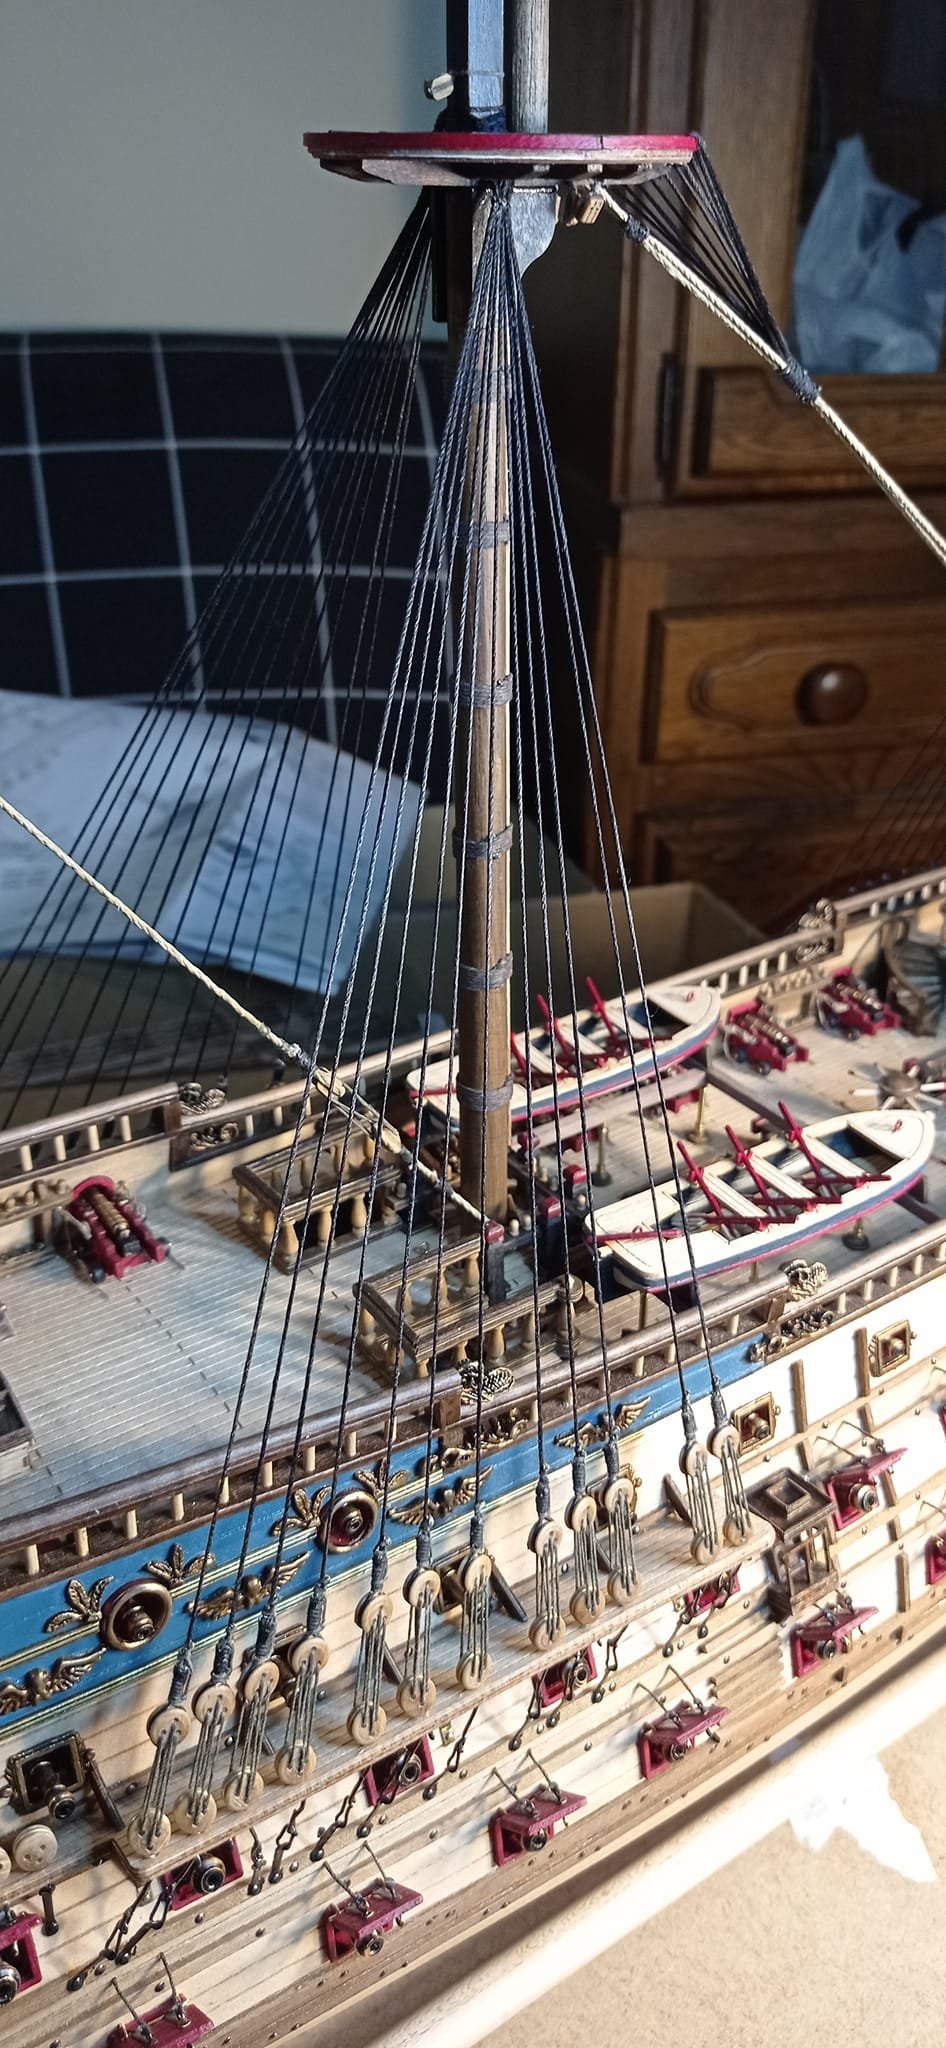
USS Constitution by mtbediz - 1:76
GGibson replied to mtbediz's topic in - Build logs for subjects built 1751 - 1800
Grate job, Mustafa!! 👍😁 -
Thukydides reacted to a post in a topic:
HM Sloop Echo 1781 by VTHokiEE - 1:48 - Cross-Section
-
Keith Black reacted to a post in a topic:
semi-gloss varnish on veneer wooden deck choice?
-
hollowneck reacted to a post in a topic:
HM Gun Brig Adder 1797 by DB789 - Vanguard Models - 1:64
-
pjofc4 reacted to a post in a topic:
Sopwith Camel by gsdpic - Artesania Latina - 1/16th scale
-
Thukydides reacted to a post in a topic:
USS Constitution by mtbediz - 1:76
-
 The limited edition (numbered 1-999) of last years launch is still available on their website Relaunch to get rid of the unsold stock? Jan
 -

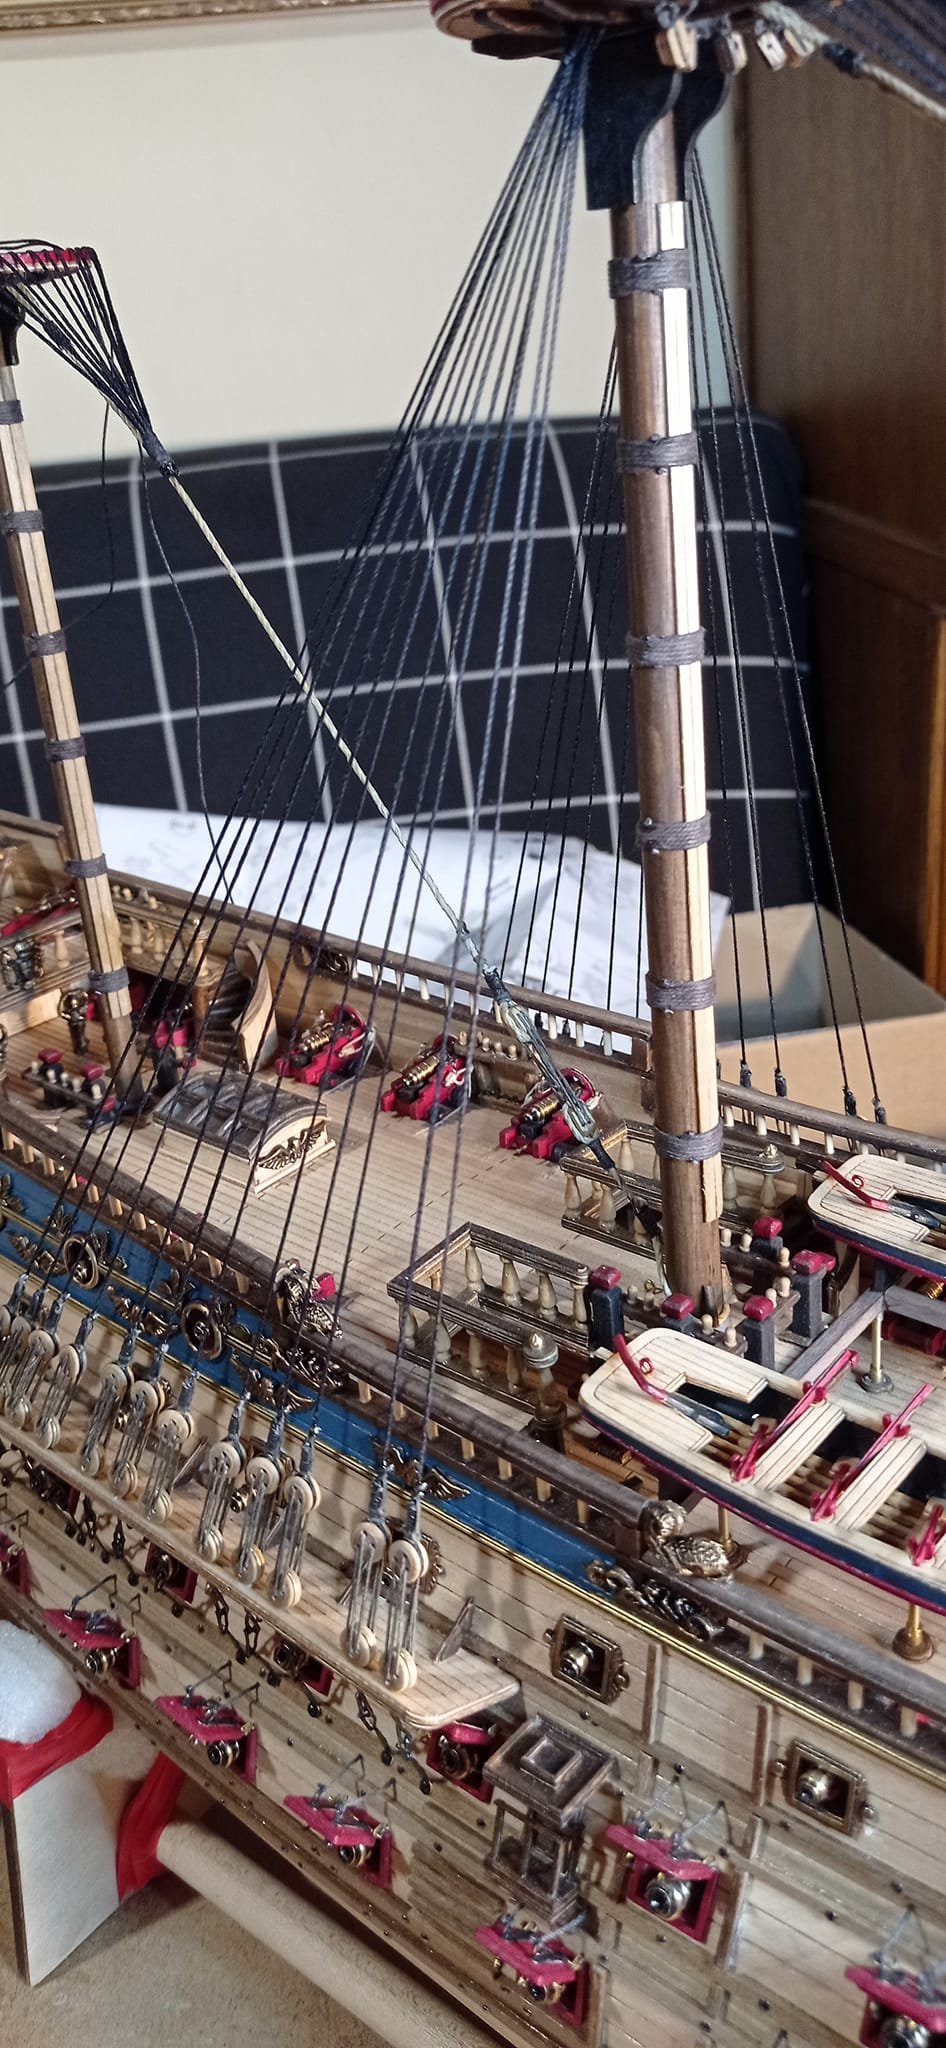
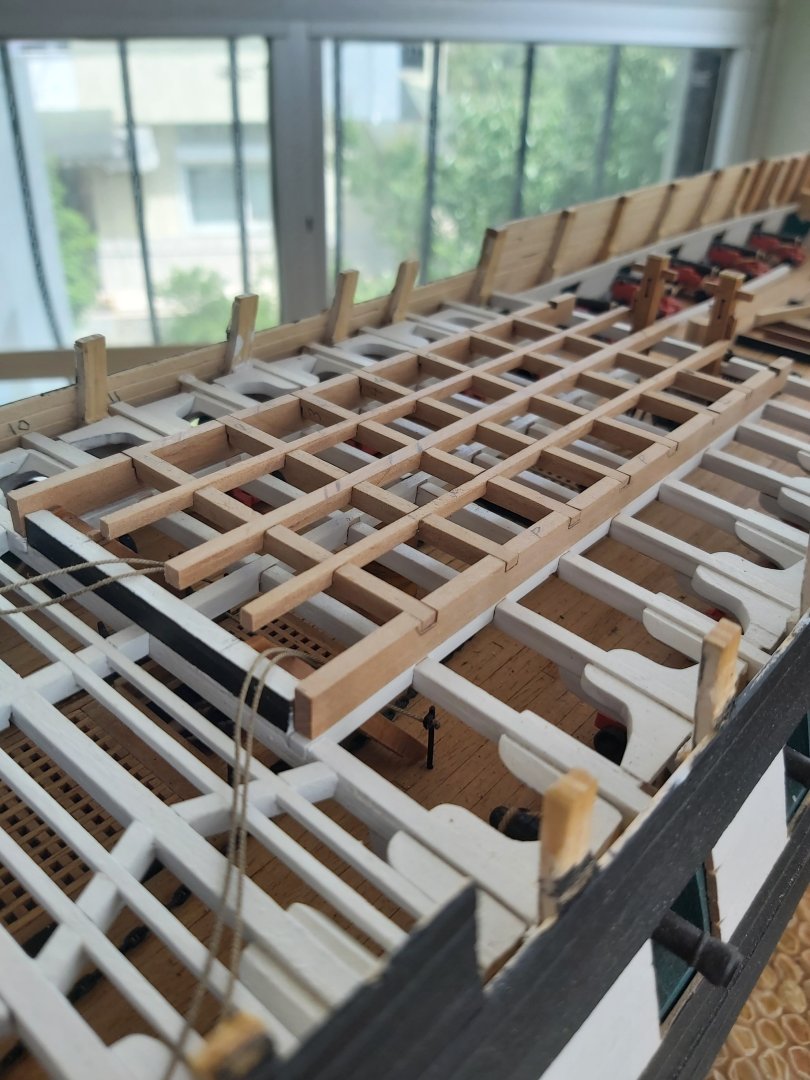
USS Constitution by mtbediz - 1:76
mtbediz replied to mtbediz's topic in - Build logs for subjects built 1751 - 1800
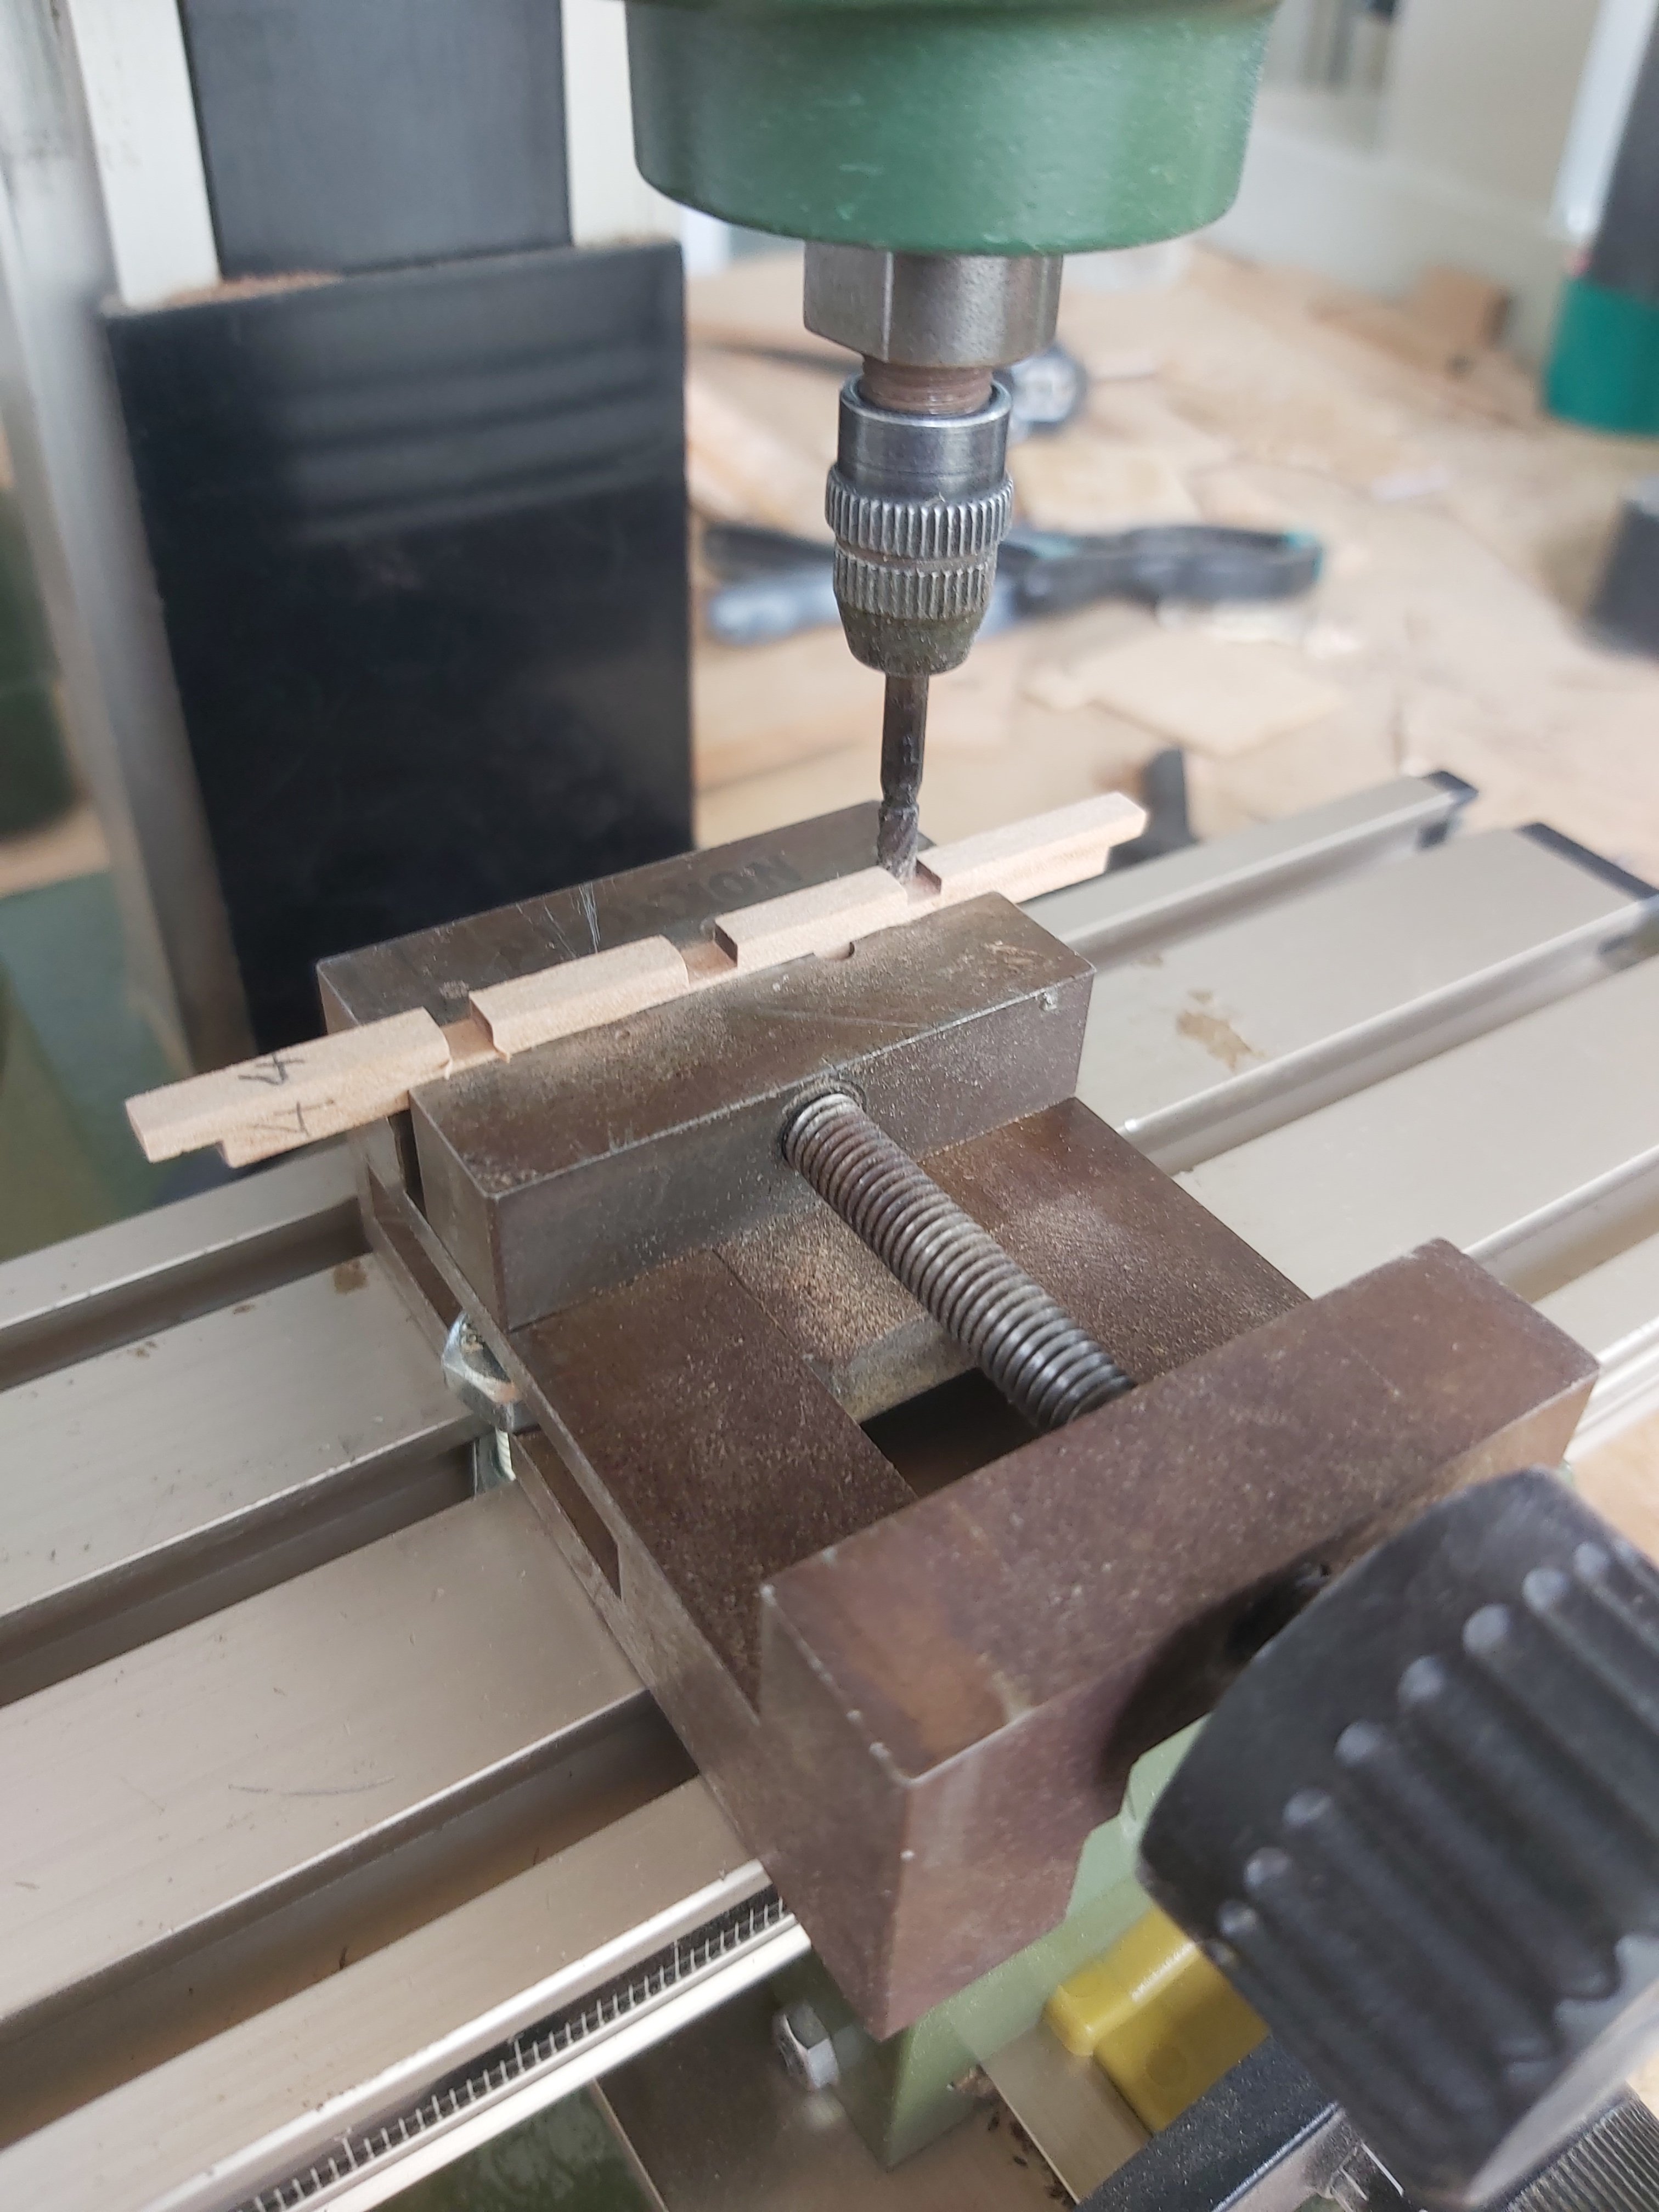
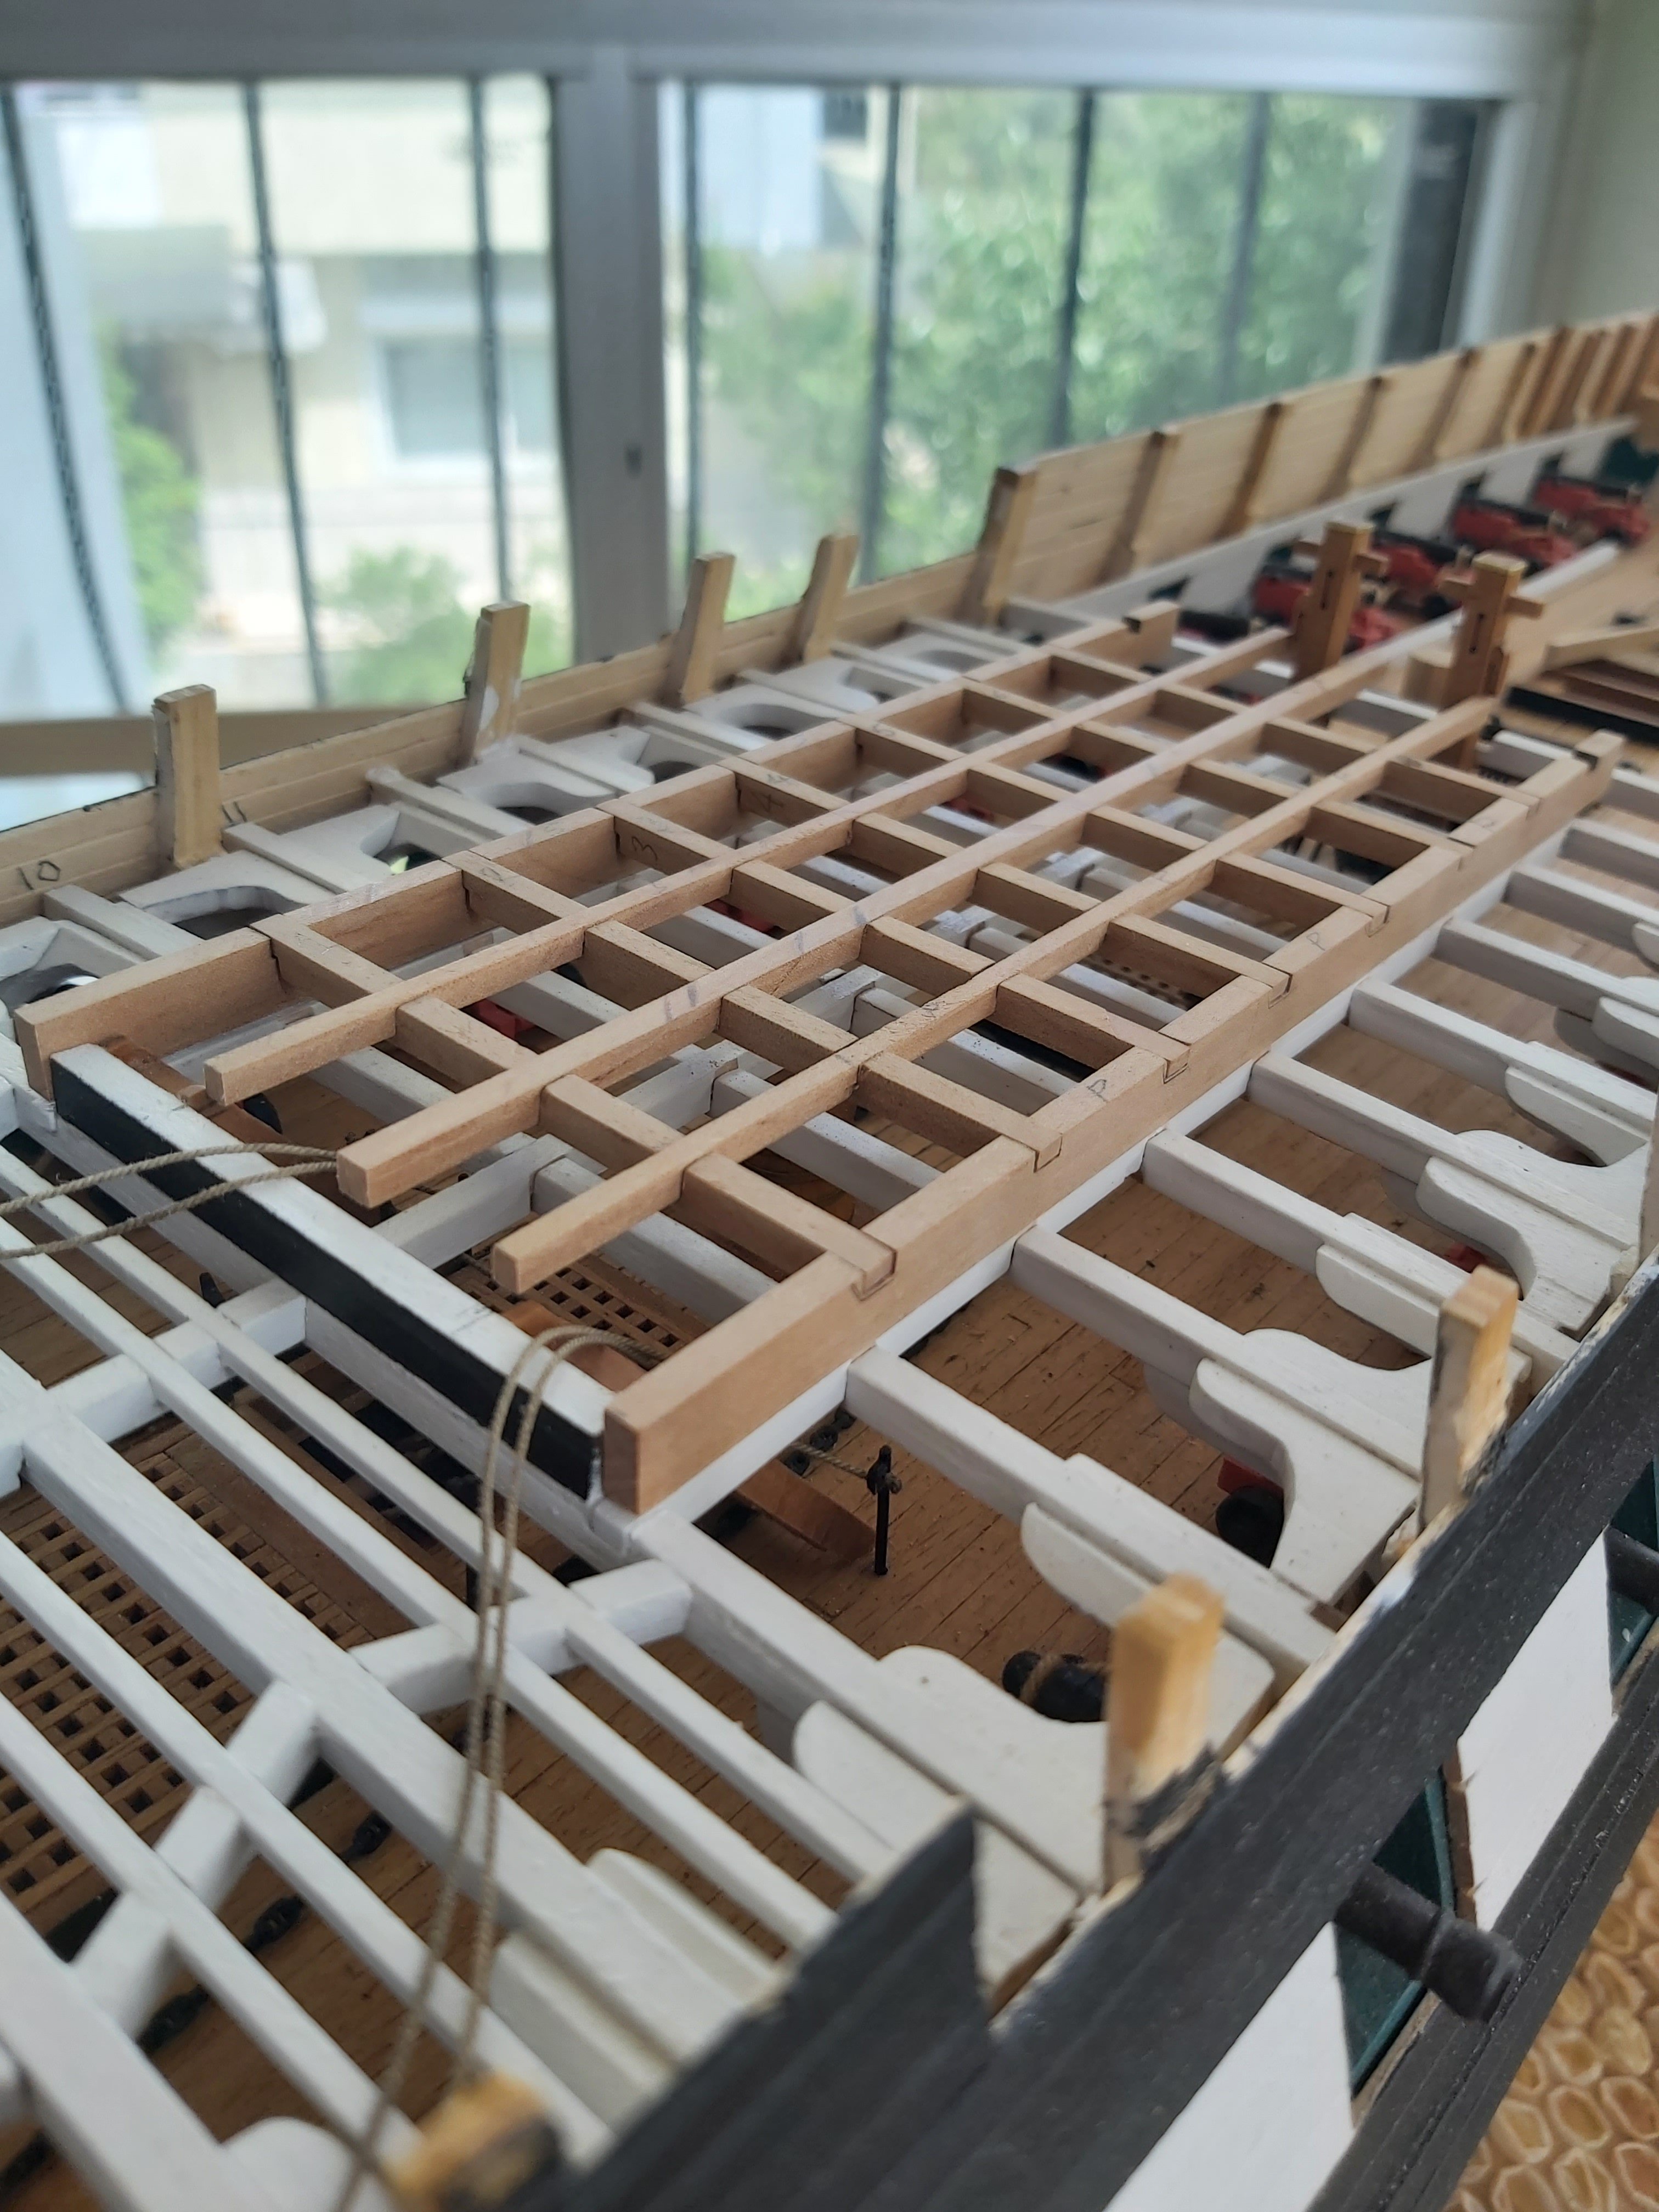
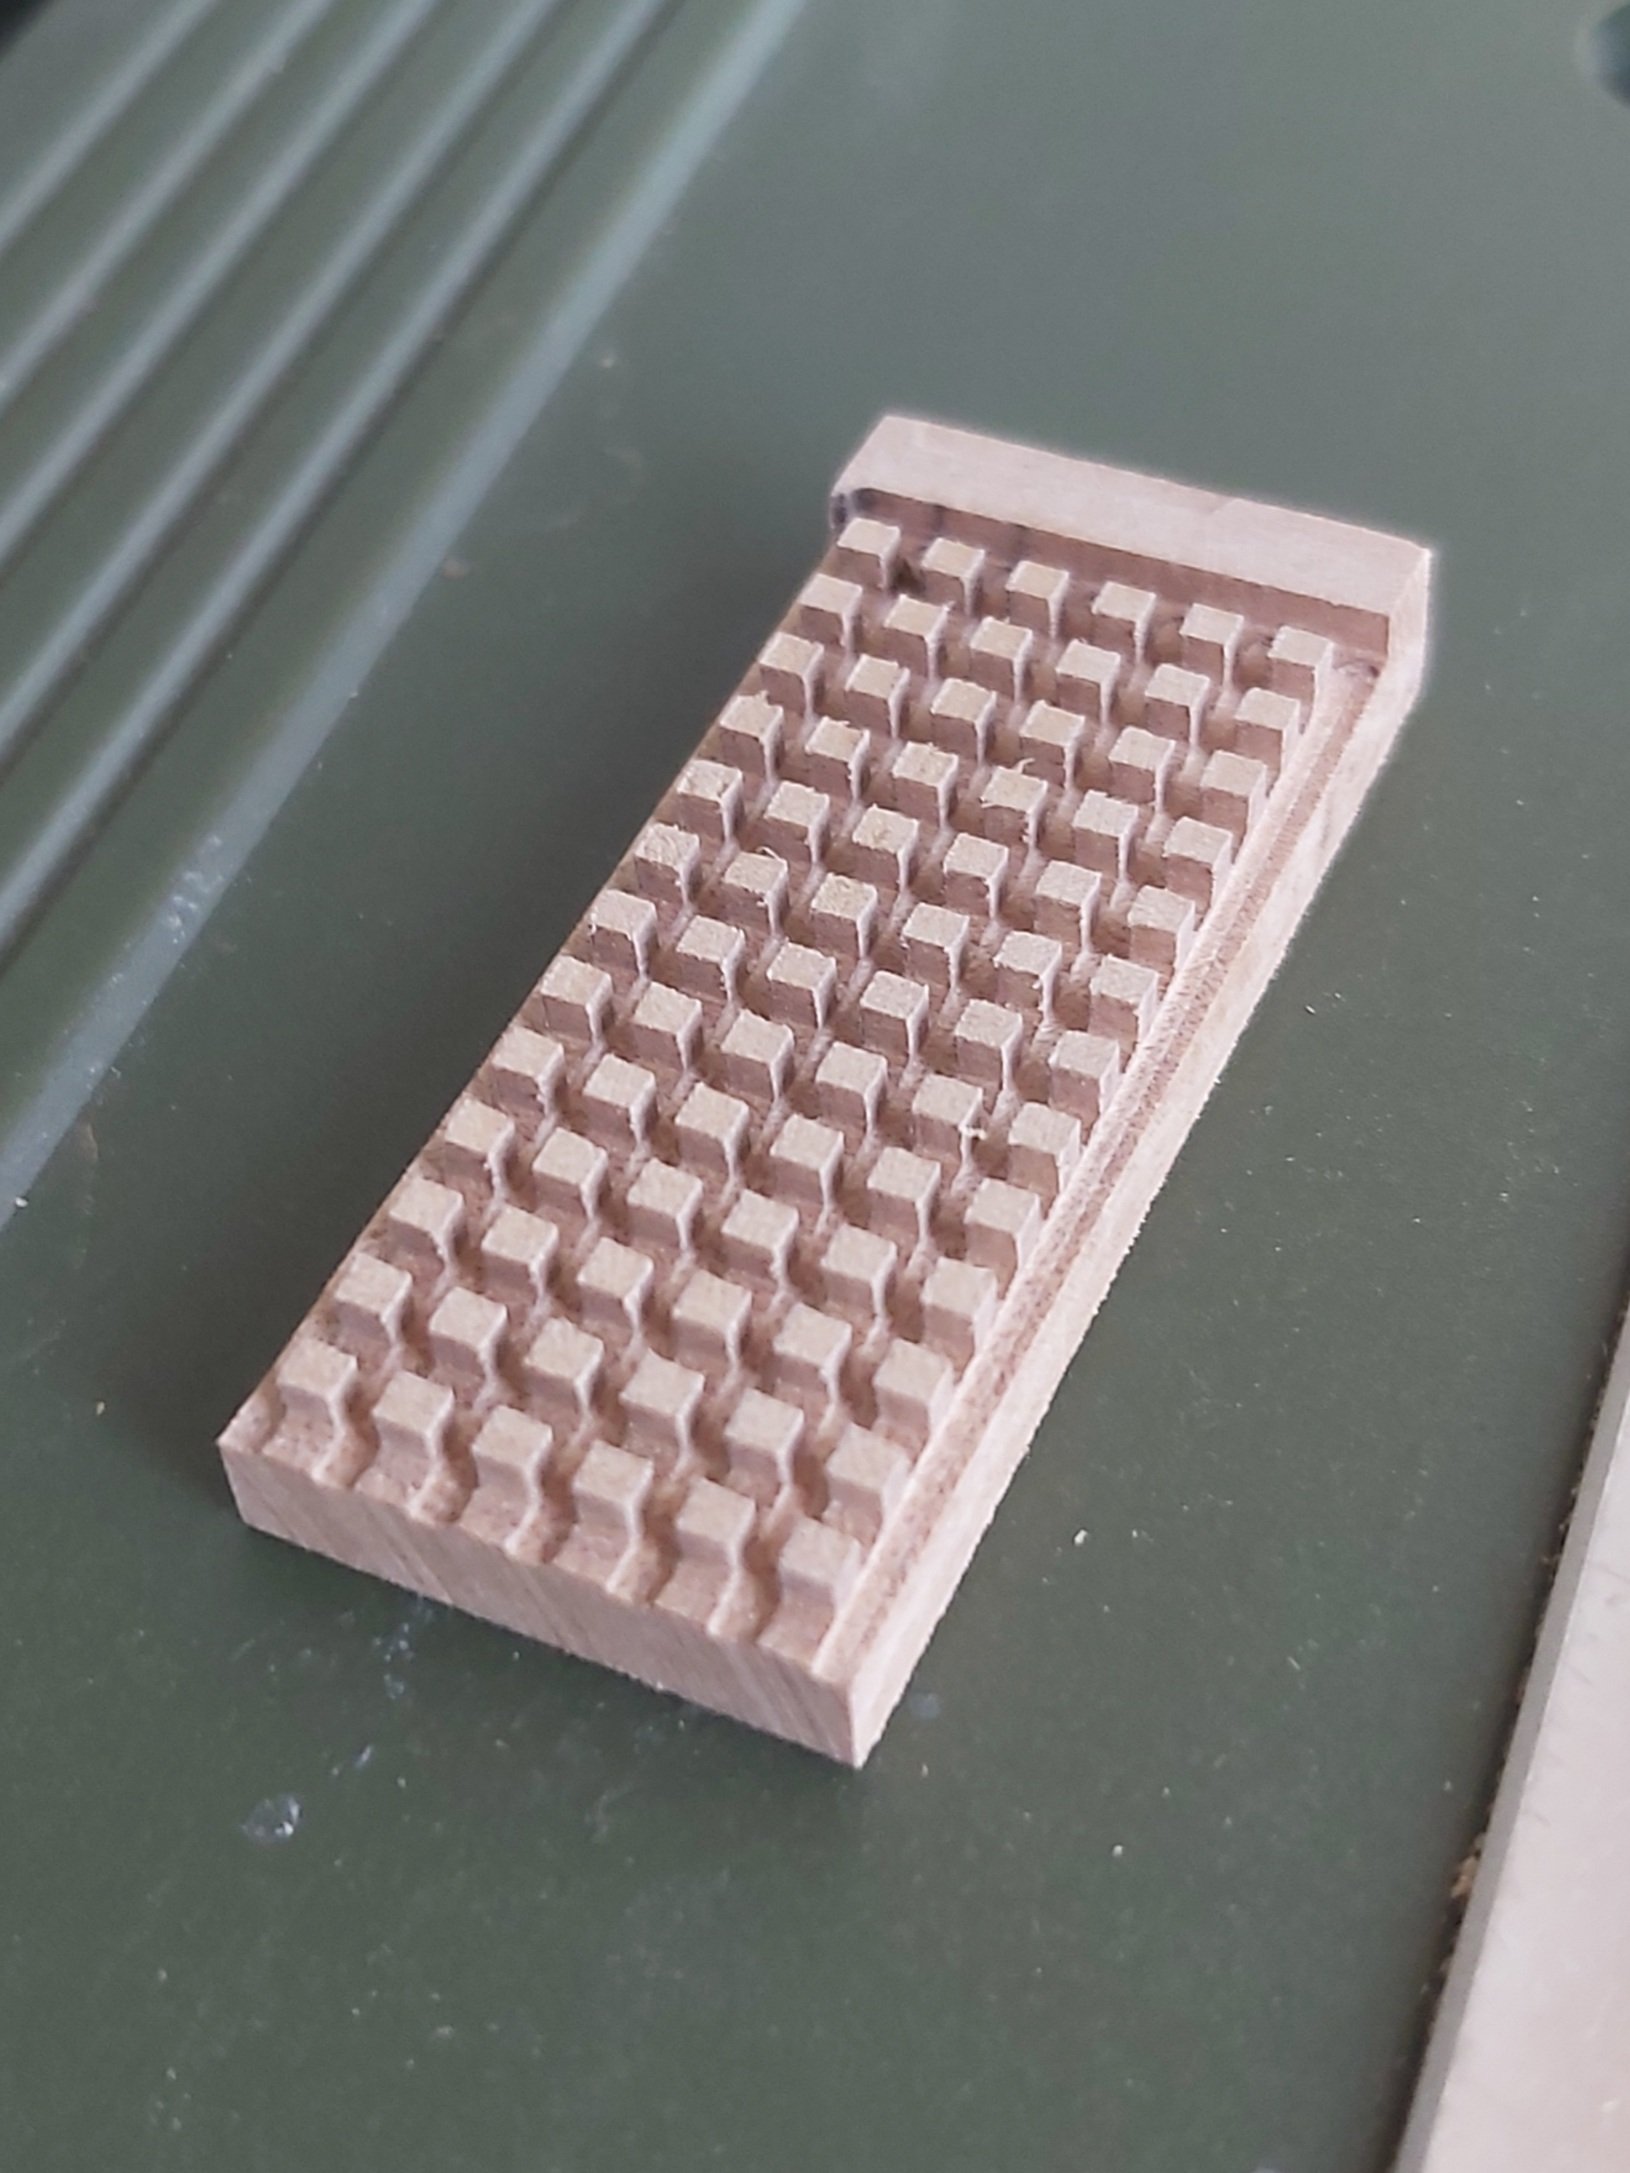
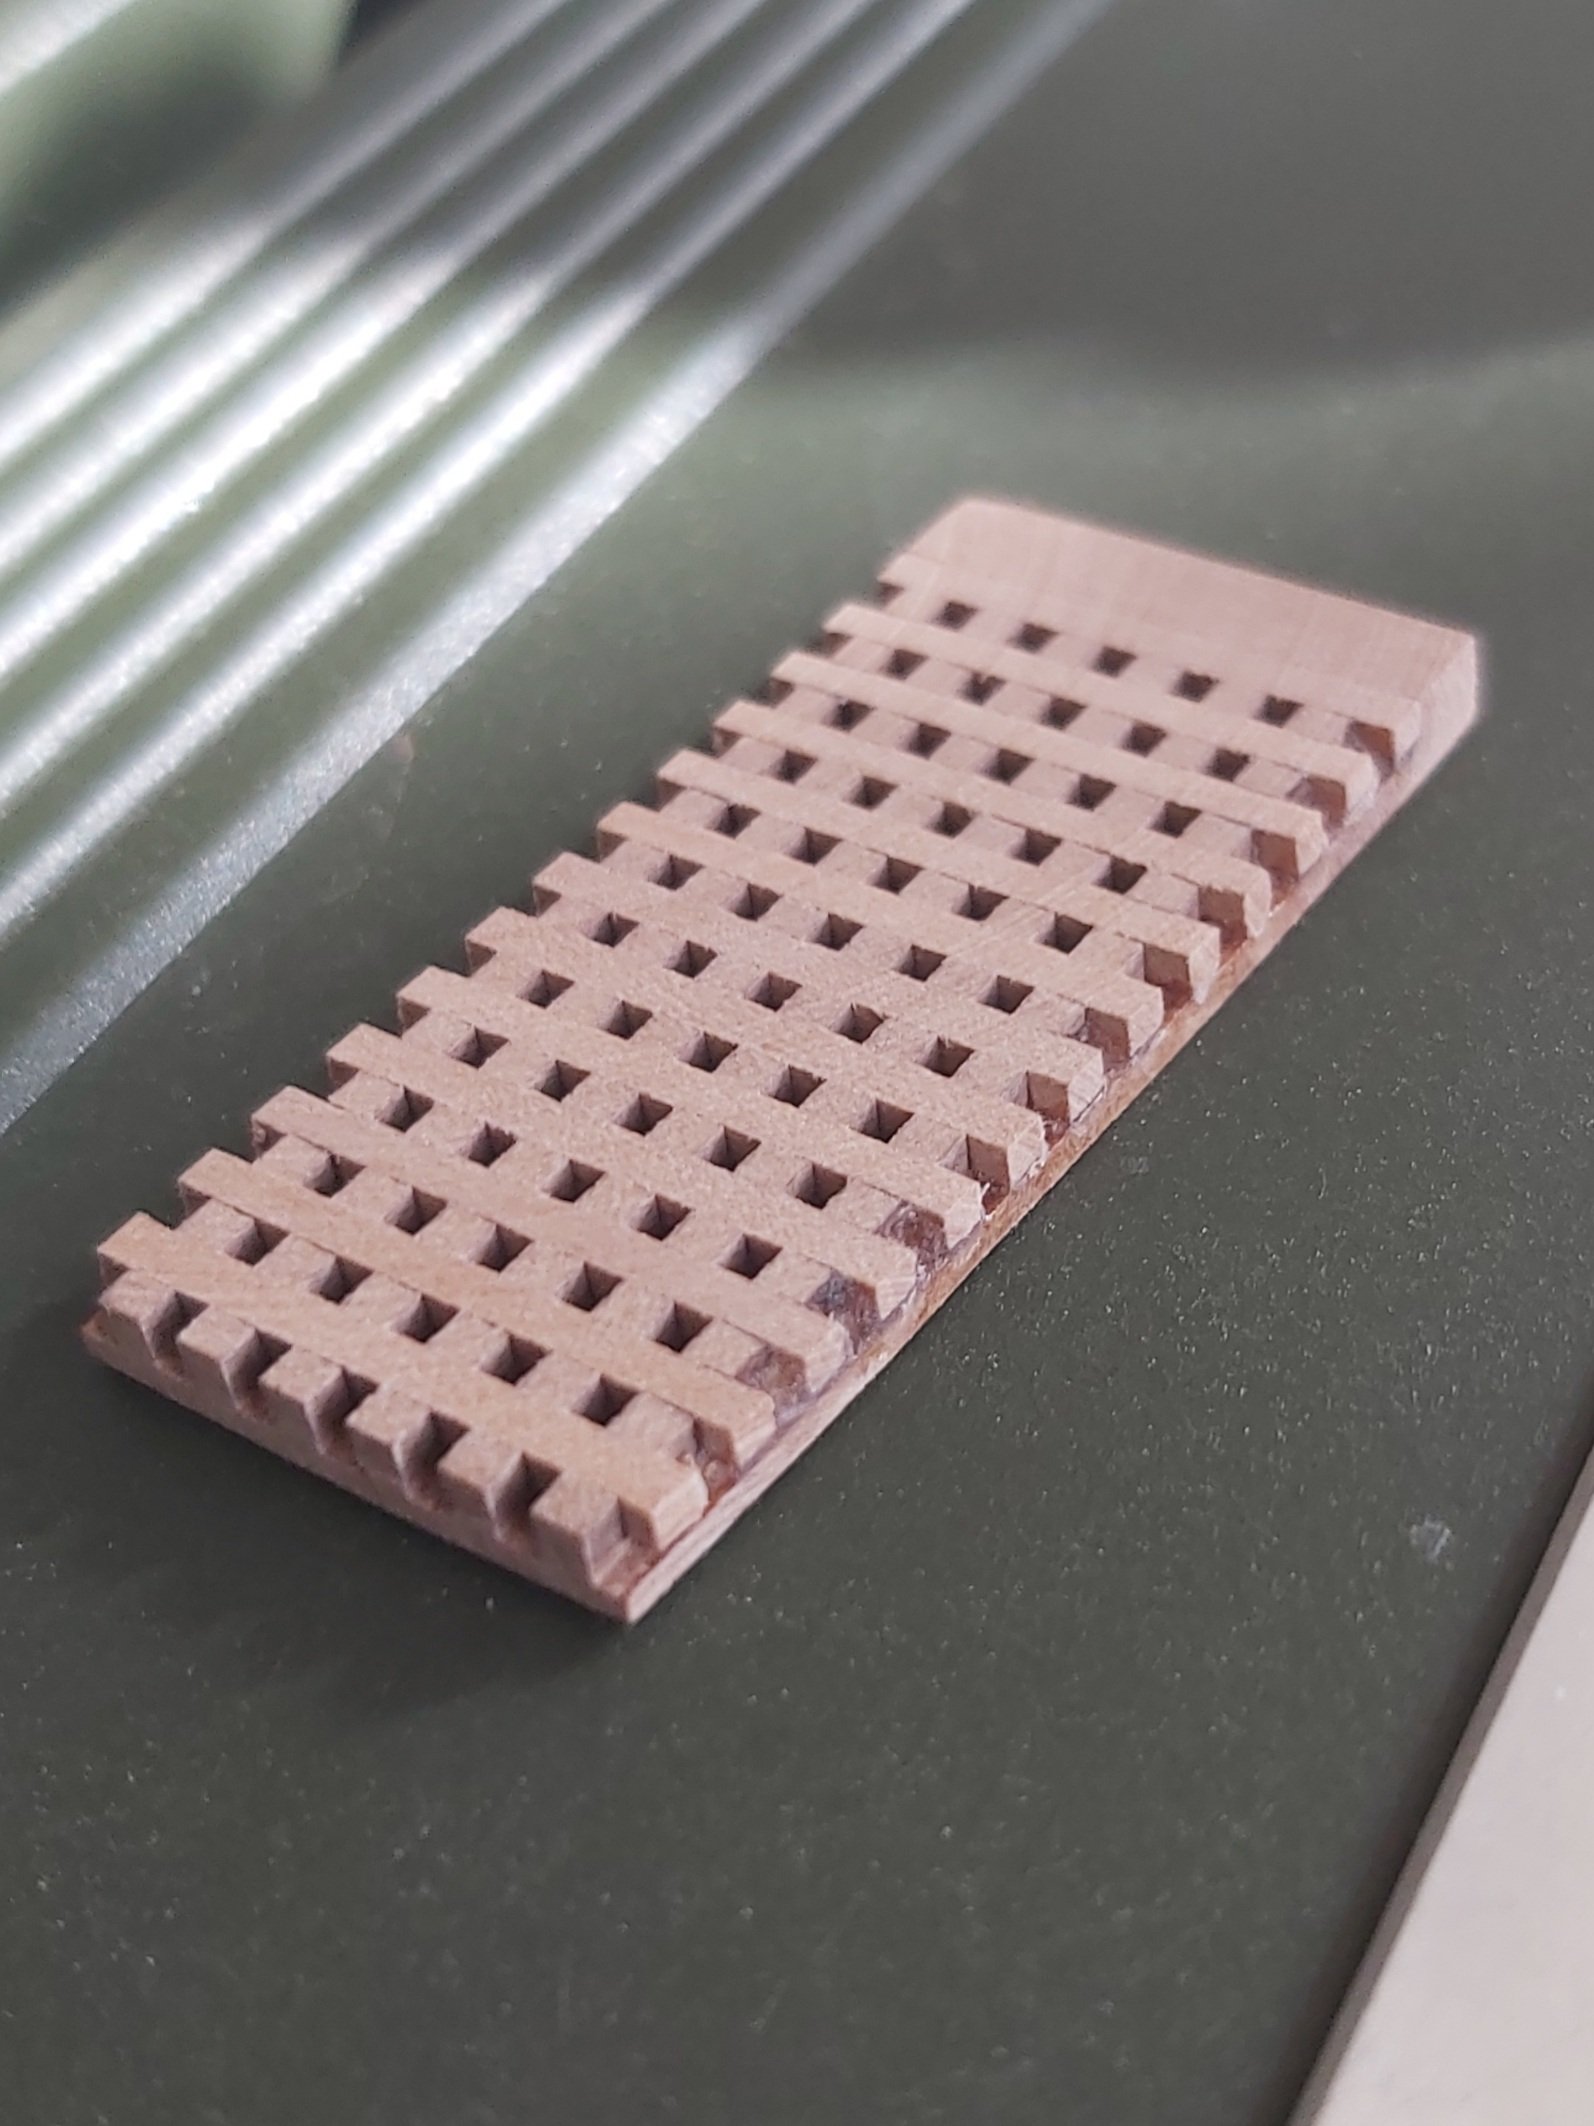
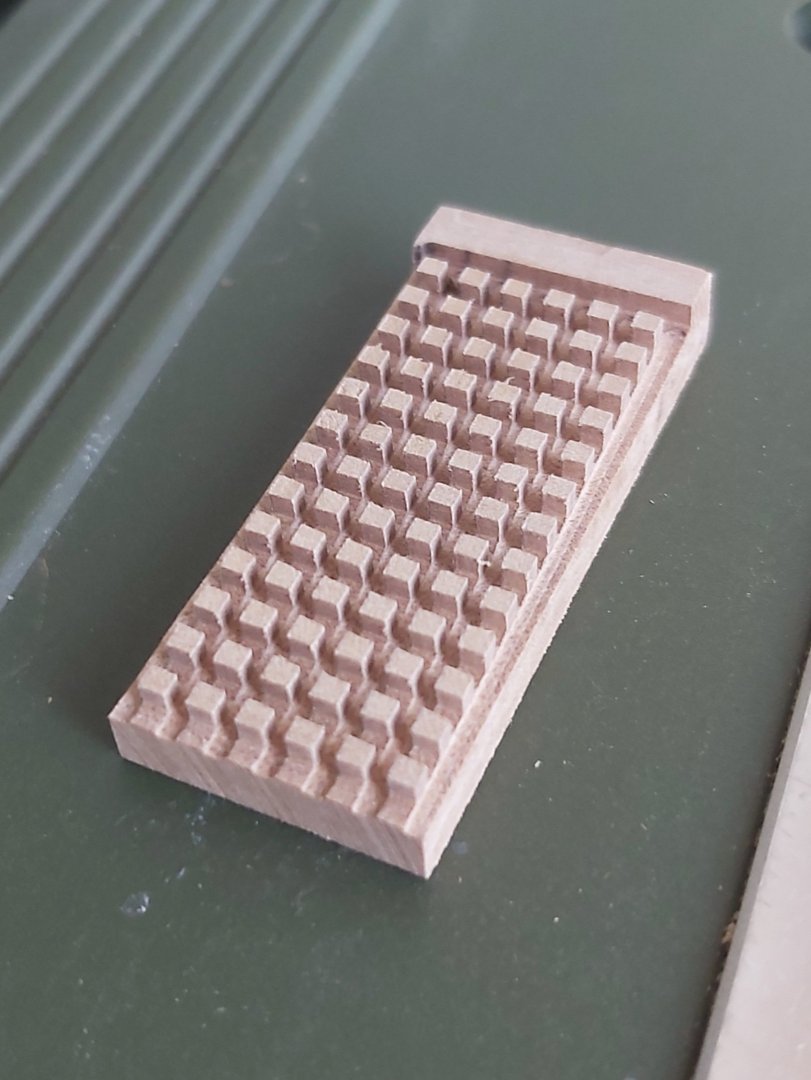
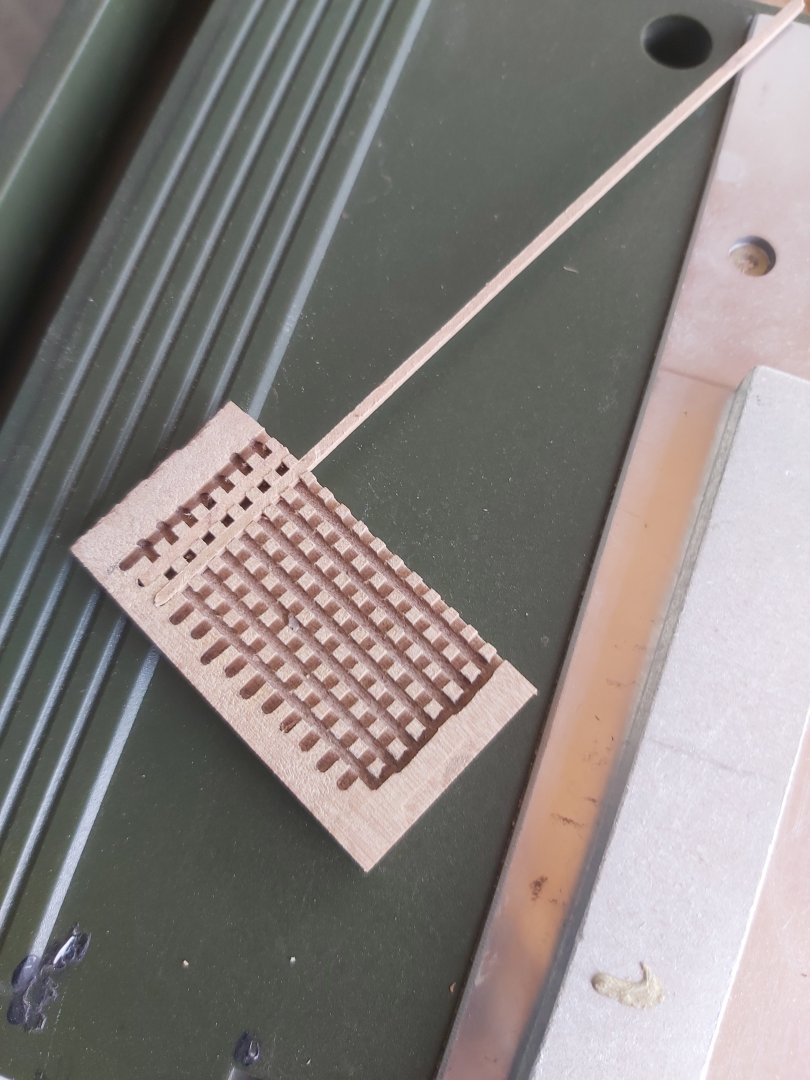
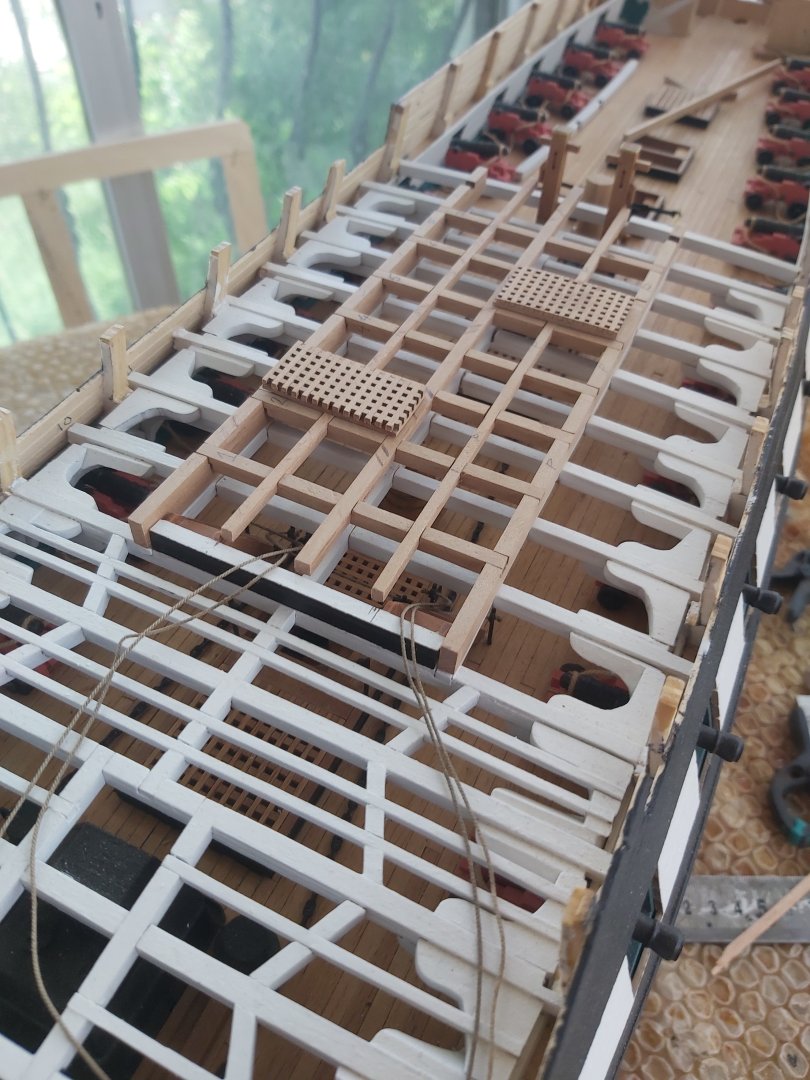
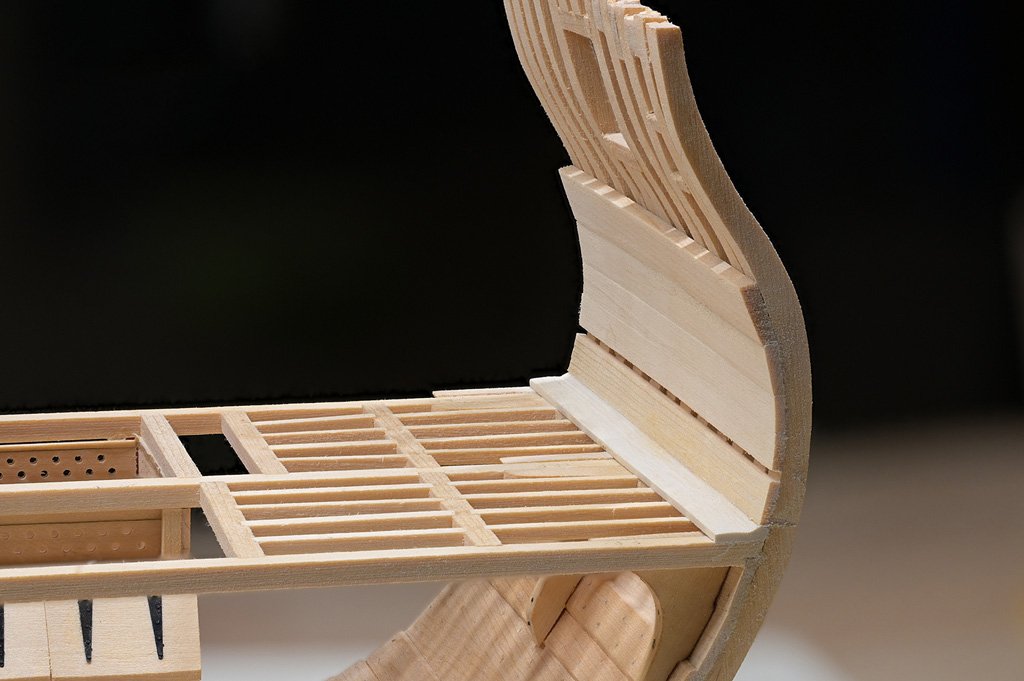
While the construction of the main hatch coaming was continuing, I also started making the gratings.

-
 'Never thought of that - another good technique to have in one's 'toolbox'
 -
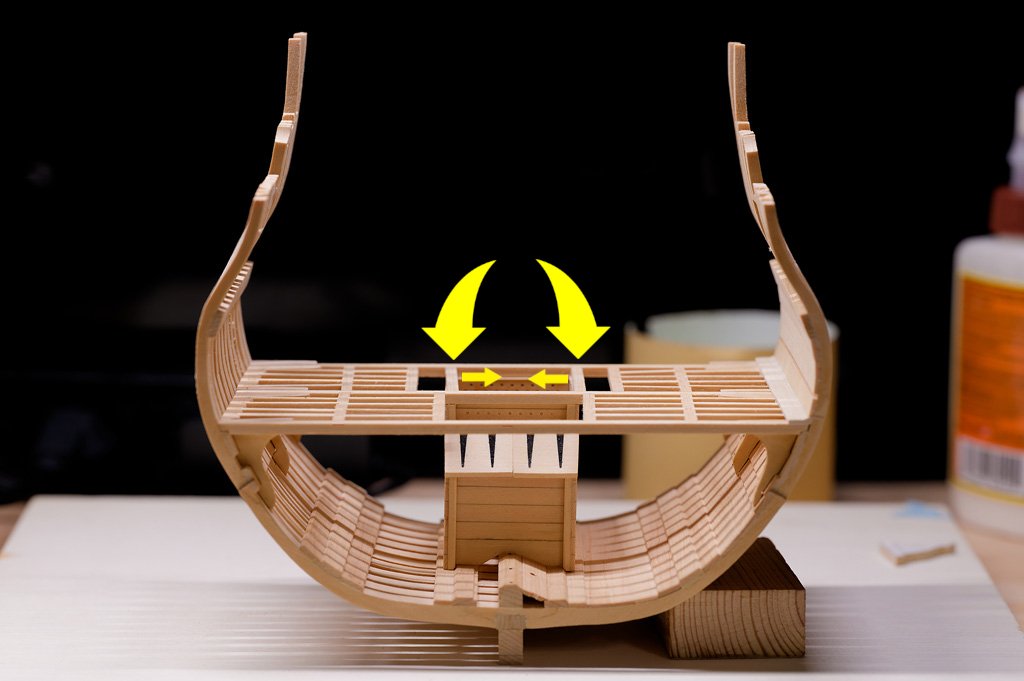
 Thanks @davec @Old Collingwood @glbarlow I was happily continuing with the build when I unfortunately ran into a snag. There was a comment in @tlevine build log for the cross section "Do not measure off the practicum. Unlike the drawings in TFFM, these drawings are off scale by up to +/- 6%." Unfortunately, I re-read this caution late and now I am faced with an issue to resolve. I used the template provided on page 7 for the lower deck framing and realized that though the scale provided was measuring accurately the template would not fit the deck (it was too small). I made an executive decision to start at the provided centerline, place the carlings as indicated and continue on - this will prove to be an unfortunate mistake. I placed the upper deck clamps, planking and spent some considerable time shaping the waterway. I then started to think about the pump tubes and noticed that the carlings are not in the correct places. The most problematic are the interior ones in the aft - they landed right on top of the well and provide no space for the pump tubes to go into the well. This also means that the lower deck hatchway will be too large, but I can live with that mistake - I could also probably live with the error on the planked side in the aft and simply pretend that the carling was in the correct place. However, this error will not look right on the unplanned side and it will imply that the pump go through the well wall. I think the best plan is to use some IPA and remove the most offensive two carlings, use filler (huge crossed fingers here) to hide to wrong scores, then carefully file new scores by hand (start crossing my toes here), and add the carlings back in.
- Today
-
 Thanks all for your encouragement. That is very kind. As Dsmith points out, I do have a YouTube channel with this very build, if you are interested.
 -

Sopwith Camel by gsdpic - Artesania Latina - 1/16th scale
gsdpic replied to gsdpic's topic in Non-ship/categorised builds
Thanks Peter. A few months back, I ordered a few things that I could not find at any US-based store from spotmodel in Spain. Those took about 2 weeks to arrive, so that is my guess for these parts as well. But since it is just parts for the stand, I can finish the model and move on before they arrive. -
 No clue -- but they haven't really been lighting the modeling world on fire of late.
 -
 There was a dirt track in New Egypt, NJ, where I used to live. Friday and Saturday nights. And bring your goggles, because the clay was spread around, especially thru the corners. That was some pretty exciting racing. Wrecks could be spectacular. I'm sure you old gearheads remember jalopy races. 😄
 -
 Another option might be breaking the the top pieces of each of your 2 layers in half (at slightly different lengths to maintain the randomness of the edges). This would thin out the existing layers and give you 4 layers (or steps if you will) of roughly equal thickness.
 -
Very cool, Craig. Interesting "airboat". Any plans?
-
 don't forget, you'll need to grind off that lip to use these as I did. (I wish I'd found these sooner in the planking process, but better late than never)
 -
To all, Any advice on whether to add the garboard strake first - before I add the other 4 remaining strakes?
-
 I will have to look at my ModelExpo catalog from the 90s.. I’m pretty sure the price was at least twice that.
 -
Likewise here.
-
Very Interesting. When I googled the name, I got a hit for someone associated with Anxiety Canada - a much younger fellow than this Mark who would be in his mid 70s today. Thank you for providing the link Gregg. The blurb on Mark there did say he built a 1/4" (1:48) scale version of the Constitution in 1990. The piece goes on to say where it was displayed for a time in its history, ending with - it "was subsequently put on loan to the Maine Maritime Academy in Castine, Maine where it was displayed for a several years." I will pursue that lead to see if I can find where it is today. I would love to see it up close. Thanks again. best Peter
-
 These are just brief steps, we highly recommend to read the complete instructions on our website. There are also pictures for a better understanding of the procedure. All instructions on how to work with accessories, including veneer decks, can be found HERE.
 -
 Thank you all for the compliments, I’ve just ordered the Sherbourne so I’ll be starting that as soon as it arrives!
- 174 replies
-
- 1
-
-
- Perseverance
- Modellers Shipyard
- (and 1 more)
-
Welcome to MSW Eric. Loved your intro! If your models are as well done as your introduction, you will have great success. Regarding your first build choice
-

Bending hard brass.
allanyed replied to navarcus's topic in Metal Work, Soldering and Metal Fittings
Angel, It looks like your prop is in the wrong place or the diameter is too large. Is it possible to relocate the propellor shaft or go with a smaller diameter prop? Also, you can add a piece similar to the sketch below although it is probably not a good solution. If the ship had a wooden keel then this would work well and could also take a false keel across the entire length of the ship as well. Can you tell us which vessel this is? Thanks Allan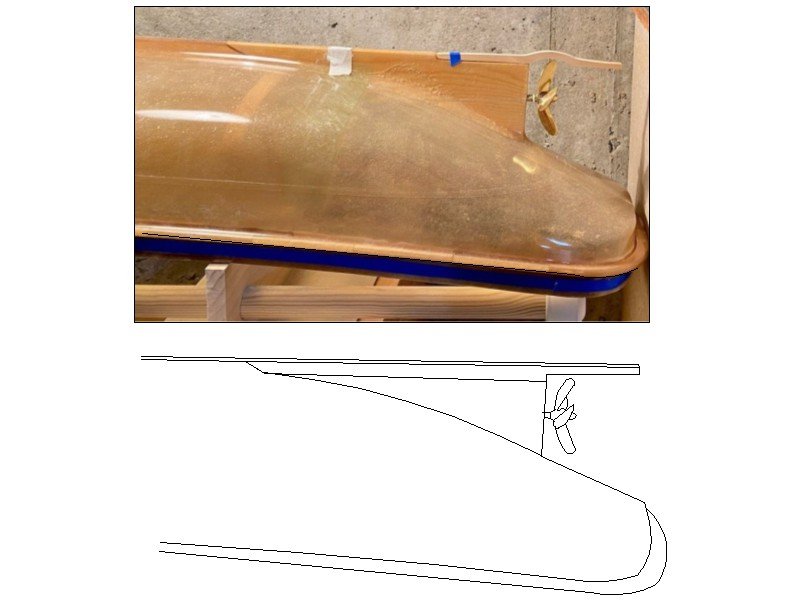
-
 Thanks Mike, Lovely builds!! Yup, Maple is the very light wood, like the AL kit "Ramin" As my above reply to Jaager, I'll go with the kit supplied Tanginika for the Deck Planking and the Maple for the Inner Bulwark Planking. I have time on my side as I am at the early stages of the build, but it is important to have things lined up so to speak. 🙂 Cheers and Regards, Harry.
 -
Thank you Jaager, I did a bit more digging; the wood "Tanganika" seems to now be known as "Aningré Blanc" according to Wikipedia. I guess I'll be using it for Deck Planking regardless.... Thank you also for your mention regarding "Maple" Obeche would appear to be what I have, which would explain the color. (Looks similar to A/L kit wood "Ramin," Inner Bulwark Planking. I found a representative picture.... Aningre blanc alias Abam, Akatio, Aningueri blanc oder Osam In the interim, I'll continue with my learnings. Cheers and Regards, Harry.