All Activity
- Past hour
-
 Baker reacted to a post in a topic:
Sovereign of the Seas by 72Nova - Airfix - PLASTIC
Baker reacted to a post in a topic:
Sovereign of the Seas by 72Nova - Airfix - PLASTIC
-
gsdpic reacted to a post in a topic:
Ferrari 288 GTO Yellow by CDW - Fujimi Enthusiast Series - 1:24 Scale
-
 Radimir's Hismode, is top notch. He attached a bunch of instructions in a couple emails. A have three more plastic kits for him to outfit in the future. CSS Alabama is a joy to paint. A few firsts for me have me excited. Forming the mast and yards out of wood is perhaps the hardest. Ratlines should be easy, but time consuming. I did ordered the sails from Hismodel. Making them look real should be fun. The books about the ship are interesting. I want to do both wood and plastic kits and scratch builds. Now that the confederate ship is a going concern, Model Shipways Shipwright 3 Kit Combo Series dory starts. In for a penny, in four a pound
 -
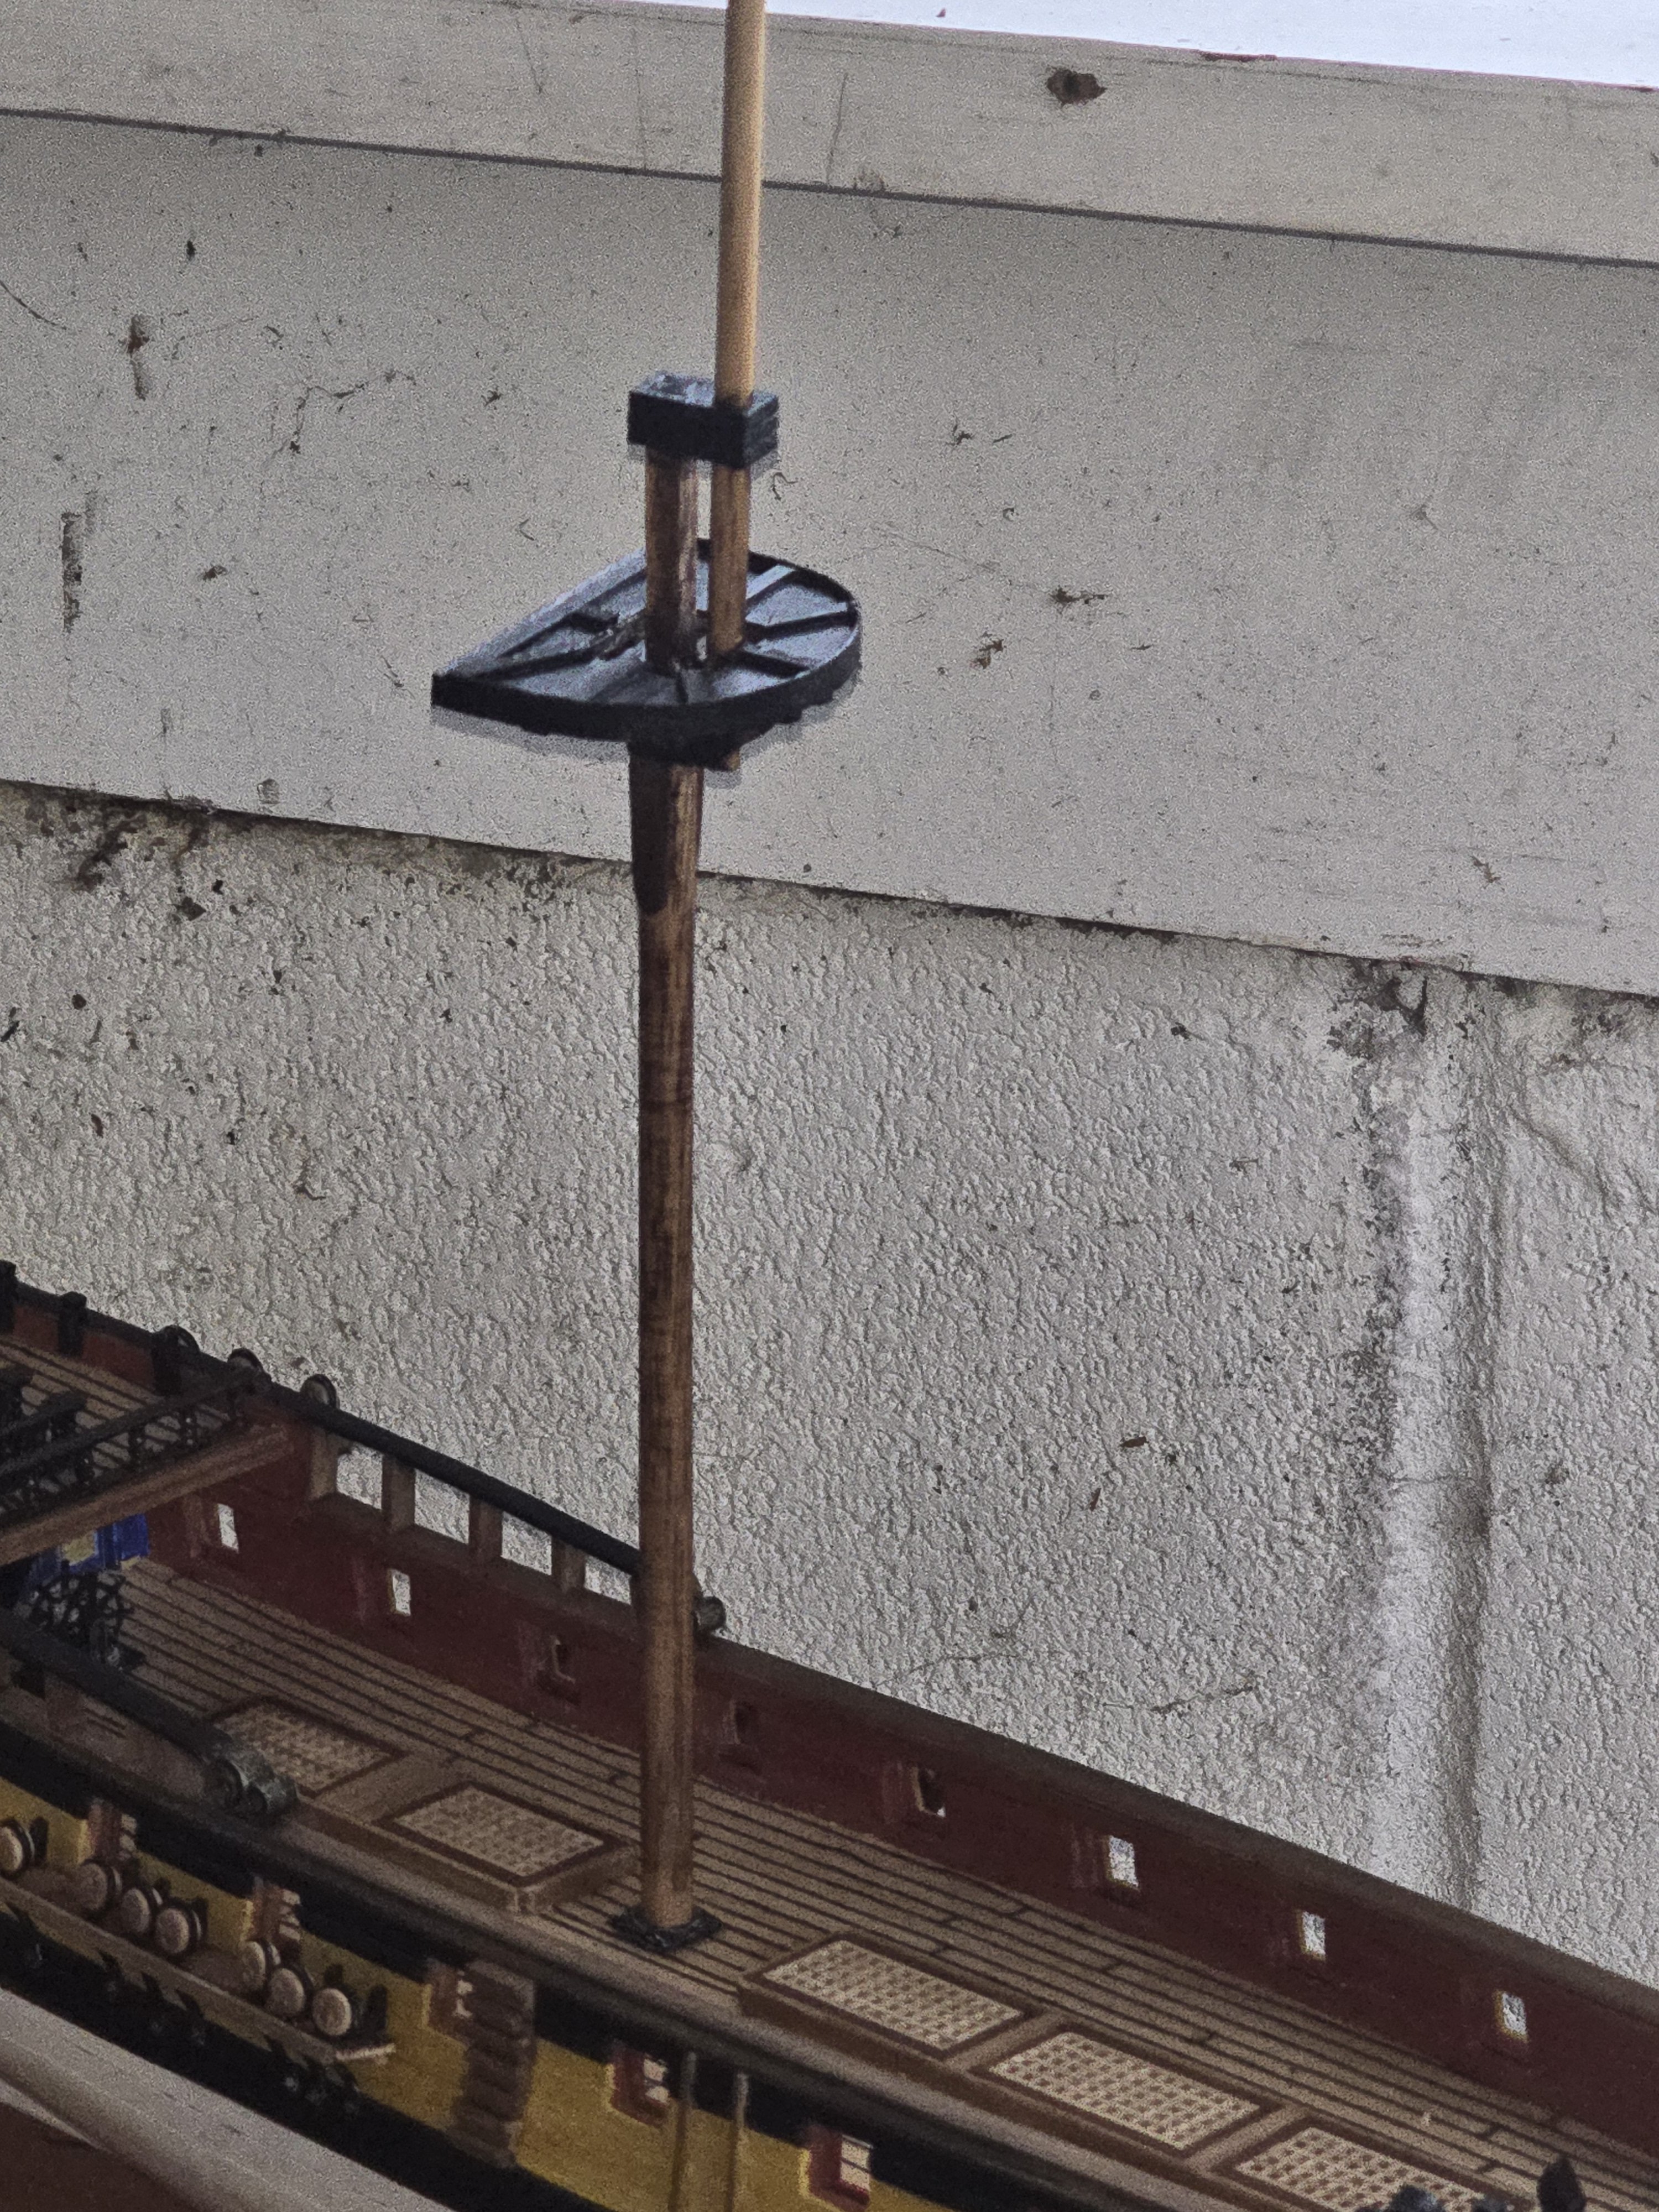
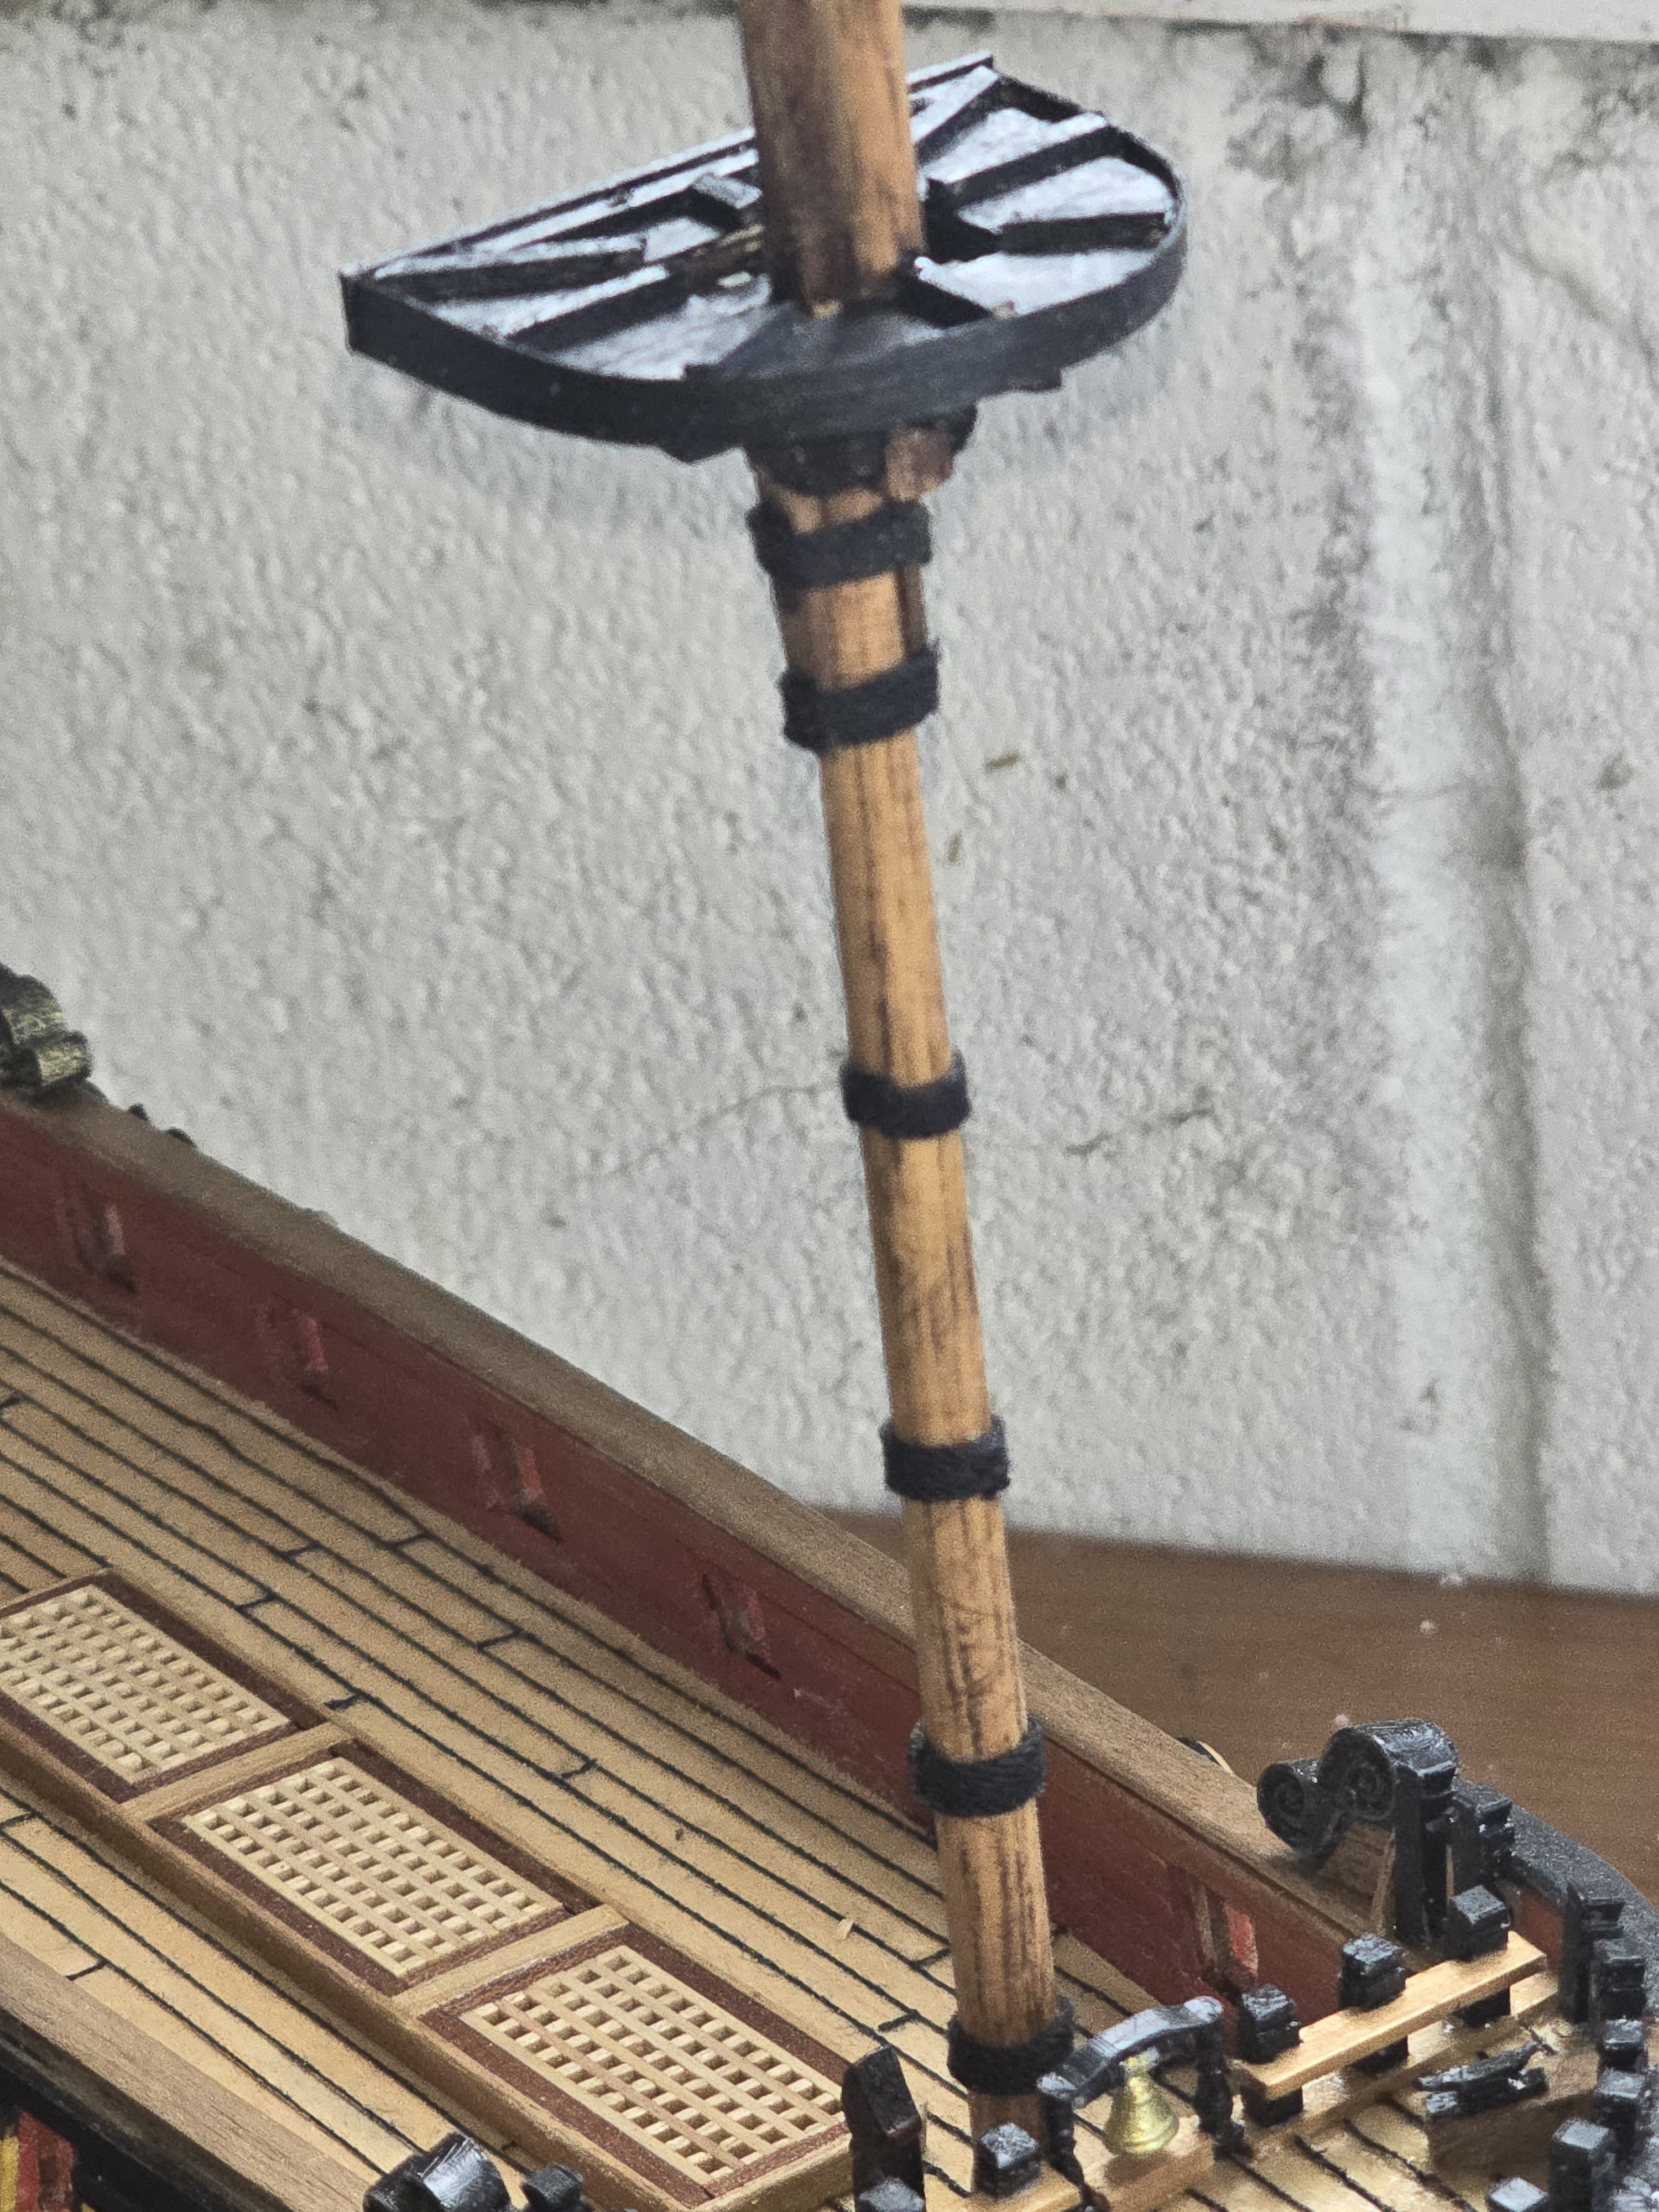
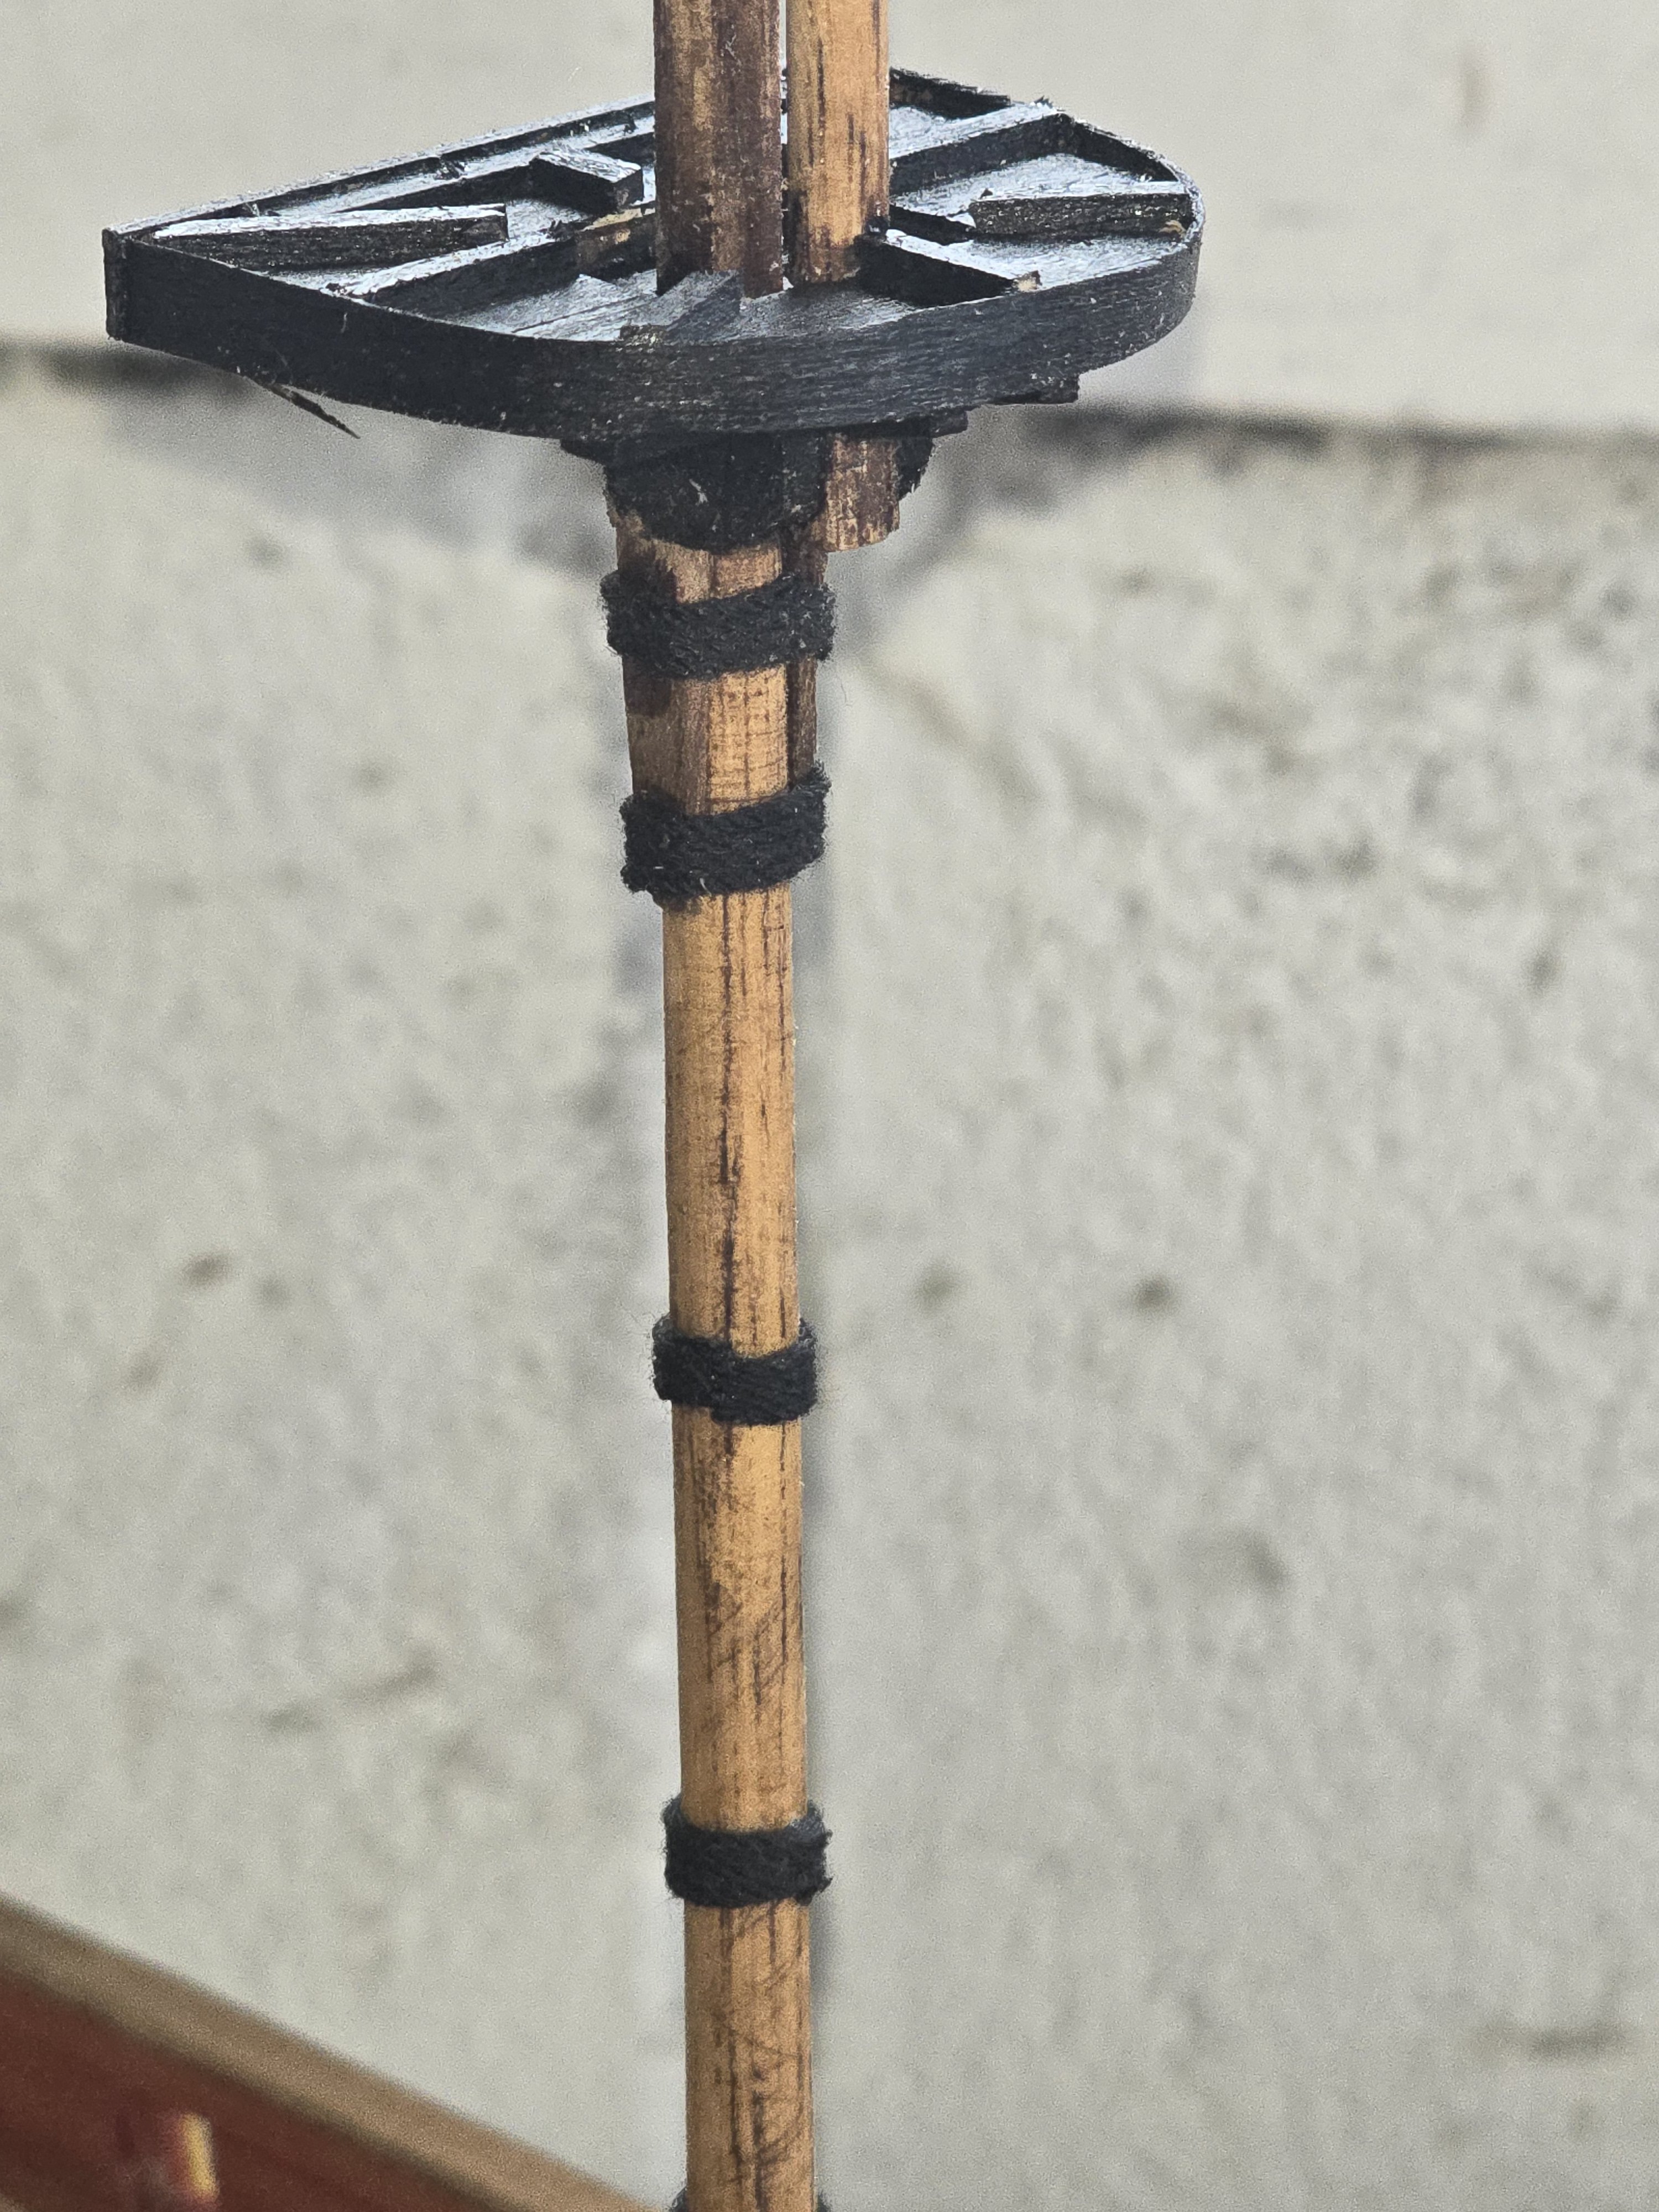
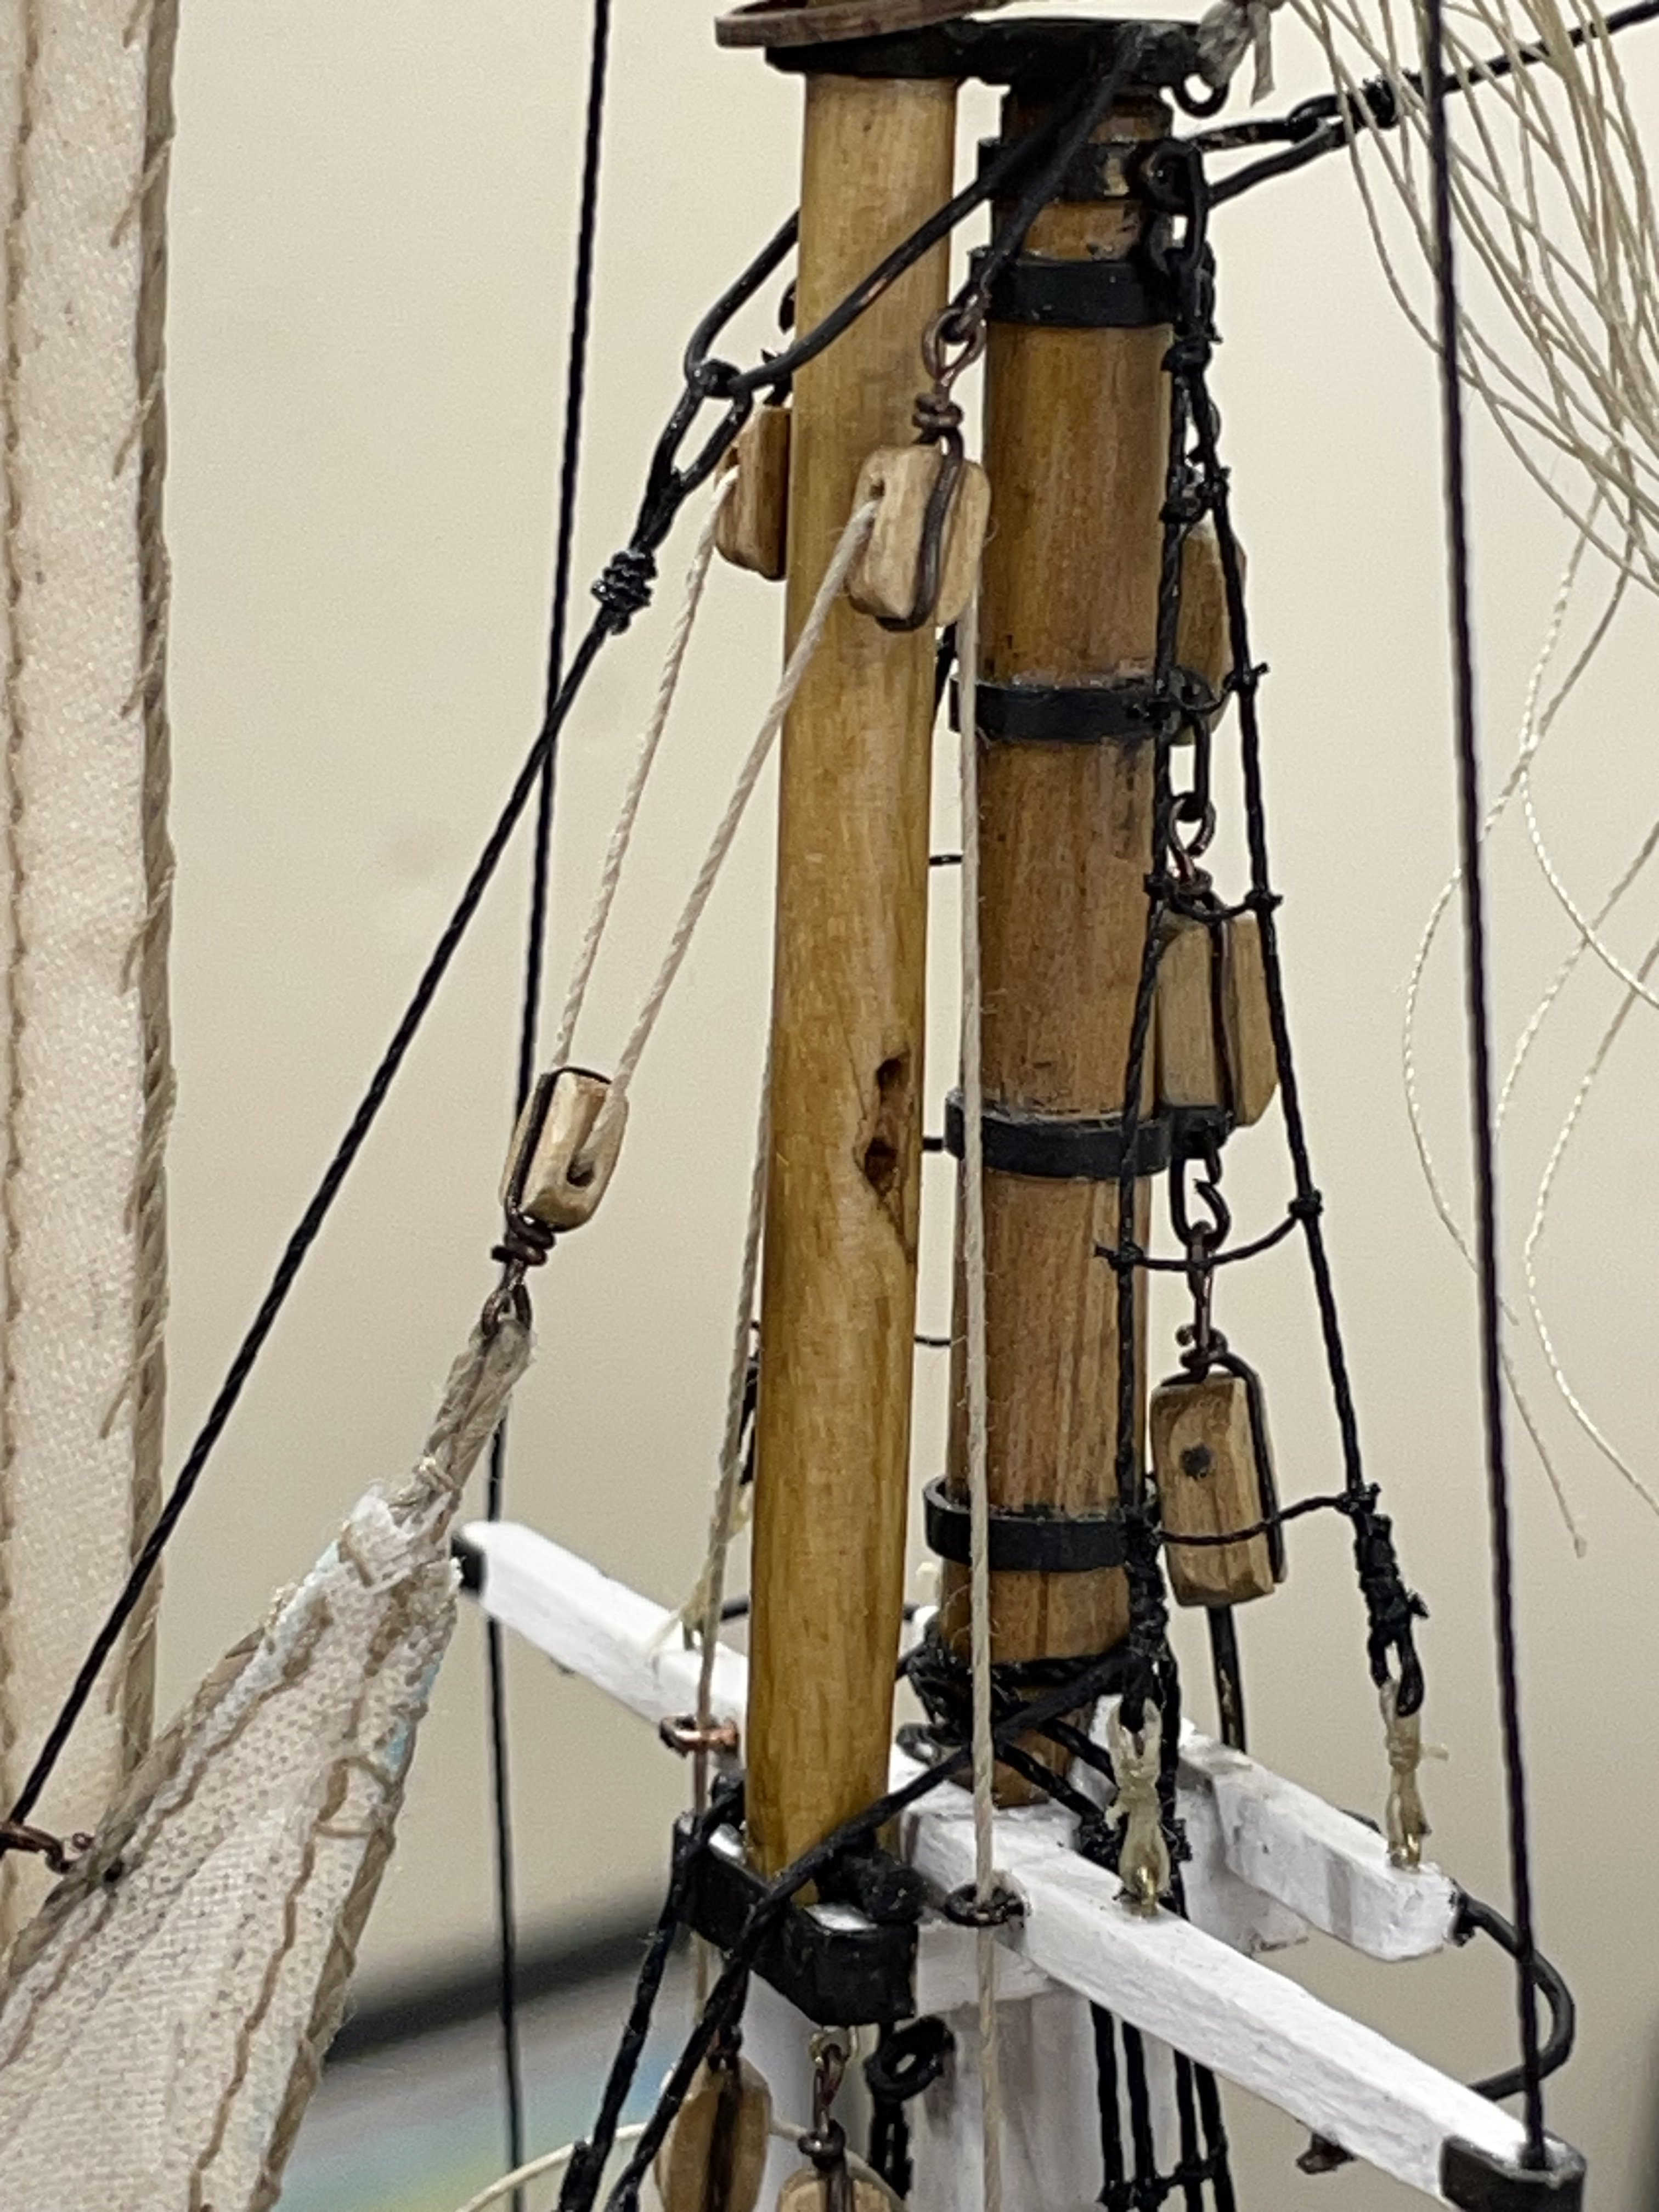
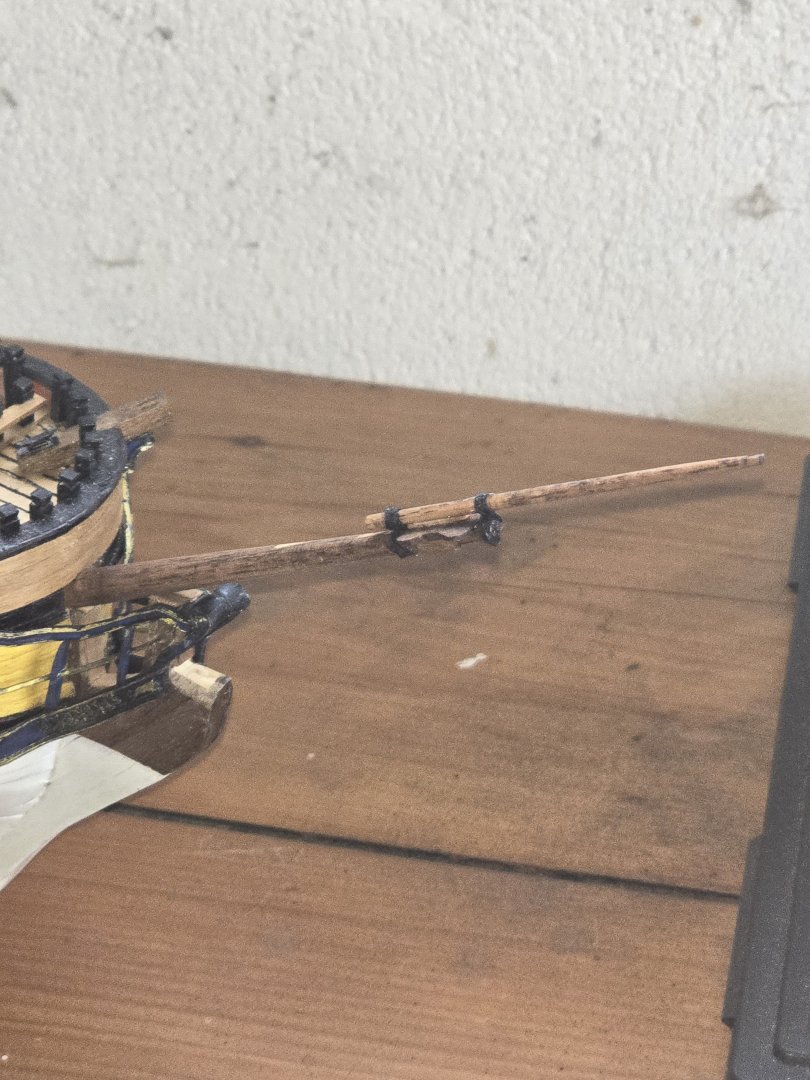
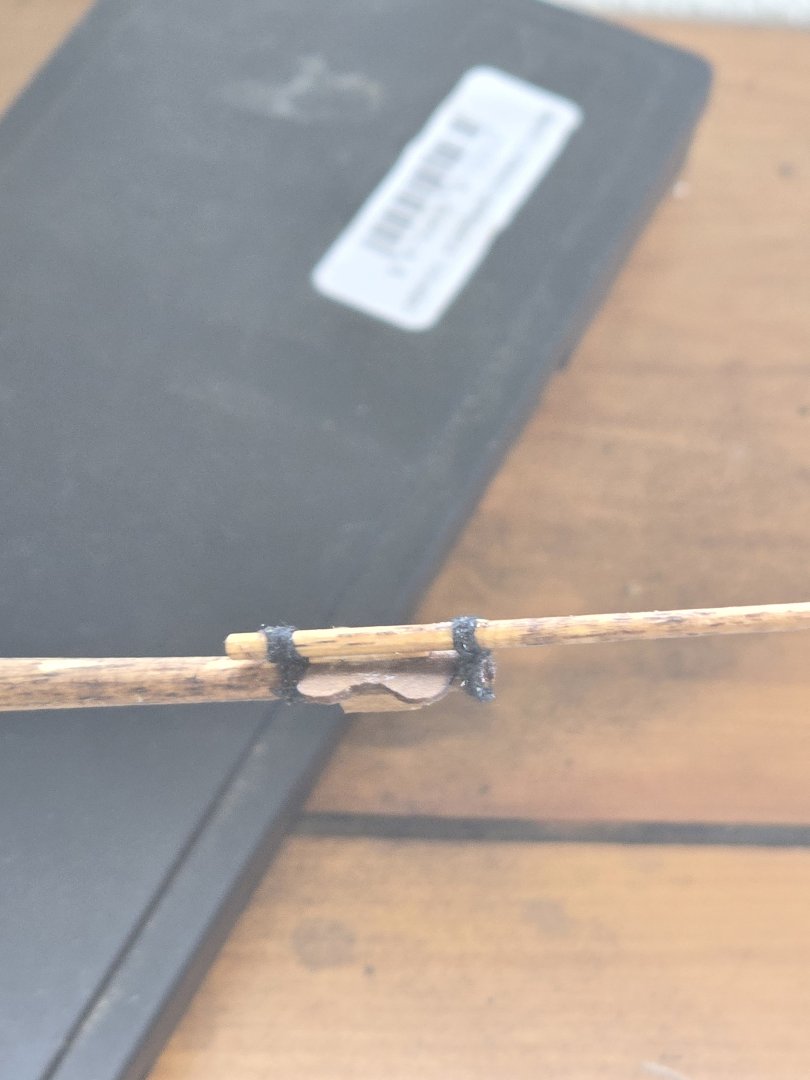
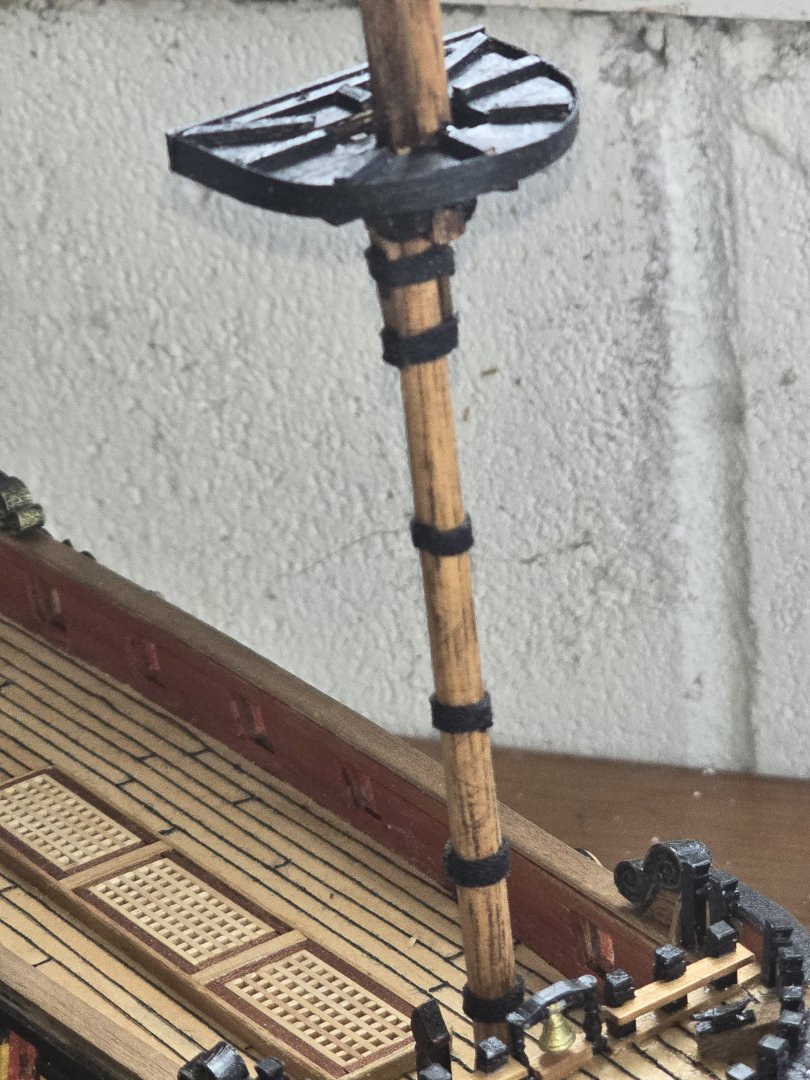
 Starting to make progress on the main and the fore mast. The woodlings have gone on thr fore cast and made the main top. Have put bees on the bowspit and figure of eight lashings on the jib boom. No spirit top on this model. Next is the woodlings for the bowspit and start the heart blocks for the shrouds.

-
Egilman reacted to a post in a topic:
Ferrari 288 GTO Yellow by CDW - Fujimi Enthusiast Series - 1:24 Scale
-
KurtH reacted to a post in a topic:
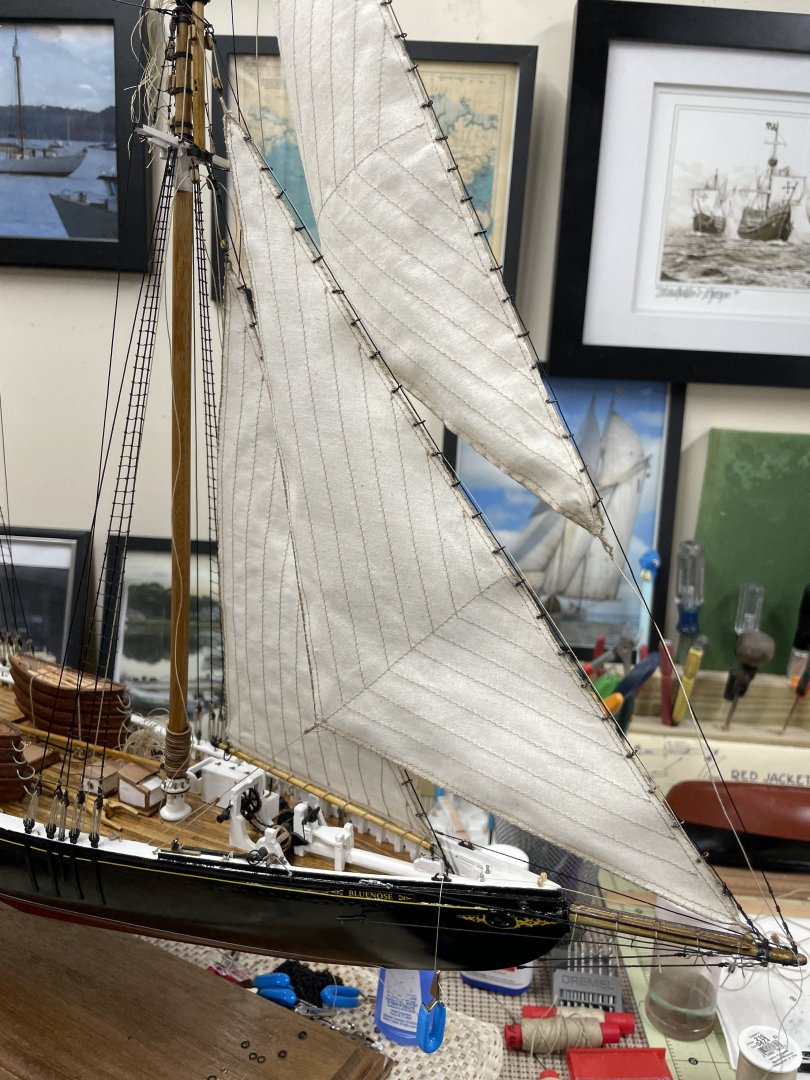
1921 Bluenose by John Ruy - Model Shipways Kit No. MS2130 - 1/64 scale - Canadian Fishing Schooner
-
KurtH reacted to a post in a topic:
HMS Sphinx 1775 by rvchima - Vanguard Models - 1:64 - 20 Gun Sixth Rate Frigate
-
KurtH reacted to a post in a topic:
Armed Virginia Sloop by CiscoH - Model Shipways - 1:48
-
KurtH reacted to a post in a topic:
HMS Flirt by wvdhee - Vanguard Models - 1:64
-
KurtH reacted to a post in a topic:
HMS Speedy by usedtosail - Vanguard Models - Scale 1:64
-
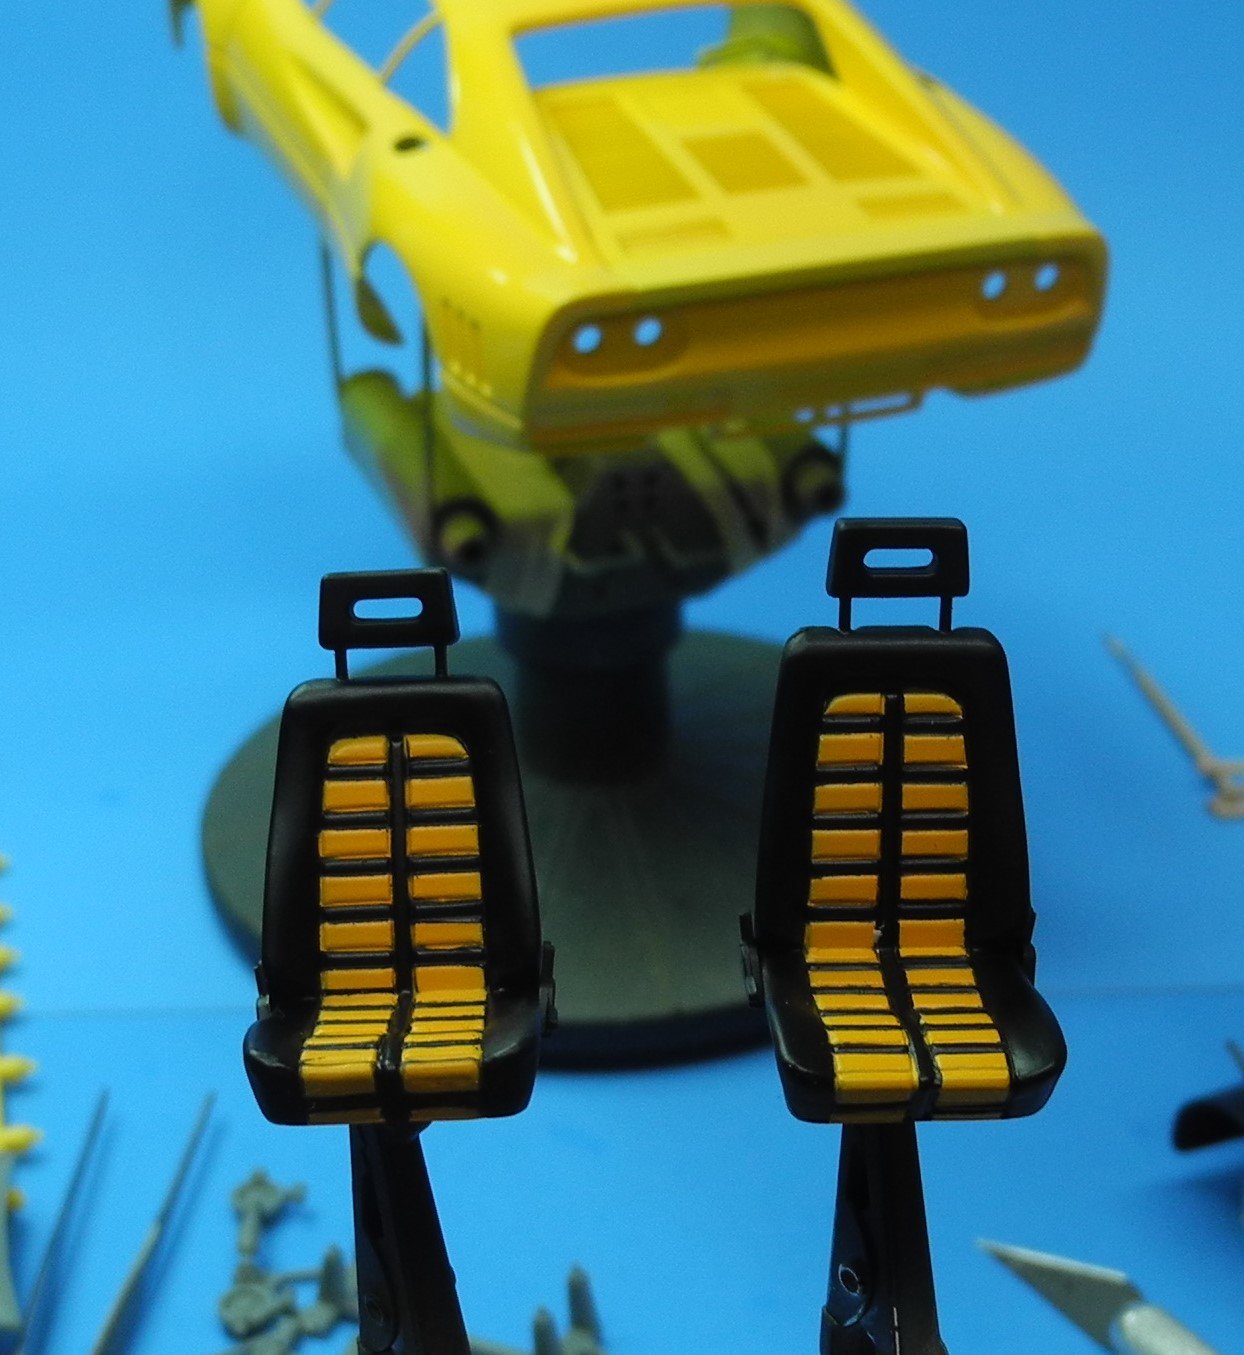
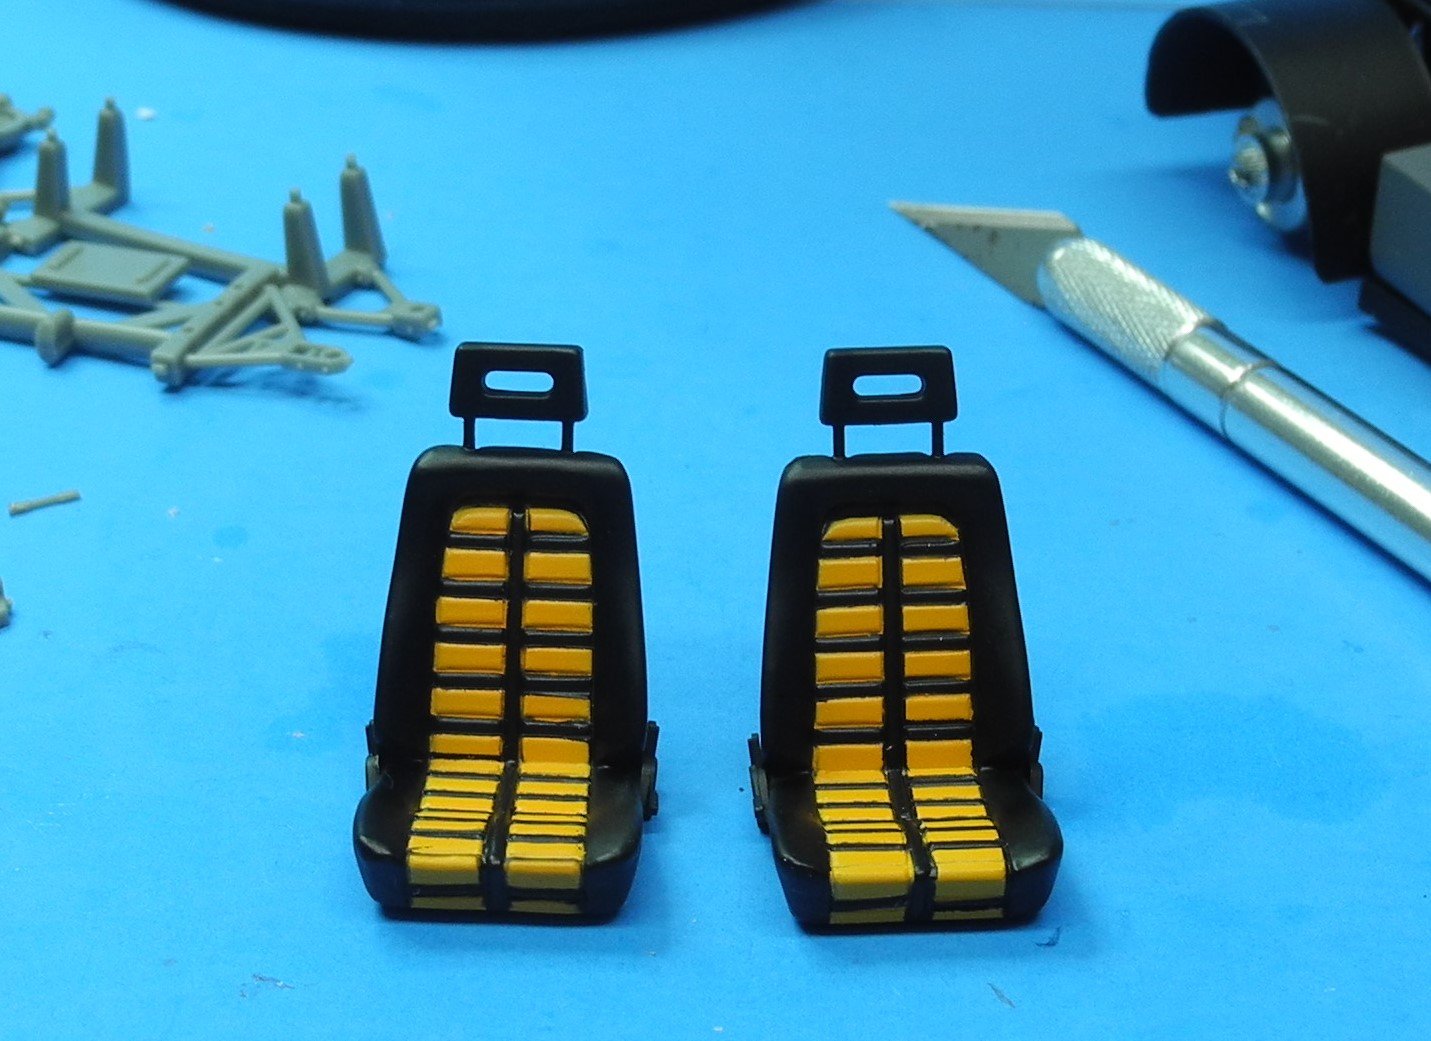
 Here's my interpretation of the seats for the Ferrari 288 GTO Yellow. Are they close to correct? I'm not sure, but they will have to do.
-
JacquesCousteau reacted to a post in a topic:
Peerless by Cathead - 1:87 - 1893 sternwheel Missouri River steamboat
- Today
-
 Hardly Eric. Each boat you build is beautiful tribute to some of the lesser known vessels of the Western rivers. I love the fact that the subject of each of your scratch builds are some of the more obscure boats rather than one that tends to be overbuilt. Add in the fact that you try your best to mill your own lumber sourced from your property whenever possible. I say nothing downhill about that. In my eyes they are all works of art. -Brian
 -
 Frank: I have made the Alabama twice already now, and it is a fine model. The enhancement after market parts you refer to are from Radimir's company on EBAY and I have ordered a ton of stuff from him over the years, everything is first class from him. The clamps slip over the bottom deadeye unit and through the channels, and can be fastened to the hull in several different ways. He has printed instructions available for all his parts. If you can't find the link, write to him and he will provide it. Between the after market parts and making the ratlines from scratch, these big plastic models come out fantastic, and for that reason, I have not ventured into wooden models....Too late in the game for me to spend another fortune on new armamentarium! lol....
 -
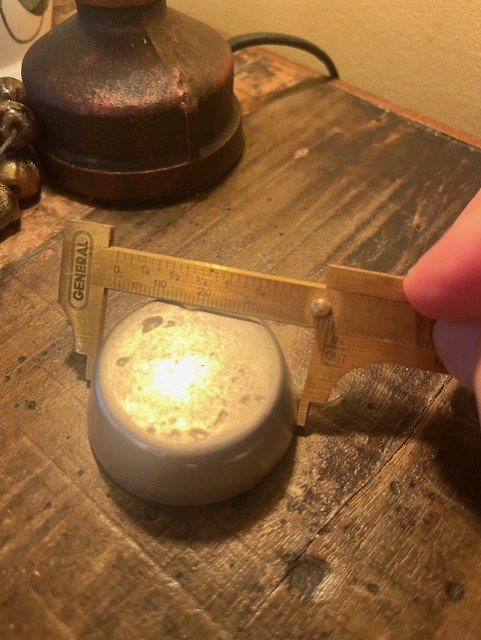
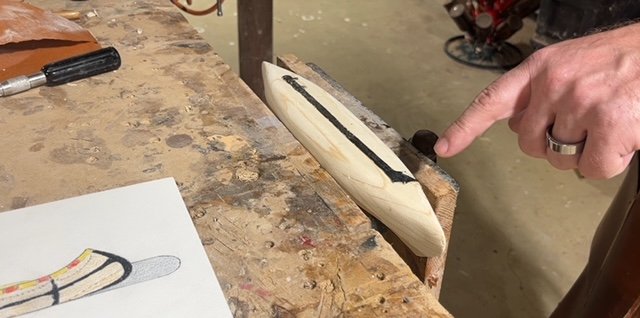
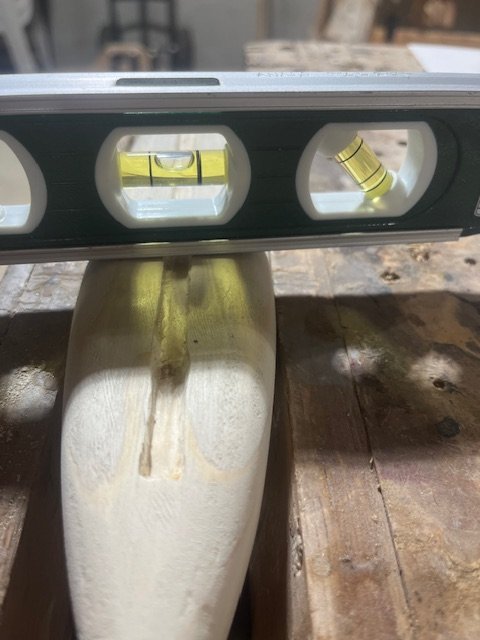
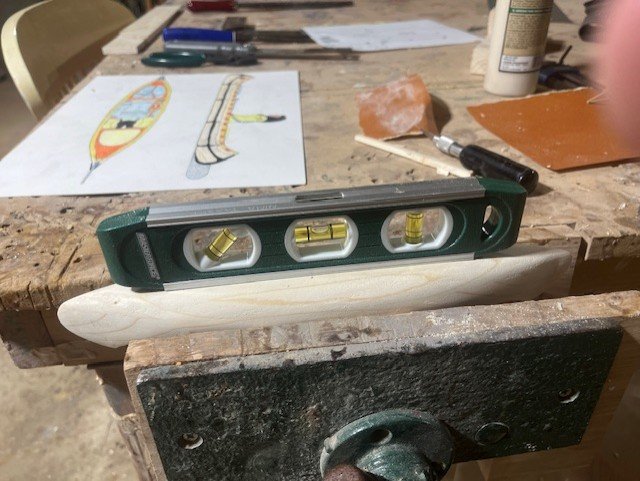
 Notes on deviation from original design: I set out to build an accurate reconstruction of the model from the book, I think I will succeed and fail in various ways. 1. Dimensions and accuracy of shape, form and color: I believe I will be very accurate in these areas. I watched the movie clip above of the ship provided by Navyshooter, and I see three thwarts in the model used in the movie, and I fully respect that model, but I do not see three thwarts anywhere in the book, so I will stick with two. Each interpreter of a model must make their own decisions, and whoever made that model for the movie did an outstanding job in my view. 2. Materials: a. All wooden parts in the book : pine. All wooden parts in my model: Pine. b. Lead ballast in the book: Tin/Bismuth in my model....a deviation for safety purposes c. "tin" rudder in the book, I will use a piece of aluminum, a deviation for long term corrosion purposes. d. "Enamel" paints in the book, I will use same. 3. Tools: from Chapter 1 in the book , I see a hatchet and two different knives for carving the model. I used a table saw and planer to form the pine blank, and I used a bandsaw to cut out blanks for the various pieces as shown in my photos.....maybe I should have used a hand jigsaw which would have been doable. I did only use knives and chisels for carving, no dremels. 4. Construction: It is not clear from the book how the model was exactly constructed, but the impression I get from the early pages is that the boy carved it out of a single piece of pine. I made my hull from a piece of pine and am making the thwarts, packs, and man, from separate pieces which I am gluing to the model. This may be inaccurate, but! I submit the illustration from the 2nd page of chapter 26 to support my decision to make the man from a separate piece of wood with the grain vertical along the upright plane of the man. For copyright purposes I will not post the illustrations here. The illustration supports that the boy built the model with the man made from a separate piece of wood with vertical grain perpendicular to the grain of the hull. I will use wooden pegs to attach the perpendicular-grained pieces of the man and the canoe.
 -
 Thanks, all, and Keith - I agree. I think that's one the best model I've ever built. Guess I'm going downhill now!
 -
Thank you Kurt for chiming in with that detailed explanation. Being a complete novice in this era of ships, I was only able to explain what I read about while researching the rudder design. I didn’t delve too much into the science behind it, but it all makes sense. I can only imagine the enjoyment you got showing up the pilots with the RC boats. I used to be into RC planes and it was a similar situation when actual pilots would show up to the model air fields thinking that if they could fly an actual plane, an RC one would be a piece of cake. I never had the opportunity to show a pilot up myself, but at some of the model air shows I attended I saw it happen more than once. Fortunately I never saw any of the attempts end in disaster. Most of the RC pilots only allowed them to fly with a trainer lead attached to their remotes. -Brian
-
 Awesome work my friend , it looks so nice.
 -
I robbed the .50 caliber machine gun from my Walker Bulldog kit to use on another tank project. I ordered this little kit to replace the machine gun. It's a shame to pay 1/3 the cost of the entire kit for one itty bitty machine gun but I did. SSMODEL SS835866 1/35 Model Upgrade US Browning M2 HB 0.50 Machine Gun 1pc | eBay
-
Do you have "Ollie" stores in NY? They bring in cases of random model kits from time to time and sell at a deep discount. Typically, model car kits that normally sell for $30 and up are selling for $12.99, sometimes less. A couple of months ago, I bought a brand new 2 cycle string trimmer/edger for $69.99 at Ollies. That's less than half the cost of Home Depot or Lowes.
-

Are you an NRG Member???
Keith Black replied to Chuck's topic in How to use the MSW forum - **NO MODELING CONTENT**
There are members and then there's us junkies. -
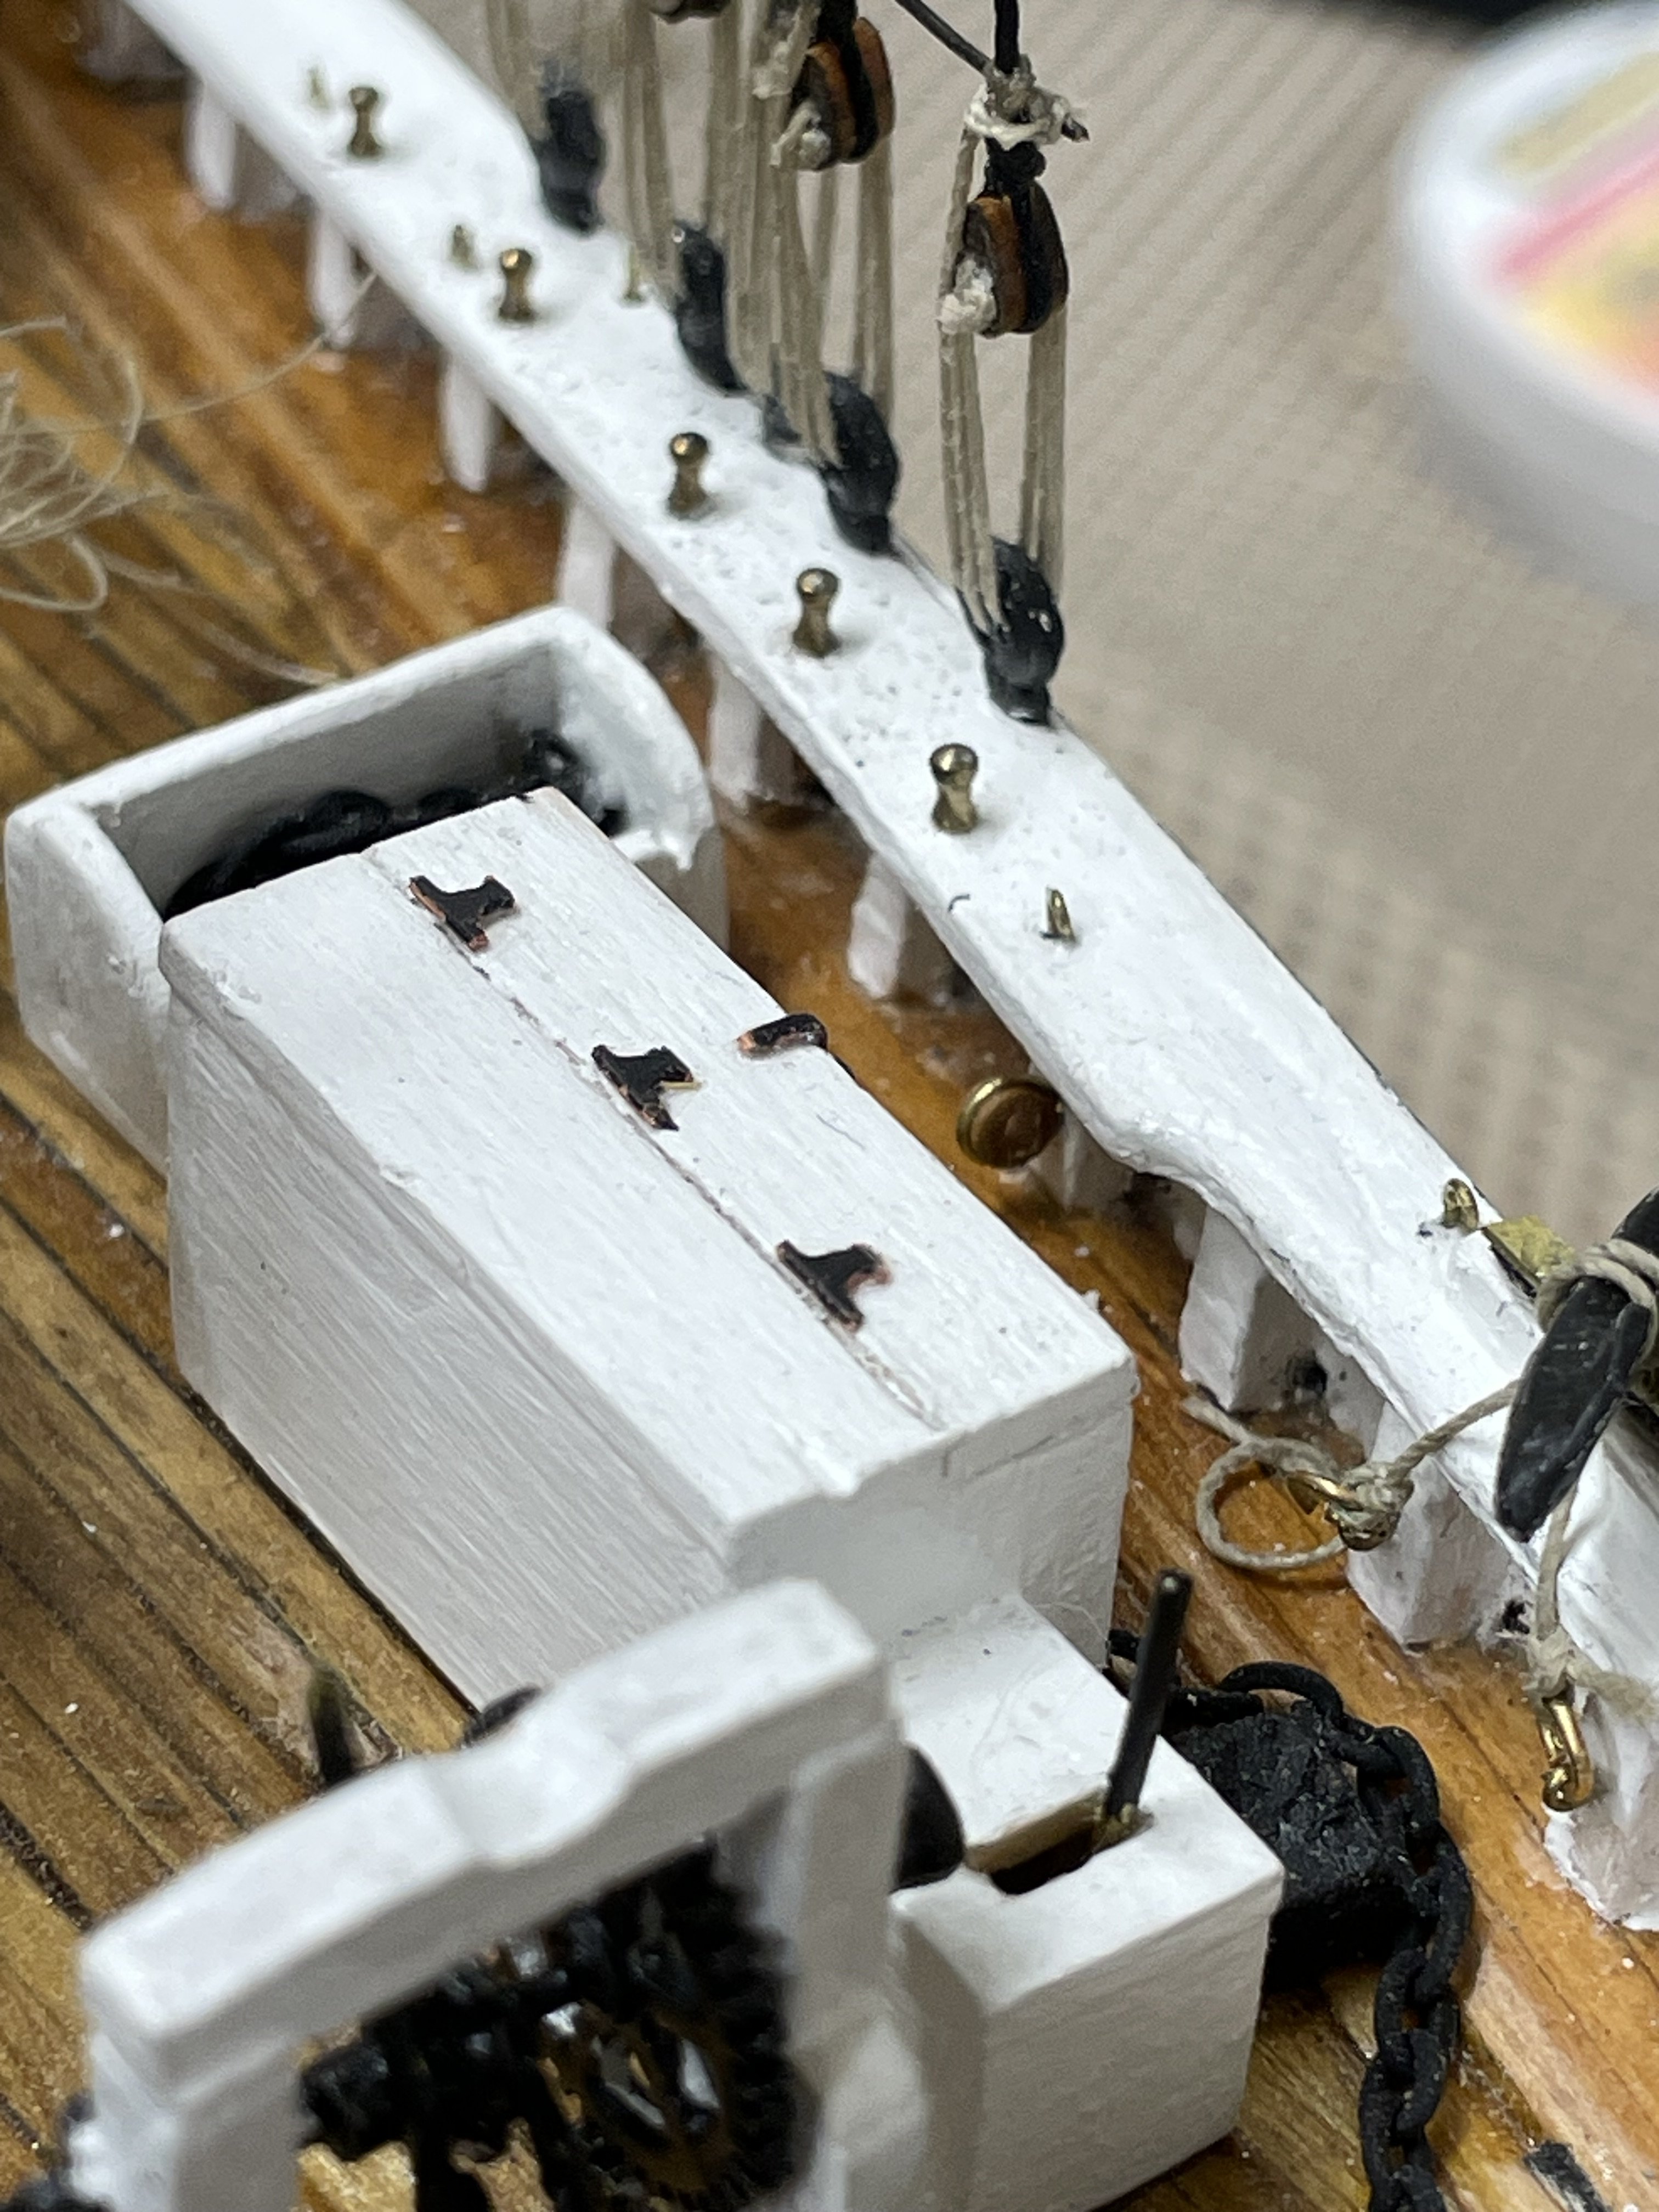
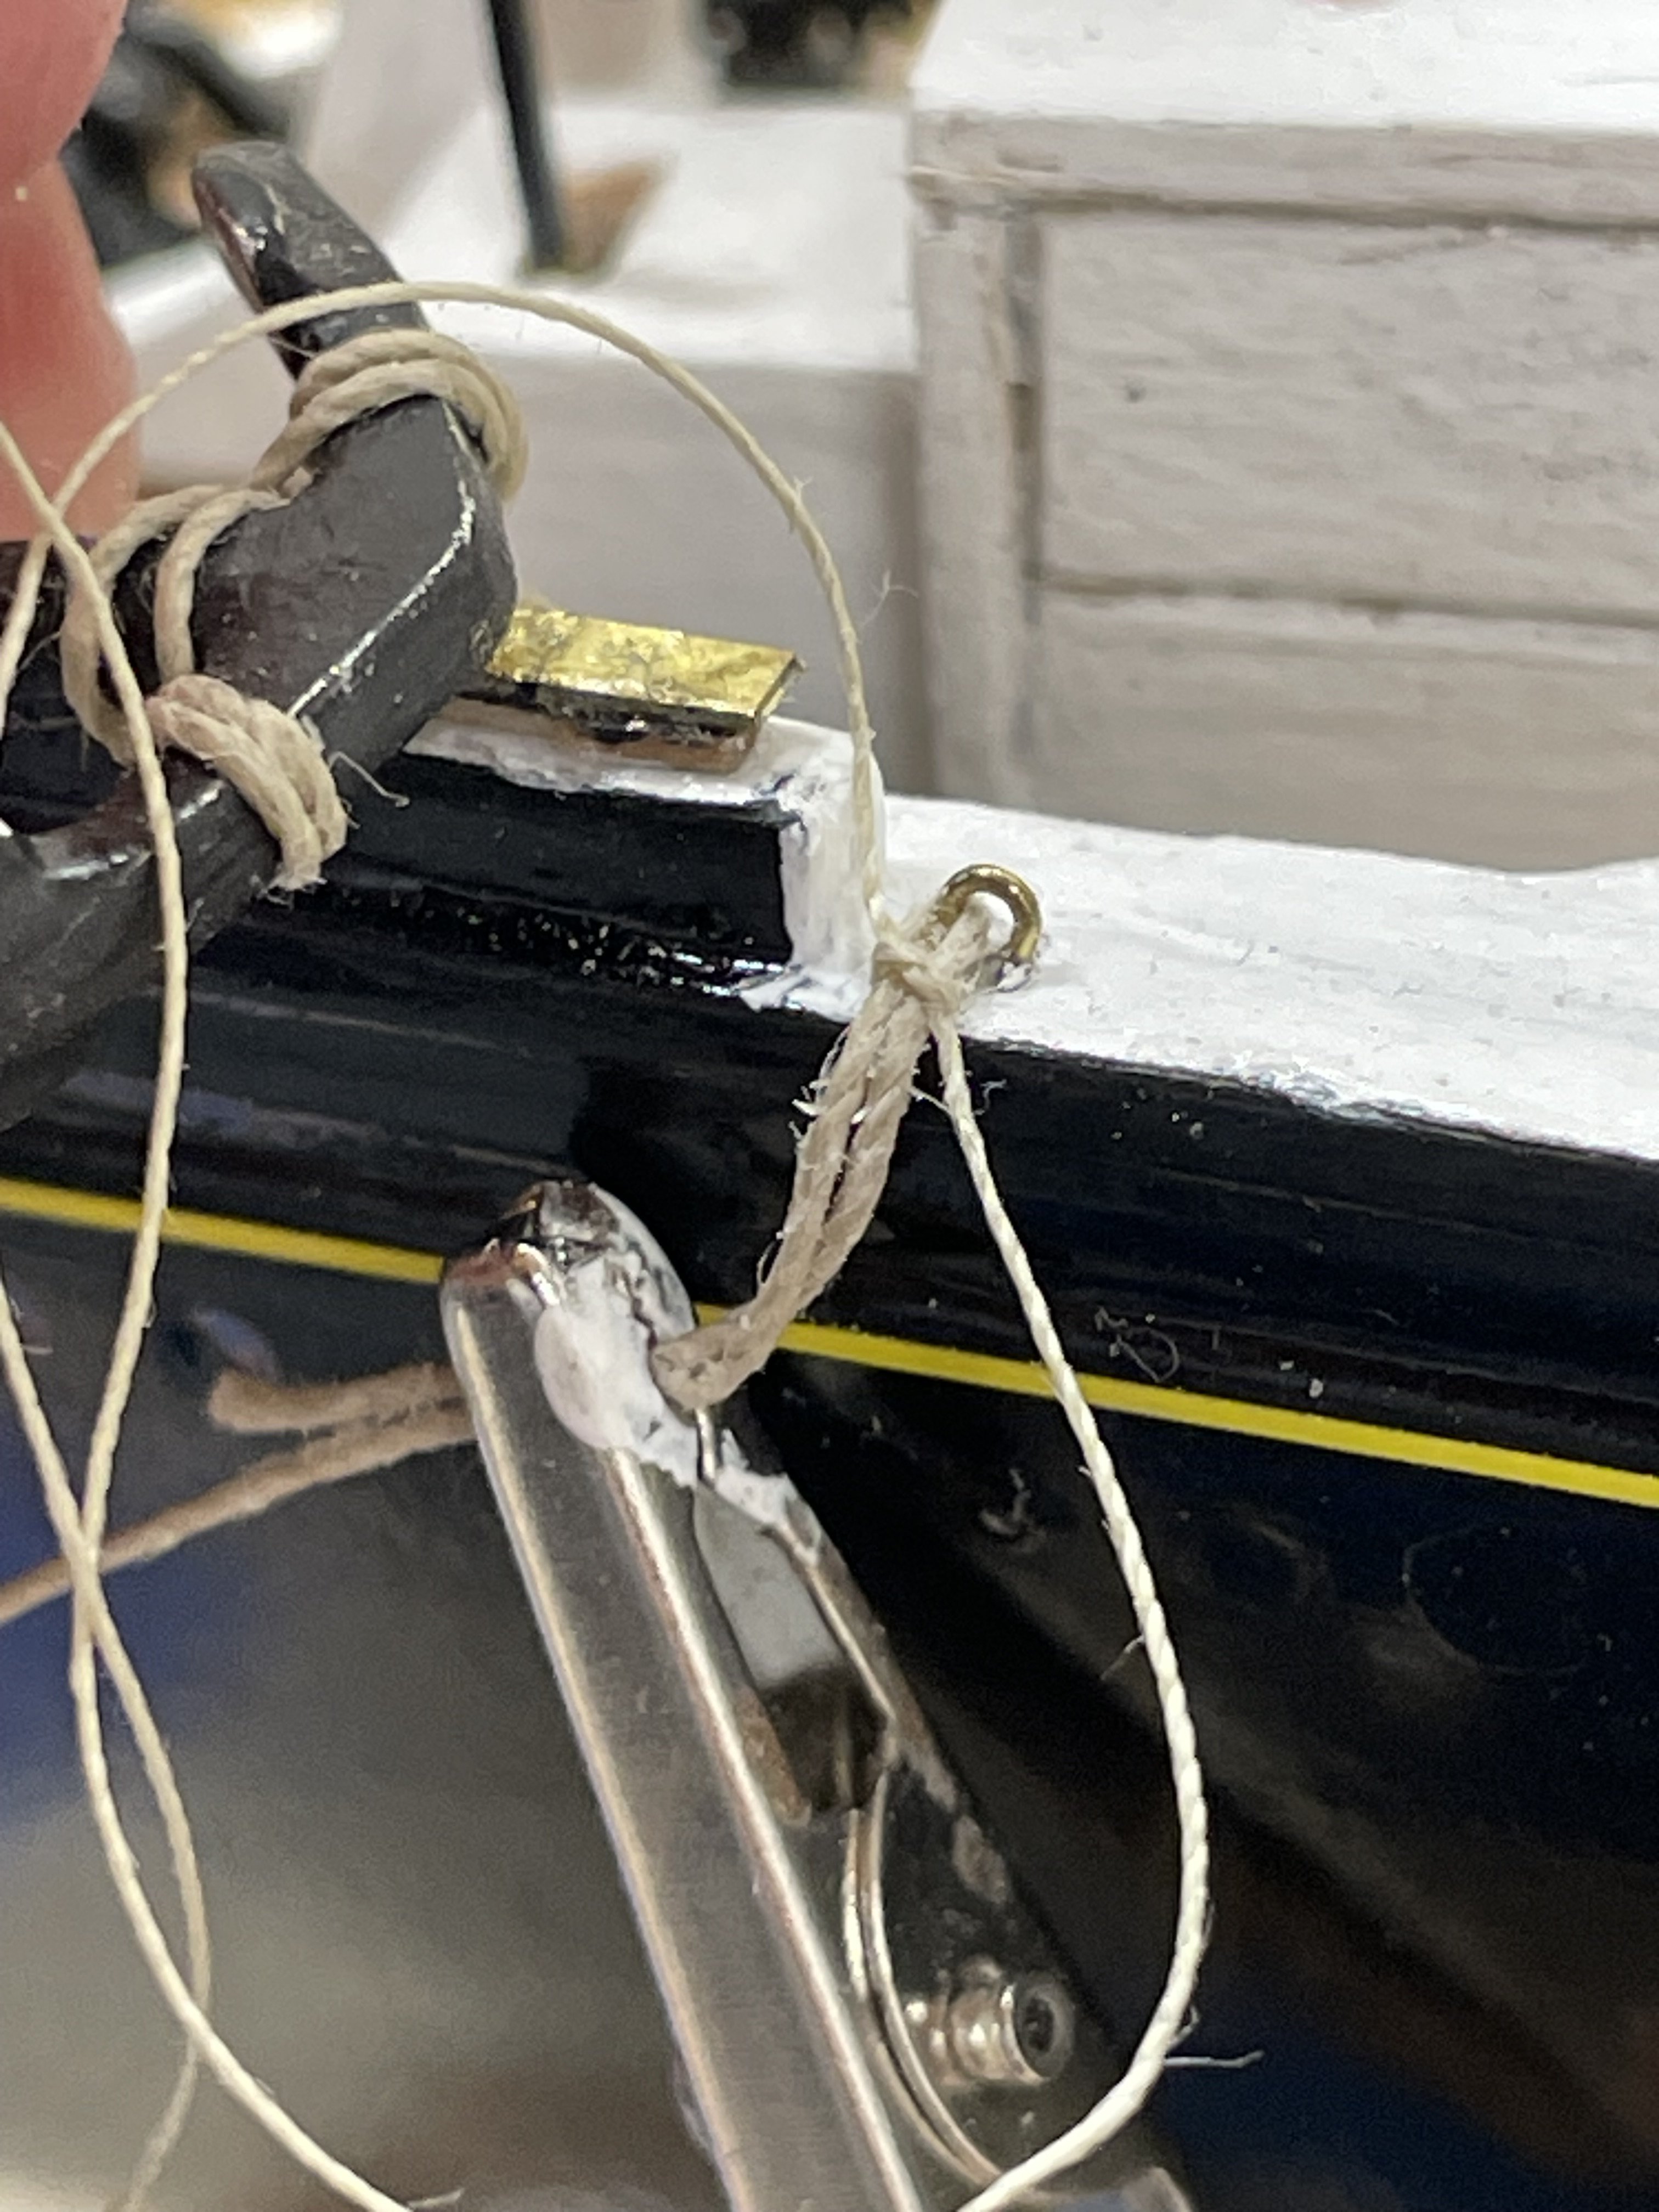
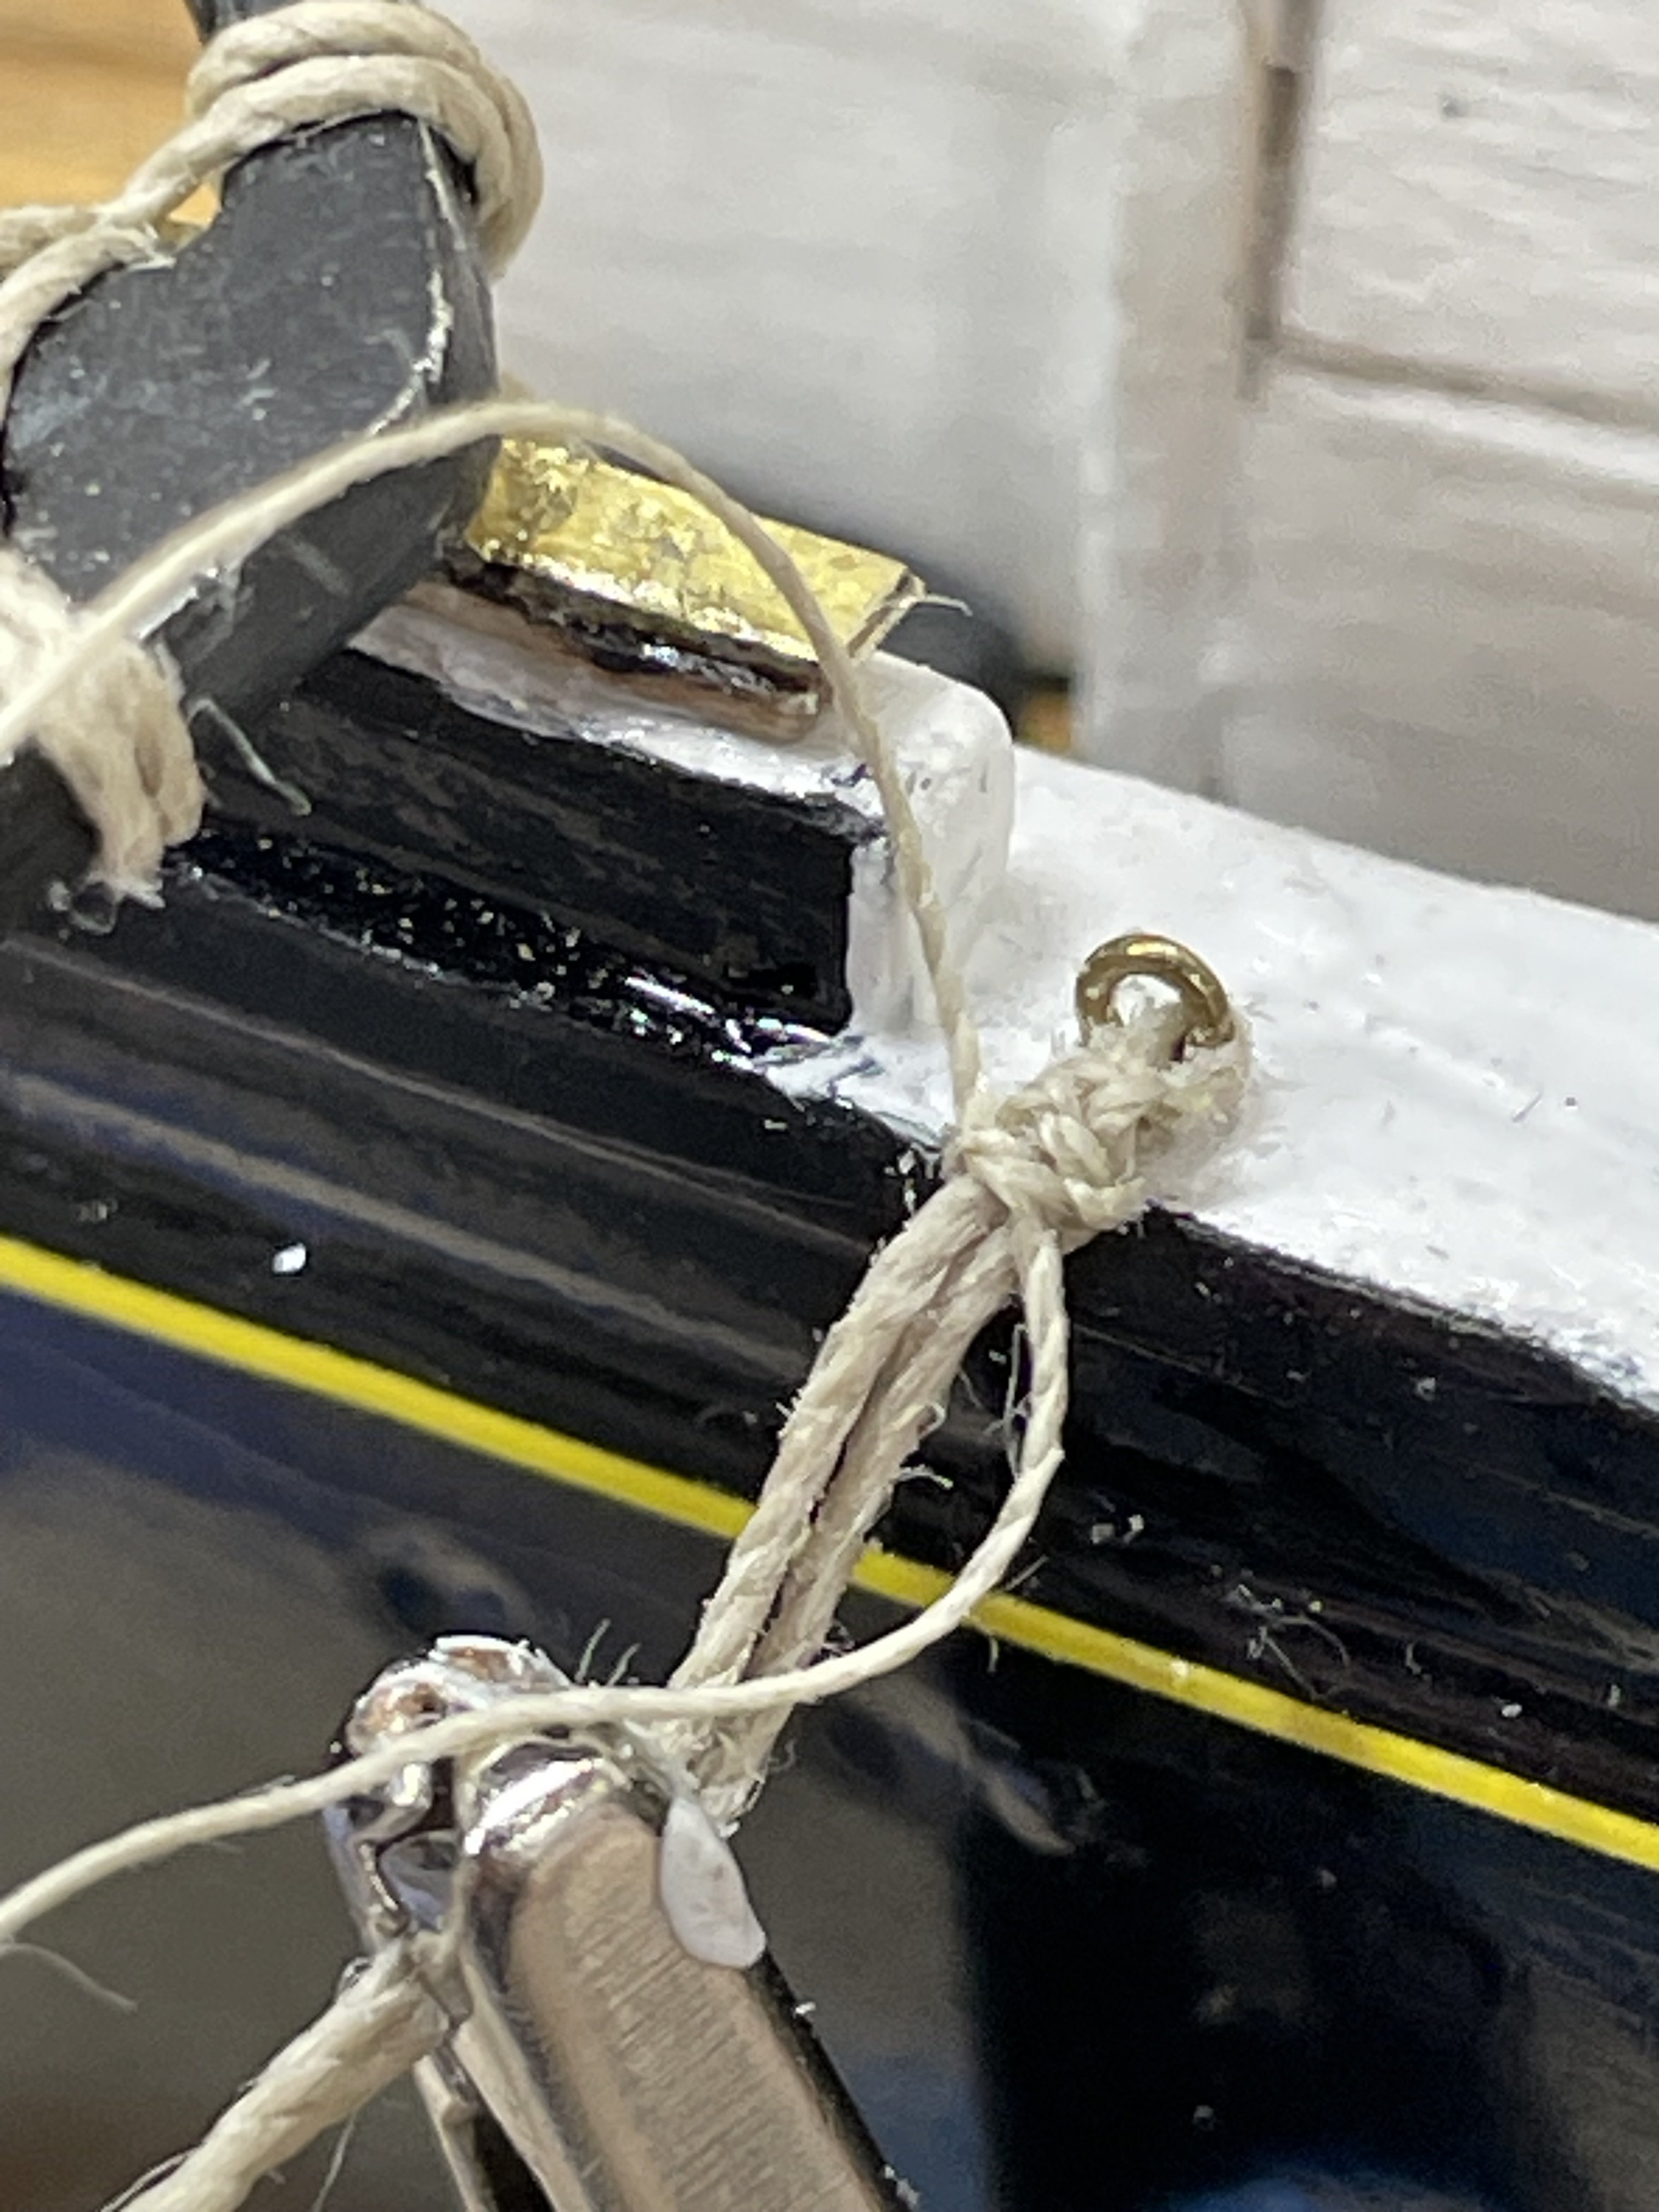
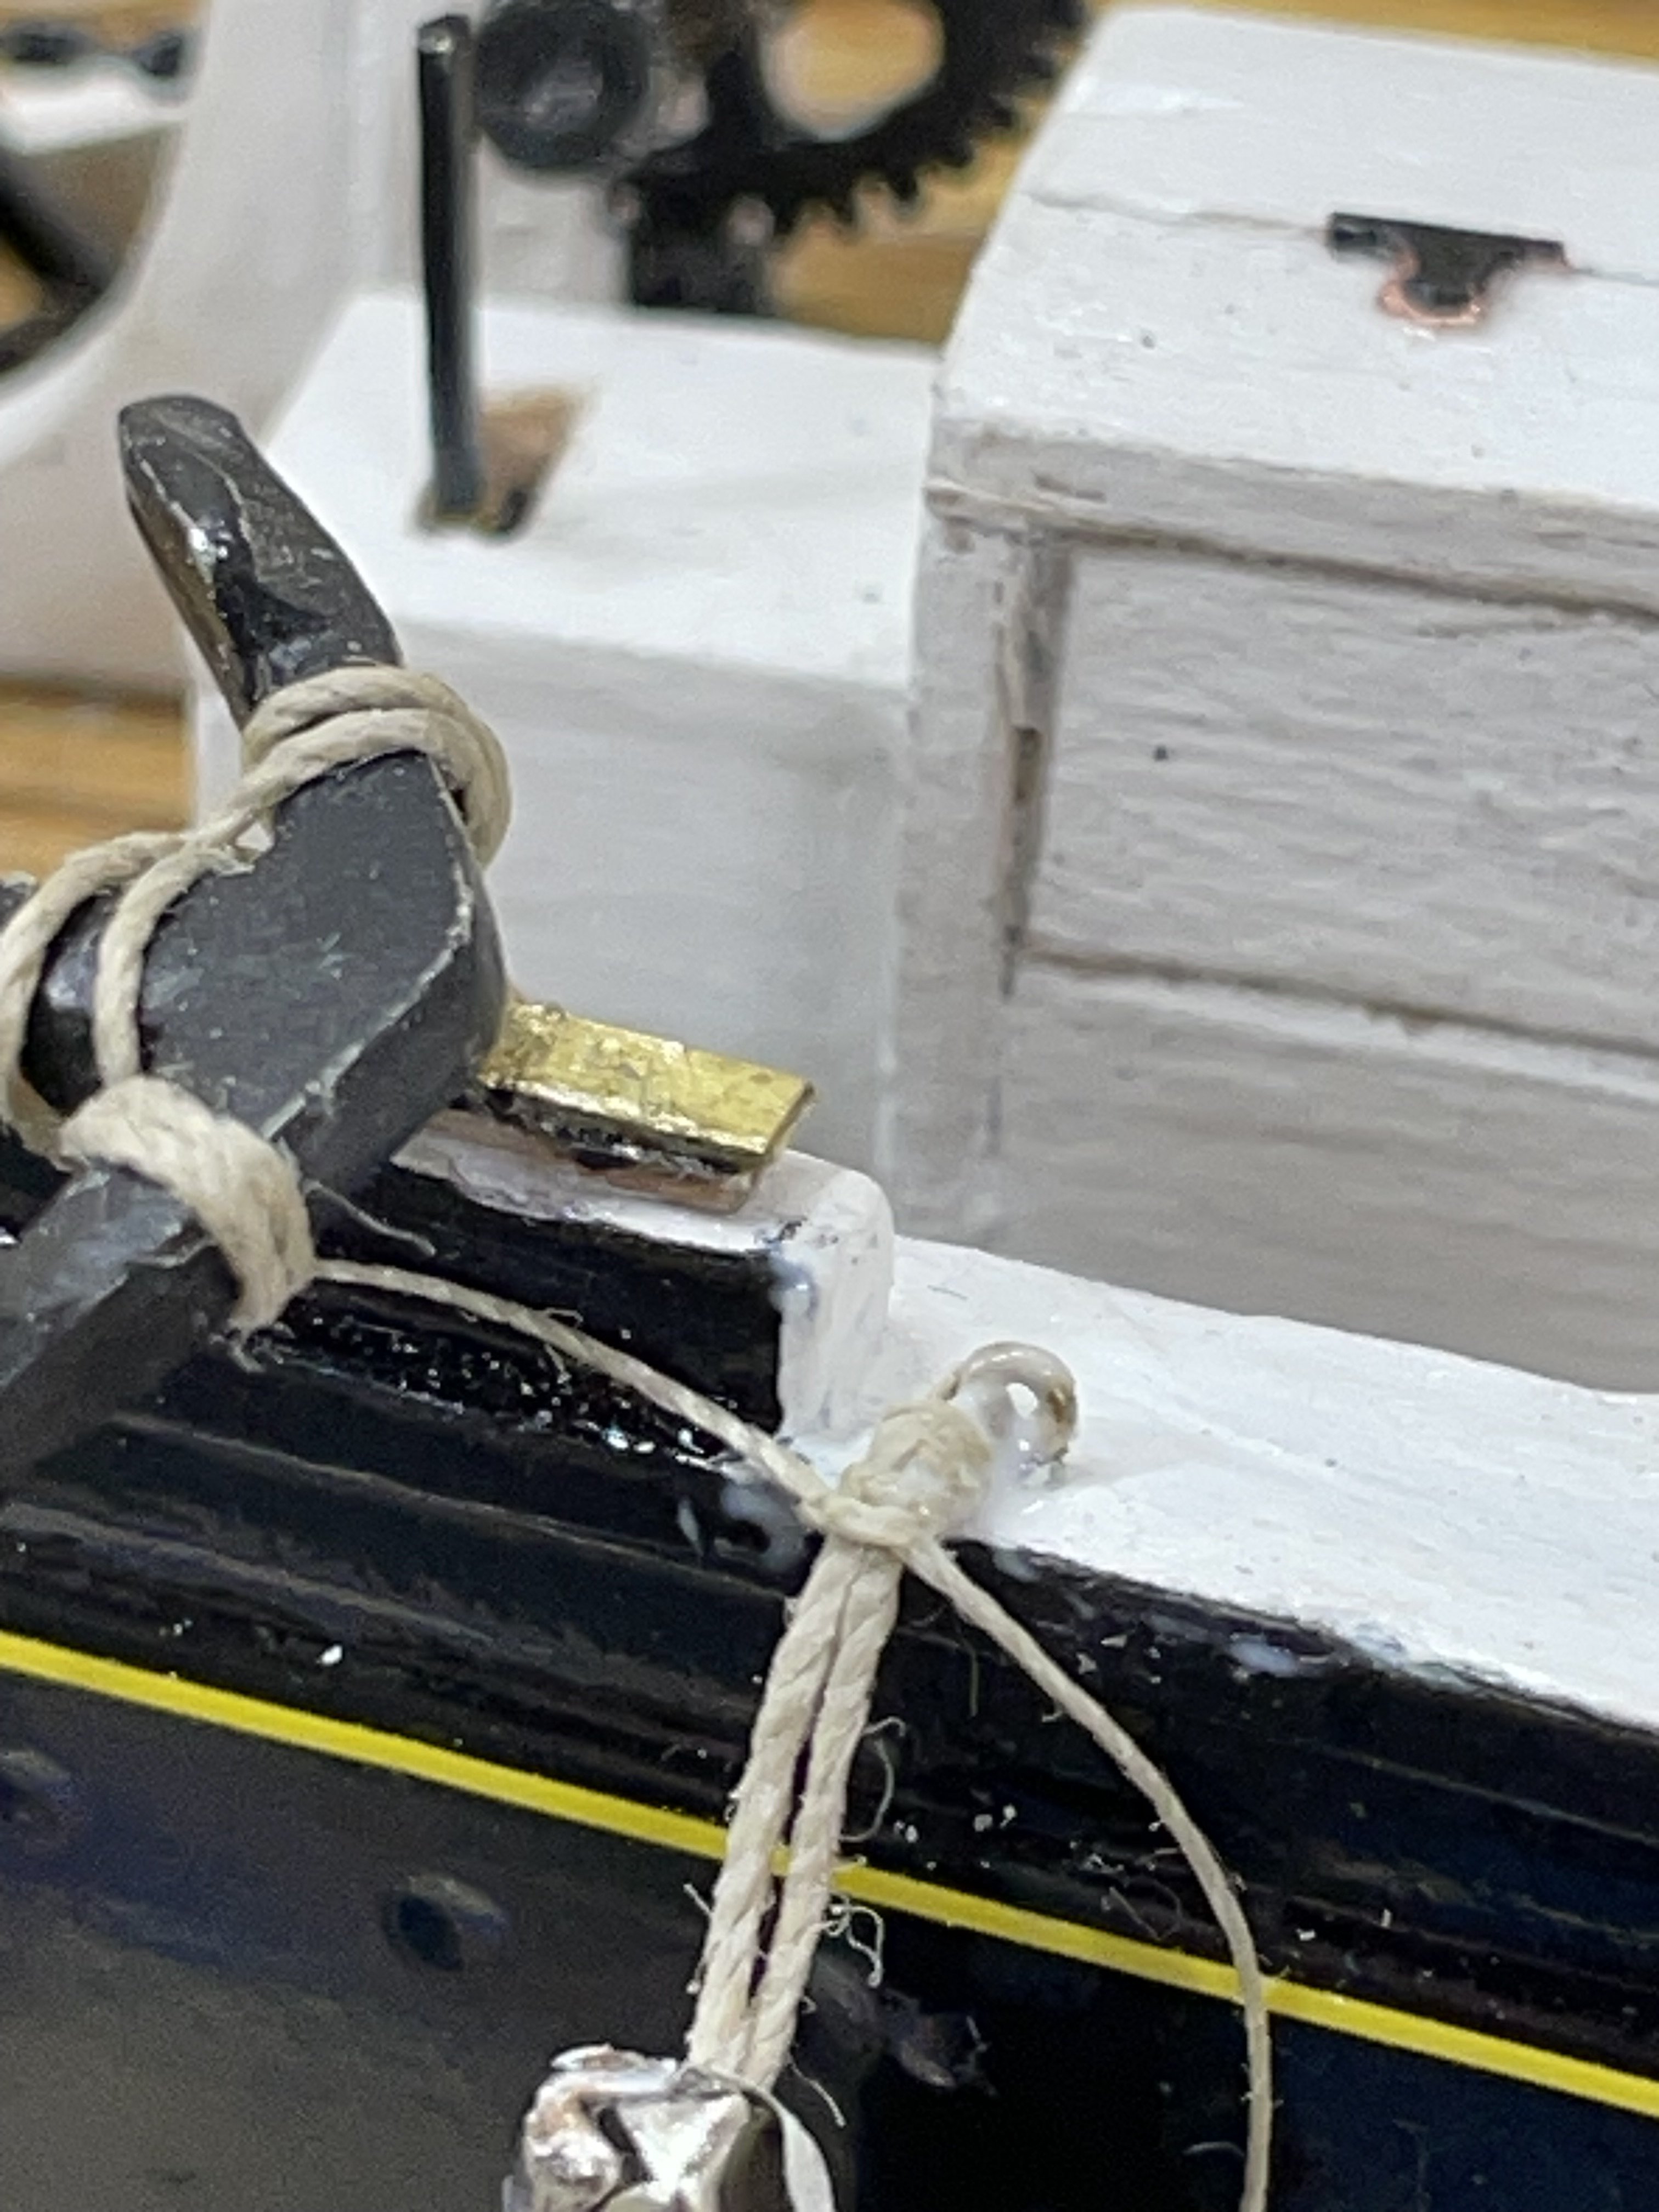
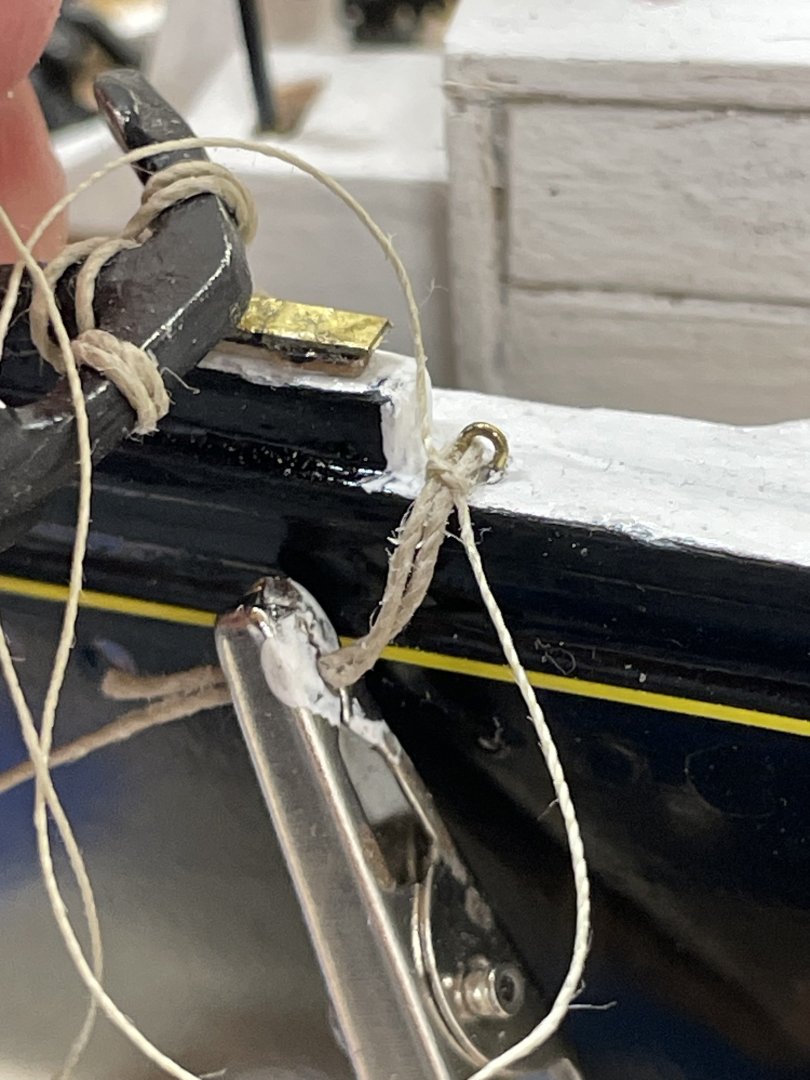
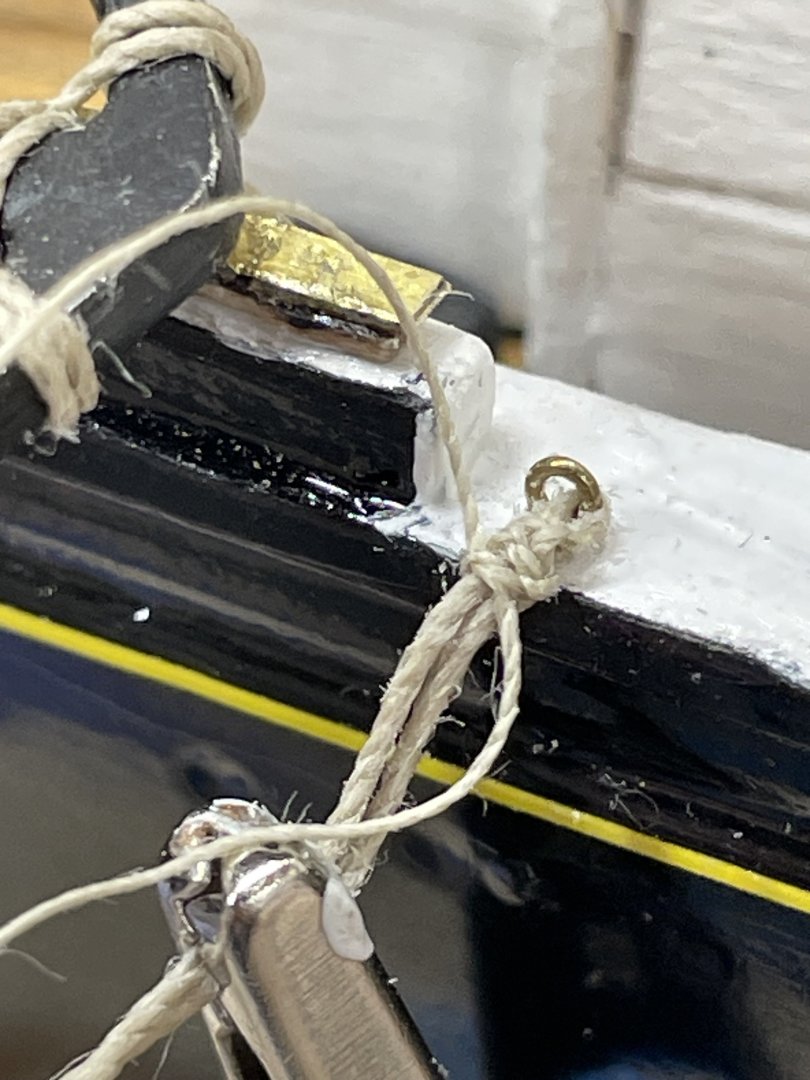
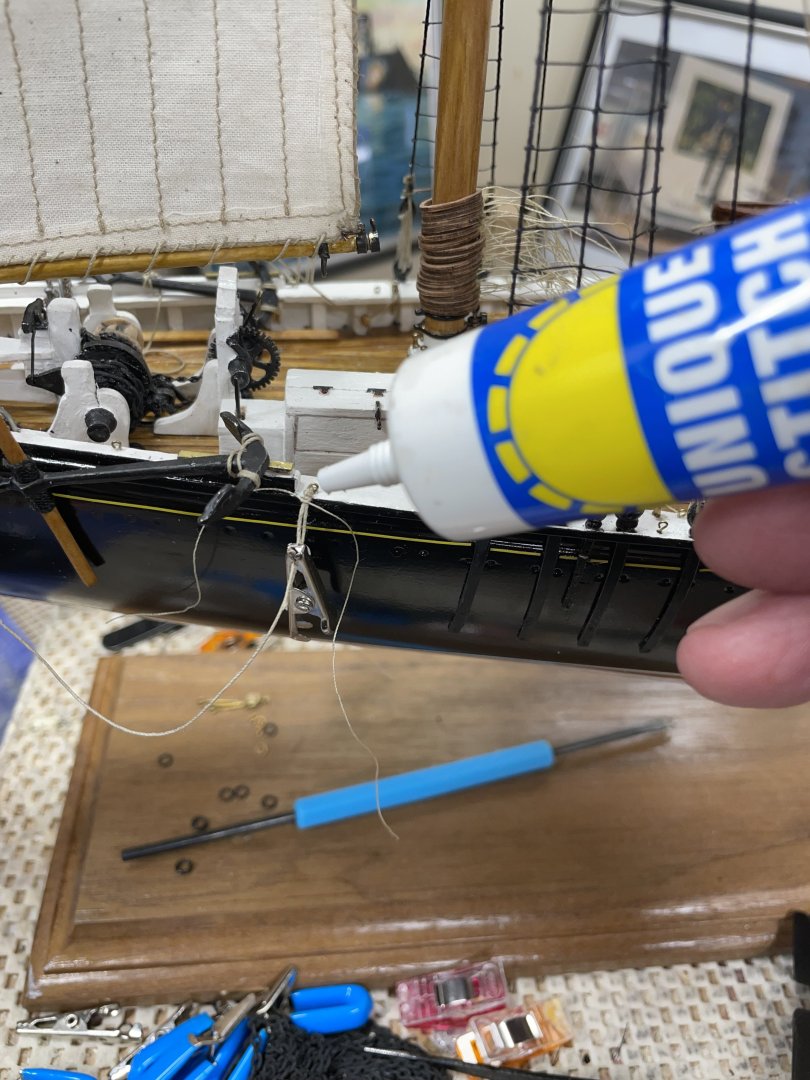
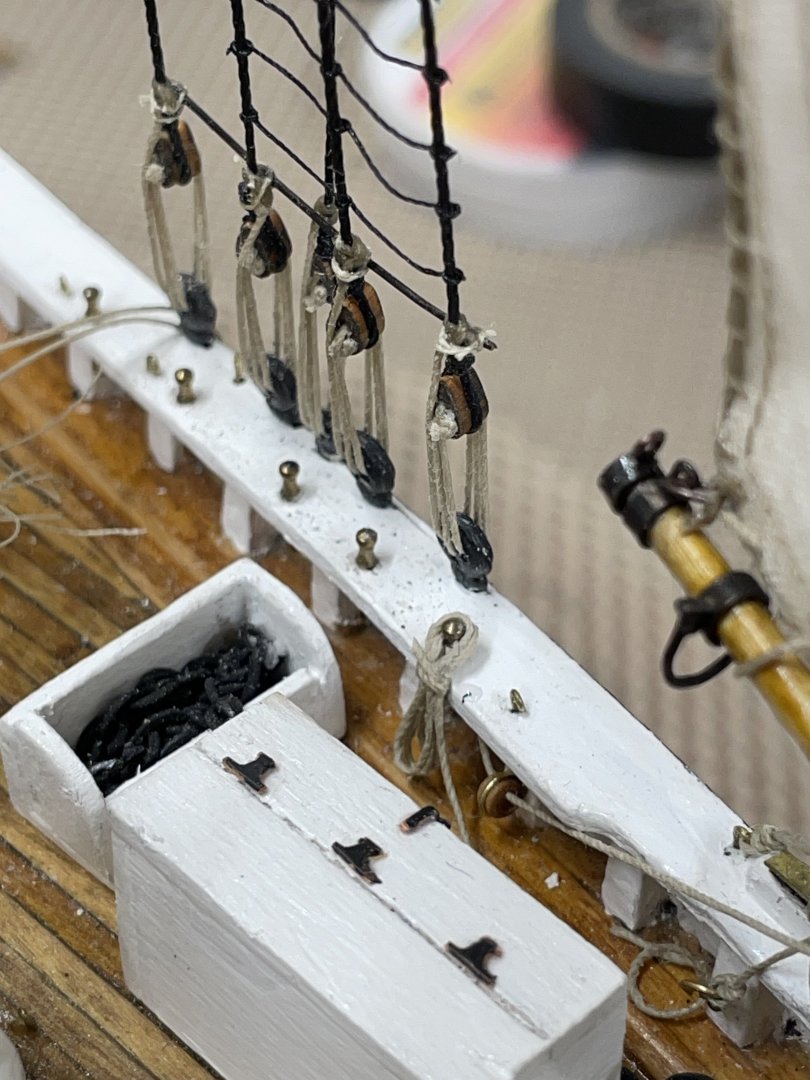
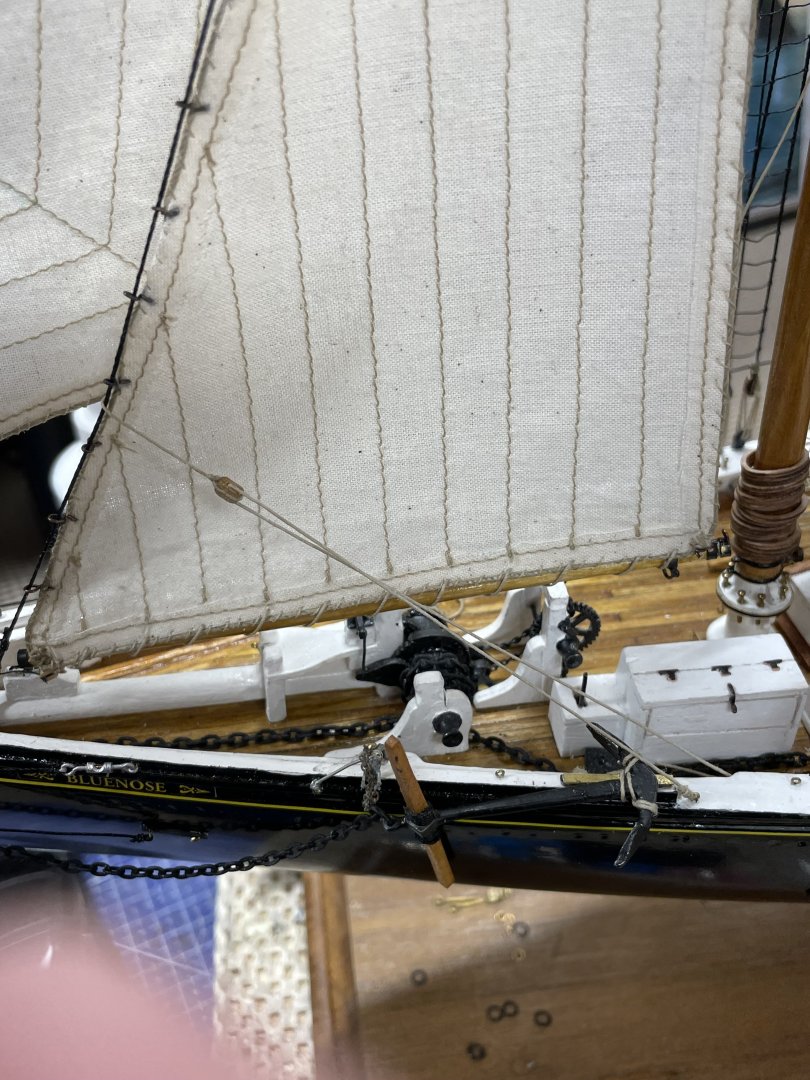
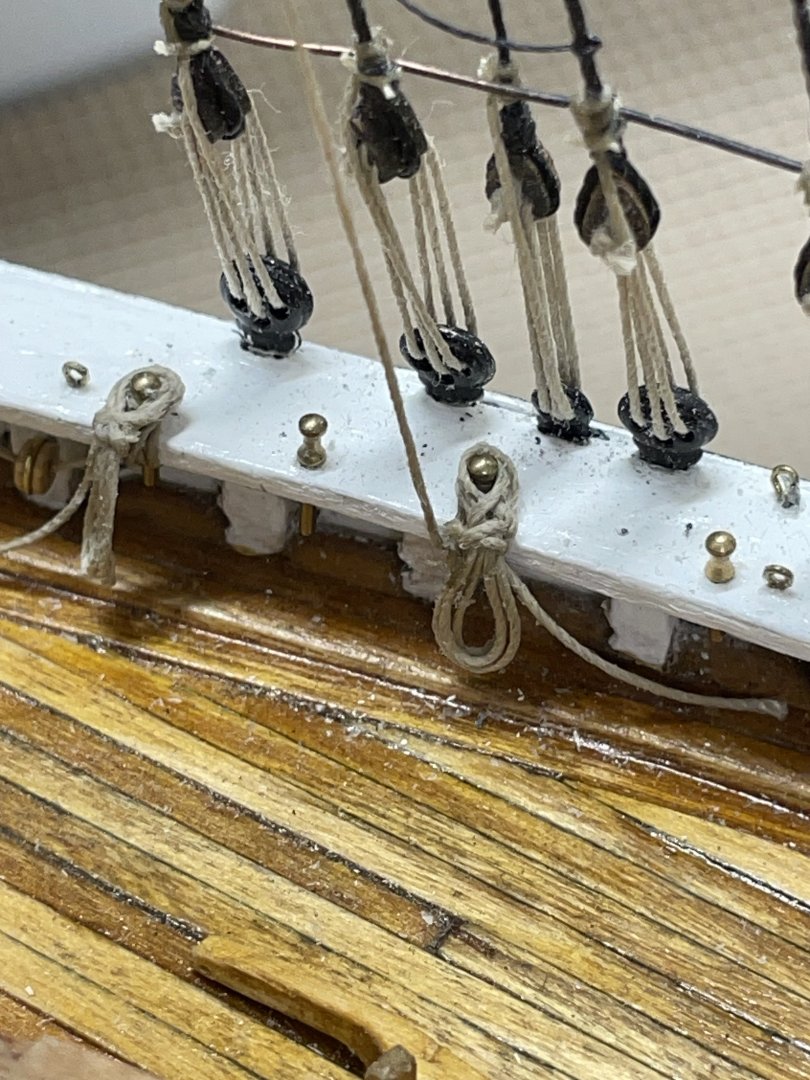
 Rigging the Jib… Jib Sheet (starboard) Jib Sheet (port) belaying and fare lead located behind engine box. 🤨 Jib Sheet (port) completed Jib Halyard (port) Jib Halyard fair leads. Job Halyard (starboard) Jib rigging completed, with exception of the down haul. Onwards 🍻


-
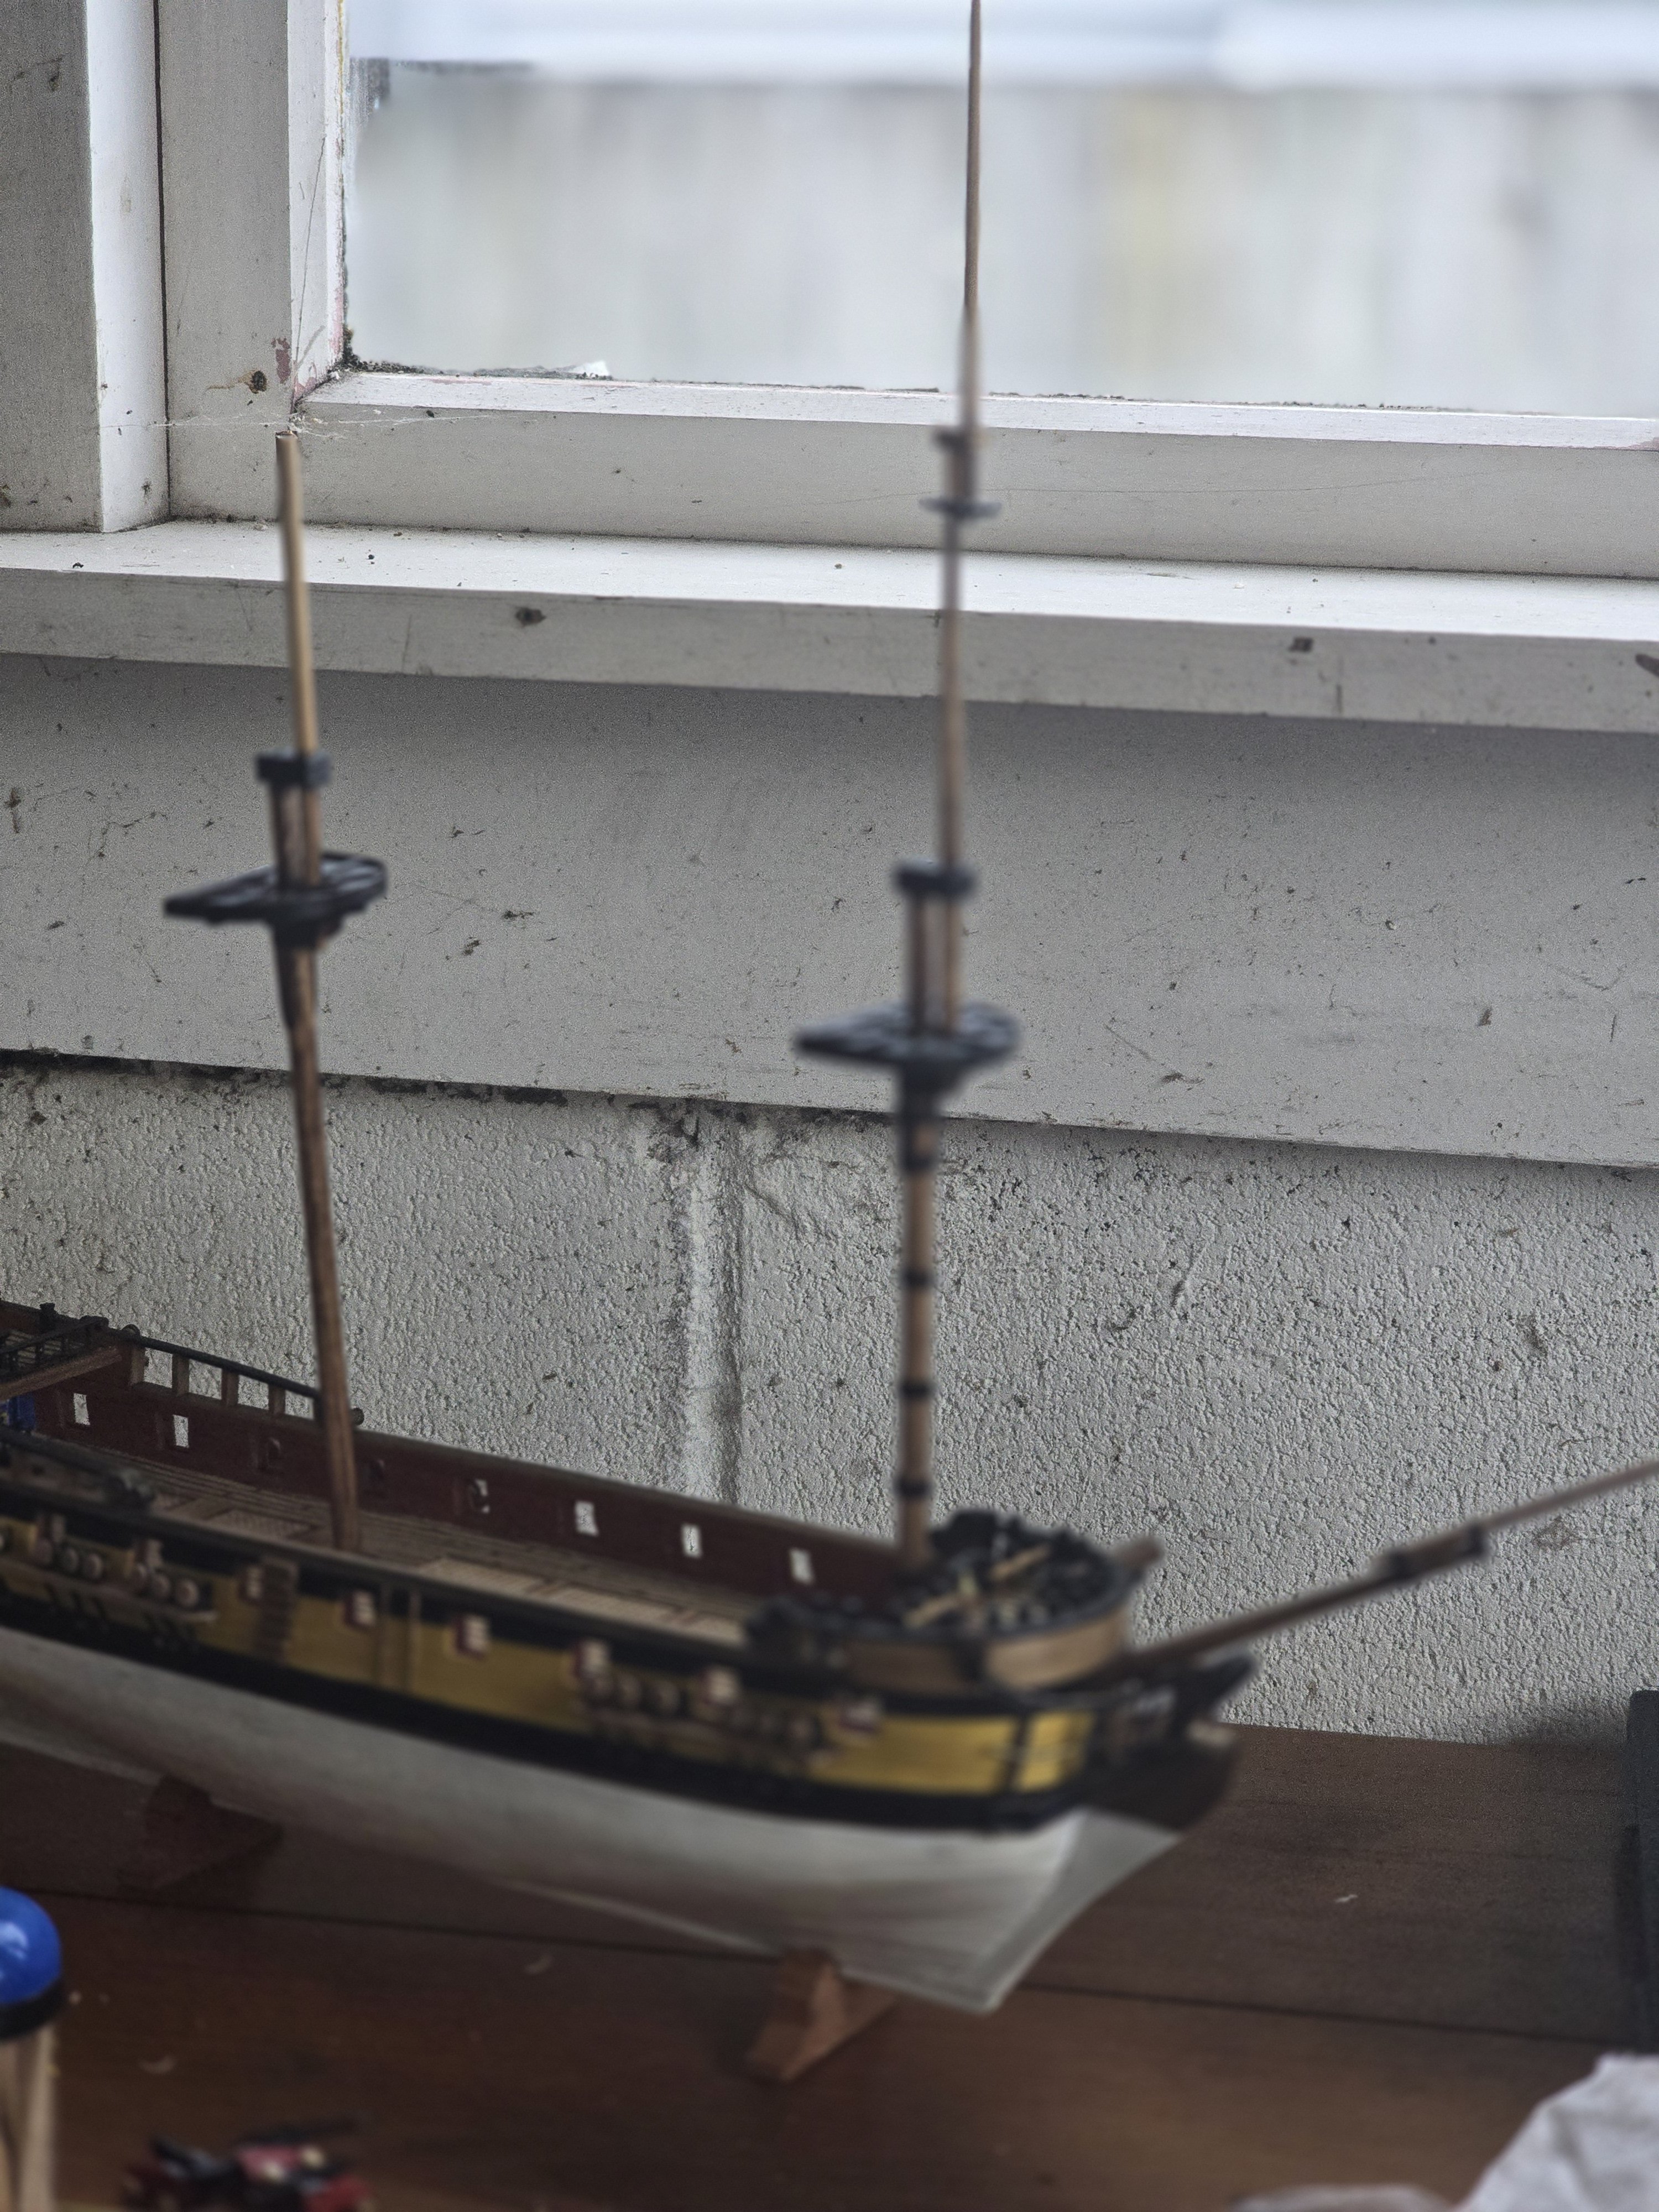
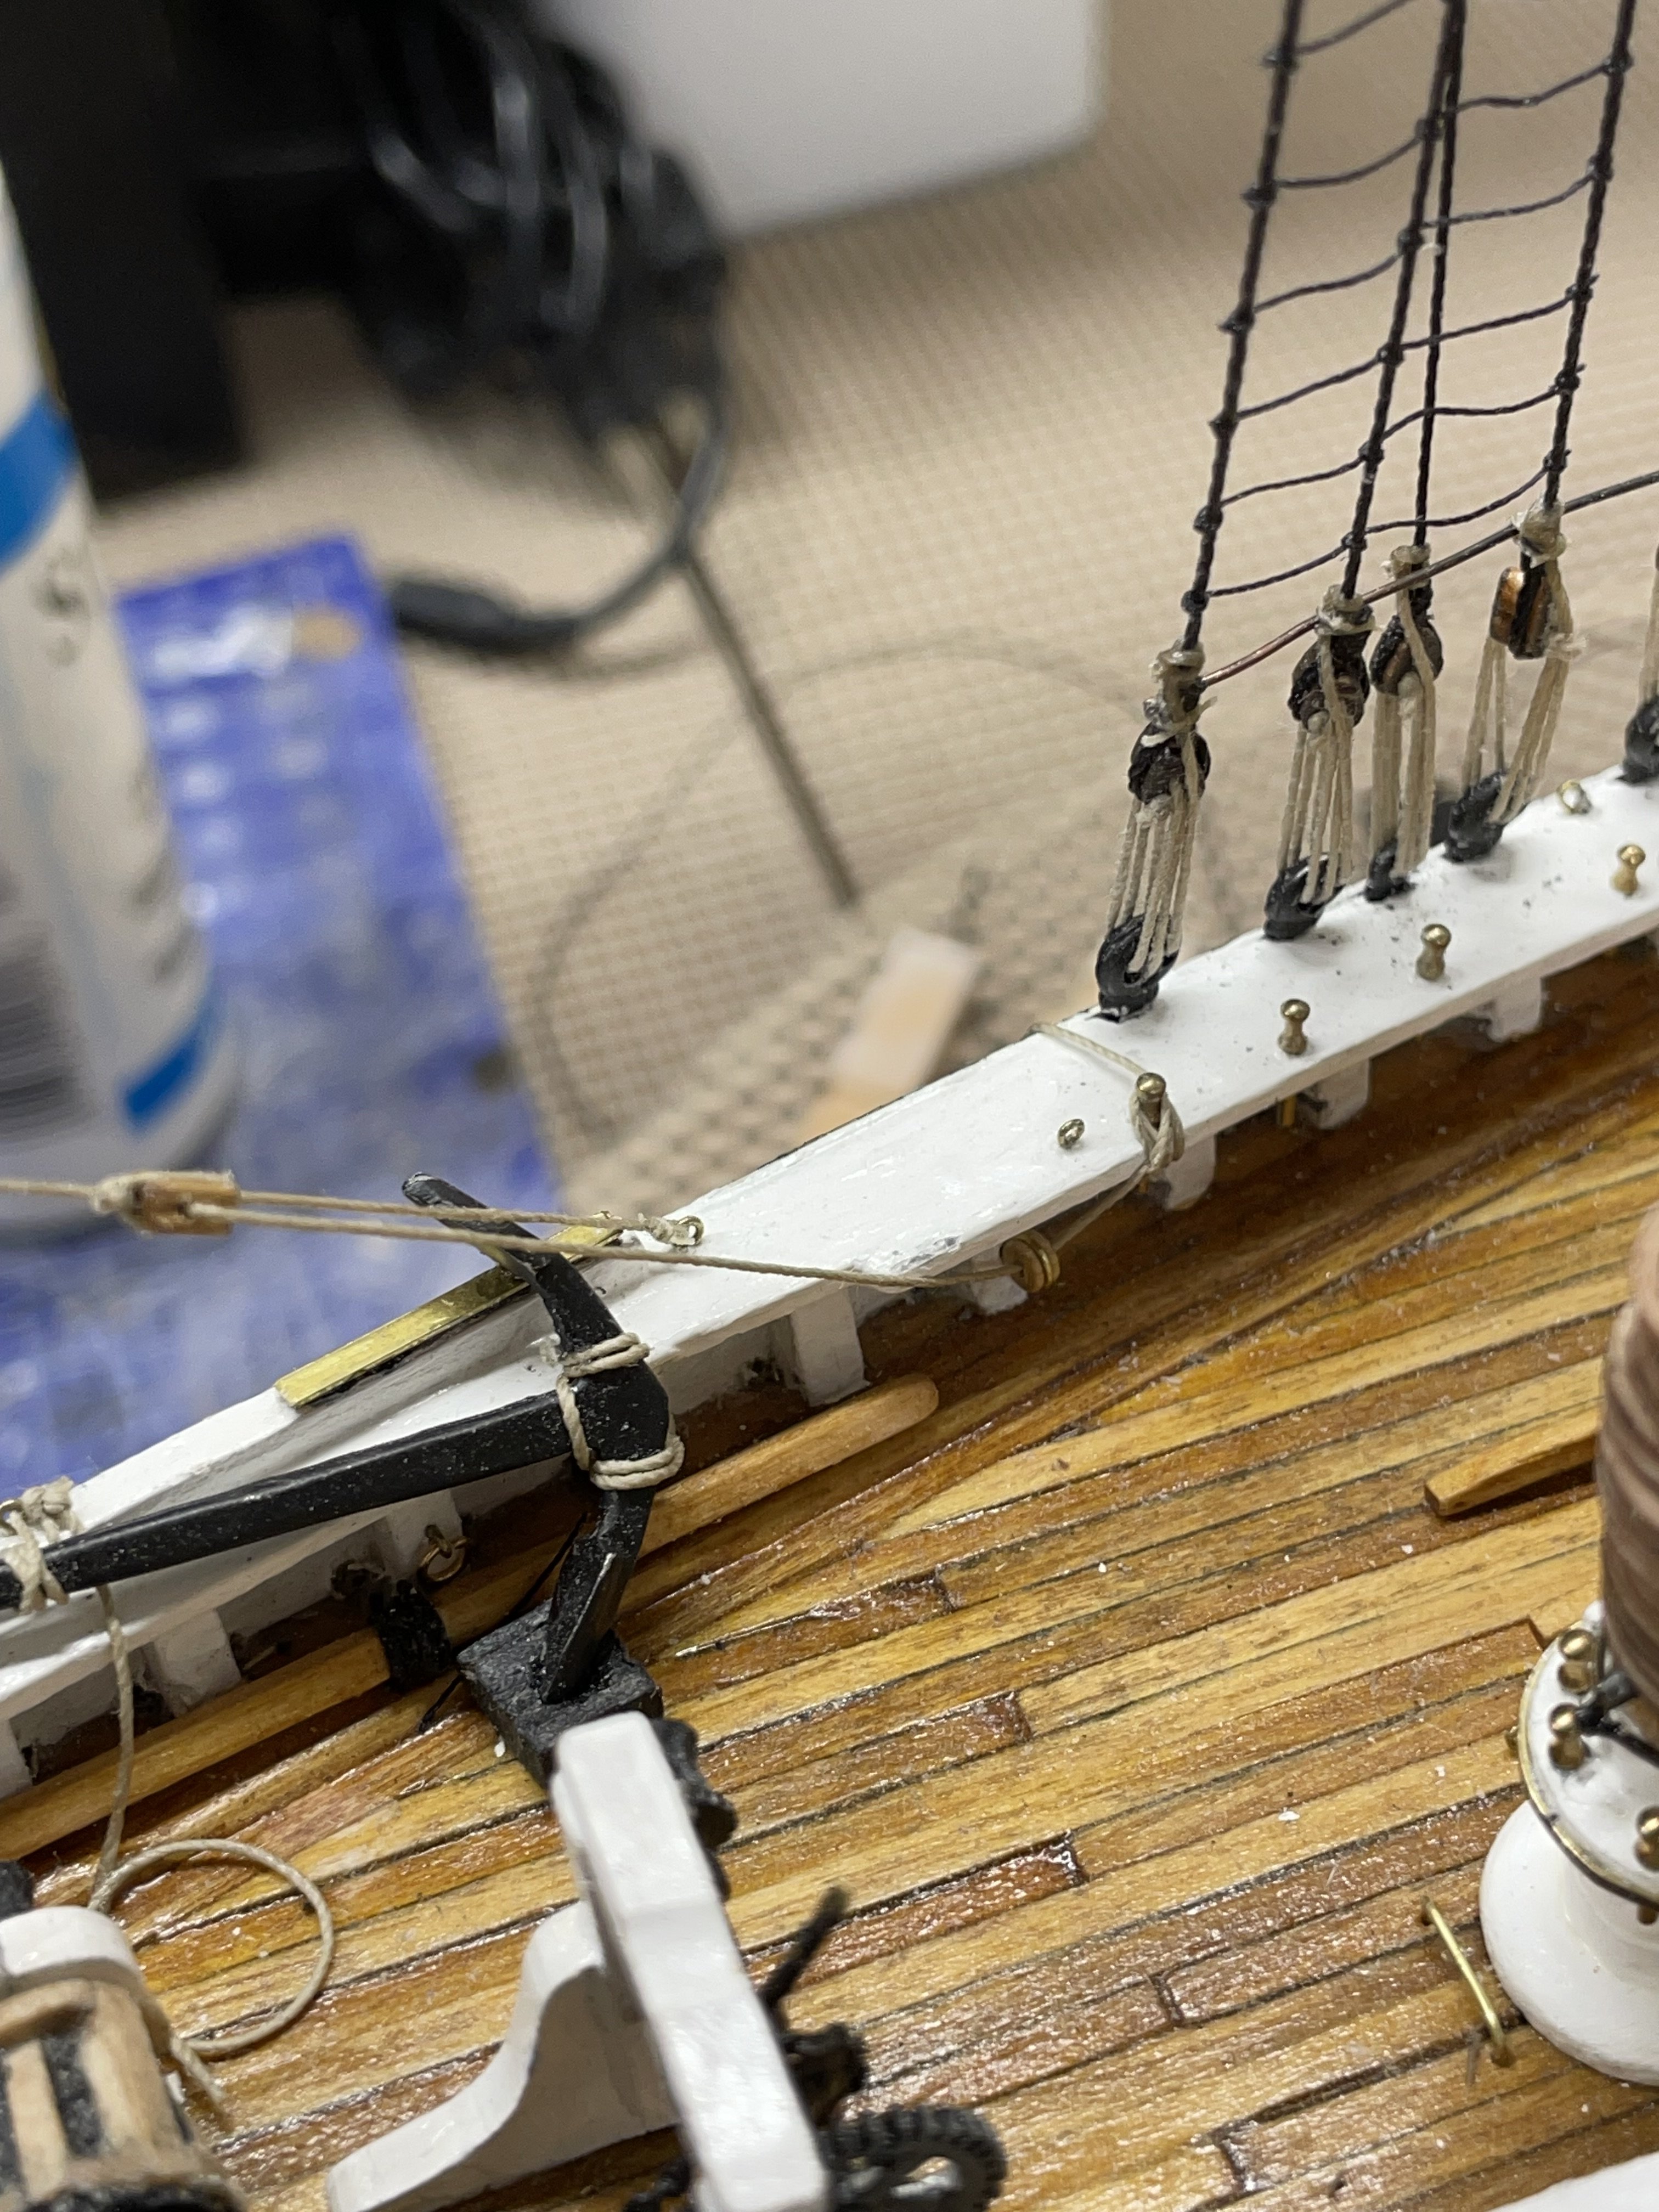
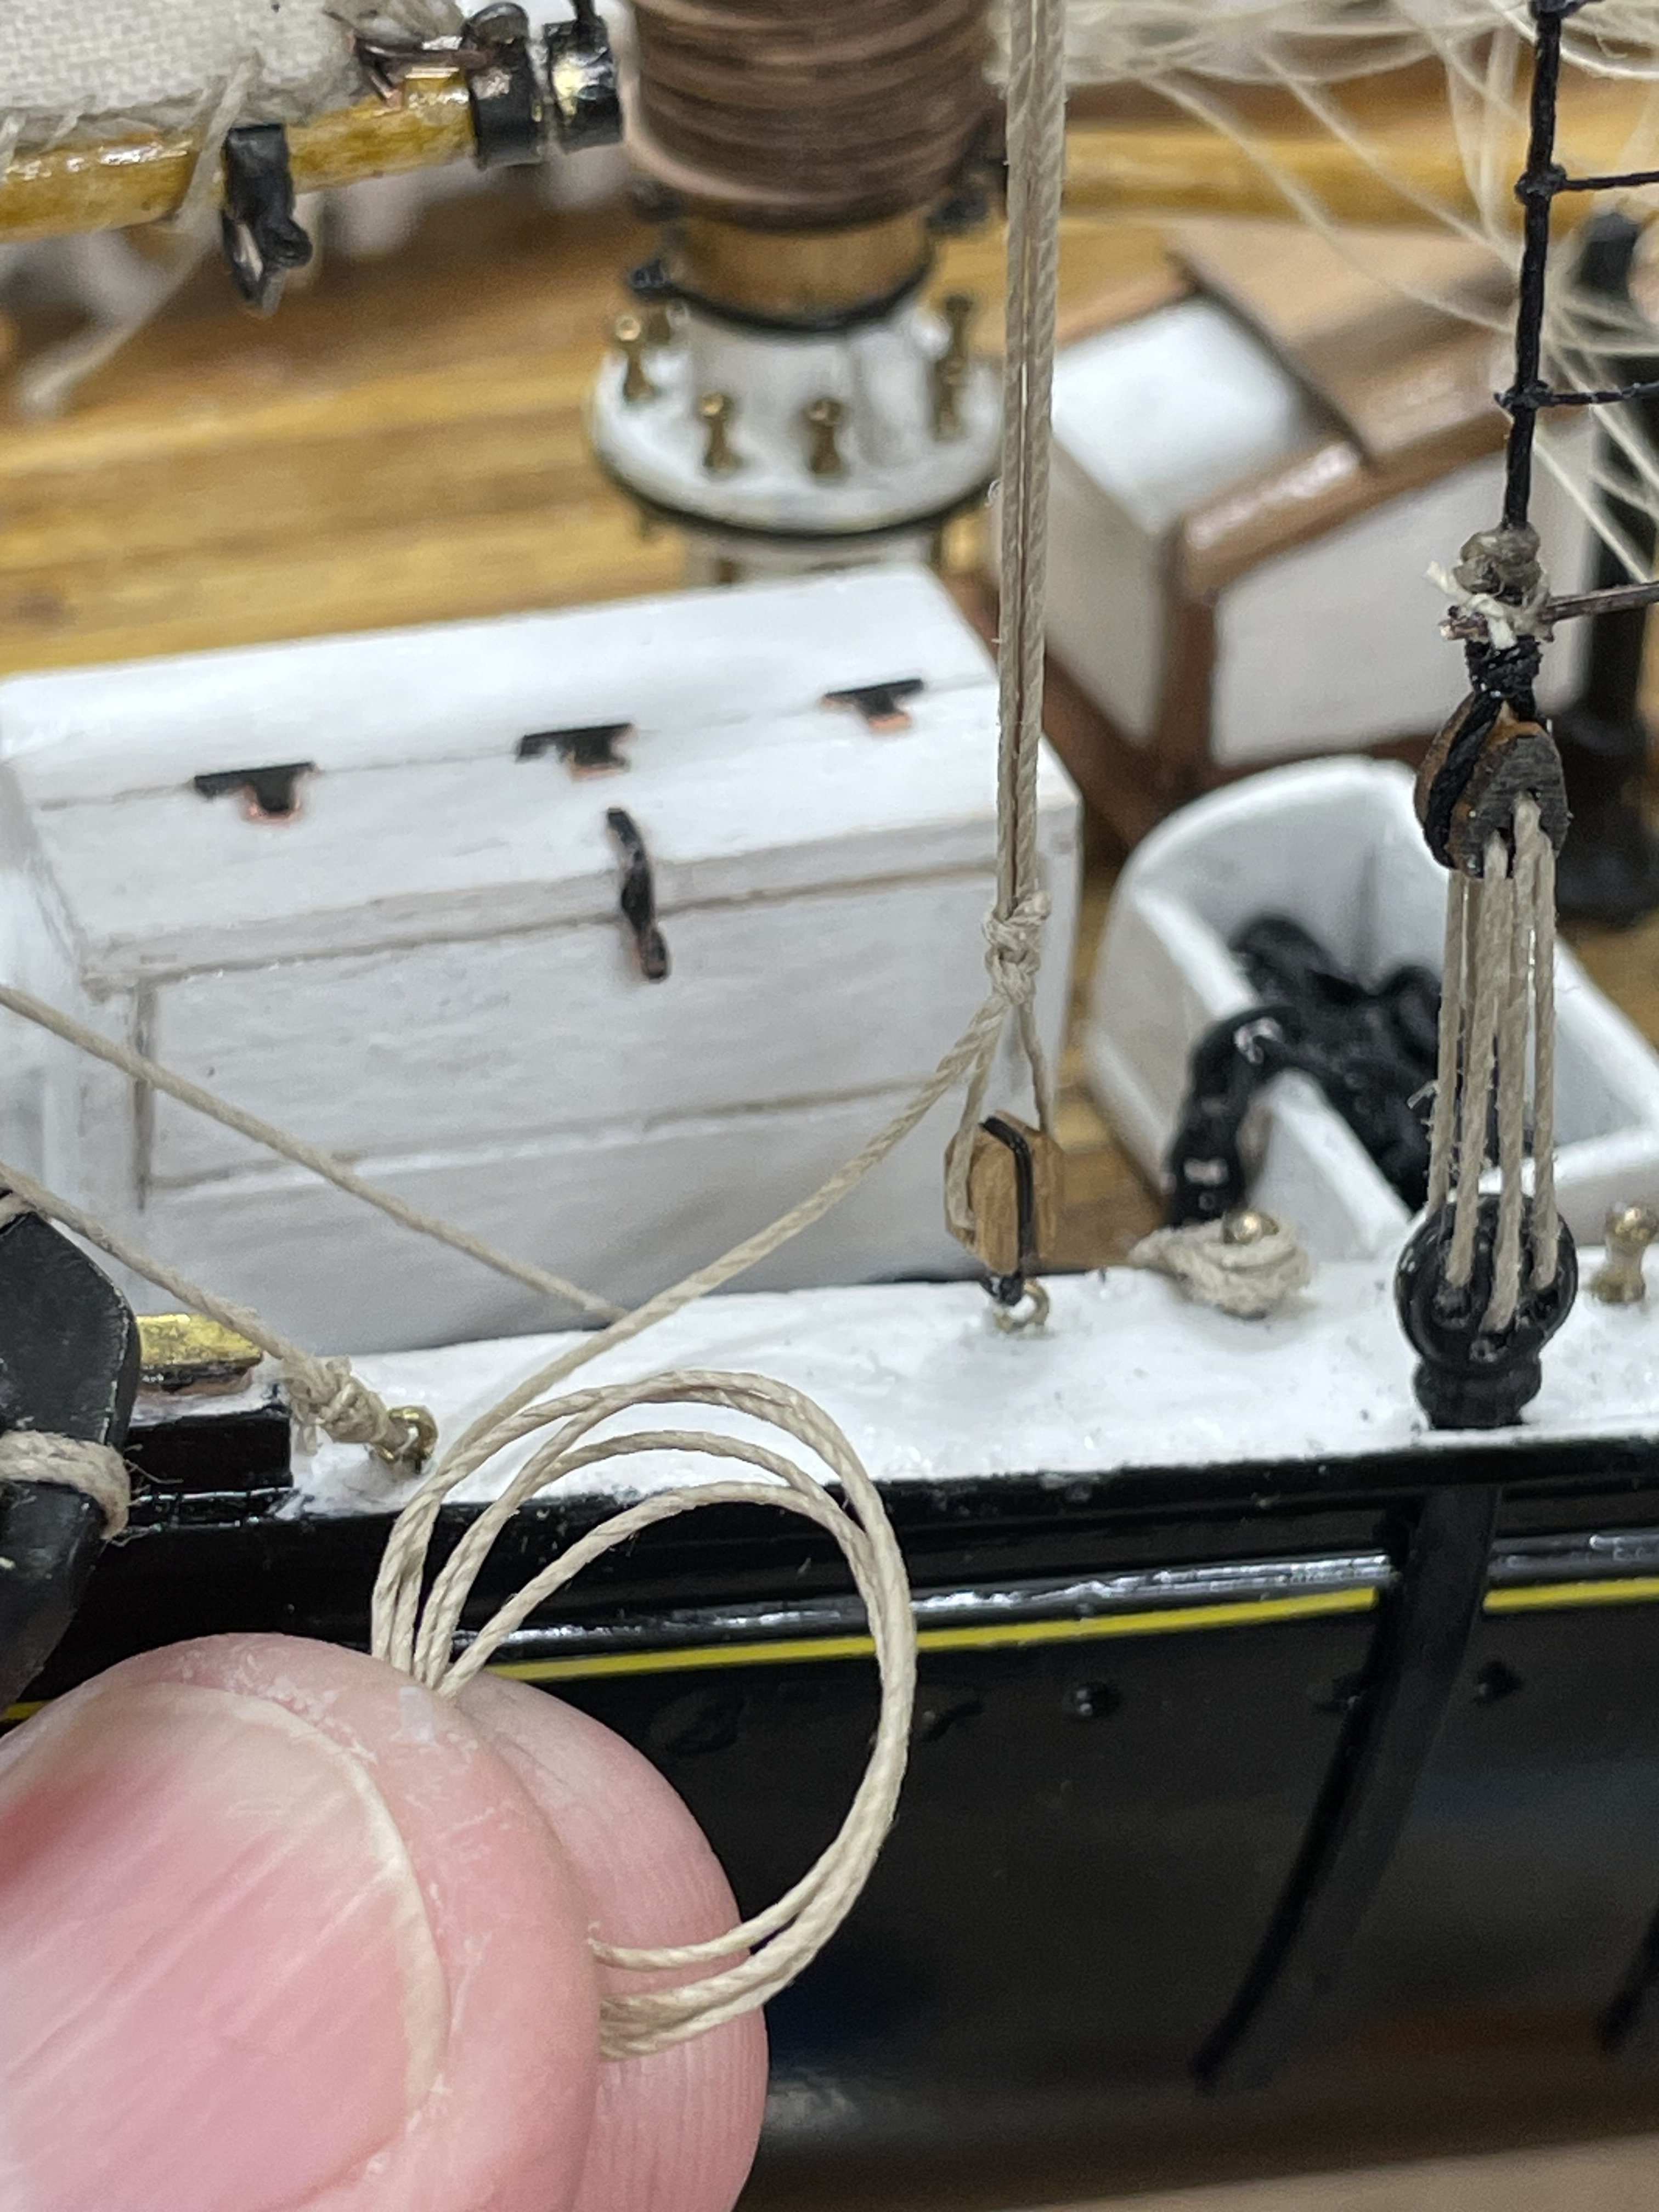
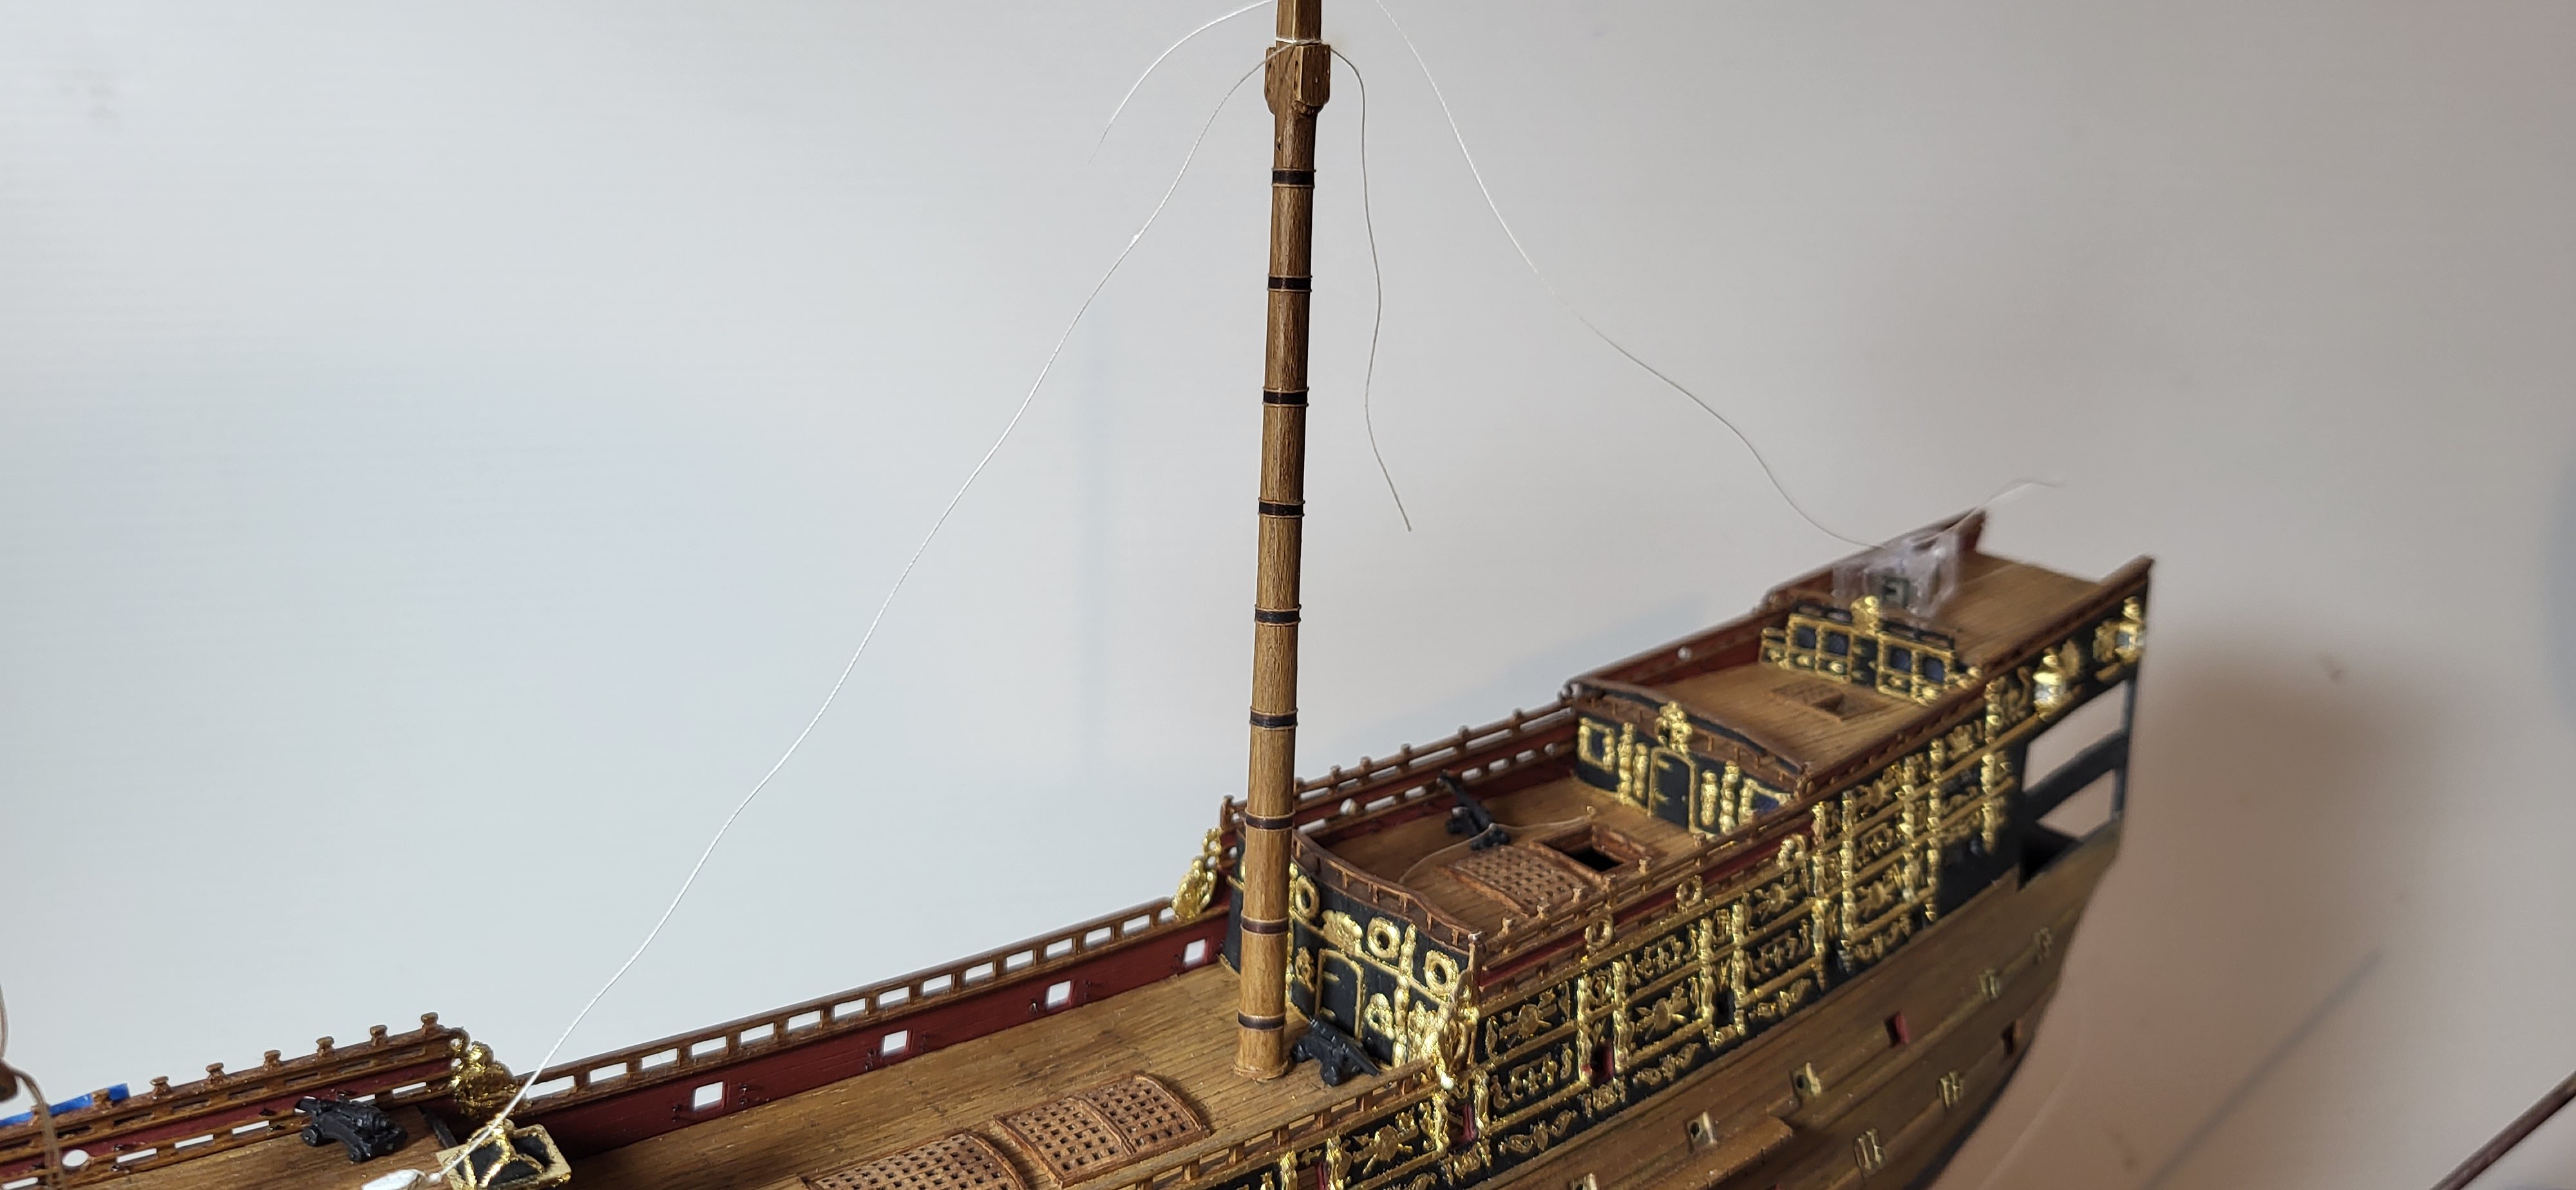
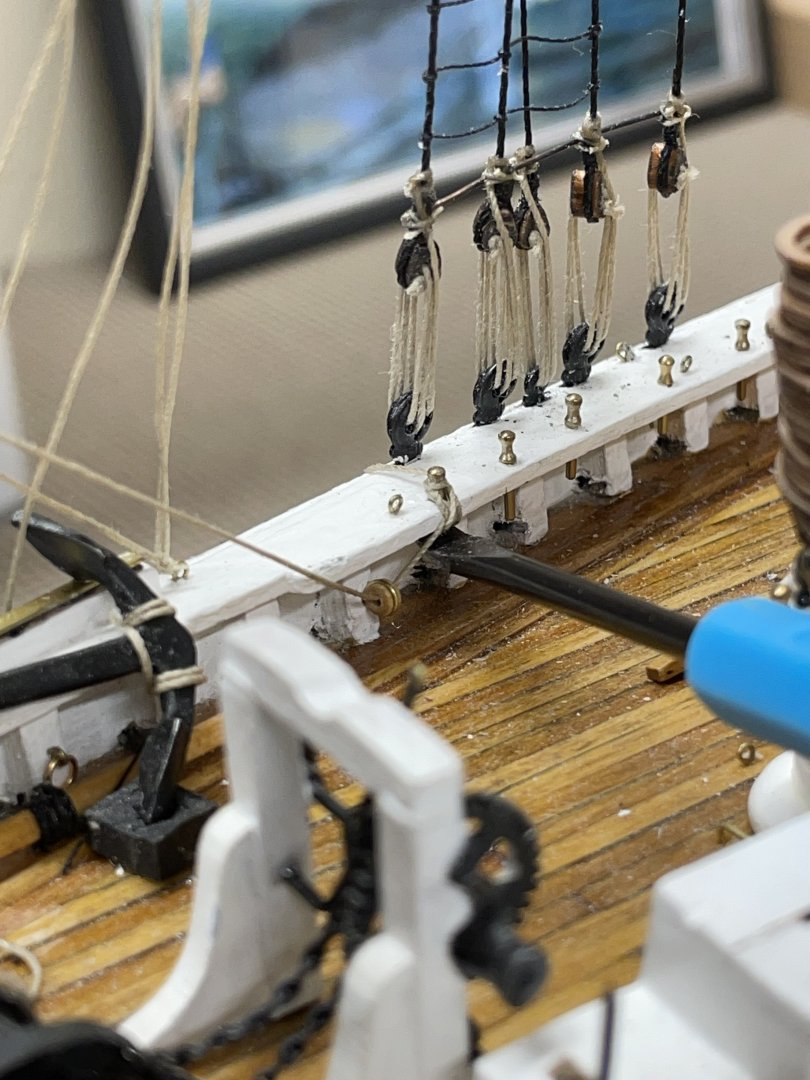
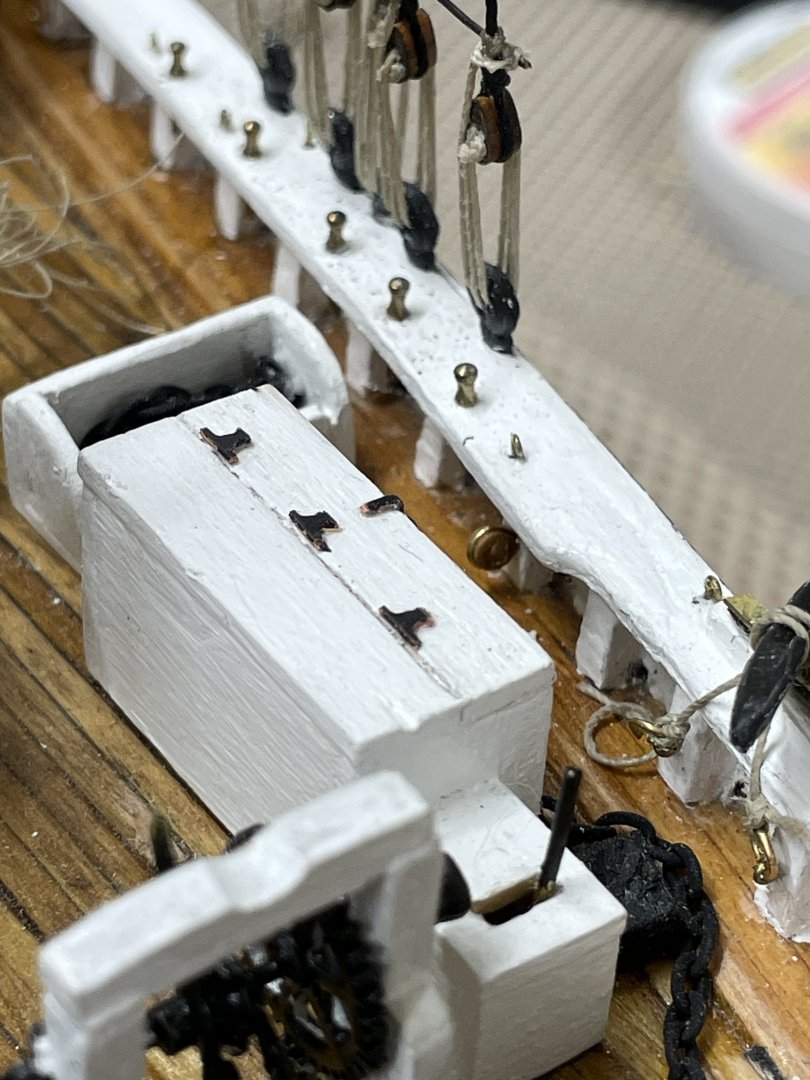
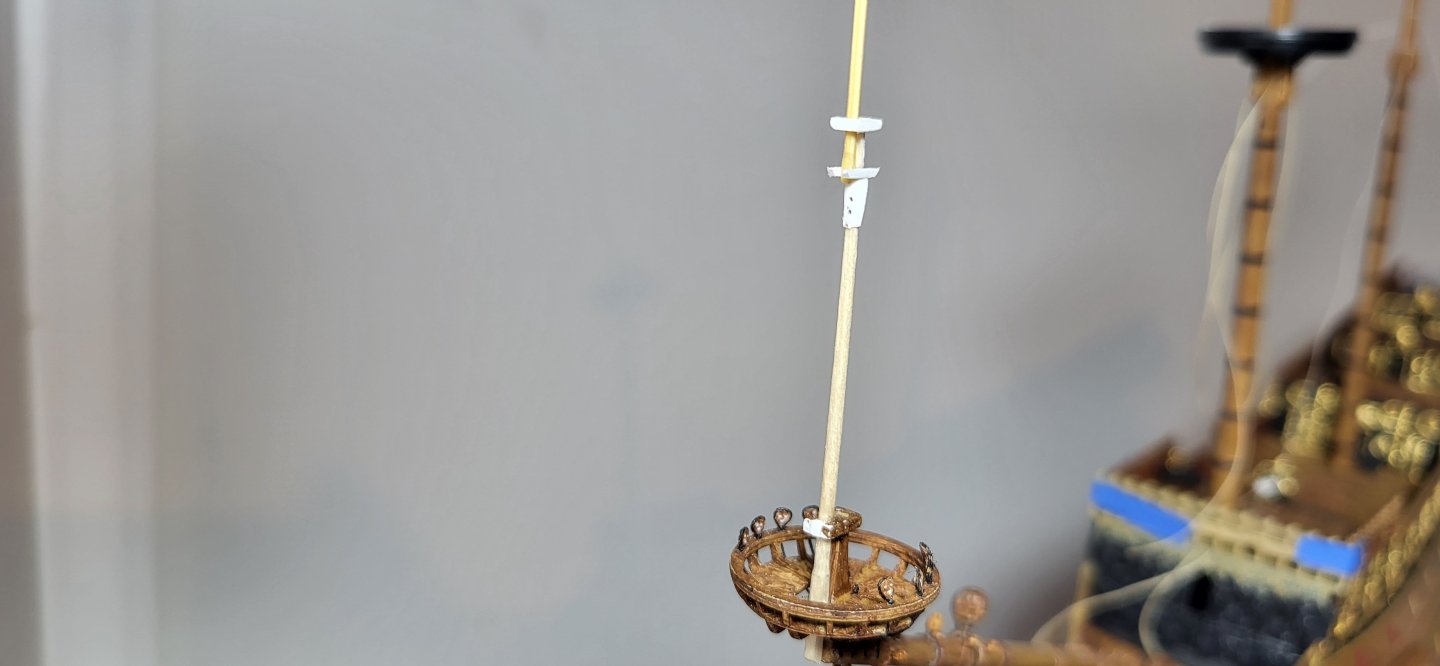
 I've been working on dressing out the bowsprit, fore stay collar with 5-hole dead eye and misc blocks for the bowlines. I ended up scratch building the sprit topmast, usually I stay true to the medium I'm working with but in this case, I used toothpicks to hold up to the additional stress from the top gallant and royal stay crowsfeet attached to the shrouds , while still in the rough in stage it's looking pretty good, also the main mast wooldings are completed. Thanks for looking as always. Michael D.


- 97 replies
-
- 1
-
-
- Sovereign of the Seas
- Airfix
- (and 1 more)
-
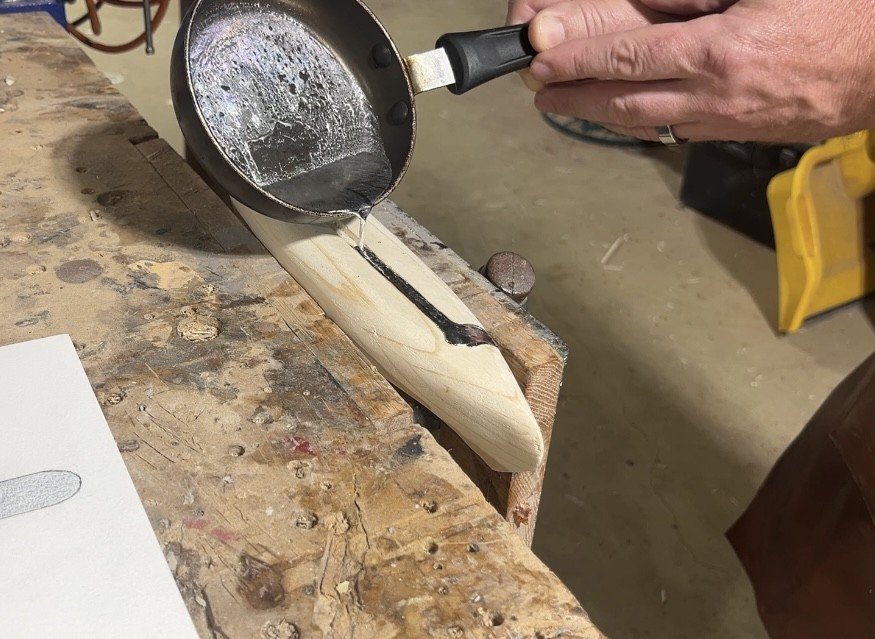
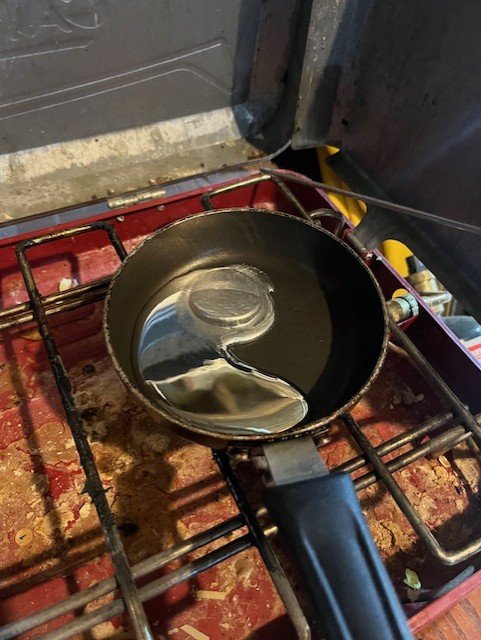
Goedenavond vrienden, Tonight was a special night because I got to light a burner, melt metal, and do my best to pour it into my model! At the point I was at in carving the hull and installing the rest of the pieces permanently, I figured I better pour the metal into the ballast slot in the bottom of the hull in case it went haywire and wrecked it. Micromark Type 280 model casting metal. tin/bismuth alloy with no lead or cadmium (I know a deviation from the lead used by the boy in the book). Melting temp 280degF. I bought two 1 7/8" pucks to melt down but only needed one. I melted the metal down in a tiny pan, which unfortunately had no spout for pouring. It worked well for melting the metal. I have a heavy pot and ladle for melting lead but did not want to contaminate this "toy" with lead. A simple camp stove was used to melt this low temp model casting metal; it melted quicker than you'd fry bacon. The "camp stove" is not the cleanest in the world as this is the stove I use to melt and make beeswax candles, not for cooking, so there is too much wax residue in the basin of the stove which I need to clean up. Back to model making....I will need to remember this handy alloy for future projects. But now, to back up a bit, before melting the metal, I levelled the hull in a vise in both directions. Then, with the metal melted, I walked as quickly as I could, the 20 feet from stove to overturned hull. In that time the hot metal formed a semi-solid skin on it's surface which I had to overcome when pouring, and which caused an overflow over the cavity intended for the pouring of the metal. This is visible in the photo. After this initial spilling of the milk, the pour went perfectly and I will be able to remove the metal from the overflow spill. All told, it would be better to use a deeper melting pot with a spout for this task. Now I will wait for this to cool and I will file and sand off the metal and all will be well. I had a fire extinguisher at my side during this step.
-
 thats a nice paintjob
 -

Hawker Hurricane Mk. I by ccoyle - Halinski - 1/33 - CARD
ccoyle replied to ccoyle's topic in Non-ship/categorised builds
The gear doors are on. They have some fit issues that are nicely hidden in the photo -- they look fine, but some of the dimensions and angles are off.
-
hi Chris, Great idea!! I, too, would love to see that and I have hte book here, of course, in front of me as I build the model. To all: even though this is a kids book, anyone with a inquisitive interest in industry of the great lakes in the first half of the 20th century (canal locks, sawmills and such) would love the illustrations in the margins of this book! Thank you for the note, Chris. -Jason
-
 Time for a diorama?
 -

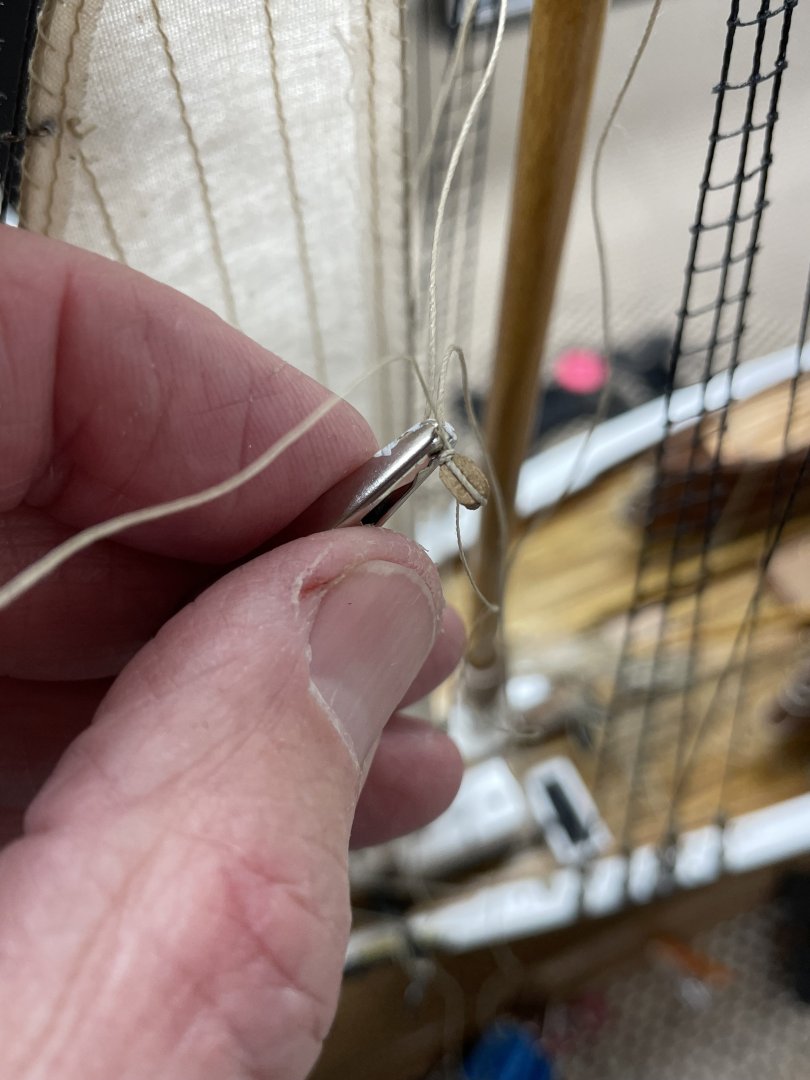
NRG Rigging Project by tlevine
TBlack replied to tlevine's topic in - Kit build logs for subjects built from 1751 - 1800
Toni, This is a fantastic tutorial that you are doing. No wonder that you are the head of the NRG. Tom- 29 replies
-
- 2
-
-
- rigging/masts
- NRG
- (and 1 more)
-
Tom, The cutter looks great, well done. You’ve positioned it perfectly; let the crew worry about getting below. Tom
-
Thanks Phil
-
 Happy Birthday Craig!