Intasiabox
-
Posts
39 -
Joined
-
Last visited
Content Type
Profiles
Forums
Gallery
Events
Everything posted by Intasiabox
-
This is great! Thanks for the link!
-
I ended up getting the kit. The strip wood was still sealed in bags and none of the containers had ever been opened, over all it looked brand new and in perfect condition. Of all the parts the rudder was missing, it didn't look like it got cut or broken out but rather got missed at the factory. For the $300 it saved me I can easily find a piece of wood and cut it out on the scroll saw. I just started a MS Mayflower a little while ago so I'm going to plug away at that for now and just keep this in my stash until the temptation gets to much for me.
-
Thank you for all of the replies. I'll have to check around for a newer kit to see if anything appeals to me and see if I can have a look at the wood of the old Bounty kit.
-
Thank-you everyone for your replies! Thanks for the reply. I'm up here in Canada and what the seller is asking is $250 CAD. I haven't seen the kit in person as of yet but the seller says it's brand new. My previous kit had decent quality wood in it with a few odd choices for components like the solid metal stern side windows. I like the idea of the open interior as I think it adds more interest. The Beagle looks like a good kit as well, I'll have to see what it costs in Canada. Everything is way up and shipping from the US has more than doubled in the last couple years.
-
There's a local guy selling some of his ship kits at a decent price. I'm looking at the AL Bounty that he has for sale as I had started one years ago but it got destroyed in a move and I wouldn't mind giving it another go. I've read a few times that buying older kits can be a gamble as the wood gets too dried out and splits and cracks, making it unusable. The kit is 20+ years old. Is there any truth to this or is it just antidotal? Thanks
-
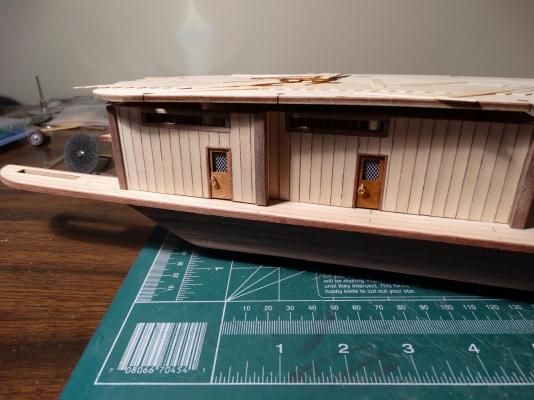
Well it's been awhile since I've done any work to my KOM. I went back to plastic models for a bit as things at work and home were just getting too hectic for a long term build. I happened to run out of primer for a 1/32 Tamiya Corsair I'm in the process of building so it gave me the perfect chance to finish off the engine room on the King and start planking the second level deck. I had some fine mesh from another model that I used for the windows. I tried painting them black but decided I liked the white better so went with that. I'm going to continue on with the paddle wheeler so hopefully I'll be more active on here from now on.
- 28 replies
-
- 2
-

-
- king of the mississippi
- artesania latina
- (and 1 more)
-
I wouldn't worry about it. Just spray on a couple of thinned coats of grey until you are happy with the result. The hull grey is fairly dark and it wouldn't take too many passes to completely erase the preshading if you are unhappy with it. I saw the flory model post about a month ago and have been trying to come up with a way to convince the wife why this kit would change our lives for the better! Your model is looking great and you should be proud with what you have accomplished so far.
-
Thanks Garth! Your model looks great. I read that AL did a few changes to the most recent version and I was curious what the previous KoM looked like. I like the looks of it and I don't think you're giving yourself enough credit on a job well done! Did you have any issues with some of the prefab parts not lining up?
-
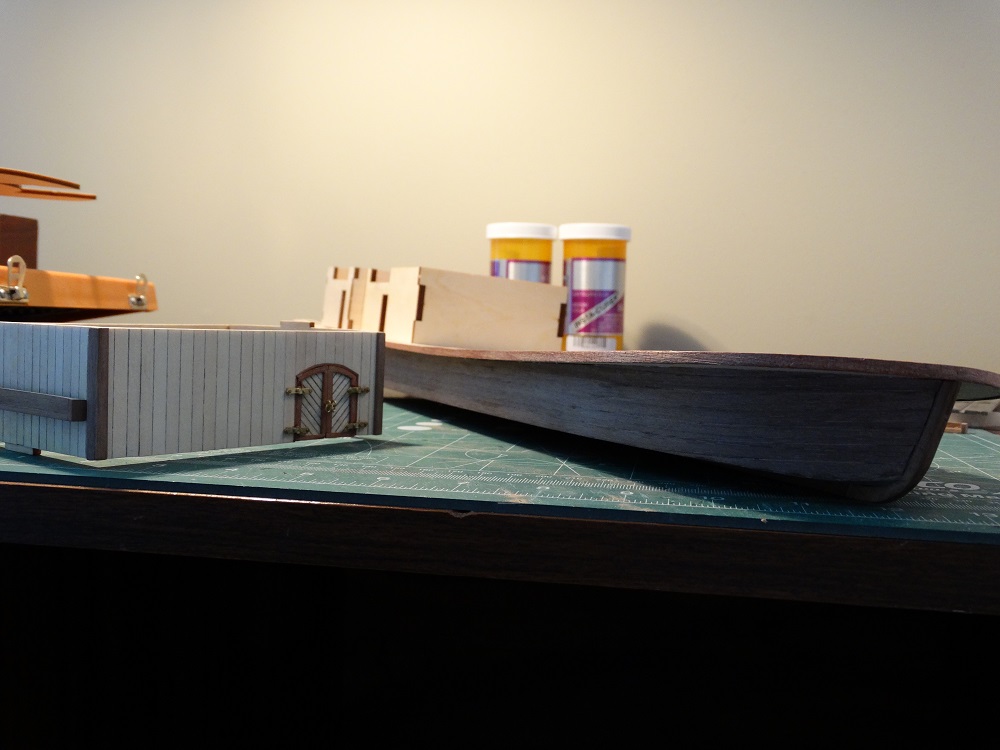
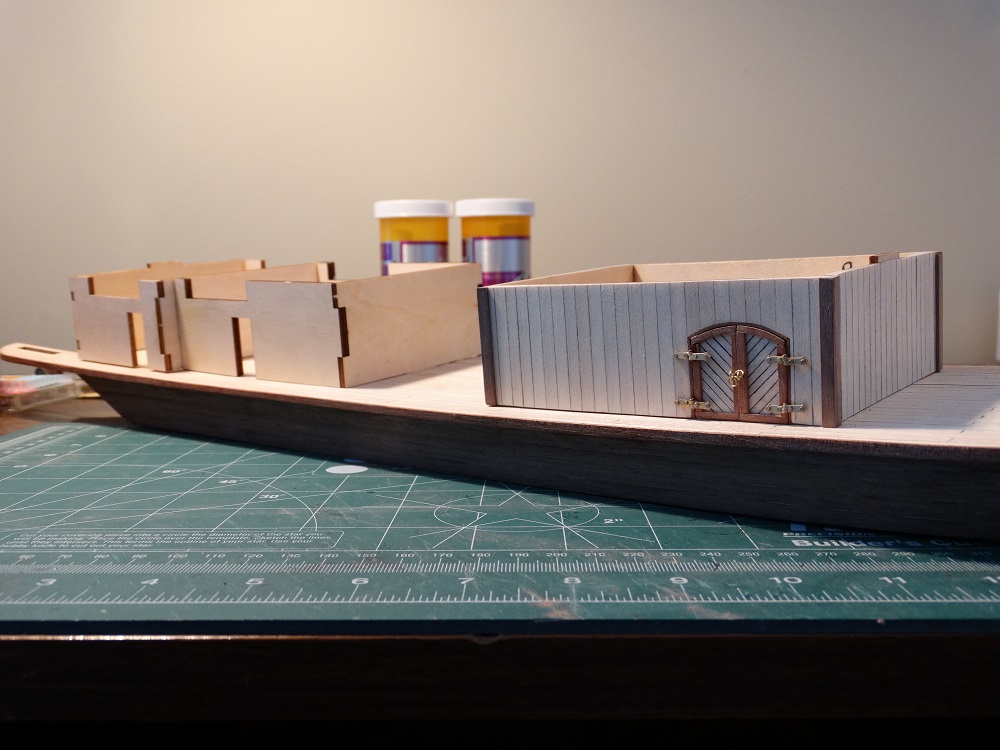
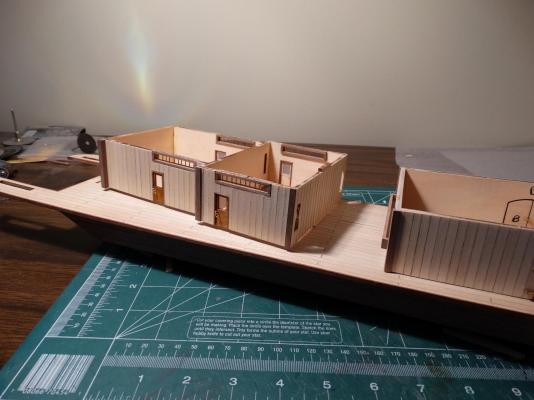
Life has been busy for me of late so I haven't had much time to work on the KoM. I got some trim work done and assembled the next set of rooms for the main deck. I have to panel the walls and then start planking the second deck which doesn't quite match up to the wall tabs without a bit of force. I'll adjust one of the slots before planking so that the rear of the second deck is directly above the first deck. Hard to tell by the plans but I think this is how it should fit. That's all for now, folks!


-
CA glue and metal fittings
Intasiabox replied to cdogg's topic in Metal Work, Soldering and Metal Fittings
Yes CA gel will actually be called gel on the bottle. It works great for gluing live coral as well! -
Thank-you so much for the reply, you answered all of my concerns. I look forward to following along with your build!
-
The owner of OcCre worked for AL for 20 some odd years designing their kits so it is probably almost identical. Looks like there is already a similar answer posted, I'm a slow typer.
-
Rick, I like that idea for the paddle wheel. Thanks!
-
I'm sure if this what you are after but staining the sails in tea give them a more weathered, natural appearance.
-
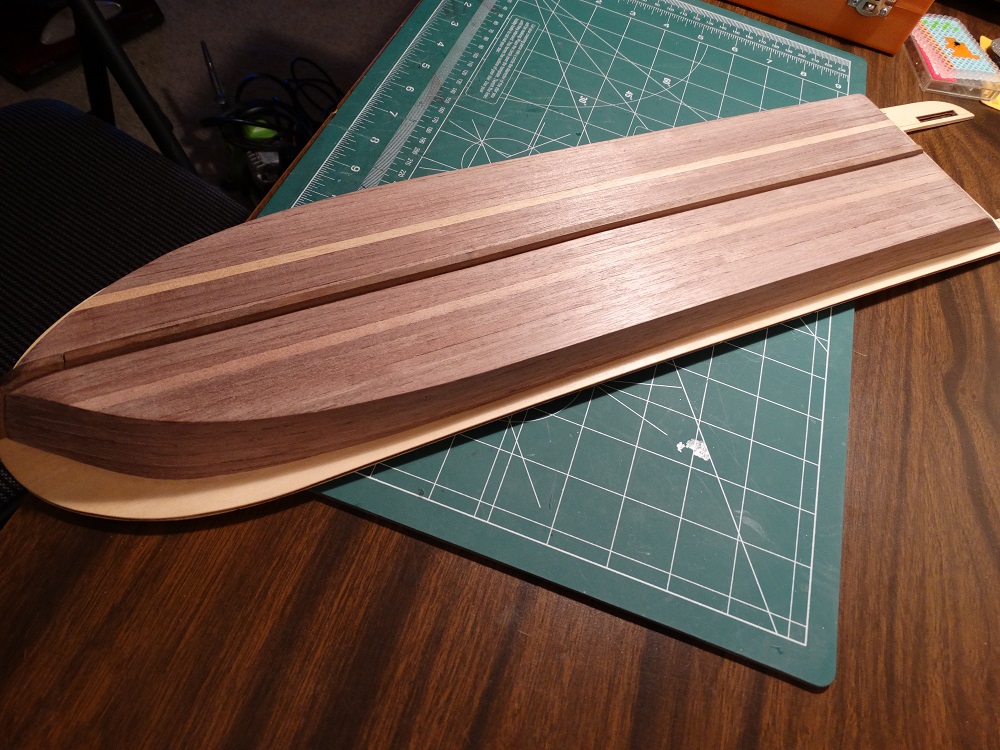
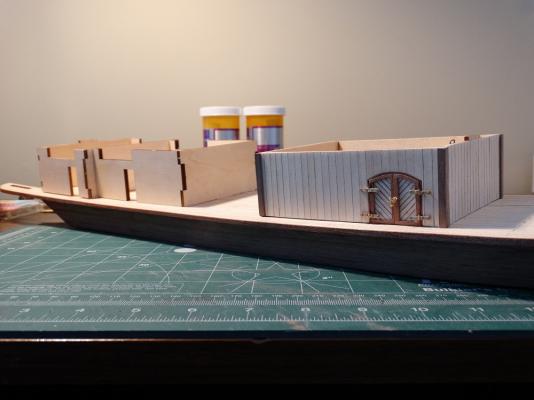
I will be using a clear coat on it as soon as I make up my mind on the tree nails and hull nails. I have some stuff somewhere around the house that I use on my scroll saw pieces, I like it because I can put it on white wood such as aspen and it won't yellow the wood at all. In the mean time I'm going to start on the first level rooms.
-
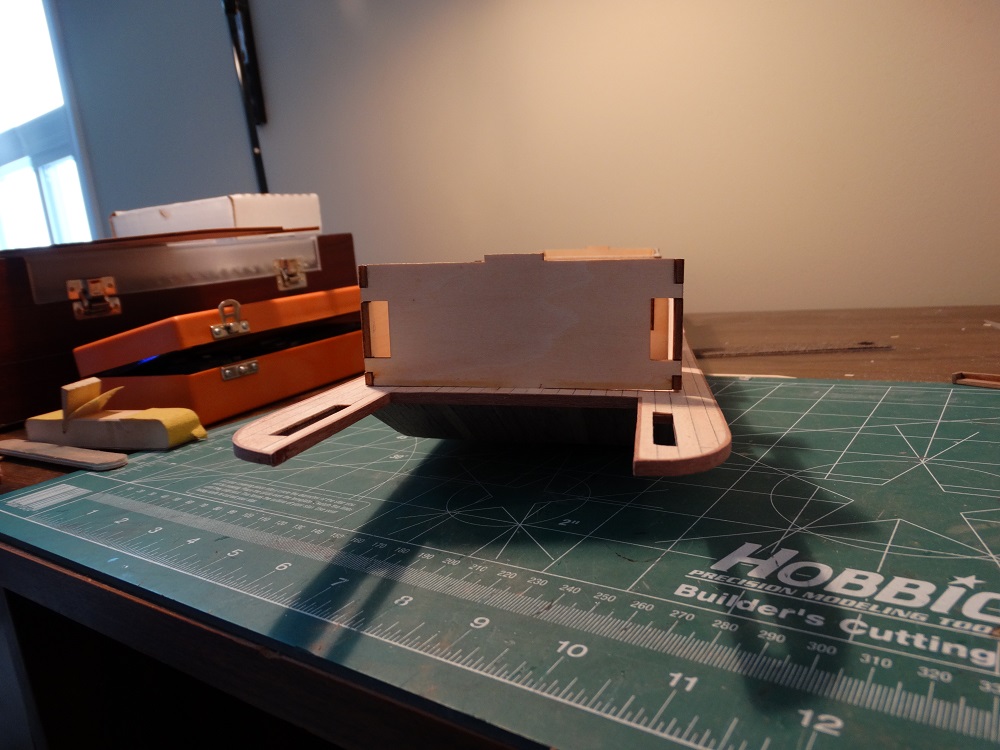
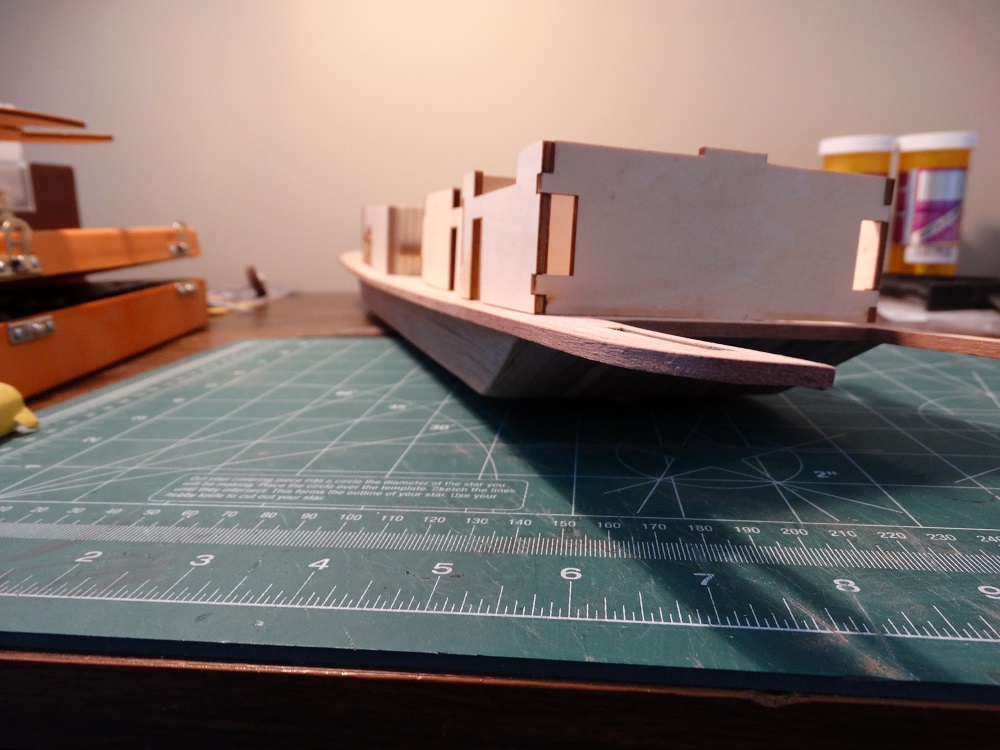
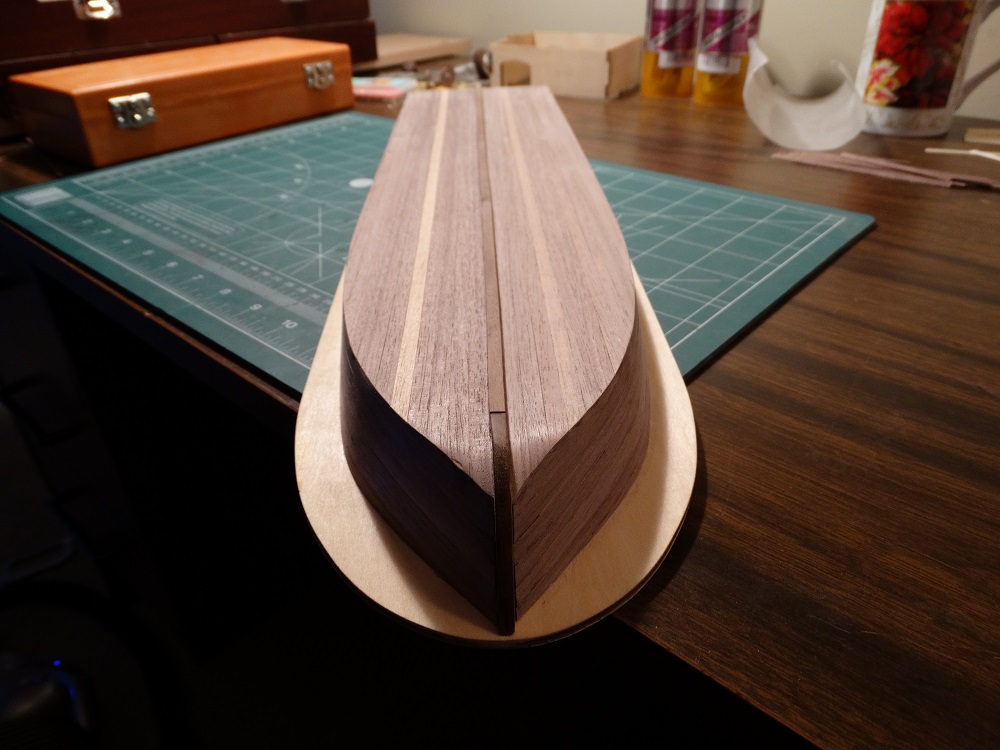
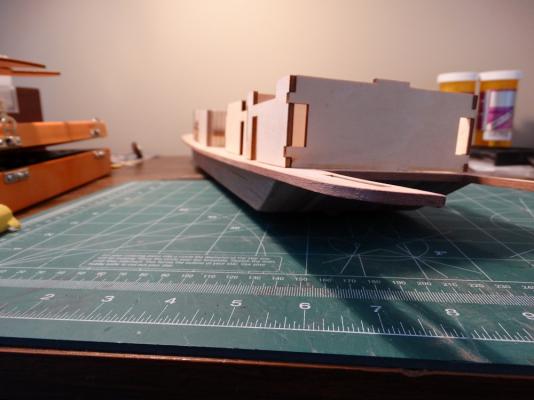
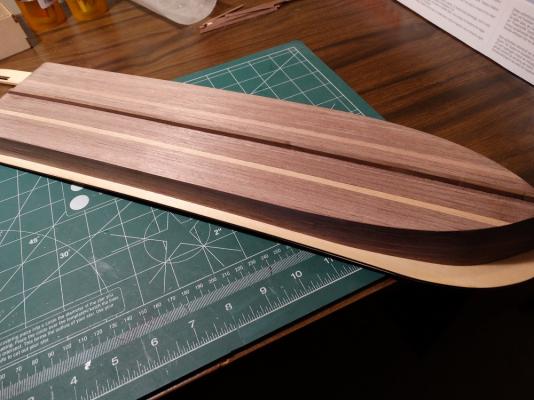
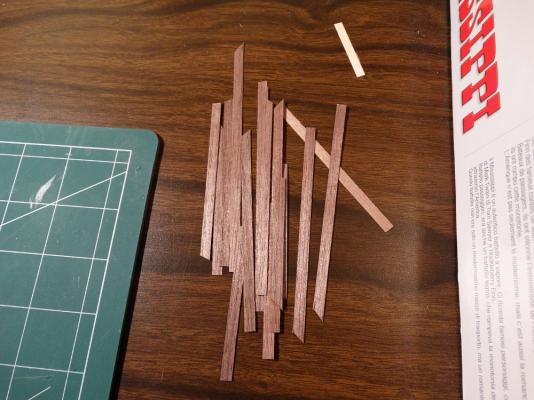
Finally got the hull planked and sanded down. I'm still debating about the tree nails on the deck and trying to decide what would be the best method to use if I go this route. Also glued the deck to the hull. There wasn't even a single strip of the walnut planking left over in the kit. One of the strips was a very light walnut color but I guess it adds character. This is all that was left for walnut planking, just some end cuts. A few extra planks in the kit would have been nice in case even a single strip got messed up. I was hoping to plank the underside of the deck but unless I get ahold of more strips I guess it'll just be unfinished as per the instructions. The brass nails for the hull look pretty unrealistic left as is. I may just tap them in part ways and cut the heads off. The only other thing I want to do is a add a little walnut wood putty to the spot were the two keel pieces join so it looks like it is one piece.


-
Michael, very nice work so far! This kit is of interest to me for a future build but if you don't mind I have a few questions for you. I should first explain why I have the questions, many years ago I bought a Billing Boats Wasa kit and dismayed to find that half of the kits contents were made of plastic and the planking was just single layer using very thin strips that couldn't be sanded down without damage. I have heard that BB has come a long way since then and their Victory kit looks pretty nice. First question, the main web site says that this kit is double plank on frame but the on-line instructions seem to indicate that it is only single planked? Secondly, are all the rigging fittings and deck gratings made out of wood now? Lastly, is there any photo-etch for things such as the stern windows, etc. Thank-you, Jeff
-
PROXXON DSH 2 SPEED SCROLL SAW – REVIEW.
Intasiabox replied to Blue Ensign's topic in Modeling tools and Workshop Equipment
Nice review, I do a lot of scrolling myself just never for model ships. My saw is getting close to 10 years old now and I have yet to use the guard. I even let my 11 year old daughter, who is a little clumsy, use it when she wants. I've hit the blade with my fingers a number of times and it doesn't even leave a scratch. The hole on your table is a little large for small pieces. My table has a pretty small hole but for really tiny piece I took a piece of plexi glass and drilled the smallest hole I could that let the blade through and then clamped it to my table with c-clamps. Plex or acrylic sheet is pretty cheap and the wood glides over it smoothly. Enjoy your new toy! I guess I should also mention that I only use pinless blades so the hole can be very small. -
I like the changes that you have made, it makes your KoM unique. I dabble in n scale myself and I think it's great that you are using some skills and parts from your train hobby into ship building. Your model is looking great and I'm hoping mine will look half as good when all is said and done.
-
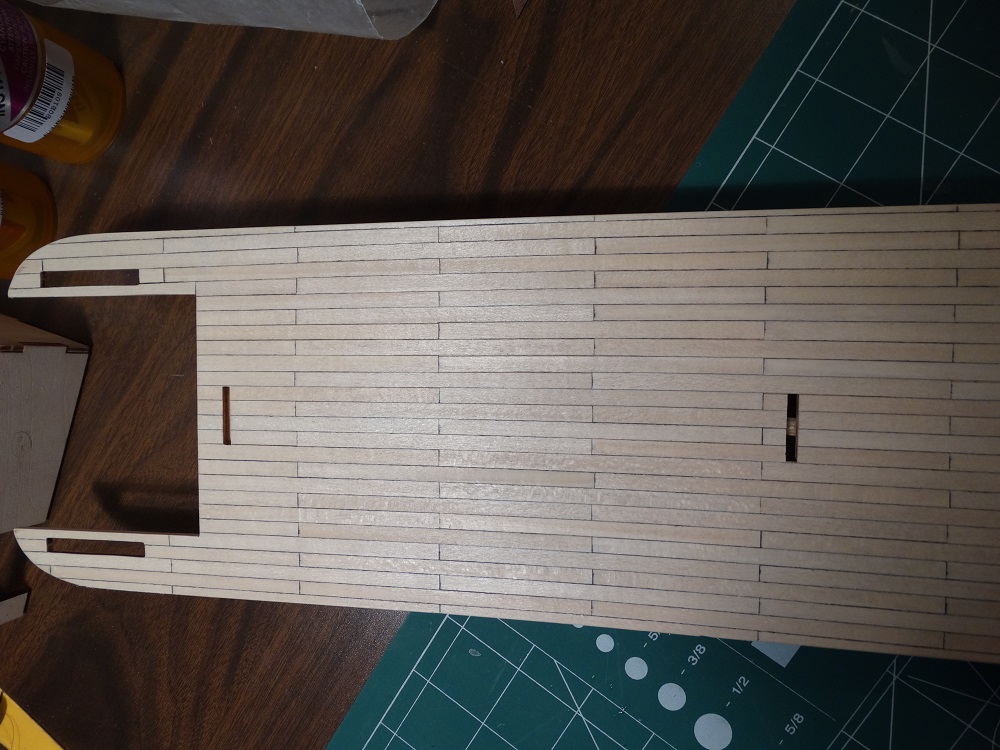
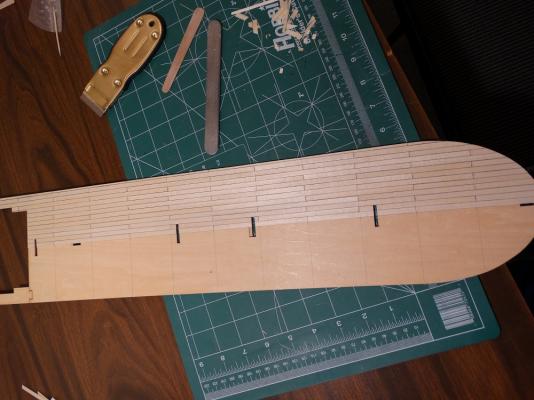
Thank-you, I did learn one thing on the first of the planking. Those 5mm wide strips vary a bit in width and I should have kept all of the pieces I chopped from each full length plank together. It would have saved me a bit of filing on some strips already glued to the deck and trying to match the same width strips later.
- 28 replies
-
- 1
-
-
- king of the mississippi
- artesania latina
- (and 1 more)
-
I think I will pick it up then. The image and sound quality are all I really had to go on as the clips they showed didn't really provide any techniques or insight as I would imagine they want to keep those for paying customers. The photos in the PDF on the web site were truely inspiring and I think even if people don't buy the DVD it is worth stopping in to see the free photos!
-
I just watched a 10 minute promotional video of it on-line. Does the actual DVD have good resolution or does it really look and sound like it was shot with an old VHS camcorder?
-
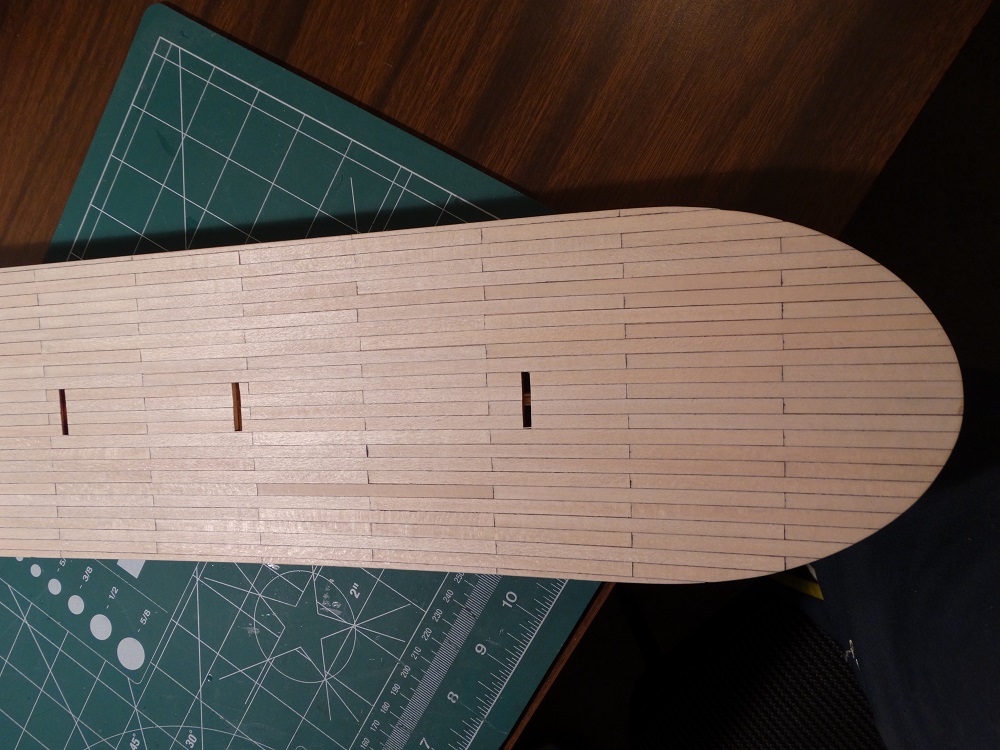
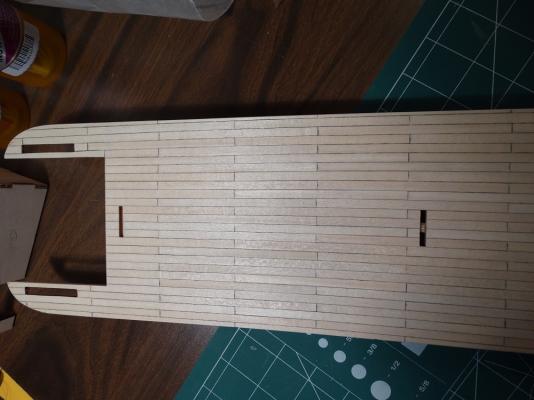
Well I haven't accomplished very much since my last post. Two young girls and work keeps me pretty busy. Anyway, I got half of the first deck planked and I'm hoping to have the rest done this week-end. I will still have to add the simulated floor nails. I'm not sure yet about how I'm going to do this but I'll glue a couple practice planks on some scrap wood and see what I can come up with. Looks like we're going to be setting some record low temperatures this week-end so it's a good time to stay indoors and do some modeling anyway!
-
Thx, I read your build log on the KoM and saw that you extended the boiler room. It was a toss up between doing the same as you or sliding over the slot. The husky is a year old now but is still mischievious.
-
Thanks Rick. I have read a few of the build logs and I am actually tagged to yours as well! The KoM has a few issues but it doesn't sound like anything that cannot be overcome fairly easily. I suppose every kit has some sort glitch in it. As far as pictures go I re-logged on to the site using Firefox and everything worked fine and was exactly the same as the tutorial pinned in this site about adding photos. It was the same for adding my build log to my signature, didn't work properly using IE but no issues using Firefox.