-
Posts
25 -
Joined
-
Last visited
-
 GrandpaPhil reacted to a post in a topic:
Enterprise by Muzzlehead - Constructo - 1:51
-
 EmilP reacted to a post in a topic:
Enterprise by Muzzlehead - Constructo - 1:51
-
 Muzzlehead reacted to a post in a topic:
Enterprise by Muzzlehead - Constructo - 1:51
-
 src reacted to a post in a topic:
Enterprise by Muzzlehead - Constructo - 1:51
-
 GuntherMT reacted to a post in a topic:
Enterprise by Muzzlehead - Constructo - 1:51
-
 JLuebbert reacted to a post in a topic:
Enterprise by Muzzlehead - Constructo - 1:51
-
 Muzzlehead reacted to a post in a topic:
Enterprise by Muzzlehead - Constructo - 1:51
-
I need to sneak a macro lens purchase past my Obersturmführer..... for now I will have to make do with my stock 50- 35mm lens . Problem with my 35mm camera is it does not wirelessly transfer pics. Overall I am lazy, I prefer shooting the pic and uploading it as opposed to shooting then connecting to my pc with a wire and uploading from there. I will discipline myself and no longer shoot pics of my WIP off my phone.
-
 Muzzlehead reacted to a post in a topic:
Enterprise by Muzzlehead - Constructo - 1:51
-
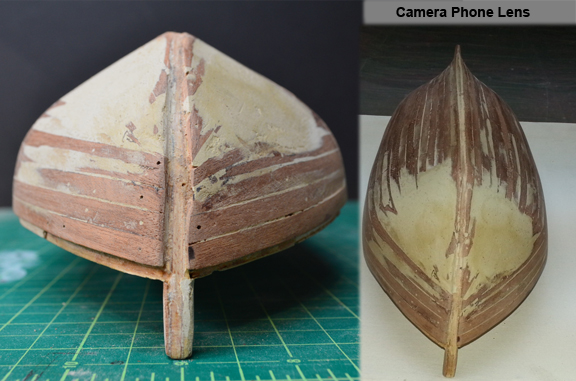
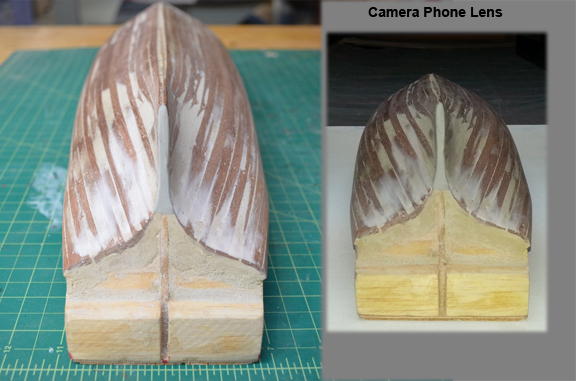
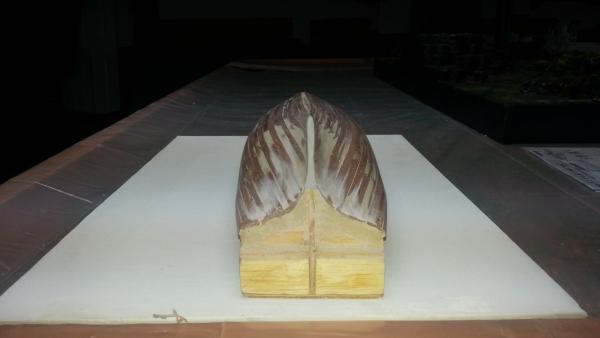
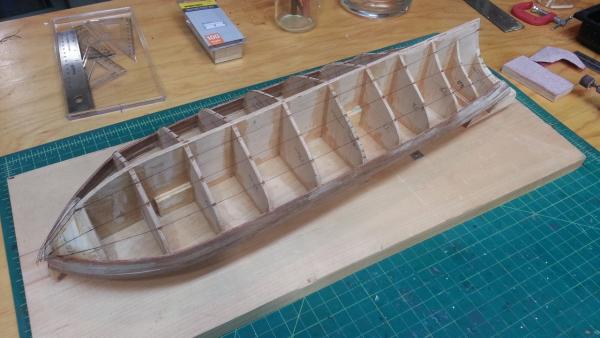
Fear & Loathing with lens distortion. I went down the entire lower hull with my contour gauge, and found a few deviations and corrected them. The majority of my prior hull pics were the result of lens distortion off my camera phone. I re-shot the hull with my 35mm camera and added the phone shots for comparison. There is still some slight distortion with the 35mm but nothing compared to phone! Next up is building the bulwark, then scuppers and gun ports, then stem/keel/stern post/ solepiece, and then secondary planking. Though I am considering moving the carving of the scuppers & gun ports after secondary planking... I will contemplate that as I build the bulwark
-
 src reacted to a post in a topic:
Enterprise by Muzzlehead - Constructo - 1:51
-
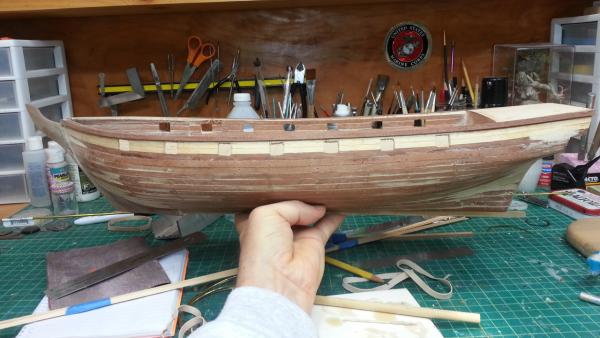
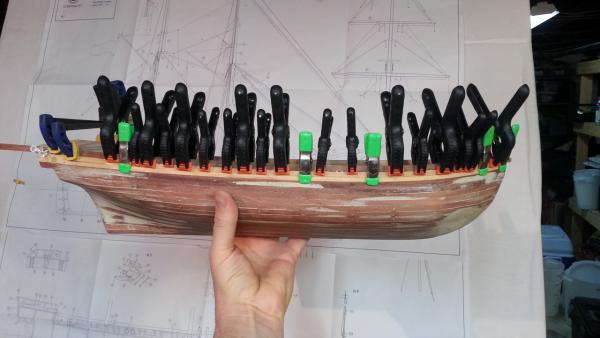
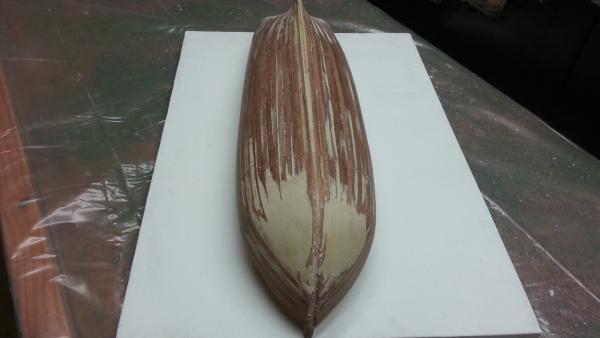
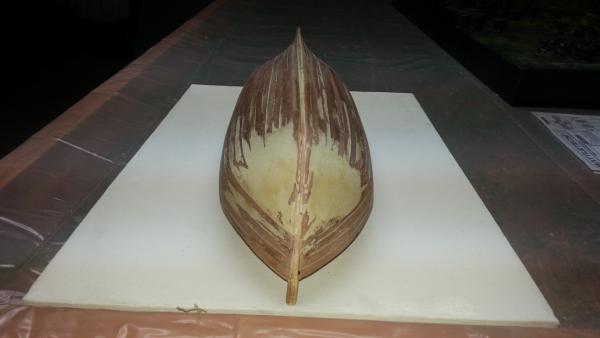
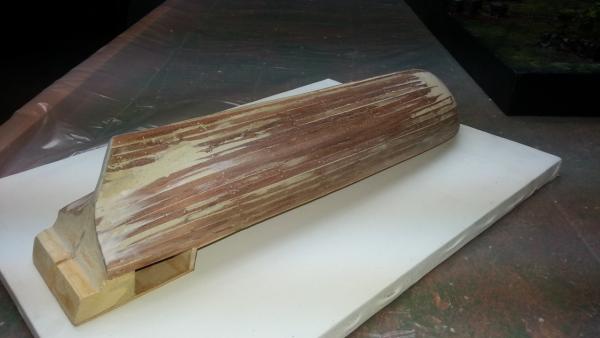
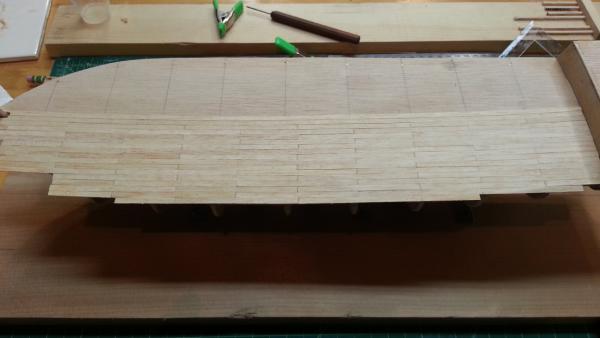
Here are a few shots of the Lower Hull first planking. Next step is to decide how to plank the Scuppers and Bulwarks. My kit (the old version) only suggests a single planking where the newer kit planks in two widths thick on the Bulwark. After some research there does appear to be precedent for both. As the first captain complained the Bulwark was not bullet proof and later this was 'thickened'. After the Bulwark is complete and gun ports cut I will vaneer the entire hull. I am not sure why the lines down the center look so askew in the pics.... I think it was the angle I shot the pics on my phone. They are much straighter in RL.
-
Well things slowed down a little with the hull planking, particularly after my first major mistake. I added four strakes for the Main Wale (now I have three) that were not tapered. This resulted in a crowded stern and bow. Fortunately this is the 'first planking' and any major strake mis-alignments will be concealed by the 'second planking' with the supplied veneer. Yet I want to run the 'first plank' strakes as close to the 'second planking' if only to practice, though it will absolutely improve the 'second planking process'. My last 'out' concerning hull irregularities should be concealed with paint, as I am aiming for a historic presentation of the model over a classic 'wood stained' presentation. In this pic I have removed the fourth plank and began spiling the lower hull. Today I am laying the garboard and will lay a few rows of planks as time allows. I hope to have the lower hull completed by the weekend. Question: I am considering a 'shift of butts' for the 'second planking' any recommendations for plank length for the Enterprise at a scale of 1/51?
-
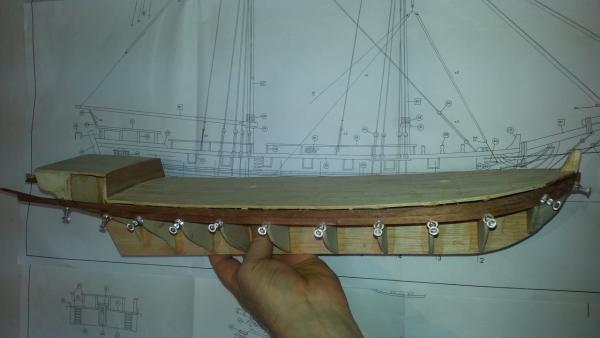
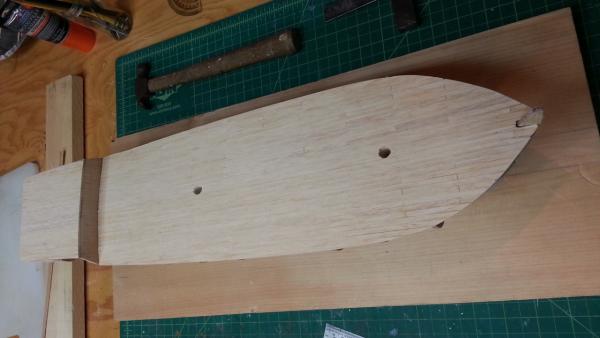
The planking has begun! For all intents and purpose I am on nominally following my limited instructions and looking at a variety of research and completed kits. I consider this a Scratch-Kit, the components are excellent but the instructions meh . If you look close at the pic I have left a 3mm separation from the hull strakes and the sheer line of the deck. Here I will attach the scupper strakes and build up the bulkhead. After some discussion with Sam, I have a plan for working the waterway and scuppers. I suspect the hull will take another week to complete. My plans for the hull are to double plank it with strip and then sheet, though I plan to ultimately paint it historic colors so I may only lay a single plank if it looks decent at completion. I am soaking my strakes about 24 hours and using a DIY bender which is a mash of a bearing and a soldering iron. It is working well. I'll post more pics tonight.
-
 Muzzlehead reacted to a post in a topic:
Enterprise by Muzzlehead - Constructo - 1:51
-
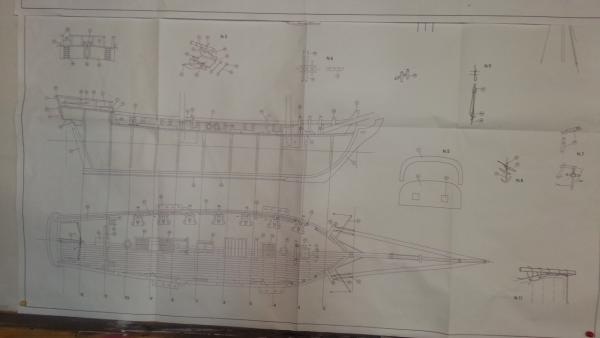
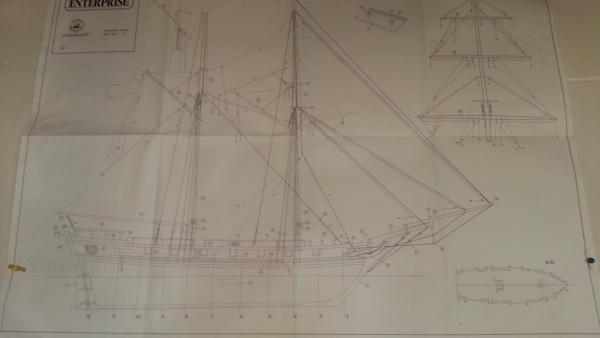
Sam, I do have 2 sets of plans but mine are reversed from yours my #1 is rigging. My #2 shows two hull views: a profile and a birds eye view of the deck. My #1 shows the scupper marks and the gun ports along with some notation of strikes. It becomes confused as rigging info is mixed in. I am working off the plans but using pictures from other builds to heavily supplement my research as I build. I am not sure I understand when you stated, "You will alternately plank inboard then outboard till you reach the proper height." Are you saying my bulwark strakes should be double width (4mm), that is i should alternate until I have the full height of the bulwark? Or should I level off the scupper strakes and the bring the bulwark to height by following the outer scupper strake (single width 2mm)? And yes any pics would be wonderful. I really appreciate the advice and assistance. I am finding the actual building process is not to difficult but interpreting these Byzantine instructions is a pain. I certainly see why the redid the kit. Scott Edit: Here are somewhat blurry images of the plans that came with my kit. Some of the #2 is plan is covered by the #1 but it does not deal with the scuppers/waterway I have been using the first image as my guide for the scuppers. There is a evidence of them only on this (#1) drawing. This is also the only drawing of the plan that 'I read' as showing information on the placement of strakes. Are these similar to what you referred to in your previous post? I did not find any useful information for the scuppers/waterways on this sheet of the plans.
-
I am perplexed by how the instructions describe building the scuppers (and I assume the waterways also, as they are not directly mentioned in the instructions or plans). The instructions read: "Glue two nr. 23 strips (2x6mm sapele) onto the upper part of the hull in the gap left between the deck and planks used for planking the hull." I can read this two ways. 1: The hull strakes begin 3mm below the sheer line of the deck; so the FIRST scupper strake sits on the upper most hull strake and extends 3mm above the sheer line of the deck. The SECOND scupper strake is glued to the first and cut down to 2x3mm resting 2mm inboard and 3mm high on the deck forming the waterway and through which the scupper is cut. Then the first bulwark strake (2X5mm ayous) is set on the FIRST scupper strake. OR 2: The hull strakes begin 3mm below the sheer line of the deck; so the FIRST scupper strake sits on the upper most hull strake and extends 3mm above the sheer line of the deck. The SECOND scupper strake is glued to the first and rests 2mm inboard and 6mm high on the deck forming the waterway and through which the scupper is cut. Then the first bulwark strake (2X5mm ayous) is set on the FIRST scupper strake. The problem with reading #2 is you end up with a 6mm high waterway which is too high in relation to the gun carriage which is 10mm high. So I am still struggling with the limited information I have and my novice ability but I think the correct reading is the #1. Your comments are appreciated.
-
 Muzzlehead reacted to a post in a topic:
Newsworthy updates from Chris Watton
-
 Muzzlehead reacted to a post in a topic:
Victory by mikec - FINISHED - Mamoli
About us
Modelshipworld - Advancing Ship Modeling through Research
SSL Secured
Your security is important for us so this Website is SSL-Secured
NRG Mailing Address
Nautical Research Guild
237 South Lincoln Street
Westmont IL, 60559-1917
Model Ship World ® and the MSW logo are Registered Trademarks, and belong to the Nautical Research Guild (United States Patent and Trademark Office: No. 6,929,264 & No. 6,929,274, registered Dec. 20, 2022)
Helpful Links
About the NRG
If you enjoy building ship models that are historically accurate as well as beautiful, then The Nautical Research Guild (NRG) is just right for you.
The Guild is a non-profit educational organization whose mission is to “Advance Ship Modeling Through Research”. We provide support to our members in their efforts to raise the quality of their model ships.
The Nautical Research Guild has published our world-renowned quarterly magazine, The Nautical Research Journal, since 1955. The pages of the Journal are full of articles by accomplished ship modelers who show you how they create those exquisite details on their models, and by maritime historians who show you the correct details to build. The Journal is available in both print and digital editions. Go to the NRG web site (www.thenrg.org) to download a complimentary digital copy of the Journal. The NRG also publishes plan sets, books and compilations of back issues of the Journal and the former Ships in Scale and Model Ship Builder magazines.


