ChrisLBren
-
Posts
695 -
Joined
-
Last visited
1 Follower

Recent Profile Visitors
3,268 profile views


-
 mtaylor reacted to a post in a topic:
Lathe Question
mtaylor reacted to a post in a topic:
Lathe Question
-
Keith Black reacted to a post in a topic:
Lathe Question
-
Scottish Guy reacted to a post in a topic:
Lathe Question
-
Hi Group, I purchased an Emco Unimat 3 with an extra motor and milling attachment a few years ago from a fellow member and never set it up. Last year I purchased a Taig Mill and love it - its sturdy and powerful with a long bed. It was ready right out of the box without any modifications and has been used extensively on my Le Gros Ventre build. I am considering selling the Unimat on ebay and buying a new metal lathe - not only for ship building but also to turn wooden pens for clients. I am leaning towards another Taig However I am curious about the Sherline as I have heard its a terrific lathe. I am new at wood and metal turning so want one thats a good intro model I can grow with. Thanks for any opinions here.
-
ChrisLBren reacted to a post in a topic:
HMS EURYALUS by Matiz - FINISHED - scale 1:56
-
ChrisLBren reacted to a post in a topic:
LˇAmarante by marsalv - 1:36 - POF
-
ChrisLBren reacted to a post in a topic:
HMS PEGASUS by giampieroricci - Scale 1:36 - Swan-Class Sloop from plans by David Antscherl & Greg Herbert
-
Knocklouder reacted to a post in a topic:
OcCre HMS Victory Limited edition
-
Ondras71 reacted to a post in a topic:
Le Gros Ventre by ChrisLBren - 1/36
-
GrandpaPhil reacted to a post in a topic:
Le Gros Ventre by ChrisLBren - 1/36
-
No Idea reacted to a post in a topic:
Bonhomme Richard by Blockplane - Scale 1/48 - ANCRE
-
mtaylor reacted to a post in a topic:
Bonhomme Richard by Blockplane - Scale 1/48 - ANCRE
-
tadheus reacted to a post in a topic:
Le Gros Ventre by ChrisLBren - 1/36
-
tadheus reacted to a post in a topic:
Le Gros Ventre by ChrisLBren - 1/36
-
 Nice work Chris - I know what you mean Ancre plans. They are so accurate - I made the same mistake leaving too much fat on the stern part assemblies on my Le Gros Ventre build and after a half dozen failed attempts I learned - the more accurate your parts are to the plans including the bevels/bias - the better the results. And less sanding !!! Chris
 -
ChrisLBren reacted to a post in a topic:
Bonhomme Richard by Blockplane - Scale 1/48 - ANCRE
-
ChrisLBren reacted to a post in a topic:
HMS PEGASUS by giampieroricci - Scale 1:36 - Swan-Class Sloop from plans by David Antscherl & Greg Herbert
-
ChrisLBren reacted to a post in a topic:
Sloop Speedwell by Chuck - Ketch Rigged Sloop, 1752 - POF
-
ChrisLBren reacted to a post in a topic:
HMS PEGASUS by giampieroricci - Scale 1:36 - Swan-Class Sloop from plans by David Antscherl & Greg Herbert
-
ChrisLBren reacted to a post in a topic:
Le Rochefort by No Idea - 1/24th Scale - First POF Build
-
ChrisLBren reacted to a post in a topic:
HMS PEGASUS by giampieroricci - Scale 1:36 - Swan-Class Sloop from plans by David Antscherl & Greg Herbert
-
ancre Le Gros Ventre by ChrisLBren - 1/36
ChrisLBren replied to ChrisLBren's topic in - Build logs for subjects built 1751 - 1800
No dovetails for me on the wing transom. They're not necessary and posed way too much of a risk when creating that part - and now even riskier now the assembly is complete ! Thanks for the advice on the extensions Mark. -
ancre Le Gros Ventre by ChrisLBren - 1/36
ChrisLBren replied to ChrisLBren's topic in - Build logs for subjects built 1751 - 1800
Thanks everyone - I will attempt the hawse extensions next. Im just trying to wrap my head around the approach and understanding the plans here. I believe one must plane the blanks to the proper angle first, then cut out the pattern. The biases are then added once the pieces are in a jig that depicts the tops of the extensions and their positions on the curve. -
ancre Le Gros Ventre by ChrisLBren - 1/36
ChrisLBren replied to ChrisLBren's topic in - Build logs for subjects built 1751 - 1800
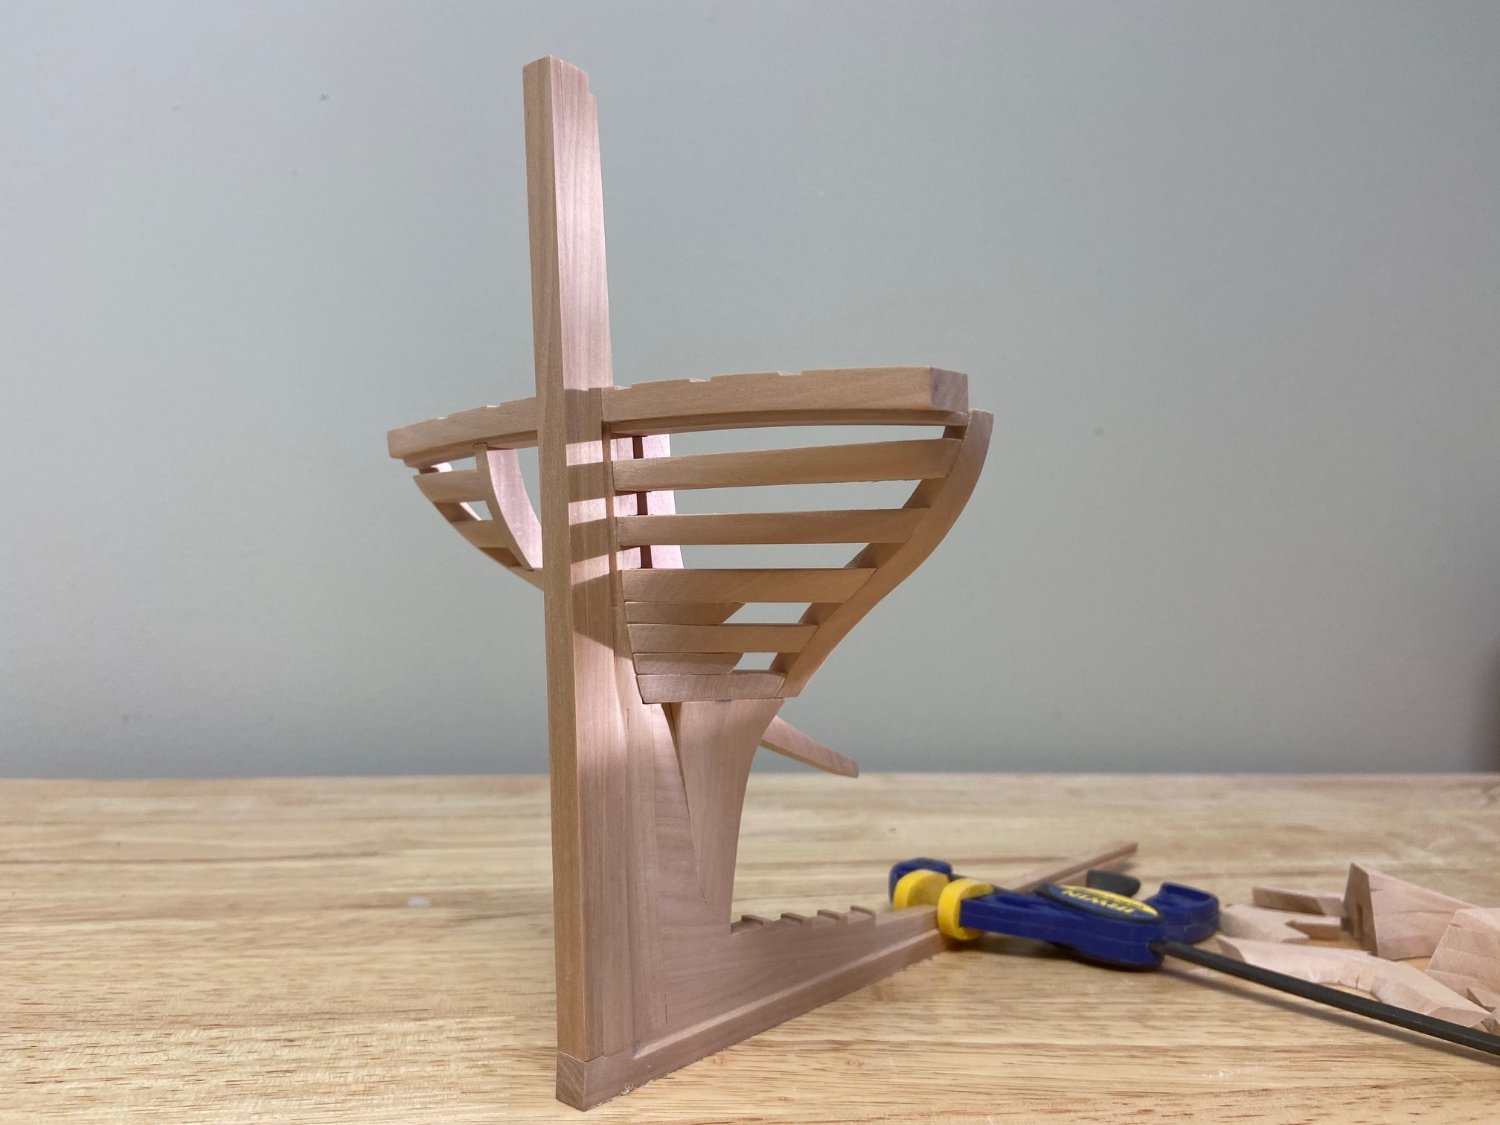
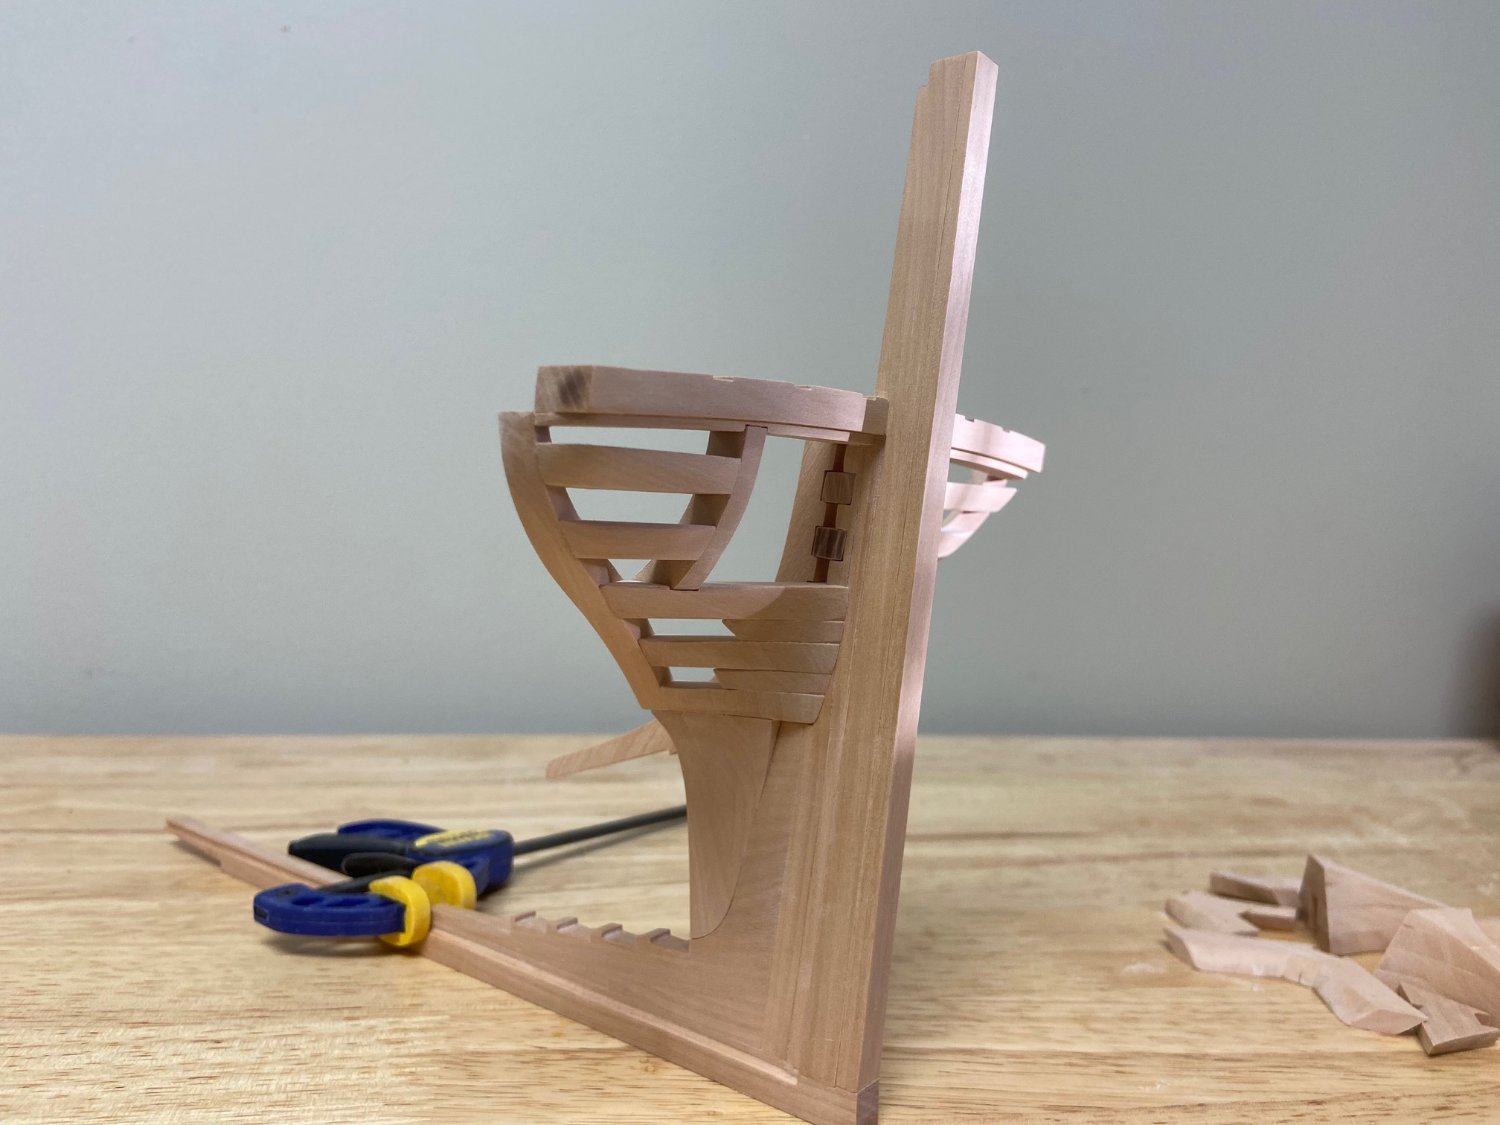
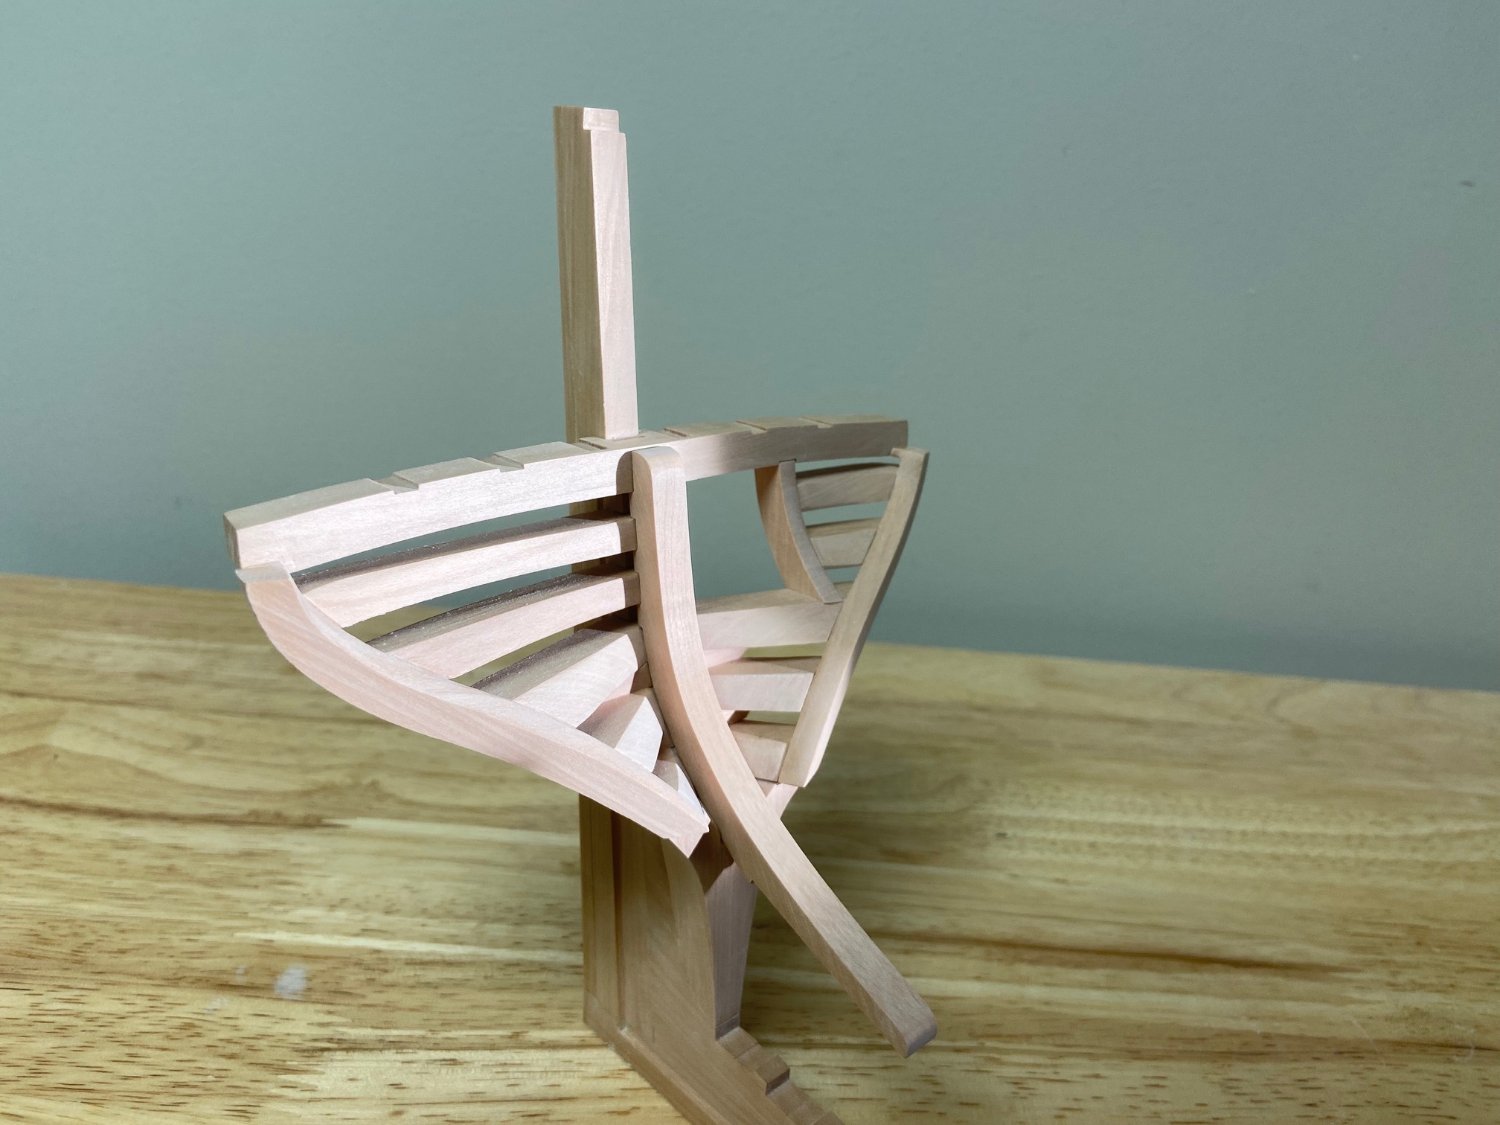
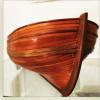
Good morning Group, After some spending some time in the doldrums, I have restarted Le Gros Ventre and spent the past month working on this assembly. I probably built each part a half dozen times... Decisions, do I begin the installation of the frames or tackle the other really tough part of the build, the hawse extensions?.thumb.jpg.4c972e7c6351ce6ecccb529d11e1c4b1.jpg)


-
Great advice and gorgeous model !!!!
-
Hey Group, I am wondering if there is a full proof way to avoid this. I am notching pearwood using a mill and sometimes experience chipping on the cut. Right now my mill is set at a high speed at 10000 RPM and I am using new mill bits. Do I need to reduce speed here or just making many small passes at a time for each notch ? Thanks !
-
Thanks for the tip Jaager - I just want a full proof finish on a fully framed model other than poly or tung - I may try some darker shellac flakes and or a wax finish to try to achieve the look I want with my pear wood. Stand by for some more tests.
-
So far after two coats of 1lb blonde shellac on some scraps Im not happy with it - I think I will mix up to a 2lb cut. Its almost a "non finish" at this point after buffing in between coats with steel wool. I do like the pure tung oil finish better at this point however dont want to give up yet. I also understand many modelers use a wax finish as an alternative. I am a fan of more natural finishes than a poly finish. Any tips are appreciated as always.
-
Hi Group, I bought some blonde shellac flakes at Rockler to experiment with on Black Friday. I am wondering for those of you who use this finish what sort of cut rate you use. Many recommend a two lb cut rate however I wonder if this is too thick. I created my first batch at a 1lb cut rate and would rather build up a finish than lay on one that is too thick. Any advice is appreciated ! Chris
-
OcCre HMS Victory Limited edition
ChrisLBren replied to modeller_masa's topic in Wood ship model kits
That model looks terrible in my opinion - a bastardized attempt at accurate construction. Build the Caldercraft model or Chris's design with Amati if it ever sees the light of day -
Jim Byrnes Saw Rattling Vibration
ChrisLBren replied to ChrisLBren's topic in Modeling tools and Workshop Equipment
Problem solved - the belt guard was causing the issues. I removed it - with the new motor the saw cuts better than ever. Belt guard is probably bent - will need to straighten it out before re - installing -
Jim Byrnes Saw Rattling Vibration
ChrisLBren replied to ChrisLBren's topic in Modeling tools and Workshop Equipment
Thanks Kurt - will check this out and get back
.jpg.5b708b0f87e2e5e73e4041e09d38760e.jpg)