_SalD_
-
Posts
757 -
Joined
-
Last visited
4 Followers


About _SalD_

Recent Profile Visitors
1,947 profile views


-
 _SalD_ reacted to a post in a topic:
NRG Rigging Project by tlevine
_SalD_ reacted to a post in a topic:
NRG Rigging Project by tlevine
-
JerryTodd reacted to a post in a topic:
USCG Harriet Lane by _SalD_ - Model Shipways - 1:96
-
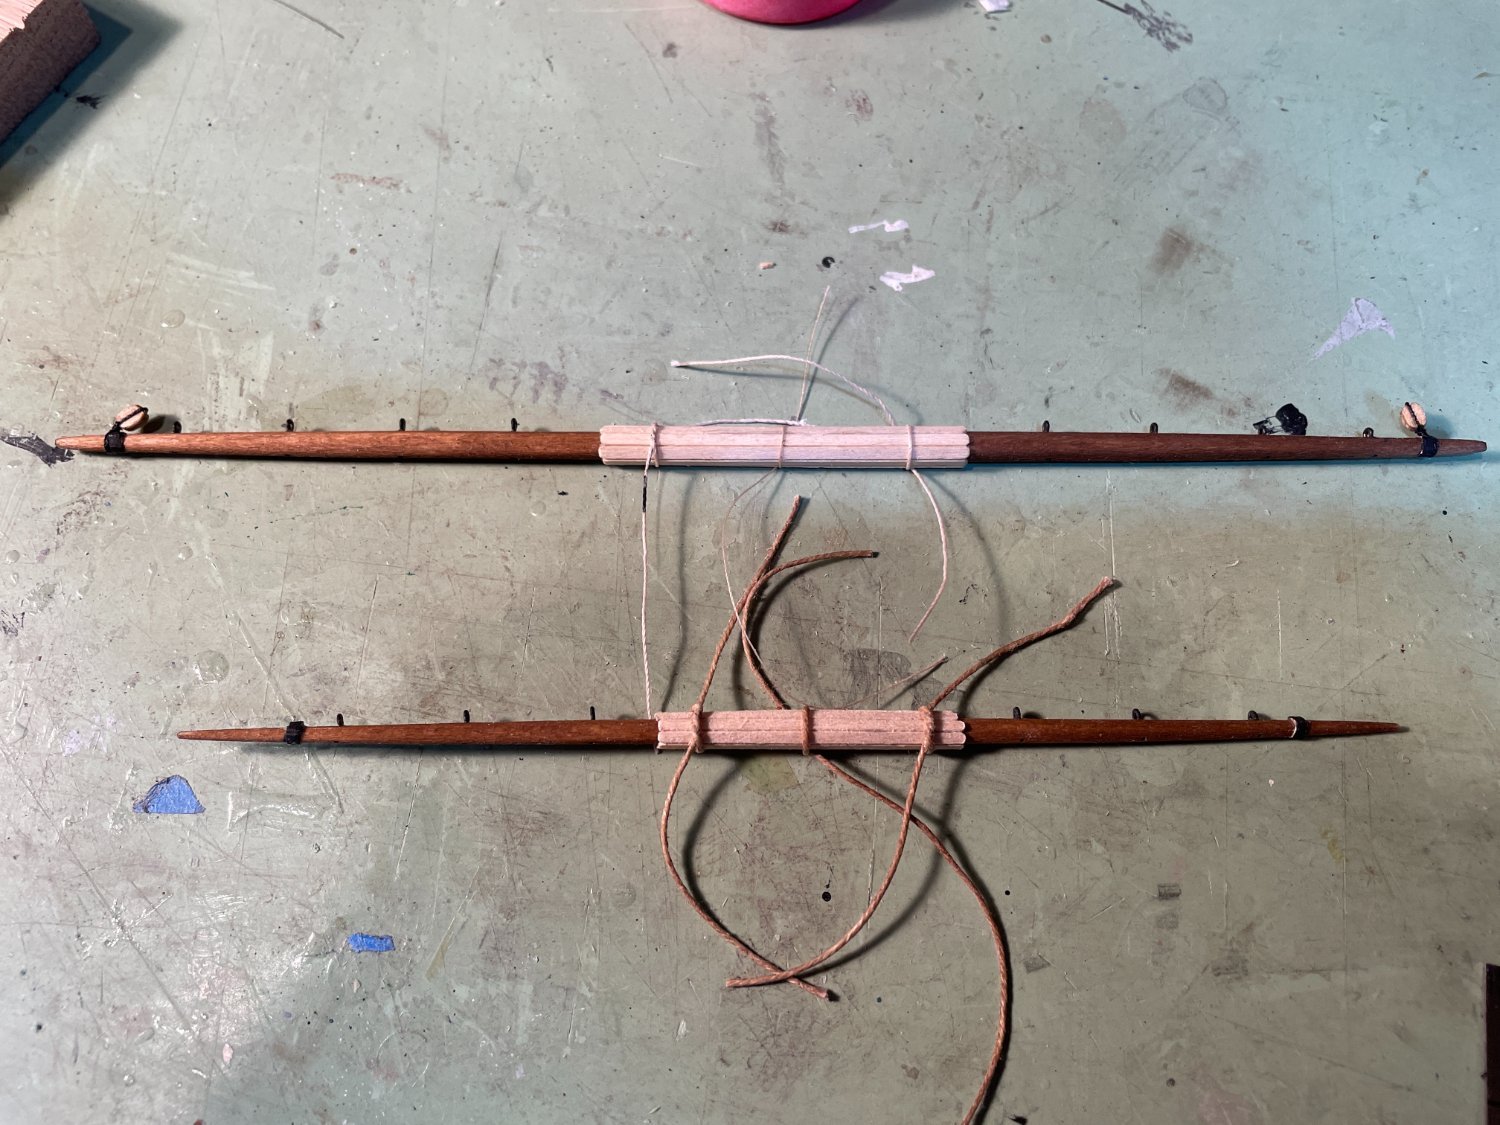
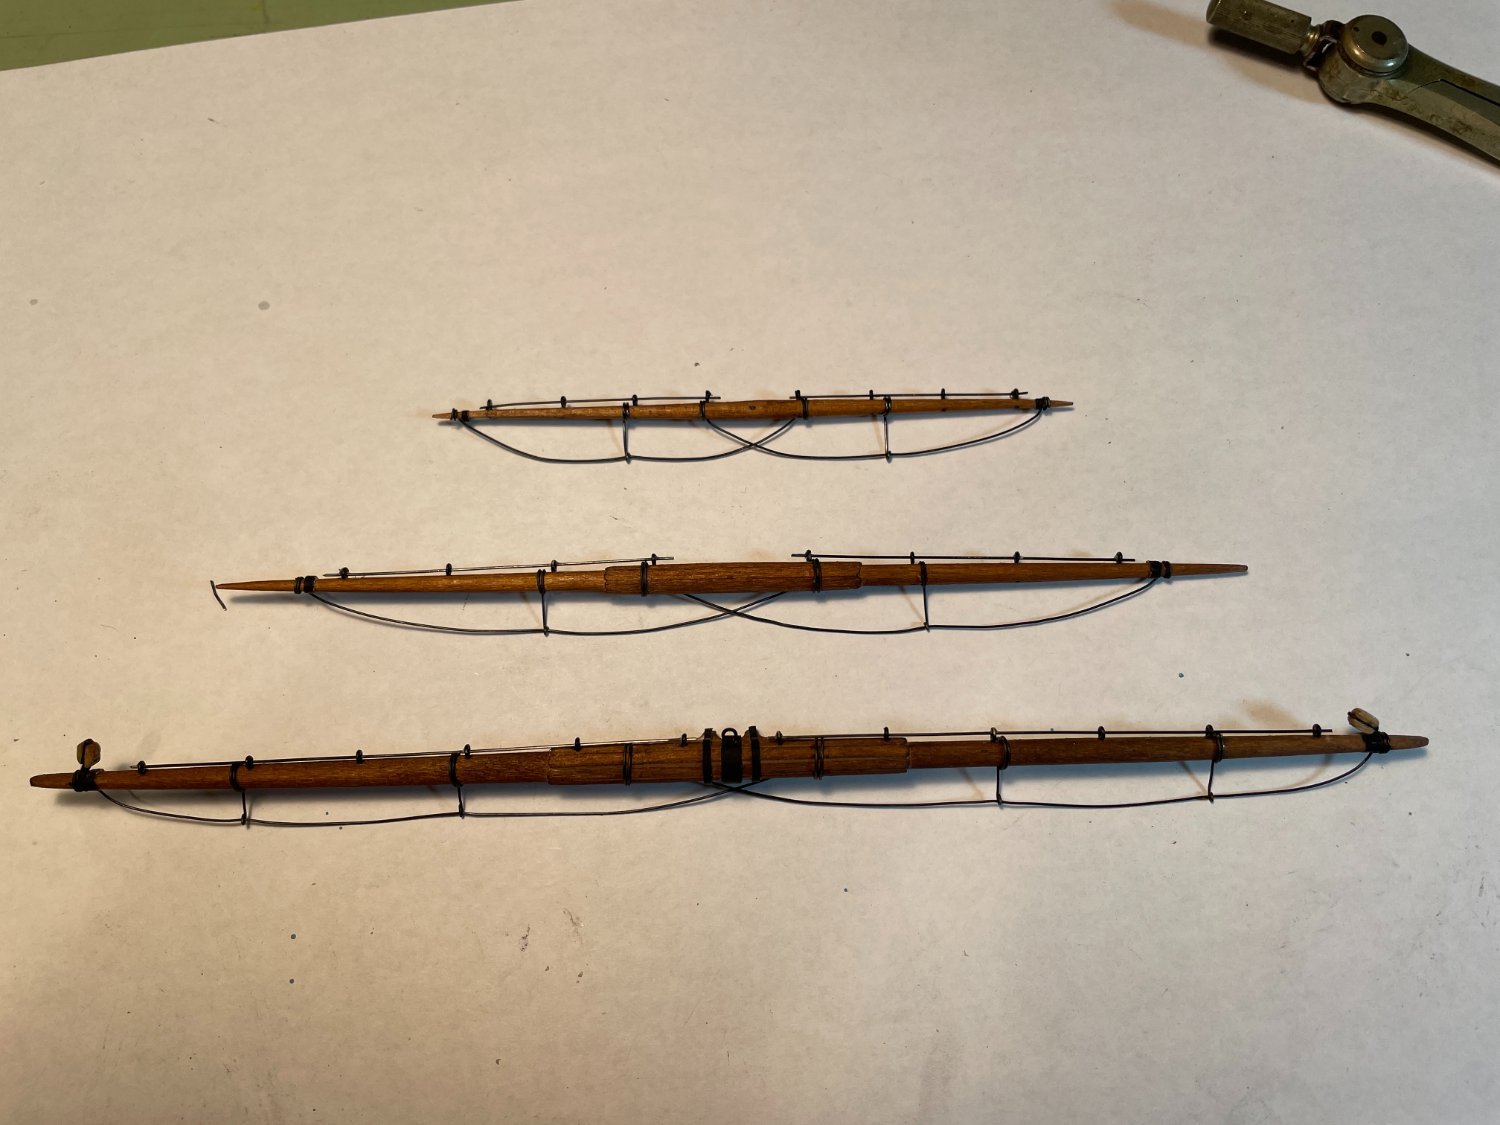
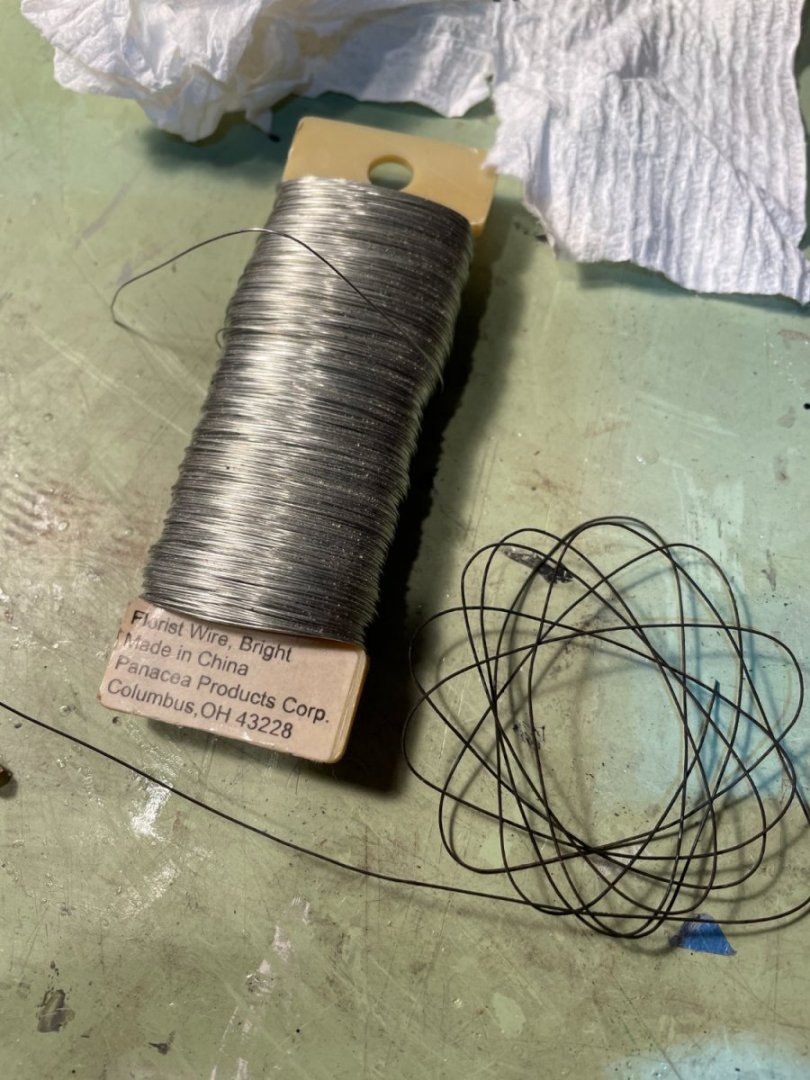
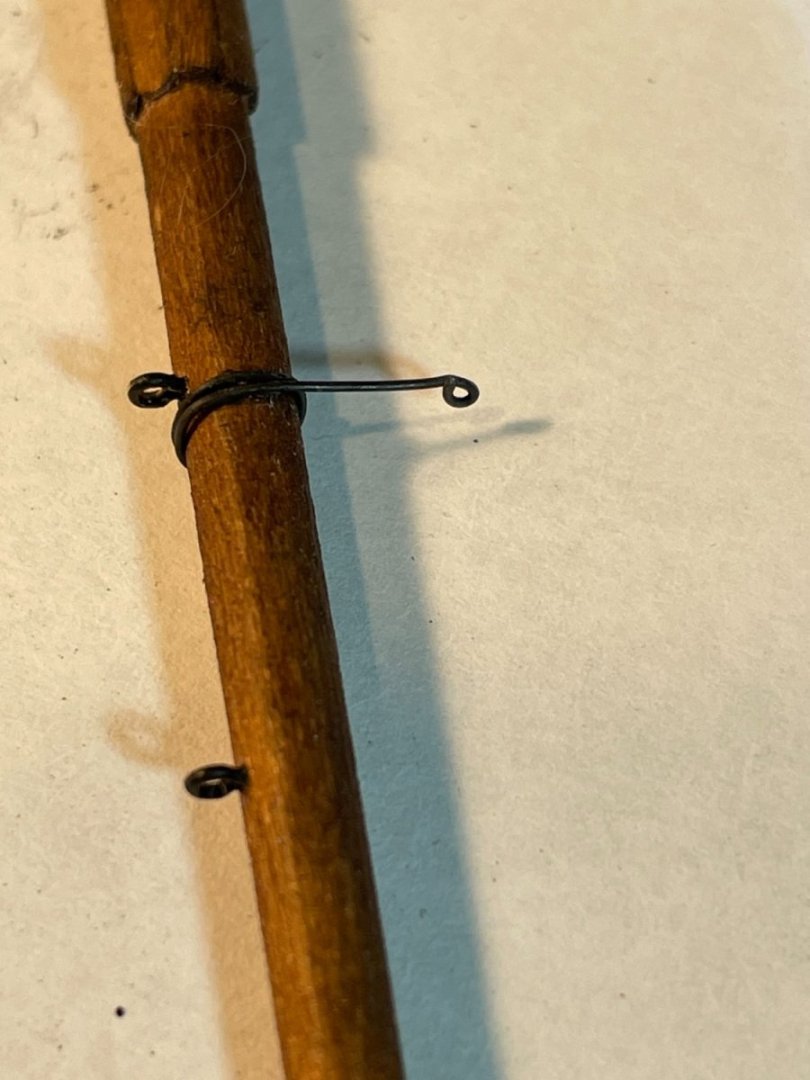
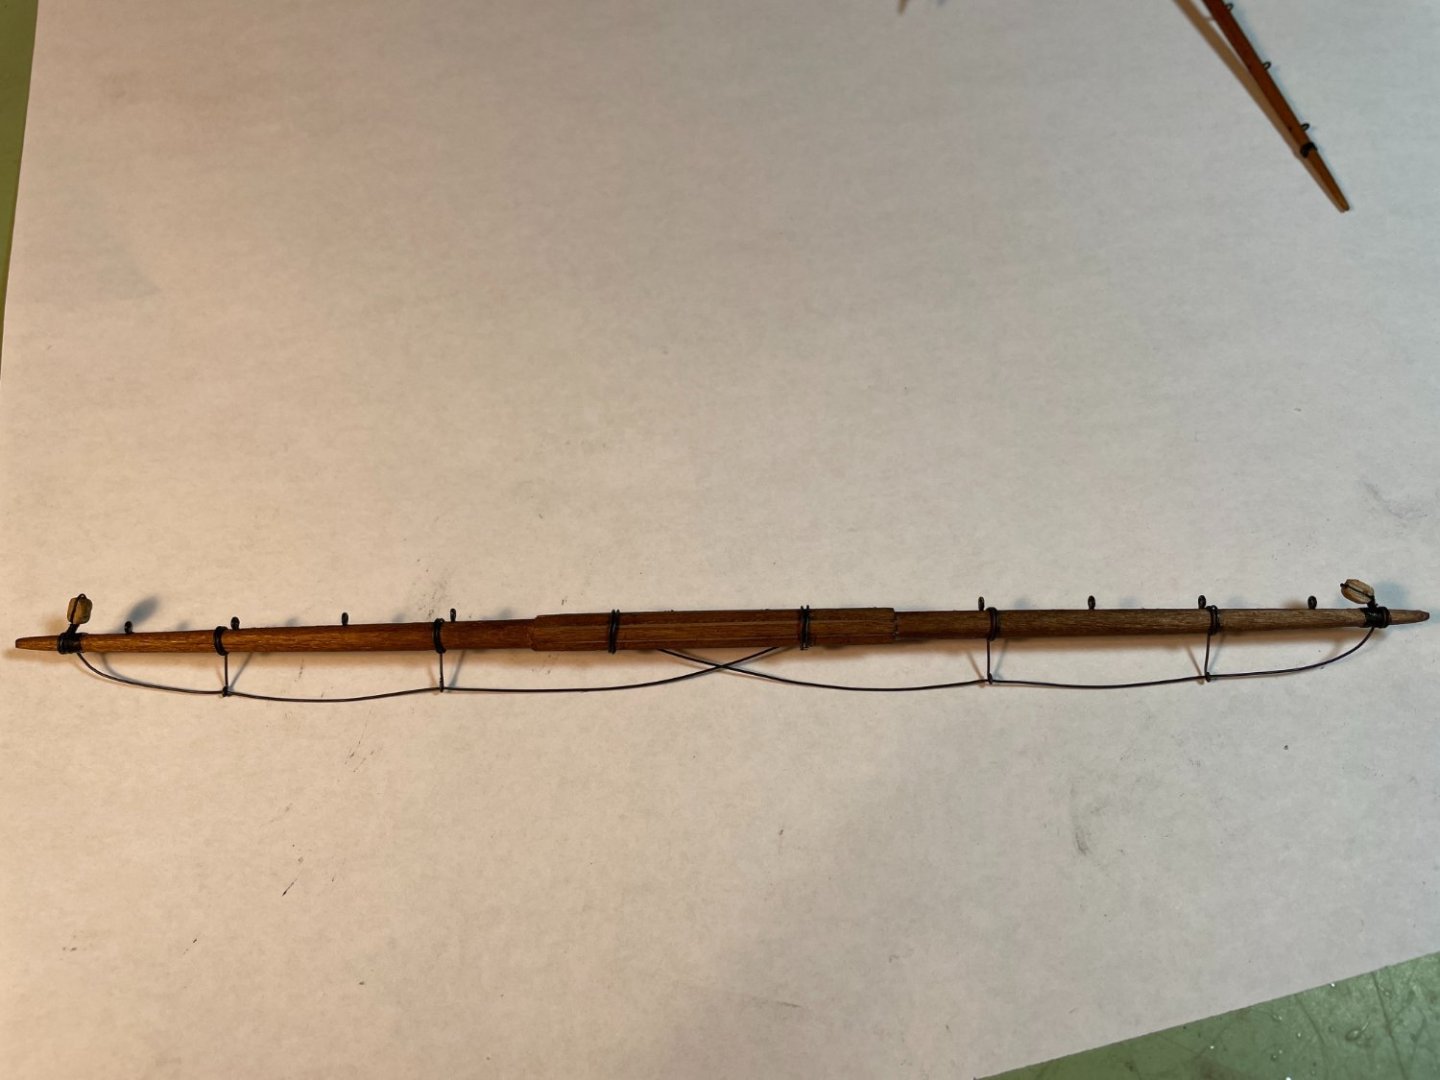
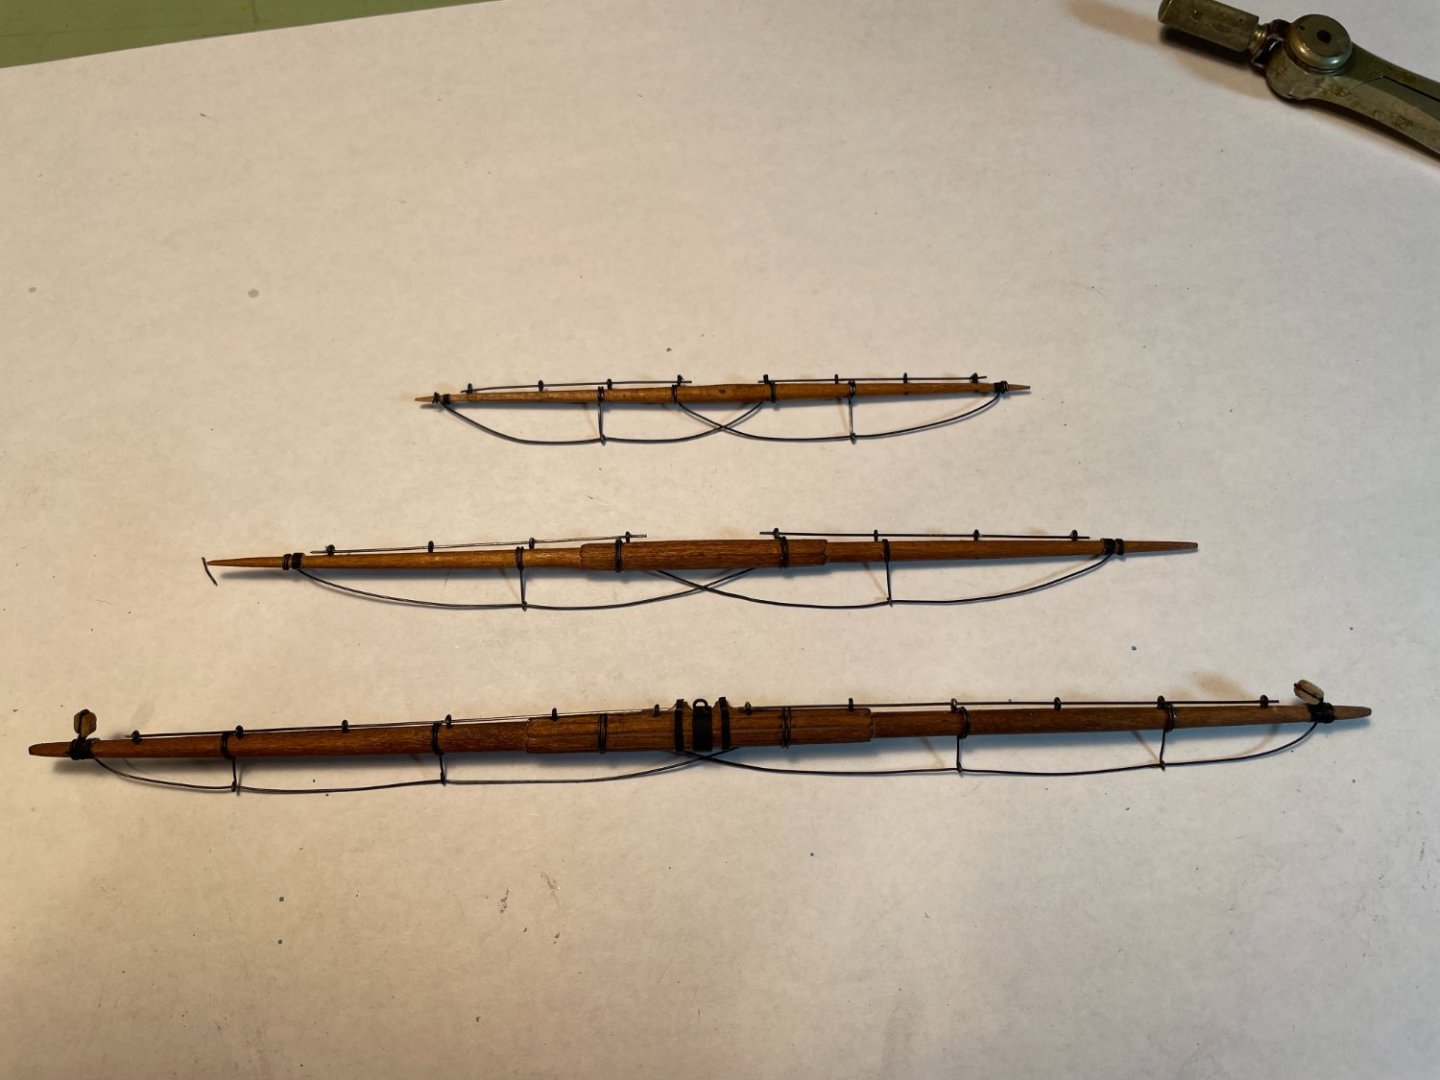
 I decided to revisit the lower and topsail yards to make their center portion octagon-shaped. For the octagon shape section I used some dimensional lumber from Midwest Products that I had purchased a while back. I had to remove the jackstays and a couple of eyebolts to fit the battens. (sorry for getting my finger in the way) Battens glued and tied. Once the glue was dried the battens were stained and the eyebolts were reinstalled. For the footropes and their stirrups I decided to use 30 gauge florist wire (blackened). The stirrups were made by wrapping the wire around the yards a couple of times and then forming a small eyelet at its end. The footropes were then laced through the stirrups and the ends were wrapped around the yards. I had to keep the jackstays off until all the stirrups and footropes were put on. Completed yards. This will be my last post in this build for a while because the wife and I will be heading back to Florida for the winter. And since the ship is at a point that it can’t be easily transported it will have to wait until next spring to be finished. 😪 I would like to thank all those who have been following along with my build, for all the kind words and for all the likes. Have a Happy New Year and see you in the spring.
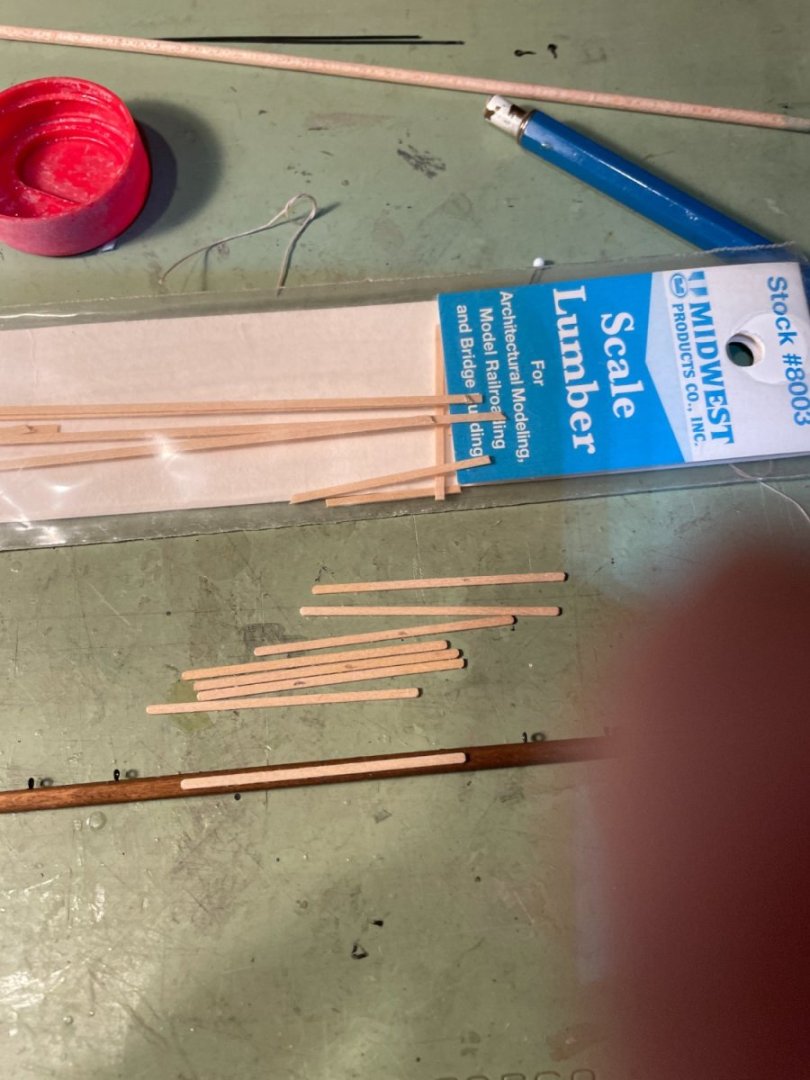

-
Thanks for the advice druxey. My daughter uses 'Tacky Glue' for her craft projects maybe I'll give that a try.
-
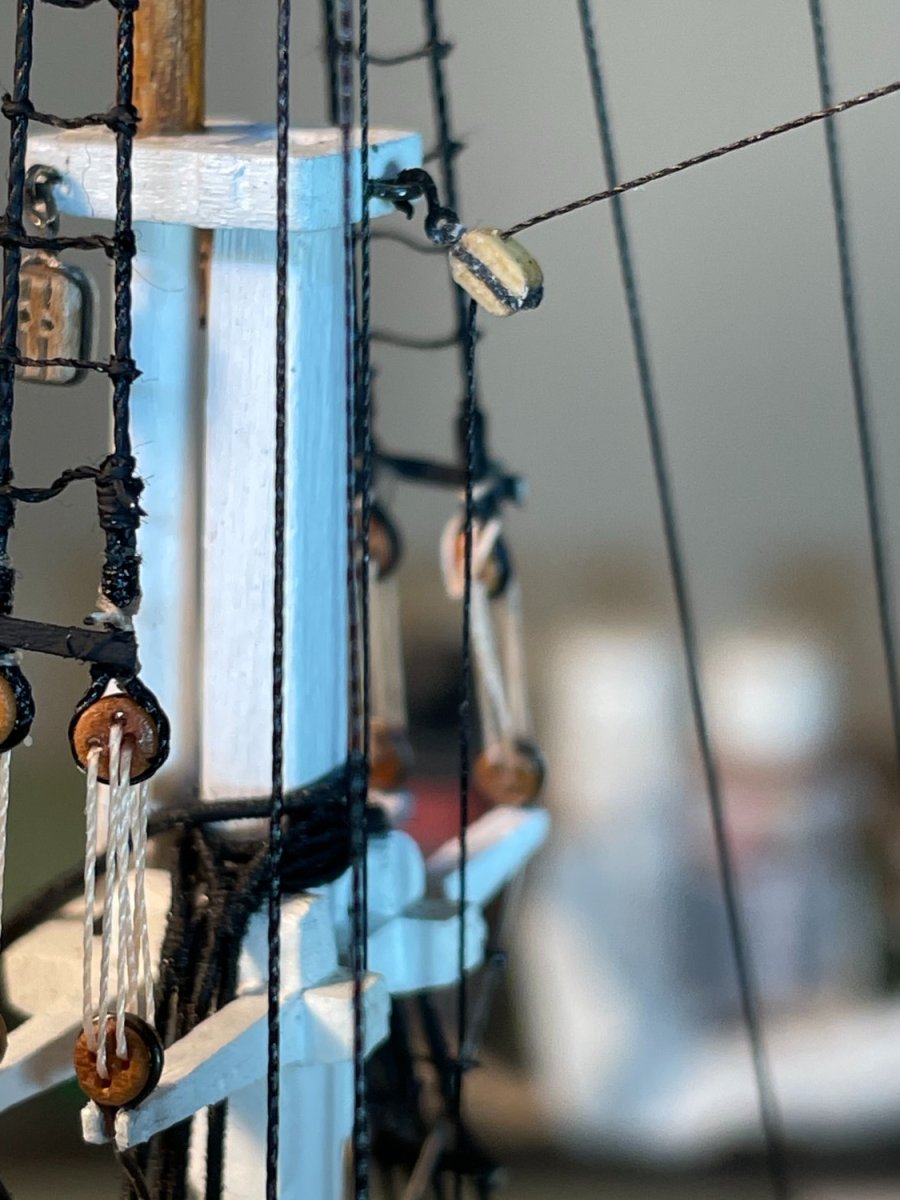
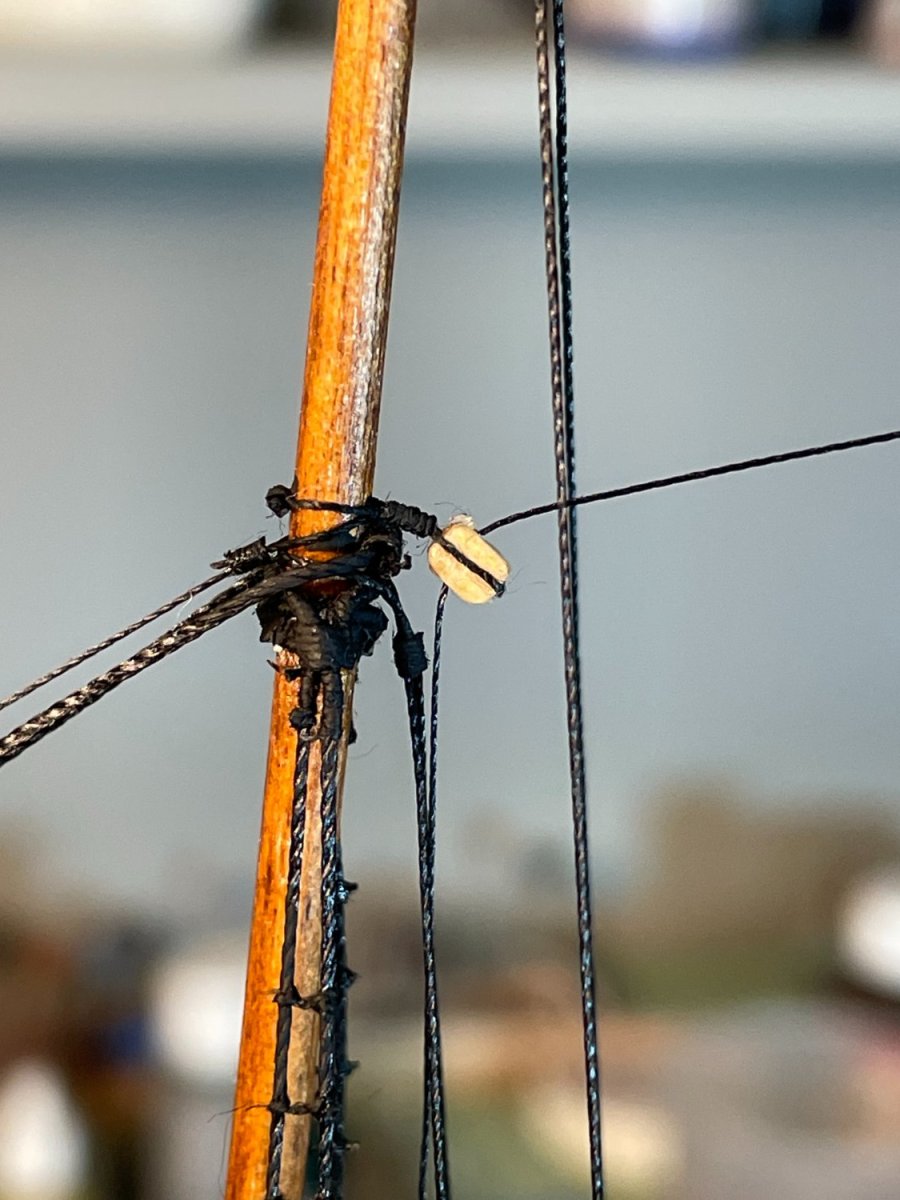
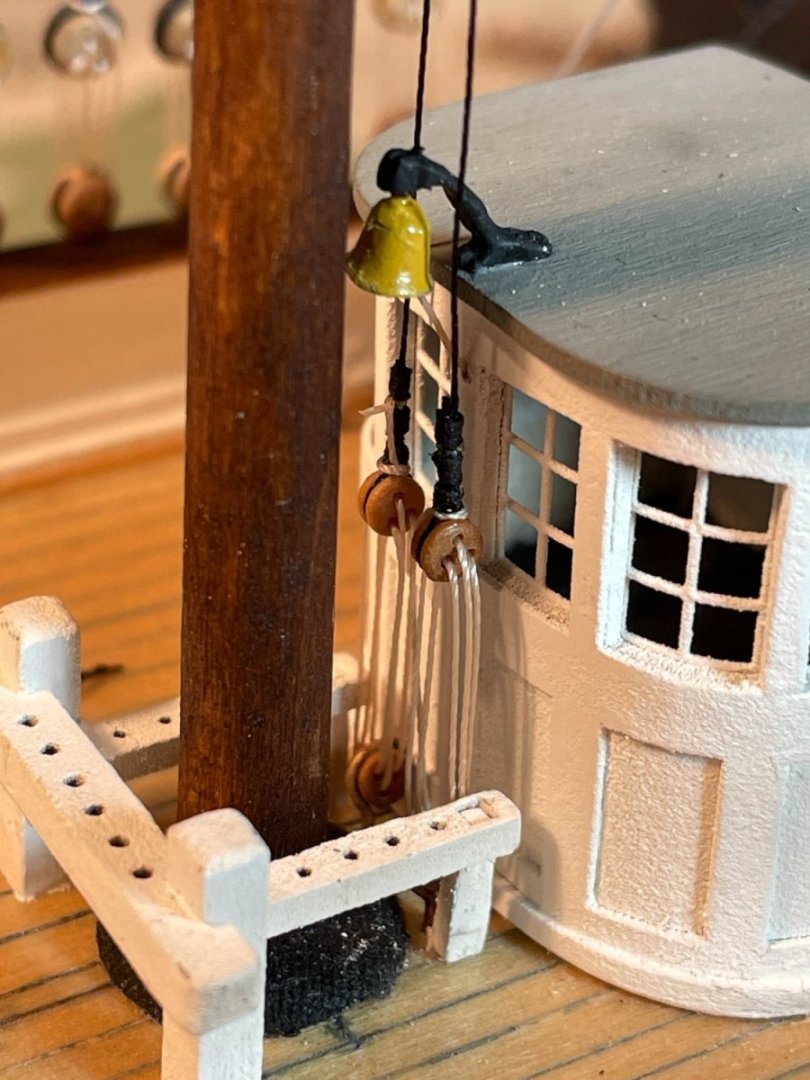
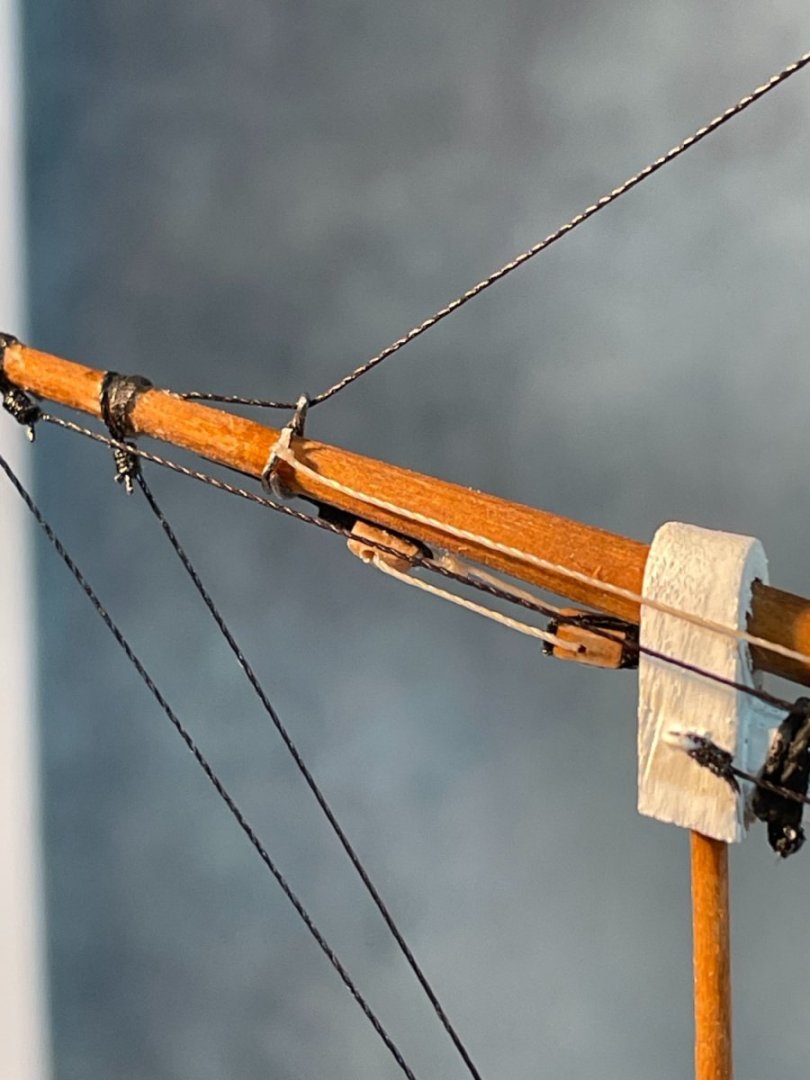
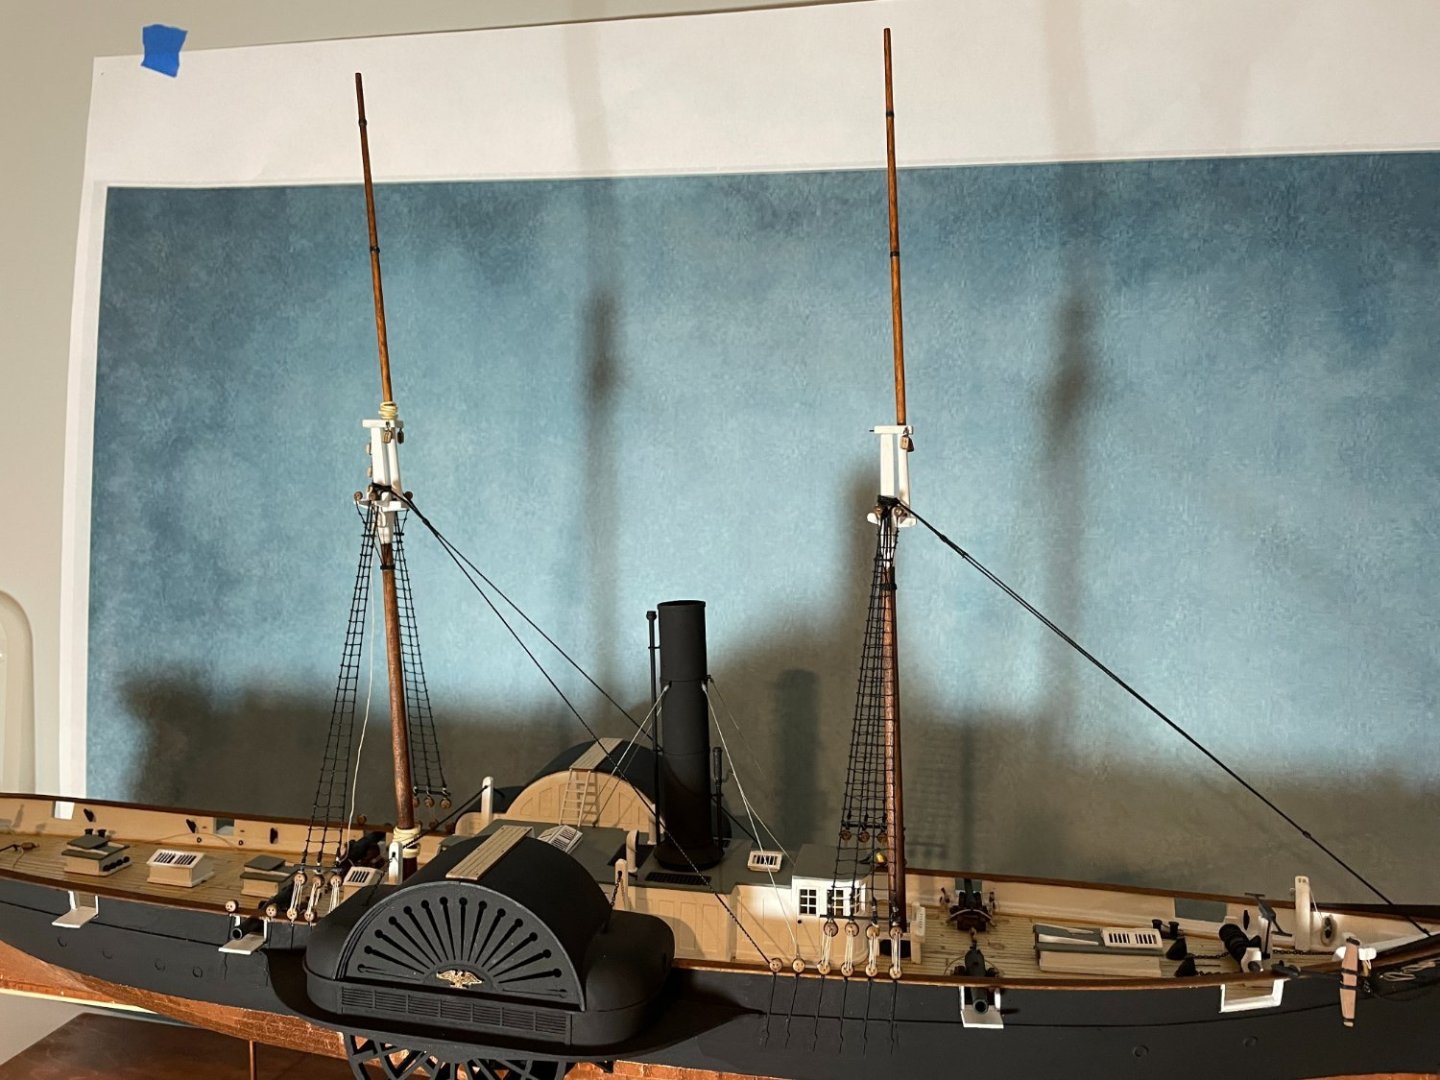
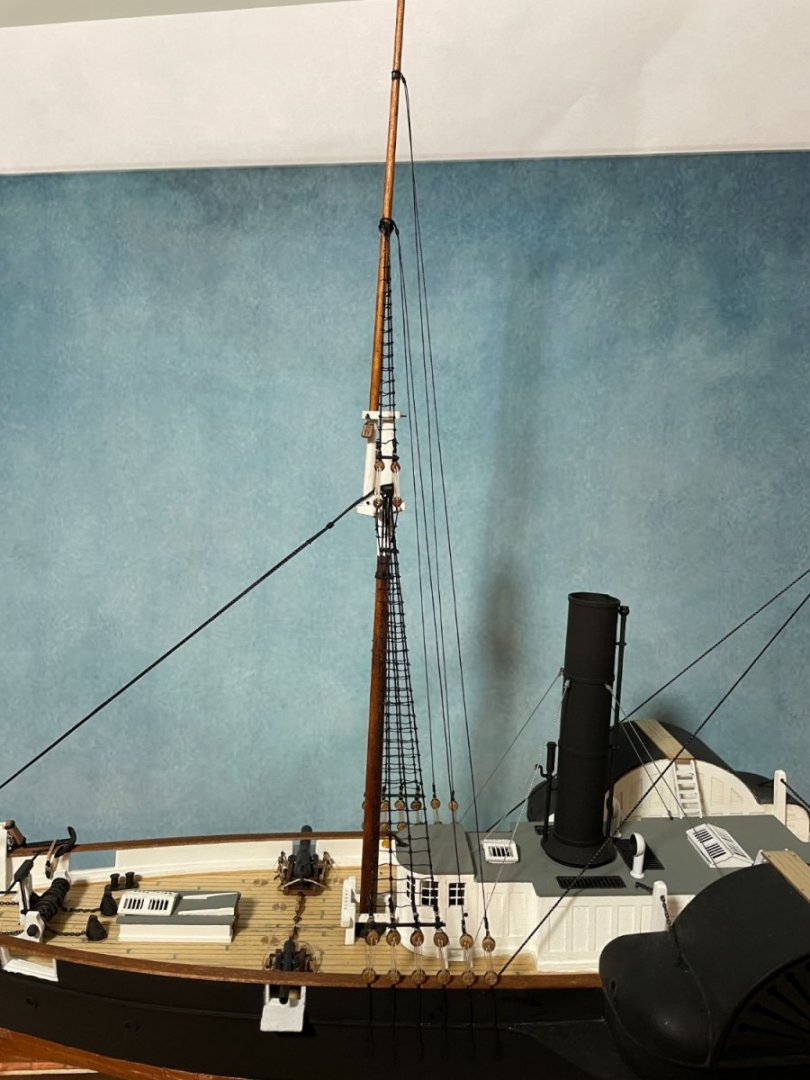
Main topmast stays: For the two main topmast stays instead of just tying the stays from one mast to the other I tried a ‘modified’ super detail as mentioned in the manual. The stays were tied to the main mast, then reeved through blocks on the foremast and then brought down to the deck. The modification came in the way I anchored the stays to the deck. Instead of belaying these lines to the forward bitts I decided to secure them with deadeyes and lanyards. To make it clearer thought I would show you the finished product and then explain how I did it. Stays tied off with deadeyes and lanyards abaft of the fore mast. Lower main topmast stay reeved through a block hooked to the eyebolt on the foremast cap. Upper main topmast stay reeved through block seized to the fore topmast. Now for the how-to. Instead of trying to run the stays from the main topmast through the blocks and then down to the deck and try to lace the lanyards through the deadeyes, I did it in reverse. First, one deadeye (2.5mm) was placed into an expanded eye of an eyebolt and set with some ca glue. Next, another deadeye (2.5mm) was seized around the end of the stay. Using a third hand the two deadeyes were held a certain distance apart so the lanyard could be threaded through them and tied off. The distance was arbitrary; I just used something that I thought looked good. My next challenge was to drill holes in the deck in order to insert the ends of the eyebolts into. My solution was to use a 1/8” diameter dowel with a drill bit glued into a hole drilled in the center of the dowel. I ended up tapering the end of the dowel a little bit to get it closer in to the pilot house. This worked out okay you just need to be patience getting the bit in the correct location. After the holes were drilled the eyebolts were inserted by holding them with tweezers and then glued in with a drop of ca glue. After waiting for the glue to dry the lines were then run up through the blocks and tied off to the main topmast. Completed standing rigging.


-
Chuck, Thanks so much for the kind words.
-
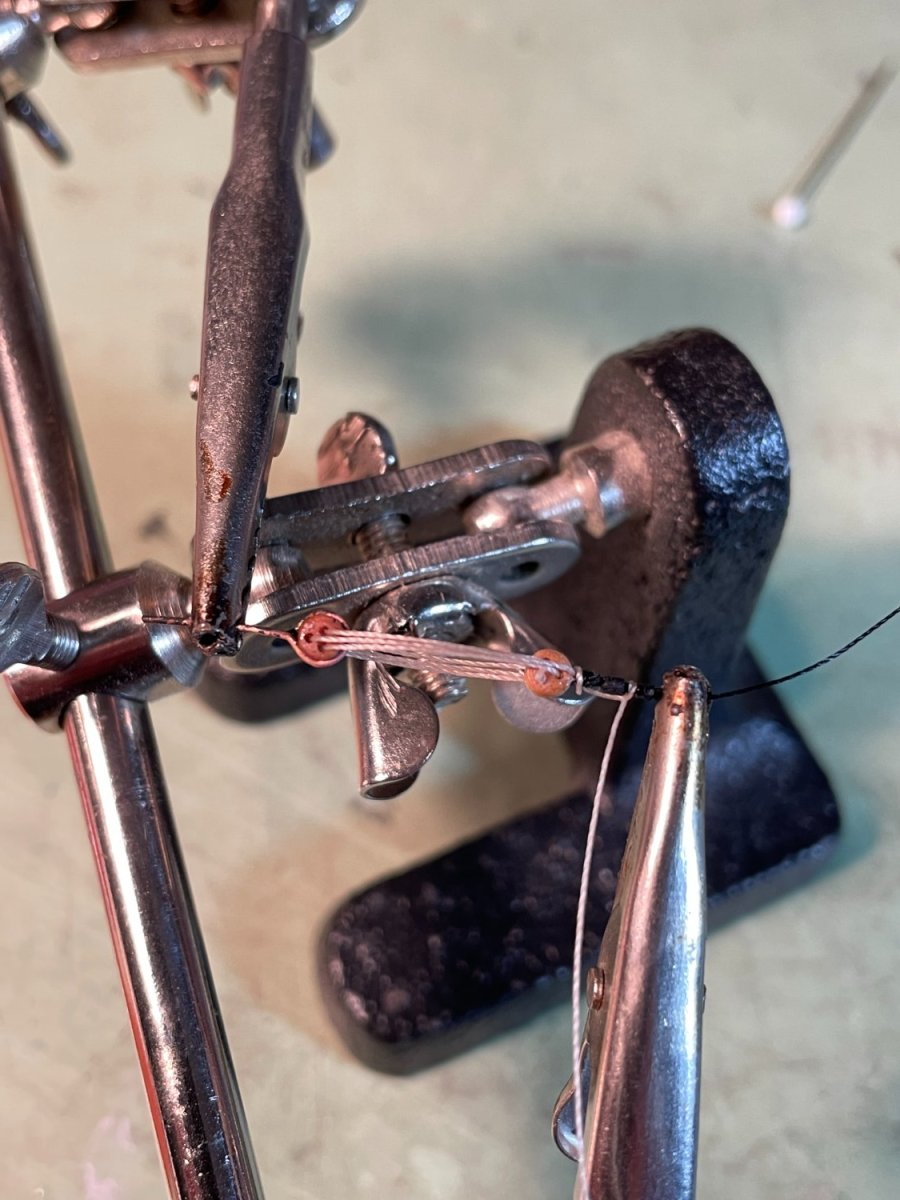
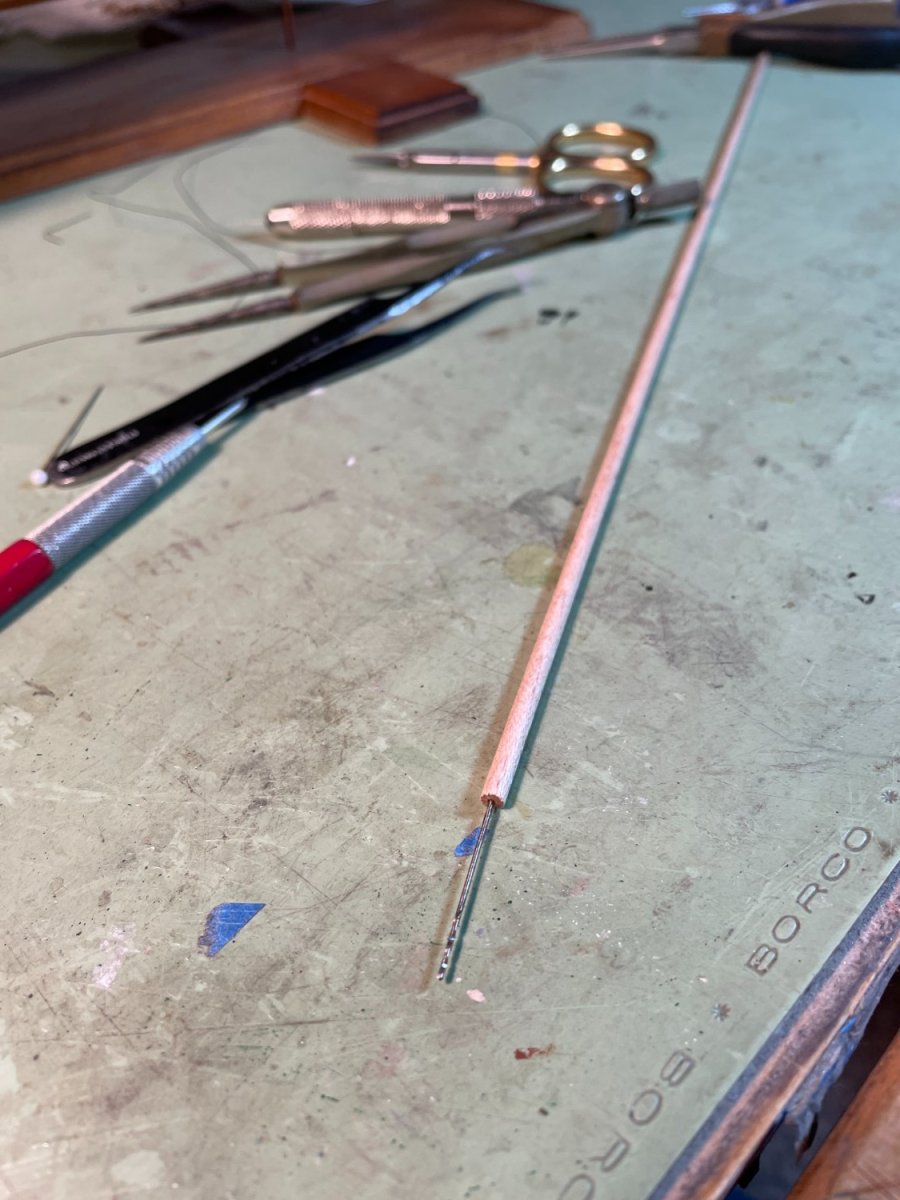
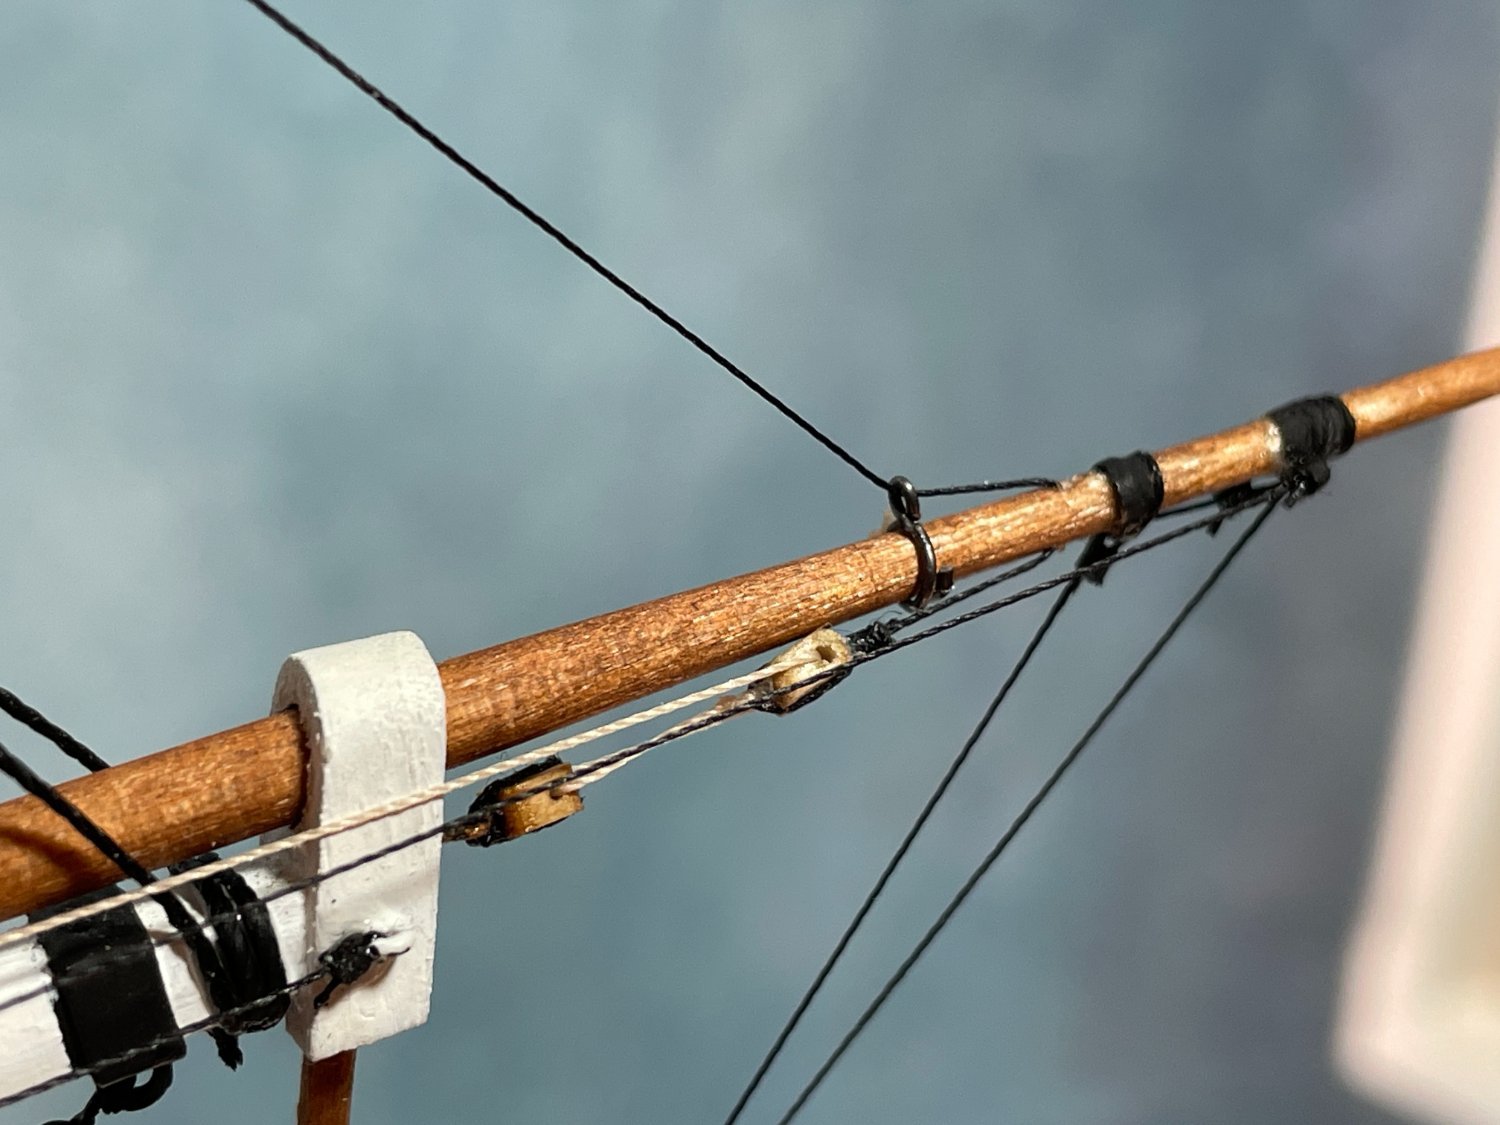
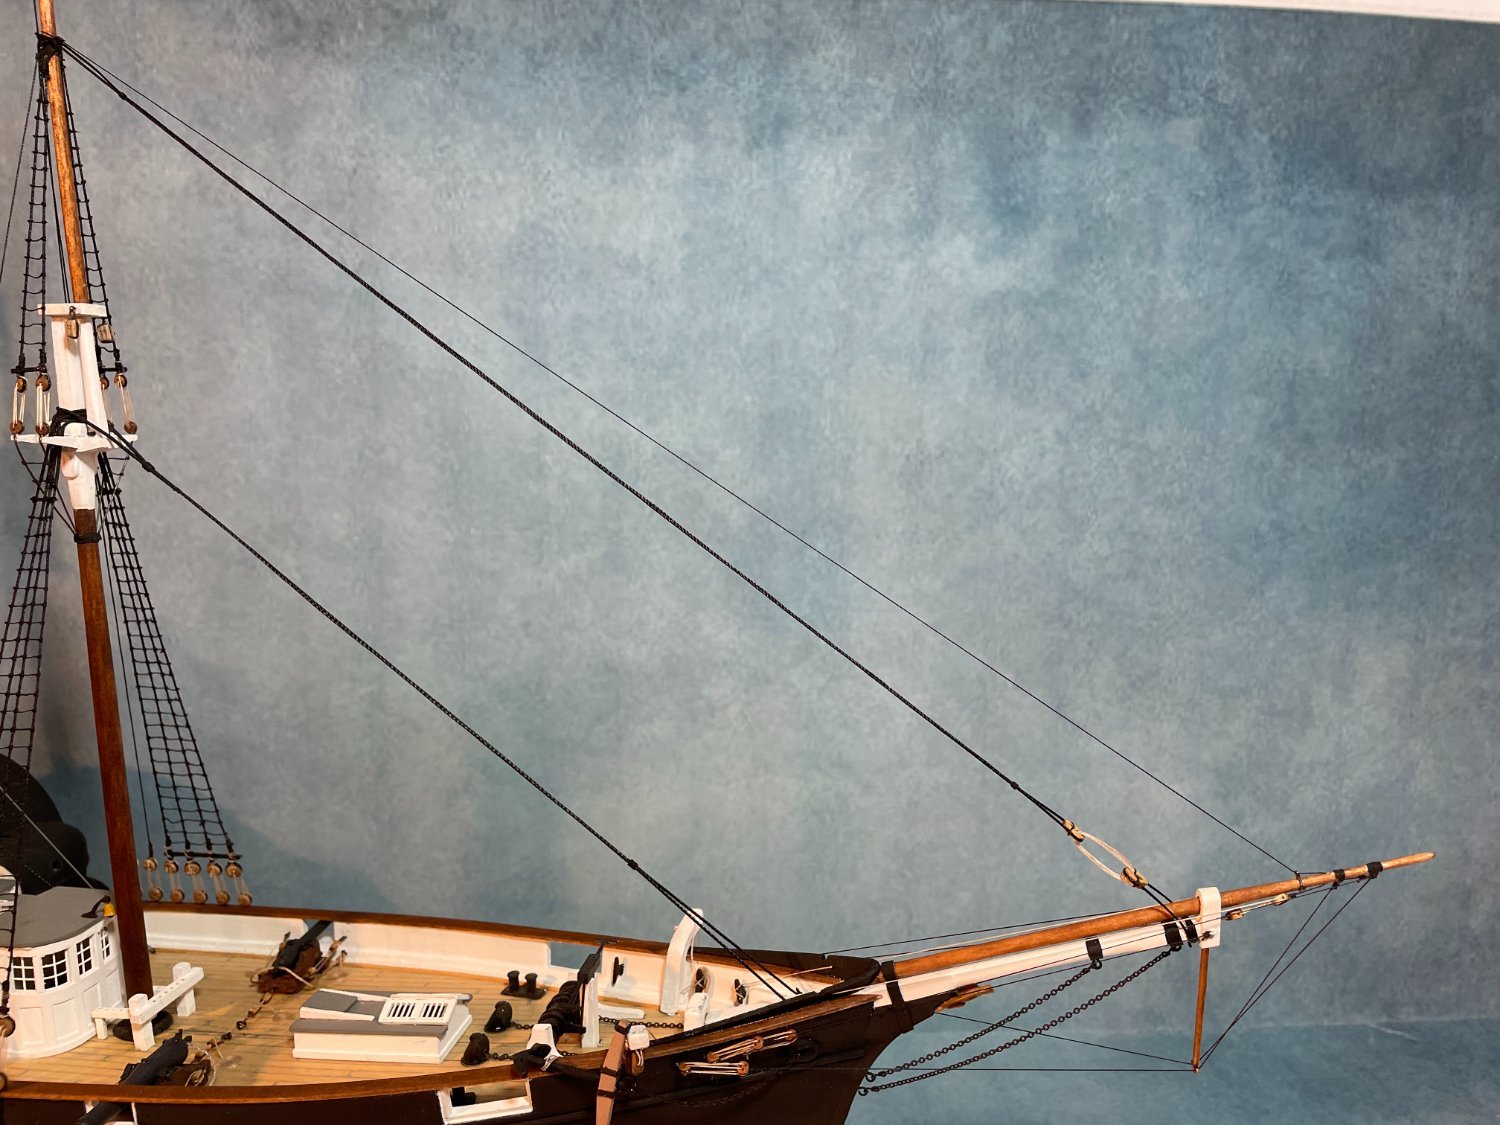
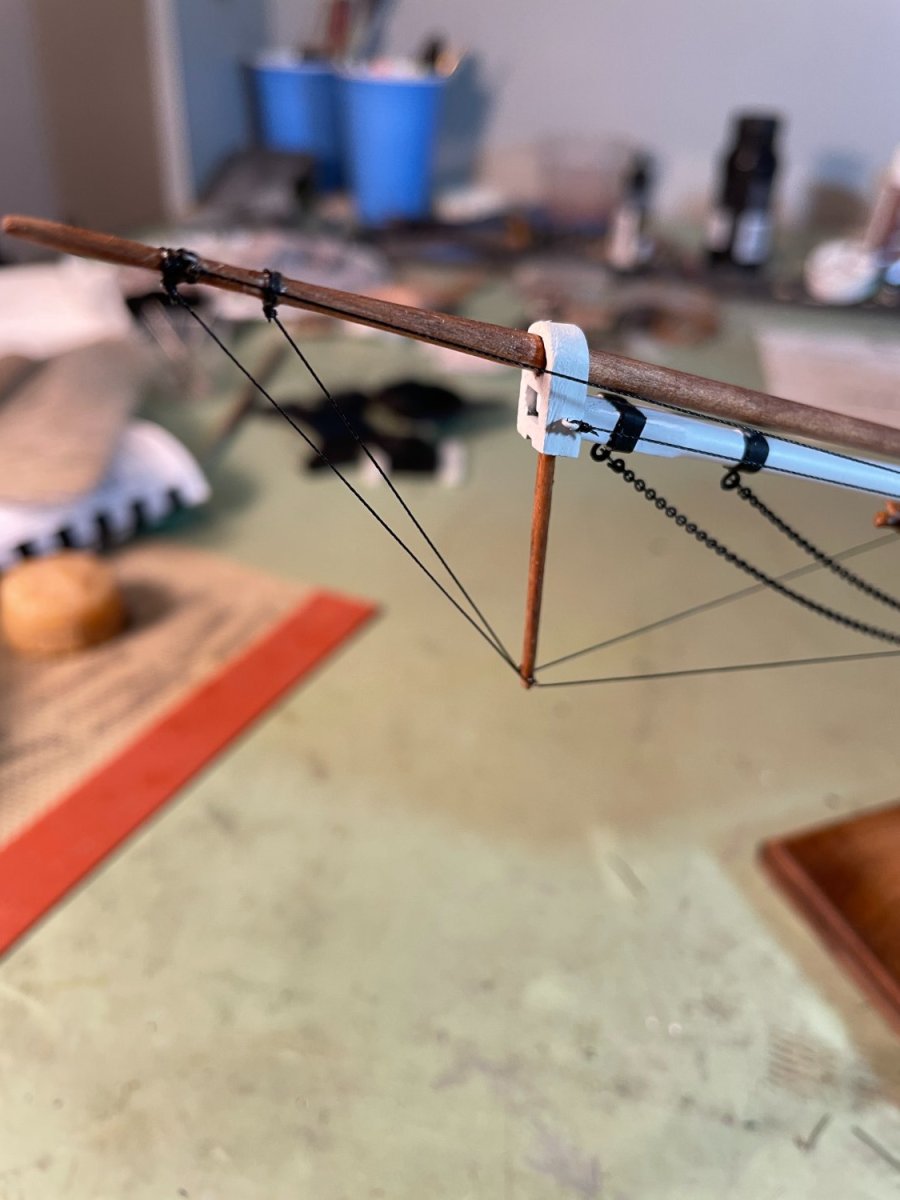
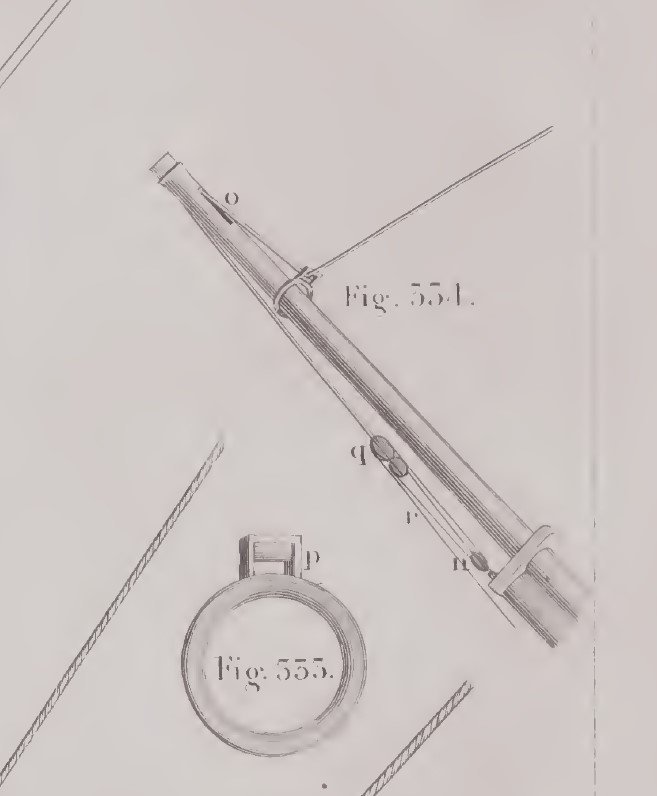
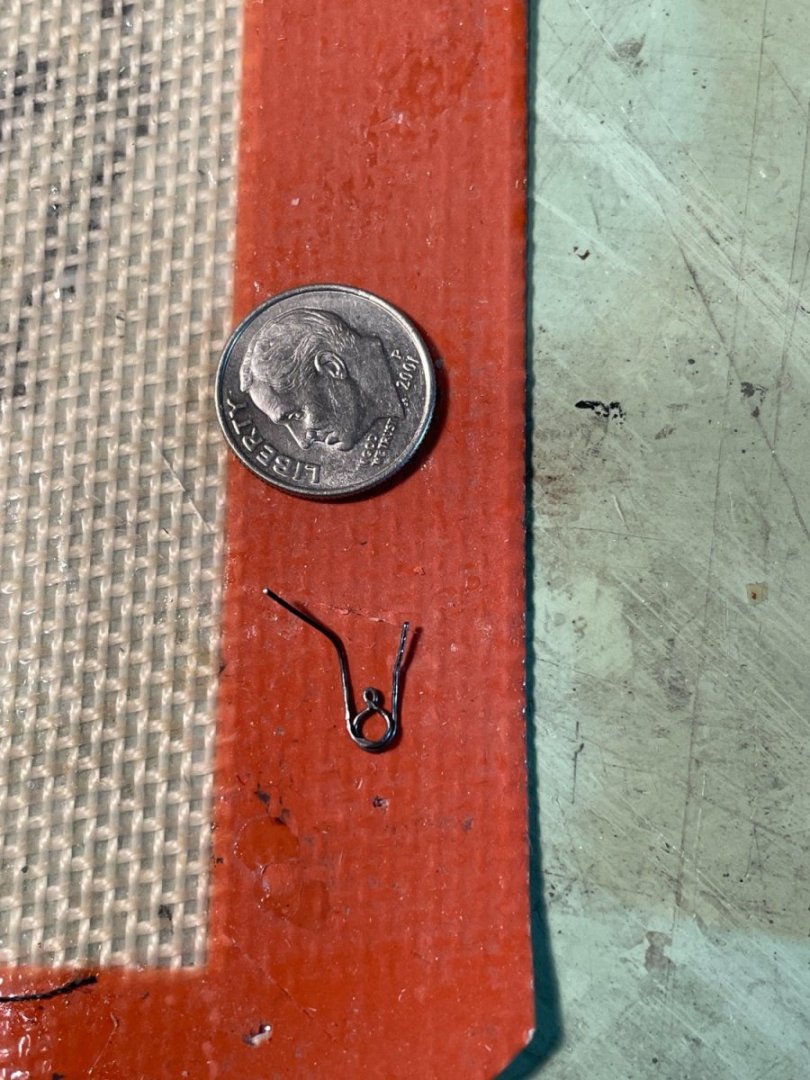
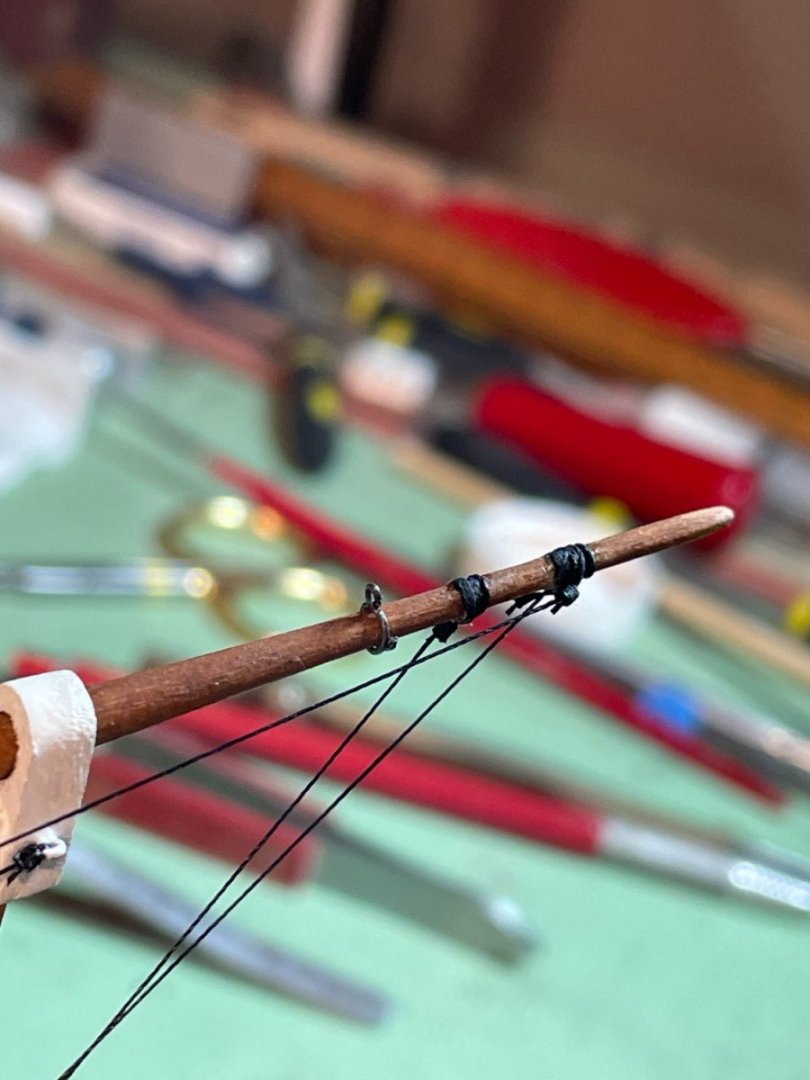
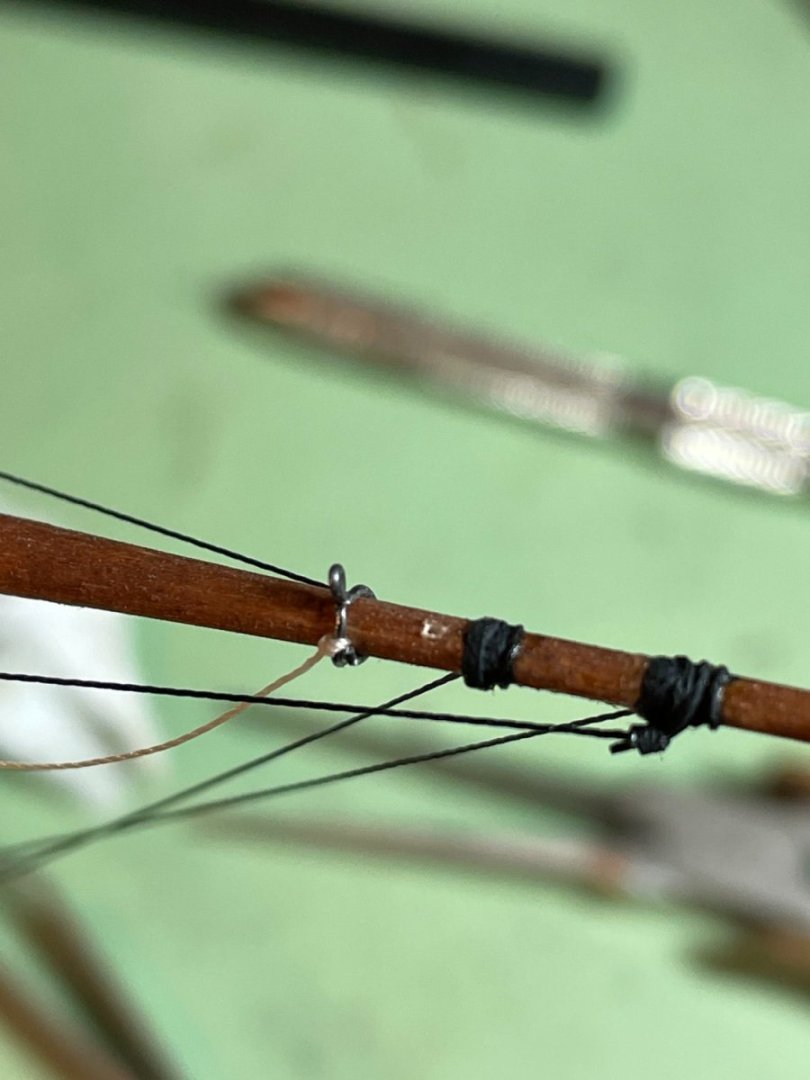
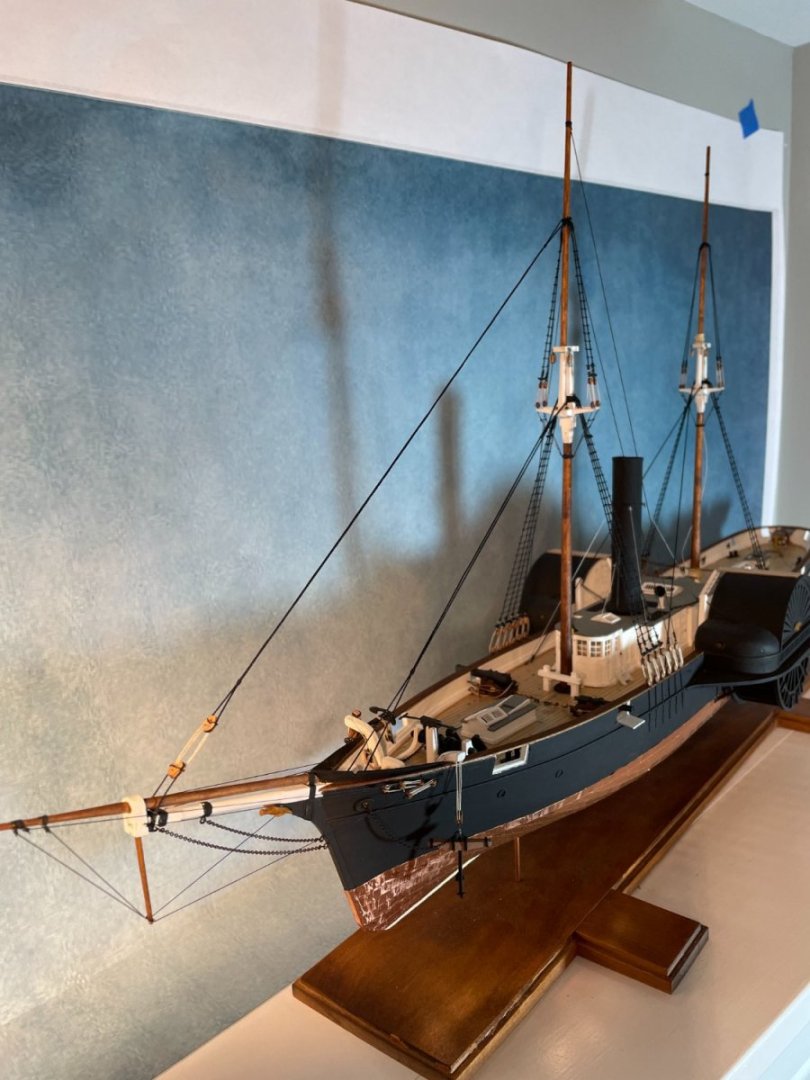
Jib Stay: For the jib stay I decided to try rigging this line something like what is shown in ‘The Young Sea Officer’s Sheet Anchor’ book on page 61. My first hurdle was how do I make and then attach the traveler to the jib boom now that the boom is already in place. My solution was to bend some 28 ga. wire around a round nose pliers to the diameter of the jib leaving extra wire at the ends in order to work it around the boom. The two long ends of the wire ring were spread part and wrapped around the jib and then reformed into its circular shape. The excess wire was removed once the traveler was in place. The next challenge was to drill a hole through the jib boom to simulate the sheeve and to not snap the end of the jib off. By supporting the underside of the boom and applying gentle pressure on the pin vise the hole was successfully drilled. Next I chose to use two single blocks for the running rigging for space considerations. One block was seized to the end of the jib stay; the other was stropped to an eyebolt that was attached to the bowsprit cap. The running rigging was reeved through these blocks bring the working end aft through the fairlead and tied to a cleat added to the bulwarks. The jib stay was then threaded through the hole in the jib boom, through the traveler and then tied off to the fore topmast. For a finishing touch I added the inhaul line to the port side of the traveler which also ran back through the fairlead and tied off to a cleat on the bulwarks. Finished jib stay


-
Chuck, Thank you and best of luck with your build. Will you be doing a build log? If so I'll be interested in seeing how you modify her armament. Also, if you have any question don't hesitate to ask.
-
Thank you rcmdrvr and thanks to everyone for all the likes.
-
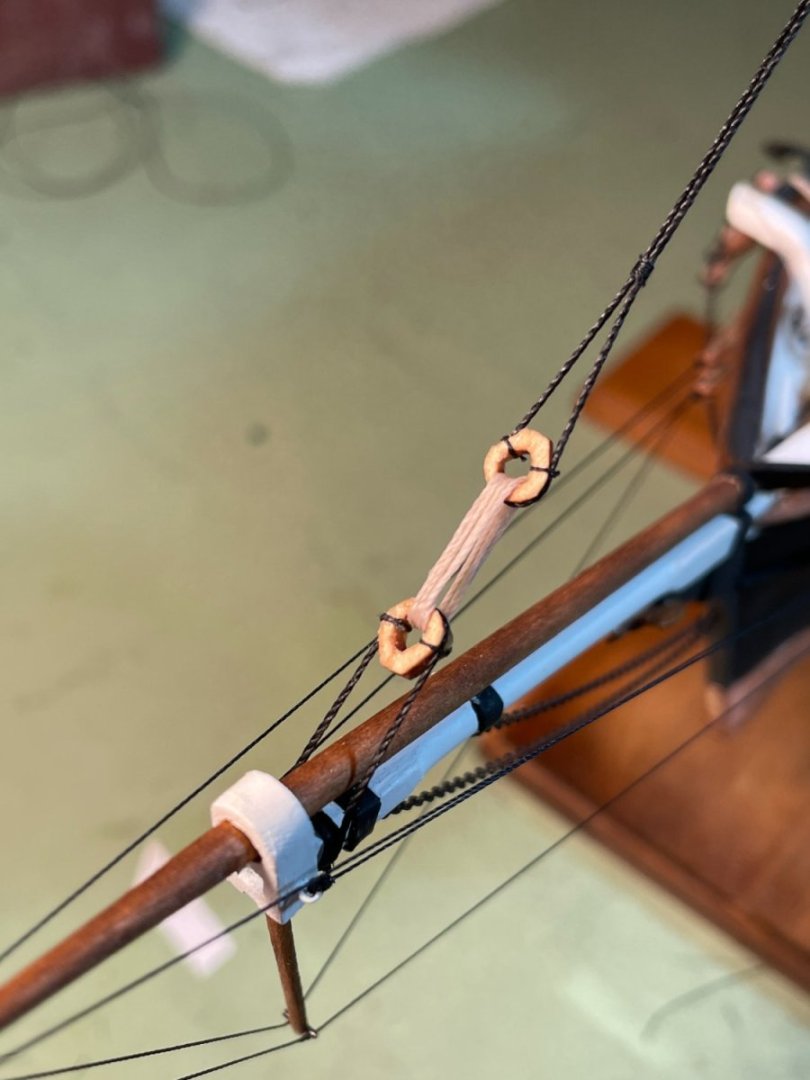
Thanks druxey. I ended up redoing the lashing between the hearts because the first time i did it I tightened the stay so much I put a rather drastic sag in the fore stay. oops!
-
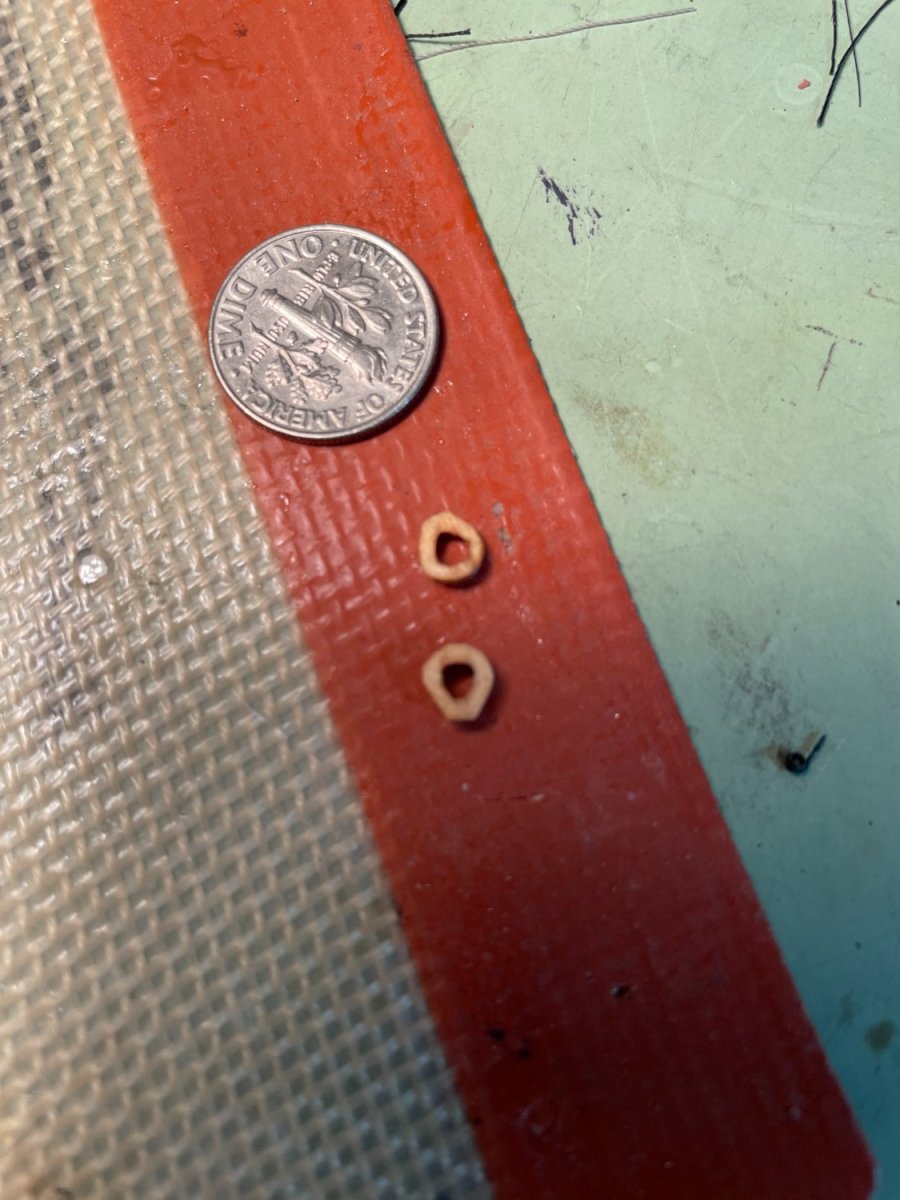
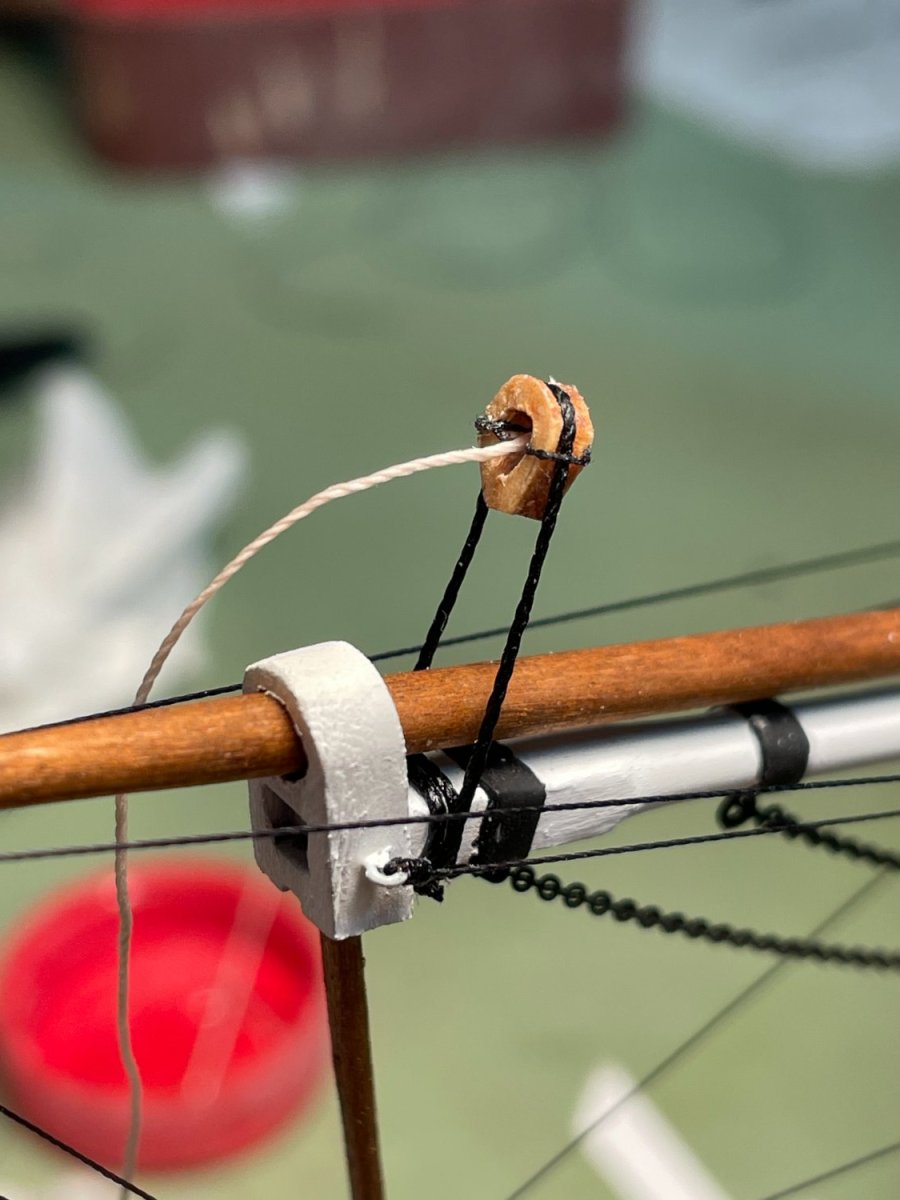
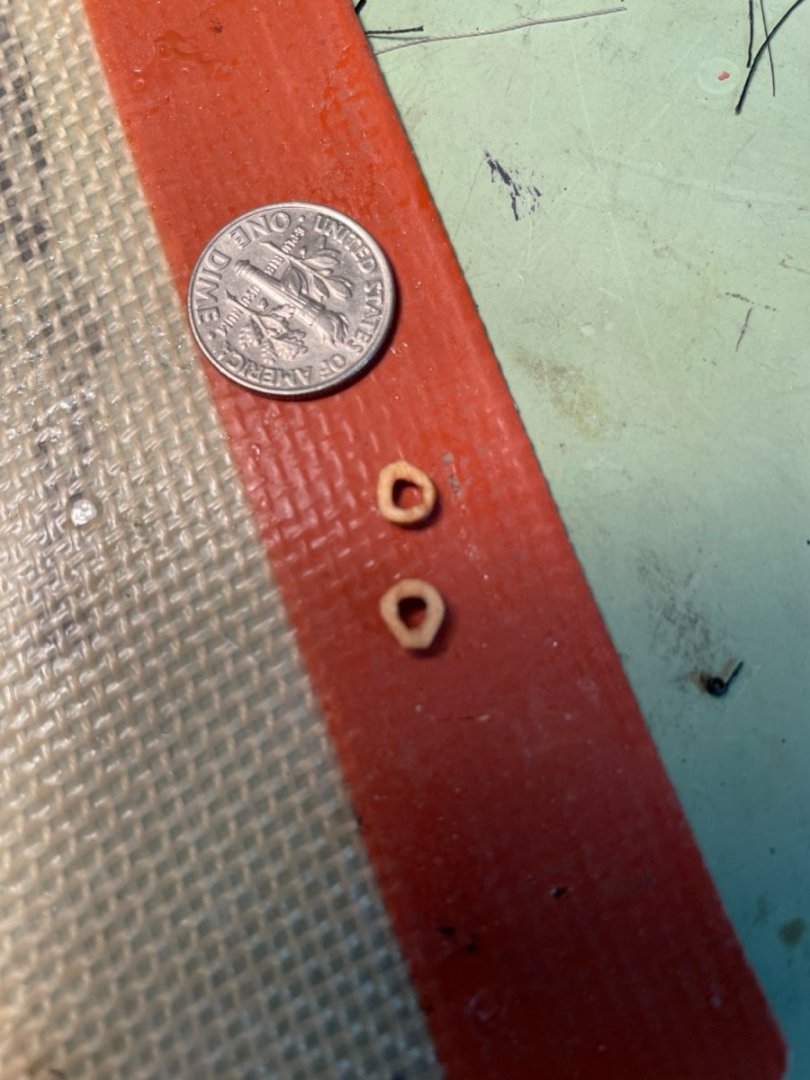
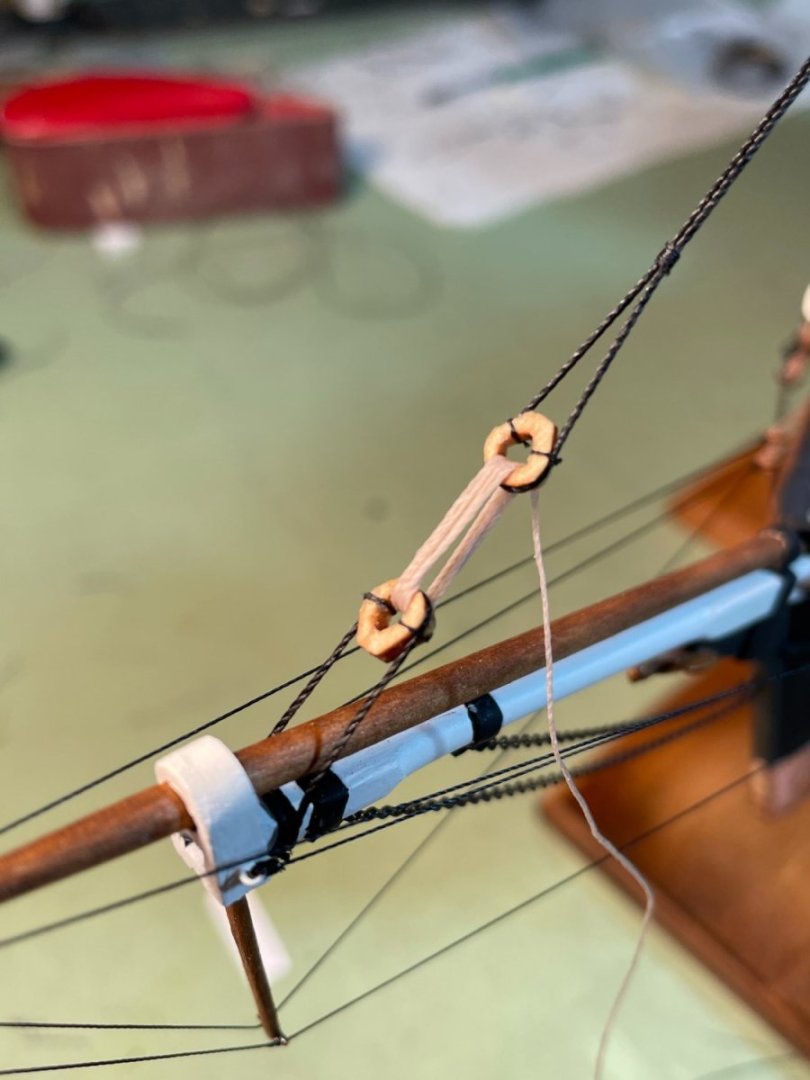
Part 2 Trying to follow all the Superdetails listed in the instructions I decided I would try making the heart blocks for the Inner fore topmast stay. Cutting out two circles from scrap wood and with a little drilling, sanding and filing (and cursing) I finally came up with two blocks I was happy with. First block tied to the bowsprit. Lashing the two blocks together. Completed Inner fore topmast stay Happy with the way it turned out.

-
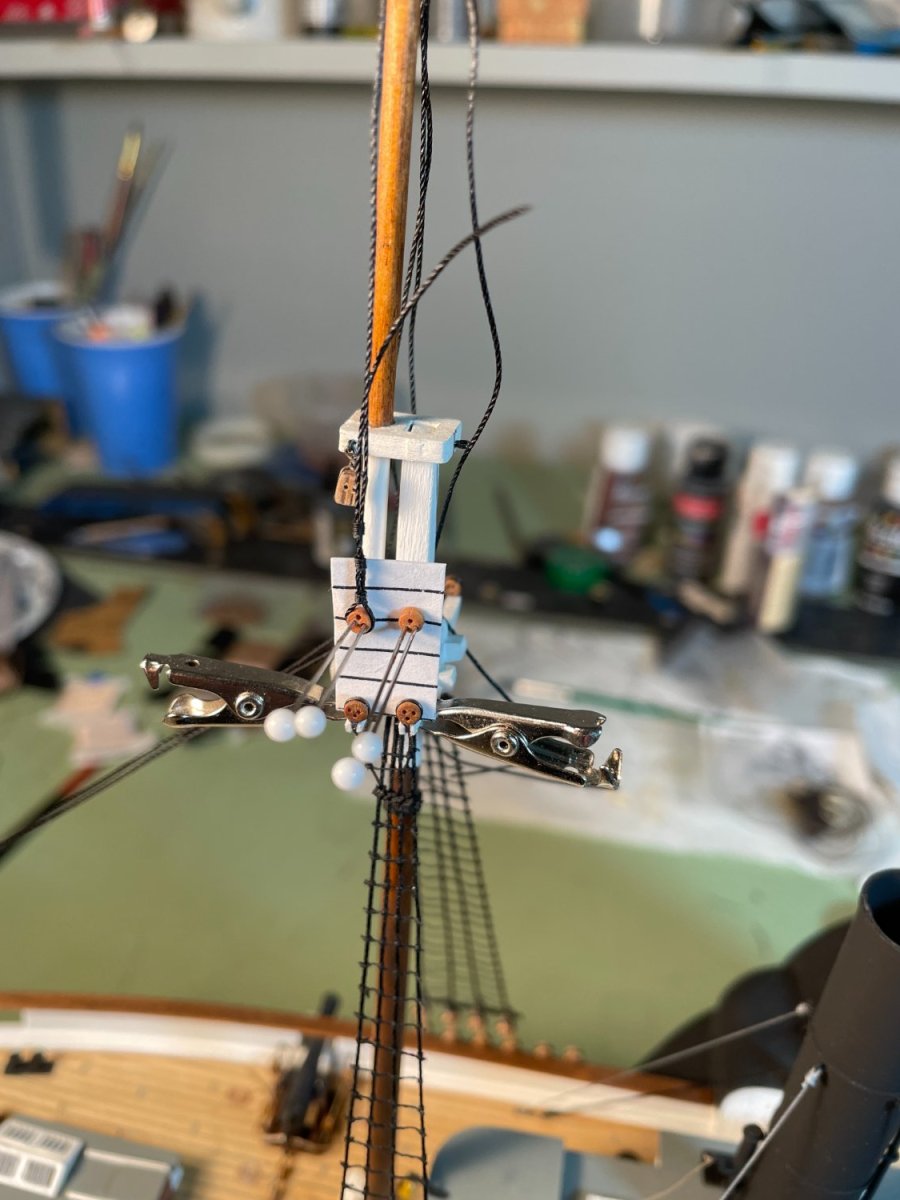
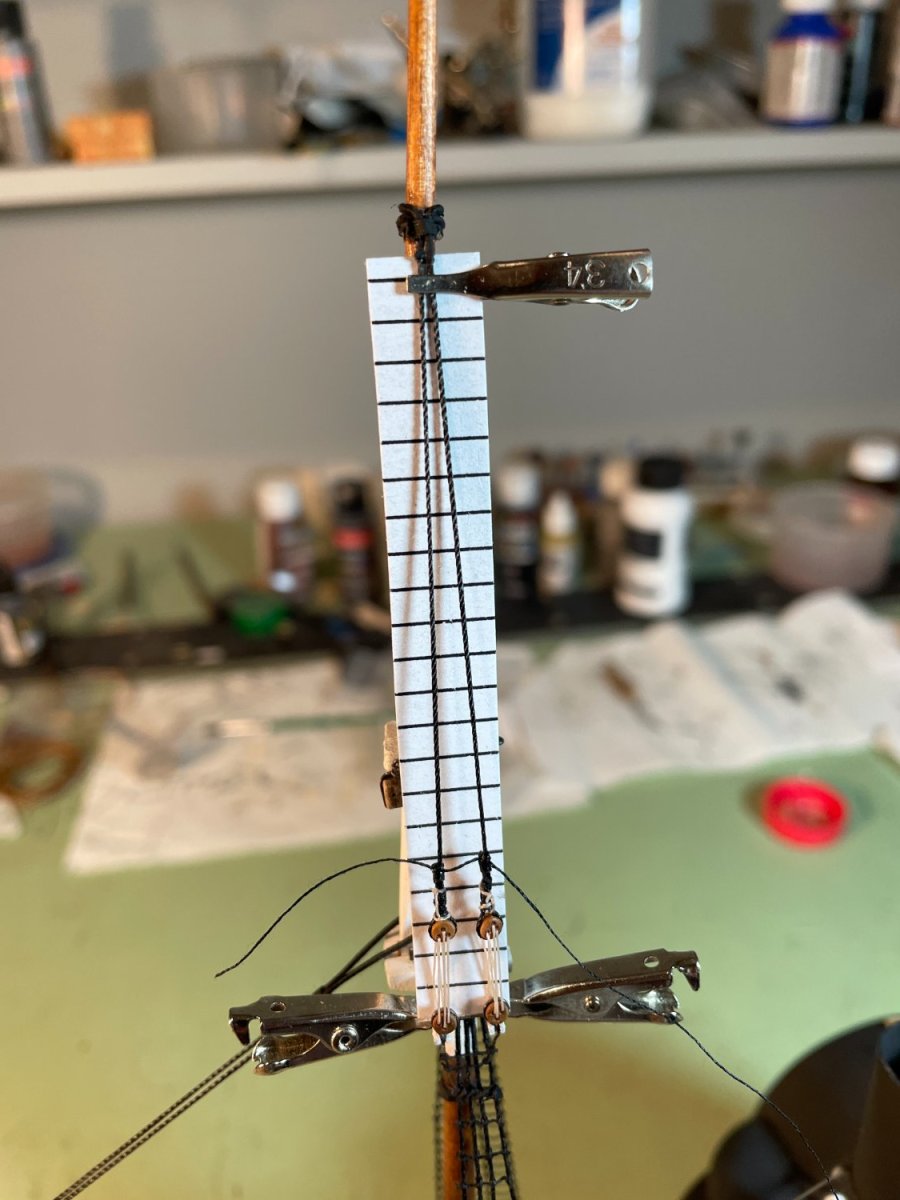
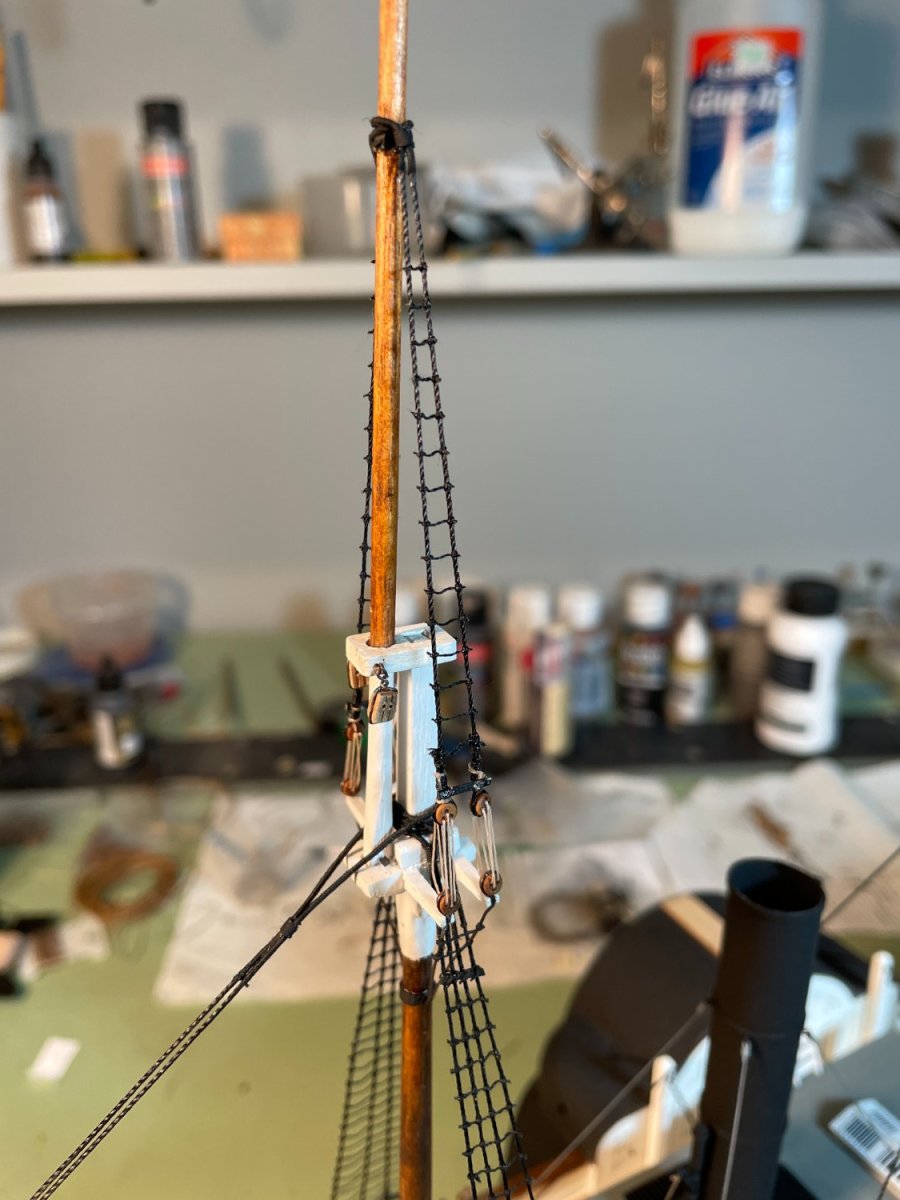
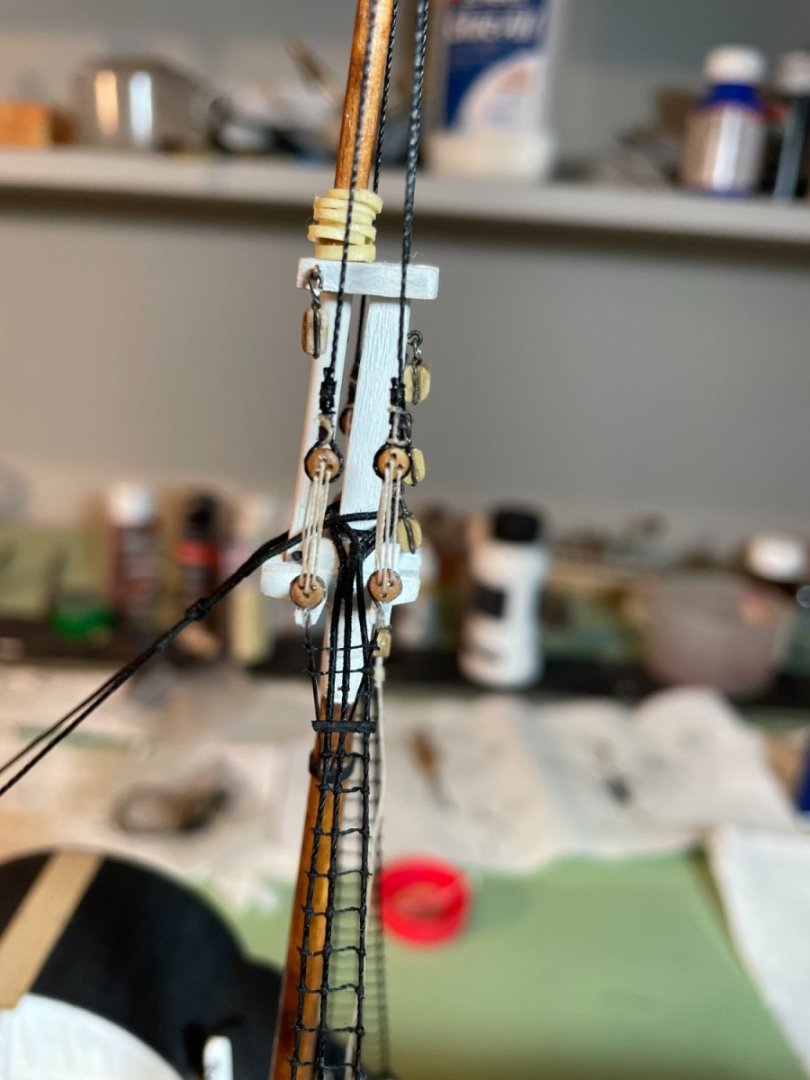
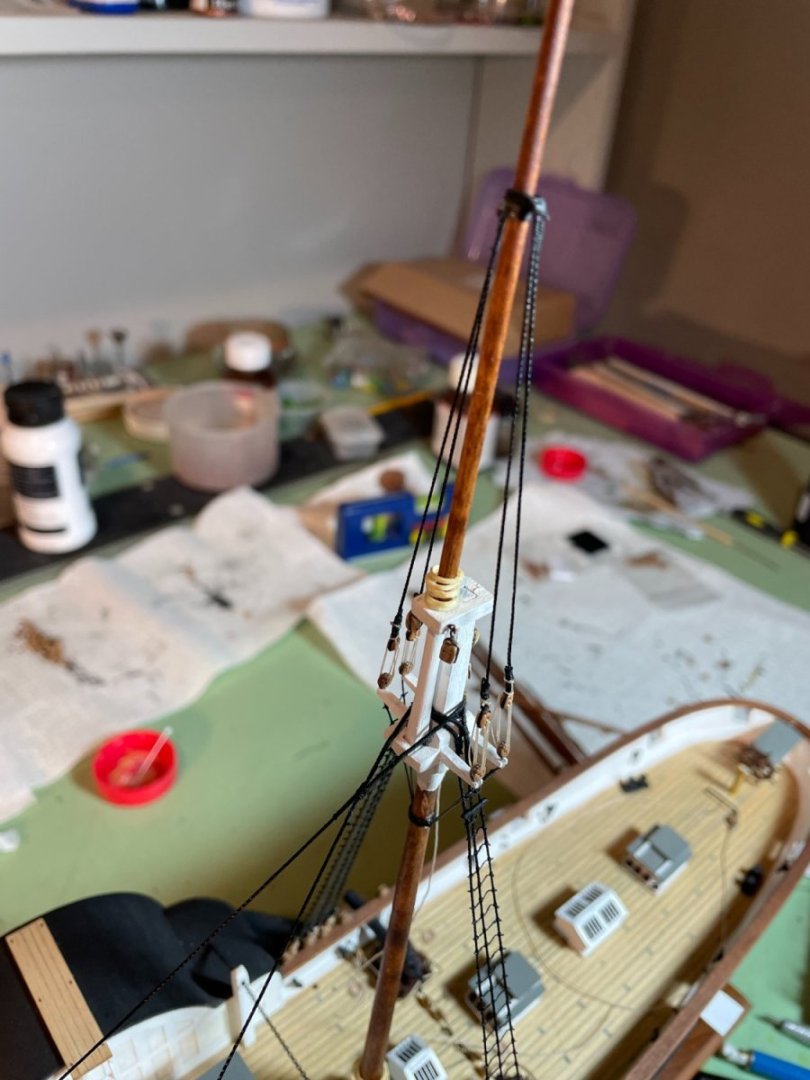
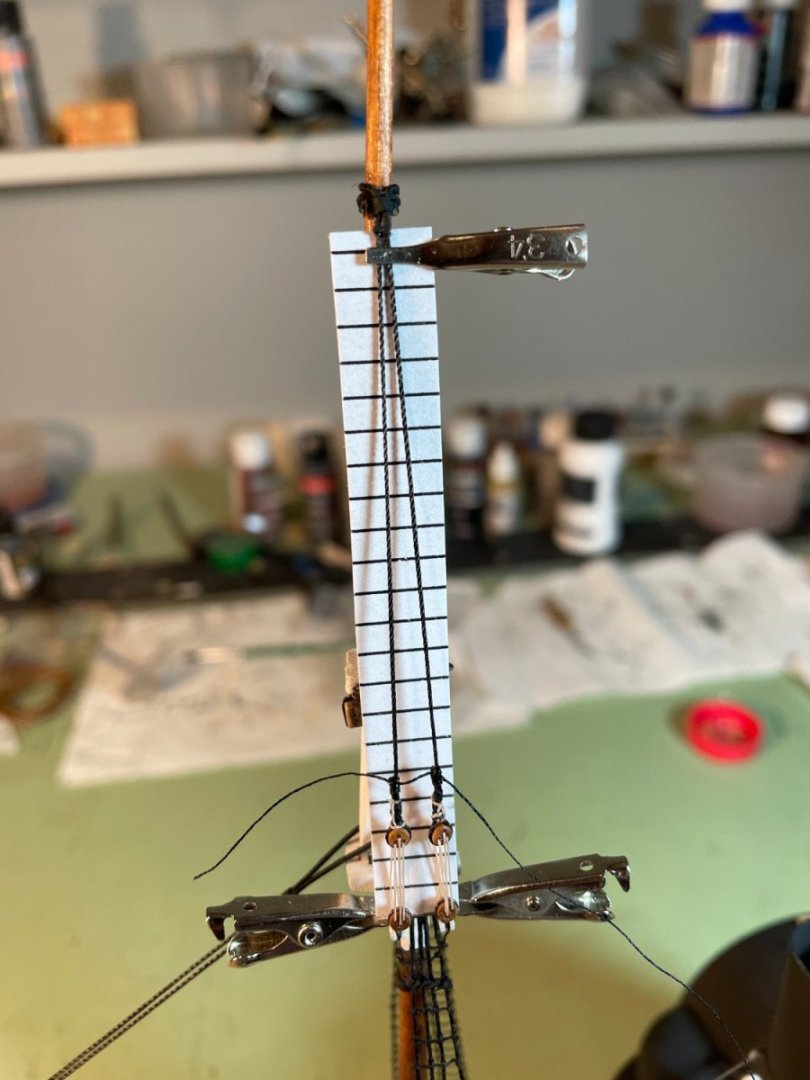
I’ve been a little delinquent in my postings so this will be a two part post which will be somewhat longer than my usual posts so I apologize in advance. Once all the lower rigging was completed and the futtock shrouds were installed the topmasts were mounted. The Topmast shrouds were installed the same way the lower shrouds were except for the way the deadeyes were held in place. These deadeyes were pinned to a piece of card stock that I had used for the lower shroud ratlines. The line spacing on the card stock just happened to be at the right distance for the deadeye spacing. After pinning the deadeyes to the card stock it was clamped to the crosstrees. The shrouds were then seized around the deadeye. I should also mention here that I chose to use a smaller diameter (2.5mm) deadeye for the upper shrouds than the 3.5 mm diameter deadeye that was provided with the kit. I just liked the looks of the smaller deadeye for the upper shrouds. The lanyards were then reeved through the deadeyes and rattled up. Completed shrouds. The ratlines for the fore topmast shrouds were tied the same way the lower ratlines were done. The Fore topmast backstays were added next. The deadeyes were tied to the stays the same way the lower shrouds were done using the twisted wire spacing guide. Lanyards were then reeved through the deadeyes and tightened.


-
nicely done Bob
-
Thanks Bob, much appreciated
-
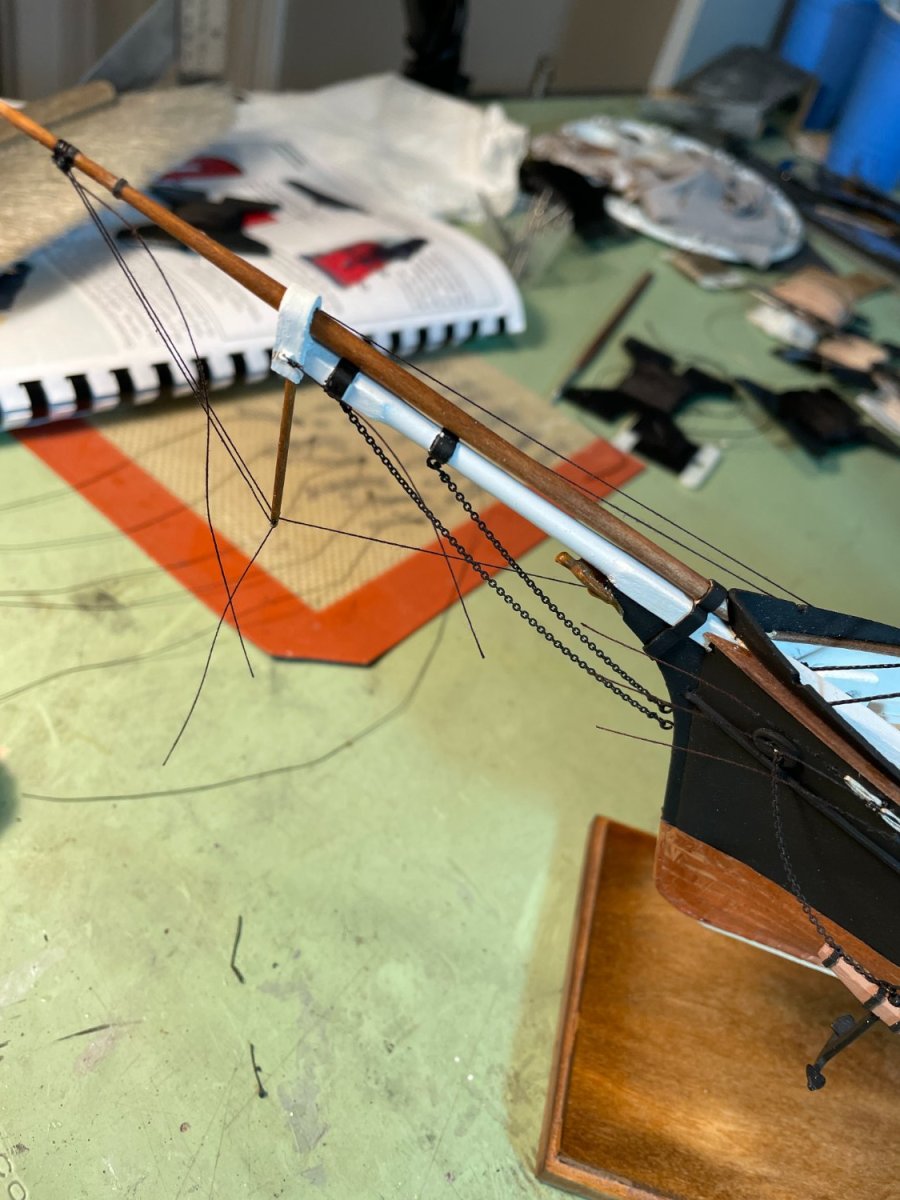
First Major Re-Do: While reading ahead in the instruction booklet on installing the ‘jib stay’ and ‘outer fore topmast stay’ I realized that I installed the starboard side martingale stays in the wrong place. I installed both the port side and starboard side stays at the same location on the jib boom (outer end). You can see this in my post #86, picture #6. I thought about just changing out the starboard side stay but since all the bow sprit rigging was done with the rope that came with the kit (brown) and all the rest of the rigging done after that (shrouds, main stay & fore stay) was done with non-kit rope (black) I decided to change out all the bow sprit rigging to black rope. Cutting all the lines All the lines were redone as before with black rope and now in their correct position.


-
Thanks druxey, I'll give Barber a try. rcmdrvr that is not the rope provided with the kit, it was leftover from and older kit (~2013) I did but can't remember off hand what company it's from.