mrcc
-
Posts
413 -
Joined
-
Last visited
1 Follower

Recent Profile Visitors
1,295 profile views


.jpg.d84ec4dad1d7791e855dca06210ab6f3.thumb.jpg.f45209242e851d4409eca1a09293165b.jpg)

.thumb.JPG.4d3261ccae06041fa7cc2933fb43d577.JPG)

-
 Marvellous!
 -
 mrcc reacted to a post in a topic:
The Mayflower by Knocklouder - Amati - 1:60
mrcc reacted to a post in a topic:
The Mayflower by Knocklouder - Amati - 1:60
-
Baker reacted to a post in a topic:
Friesland 1663 by mrcc - Mamoli MV24 - 1:75
-
GrandpaPhil reacted to a post in a topic:
Friesland 1663 by mrcc - Mamoli MV24 - 1:75
-
GrandpaPhil reacted to a post in a topic:
Friesland 1663 by mrcc - Mamoli MV24 - 1:75
-
GrandpaPhil reacted to a post in a topic:
Friesland 1663 by mrcc - Mamoli MV24 - 1:75
-
Thanks Zappto for following along… You are very right, lots of patience is required with this build!
-
ccoyle reacted to a post in a topic:
Friesland 1663 by mrcc - Mamoli MV24 - 1:75
-
Gregory reacted to a post in a topic:
Friesland 1663 by mrcc - Mamoli MV24 - 1:75
-
mrcc reacted to a post in a topic:
The Mayflower by Knocklouder - Amati - 1:60
-
mtaylor reacted to a post in a topic:
The Mayflower by Knocklouder - Amati - 1:60
-
Glen McGuire reacted to a post in a topic:
The Mayflower by Knocklouder - Amati - 1:60
-
John Ruy reacted to a post in a topic:
The Mayflower by Knocklouder - Amati - 1:60
-
Keith Black reacted to a post in a topic:
The Mayflower by Knocklouder - Amati - 1:60
-
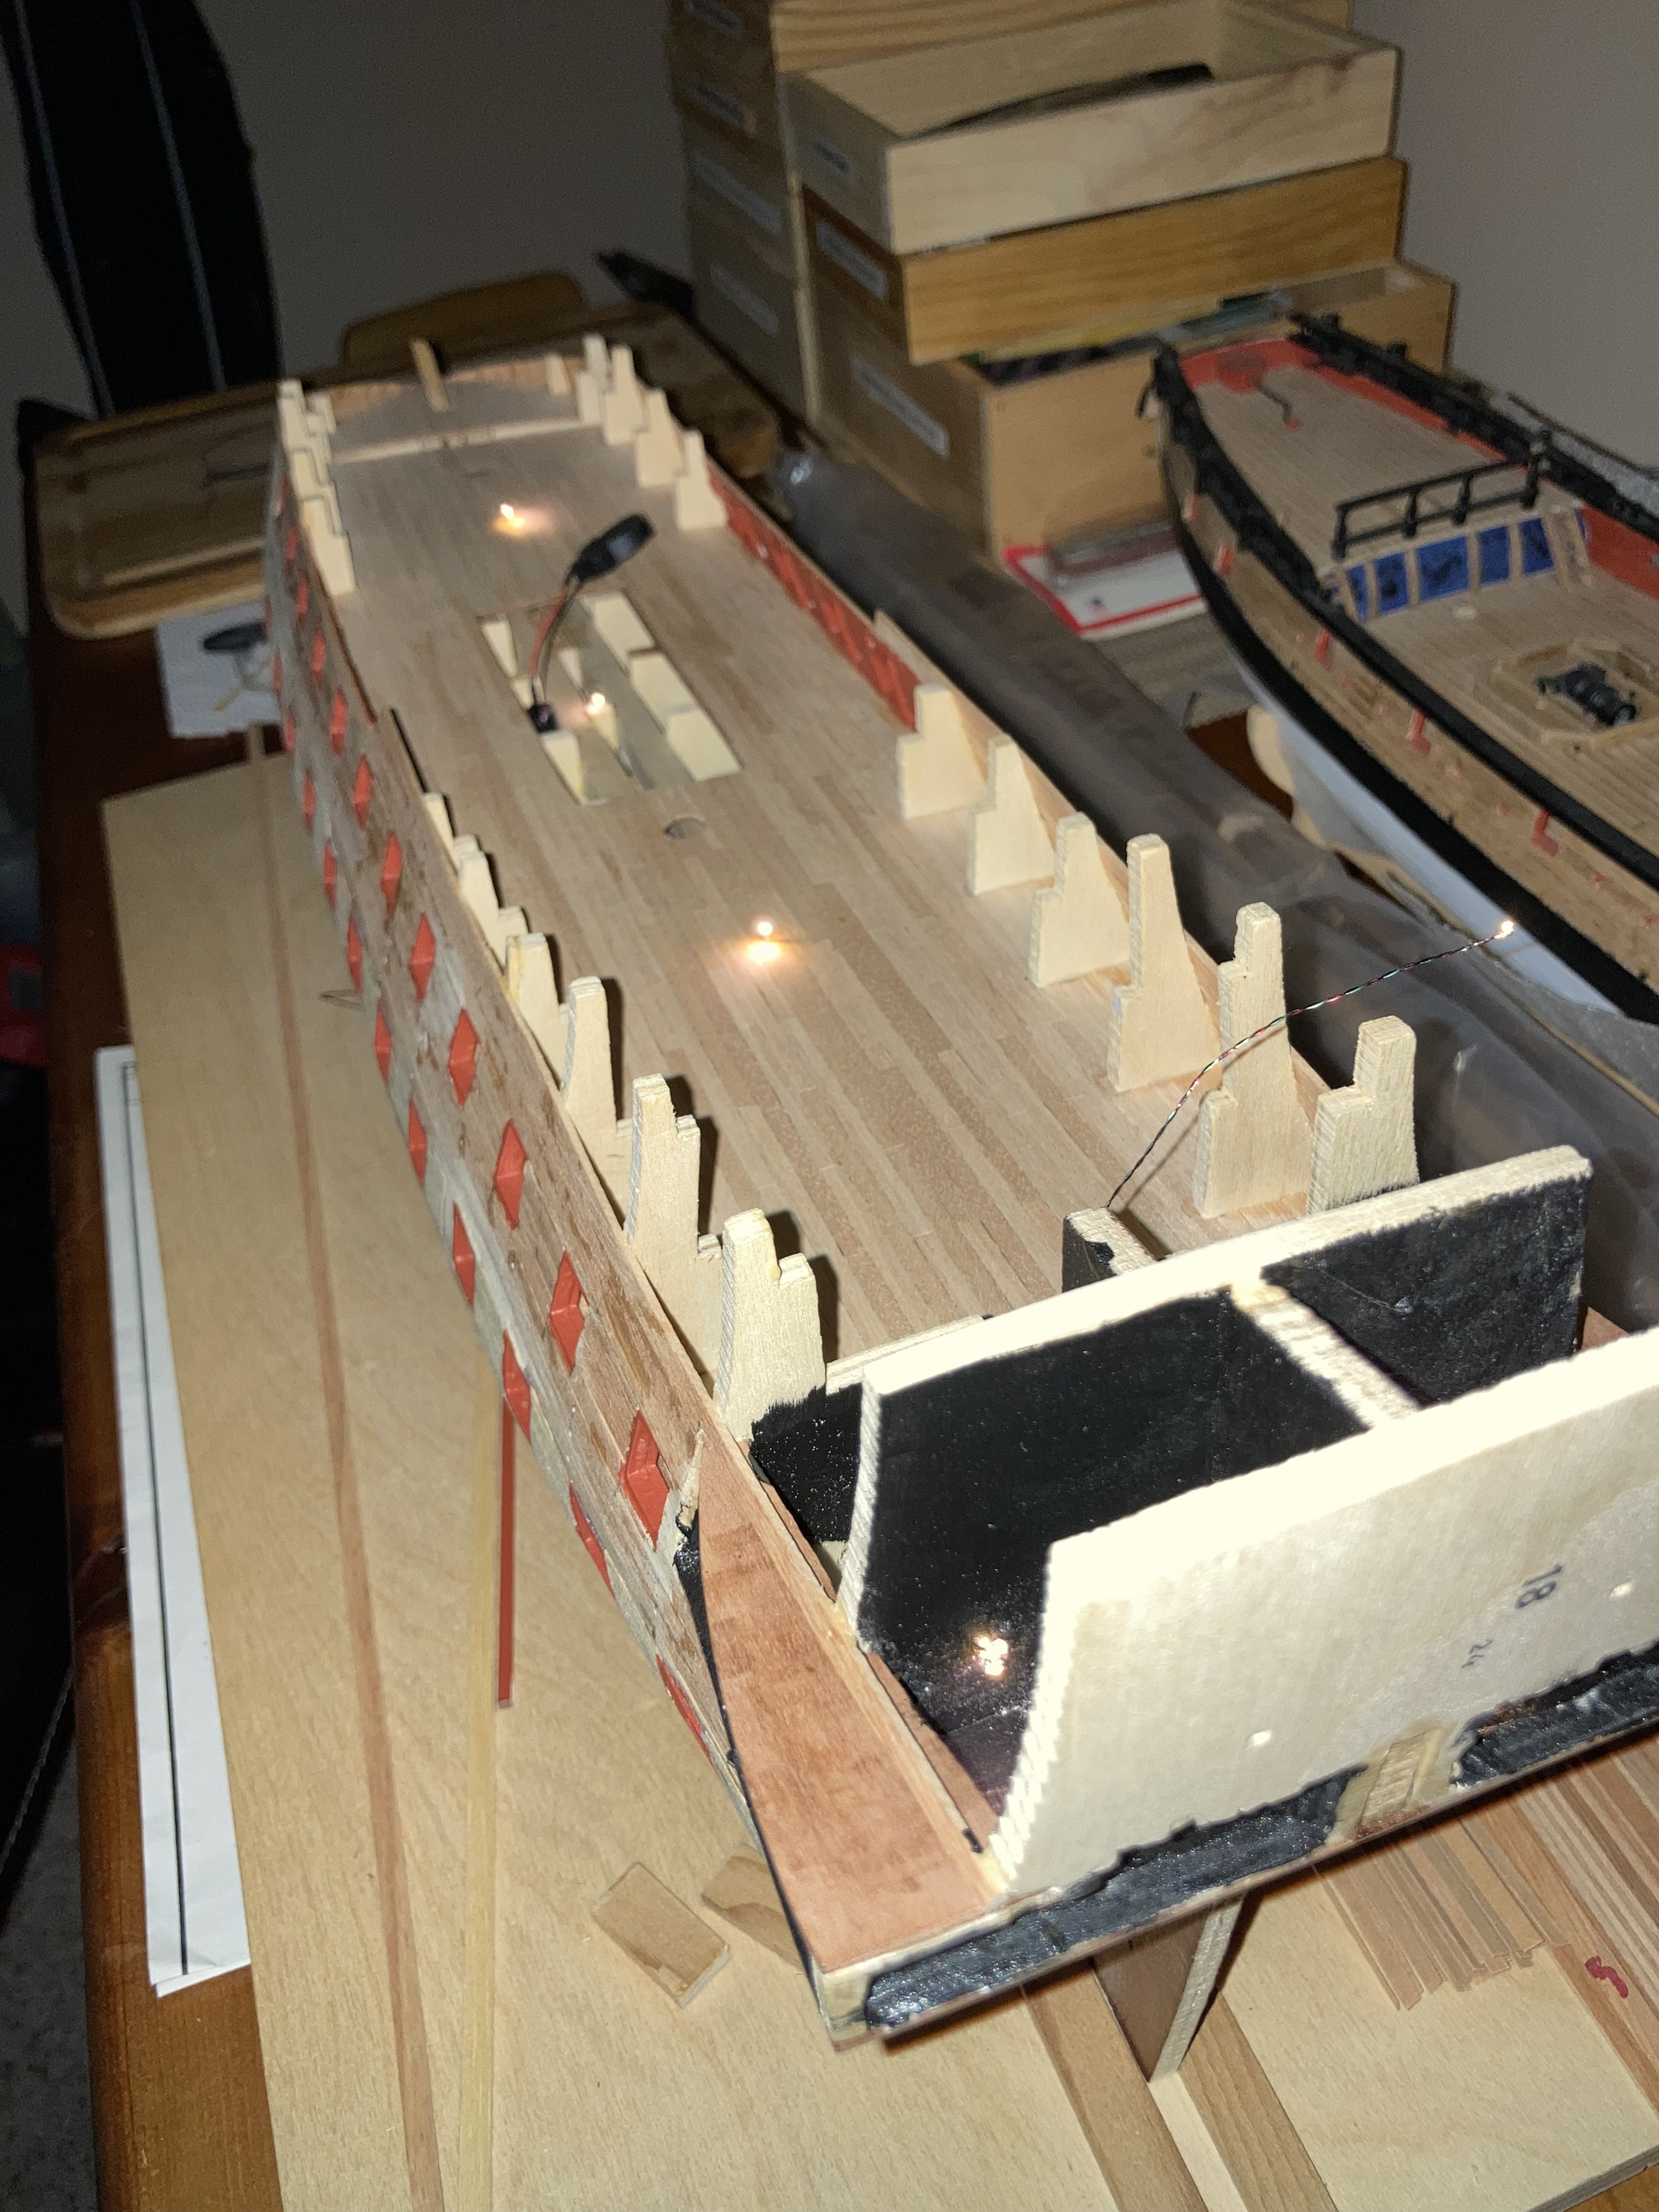
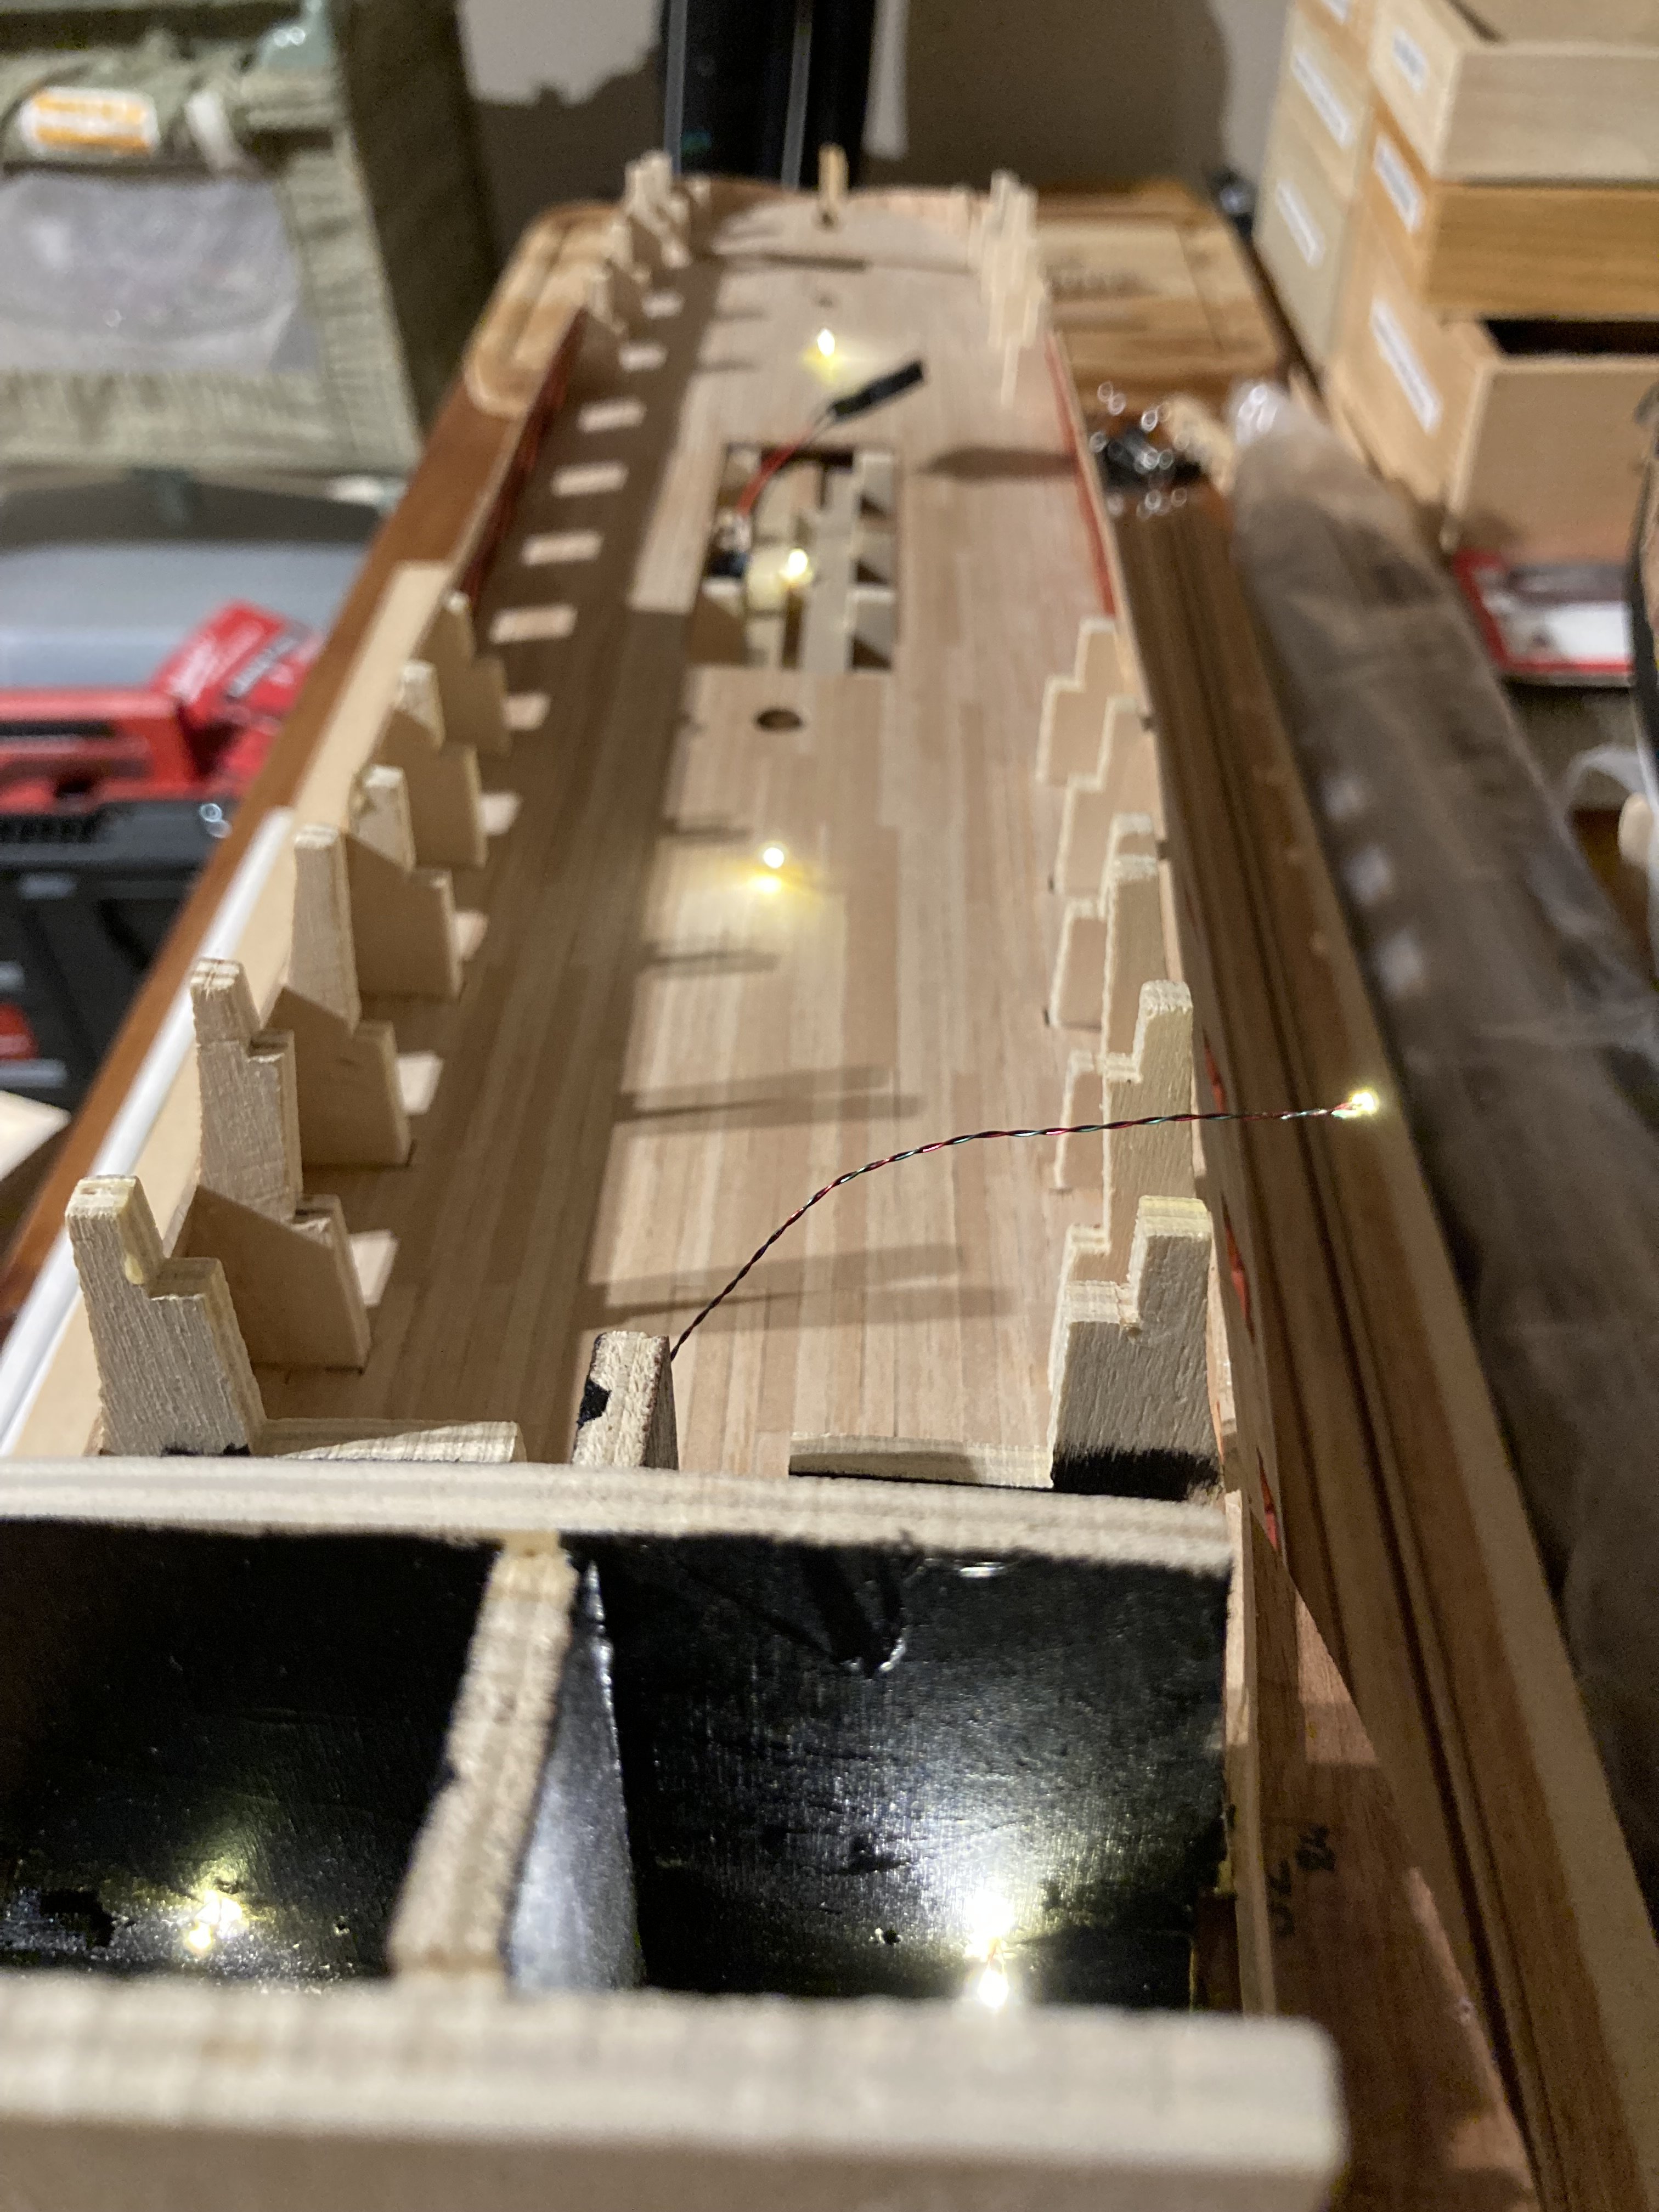
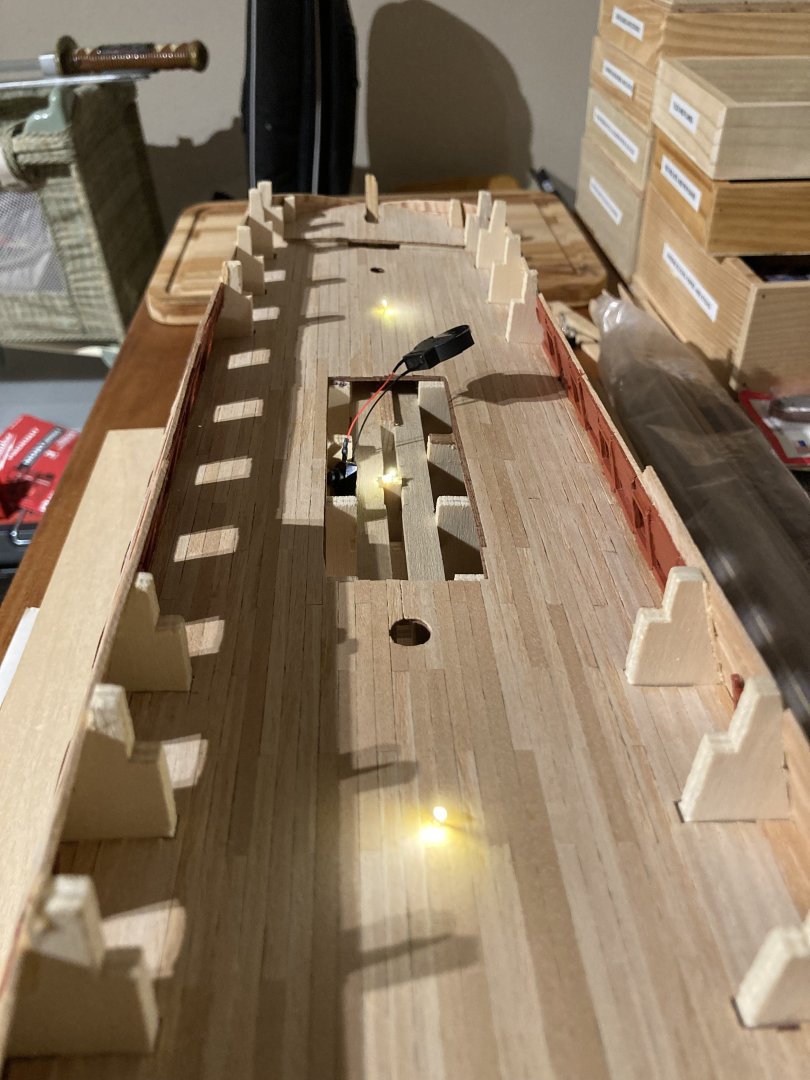
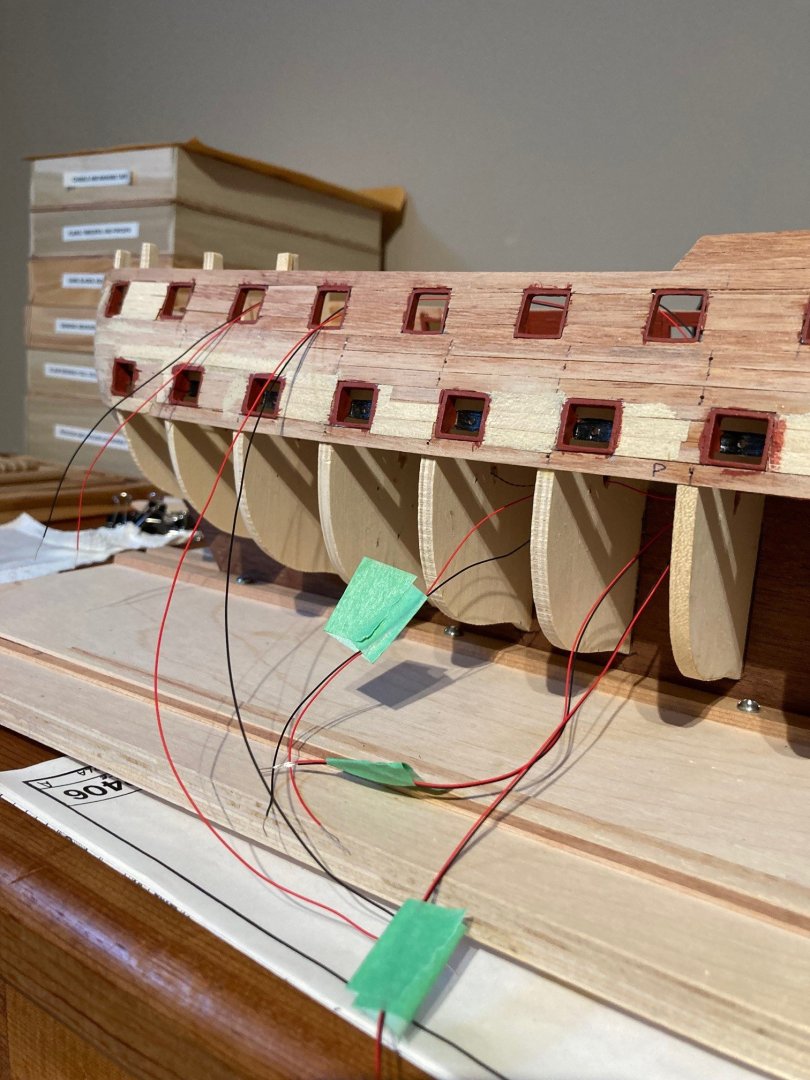
And they all work! The LED lights are flickering and warm white in tone.


-
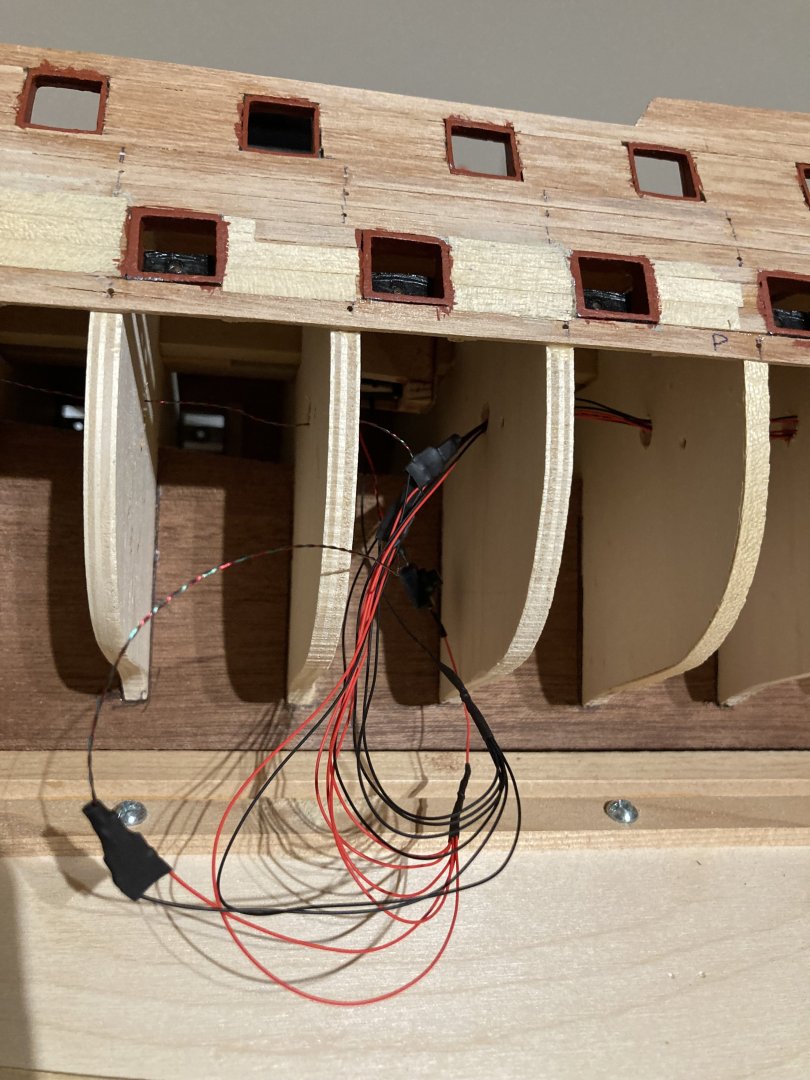
Thanks Bob! Just tied everything together and neatly folded the wires into the void between frames.

-
Looking good… You sure have an excellent work ethic in your output and production of finished kits. I was stalled for over a year before I tackled the rigging on my Santa Maria. Yep, the GAC400 is great… look forward to seeing your finished sails. Cheers!
-
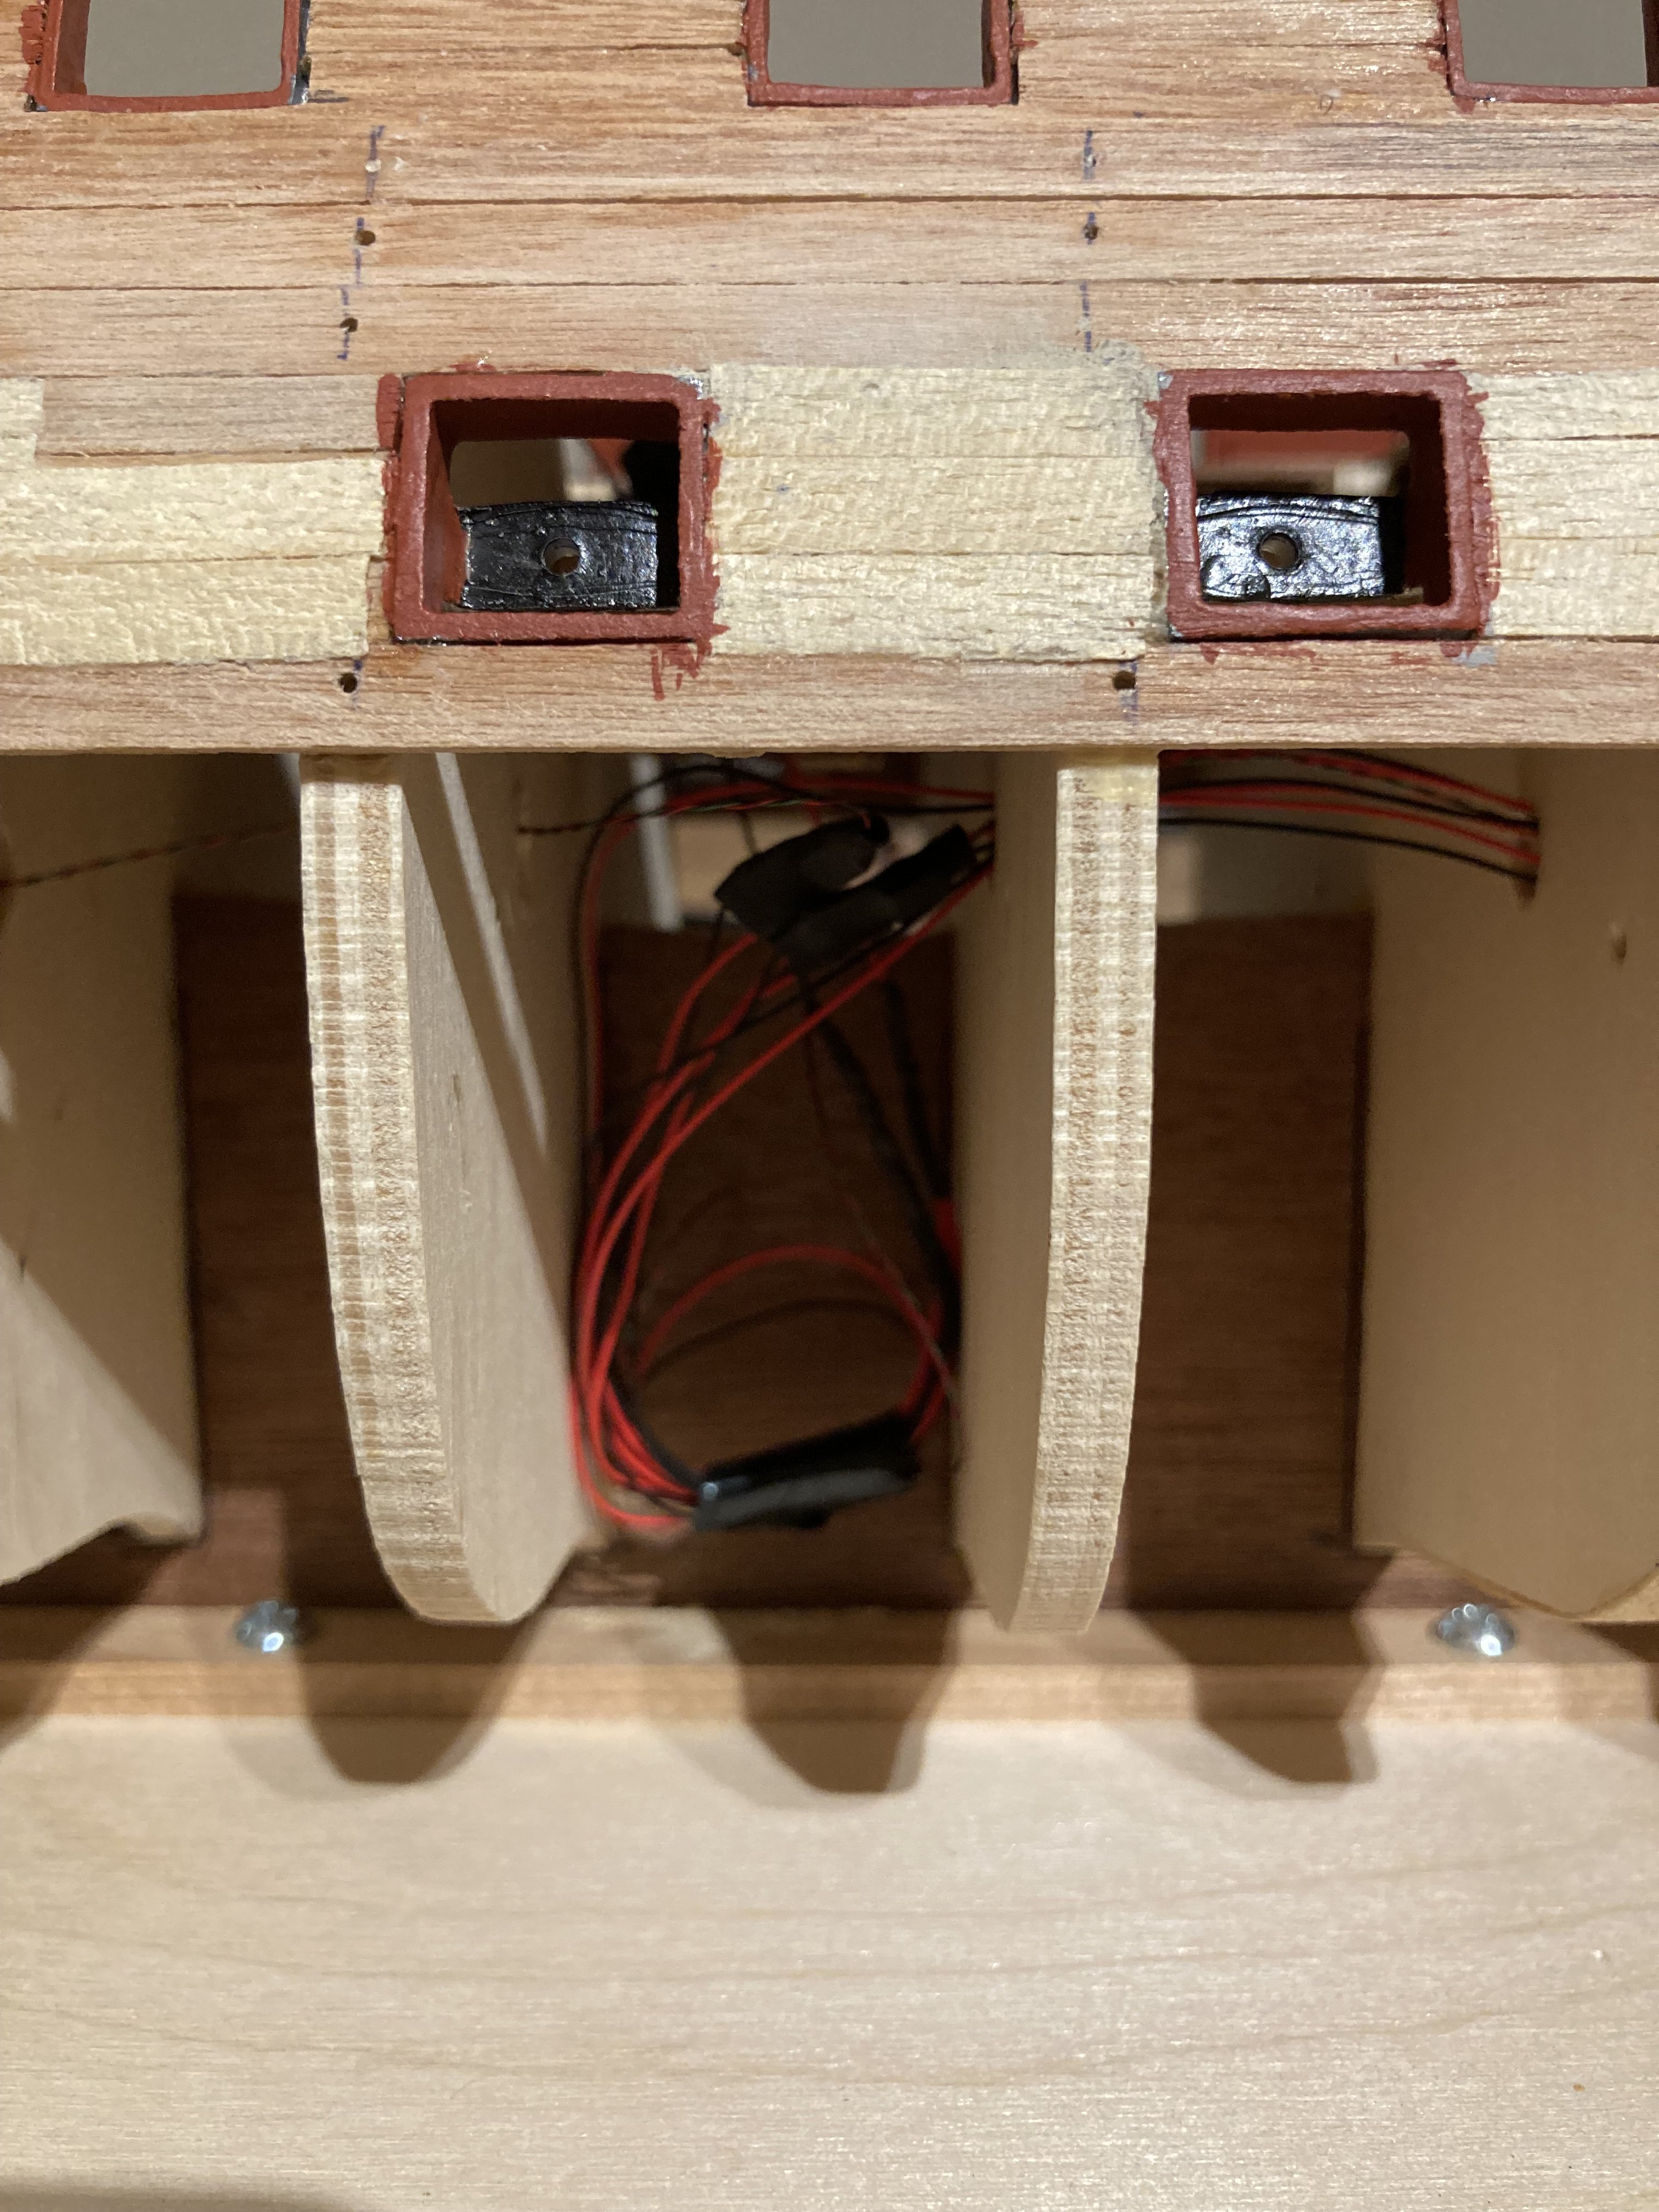
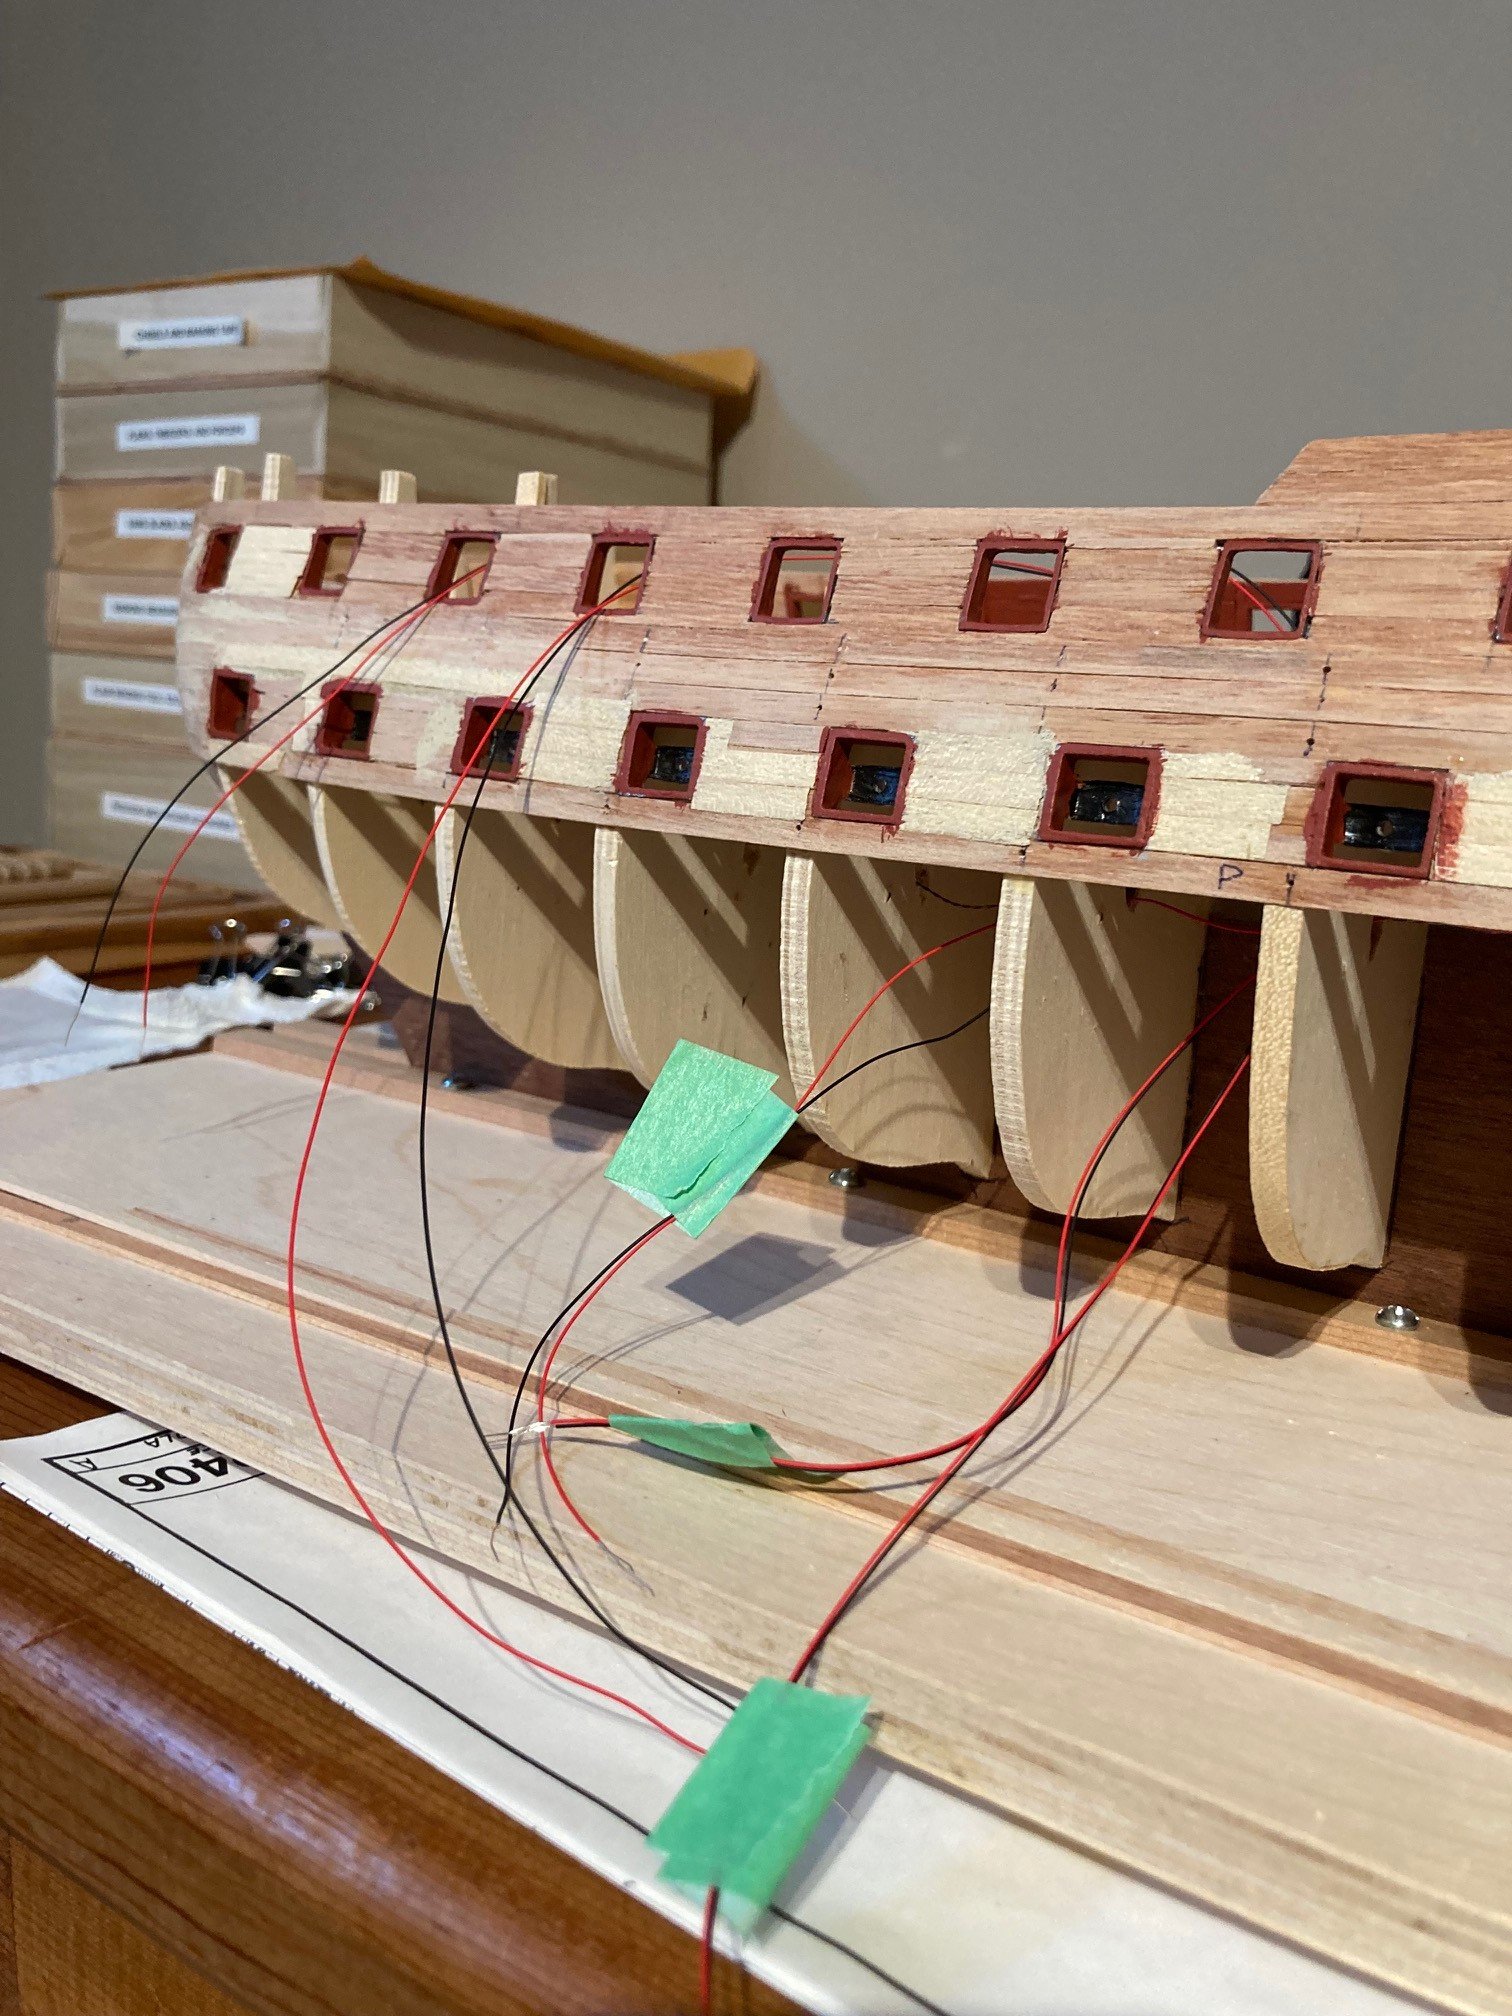
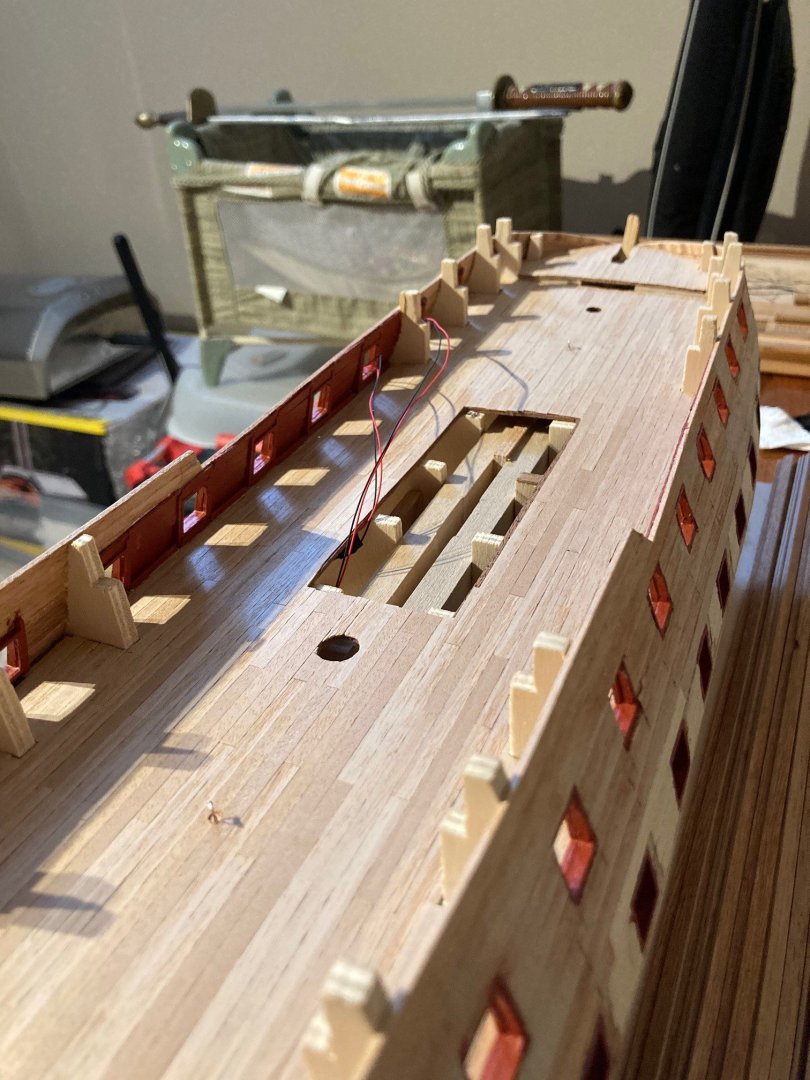
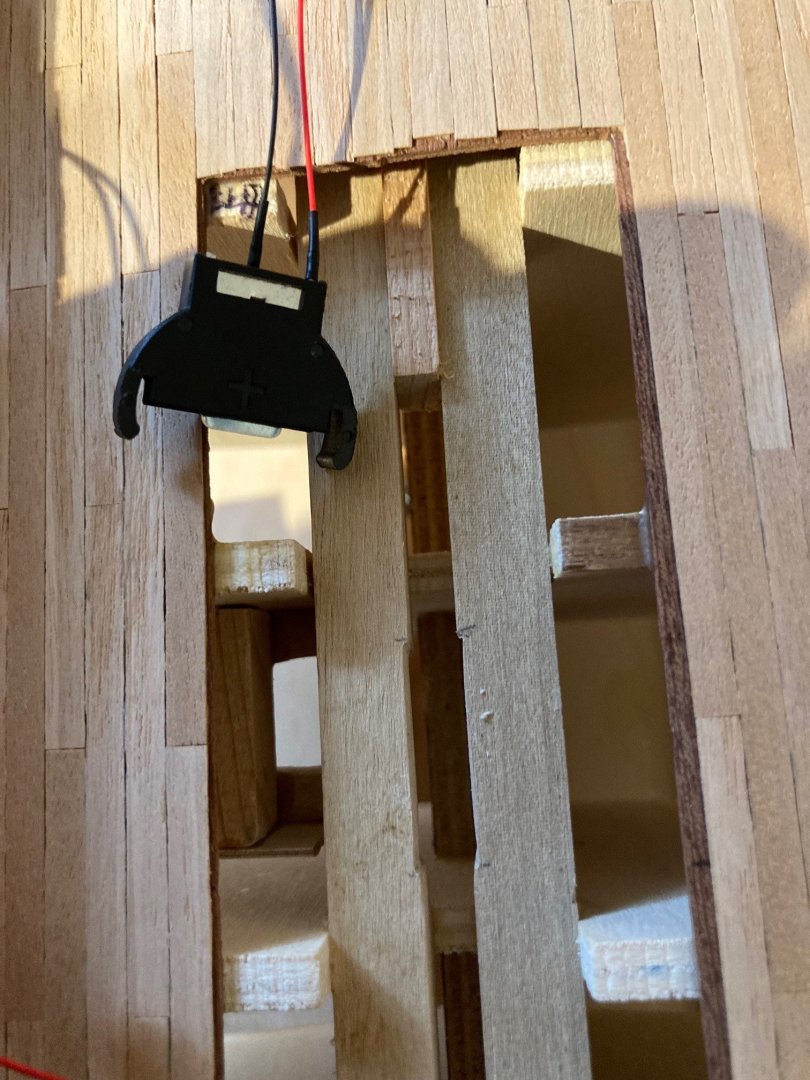
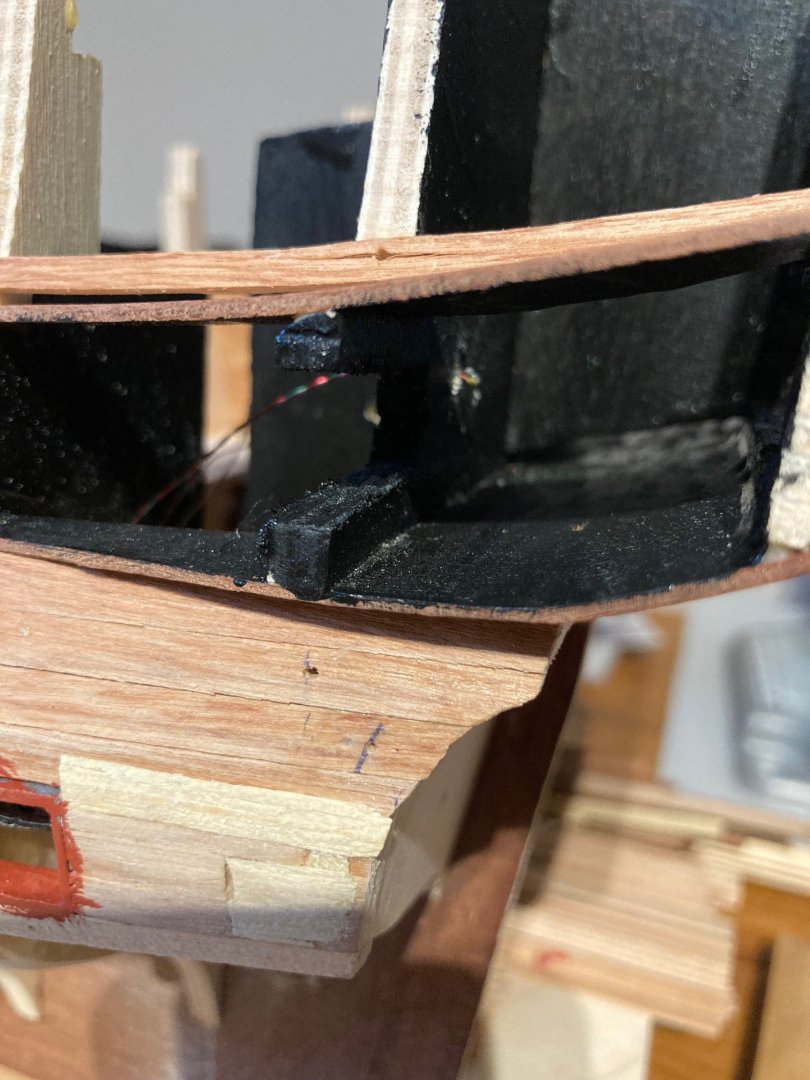
Been a bit lazy lately... Did manage to get my LED wiring setup completed. I purchased the kit from Evan Designs (all they do is miniature LED setups for hobbies). I spec'd out the pico LED lights with a 3 volt button battery as energy source. Everything came pre-wired and just a matter of running the line back to the battery source which I have hidden under the main deck grating panel which I will make removable in order to access the battery and supplied switch. I put two LEDs in the aft cabin and then 4 others along the length of the deck in order to illuminate under the gratings of the above positioned decks. I created a little battery holder under the main deck grating for easy access once the model is finished... I hope I have enough lighting to do the model justice.
-
mrcc reacted to a post in a topic:
Norske Love by DanielNG10 - Billing Boats - 1:75
-
Looking good!
-
Check out Dusek’s Santa Maria which is the rebrand of the Mamoli version of the kit. Highly recommend that version.
-
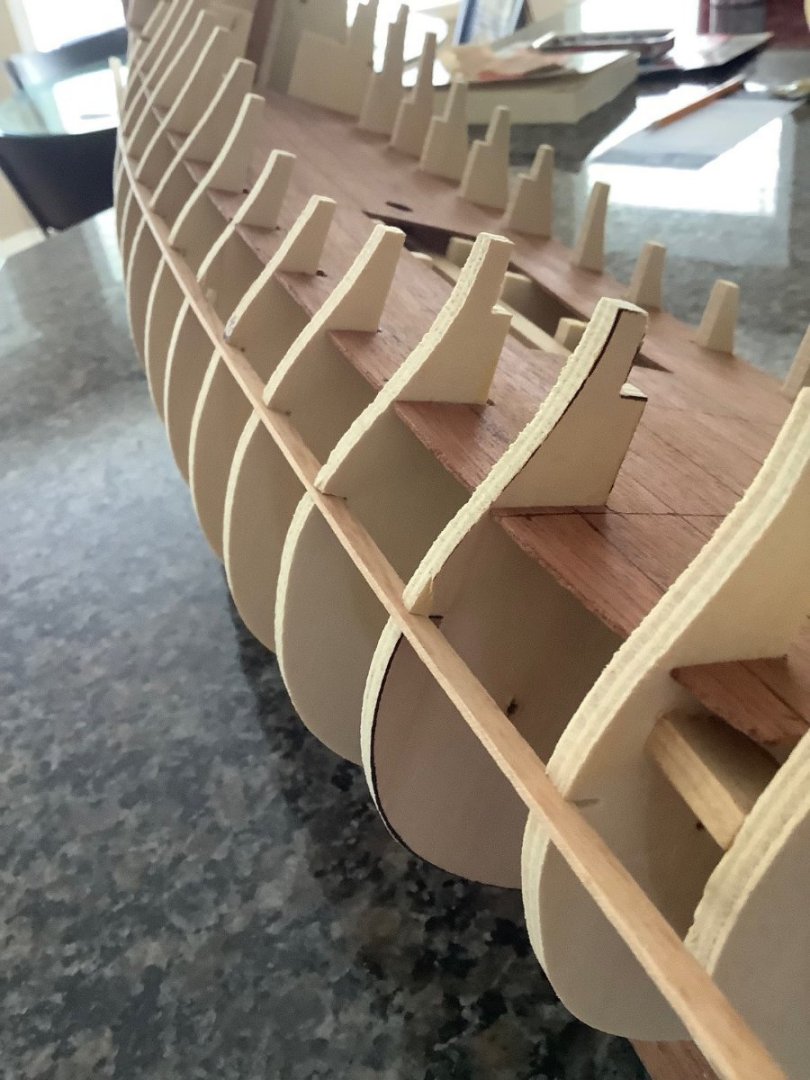
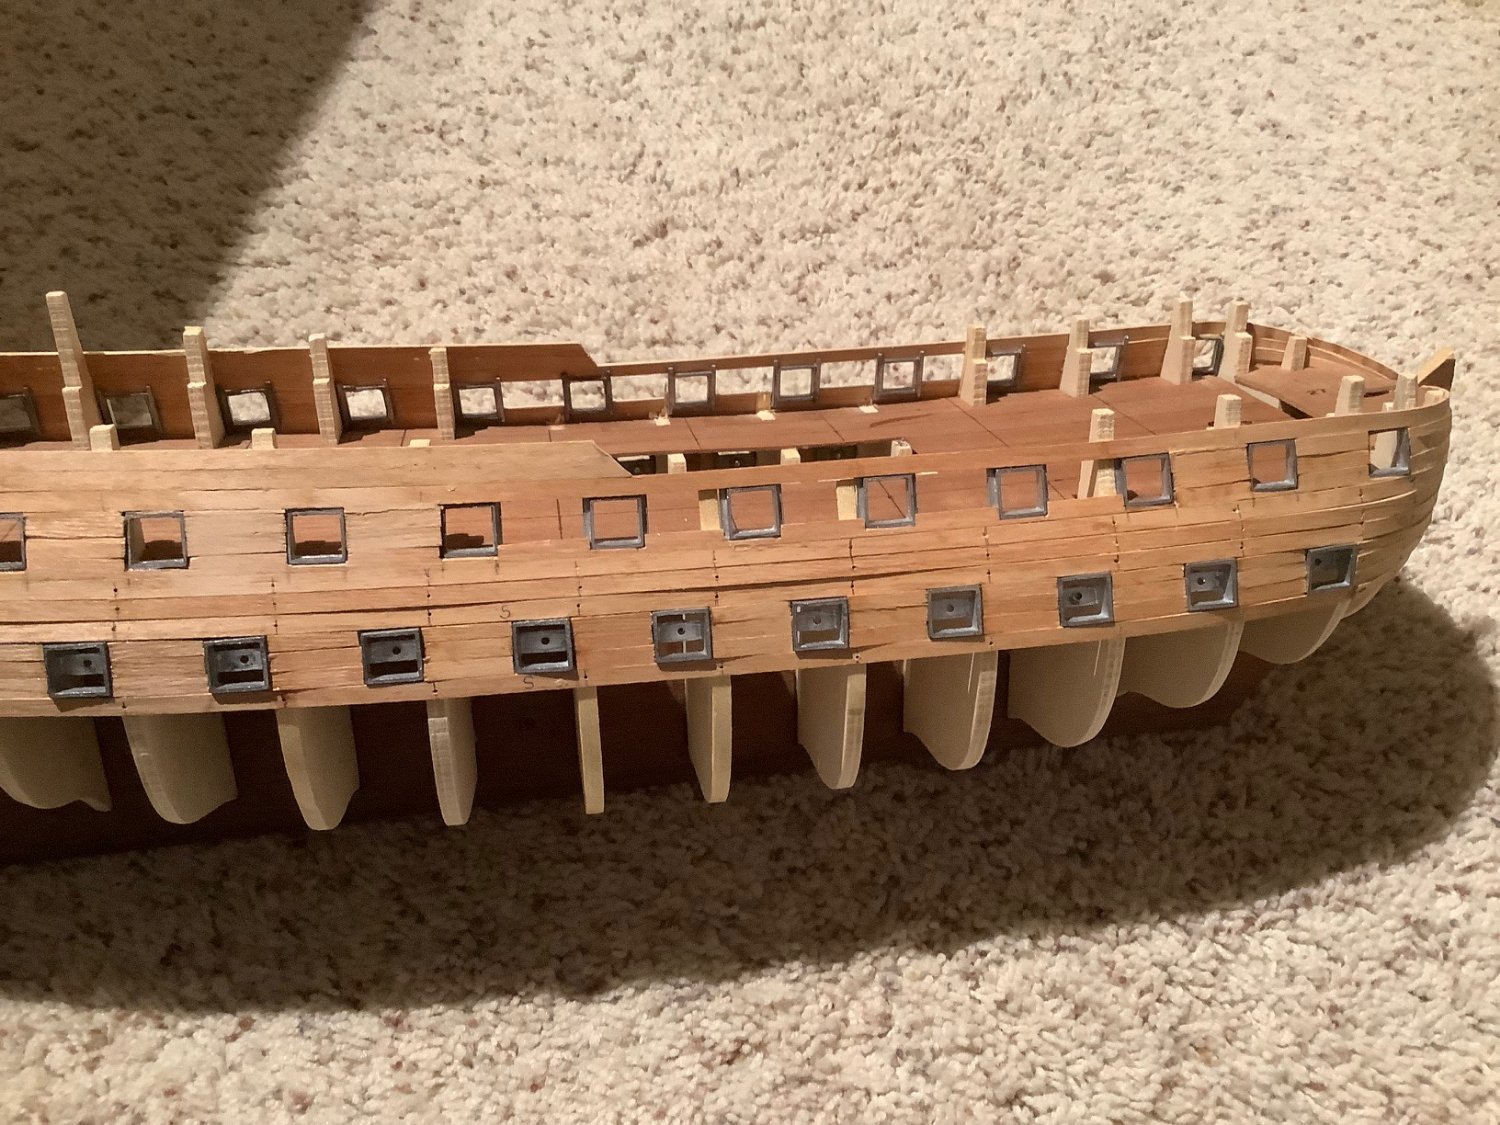
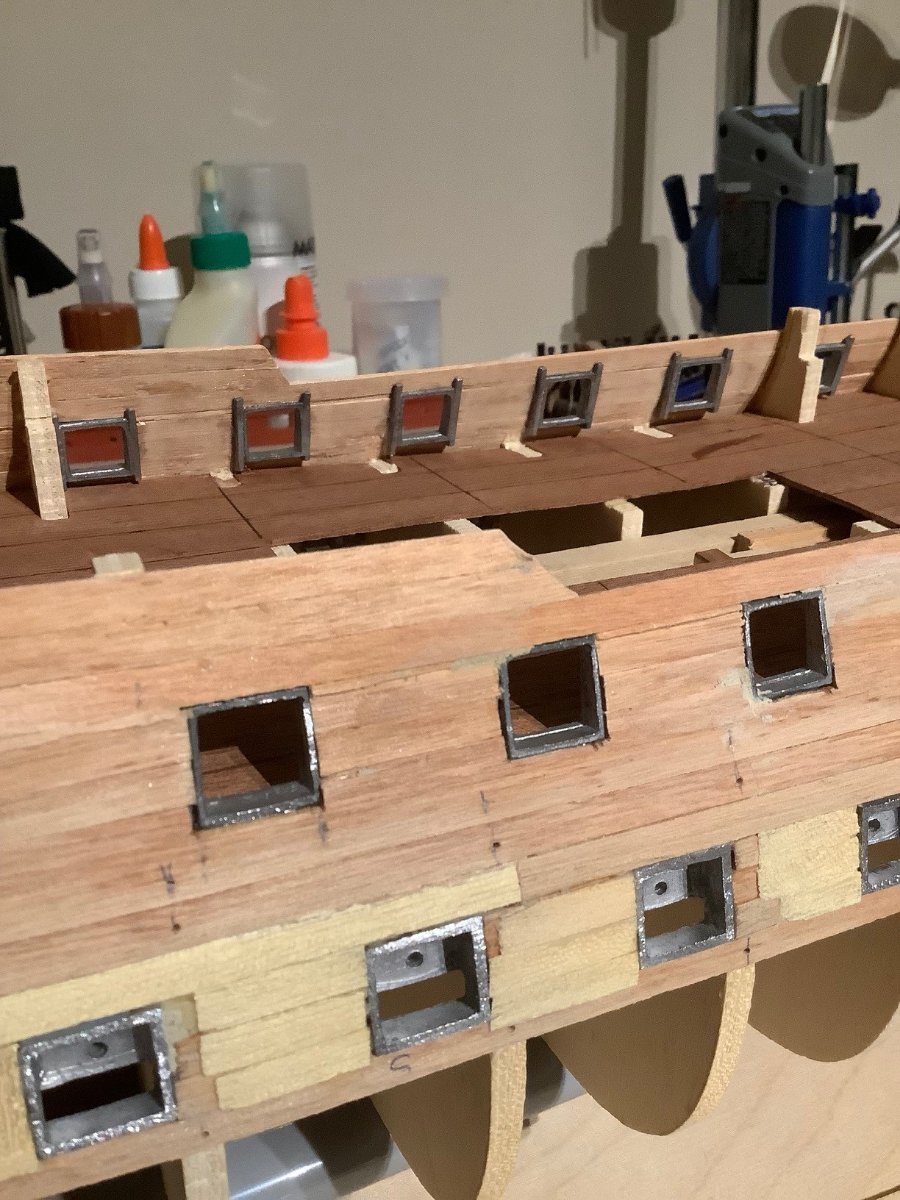
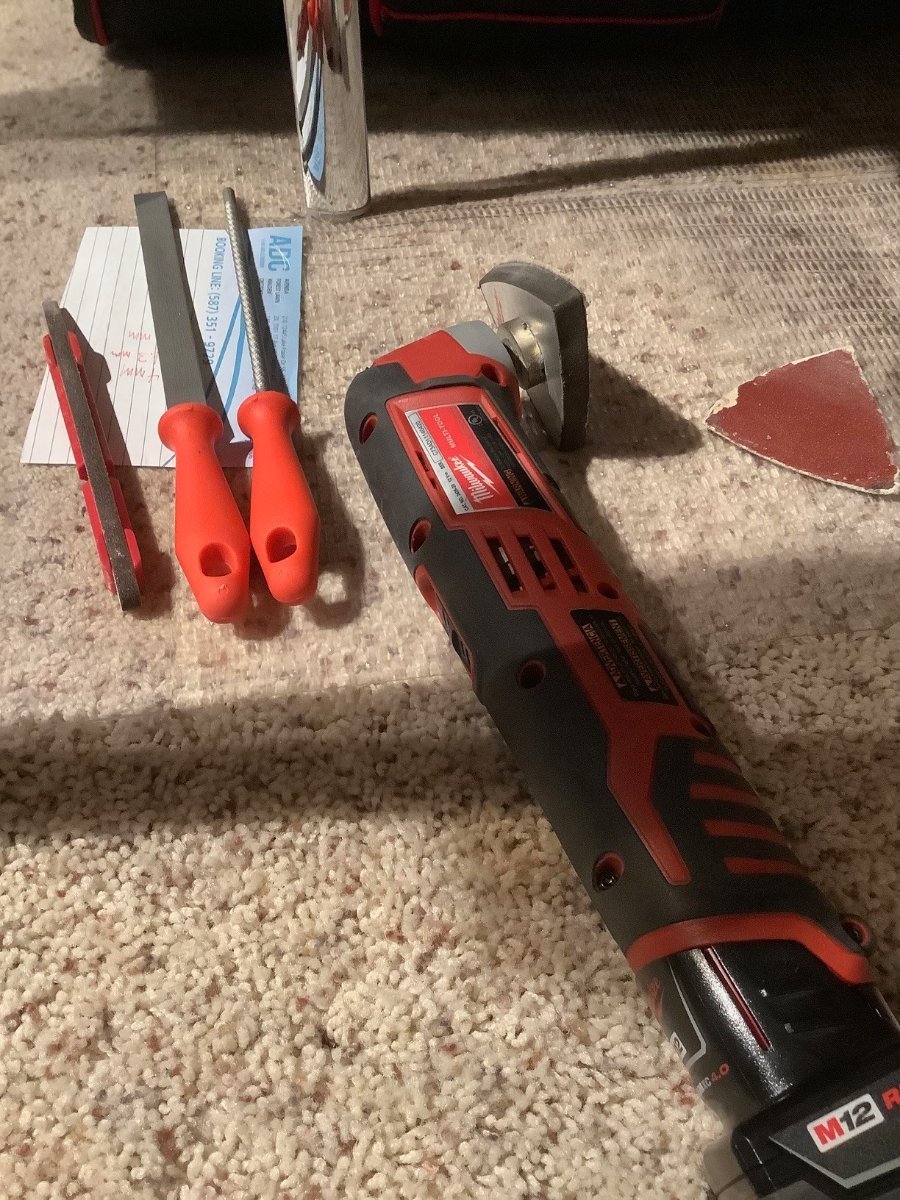
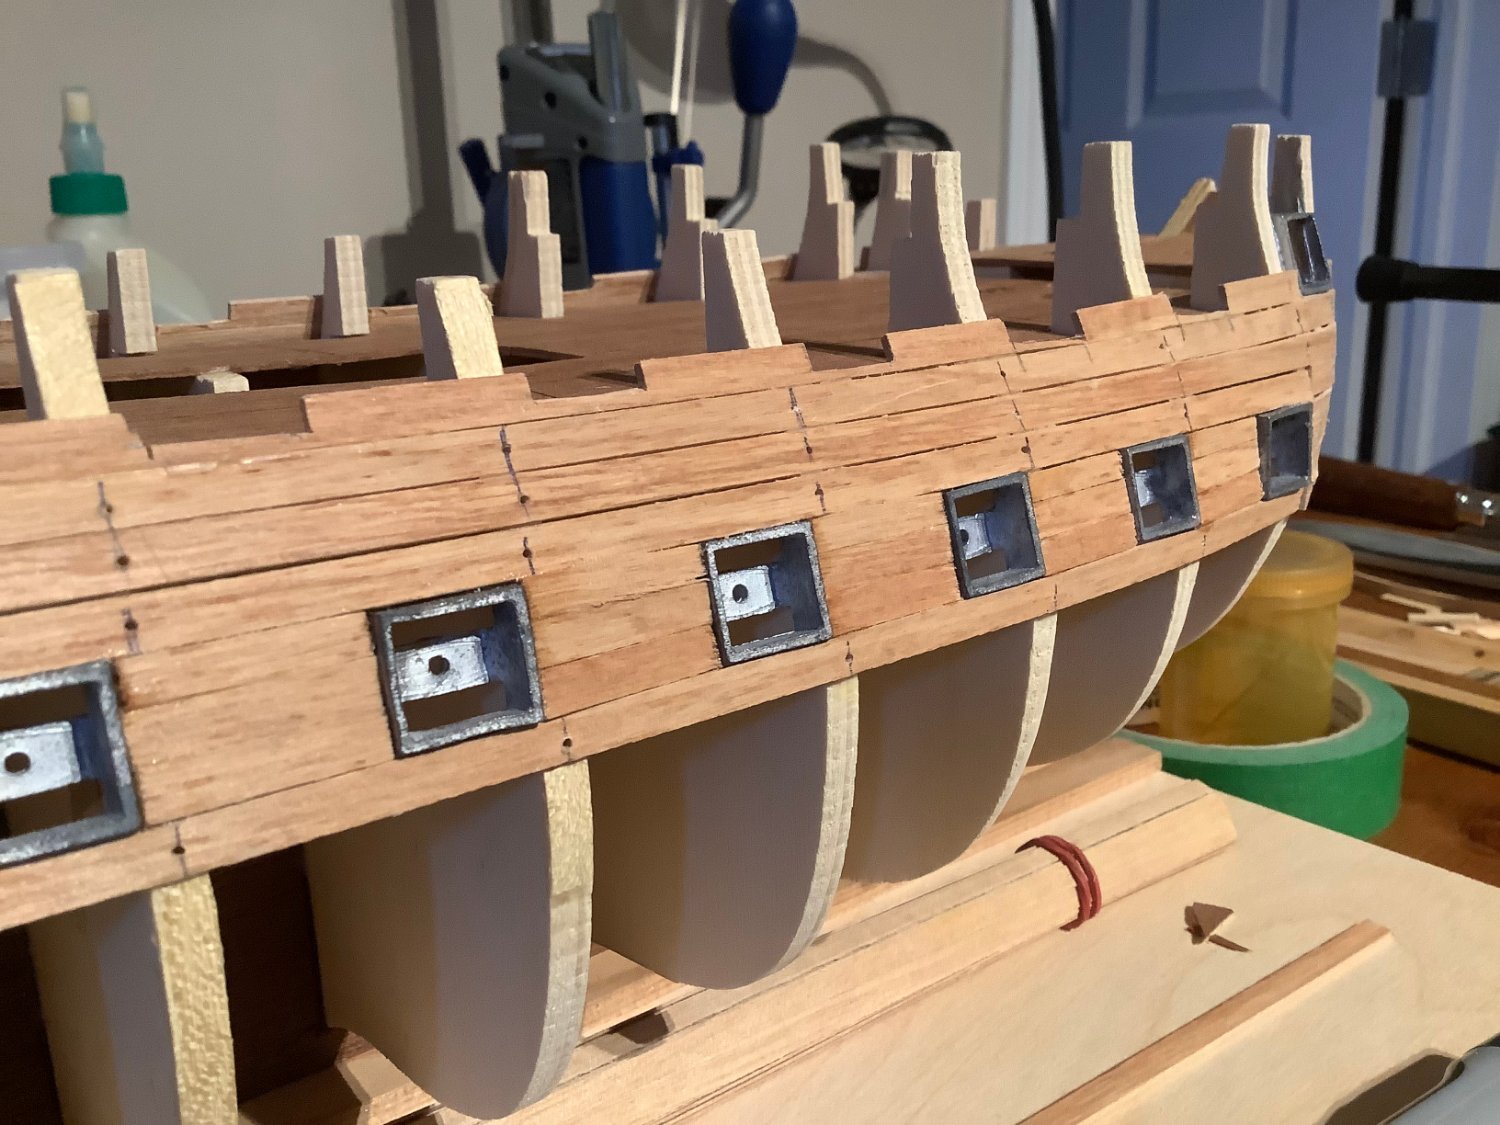
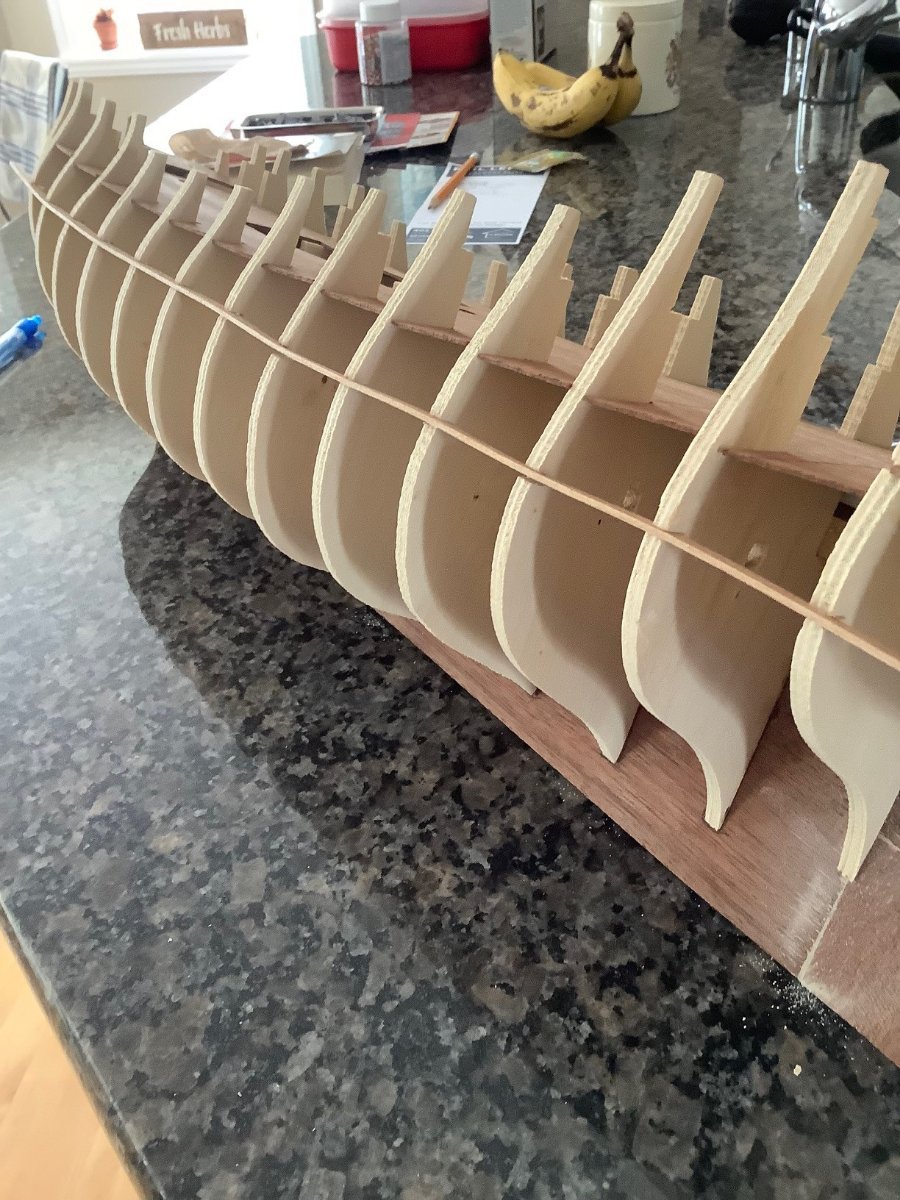
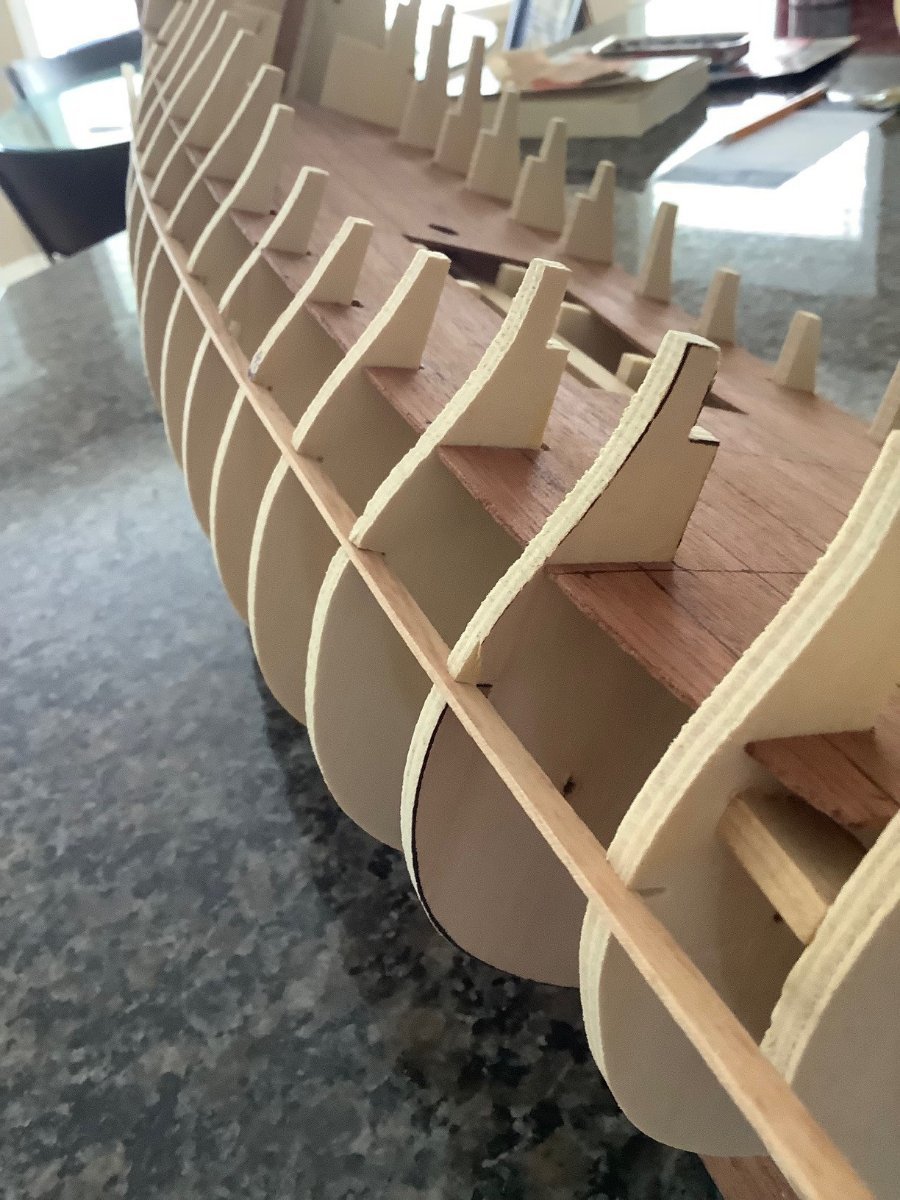
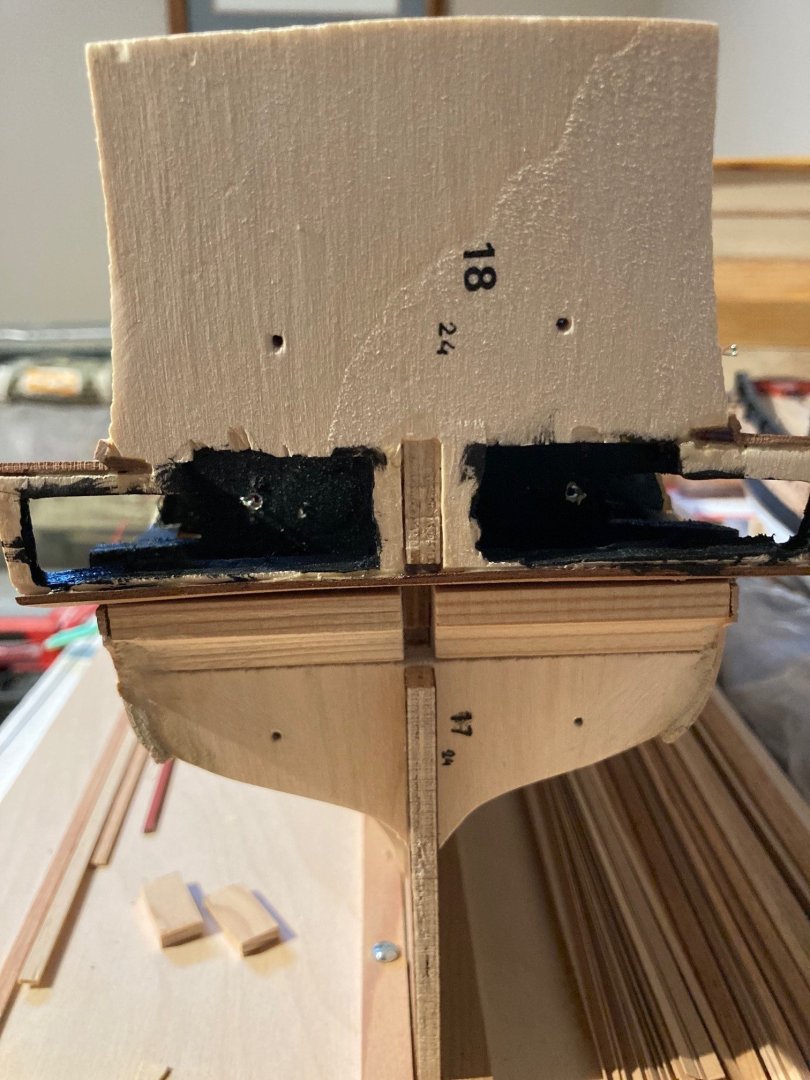
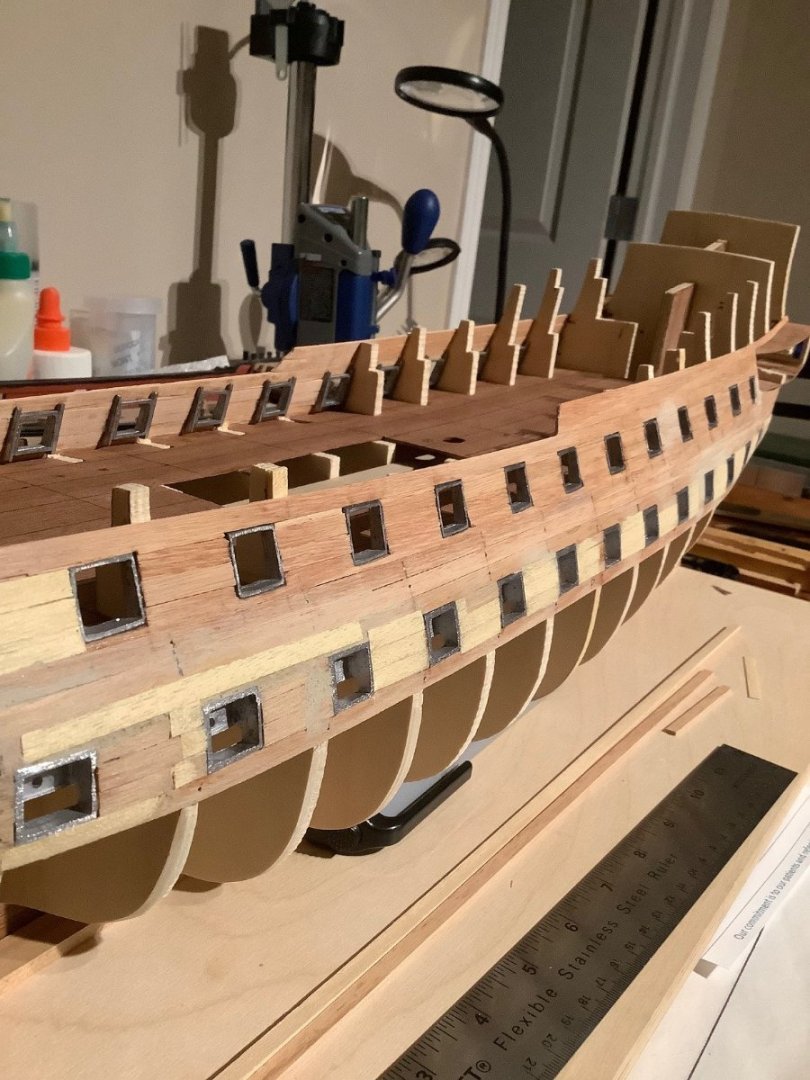
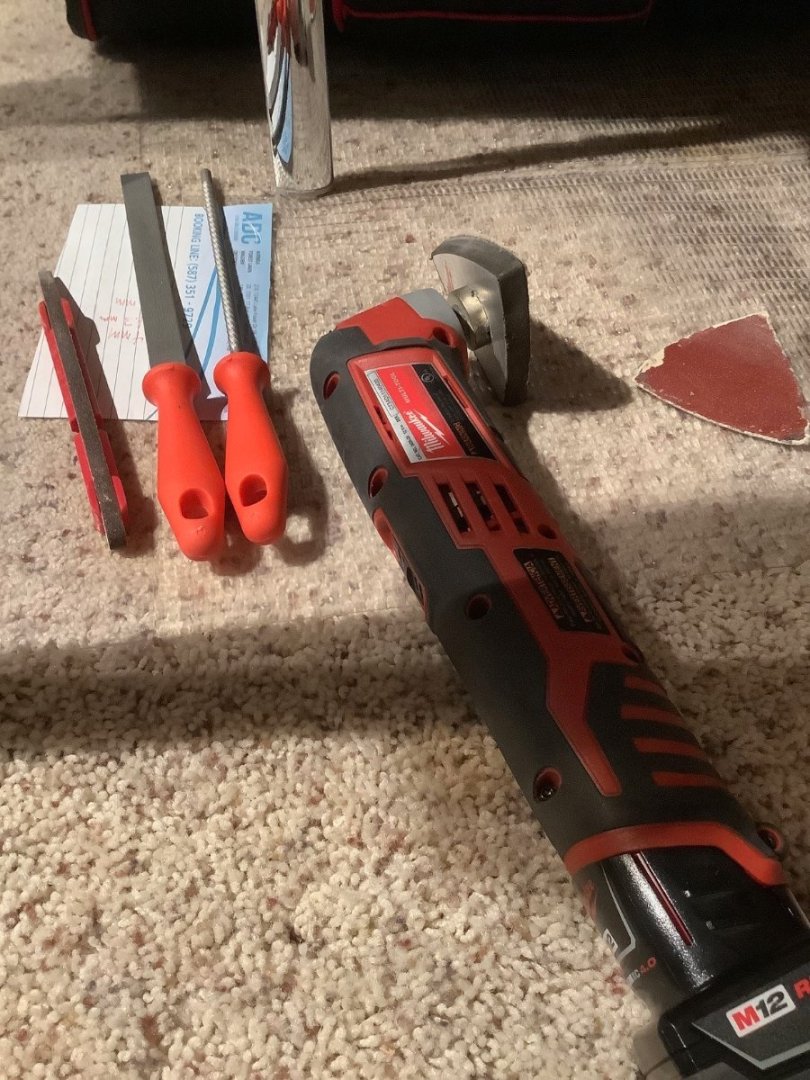
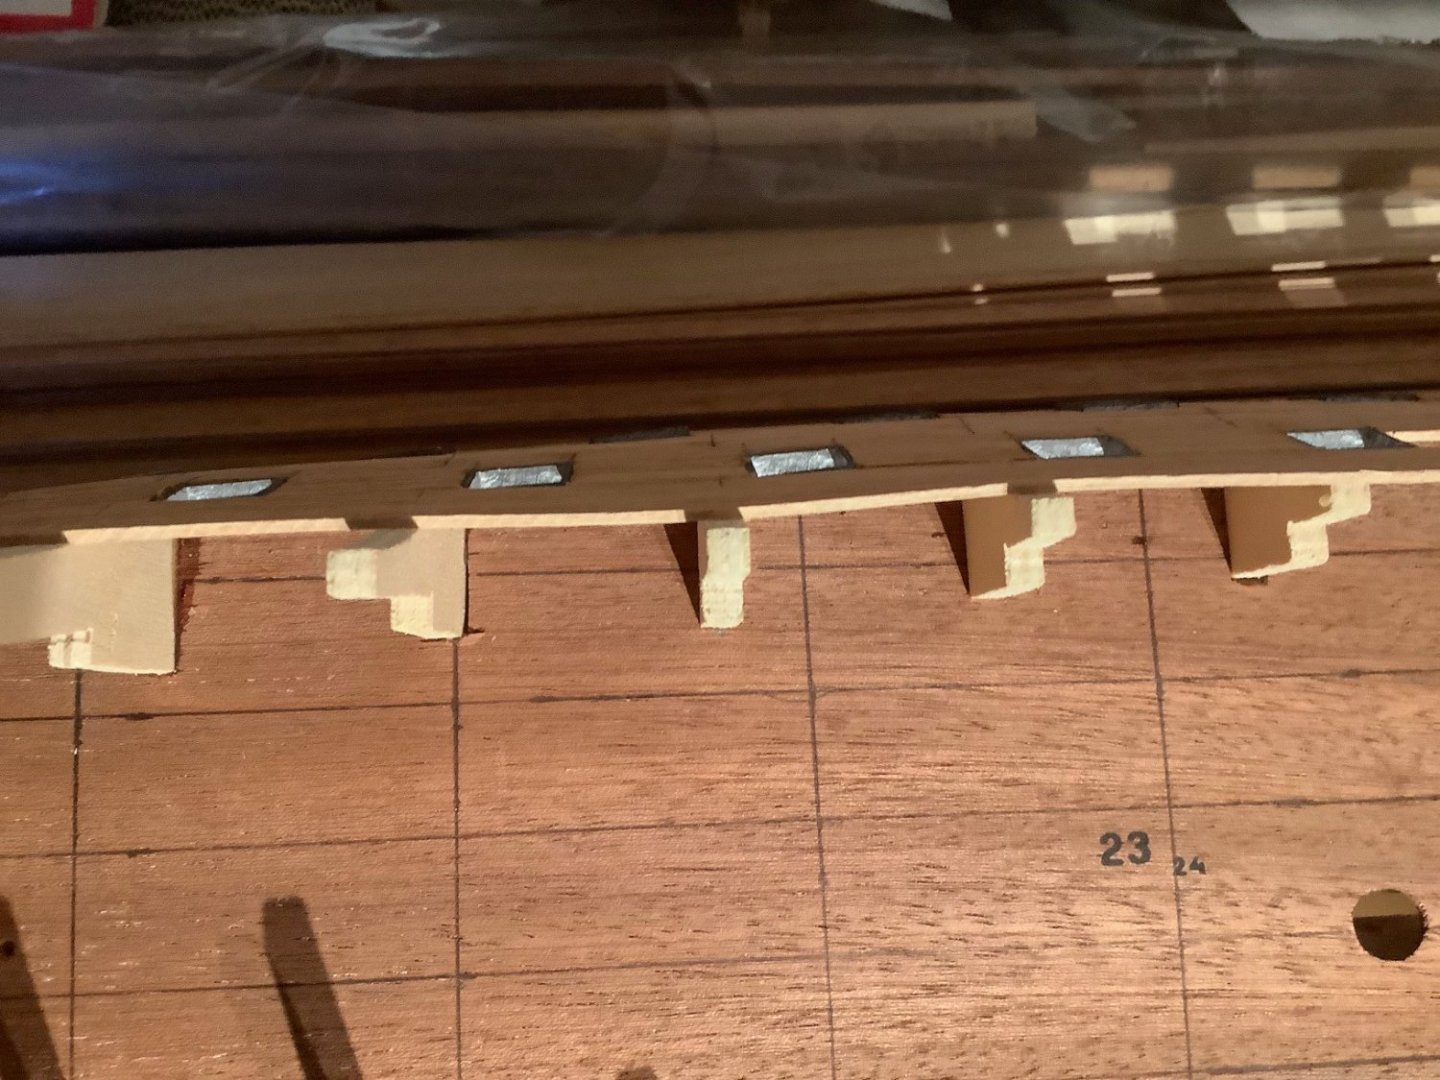
Some additional images of my framing process. The external hull profile is very poor between the gun ports with my effort, especially on the deck where the dummy ports are located as evident on the second picture. Instead of filling later, I decided to add strips between the ports varying in depth from .5 and 1.5 mm, depending on where the defects were most pronounced and then sanded back. Mamoli vintage kits are notorious for not supplying enough material so I decided to fill with some scrap wood and then with my Milwaukee multitool, sanded flush to the gun port exterior margins. Quick and easy work... The pictures may not show it but the exterior hull is quite smooth without waves and undulations.


-
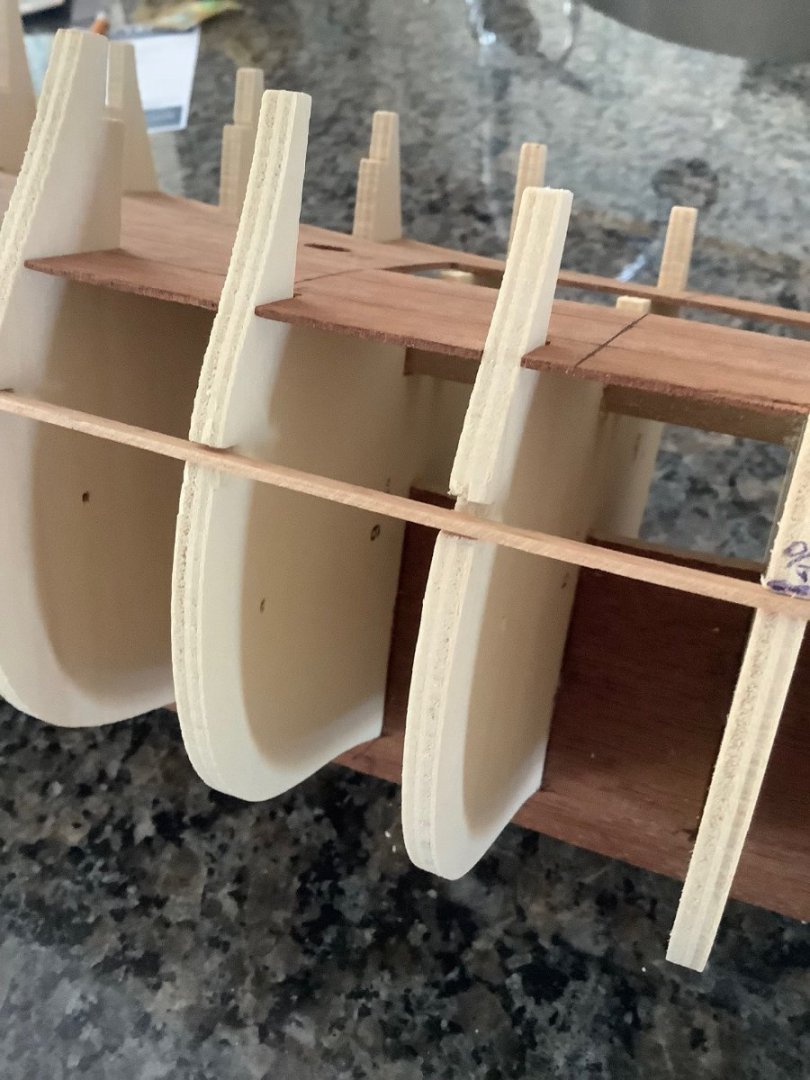
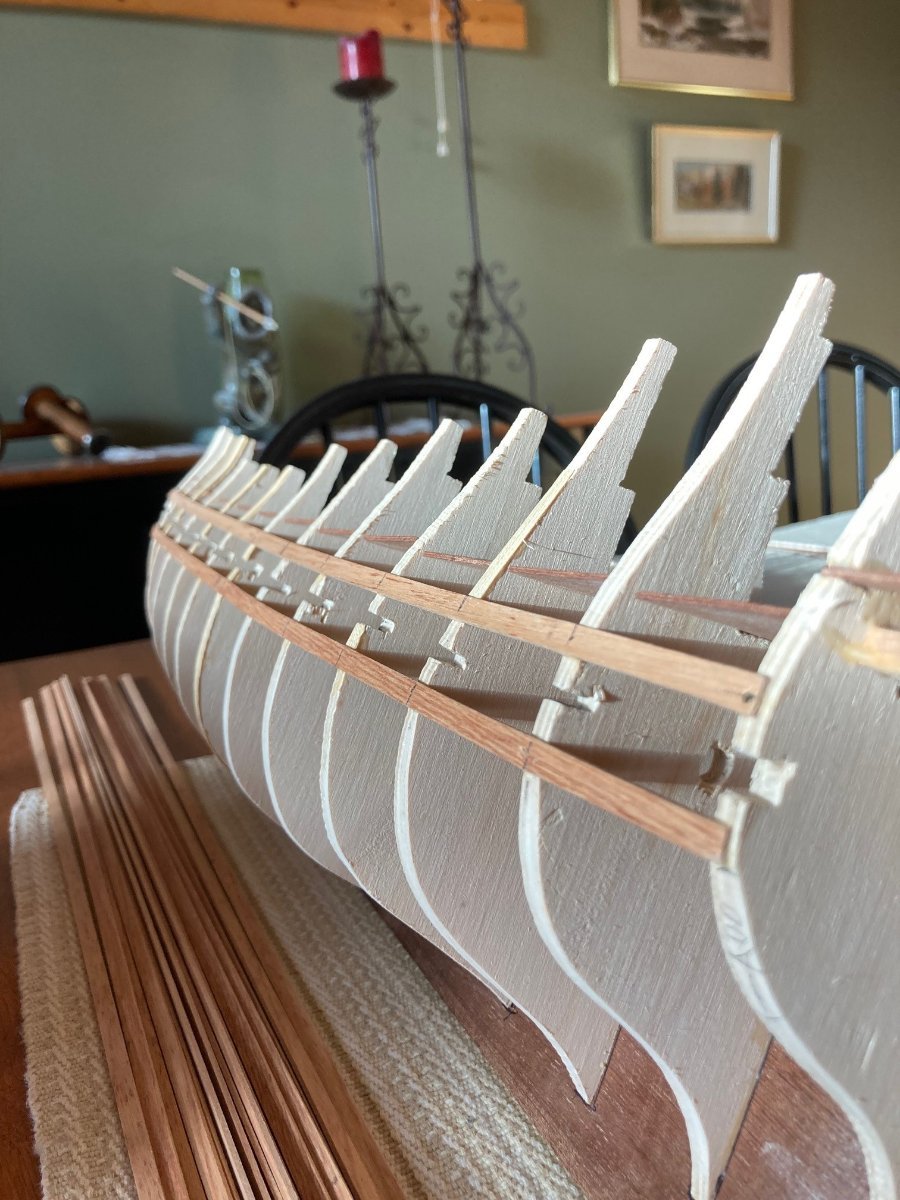
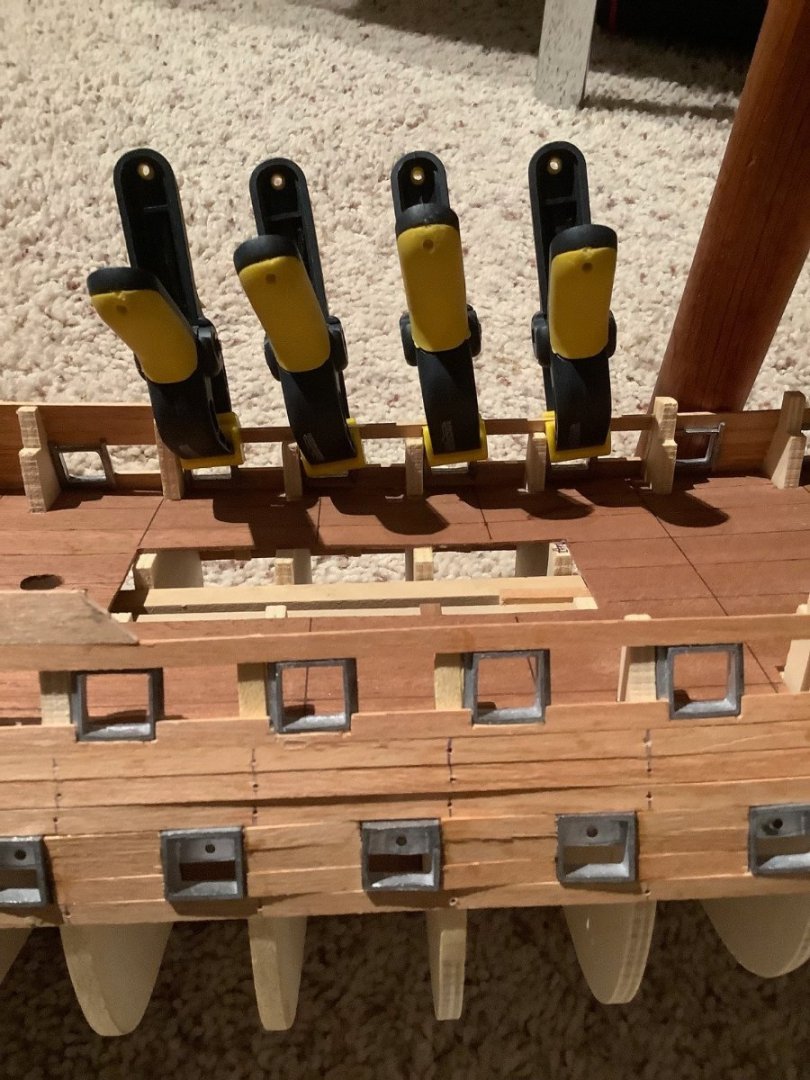
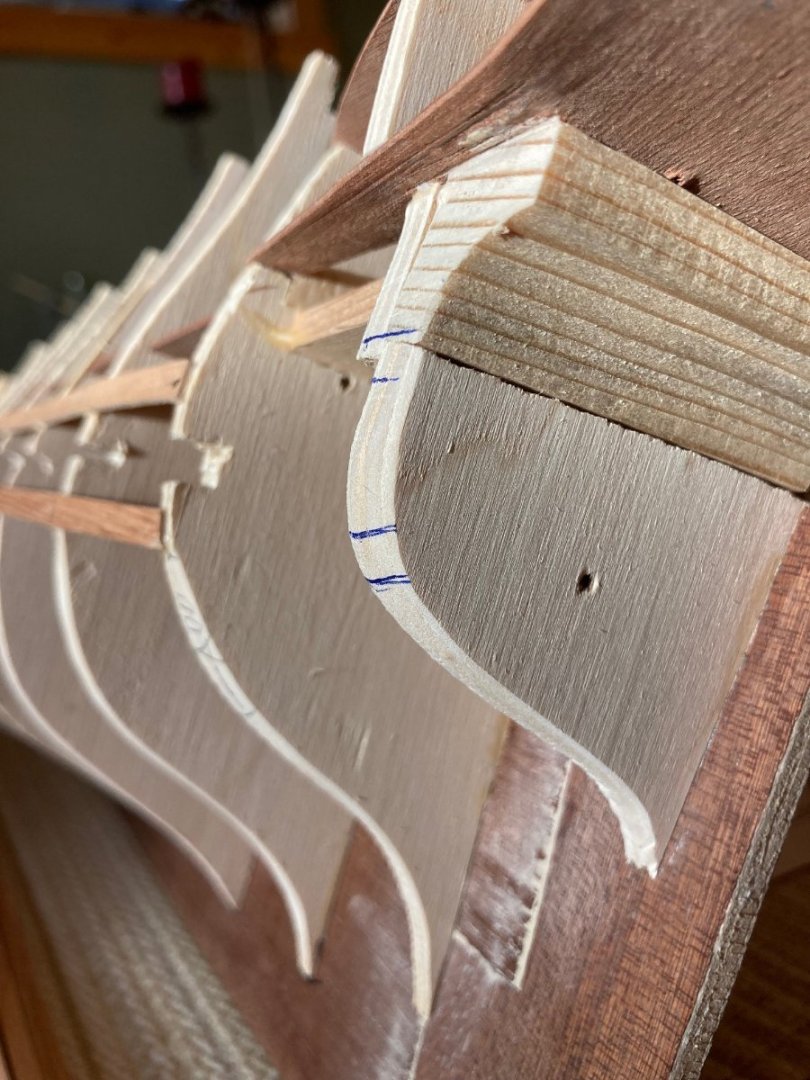
Continuing work on the cannon port frames. Tedious work but my measurements have panned out well as I have nice gentle and aligned sweeps of the two gun deck ports. Don't know how I missed adding the shim(s) to the outside frame on the last picture. Anyways, cut back the plank off the frame and slid in a 1.0mm shim. With these Mamoli vintage kits... there are lots of form and fit issues of parts and you always have to be diligent.


-
mrcc reacted to a post in a topic:
Avos by etsinko - FINISHED - Master Korabel - 1:72 - Russian tender
-
Wow… how did I miss this build log… Excellent job!
- 236 replies
-
- 1
-
-
- artesania latina
- kitbashing
- (and 2 more)
-
Thanks Peter for the compliments… I am eastern European myself but every time I am in Holland, I feel absolutely at home! My wife’s roots can be traced back to the 1600s to Rotterdam with a paternal branch of the family tree being traced to the late 1700s in Indonesia. Then of course all the Dutch left the East Indies after WWII.
-
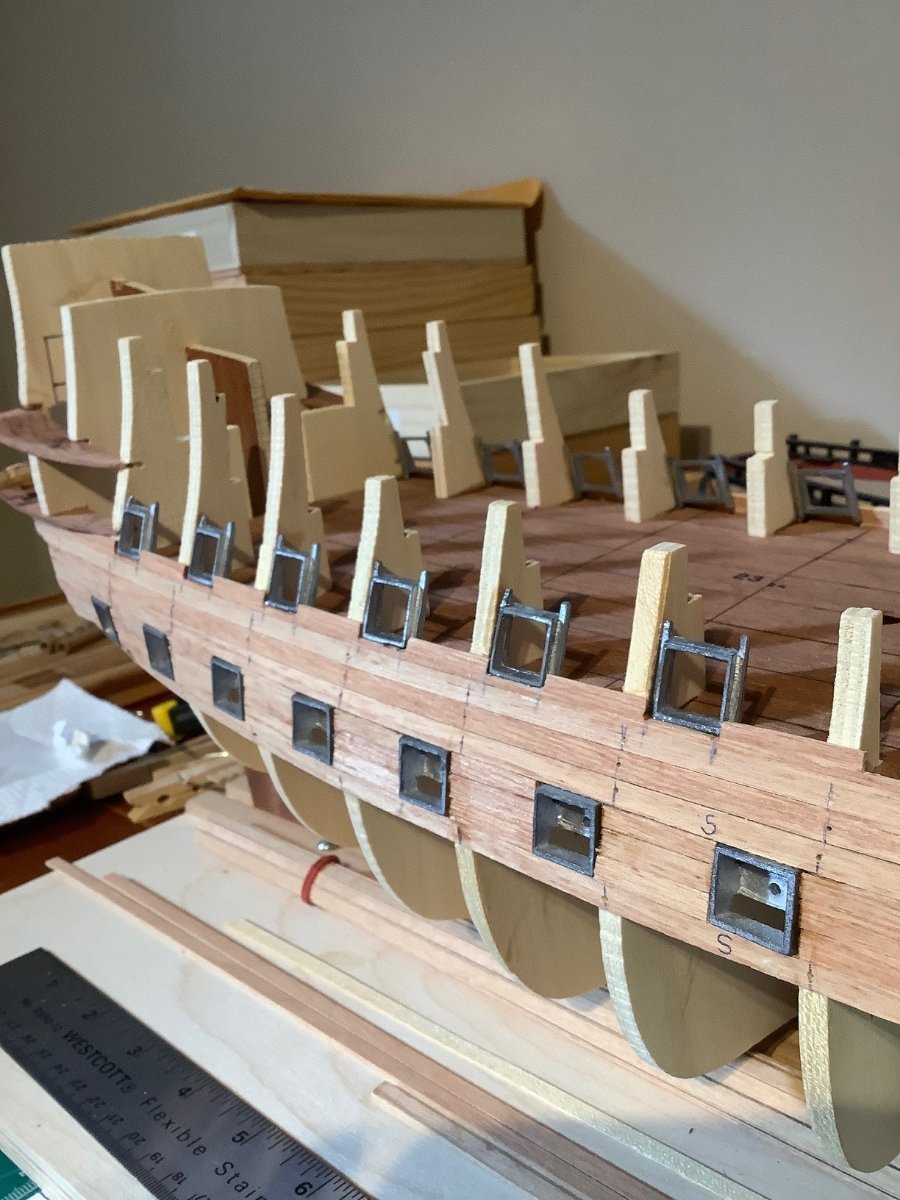
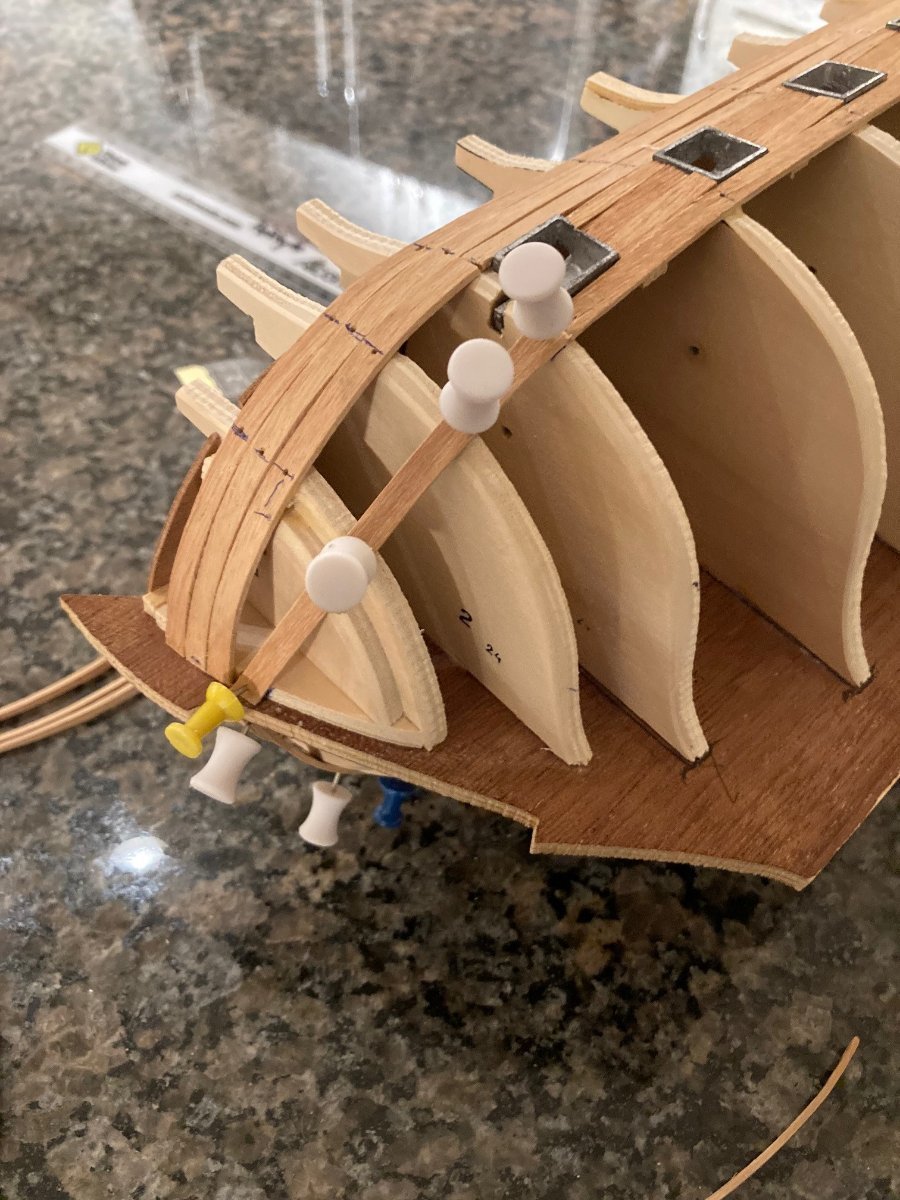
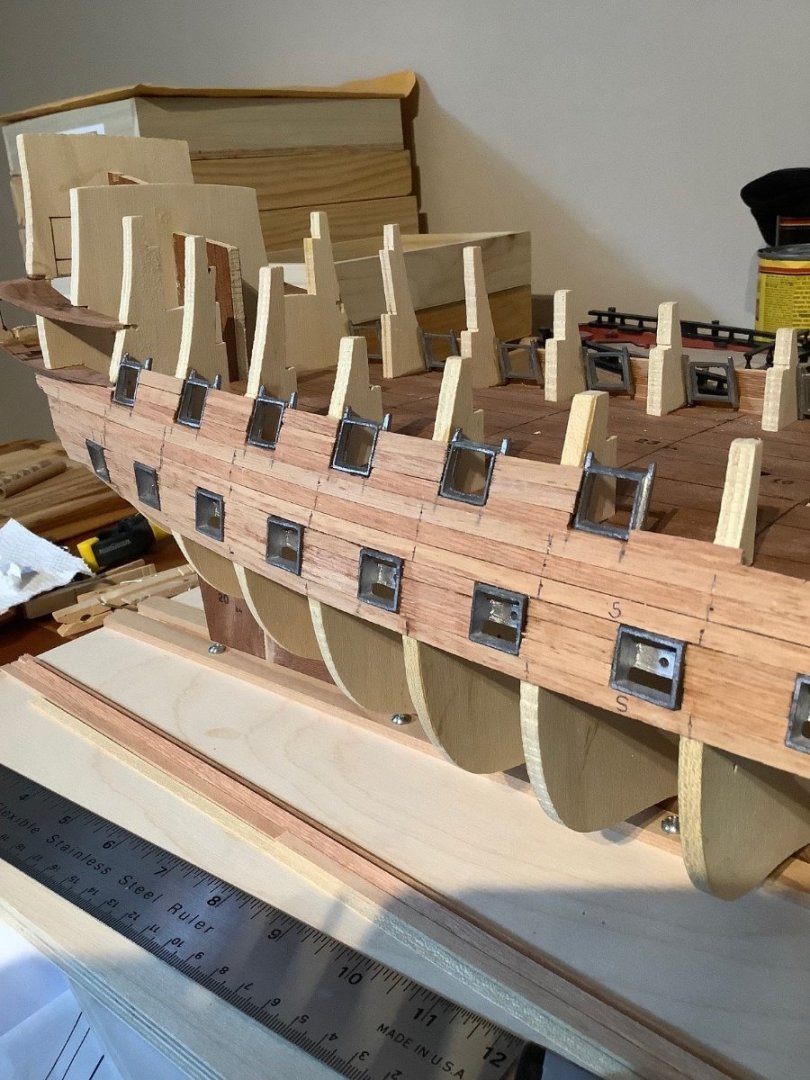
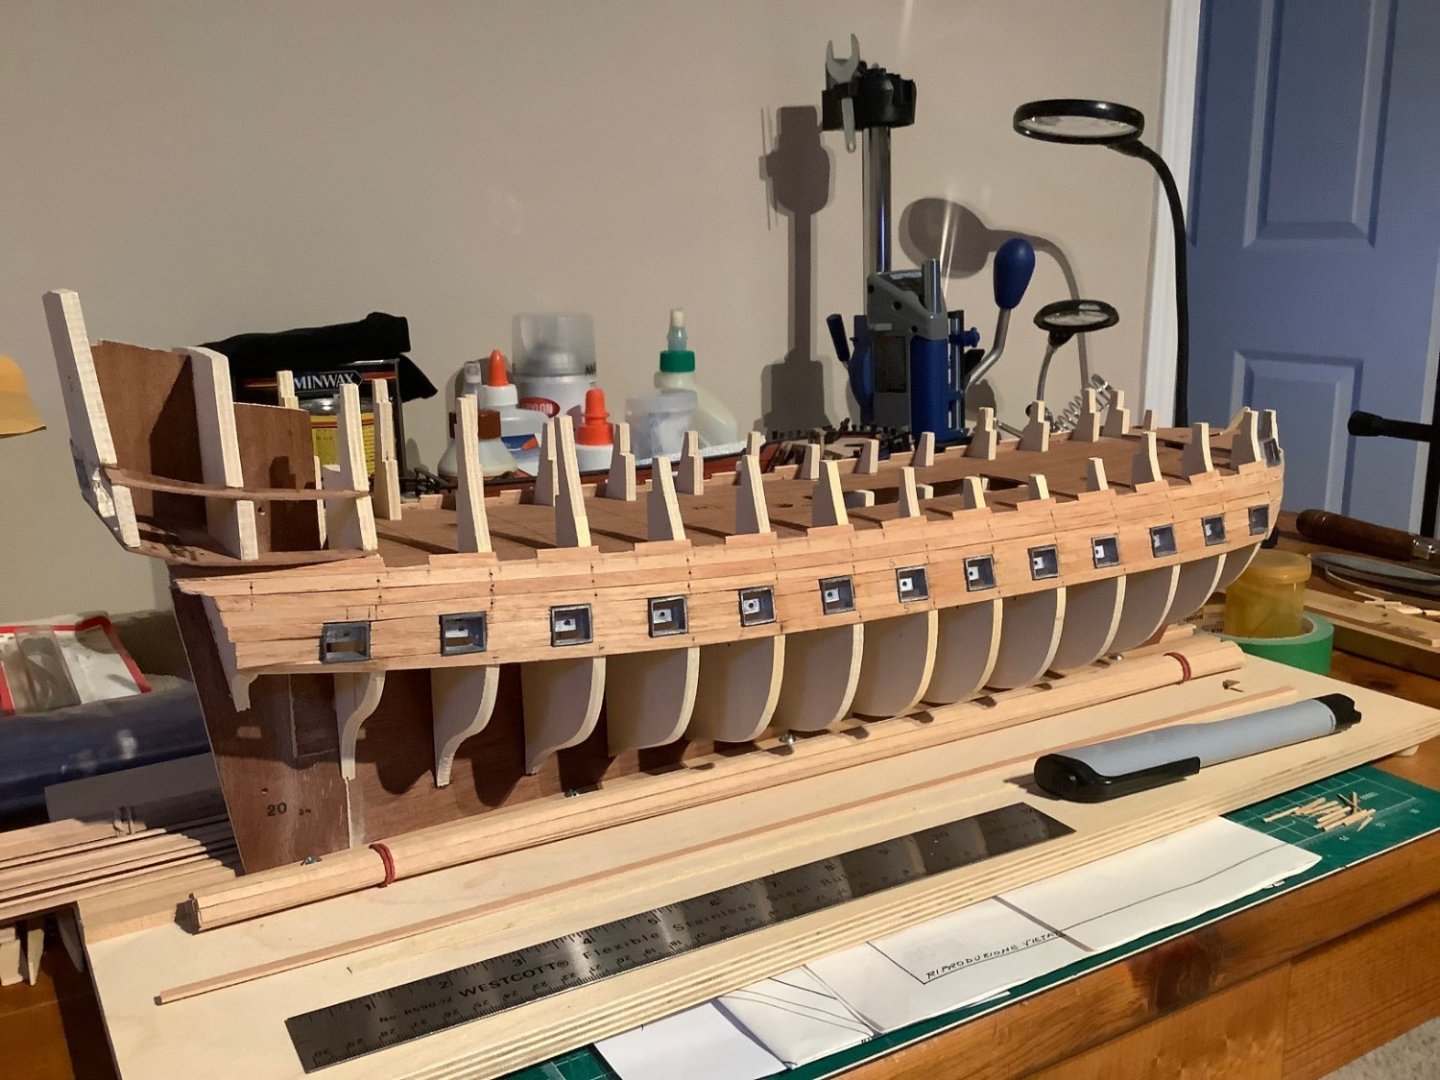
There is a number of ways noted on some of the other Friesland build logs on MSW in how to frame out the gunports but I followed the directions per the Mamoli plans with success. I loose fit the ports and created the ledger boards above and below watching for the sweep from the bow to stern. Once satisfied, I then glued the ports in with CA glue tweaking their alignment in the initial seconds before the glue firms up within the confines of the ledger boards directly above and below. I planked above noting that the main gun deck needed to be accounted for and according to the plans, there was 18mm from the bottom edge of the main gun deck ports to the top of the dummy port edges. On visual inspection, the gun ports adequately followed the main deck sweep with some minor adjustments of the flanges between frames, either up or down by a mm or two as they are not secured and essentially float between the frames at the moment (PS easier to visualize the individual flanges between the frames if you look at my posted images from yesterday). I am basically current now in terms of the build log and current state of the build. Progress will be slower at this time... Thanks for all the likes!


-
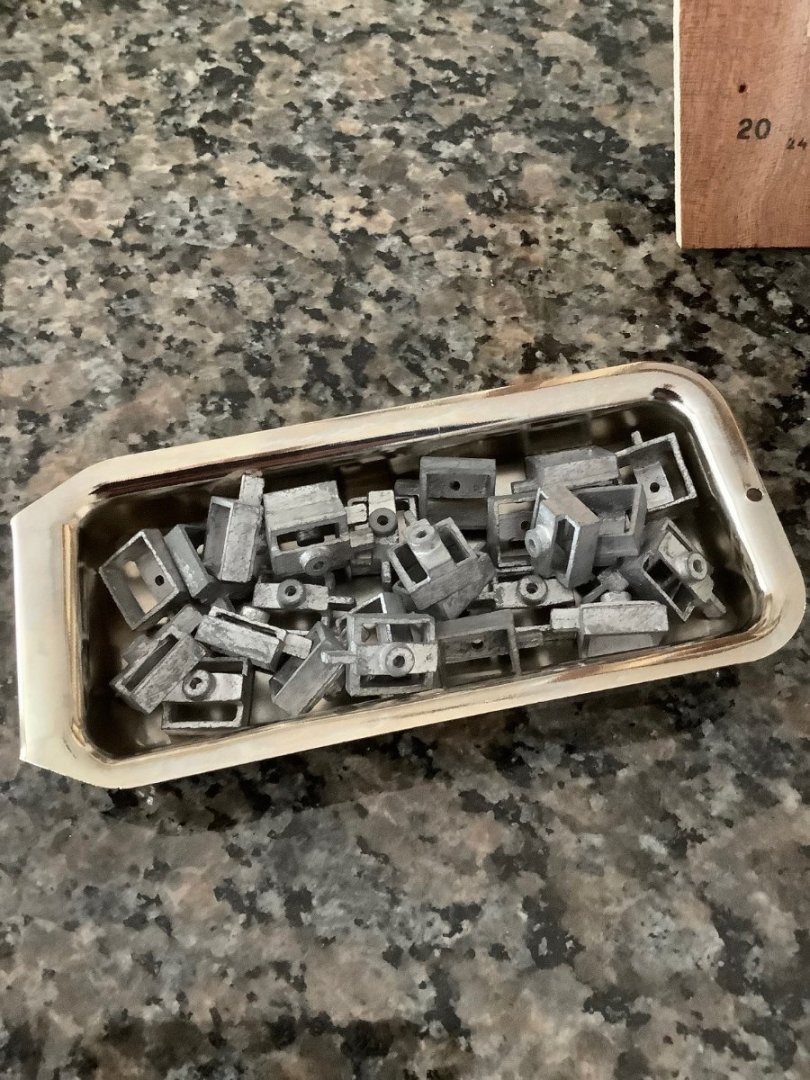
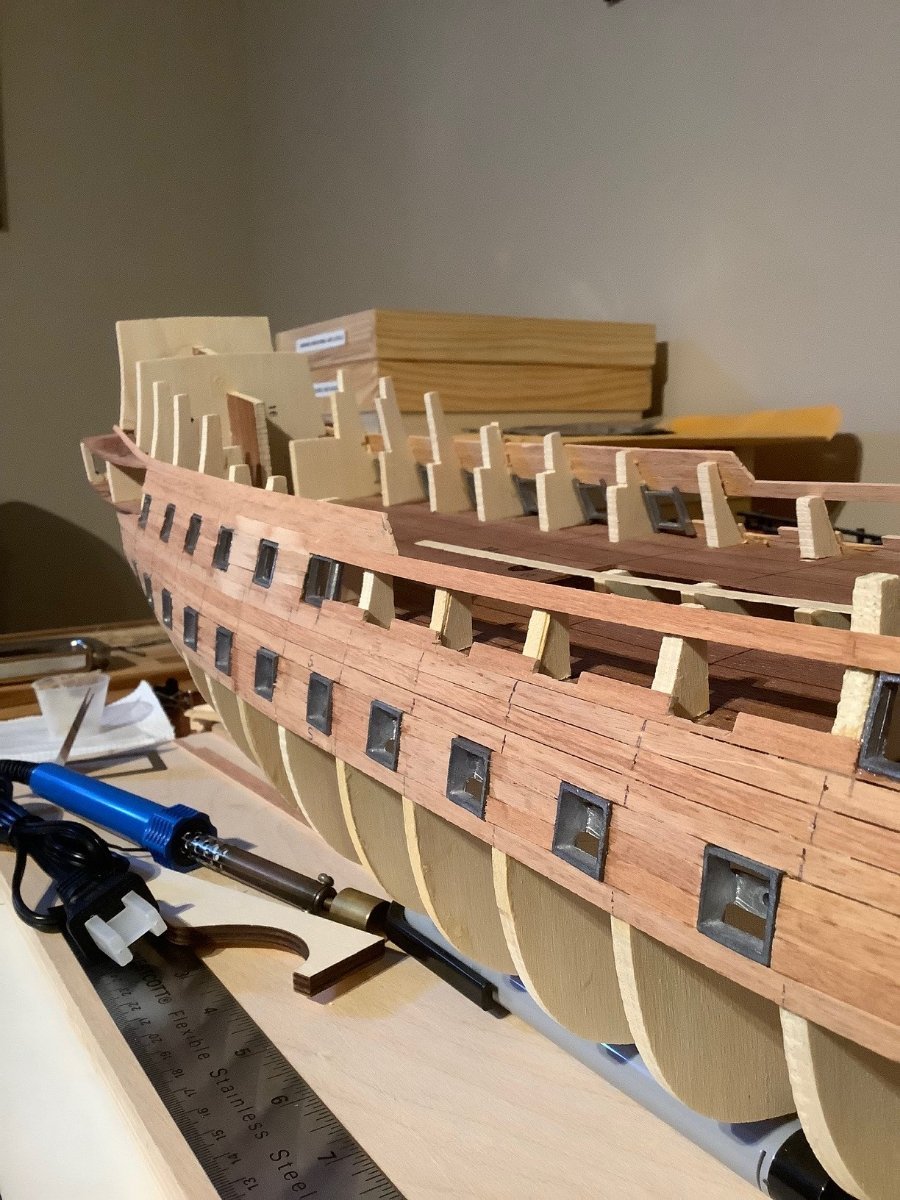
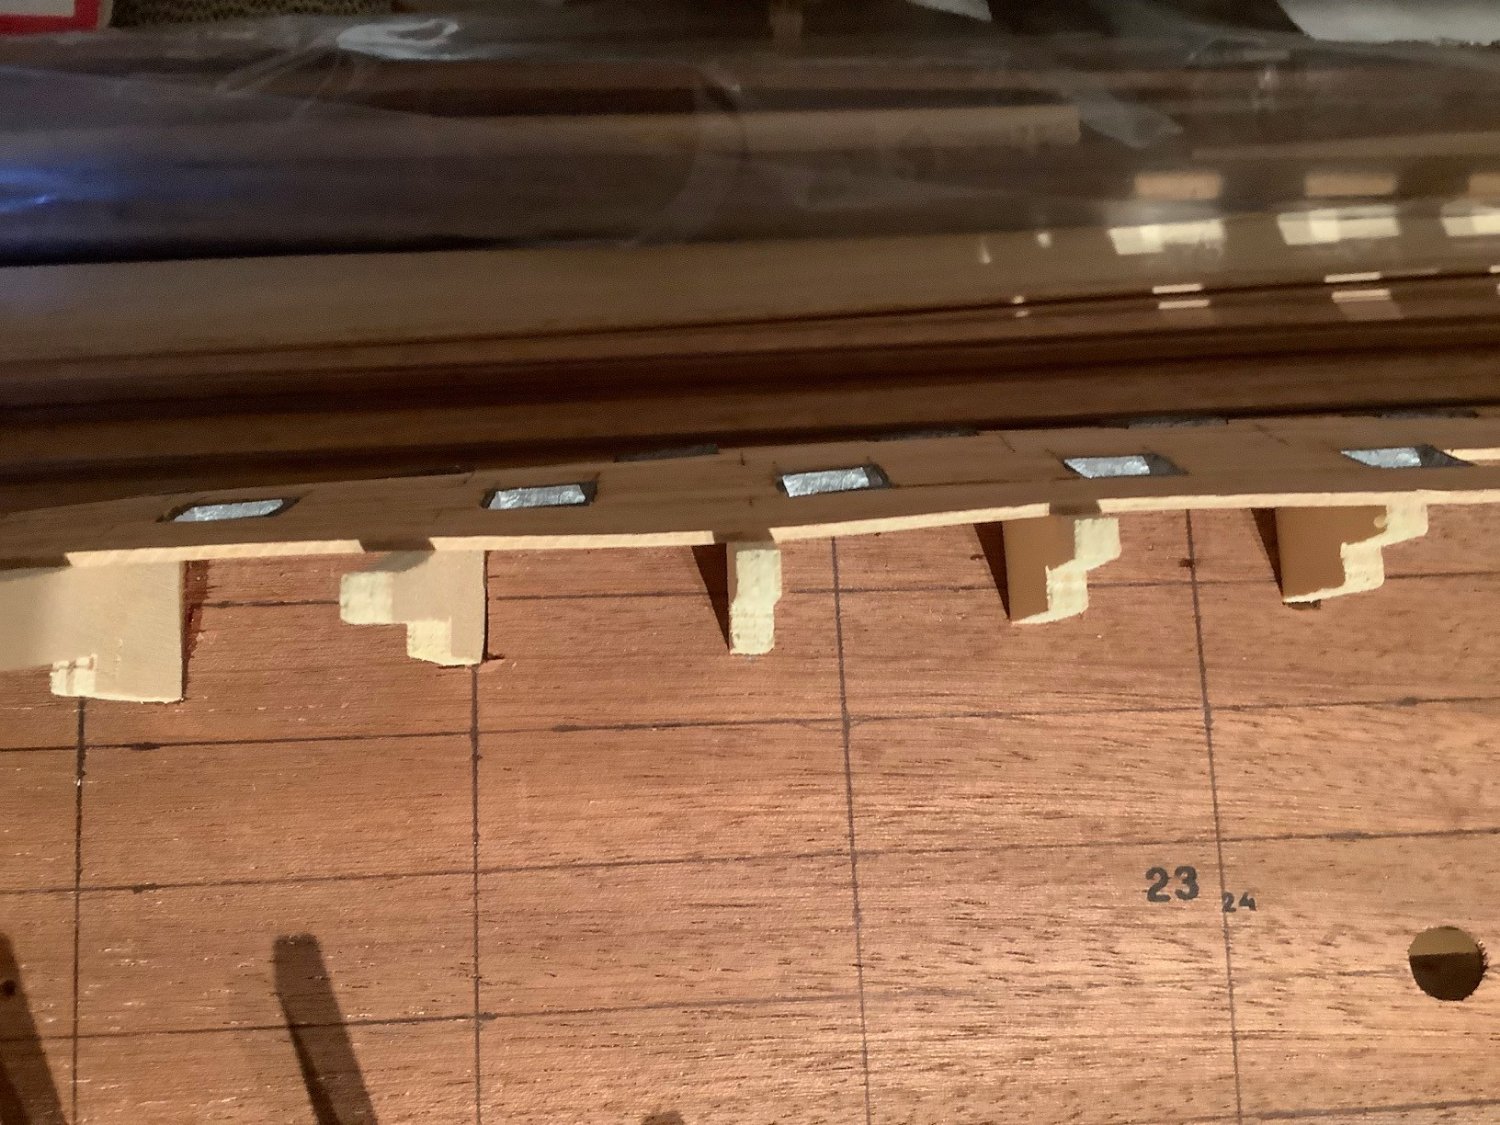
Last post for today... Going to use the supplied cast metal gun ports but as you can see from the first photo, my kit was not so lucky as other Friesland builds for getting a nice clean run when putting a strip of 1.5x5mm wood into the precut slots. I unfortunately had the pleasure of widening and deepening the slots in order for the gun port tabs to fit into place and get that nice sweep of the gun ports laid out.