
MartyB
-
Posts
16 -
Joined
-
Last visited
Content Type
Profiles
Forums
Gallery
Events
Everything posted by MartyB
-

USF Essex by mtbediz - FINISHED - 1:50
MartyB replied to mtbediz's topic in - Build logs for subjects built 1801 - 1850
Just found your build mate, very nice work, a pleasure to look at. -
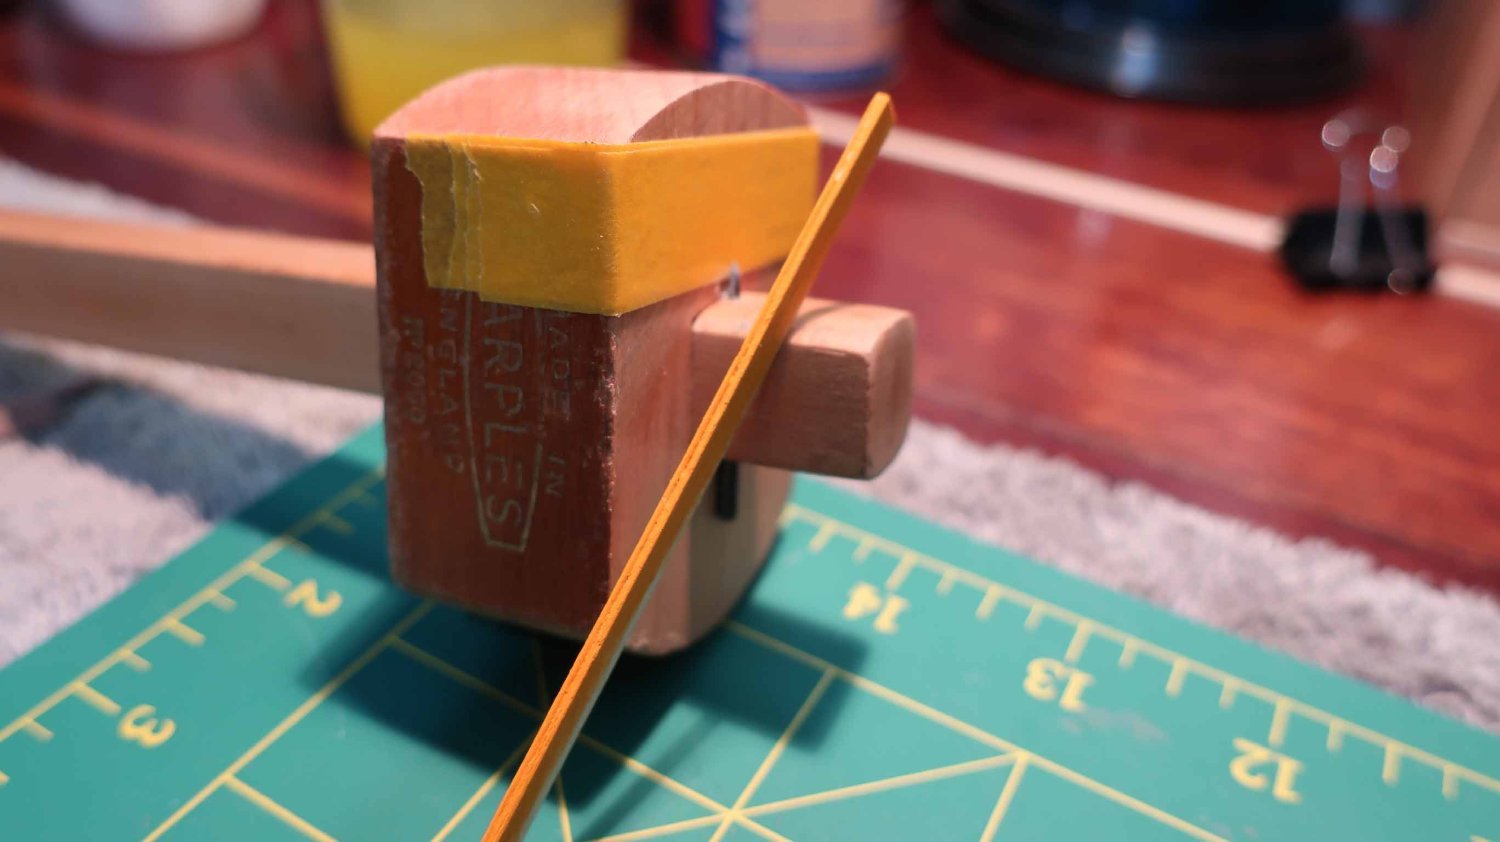
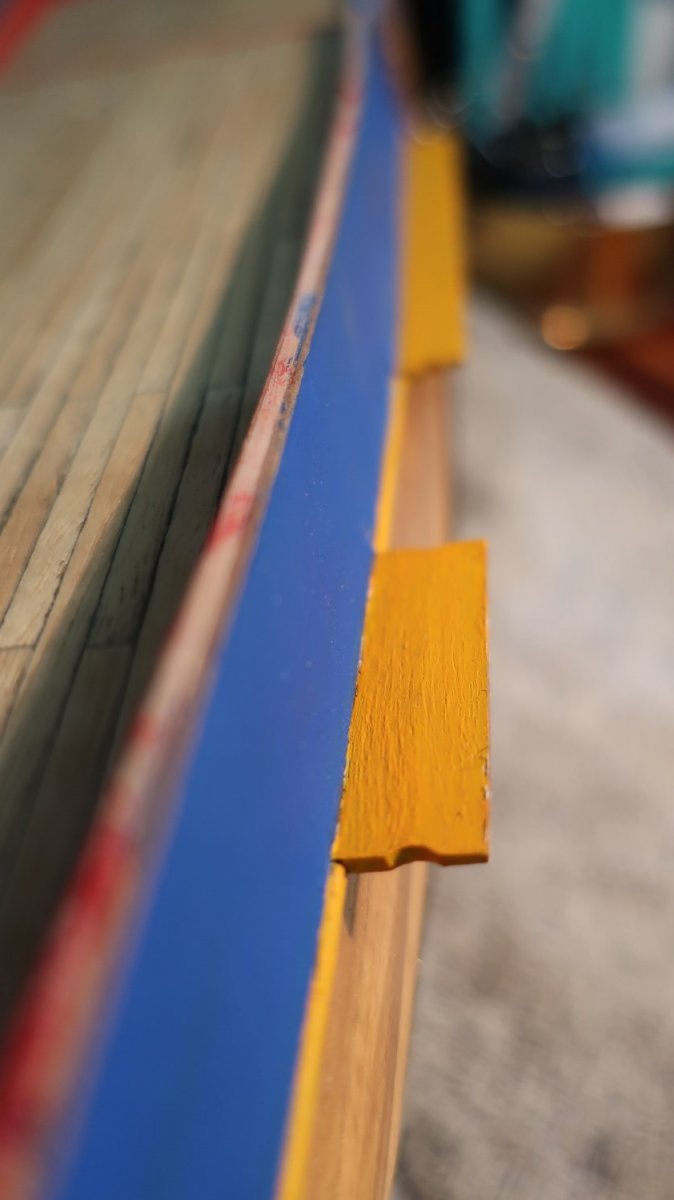
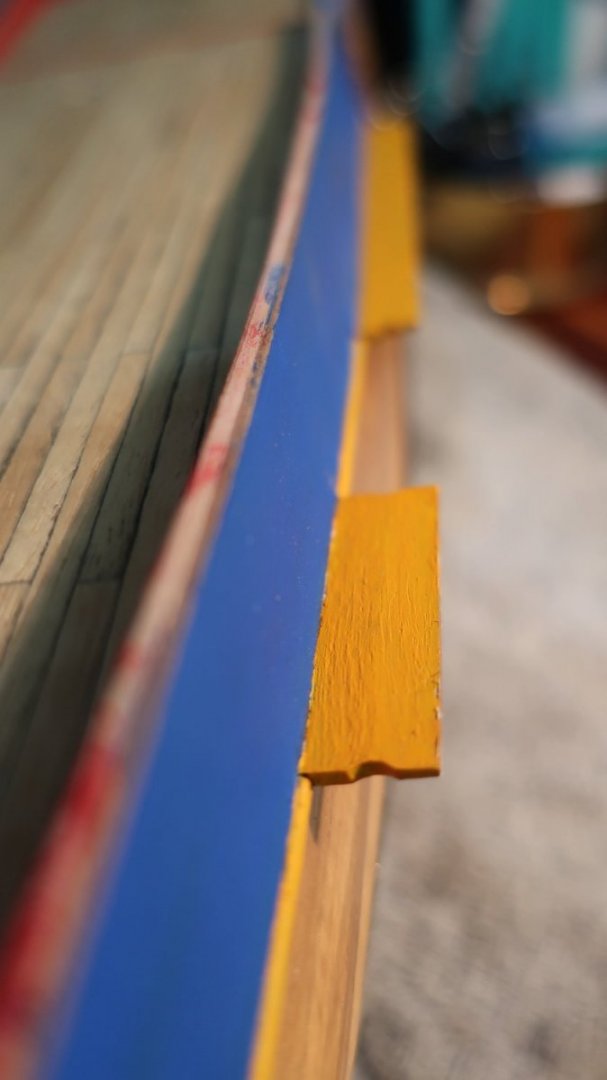
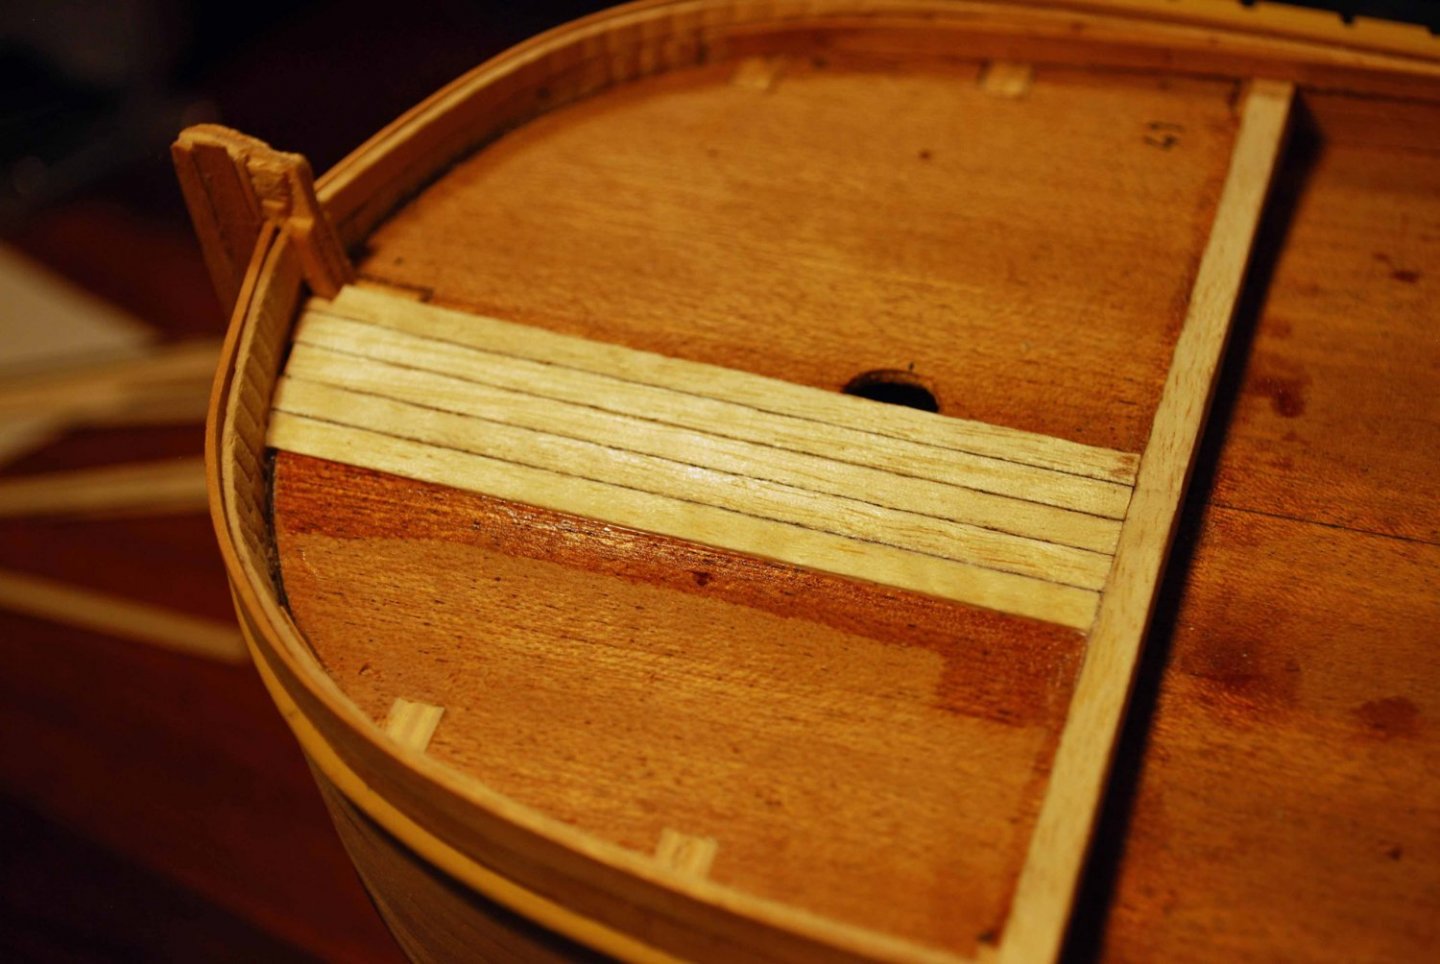
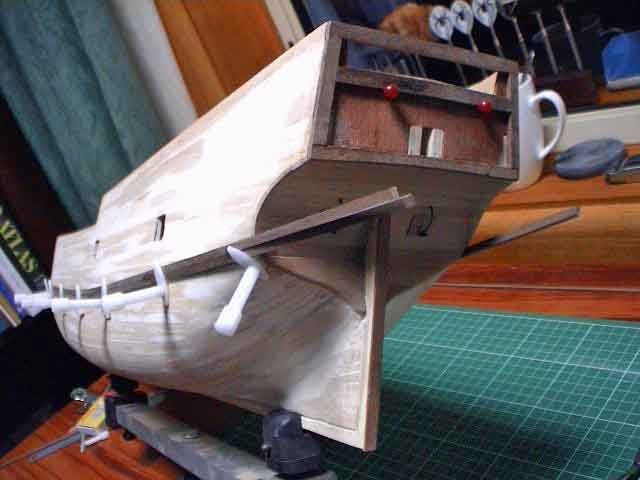
And the last couple of days I have been thinking about the stern decoration rails and how to make them a little more interesting than a plain strip of timber. I put 3 strips of masking tape on my marking gauge so that the spur would make a mark in the centre of my scrap timber and drew them back and forth a few times. Painted them yellow and super glued them in place and pleased with the result. Now I have to put my tiny brain to work on how to finish off the stern. I've been poring over everyones' builds so hopefully the penny will drop soon. Cheers all, Marty.


-
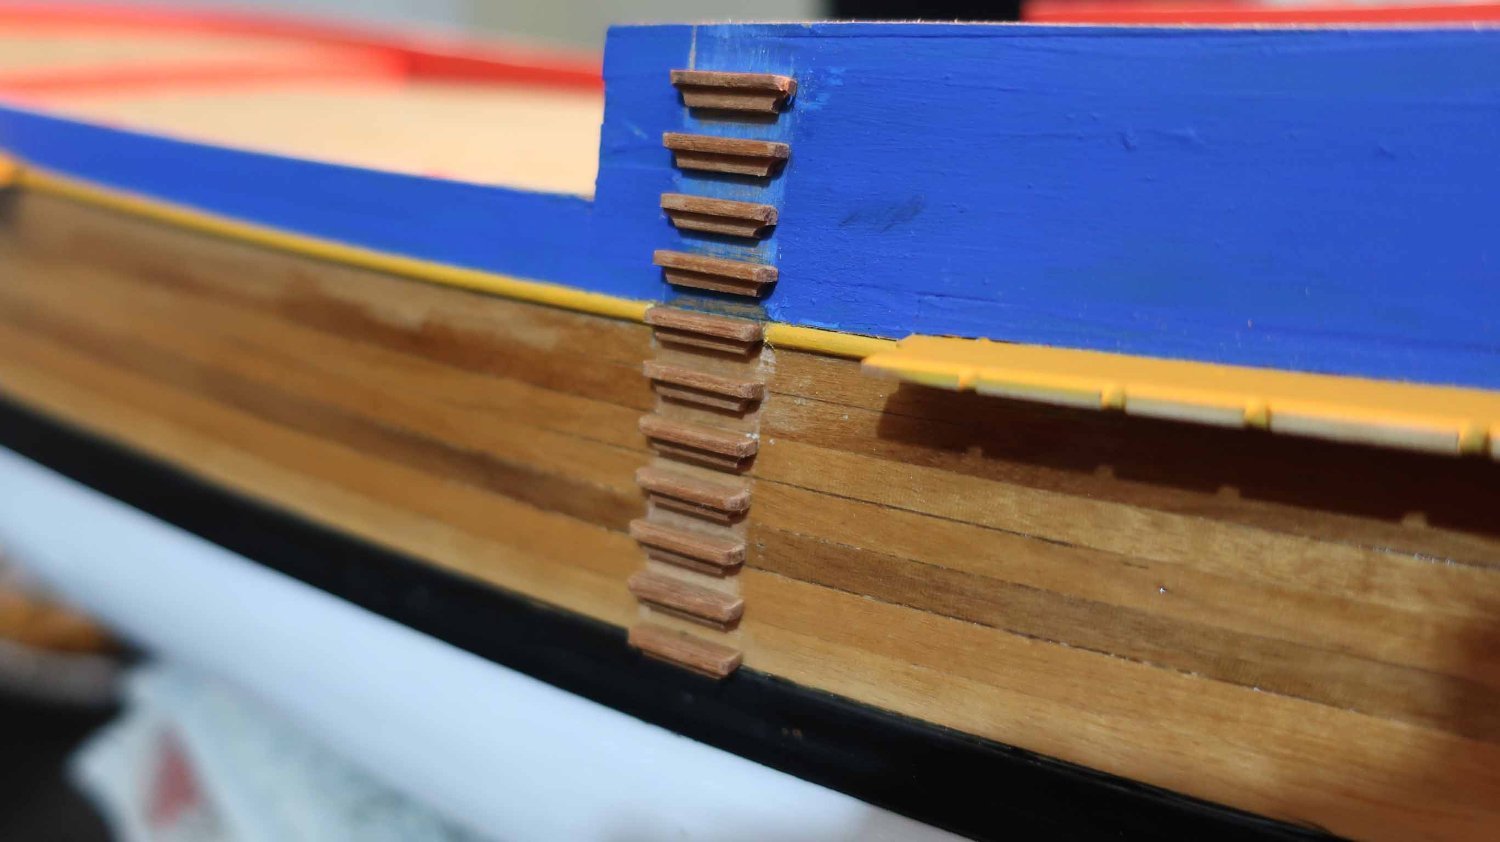
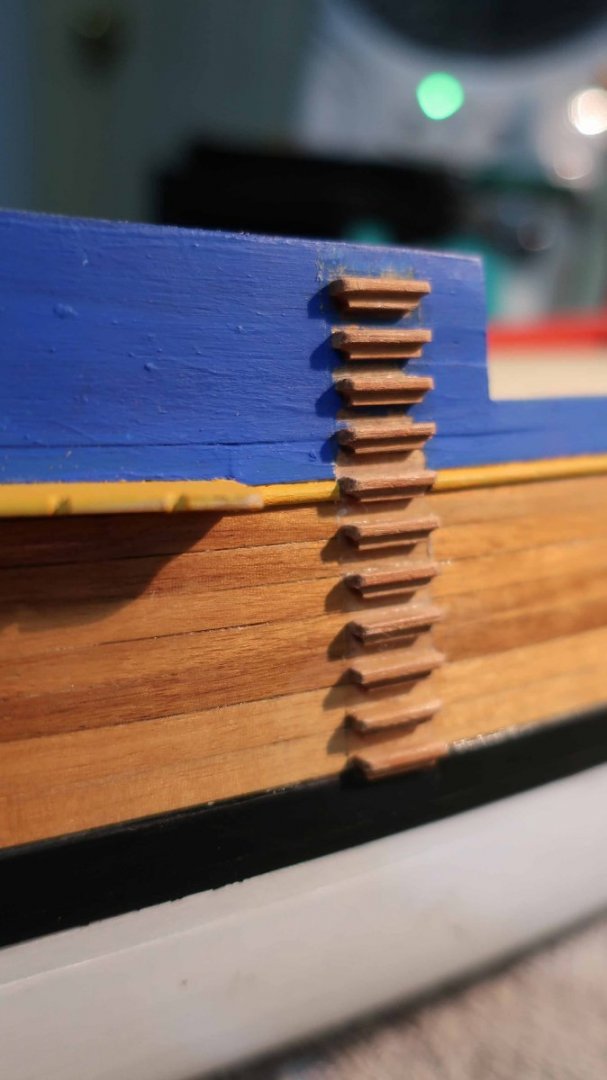
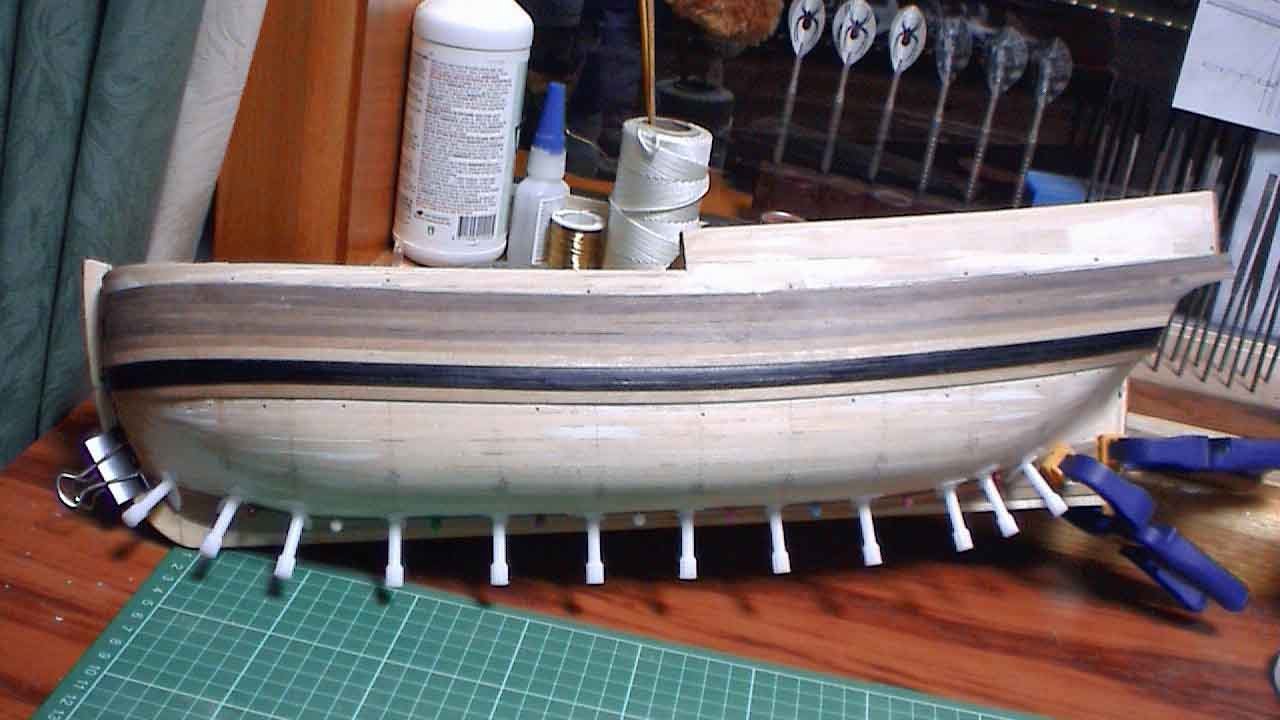
Steps took time but it was enjoyable. 'L' shaped timber is supplied so I made a jig to cut them to size then took to them with mini files. I think they are a tad oversize so I only put 12 on instead of 13 but they look alright to me. I used a spacer and was going to pin them but gluing alone seems quite strong.

-
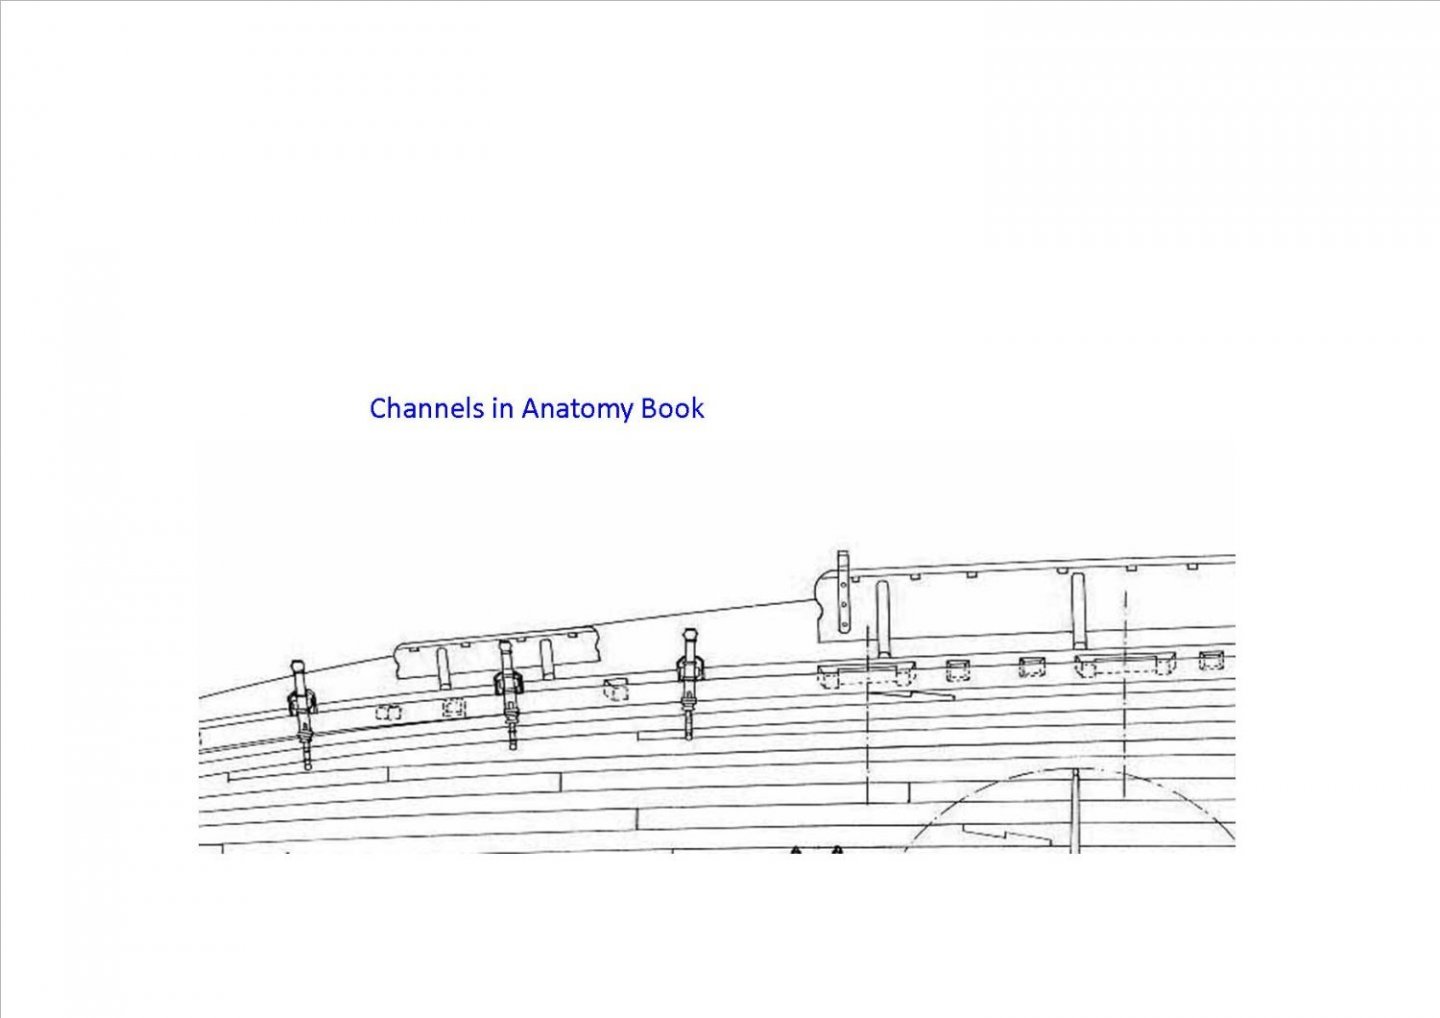
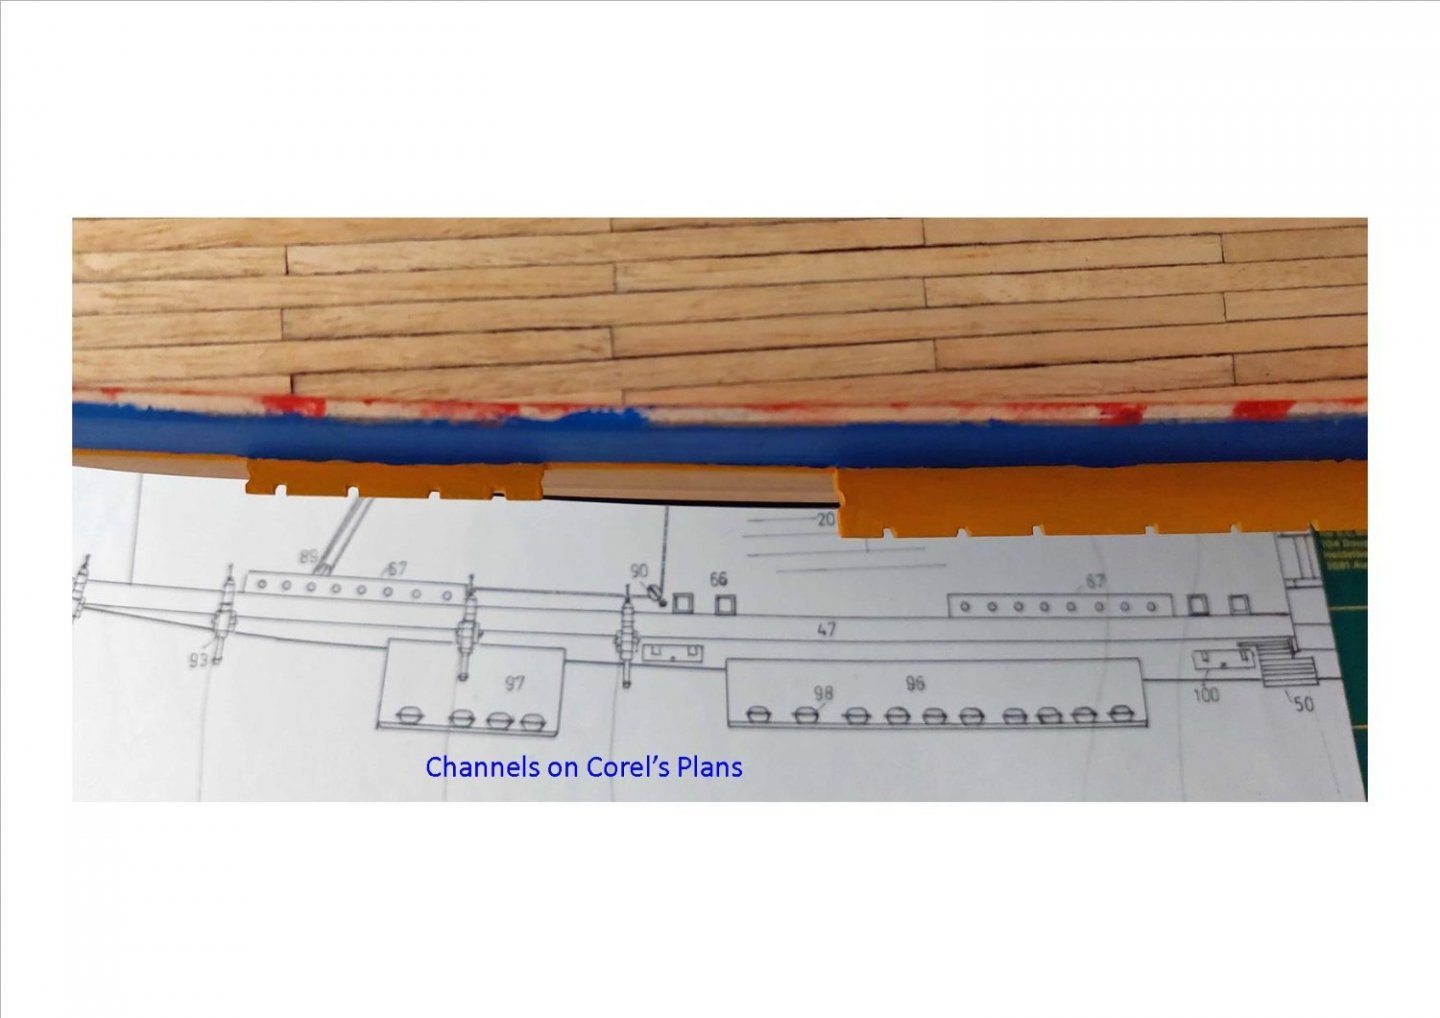
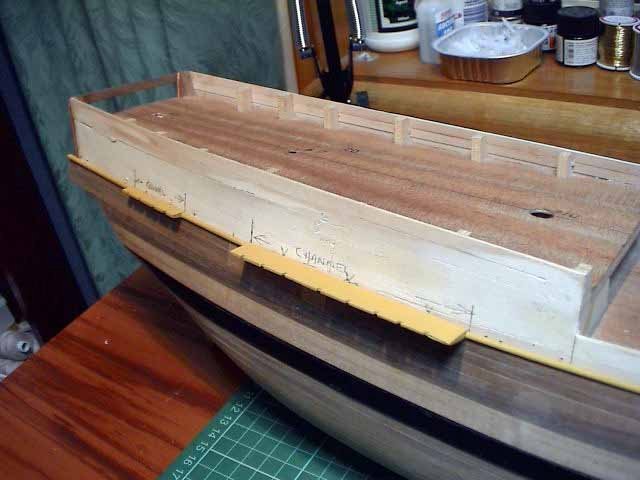
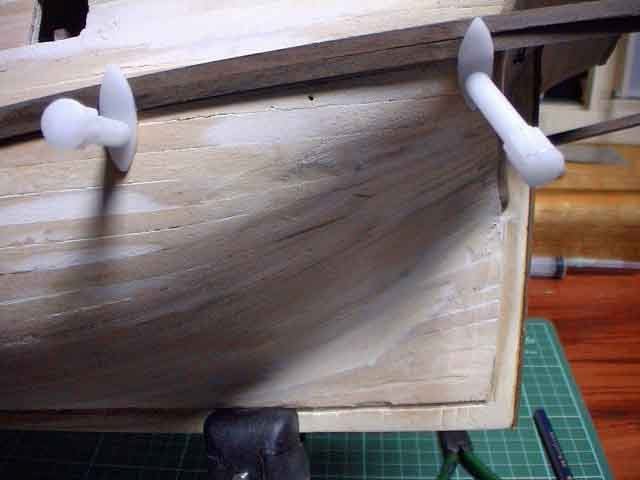
Thanks to DaveBaxt I have re made the mizzen channels and avoided disappointment further down the track. I'll file in the gaps for the fittings when I get to that stage.
-
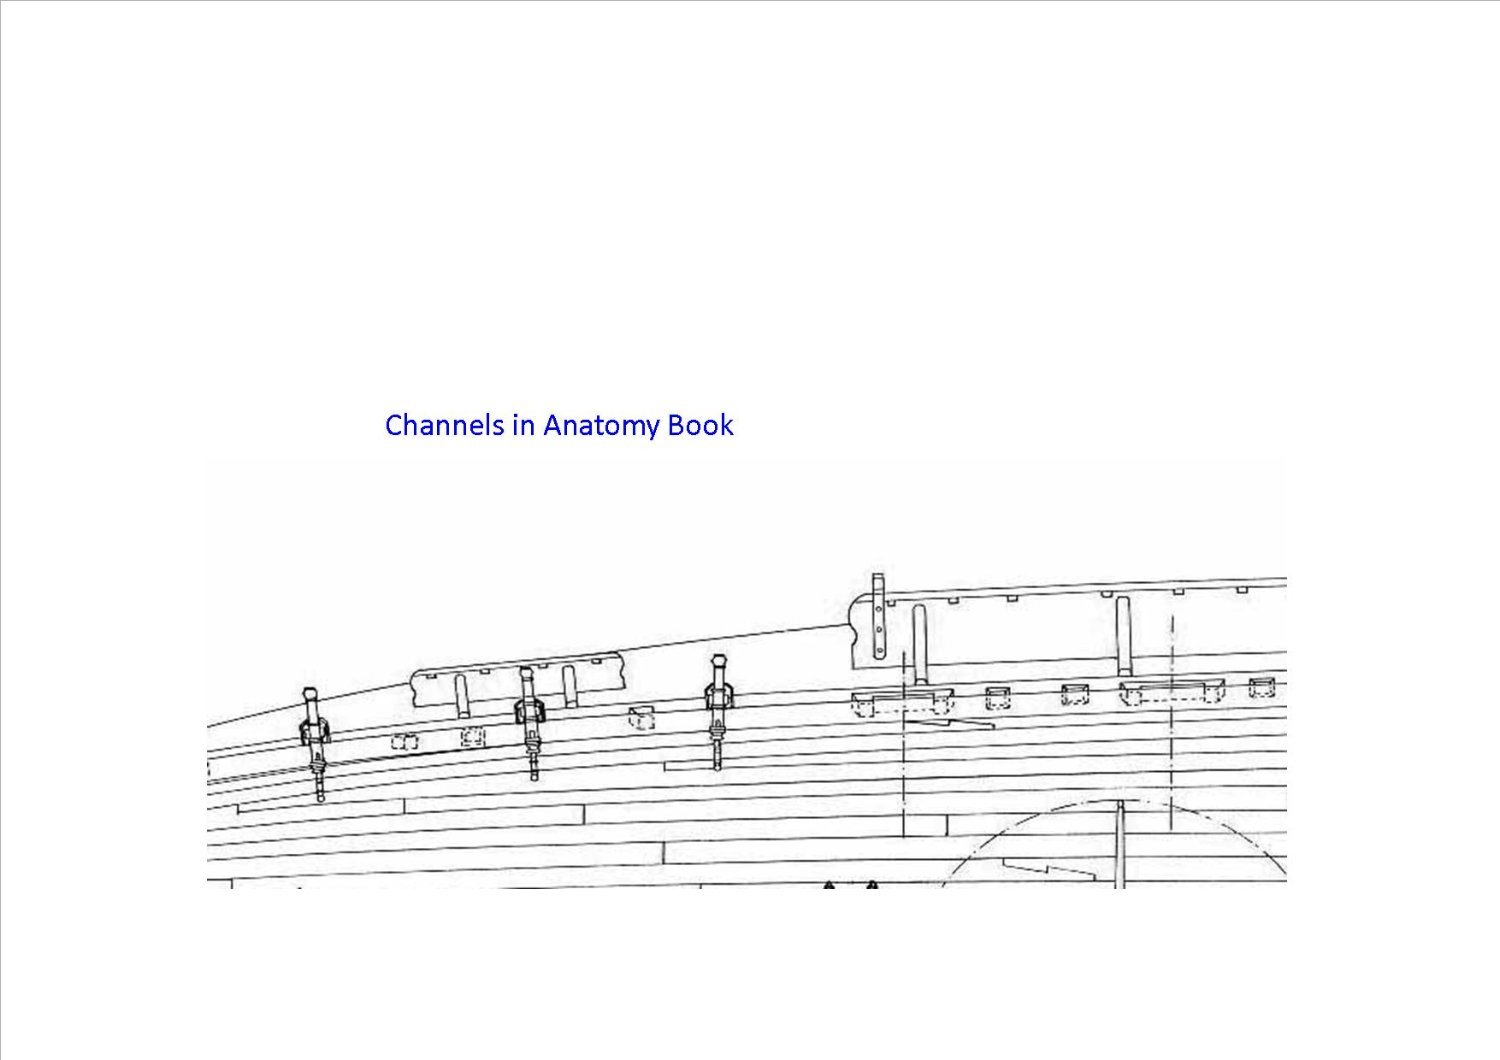
Thank you Dave. And thanks too for the heads up re the Channels 🙂. It hadn't occurred to me that the Mizzen Channels would be too narrow. If I left them as is the shrouds would definitely rub against the railings. I took the sizing from the Anatomy book and made my own, wanting to be as authentic as I could. On checking, there is a big difference between the Channels in the plans as opposed to the book. I will have to remove the Mizzen Channels and remake them. Thanks again mate.
-
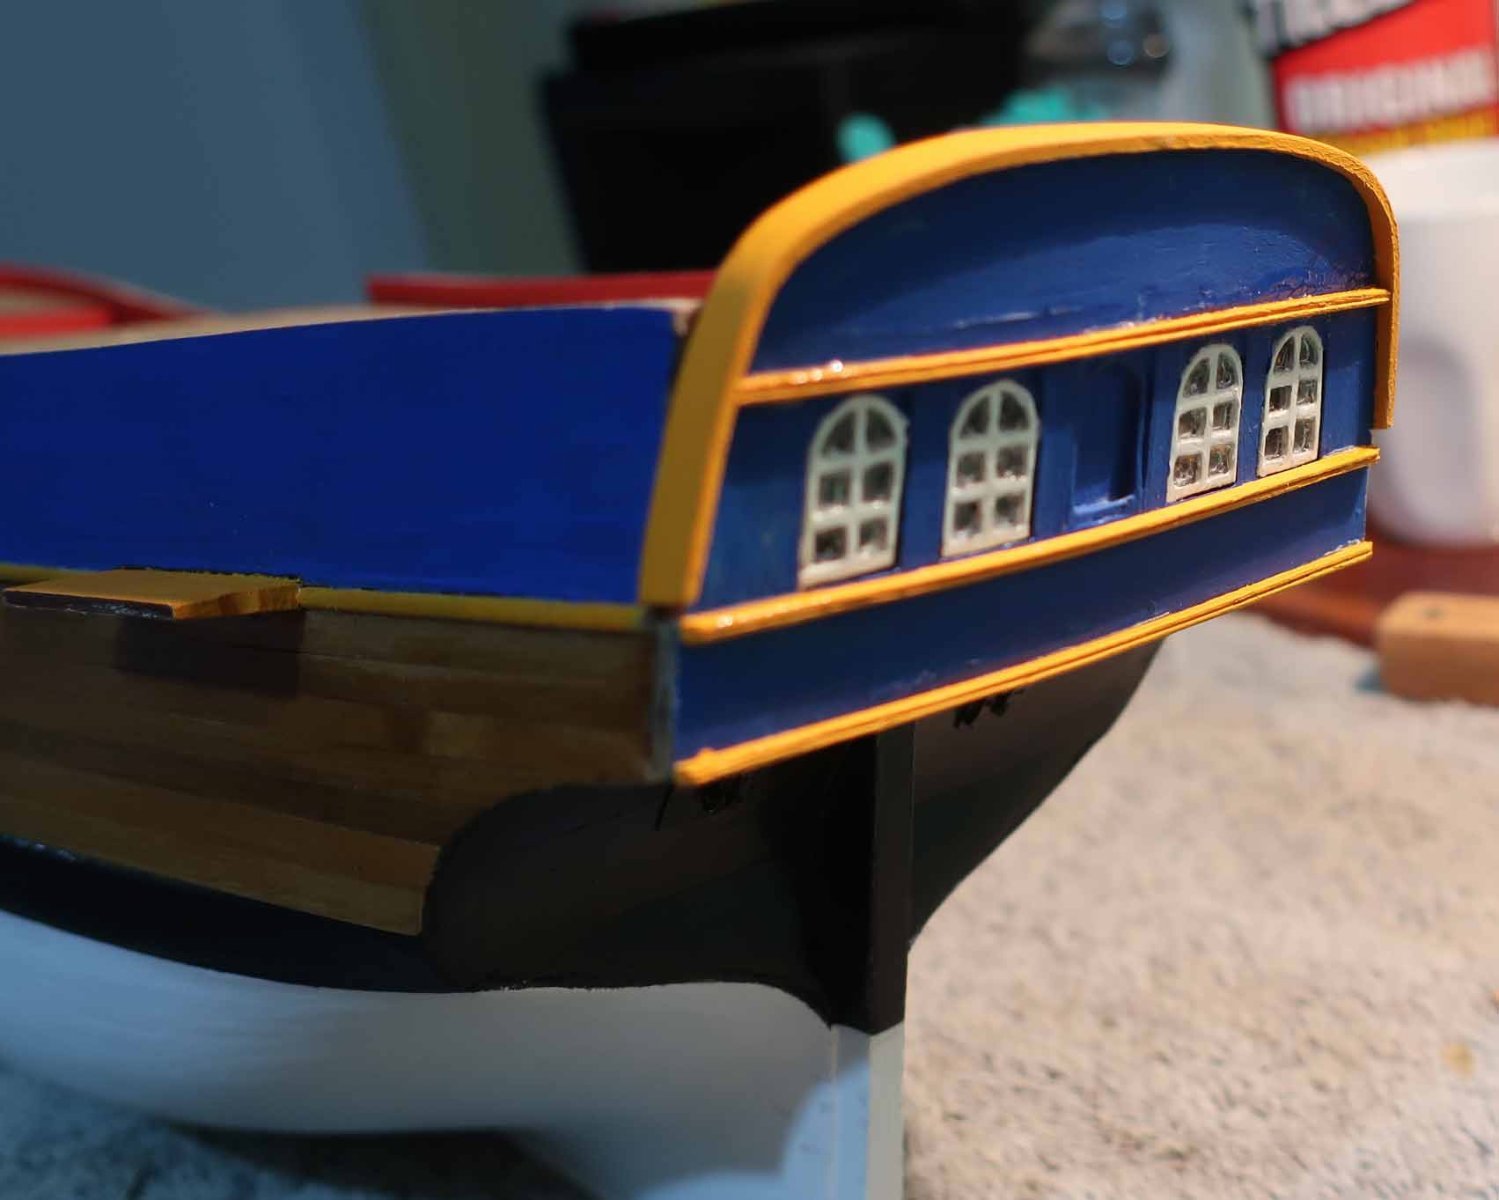
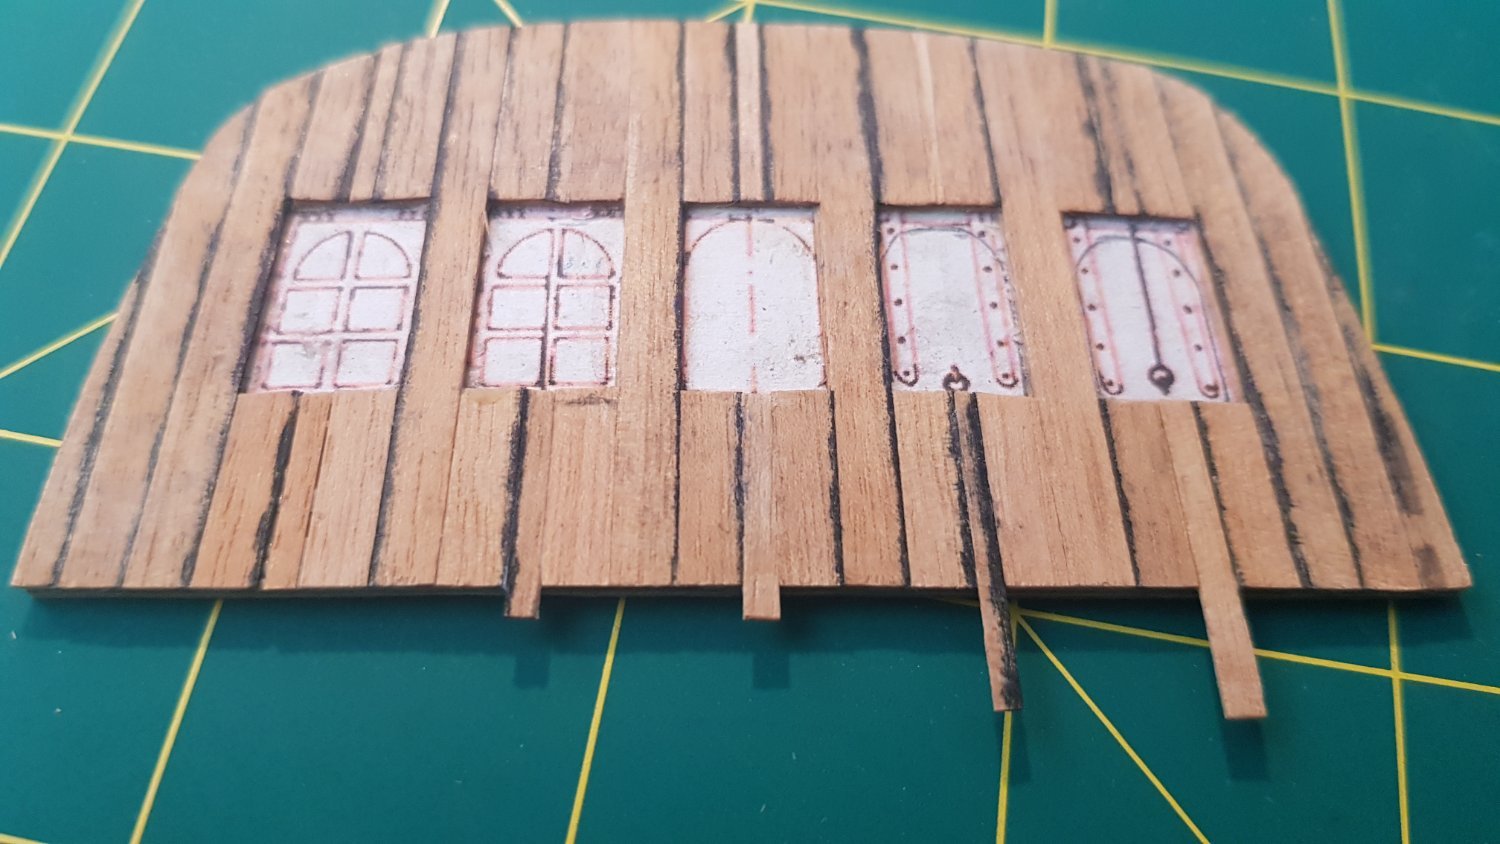
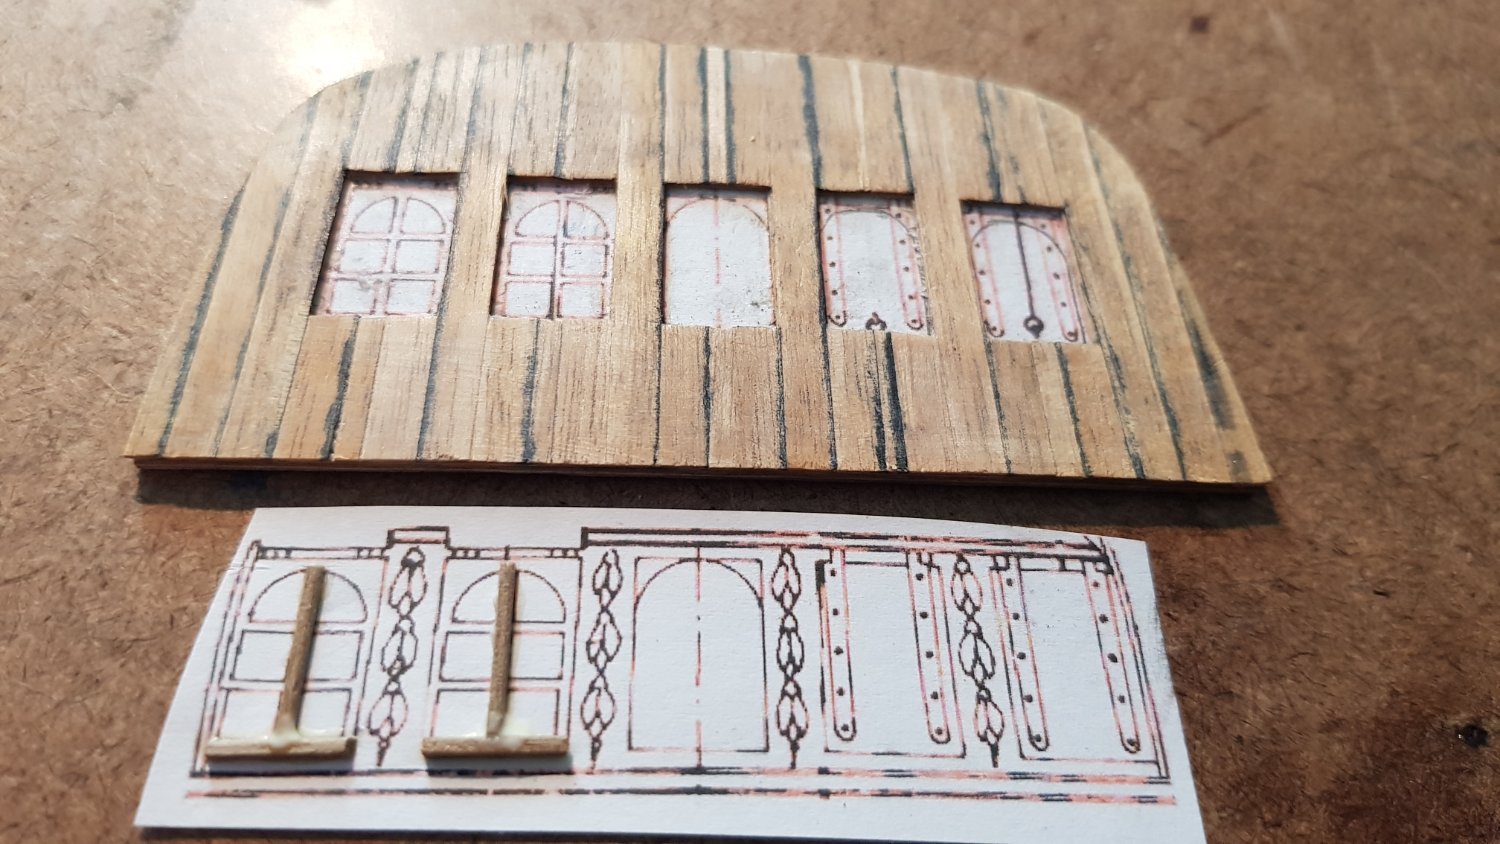
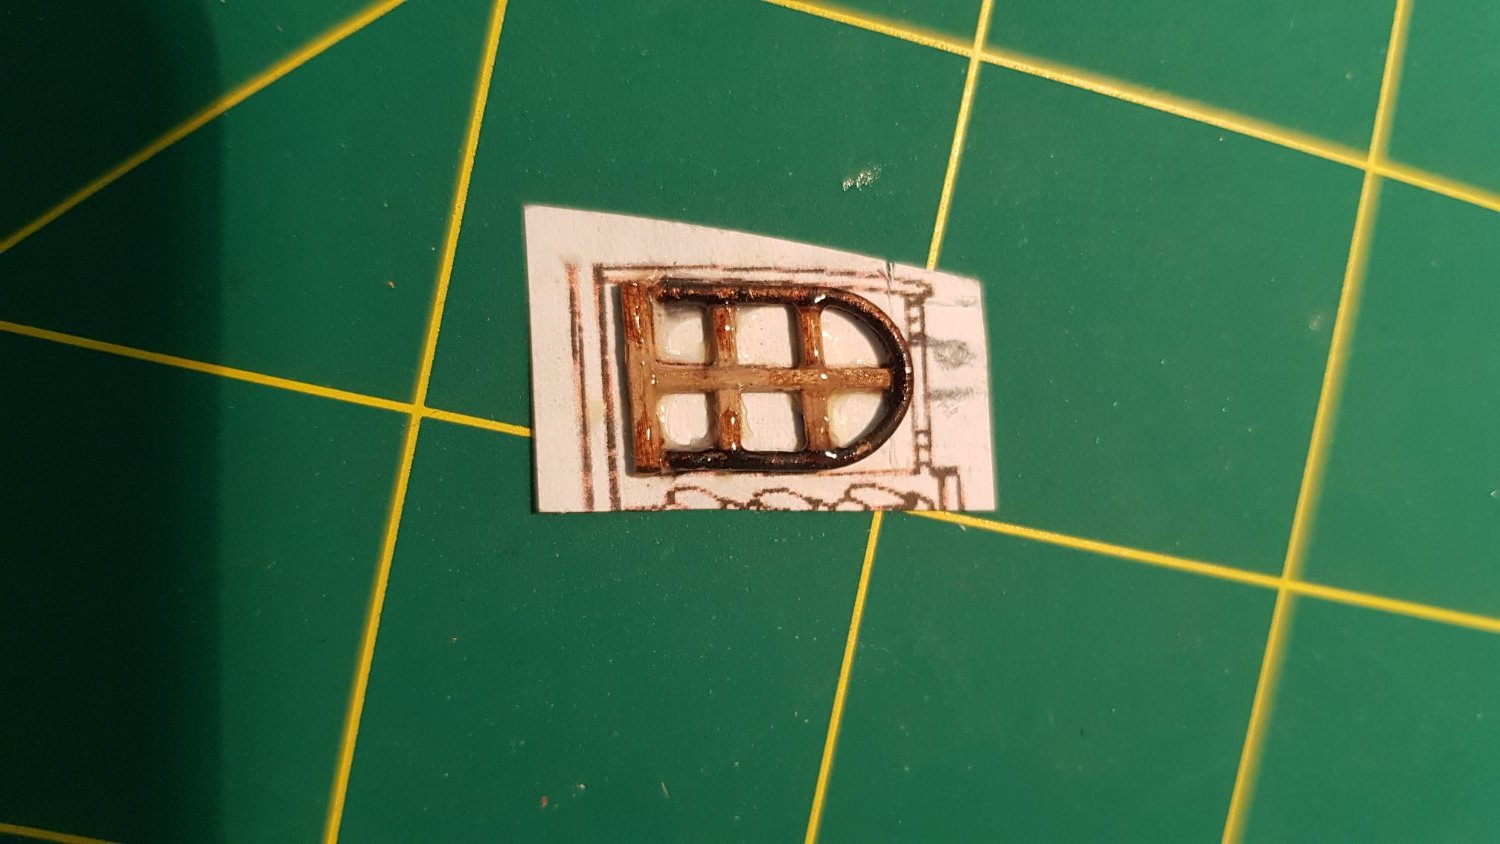
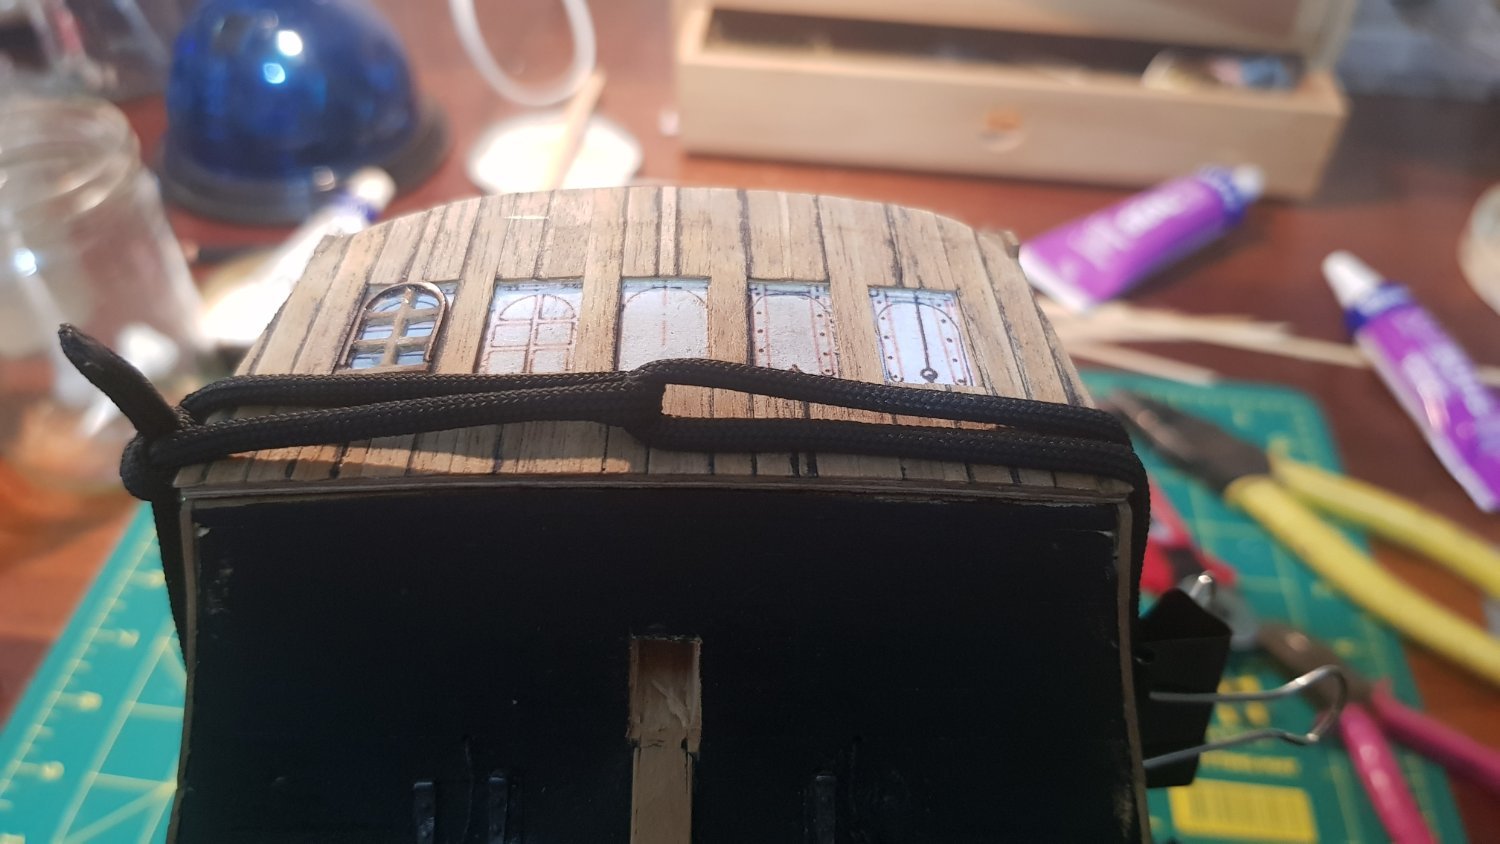
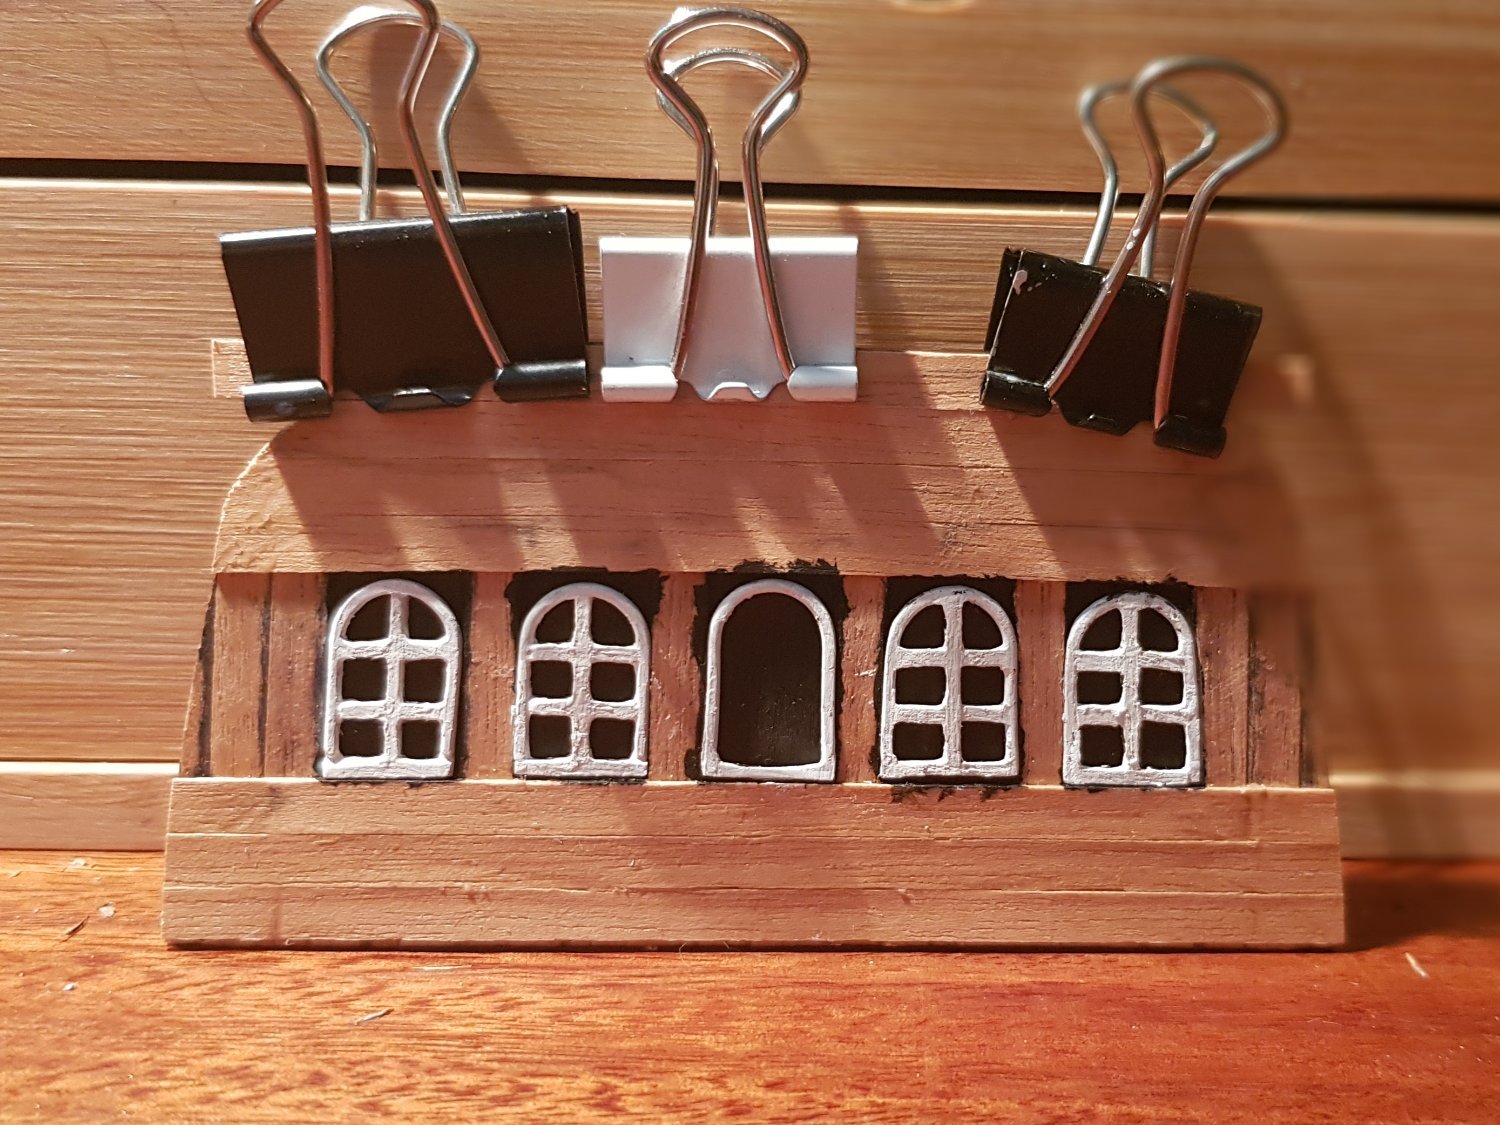
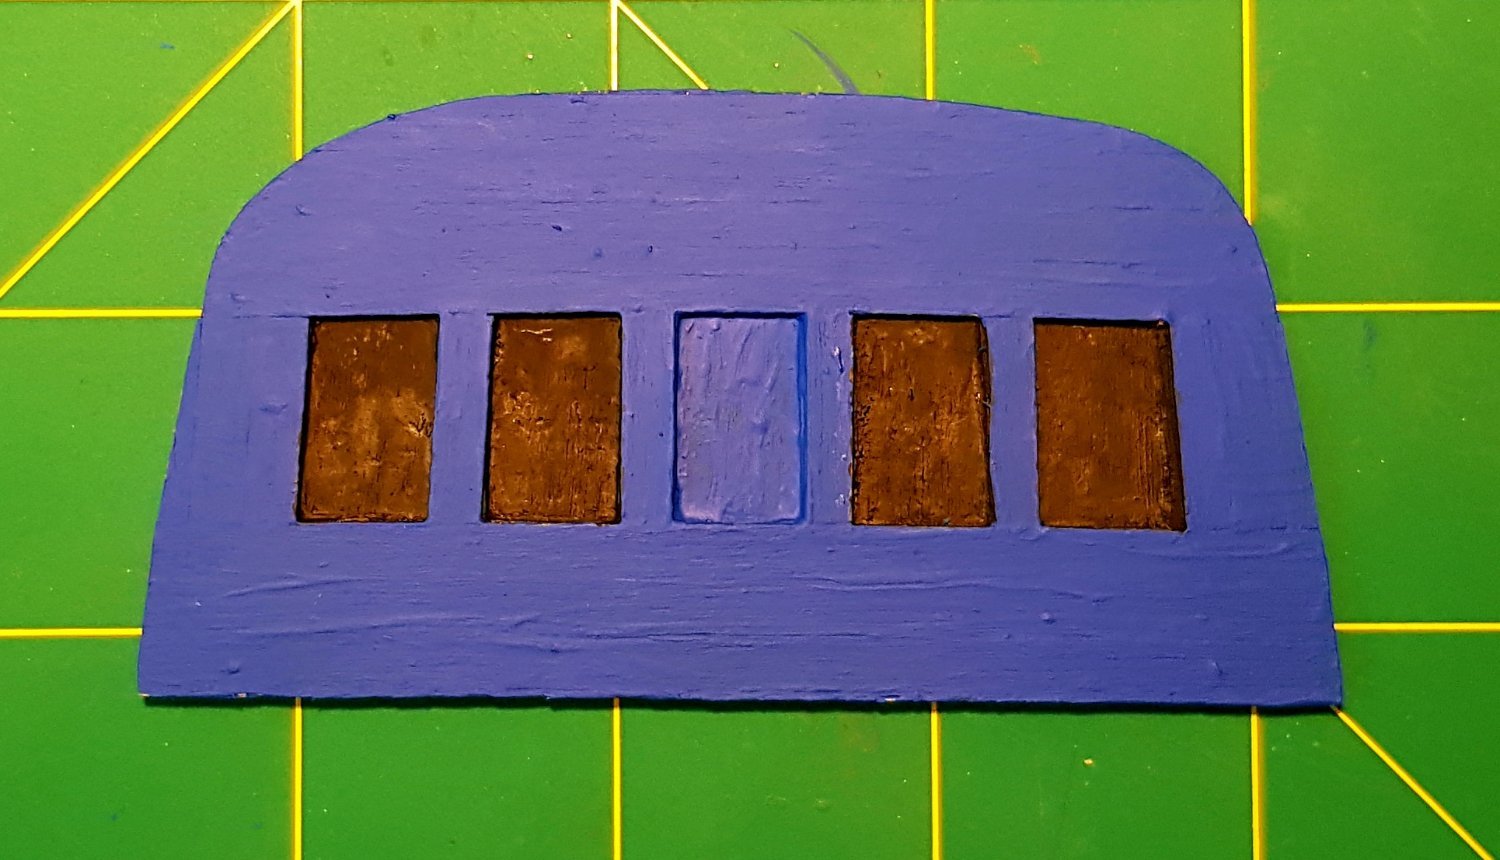
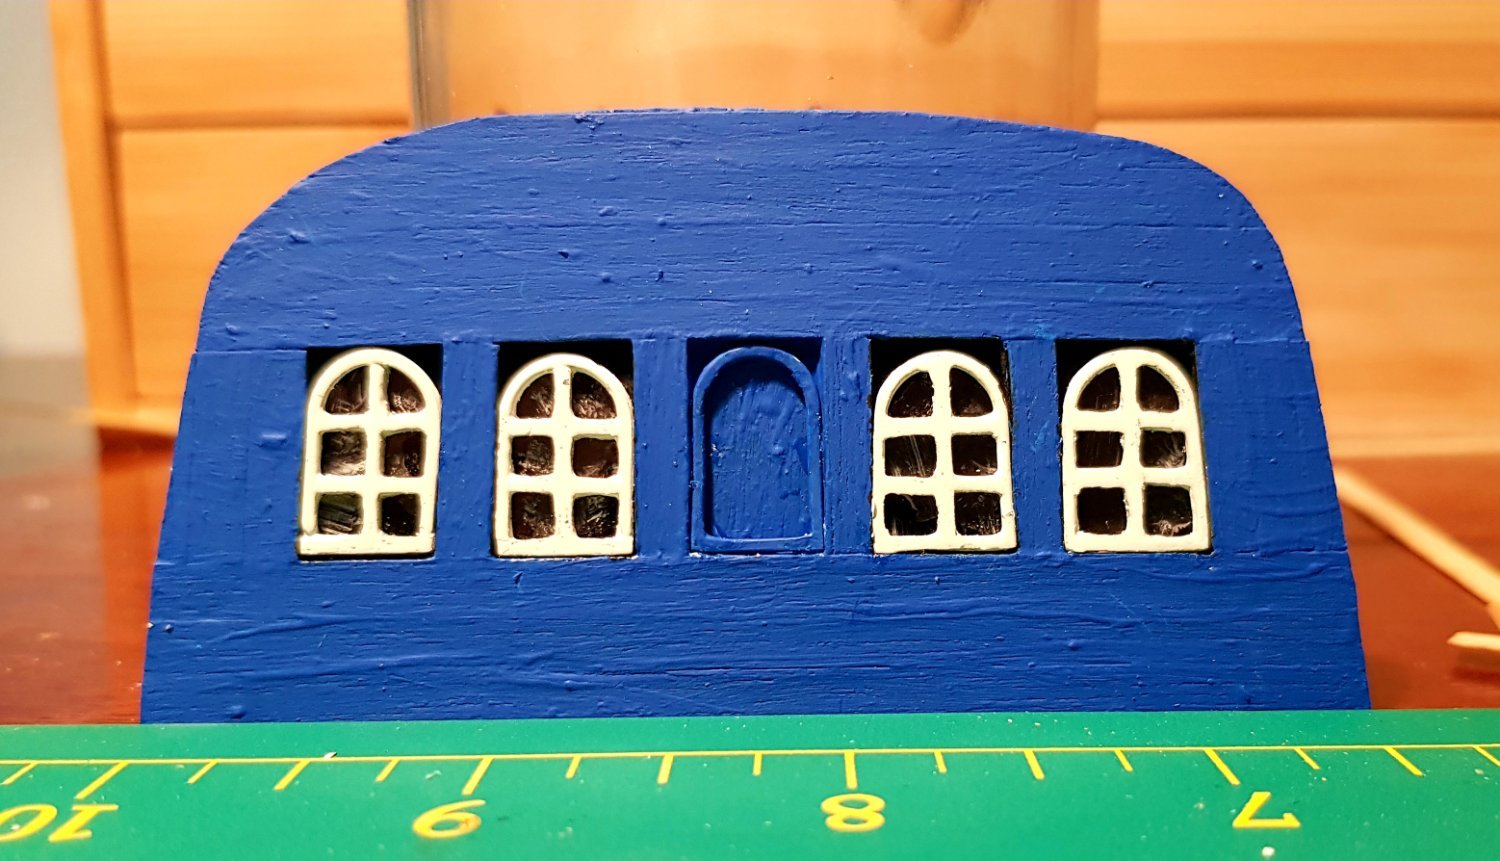
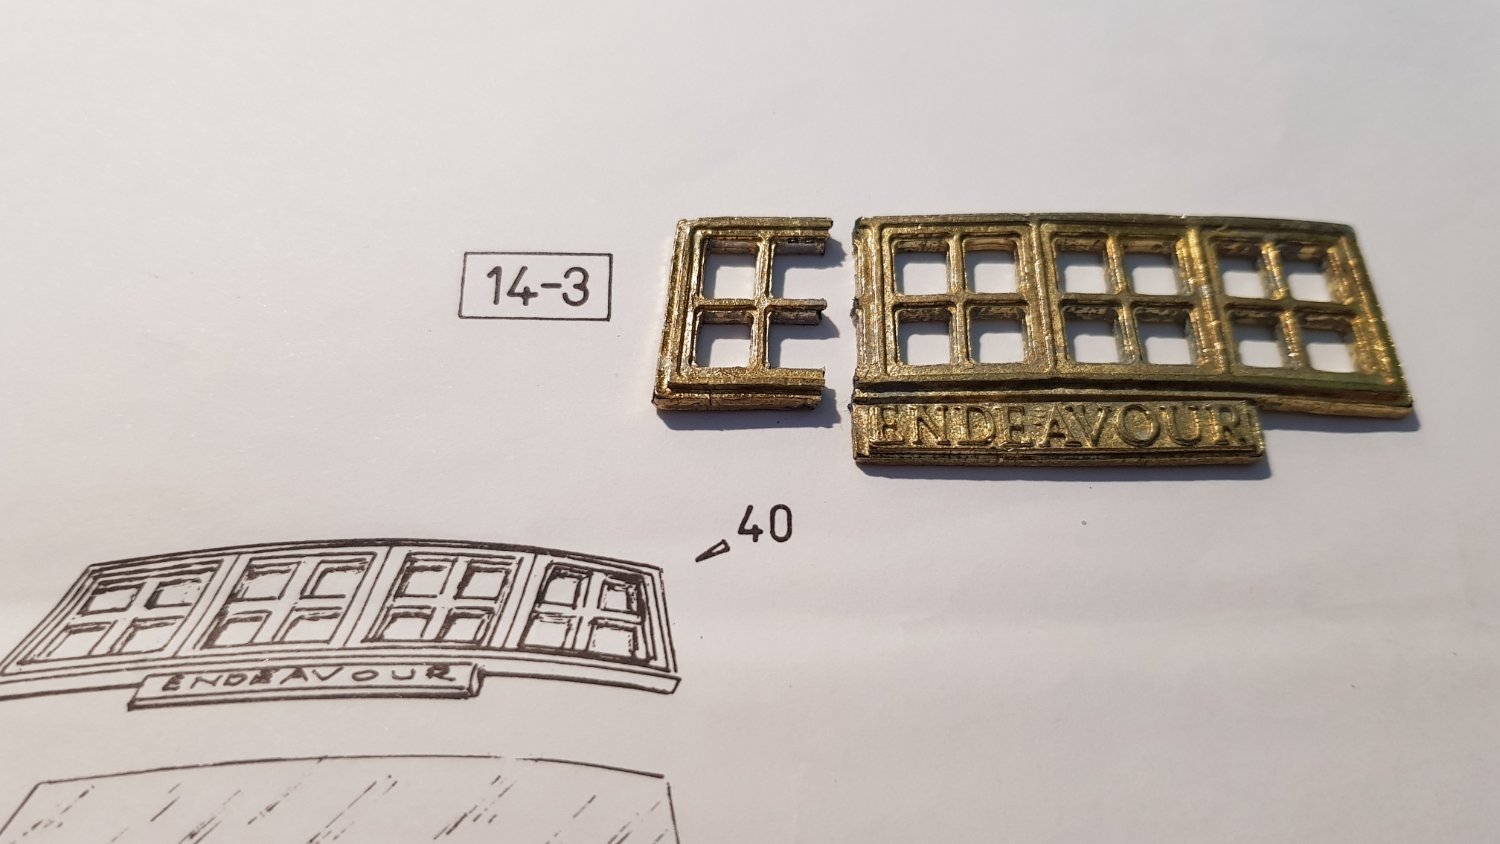
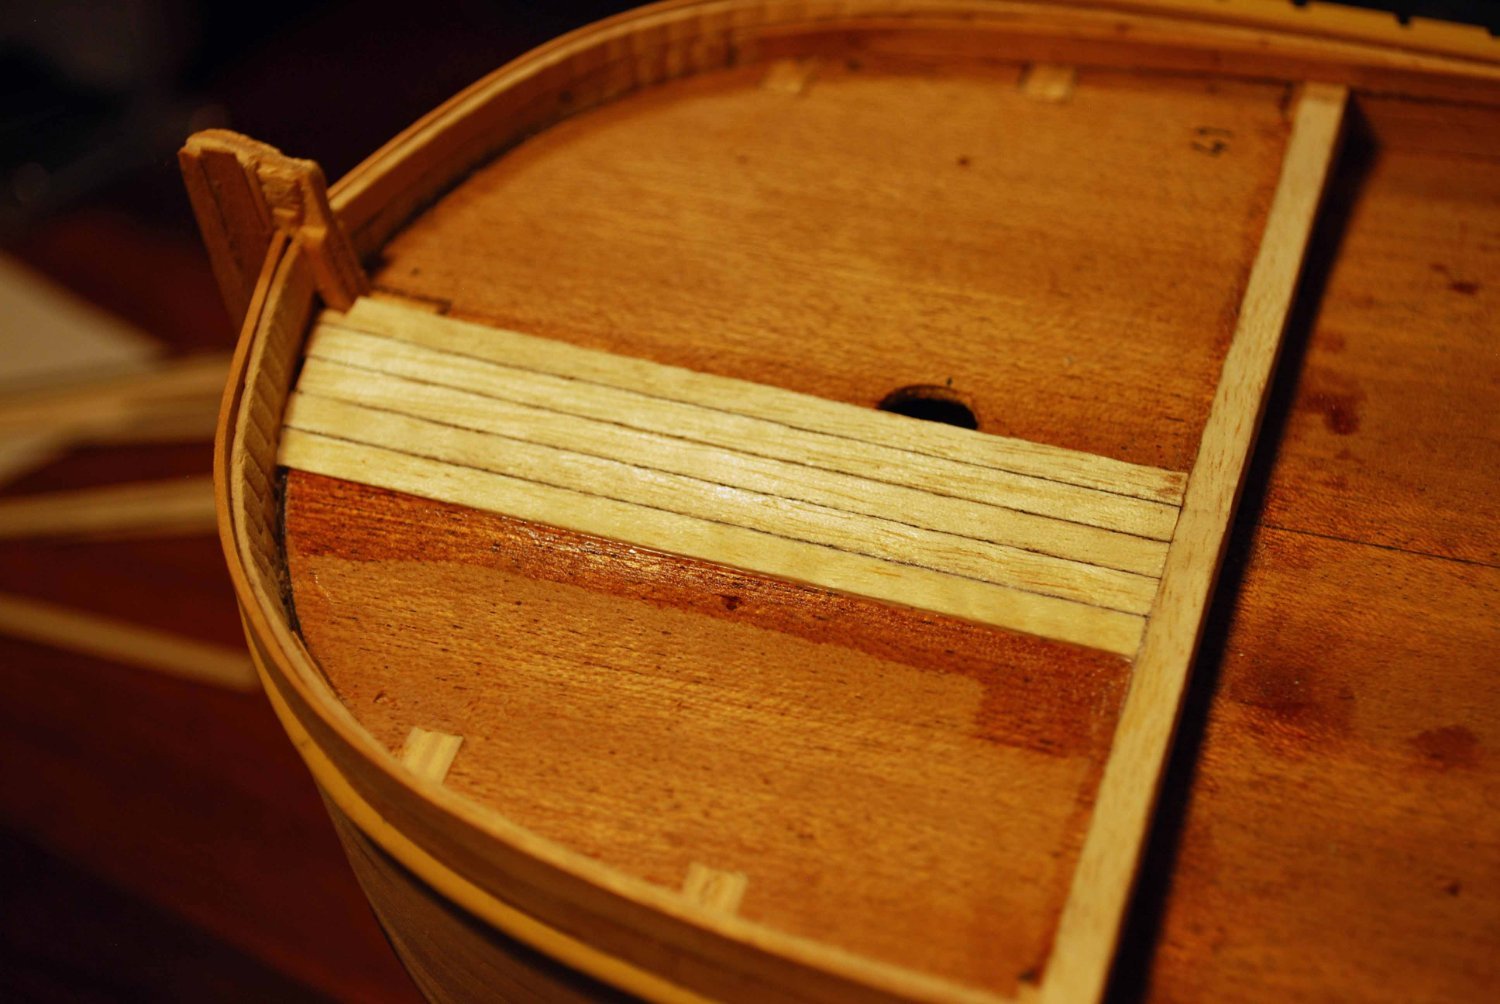
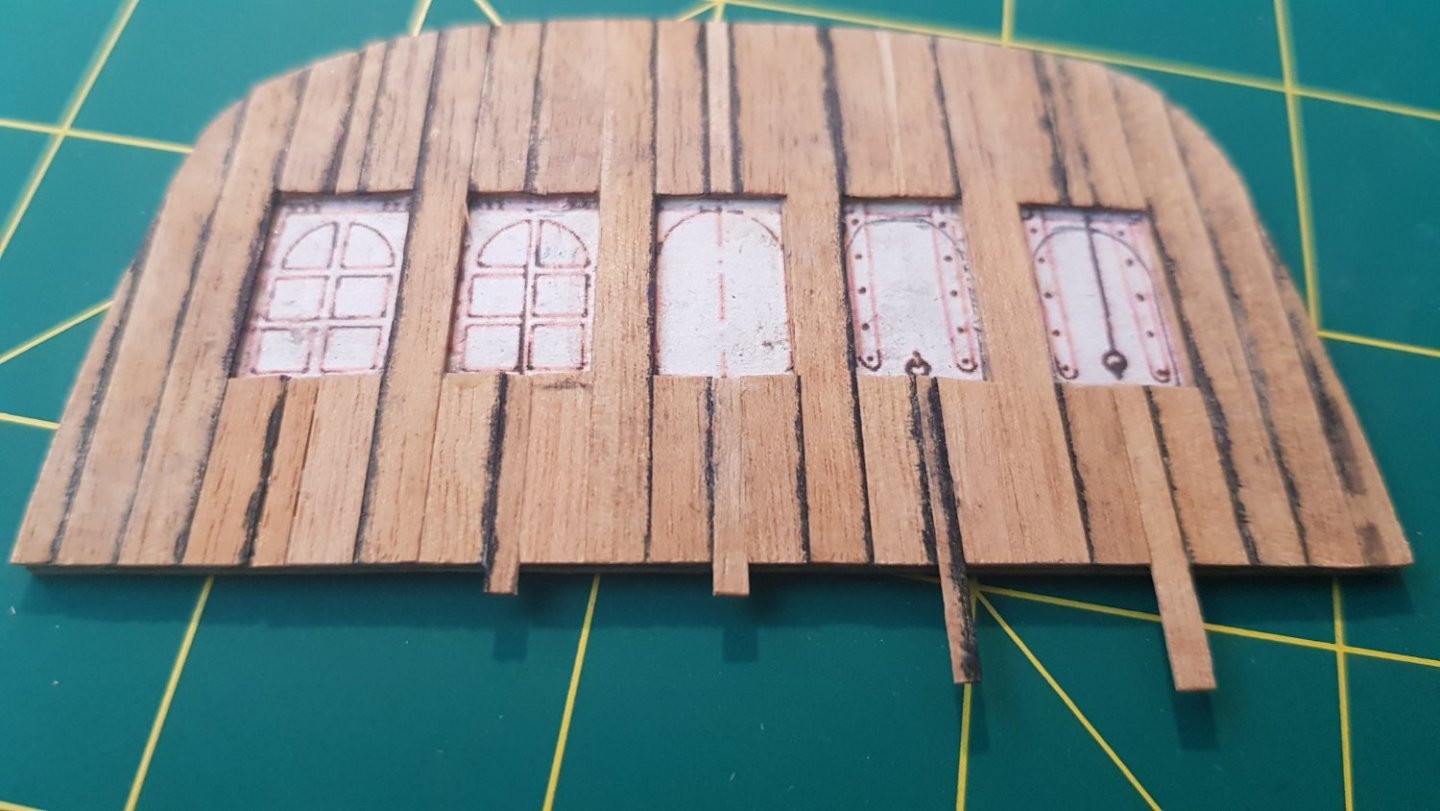
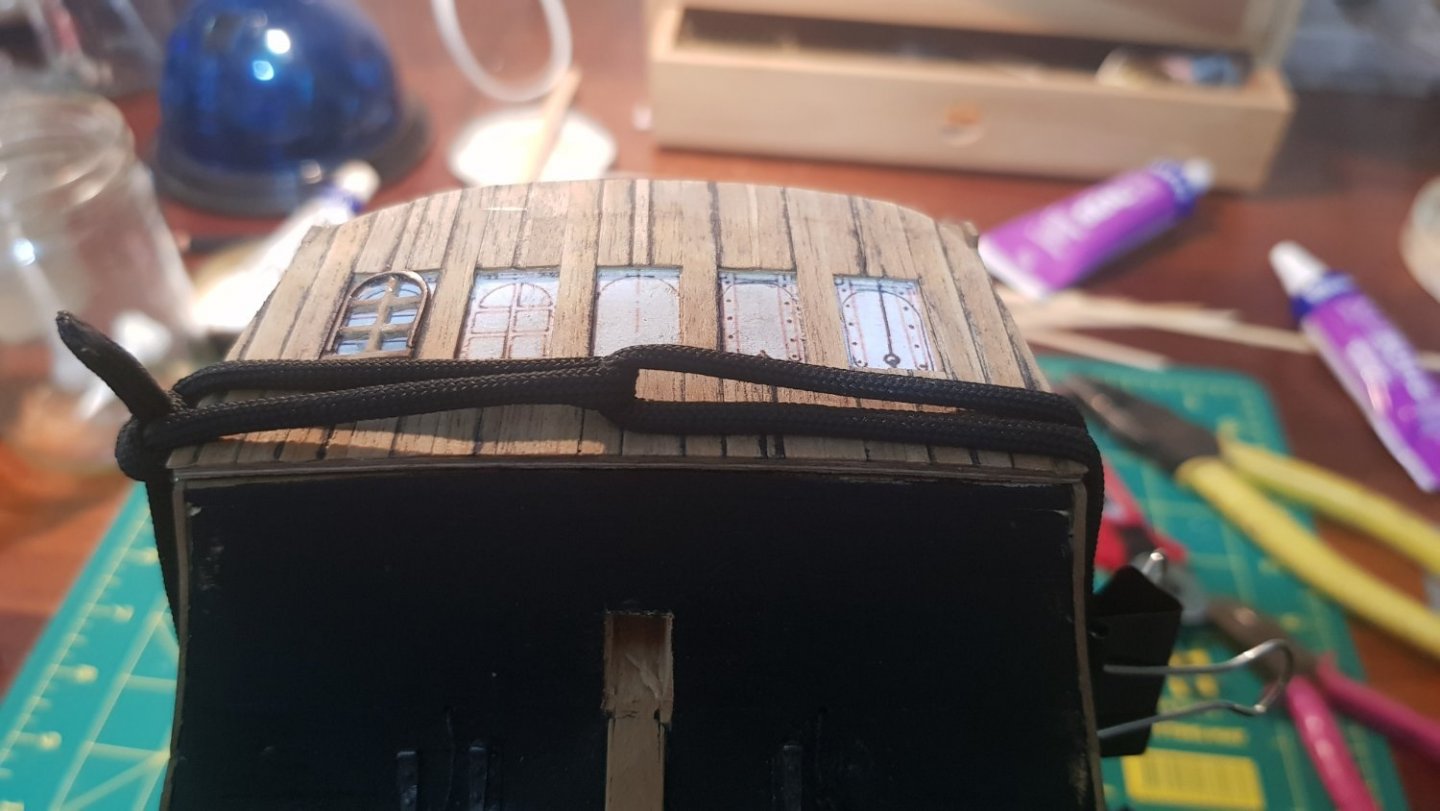
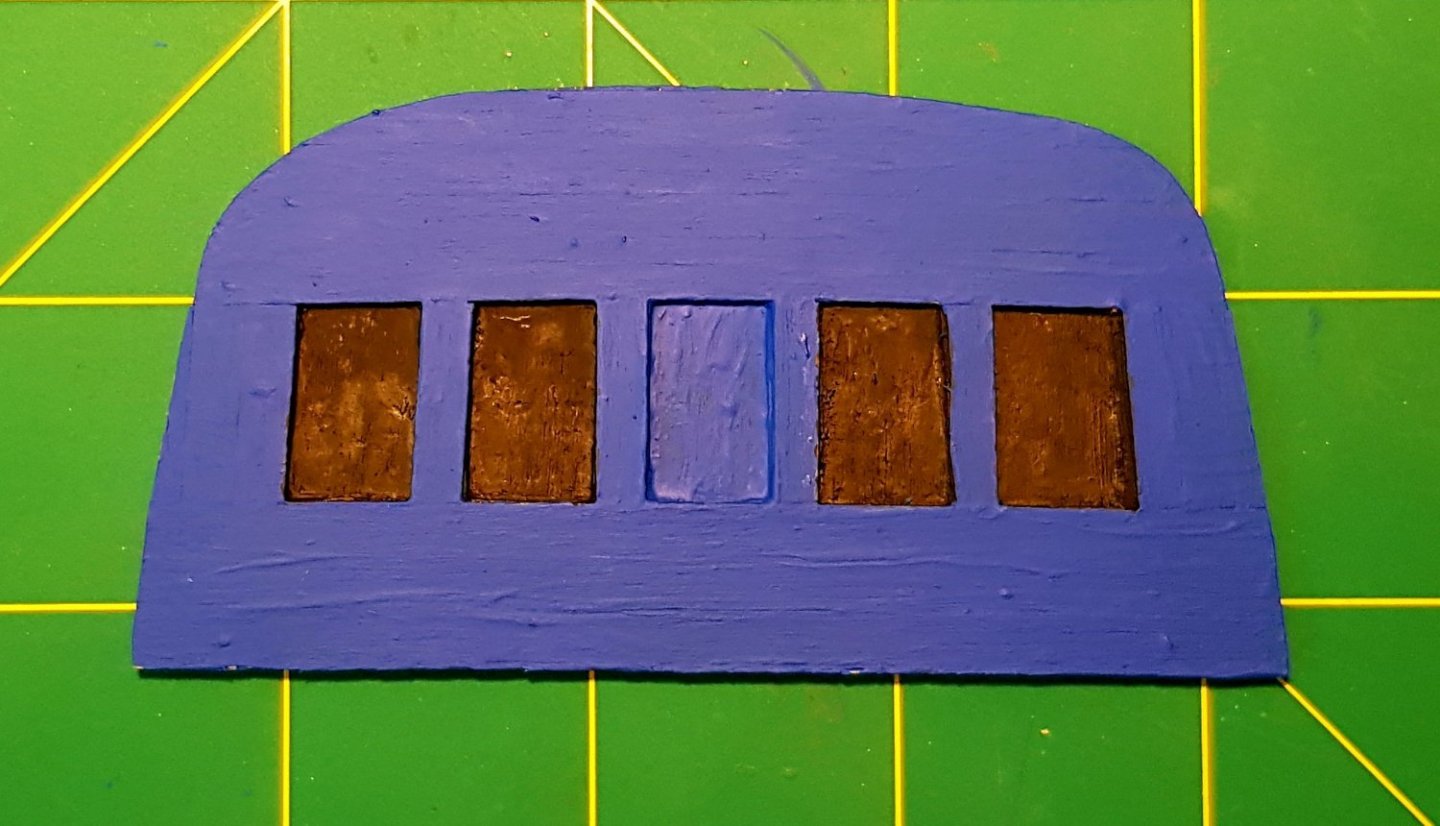
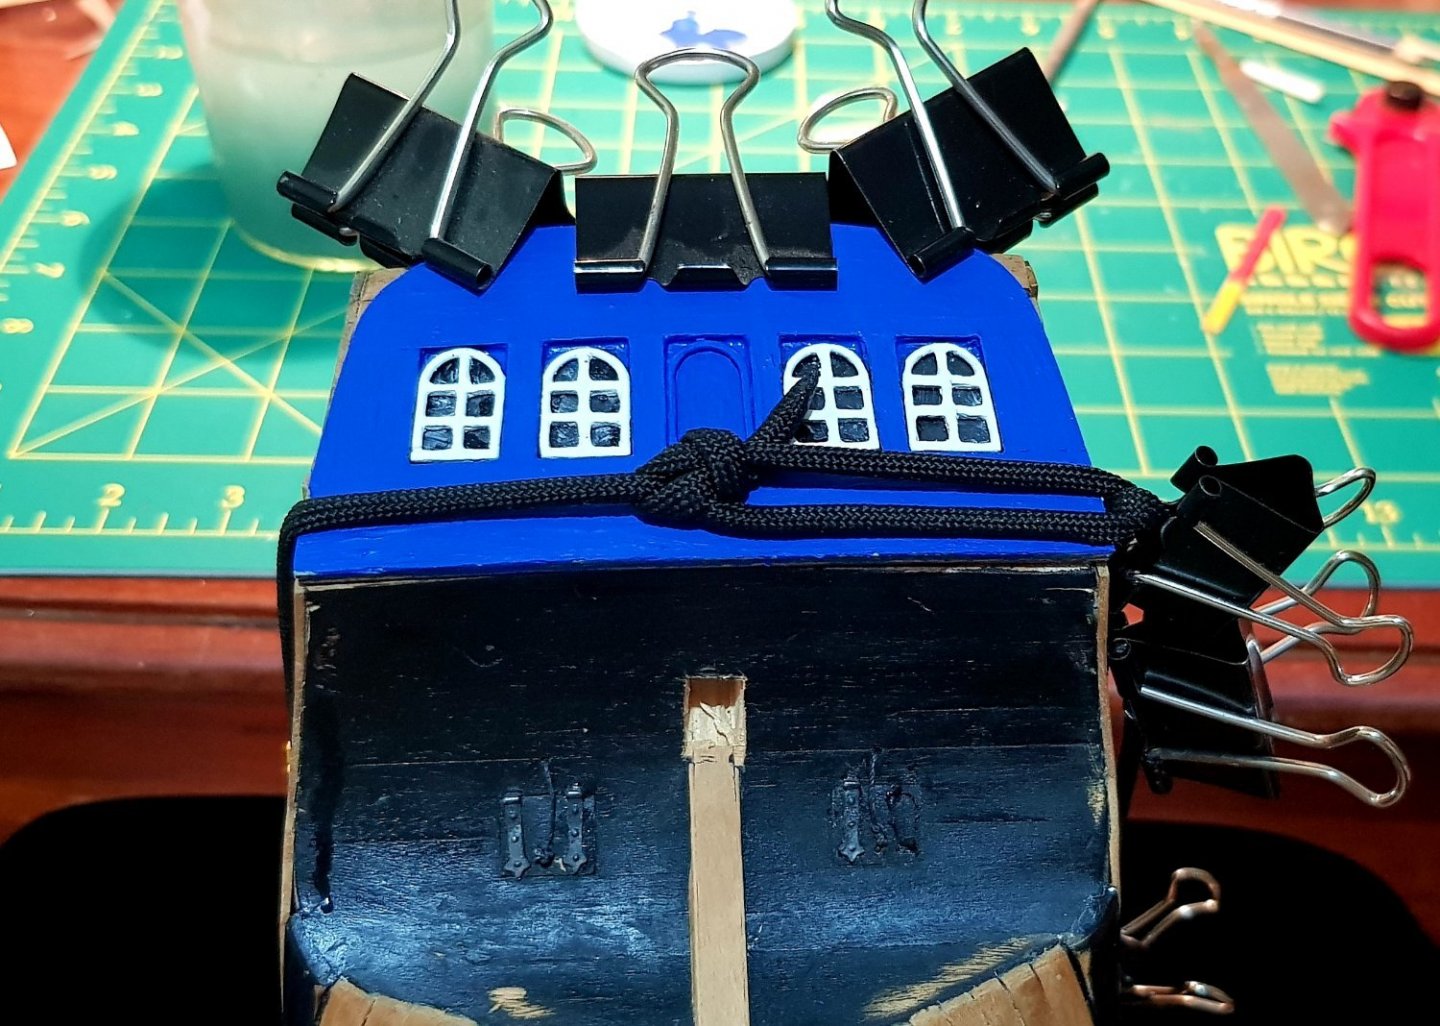
This is how I tackled the stern windows: From the Anatomy book I scanned the picture of the windows then sized it in Publisher, printed out a few copies, glued one copy to a thin ply base and planked it with deck planking offcuts. I then used another printout to assemble the windows using 1mm square walnut with copper wire as the outside frame. I had a crack at bending timber for this bit and soldering bits of wire - both dismal failures. This was the only way I could fashion them so that's what I did. (I am going to have to master soldering I know). A few times during this process I soaked the back of the ply base and strapped it to the transom so as to keep it to the correct shape. I found that wrapping a length of paracord around the ship was a good way of keeping everything in place while the ply base dried and the paracord is soft enough not to damage the wood. Next I sprayed the windows, applied another layer of planking, then painted it. I'm not real happy with the window frames, they look clunky but I'm not doing them again! I used Liquitex glazing medium from Spotlight (thanks to this website) to simulate the glass, a very good product.


-
Thanks for the welcome shipaholic, DaveBaxt, Banyan and Dave_E, I appreciate it. And thanks too Pat for the advice on sealing the deck & side planking, I'll look up that Dullcote. Marty.
-
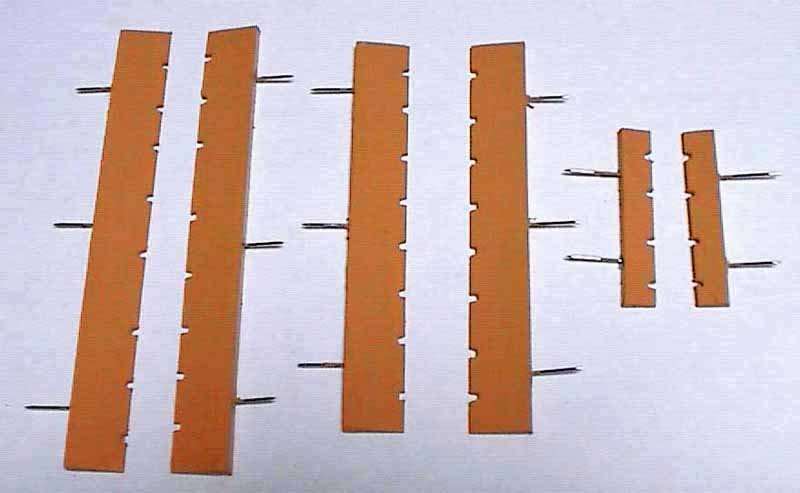
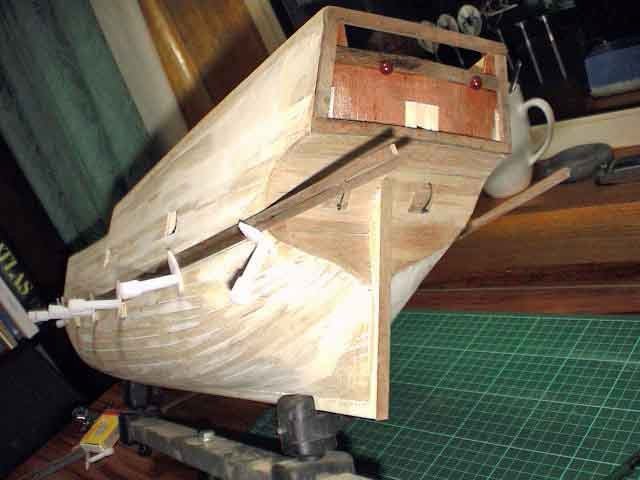
These are the stern windows supplied, poorly cast and easily broken. Not a problem for me as I wanted to replicate in some fashion the Endeavour replica.

-
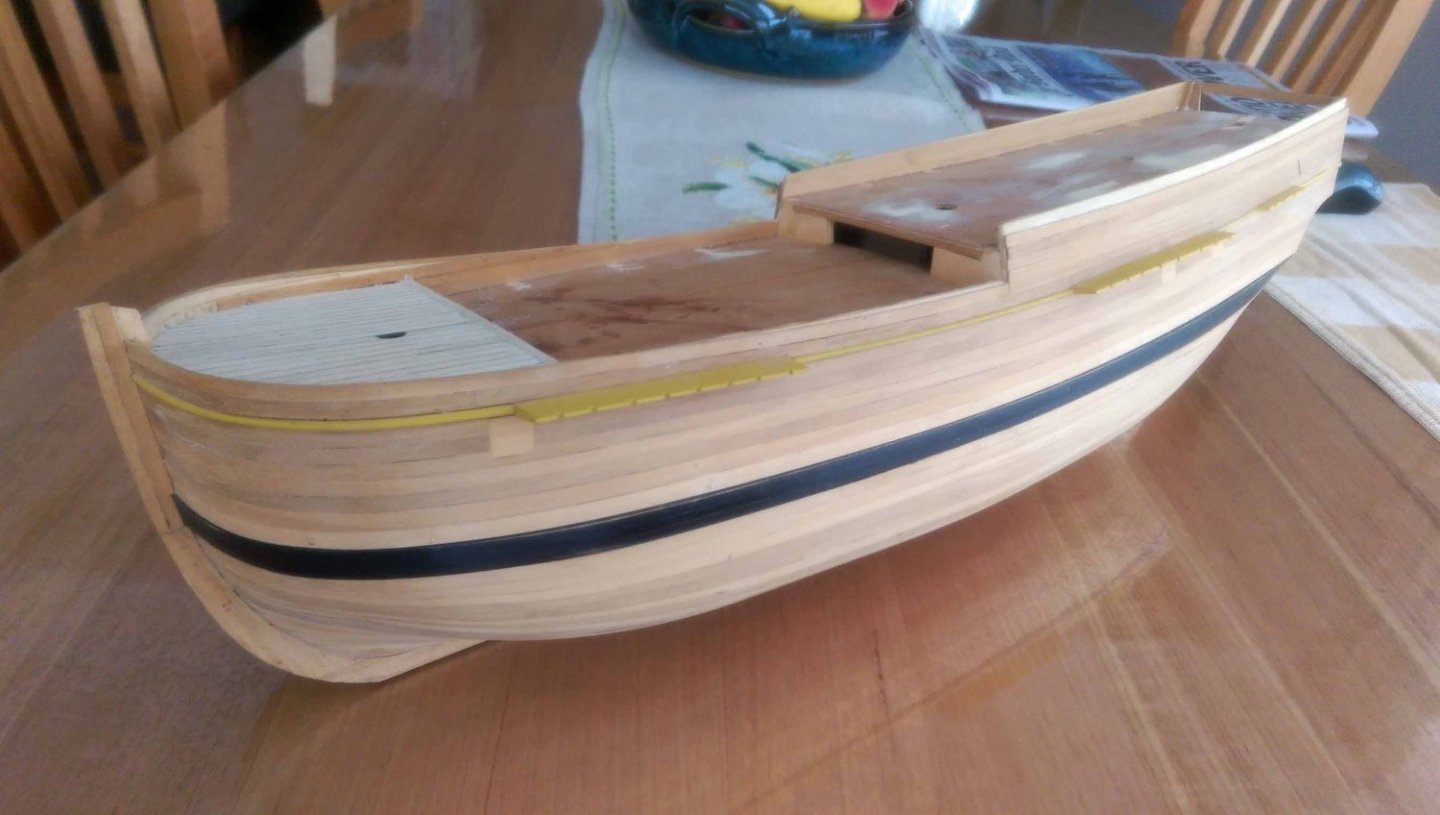
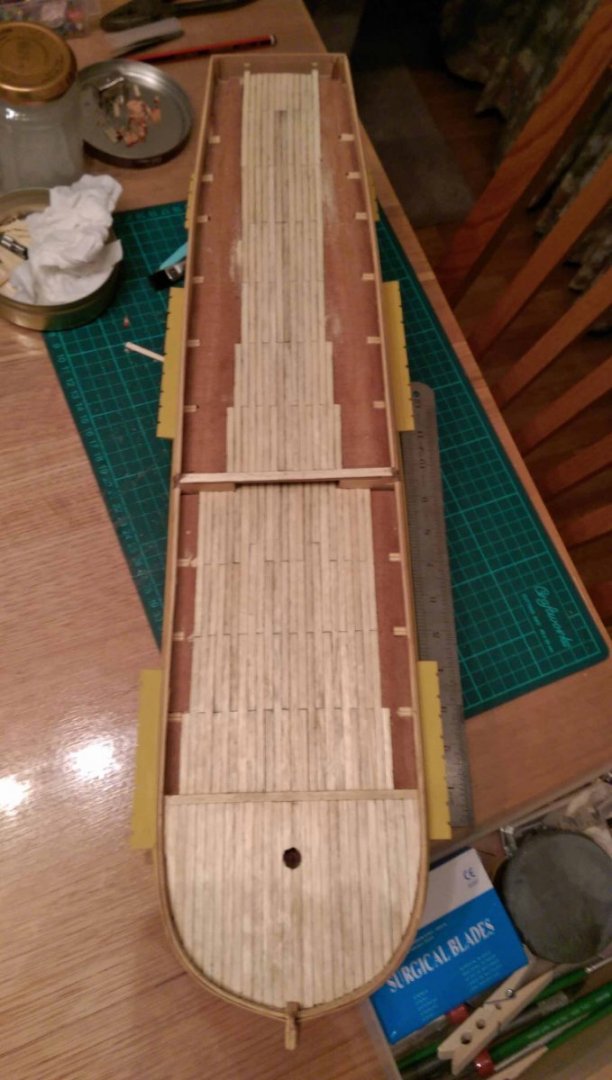
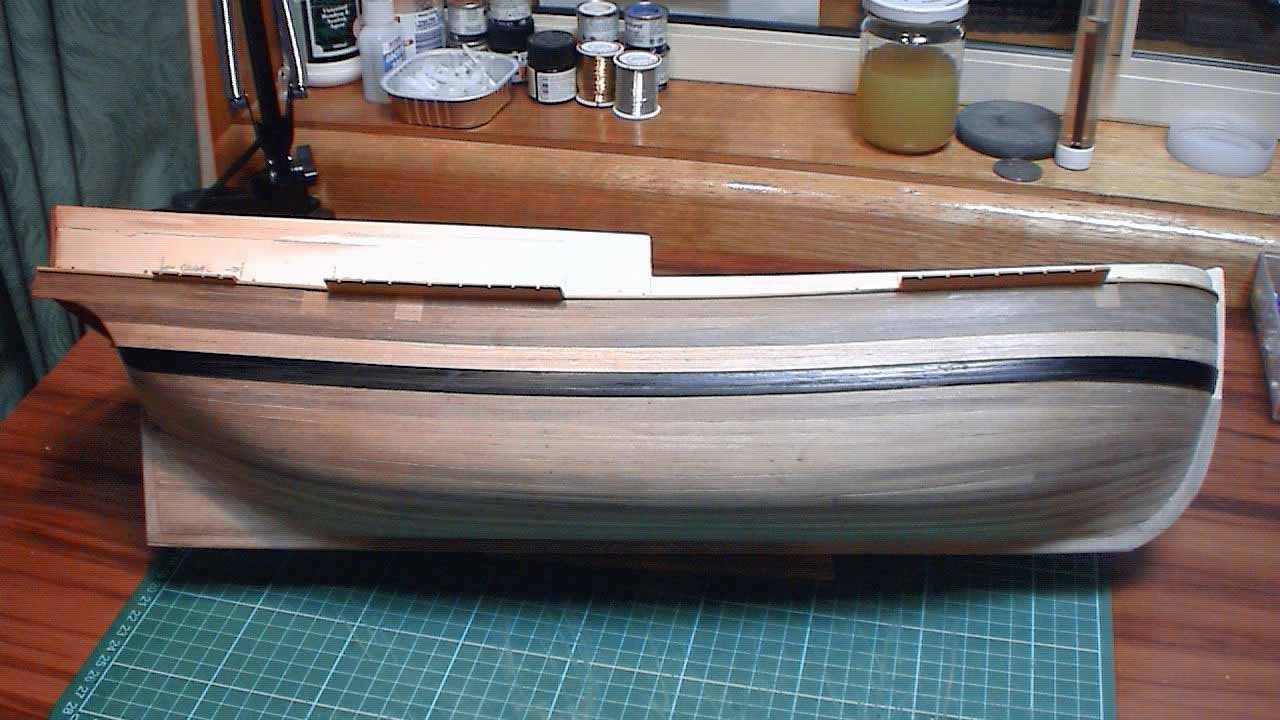
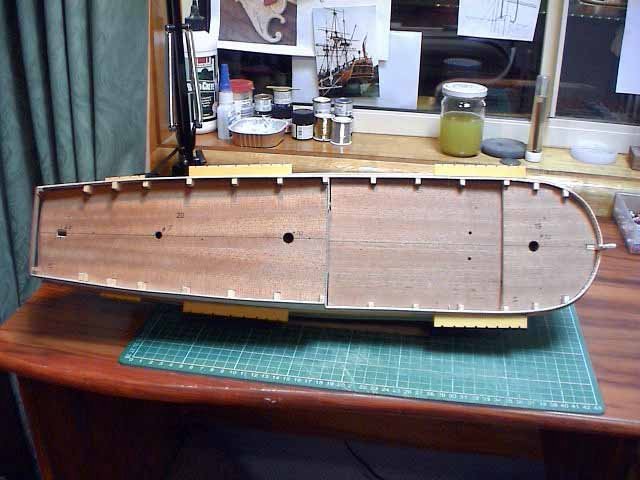
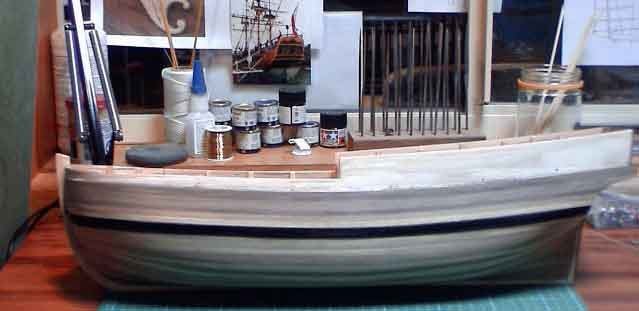
This is about where I got up to before life interrupted. I tried a few methods of simulating caulk. The decking timber supplied was very porous and paint bled into the timber too much. I think I settled on a 2B pencil. Once the decking was finished I did a lot of scraping along the grain with a stanley knife blade. I haven't sealed it - is this recommended?
-
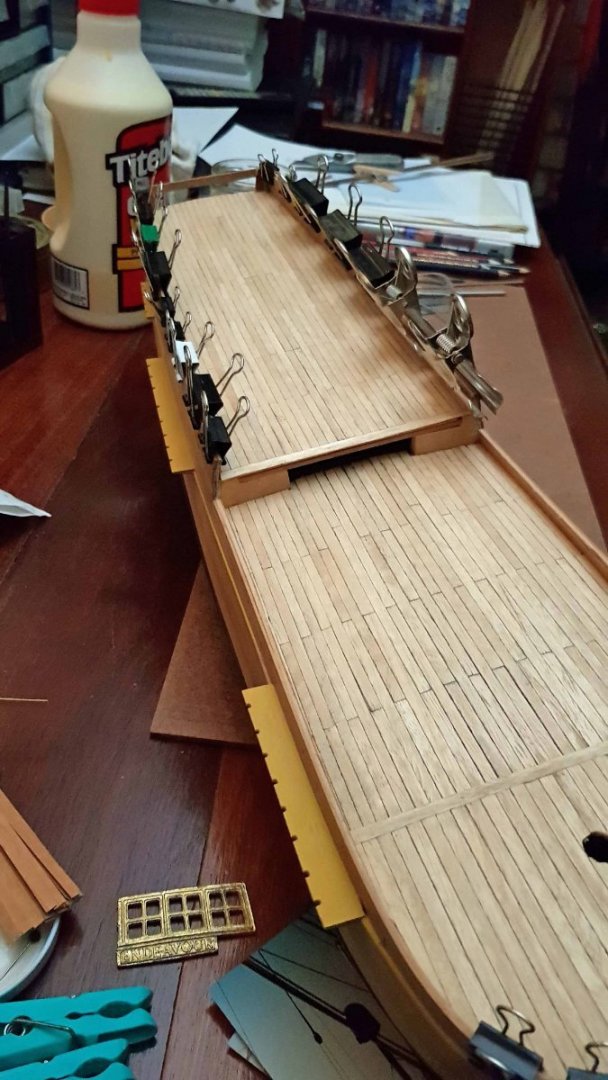
I read that it is a good idea to use pins to secure the chainwales to the hull. Over time, a couple had come loose so I used a hypodermic syringe to squeeze in some wood glue and they are as good as new.
-
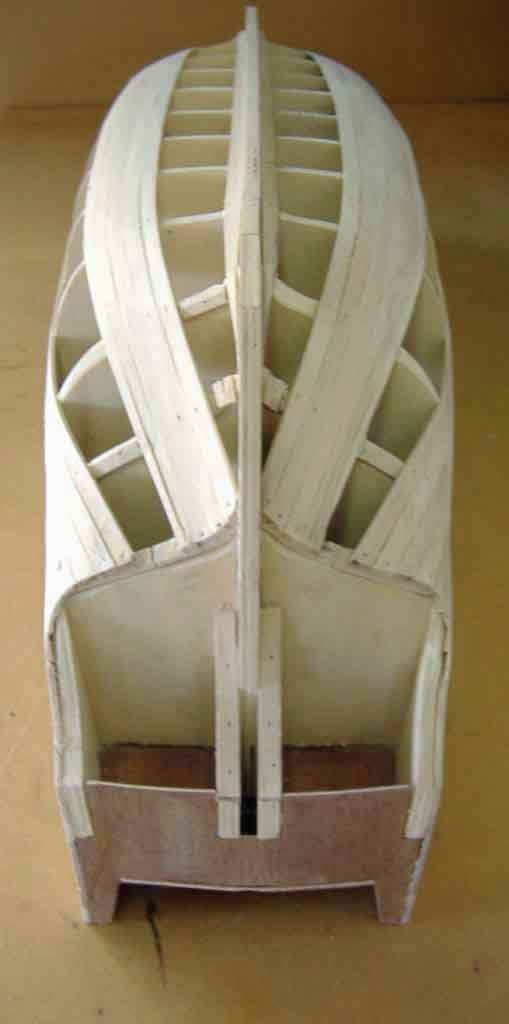
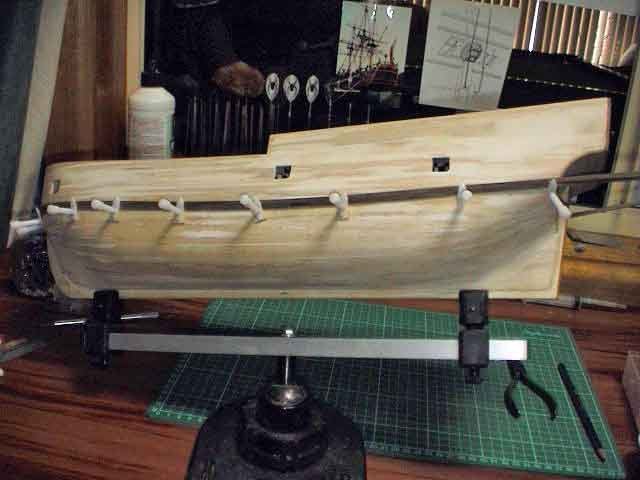
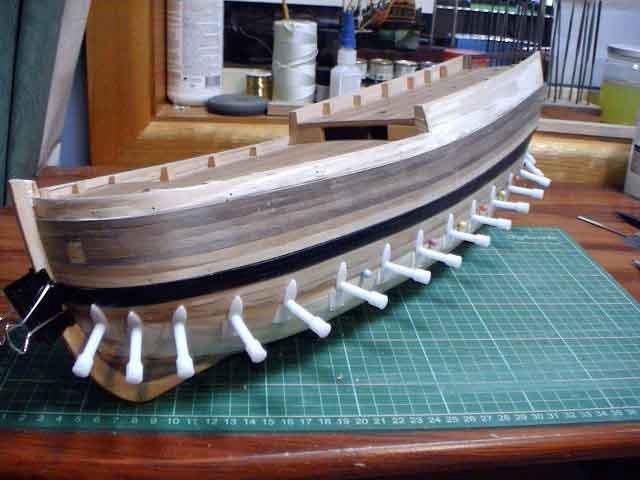
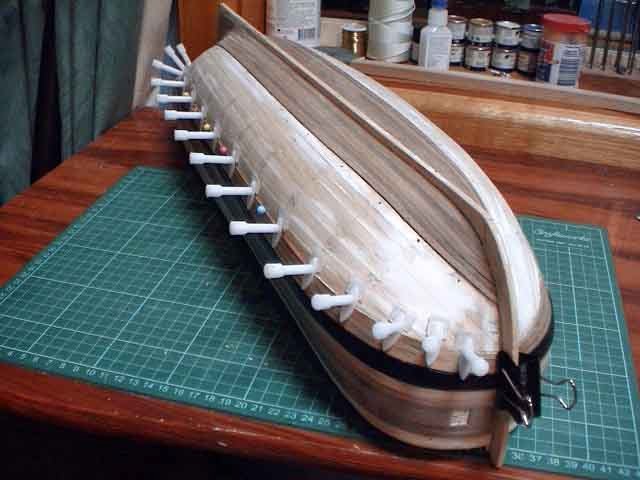
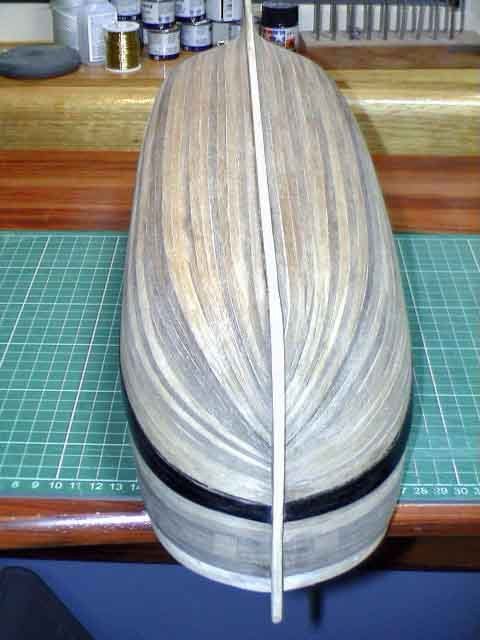
These are the only photos I have of the planking stage completed many years ago. Double planking is a good thing as I learned a lot from doing the first layer. And now, 20 years later, I've forgotten it all ;-)
-
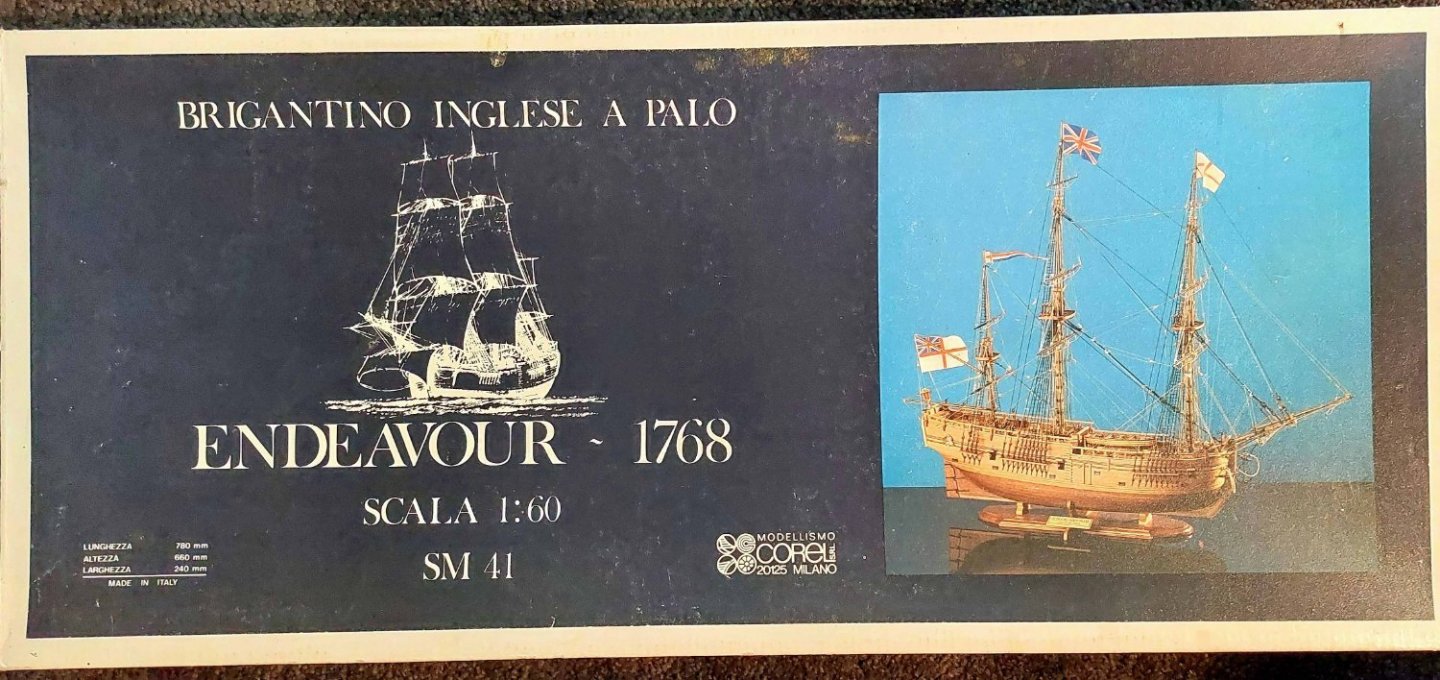
Hello all, I started this kit 21 years ago. Recently, I was inspired by my good friend Banyan and his excellent Endeavour. So, over the last couple of months, I have been getting stuck in and really enjoying it. I did have a build log up years ago but that's gone and I have been prompted to start another. I will appreciate any comments, criticisms, suggestions etc., especially as I am coming into the next phase when I think I'll be asking quite a few questions. It is a real pleasure to be a part of this online community. MartyB
-
HMCSS Victoria 1855 by Banyan - 1:72
MartyB replied to BANYAN's topic in - Build logs for subjects built 1851 - 1900
Hi Pat, I've been spending some time catching up on your Victoria build as well as studying your Endeavour build. As you know, I have been away from my Endeavour for quite a few years now but having recommenced a couple of months ago I have been happily making progress. That is, until I saw what outstanding work you have been doing. I now feel very inadequate 🙄 I think I'll just slink back down to my workshop and stay there. Marty- 973 replies
-
- 1
-

-
- screw
- gun dispatch vessel
- (and 5 more)
-
HMCSS Victoria 1855 by Banyan - 1:72
MartyB replied to BANYAN's topic in - Build logs for subjects built 1851 - 1900
Pat, I asked a friend of mine (seriously into plastic kit modelling) about the ship's wheel brass problem to see if he has any clue about replicating brass. His suggestion is to create a self adhesive vinyl mask using a silhouette cutter or other computer controlled cutter, spray the plates on using Mr. Surfacer and then a brass paint. The reservation being that the detail may be too small for a cutting head to work properly?- 973 replies
-
- 2
-
-
- screw
- gun dispatch vessel
- (and 5 more)
-
HMCSS Victoria 1855 by Banyan - 1:72
MartyB replied to BANYAN's topic in - Build logs for subjects built 1851 - 1900
Very good work my friend.- 973 replies
-
- 3
-
-
- screw
- gun dispatch vessel
- (and 5 more)
-
Hello there Mr Banyan. Your build is coming along very nicely indeed. I am back on deck and about to start some deck planking. If I am half as good as yourself I'll be happy. Marty.