gunslinger4hire
-
Posts
34 -
Joined
-
Last visited


-
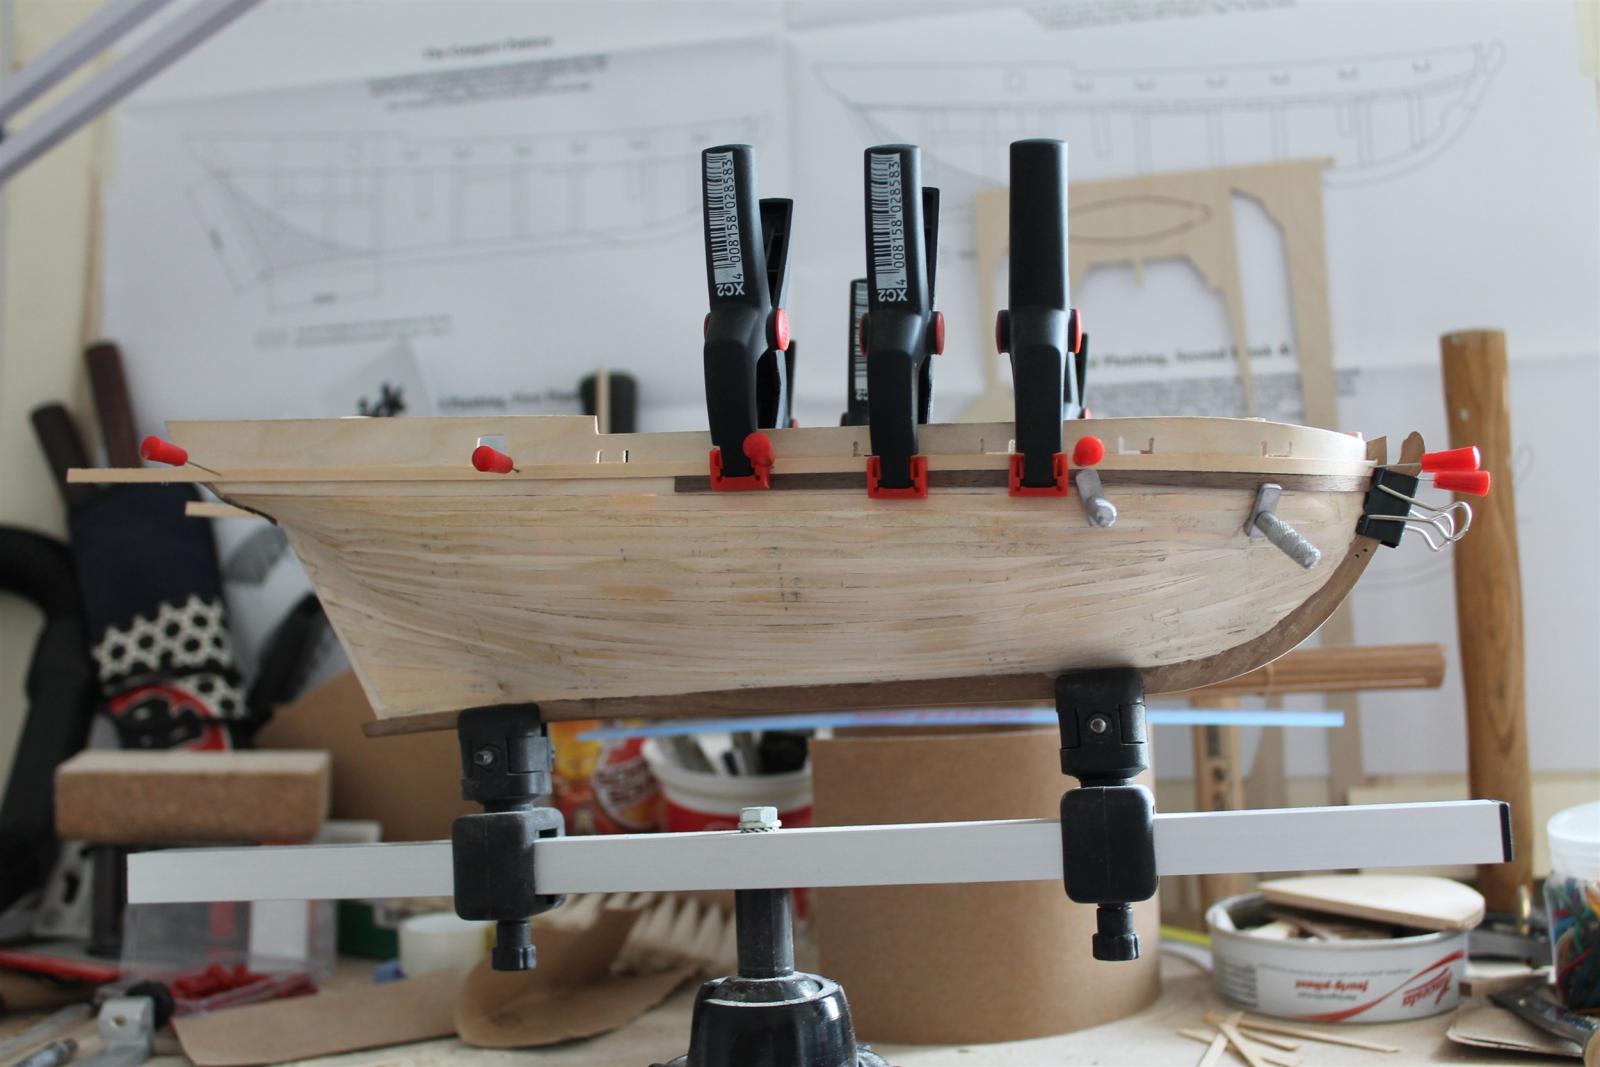
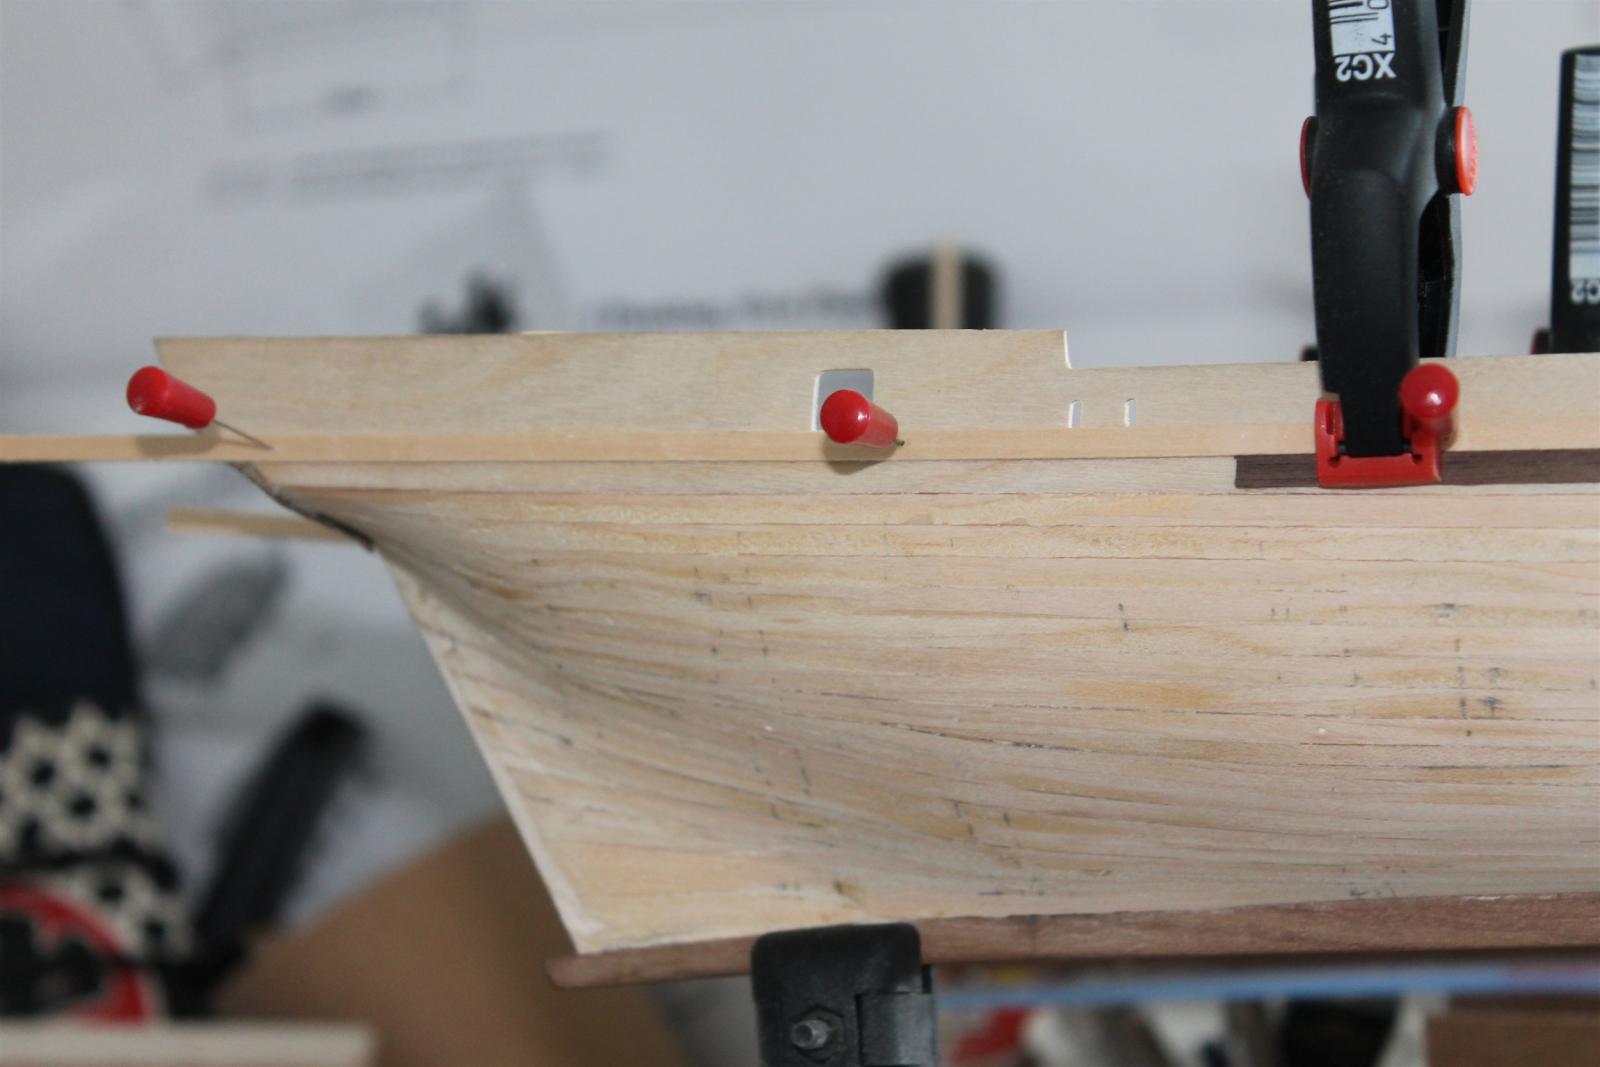
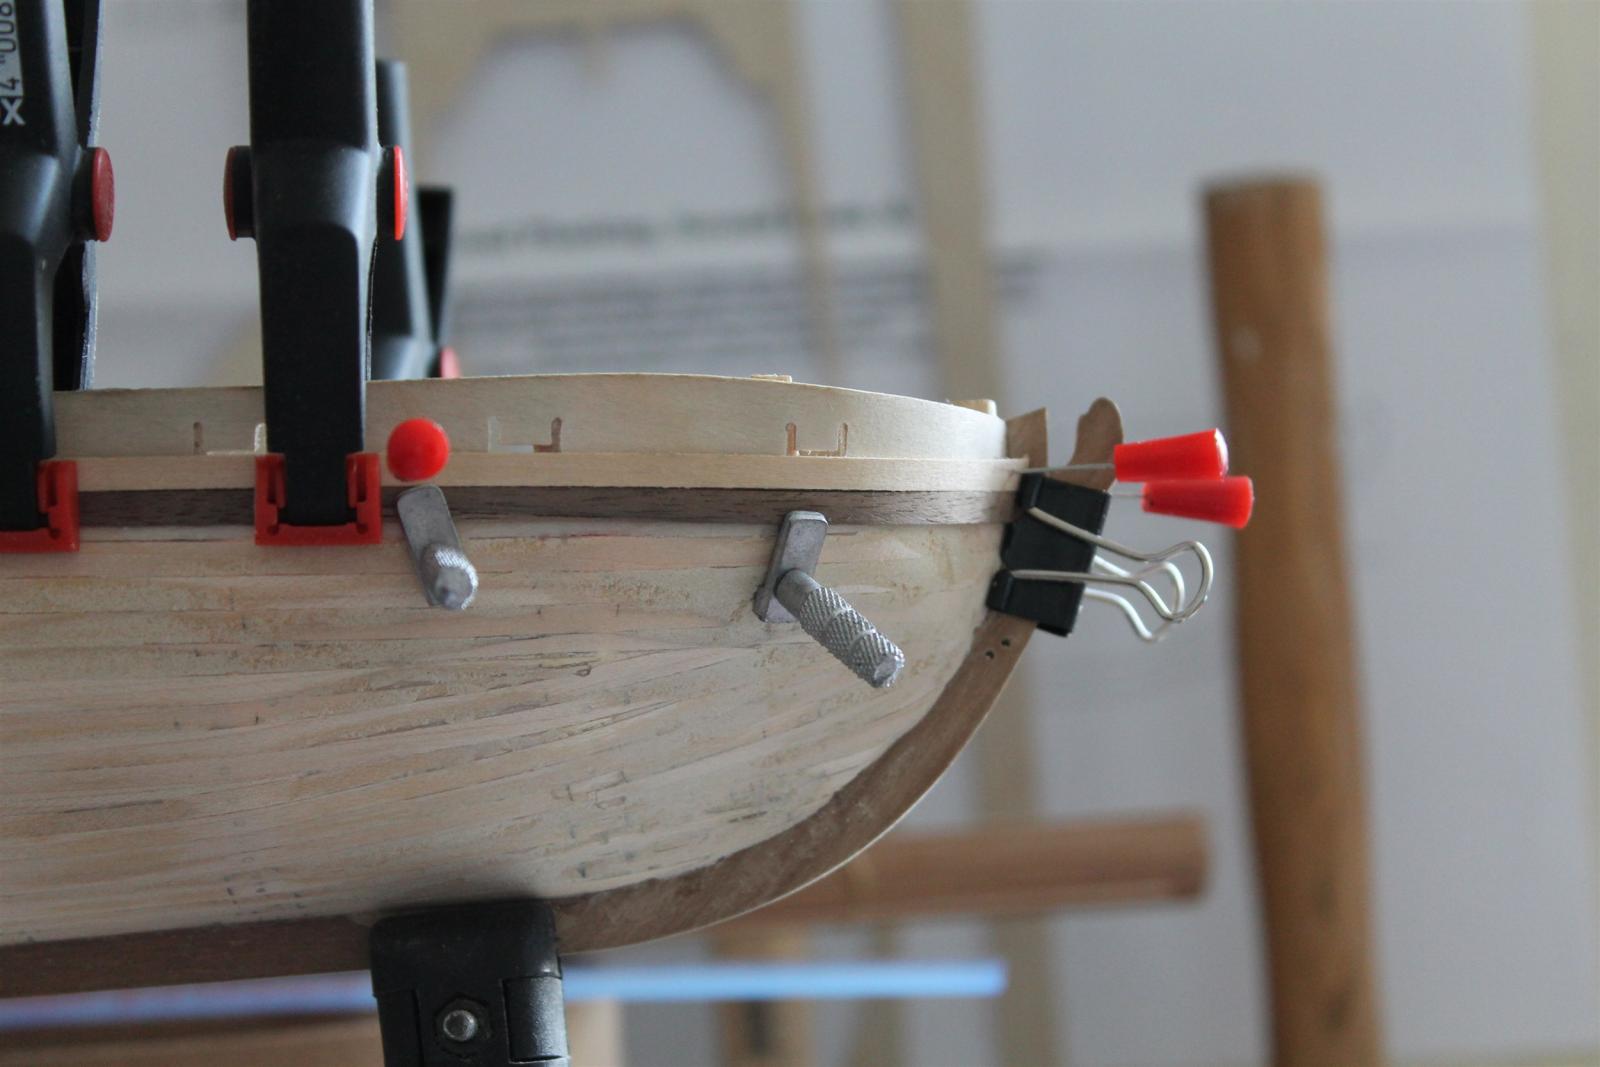
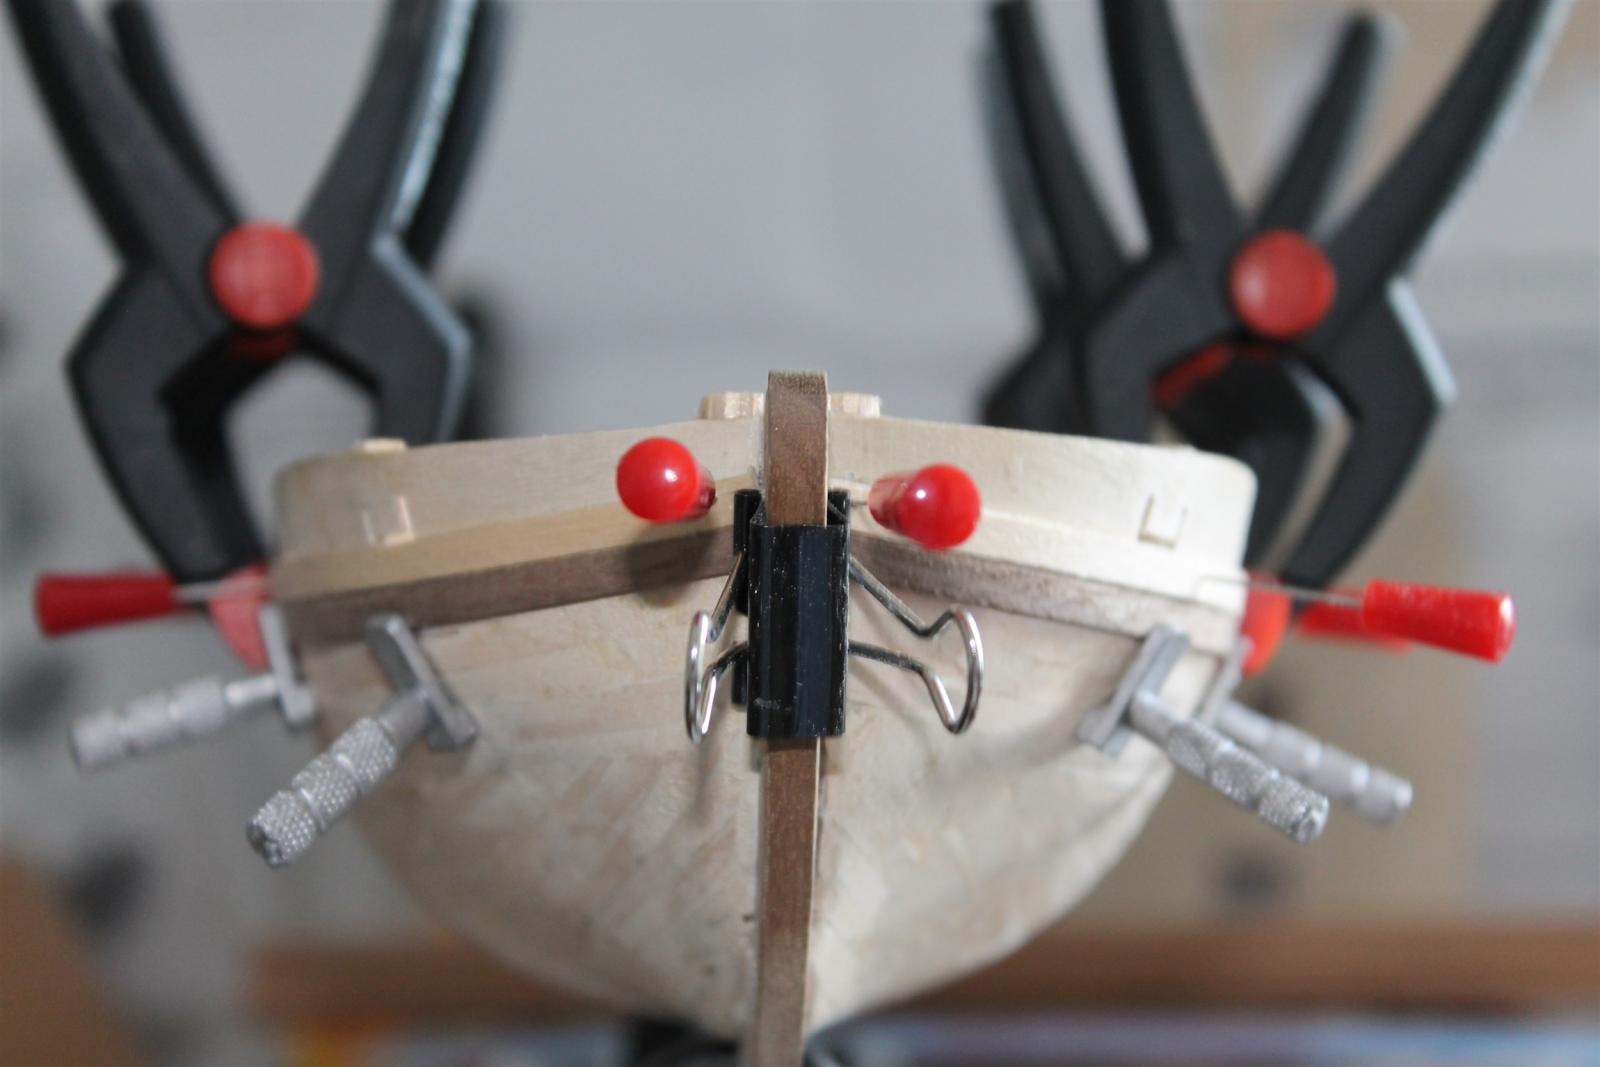
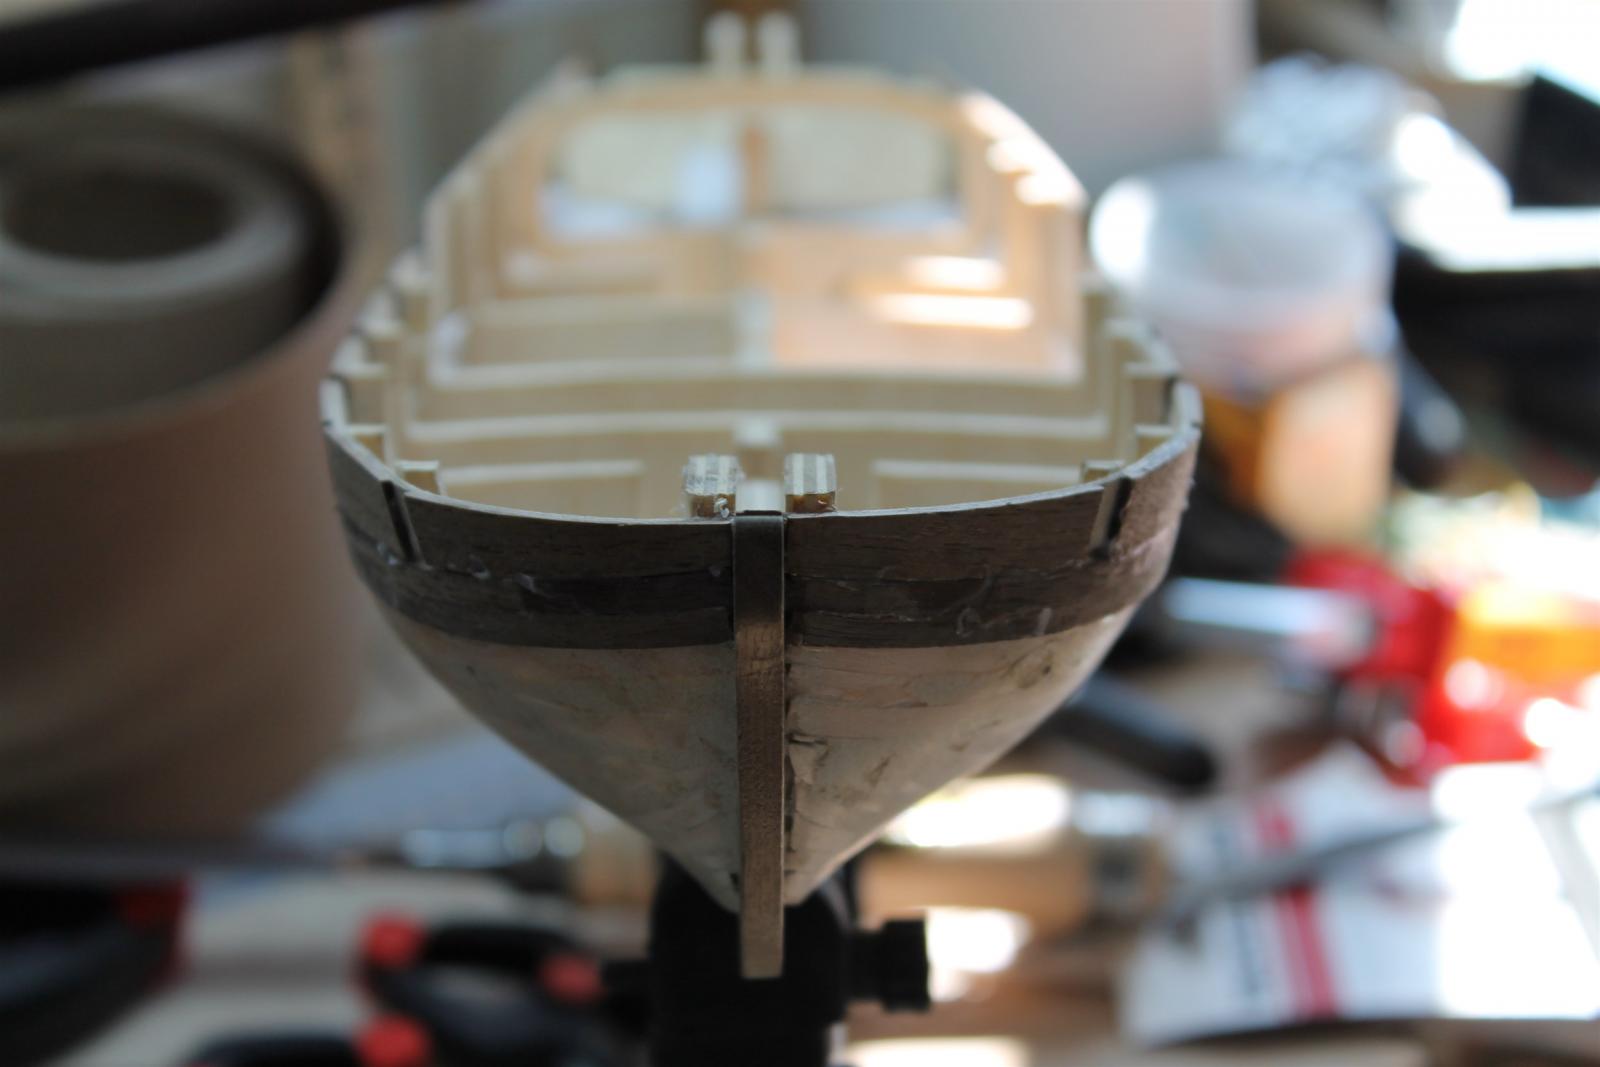
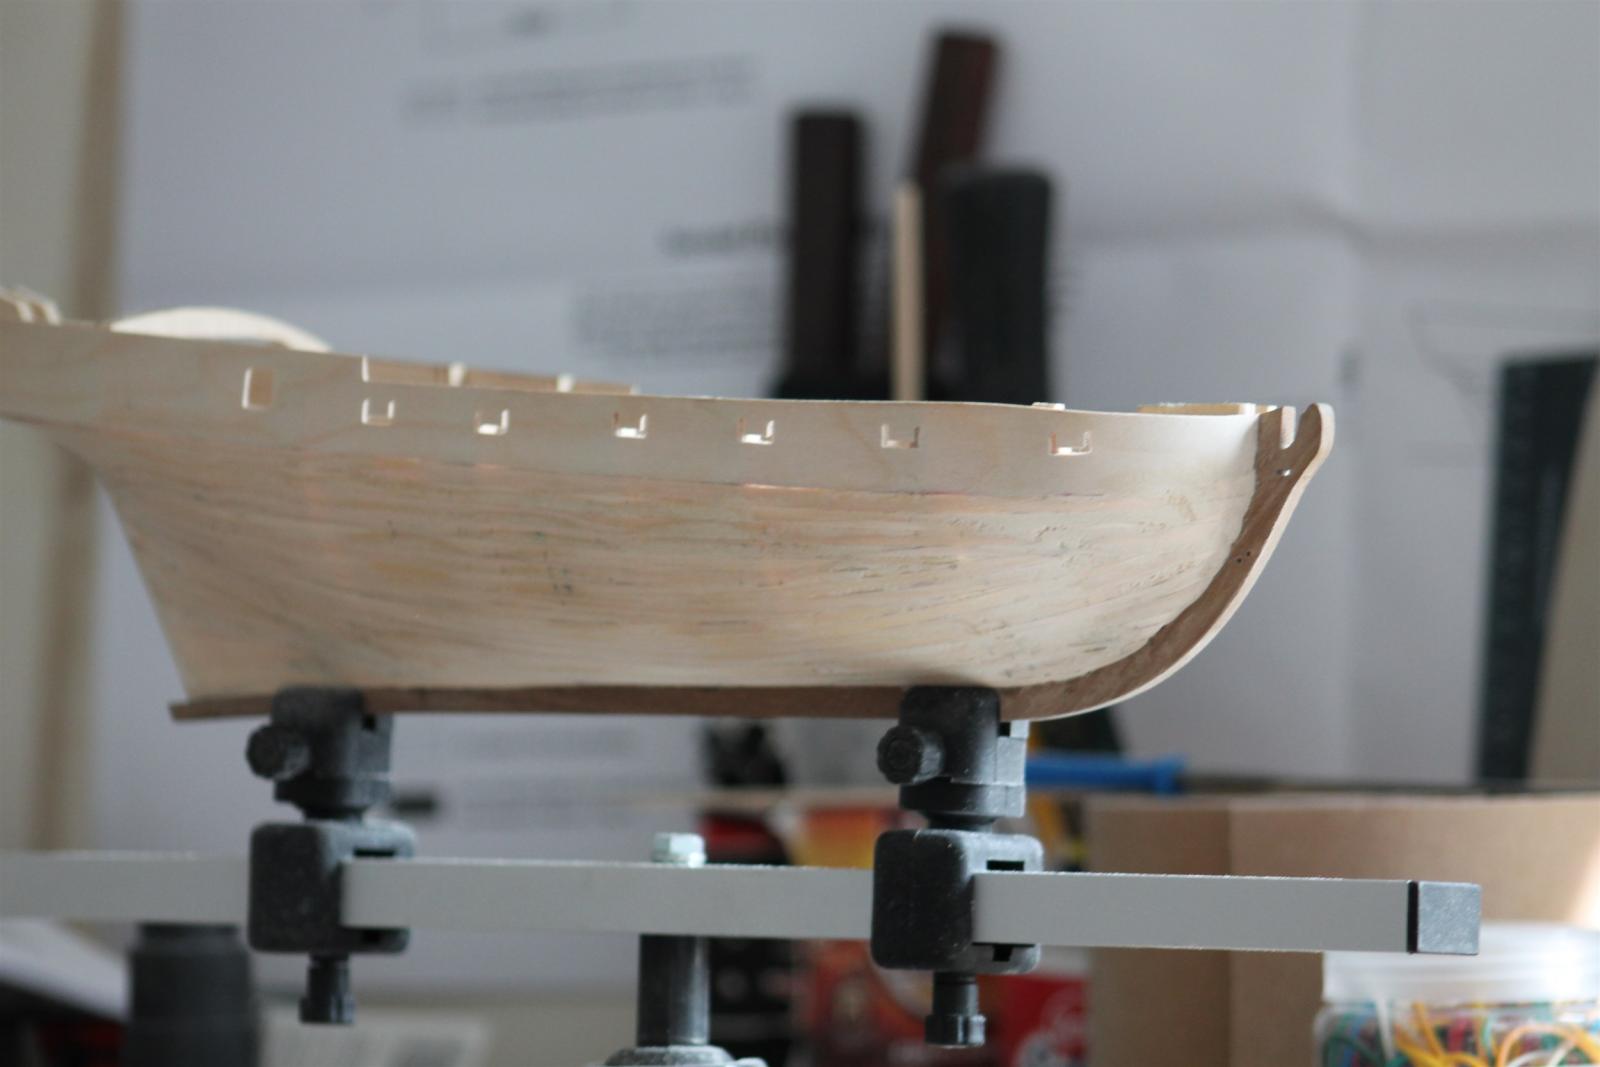
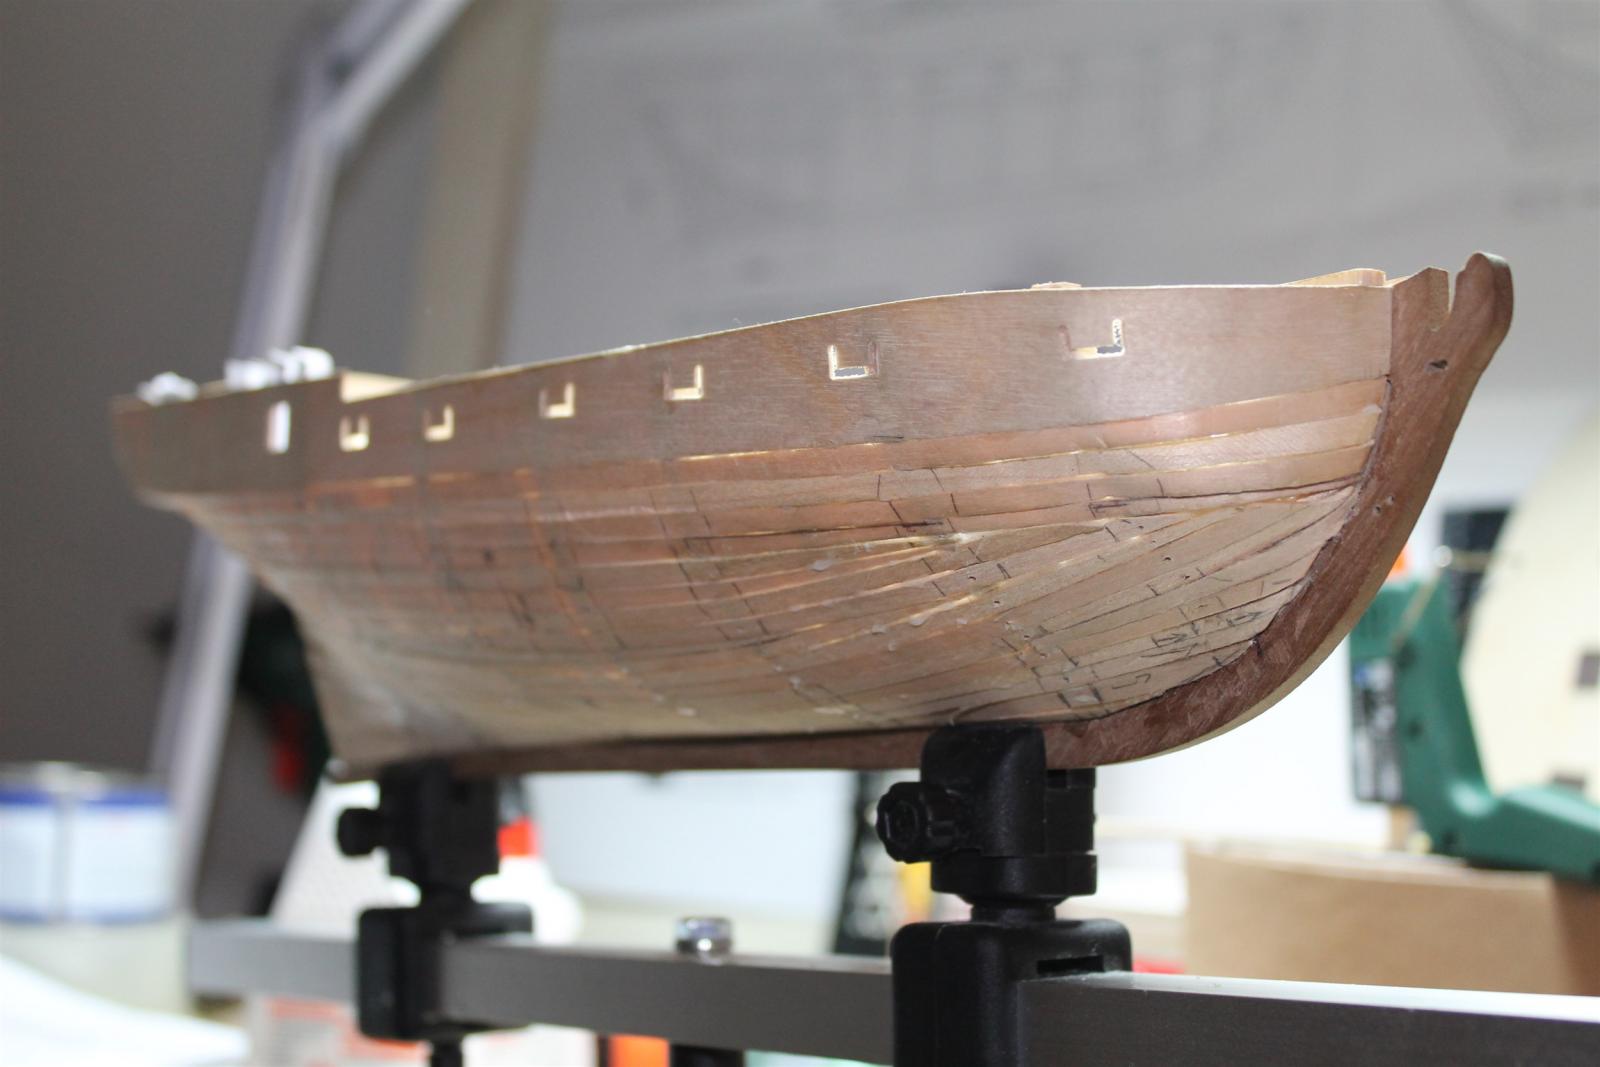
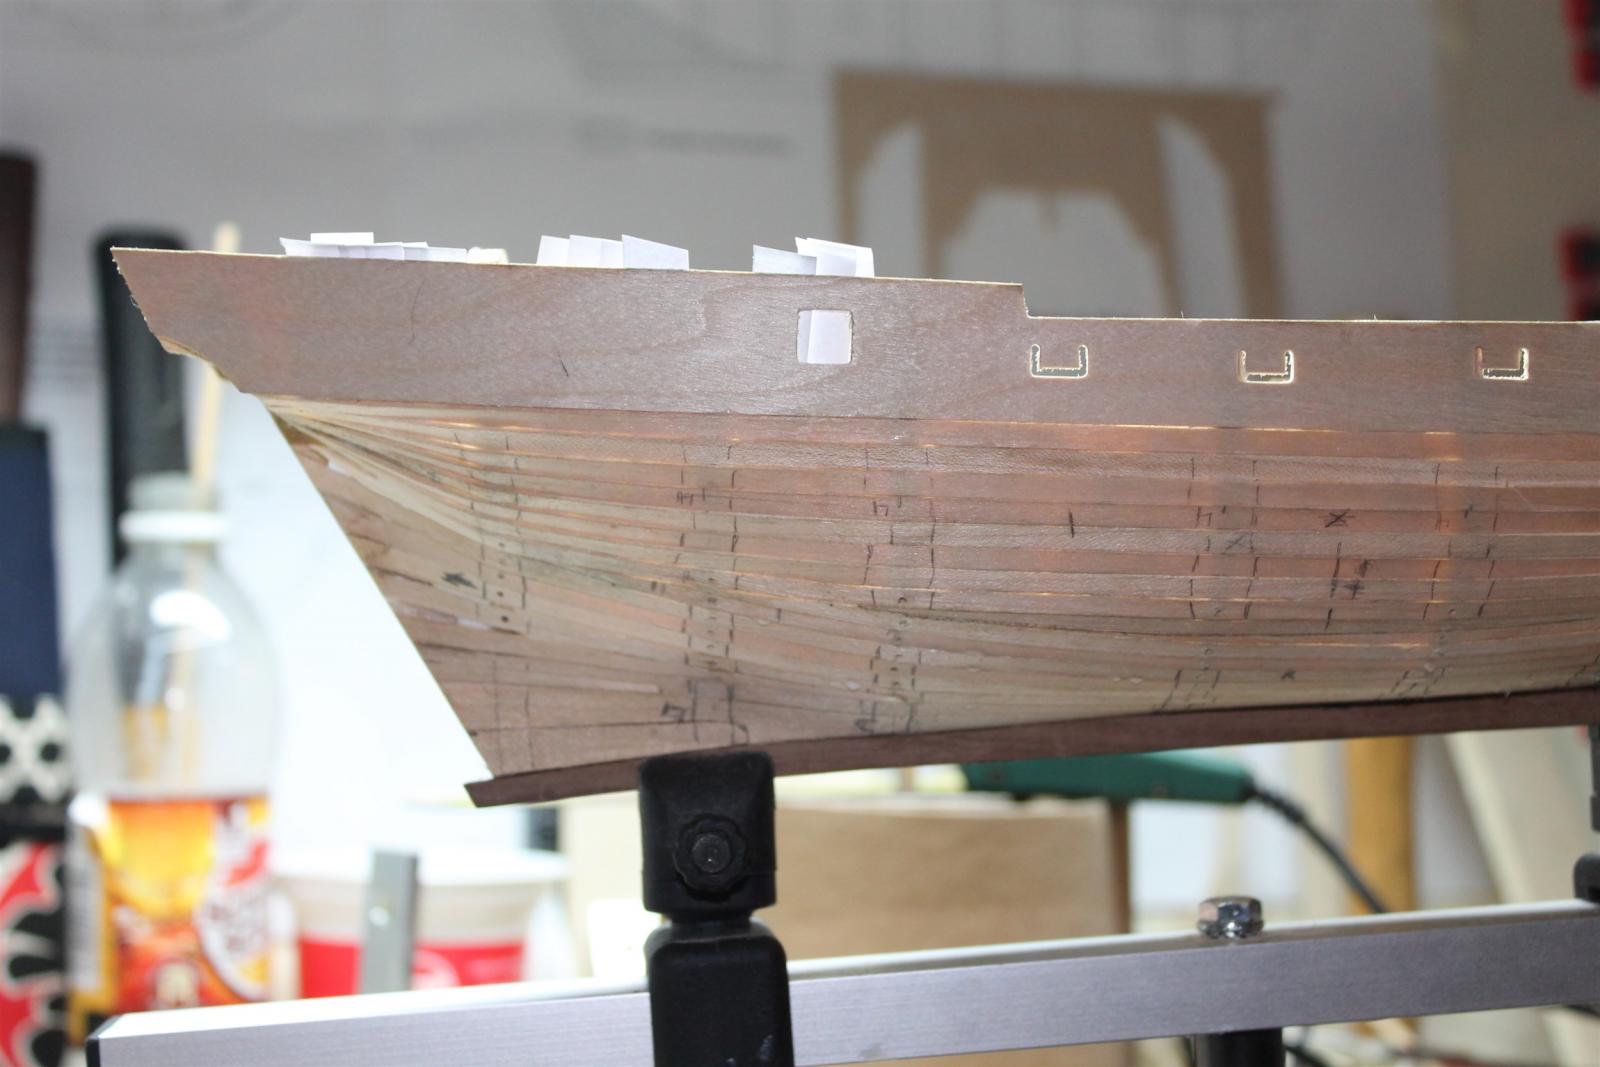
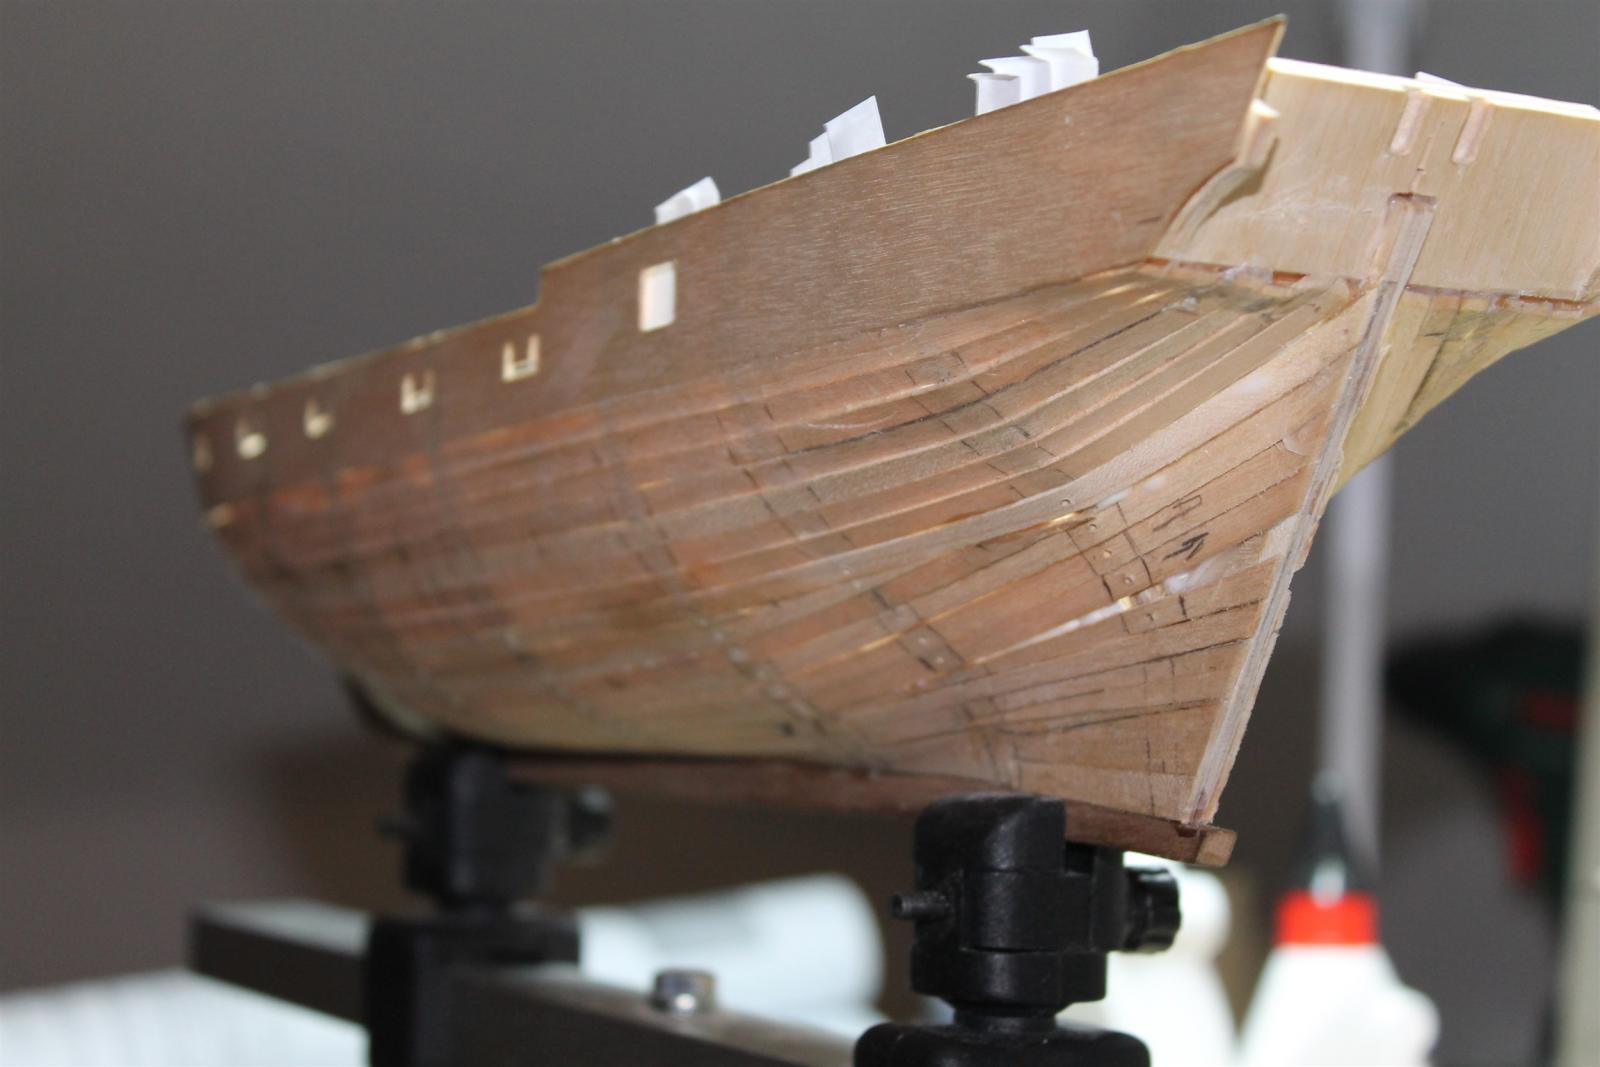
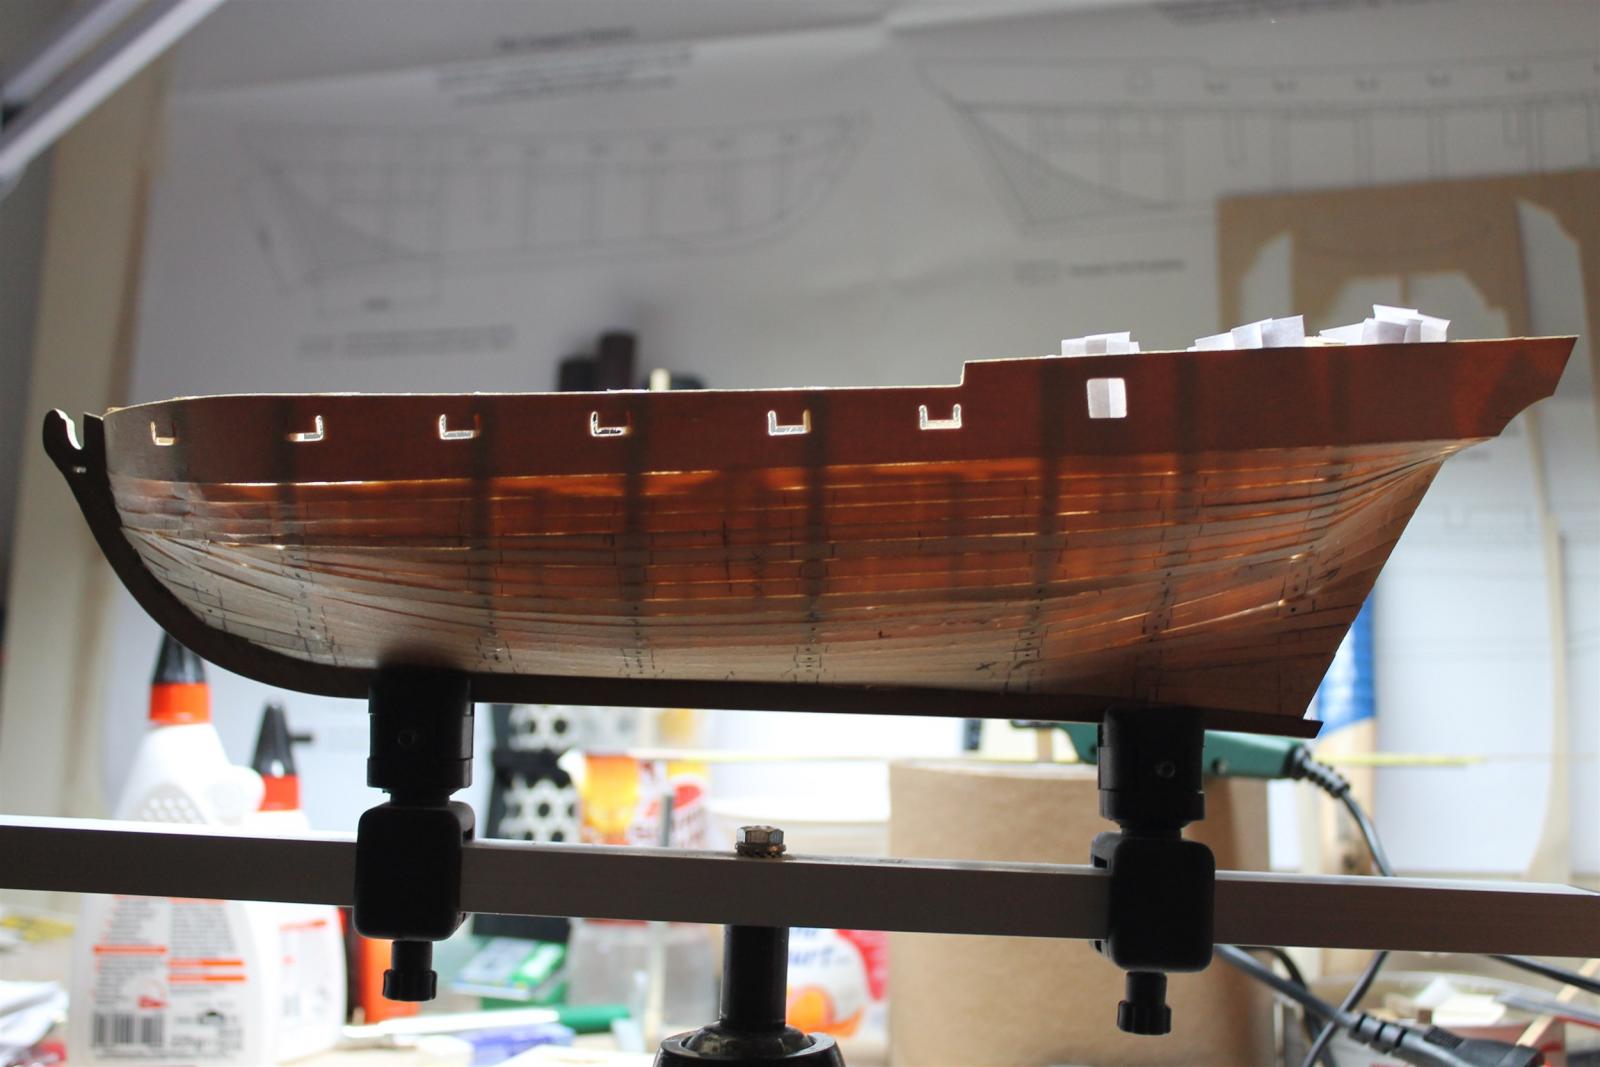
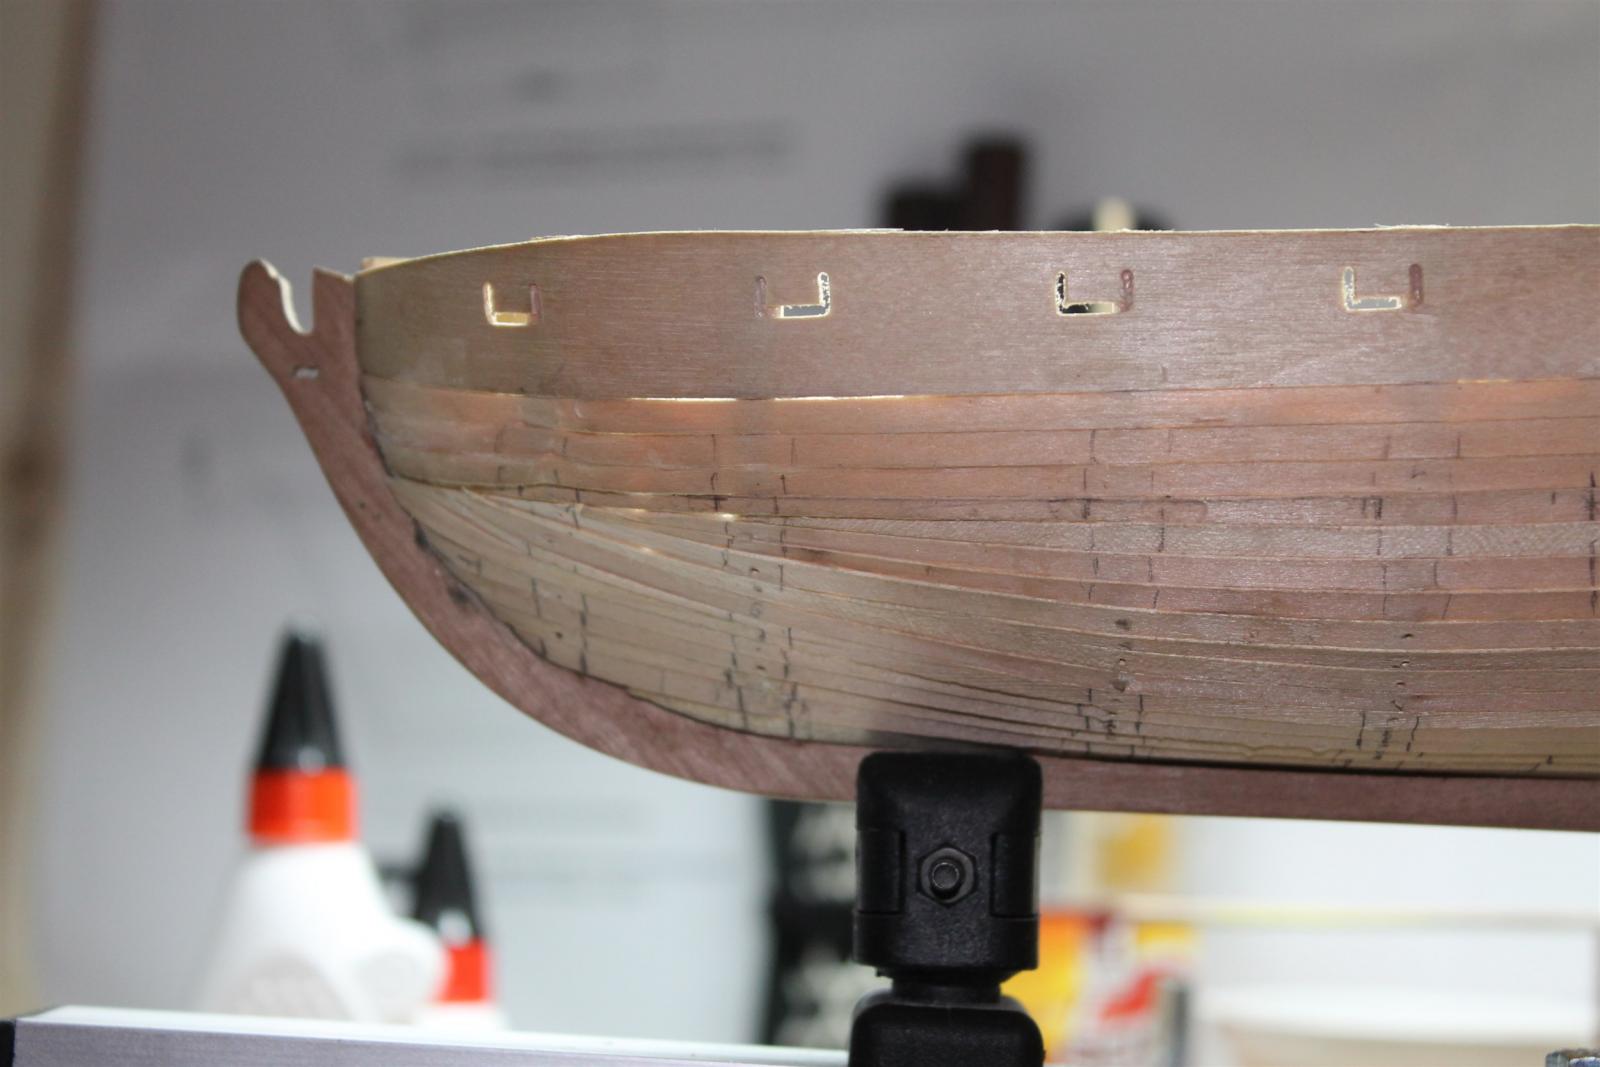
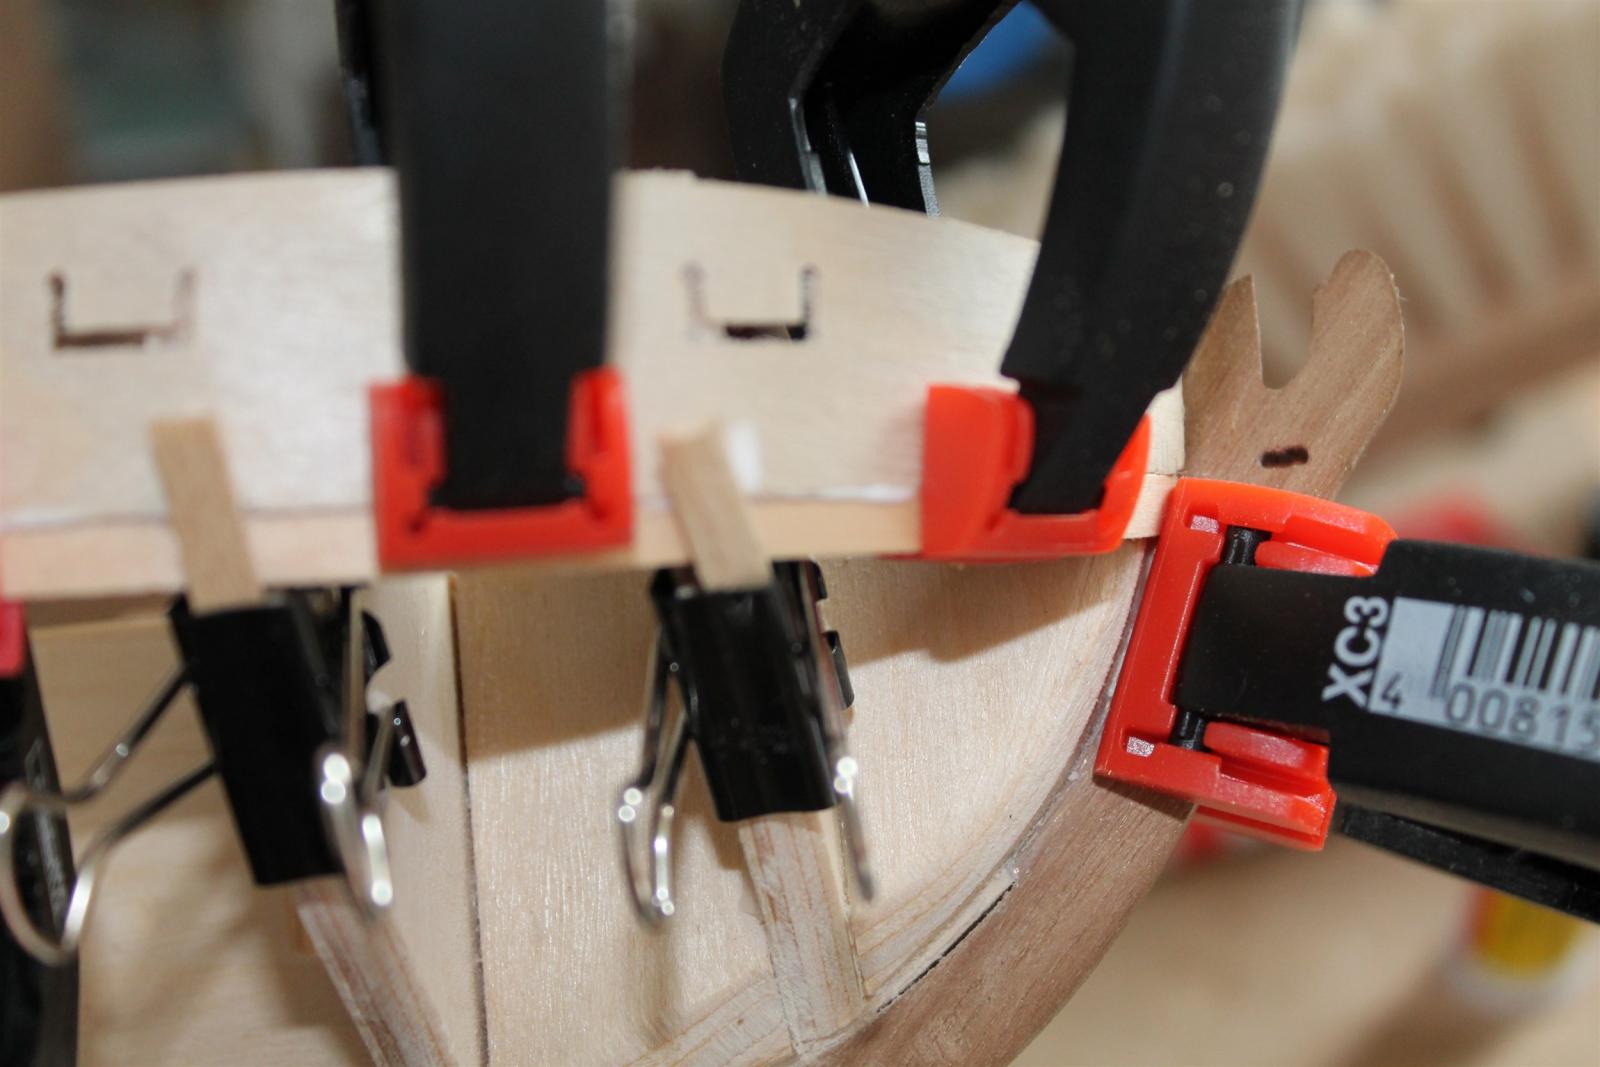
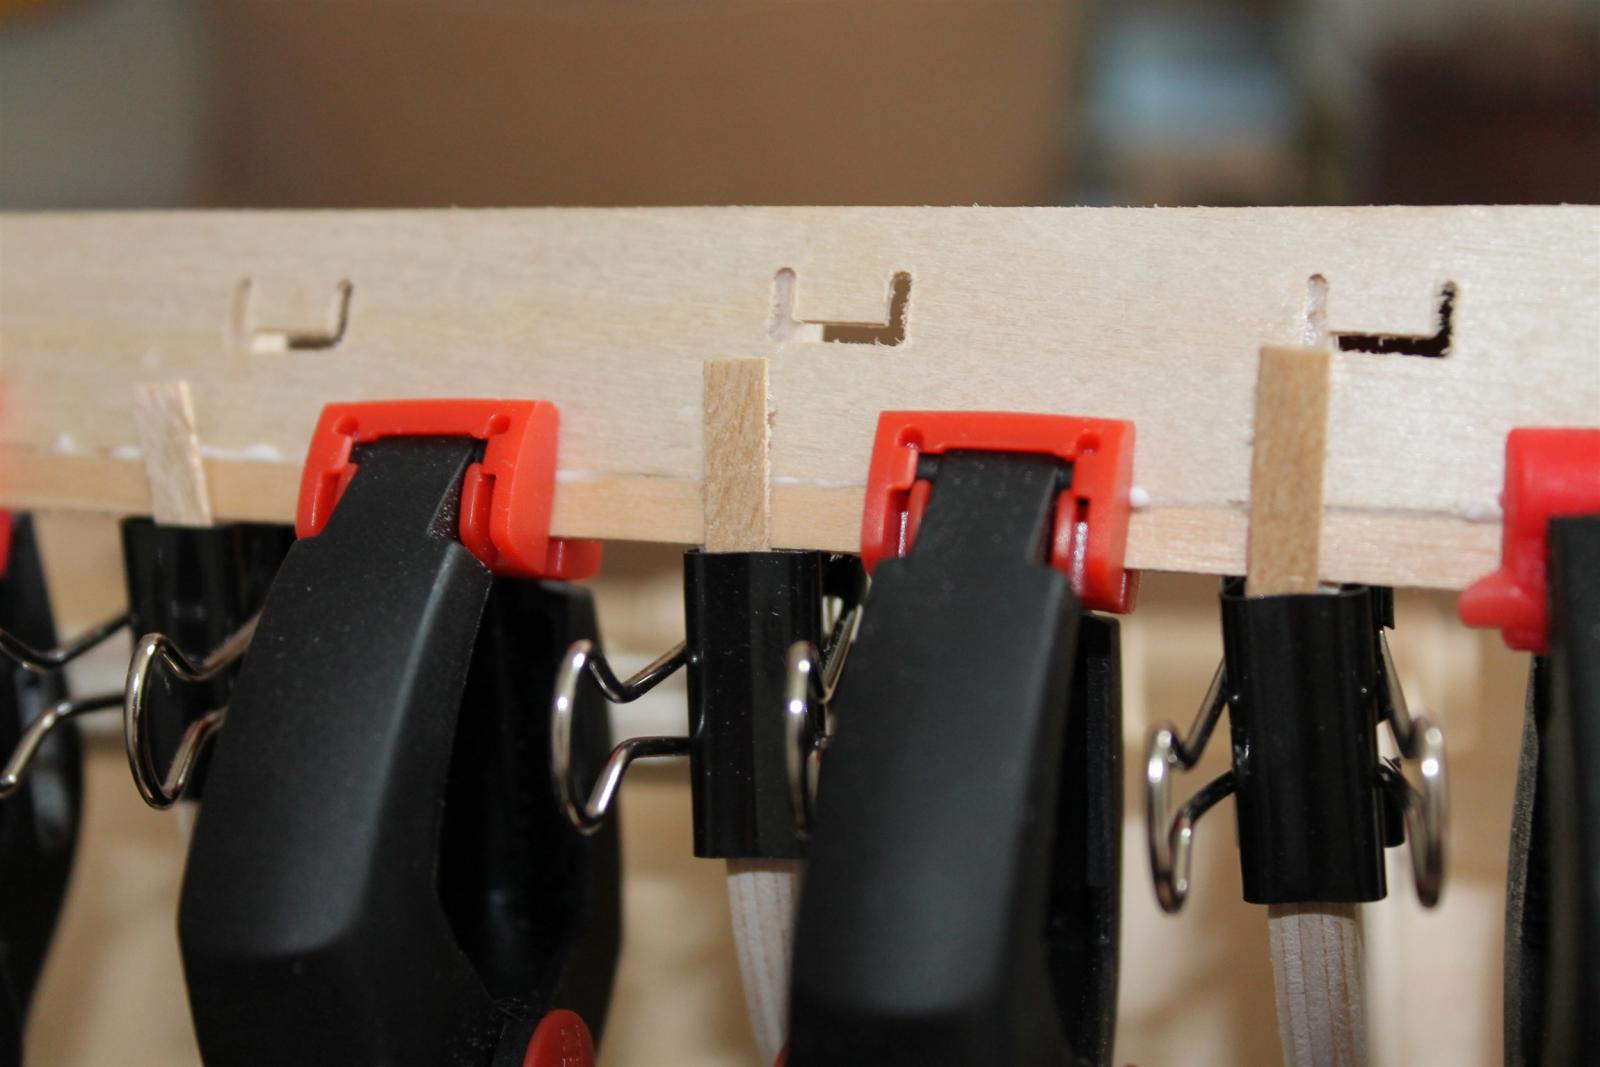
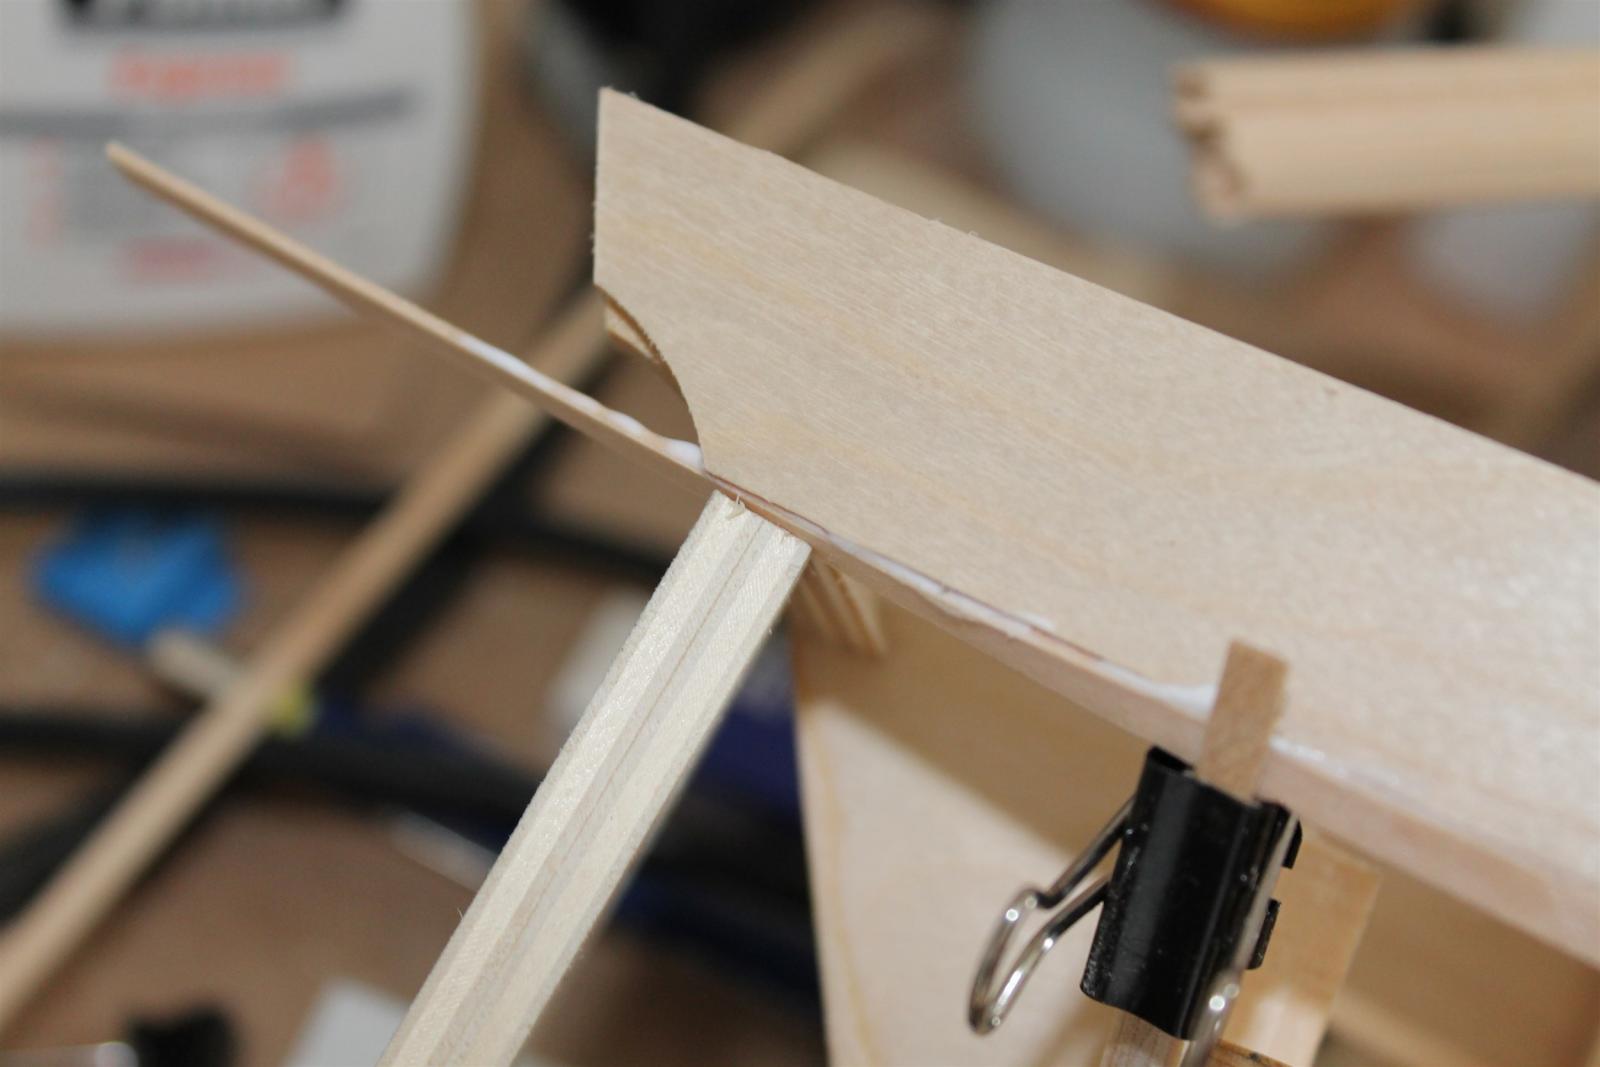
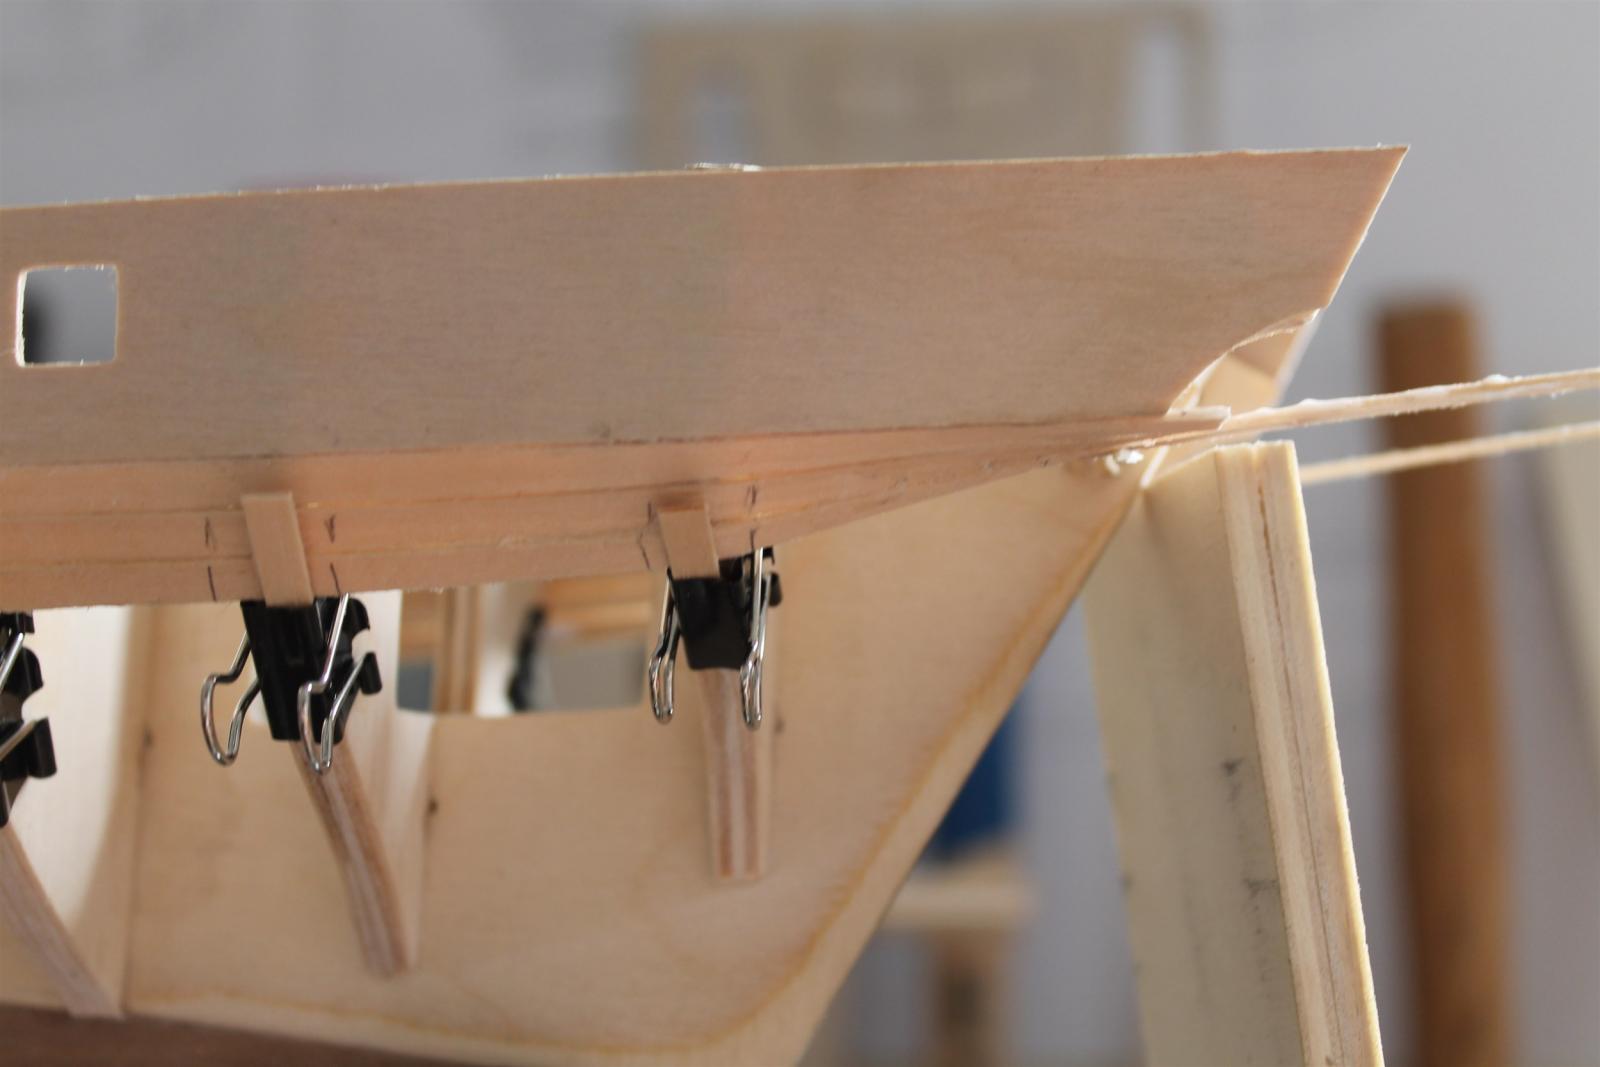
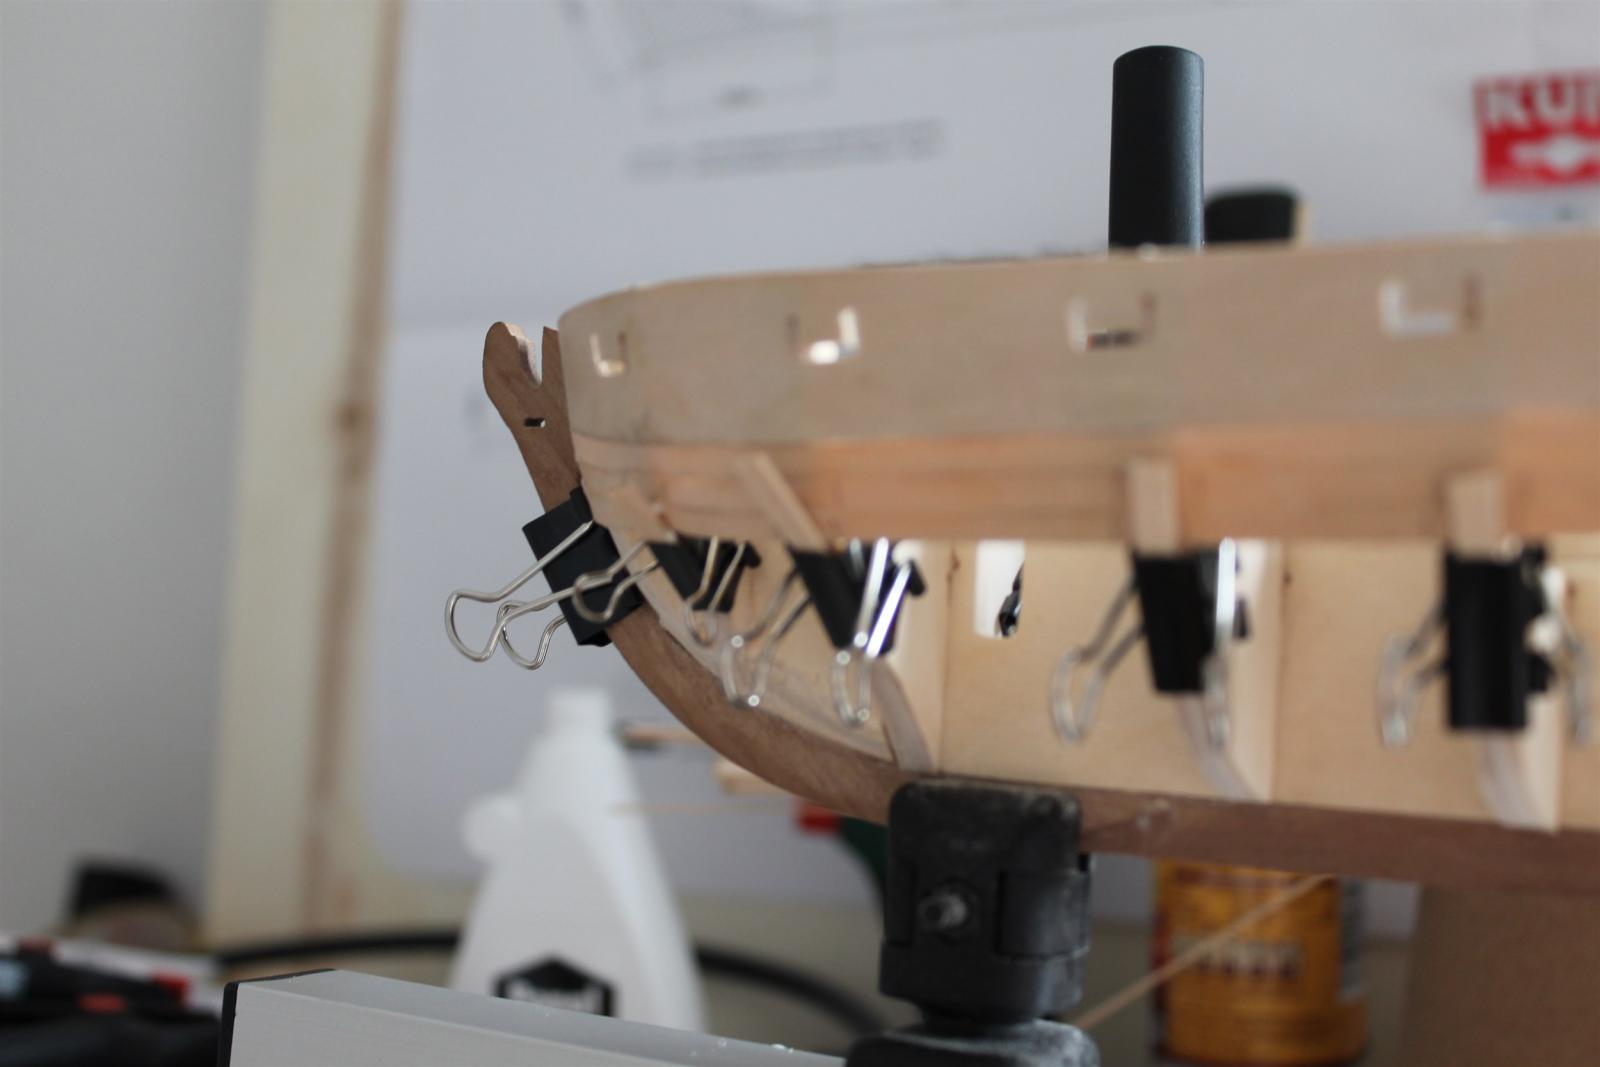
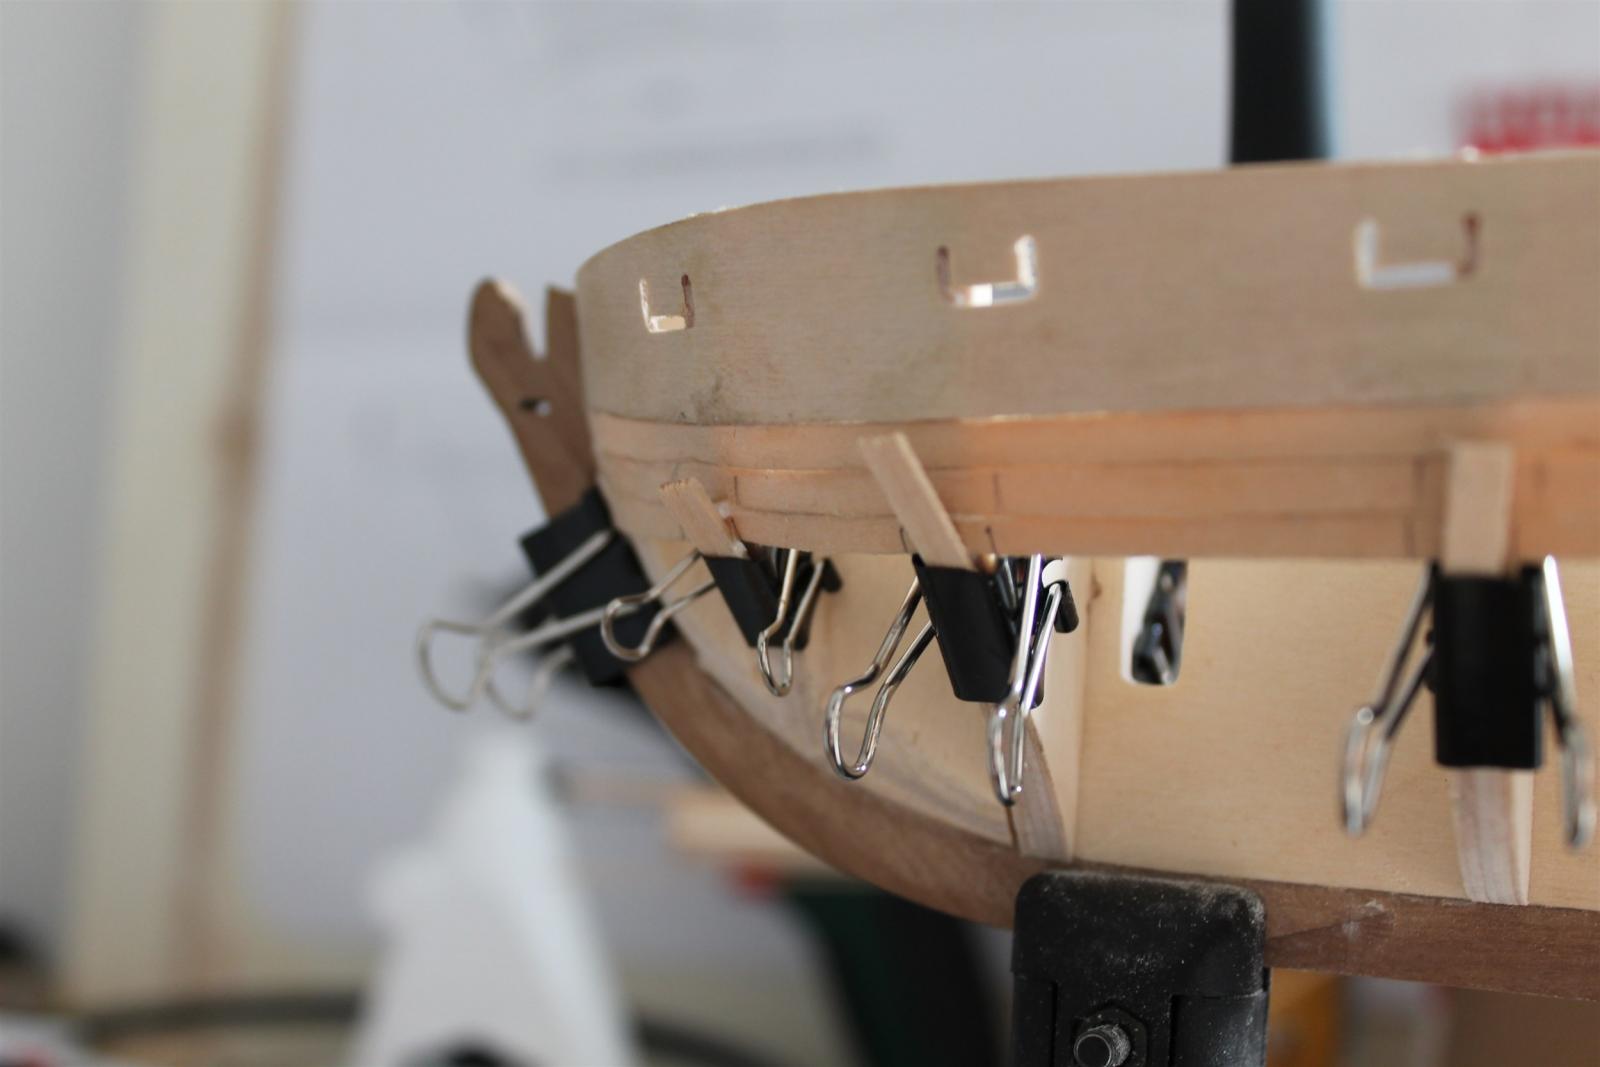
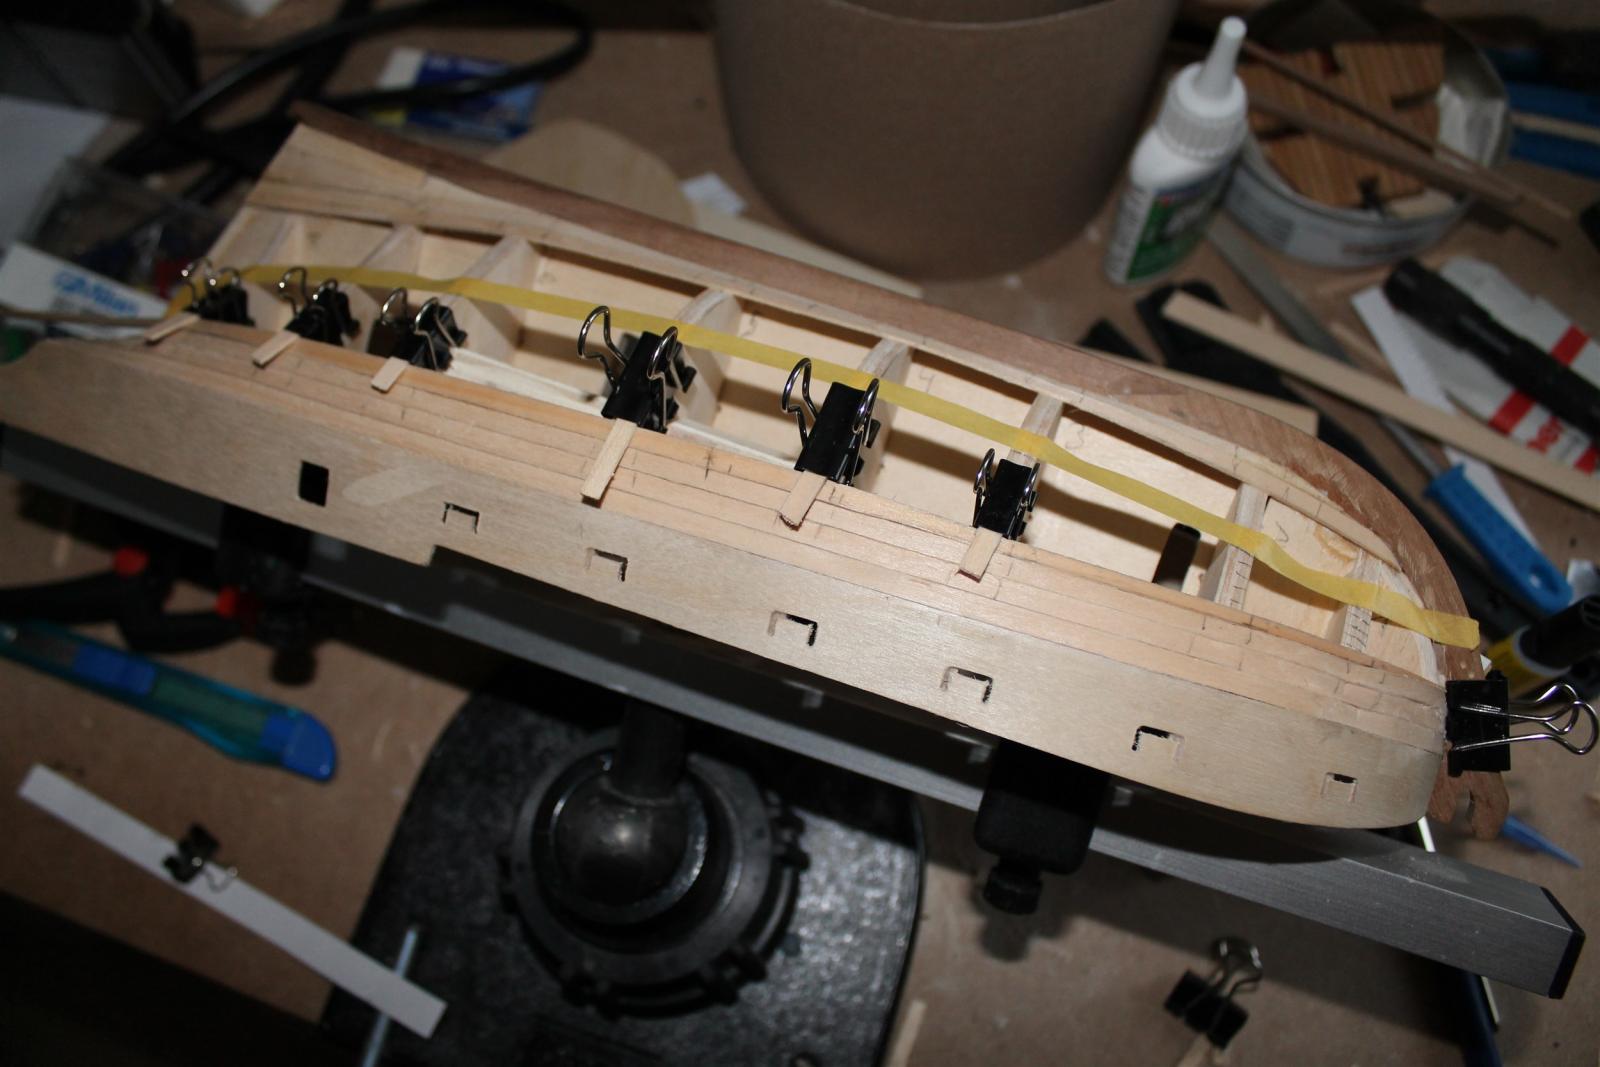
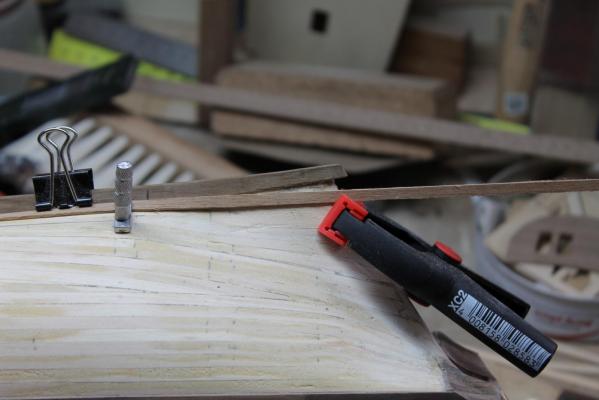
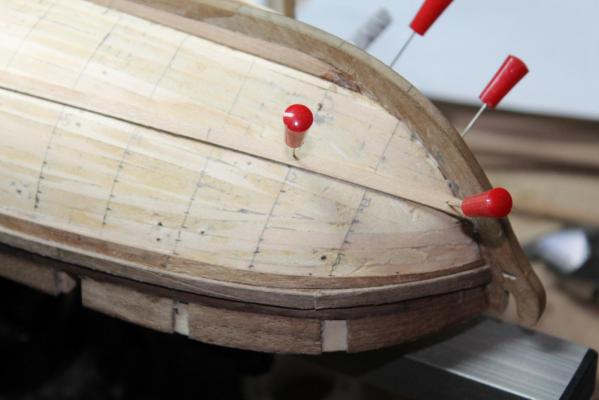
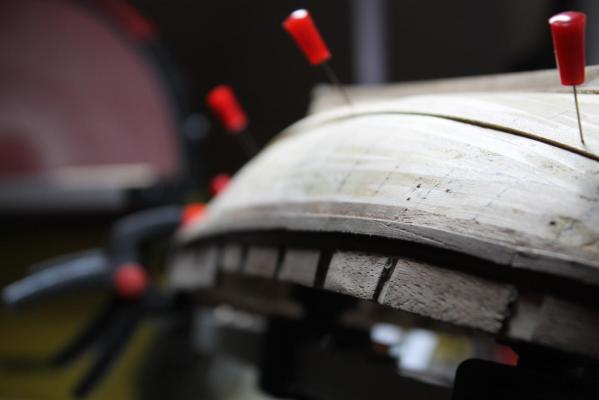
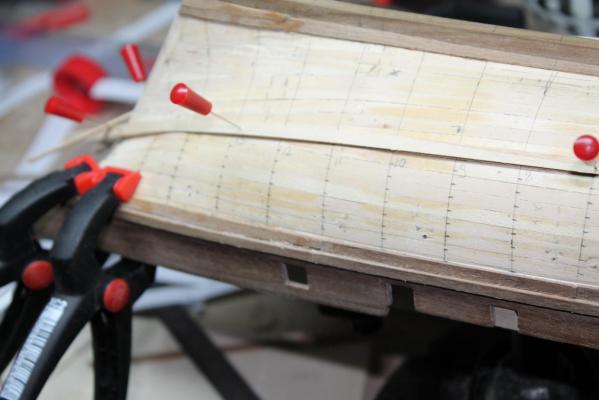
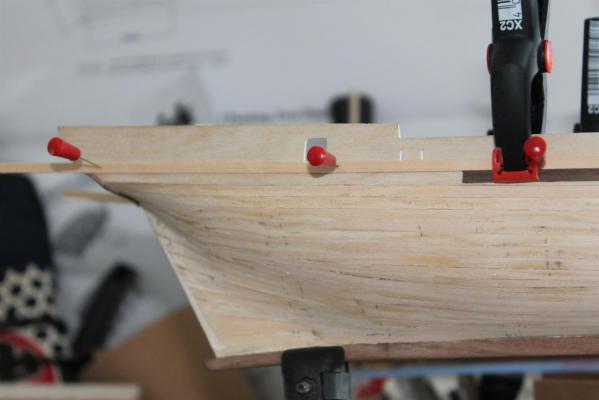
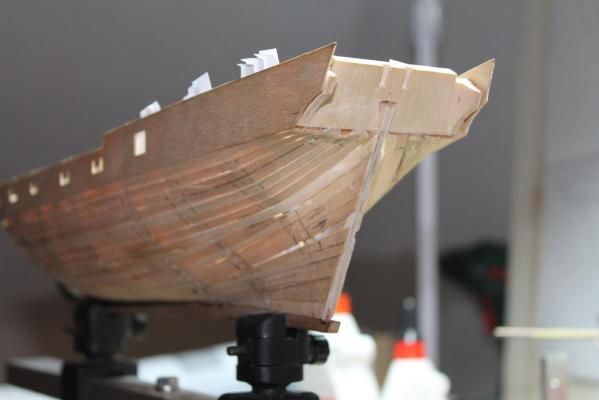
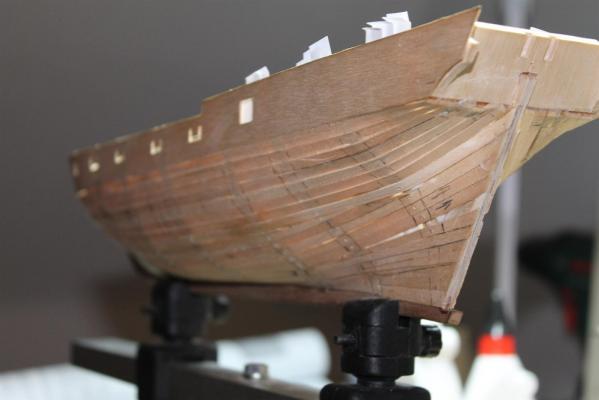
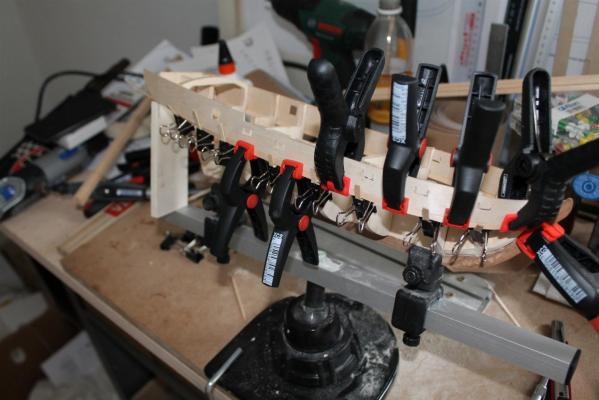
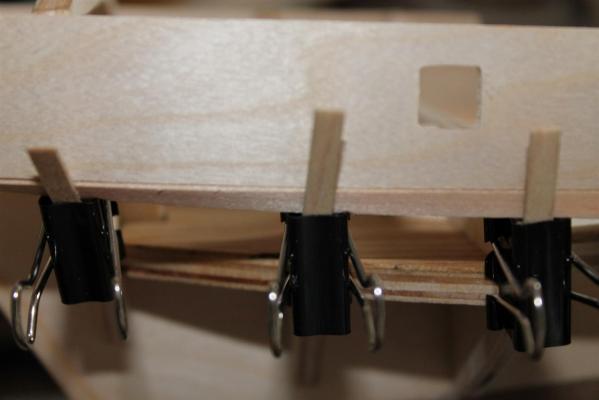
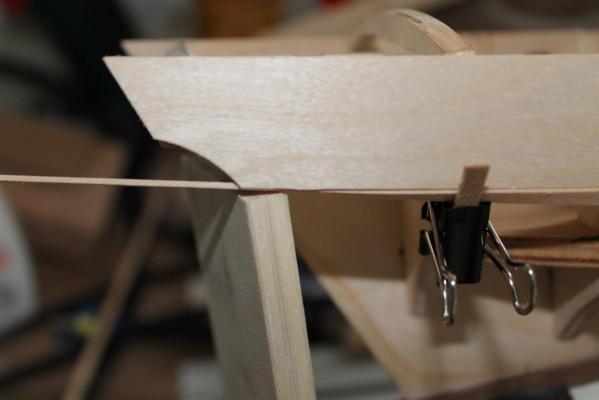
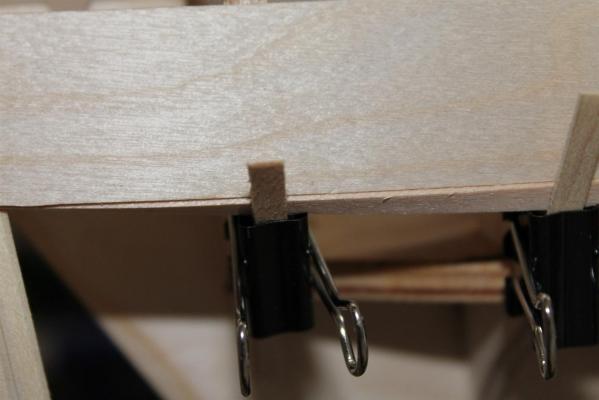
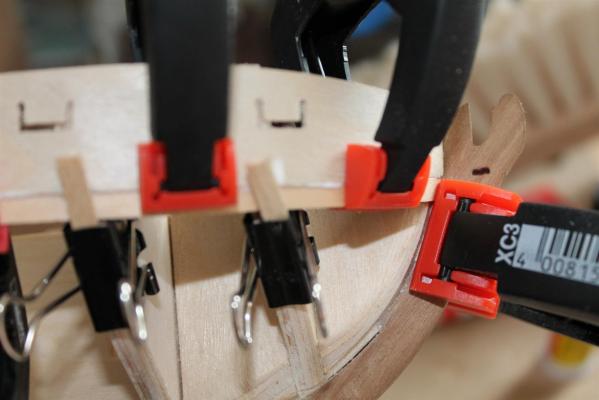
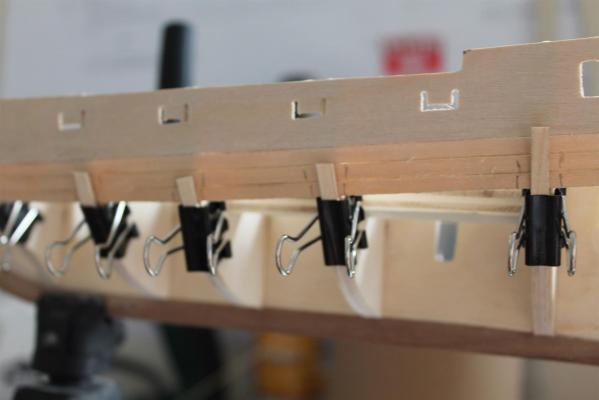
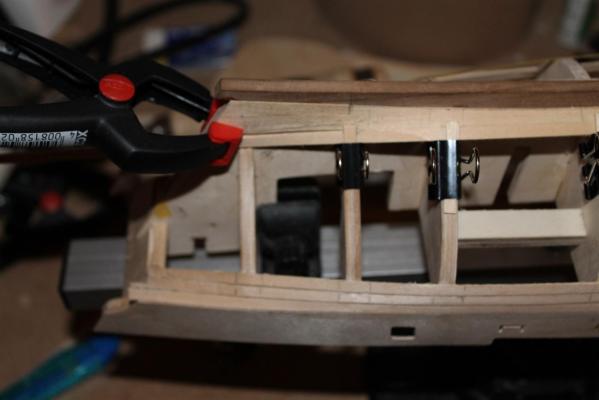
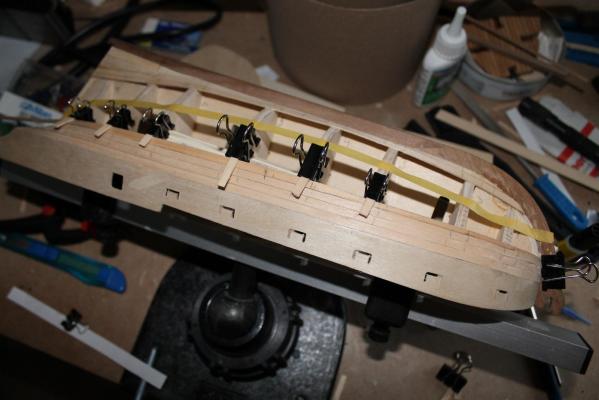
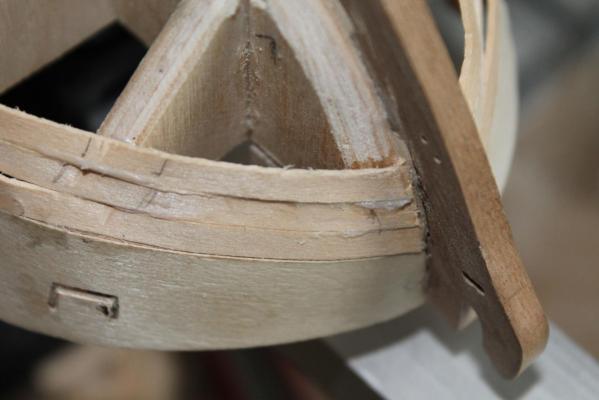
 Update second planking: the garboards are installed also the first row of spiled planks... following the tutorials it works like a charm...
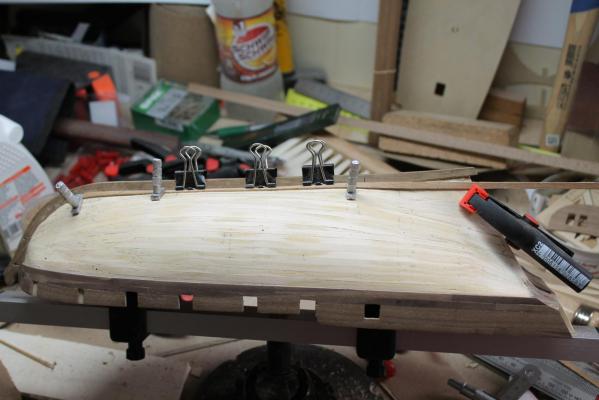


-
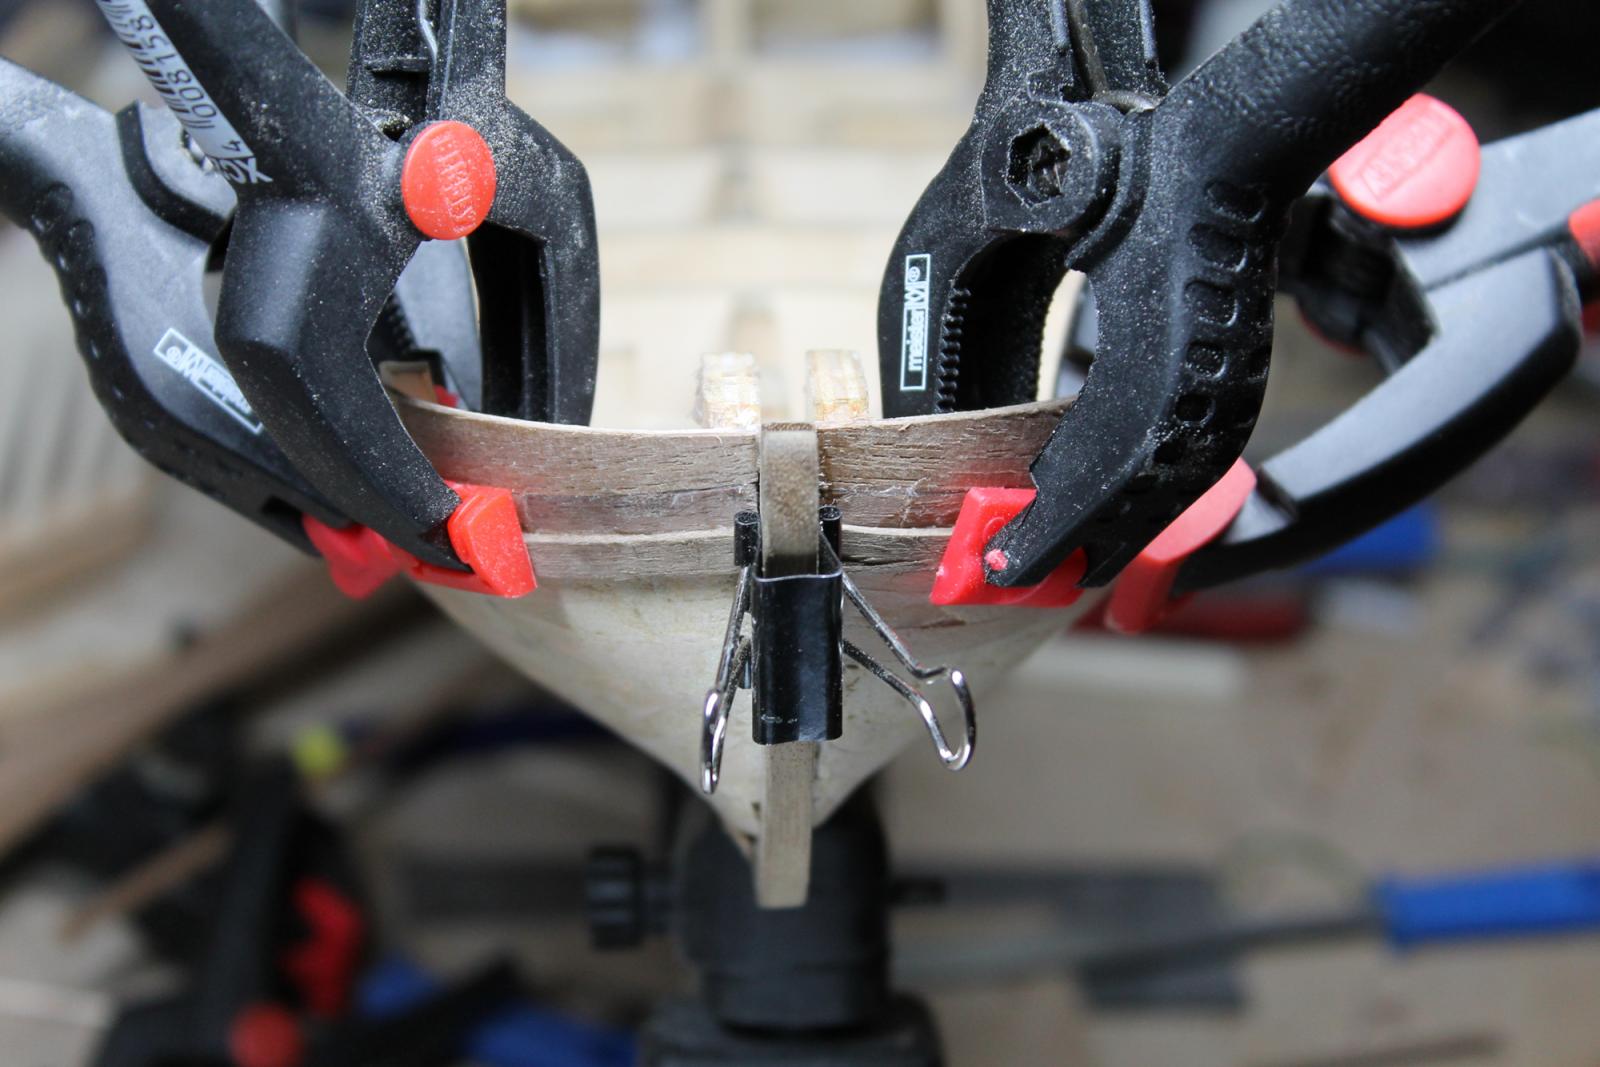
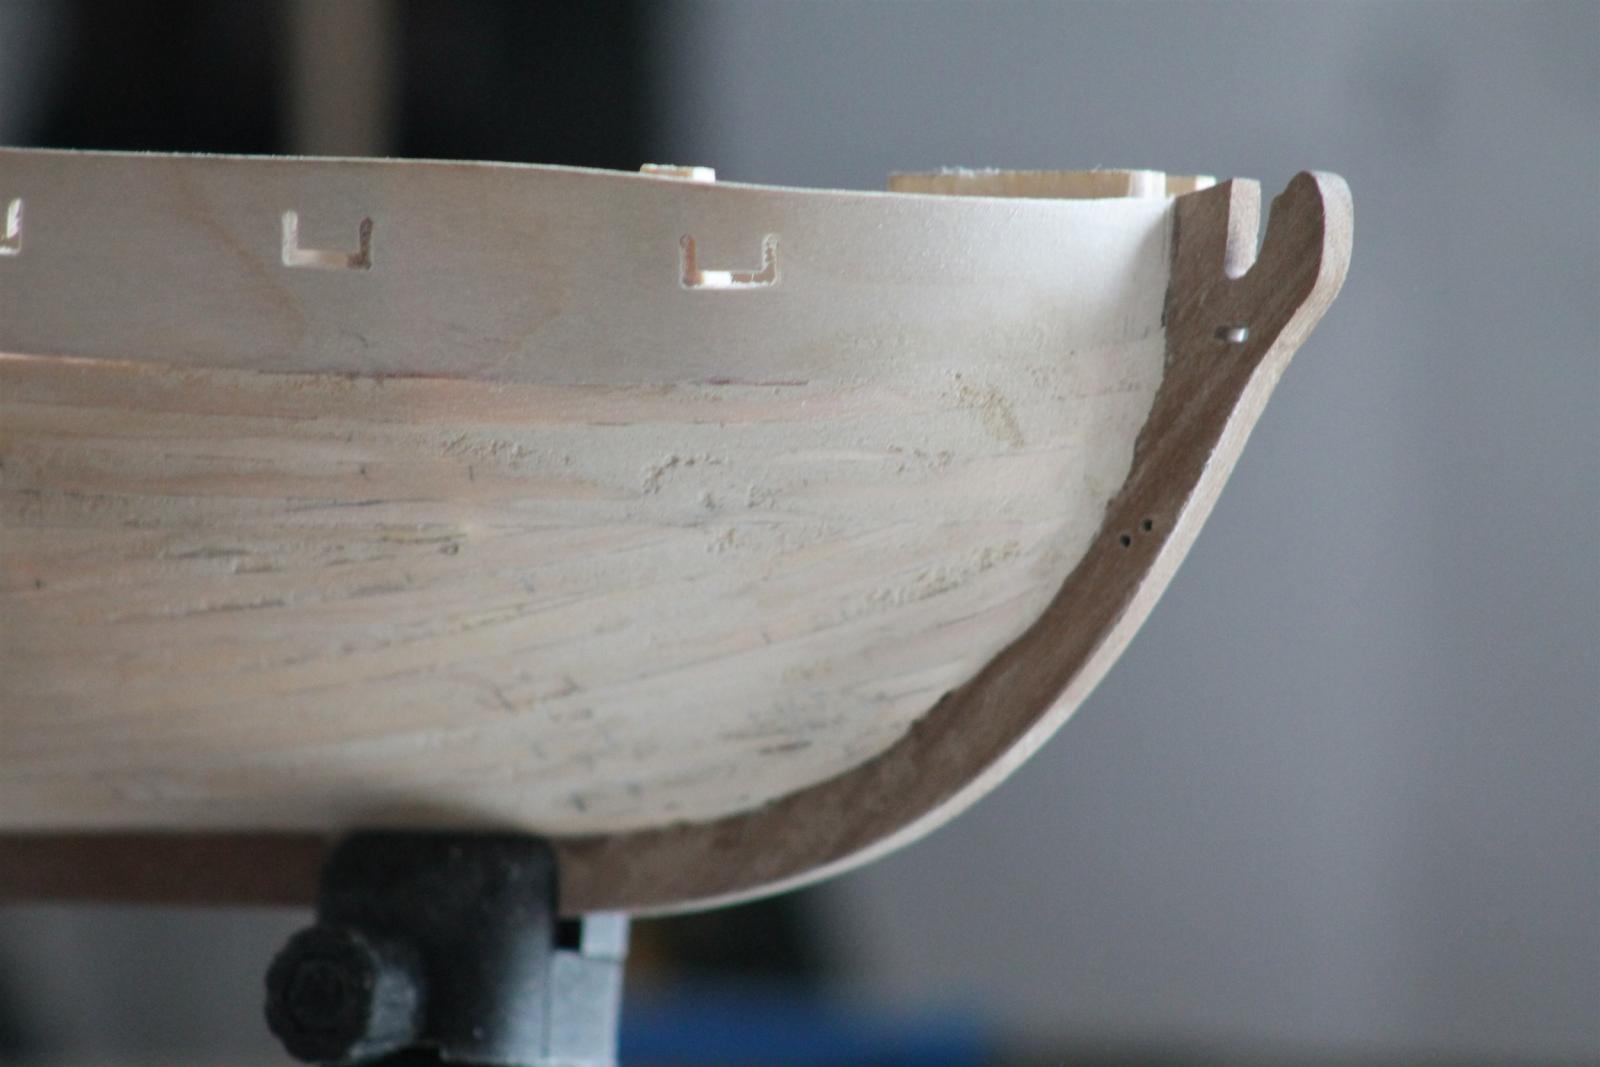
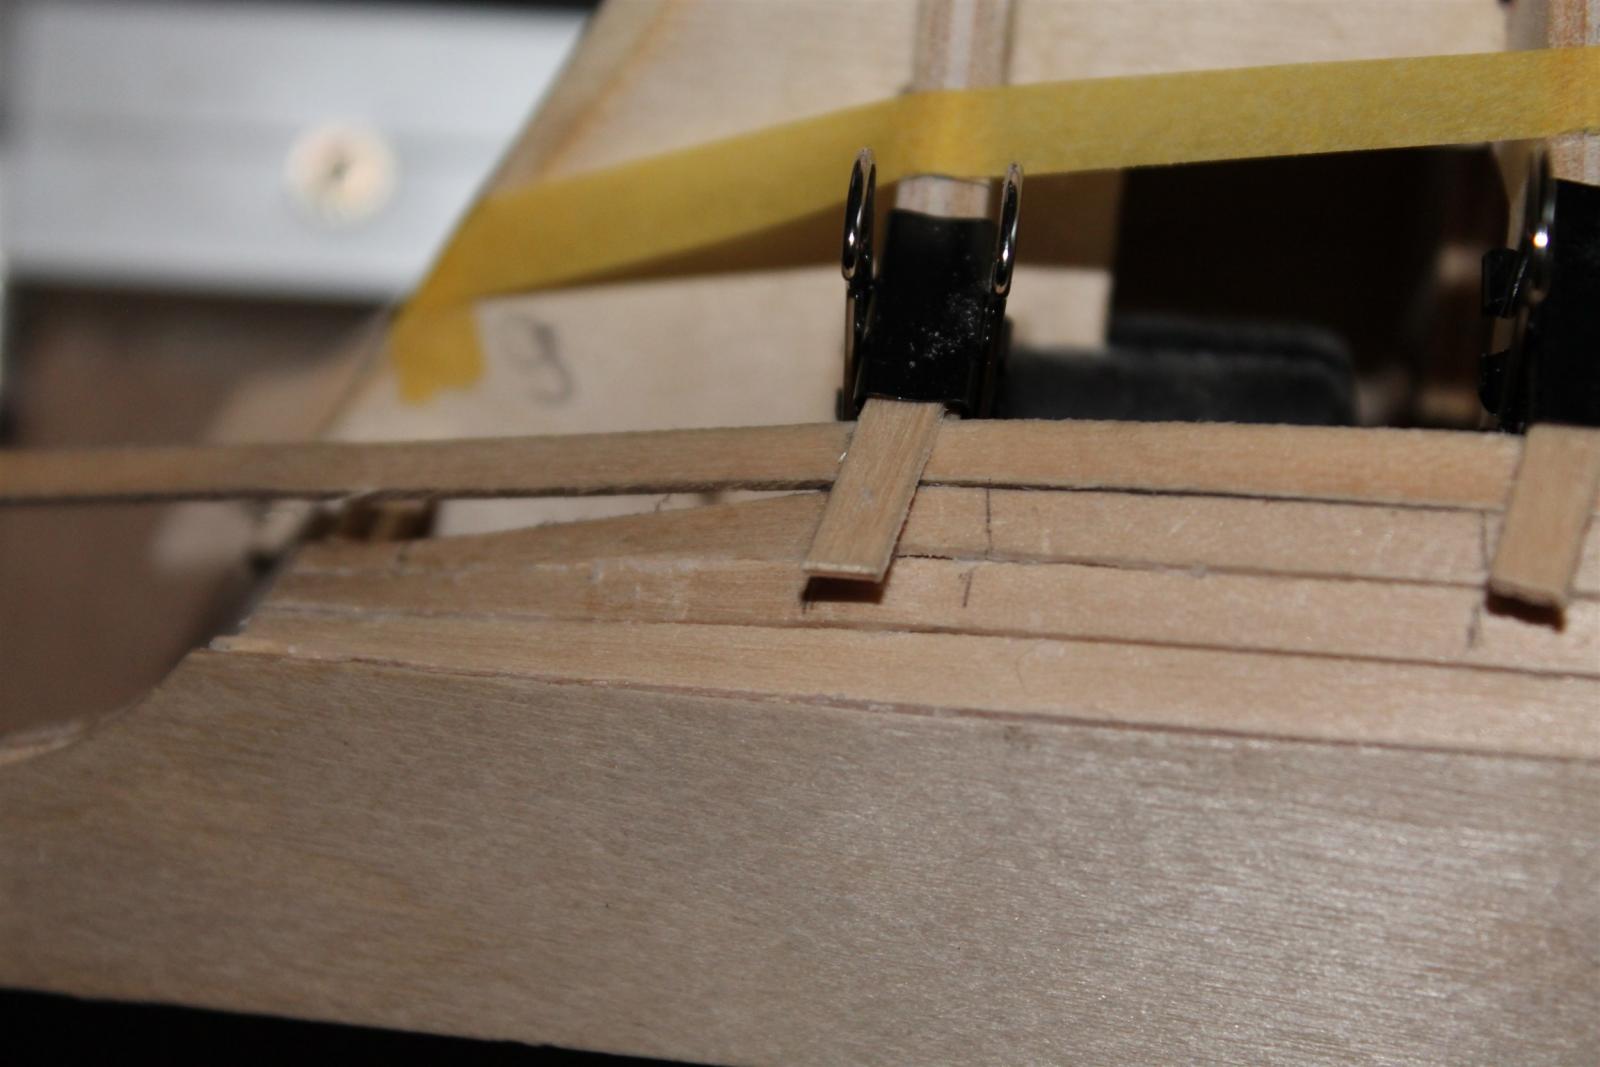
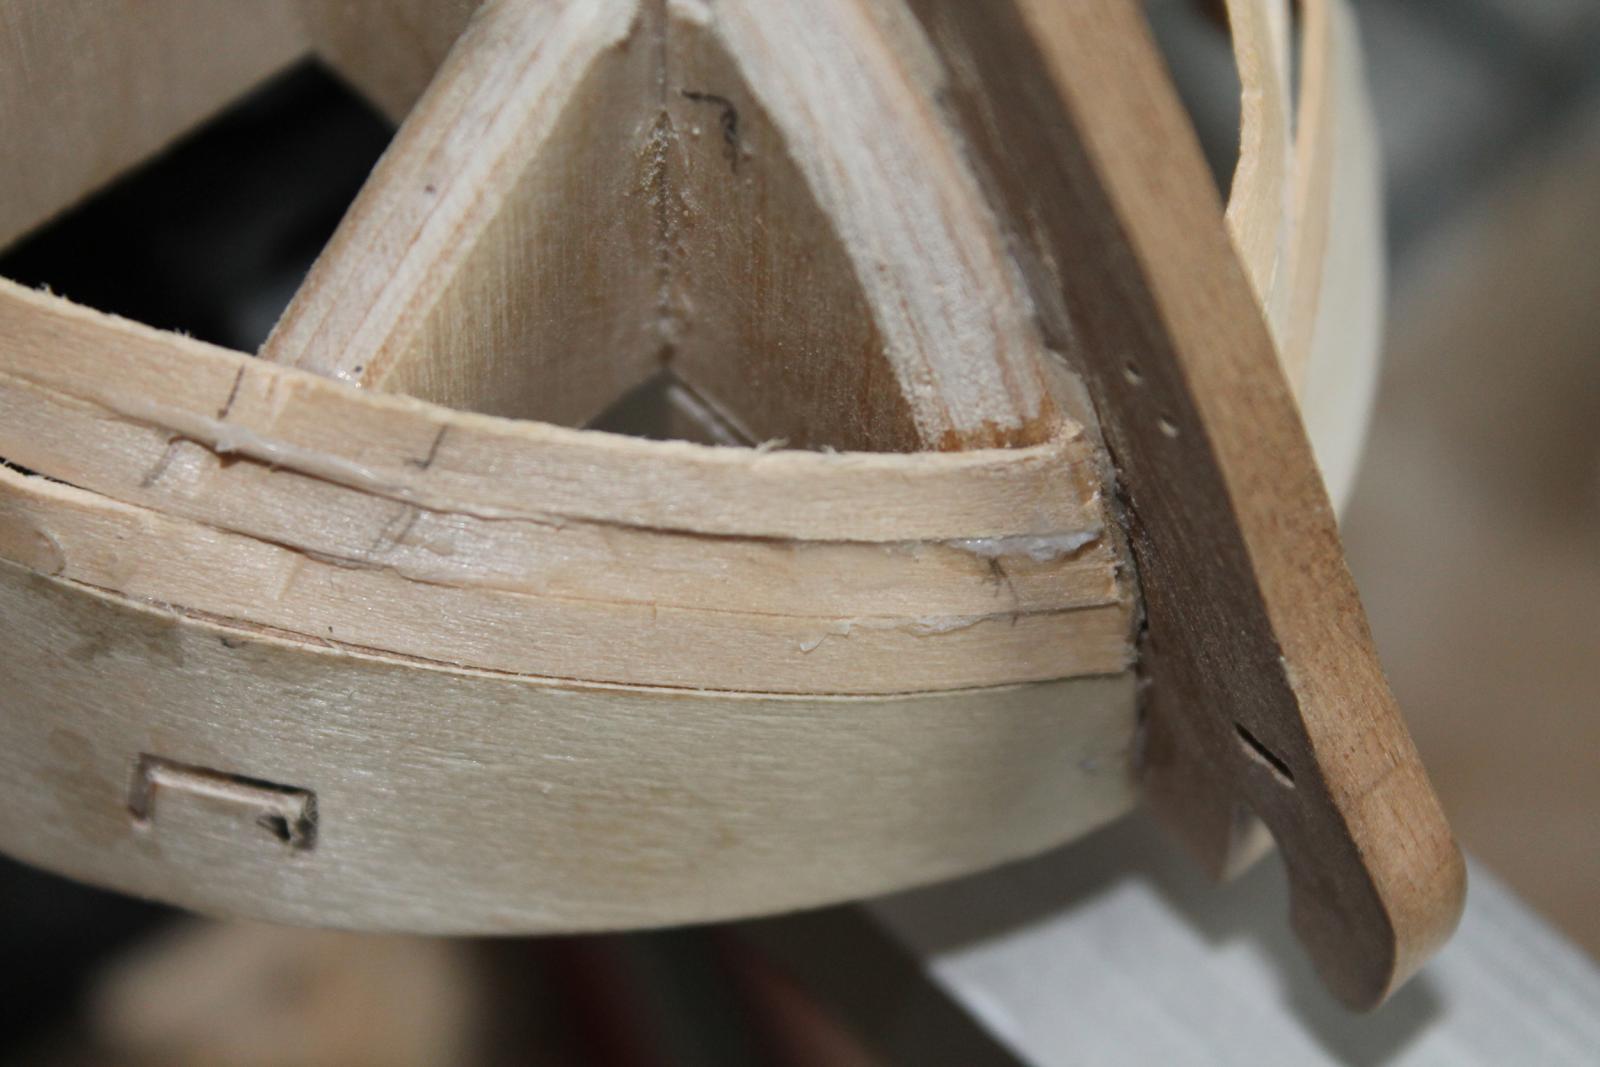
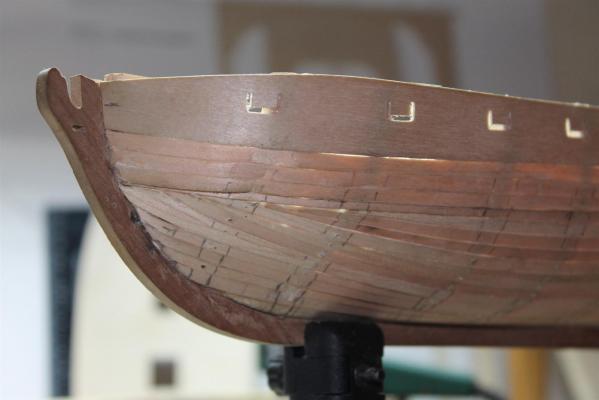
Howdy, i have some questions about how i should do the garboard strakes best. a) propper alignment - how do i finally align the garboard, especially that it wouldn't come to high at the bow? planking the deadwood - when i dry fit my garboard, if i let it run without bending, it will run in a steep angle up the deadwood. is the garboard wrong or should i bend it, that it follows the keel?
-
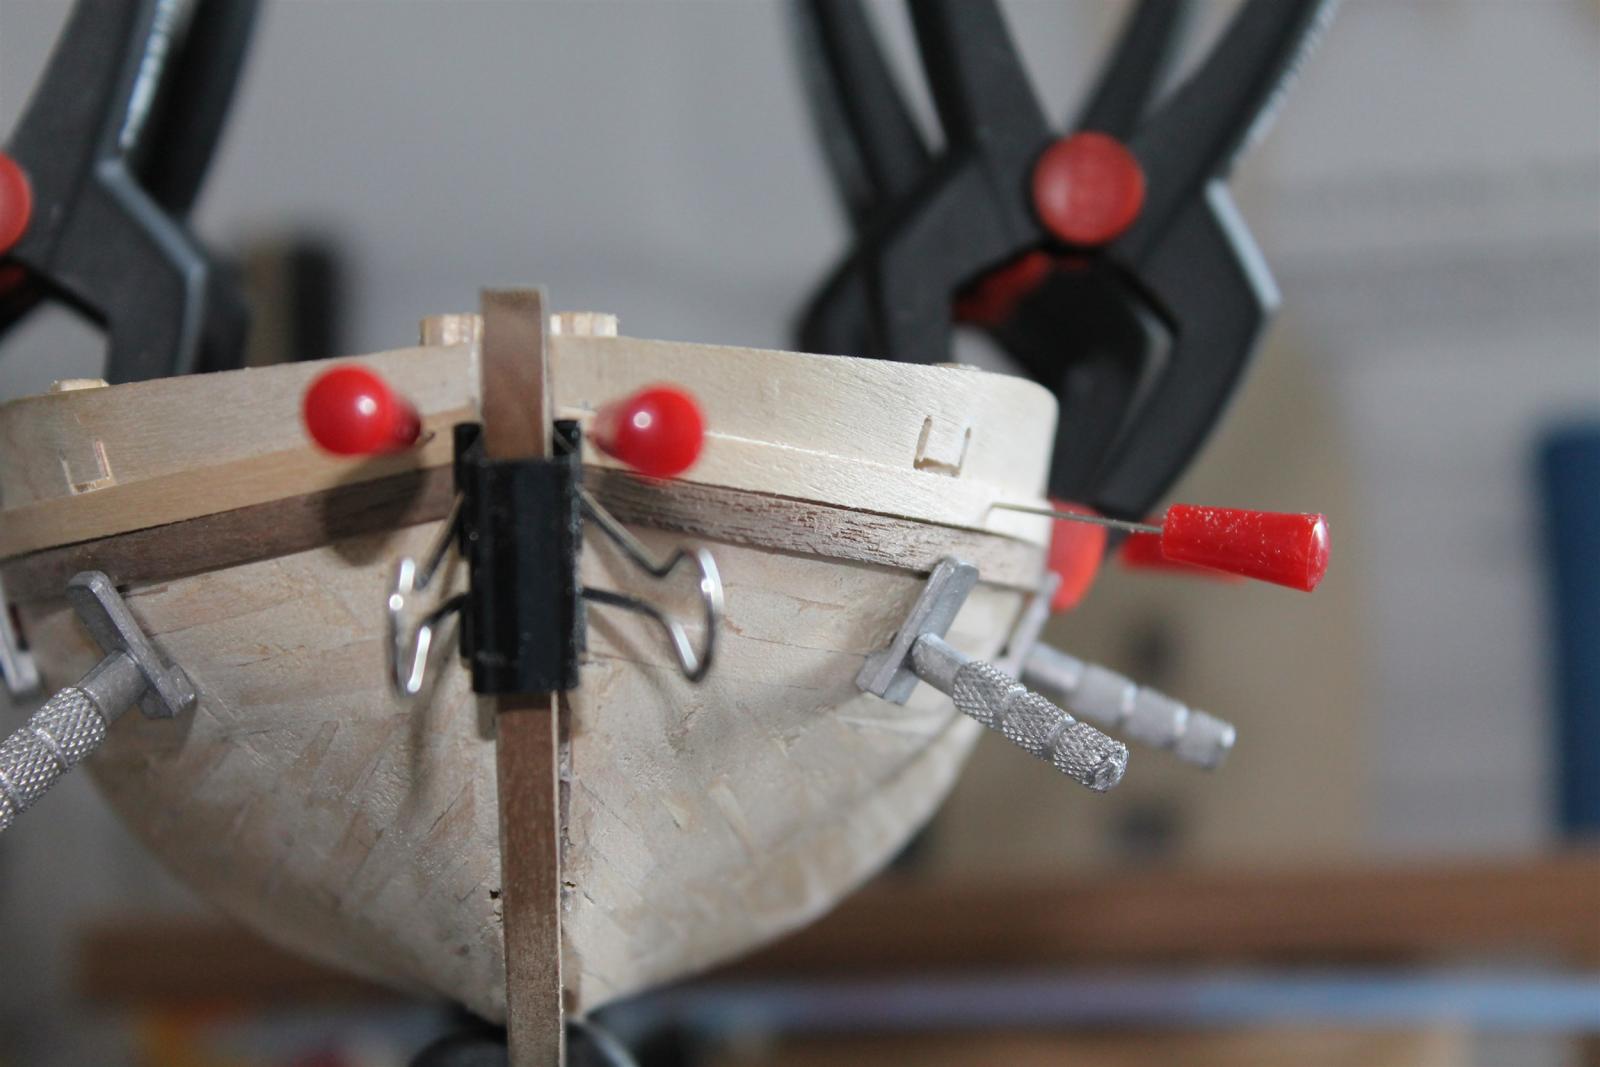
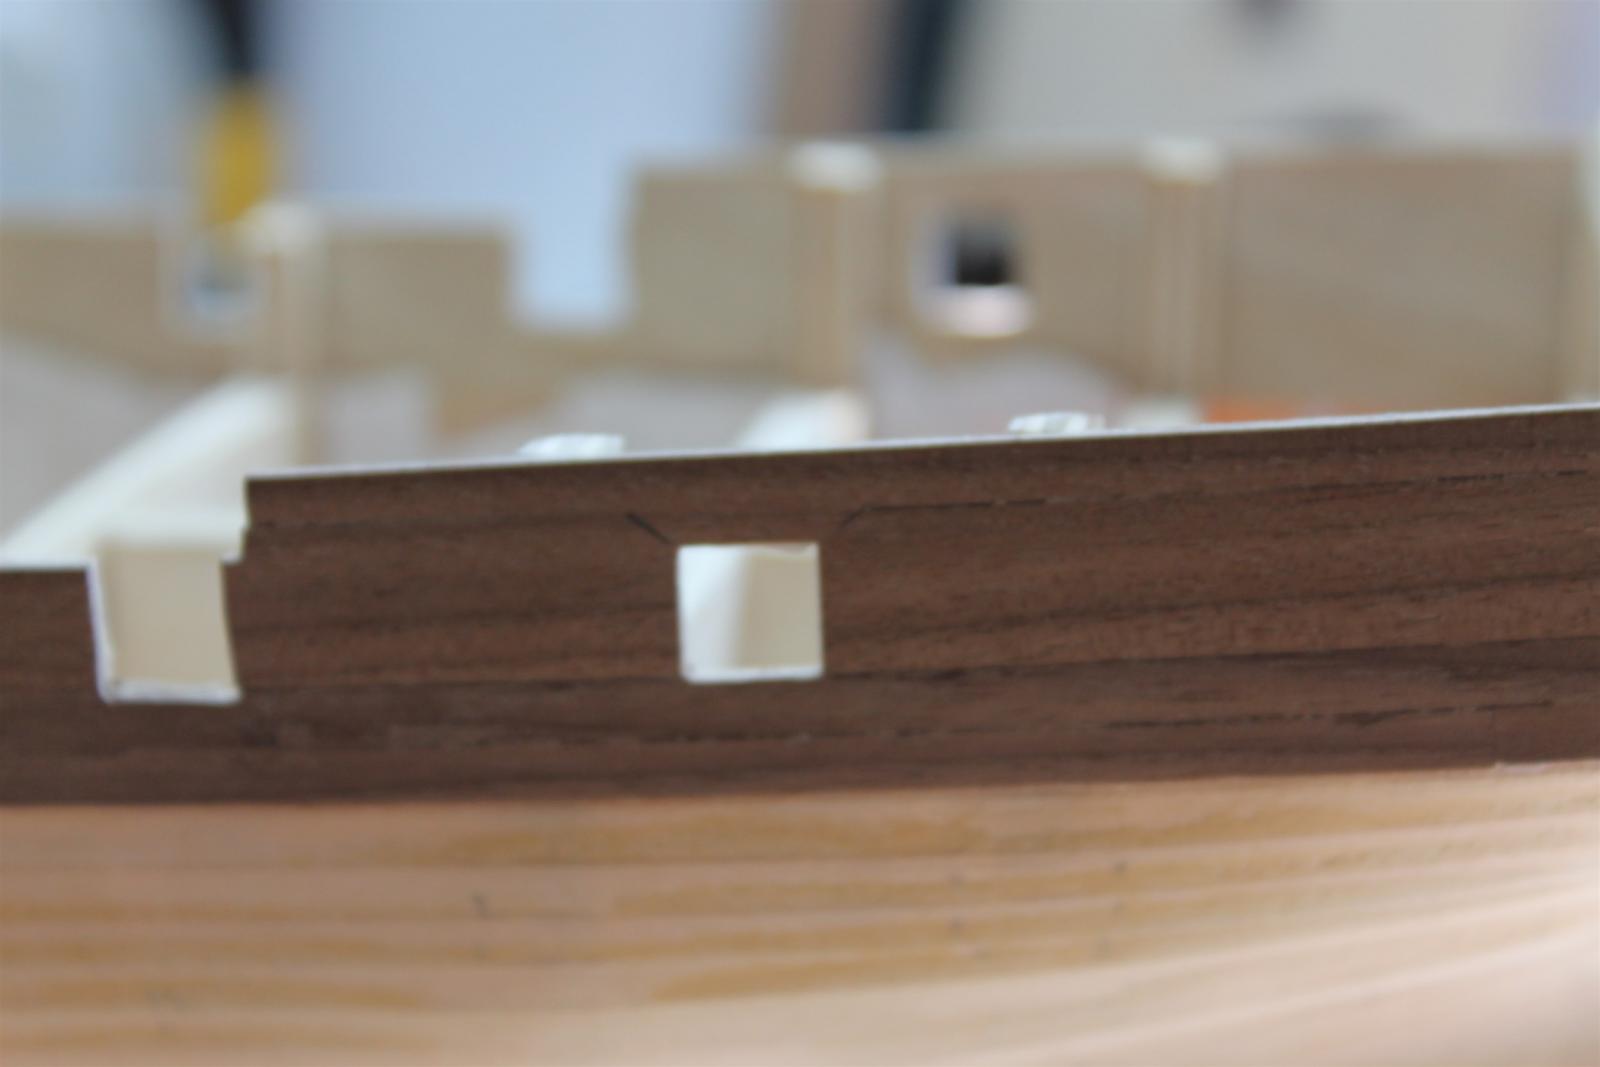
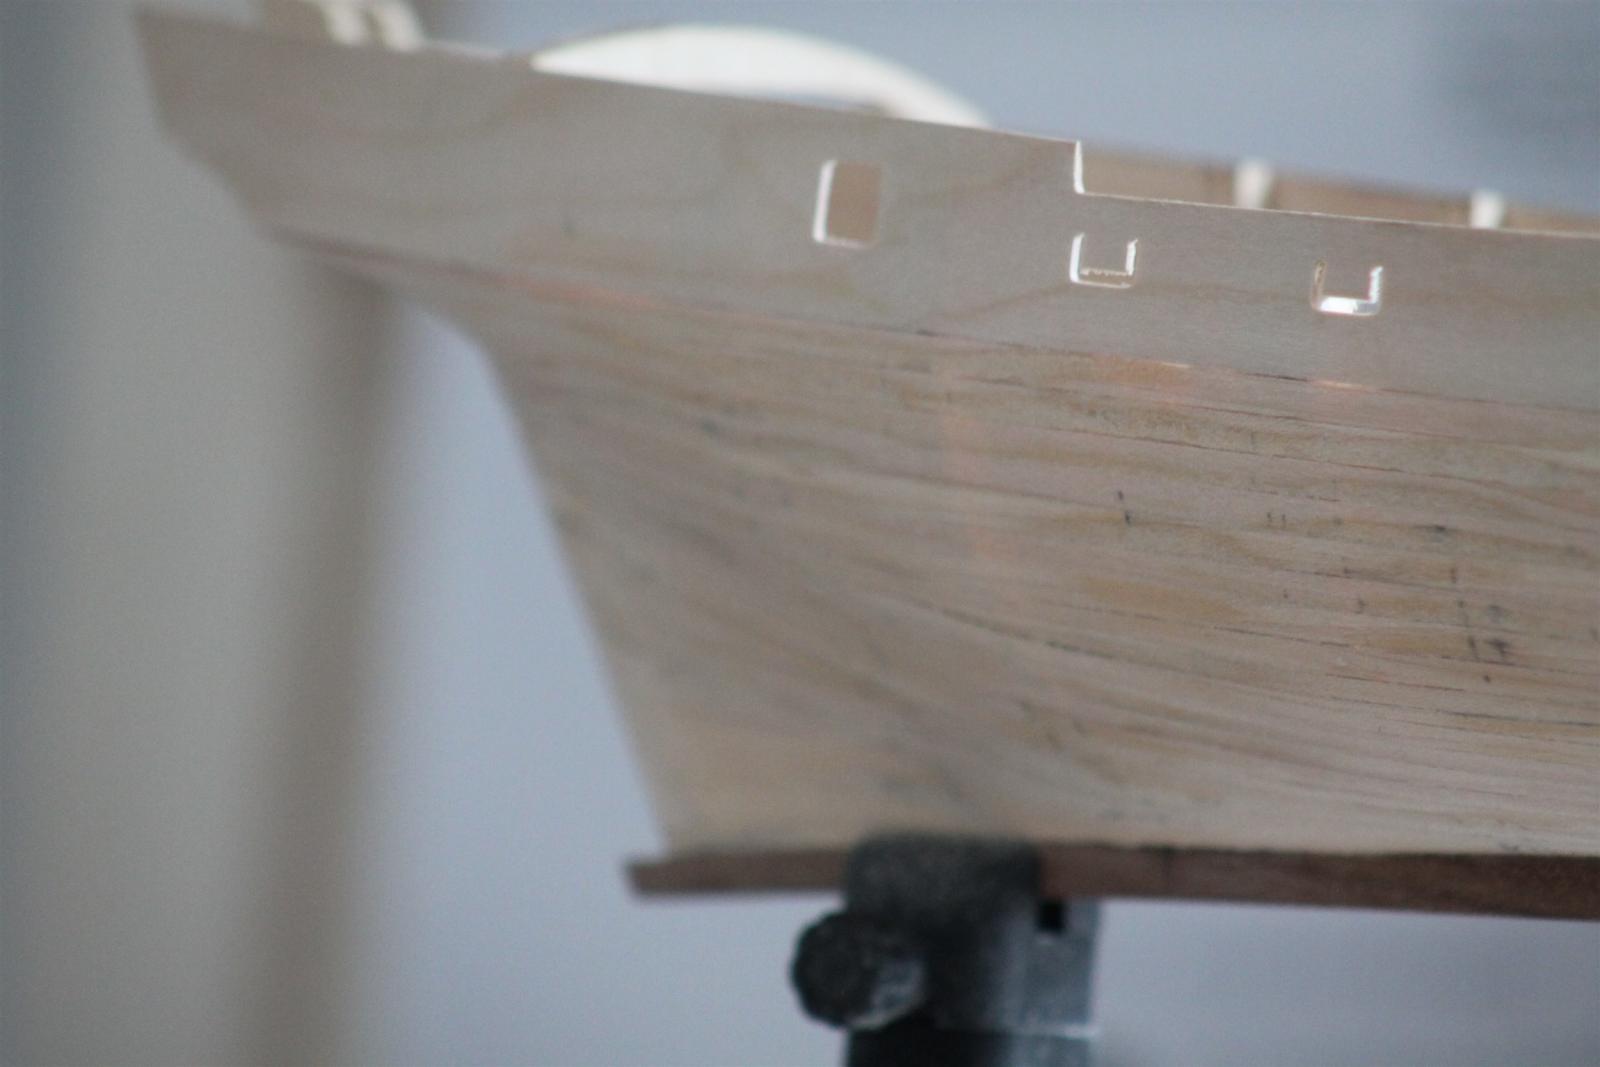
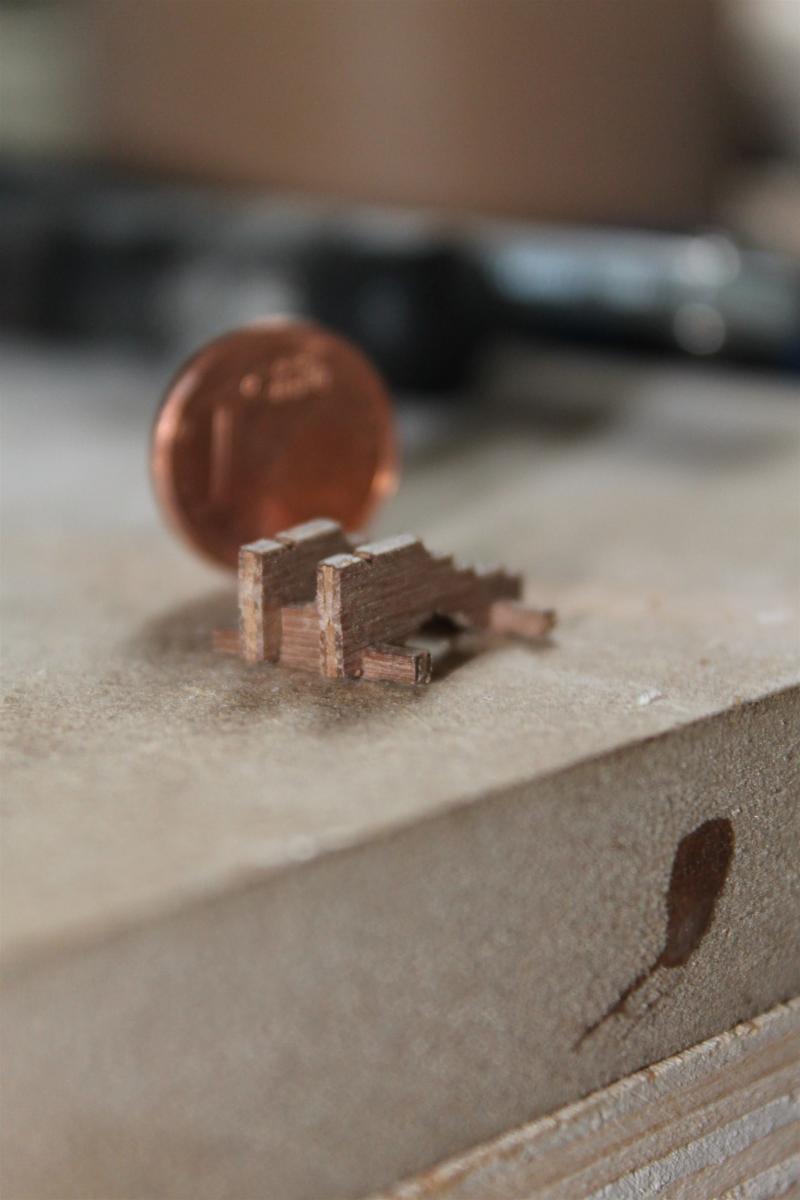
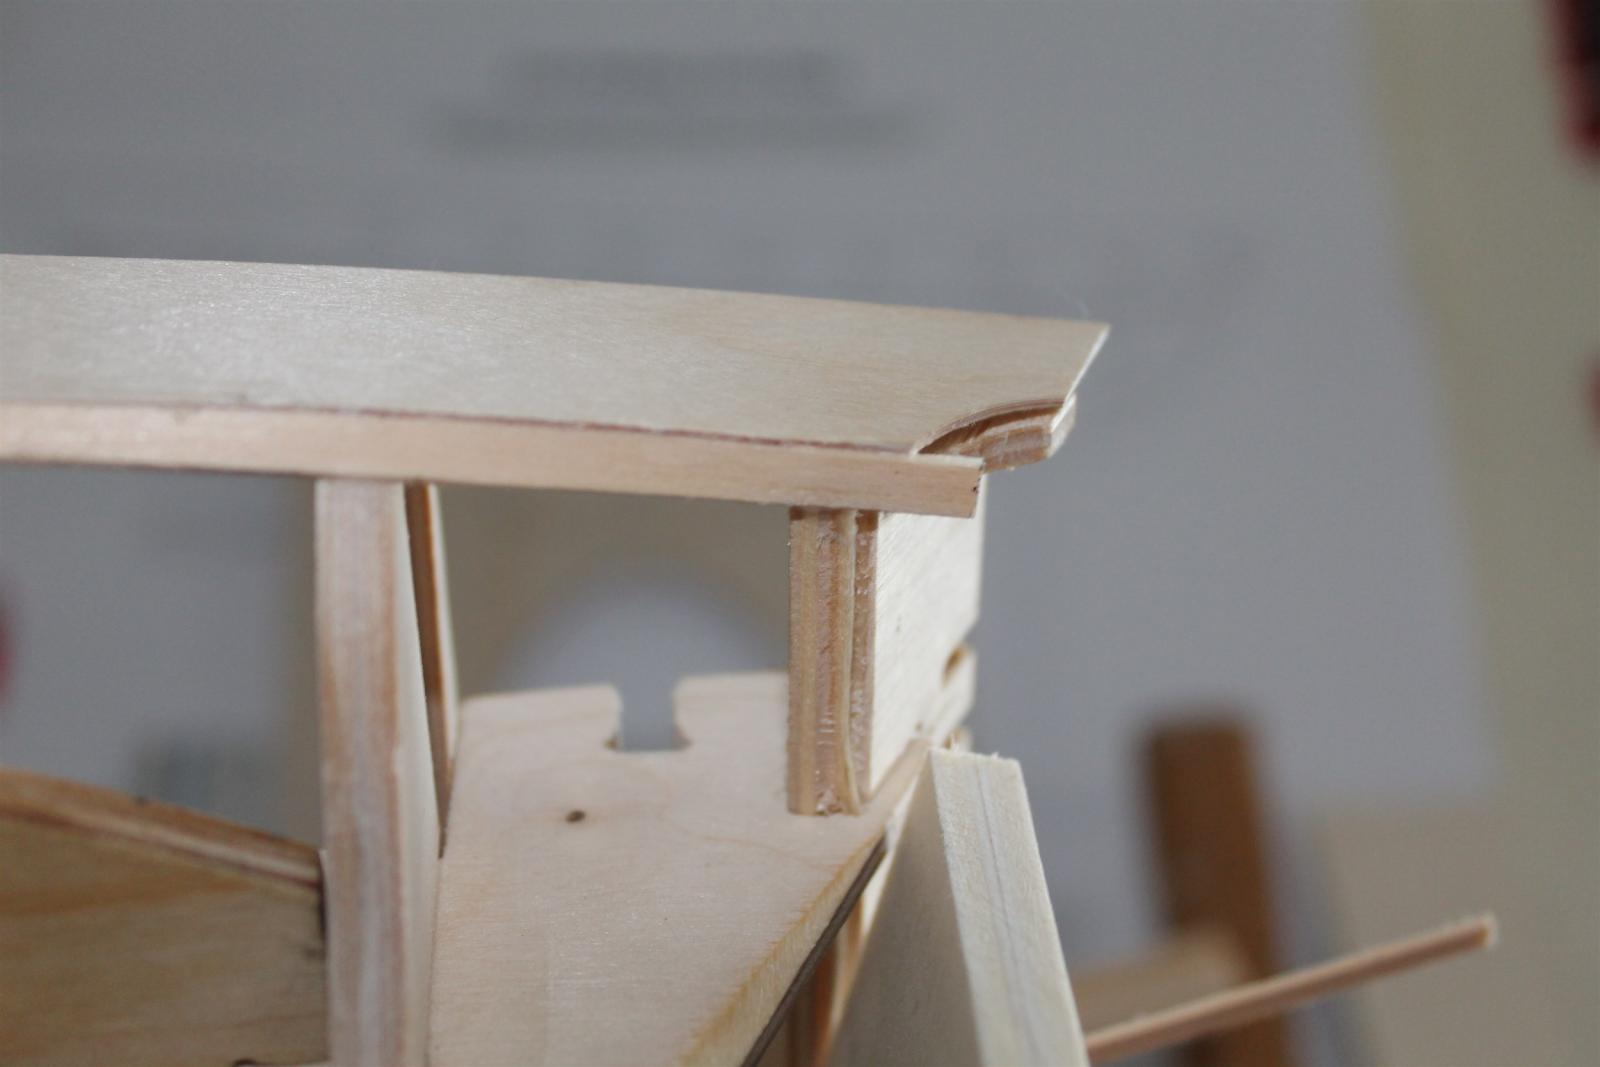
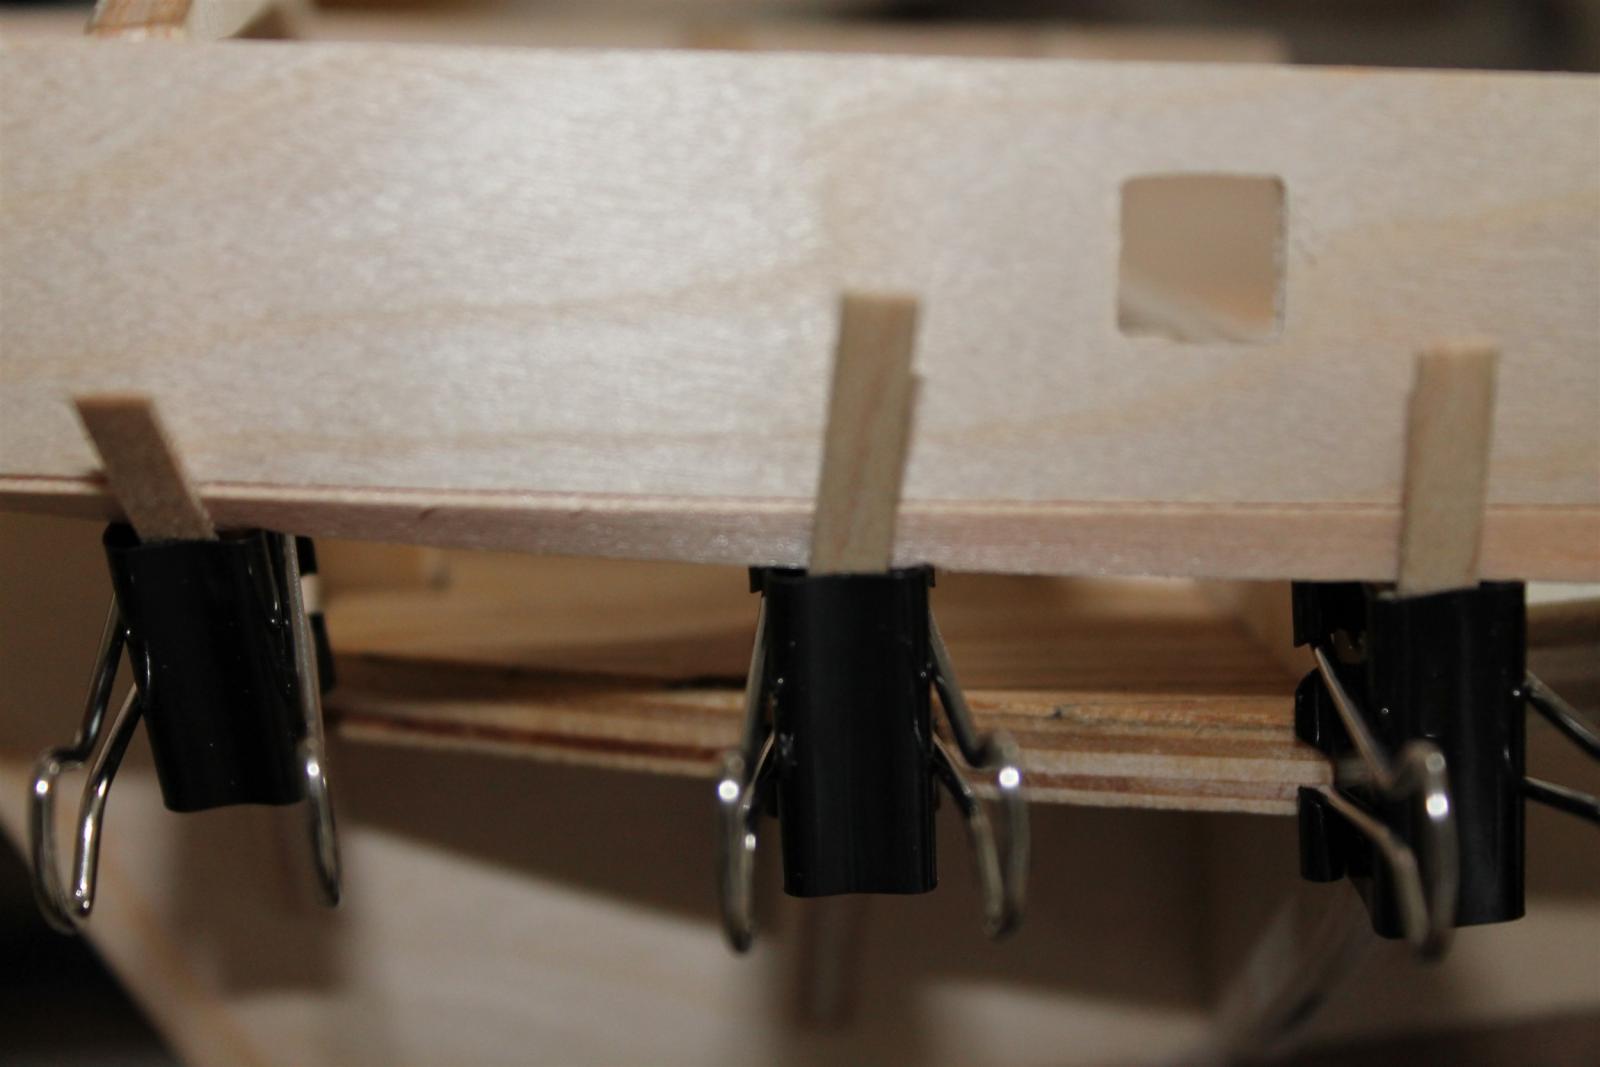
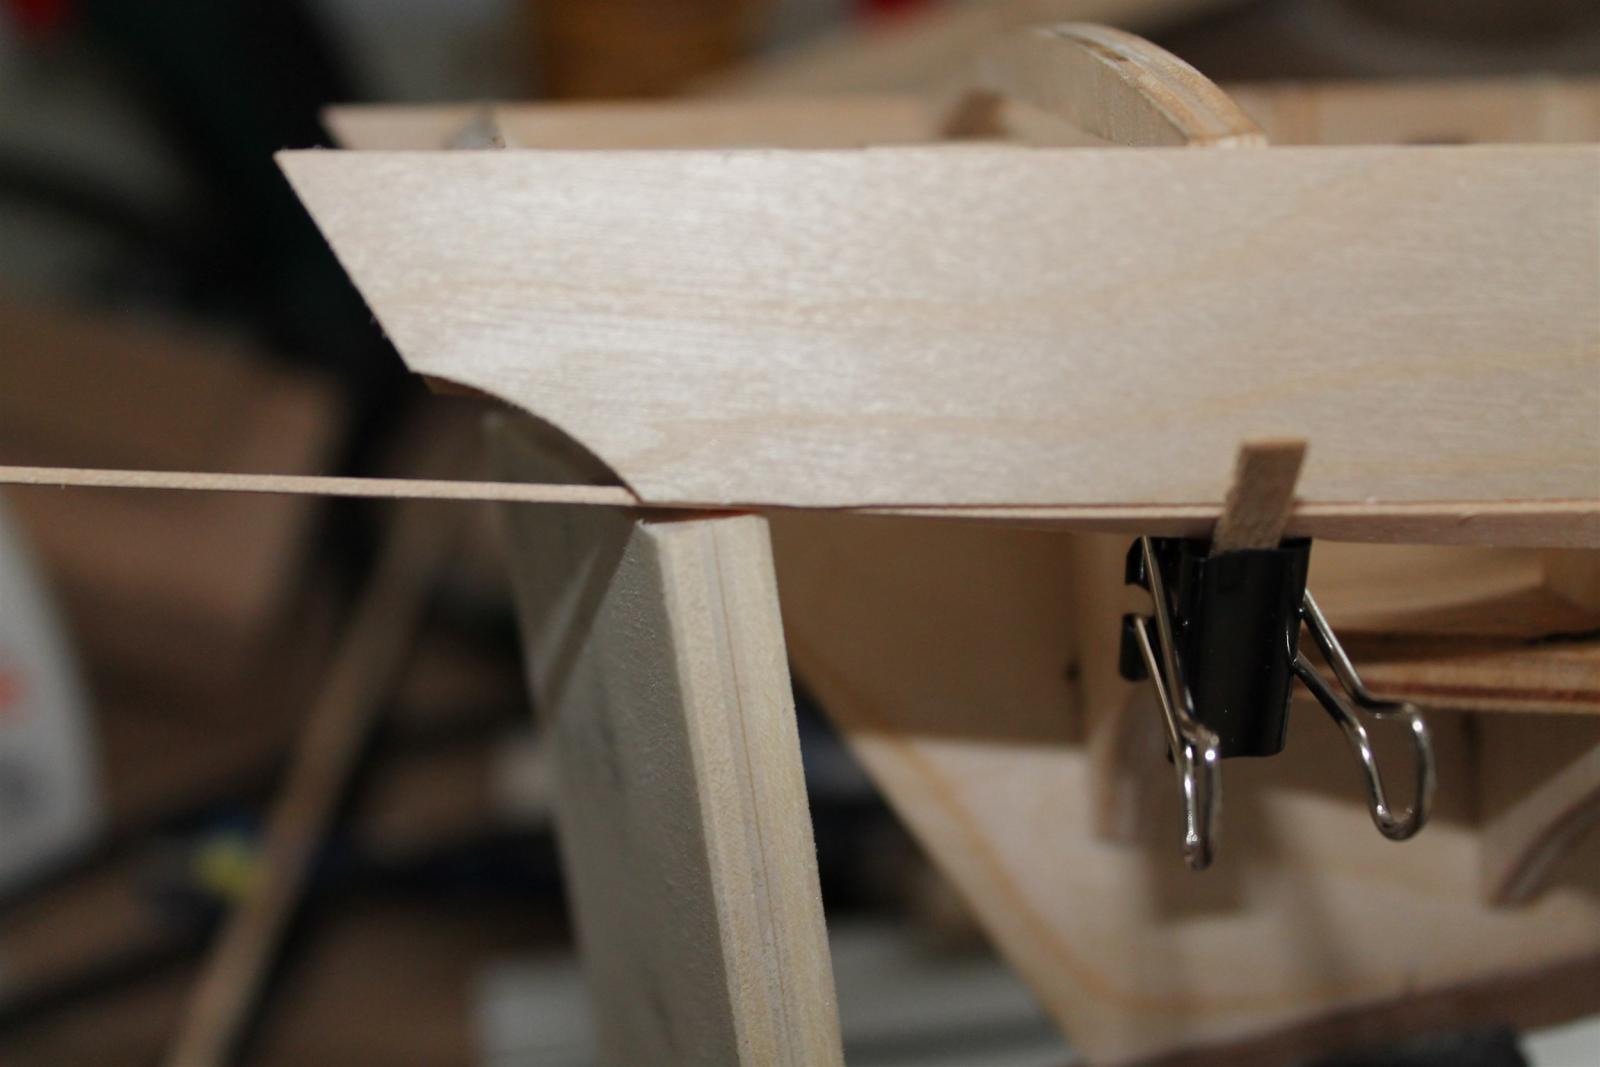
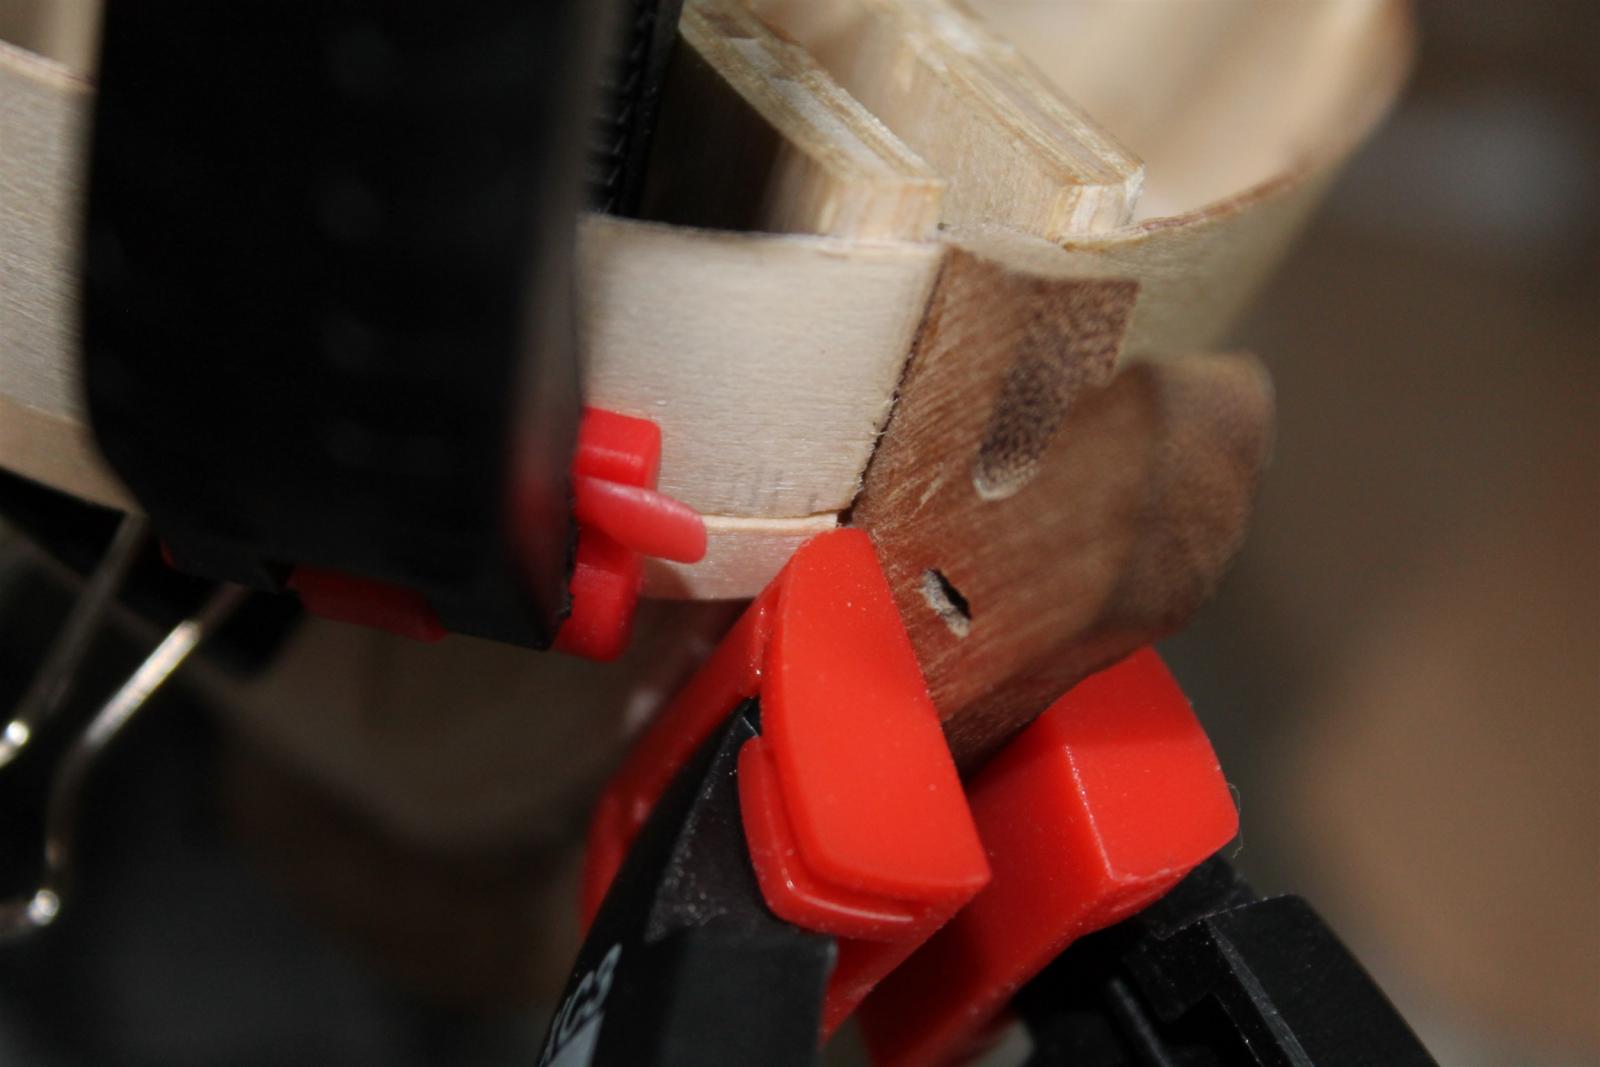
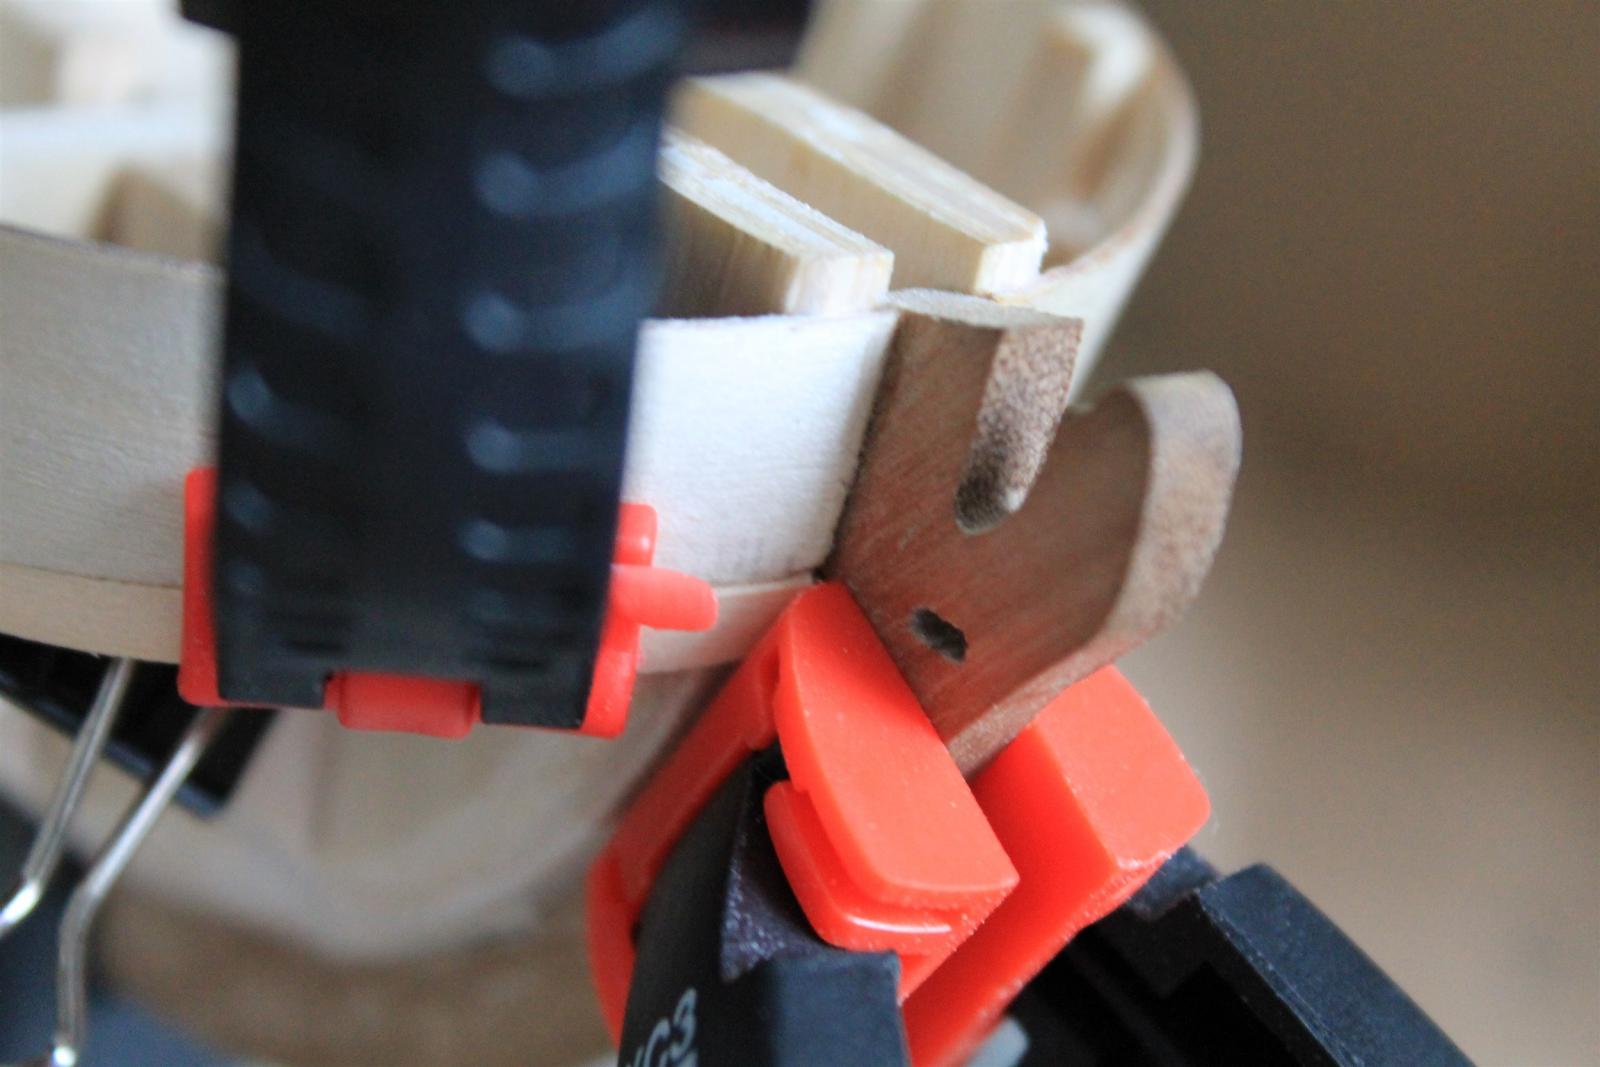
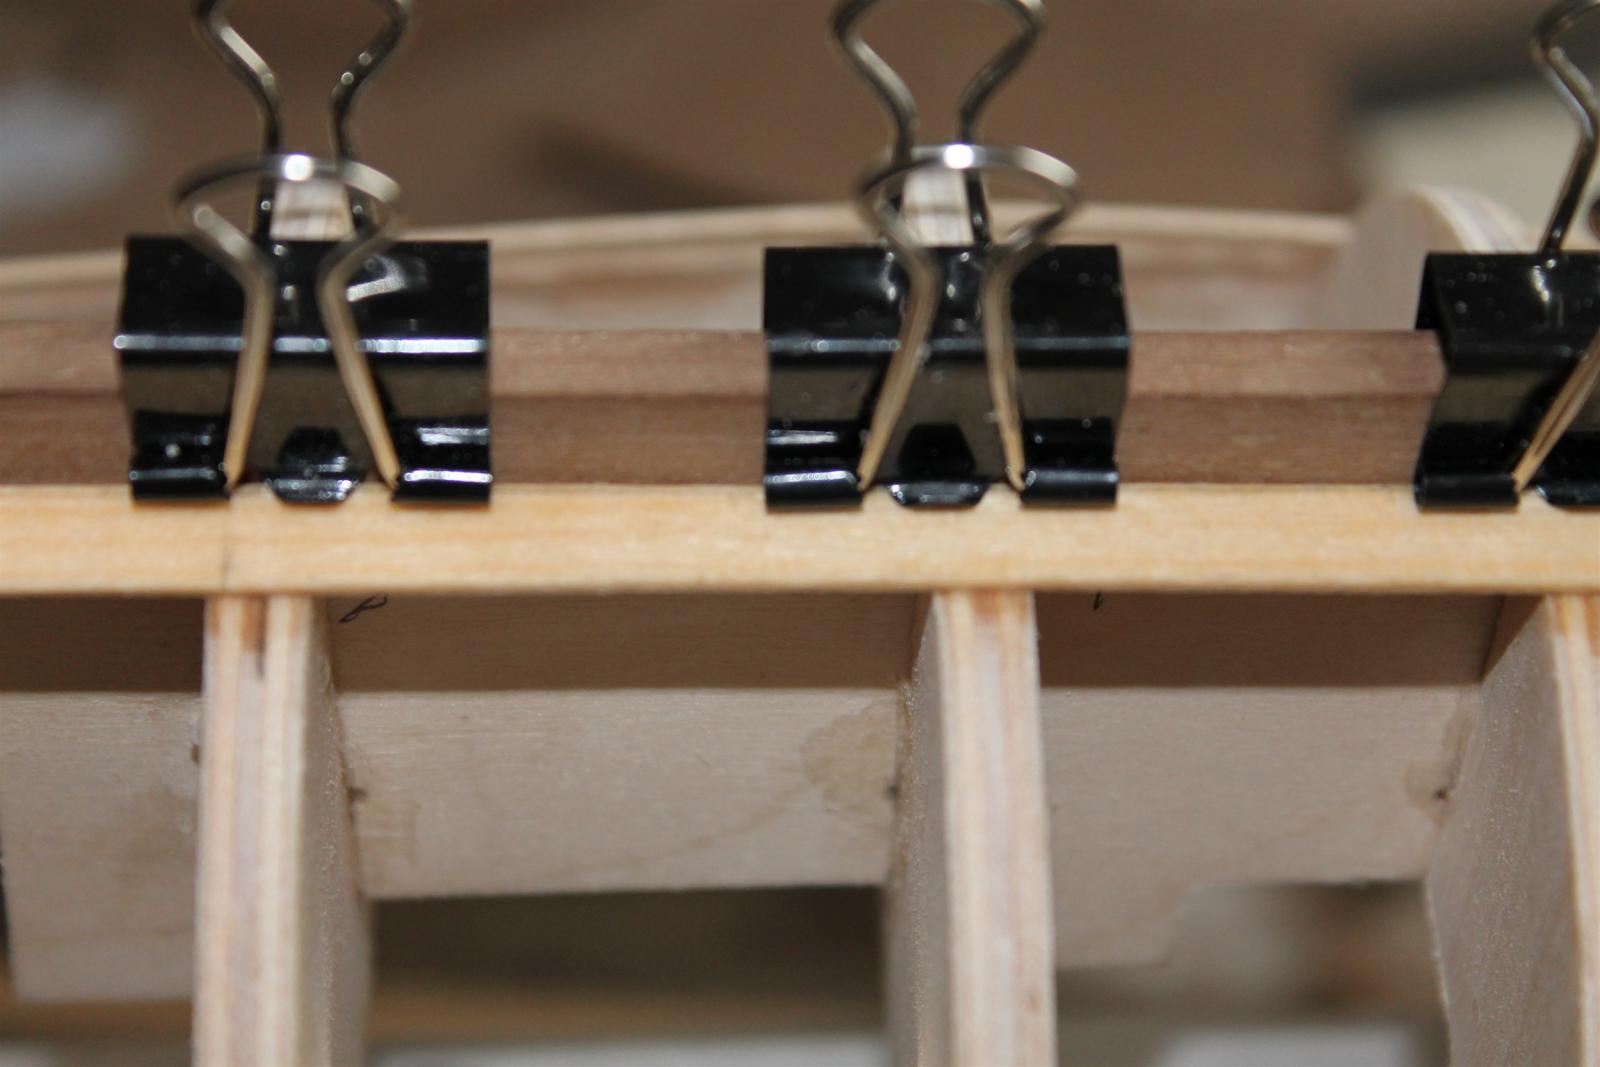
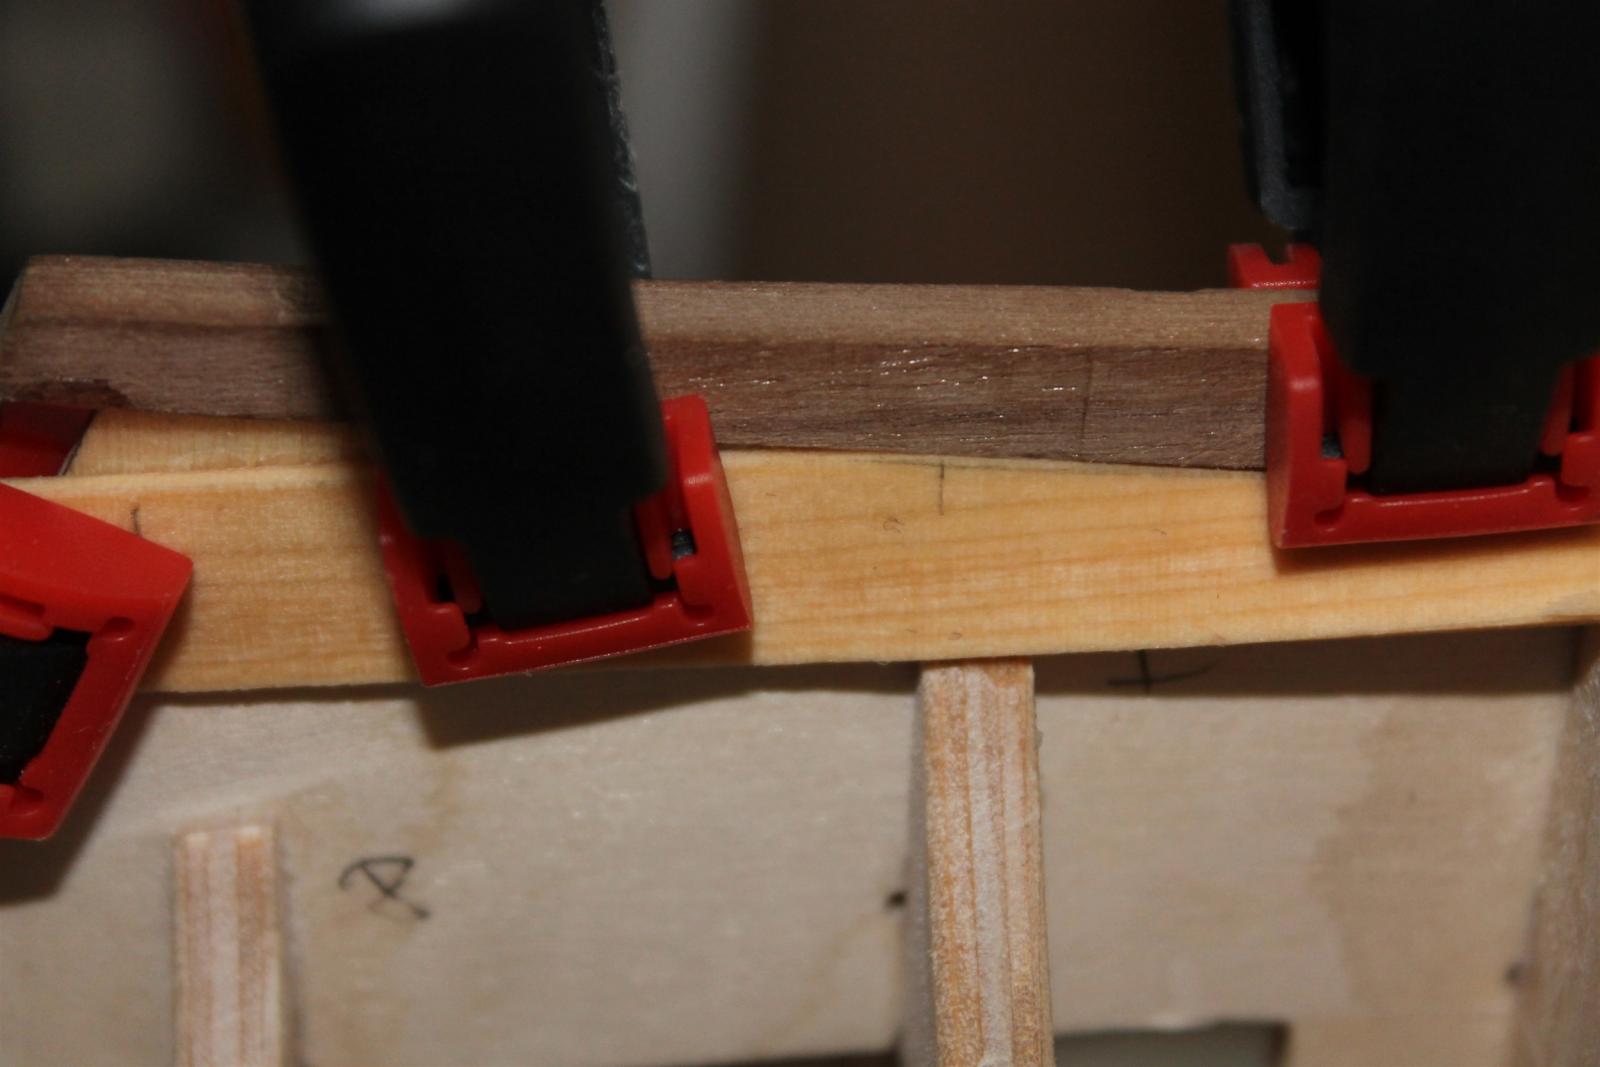
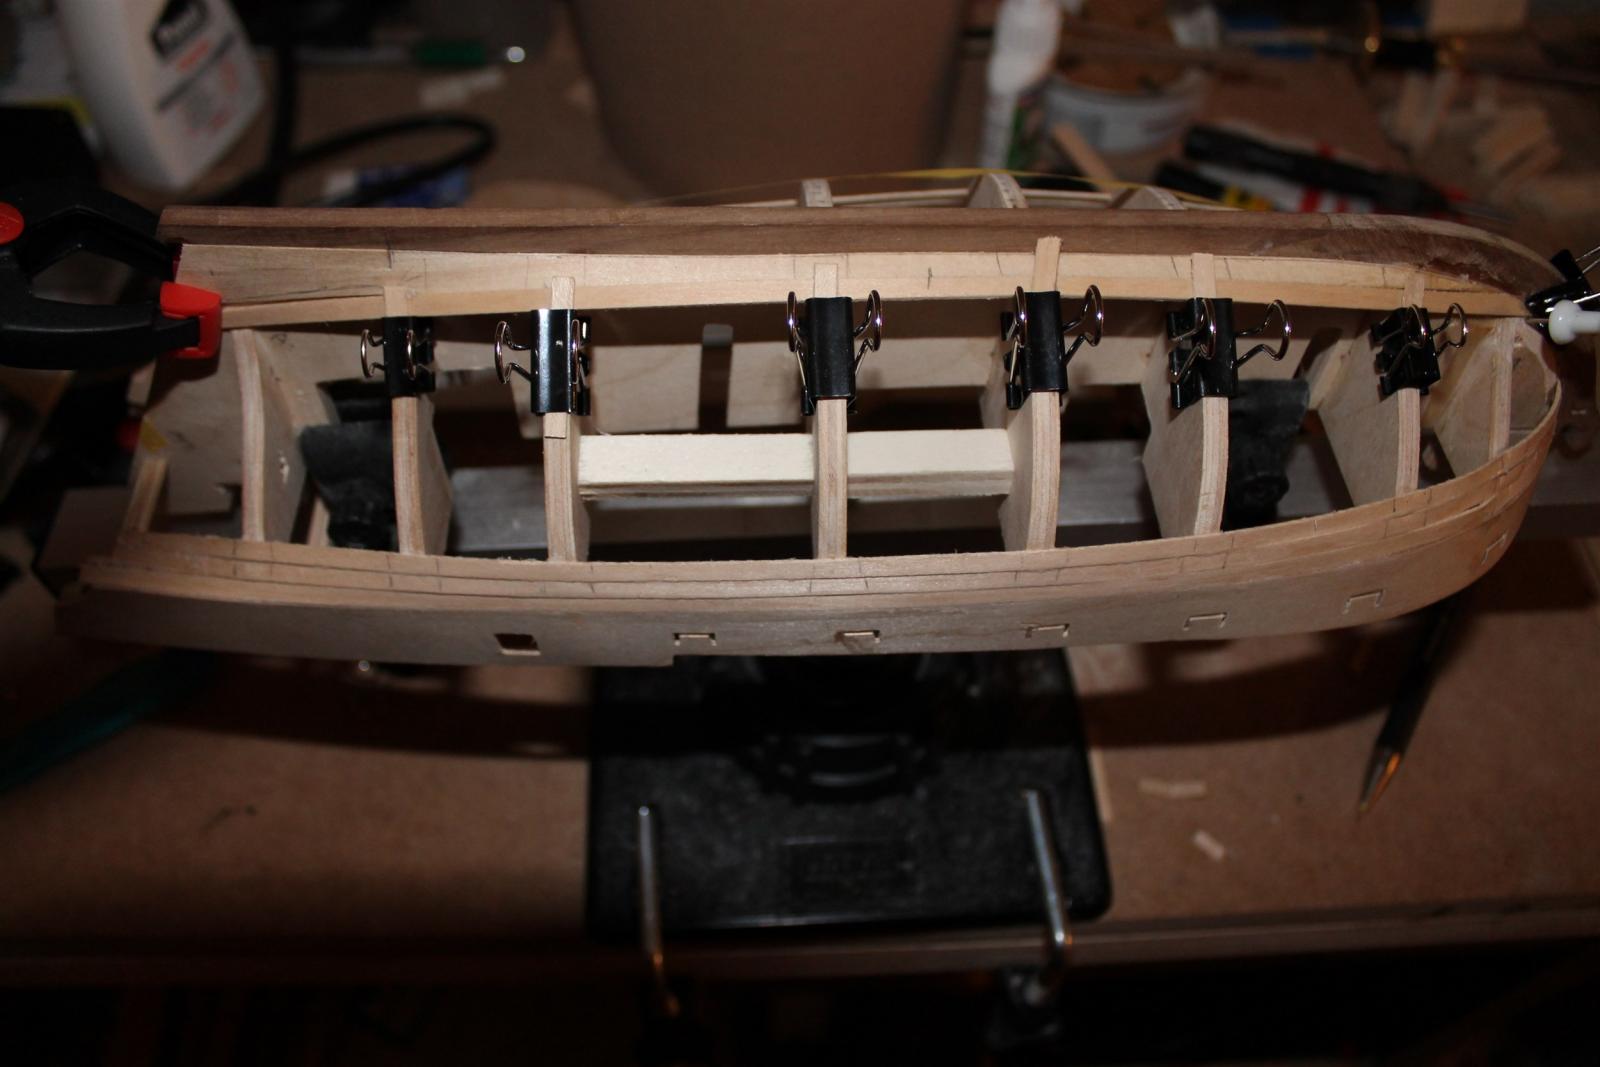
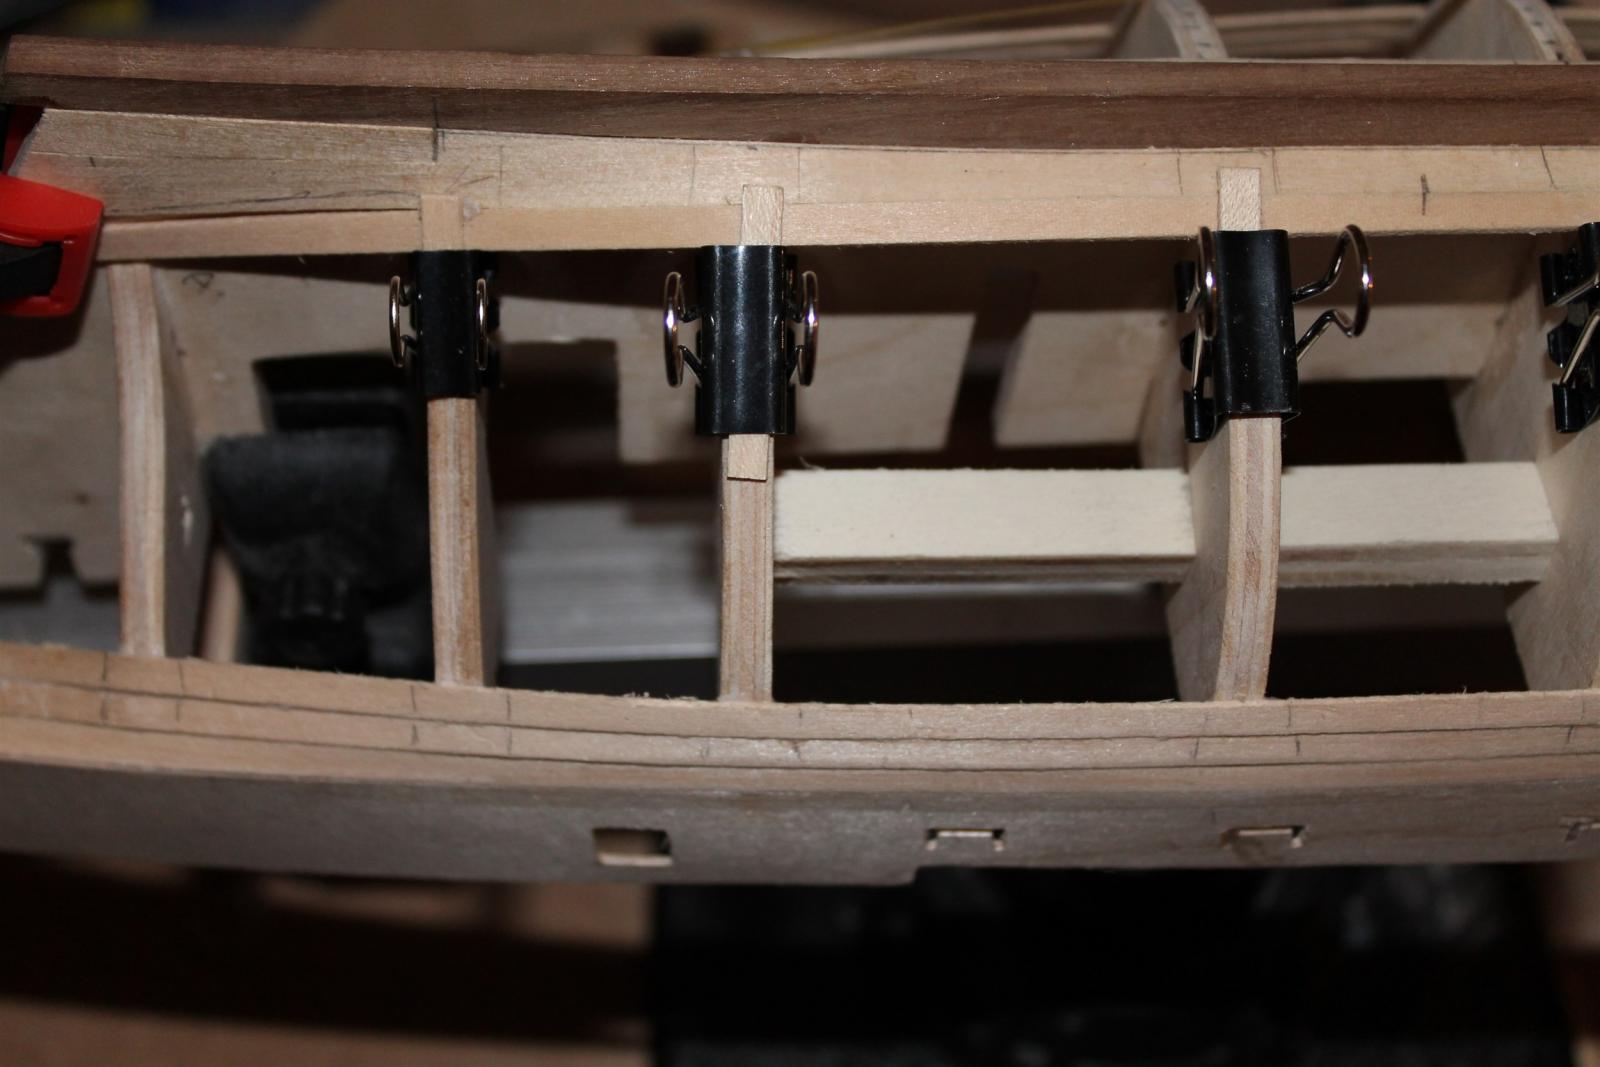
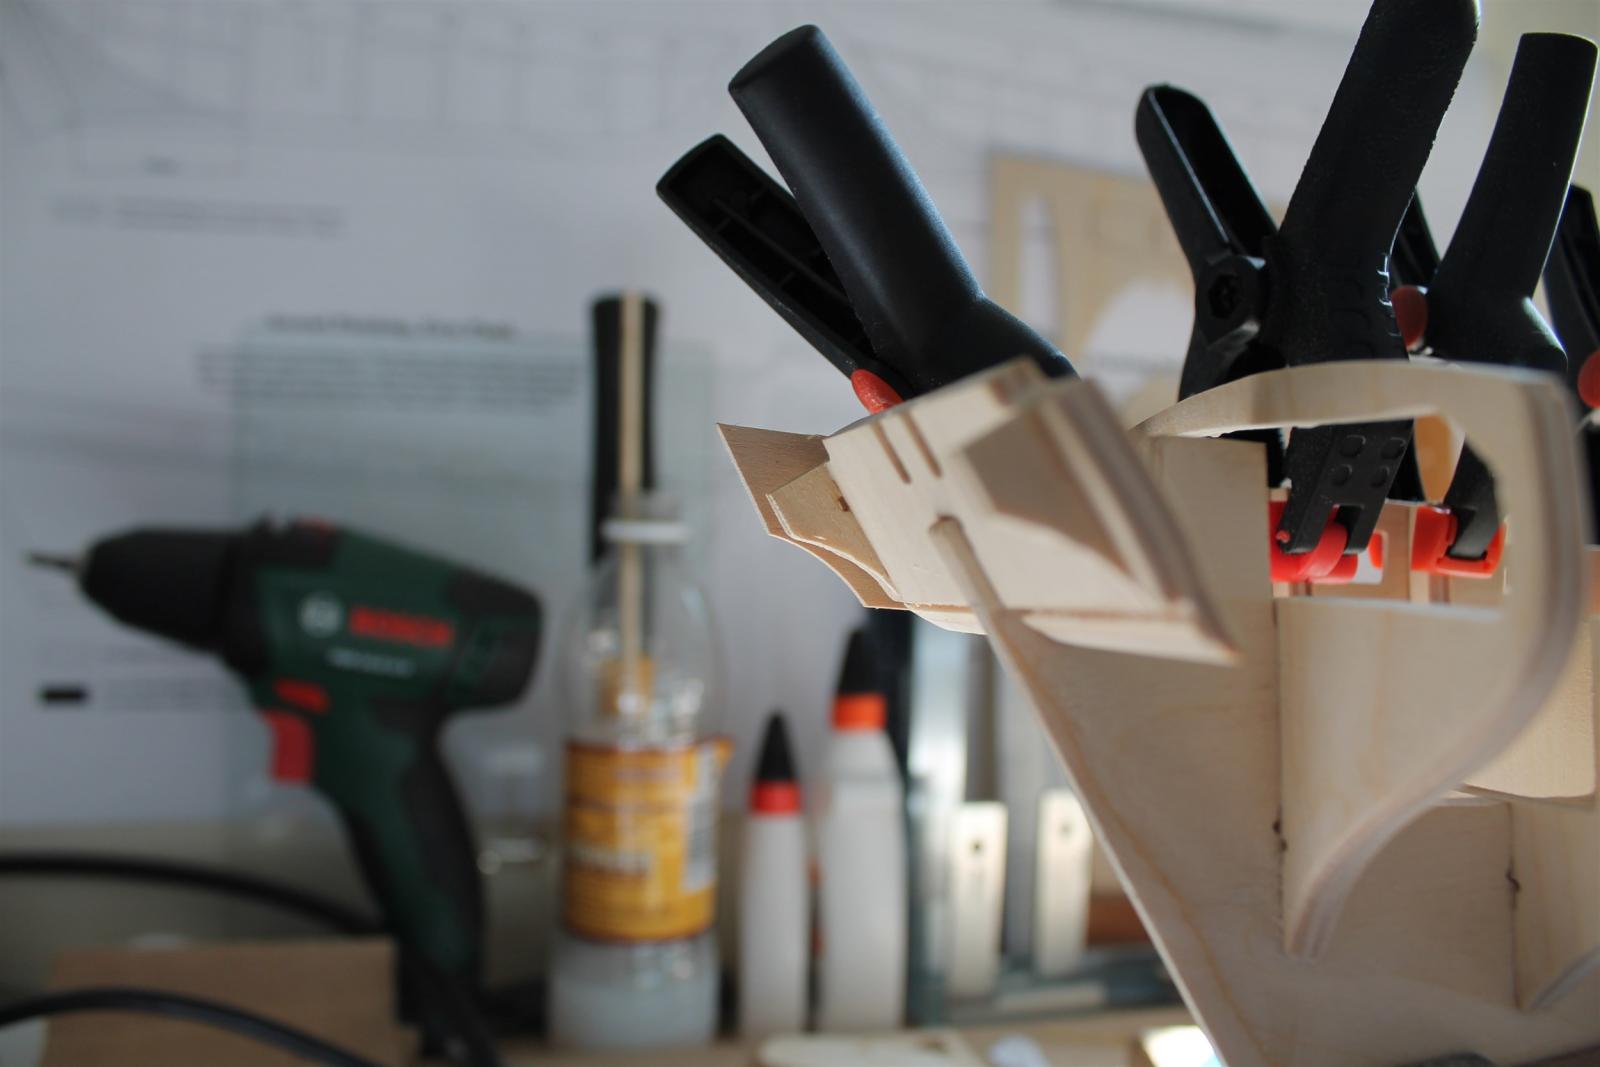
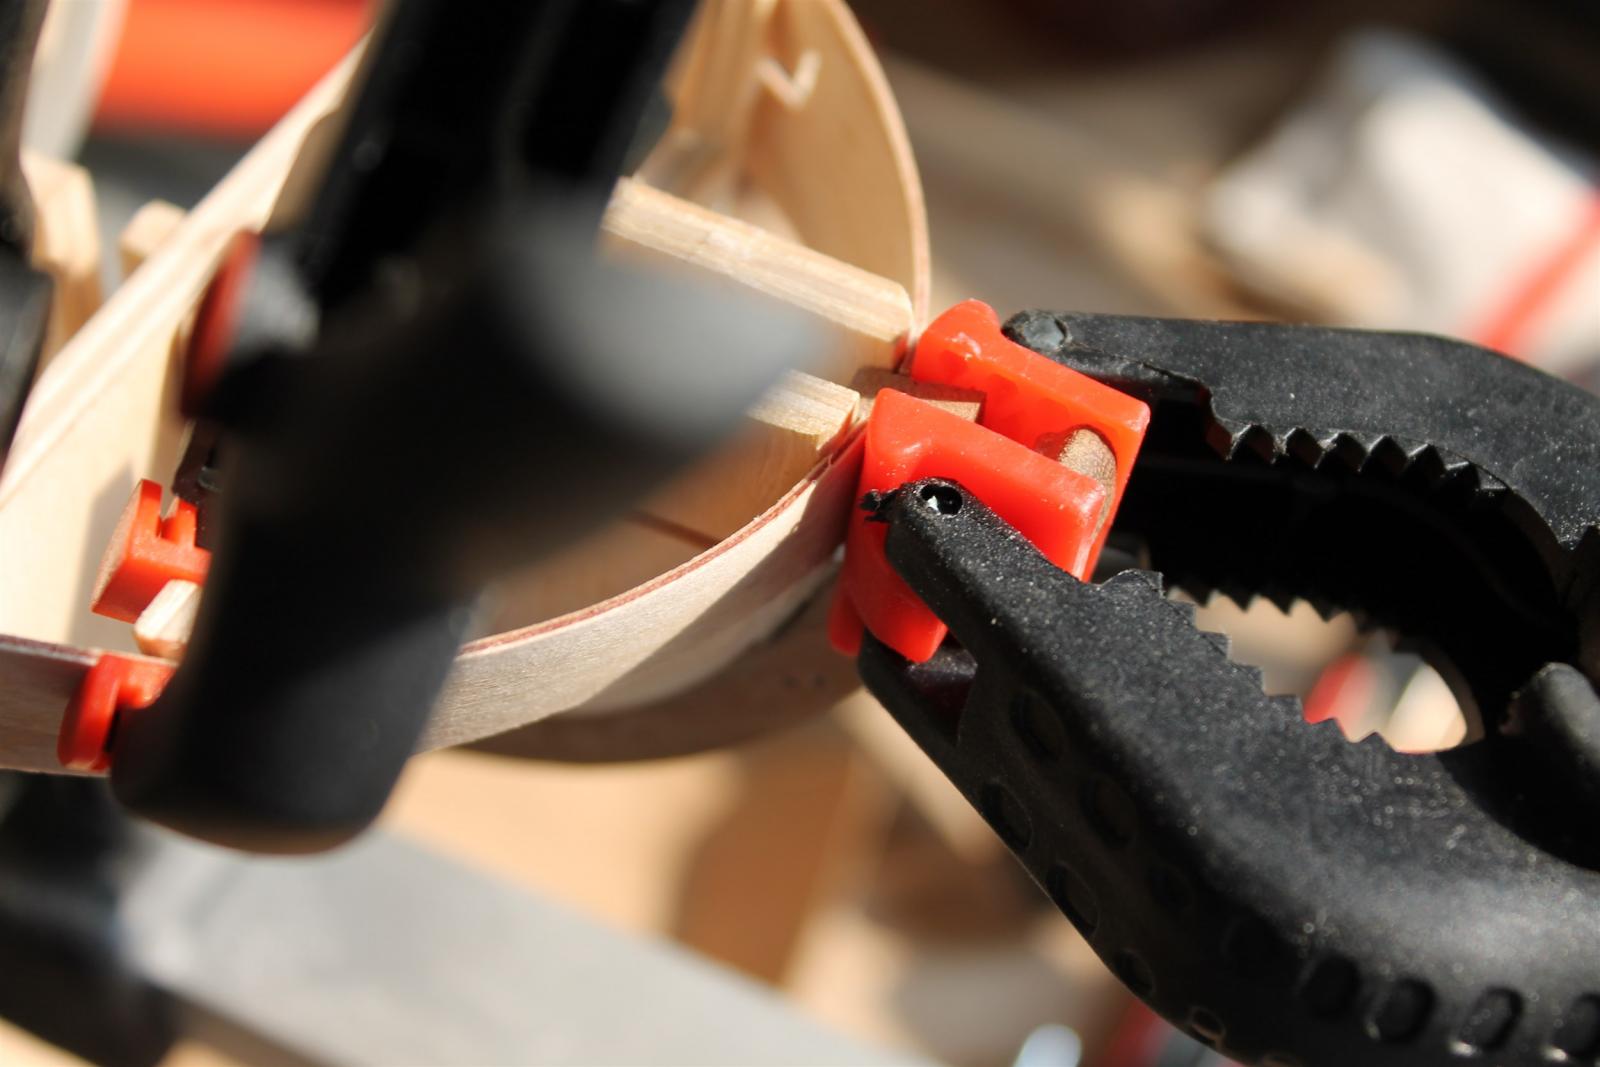
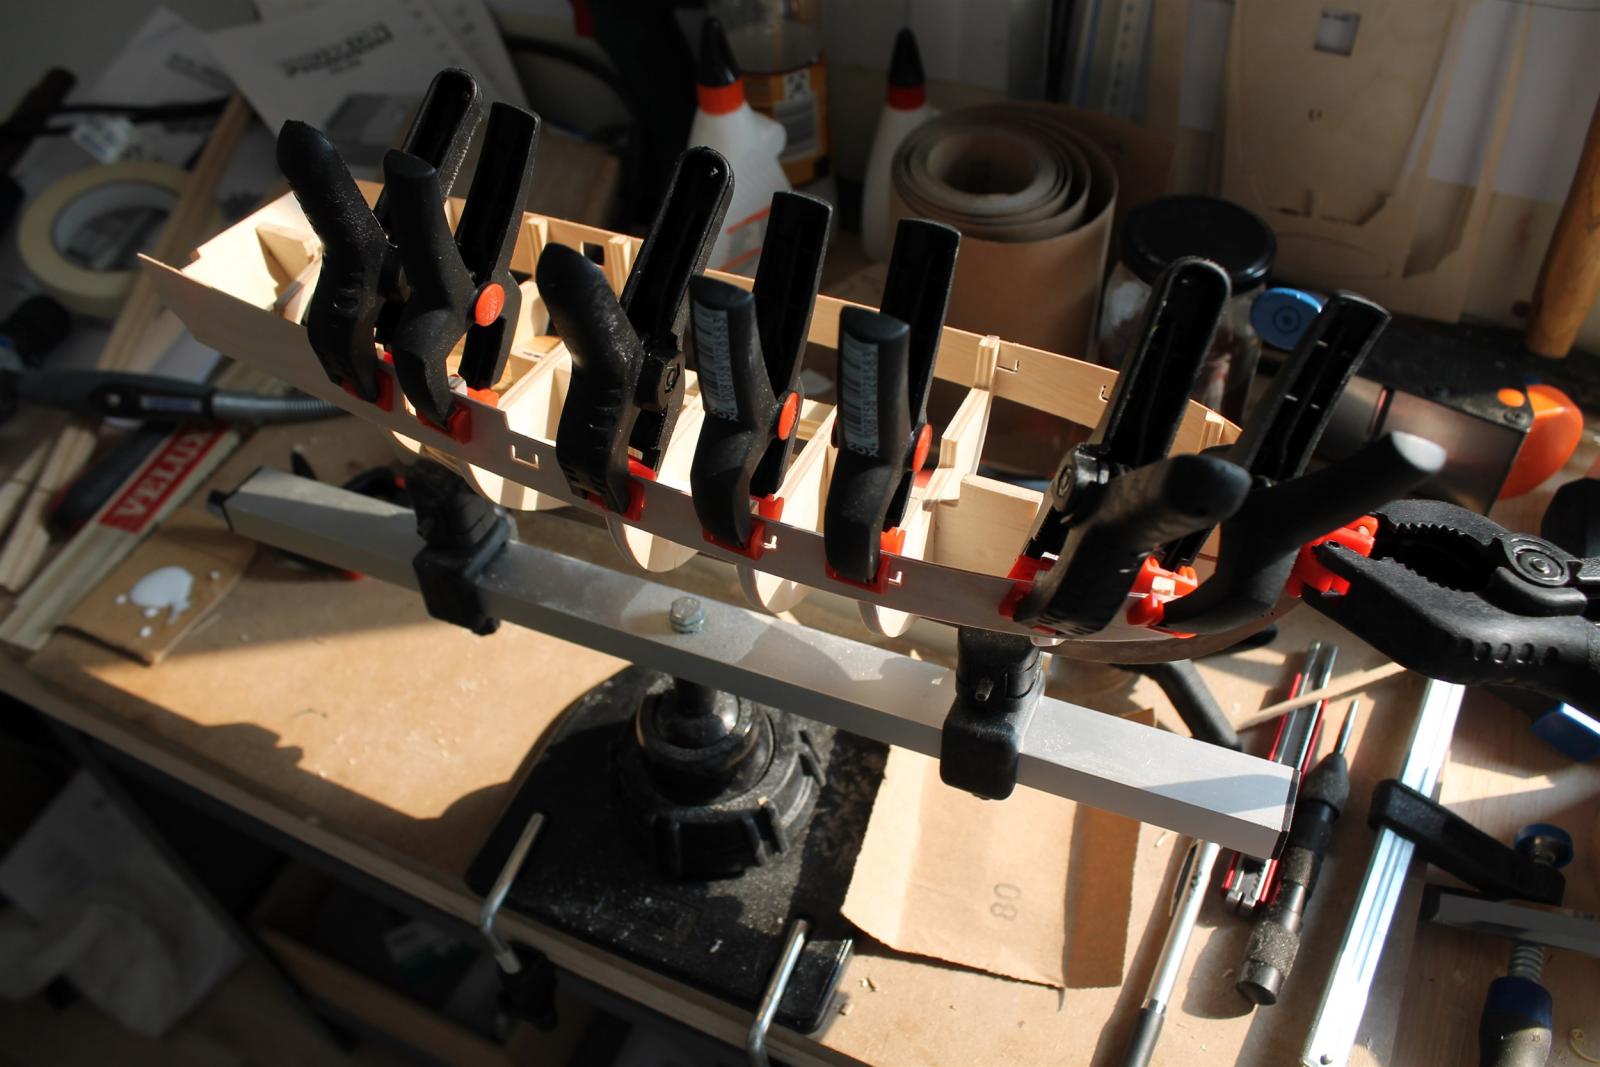
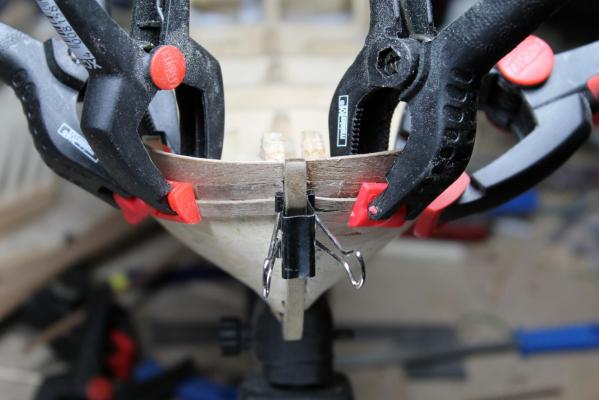
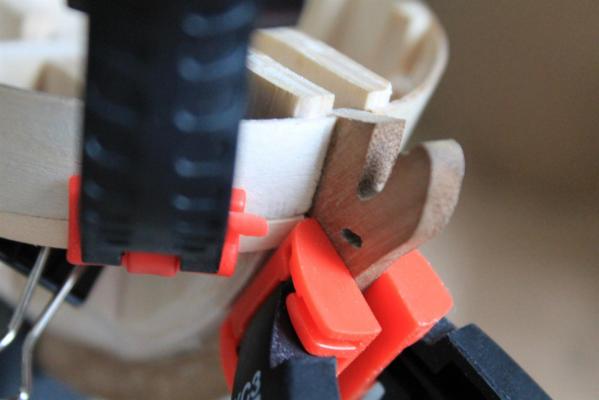
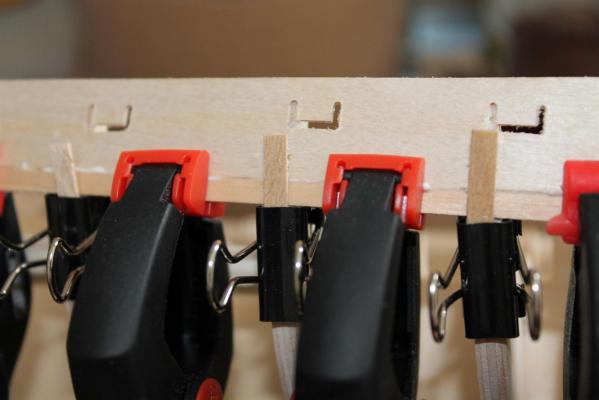
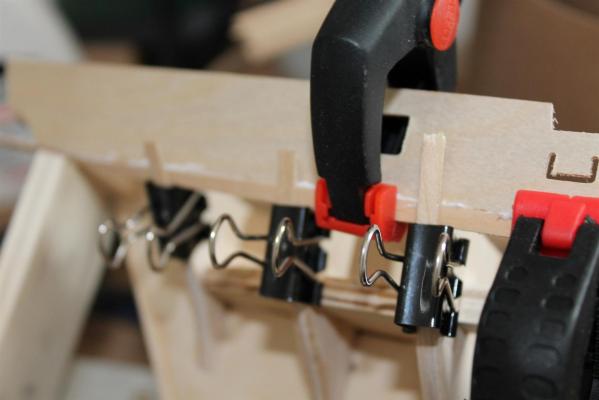
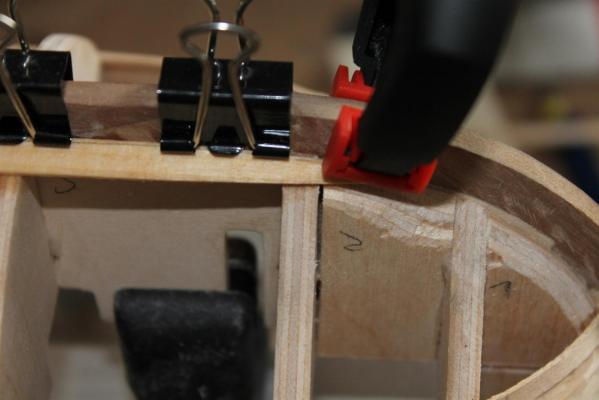
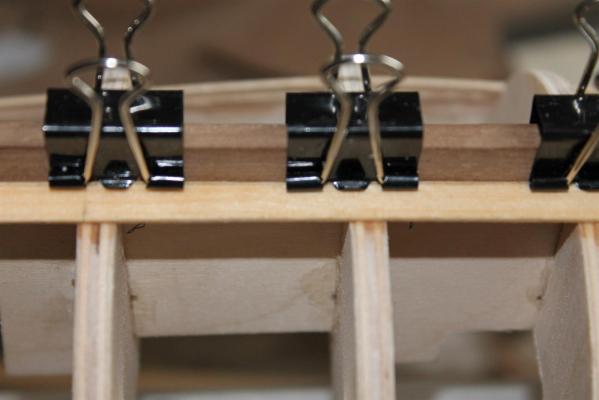
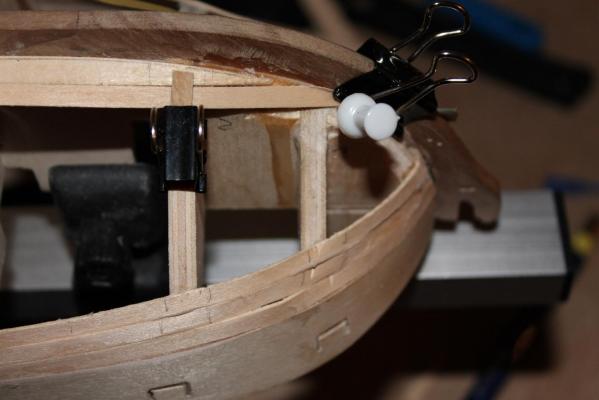
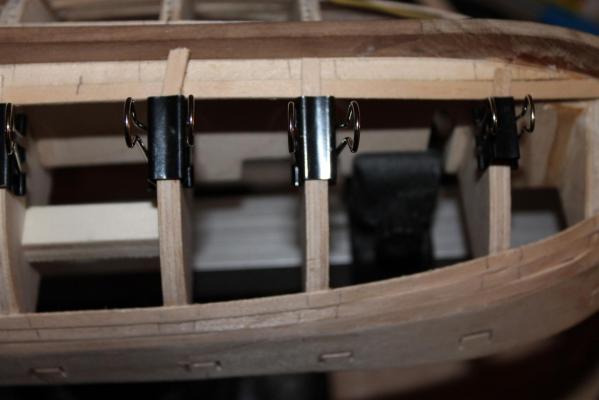
Hi Mike, probably both types, the push pins and the planking screws, have their advantages. With the push pins you need less unplanked space to work with. Best result with both is done, drilling the holes you need. I like the firm pressure you can put on the plank. What i dislike, is the cheap quality of the screws and the clamp pieces. I plan to use the screws more often, especially around stem and stern... At the gun openings i was a little messy, when i opened them. And filing back the overlapping planks opened the gun ports a little more. While i thought about removing the planks and cutting new ones to correct the wrong measurements, i got the idea to simulate the vertical and horizontal logs, that supported the ports. So i can correct the opening and add some detail. Even if it will be not so historically correct. ;-) Also really excited about the next steps. Trying to sharpen my accuracy this turn... ;-)
-
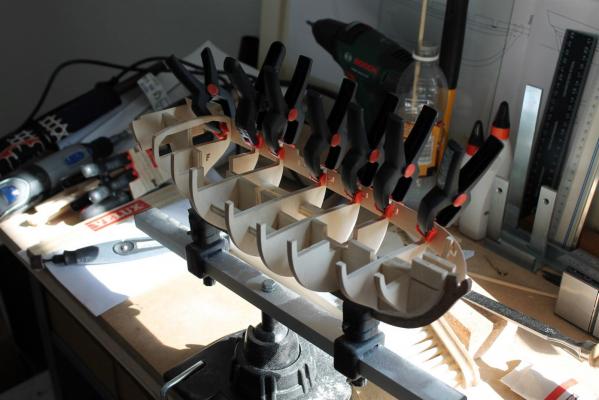
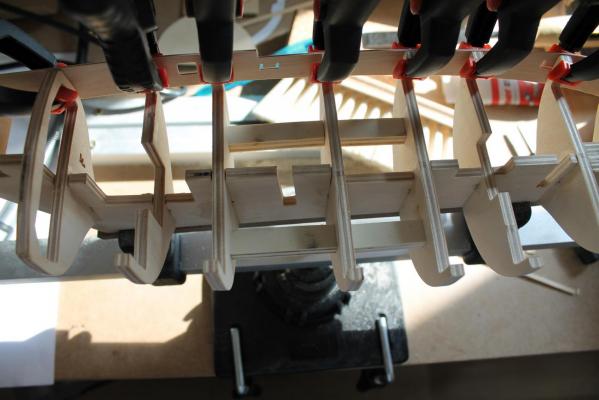
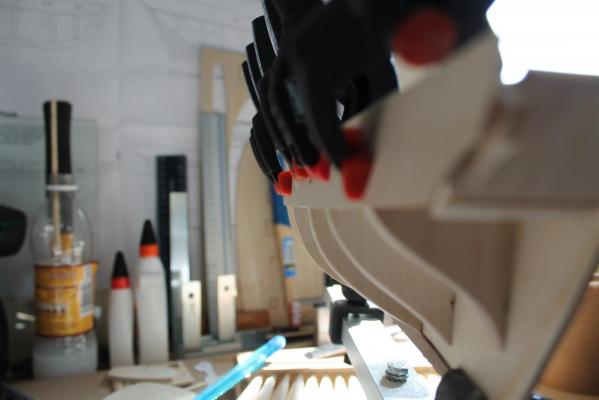
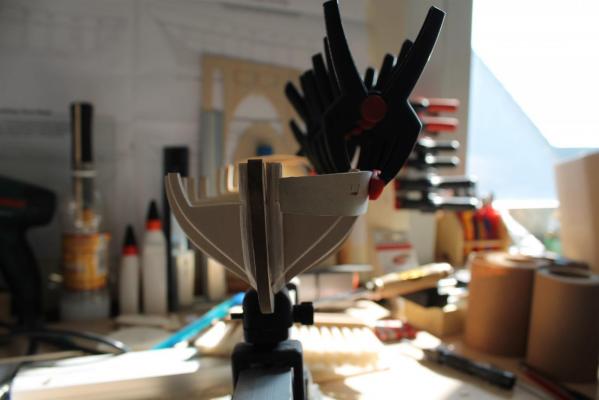
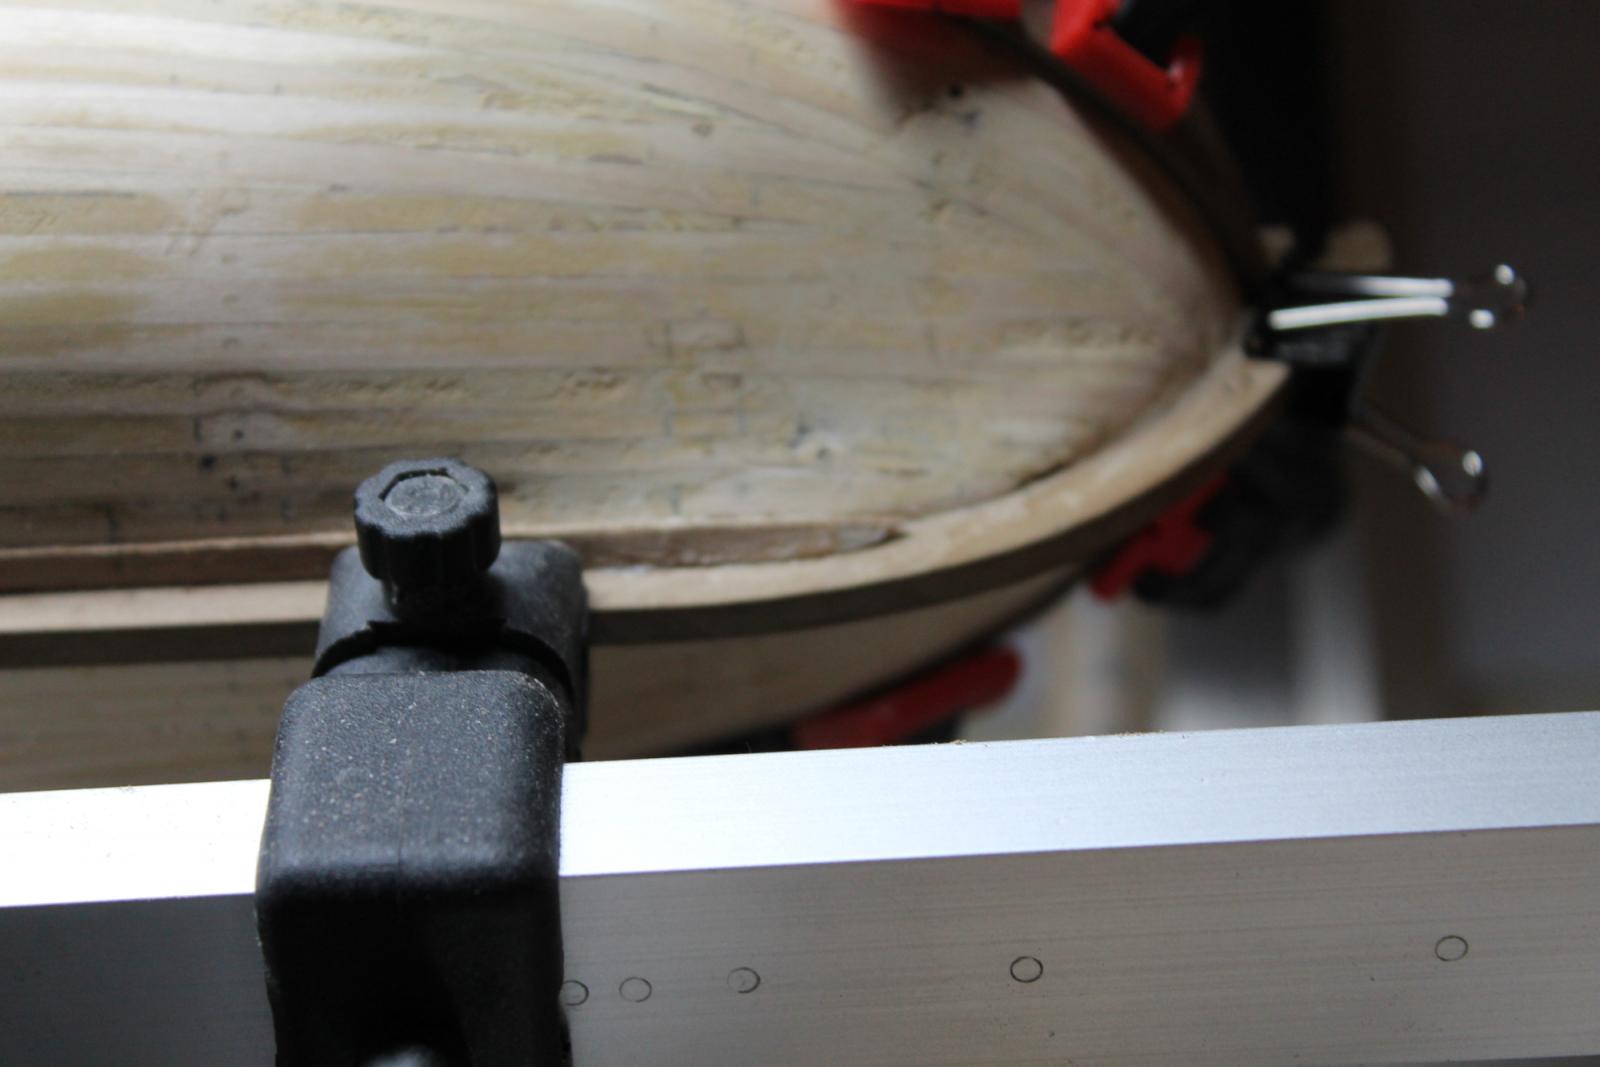
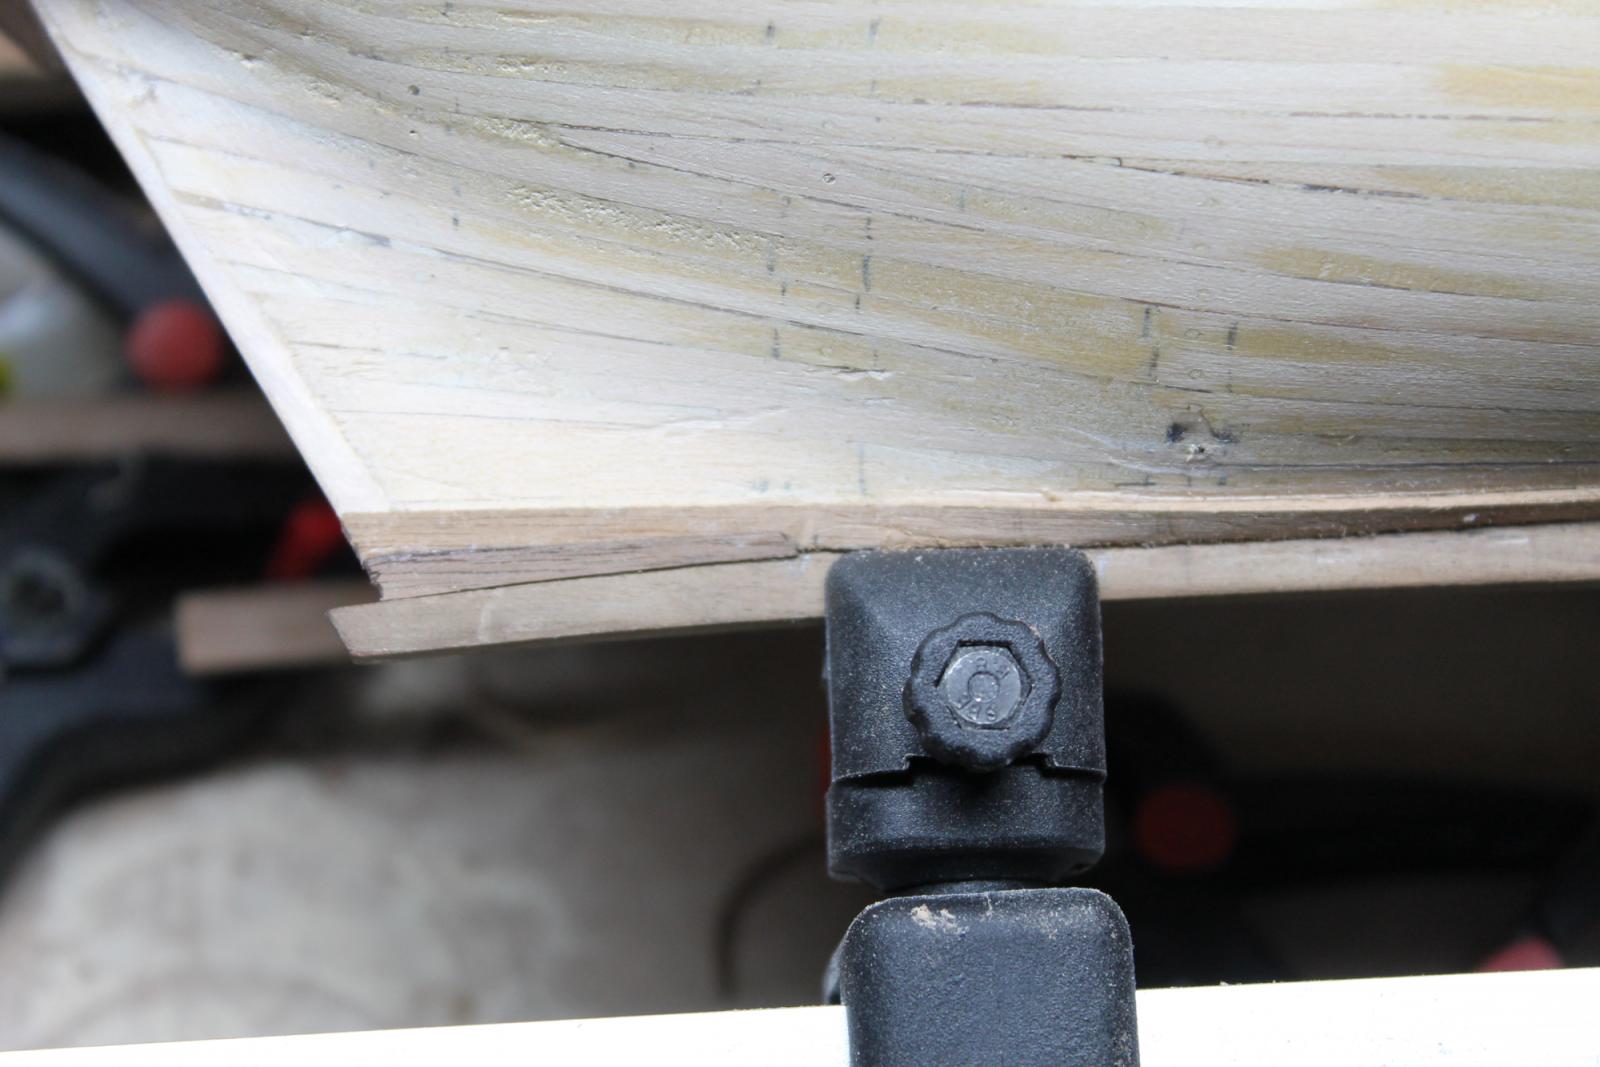
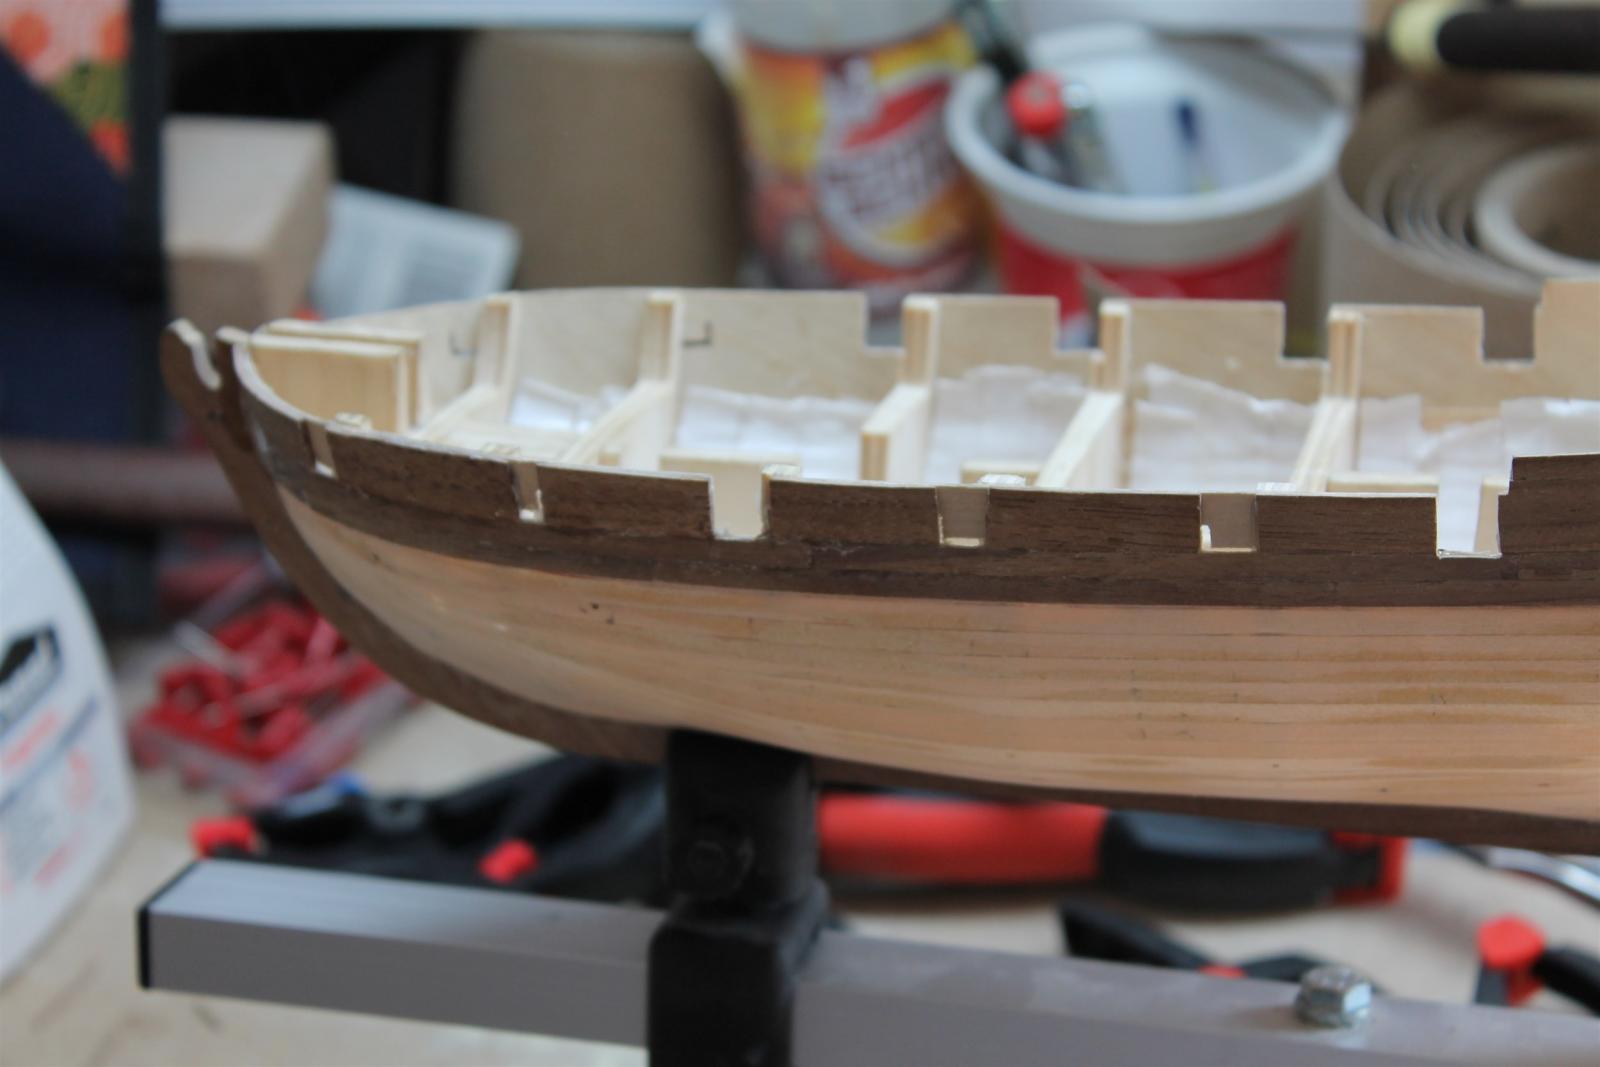
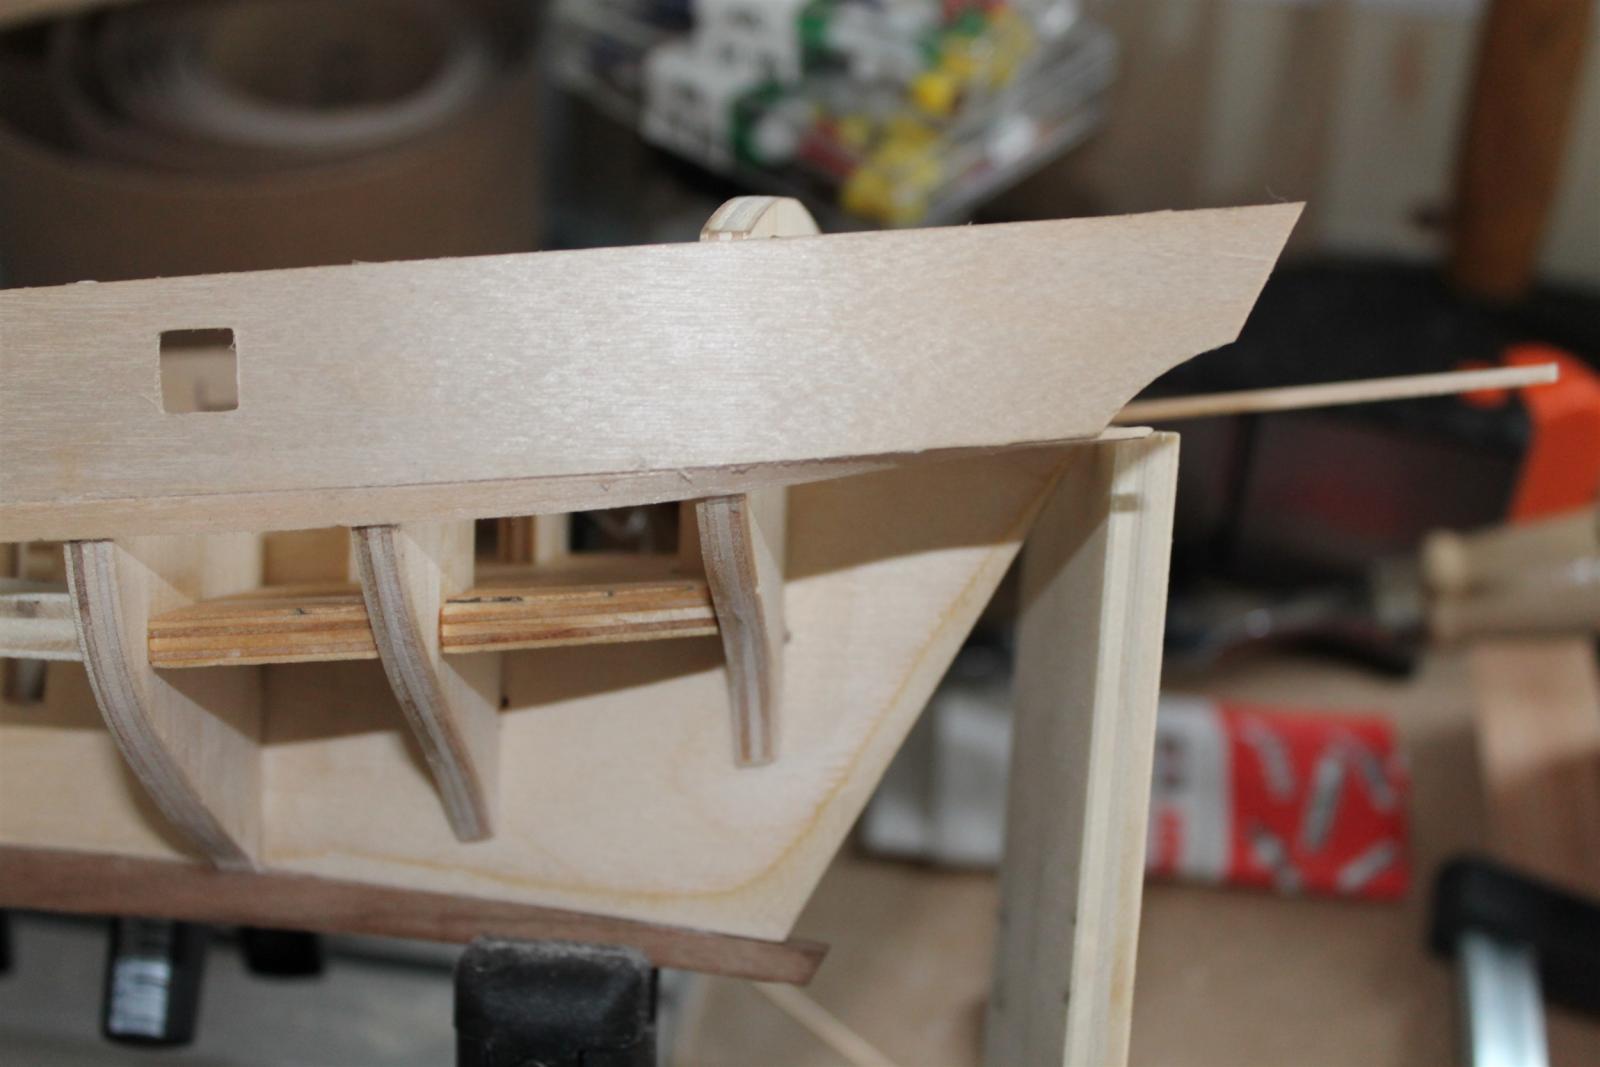
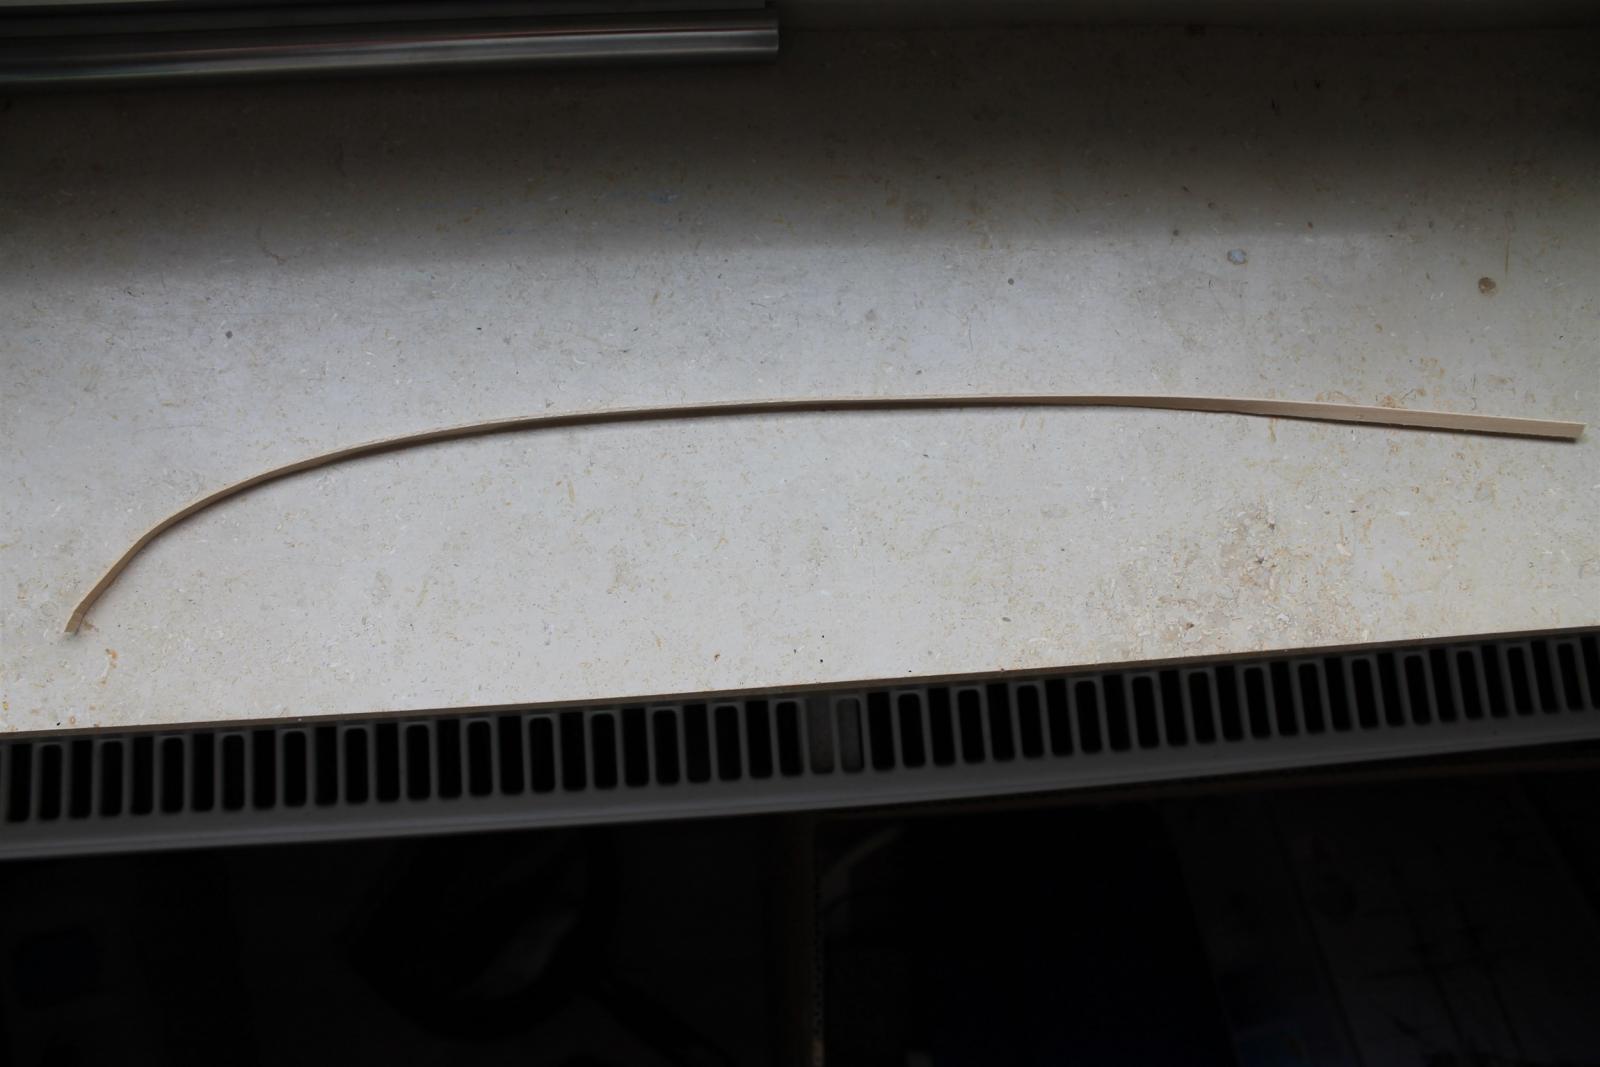
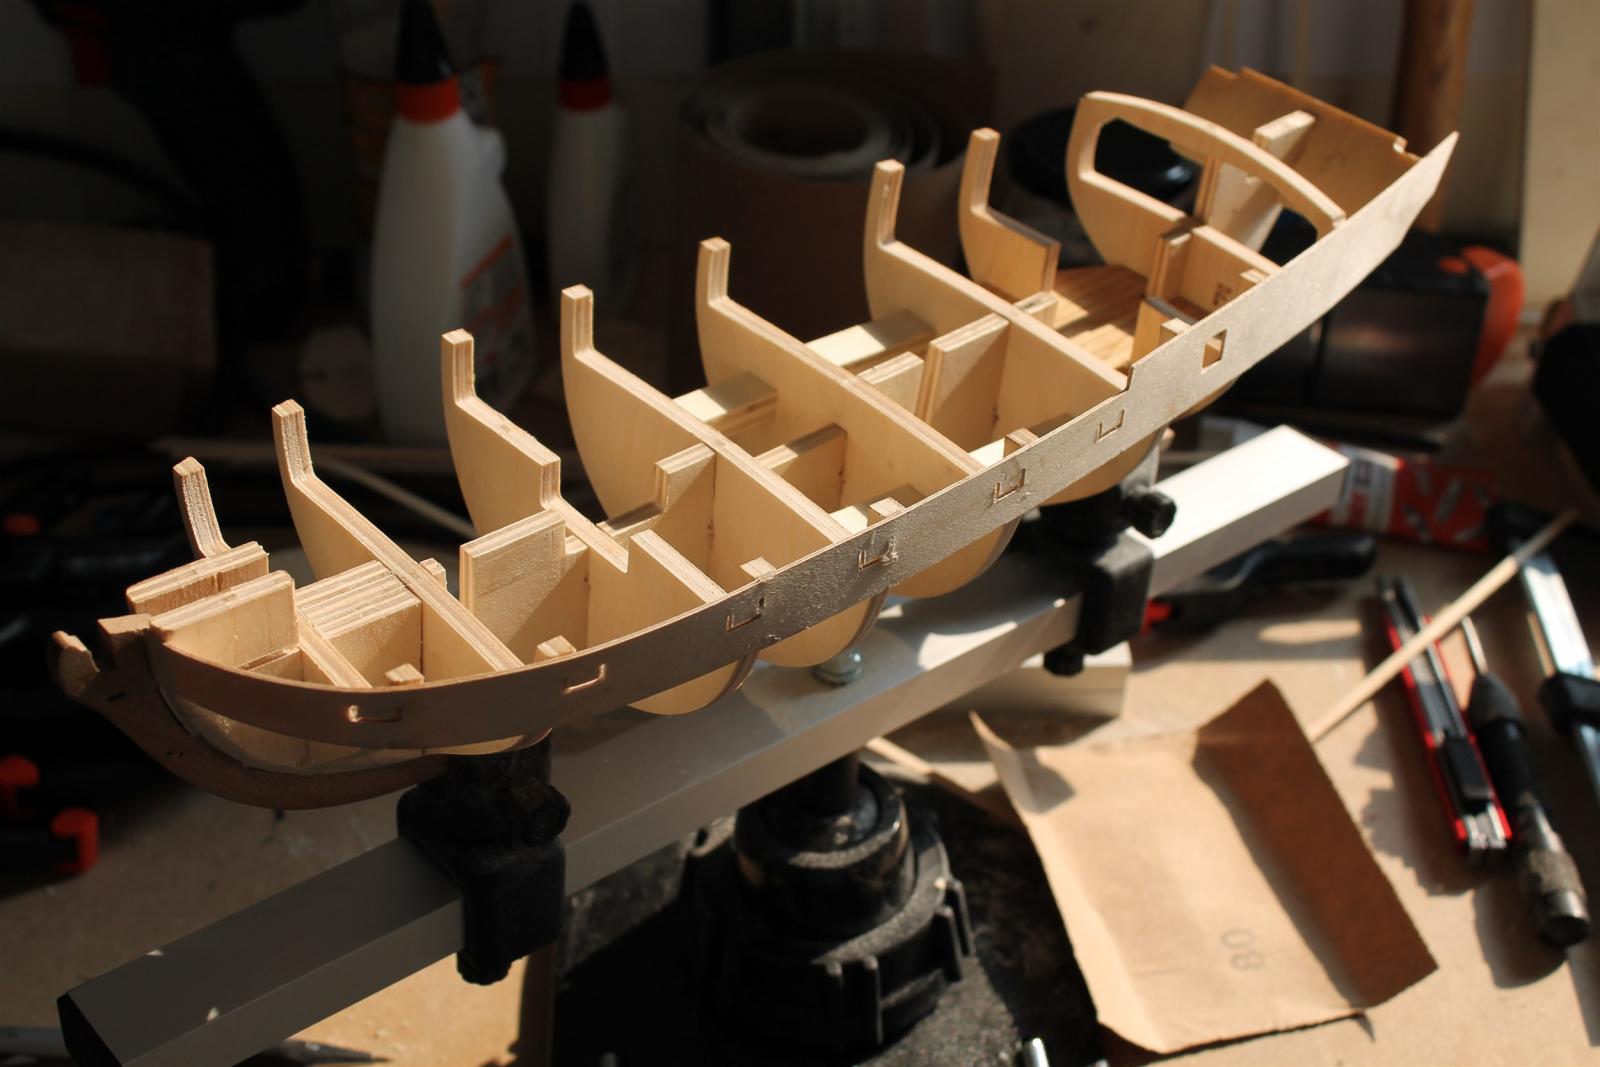
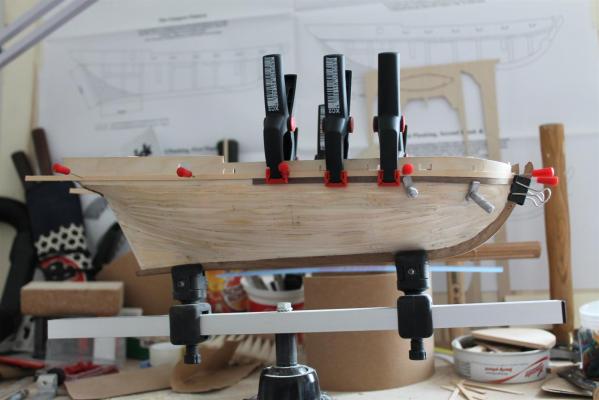
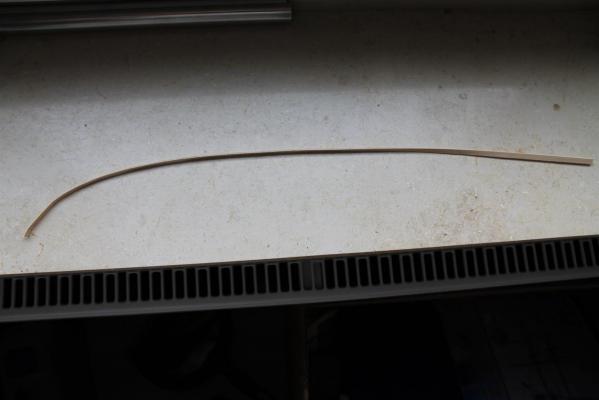
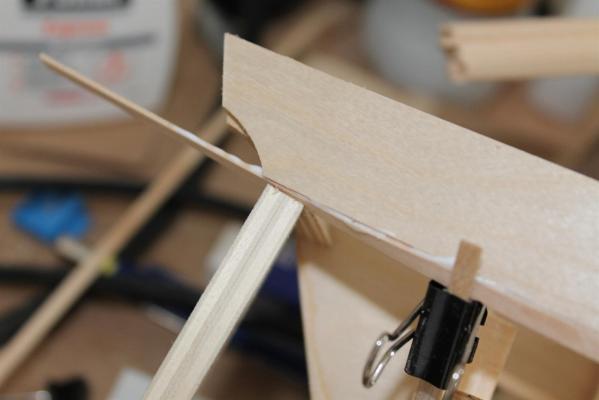
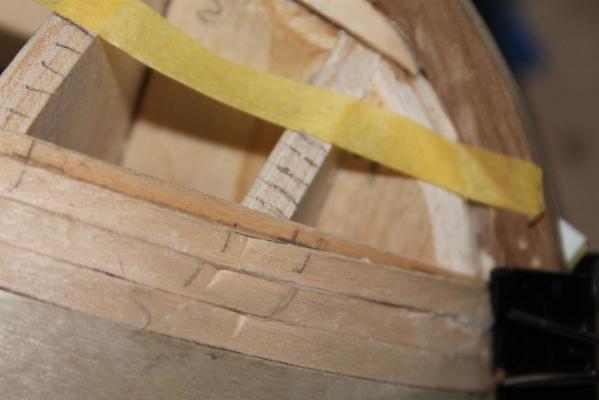
So, on Saturday i started 2nd planking. I will use planks cut at 10cm length to plank the hull. I also ordered some wider strips to cut the tapered planks out of them. The supplied planks i will use where useful or they will get a chance later on planking some of the plywood stuff.


-
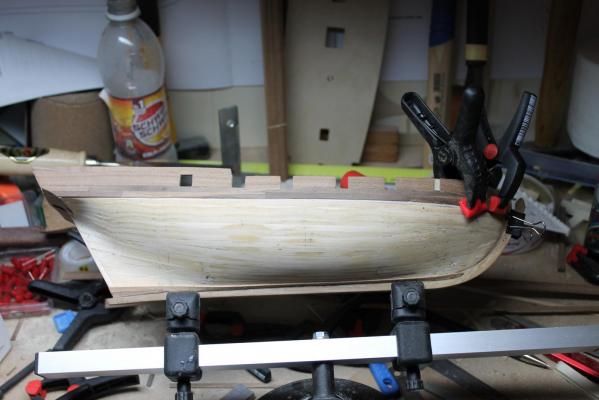
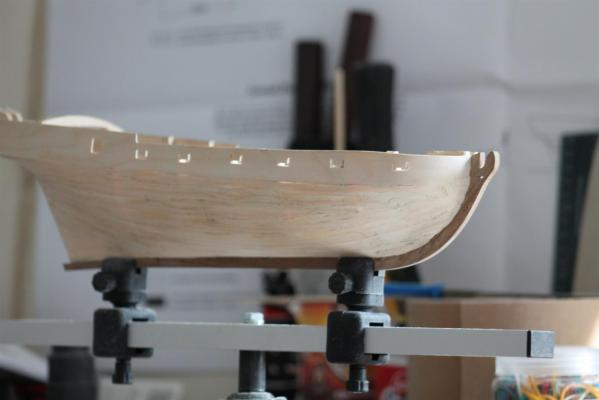
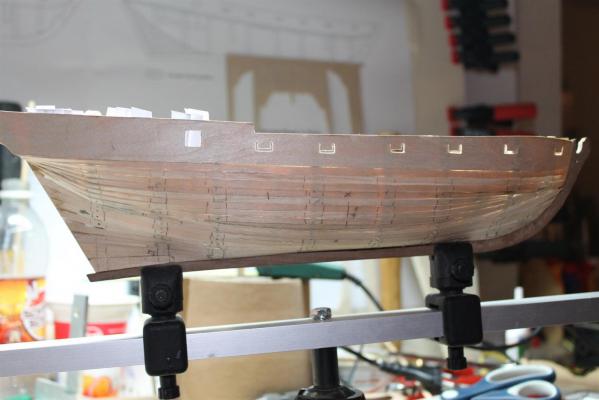
First Planking finished So after fixing some spots with putty i am satisfied with my first try of planking a hull...

-
yes probably i will need one of these... still sanding the hull. for now it seems that it will come out quite good for my first attempt planking a hull... i cant wait starting the second planking. trying to avoid my mistakes i made while first planking.
-
yes you are right. the stubs at the bow won't be cut with my japanese saws. for that they are still to big... :-(
-
hi norman, i have some small fine japanes woodworking saws. with them i will cut the stubs without effort... ;-) unfortunately i had to glue the gunport pattern to the bulkheads, otherwise the gunport pattern wouldn't hold to the hull. but thats ok, i also got some really sharp bench chisels... and when tey become dull i sharpen them again... ;-) tomorrow i wil sand the hull and hopefully can start with the second planking...
-
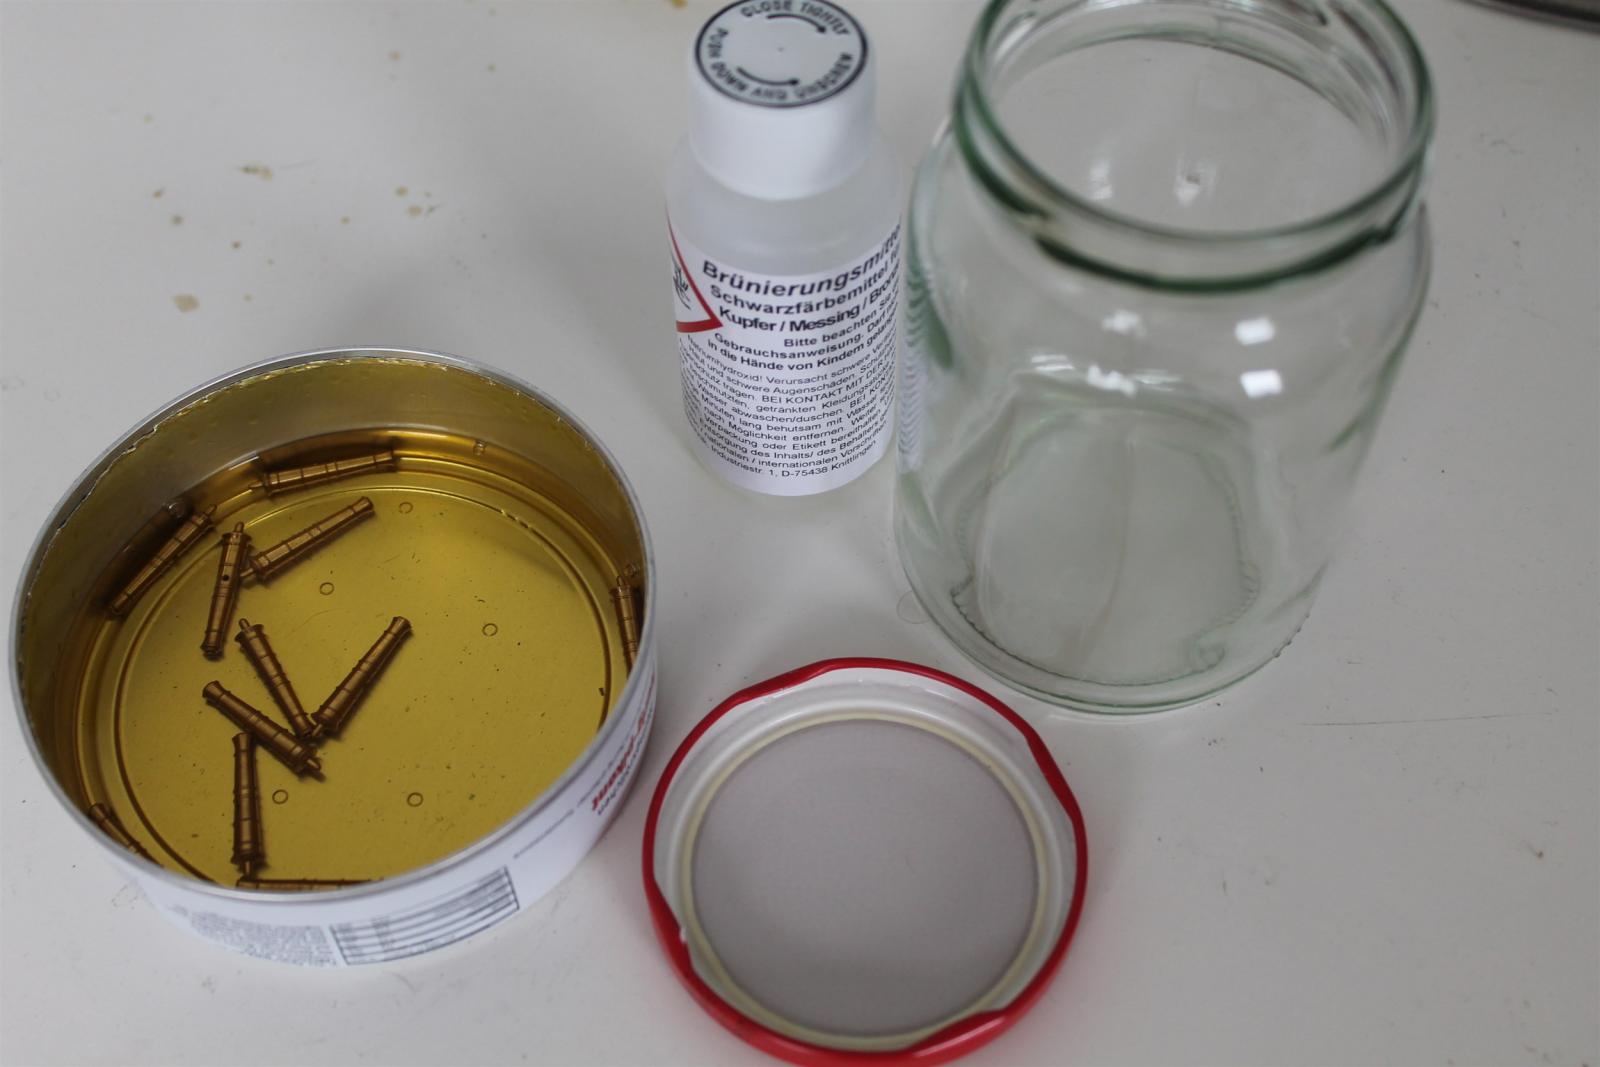
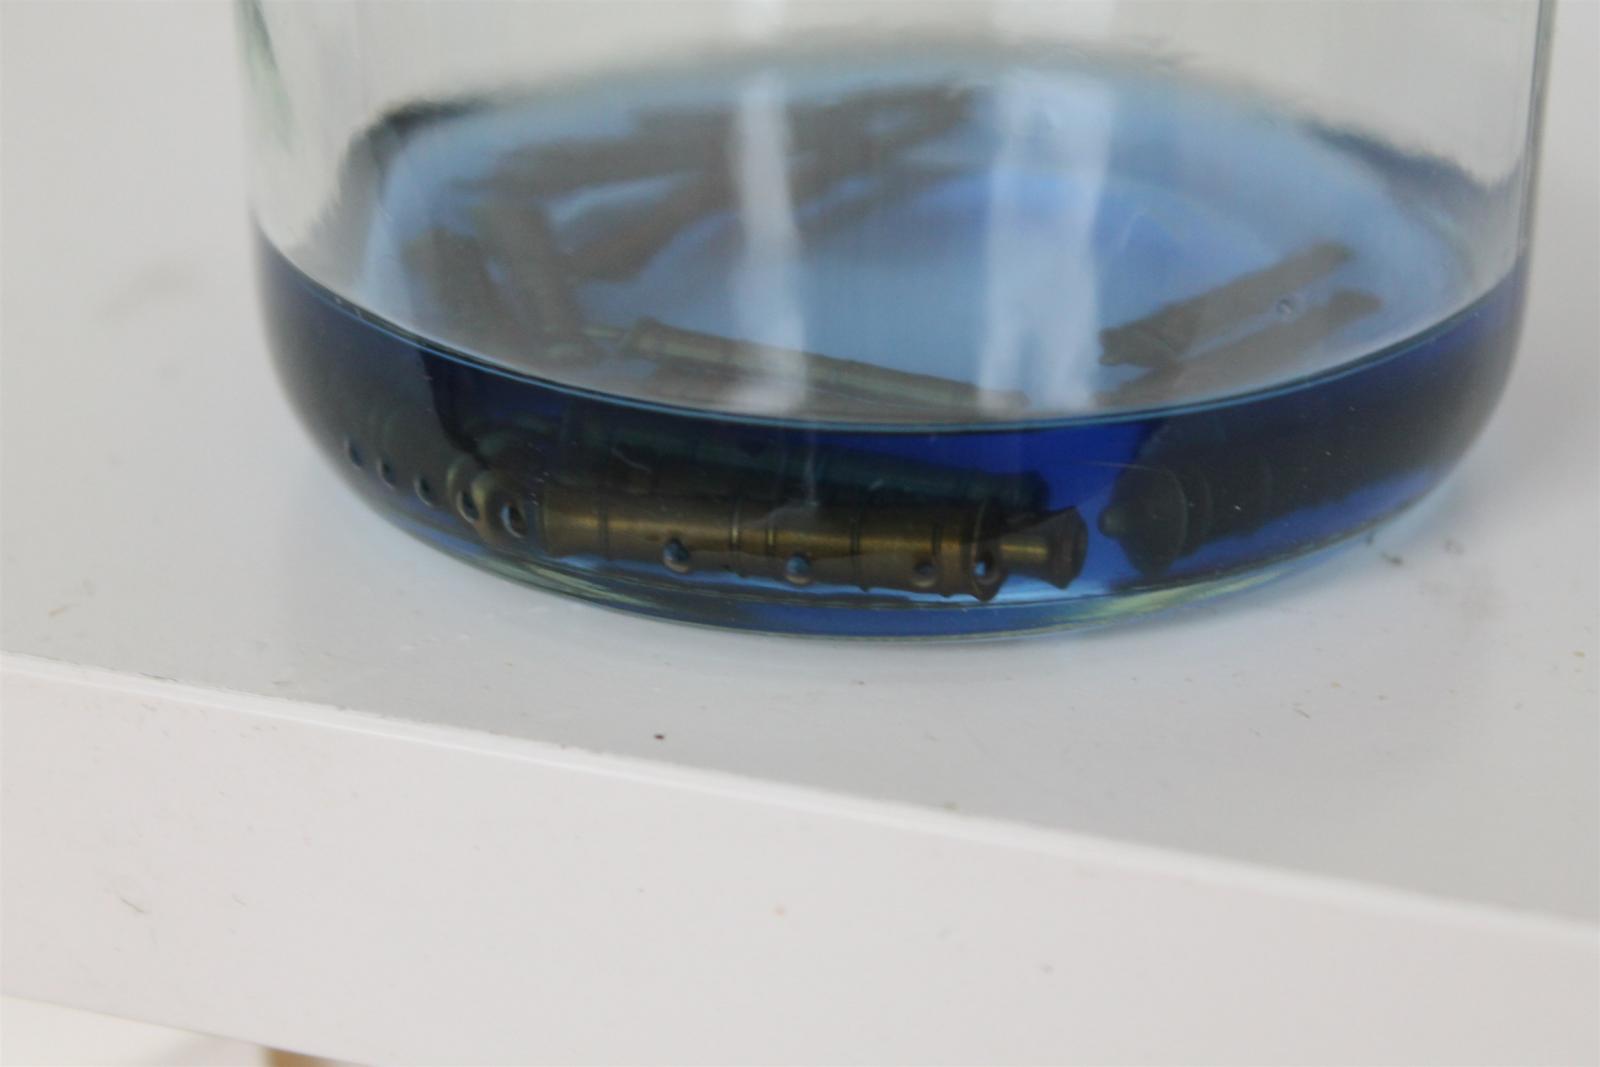
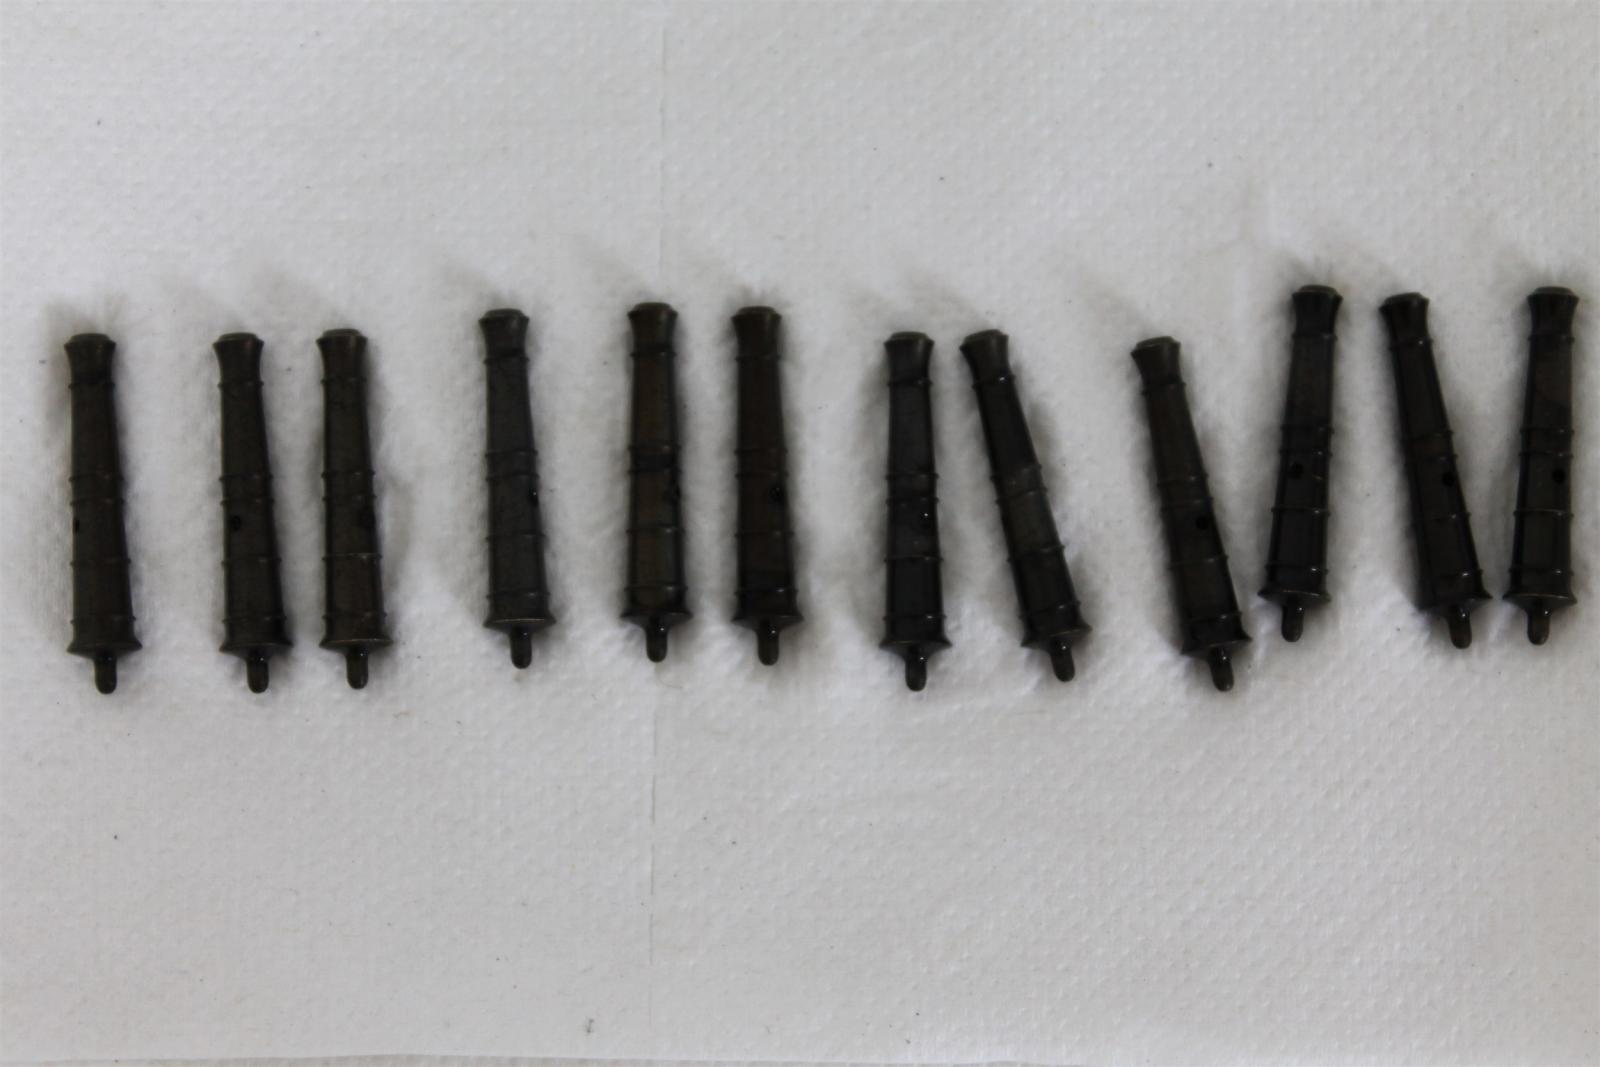
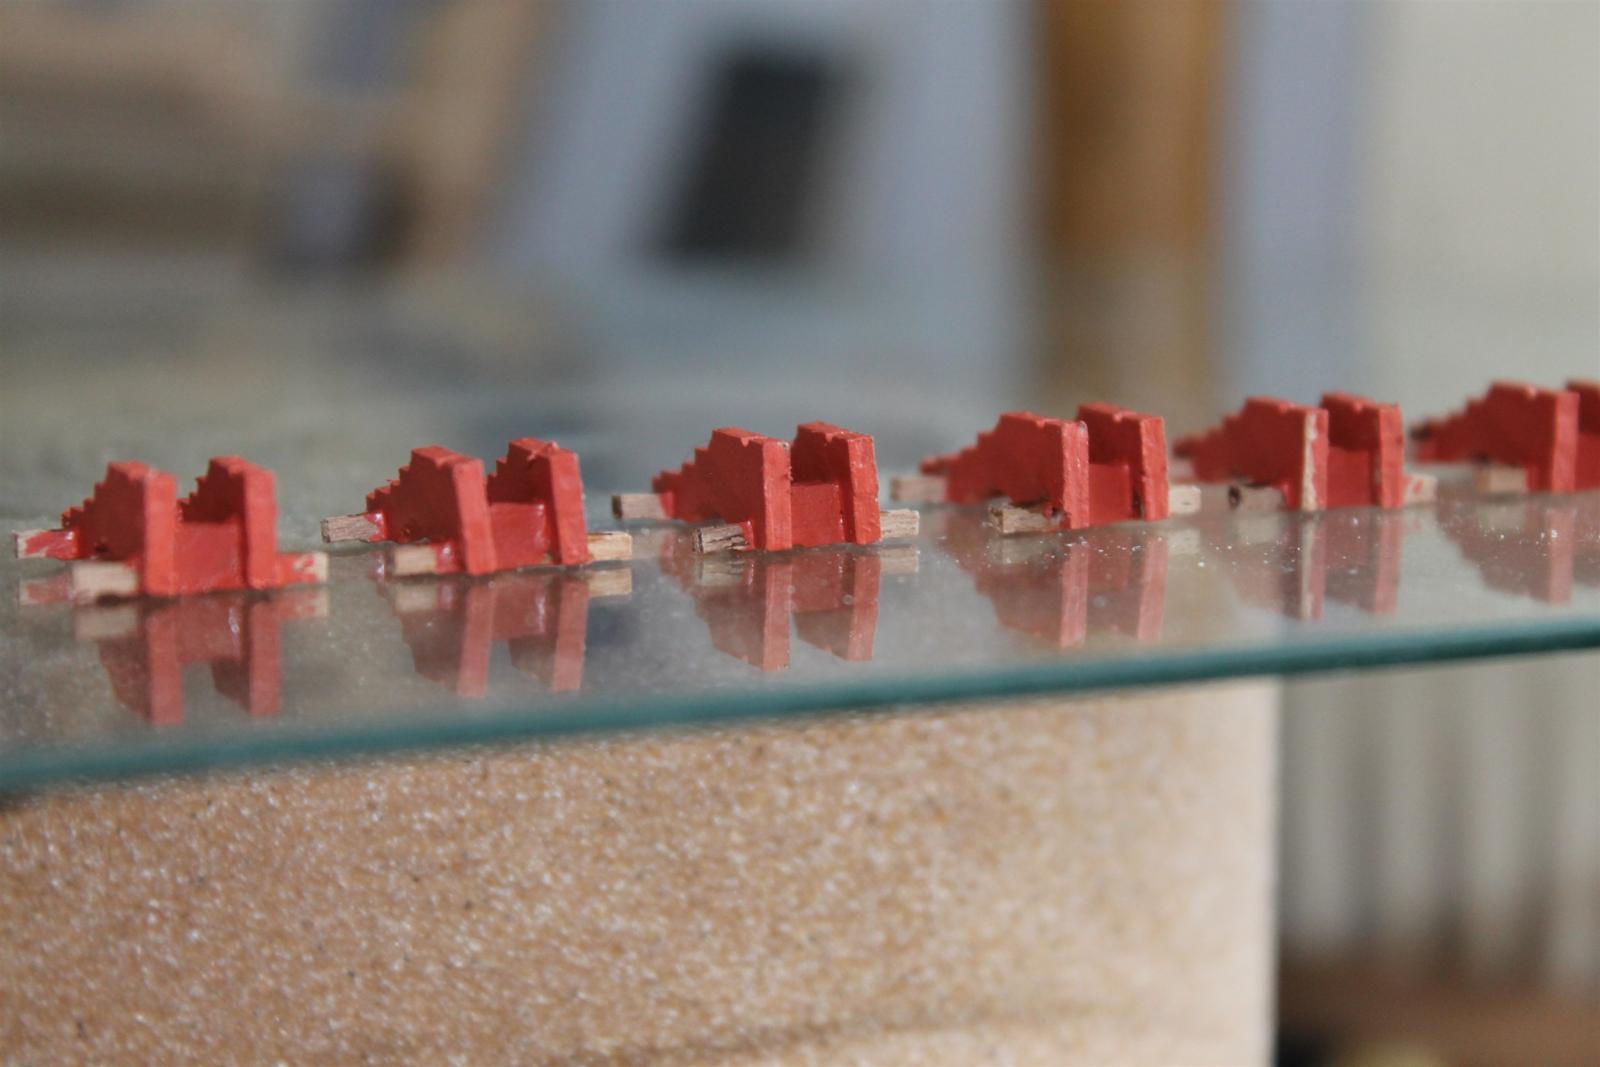
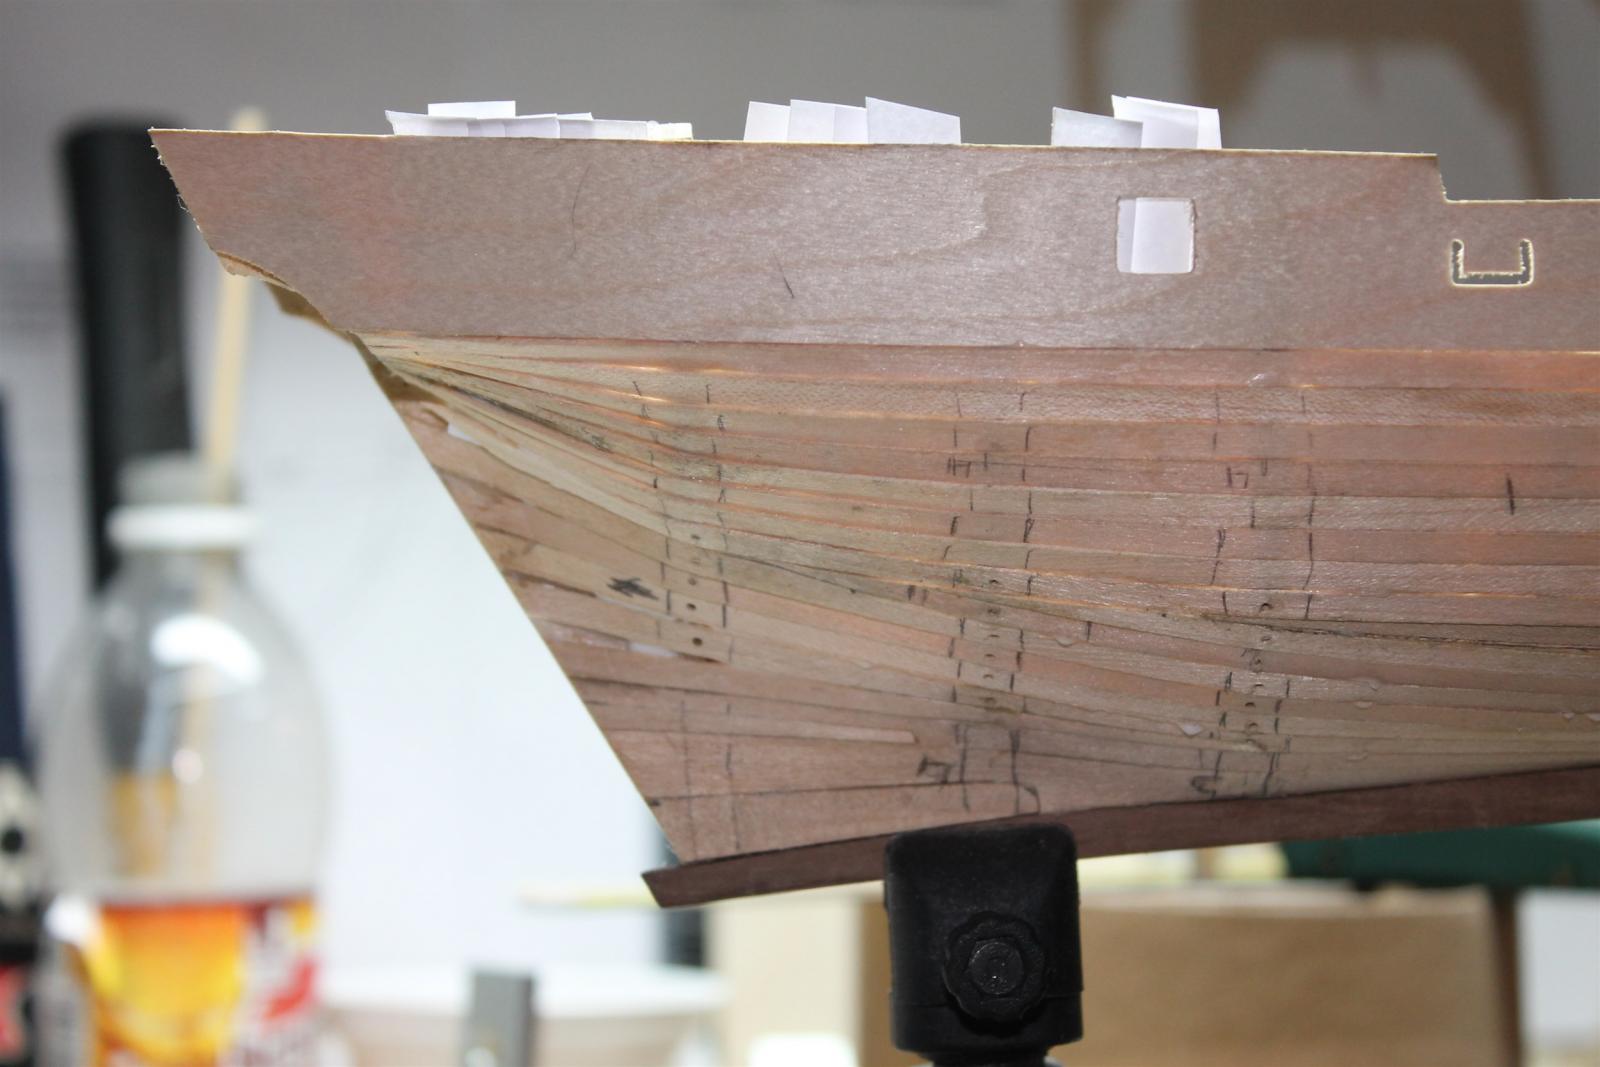
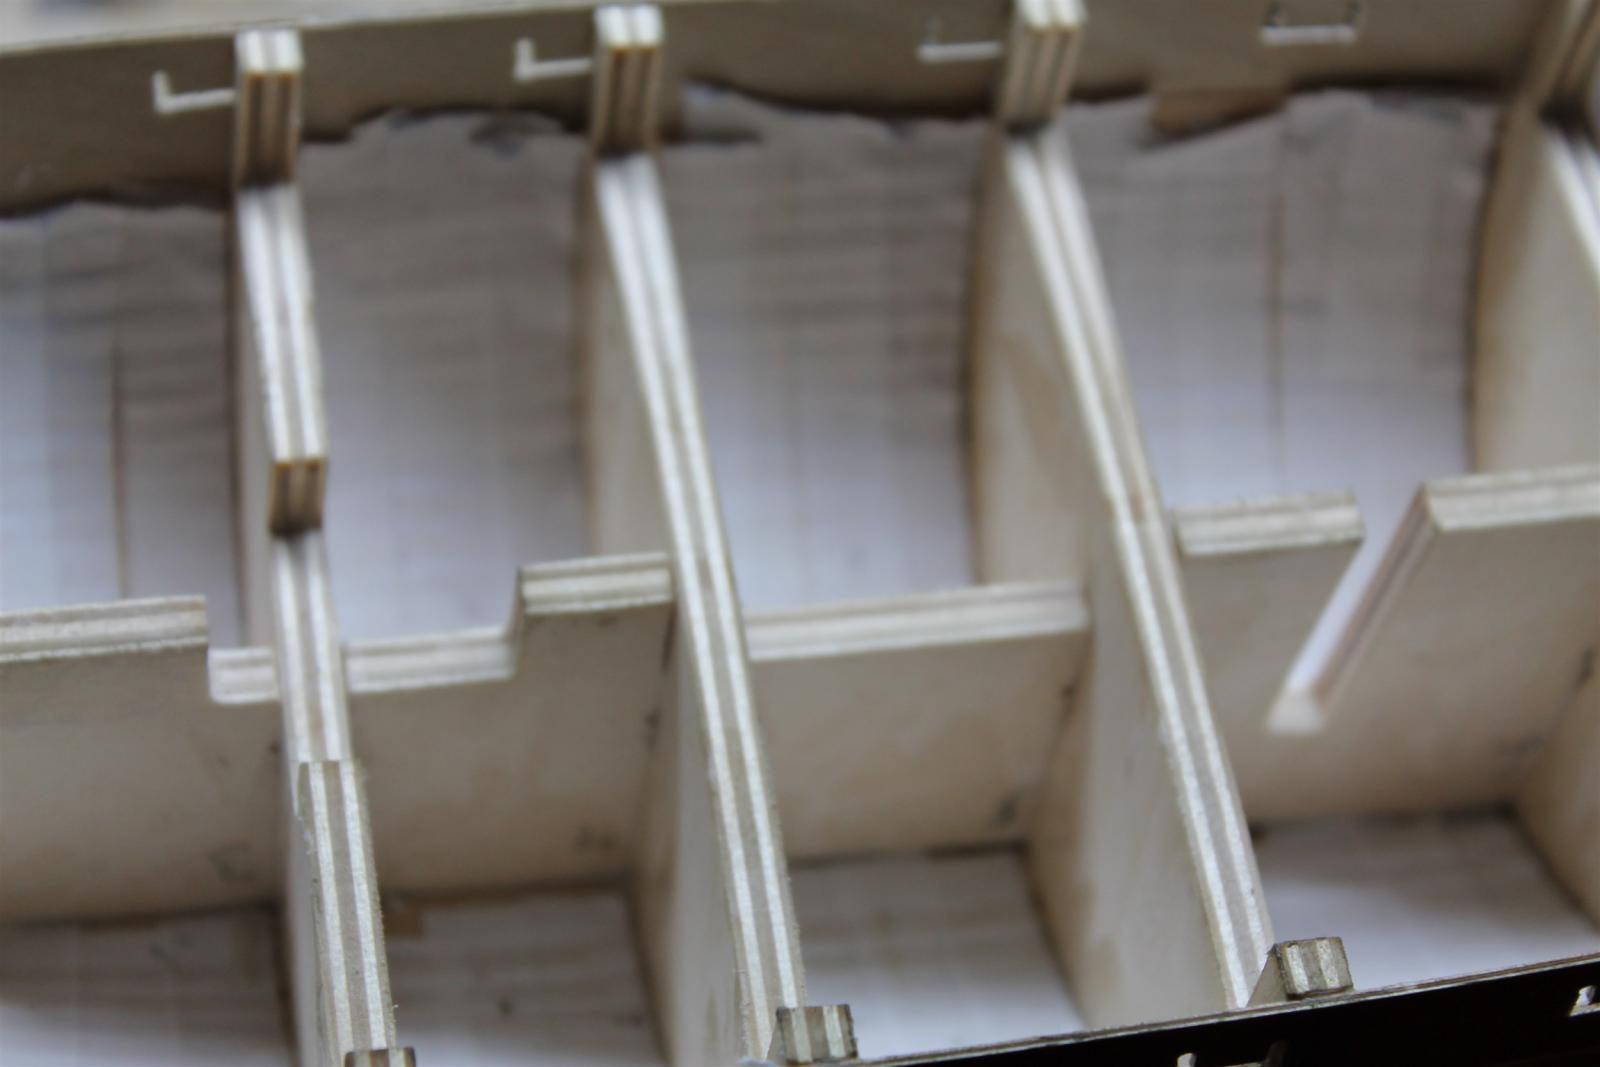
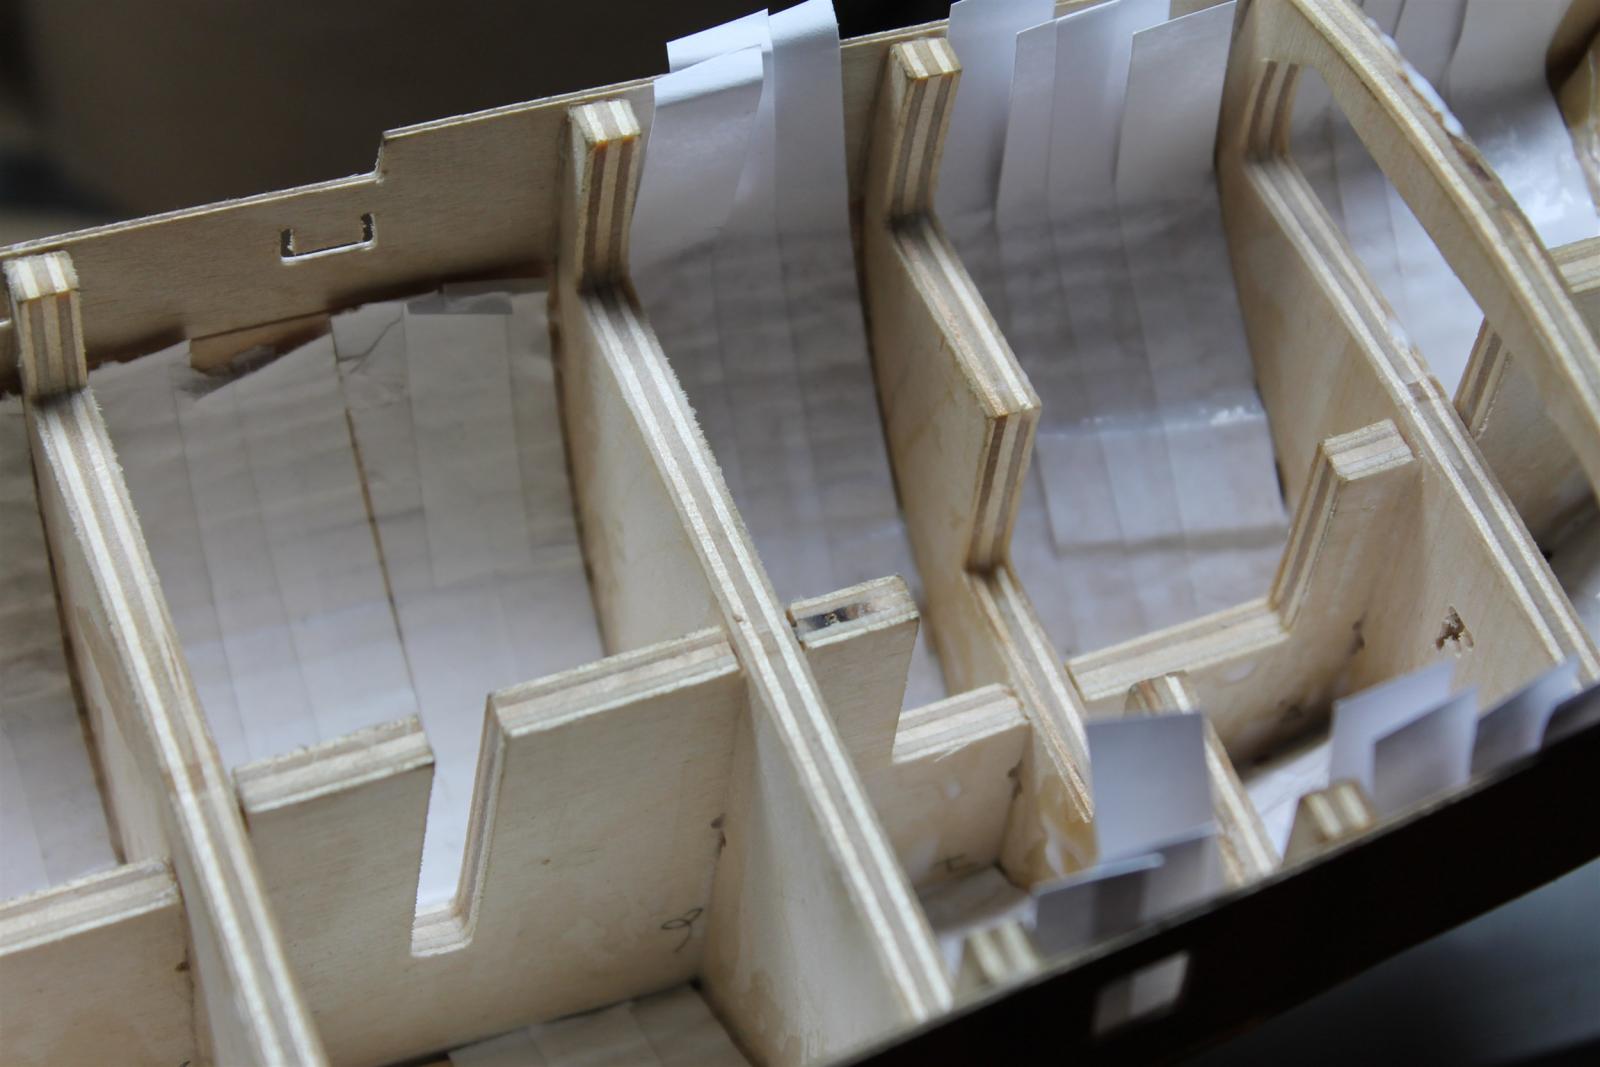
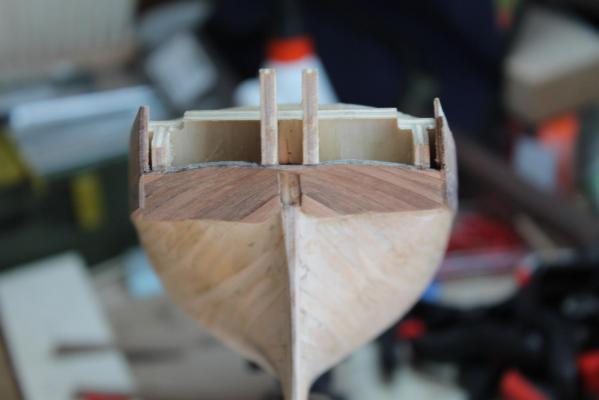
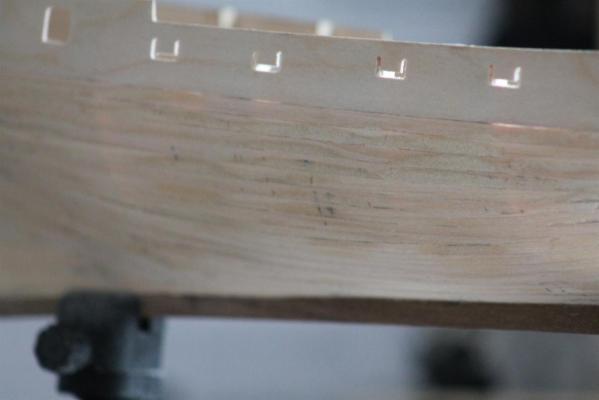
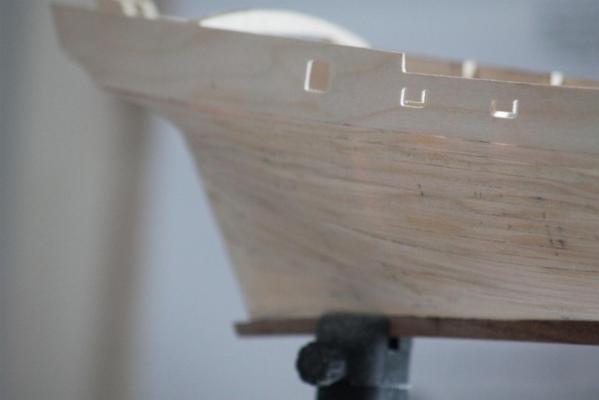
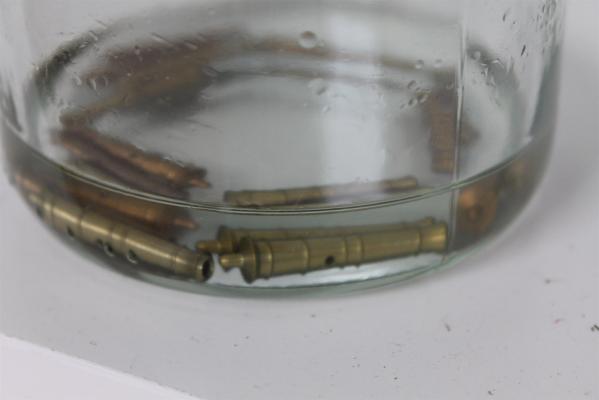
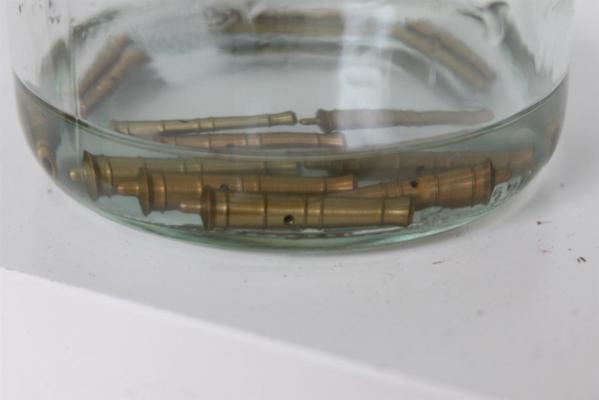
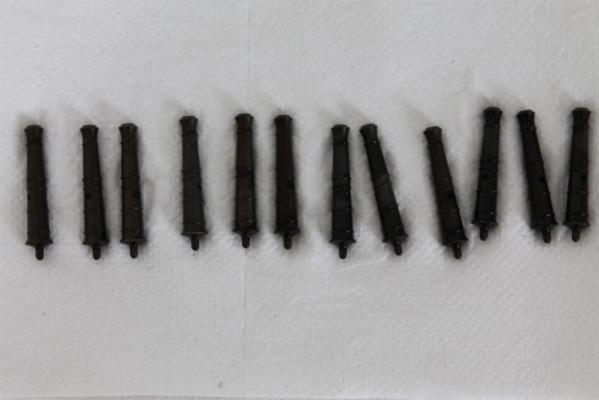
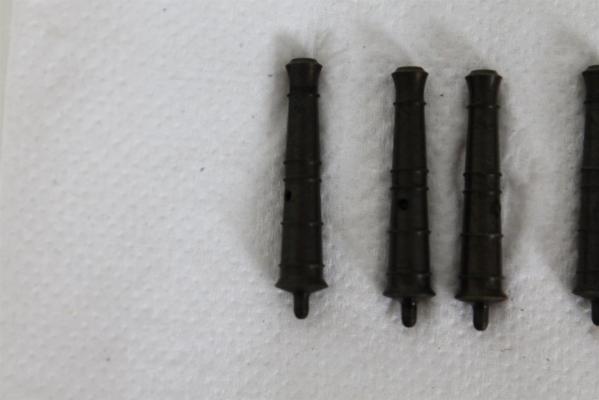
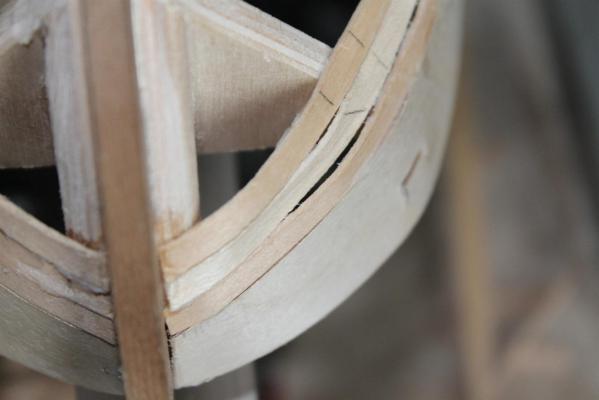
I already thought about the problem of removing the bulkhead stubs before installing the deck. Because most of the gluing area now is that part of the hull, that keeps the gunport pattern. But i think, when the second planking on the outside is completed, the glued on planks on the gunport pattern will hold it in place. Bah, for now it is too late. I will see how it outcomes, when removing the bulkhead stubs. Maybe i reinforce the joint between planks and gunport pattern also with laminating glueed paper over the joint. After i laminated the planks with the paper, the hull and planks got really really sturdy... Yap, the blackening solution did a great job. And it was really fast. I think after 15 minutes the grade of black was reached. But probably i will put some matt black paint also on them, to get some little more texture on the barrels. Now they are still really smooth.
-
Hi Mike, thanks for the compliment. But i think the hull looks better on the pictures than in real... ;-) For the blackening i used this blackening solution: http://www.krickshop.de/Bruenierungsmittel-50-ml Krickshop is a germany located shop specialized in model building, but not only in model ships. Oli
-
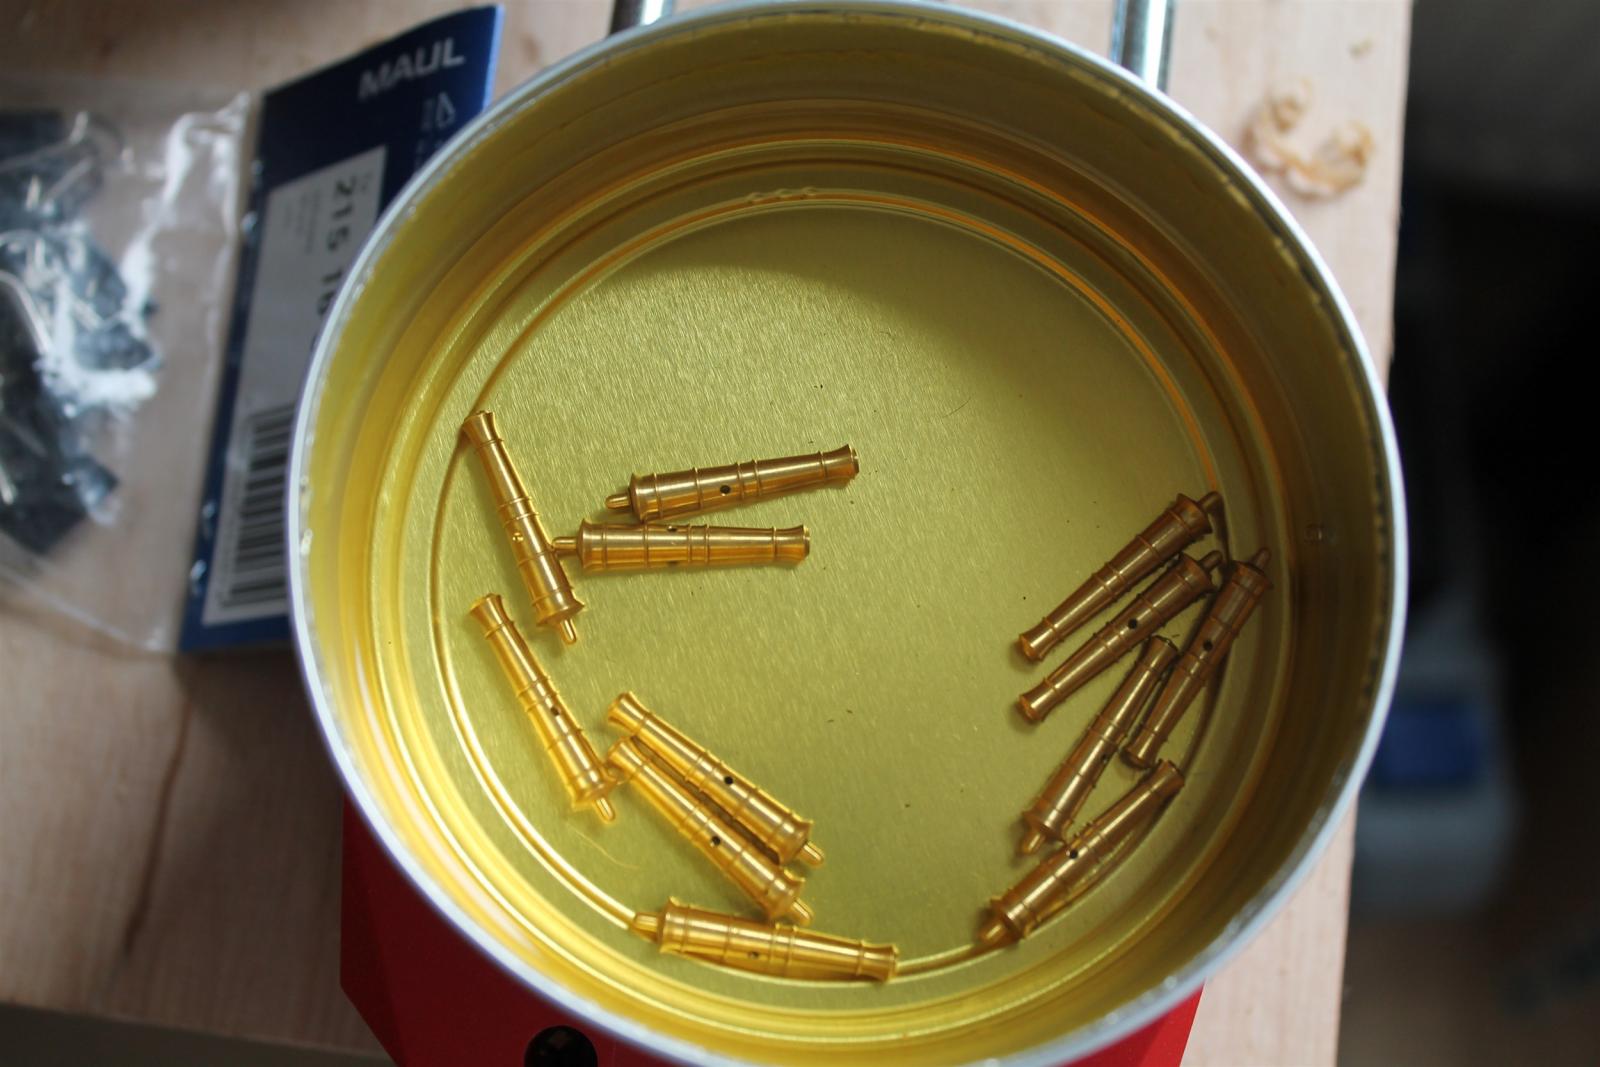
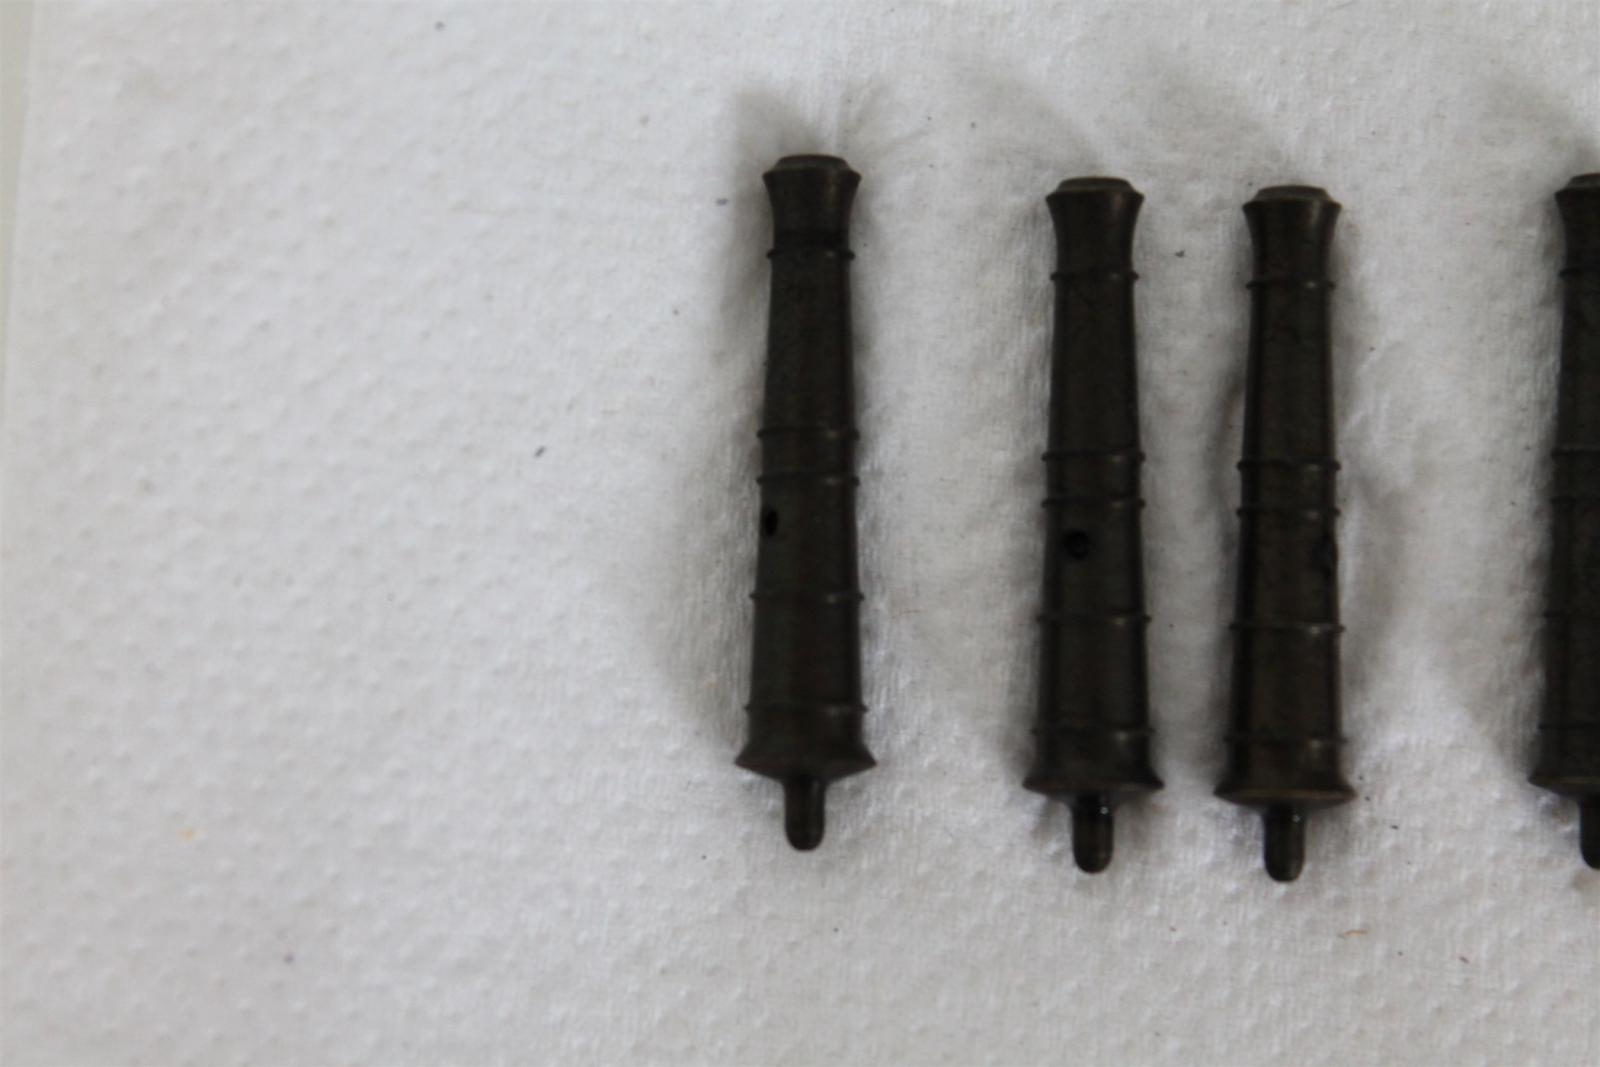
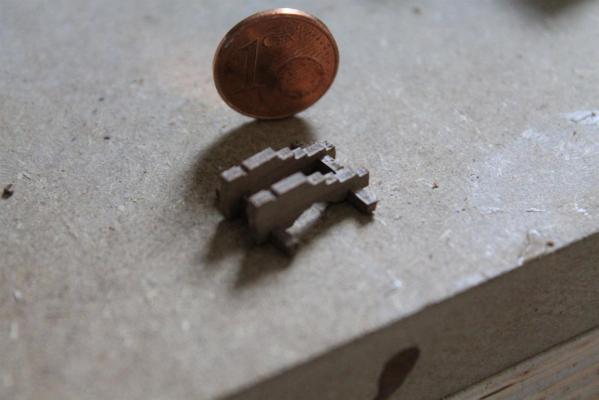
Cannons (cannon_001) To get the head clear of tapering planks meanwhile i started to build the cannons.


-
 hamilton reacted to a post in a topic:
HM Brig Badger by gunslinger4hire - Caldercraft - Scale 1:64 - first wooden ship build
hamilton reacted to a post in a topic:
HM Brig Badger by gunslinger4hire - Caldercraft - Scale 1:64 - first wooden ship build
-
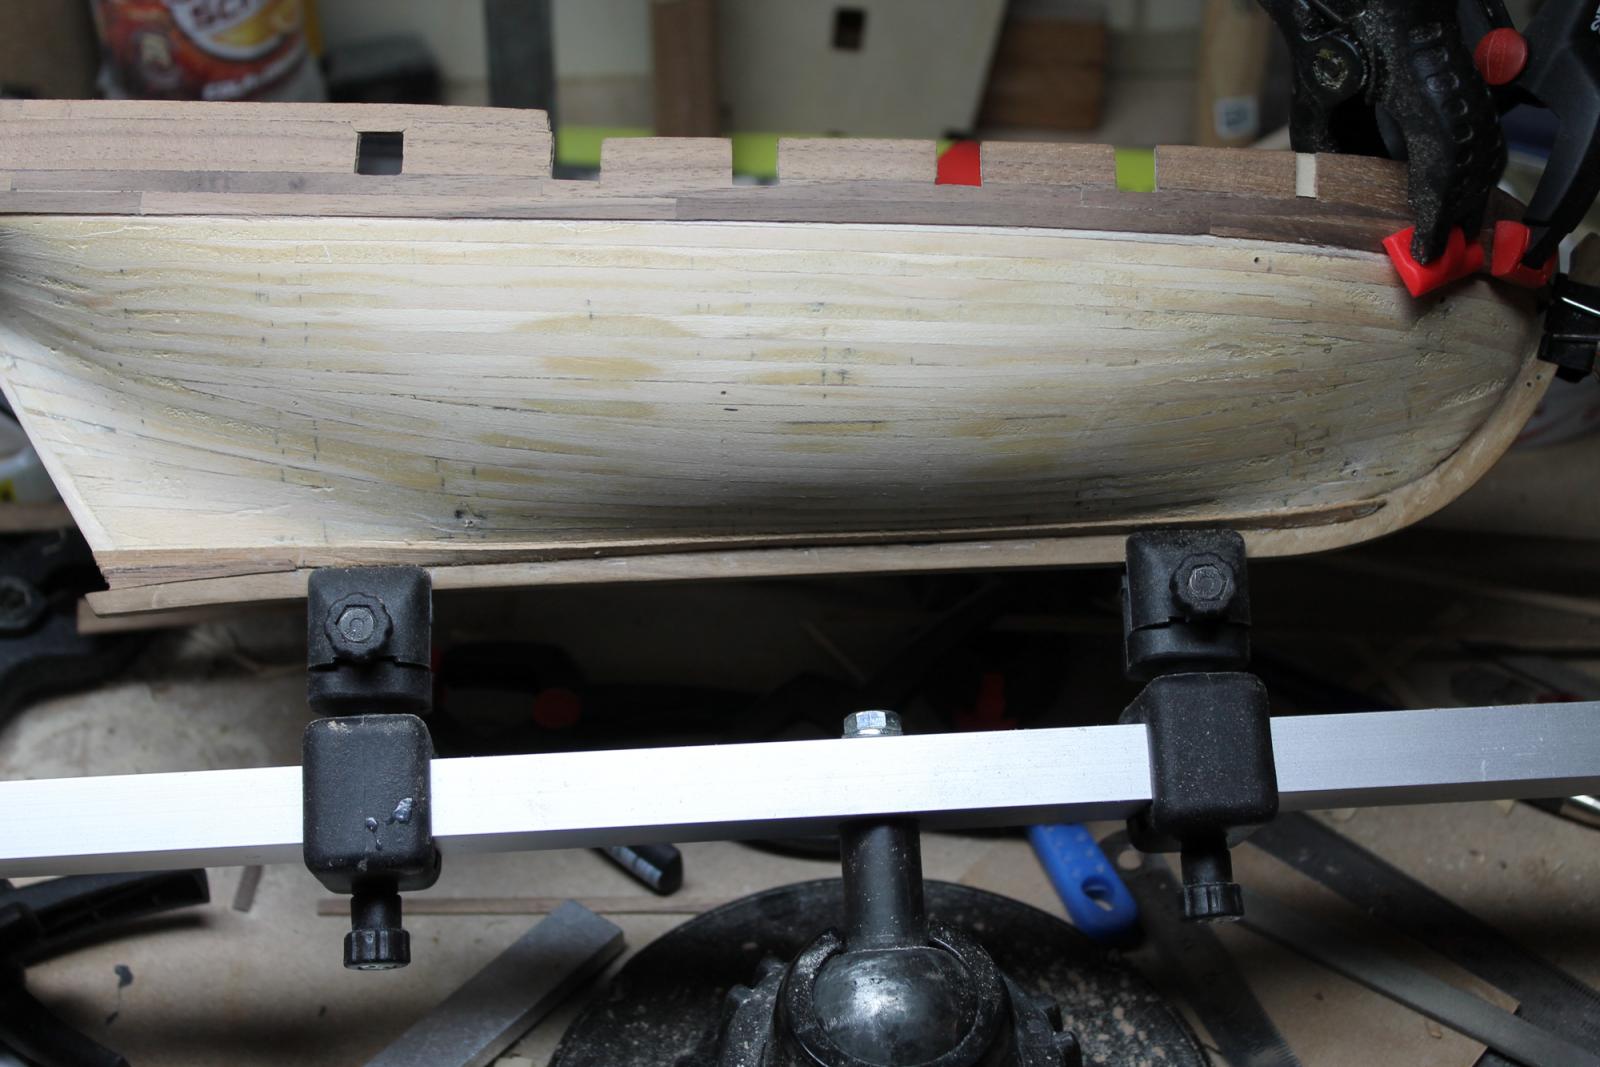
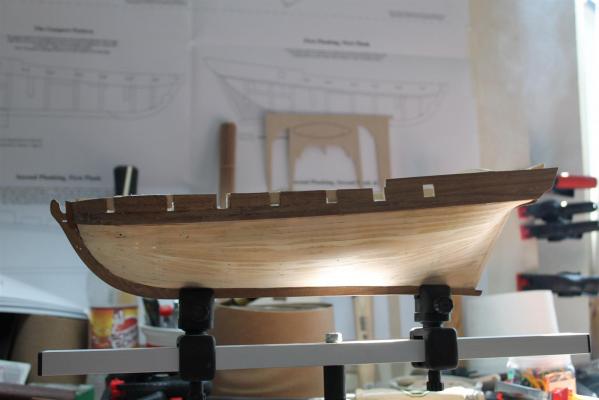
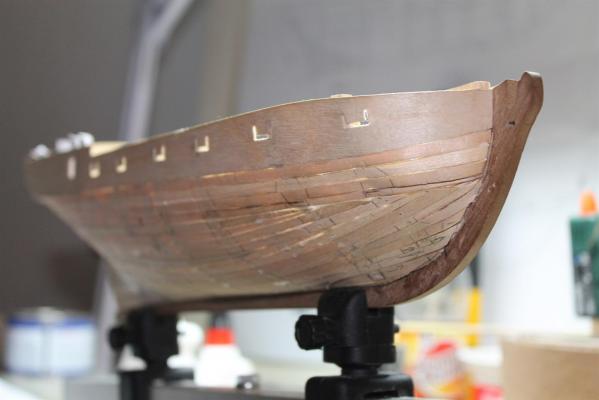
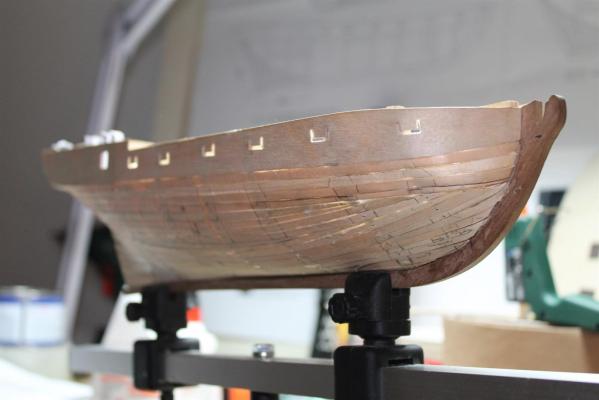
Finished first planking (hull_003) So first planking is finished. I also reinforced the first planks with glue and laminated paper strips from the inside. Now the hull is really stiff... Next steps i will put on some filling paste and sanding it.


-
Step 6: First planking (hull_002) Finally i managed to finish the first planking. I think for the first time i came out quite good. But i am not really satisfied with the result. Nevertheless there are no spots that could not be repaired to get some plain surface for the second planking. Only from doing you get experience... ;-)


-
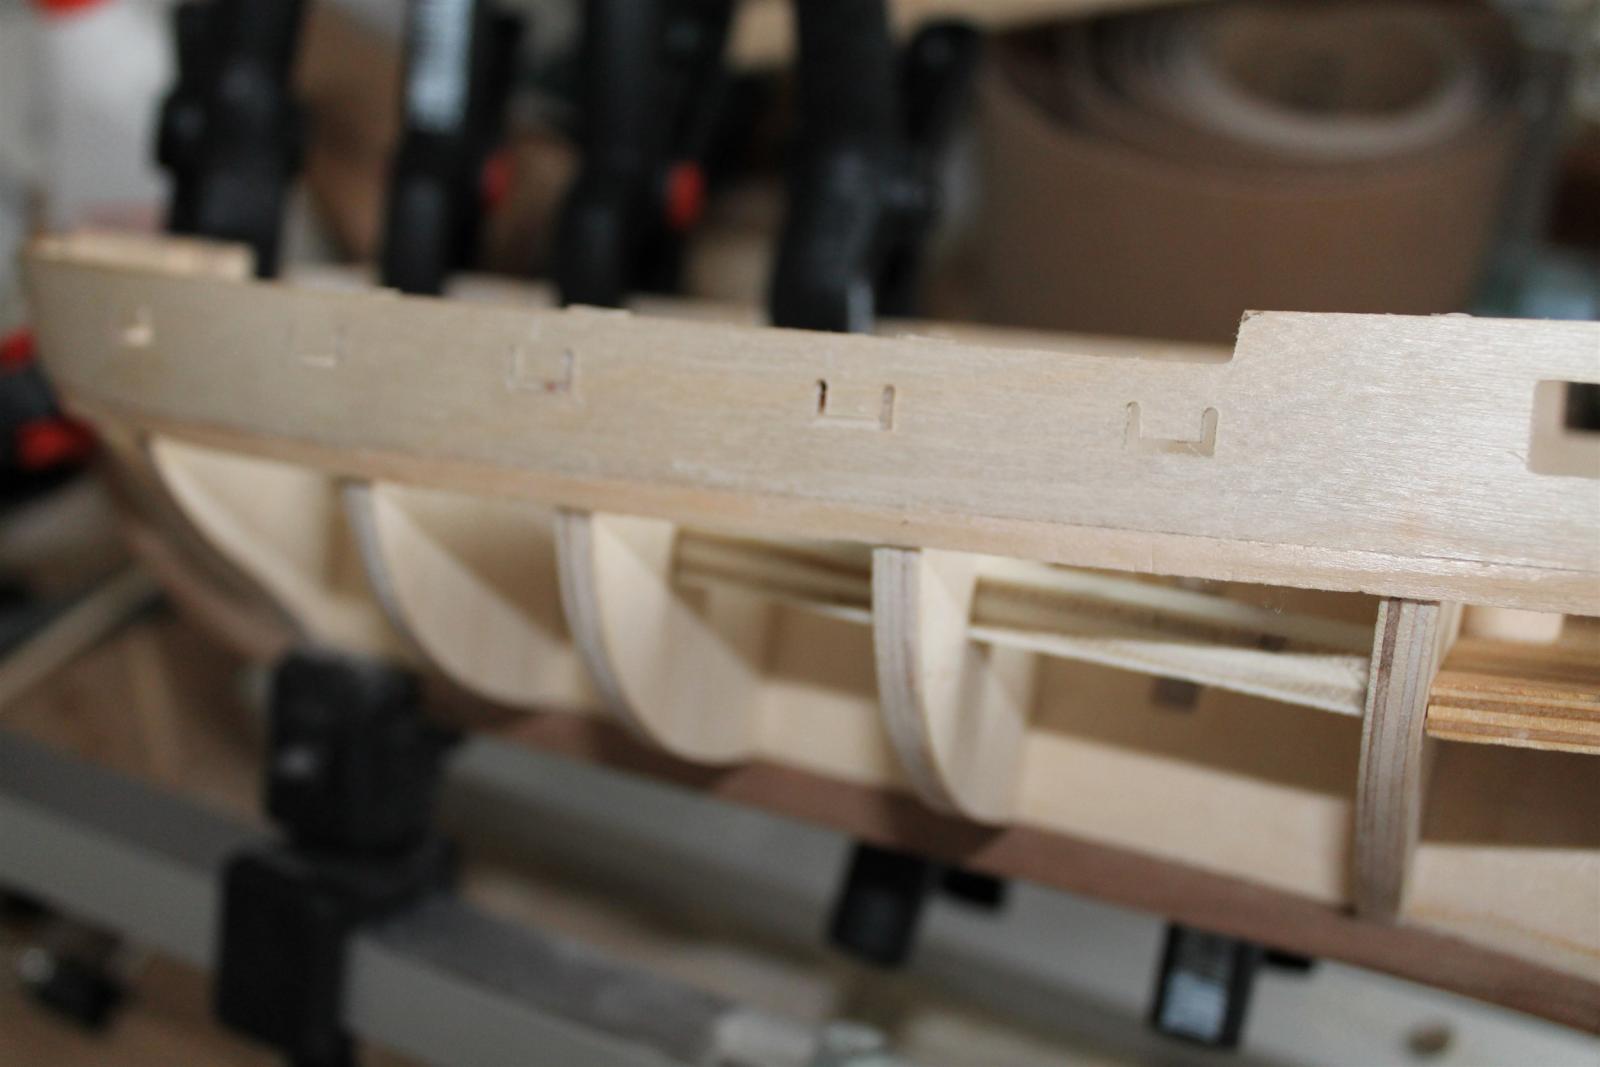
Planking Problems It turns out that planking after the kits instructions, brings some problems with the first planking. Maybe i did some mistakes with fairing the bulkheads... On the left side of the hull the first three planks snug nicely into place and form... but on the right side i get some clinker effect. Reading some planking tutorials let me think i should have started the first planking also with tapered planks. and not like the kit instructions. Probably i will remove the third and second plank and start all over. The first plank seems to flow right, so i will leave it where it is.
-
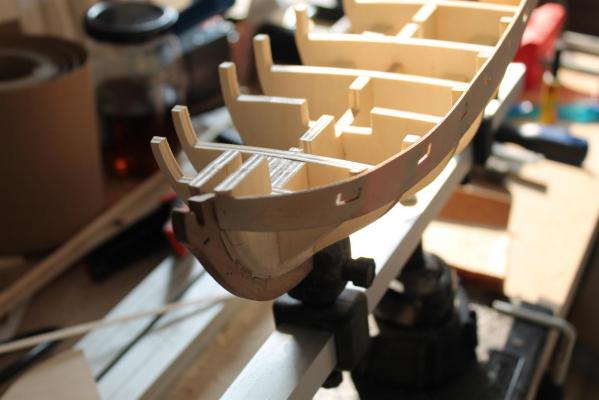
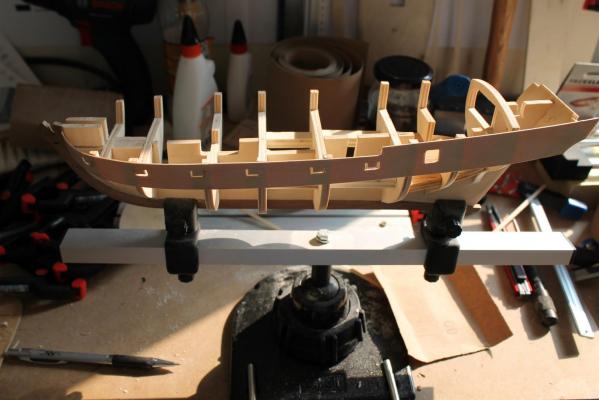
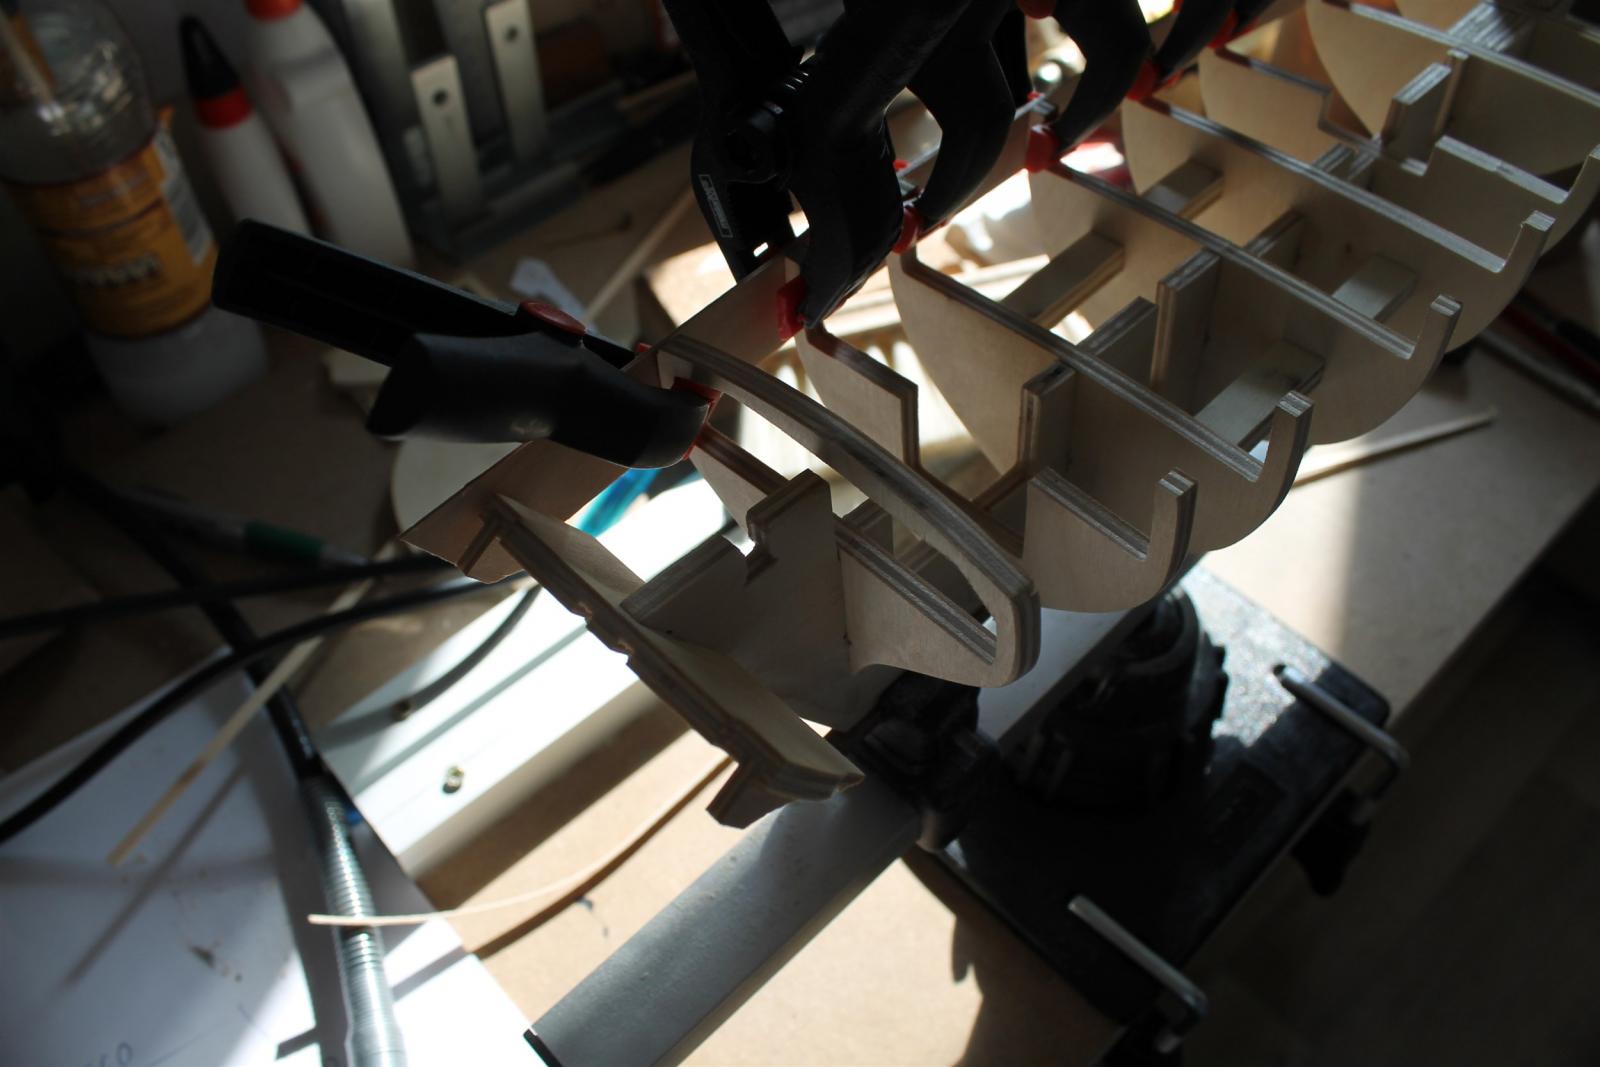
Step 5: Fairing the Bulkheads and installing the Gunport Pattern (hull_001) Business kept me some time busy, so i hadn't much time to continue the build. But in between i managed to fair the bulkheads and installed the gunport patterns. The left gunport pattern i bend before around a root beer tin can... The right one i bend around the bulkheads still while wet. The outcome was better and satisfying than thought before.