-
Posts
130 -
Joined
-
Last visited
Profile Information
-
Gender
Male
-
Location
Cape Town - South Africa
Recent Profile Visitors
-
 GrandpaPhil reacted to a post in a topic:
San Francisco 2 by DesertWolf - Artesania Latina
-
 GrandpaPhil reacted to a post in a topic:
San Francisco 2 by DesertWolf - Artesania Latina
-
 Mike Y reacted to a post in a topic:
San Francisco 2 by DesertWolf - Artesania Latina
-
 Mike Y reacted to a post in a topic:
San Francisco 2 by DesertWolf - Artesania Latina
-
 Altduck reacted to a post in a topic:
San Francisco 2 by DesertWolf - Artesania Latina
-
 canoe21 reacted to a post in a topic:
San Francisco 2 by DesertWolf - Artesania Latina
-
 canoe21 reacted to a post in a topic:
San Francisco 2 by DesertWolf - Artesania Latina
-
 canoe21 reacted to a post in a topic:
San Francisco 2 by DesertWolf - Artesania Latina
-
 slow2cool reacted to a post in a topic:
San Francisco 2 by DesertWolf - Artesania Latina
-
 Ferit reacted to a post in a topic:
San Francisco 2 by DesertWolf - Artesania Latina
-
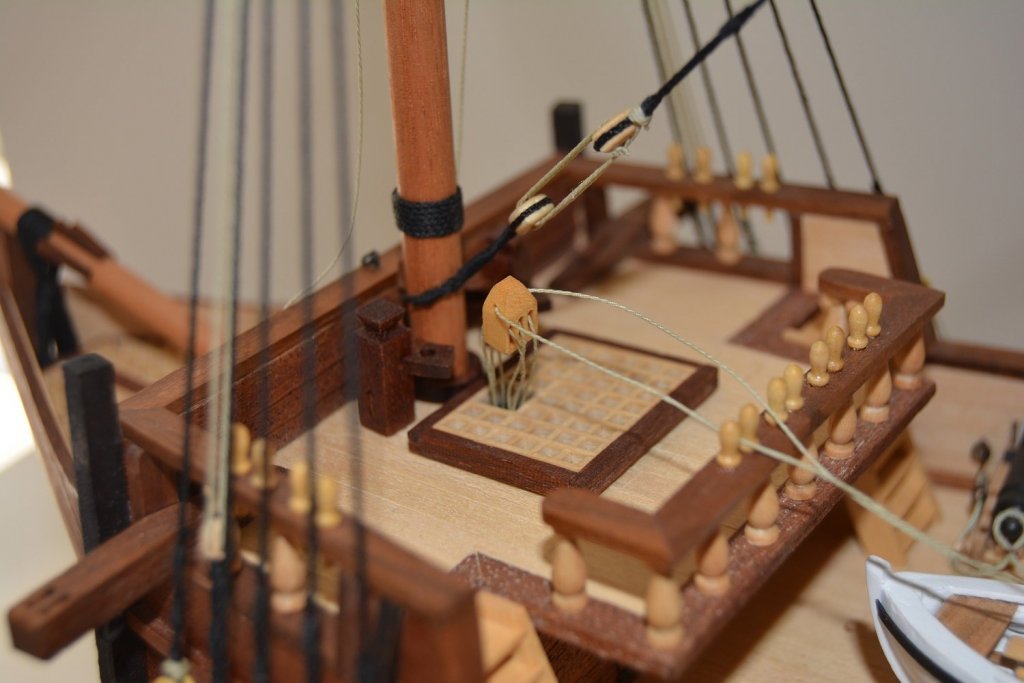
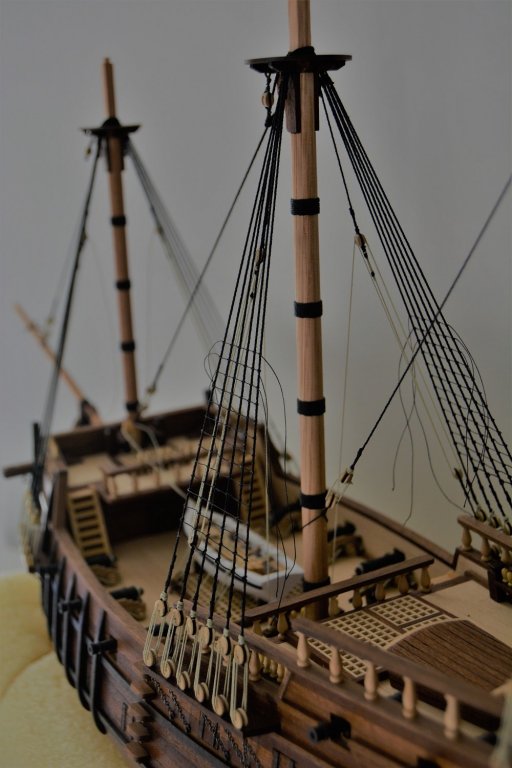
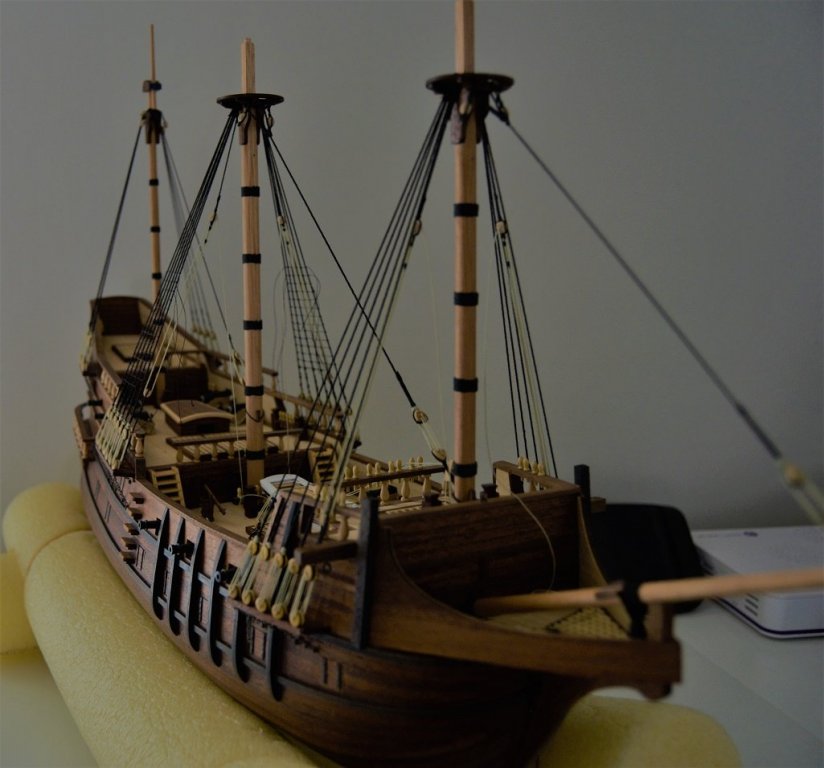
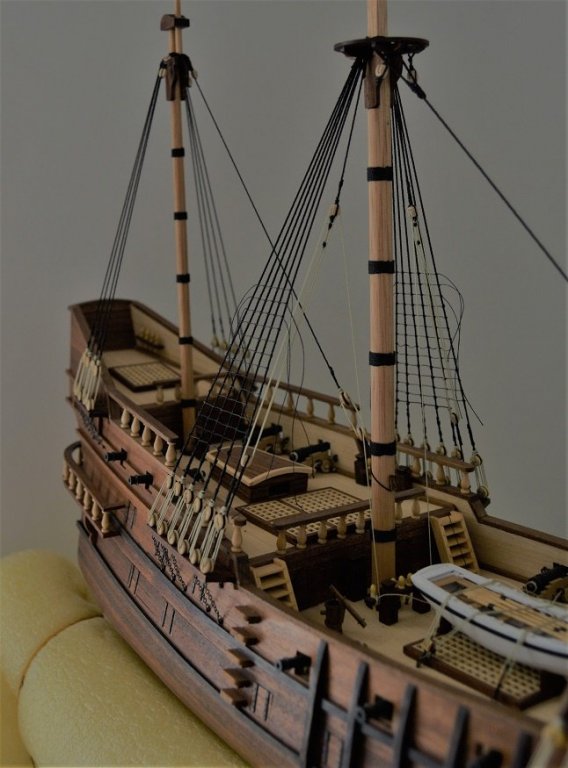
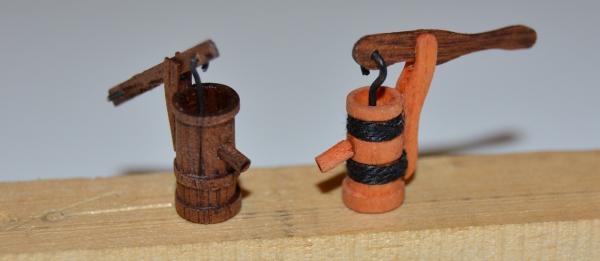
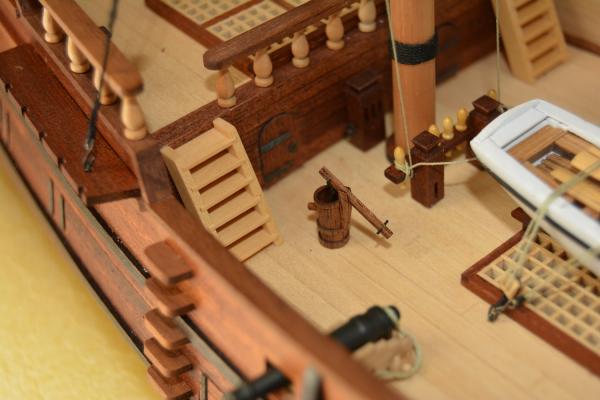
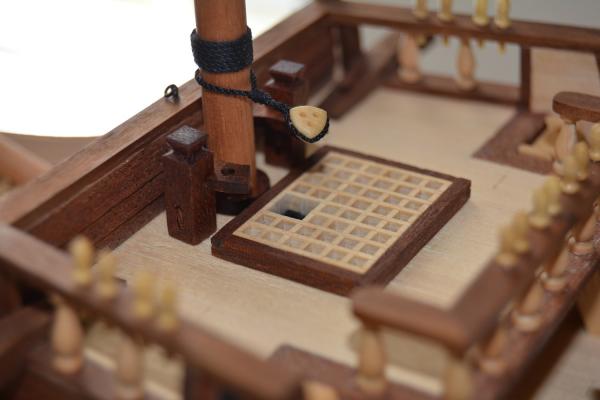
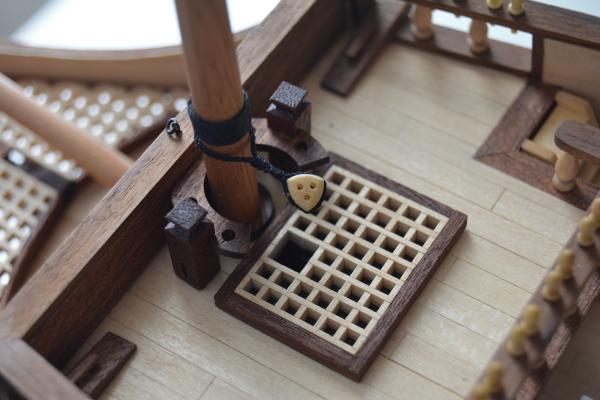
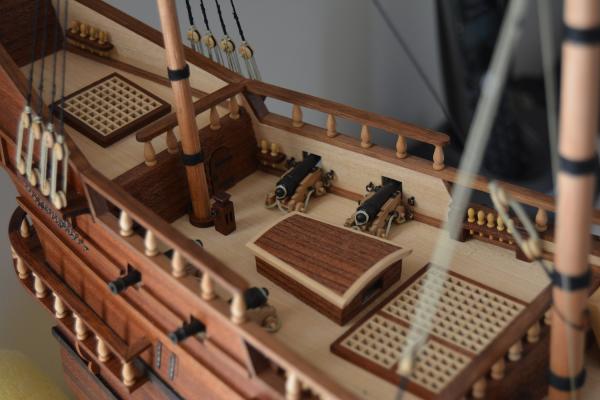
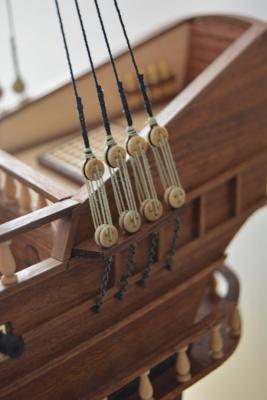
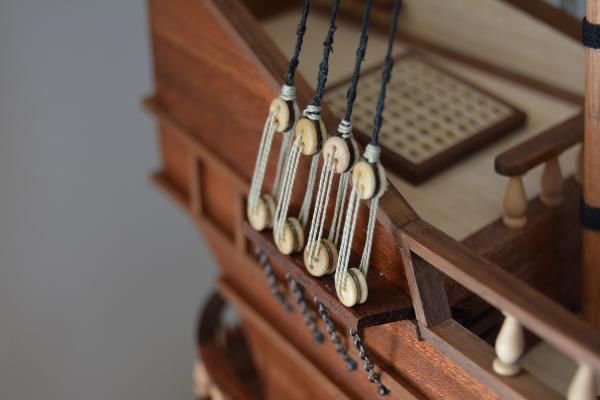
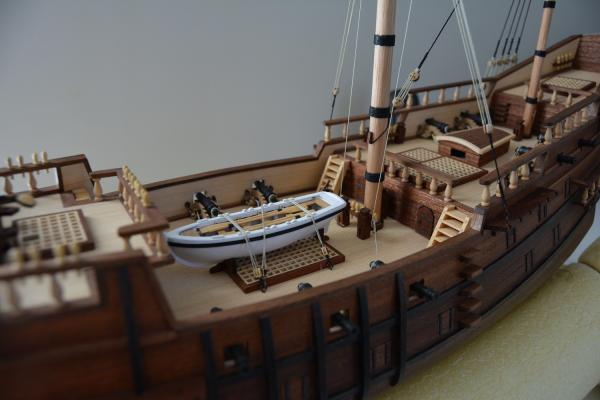
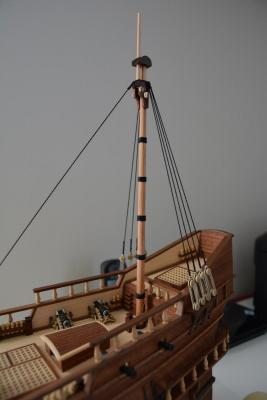
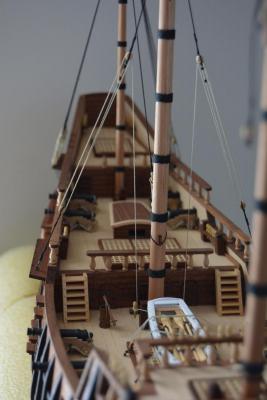
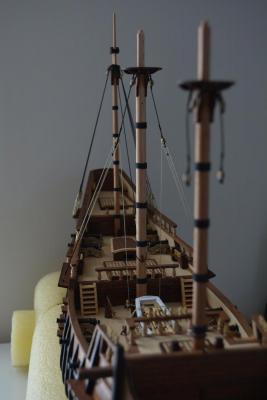
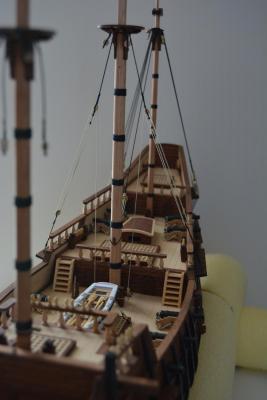
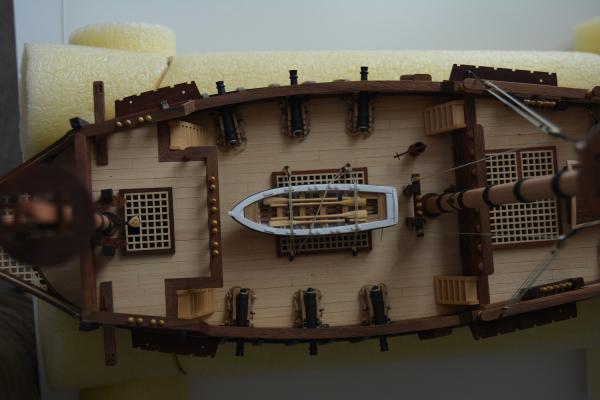
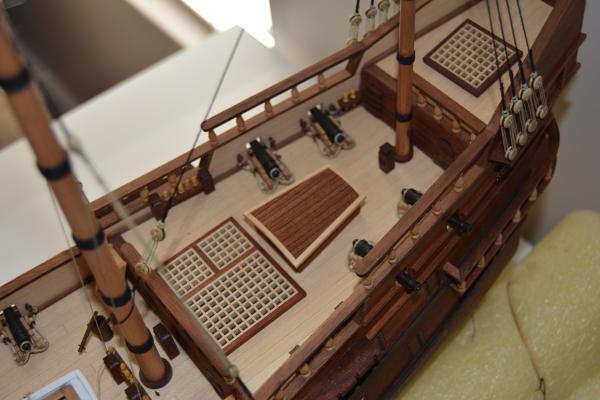
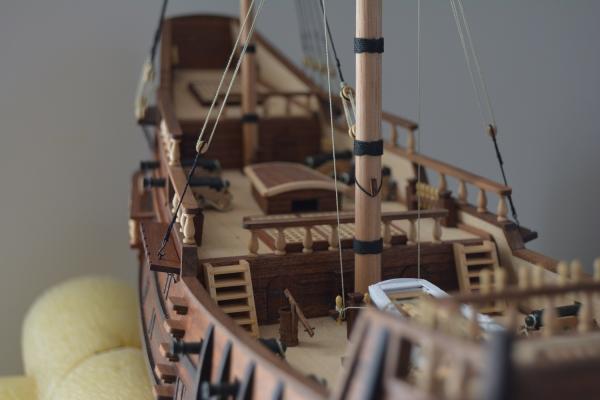
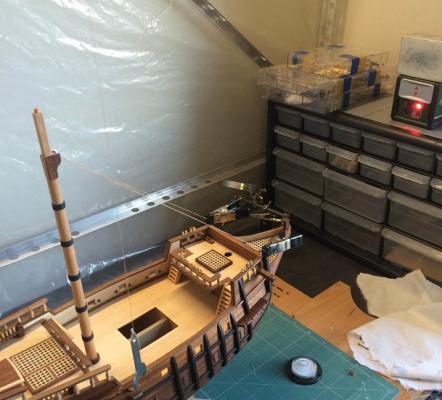
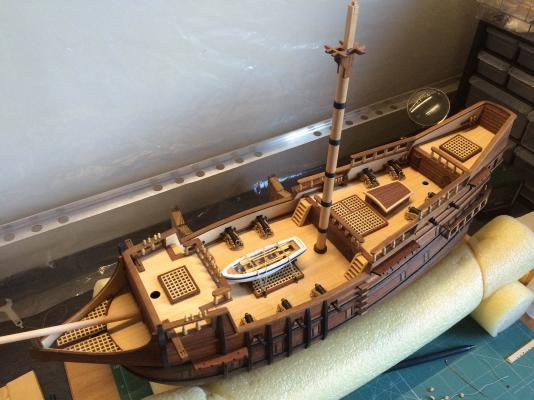
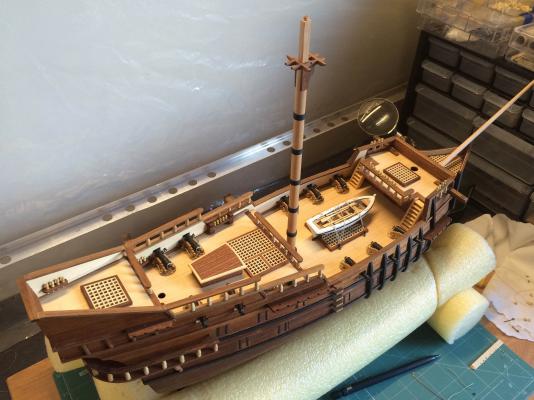
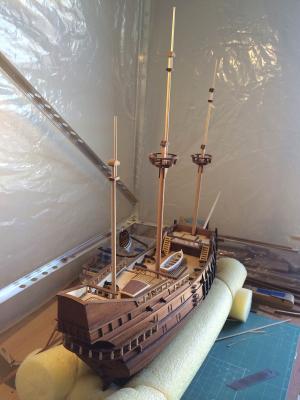
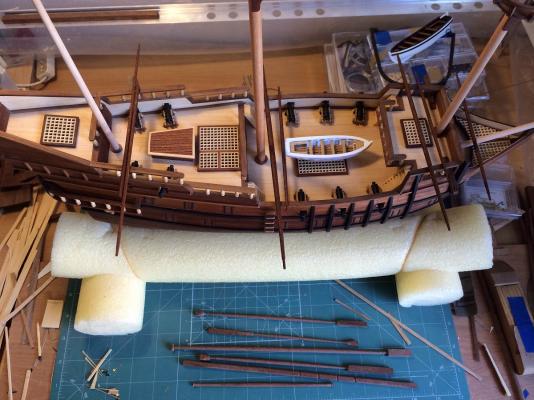
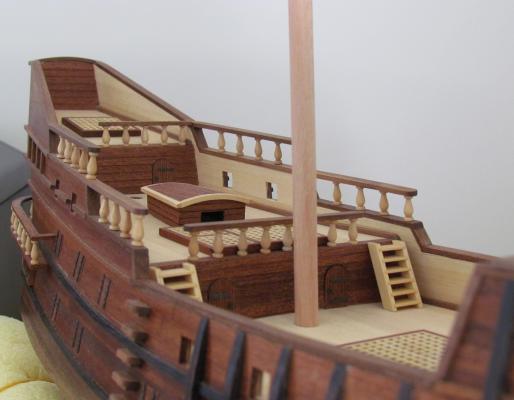
I started with the rigging. I decided to ignore the rigging plan that comes with the model and base the rigging in RC Anderson's book "The rigging of ships in the days of the spitsail" - so that the rigging is more accurate for the period. It is quite difficult to rig without a plan, so I have to plan each step carefully. I am also using the Mayfair instructions (from Chuck Passaro) to help guide my rigging. My biggest problem is that the SF II layout of knights and pinrails is not appropriate for my new rigging plan. I had to move some pinrails to locations on the deck that is not perfectly suited for the rails and as a result I had to make some modifications to my forecastle and ladder going to the poop deck. I decided not to pursue making my own blocks any further. It just took too much time and didn't look all that great. I ended up buying blocks from Chuck and no words can describe how incredible his workmanship is. His blocks (at such a tiny scale) are absolutely unbelievable! Chuck also went to an incredible length to ensure that I receive my blocks in South Africa. Thanks Chuck! I didn't like the first pump I made, so I made a new version (new left, old right). Mounted on the deck I'm please with the boat Modifications to allow for my revised rigging plan: a) I made a hole in the forecastle grating to simulate a move of the foremast knight to below the deck. The rams head will ultimately be rigged to an eyebolt that I installed below the deck (to simulate the knight below the deck). This is similar to descriptions from RC Anderson and the Mayfair rigging plan. There simply isn't any space left on the SF II forecastle to mount the knight in between the grating and the mast. I had to add some pinrails at various locations along the deck to ensure that rigging ends up belayed in appropriate places (following descriptions from Anderson). I ignored the location of the pinrails in the SFII plans completely. I needed belaying pins on the inside of the main shrouds, but the bulwarks of the SFII are of such a nature that you can't mount a rail to the bulwarks on the inside of the shrouds. I had to make separate rails that mount on the deck. Not ideal, but it's the only option I had. I changed the ladder going to the poop deck to make room for a pin rail just abaft of the mizzen. So far, I'm done with the mizzen shrouds and the main tackles. It really is a lot harder than what it seems to get the upper and lower deadeyes spaced evenly, no matter what tip/jig/tool you use! Well, at least for a newbie such as me. On the photos I can see a lot of fuzz on my lanyards that you can't really see by naked eye. But it still shows me I need to wax those lines a bit more. As she stand today
-
 DesertWolf reacted to a post in a topic:
San Francisco 2 by DesertWolf - Artesania Latina
-
 DesertWolf reacted to a post in a topic:
San Francisco 2 by DesertWolf - Artesania Latina
-
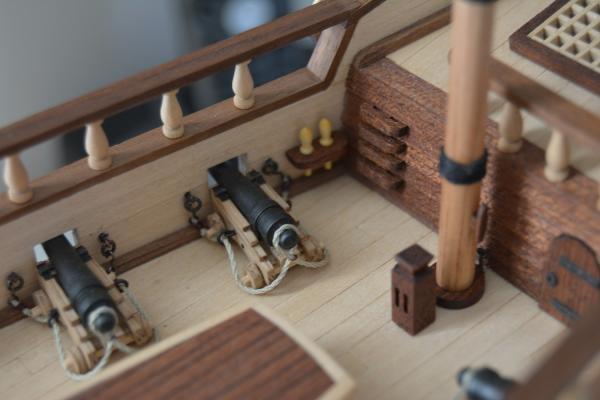
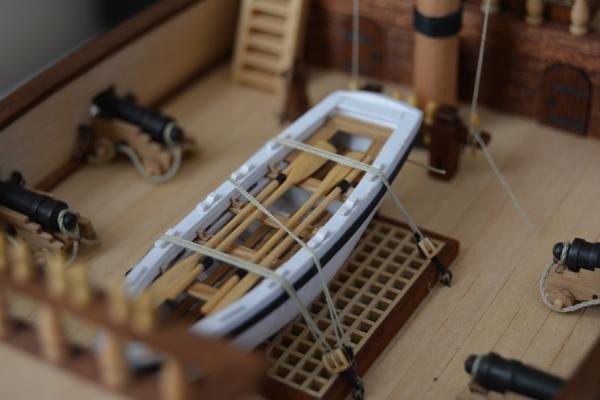
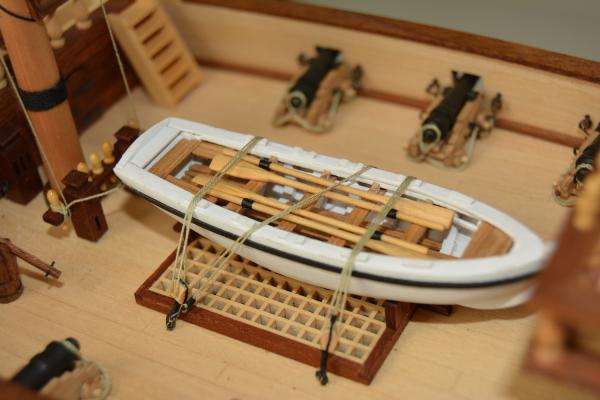
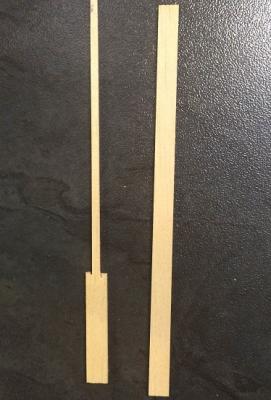
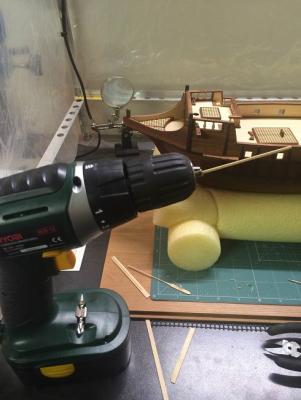
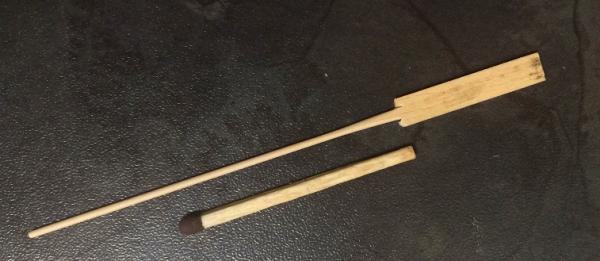
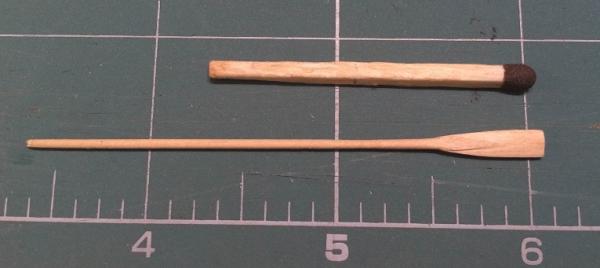
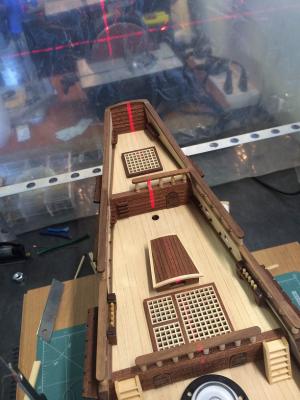
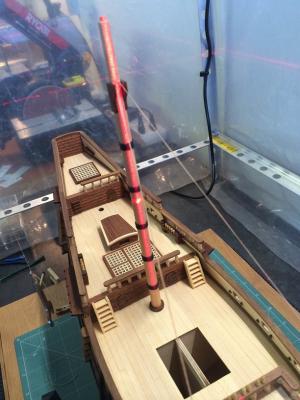
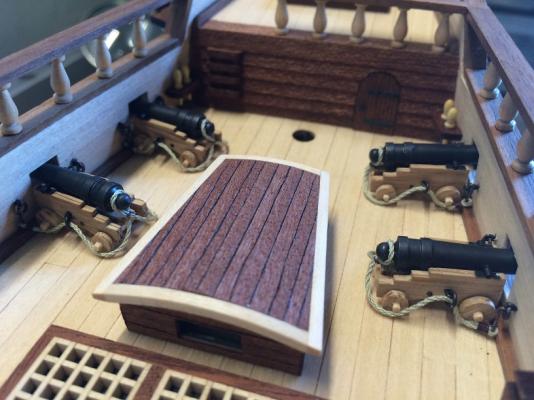
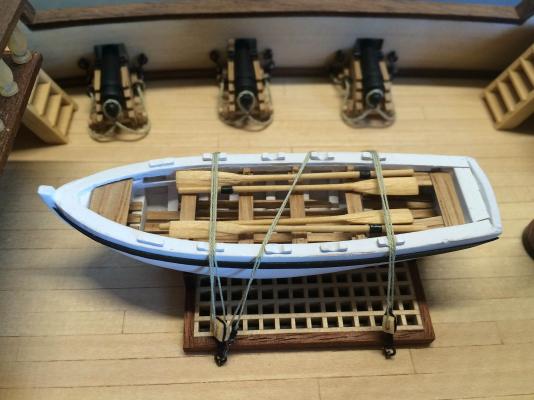
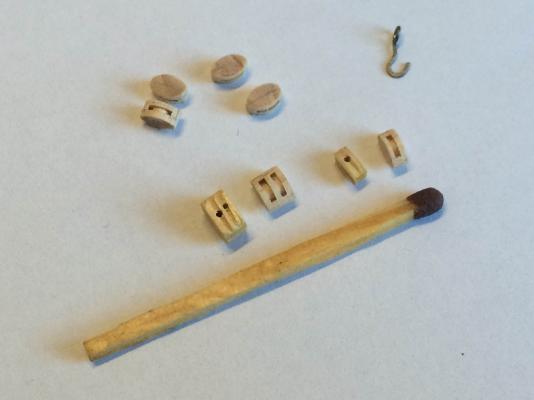
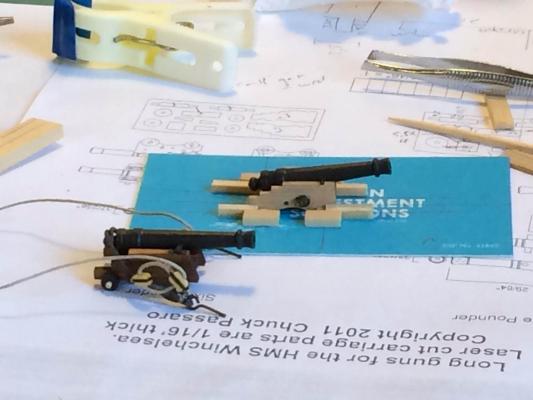
I made some oars for the ship's boat a while ago. I started by cutting blanks of the appropriate thickness. Then I removed some wood to end with a square shaft. With the blade already part of the shaft blank, it was too difficult to turn the shaft in a lathe, so I used the usual "stick it in the drill" trick and rounded the shaft with fine grit sanding paper. Finally, I shaped the blade with some needle files. To get my masts aligned, I decided to use a self-leveling laser. I chose a rather inexpensive one that throws a self-leveling cross (visible on the right in the pic below). I leveled the ship on my bench and then aligned the laser so that the vertical line runs through the center off all three mast holes in the deck. By aligning the mast with the vertical laser line, the mast is now perfectly vertical (doesn't lean to port or starboard) and all 3 masts are perfectly in line when viewed from stem to stern. You just need to set the desired rake by using a protractor. I also finished rigging and installing all the canons. I decided to rig the breaching rope only. I did many test runs with the full set of rigging, but the proportions of the rigging line and blocks just didn't look right to me and it ended up looking overcrowded and unnatural. (Thanks Augie for your tip on how to tuck away the excess breaching rope when the canons are out - I really like the way it looks) The ship's boat is finished and mounted. I don't like the blocks that came with the kit. Sure, they are mass-produced and will never look like Chuck's, but I'm sure all mine were made on a Friday afternoon 3 minutes before factory closing time (on the start of a long weekend). I'm going to try and make my own blocks. Below is a comparison of my first attempts with some kit supplied ones. Not a 100% happy yet, but it's a good start.
-
 DesertWolf reacted to a post in a topic:
USF Confederacy by Augie & Moonbug - FINISHED - Model Shipways - 1:64
-
The instructions of my AL kit does not always focus on proper scaling & dimensions that rigidly. I was wondering - what is a proper height for the knights, especially during the 17th century? Are there any rules that governed the dimensions of knights in relation to other items such as the masts? For example, were the knights of the main, fore and mizzen masts different heights? Any help will be greatly appreciated.
-
 DesertWolf reacted to a post in a topic:
San Francisco 2 by msberkman - Artesania Latina - Scale 1:90 - my first wooden kit - Galleon S.XVI
-
 DesertWolf reacted to a post in a topic:
San Francisco 2 by msberkman - Artesania Latina - Scale 1:90 - my first wooden kit - Galleon S.XVI
-
Augie, I agree with your comments on the gun tackle that you made in your log. I tried rigging the cannons with more tackle but it looked horrible on this scale. The blocks are too big and the rope too thick in the scale I'm working on. That is why I will shamelessly copy your way of attaching the breeching ropes and leave the other gun tackle in this build.
-
 DesertWolf reacted to a post in a topic:
USF Confederacy by Augie & Moonbug - FINISHED - Model Shipways - 1:64
-
 DesertWolf reacted to a post in a topic:
San Francisco 2 by DesertWolf - Artesania Latina
-
Superb, absolutely superb! The quality of your deck fittings are amazing. I think I'm going to copy the way you arranged the breeching ropes of your cannons. It looks a lot neater than having the excess rope lying on the deck next to the cannons. Is this the way it was actually done?
- 2,191 replies
-
- confederacy
- Model Shipways
-
(and 1 more)
Tagged with:
-
 DesertWolf reacted to a post in a topic:
USF Confederacy by Augie & Moonbug - FINISHED - Model Shipways - 1:64
-
 DesertWolf reacted to a post in a topic:
Oseberg by Vivian Galad - Amati - 1:50 - modified kit
-
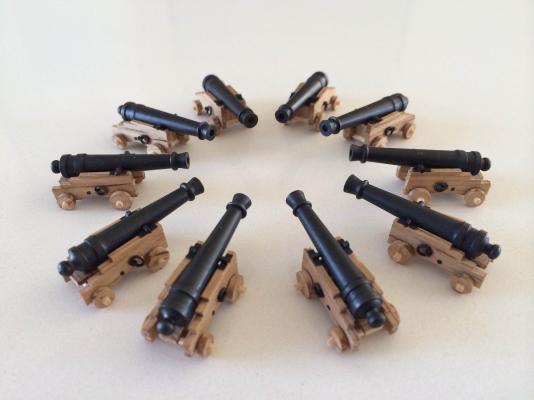
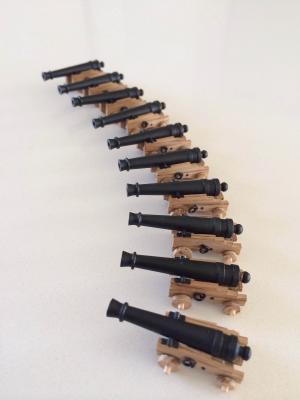
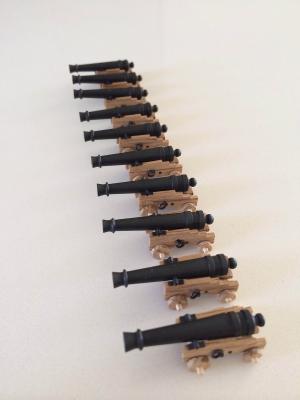
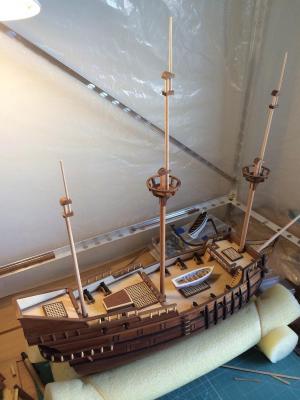
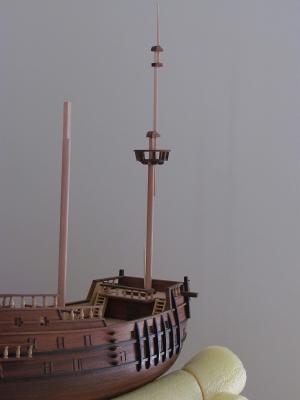
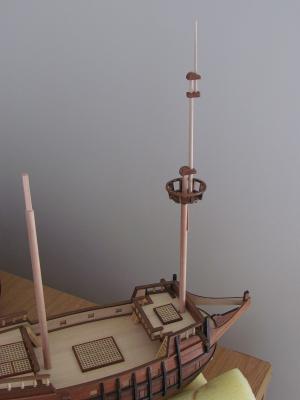
Thanks Augie & Vivian. Certain things you just can't hide with the "wall side" Whatever model I build next, I will make sure it is a model of an actual vessel for which I can find some proper scaled plans. In the end I did have some time to finish a couple of things over the holiday season. I finally assembled all the cannons. My SF II as she stands in the shipyard today. I started exactly 3 years ago. None of the mast pieces are glued yet. I first have to figure out how to glue all the sections of a mast so that they are perfectly aligned (not that hard I guess) and then how to step & glue the masts so that they are perfectly aligned from stem to stern and at the correct rakes. I will probably take a detour and build Frank Mastini's jig for this purpose, unless I can find an easier way (perhaps a jig that uses cheap laser pointers or something) I also finished all the yards. I've actually been busy with yard making since late October. I ignored the plans that came with the kit and decided to base (loosely) my mast and yard dimensions on the information given by Anderson in "The rigging of ships in the days of the spritsail". I believe it makes the whole model look more in proportion. I struggled most with the "arc of a circle" tapering of the yards. It's quite difficult getting the taper even on both sides of the yard (as all the failed attempts lying in front shows!)
-
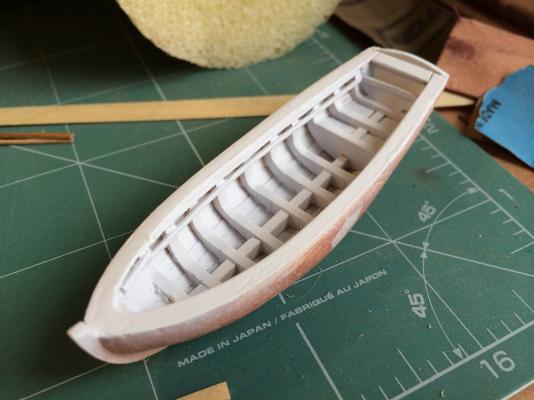
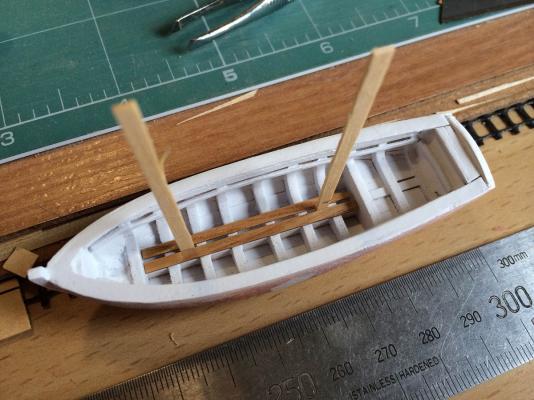
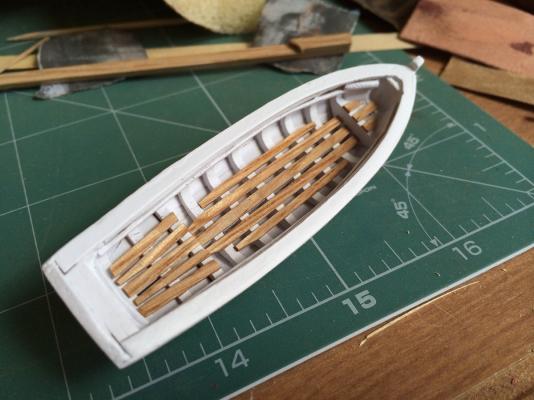
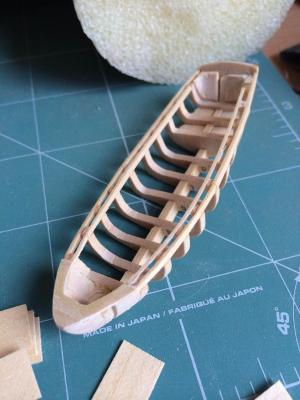
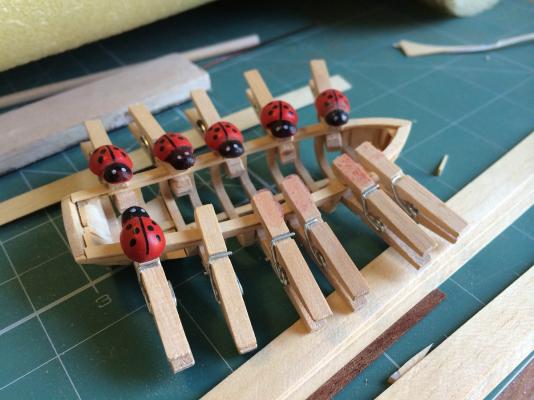
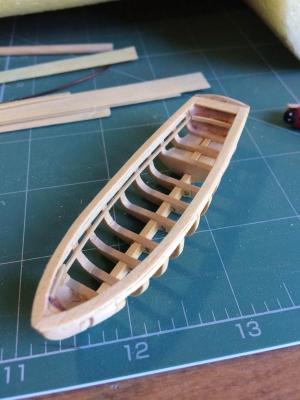
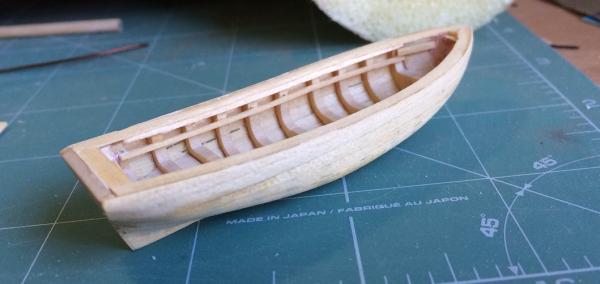
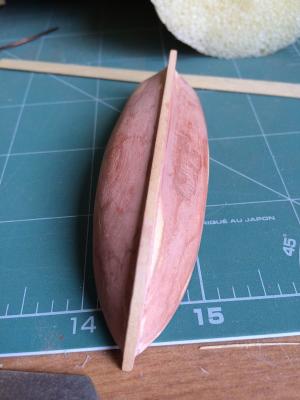
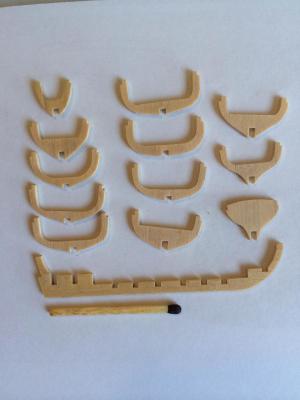
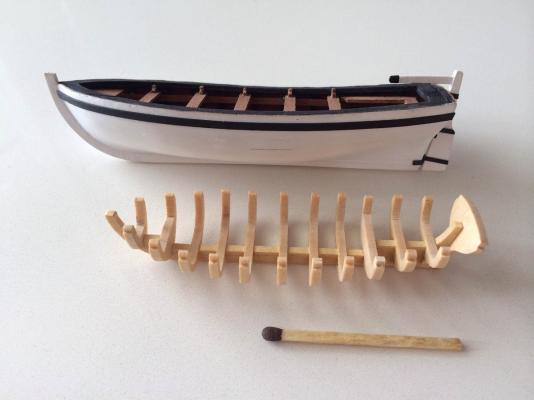
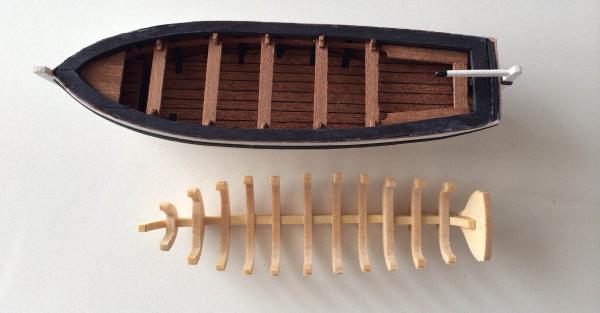
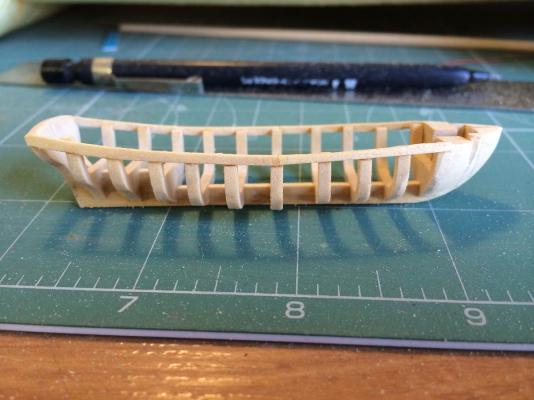
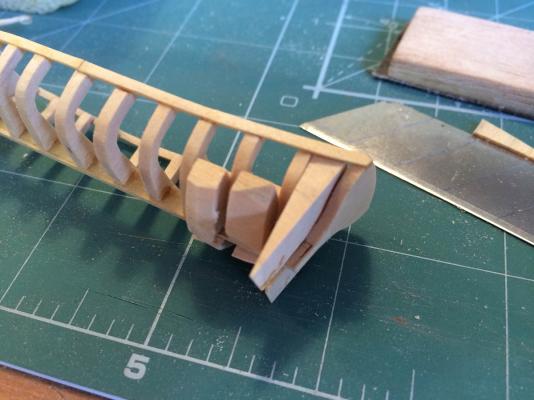
When I made the ship's boat a year ago I used the size of the metal boat that came with the kit as a reference. I never thought to check if it is appropriate or not. My scratch build was marginally bigger in the end, and to make matters worse I fixed the boat's rudder to its hull (the kit plans show the boat's rudder stored inside the boat). Although my boat fits on the deck, it looks out of proportion. With the rudder fixed to the hull the boat simply takes up too much space on the deck - leaving almost no space for the pin racks in front of main mast. My first thought was to remove the rudder, but even then the boat would still look out of proportion to me. I knew it would bug me every time I looked at the model and I would never be satisfied unless I started over. So instead of making masts and yards this holiday season, I worked on a new boat. The new boat is about 15% smaller than the previous version. I still need to install the thwarts, knees and oar locks, paint the hull outside and add the rubbing strakes. At the speed I'm going that will probably take another month
-
We all get that feeling at some point. I think if you have the right wood to work with things will be a lot easier. Give Country Woods a try. It's in the street behind Adendorff. They will do a lot of the hard work for you by planing planks to the right thickness - all you need to do is rip it up in strips.
-
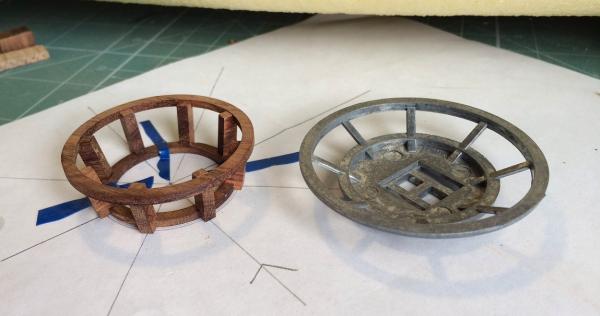
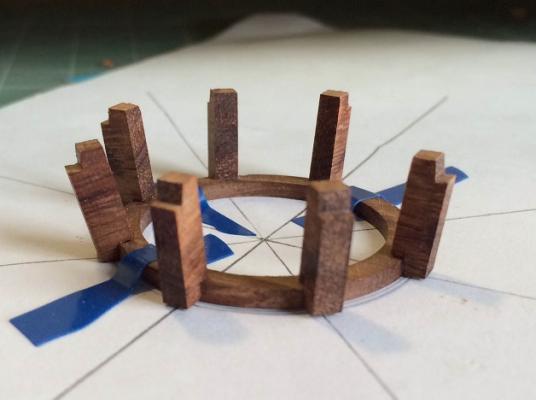
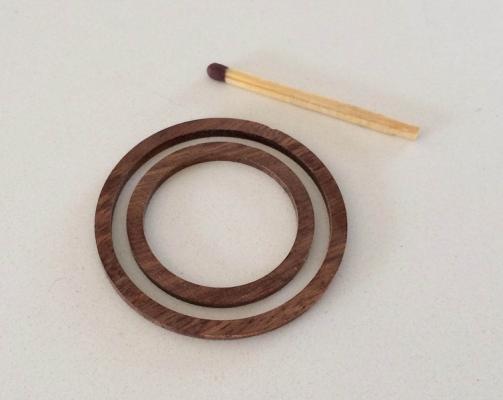
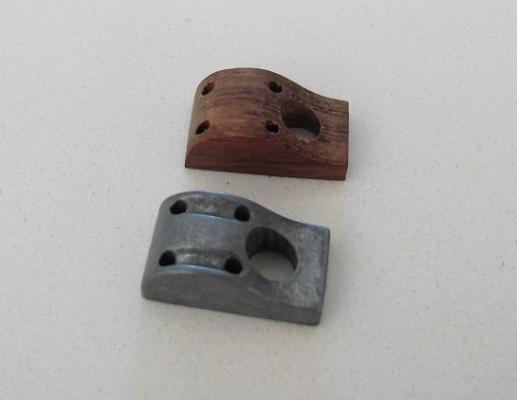
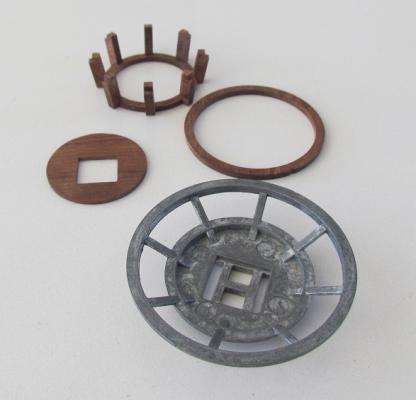
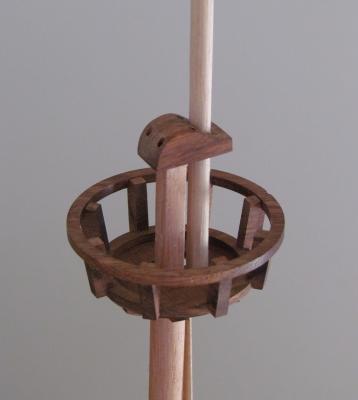
Amazing how one can get side-tracked during a build. After completing the first cannon I wanted to measure the length of breeching rope needed. This made me wonder if any of the bulwark-end eye-bolts will interfere with the pin racks. While fiddling with the position of the pin racks I started wondering if all the running rigging will actually run clear of my tops – since I planned to scratch build mine. So instead of just cutting a piece of rope I ended up making the whole fore mast, top and caps. Making the top I took more than one attempt to finish the first cap. Lesson learnt – first drill all the holes and then shape the cap. Else, keep some Band-Aids ready. Fore mast with everything dry-fitted. I can see that one would need to be very careful that nothing ends up crooked when you glue it all together. I finished some more deck fittings and the stern gallery some time ago.
About us
Modelshipworld - Advancing Ship Modeling through Research
SSL Secured
Your security is important for us so this Website is SSL-Secured
NRG Mailing Address
Nautical Research Guild
237 South Lincoln Street
Westmont IL, 60559-1917
Model Ship World ® and the MSW logo are Registered Trademarks, and belong to the Nautical Research Guild (United States Patent and Trademark Office: No. 6,929,264 & No. 6,929,274, registered Dec. 20, 2022)
Helpful Links
About the NRG
If you enjoy building ship models that are historically accurate as well as beautiful, then The Nautical Research Guild (NRG) is just right for you.
The Guild is a non-profit educational organization whose mission is to “Advance Ship Modeling Through Research”. We provide support to our members in their efforts to raise the quality of their model ships.
The Nautical Research Guild has published our world-renowned quarterly magazine, The Nautical Research Journal, since 1955. The pages of the Journal are full of articles by accomplished ship modelers who show you how they create those exquisite details on their models, and by maritime historians who show you the correct details to build. The Journal is available in both print and digital editions. Go to the NRG web site (www.thenrg.org) to download a complimentary digital copy of the Journal. The NRG also publishes plan sets, books and compilations of back issues of the Journal and the former Ships in Scale and Model Ship Builder magazines.


