Grey seal
-
Posts
22 -
Joined
-
Last visited
Recent Profile Visitors
343 profile views


-
 cristikc reacted to a post in a topic:
Bluenose by Grey seal - Billing Boats - RESTORATION
cristikc reacted to a post in a topic:
Bluenose by Grey seal - Billing Boats - RESTORATION
-
cristikc reacted to a post in a topic:
Bluenose by Grey seal - Billing Boats - RESTORATION
-
Nirvana reacted to a post in a topic:
Bluenose by Grey seal - Billing Boats - RESTORATION
-
Nirvana reacted to a post in a topic:
Bluenose by Grey seal - Billing Boats - RESTORATION
-
Nirvana reacted to a post in a topic:
Bluenose by Grey seal - Billing Boats - RESTORATION
-
Nirvana reacted to a post in a topic:
Bluenose by Grey seal - Billing Boats - RESTORATION
-
Nirvana reacted to a post in a topic:
Bluenose by Grey seal - Billing Boats - RESTORATION
-
Nirvana reacted to a post in a topic:
Bluenose by Grey seal - Billing Boats - RESTORATION
-
Nirvana reacted to a post in a topic:
Bluenose by Grey seal - Billing Boats - RESTORATION
-
Nirvana reacted to a post in a topic:
Bluenose by Grey seal - Billing Boats - RESTORATION
-
 3D printer rules! Wonder when (not if) we’ll see a new section on this site for “Build Logs for 3D PRINTED MODEL PROJECTS”?
 -
OOOOooooooooooh!!!!! I salute that effort.
-
Grey seal reacted to a post in a topic:
HMS Victory by Philg88 - Billing Boats - Scale 1:75
-
Looks great! I wonder if the decking on the original ship ever looked as fine as this. One explanation for the cantilevered sections around the masts is to divert water away from the base of the mast, a crucial area where you don’t want any rust, rot or whatever comes with the damp. This is an iron-hulled ship without the “natural ventilation” you get through all the cracks and joints on a wooden-hulled ship. I bet they tried to keep below deck as sealed off and dry as possible.
-
Grey seal reacted to a post in a topic:
Bluenose by Grey seal - Billing Boats - RESTORATION
-
Try to get hold of that on a Saturday evening in this little backwater suburb where I live...
- 30 replies
-
- 2
-
-
- bluenose
- billing boats
- (and 1 more)
-
Grey seal reacted to a post in a topic:
Bluenose by Grey seal - Billing Boats - RESTORATION
-
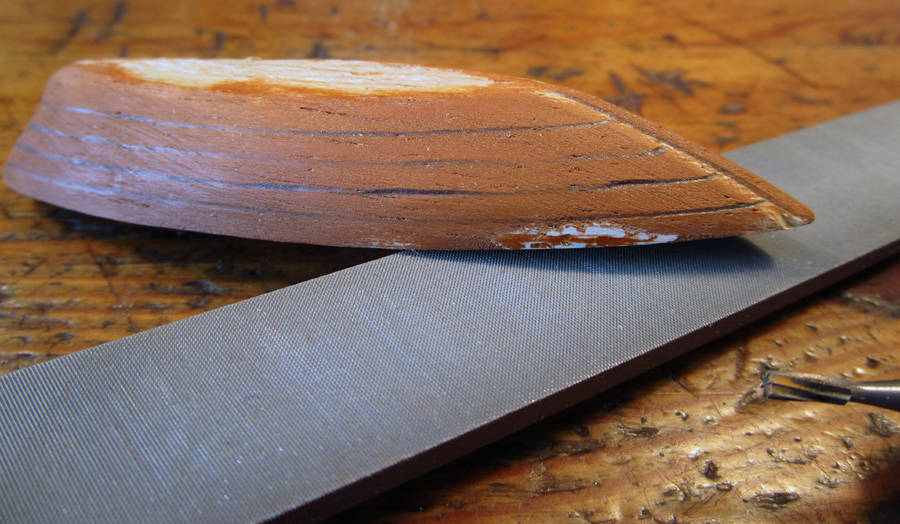
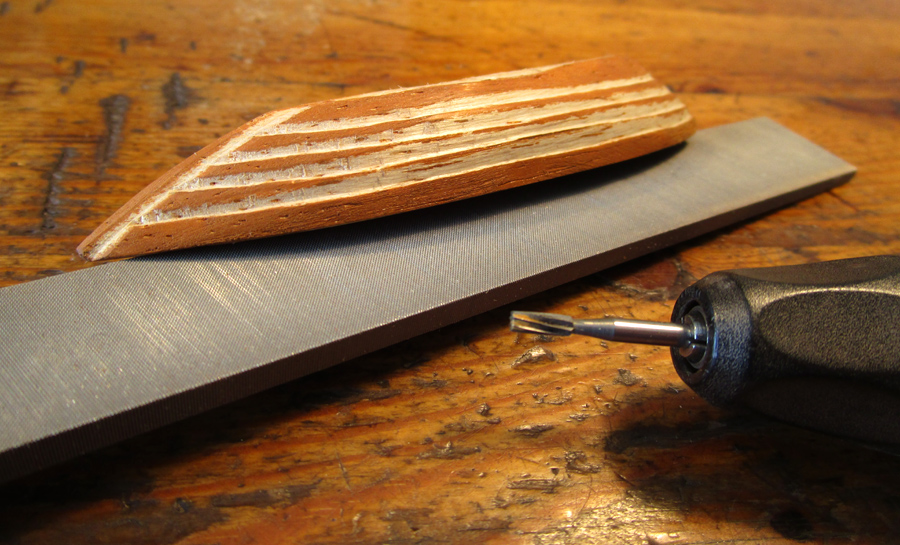
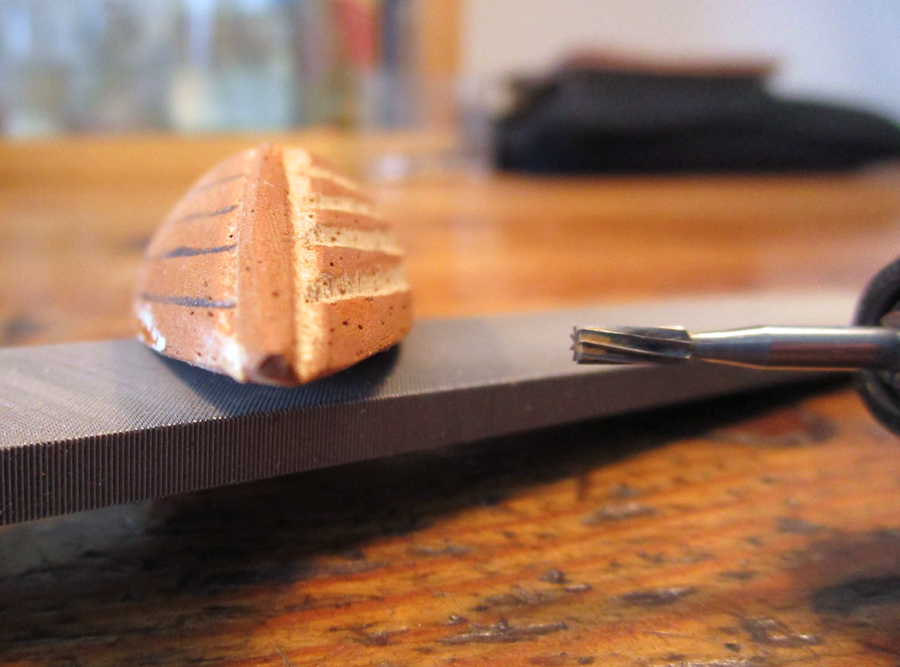
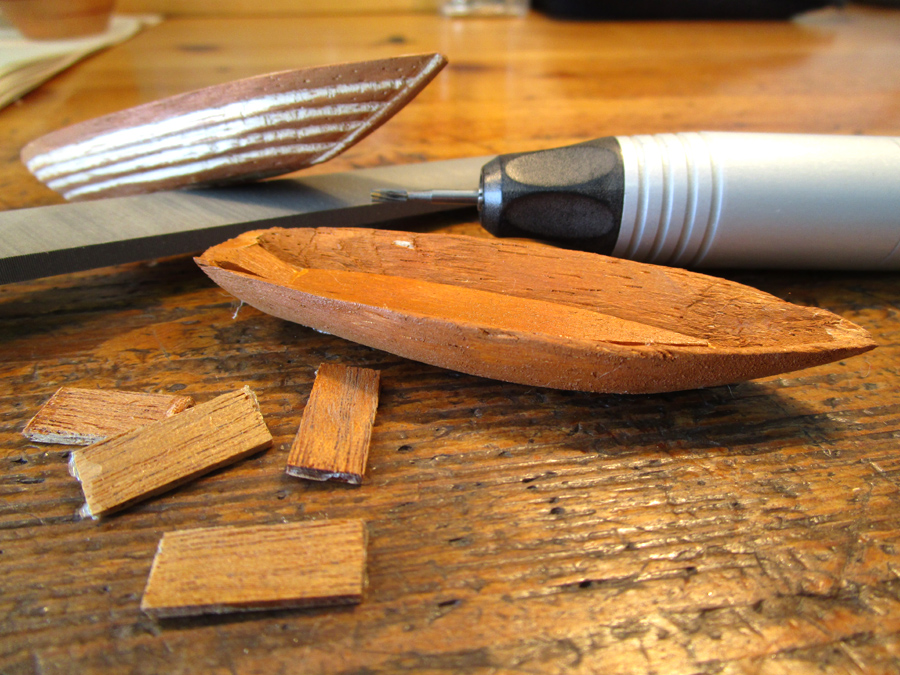
Starting to fix up the dinghies by sculpting plank-like ridges on the outside. Maybe these little boats should be at the scratch build forum. They are cut from a block of balsa. Marking. Milling and filing. Comparing.
- 30 replies
-
- 5
-
-
- bluenose
- billing boats
- (and 1 more)
-
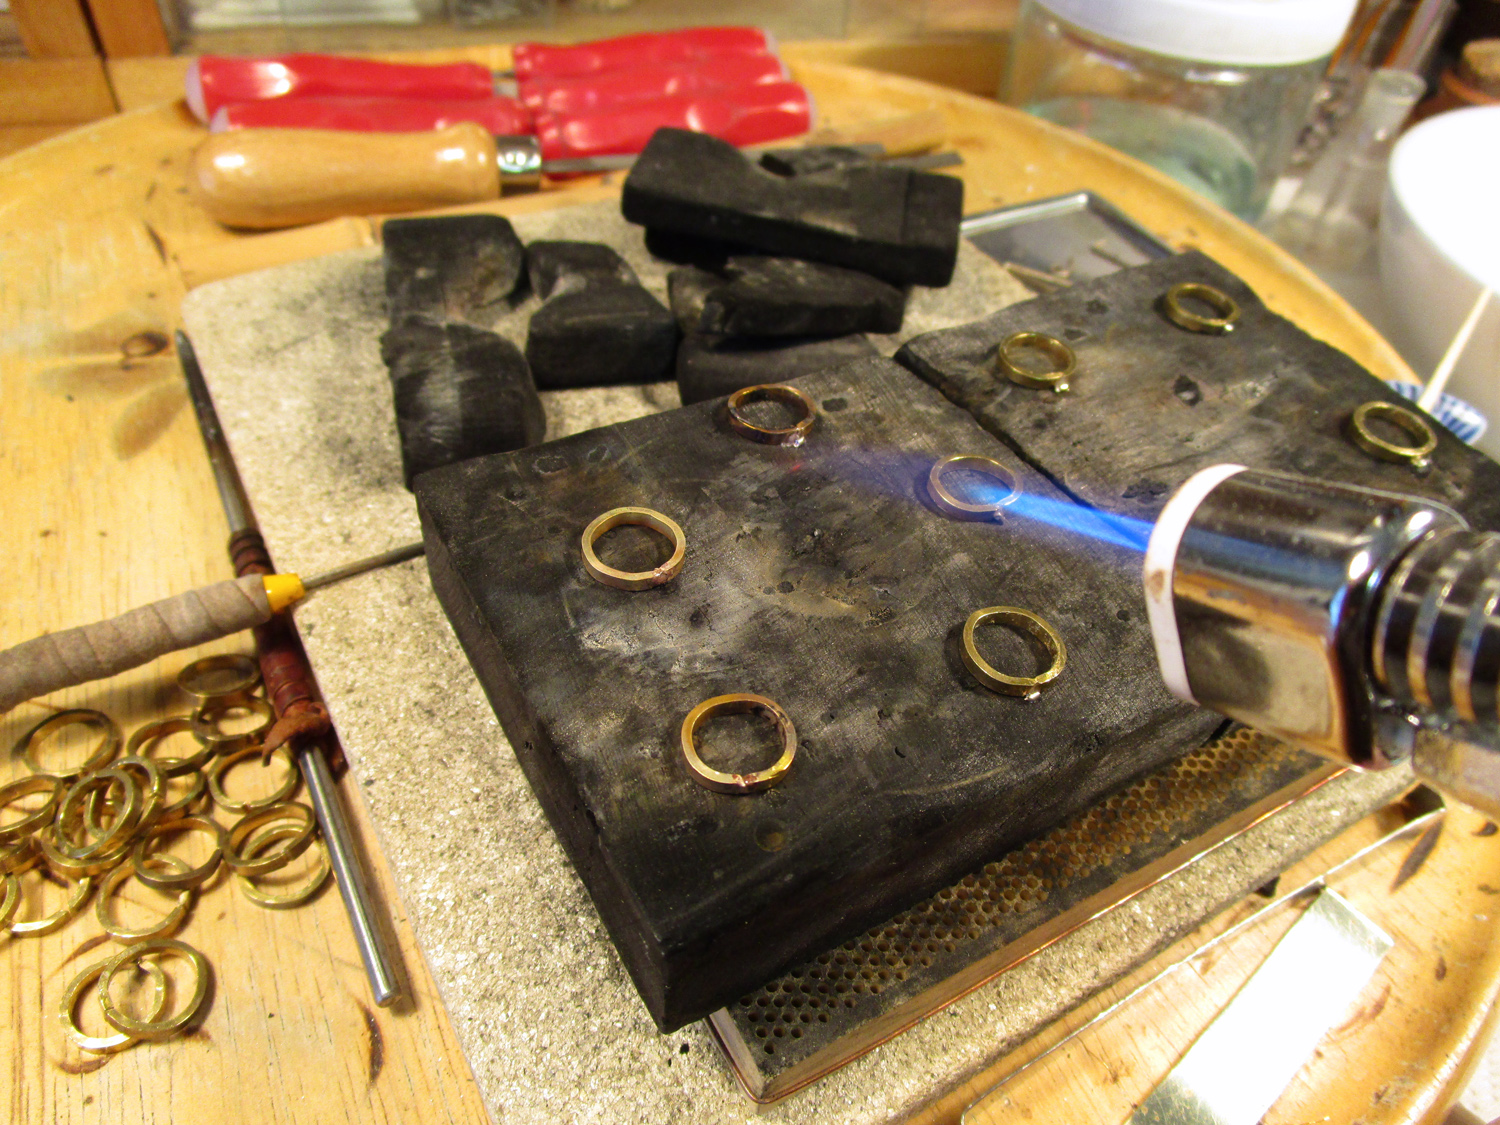
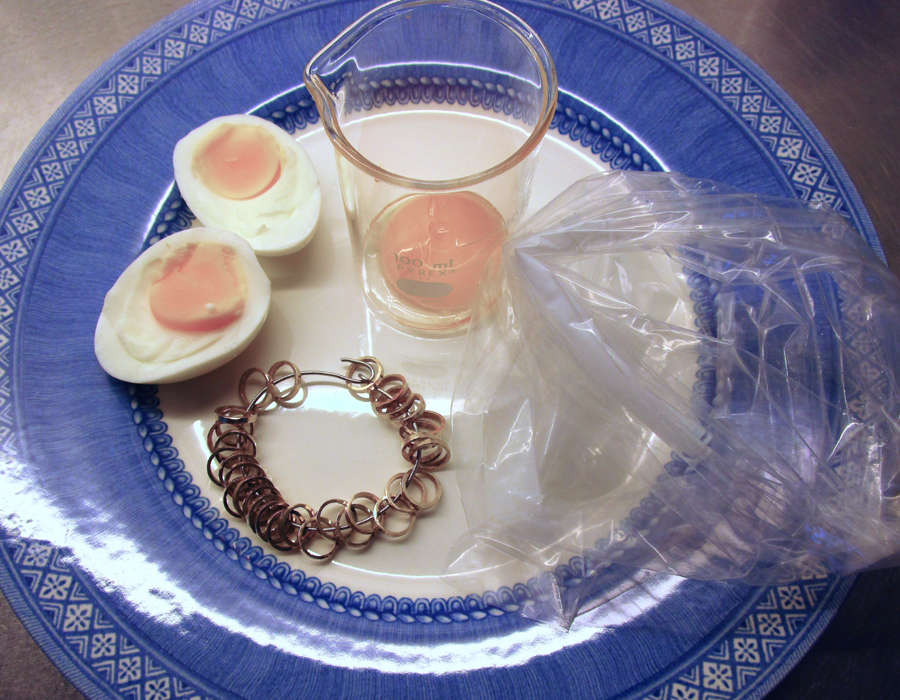
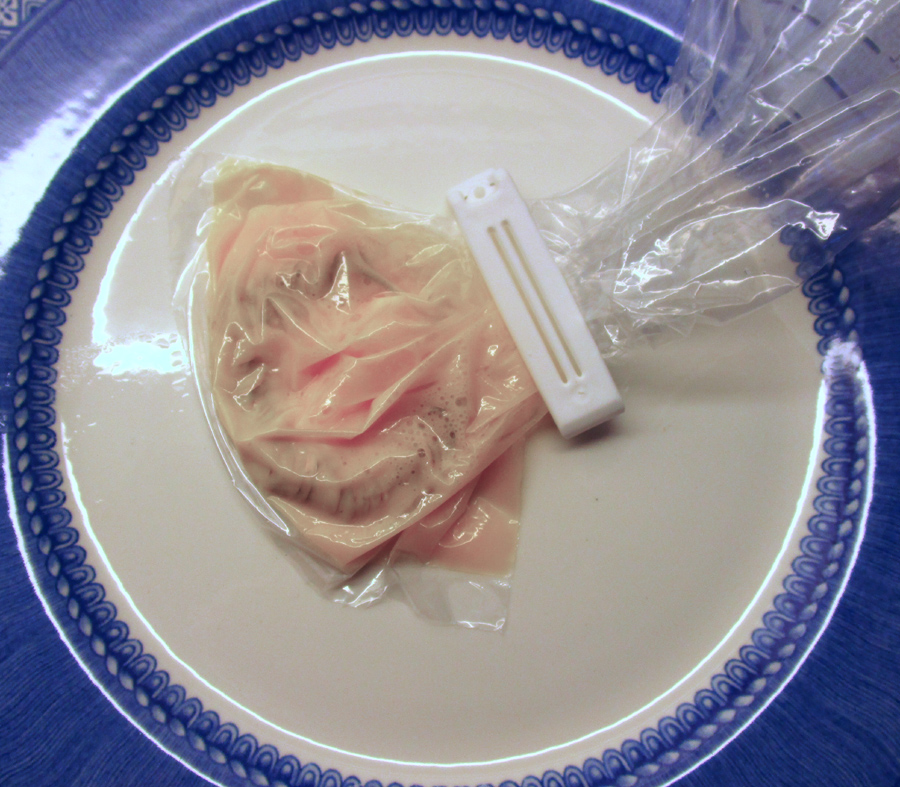
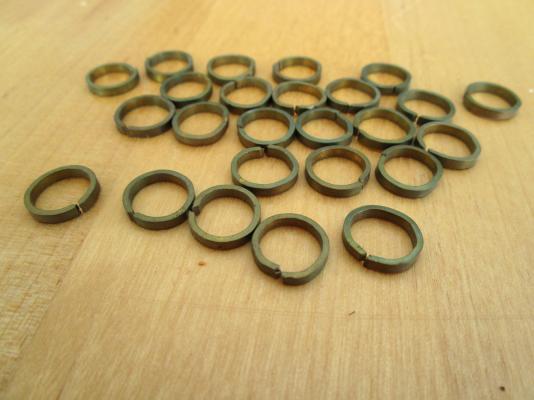
Rings are now closed and round but a bit too shiny after the pickelling. Since I want them looking "weathered" and not totally blackened, I opt for the gooey way of aging them. Two egg yolks (no whites they dont have any sulphur), one boiled to get the right sulphur chems and one raw for additional sulphur but also to act as an electrolyte. Put in a plastic bag and leave overnight. After rinsing, leave on a sunlit warm windowsill for a couple of days while there is still some sulphur on the surface. After that they are "as good as old" again. (Again with the gigantic pics... I guess I'll have to live with that.)
- 30 replies
-
- 4
-
-
- bluenose
- billing boats
- (and 1 more)
-
Filing away and hammering the rings into nice round shape.
- 30 replies
-
- 6
-
-
- bluenose
- billing boats
- (and 1 more)
-
Now why are these photos displayed in such a gigantic scale? At least on my computer. I've used the same settings on the camera as before. Hmmm...
- 30 replies
-
- 1
-
-
- bluenose
- billing boats
- (and 1 more)
-
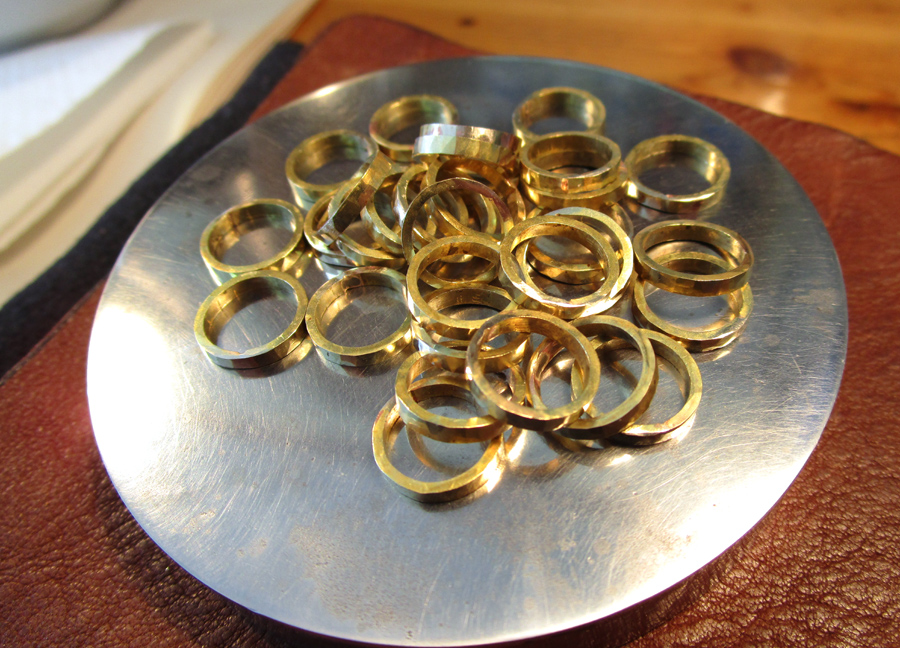
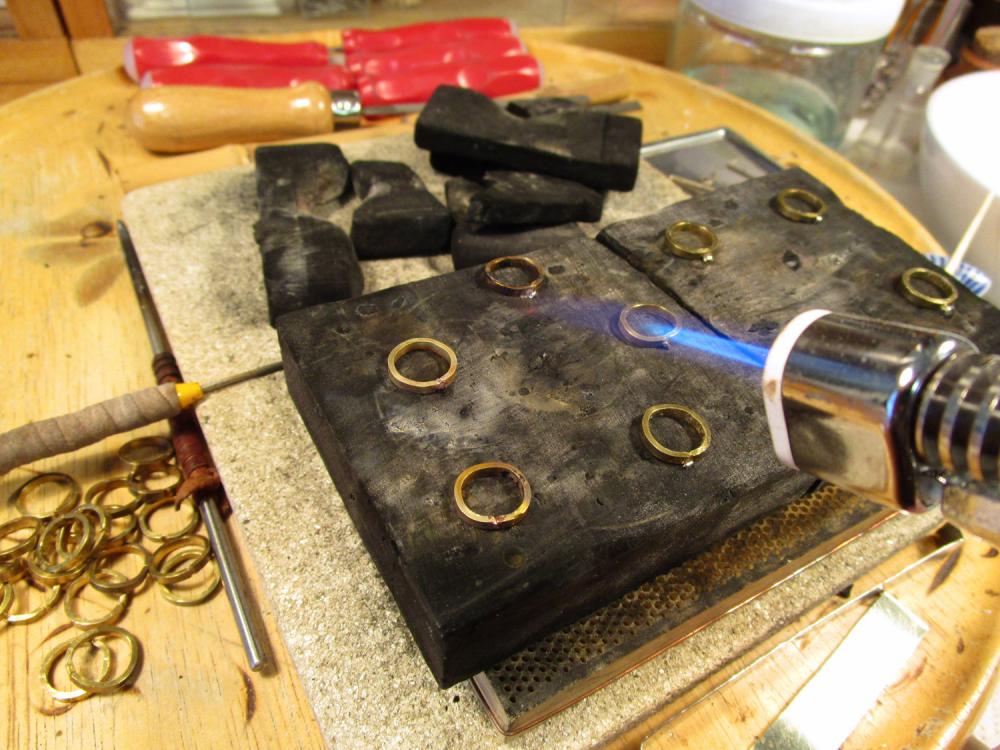
The brass rings have been detached from the masts. They have been more properly joined and then hard soldered using an easy flow 50% silver solder with a rather low melting point (about 650 °C) and pickled in sulphuric acid. Now comes the tedious part of filing down the solder globs... oh joy.
- 30 replies
-
- 3
-
-
- bluenose
- billing boats
- (and 1 more)
-
Grey seal reacted to a post in a topic:
Bluenose by 7Provinces – Billing Boats – 1:75 - first wooden ship build
-
Grey seal reacted to a post in a topic:
Bluenose by Grey seal - Billing Boats - RESTORATION
-
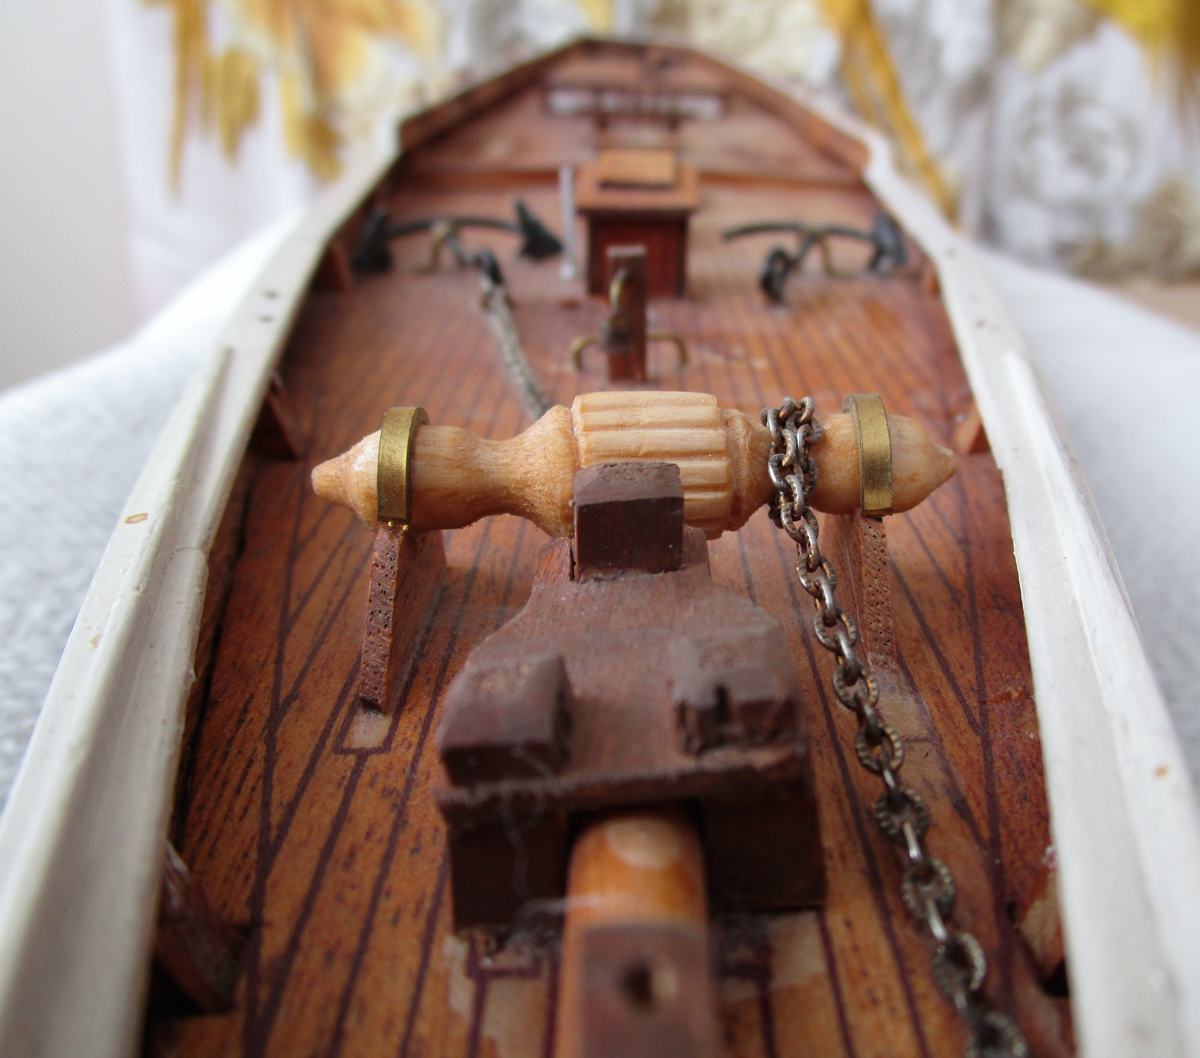
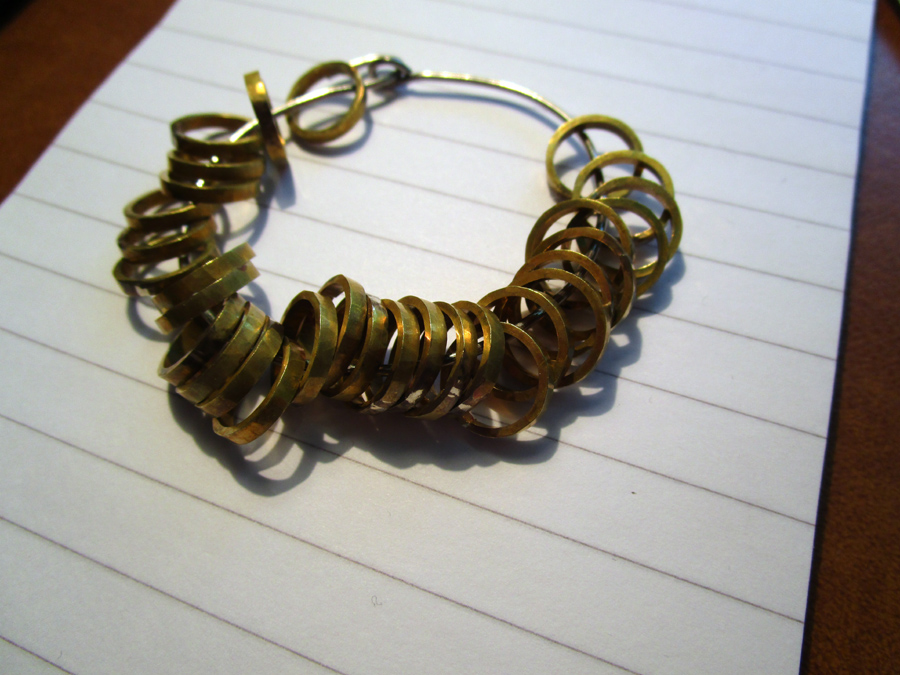
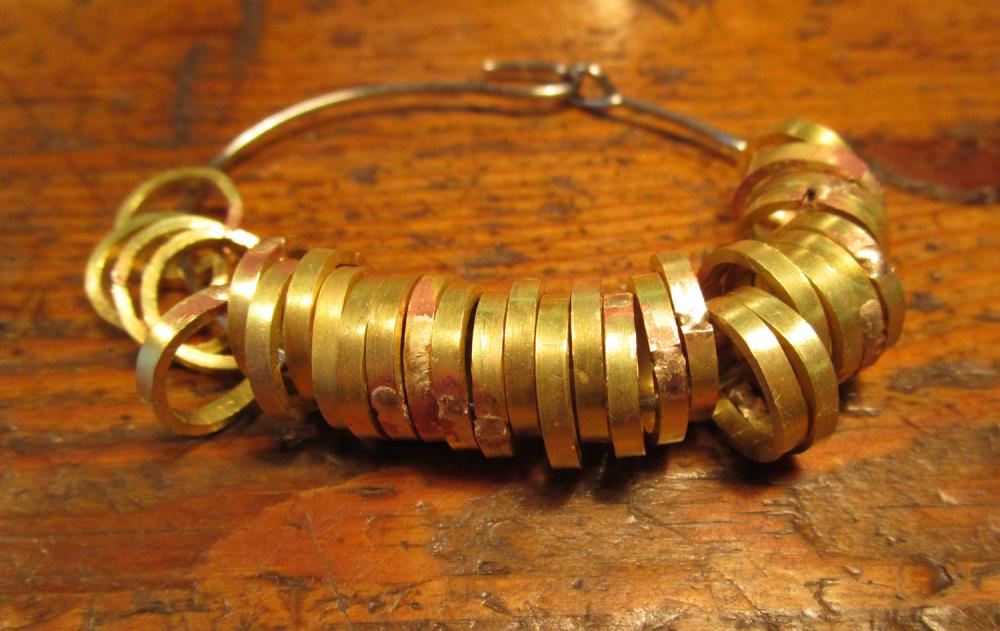
Yep, torsion it is. Let's call it a special feature. It's even more evident in this pic.

- 30 replies
-
- 2
-
-
- bluenose
- billing boats
- (and 1 more)
-
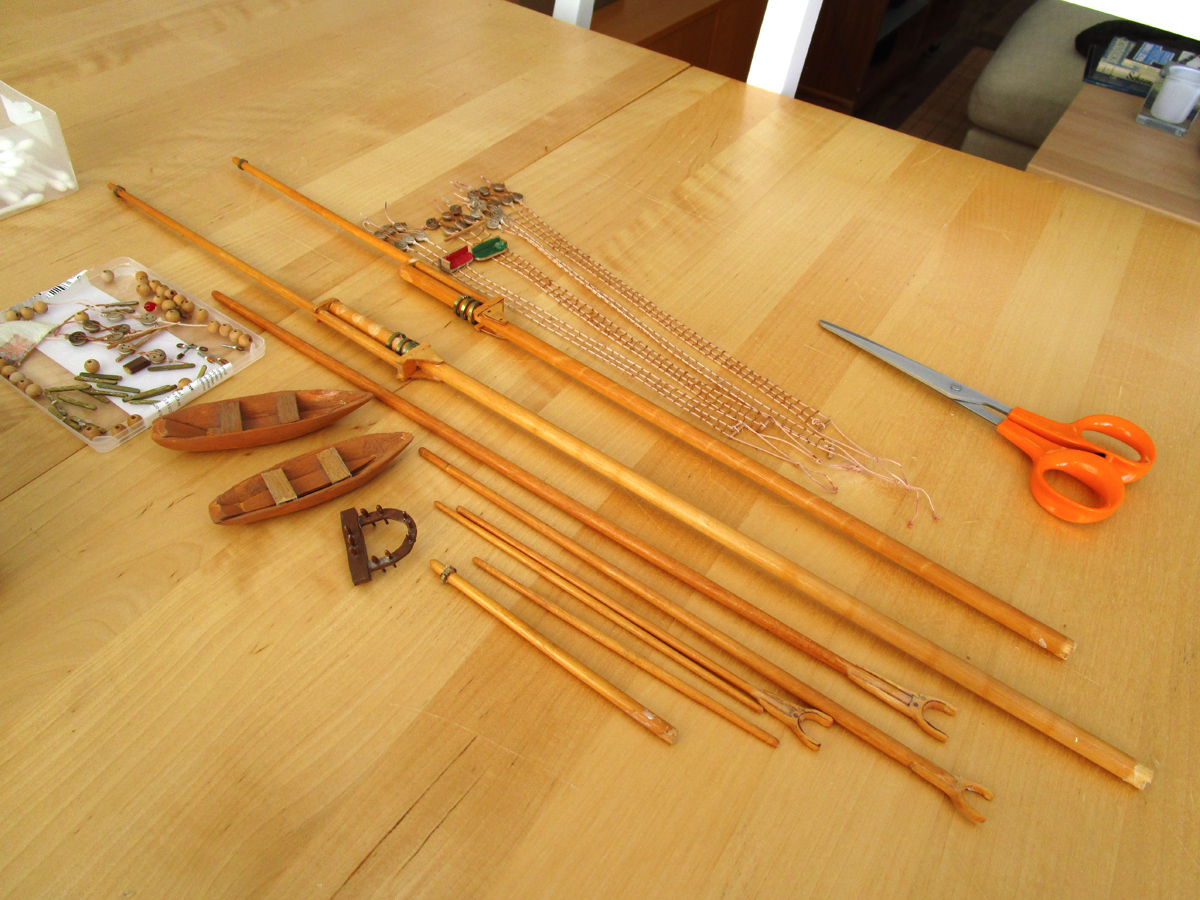
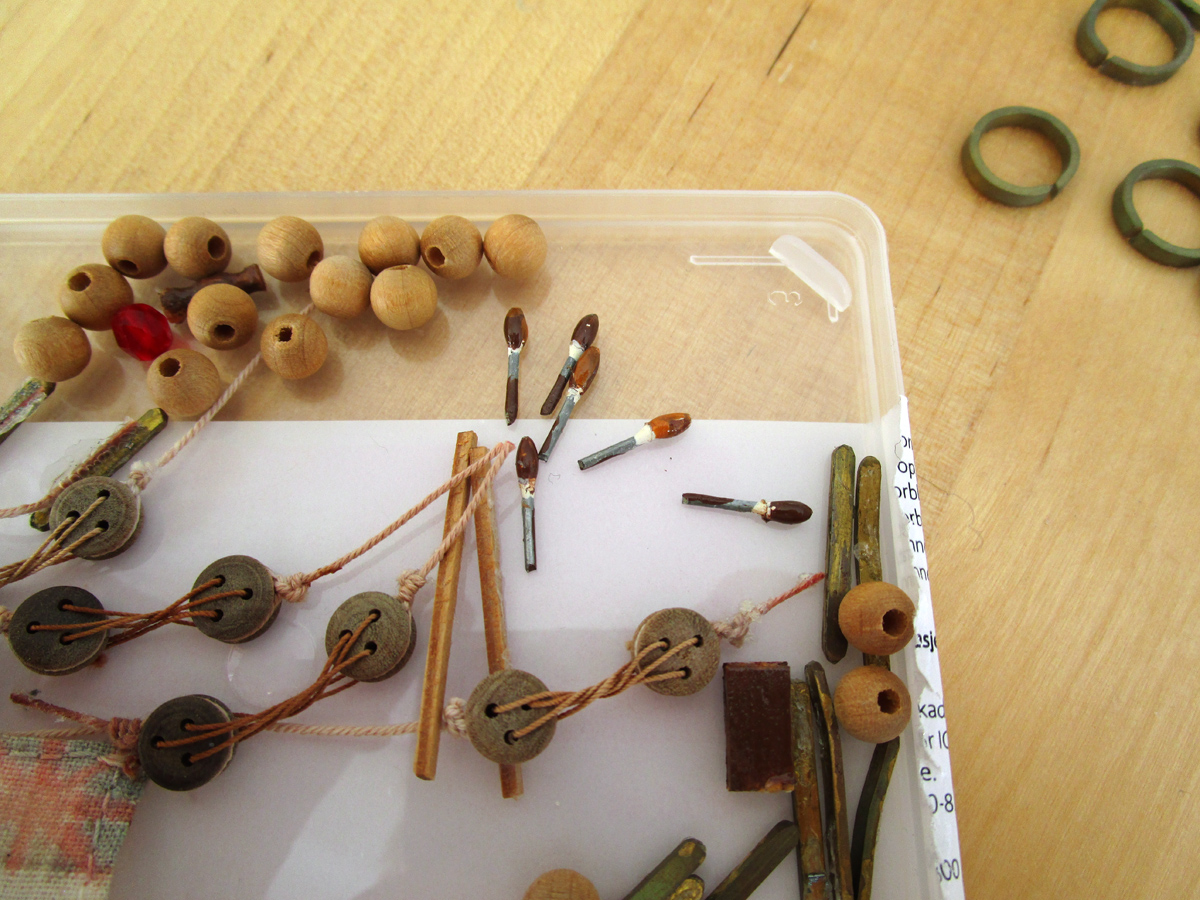
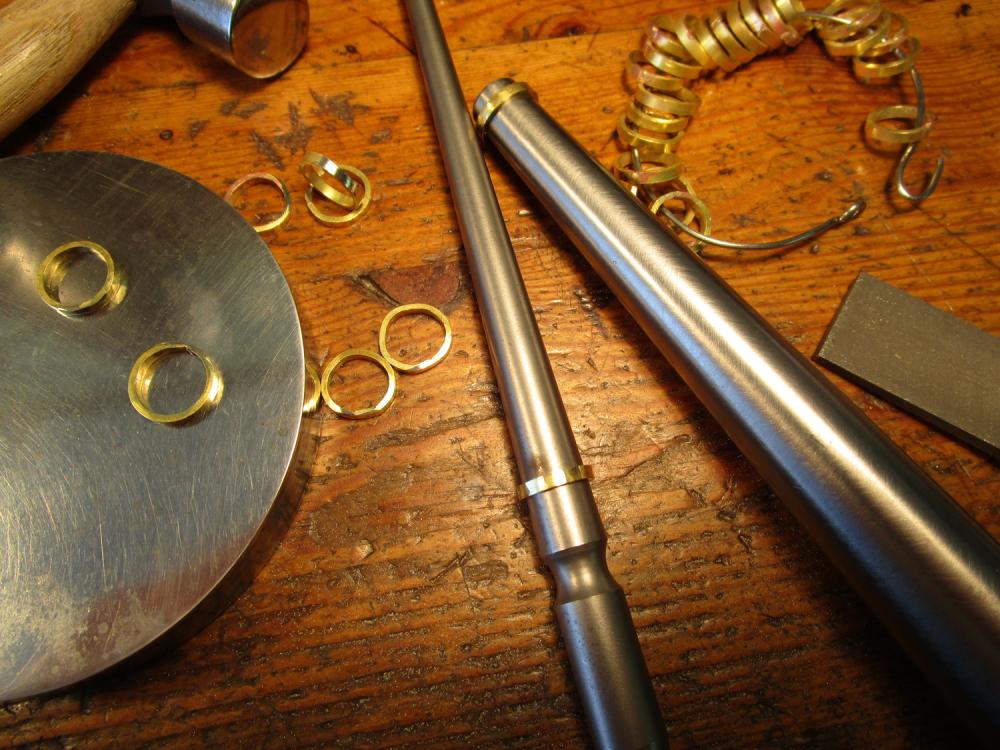
Masts, sprits and spars are now detached from the rigging and sails. I'll see what I'll do with the assorted little bits. The brass mast rings are now very lopsided and open. They will have to be welded shut and made into more, well, rings. I made the belaying pins from thick wire dipped in a glob of Plastic Padding and painted them. Think I will continue with that technique, but this time I'll file the ends to get rid of the pointy ends left by the cutters. The dinghies are very rudimentary. The are carved from a block of balsa and could definitely be improved.


- 30 replies
-
- 3
-
-
- bluenose
- billing boats
- (and 1 more)
-
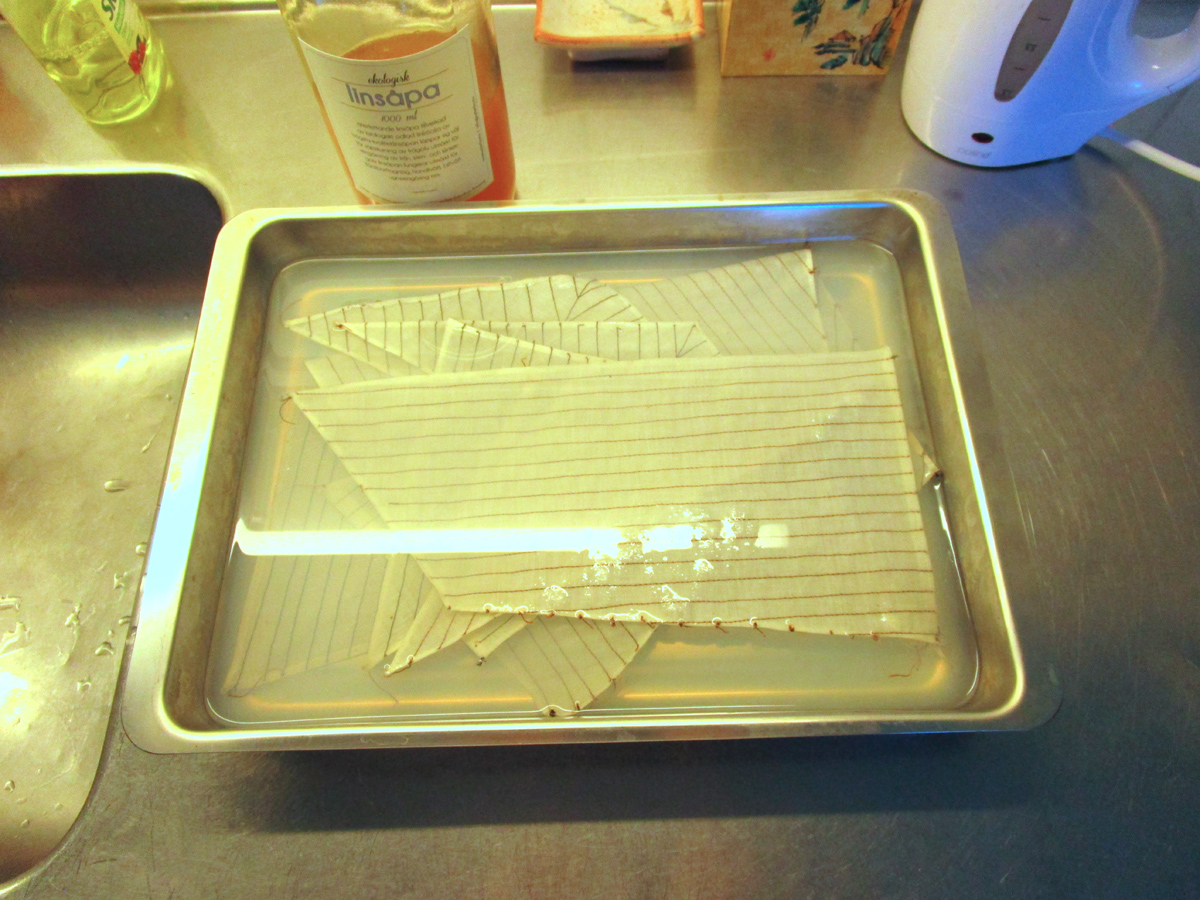
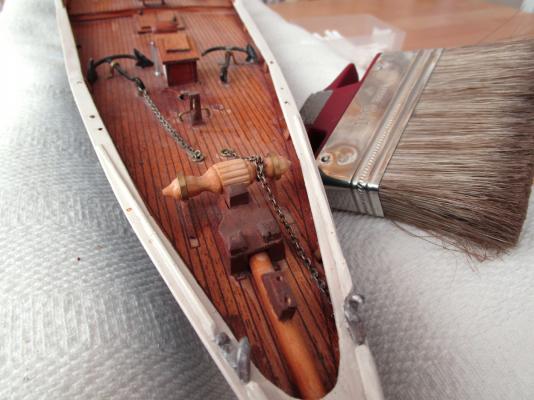
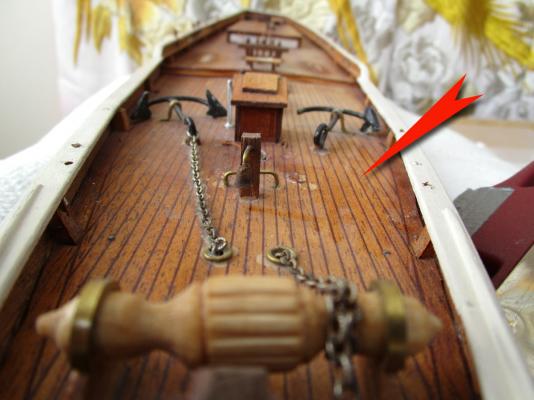
All the rigging has now been removed and the sails are soaking in cold water with some "linsåpa". If that method is good enough for medieval textiles, I guess it's good enough for my sails. I have given the deck a thorough dusting with a large soft brush and I've started to pry loose whatever I can. If I knew what glue I was using when I made this, I would be recommending it to the people trying to come up with materials for final deposition of nuclear waste, since it seems like it will hold strong for the next 30,000 years... I also tested the spit polish recommended by jbshan above. It worked like a charm (see by the red arrow where it looks like a drunken snail has been skidding about) but the amount of "cotton mouth" it seems to develop makes me want to move on to more sanitary cleaning methods.

- 30 replies
-
- 3
-
-
- bluenose
- billing boats
- (and 1 more)
-
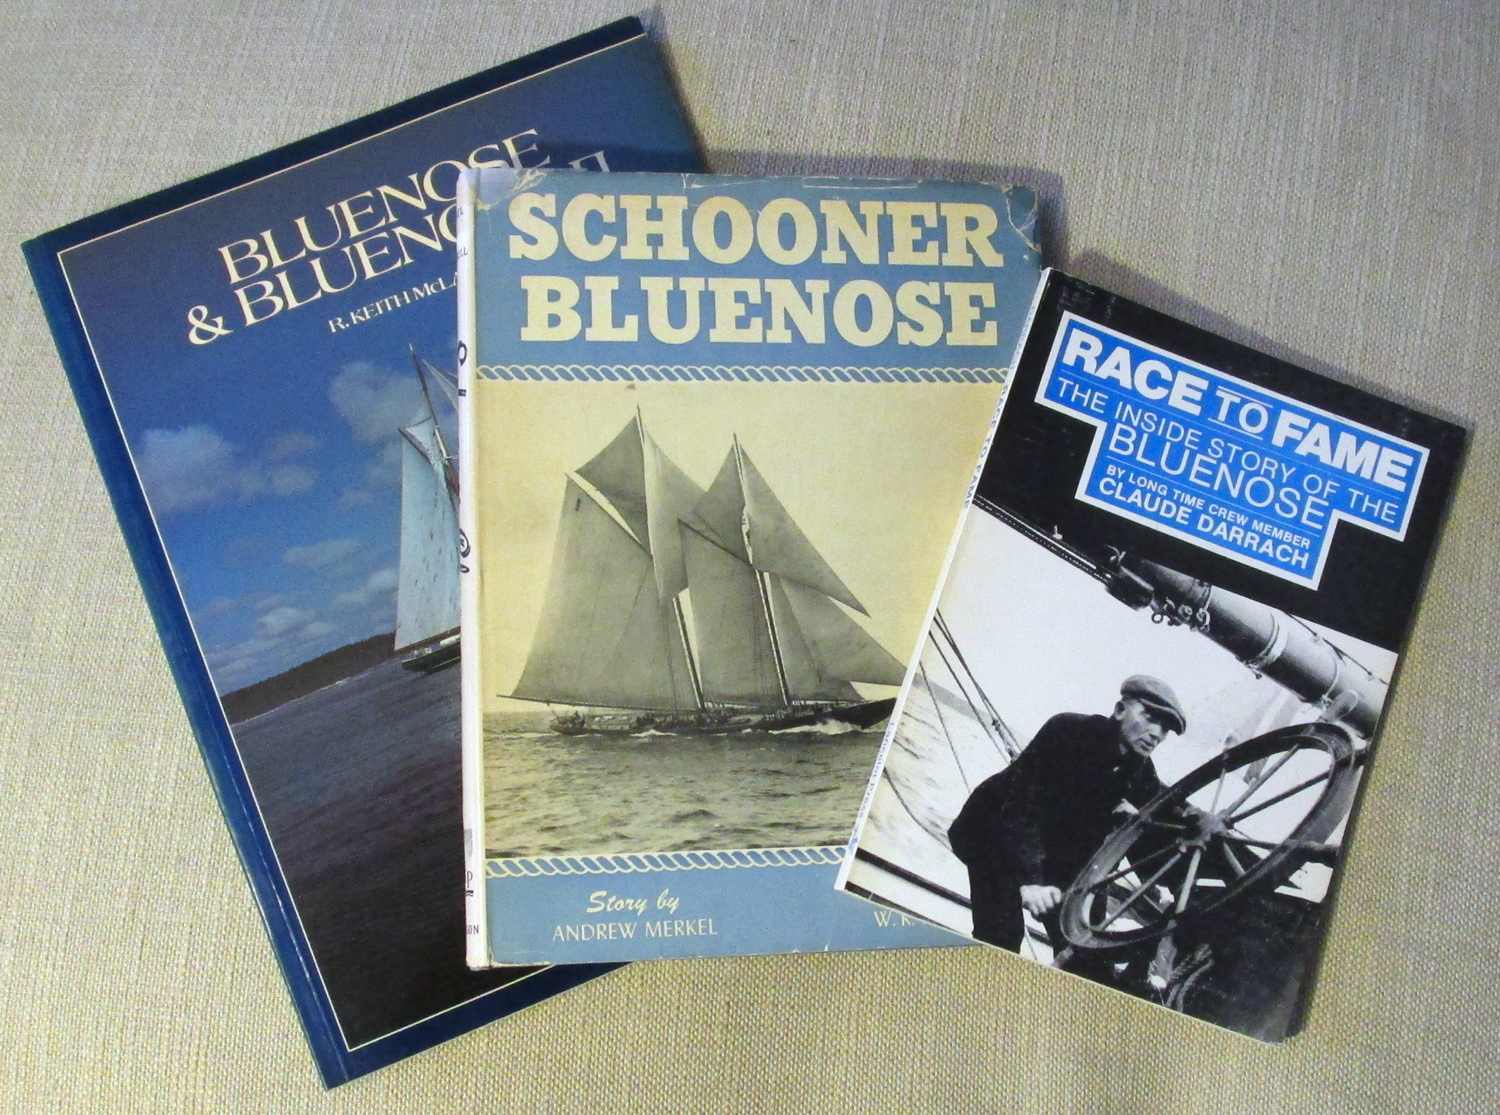
The books just arrived! The middle one, “Schooner Bluenose”, seems to be the most interesting one with most pictures of the original ship. At first glance the main difference between no. I and II seems to be that the deck of the first ship was much more cluttered (read interesting). The original ship also seems to have had at least two sets of sails: one with “fringes” of ropes and one without. Maybe I’ll add those to my models since it is now the plain version. I think they look rather cool. To be continued after I’ve had a better look at the books.

- 30 replies
-
- 2
-
-
- bluenose
- billing boats
- (and 1 more)
-
Don’t worry Jan-Willem, I’m not offended at all. I’m an easy going person and I read it as directed mostly at the kit. I remember how disappointed I was that there were so few details in the plans, not even a picture of the original ship. Back then, getting books from outside the country was a huge project so I had nothing else to go on. Building models have certainly evolved since then. Thanks for your support! Grey
- 30 replies
-
- 2
-
-
- bluenose
- billing boats
- (and 1 more)
-
Thanks for the tip Joel, I knew the expression “spit polish” had to come from somewhere. It’s in line with a tip I got from a photographer a long time ago: When screwing in lenses in cameras, or lubricating other parts of very, very fine machinery, just touch your nose and smear what little grease you get on your fingertip on the thread. Gross? Yes. Effective? Very. Grey
- 30 replies
-
- 2
-
-
- bluenose
- billing boats
- (and 1 more)