
Livingstoneman
-
Posts
69 -
Joined
-
Last visited
1 Follower

Recent Profile Visitors
569 profile views


-
 Roy Scott reacted to a post in a topic:
USS Constitution by Livingstoneman - Model Shipways
Roy Scott reacted to a post in a topic:
USS Constitution by Livingstoneman - Model Shipways
-
Roy Scott reacted to a post in a topic:
USS Constitution by Livingstoneman - Model Shipways
-
GrandpaPhil reacted to a post in a topic:
USS Constitution by Livingstoneman - Model Shipways
-
GrandpaPhil reacted to a post in a topic:
USS Constitution by Livingstoneman - Model Shipways
-
GrandpaPhil reacted to a post in a topic:
USS Constitution by Livingstoneman - Model Shipways
-
GrandpaPhil reacted to a post in a topic:
USS Constitution by Livingstoneman - Model Shipways
-
GrandpaPhil reacted to a post in a topic:
USS Constitution by Livingstoneman - Model Shipways
-
etubino reacted to a post in a topic:
USS Constitution by Livingstoneman - Model Shipways
-
etubino reacted to a post in a topic:
USS Constitution by Livingstoneman - Model Shipways
-
etubino reacted to a post in a topic:
USS Constitution by Livingstoneman - Model Shipways
-
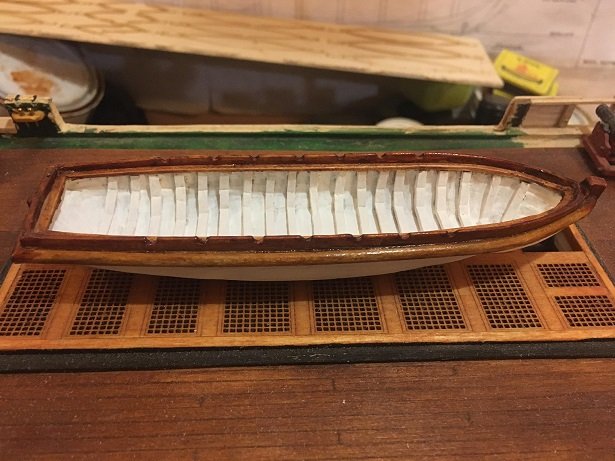
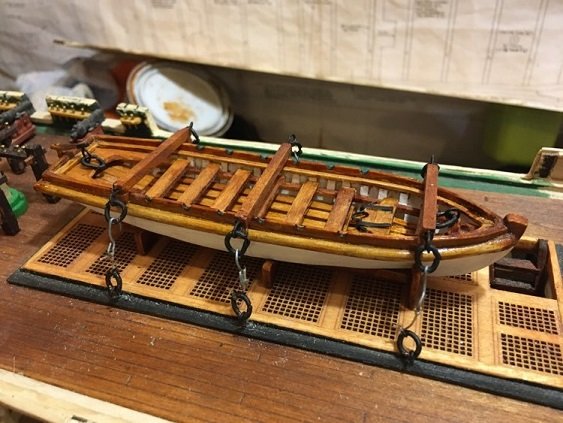
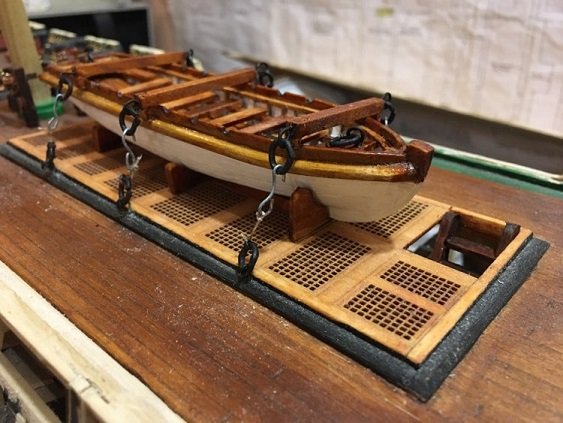
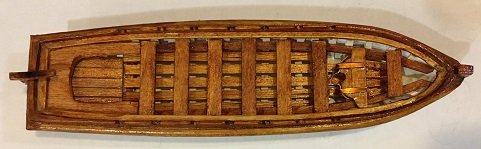
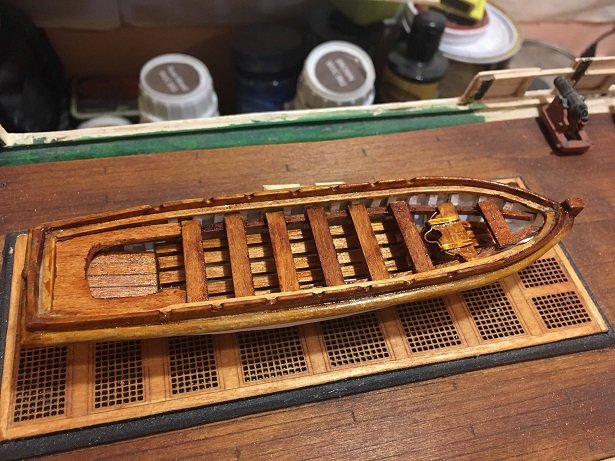
ok I finished the pinnace and mounted it on the deck. I just have the ores, mast and sail. But will do that later. I know the rings are too big and the ropes are practically non existent, but I was trying to think if the ship is sinking and this is the life boat, how could the sailors unlatch the fastener quickly in an emergency, instead of untying a wet rope. So this is what I came up with. They are actually workable and not glued on. And its tight. Sorry blue prints but this is what I ended up with.
-
Livingstoneman reacted to a post in a topic:
USS Constitution by Livingstoneman - Model Shipways
-
Livingstoneman reacted to a post in a topic:
USS Constitution by Livingstoneman - Model Shipways
-
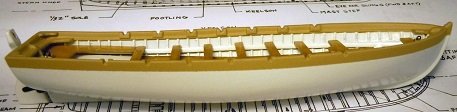
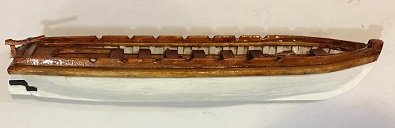
After finishing my boat I looked up a few other builders and saw a huge difference. Some were just perfect! This one was from XGEN he is in another level then me. I personally like my dark wood weathering look. Also the Lapstrake lines. I do admit that all of my wood parts are double in size as they should be. But all in all the life boat looks good on the Constitution. 99% of the people will not even know that it was not built correctly. Except me.
-
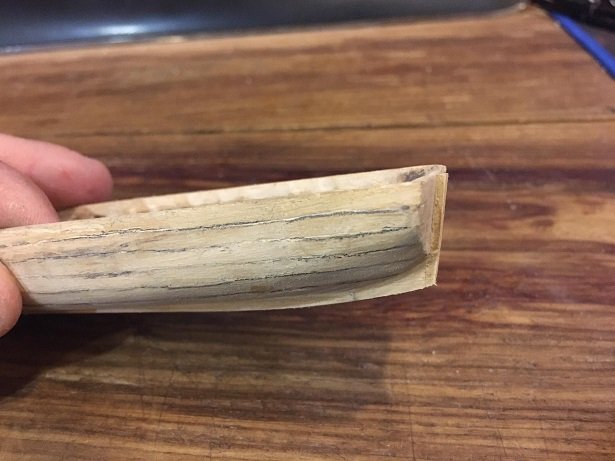
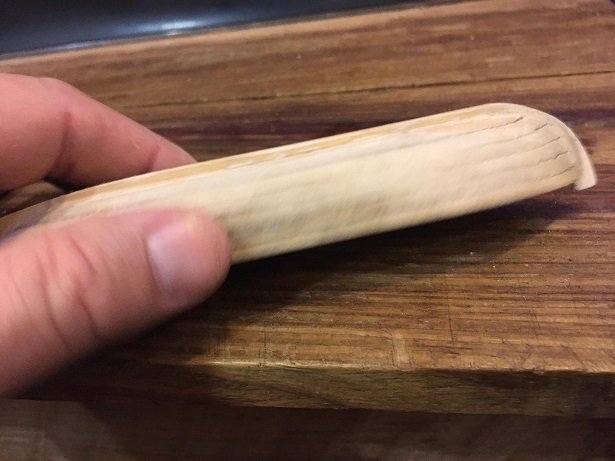
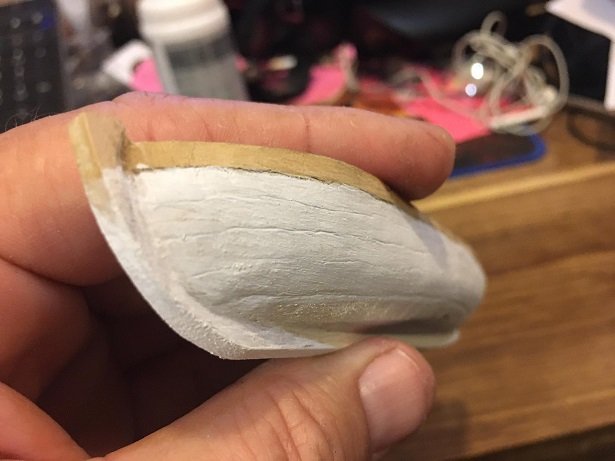
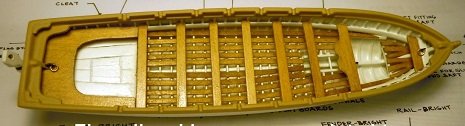
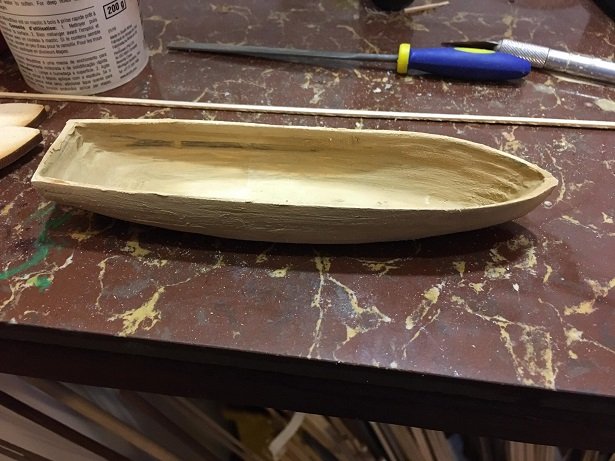
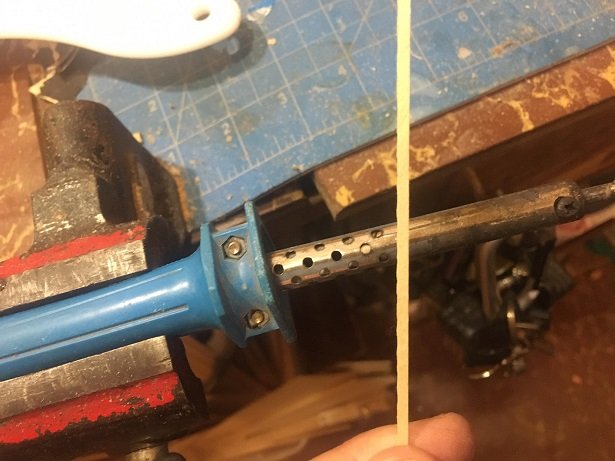
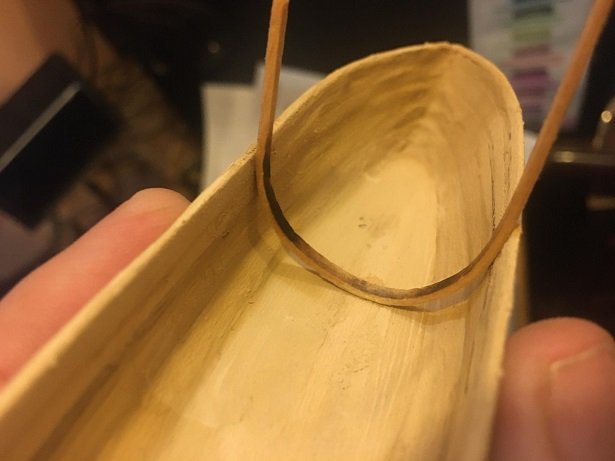
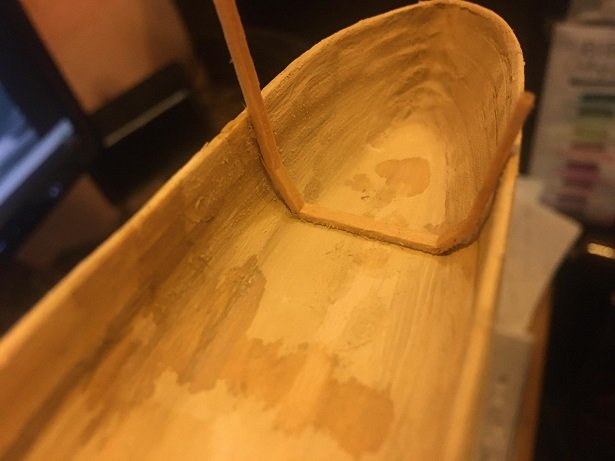
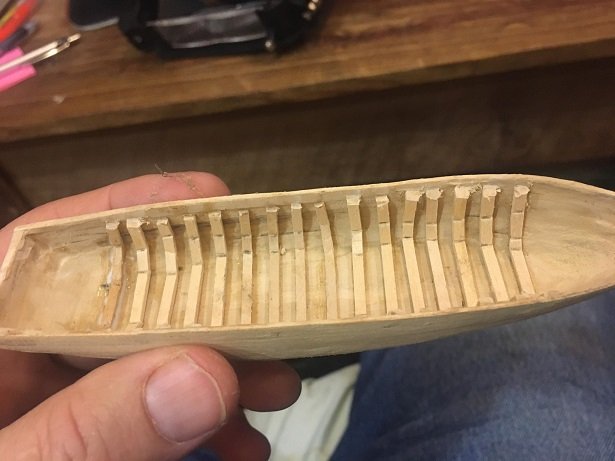
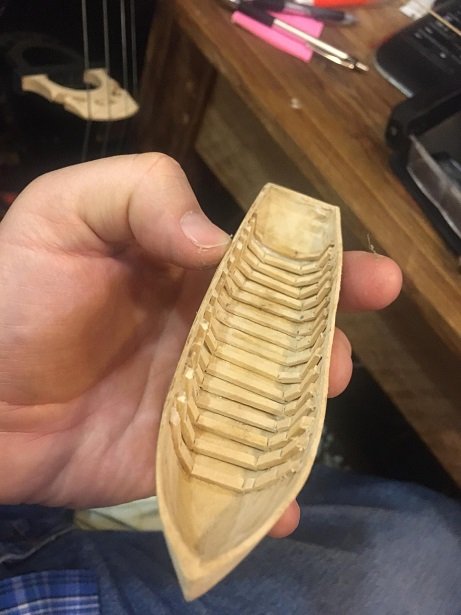
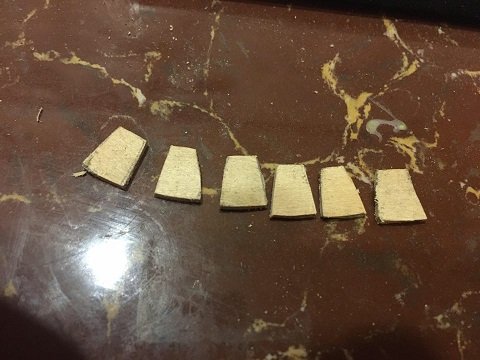
ok. I started on the Pinnace. Or I guess it is a life boat for the USS Constitution. I needed to make the ribs so I got my solder iron and after soaking the wood a bit I just rubbed it a few times to bend it. But I soon found out that it just wasn't going to work like that. So after smashing it a bit I decided on a crude version. Nobody is going to see it anyways. I then put a bit of sketching on the boat to imitate the Lapstrake.
-
Well, today I worked on the skylight. Some say its not historical but I did it anyway. First I tried to cut 6 pieces and put them together which came out so wrong I abandoned it. I decided to just make it out of 2 main pieces of wood. After sanding it down with my dremel, I added the raised trim. Then put on the brass grill and then a copper flat plate. And of course, did a stain on it. Not perfect but it will do.
-
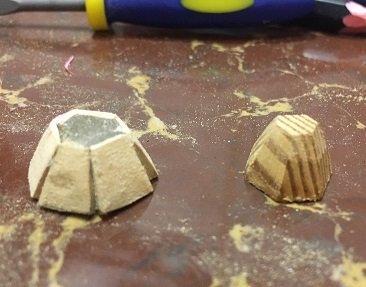
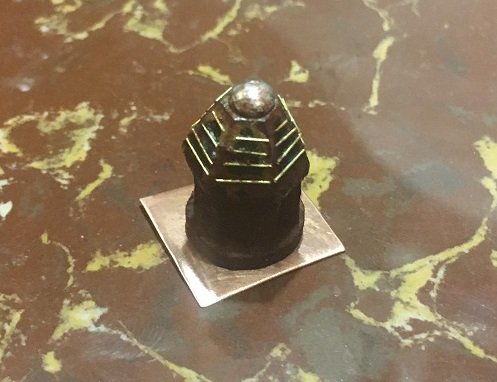
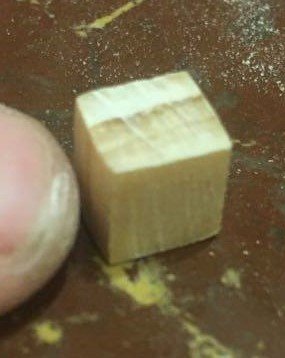
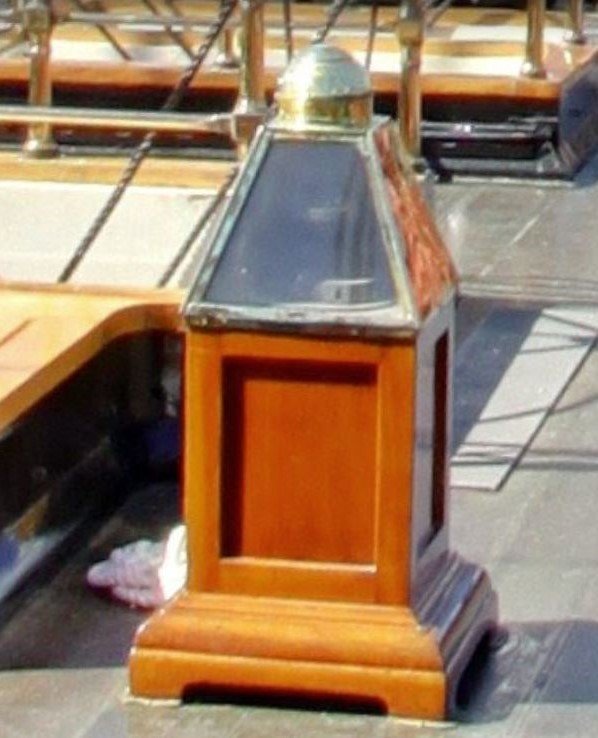
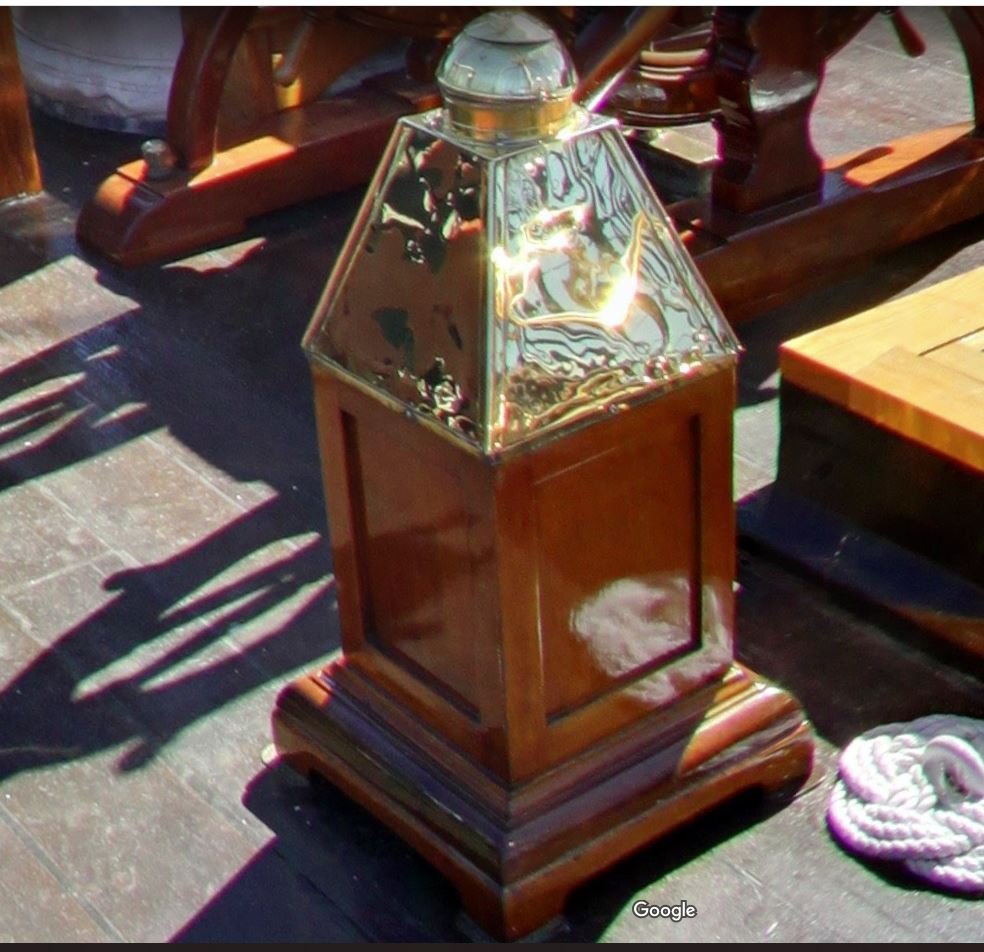
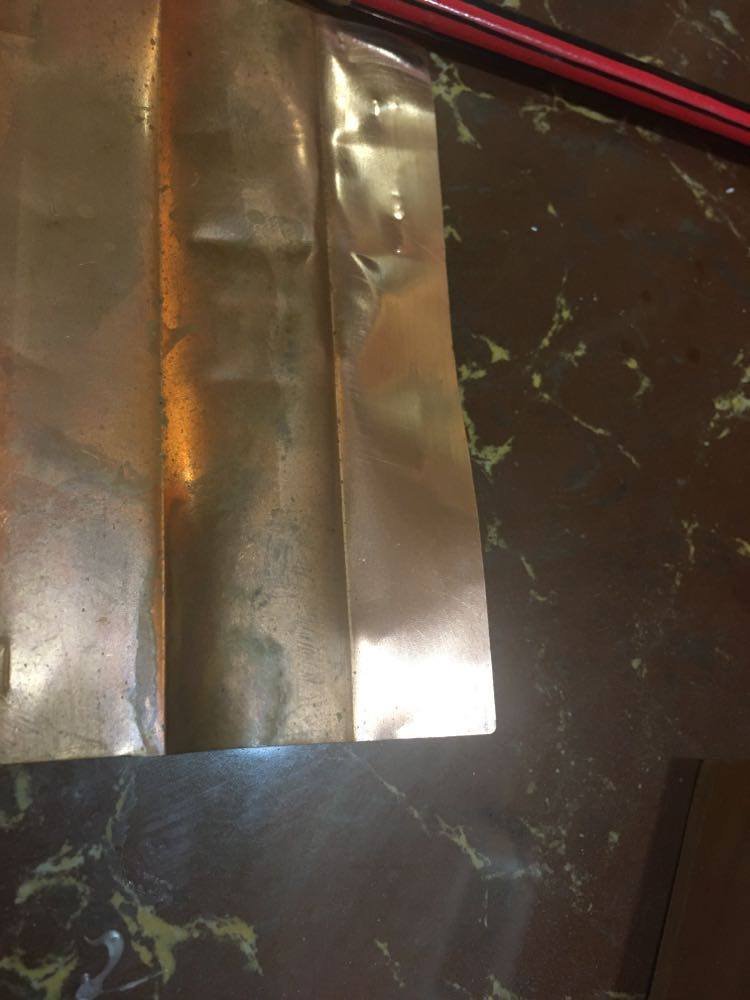
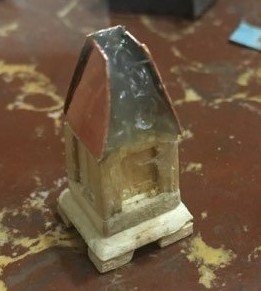
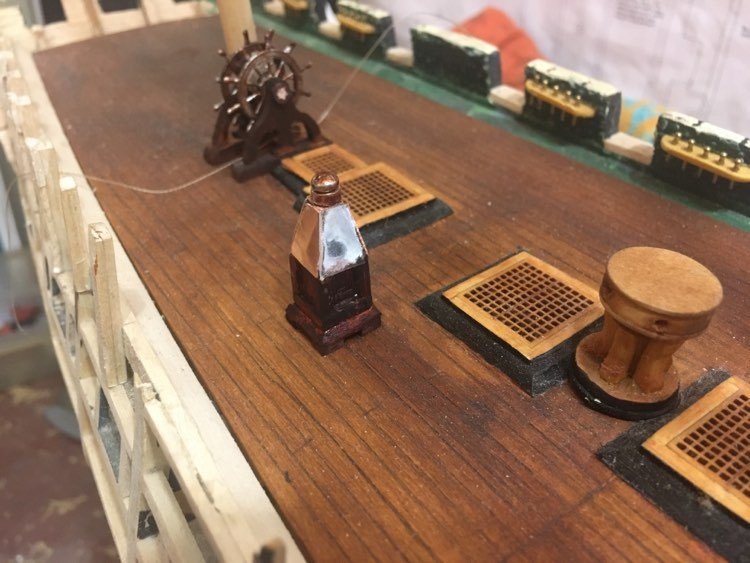
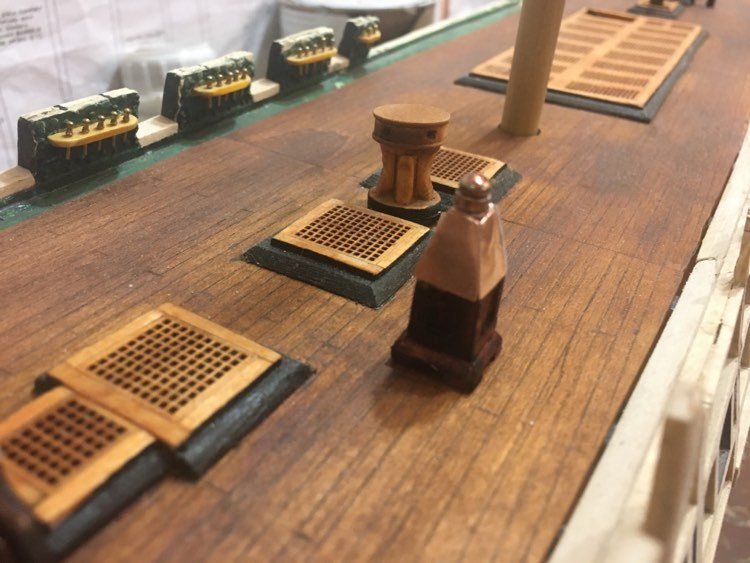
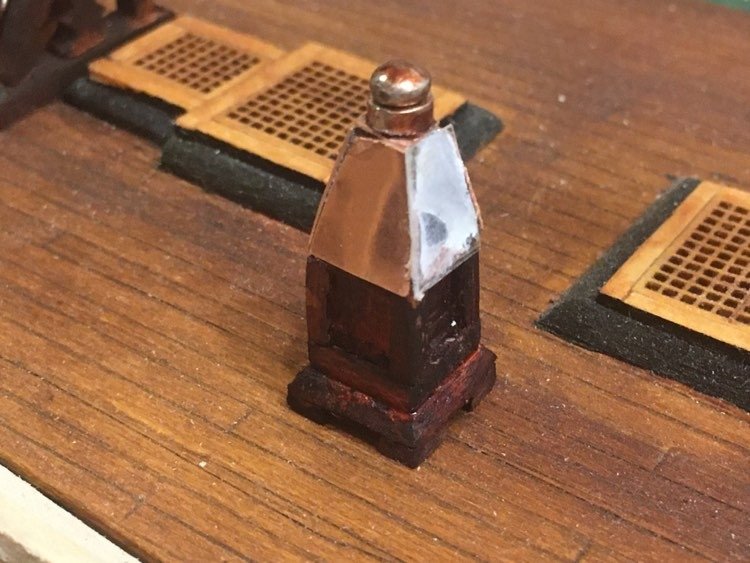
Well, Today I wanted to tackle something small, so I choose the Binnacle. For some reason I have to make 2 of them. I guess they had 2 just in case one stopped working. So after looking at the blueprints and then other builds, it became apparent that these things are small. The width is like 3/16 (5mm) and it supposed to have a recessed panel. Some builds just drill that out and not make the compass box hallow. Well, challenge accepted. But in order for me to do it, I had to increase it a few mm. Wood just can't be that small. So I made the rectangle thing. I put the trim all around. Then got an old piece of copper plate cut it up. Couldn't figure out how to put it together until my rectangle fell off the table into the scrape box... ugg. but that was a good thing as I had to pick up my hot glue and bang, that was it. The vent on top is just the tip of a rivet nail, and the compass inside is the same but reversed. Once the hot glue was cold, I drilled most of it out just enough to make it hallow. I got a piece of hard plastic and super glued it on. Stained it, and that was that. A 2 hour job.
-
Livingstoneman reacted to a post in a topic:
USS Constitution by Livingstoneman - Model Shipways
-
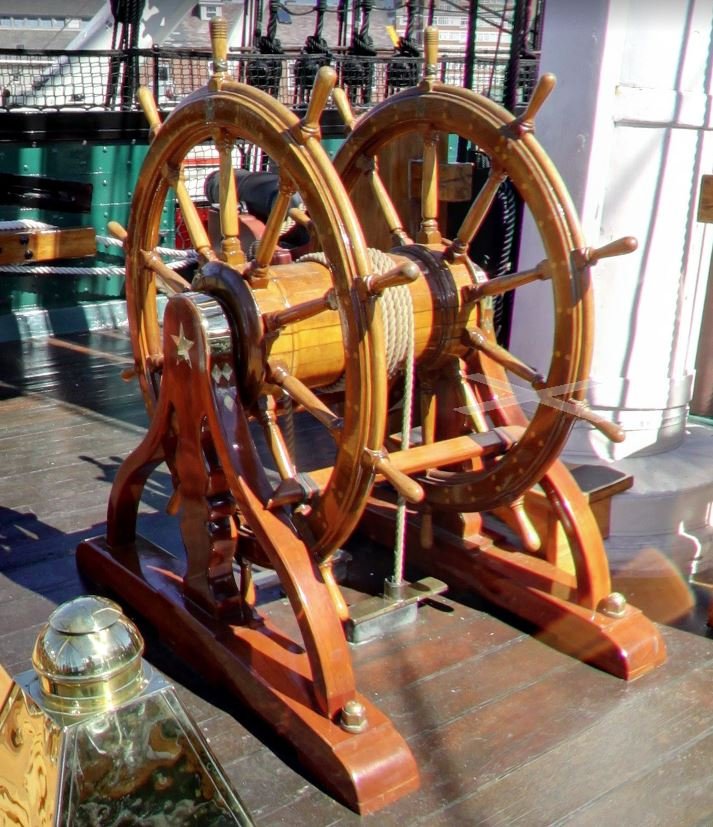
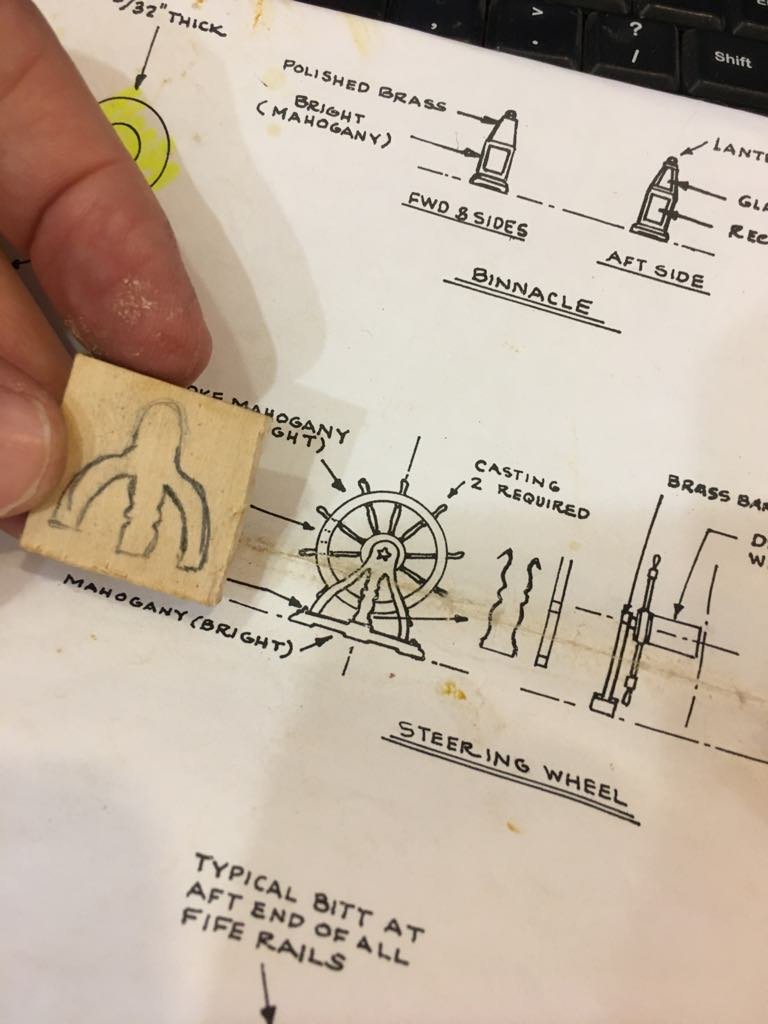
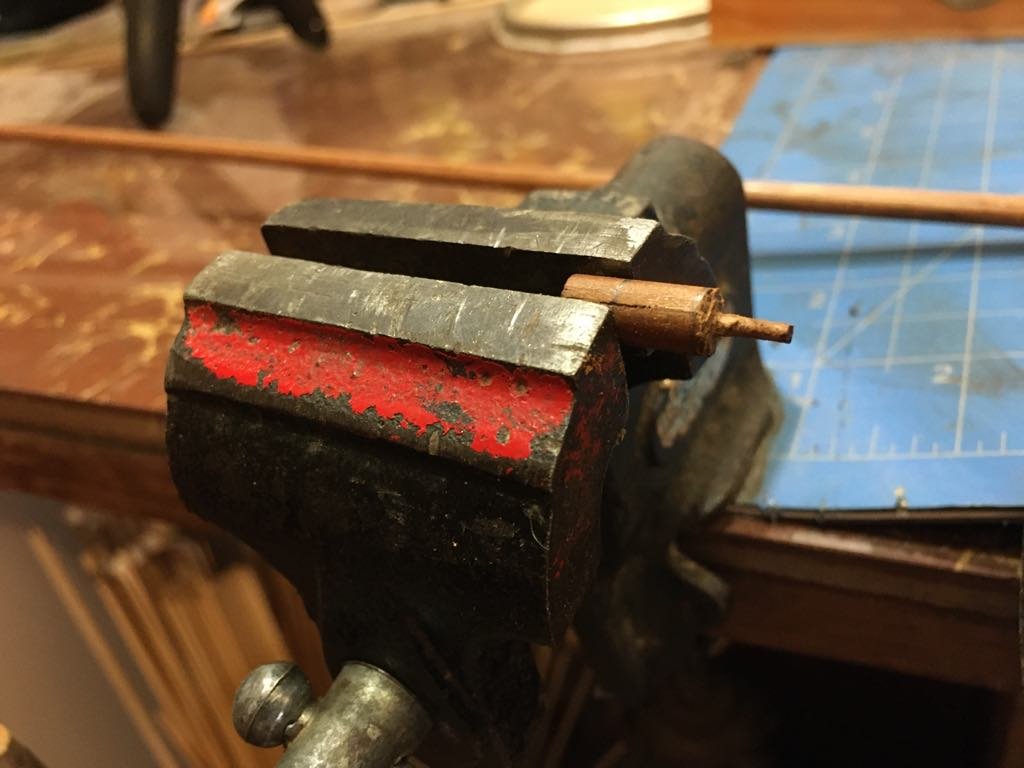
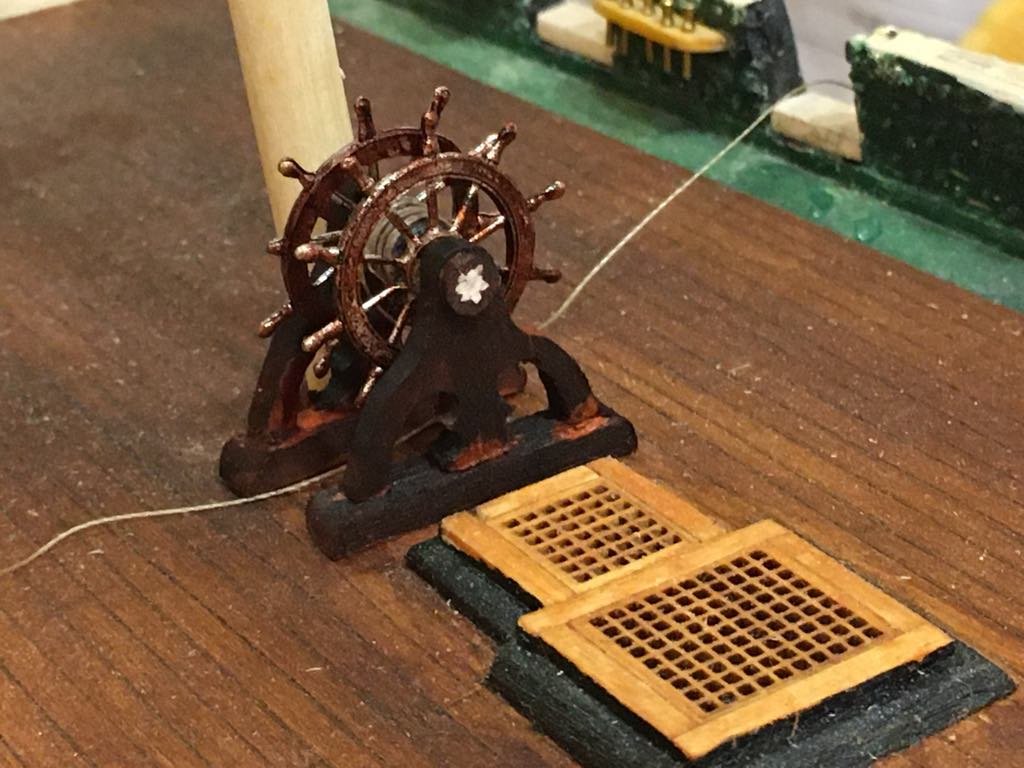
So I put together the ships wheel. It is what it is. One of the wheel handles broke off as that metal is very soft. I will fix it later. The supplied blue prints were not very good for a template. And it was far from the original on the real ship. But as I tried to make it look like the original, the wood just disintegrated. I'm finding out that you can only make wood so small until it is too weak to support itself. So I made it a bit different but again I think its fine.

-
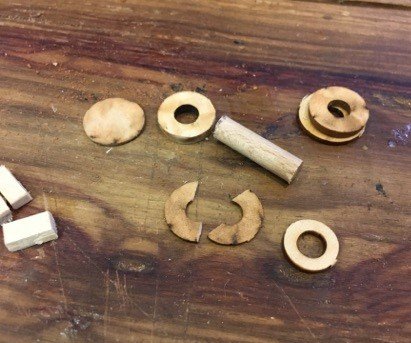
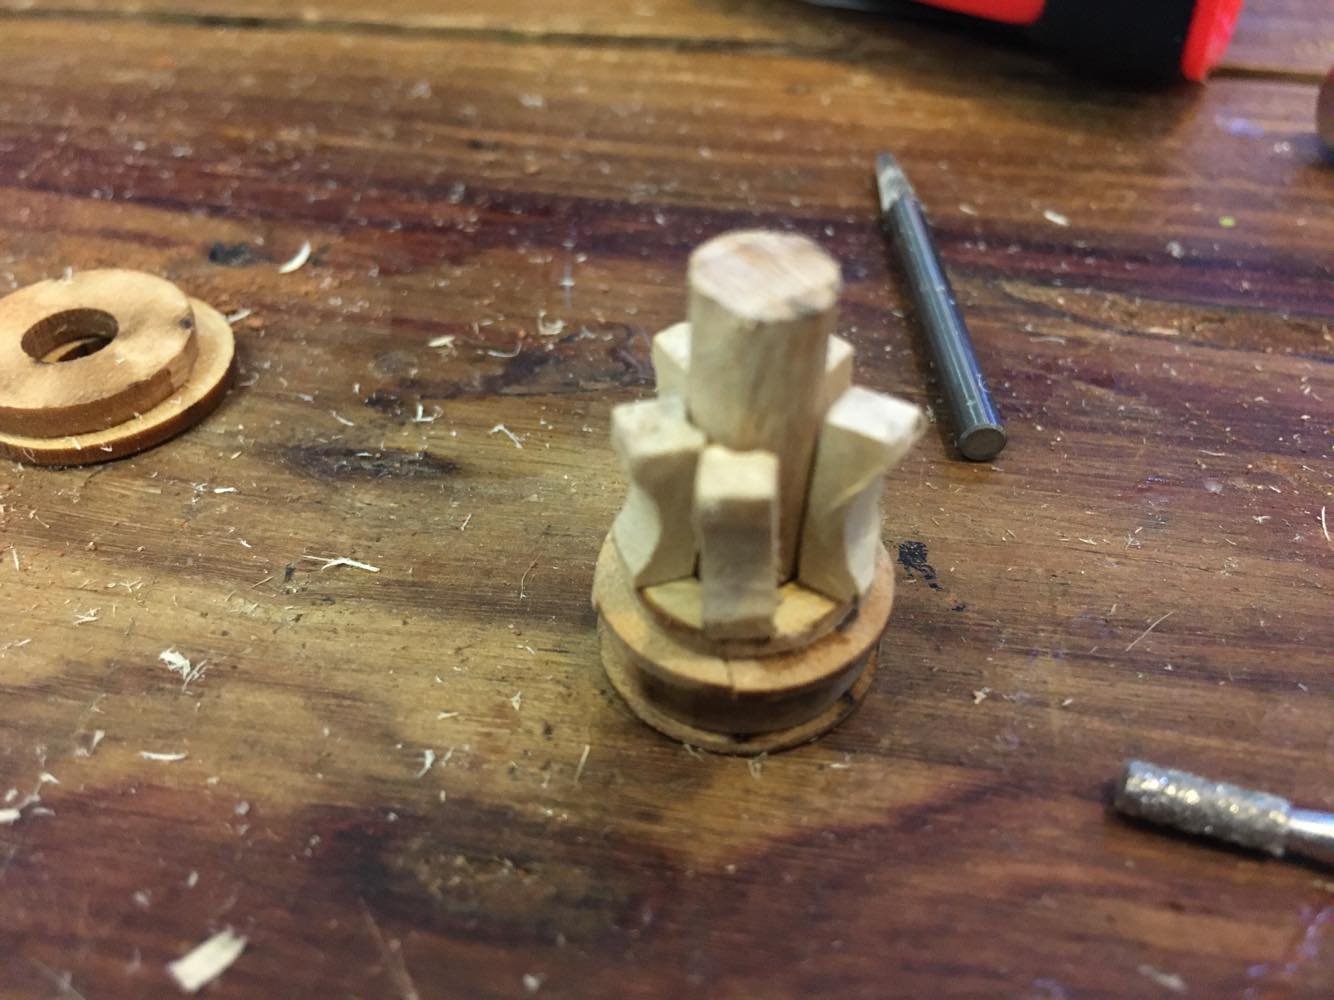
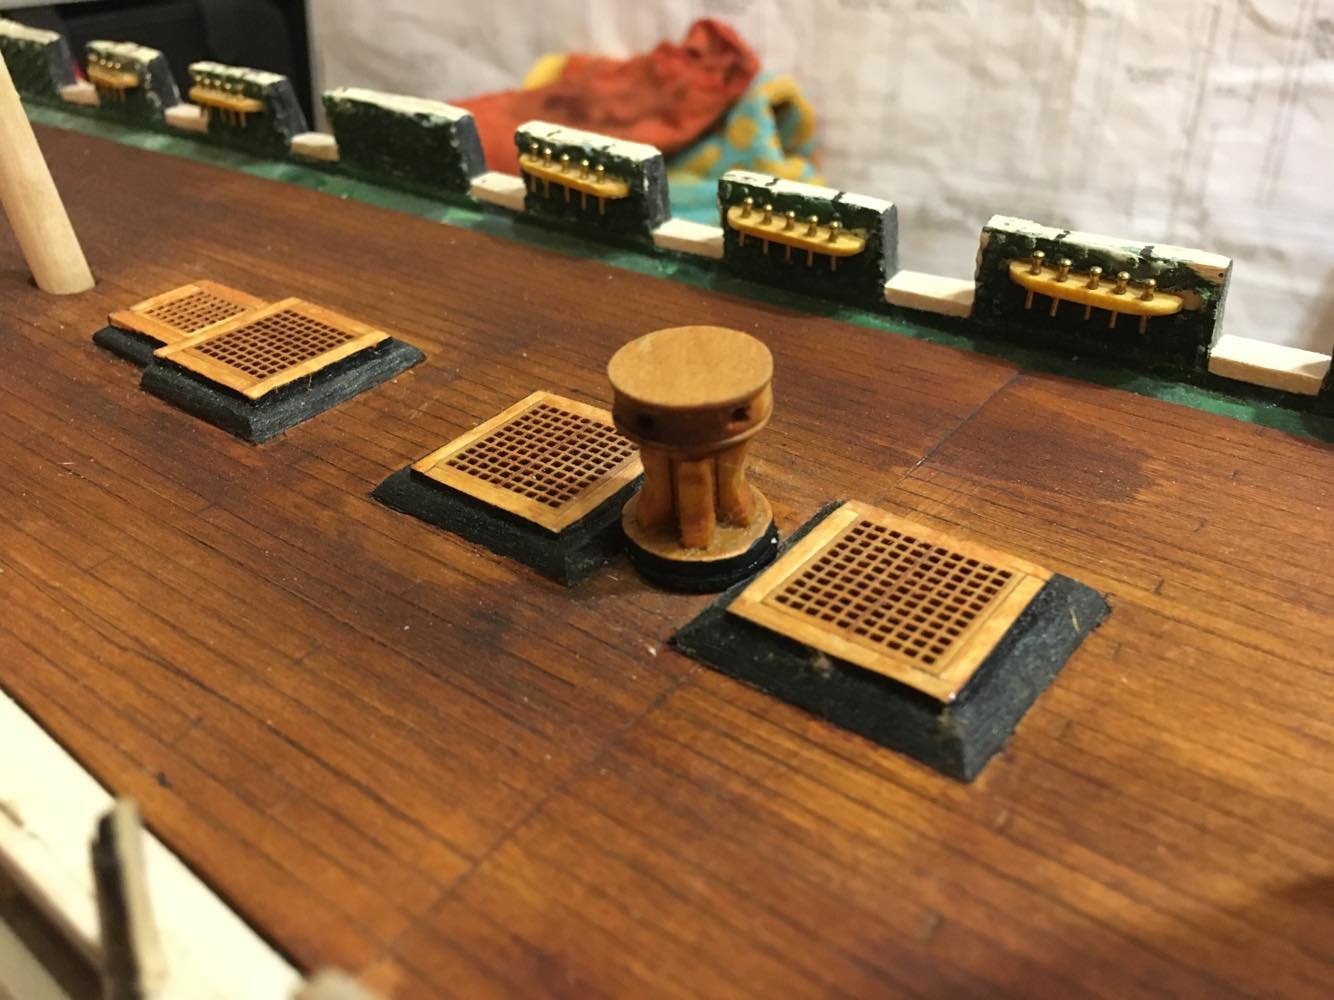
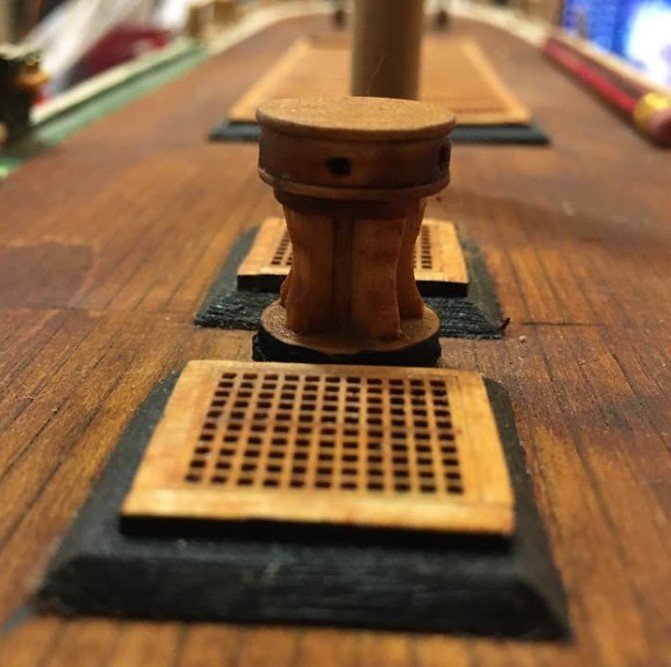
Well, today I decide on the capstan. Got all the pieces together only to find out the termites had gotten to one of the rings, so I just improvised. Those rings are very delicate as one just broke in half. Ugg, but after about some hours, the capstan was finished. I did realize that I had miss judged the distance between the hatches which forced me to file down the capstan and a part of the hatch frame to get it in there. On the original ship I think there is just about 4 inches between the Captan and the hatch frame. Also I think I drilled not enough holes in the top part, is it supposed to be 5 or 6 holes. Oh well I could fix it later. I made sure that I had a dowel longer than needed to mount it.

-
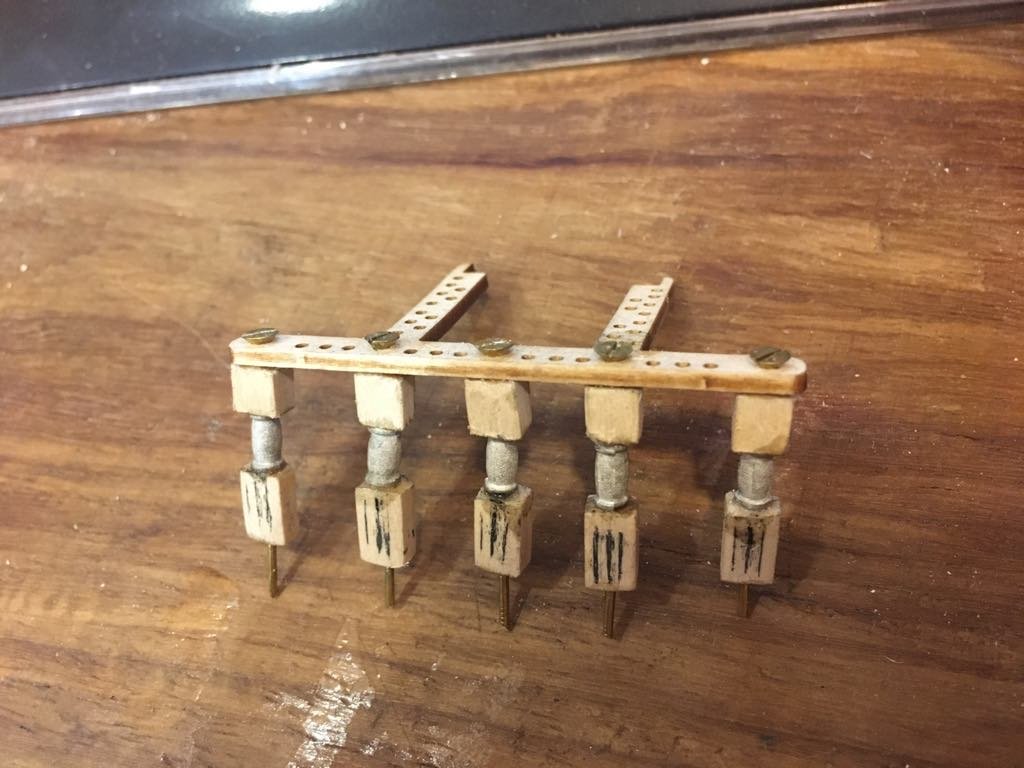
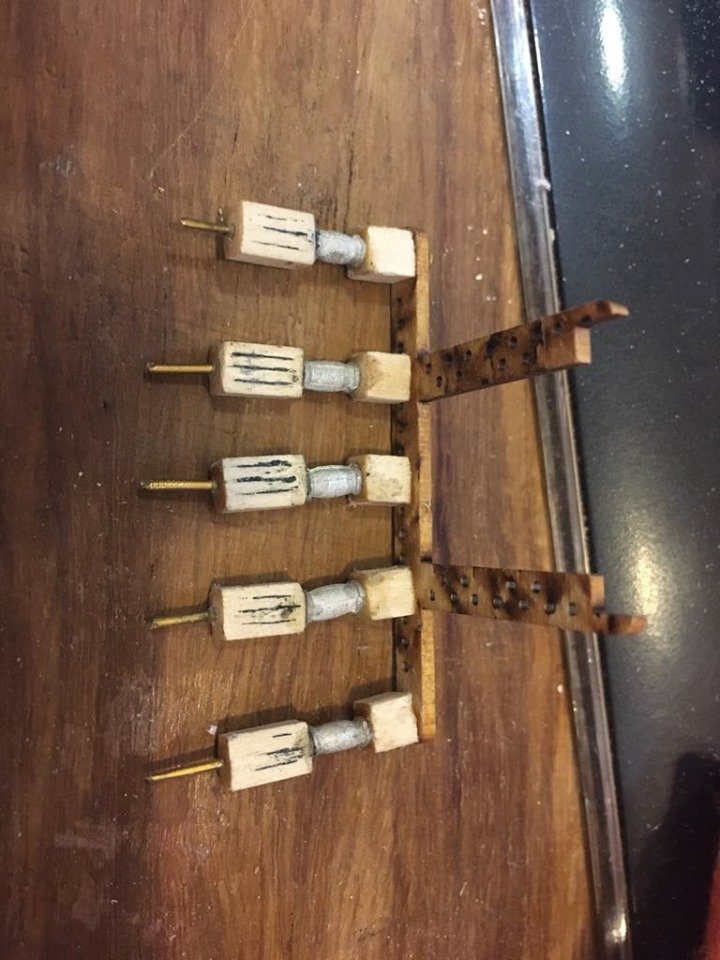
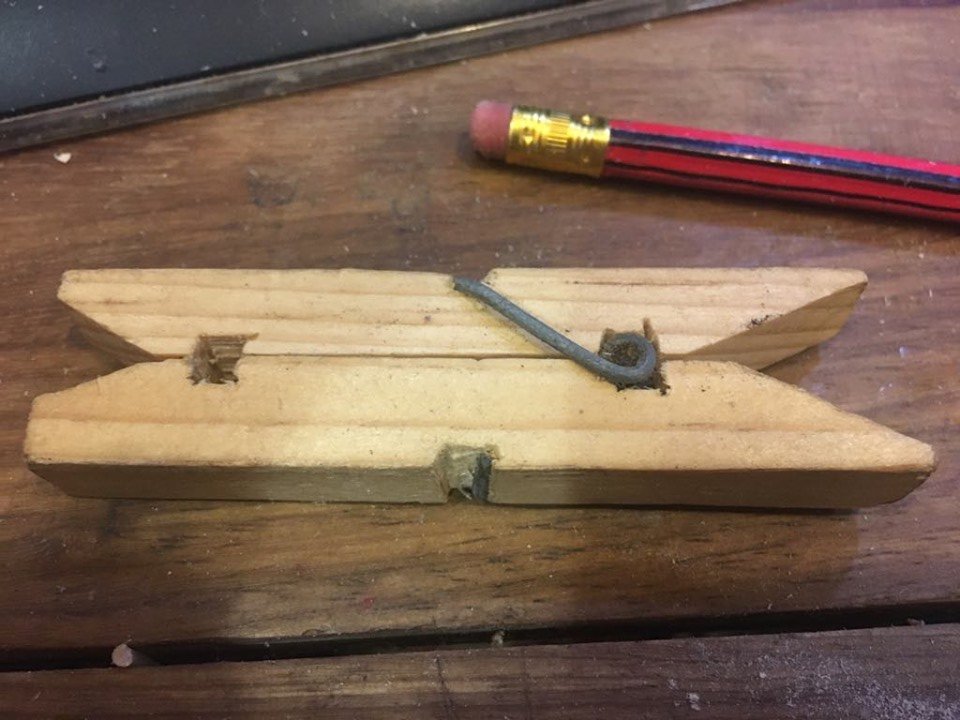
Well, worked on finishing the Fife. What a chore. It took me 6 hours on my Saturday. That thin fife that was provided in the kit was just rubbish. It broke in pieces about 5 times. Thank God for super glue. I decided on making the pulleys and it turned out quite nice I think. So since I didn't have a thick enough wood to make the post, I used a clothes peg. The stain was supposed to be a lighter color, But I decided on a darker one, with some weathering to make it worn. The metal spindles didn't take to the stain, so what I will do later is coat it with a binding agent, red oxide. Also, I'm not sure if I like the screw heads. I might just put wood filler on it to make it smooth, or even melt some fishing line and make it look like a rivet. This was a pain to do, and its definitely not perfect or correct to the true boat, but who cares, I'm done for today..

-
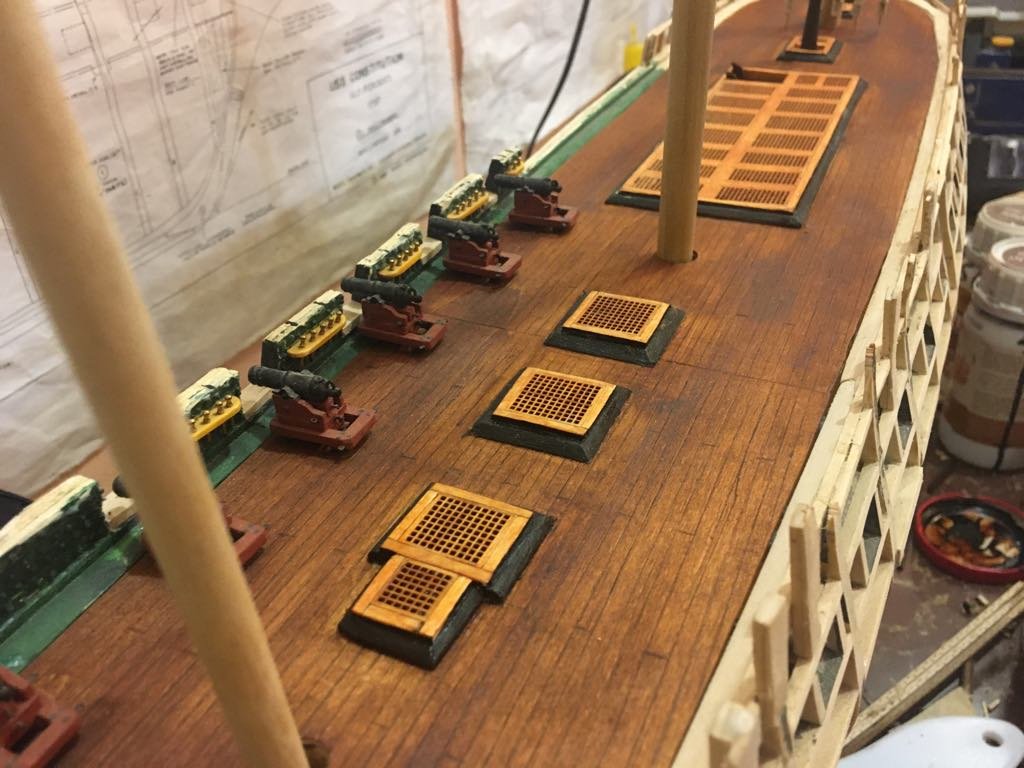
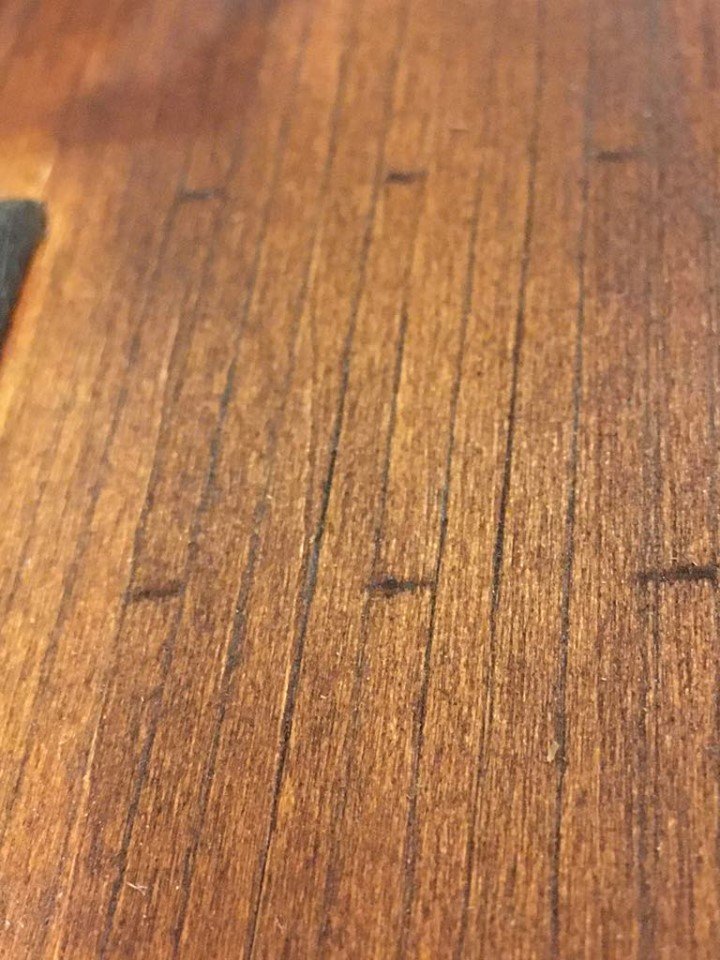
ok, Today I just went for the staining of the deck. I was sooo concerned that I would get it wrong. I looked at dozens of constitutions and everyone has their own opinion. So Since I don't have much of a variety here in the village, I will just use what I have. I used a mahogany stain on the deck and ruba on the hatches. I am thinking of doing a darker trim around the hatches to indicate maybe a different type of wood was used. Still thinking on it. ONE downside to making the deck from one full piece is that when the stain was applied, the wood grain became more obvious. Hmmm. So the snoopers are going to know that I cheated. The deck simulated planking came out quite nice. Oh well. Here it is.PS. I think the stain I had was old or wasn't mixed right as there is darker areas then others. I tried a cloth to evenly to apply it to none avail. I personally think it gave it some good weathering. Like I have done on my Boba Fett costume.
-
Livingstoneman reacted to a post in a topic:
USS Constitution by Livingstoneman - Model Shipways
-
Livingstoneman reacted to a post in a topic:
USS Constitution by Livingstoneman - Model Shipways
-
I know they are a terrific company as I had them send me the bell that was missing from my kit in the beginning. I don't think they would have sent it to my village here in Africa, and the next time I'm going to Texas is about 8 months. I just couldn't wait that long. So I just have to do with what I have..... Thanks for checking up on me..... I got less than 5 years left to be on the field, then its back home for good. Been here in Africa almost 20 years. Grand kids are on the way..... My goal is to finish this boat this year no matter what.....
-
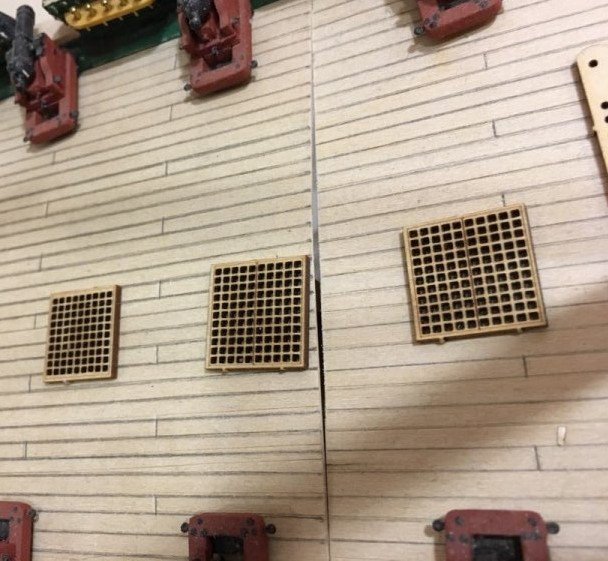
A big thing I was putting off was joining the whole deck together. I have seen a few guys make the deck one piece at a time and that takes skill, which I don't. So I just took the longest piece of basswood I could get and just make lines with a pencil on it and then take an exact o knife and trace the lines, that way the stain will seep into the cracks giving the illusion that its single boards. Well, I came up short, so I had to make the deck into two pieces. So today I joined them. I first glued a few pieces of wood to join it underneath it. Which also meat I had to cut some of the deck beams. It came out so well, I bet ya that you can't even find the joint... HA Before and After picture....
-
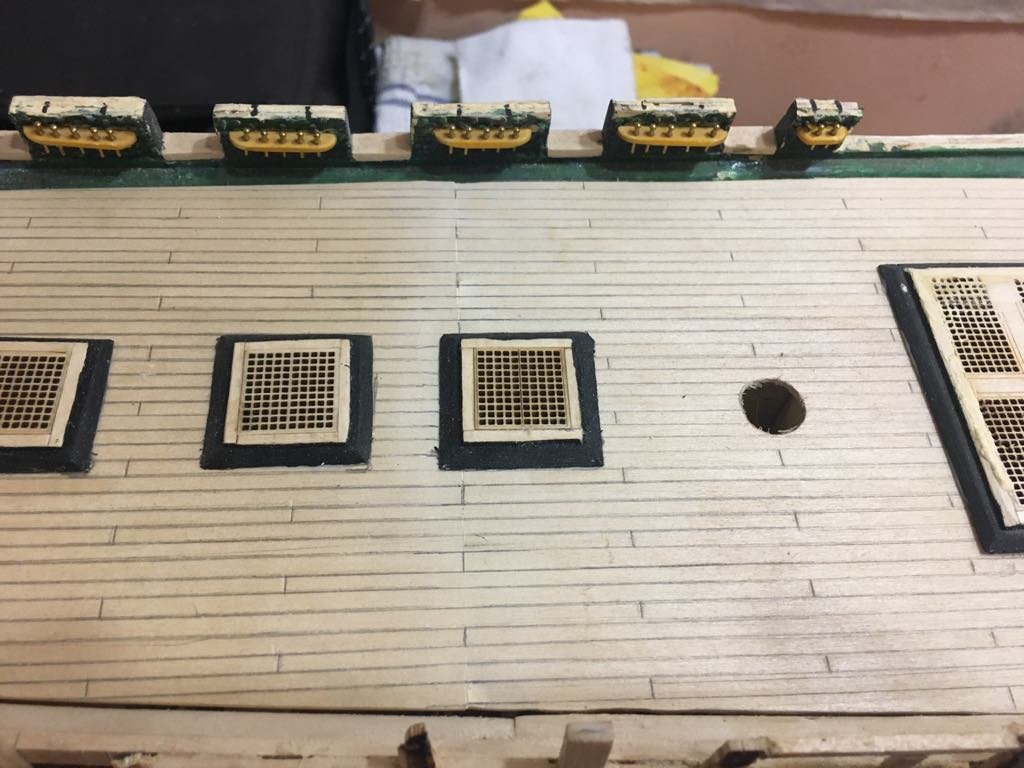
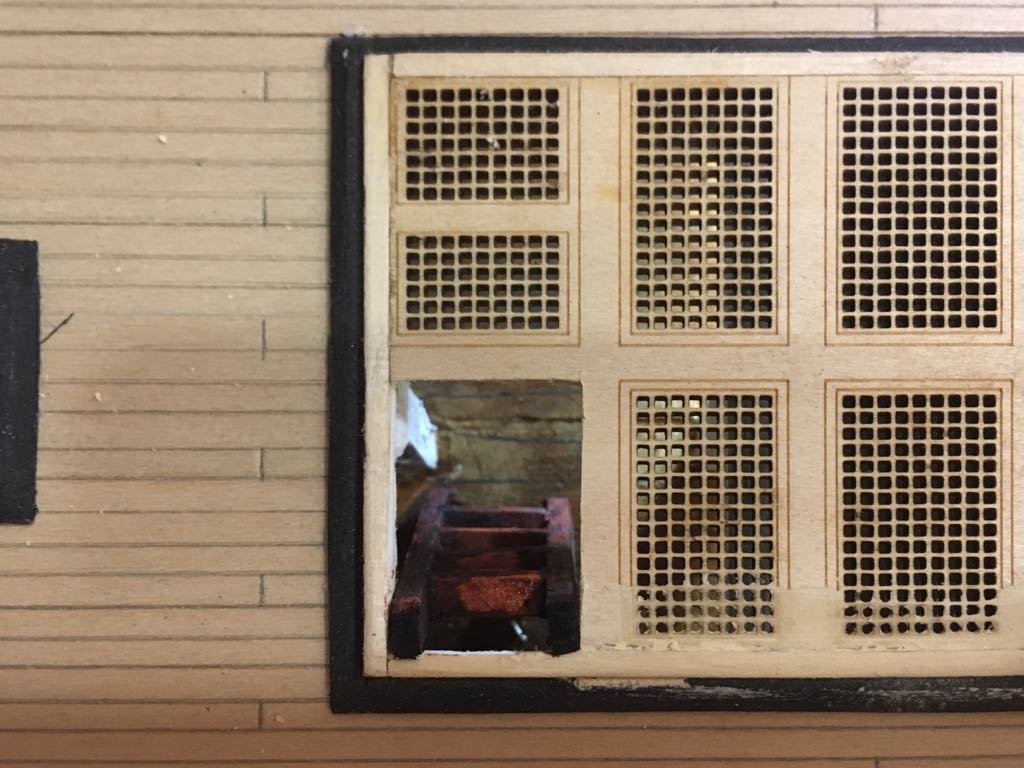
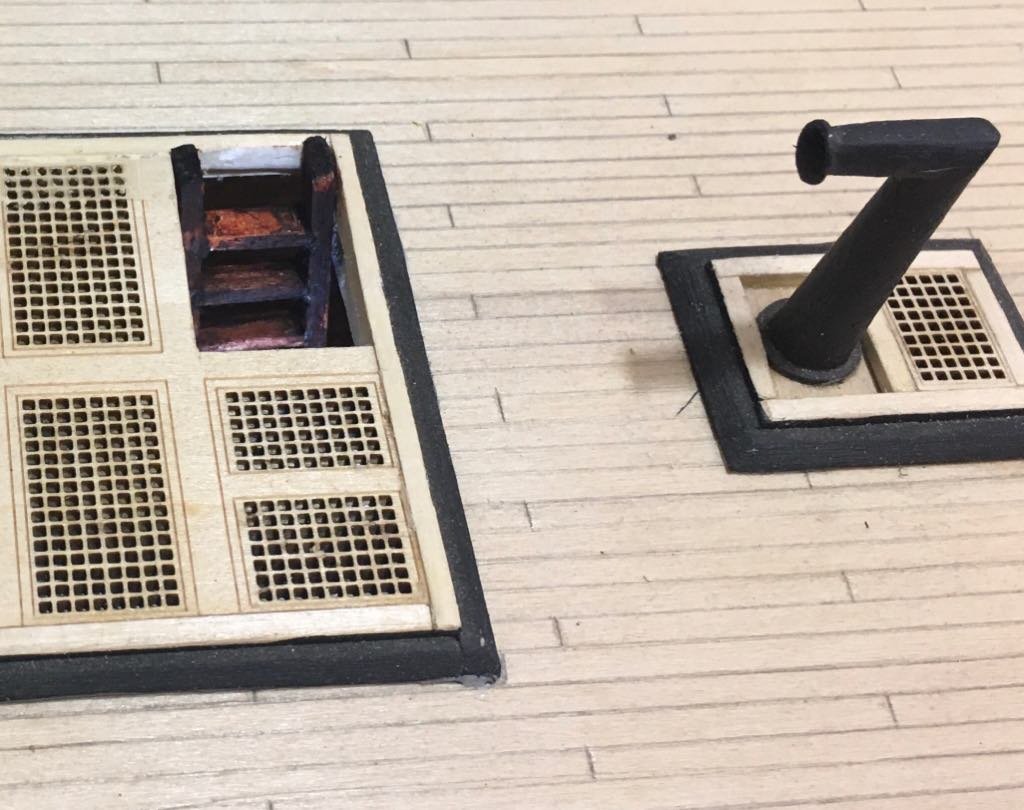
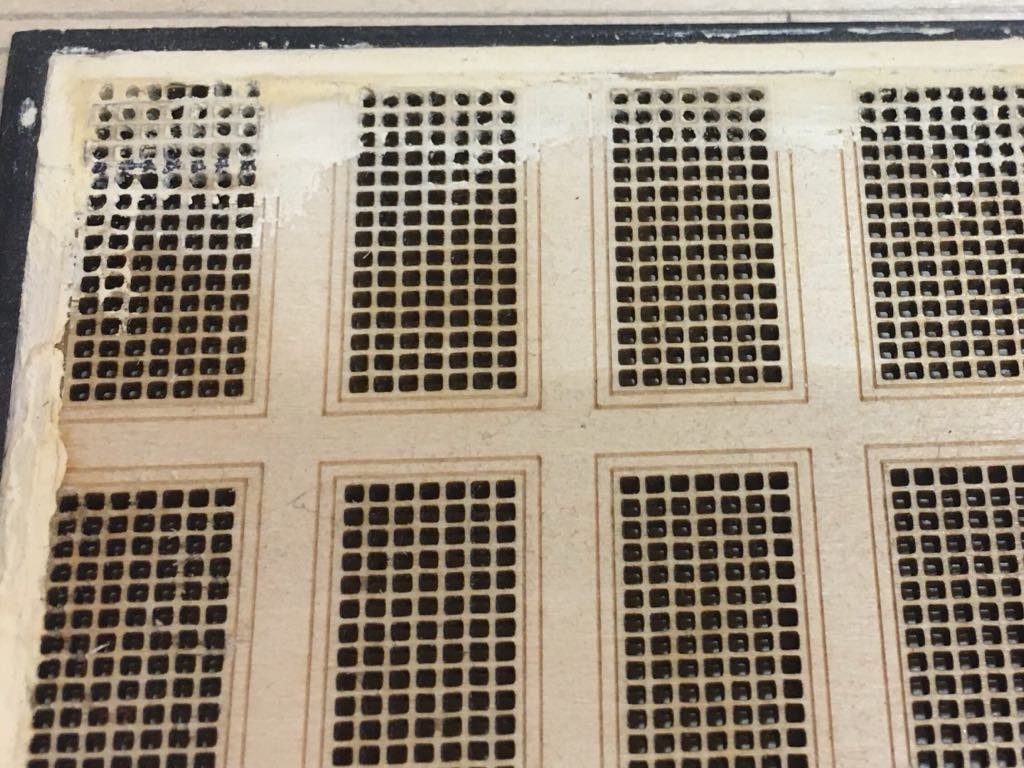
Did a bit of work on the ladder and deck hatches. If you remember, my center hatch was damaged by termites, so today I decided to cut out a small hatch put a ladder there and use the grill that I cut out to repair the damaged hatch. It was intense as pieces kept on breaking off. But after some endurance, I prevailed. It still needs to be cleaned up from a bit of wood filler and the holes dug out plus the paint. Soon coming. To put a ladder down to the second deck, I had to make a small platform just big enough for snoopers to take a glance in. Varnished the platform and the beams and pillars white.
-
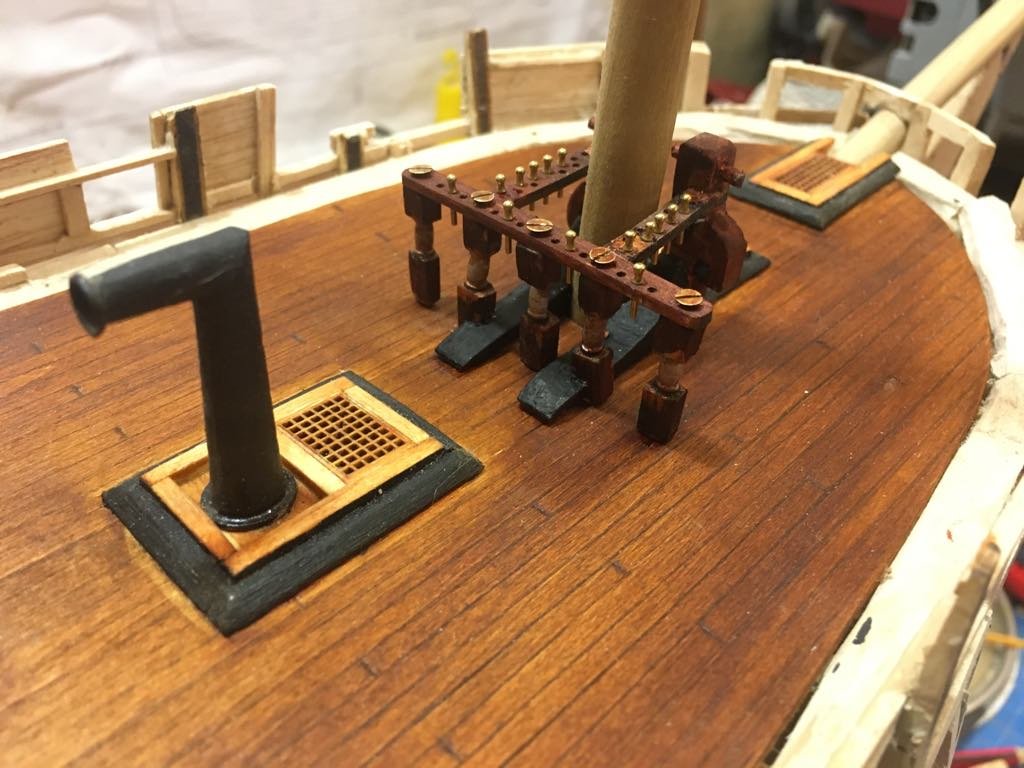
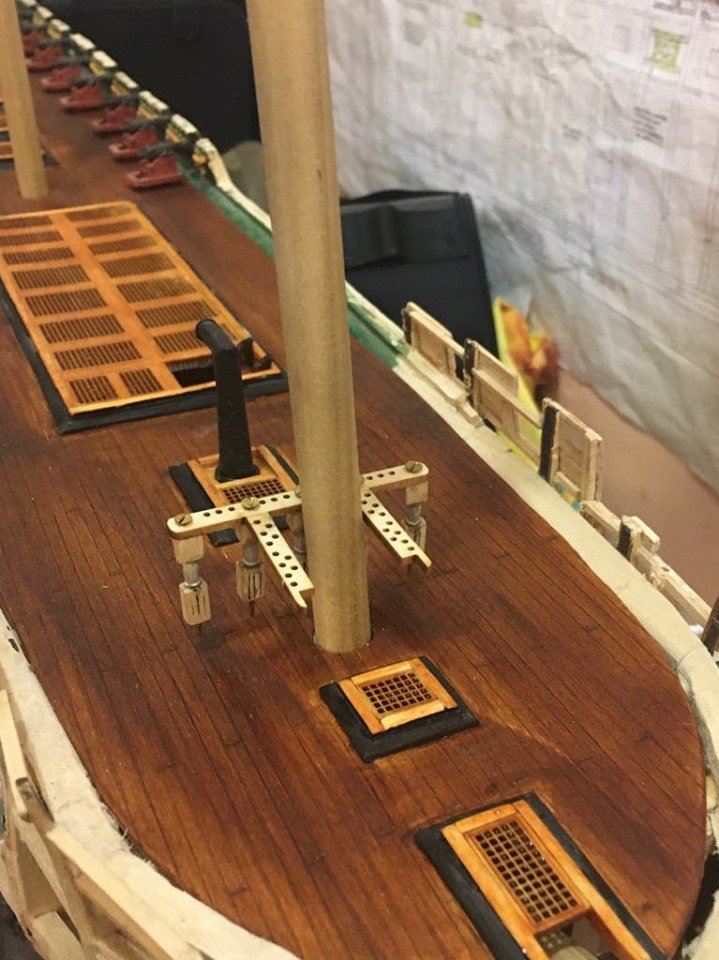
Well here is the fife assembled. Once I mount it to the deck it will straighten out and of course when its painted.