-
Posts
854 -
Joined
-
Last visited
-
 Clark reacted to a post in a topic:
HMS Sphinx 1775 by aydingocer - Vanguard Models - 1:64 - Revision #2
-
 wvdhee reacted to a post in a topic:
HMS Sphinx 1775 by aydingocer - Vanguard Models - 1:64 - Revision #2
-
 RossR reacted to a post in a topic:
HMS Sphinx 1775 by aydingocer - Vanguard Models - 1:64 - Revision #2
-
 schooner reacted to a post in a topic:
HMS Sphinx 1775 by aydingocer - Vanguard Models - 1:64 - Revision #2
-
 Mr Whippy reacted to a post in a topic:
HMS Sphinx 1775 by aydingocer - Vanguard Models - 1:64 - Revision #2
-
 Mr Whippy reacted to a post in a topic:
HMS Sphinx 1775 by aydingocer - Vanguard Models - 1:64 - Revision #2
-
 Mr Whippy reacted to a post in a topic:
HMS Sphinx 1775 by aydingocer - Vanguard Models - 1:64 - Revision #2
-
 chris watton reacted to a post in a topic:
HMS Sphinx 1775 by aydingocer - Vanguard Models - 1:64 - Revision #2
-
 Glenn-UK reacted to a post in a topic:
HMS Sphinx 1775 by aydingocer - Vanguard Models - 1:64 - Revision #2
-
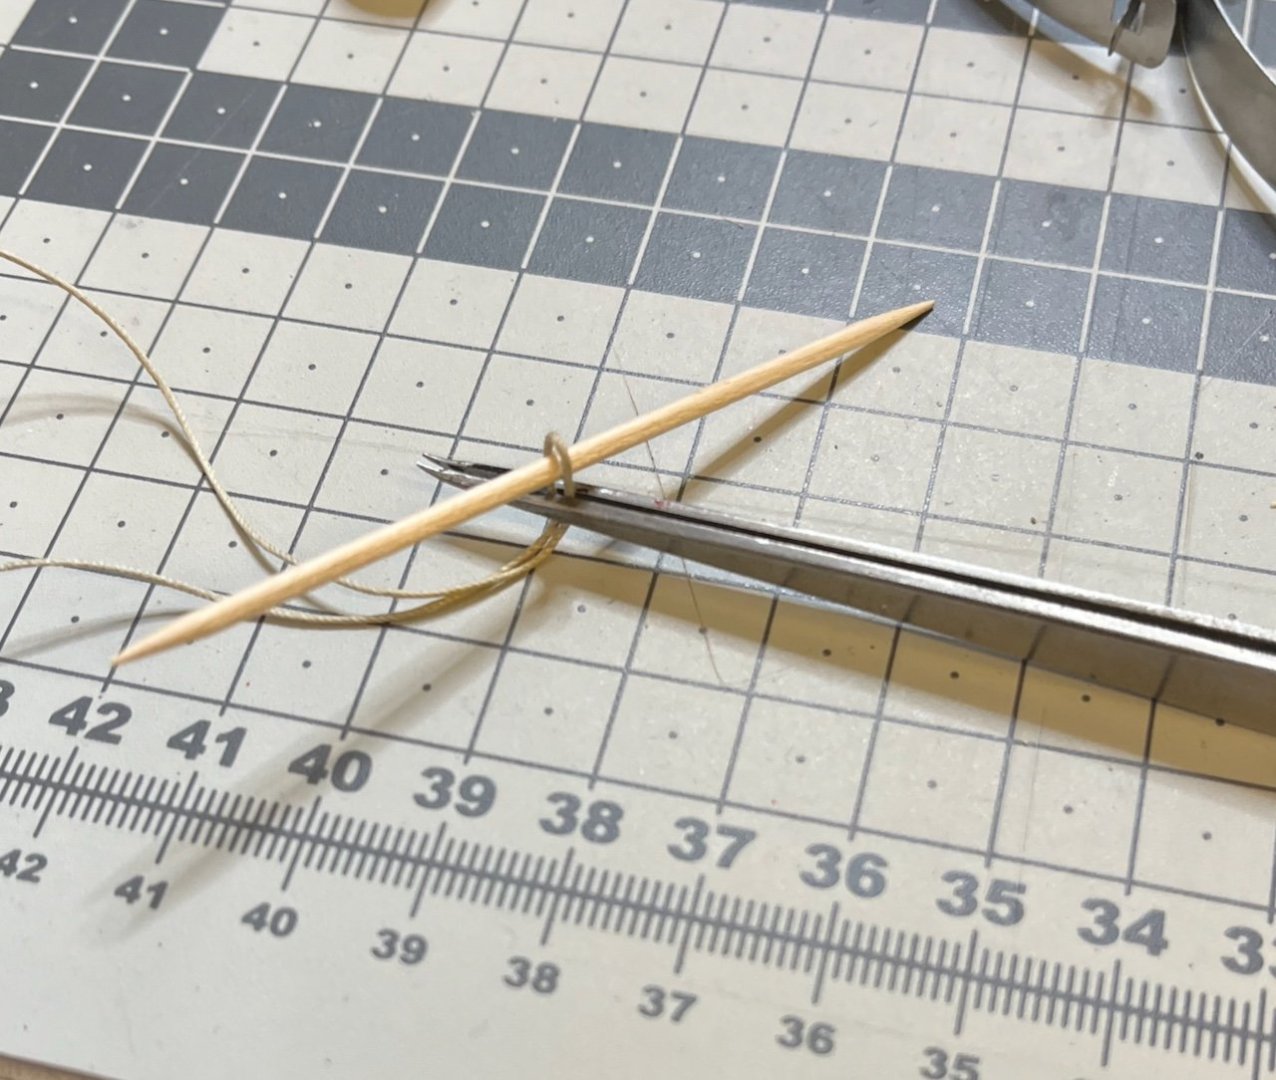
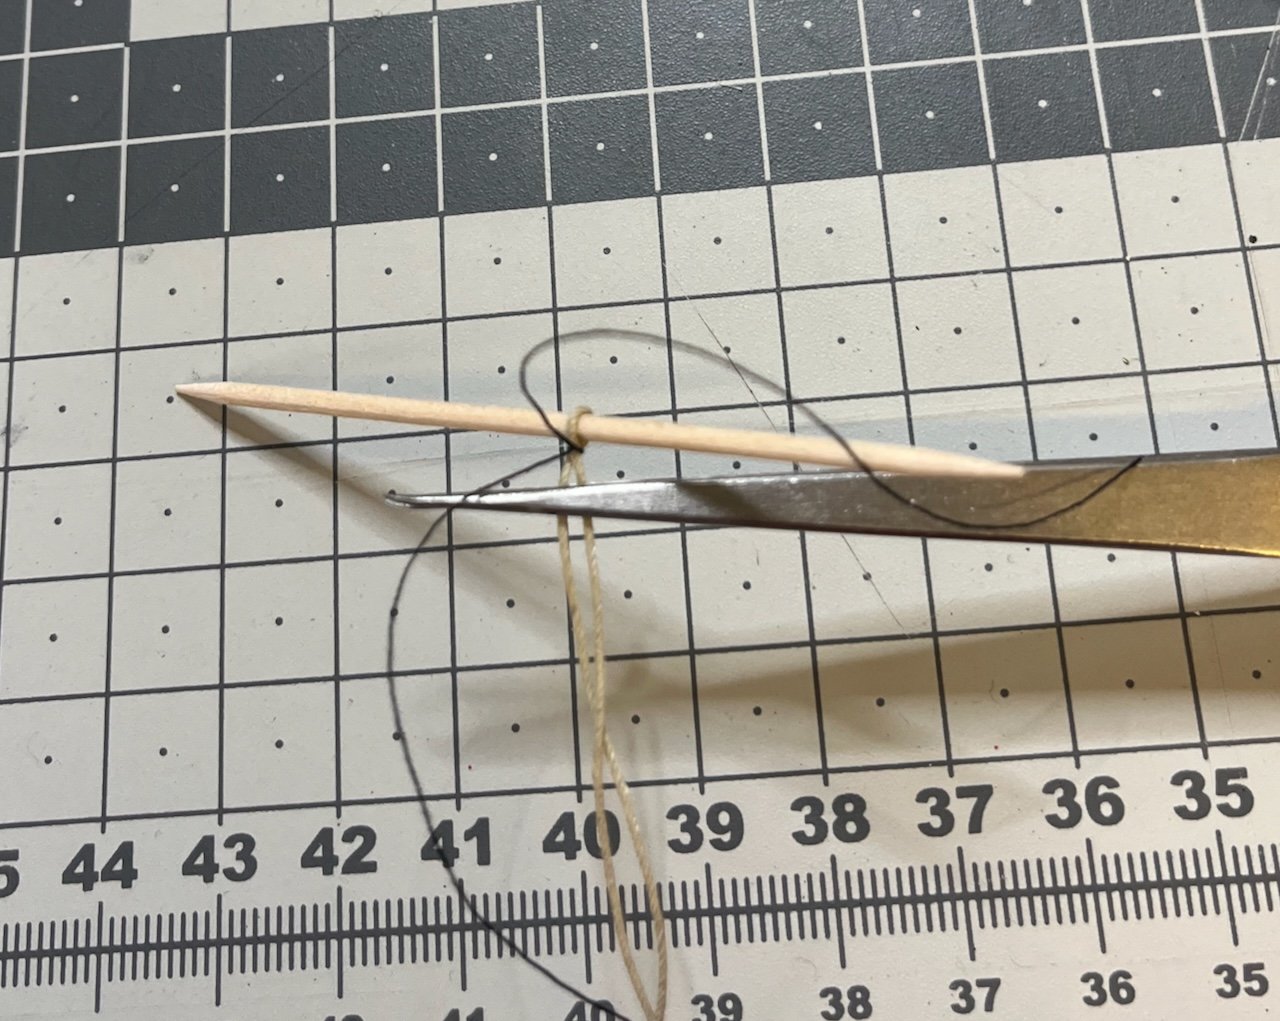
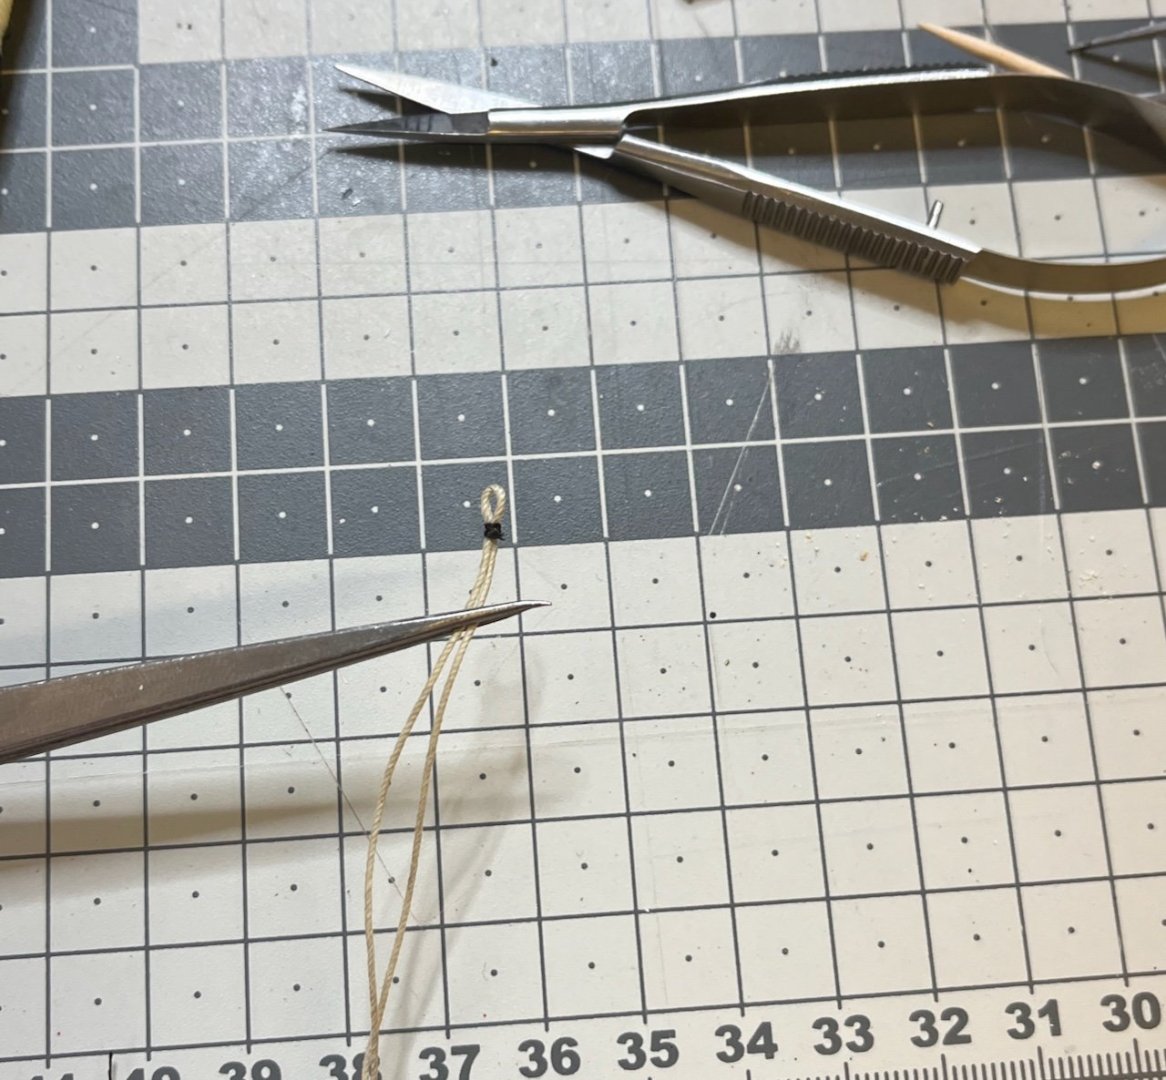
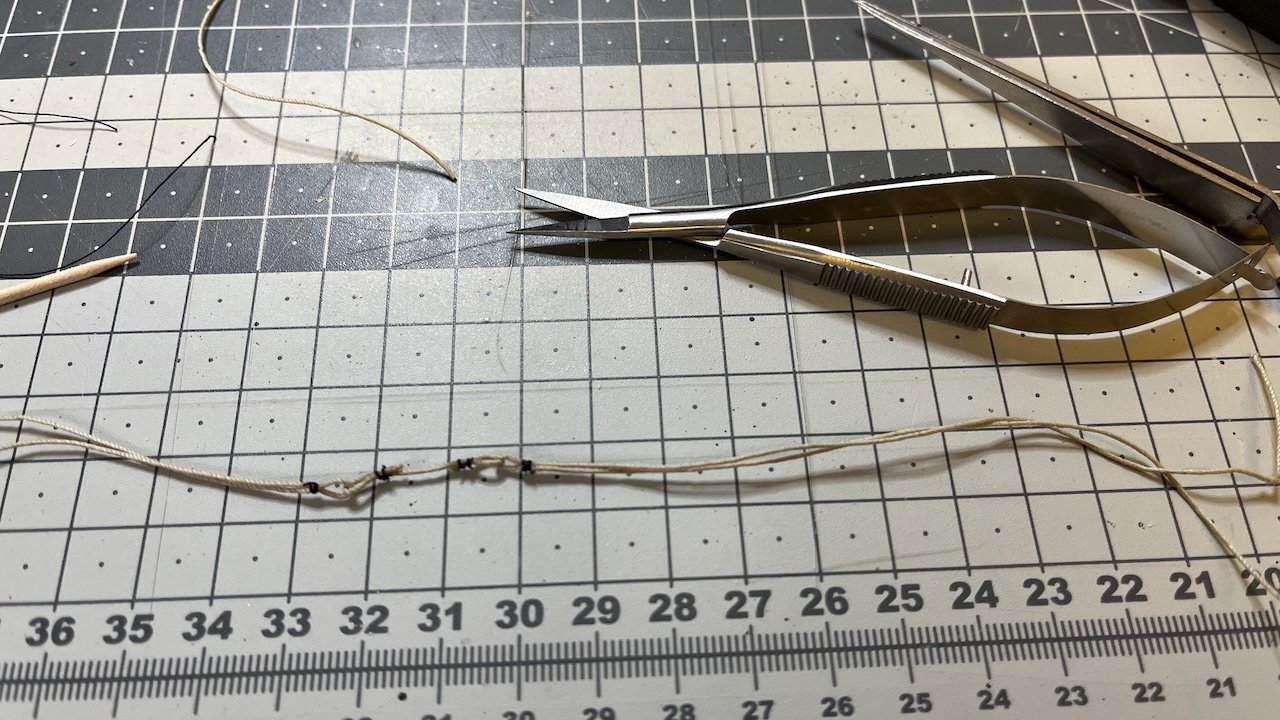
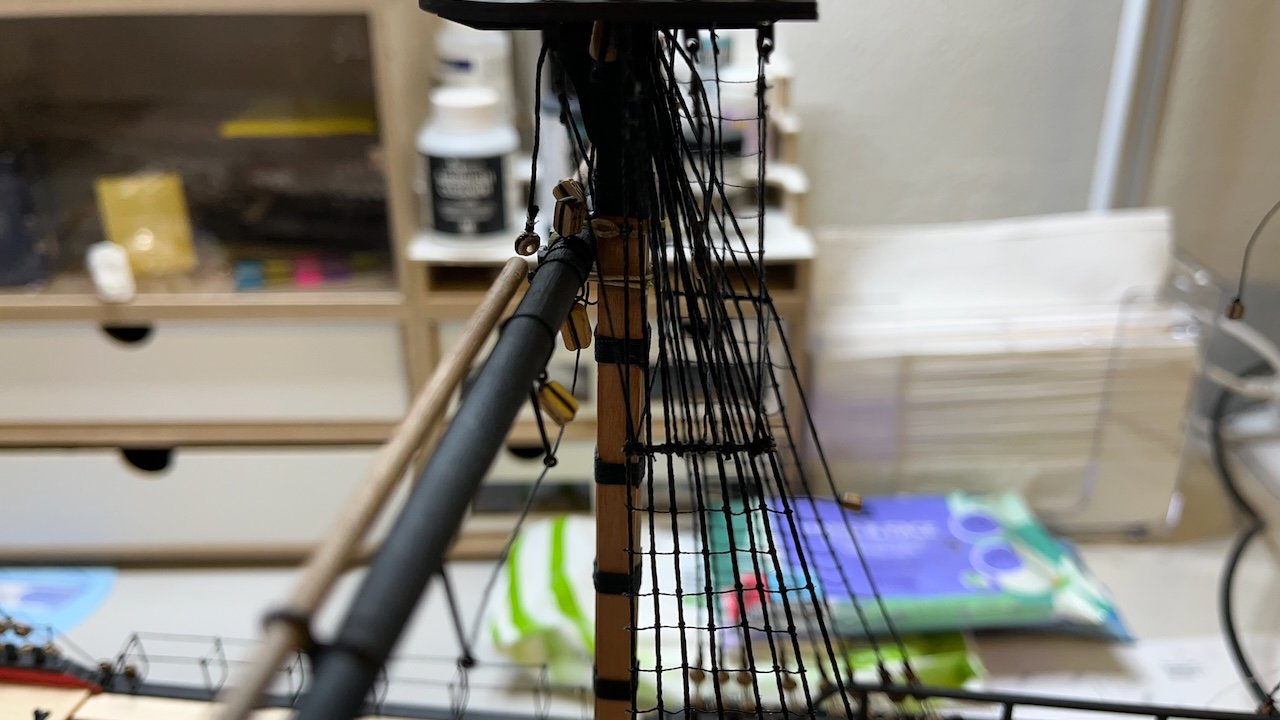
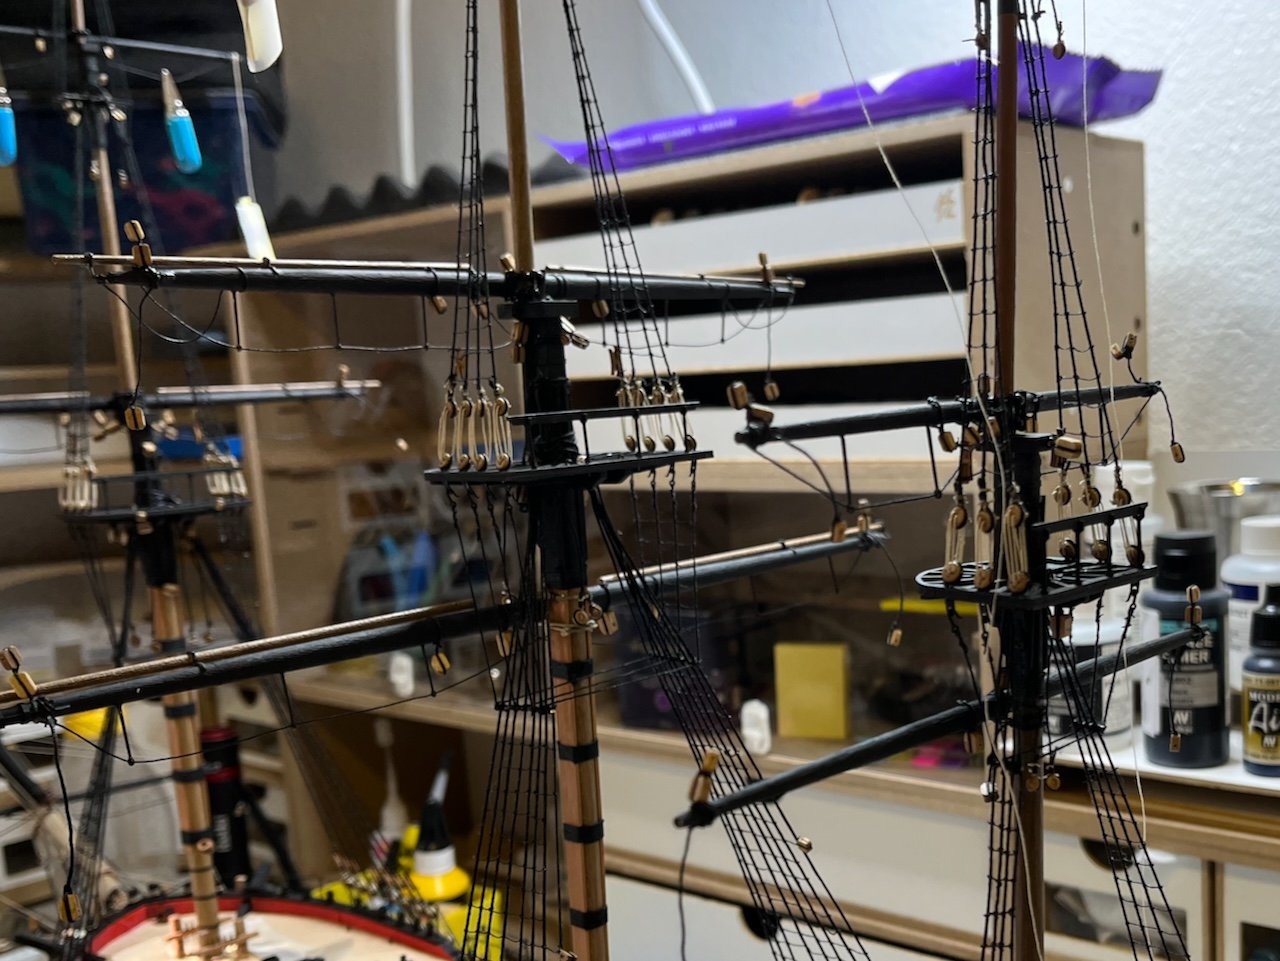
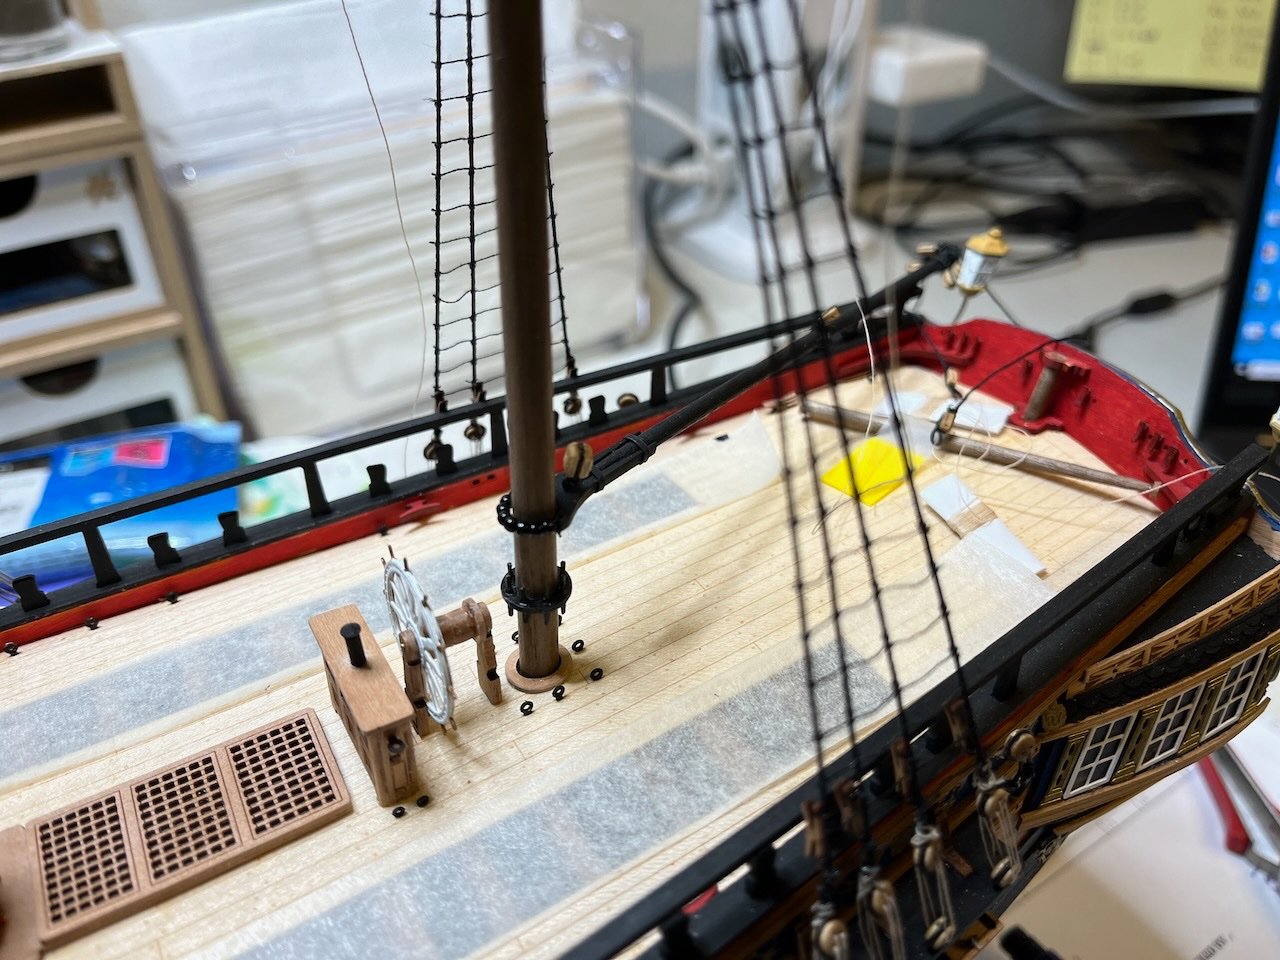
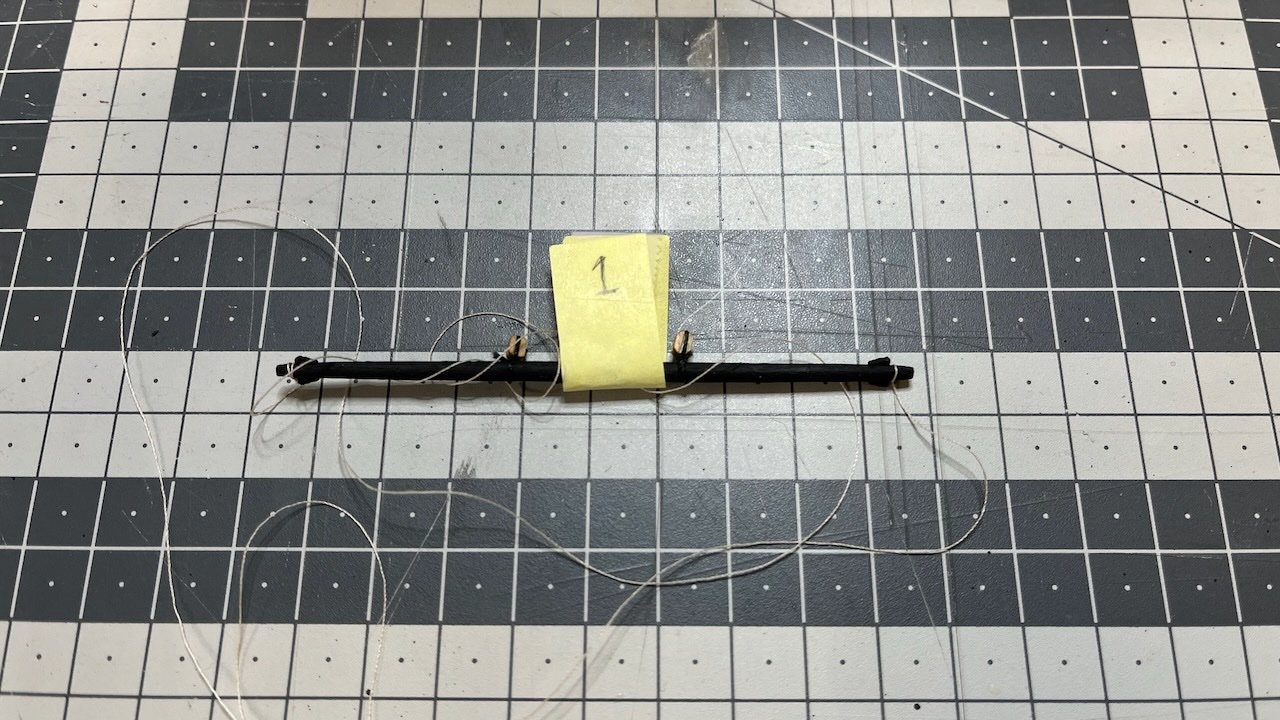
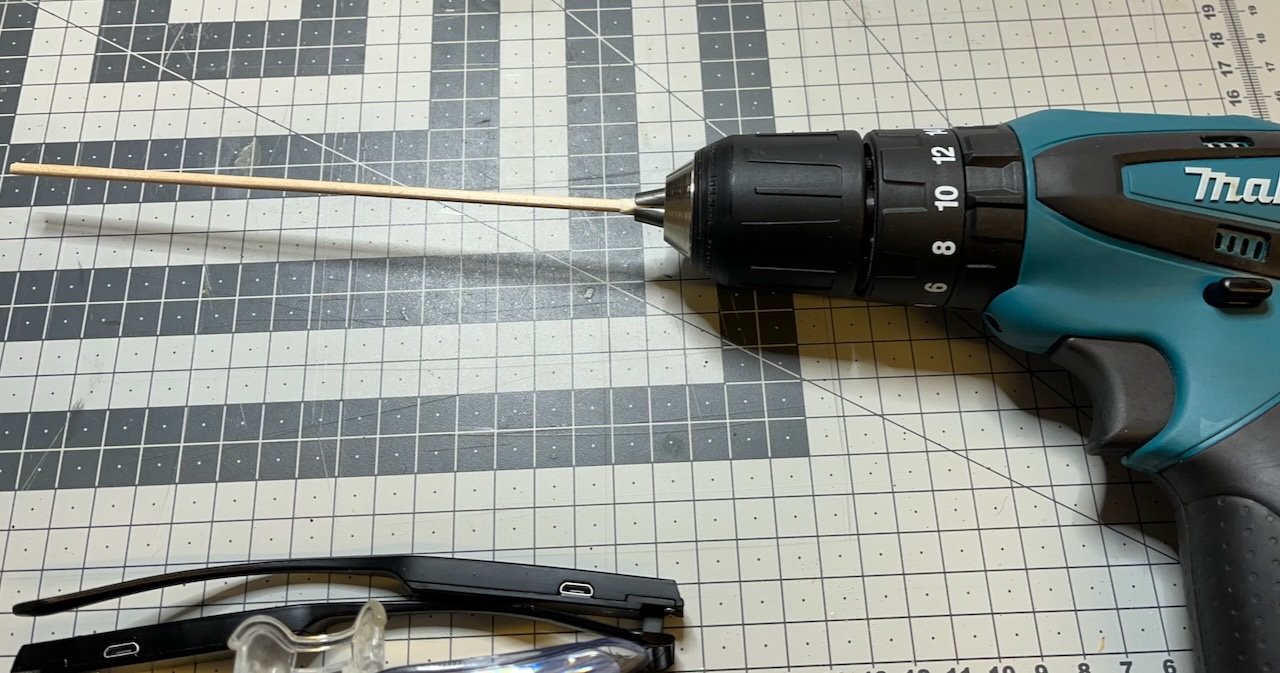
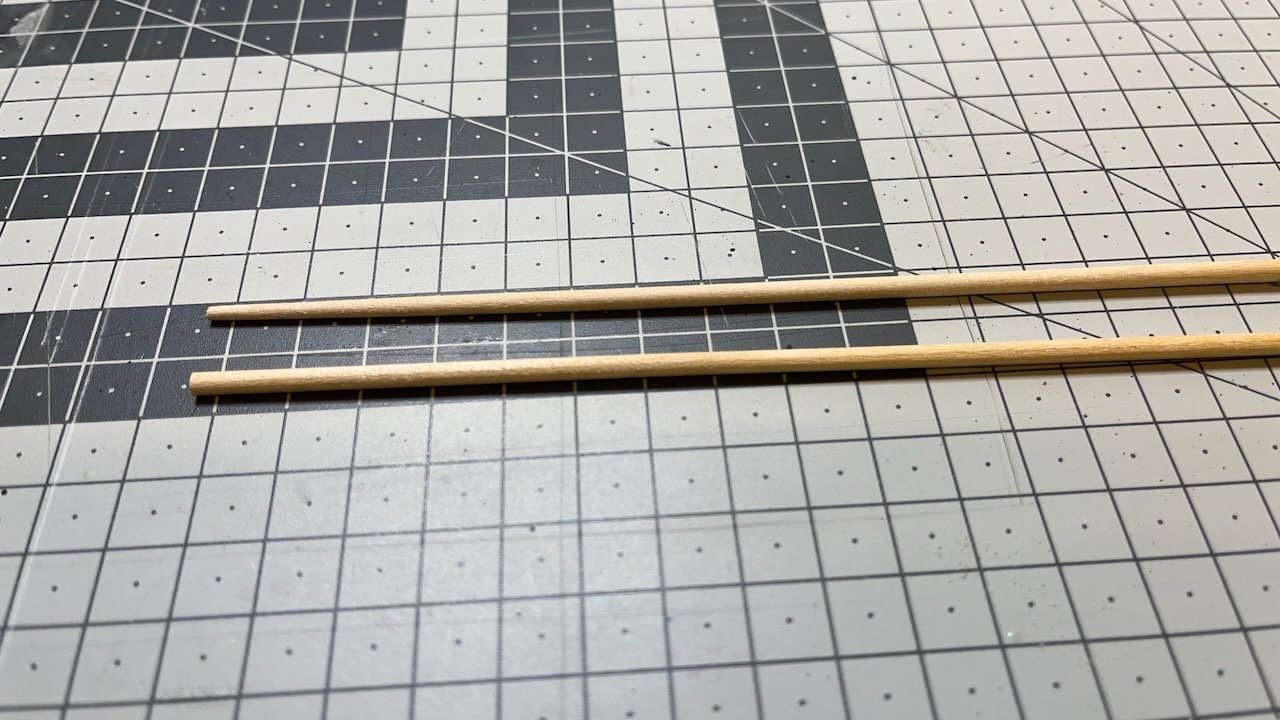
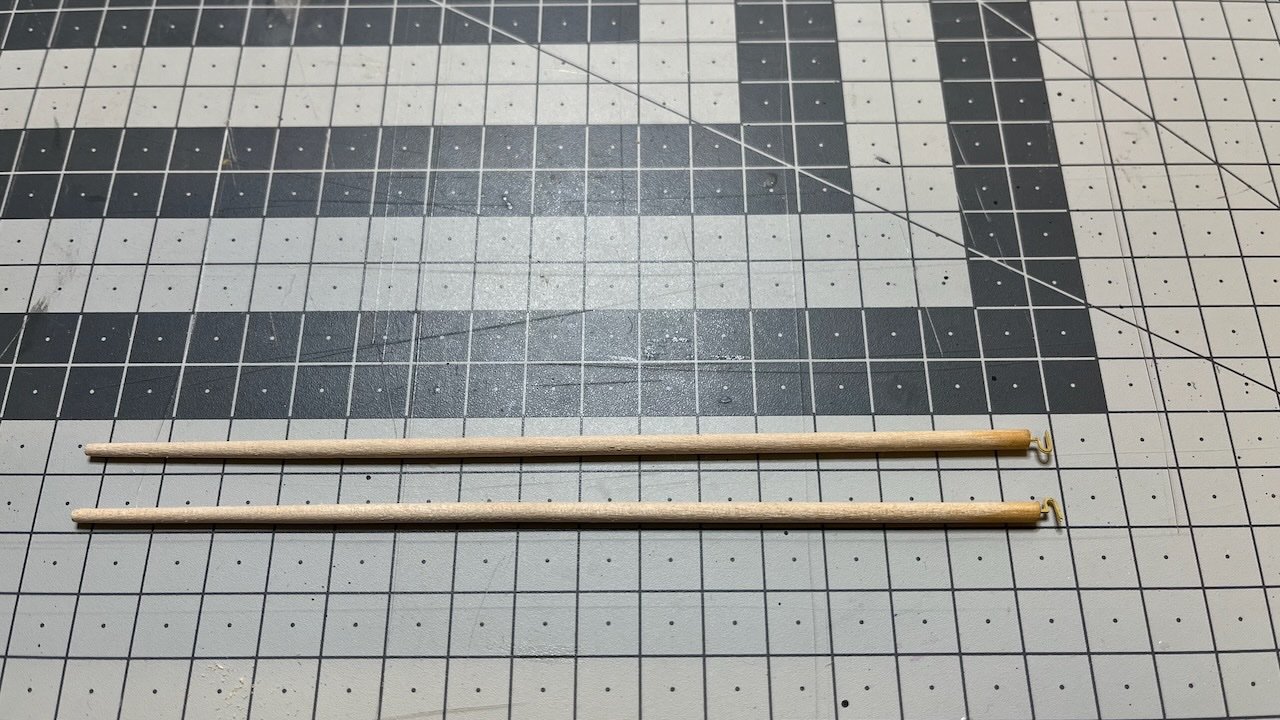
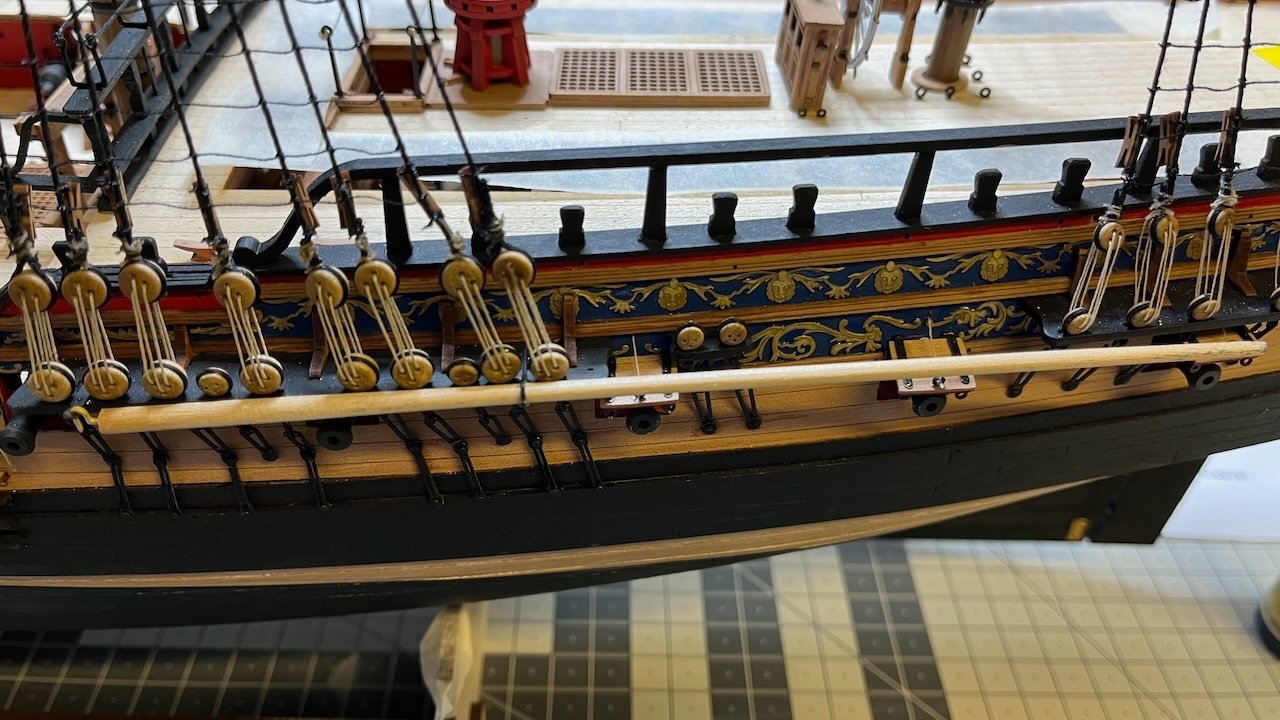
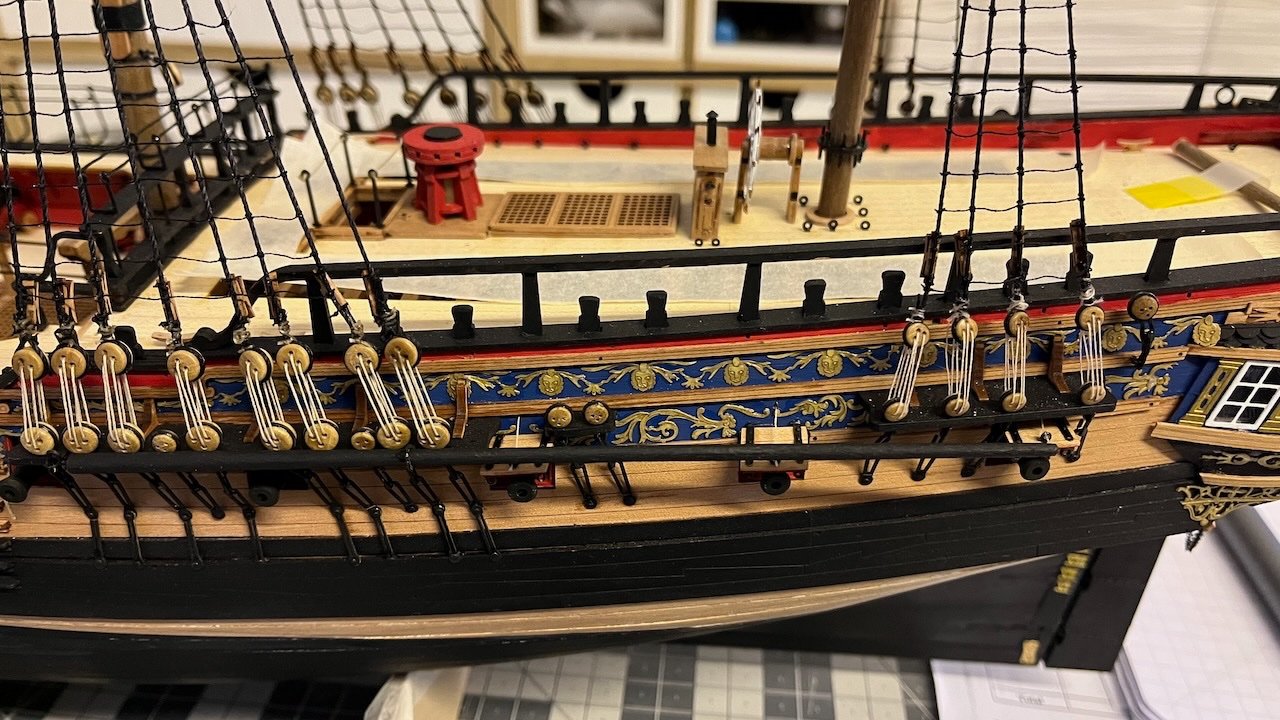
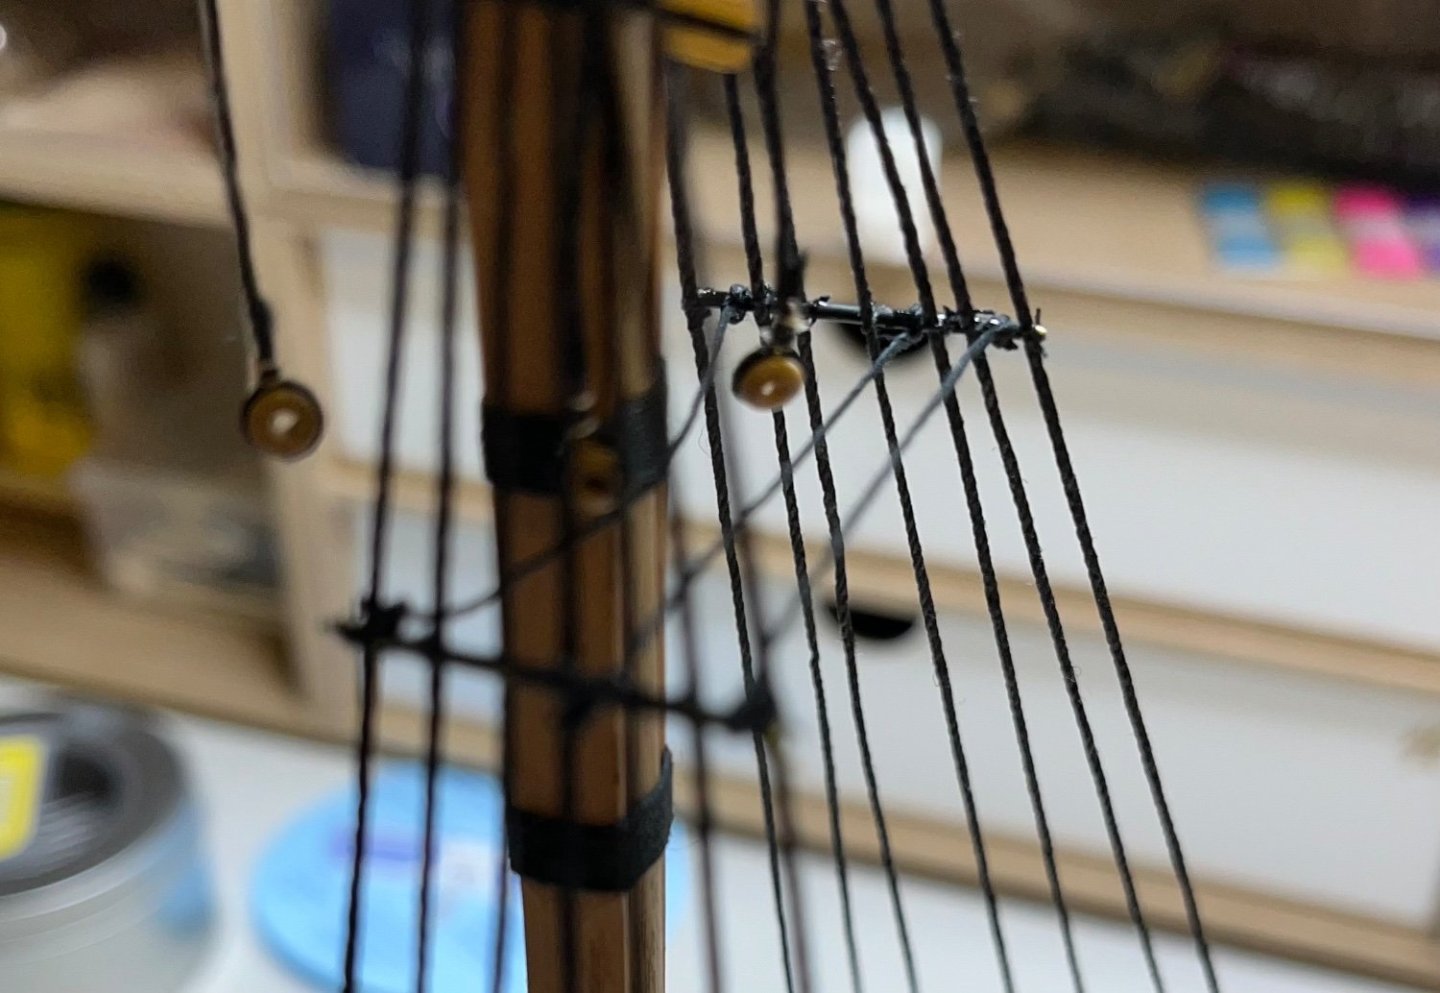
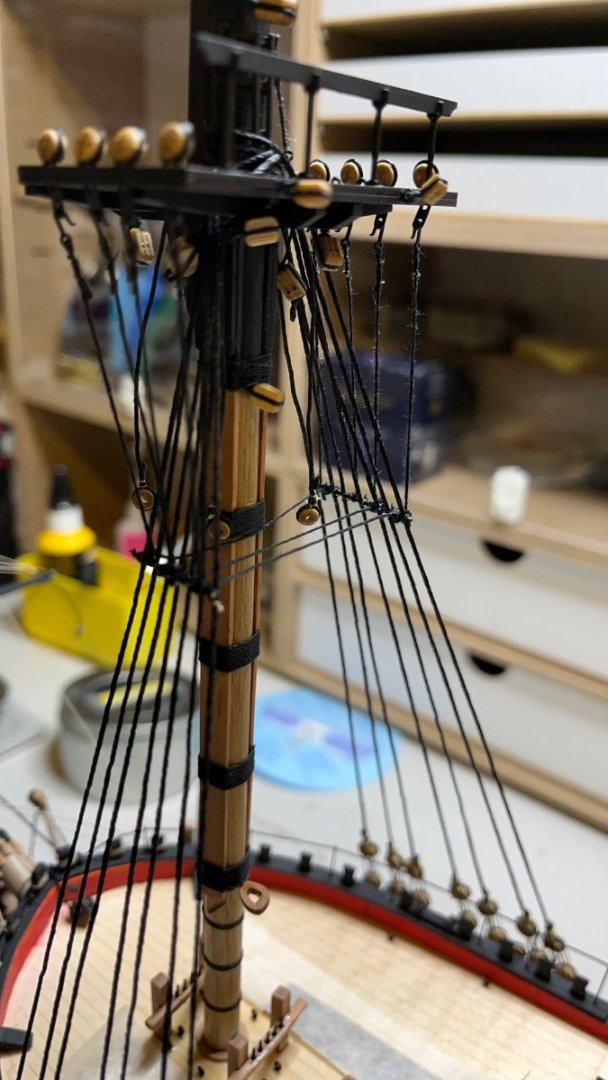
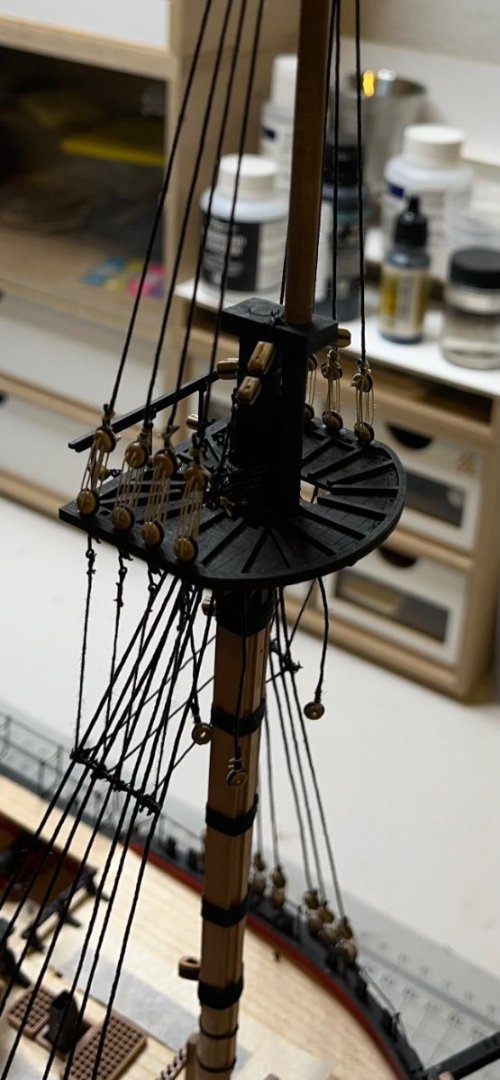
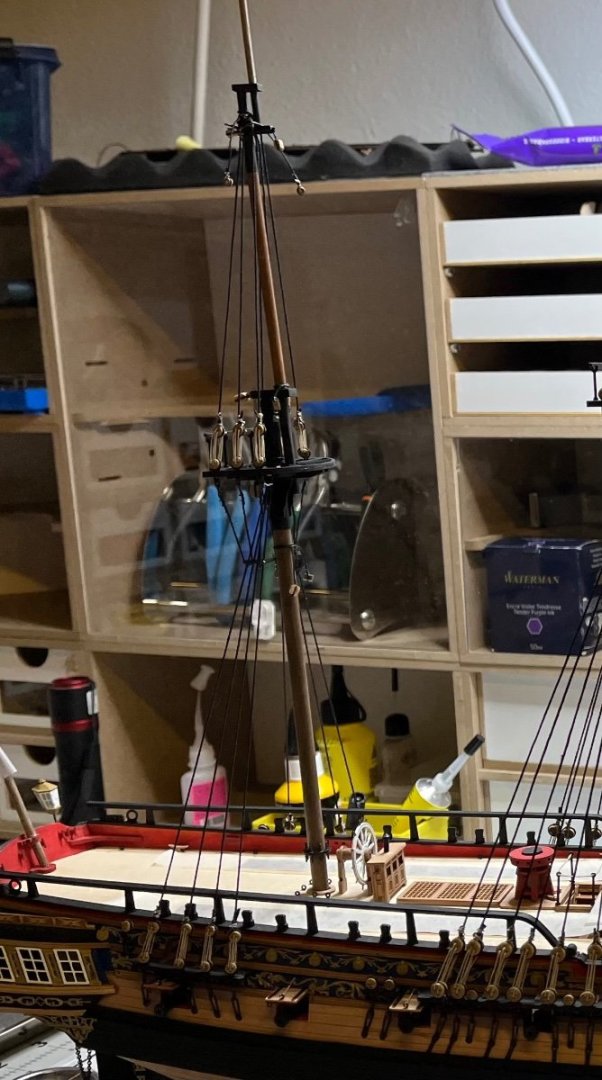
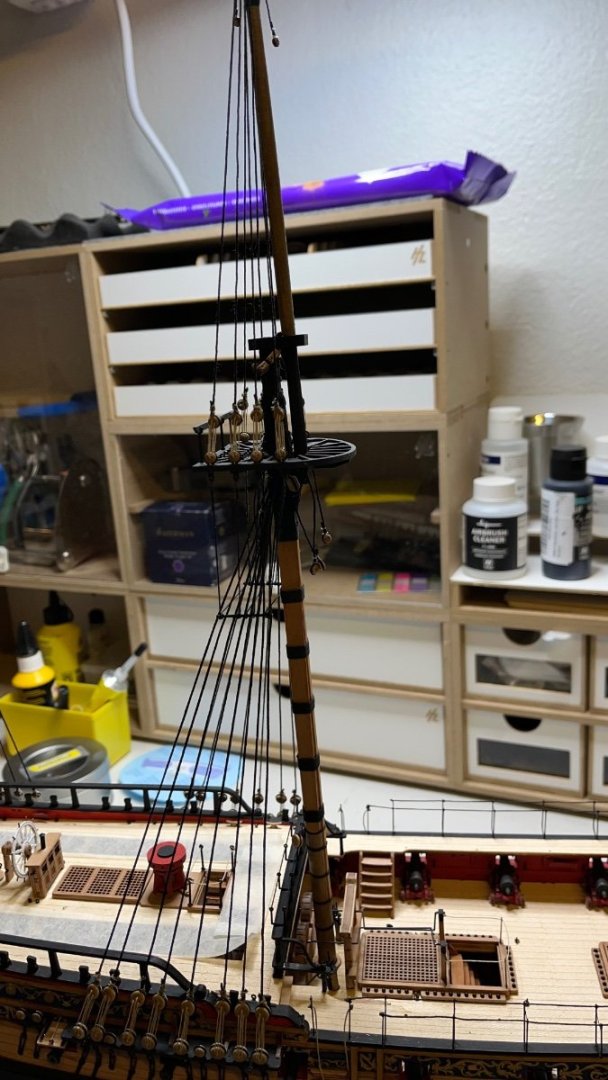
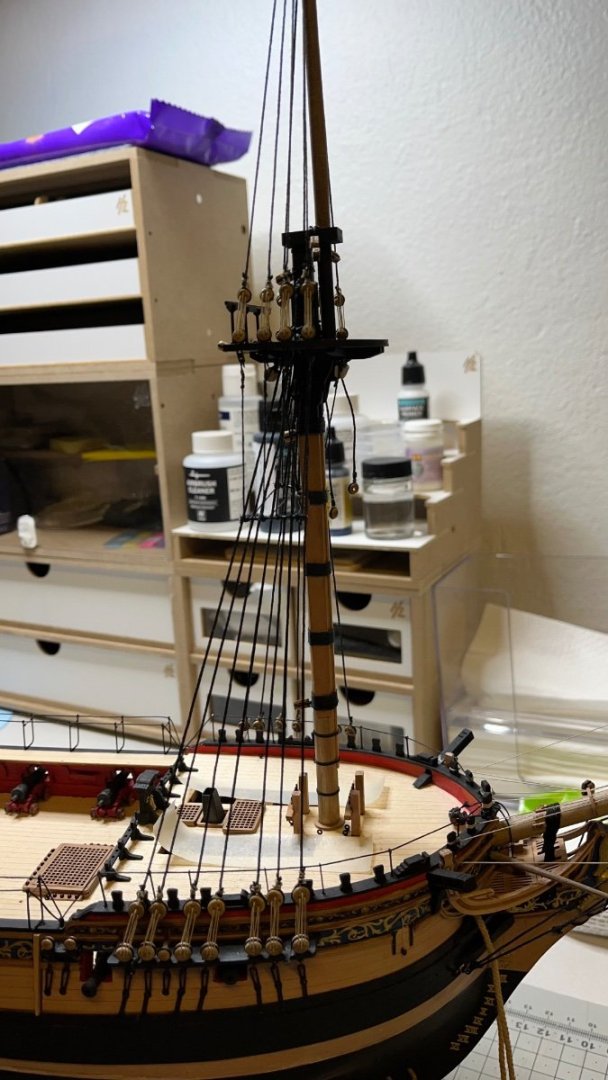
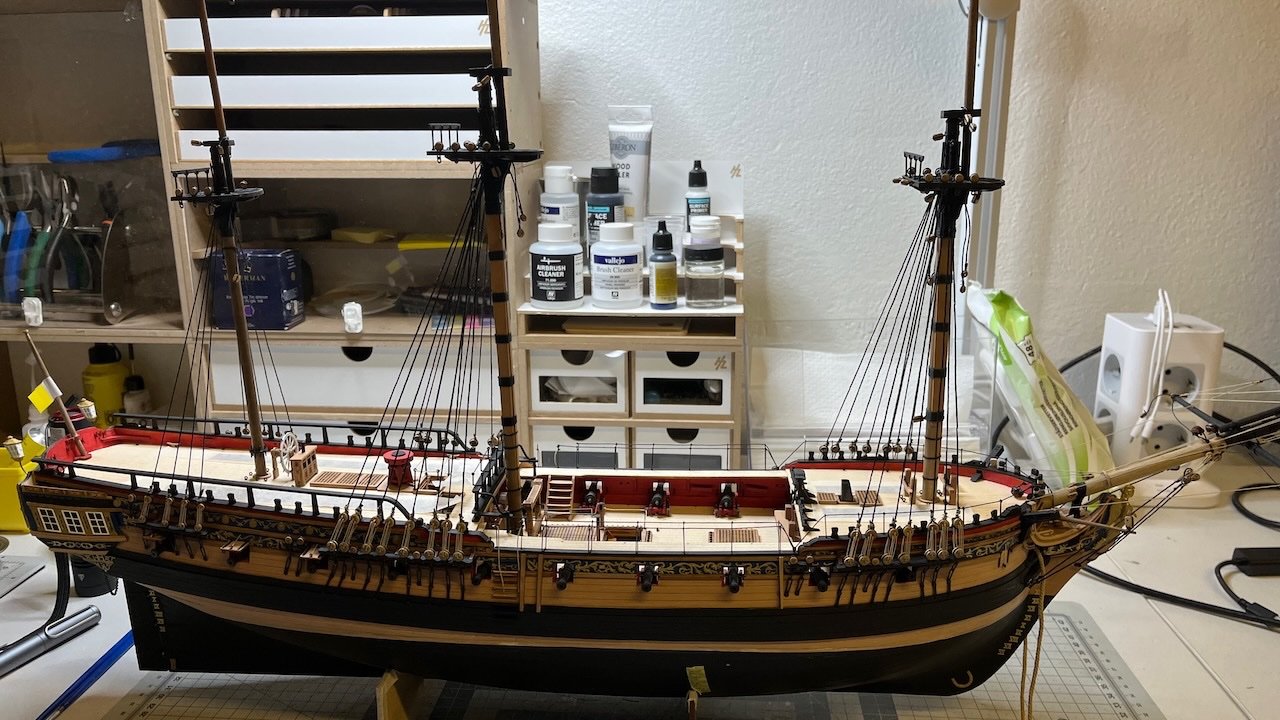
Build day 155: 5 hrs / Total 325 hours Installing Crossjack Yard and Main Yard. Below I share the process of rigging the thread structure for mounting the Main Yard, as good as I understood from the plans. Last two photos show the yards in place with their thread fittings. I used nails here, too, to mount them strongly in place. Photos 818-823
-
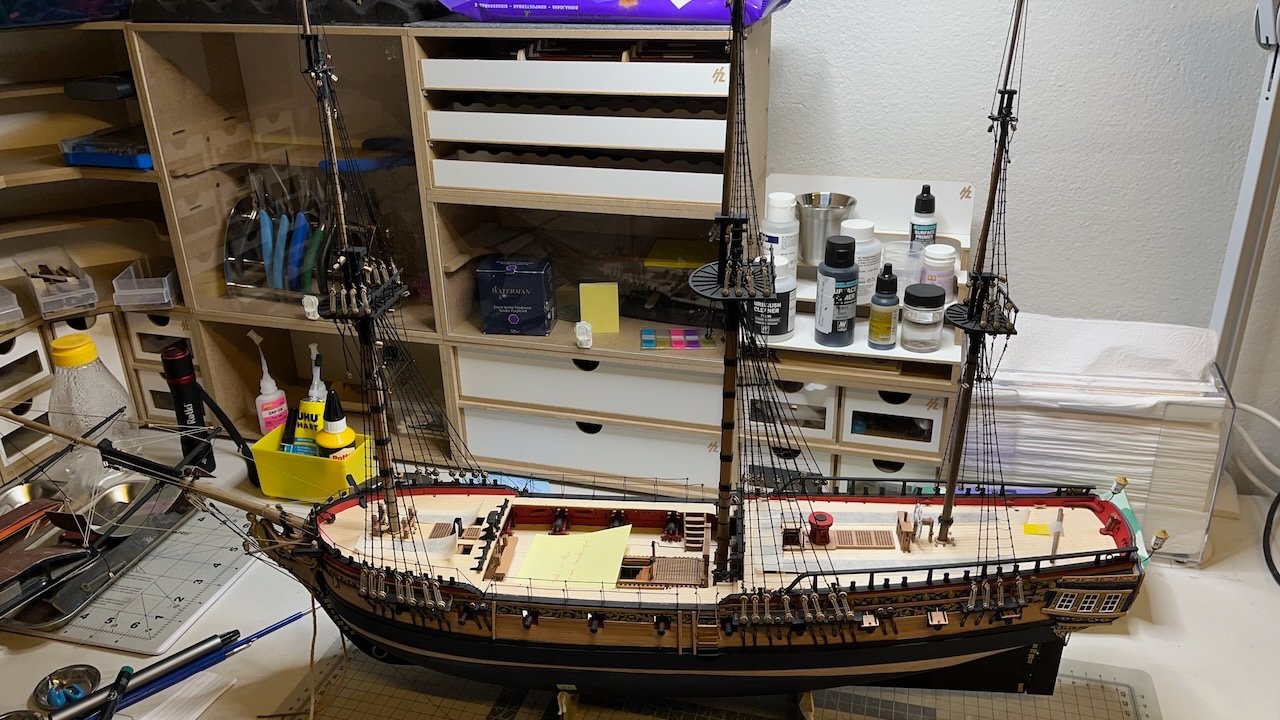
Here is my rigging progress. Not quite done, but getting there! ✅ Fit masts ✅ Rig lower shrouds ✅ Rig upper Shrouds (IN PROGRESS) Fit the yards (not rigging them yet) Fit the crossjack sling to the crossjack yard (at this point for accesibility) Rig the mast stays (Omit Main Stay Tackle and Fore Hatch Tackle at this stage) Add the Crowsfeet to the mast tops Rig the back stays Rig the yards Fit Sheets and Tacks Fit the Main Stay Tackle (but do not lash them yet) Rig the Yard Braces Fit the ship's boats Lash down the Main Stay Tackle and Fore Hatch Tackle
-
 chris watton reacted to a post in a topic:
HMS Sphinx 1775 by aydingocer - Vanguard Models - 1:64 - Revision #2
-
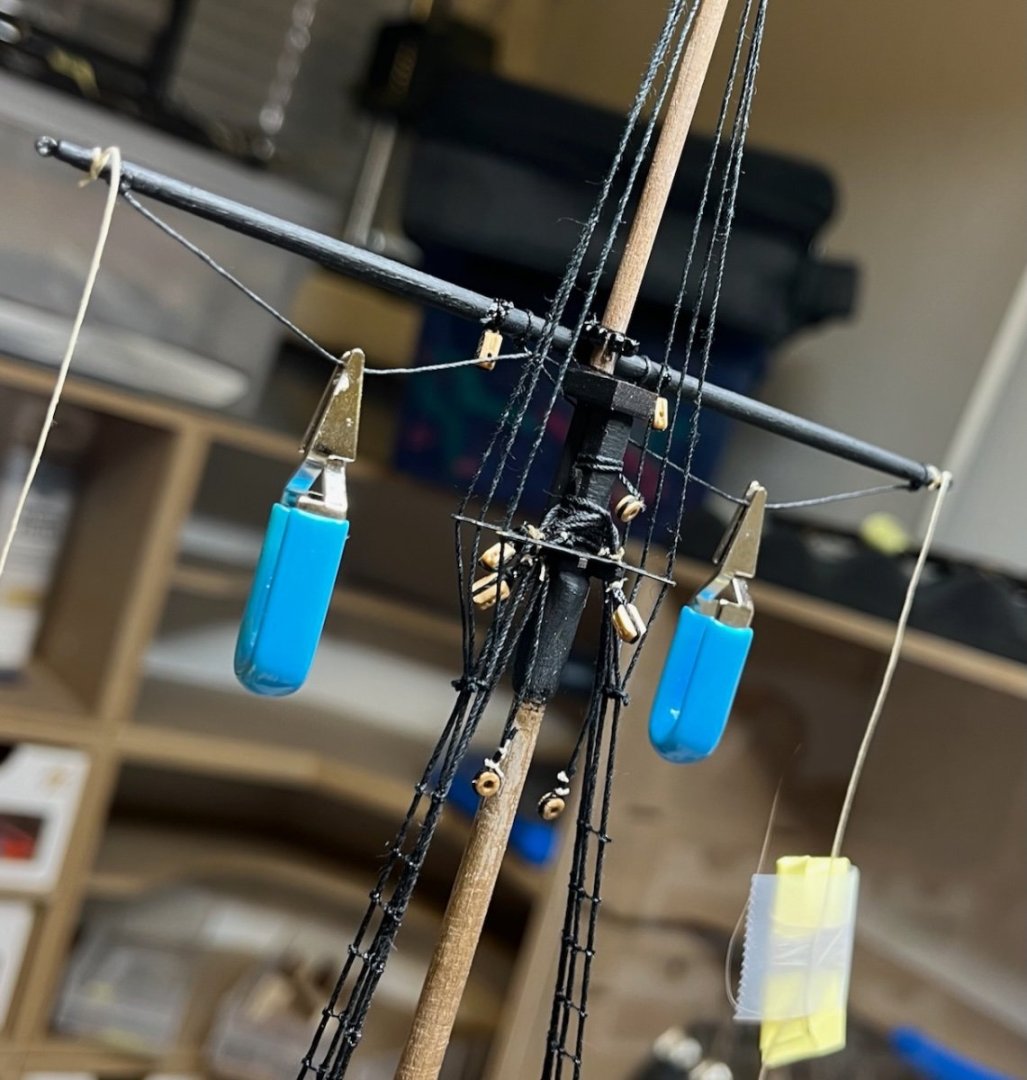
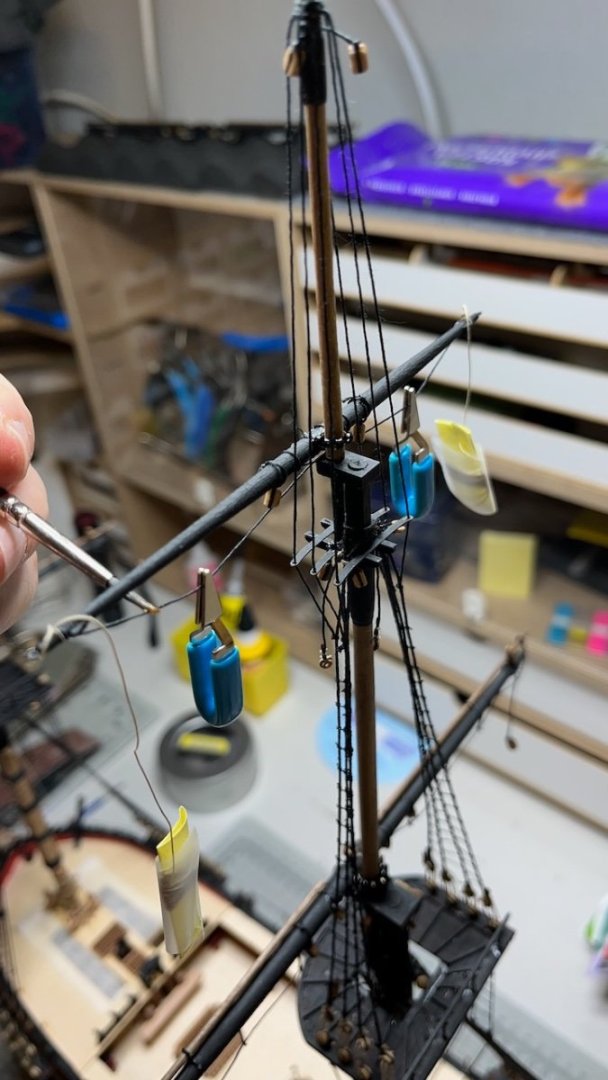
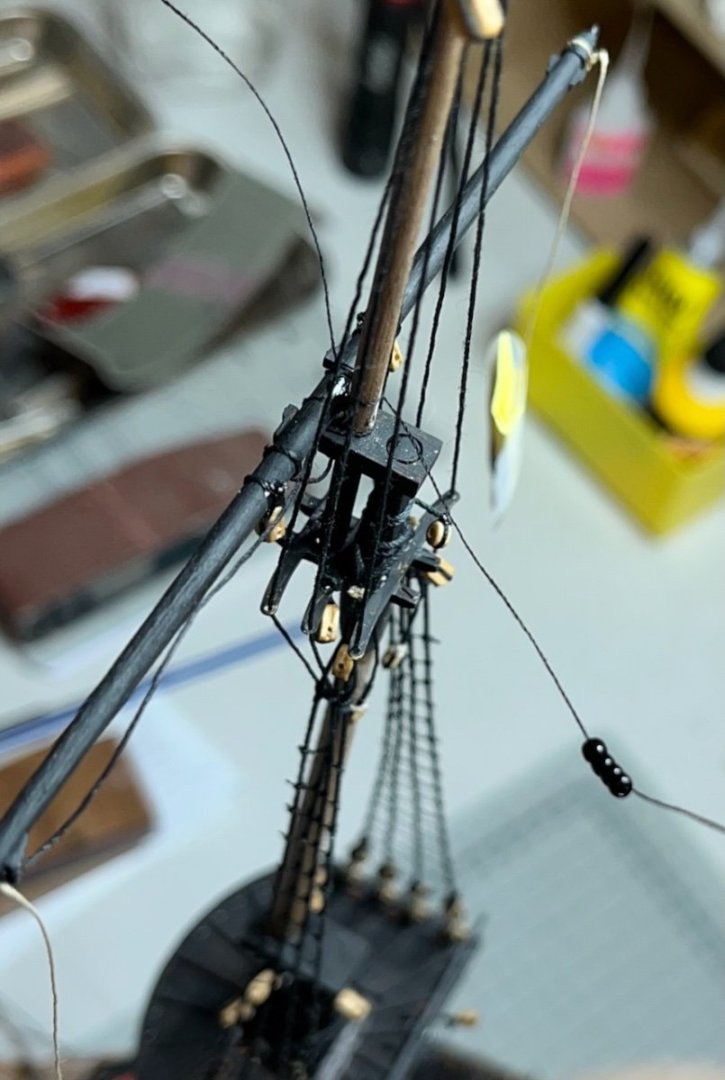
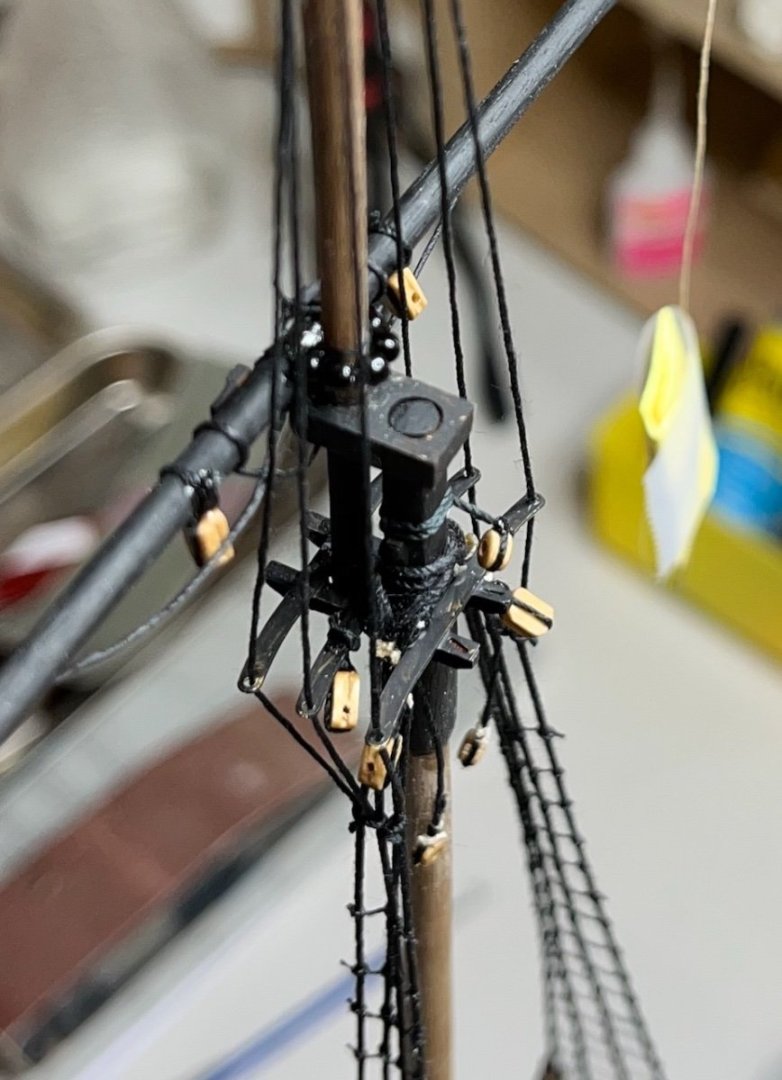
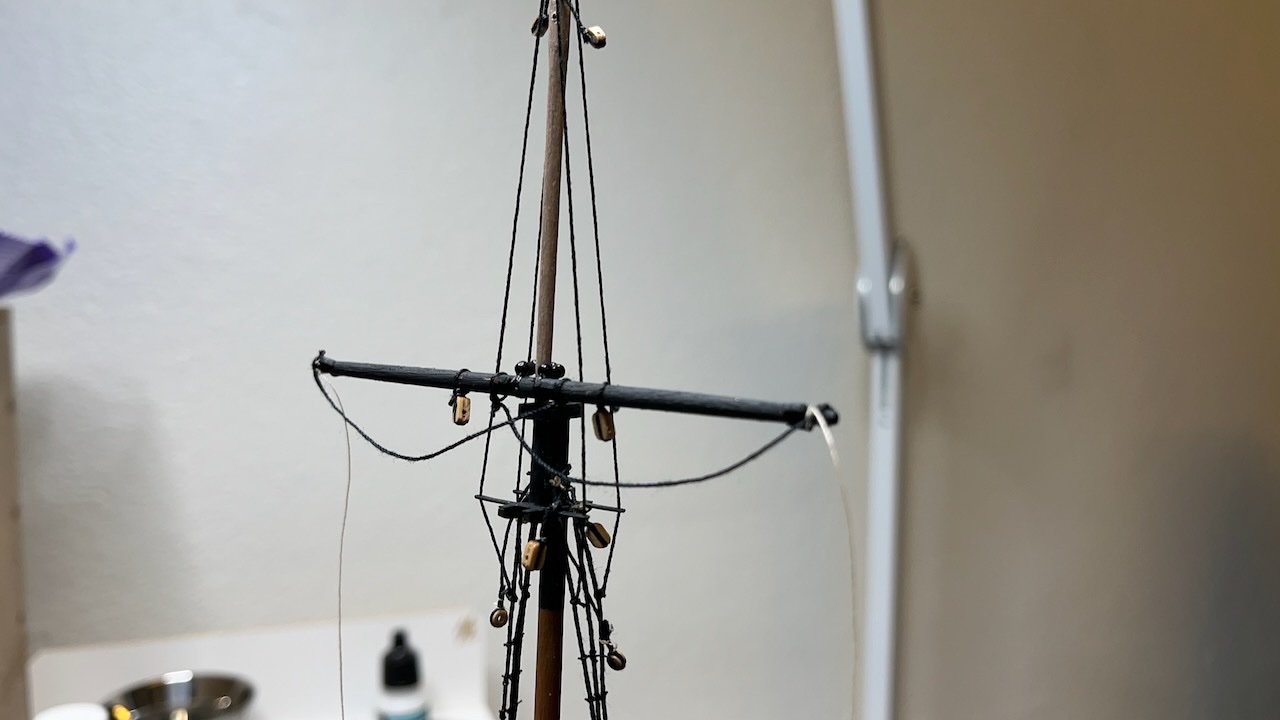
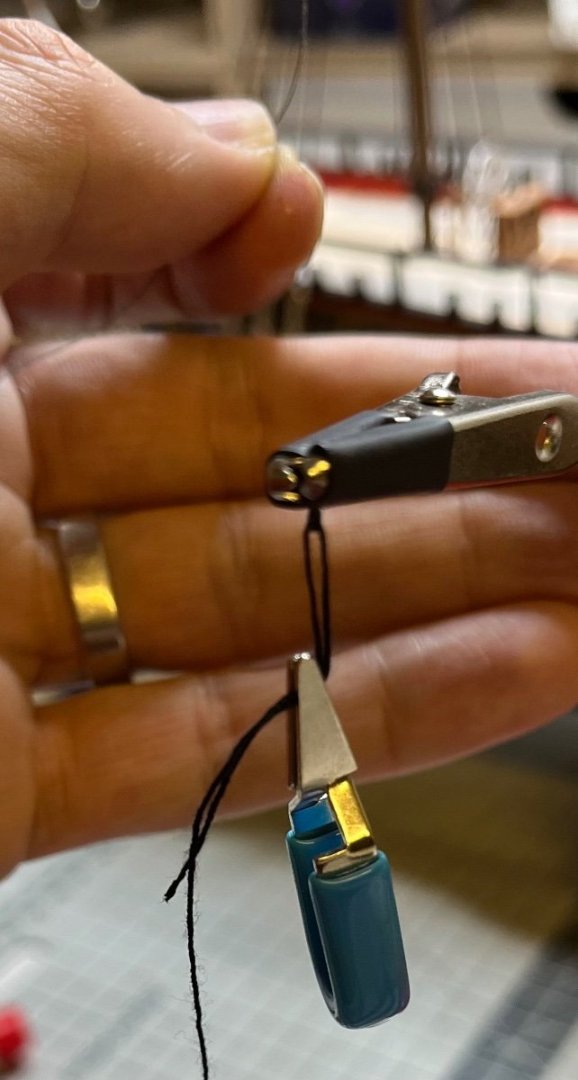
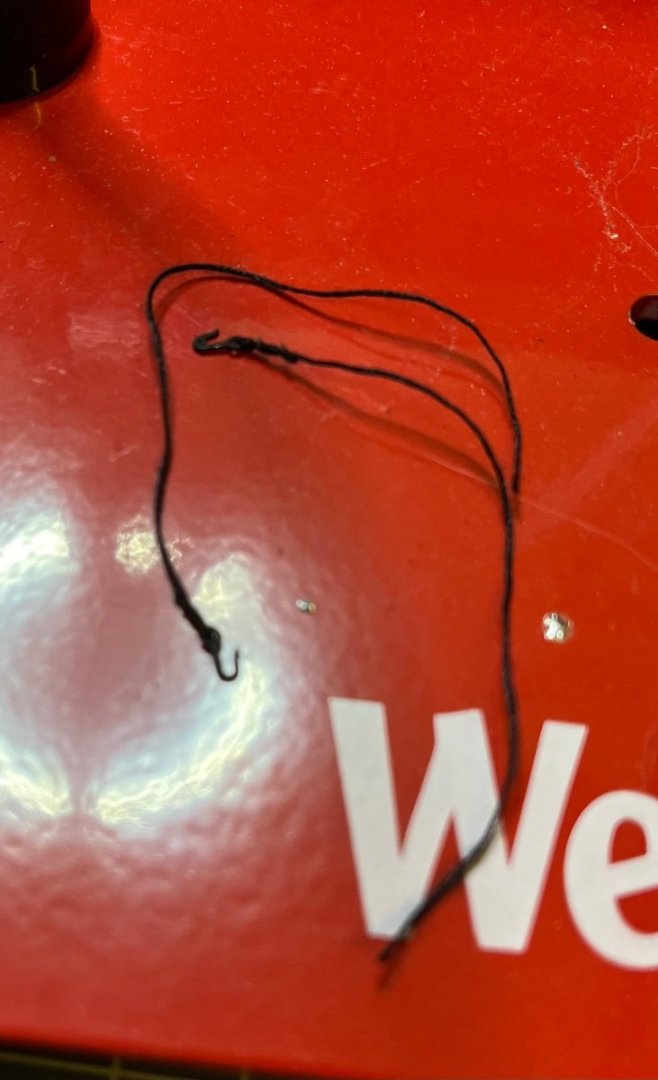
Photos 816-817: I wanted to try hanging weights in the center of these threads to give them a more realistic curved shape. I soaked them with water using a brush to help somewhat maintain their shape once they have dried (the 2nd photo). They will stay there as long as they can. I hope it helps. That's all for today! Thanks for watching!
-
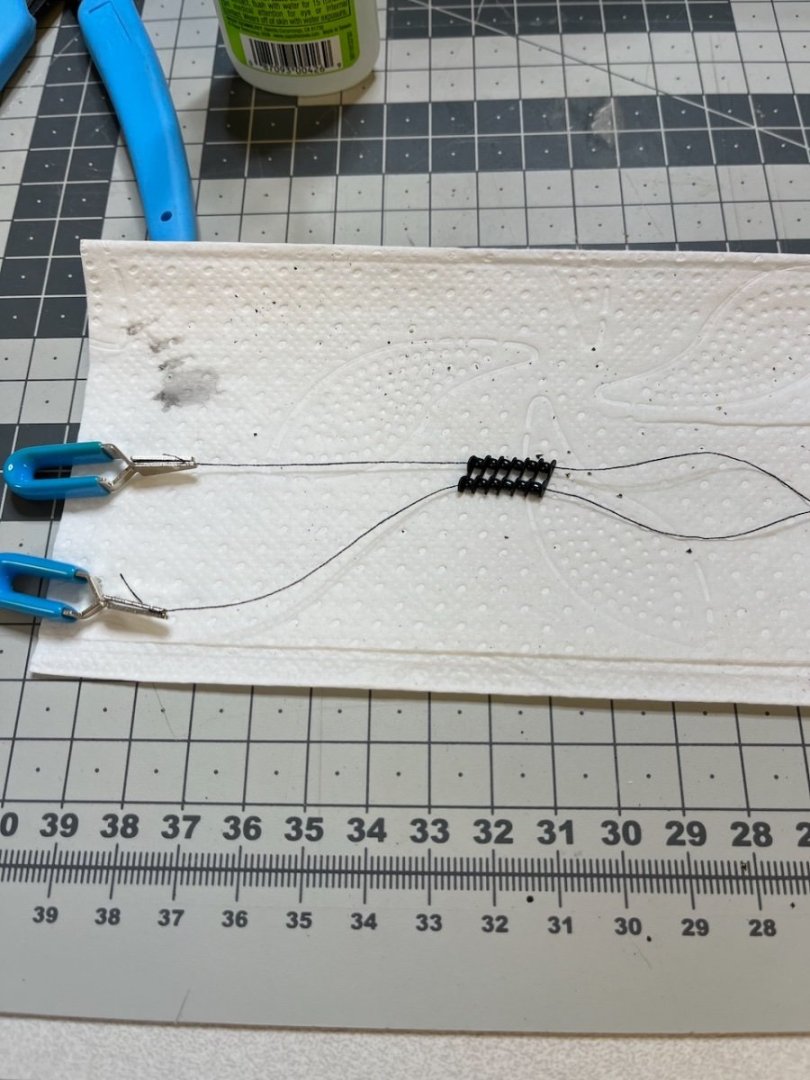
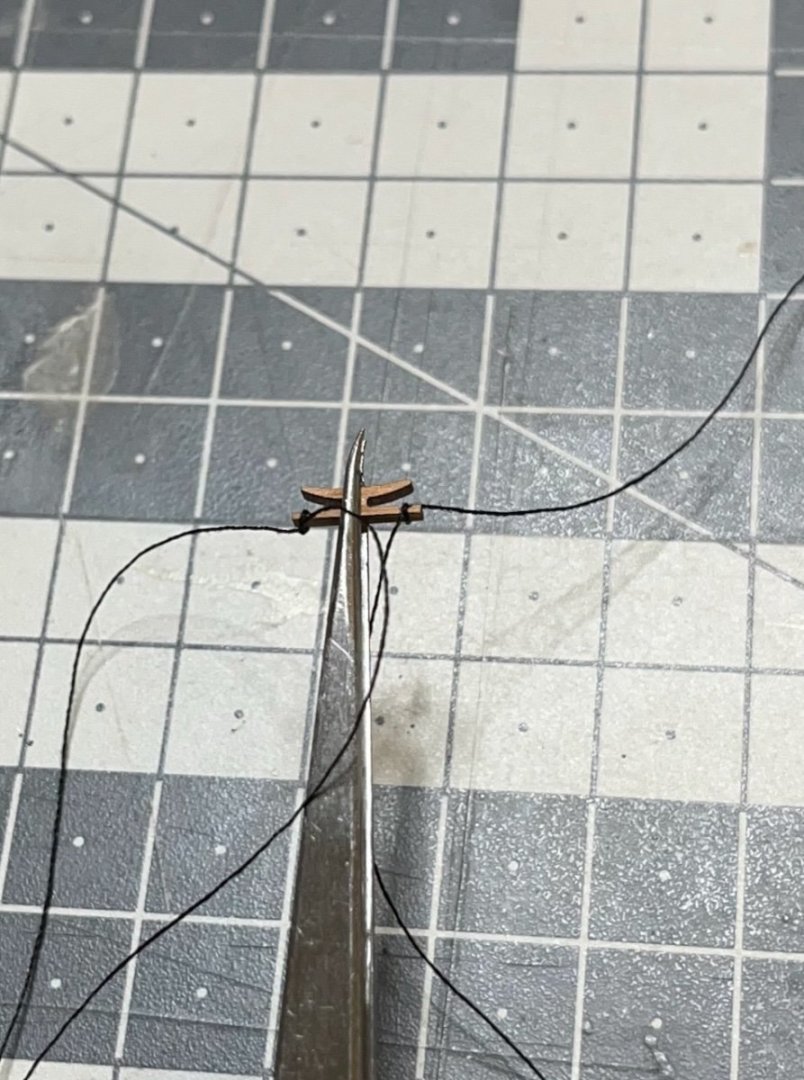
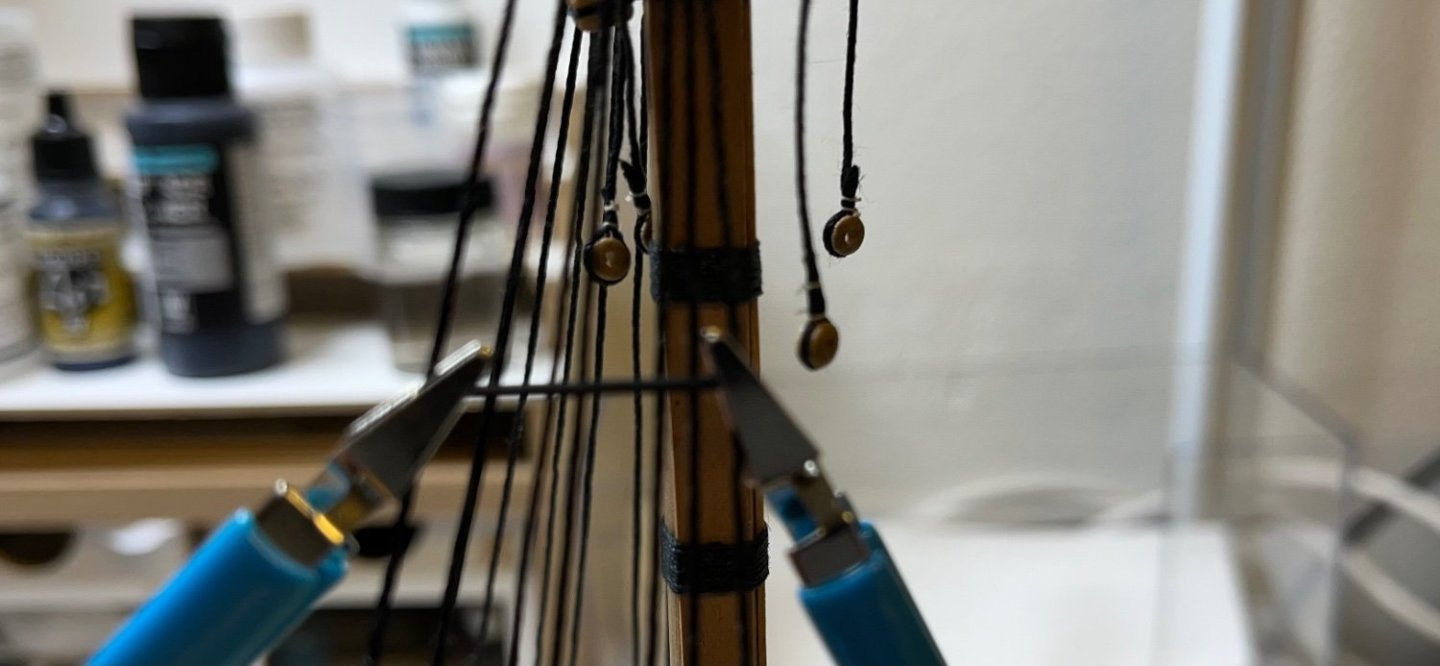
Photos 814-815: Here is how I worked with threads, which use only parrel beads: Fix the thread on the yard in one end and add as many beads as you need from the other end. It was much easier to work this way than installing an already prepared thread with beads, in which case the beads kept dropping while trying to get the thread ends back and forth through intricate spaces.
-
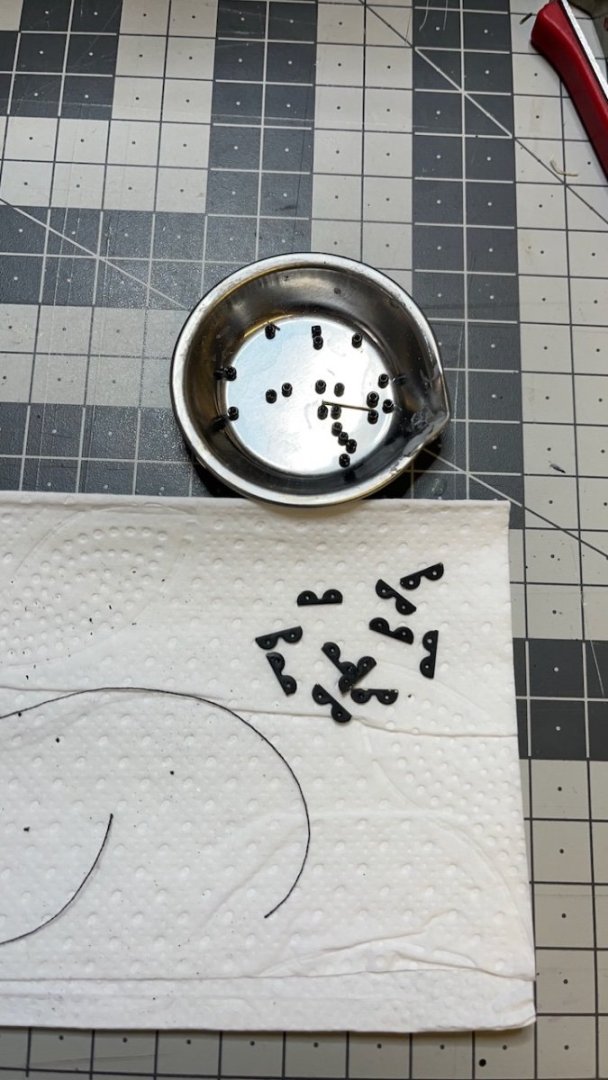
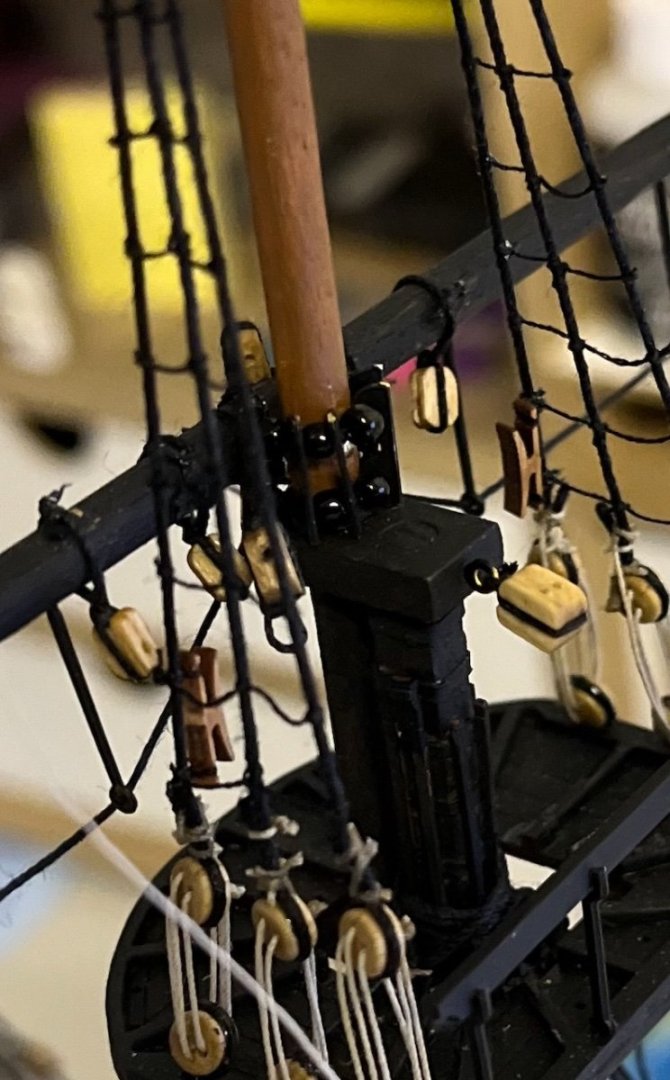
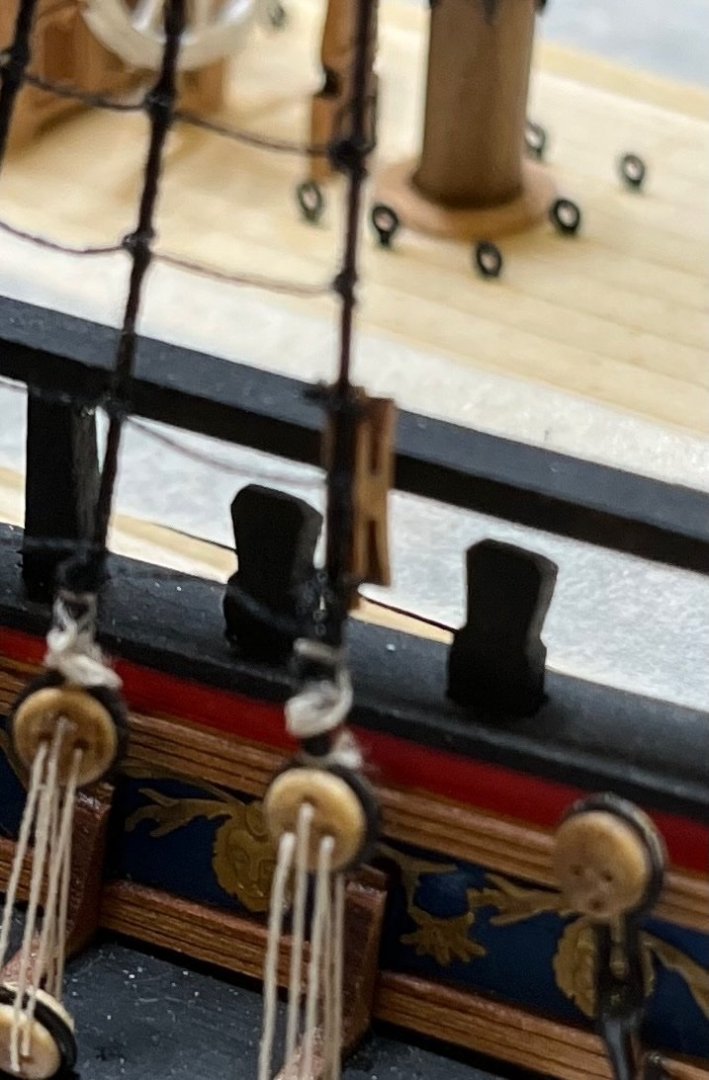
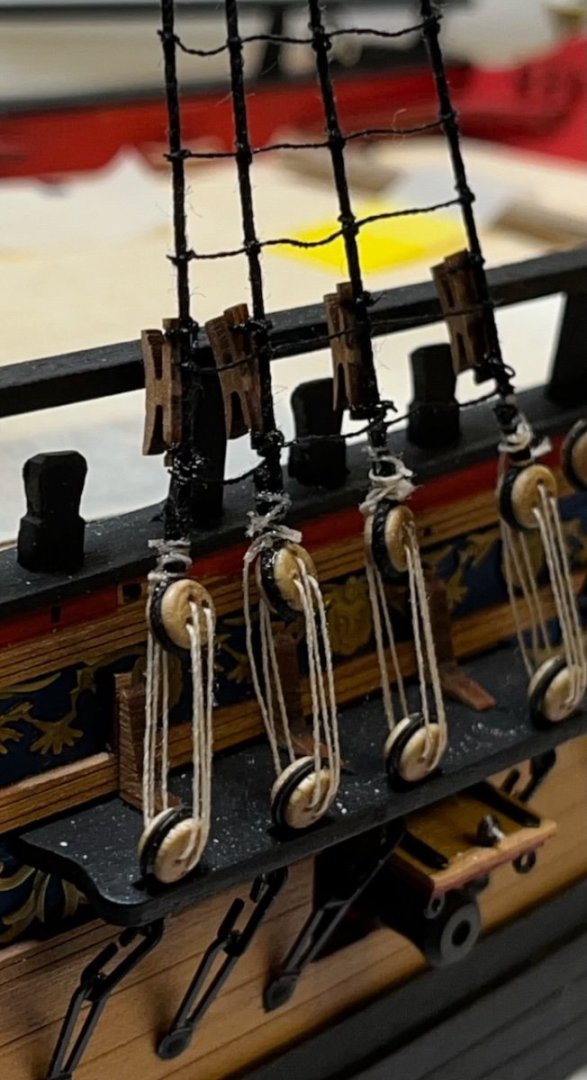
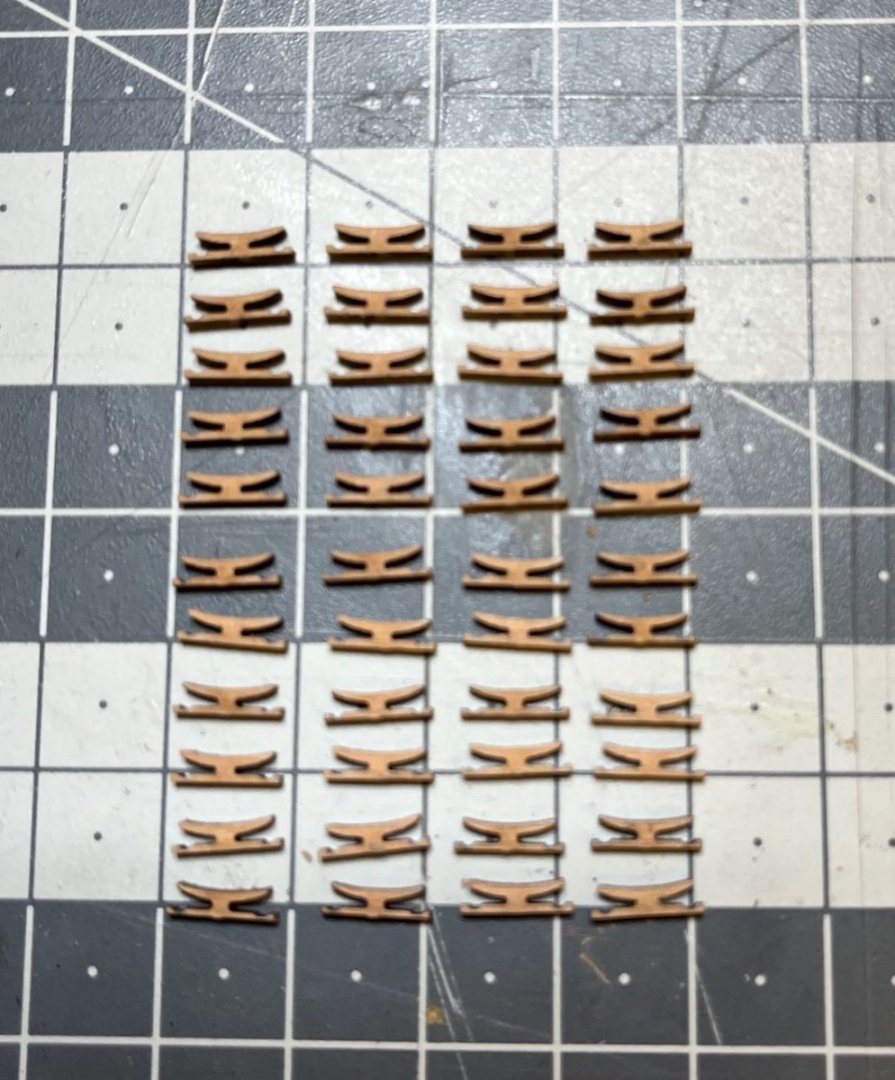
Build day 154: 4 hrs / Total 324 hours Yard installation continues. Some use just threads, some use parrel beads on thread, and some use parrel beads with parrel ribs on thread in order to tie them to the masts. They are instructed in the plans. Photos 810-812: The next 3 photos show some details how I installed parrels with parrel ribs and then their place. I have already used nail and glue to mount the yards and reinforced them with a black thread. This makes rigging the thread with parrels to their place much easier as you don't worry about actually holding the yard with them.
-
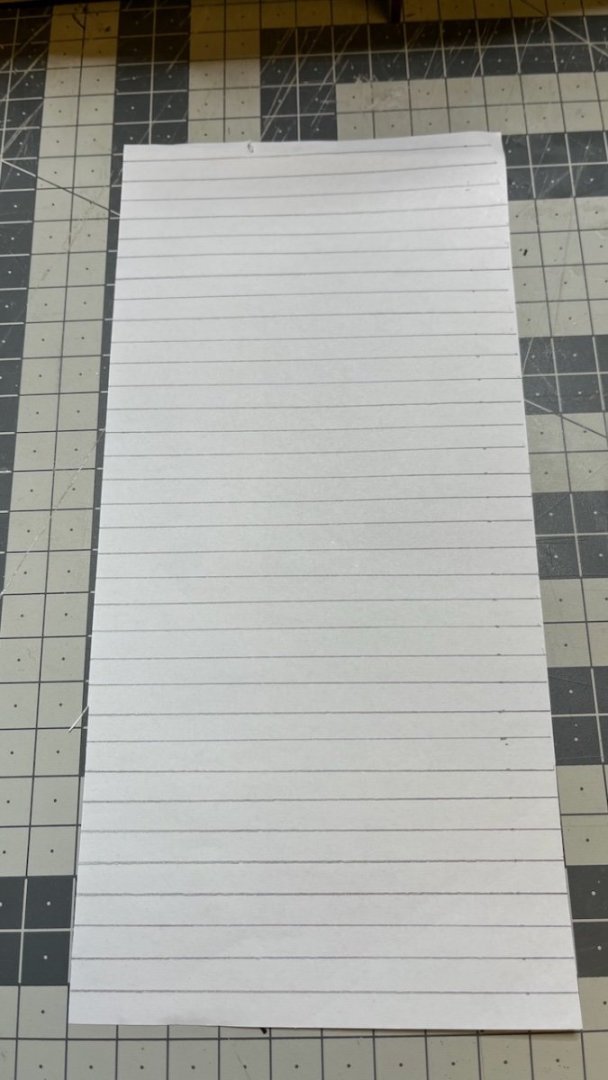
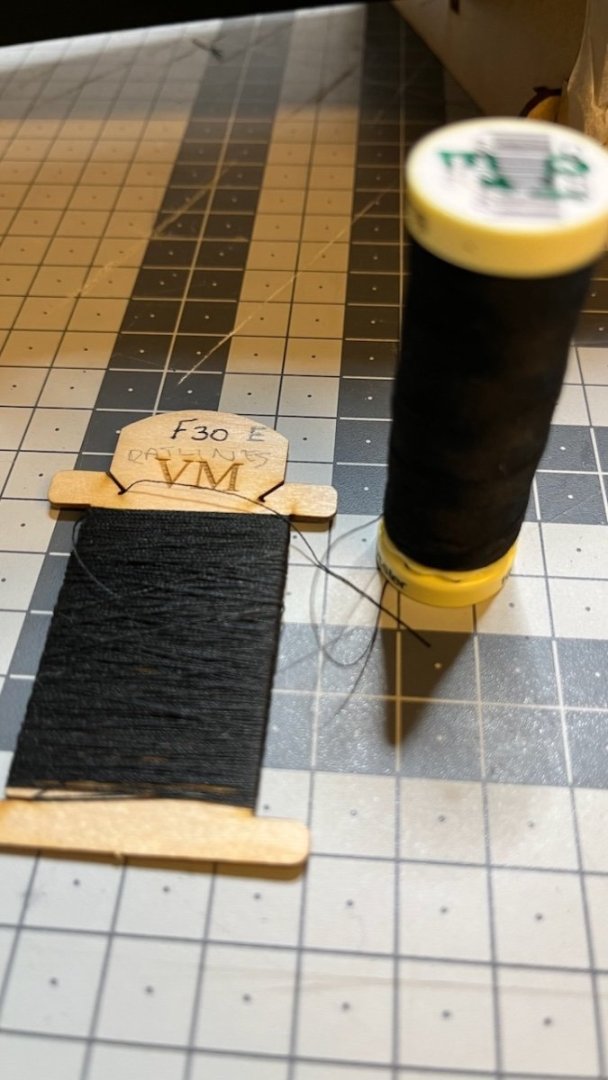
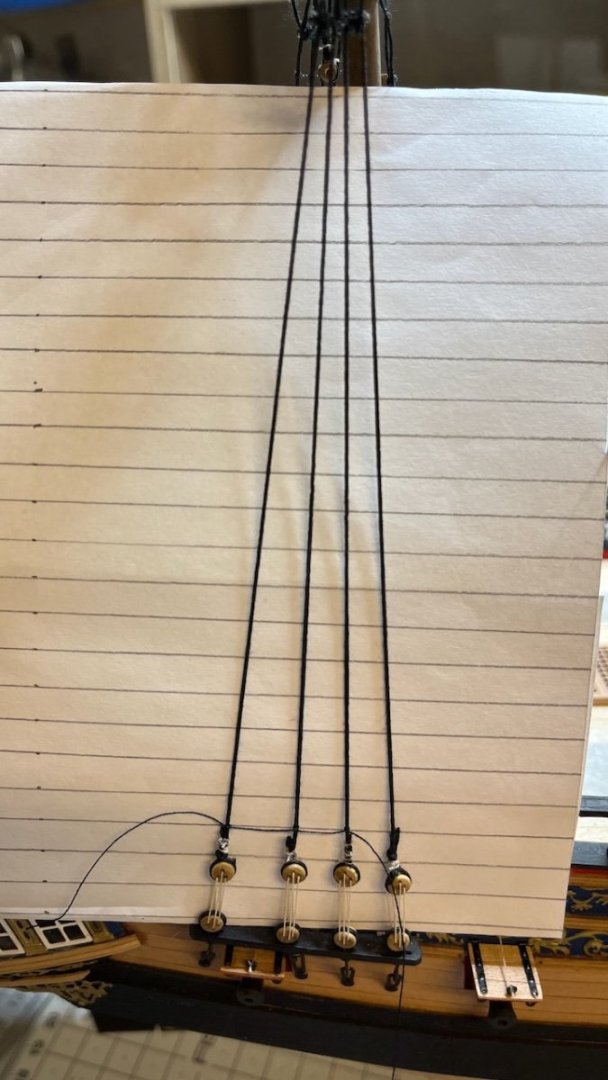
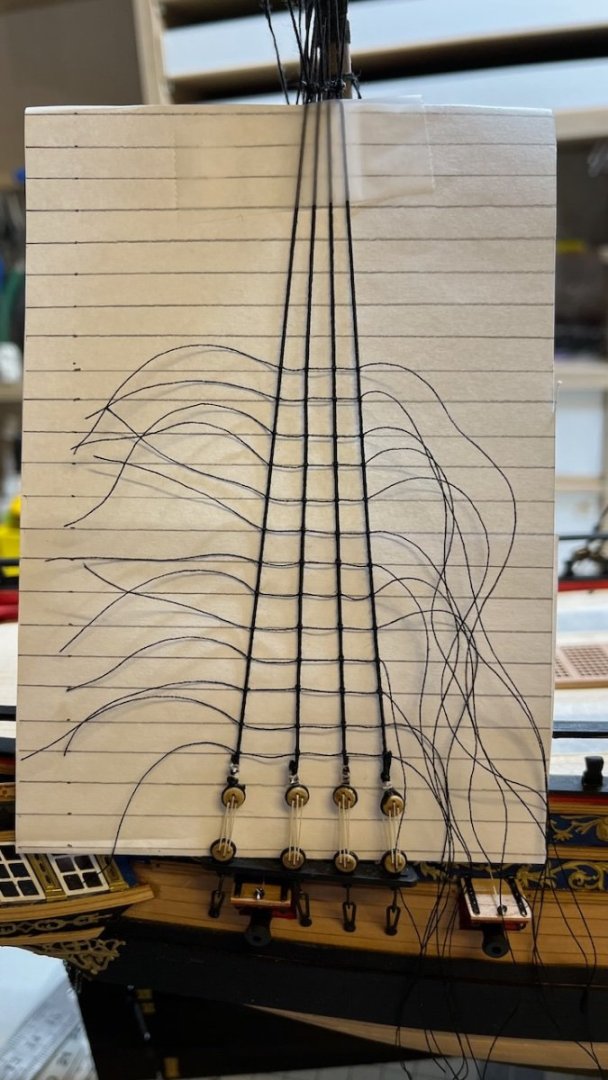
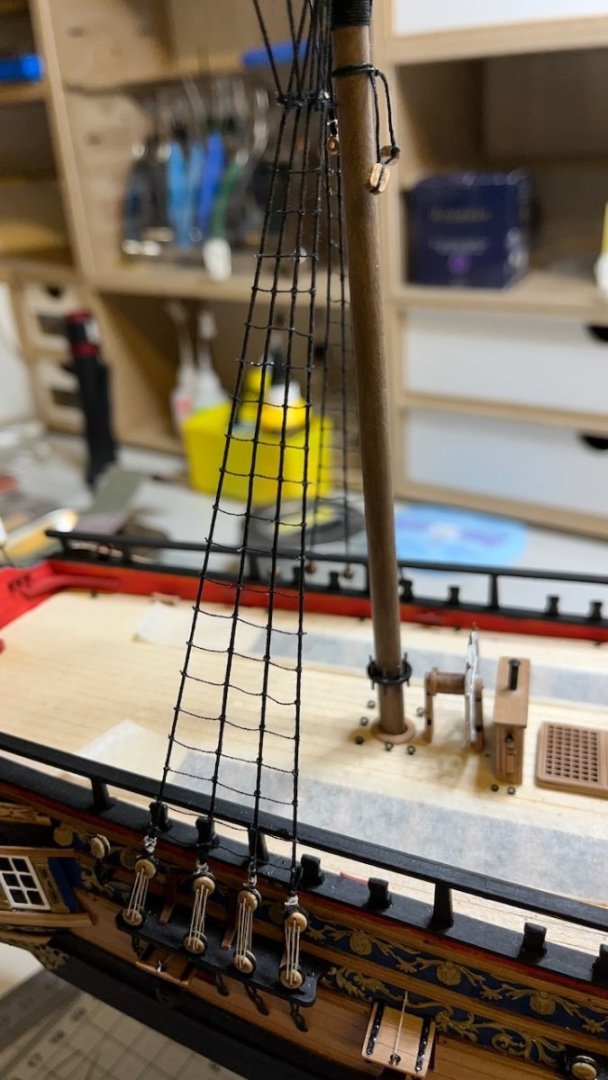
Build day 139-141: 3,5hrs / Total 300 hours With the first build days of 2024 I am setting the milestone of 300 hours 🙂. I know I have not been very active with this build lately but winter time comes with its own busy days - work and holidays. Photos 793 - 797: Next job is to rig the ratlines. I made the guidelines on a piece of paper as suggested in the instruction manual, top help with aligning the ratlines at a spacing of 6mm. Then I secured the paper to the shrouds from the top with a tape. I know I am not an efficient user of threads, I need a lot of slack to work comfortably. I am sure the amount supplied (on the left) will not be enough for me so I bought myself a roll of the same size from the shop. Some photos of progress. I started from lower mizzen mast. Then I will continue with the lower ratlines of mainmast and foremasts, before moving on to upper ratlines. I made the knots as described in the plan and once all the ratlines are done, I secured the knots by applying a diluted PVA glue with the tip of a tiny paint brush. Thanks for watching!
About us
Modelshipworld - Advancing Ship Modeling through Research
SSL Secured
Your security is important for us so this Website is SSL-Secured
NRG Mailing Address
Nautical Research Guild
237 South Lincoln Street
Westmont IL, 60559-1917
Model Ship World ® and the MSW logo are Registered Trademarks, and belong to the Nautical Research Guild (United States Patent and Trademark Office: No. 6,929,264 & No. 6,929,274, registered Dec. 20, 2022)
Helpful Links
About the NRG
If you enjoy building ship models that are historically accurate as well as beautiful, then The Nautical Research Guild (NRG) is just right for you.
The Guild is a non-profit educational organization whose mission is to “Advance Ship Modeling Through Research”. We provide support to our members in their efforts to raise the quality of their model ships.
The Nautical Research Guild has published our world-renowned quarterly magazine, The Nautical Research Journal, since 1955. The pages of the Journal are full of articles by accomplished ship modelers who show you how they create those exquisite details on their models, and by maritime historians who show you the correct details to build. The Journal is available in both print and digital editions. Go to the NRG web site (www.thenrg.org) to download a complimentary digital copy of the Journal. The NRG also publishes plan sets, books and compilations of back issues of the Journal and the former Ships in Scale and Model Ship Builder magazines.


.thumb.jpeg.ffac2f8a24d212961a83eab4efb06a6c.jpeg)

