-
Posts
416 -
Joined
-
Last visited
Content Type
Profiles
Forums
Gallery
Events
Everything posted by Erik W
-
Mike, Thanks for doing the legwork for me. That's awesome! Erik
- 450 replies
-
- cheerful
- syren ship model
-
(and 1 more)
Tagged with:
-
Mike, Thanks for the info. I'll have to take a look at what the local Michaels has in stock. Not sure why I'm trying to figure this stuff out now . . . I'm a wee bit far from the rigging stage at this point. Erik
- 450 replies
-
- cheerful
- syren ship model
-
(and 1 more)
Tagged with:
-
Mike, Thanks for the link to the thread. Did you also use that brand for seizing the tan colored rope? I think I used 30wt (larger diameter) for seizing on my longboat and thought the thread was too large a diameter. Replacing the MS rope with Chuck's rope was the one aftermarket addition I made to the longboat kit. It's sooo much easier to work with! I've noticed with a lot of my modeling that I don't see the mistakes and imperfections until I look at a photo of the build. I can't tell you the number of times over the years that I've chosen to not post photos, or take them from a different angle, to avoid showing imperfections . . . that no one else would notice anyway. Erik
- 450 replies
-
- cheerful
- syren ship model
-
(and 1 more)
Tagged with:
-
Mike, This looks really good . . . and passes the test of enlarged high resolution photography! You've made an exponential leap forward with the look of your rigging when compared with the rigging on your longboat. One question, where did you buy your 50wt thread? Thanks, Erik
- 450 replies
-
- cheerful
- syren ship model
-
(and 1 more)
Tagged with:
-
Steve, My risers wound up not having any grooves either. I scribed the grooves into them, but the kit supplied wood was of such poor quality that when I stained them the grooves disappeared!! Getting the risers shaped properly and glued in the correct place was one of the more difficult parts of the whole build! Yours came out well. It looks good. Erik
- 165 replies
-
- finished
- model shipways
-
(and 1 more)
Tagged with:
-
Steve, I think it's always good to go with your gut feeling on the urge to redo things. Part of the learning curve is attempting an idea, and then taking it in a different direction if you aren't happy with the results. Also, glad my advice with the files helped you! Erik
- 165 replies
-
- finished
- model shipways
-
(and 1 more)
Tagged with:
-
Chuck, I know what you mean. I was just thinking the other day that I like the size of the parts when working in this scale. When I have my Cheerful rigging plans open though, and see the size it will be, I do look around the house and wonder where I'll put the finished model! Erik
- 1,048 replies
-
- syren ship model
- cheerful
-
(and 1 more)
Tagged with:
-
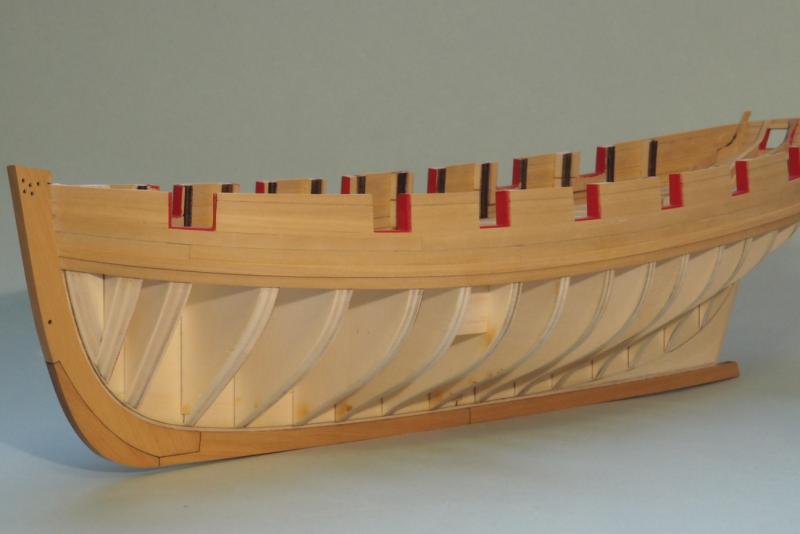
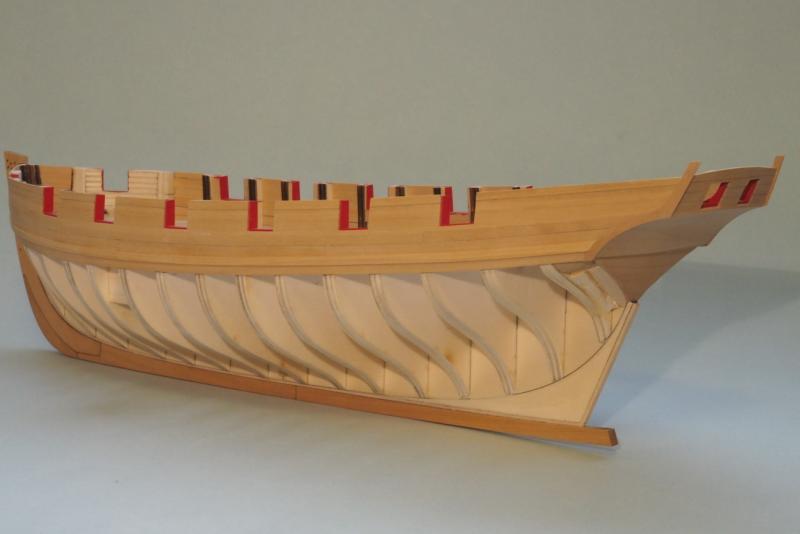
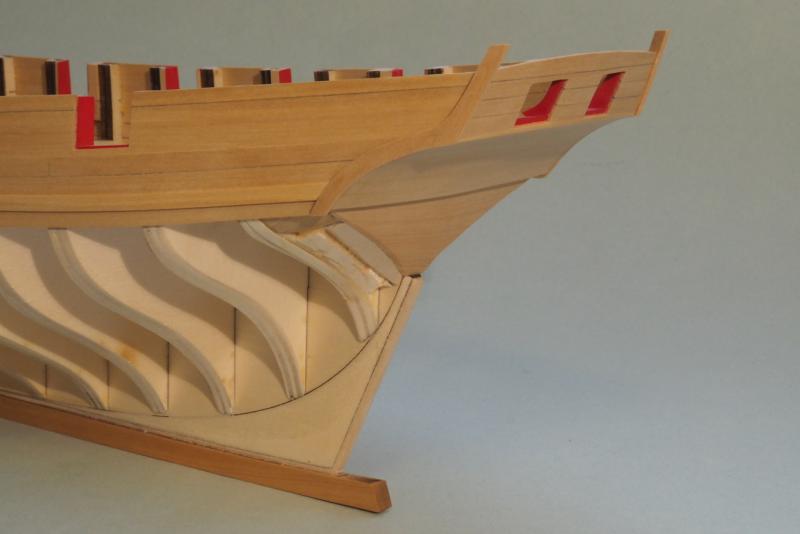
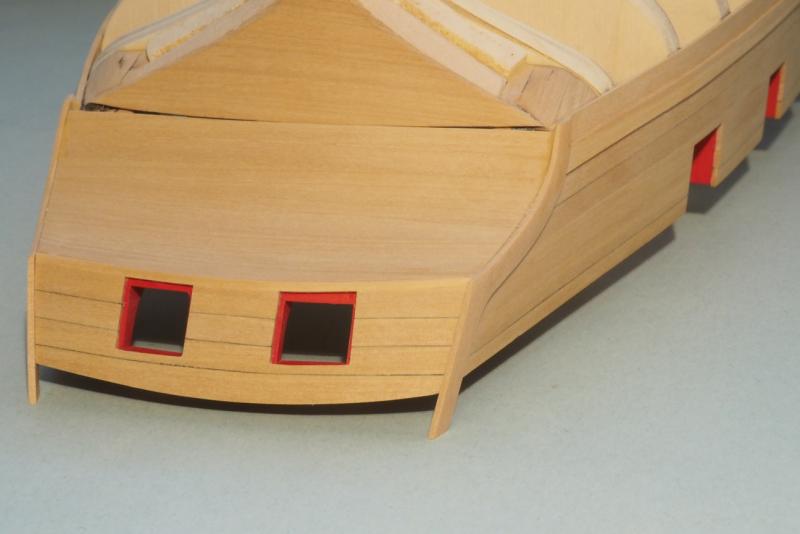
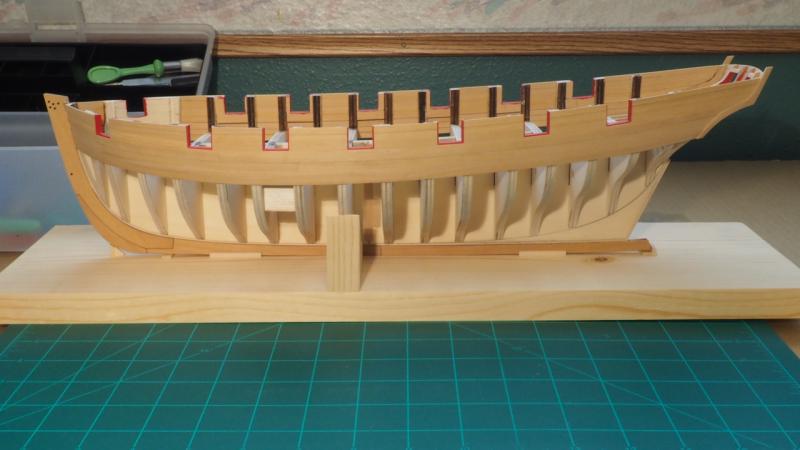
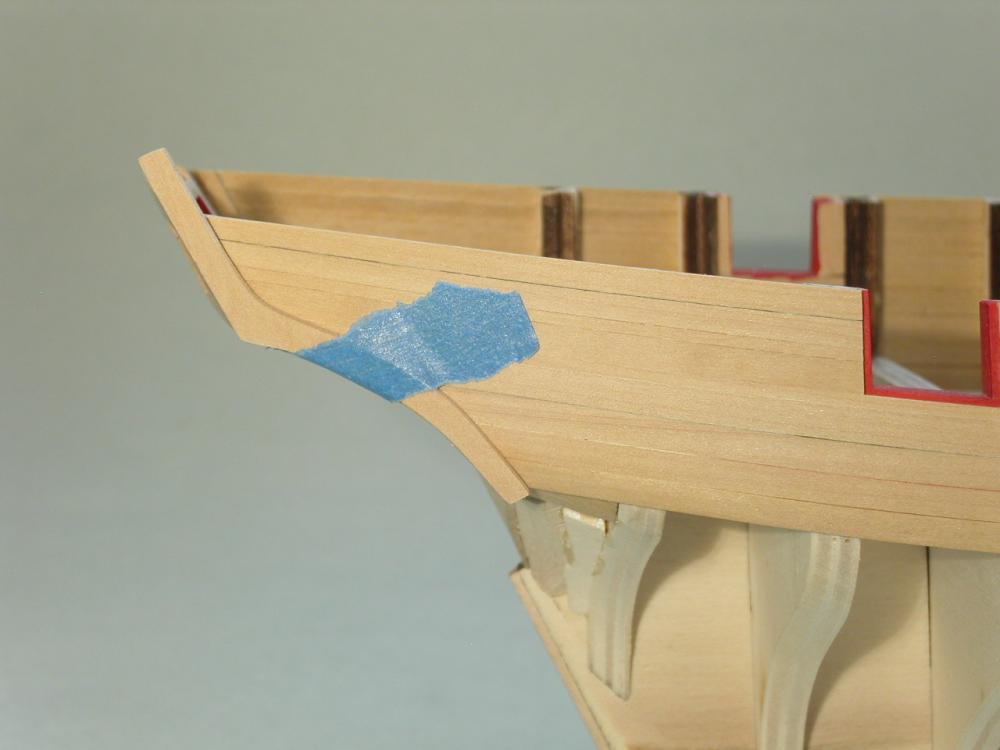
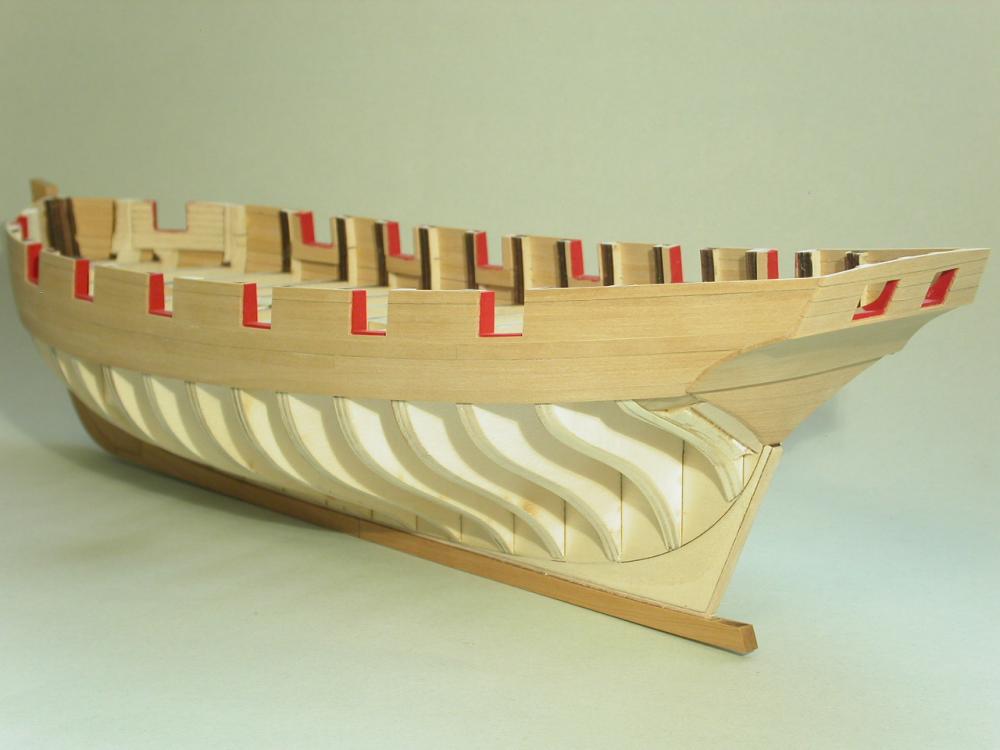
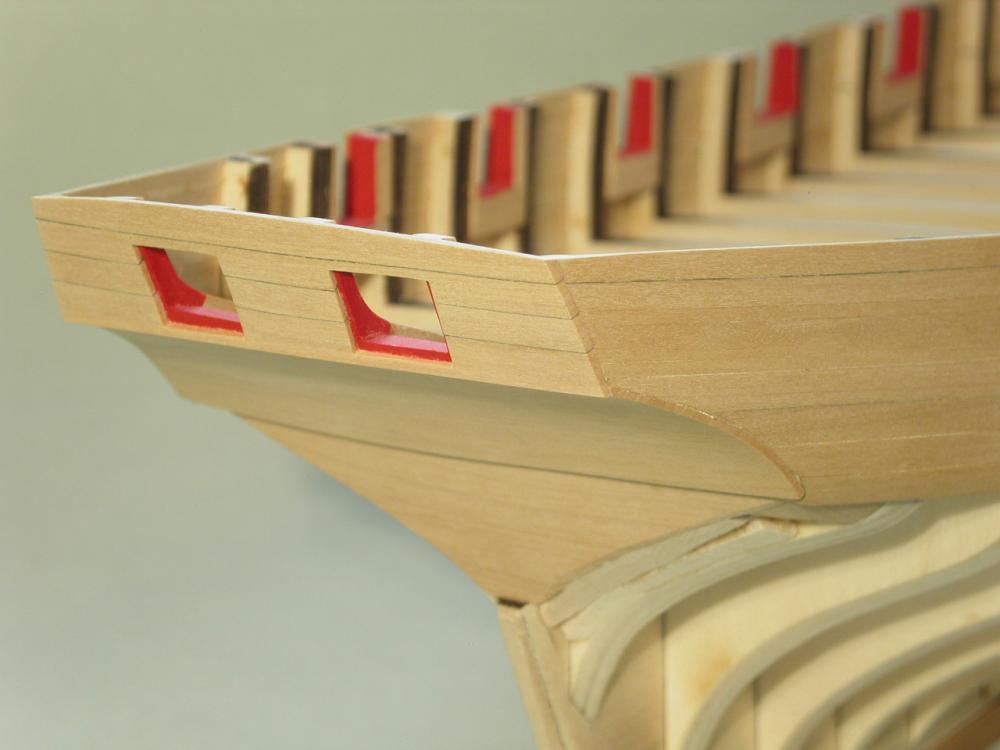
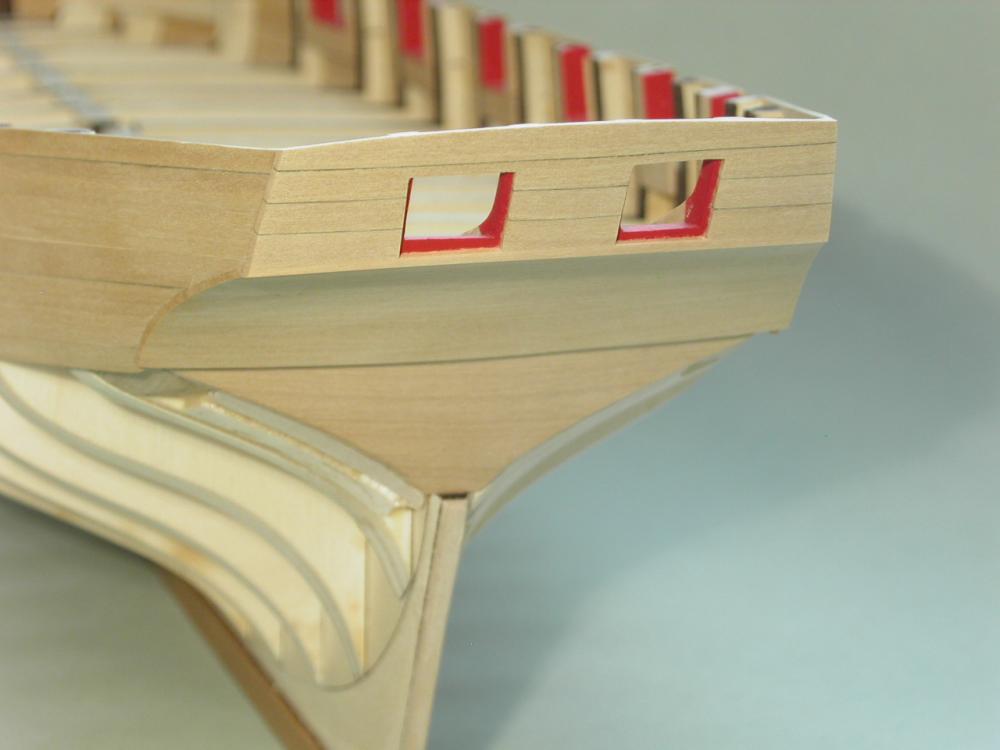
I normally wouldn't post after adding just one plank, but since yesterday was the first progress I've made on the Cheerful since early June, I thought I'd let you guys know that my motivation is returning. I'm working on getting the second layer of the wales added . . . so have photos of the first of the 2 planks on the port side. I also threw in a photo of the stern. I know the rear gun port frames are slightly crooked (you can't tell when viewing from the interior). Since the gun ports will be modeled closed, this won't be noticeable. I figured having the exterior planking smooth and straight is more important. I envy those of you who can stay focused on your one build. I am easily distracted by my other hobbies http://modelshipworld.com/index.php/topic/4423-what-else-do-you-model-besides-ships/?p=343803 . . . and life in general. Glad to be back. Erik
-
One more definition: Druxey = Word used to describe wood that has decayed spots or streaks of a whitish color. Erik
- 450 replies
-
- cheerful
- syren ship model
-
(and 1 more)
Tagged with:
-
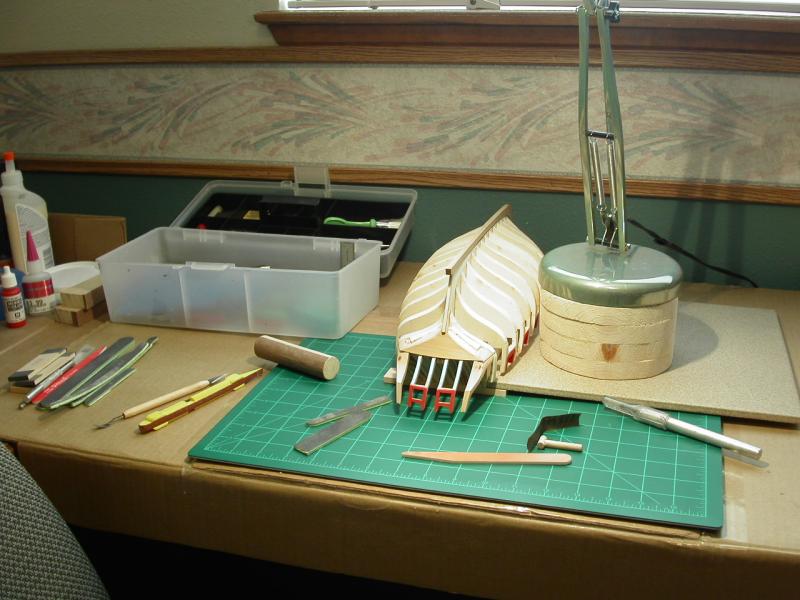
Chris, I do all of my modeling on a nice desk I don't want damaged. I use a piece of cardboard cut from a large box and have a smaller piece of cardboard taped on top. I have a medium size cutting matt above the cardboard. Off to the left side of the large piece of cardboard, I have a box lid to hold my supplies. I can set up/remove all this from the desk in under a minute. Erik
-
Chuck, Regardless of how accurate having the long guns in the forward-most ports is, I think they look better there vs. leaving those forward ports empty, (whether you move the long guns back, or just leave them off entirely). My thought with models, ships or otherwise, is that sometimes you have to forgo realism for the sake of esthetics. My humble $.02 is that the ship simply looks better with the long guns forward. Erik
- 1,048 replies
-
- syren ship model
- cheerful
-
(and 1 more)
Tagged with:
-
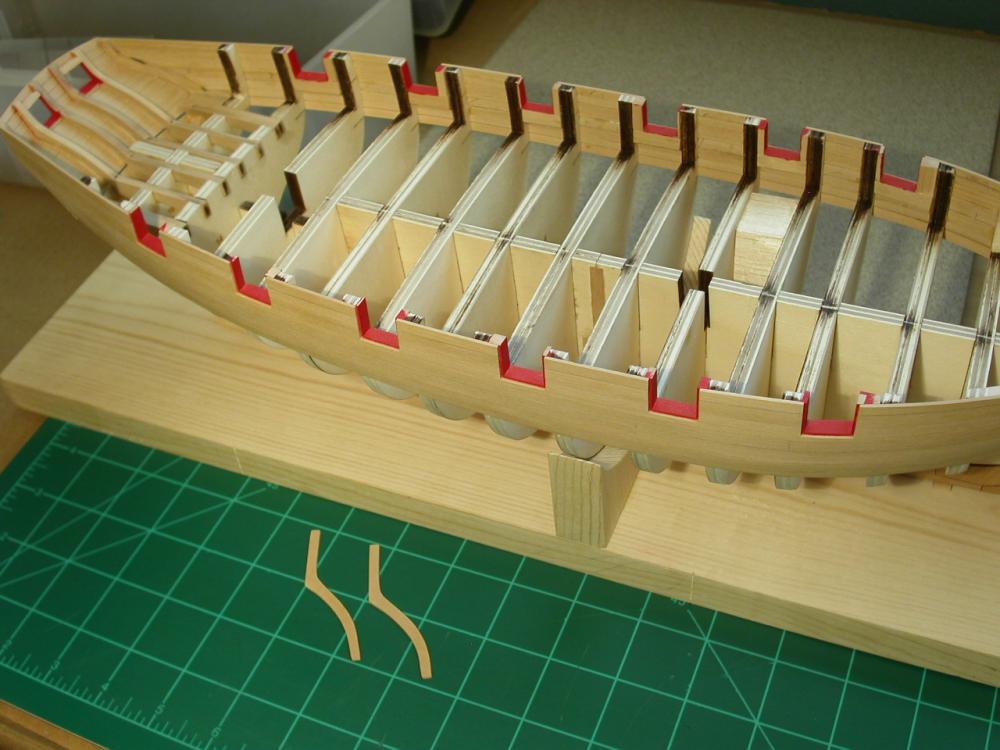
Wow guys! Thanks for all the nice posts. That was very kind. Some of my fondest memories of my dad are our sailing trips from Annapolis, MD when I was a kid and then from Newport, RI when I was a teenager. My family, who had been taking care of him, told me that this last year he would always look forward to my Saturday morning phone calls, and reports of my progress on the longboat and Cheerful (one of the reasons my longboat build log had so many photos was because I was taking photos every few days that I could email my dad). As long as I can remember, my father always had an eye towards the sea. Though my shipyard has been quiet, I have been gathering some more materials for the build. I recently received an order from Chuck of a couple of his mini kits . . . and printed the latest chapters in his practicum. . . . and since forums are always better with photos, here's my Cheerful as she sits today. Erik
-
Steve, Thanks for checking in, and the kind words! Life has kind of gotten in the way of my build these last months. I spent some time traveling around Iceland and Norway for a while . . . er, call it research for future projects. Also, my father passed away last month after a long and painful battle with cancer. Lots to try to wrap my mind around lately. So, I've been working on getting my feet under me again. That said, I'm still on here regularly following everyone's progress, particularly the other Cheerful builders. One things I was able to share with my father in his last year, when he was very ill and house bound, was my longboat build, and the progress on my Cheerful. Ultimately, I think it fitting that this build is dedicated to him. Thanks for checking in, Erik
-
Chuck, This is the first build of yours that I'm here for the rigging stage. I'm following along with interest. Your work stands the test of being shown in the fairly large resolution photos you're posting! Erik
- 1,048 replies
-
- syren ship model
- cheerful
-
(and 1 more)
Tagged with:
-
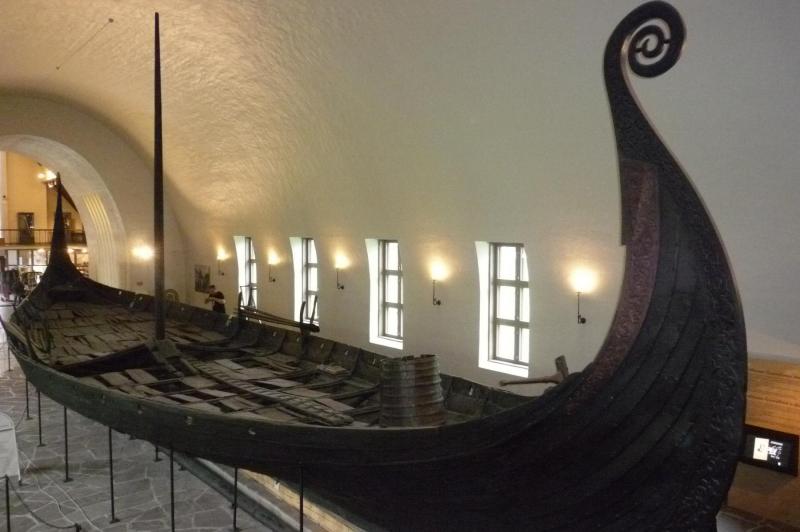
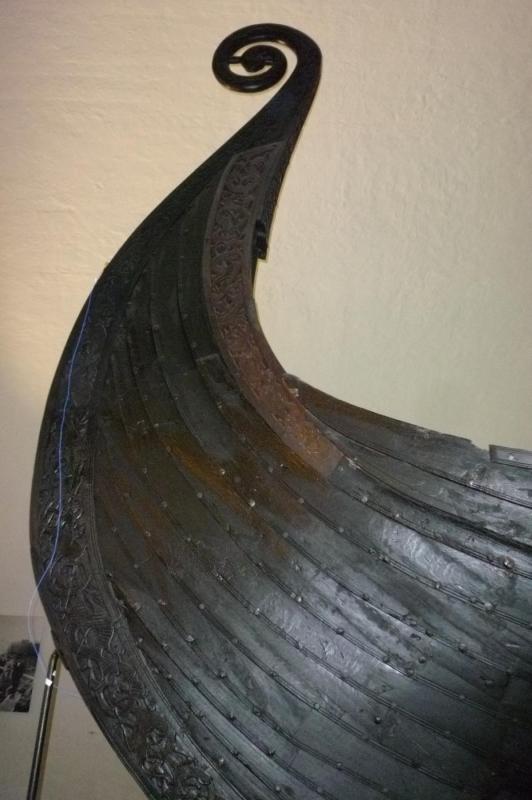
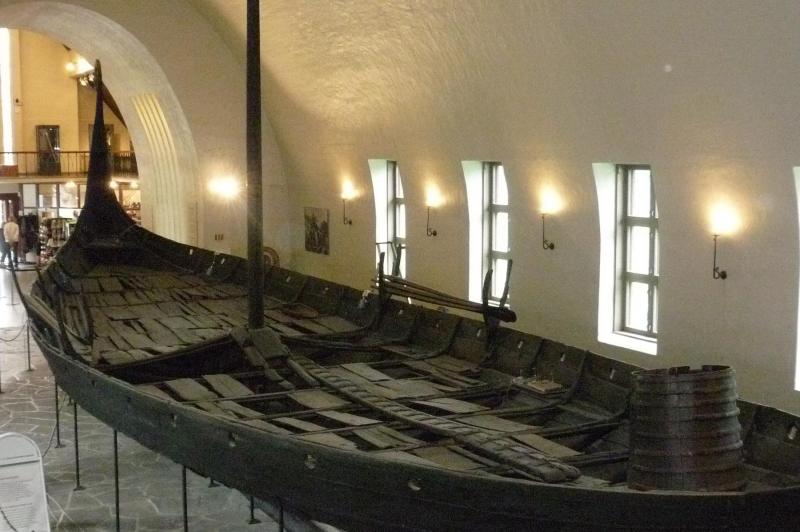
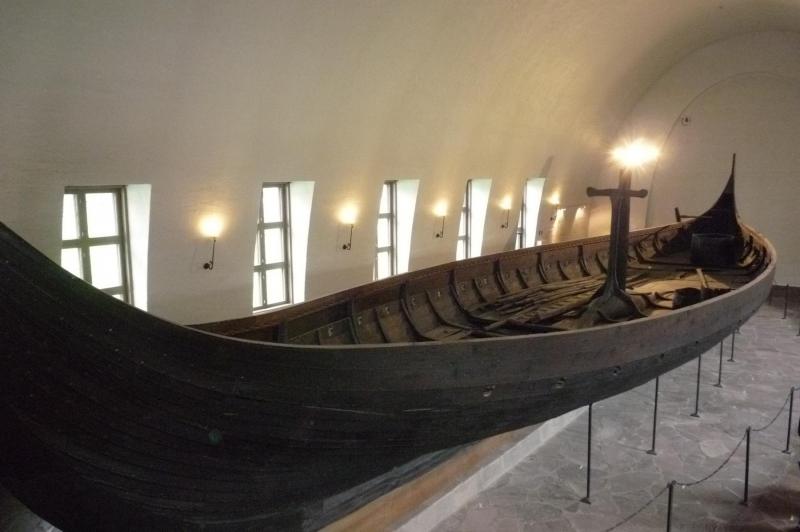
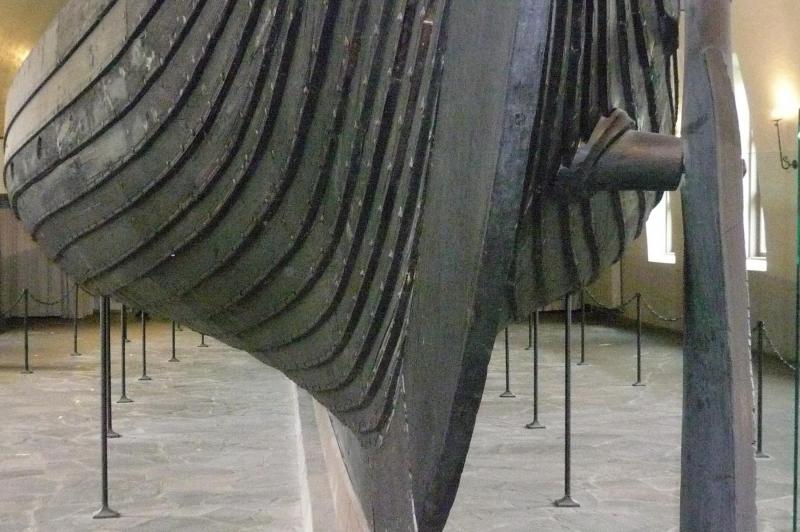
I recently returned from several weeks in Iceland and Norway. With wooden boats on my mind, I took photos of the Gokstad, Oseberg ships, built in the 800s, at the Viking Ship Museum in Oslo, Norway.
-
Looks great Mike. I've been looking forward to seeing how you progress with the masting and rigging. As always, I'm enjoying your attention to detail. Erik
- 450 replies
-
- cheerful
- syren ship model
-
(and 1 more)
Tagged with:
-
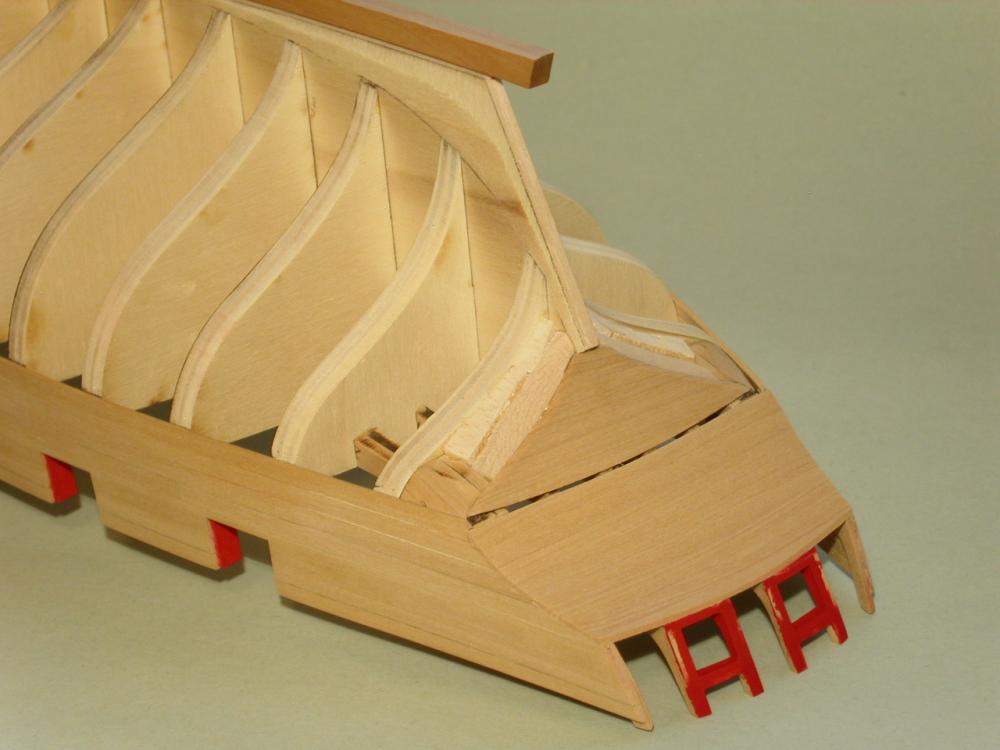
I took these photos a few days ago. I cut the trim pieces to shape using the plans . . . only to realize since my wales are a touch lower at the stern, the trim pieces were too short. So, I cut them again. I glued them on tonight . . . after snapping one while bending it to shape. I managed to glue it together again with no noticeable seam. My progress and motivation are slowing down as we get into warm weather and outdoor season. Once I add the second layer of planking to the wales, I'll most likely take a break until the weather is more conducive to sitting inside. Erik
-
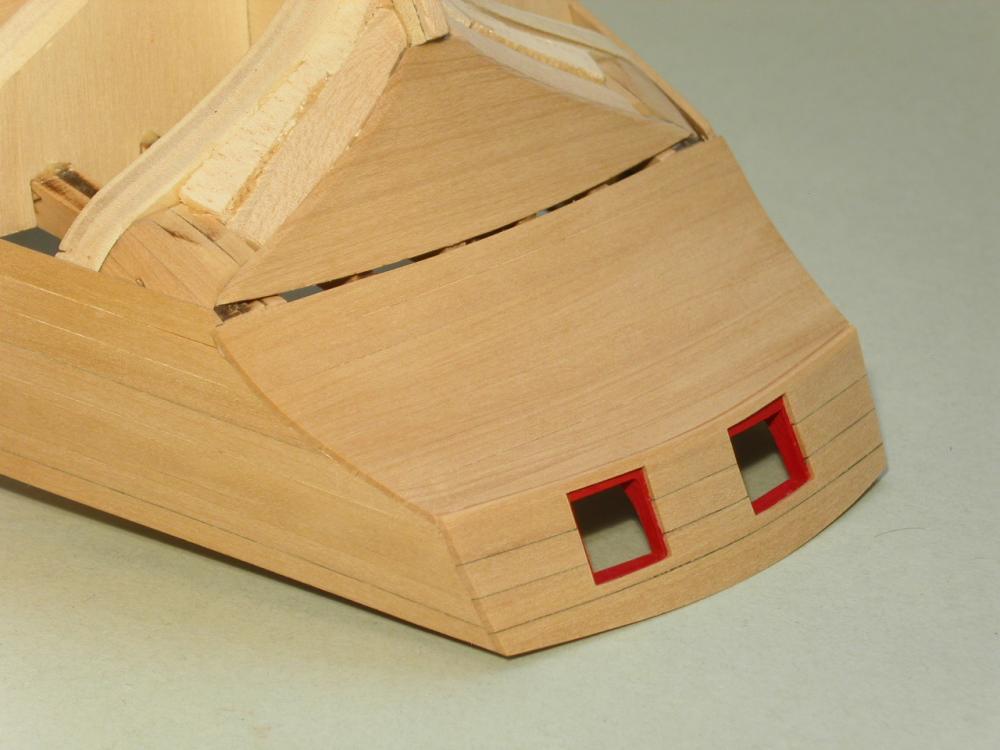
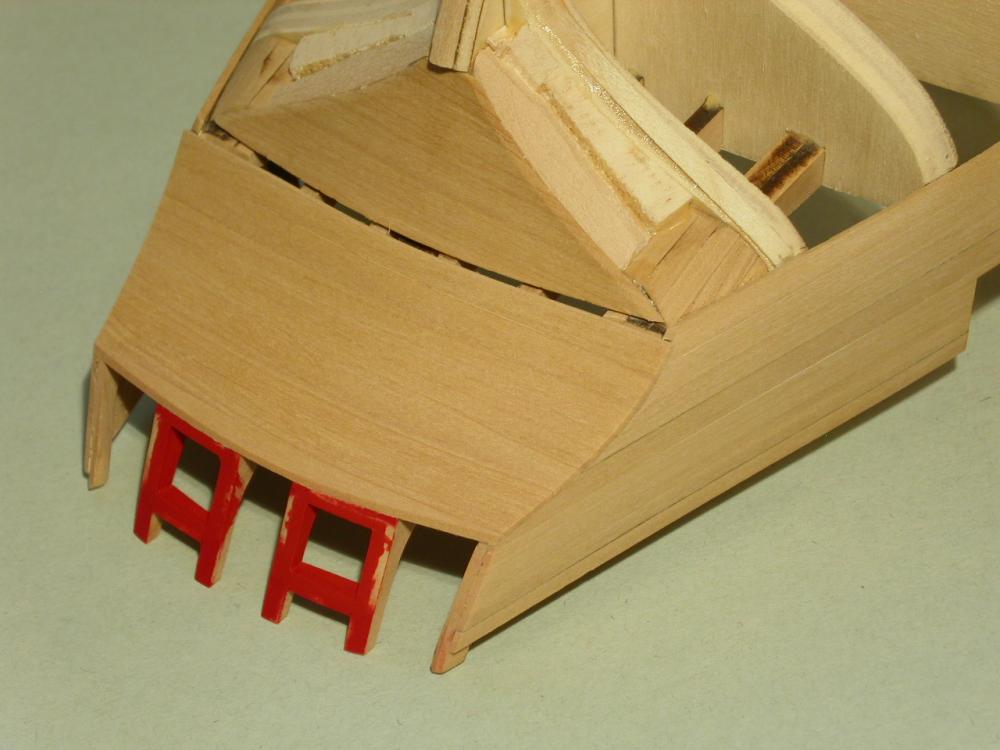
I planked the transom. This was much more of a challenge than the photos indicate. Though the transom looks flat, it actually has a pretty good curve to it, so the edge bending is quite severe. I reduced the plank width by .010" on each plank, so the 4 planks are a uniform width going down the center of the transom. One of the gun port lower sills is a bit crooked. I figured this doesn't matter since the ports will be closed. I am more concerned with making sure both ports are the same size, and true and level. The transom and counter have both been given a first preliminary sanding. Erik
-
I planked the counter. Since this area will be painted red, I didn't bother running a pencil between the planks to make them stand out. The result being, the 8 planks look like a solid sheet! Since I've gotten pretty good at getting the planks snug against one another, I'm curious if once painted, this area will look solid, or if we'll be able to see the plank edges. I guess I could have worse problems than smooth planking with no gaps. Erik
-
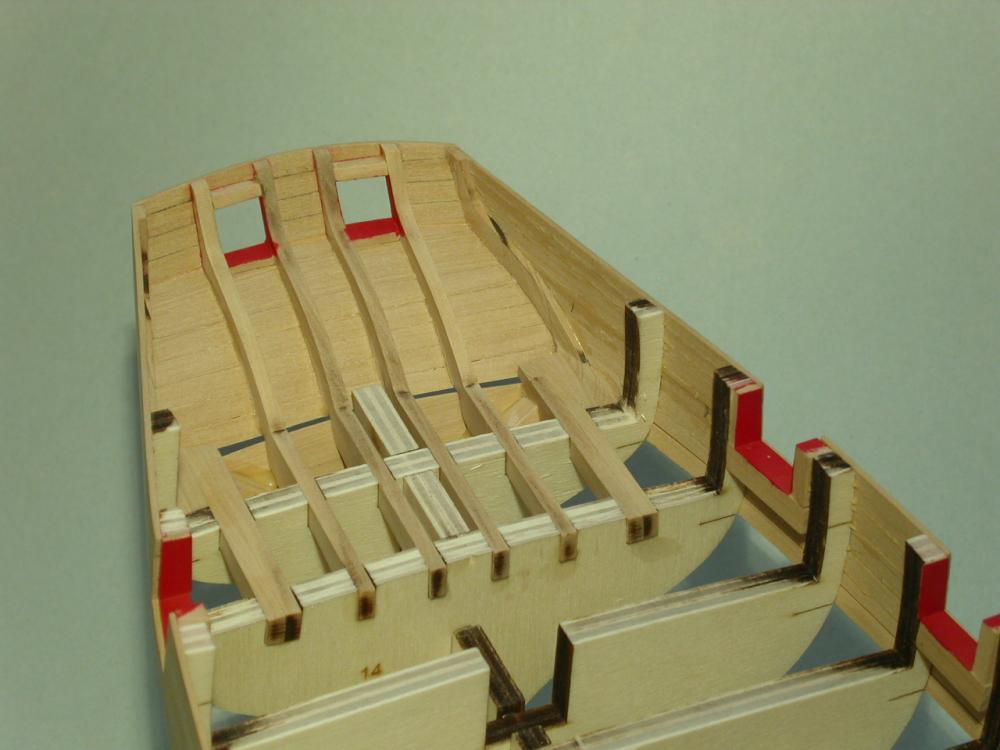
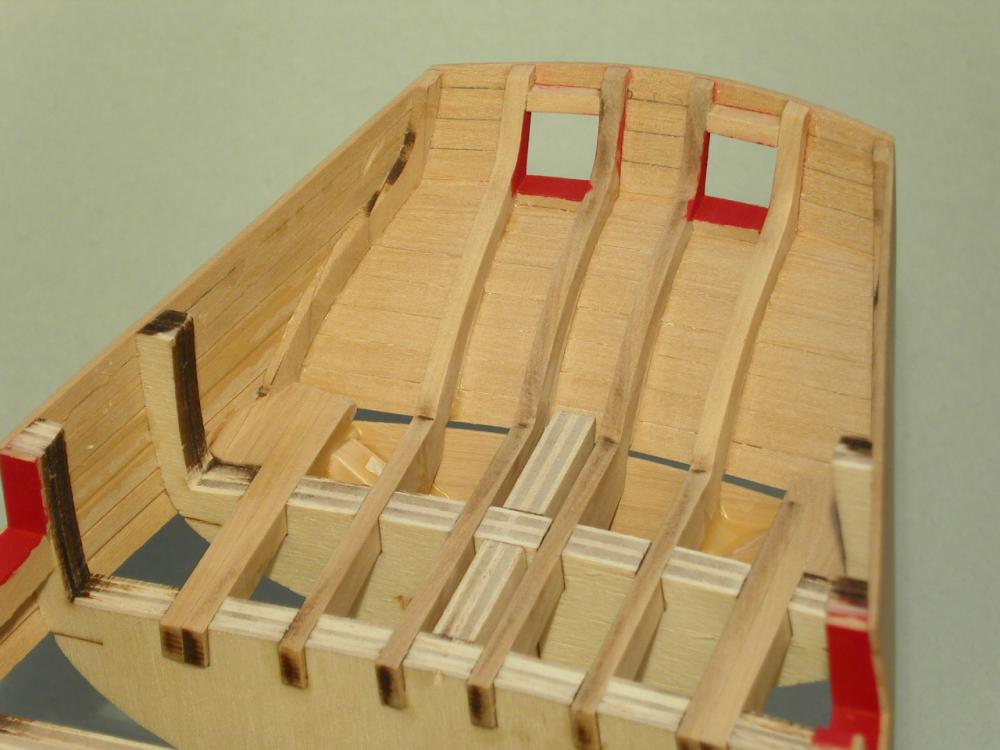
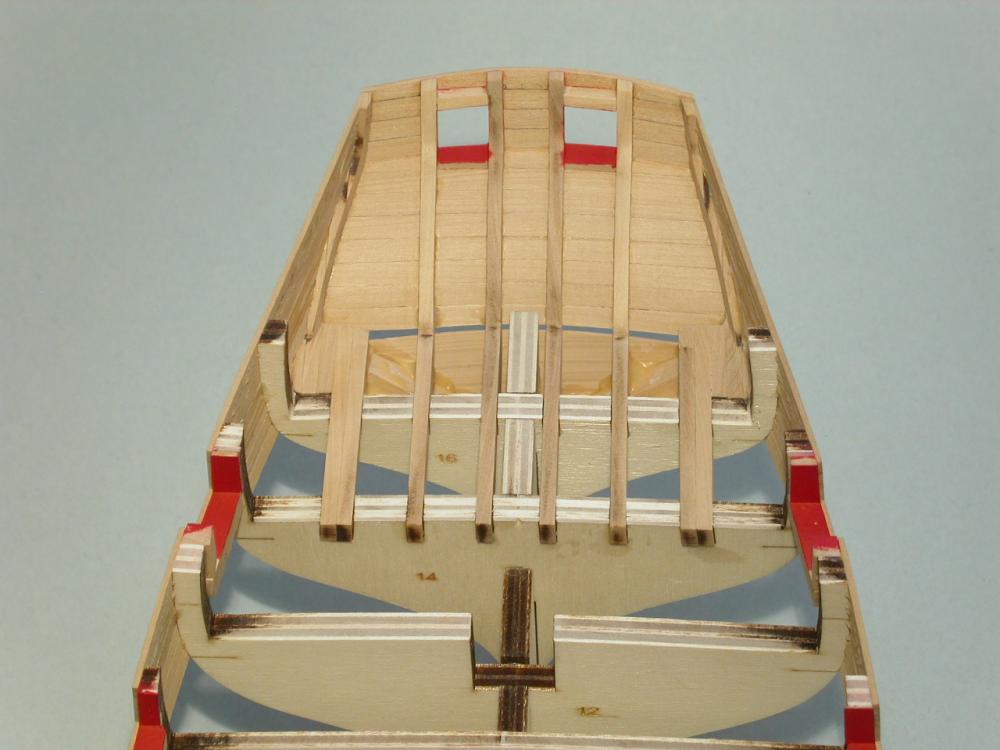
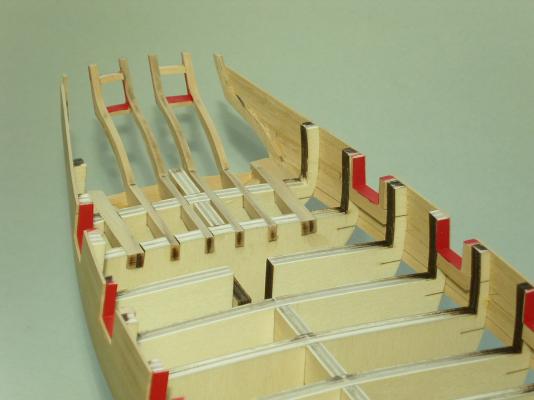
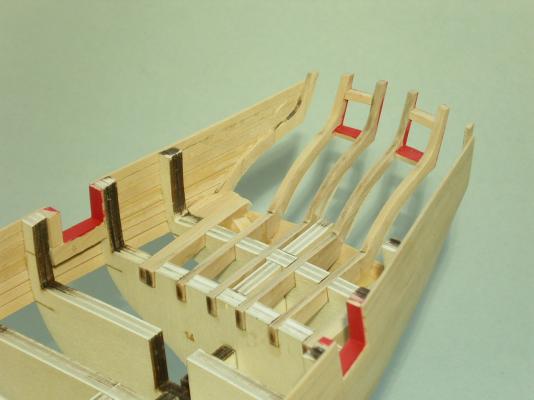
I cut away the framing at the stern with a small Dremel drum sander. I then cleaned the area up with sanding sticks. I thinned the frames to 1/16" using a .060" thick piece of styrene as a guide. With the planking at the stern still unattached, I sanded the hull bulkhead tops/stern frame tops to get the correct deck curvature. I figured this was easier to do now, than when the stern area is planked. Erik
About us
Modelshipworld - Advancing Ship Modeling through Research
SSL Secured
Your security is important for us so this Website is SSL-Secured
NRG Mailing Address
Nautical Research Guild
237 South Lincoln Street
Westmont IL, 60559-1917
Model Ship World ® and the MSW logo are Registered Trademarks, and belong to the Nautical Research Guild (United States Patent and Trademark Office: No. 6,929,264 & No. 6,929,274, registered Dec. 20, 2022)
Helpful Links
About the NRG
If you enjoy building ship models that are historically accurate as well as beautiful, then The Nautical Research Guild (NRG) is just right for you.
The Guild is a non-profit educational organization whose mission is to “Advance Ship Modeling Through Research”. We provide support to our members in their efforts to raise the quality of their model ships.
The Nautical Research Guild has published our world-renowned quarterly magazine, The Nautical Research Journal, since 1955. The pages of the Journal are full of articles by accomplished ship modelers who show you how they create those exquisite details on their models, and by maritime historians who show you the correct details to build. The Journal is available in both print and digital editions. Go to the NRG web site (www.thenrg.org) to download a complimentary digital copy of the Journal. The NRG also publishes plan sets, books and compilations of back issues of the Journal and the former Ships in Scale and Model Ship Builder magazines.


