Bob the Builder
-
Posts
35 -
Joined
-
Last visited
Recent Profile Visitors
675 profile views


-
 Overworked724 reacted to a post in a topic:
Sultana by Bob the Builder - Model Shipways - First Wooden Ship Build
Overworked724 reacted to a post in a topic:
Sultana by Bob the Builder - Model Shipways - First Wooden Ship Build
-
Overworked724 reacted to a post in a topic:
Sultana by Bob the Builder - Model Shipways - First Wooden Ship Build
-
Overworked724 reacted to a post in a topic:
Sultana by Bob the Builder - Model Shipways - First Wooden Ship Build
-
Overworked724 reacted to a post in a topic:
Sultana by Bob the Builder - Model Shipways - First Wooden Ship Build
-
Dan Vadas reacted to a post in a topic:
Sultana by Bob the Builder - Model Shipways - First Wooden Ship Build
-
Dan Vadas reacted to a post in a topic:
Sultana by Bob the Builder - Model Shipways - First Wooden Ship Build
-
7 Provinces reacted to a post in a topic:
Sultana by Bob the Builder - Model Shipways - First Wooden Ship Build
-
Canute reacted to a post in a topic:
Sultana by CharlieZardoz - Model Shipways - 1:64
-
CharlieZardoz reacted to a post in a topic:
Sultana by Bob the Builder - Model Shipways - First Wooden Ship Build
-
CharlieZardoz reacted to a post in a topic:
Sultana by CharlieZardoz - Model Shipways - 1:64
-
 I appreciate your careful, methodical approach, Charlie -- there's no reason you will come up with nothing less than a jewel of a model. Watching your build is like an instructional segment, with the way you present your progress, and show the tools, templates, and materials used. I have something to learn from you.
 -
Bob the Builder reacted to a post in a topic:
Sultana by CharlieZardoz - Model Shipways - 1:64
-
Chuck - I may end up doing that, but first I think I will try Alan's advice on building my own (I have tons of extra lumber), I was hoping not to spend any more on extras for this build.
-
Bob the Builder reacted to a post in a topic:
Sultana by Bob the Builder - Model Shipways - First Wooden Ship Build
-
Bob the Builder reacted to a post in a topic:
Sultana by Bob the Builder - Model Shipways - First Wooden Ship Build
-
I got on a scratch-building kick, before opening the kit bags. I'm gonna go back and use the cast gratings supplied with the kit. I think I can detail-paint to make those appear to be wood.
- 44 replies
-
- 2
-
-
- Sultana
- Model Shipways
- (and 2 more)
-
I wasn't really sure how to make gratings without those notched pieces that I saw in the practicum that were purchased separately. Maybe I should slice some openings in each piece of wood, and push them together so everything finishes on one plane?
- 44 replies
-
- 1
-
-
- Sultana
- Model Shipways
- (and 2 more)
-
From posting these pictures right after a day's work, I've learned that maybe I should make some pictures, and then study them to see what details can be finished in a better way before I post them for all to see. It gives an honest perspective that I don't have staring at the project all day on my bench...
- 44 replies
-
- 2
-
-
- Sultana
- Model Shipways
- (and 2 more)
-
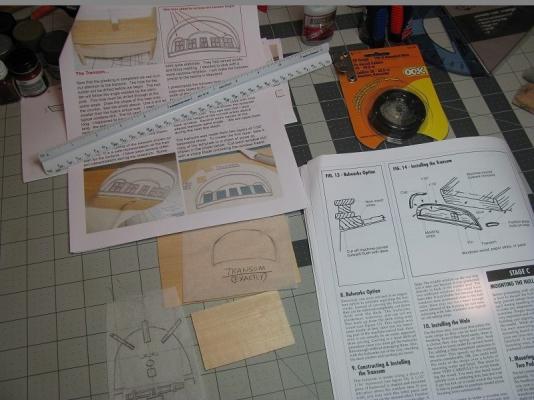
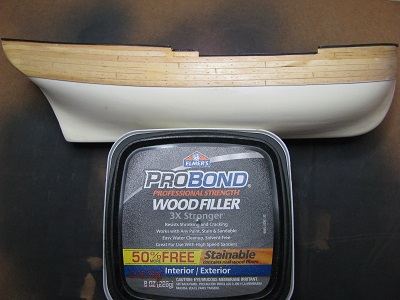
The transom is next - I've added height to the overall shape as Mr Passaro outlines in the practicum, and I too, will give depth and dimension by stacking two 1/32 sheets together (the first layer will hold the window detail, the outer layer will show architectural details...
- 44 replies
-
- 2
-
-
- Sultana
- Model Shipways
- (and 2 more)
-
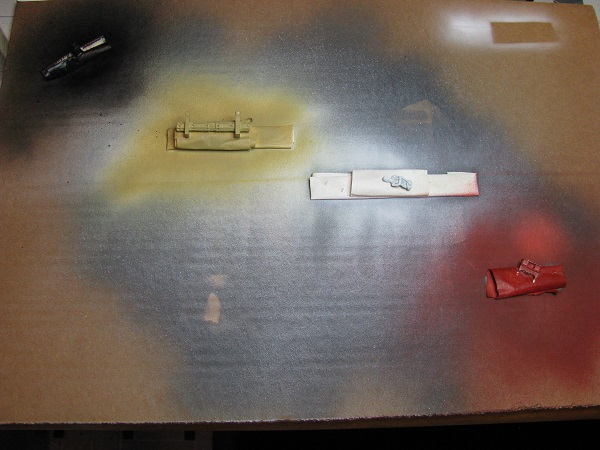
I'm doing a combination hand-building some things, and using some of the cast-metal items supplies with the kit, such as the windlass, binnacle, galley stack, and figurehead. The windlass will be improved upon with hand mixing and painting for the impression of Oak, then weathered a bit...

- 44 replies
-
- 1
-
-
- Sultana
- Model Shipways
- (and 2 more)
-
Made the volutes from rolled up air-dry clay, and blended in to the cap rails. Looks like some more sanding shaping is in order.

- 44 replies
-
- 4
-
-
- Sultana
- Model Shipways
- (and 2 more)
-
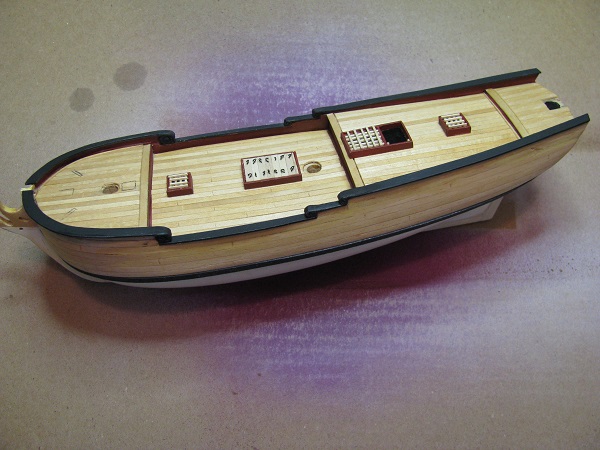
I just noticed , the camera tells me what I need to tidy up!
- 44 replies
-
- 1
-
-
- Sultana
- Model Shipways
- (and 2 more)
-
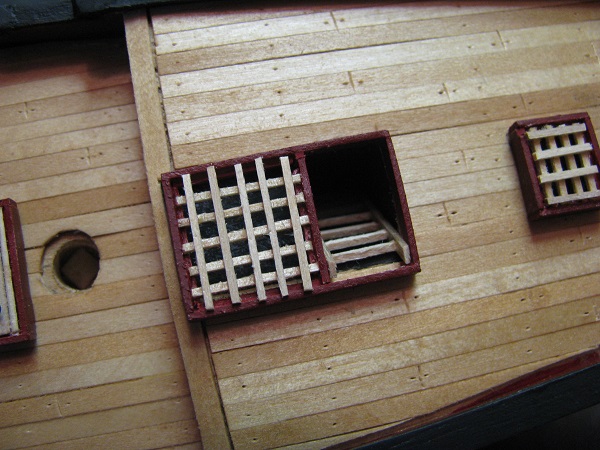
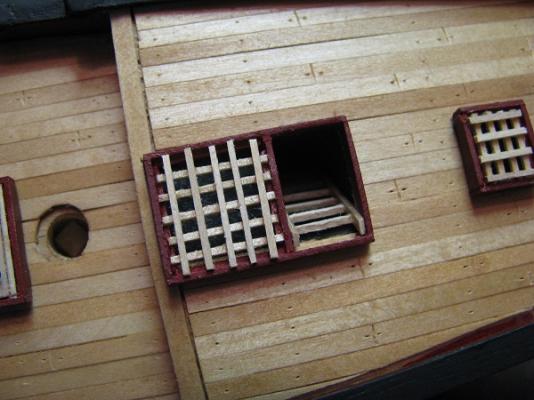
I built my own gratings according to the practicum, and made a ladder to down below...
- 44 replies
-
- 3
-
-
- Sultana
- Model Shipways
- (and 2 more)
-
Bob the Builder reacted to a post in a topic:
Cutty Sark by Sailcat - FINISHED - Revell - 1/96 - PLASTIC - Rescue kit bash morphed to Dame Tisane
-
Bob the Builder reacted to a post in a topic:
Cutty Sark by Sailcat - FINISHED - Revell - 1/96 - PLASTIC - Rescue kit bash morphed to Dame Tisane
-
Bob the Builder reacted to a post in a topic:
Sultana by Bob the Builder - Model Shipways - First Wooden Ship Build
-
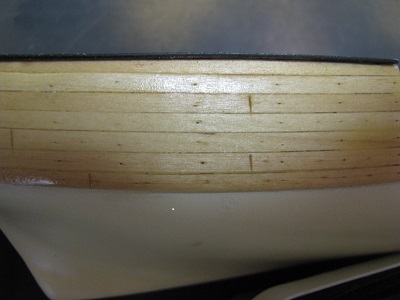
That's the kind of advice that will help me learn, Chuck! Now that you point it out, it seems obvious the planks should appear to be fastened where they begin and end-- that's just good logic, and I missed it....but it will be fixed tonight. Also, I was able to right-click on the diagram and save it so I can print it out and put it on my cork-board as a reminder. Great help -Thanks for taking your time to help me be better!
- 44 replies
-
- 5
-
-
- Sultana
- Model Shipways
- (and 2 more)
-
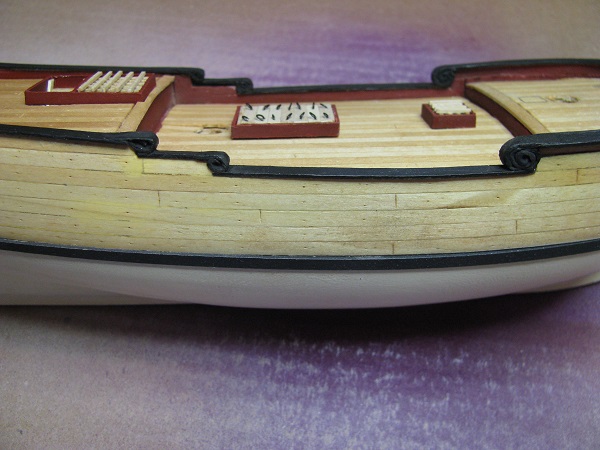
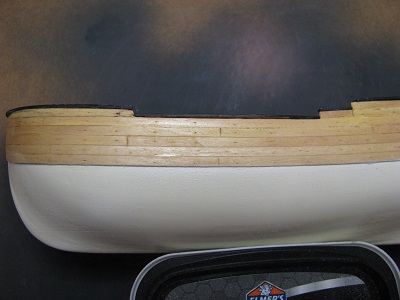
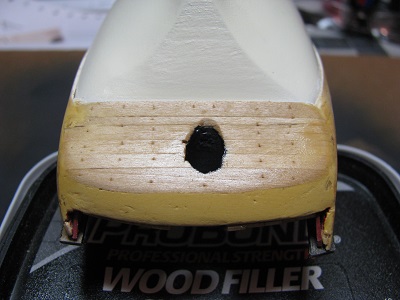
Here's my first attempt at trunnel-making and plank butts....
- 44 replies
-
- 11
-
-
- Sultana
- Model Shipways
- (and 2 more)
-
Well-said, Mark.
-
Bob the Builder reacted to a post in a topic:
Sultana by Bob the Builder - Model Shipways - First Wooden Ship Build
-
Bob the Builder reacted to a post in a topic:
Sultana by Bob the Builder - Model Shipways - First Wooden Ship Build
-
Beautiful work on the crest. I salute you!