John Cheevers
-
Posts
149 -
Joined
-
Last visited
Content Type
Profiles
Forums
Gallery
Events
Everything posted by John Cheevers
-
 Only thing I can say is, You nailed it!!!!
 -
Definitely a model and a build to be proud of. Well done!!
-
NAIAD 1797 by Bitao - 1:60
John Cheevers replied to Bitao's topic in - Build logs for subjects built 1751 - 1800
The key to this, as it is in any manufacturing process, is to do the hard part first. Then you can bring the res t of the object into shape but correctly indexed to the critical piece. Nice process. -
Work Table Recommendations ?
John Cheevers replied to DanB's topic in Modeling tools and Workshop Equipment
Two 2-drawer metal file cabinets and a 30" wide lauan door. -
The Thing-a-Ma-Jig: The tool that you are pointing to that no one else can see.
-
Excellent build! Very enjoyable build log. Thanks for sharing.
-
That is some great workmanship!
-
it looks fantastic!
-
Really enjoying following your build--very inspirational.
-
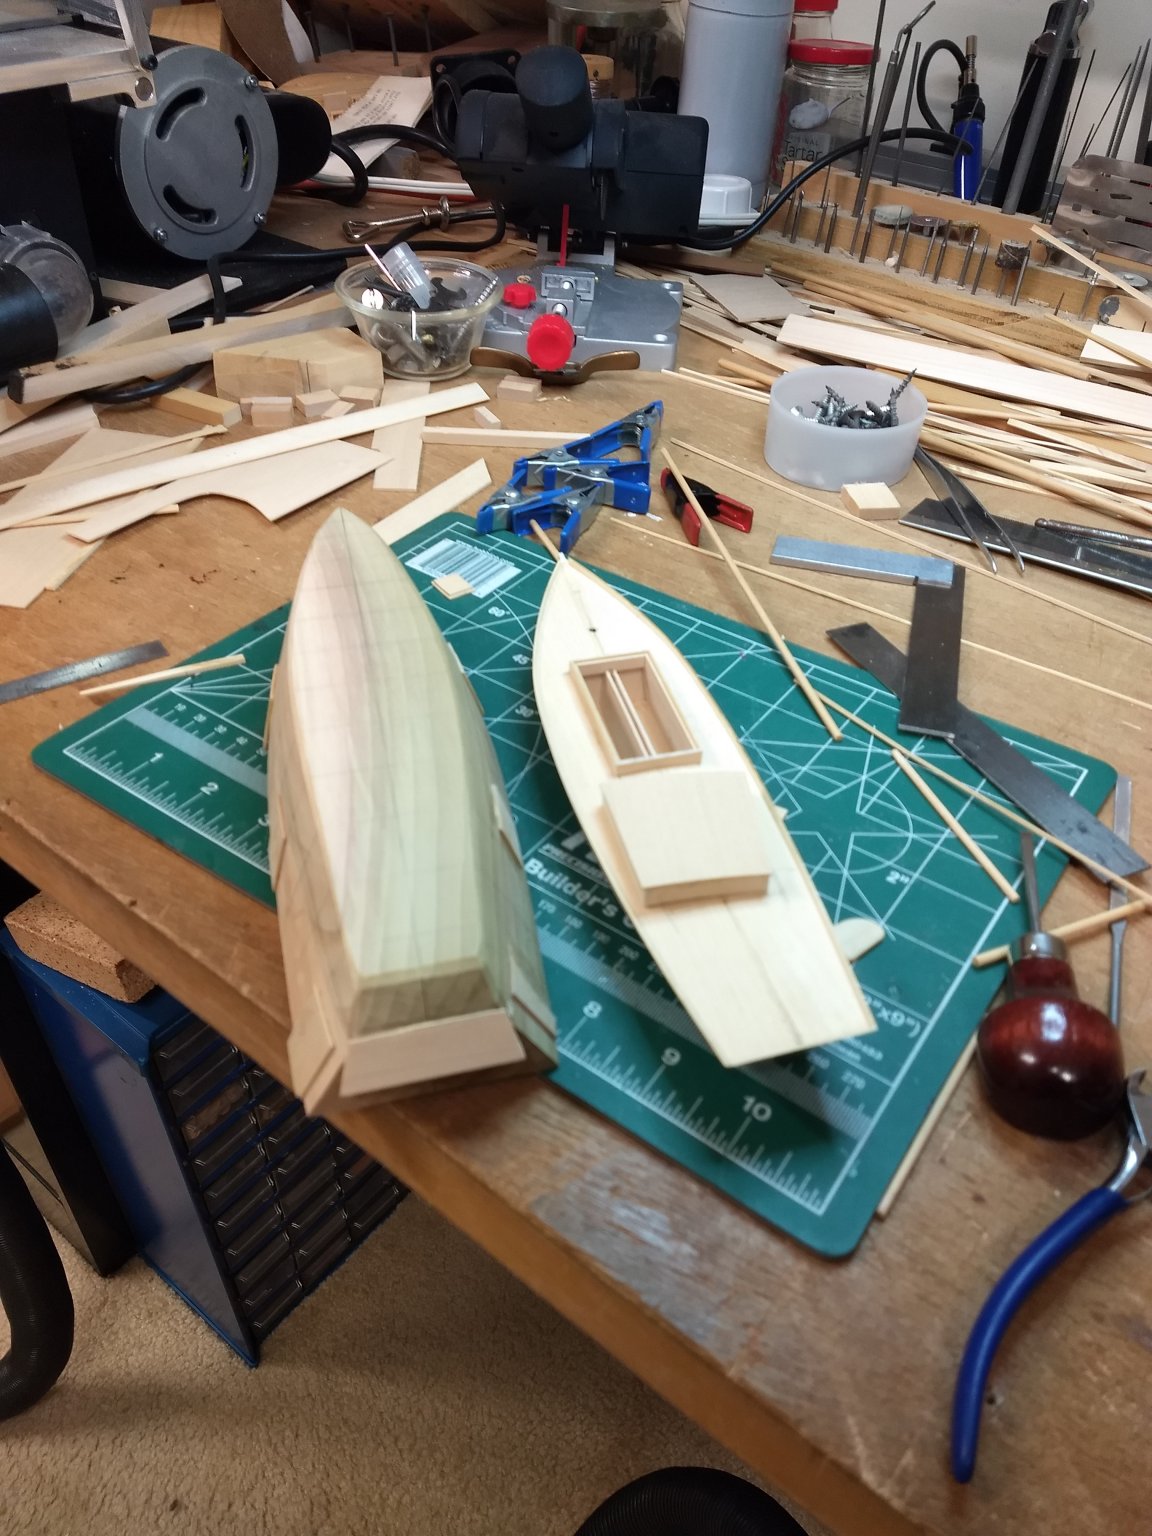
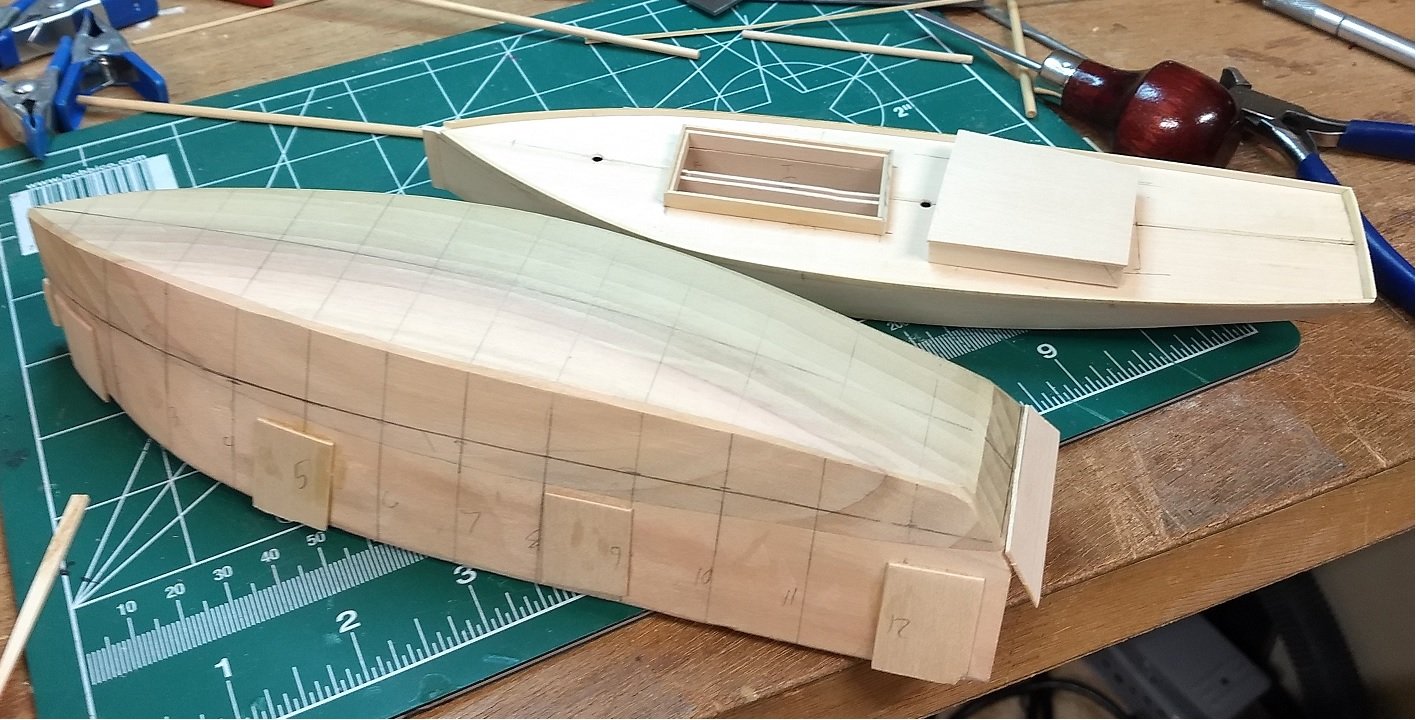
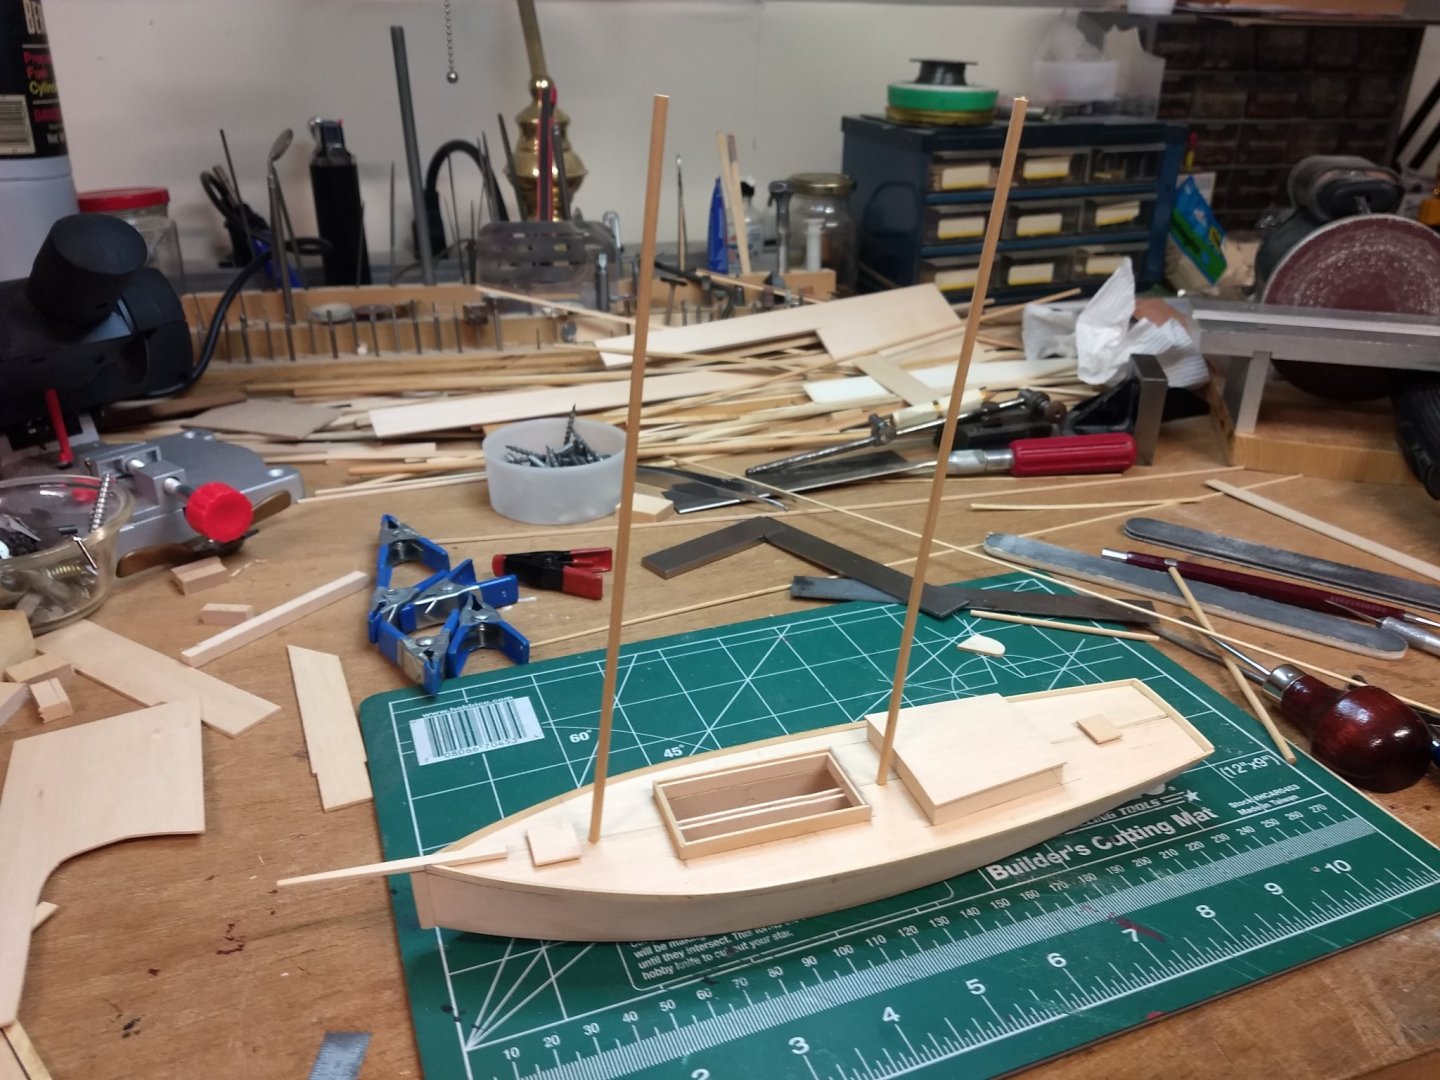
Dave, You're making great progress, and you're learning a lot about working from other folk's plans. I don't think you should be an absolute slave to the plan before you. Use it as a guide or roadmap, but don't fret the occasional road block or detour--the real builders didn't. I brought my model to a meeting to show off the jig and discuss how I glued up the pieces. The only thing missing that I wanted to add were slots for the transverse bulkheads--maybe on the next one. I was going to present the boat to show progress at our last meeting, but then I changed my mind. I'll PM you a recent shot as I kinda want to keep the model underwraps for now. John
-
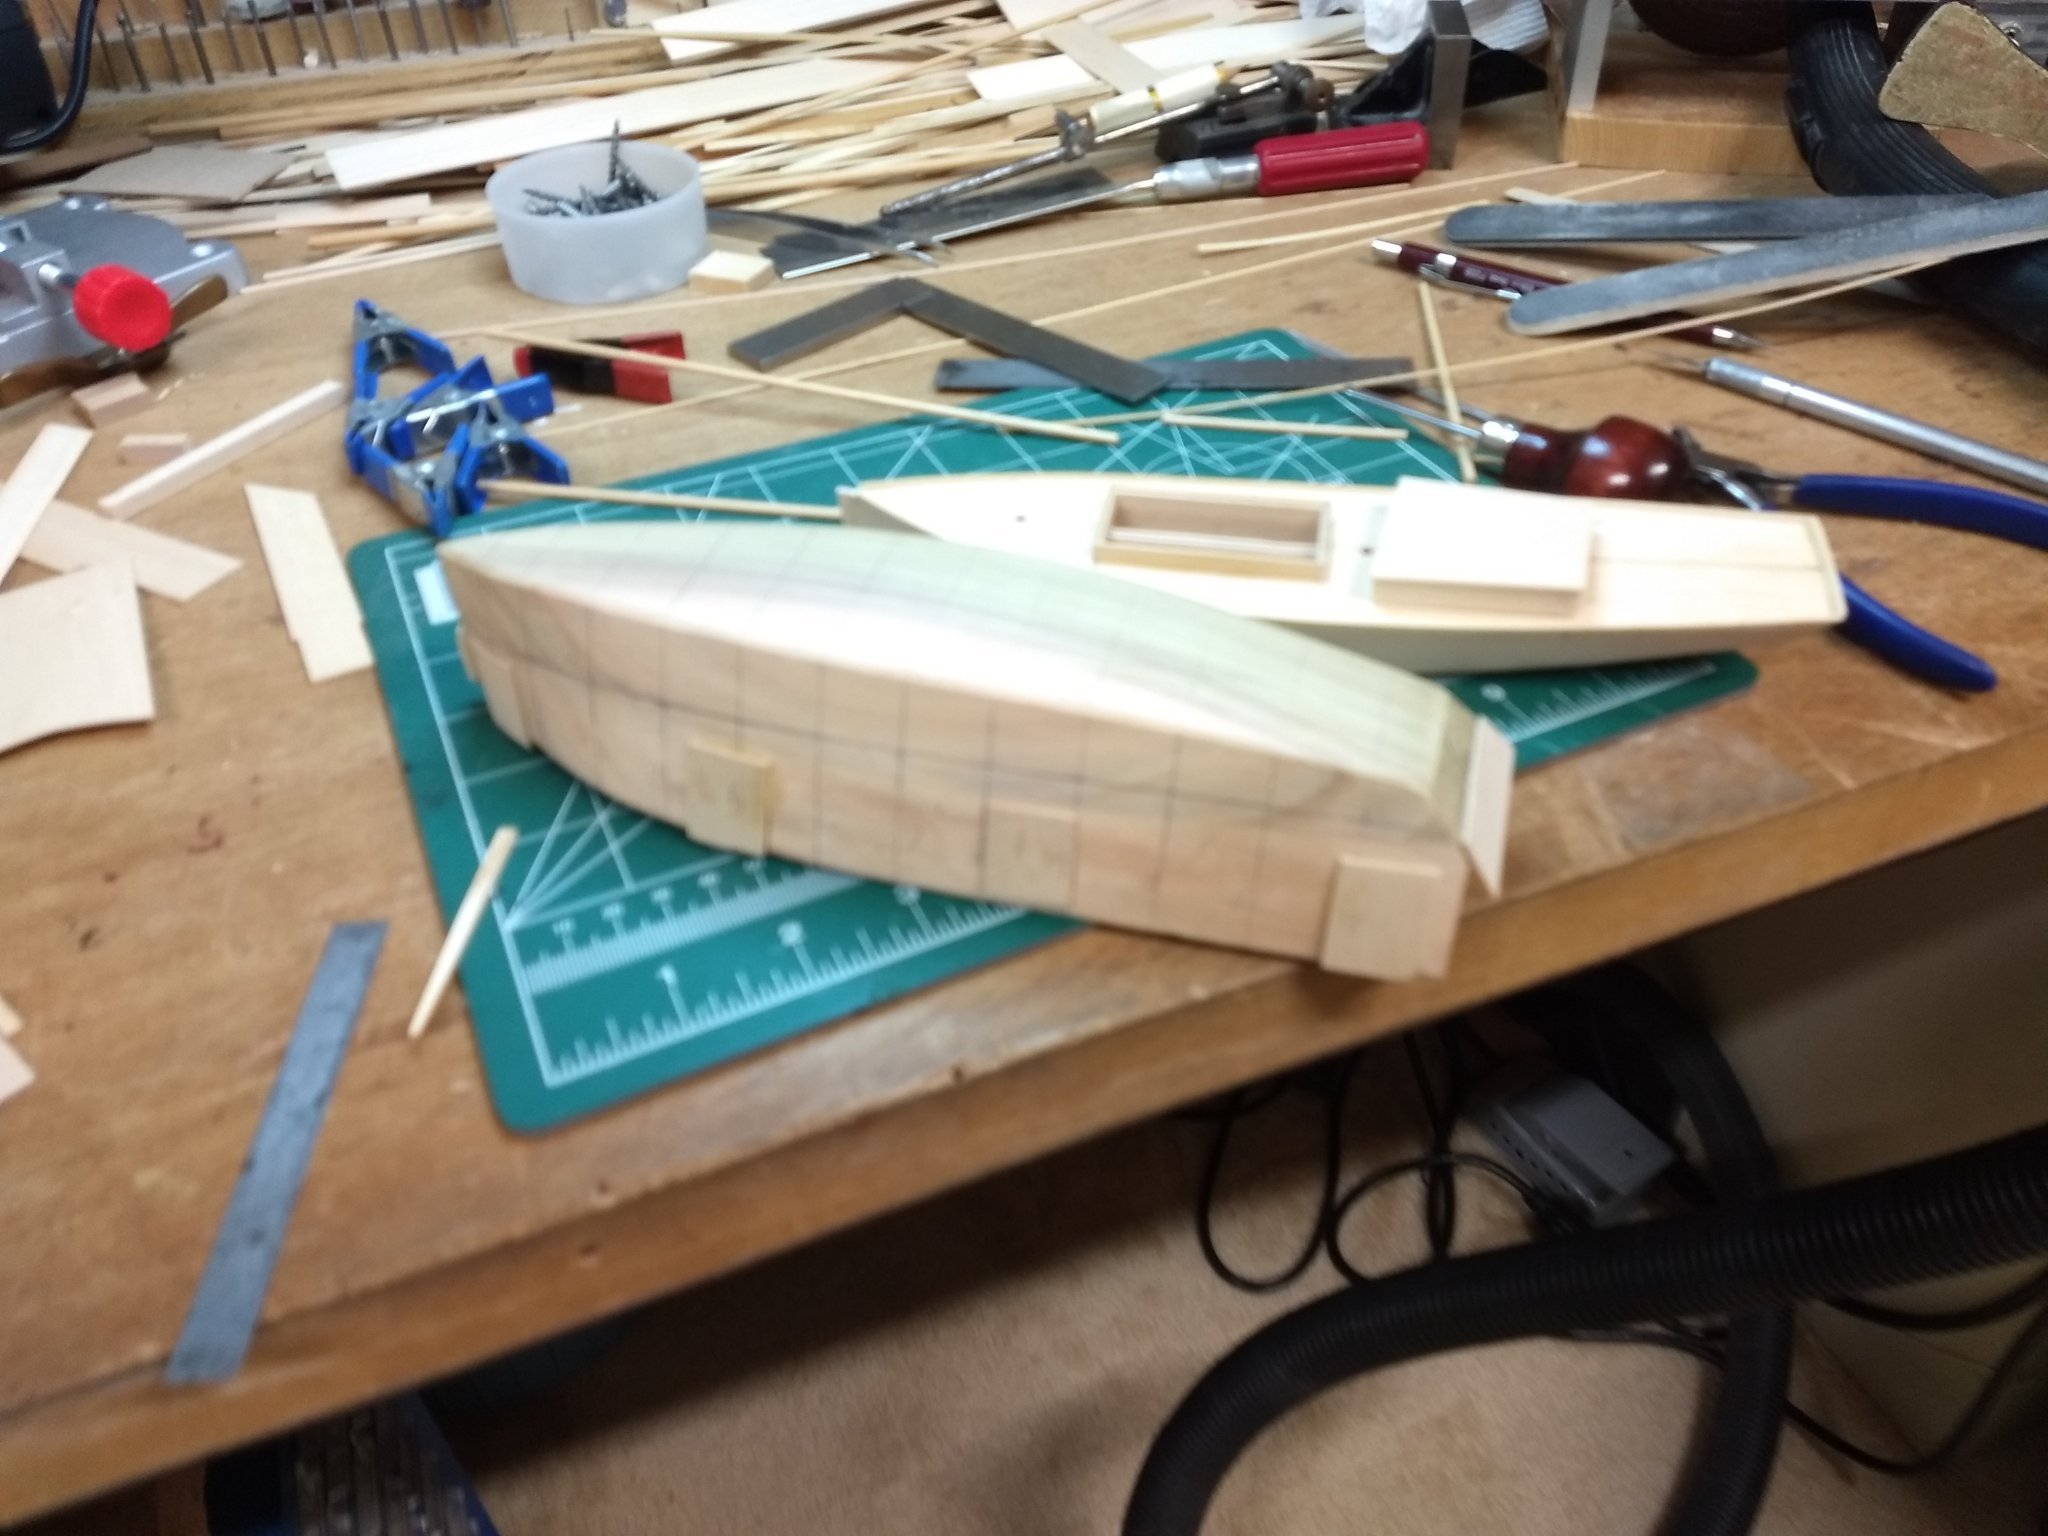
Dave, Sorry, I had no idea that the photo with the jig was so blurry. Here is a better photo. All I did to keep from gluing the hull panels to the jig was to bevel the edges of the jig, as you can see in this clearer image.
-
Great work so far, looking forward to seeing the complete model!.
-
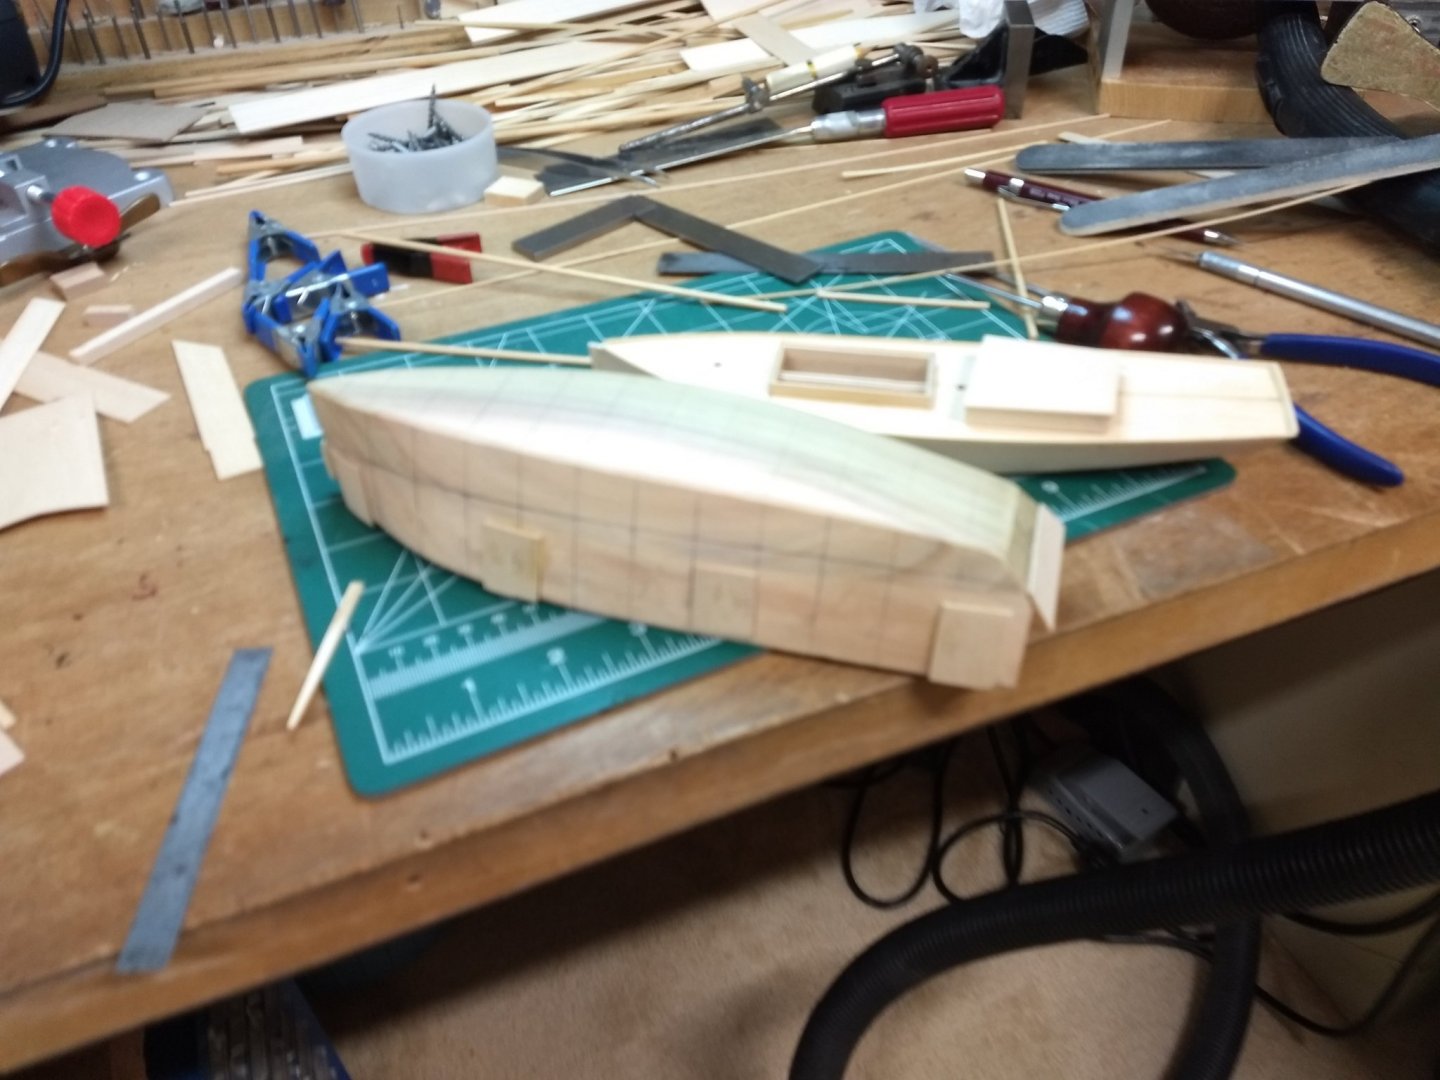
Dave, I took a quick look at the monograph and it seems to me that the hull can be built on jig 1. The builder in the monograph does not seem to use jig 1 to help control the frame angle of the side planks. But it can be done using jig 1. Here is a look at the jig I used for my very "similar to a sharpie hull". Your thinking is correct. You can call me to discuss technique if you want. John

-
Jim, This is a really nice build, and an excellent photographic record. Can't wait until you reach the rigging... John