MikeR
-
Posts
135 -
Joined
-
Last visited
Content Type
Profiles
Forums
Gallery
Events
Everything posted by MikeR
-
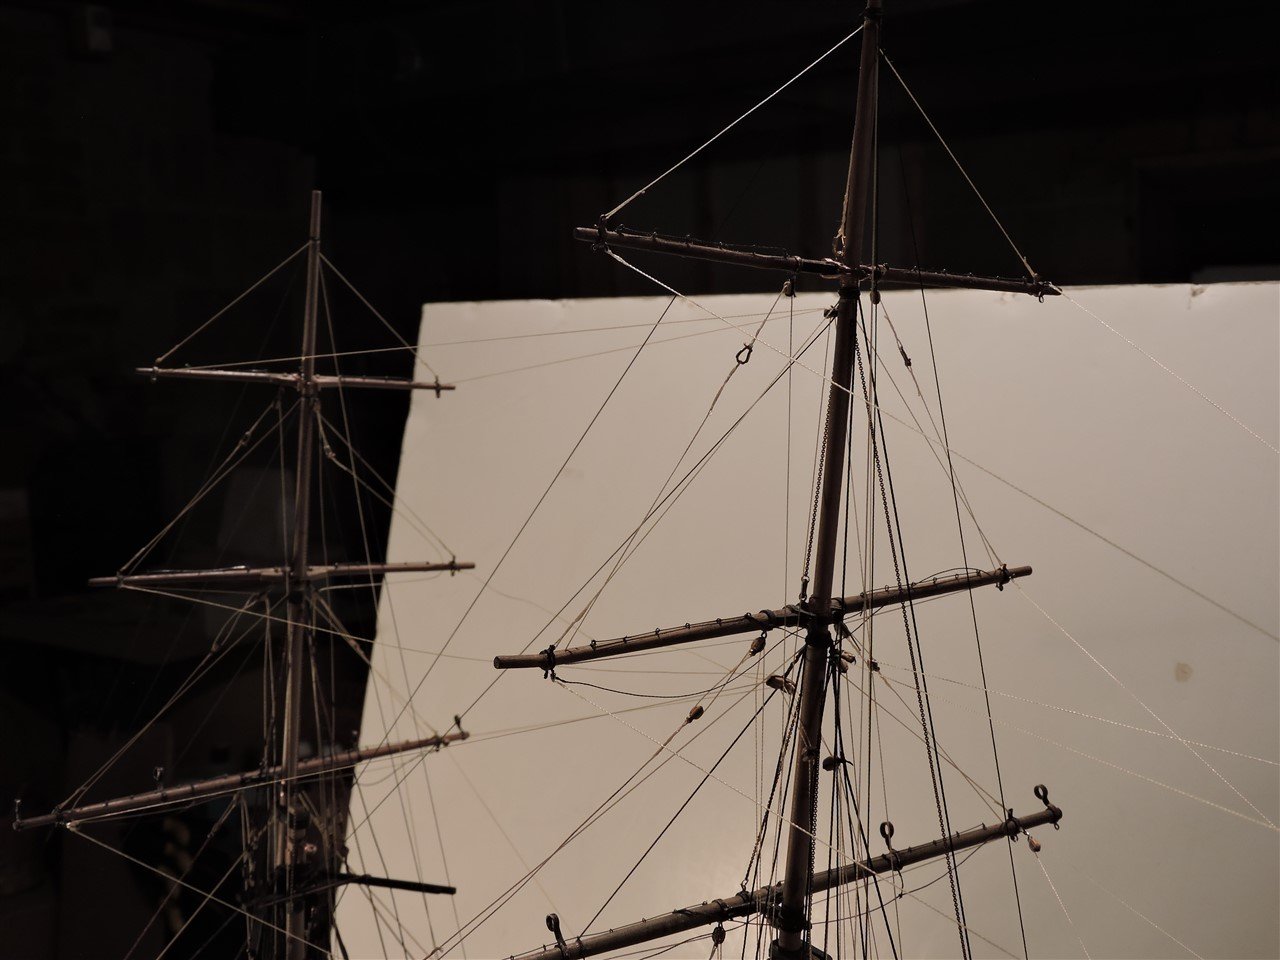
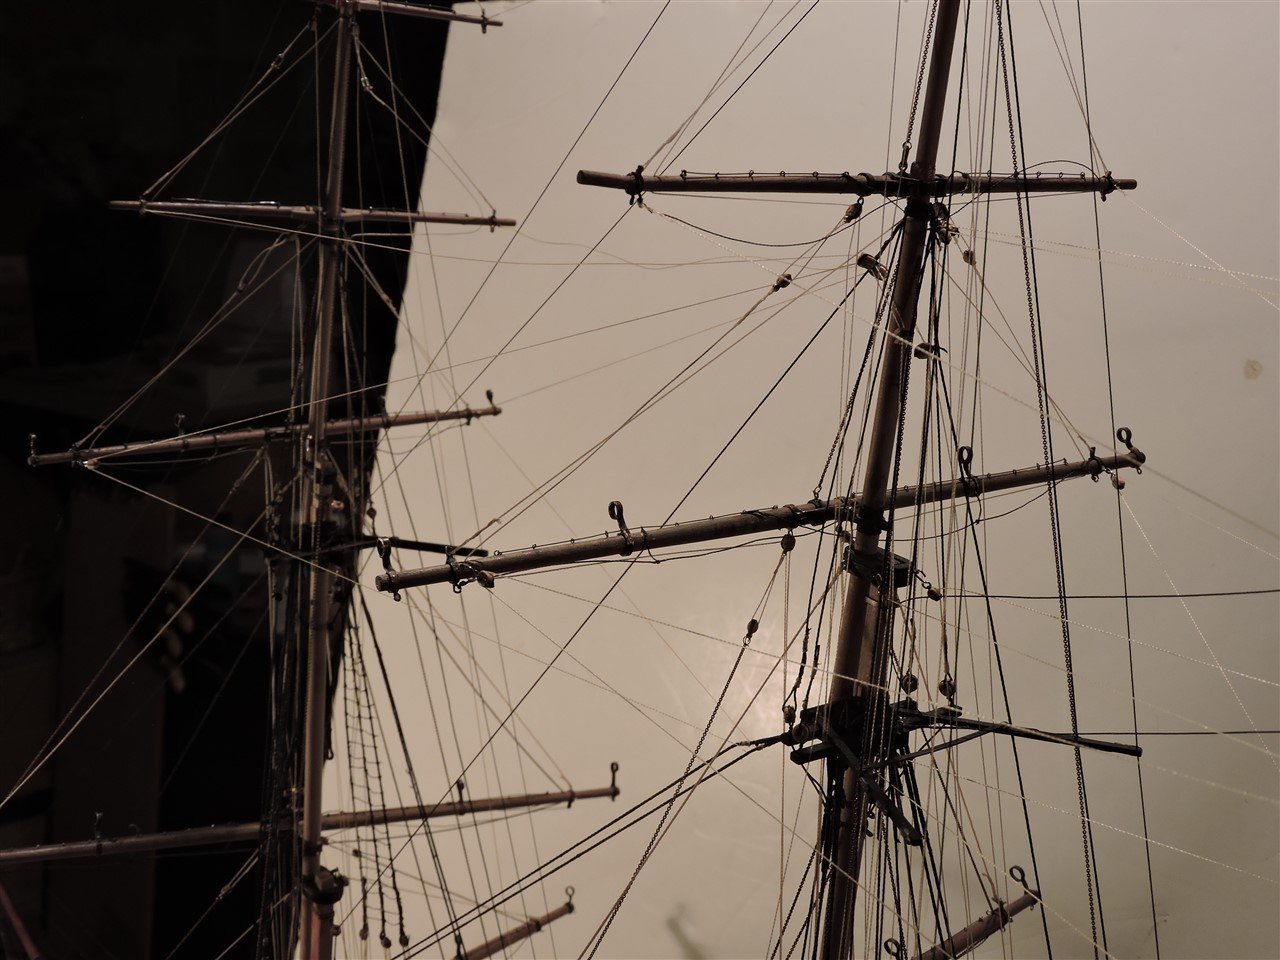
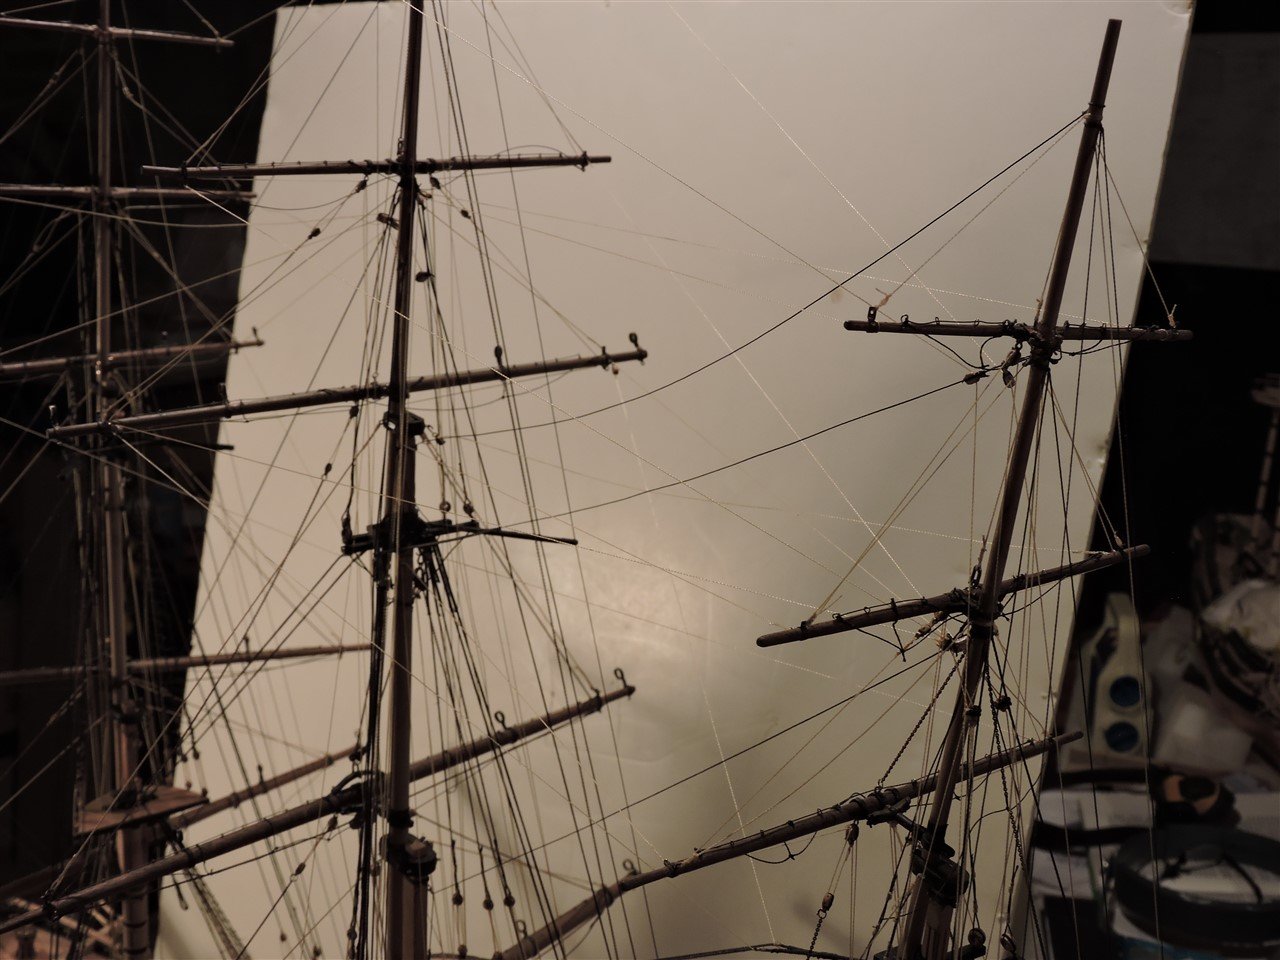
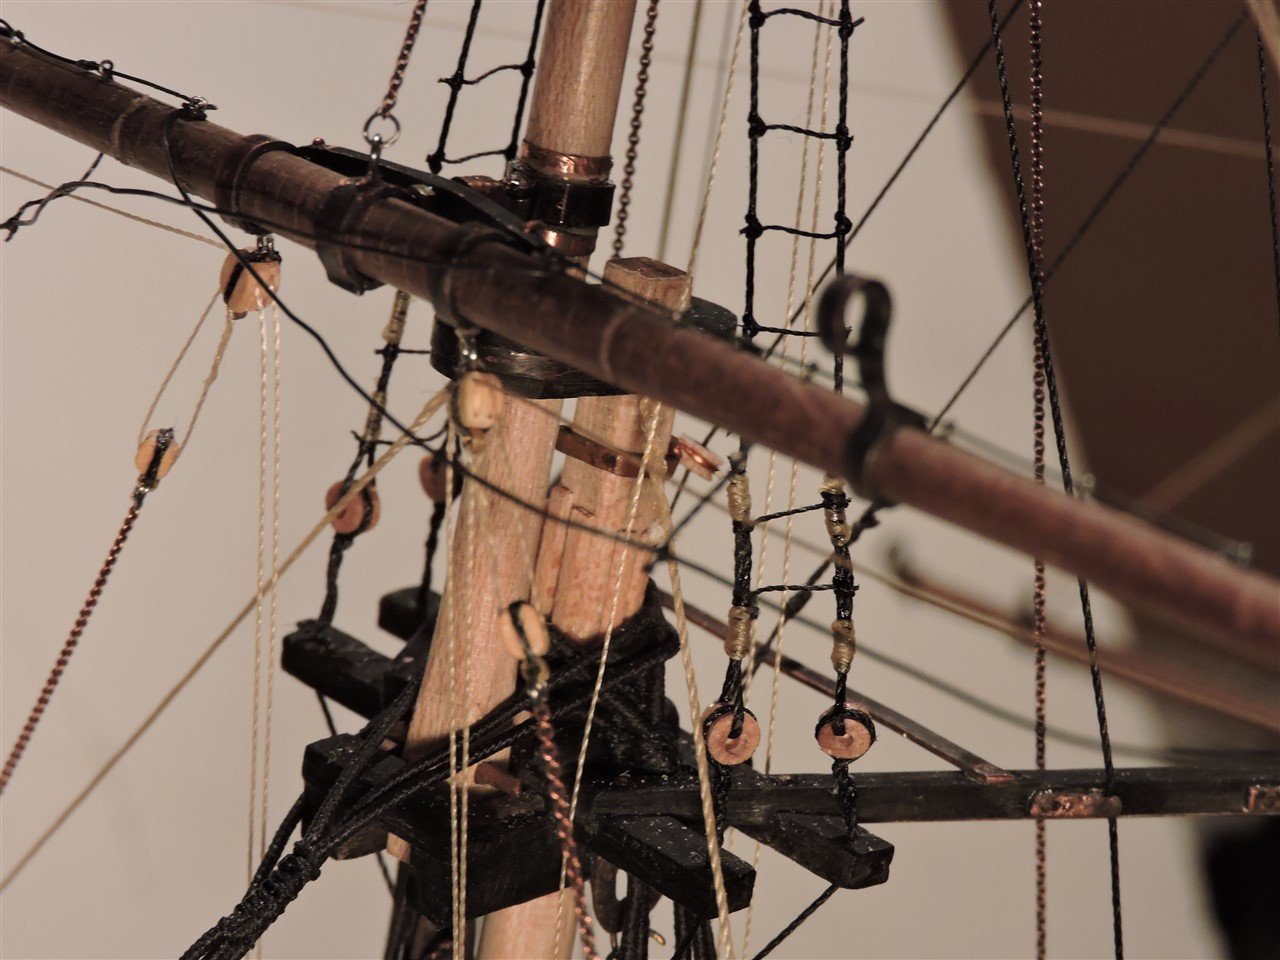
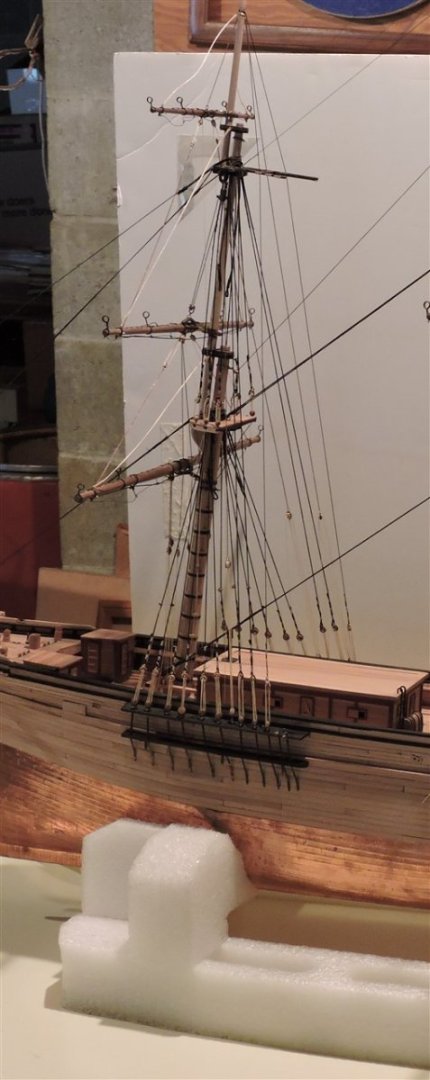
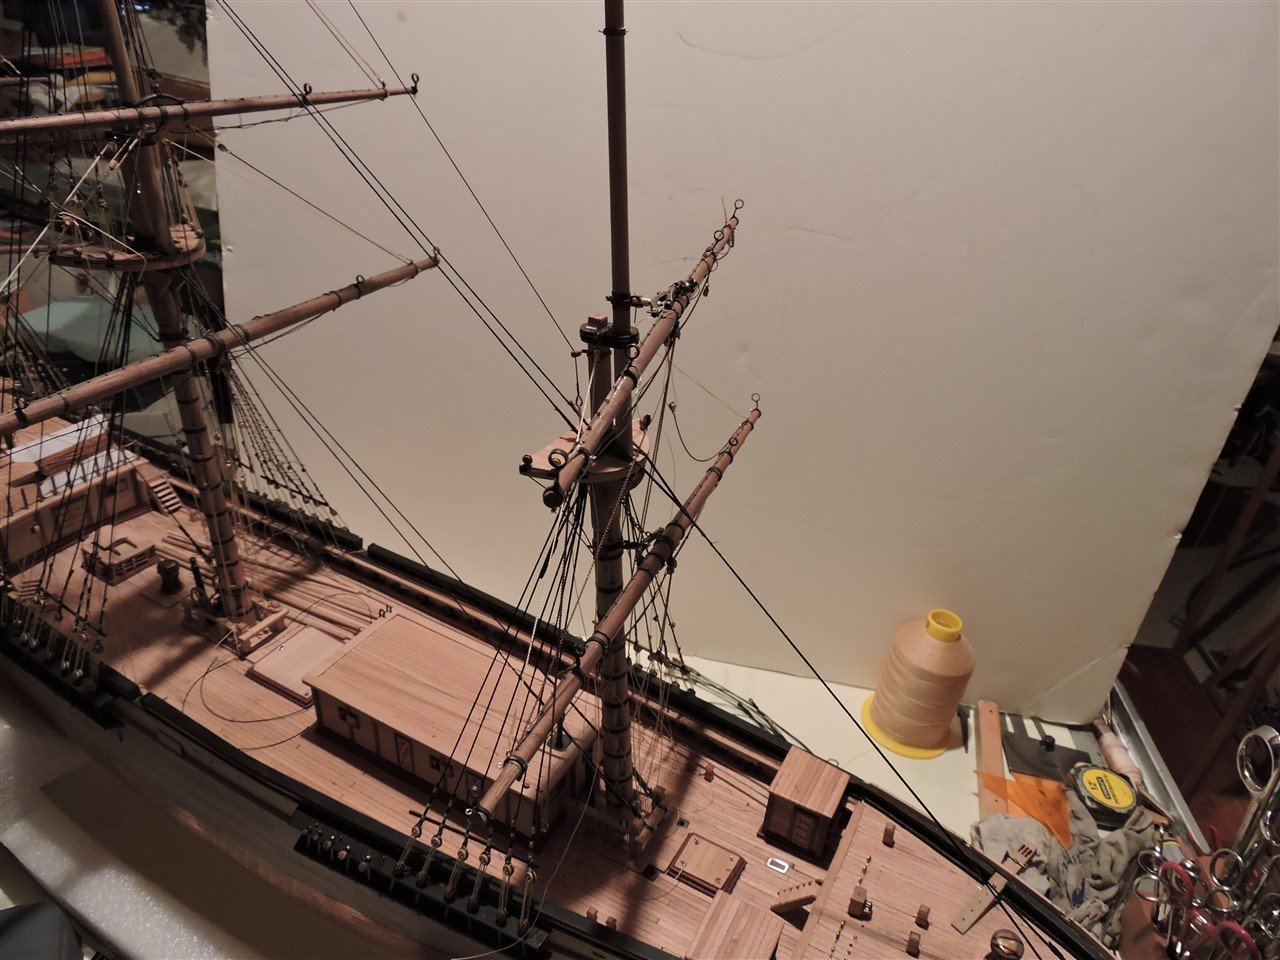
Rick, I run into that problem too. I have dropped many items and found a few while looking for them on my hands and knees. I probably spent more time looking than the time spent making the item. I made and installed a new top mast crosstree, I replaced the cut away rigging, installed the chains for the Bowsprit and ran the rest of the running rigging. I am working on the braces and have completed the braces for the skysail yards, the royal yards, and the topgallant yards. Mike R
-
Keith Your work is amazing. When I cut .250 copper or brass I use a Dewalt variable speed scroll saw . I use either #1/0 or #2/0 blades at a mid range speed. I cut through a thin layer of cutting oil on the brass or copper which keeps the blade cool and lubricates it during the cutting . When I take my time and cut slow, I break very few blades. MikeR
-
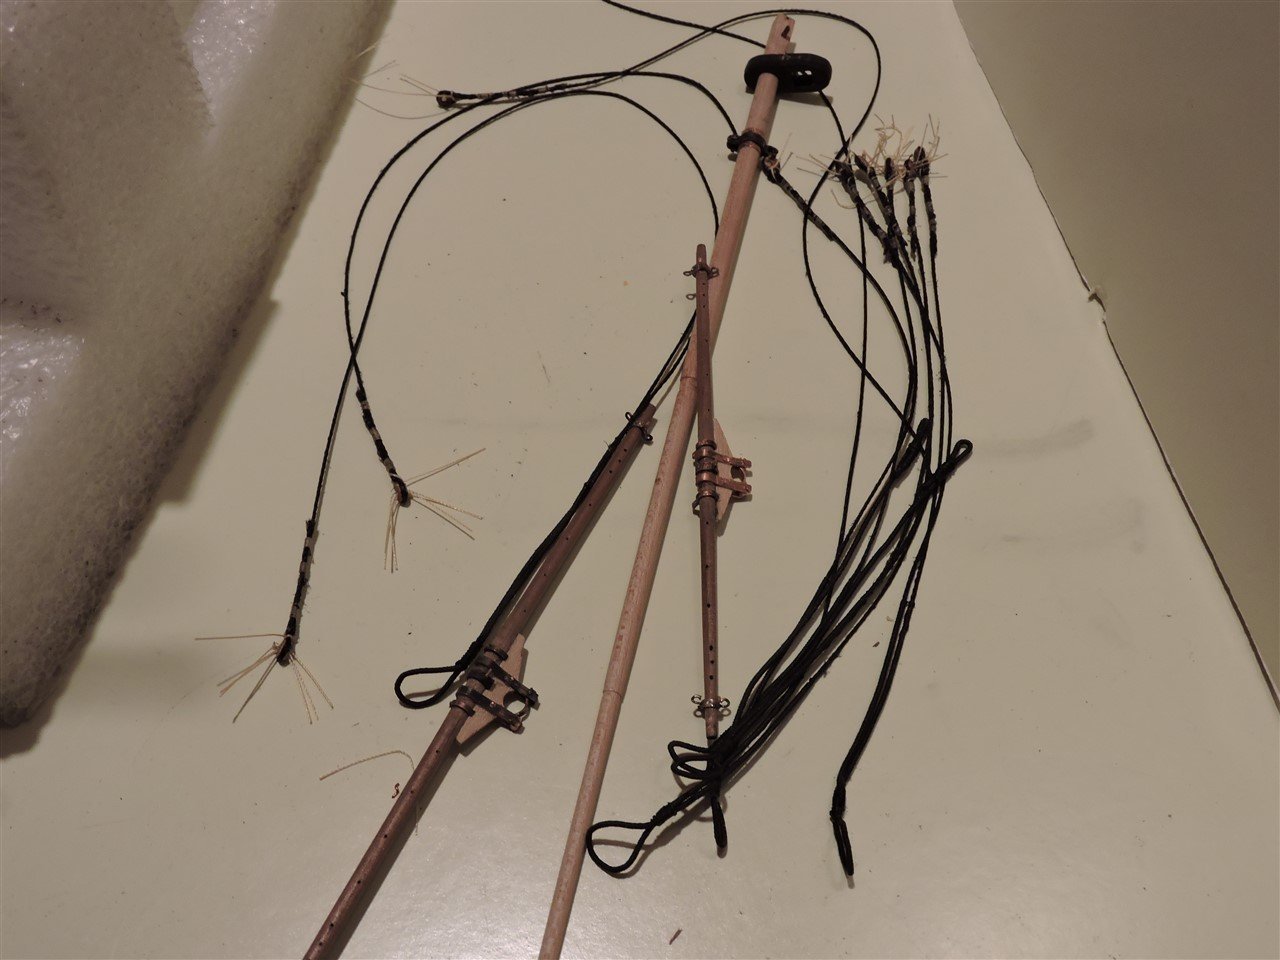
Disaster, while working the royal yard I broke the cross arm off the top mast crosstree. I thought about trying to repair it, but it is the base of the top gallant shrouds so I had to replace it. I really felt bad cutting most of the rigging off, but it had to be done. Mike

-
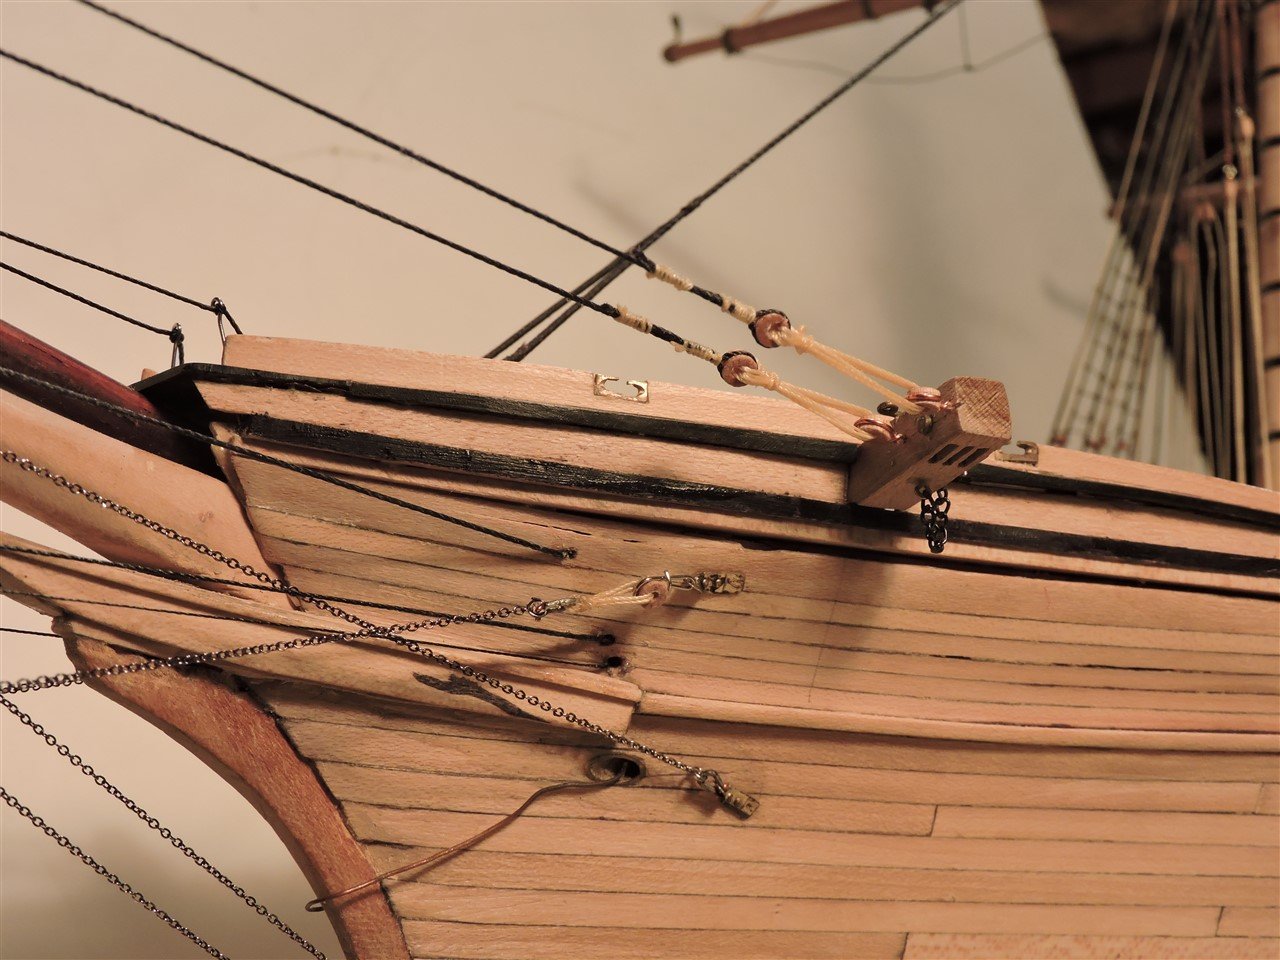
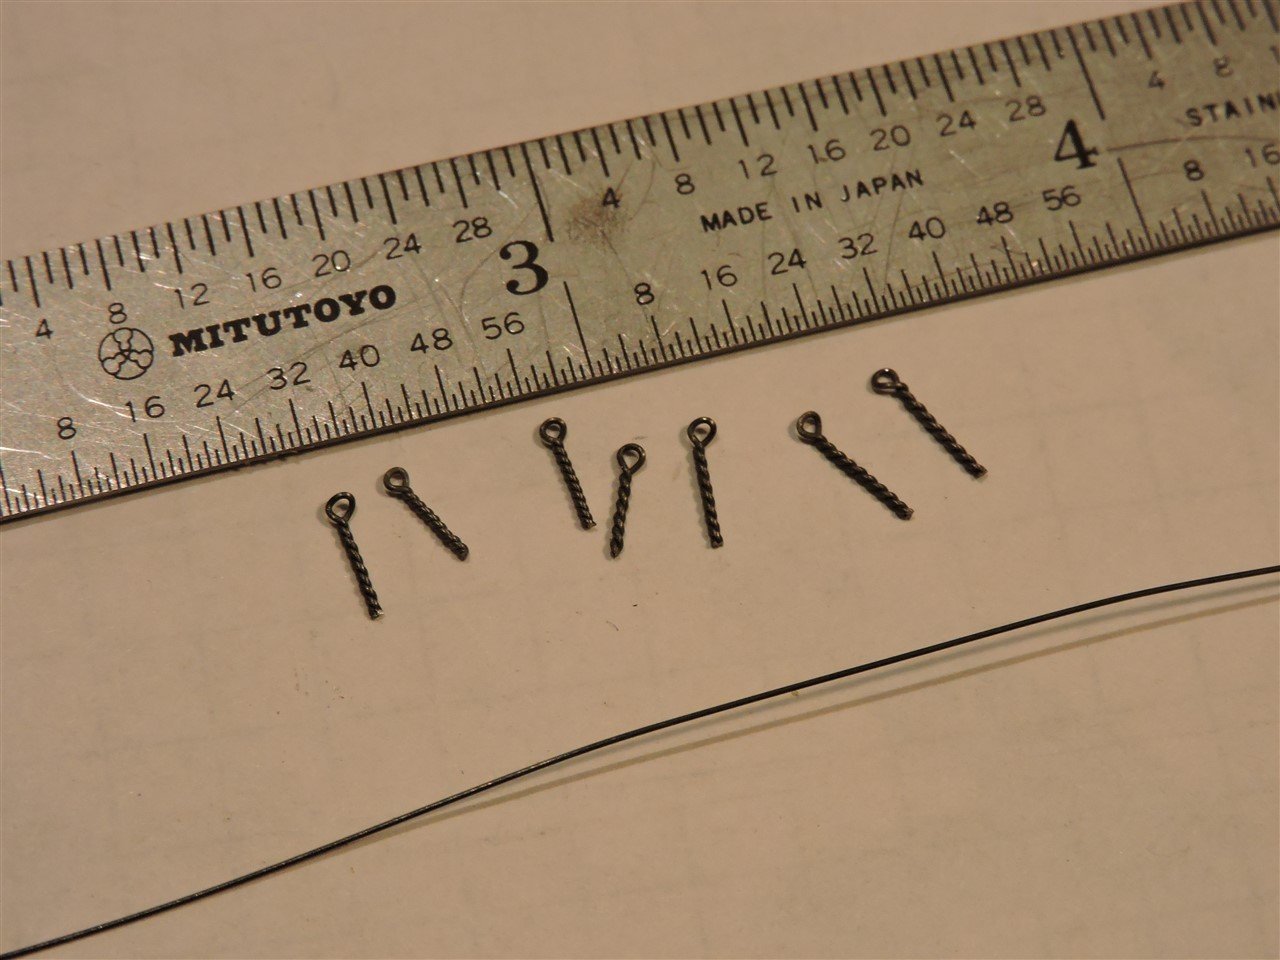
One of today's projects is making the rest of the small eye bolts for the jack stays
-
Rob I still have to add on the fancy carved corner knees for the roof. I never tried carving before so that is what the holdup is. I did have a scalloped molding that went under the roof line, but I did not liked the way it looked so I removed it. I am still plan on trying a different design. I have been working on the iron work for the lower yard, topsail yard and the top gallant yard. These were silver soldered , then placed in an acid bath to clean them. I used liver of sulfur to blacken them. Mike R

-
Mike I use a digital caliper. Measure the width of the strip, say .250 divide it in half and set the caliper to .125 and lock it in place. Then scribe the line, to be super accurate scribe from both sides. You could also use the caliper to just center punch the piece and drill a hole. I use this method to find the center of 1/16 brass strips. Mike R
-
George Thanks for the information. I will give it a try tomorrow. Mike
-
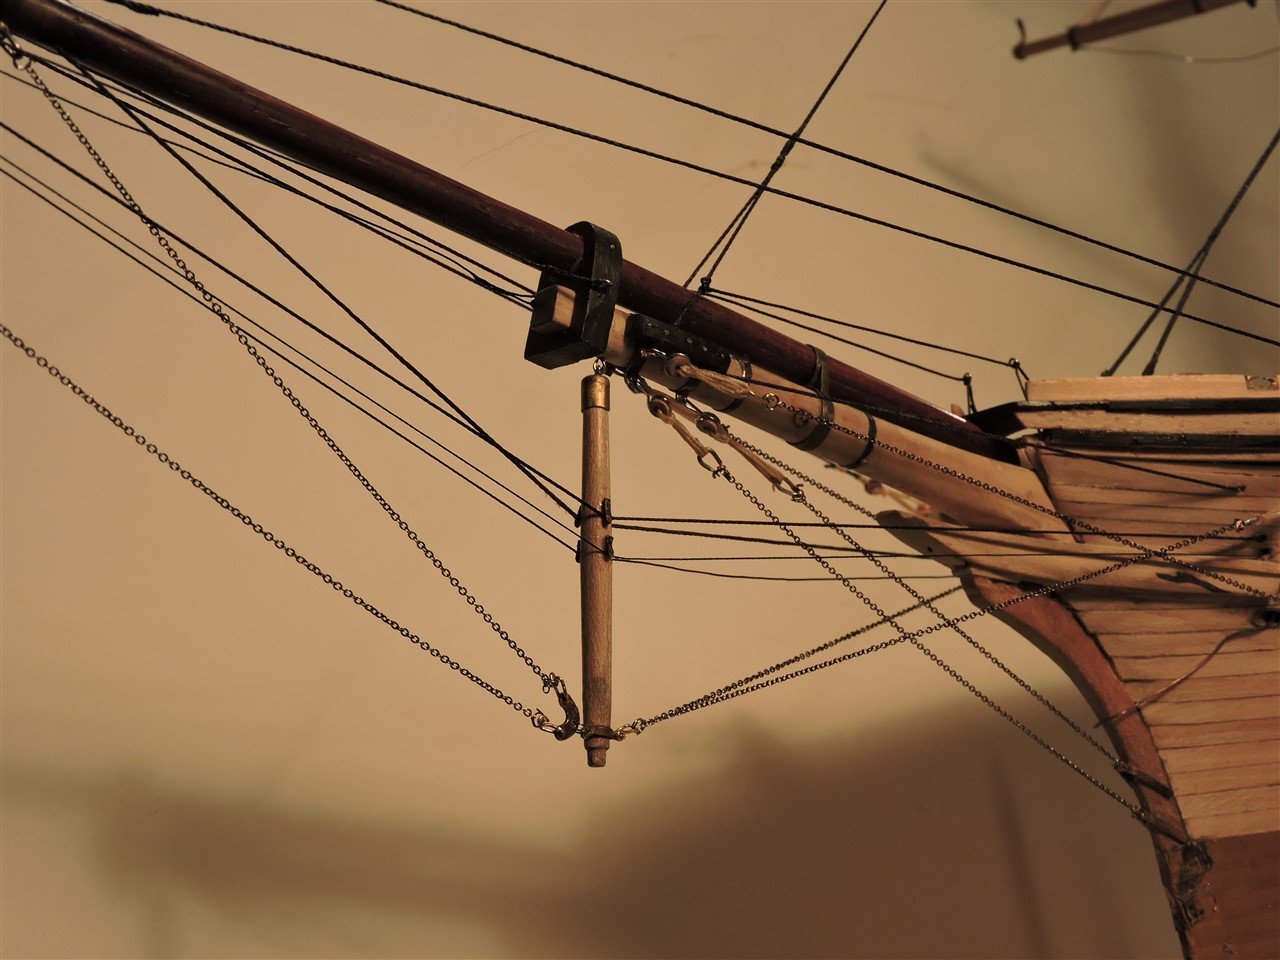
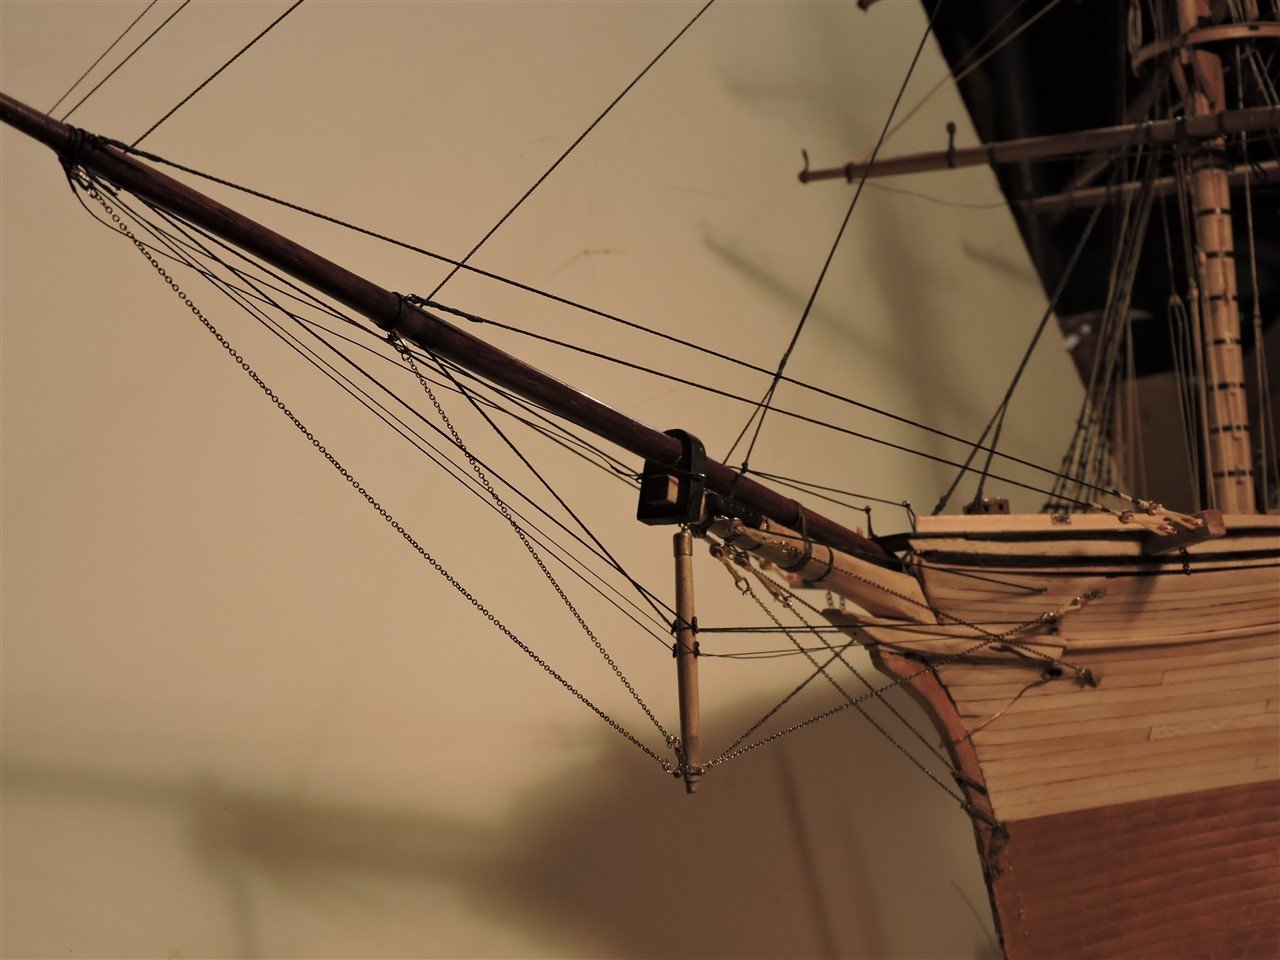
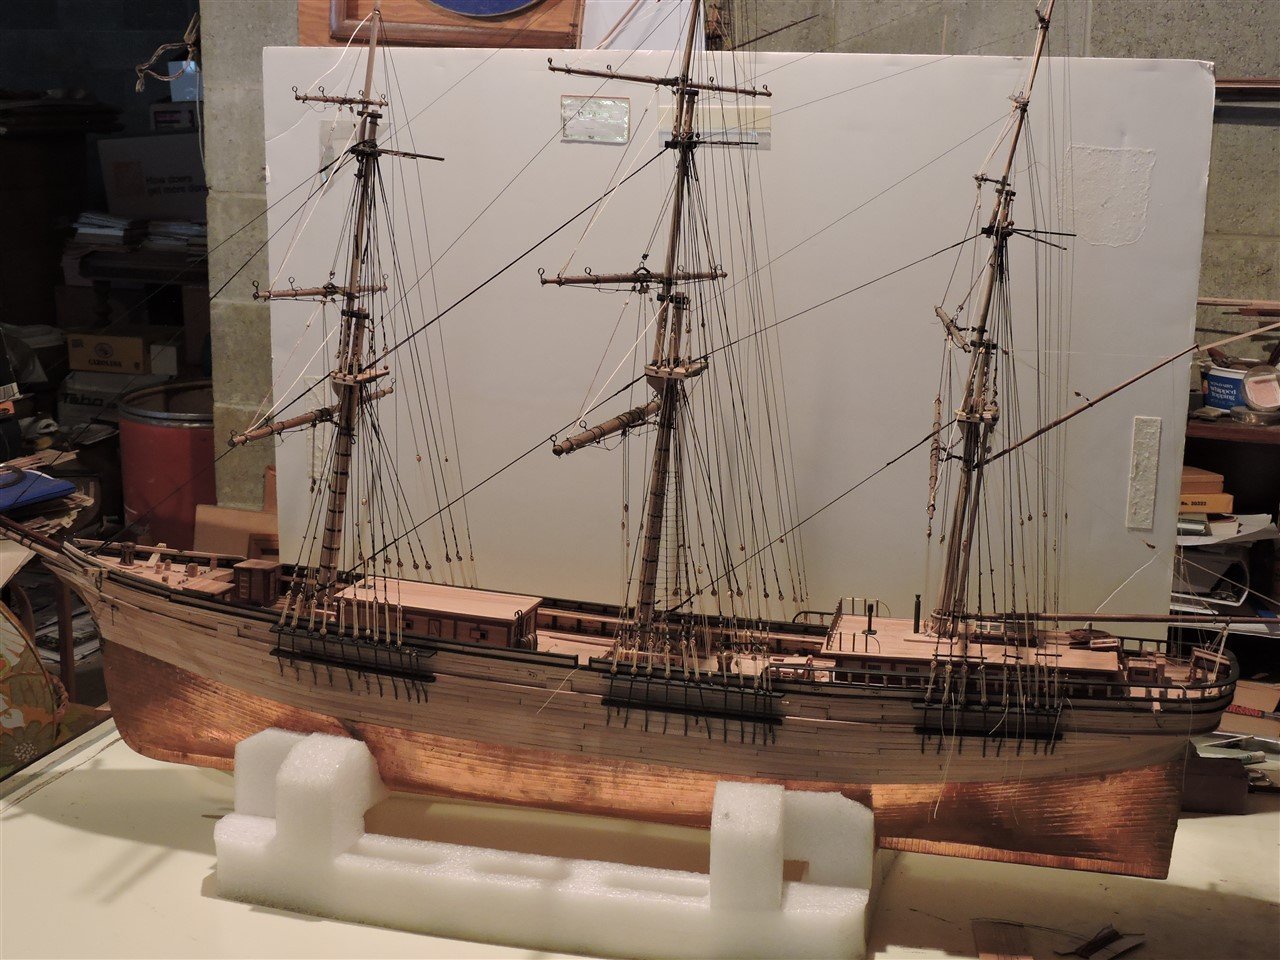
It has been nearly a year since I stopped working on the Flying Fish, well 10 1/2 months. Today I installed the Fore topmast shrouds and back stays. The inner and out stay is terminated under the fore deck. To any Flying Fish builders, how did you accomplish this? Any help would be appreciated. Mike R
-
In the YOUTUBE video "THE FLYING FISH model clipper PLANS & PHOTOS by Funniest Super Heroes" the photos starting at 7:05 and ending at 15:44 are mine. I was not asked or gave permission that photos of my model of the Flying Fish 3/16 scale were used. Mike R
-
Thanks to every one who has checked out this build. It has been fun. Mike R

-
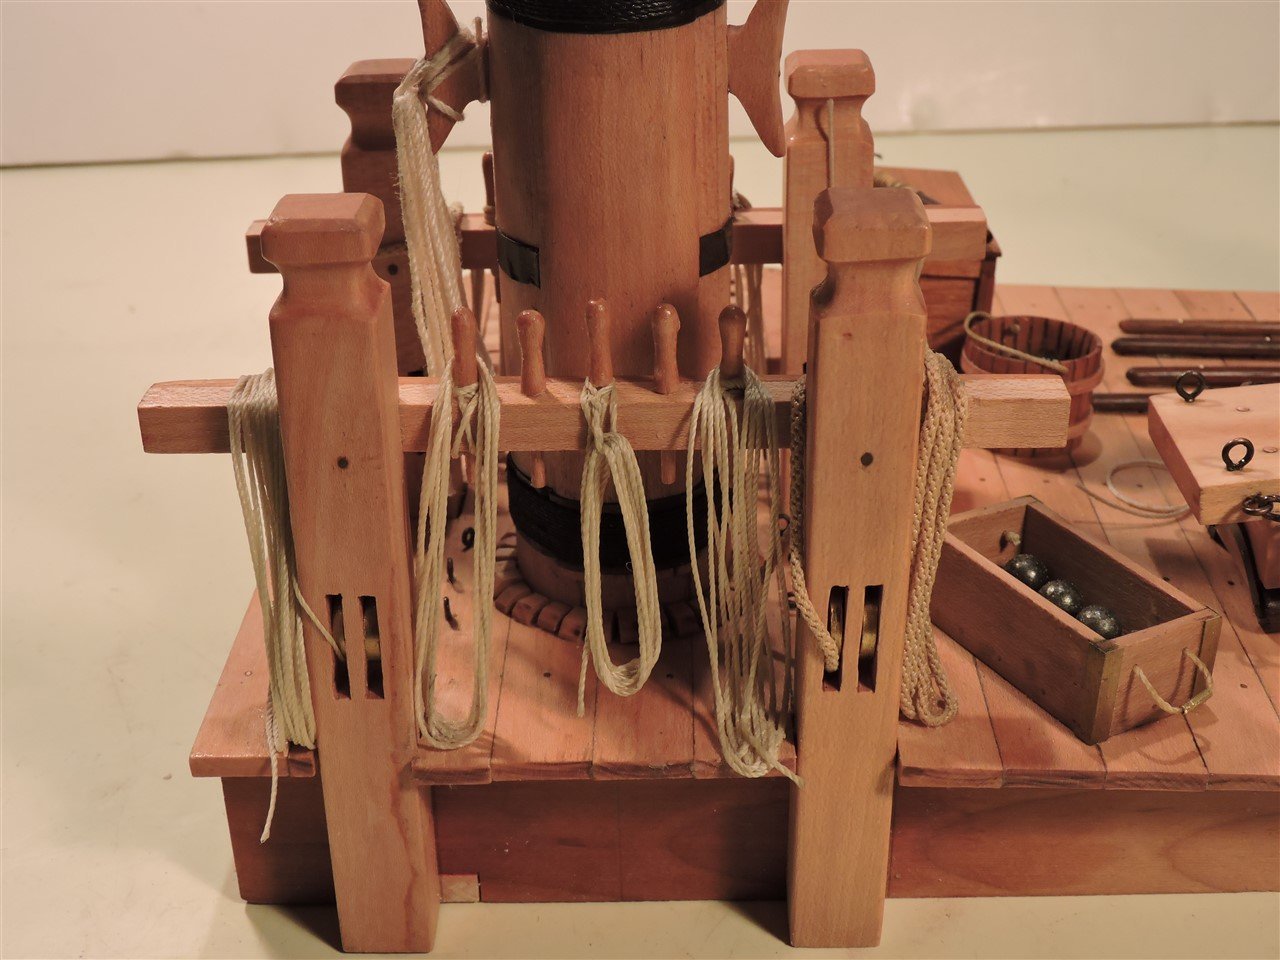
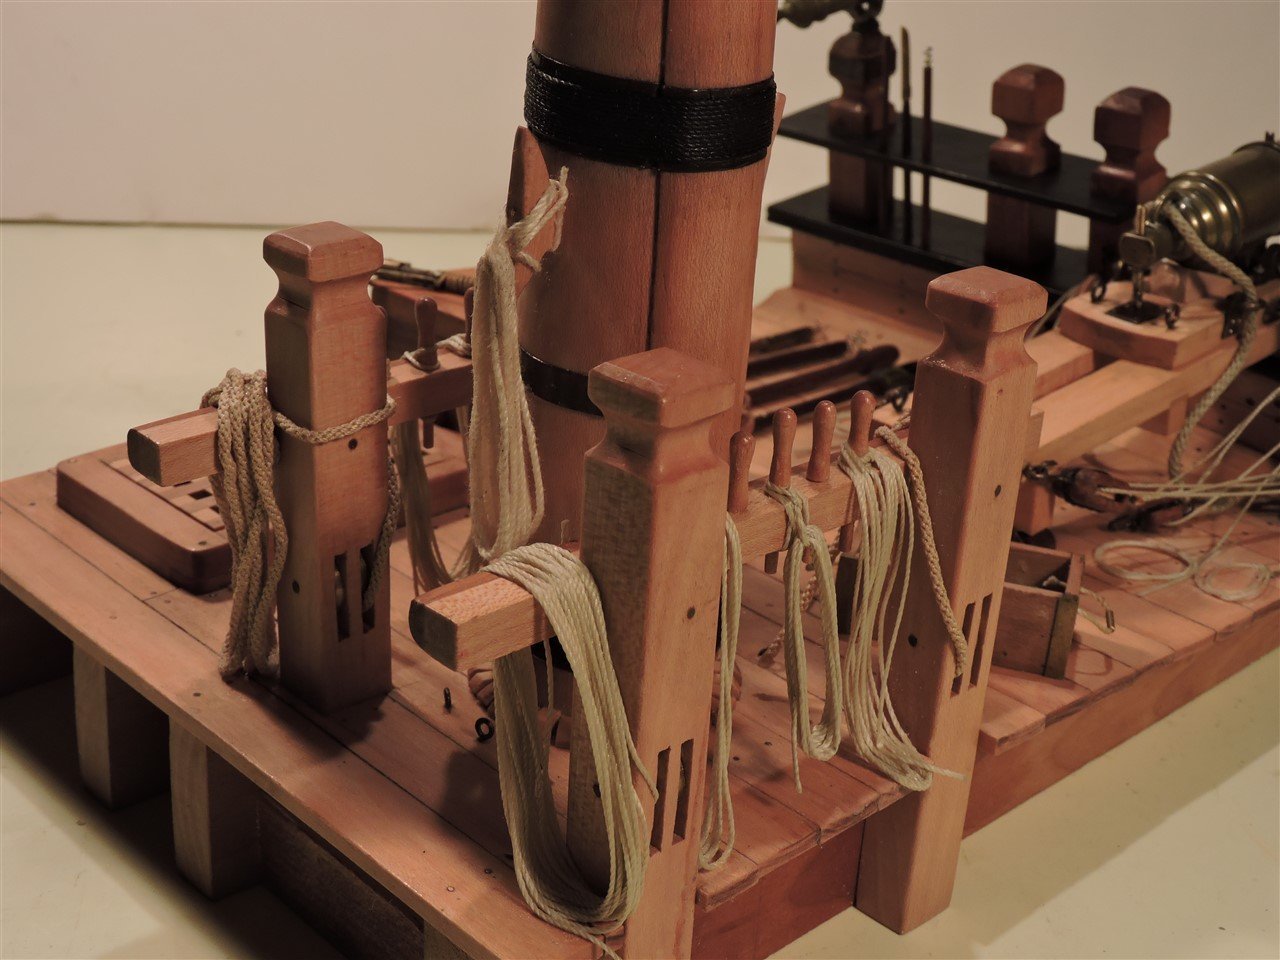
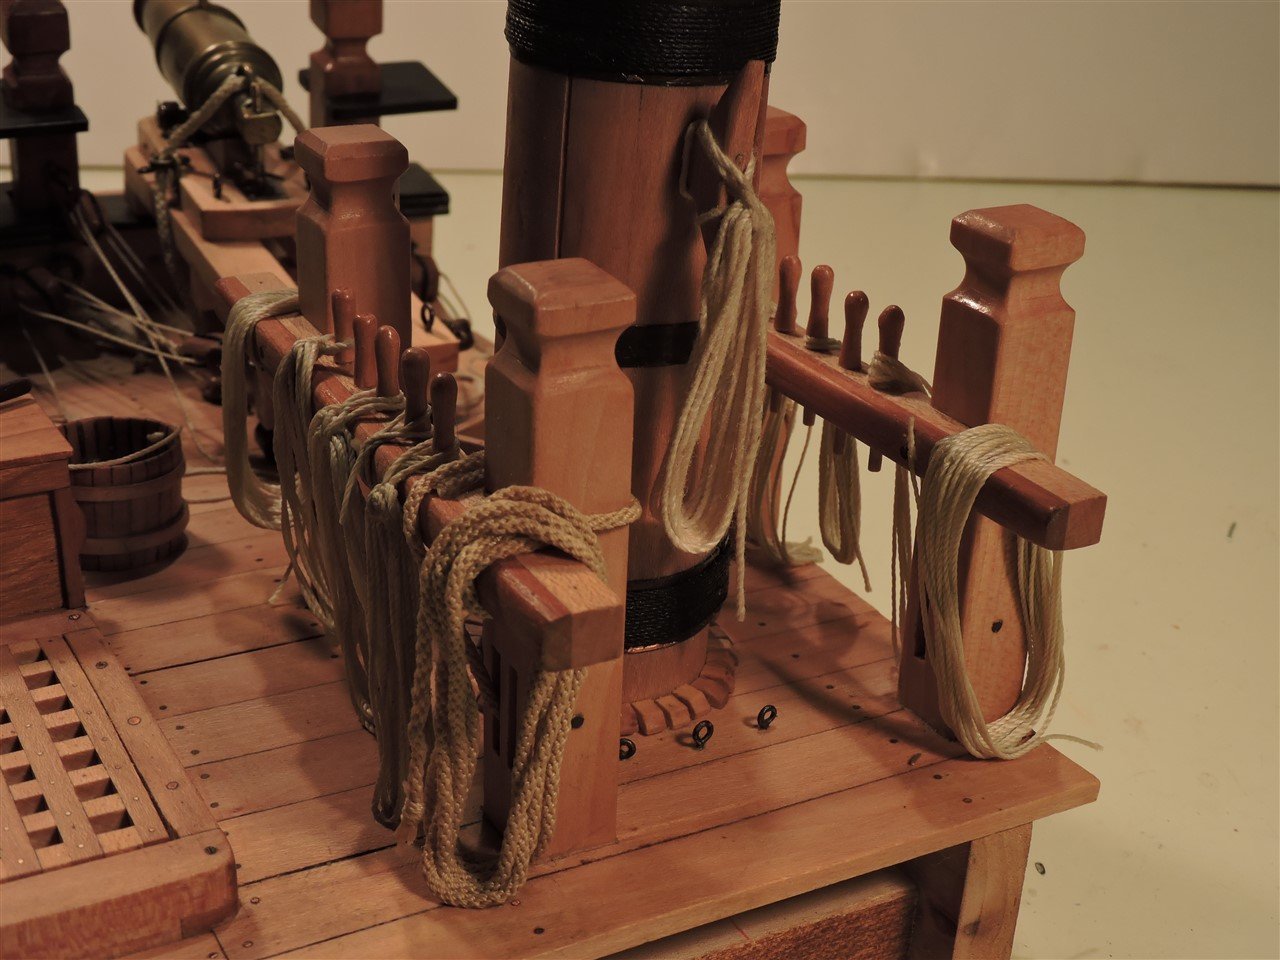
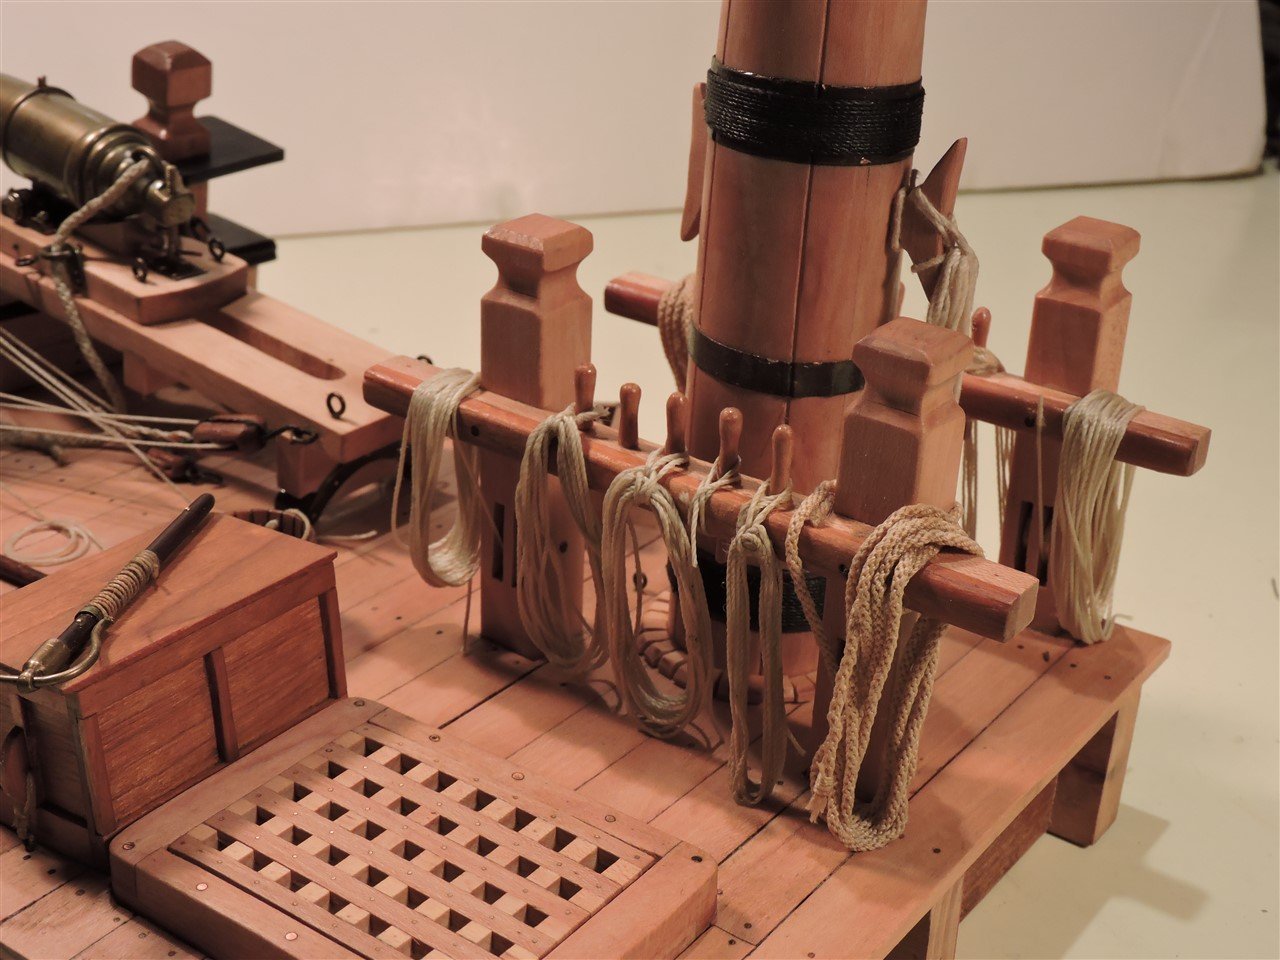
Rope coils around the fore mast


-
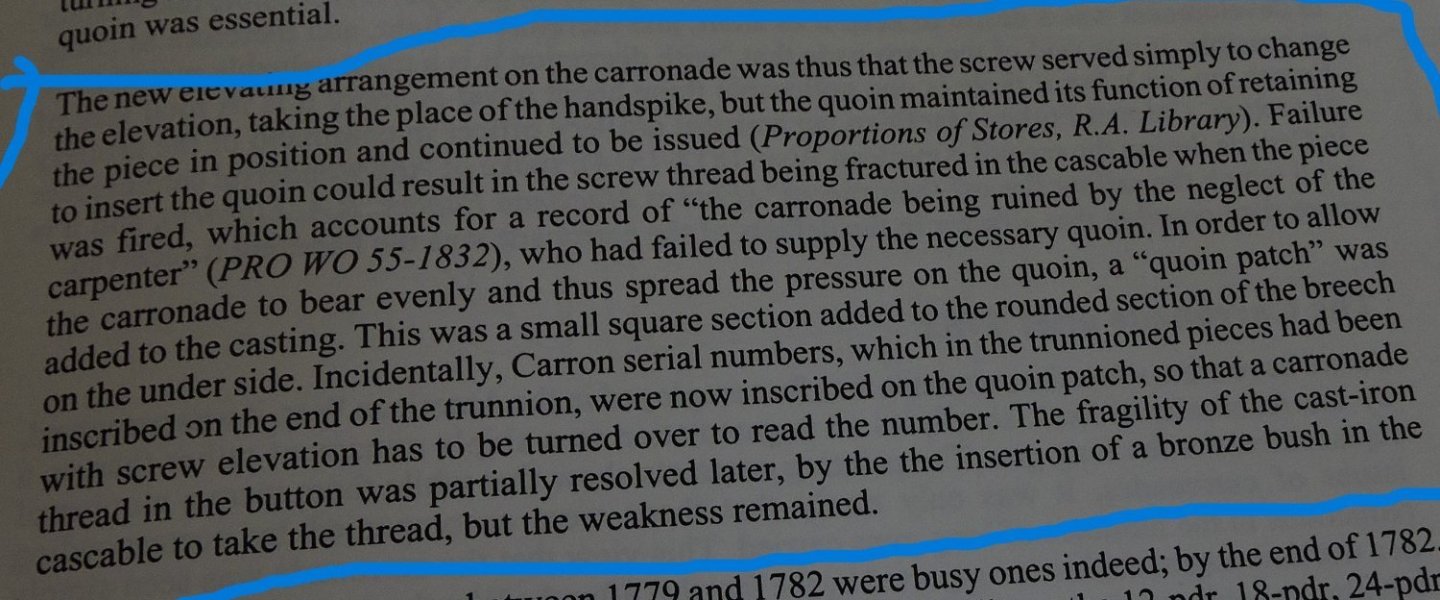
The following information is from "The History of English Sea Ordnance" by Adrian B. Caruana
-
Hi Rick I purchased a 4 oz.bottle of Liver of Sulphur Extended Life Gel from "The Contenti Company". I mix 1/4 teaspoon of liver of sulfur with 3 oz of hot water. After I clean the copper with acetone I dip the piece in the solution or use a paint brush. It does not rub off very easily. It works great on copper and not well on brass. Mike R
-
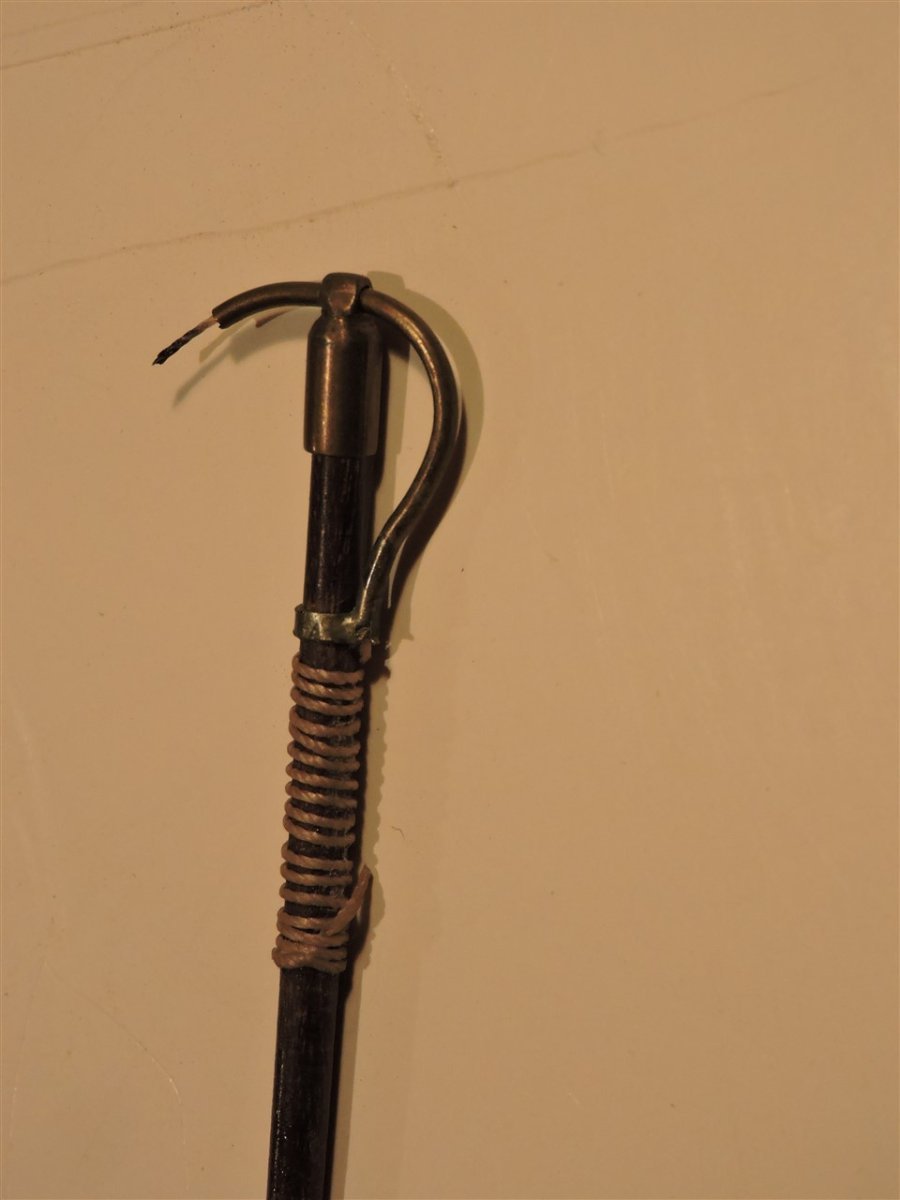
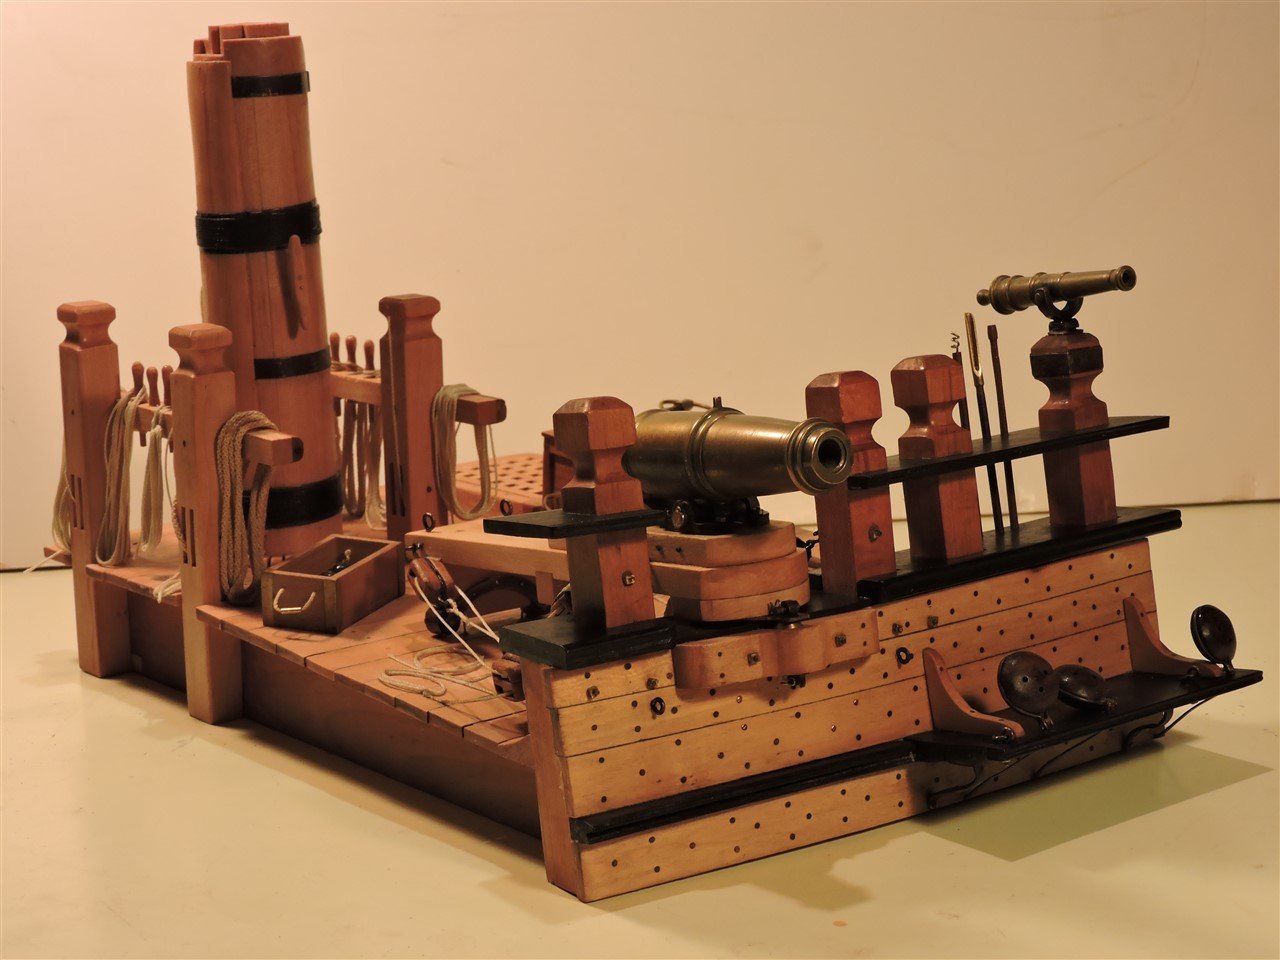
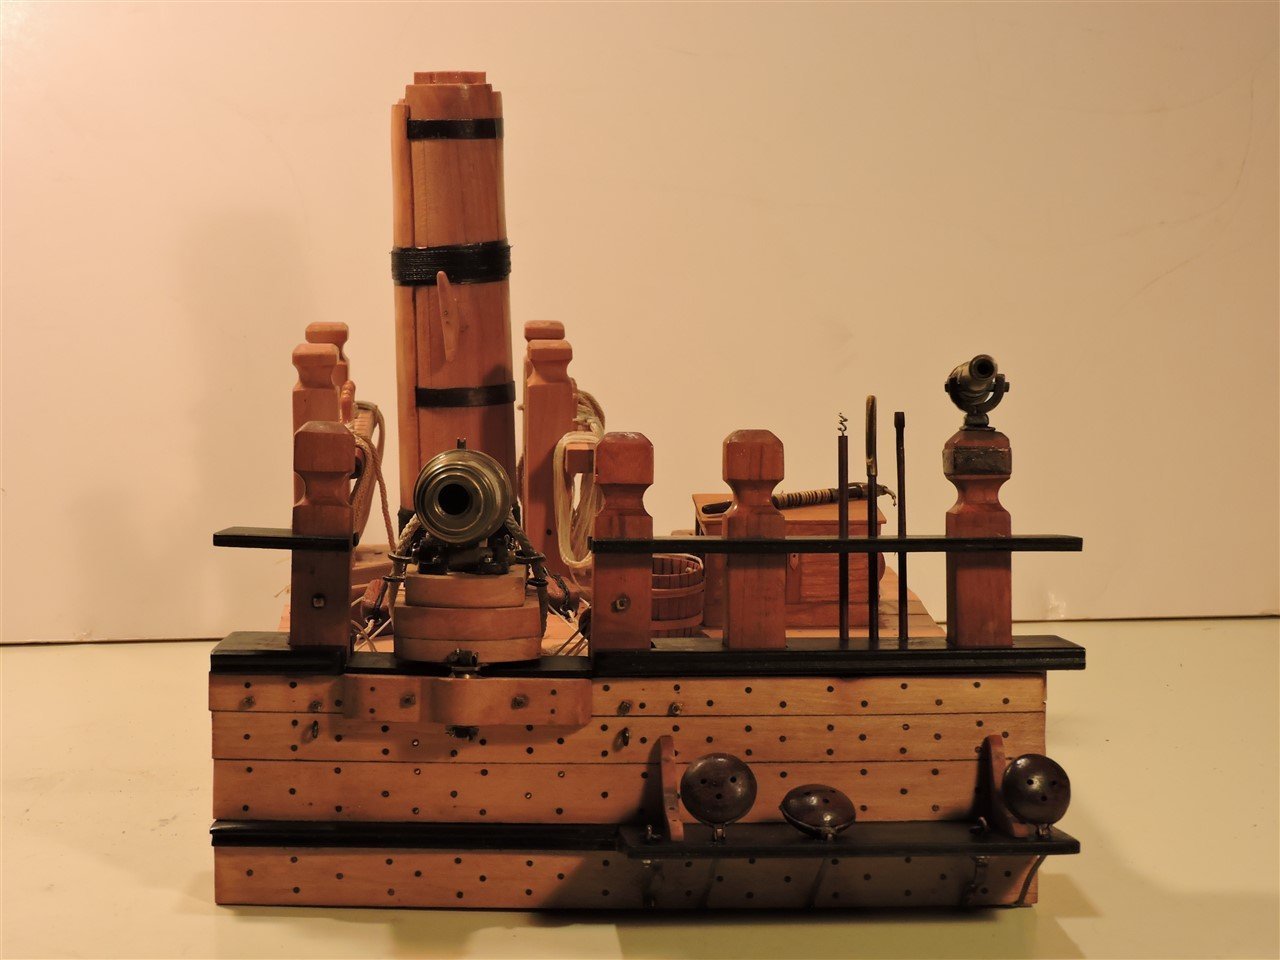
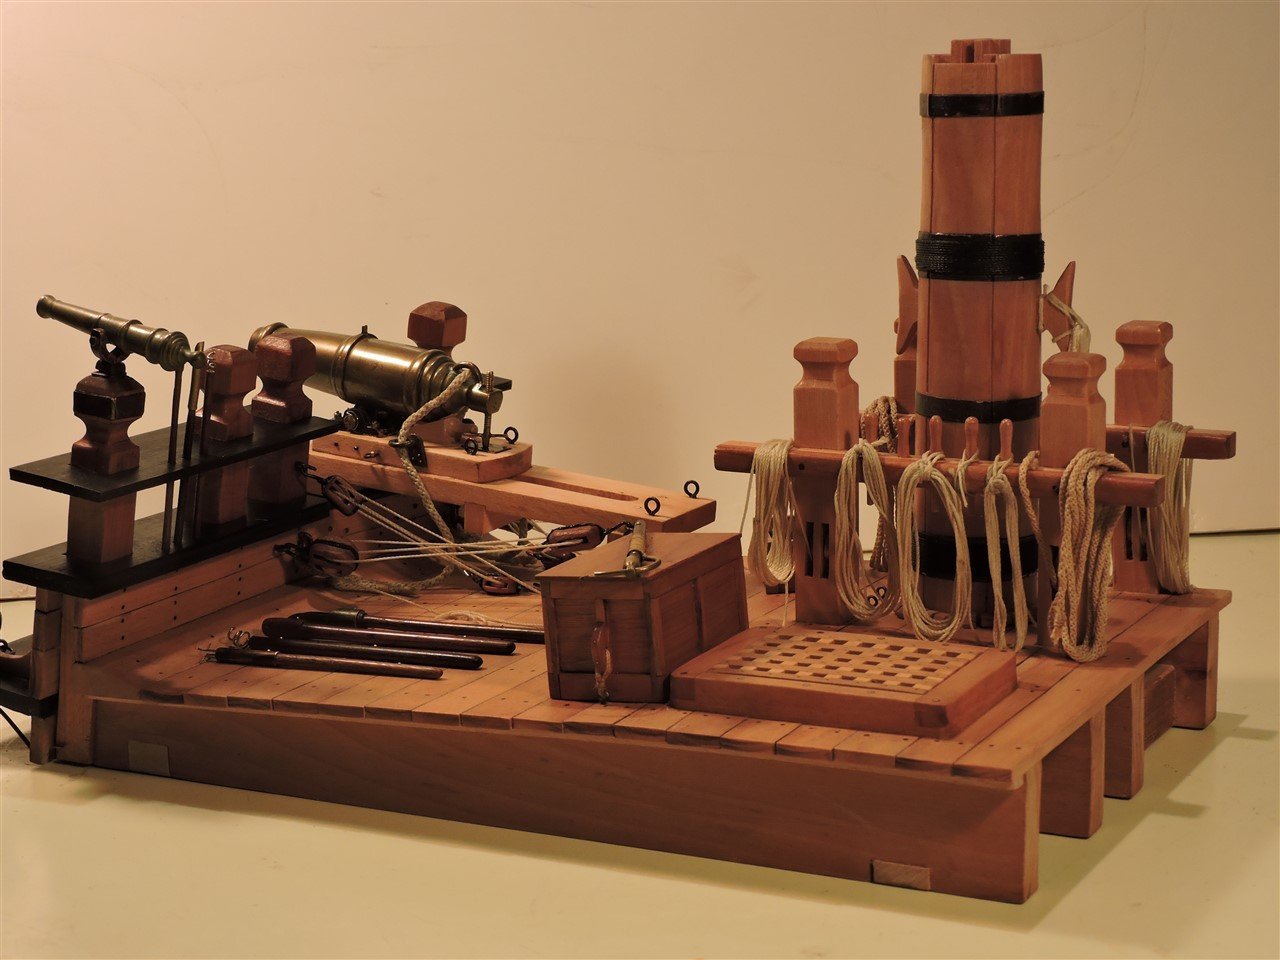
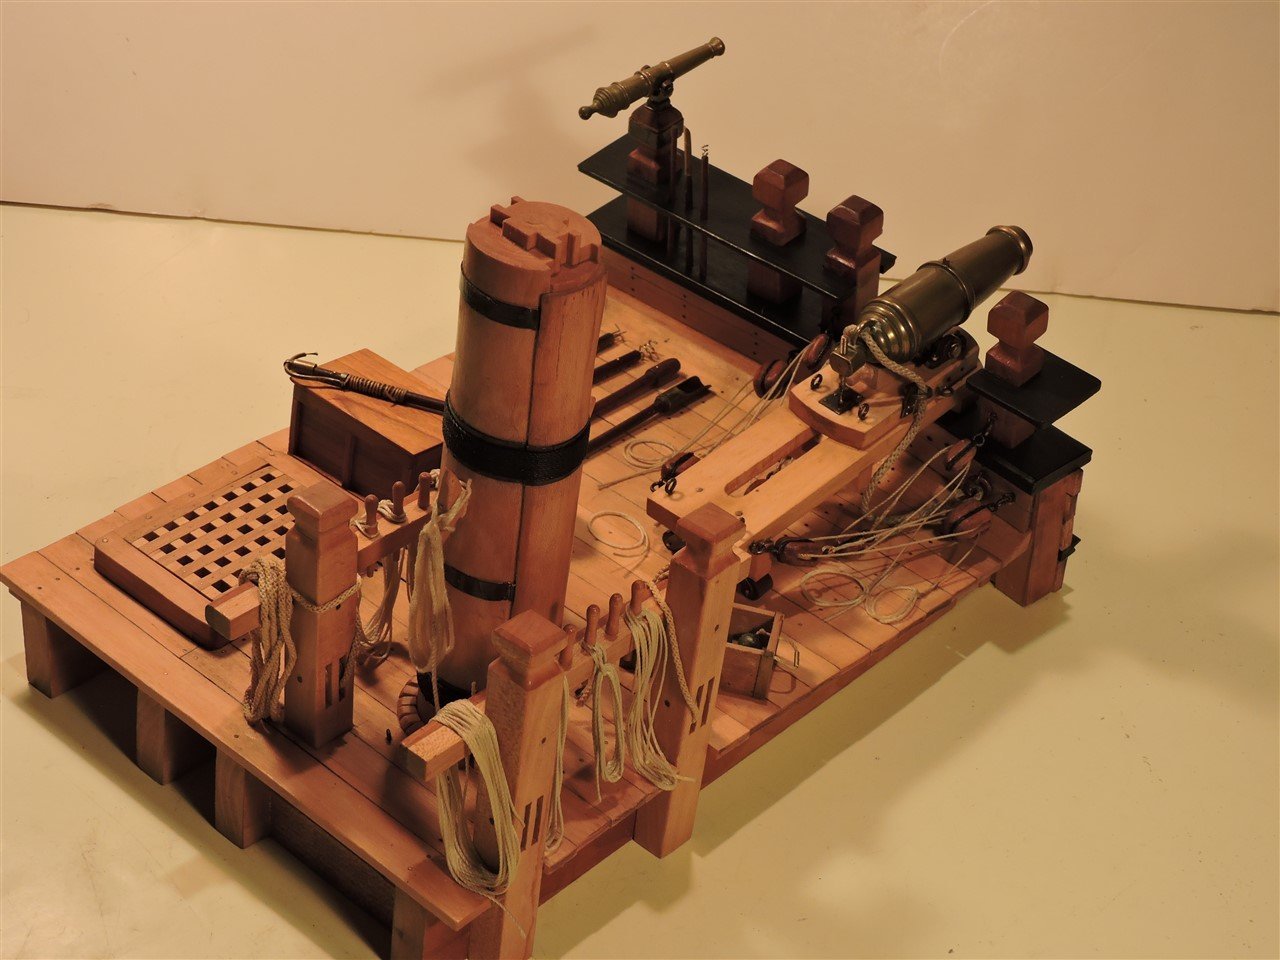
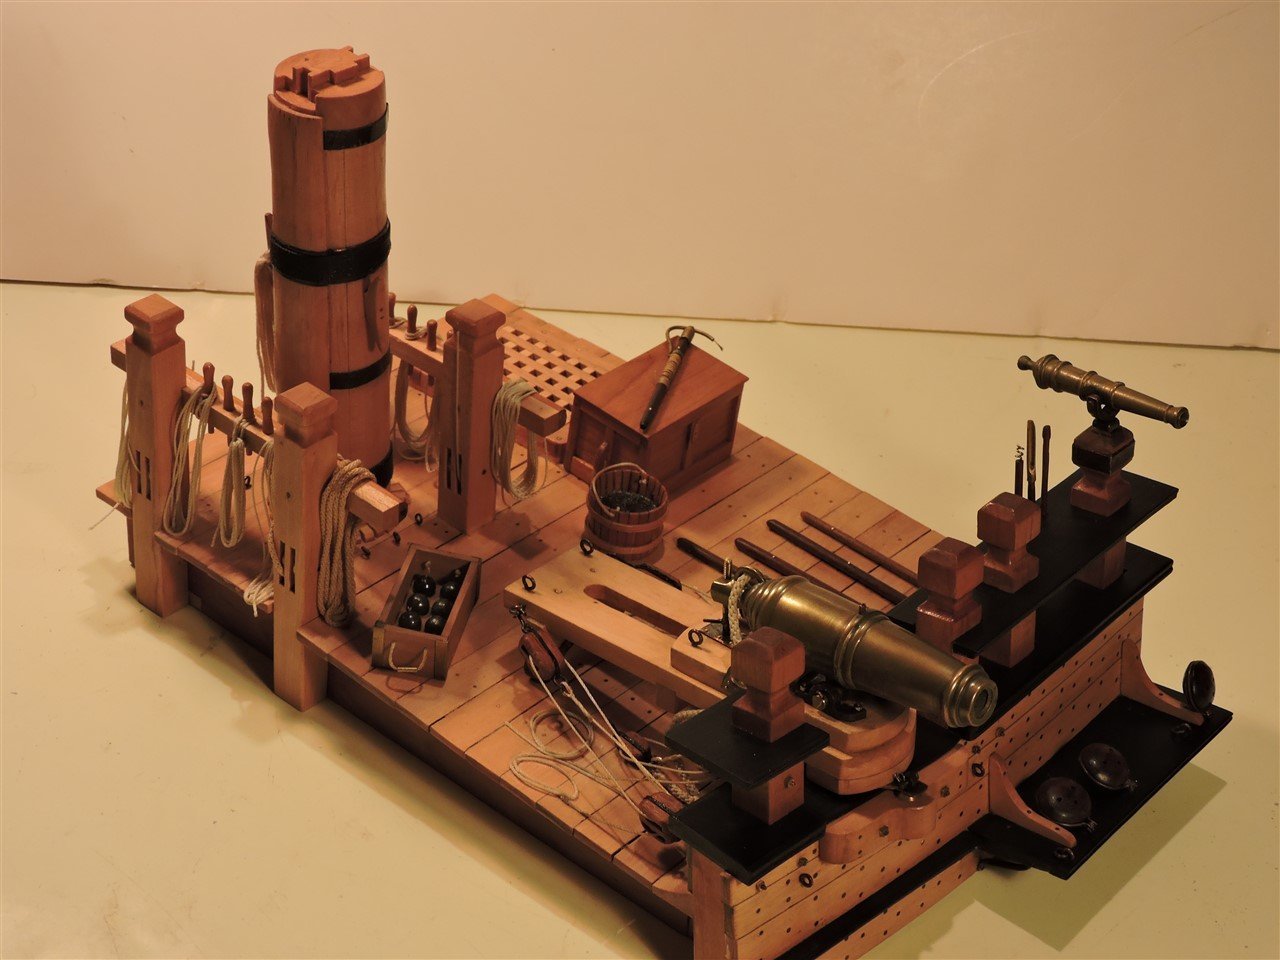
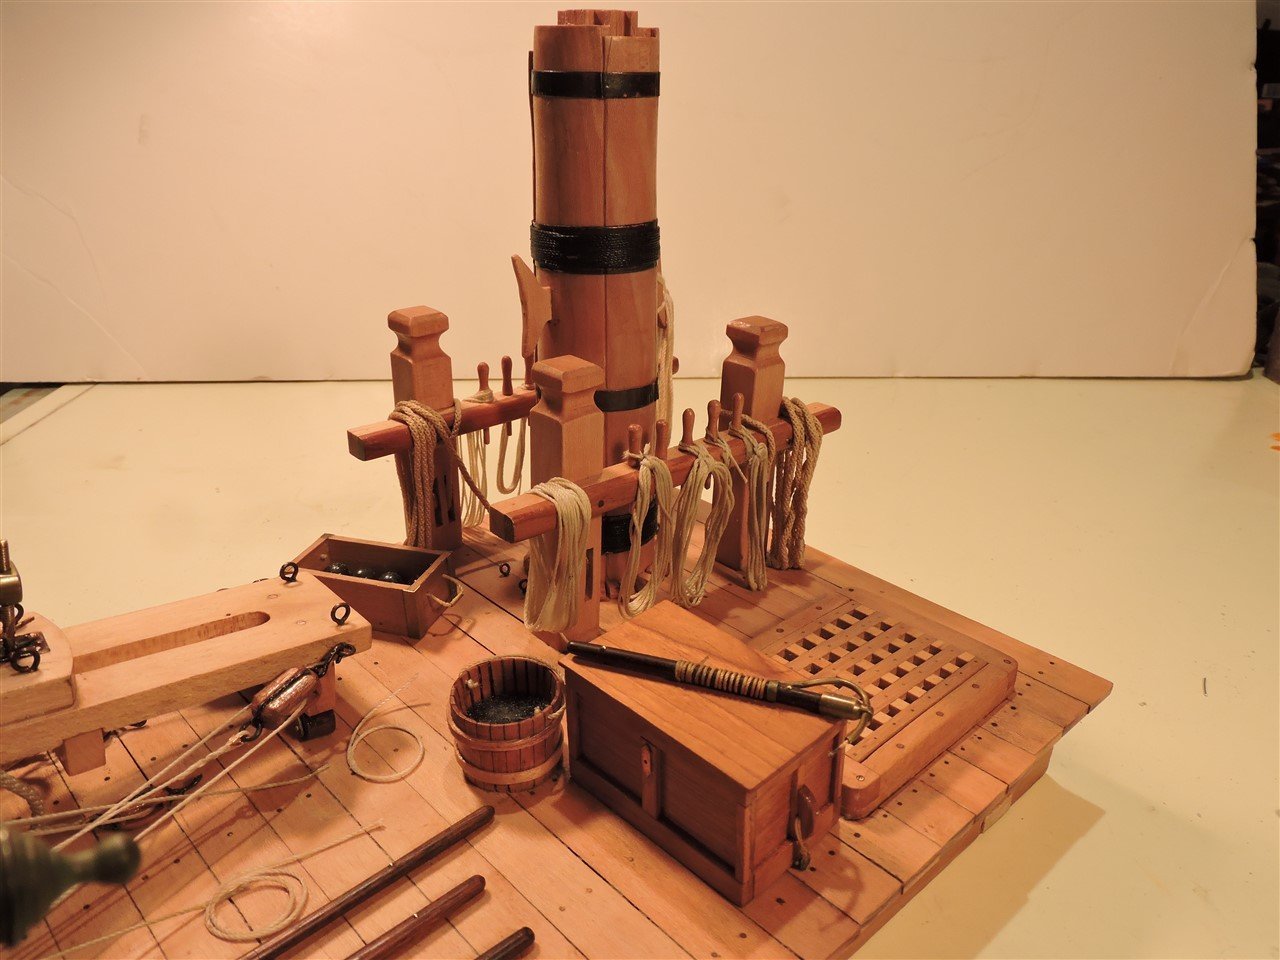
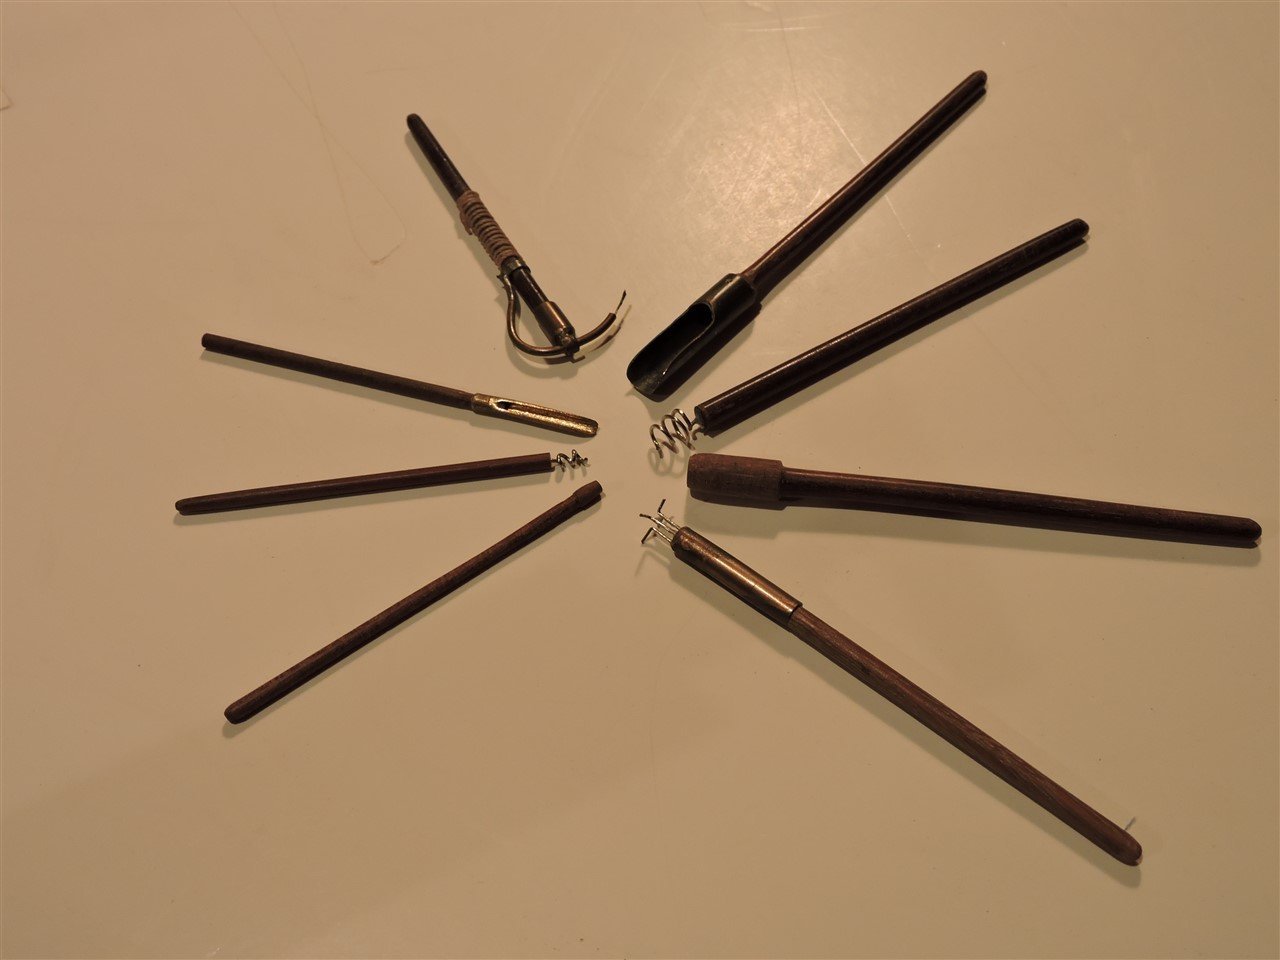
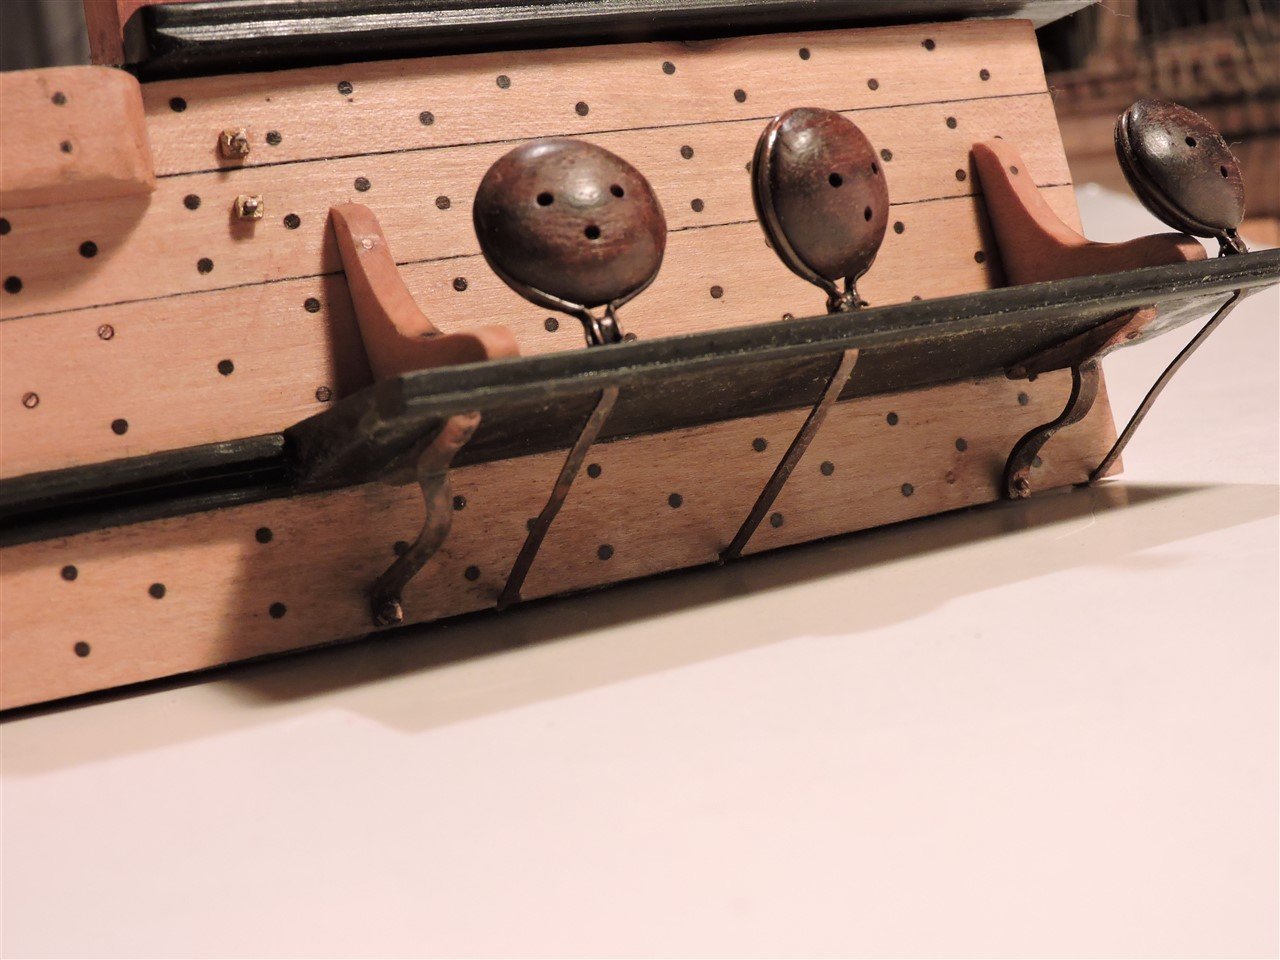
Loading and cleaning tools for the carronade and swivel gun.

-
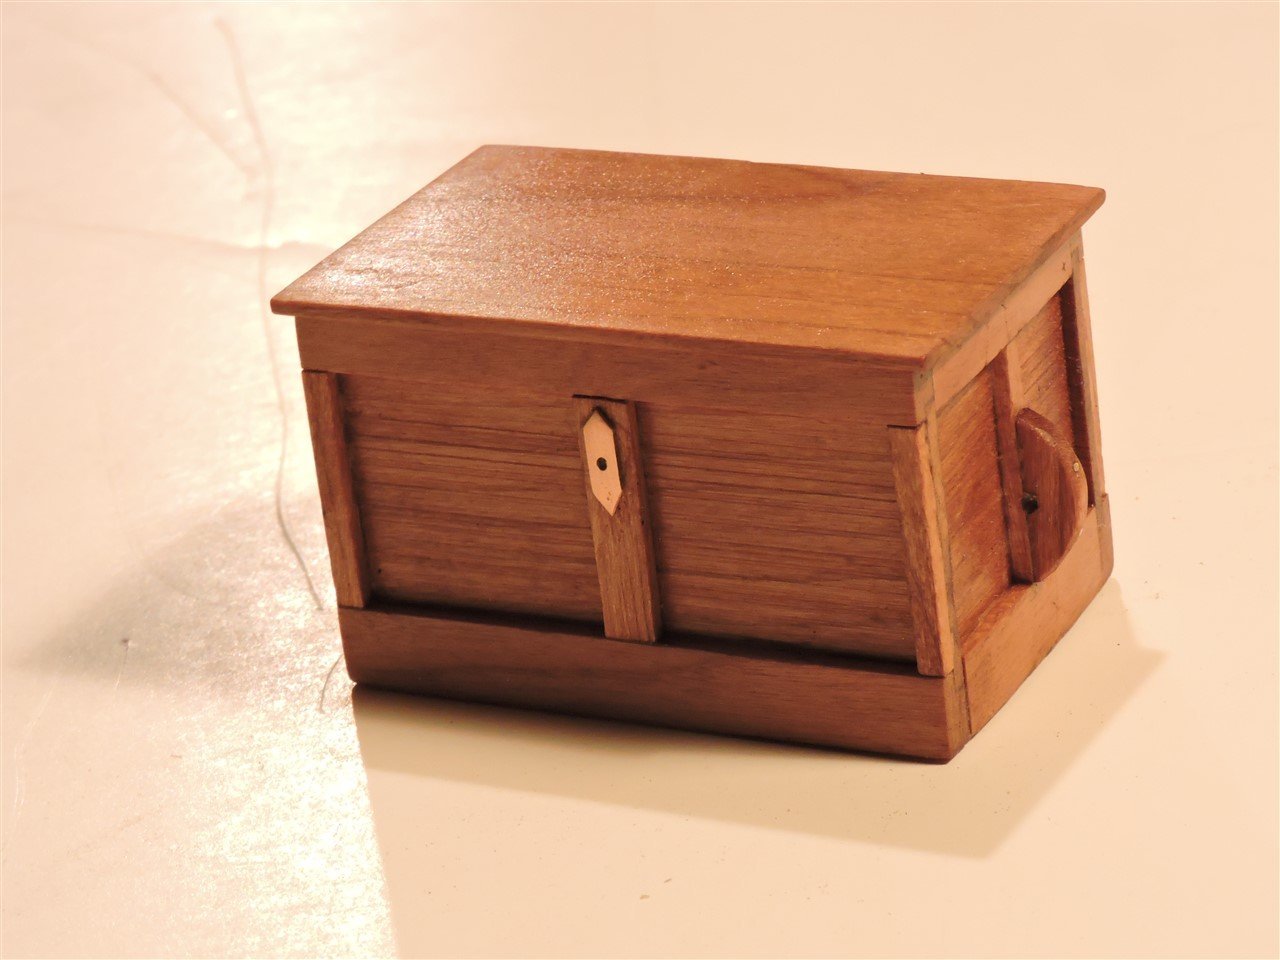
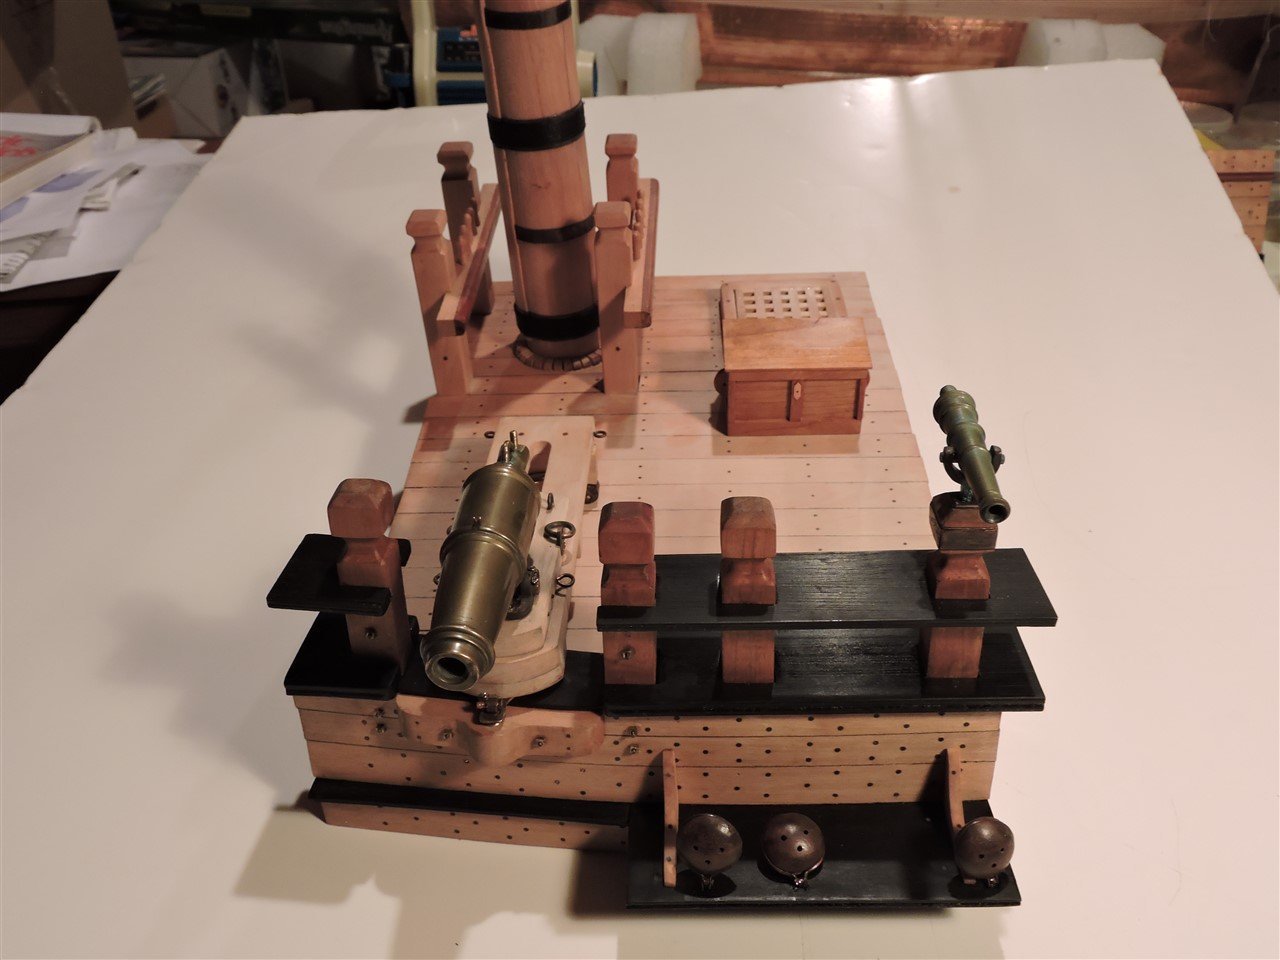
A storage chest will be mounted to the deck
-
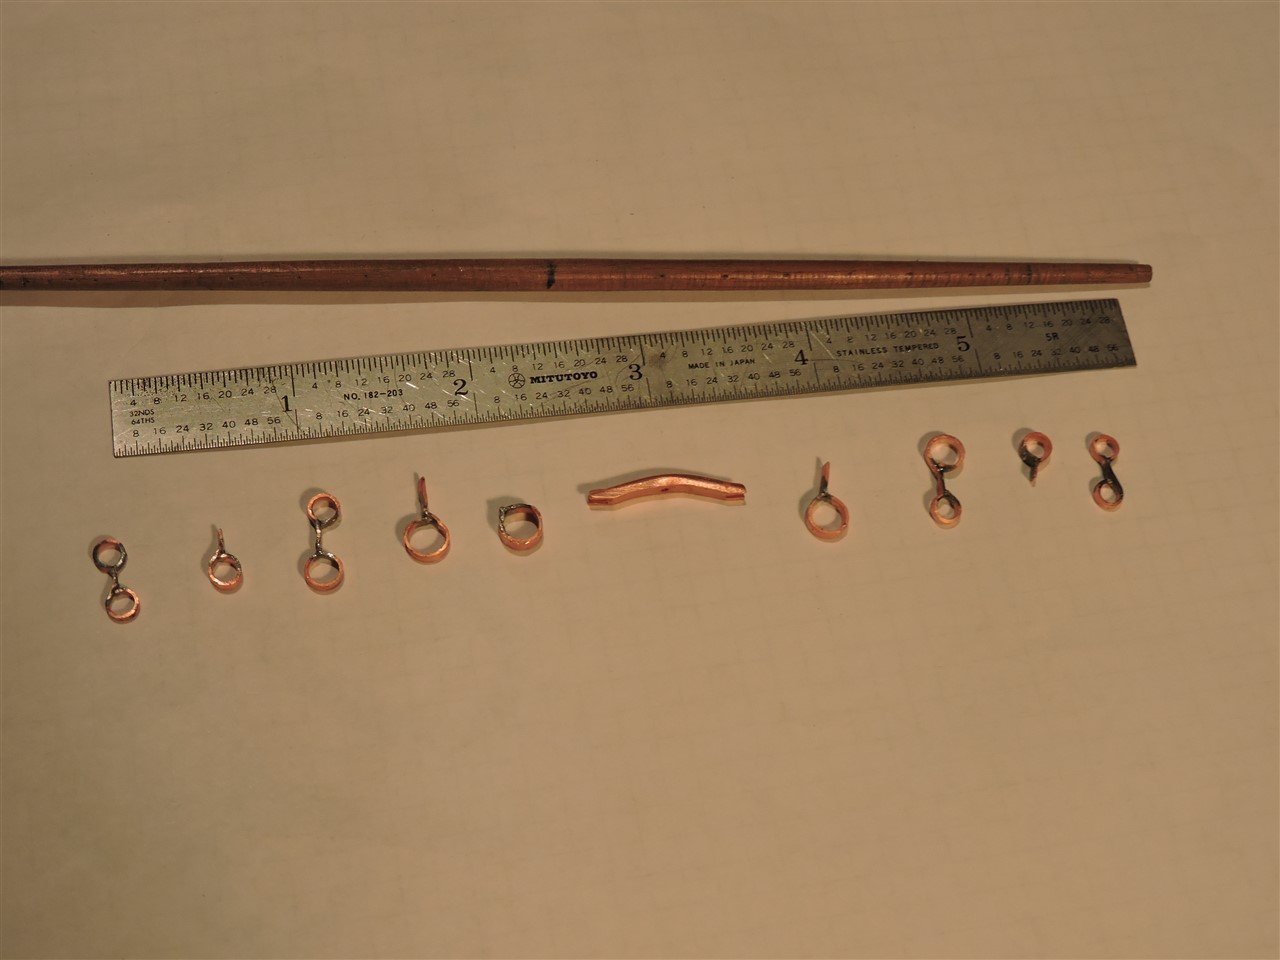
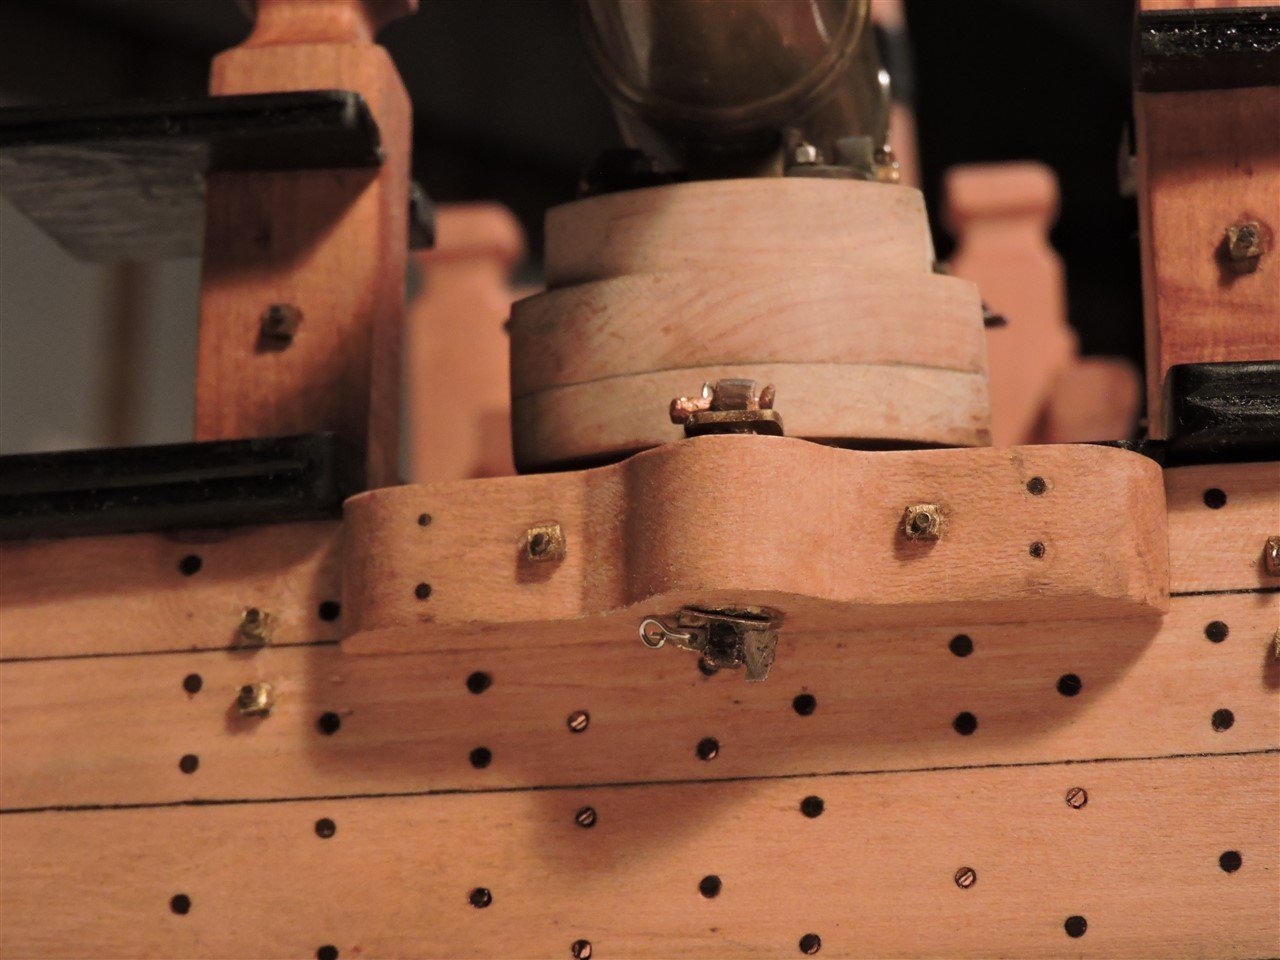
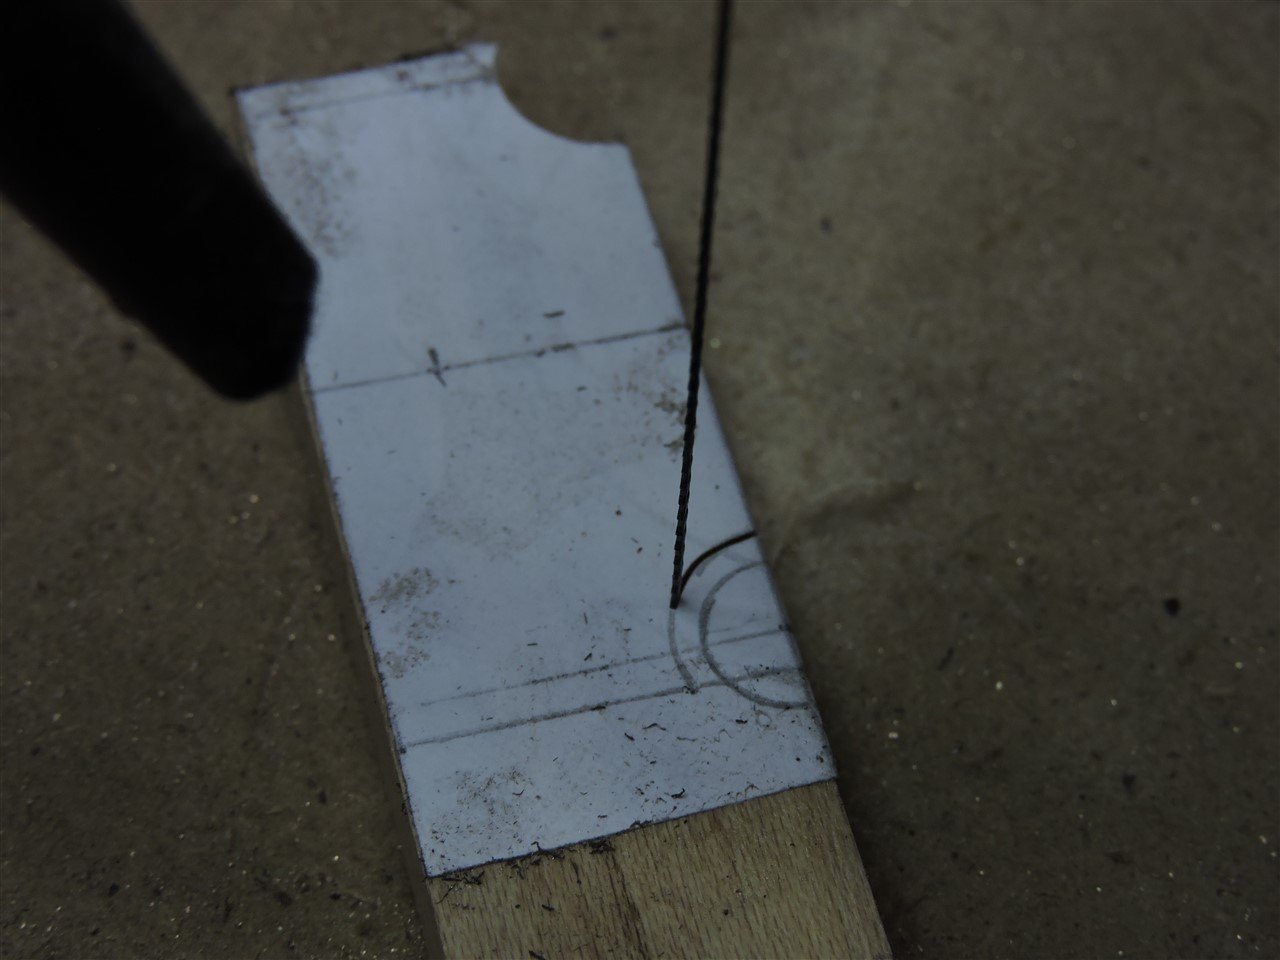
I replaced the modern day hex head nuts with square nuts which were made out of 1/16" brass strips and drilled and tapped for 1.4mm threads
-
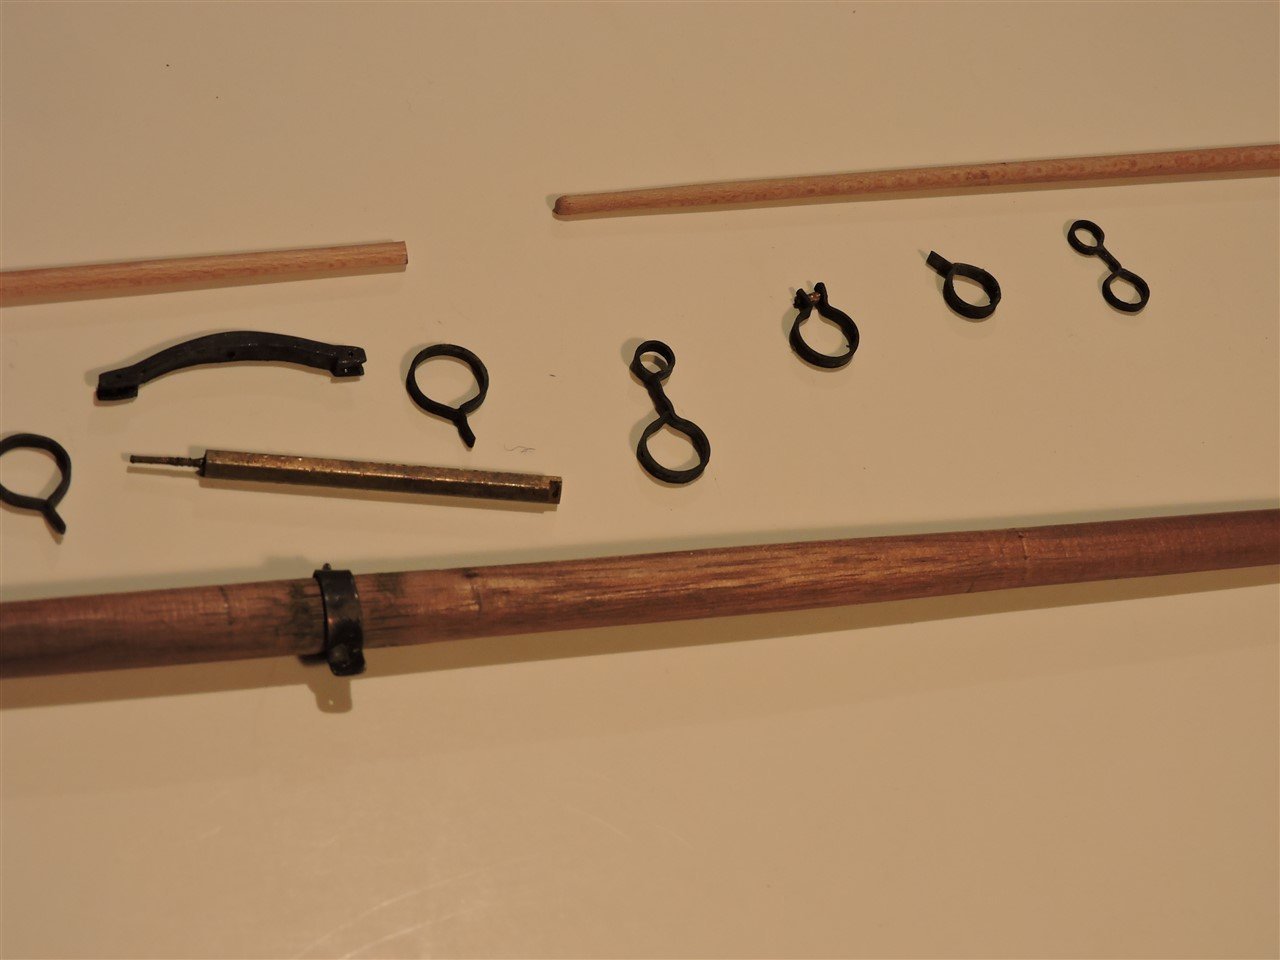
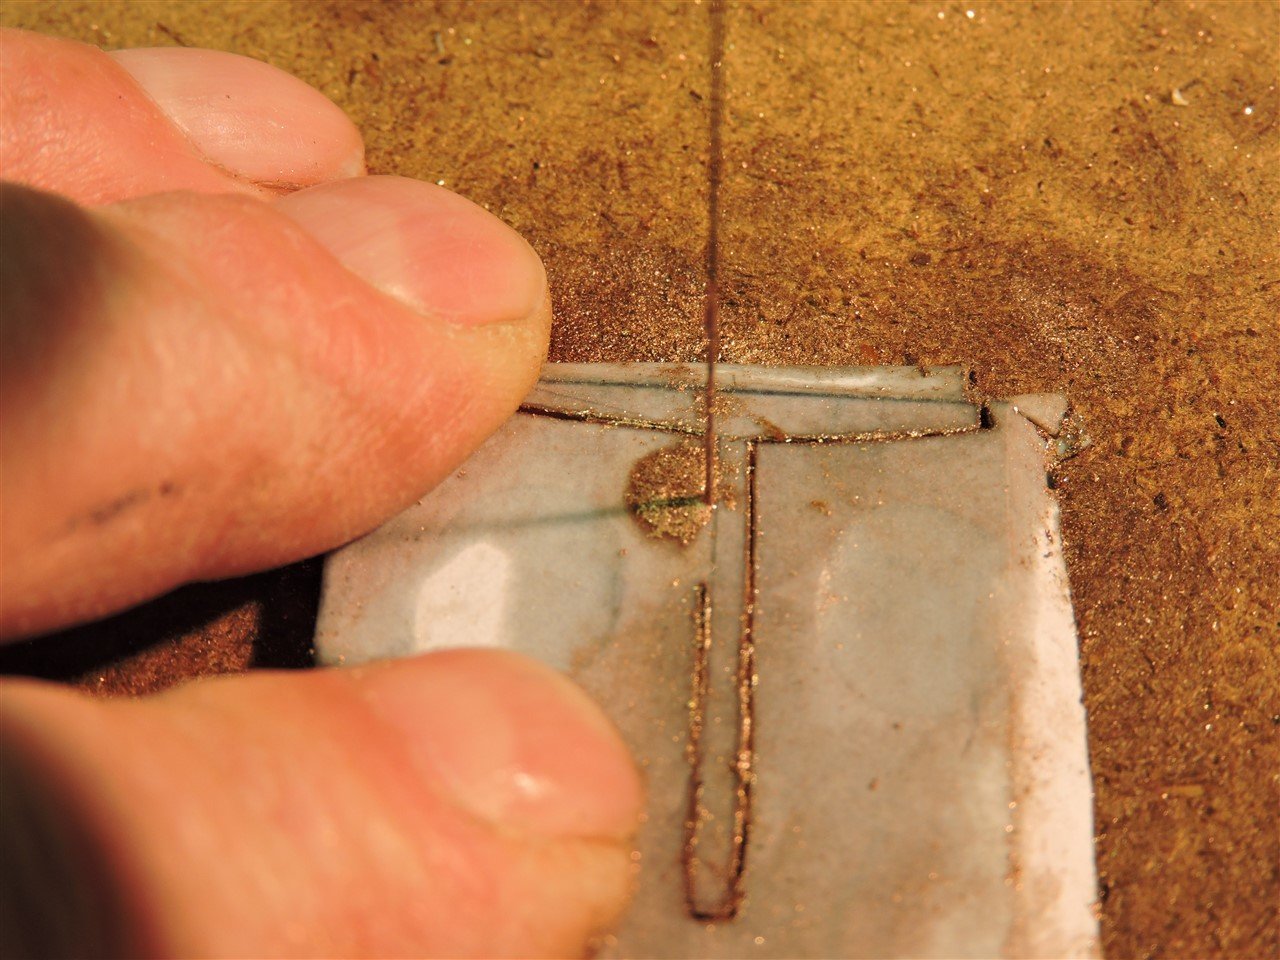
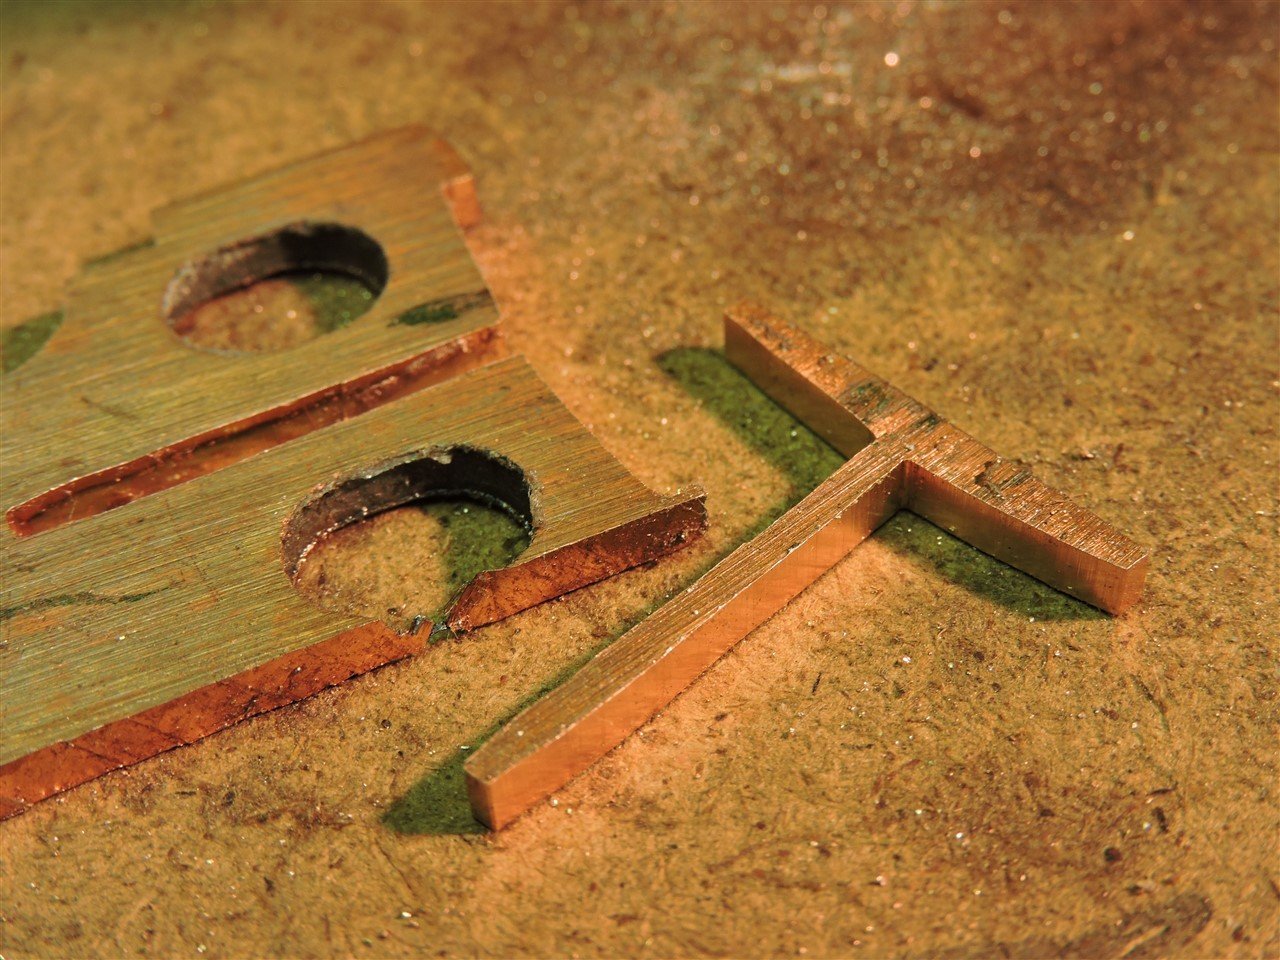
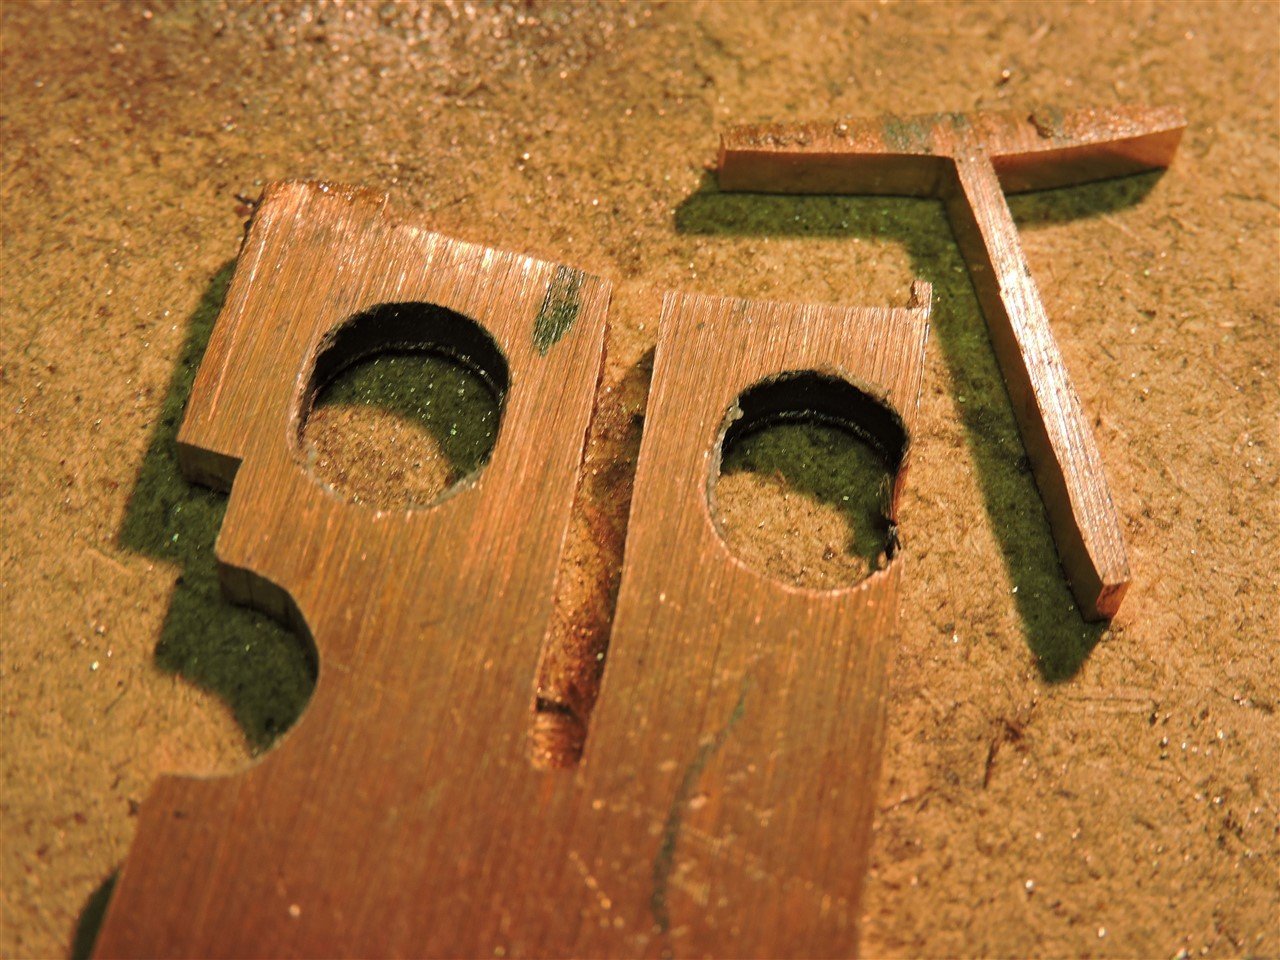
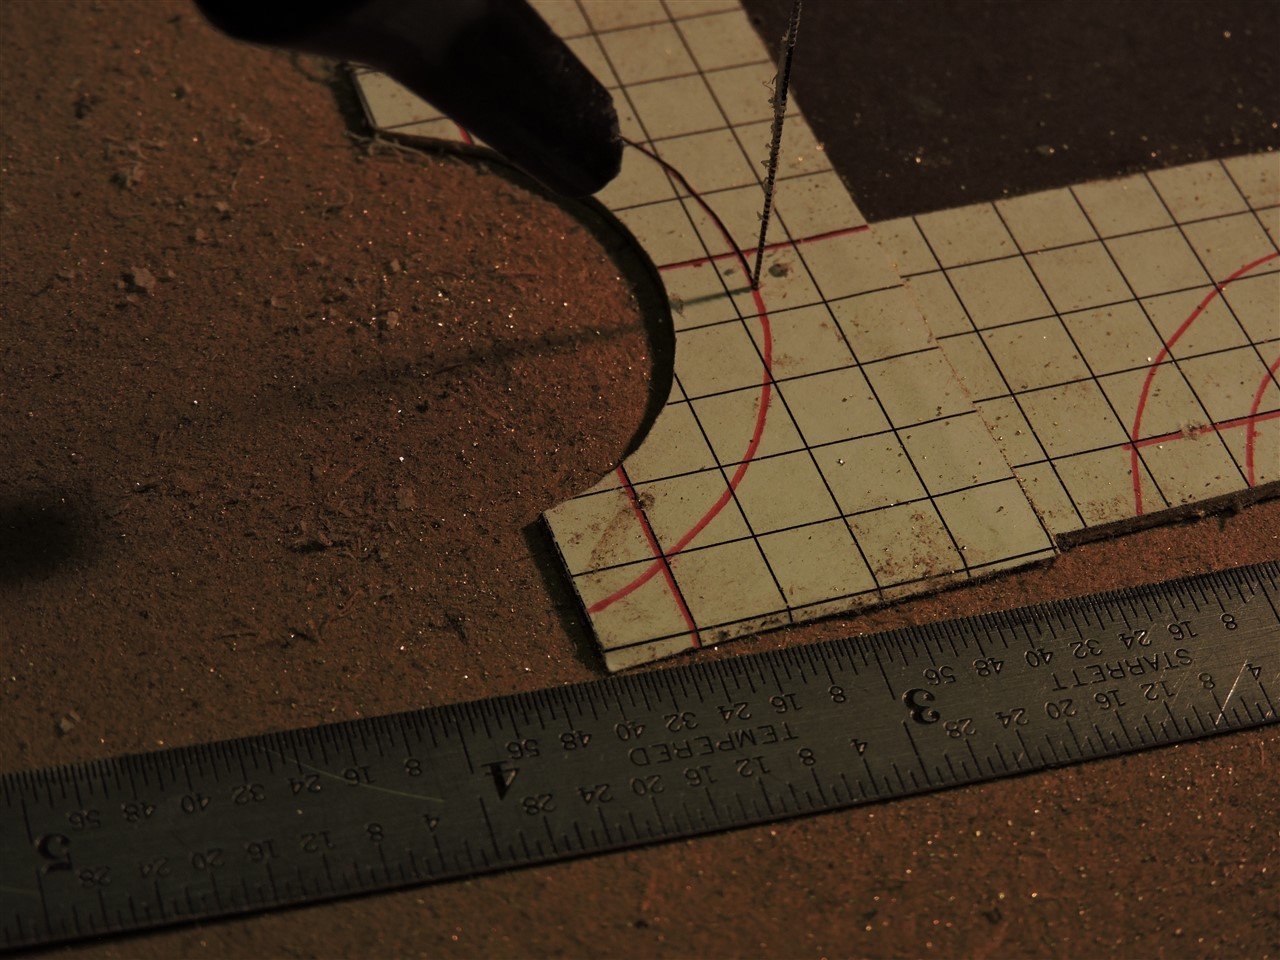
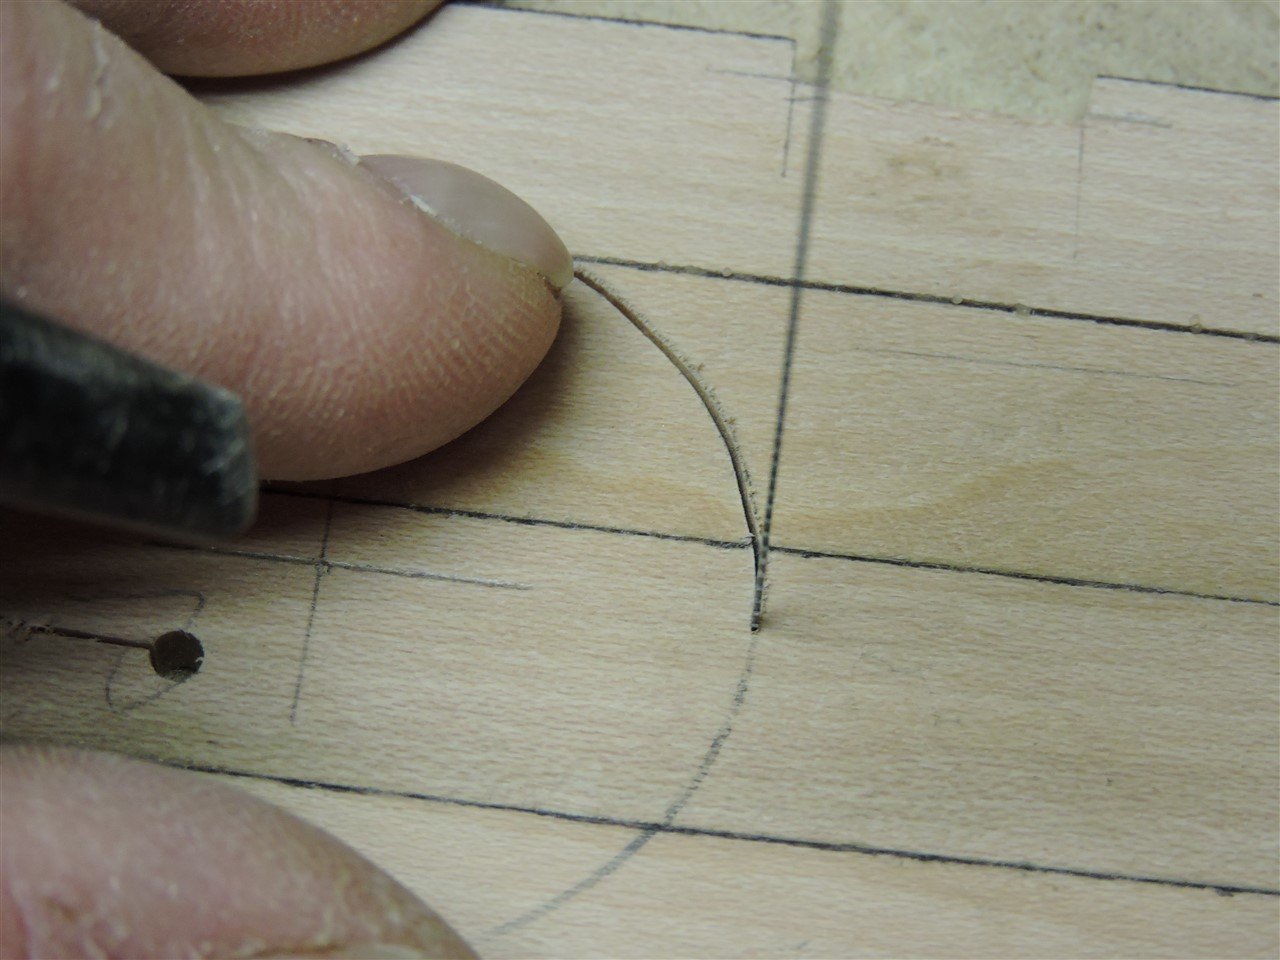
Here I am cutting the channel support brackets out of 1/8" copper
-
Nick What are you using to cut them out? If you are using a scroll saw you can stack two layers of wood, I use double sided tape to join the layers and rubber cement the pattern to them. Cut it out and you will have two identical pieces. Mike R
-
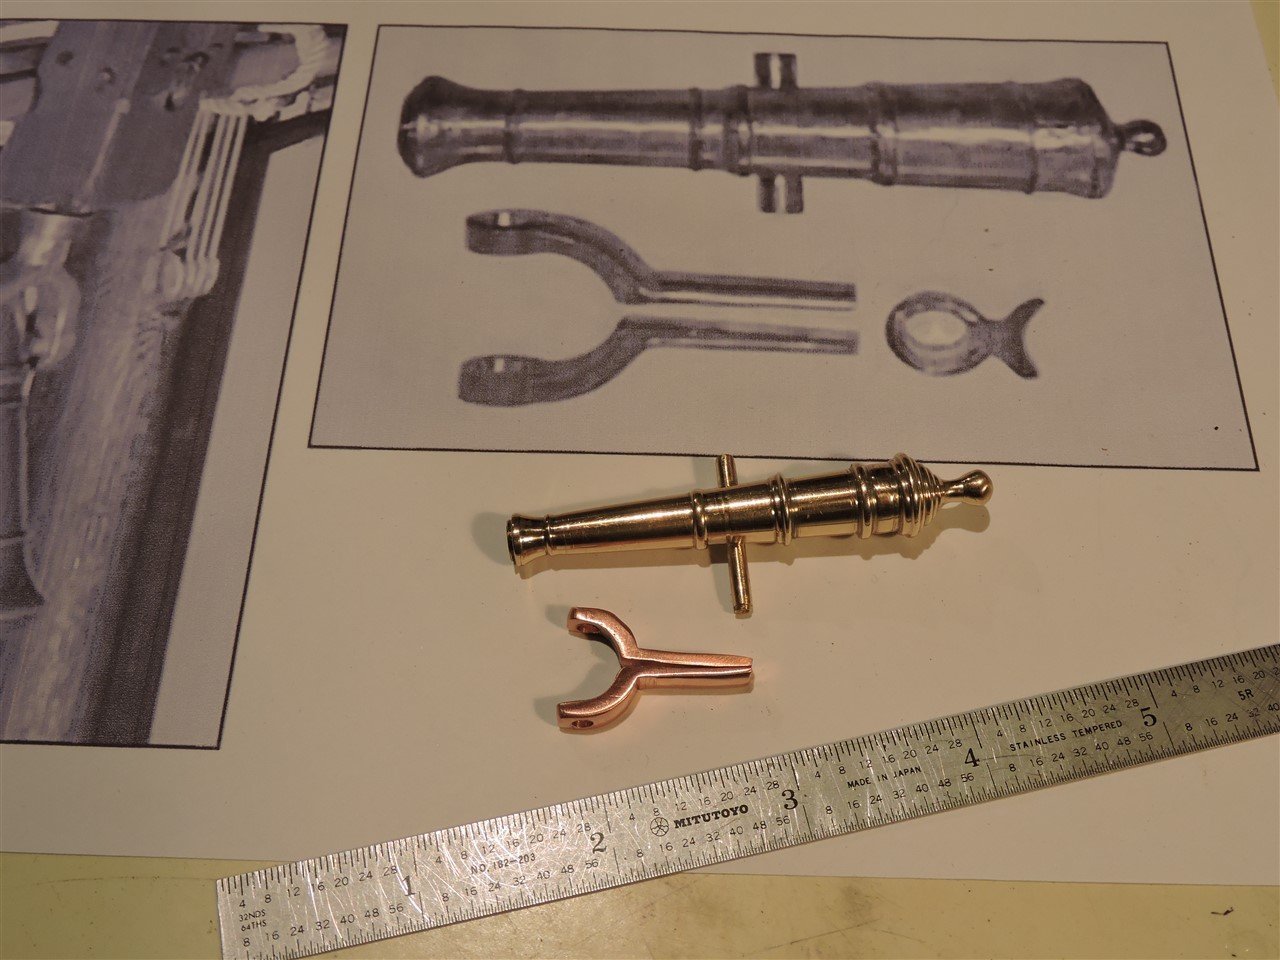
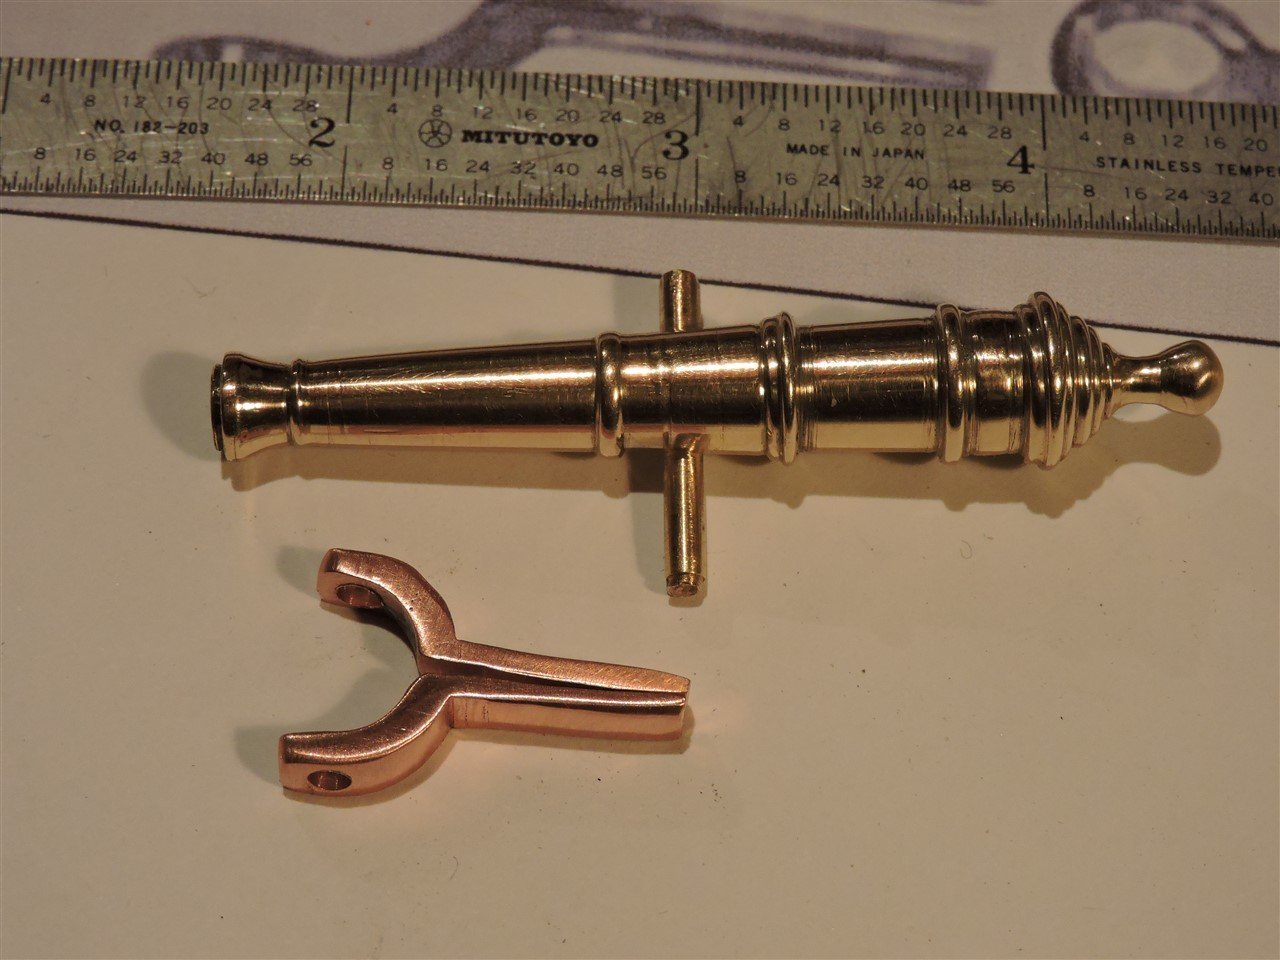
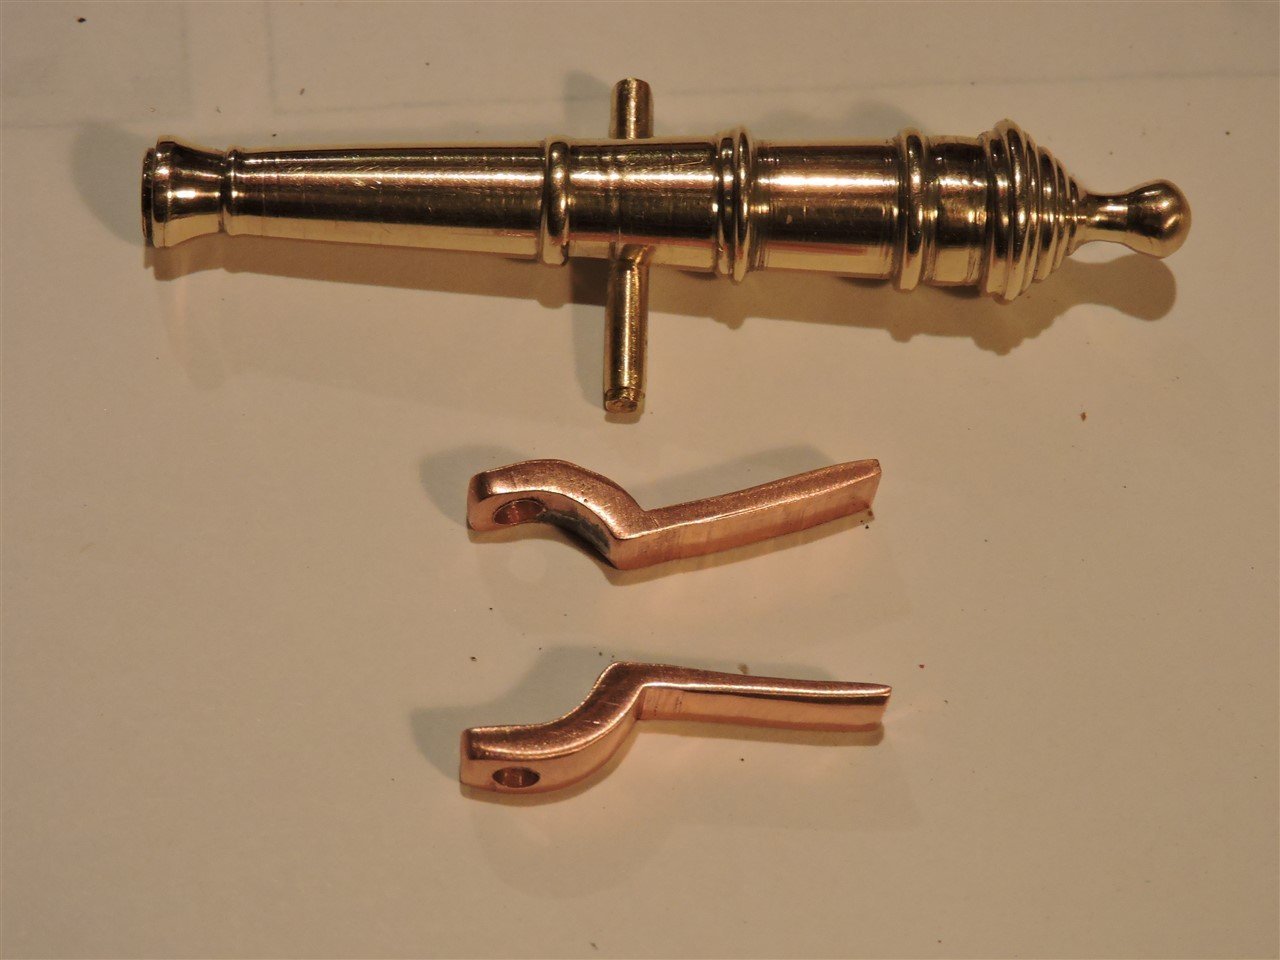
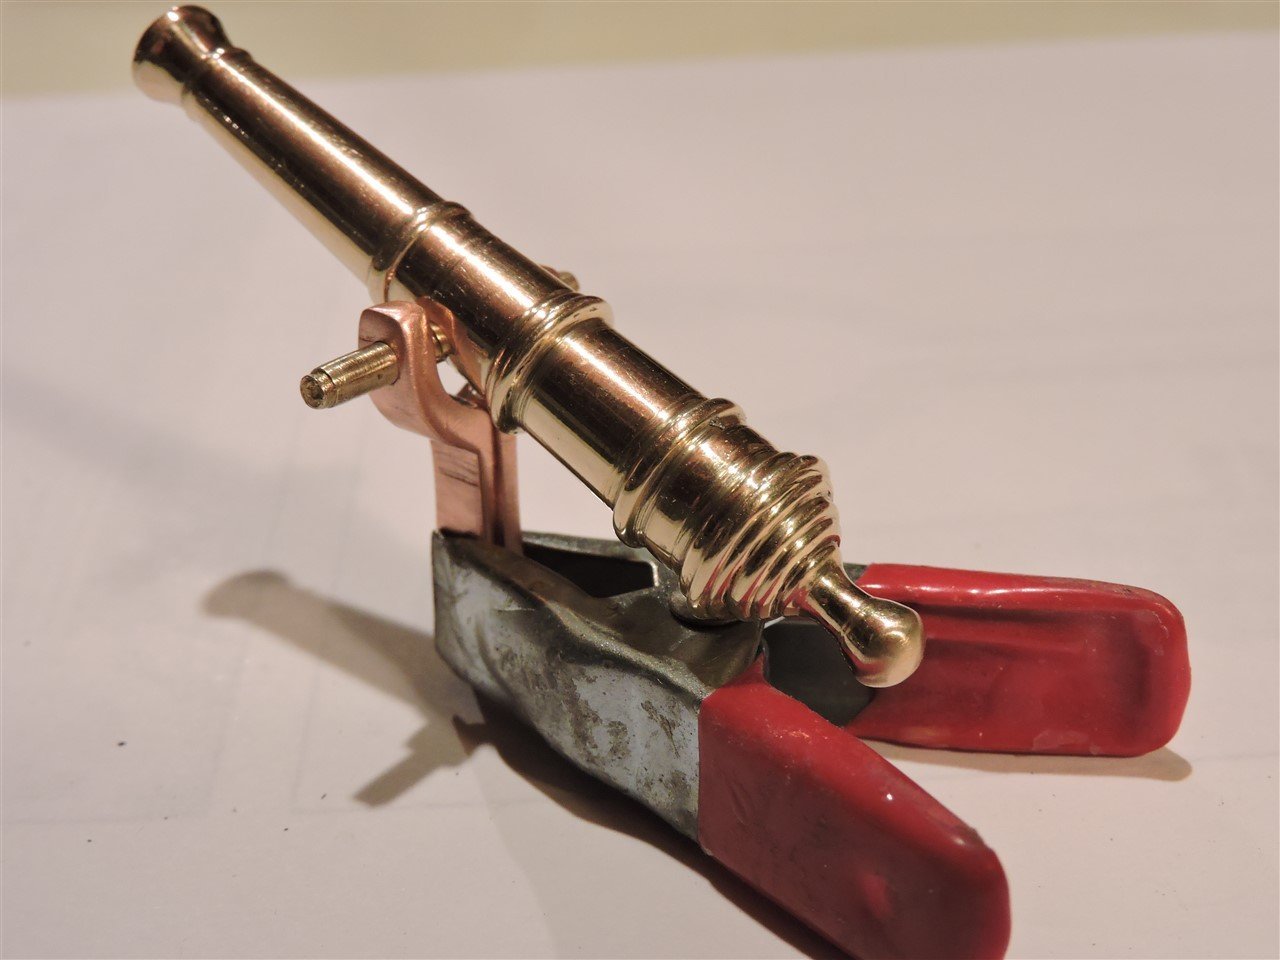
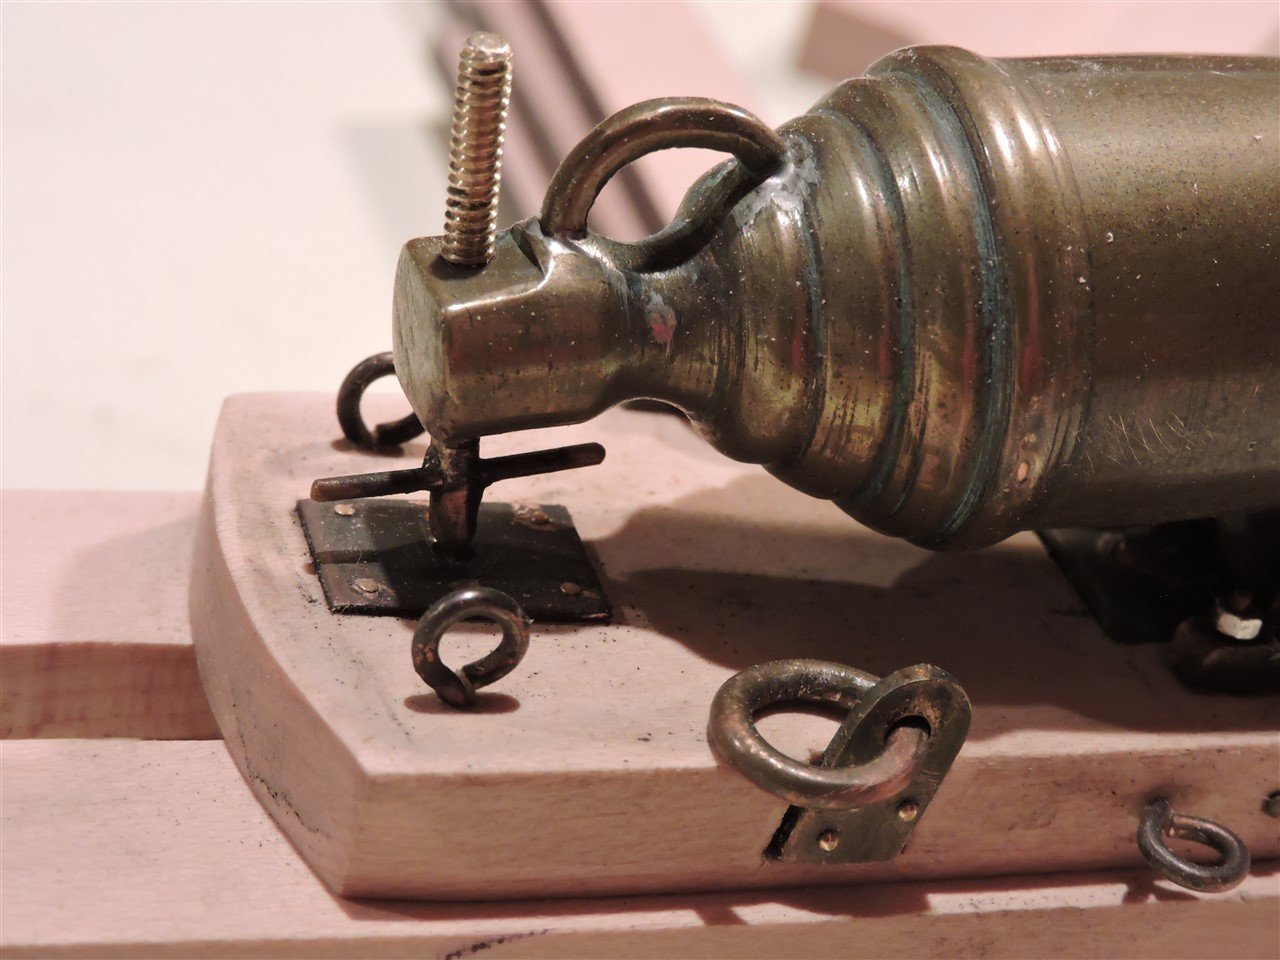
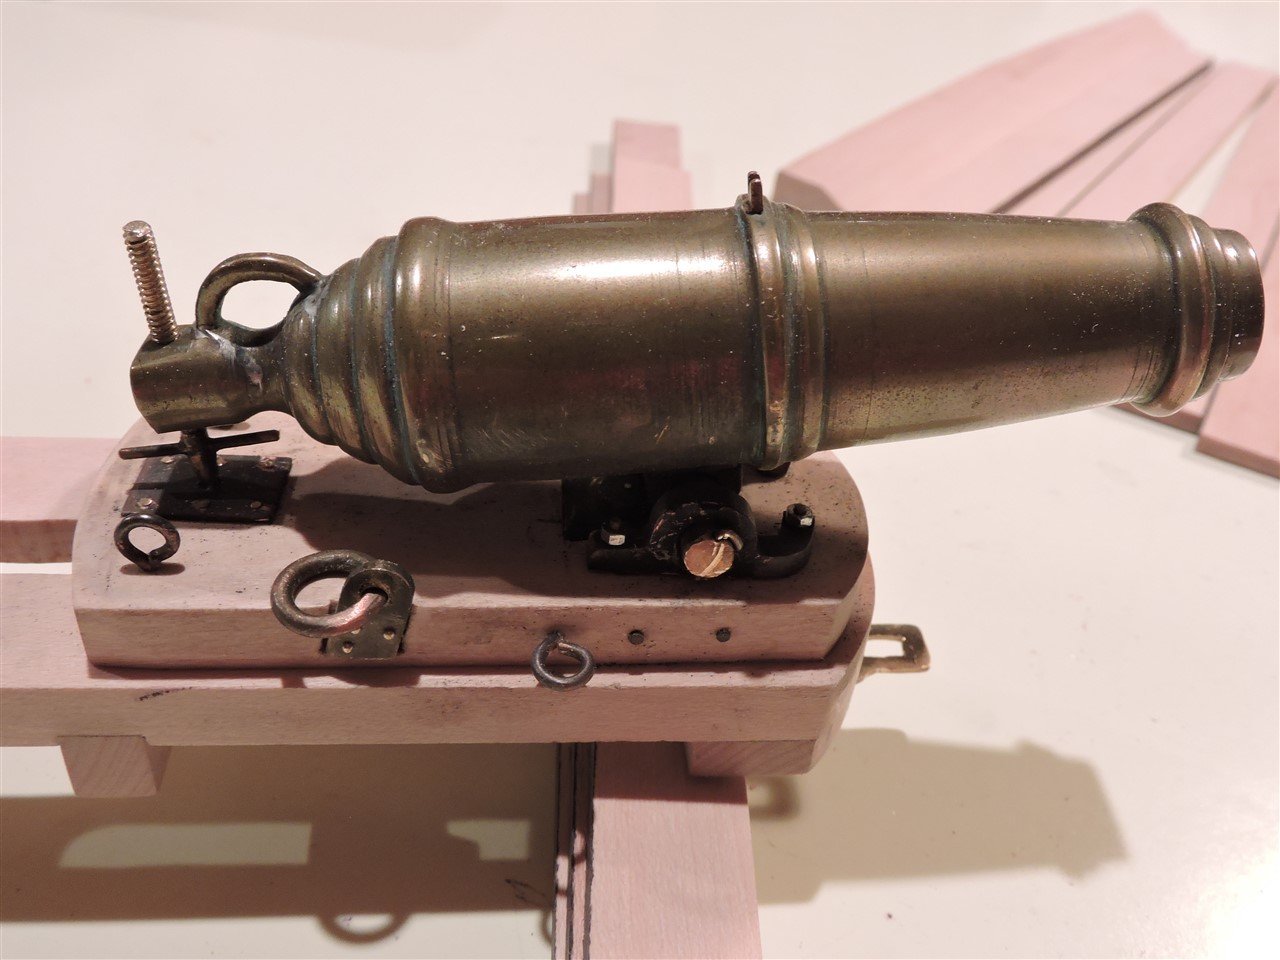
To make this swivel gun I used 1/2" brass rod which I turned on my lathe. The mounting bracket was cut out of 3/16" copper plate.
-
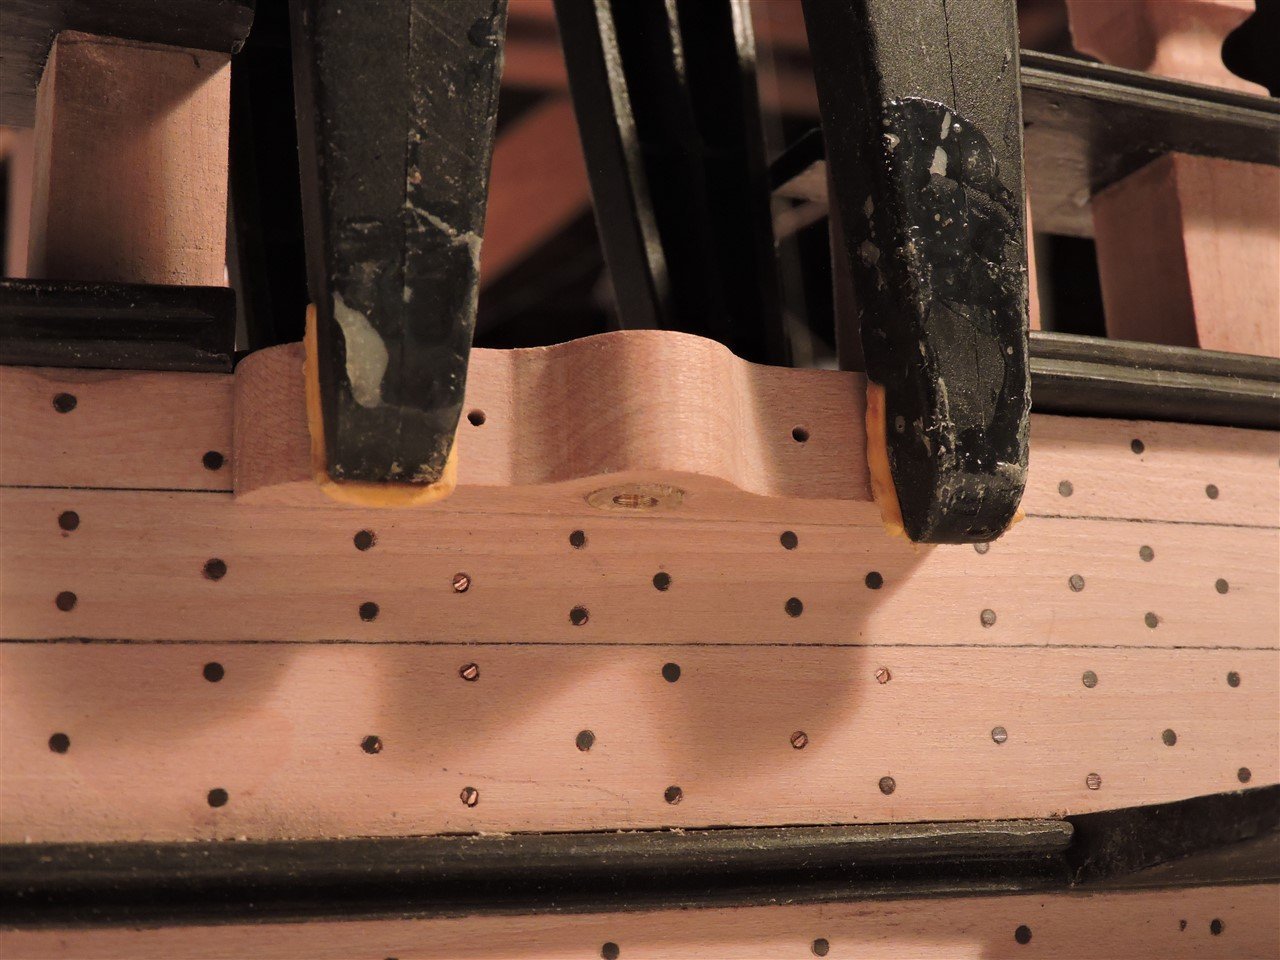
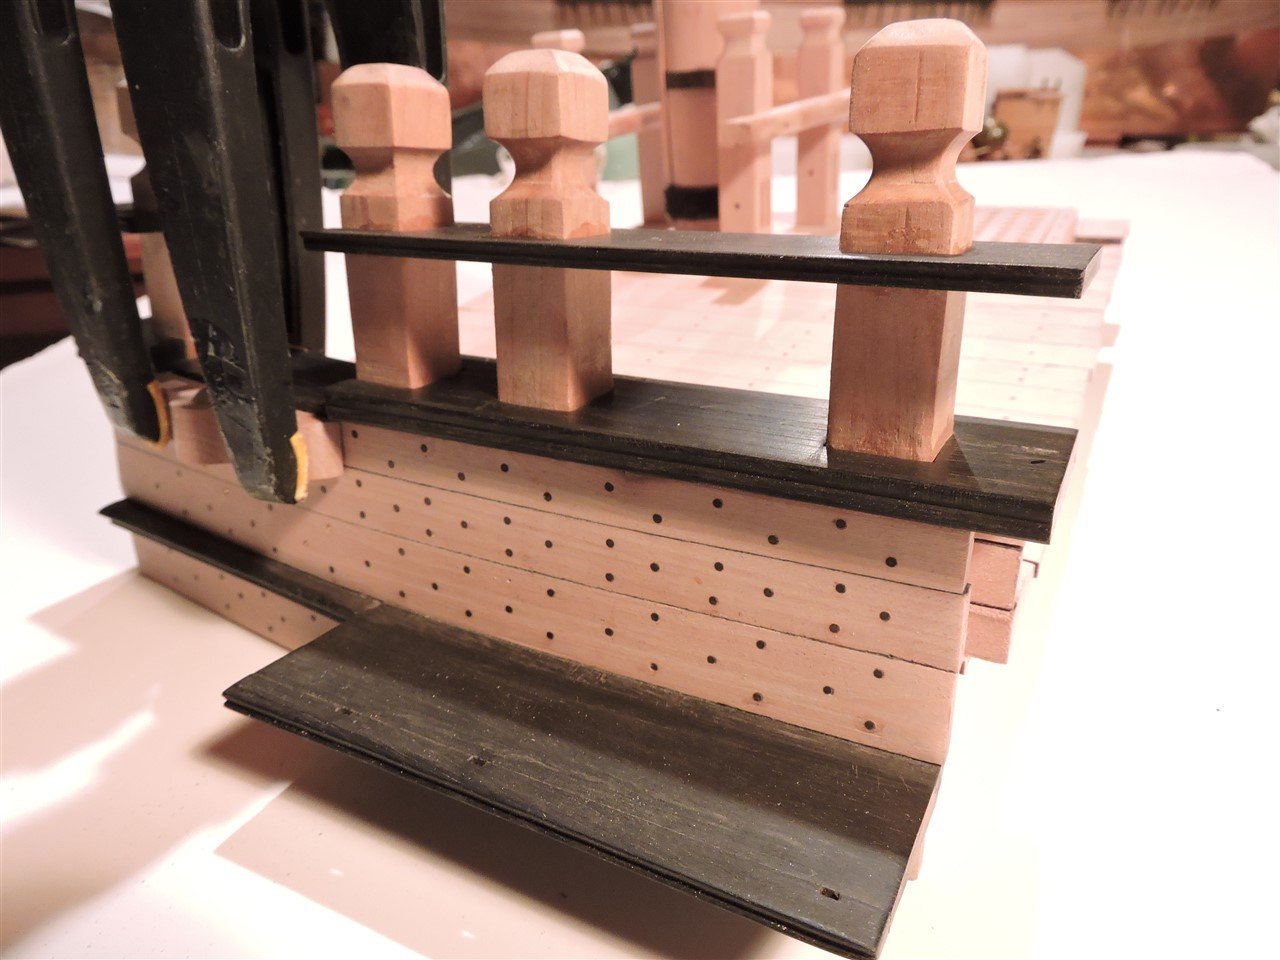
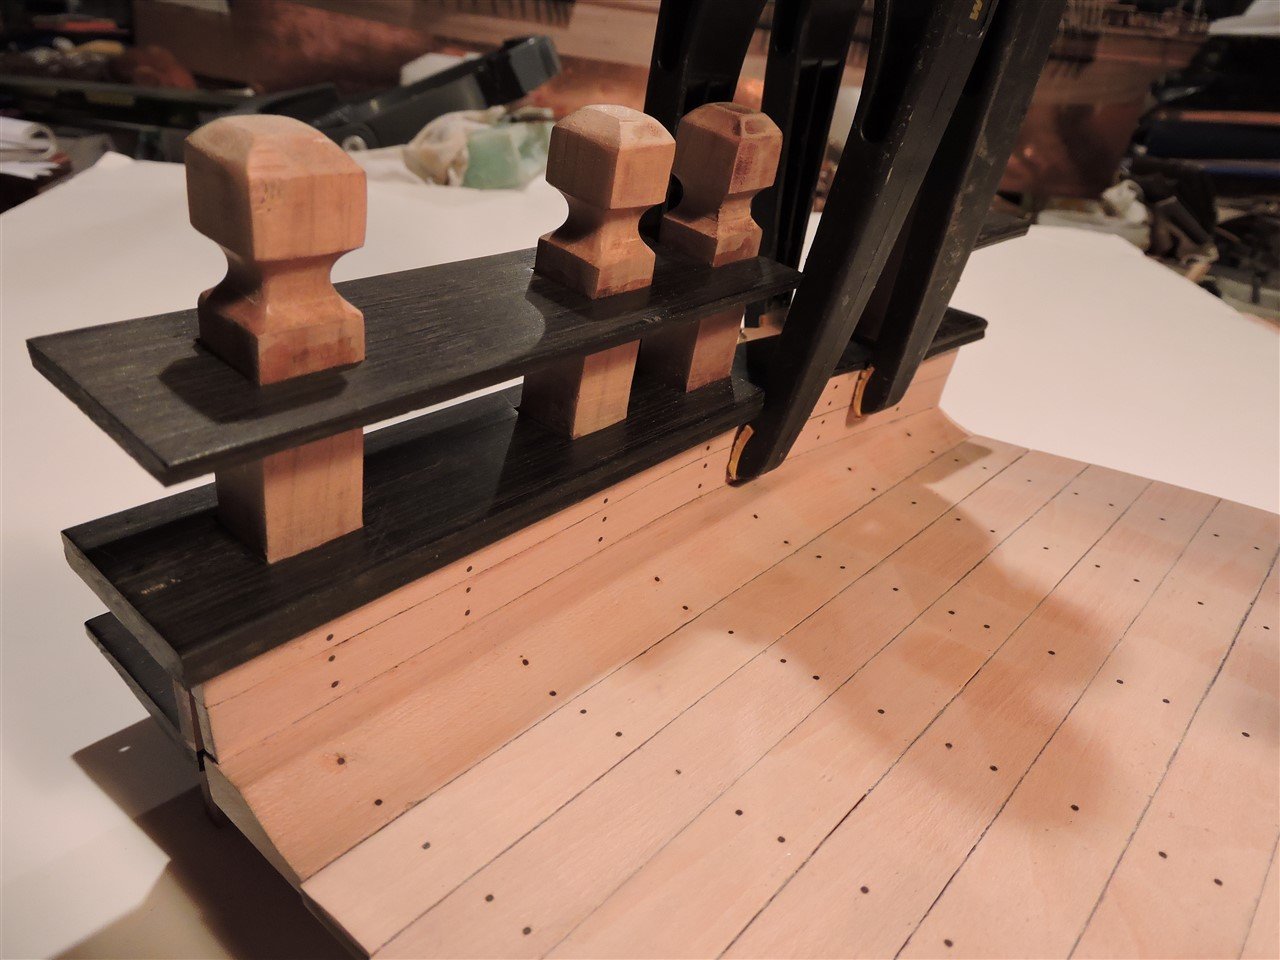
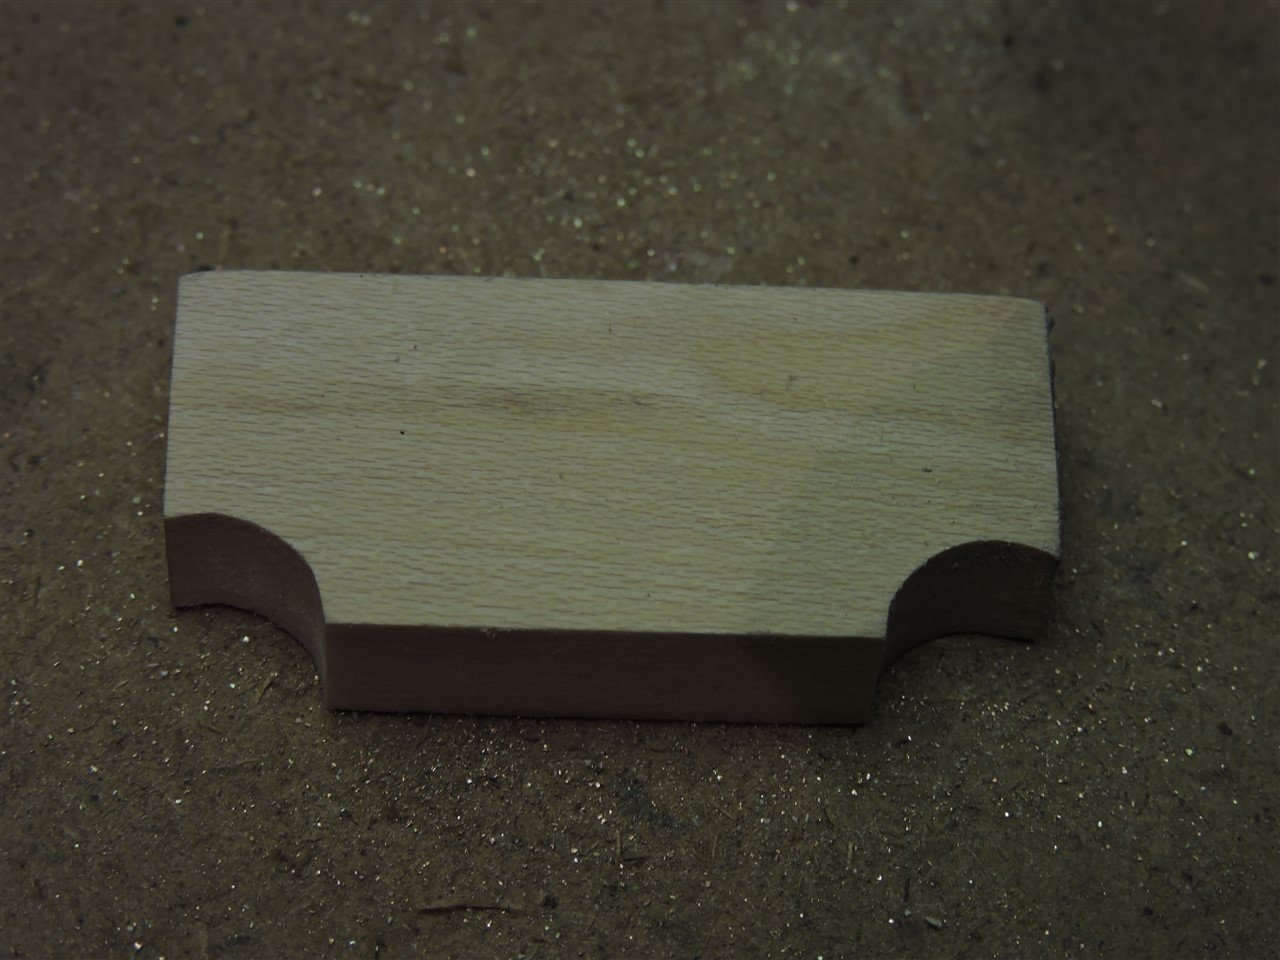
I used dogwood for all of the planking and ebony for the rails and channe Mike


-
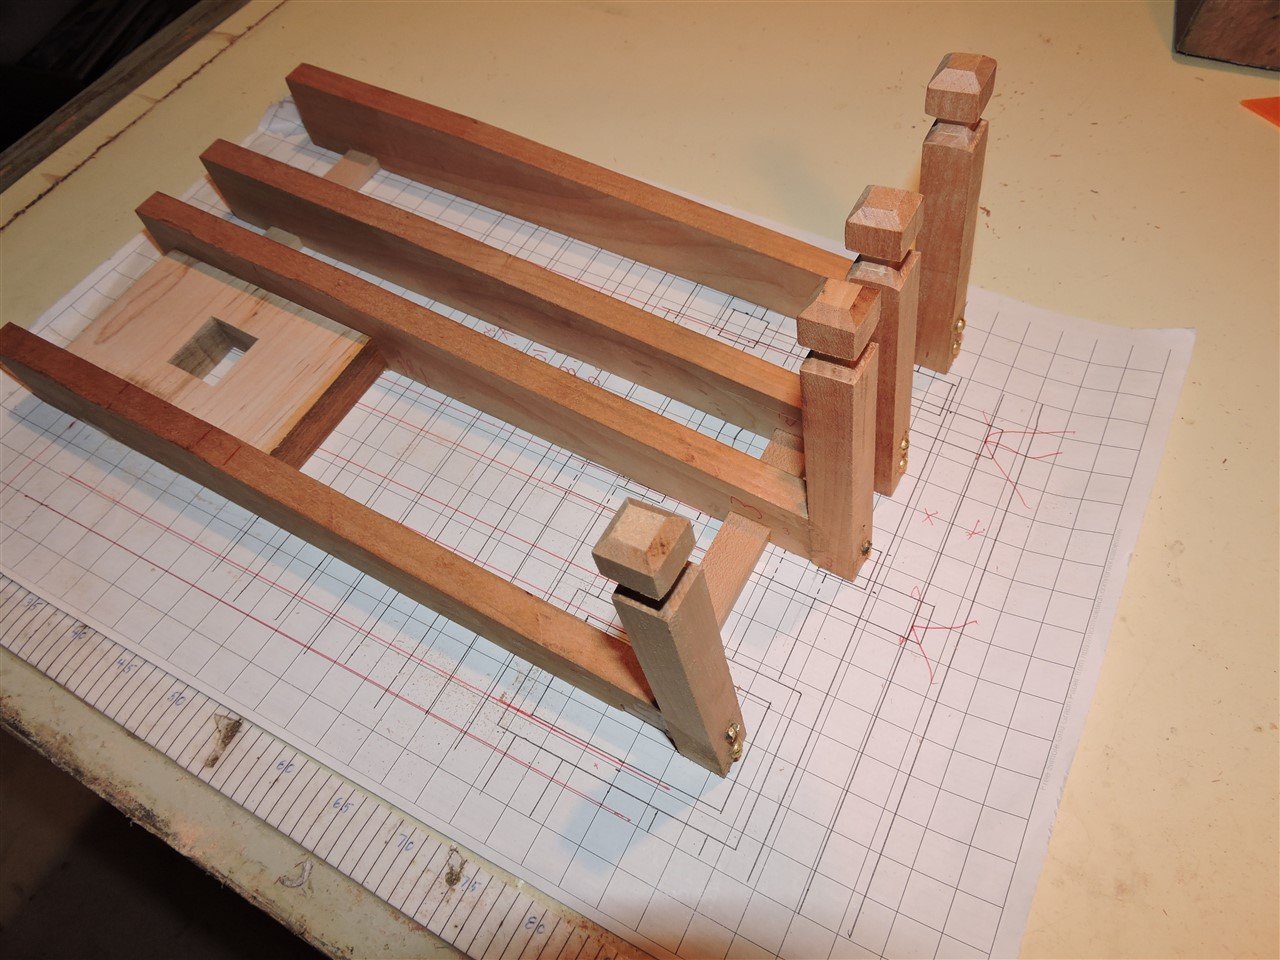
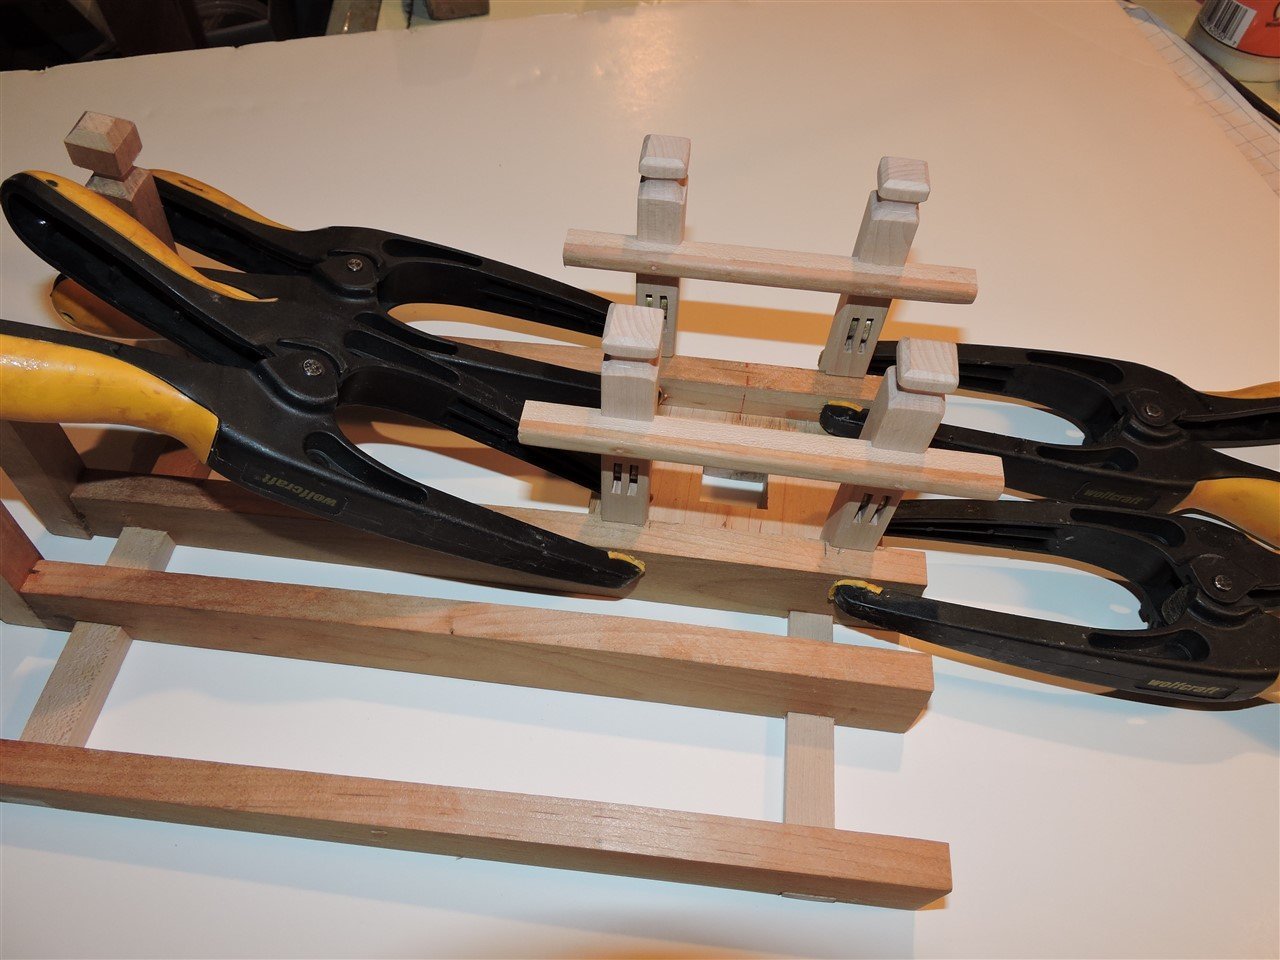
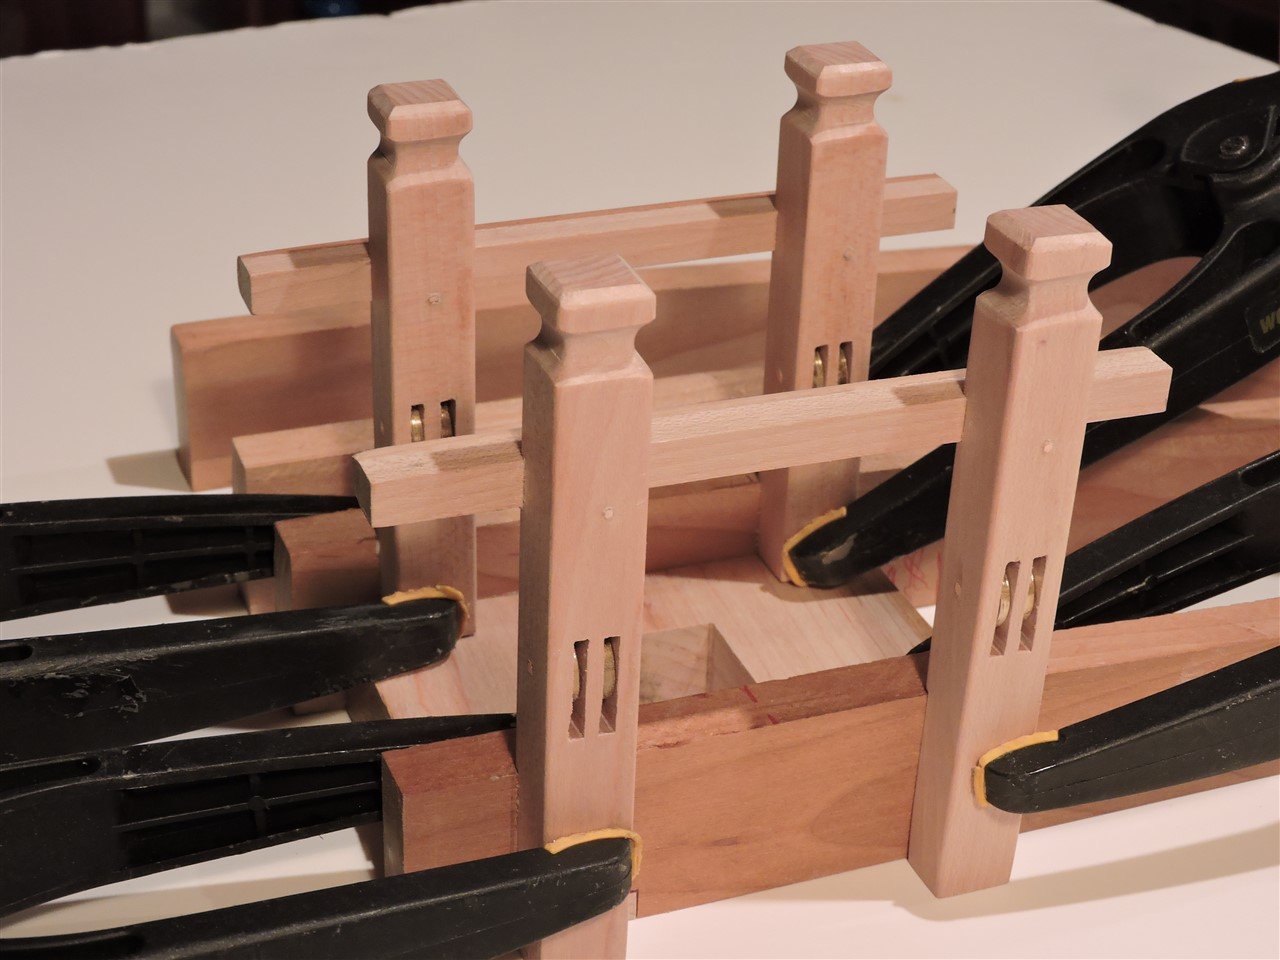
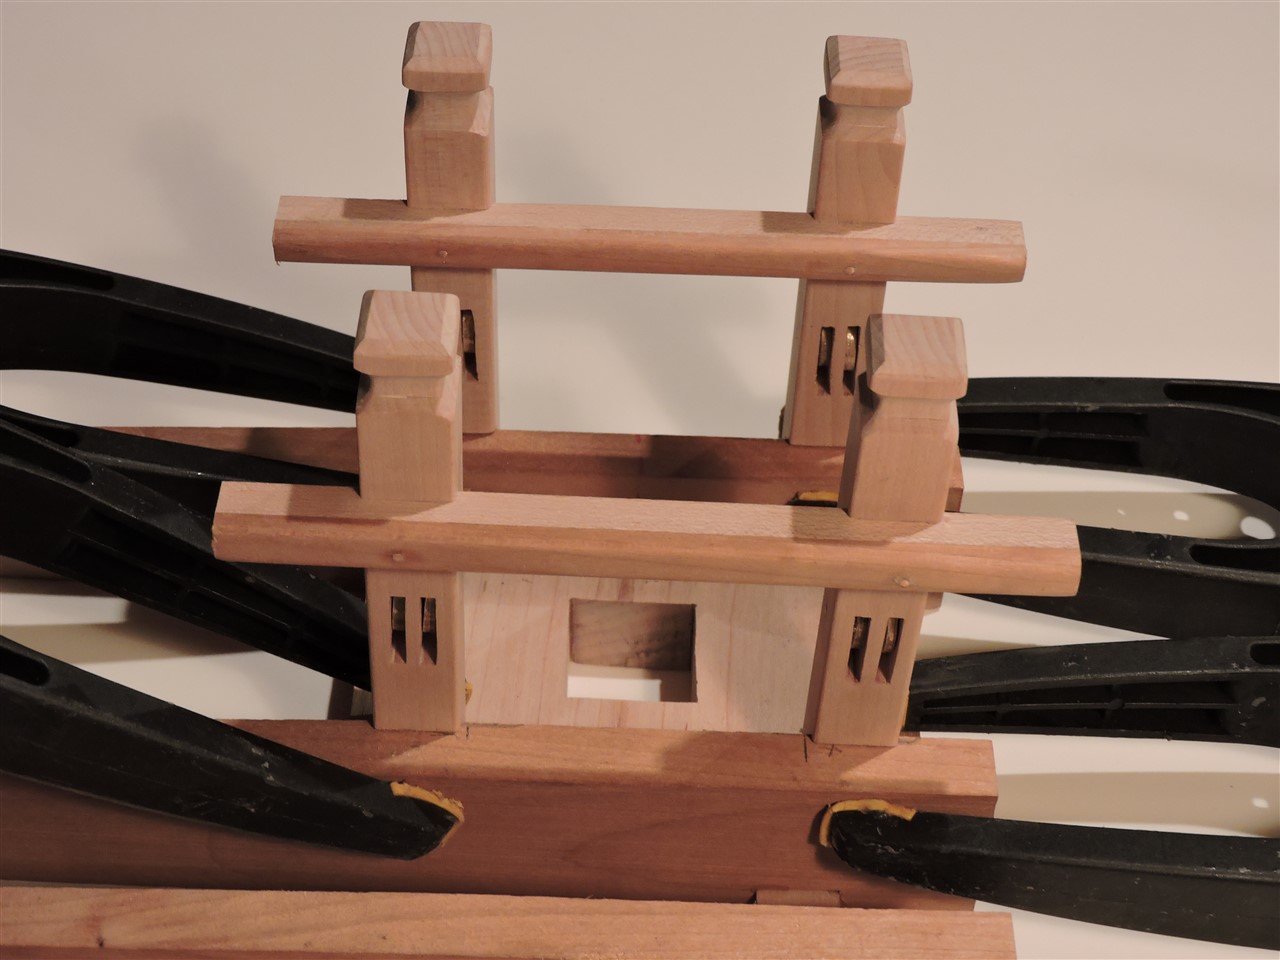
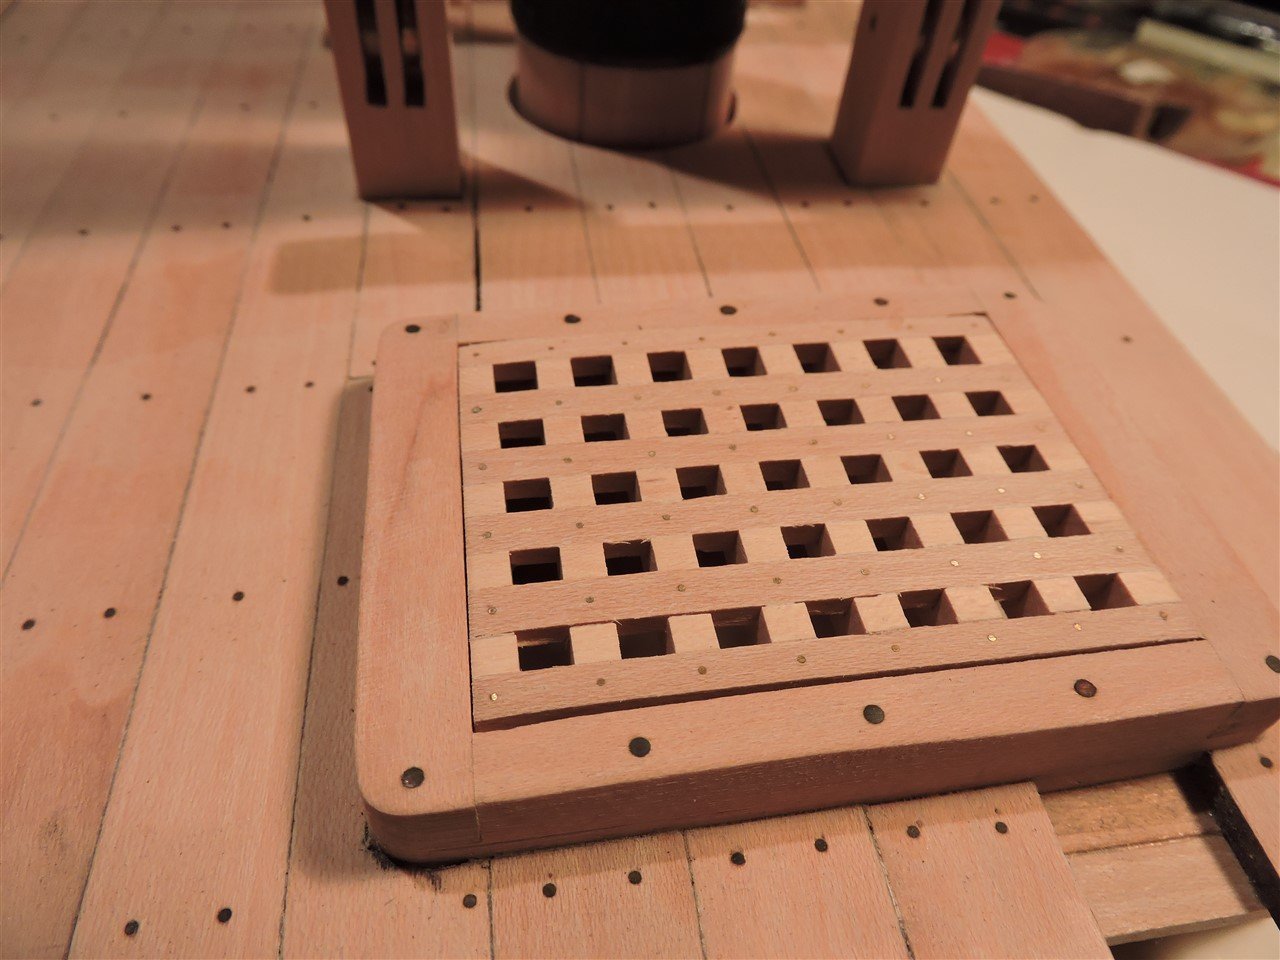
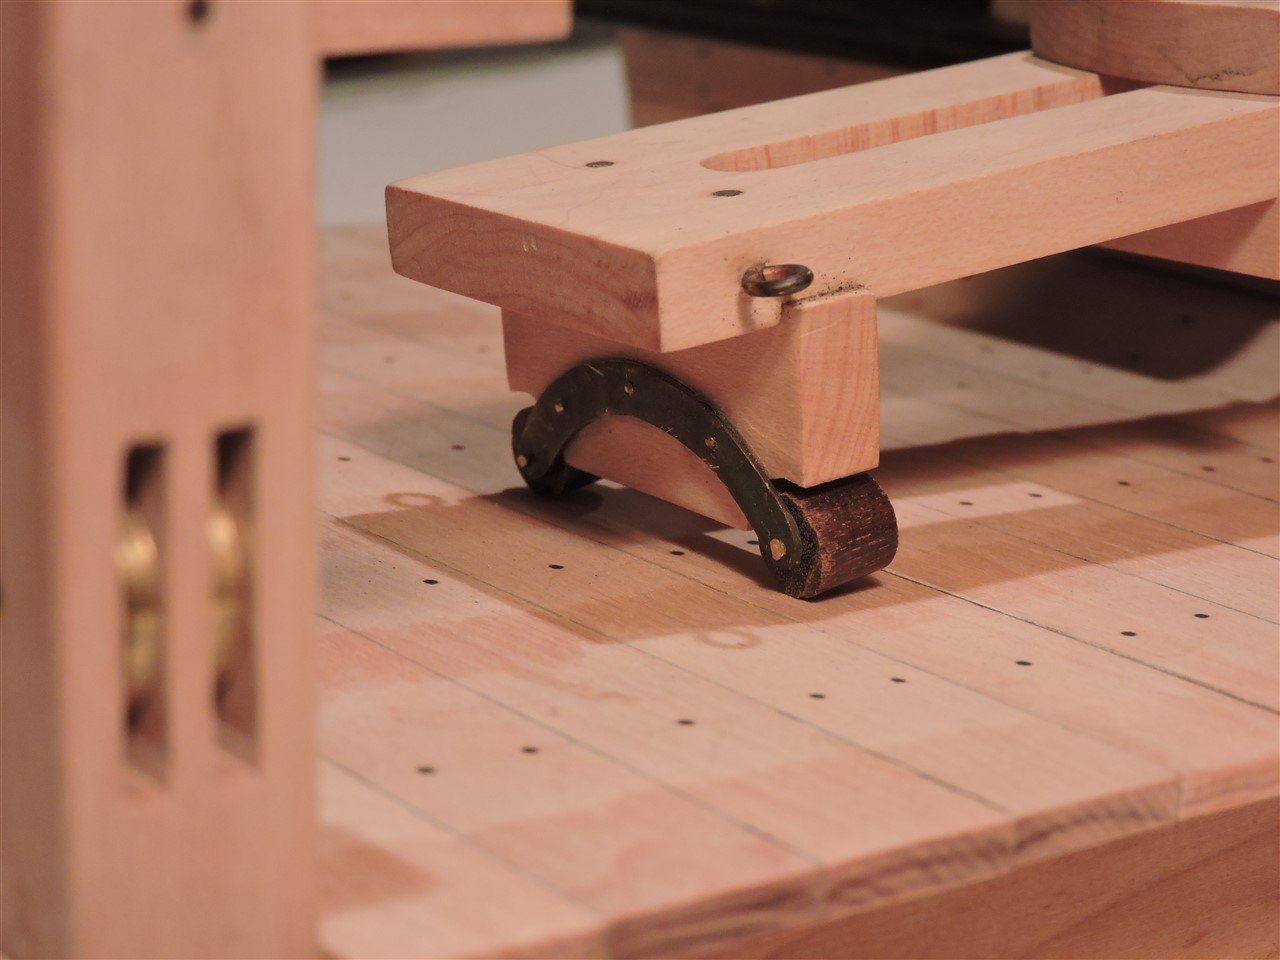
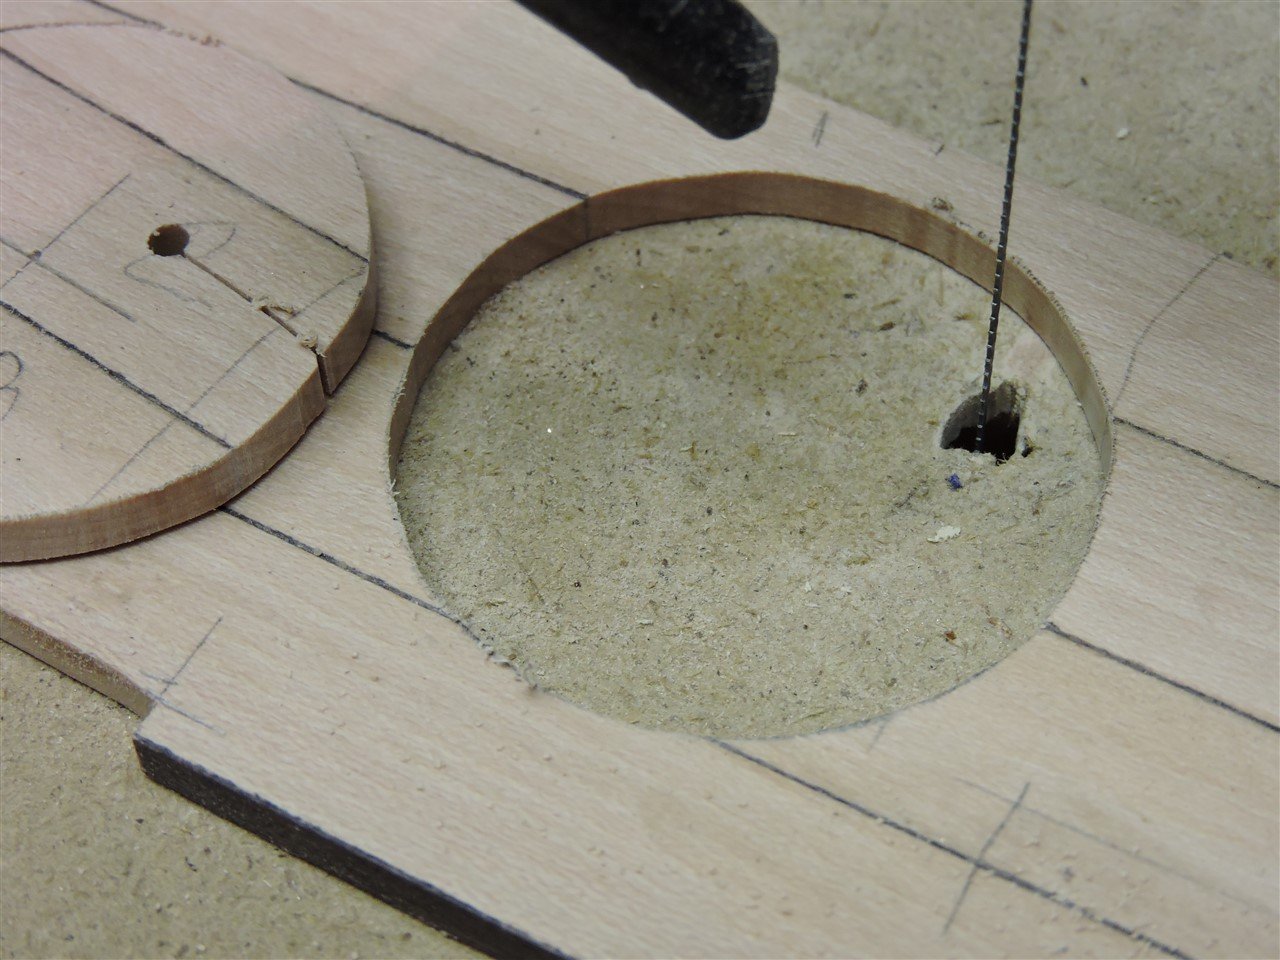
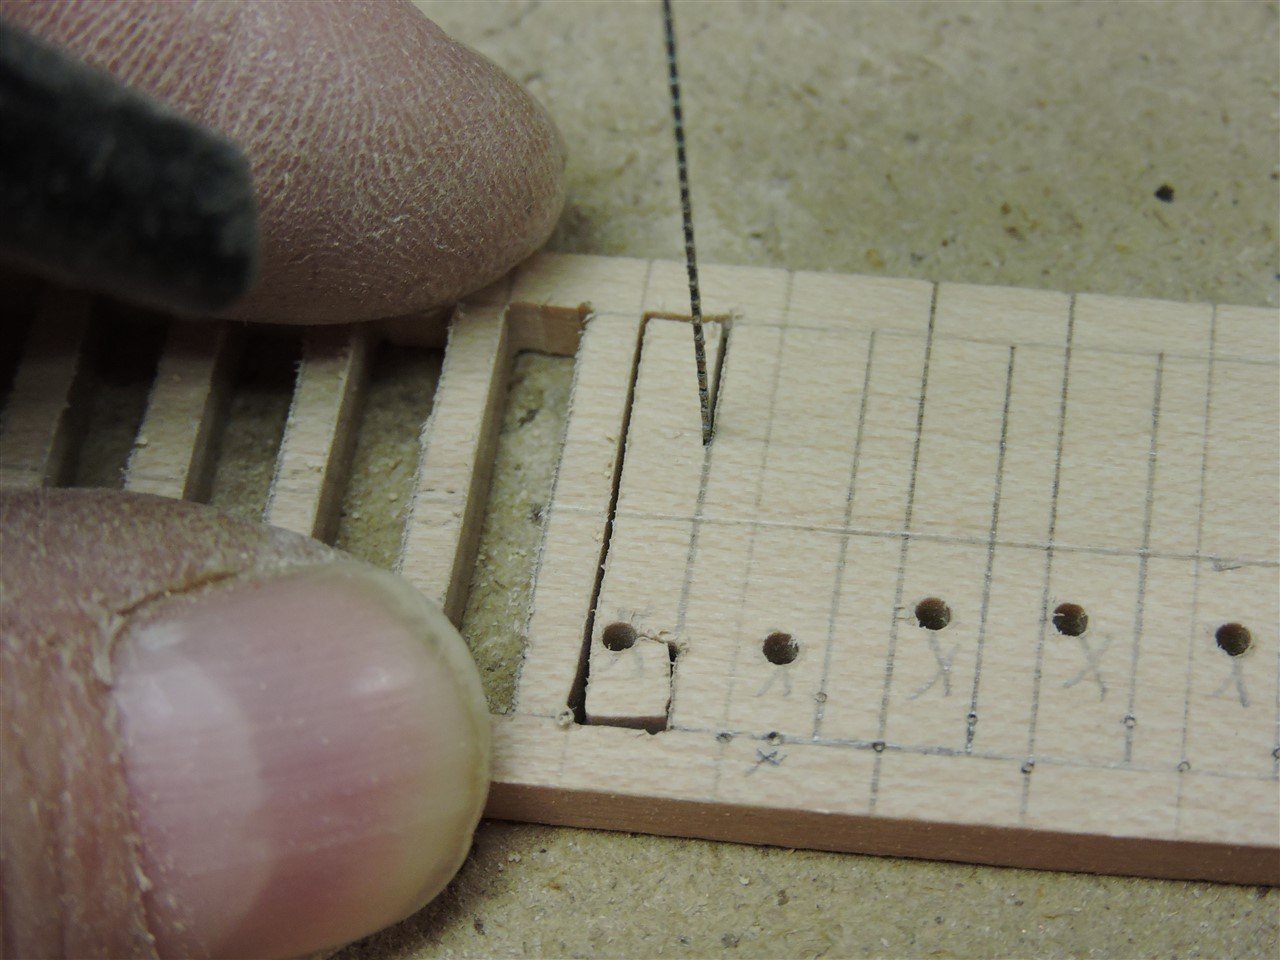
I am using my scroll saw to cut out the wooden and brass pieces for the traversing trucks for the carronade carriage, the hole in the decking for the mast and the mast wedges. Mike R

-
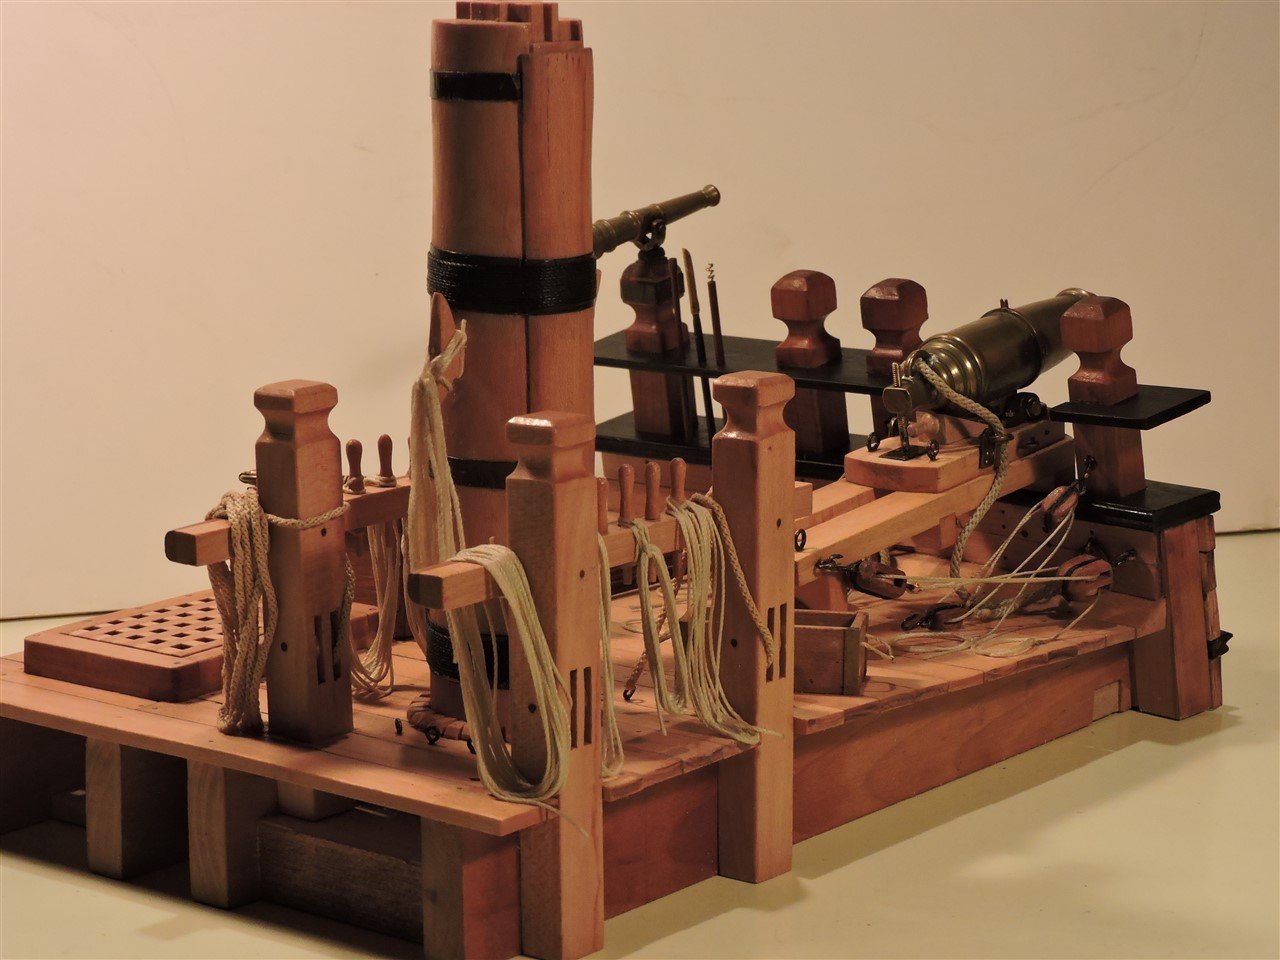
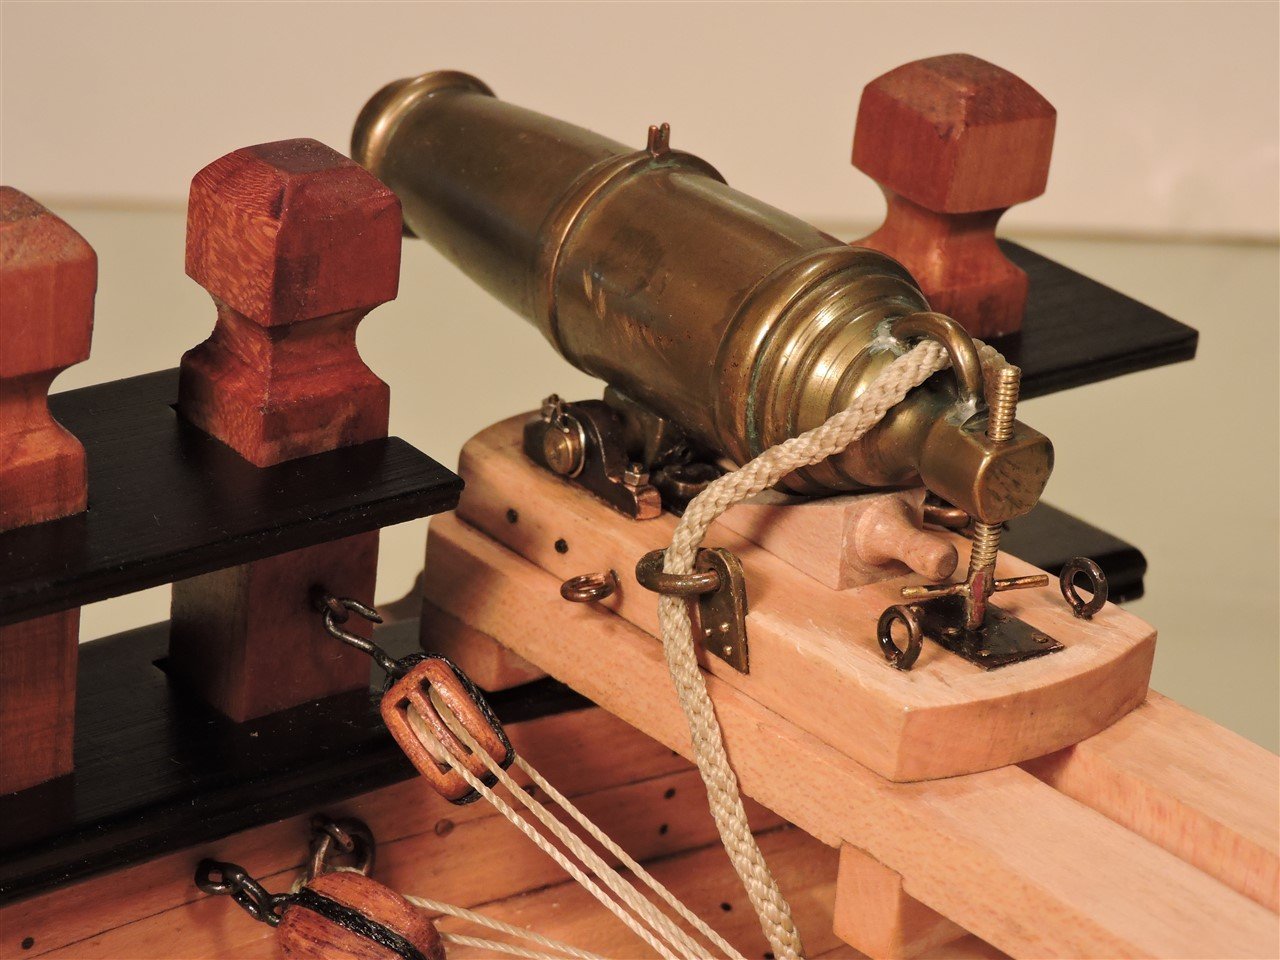
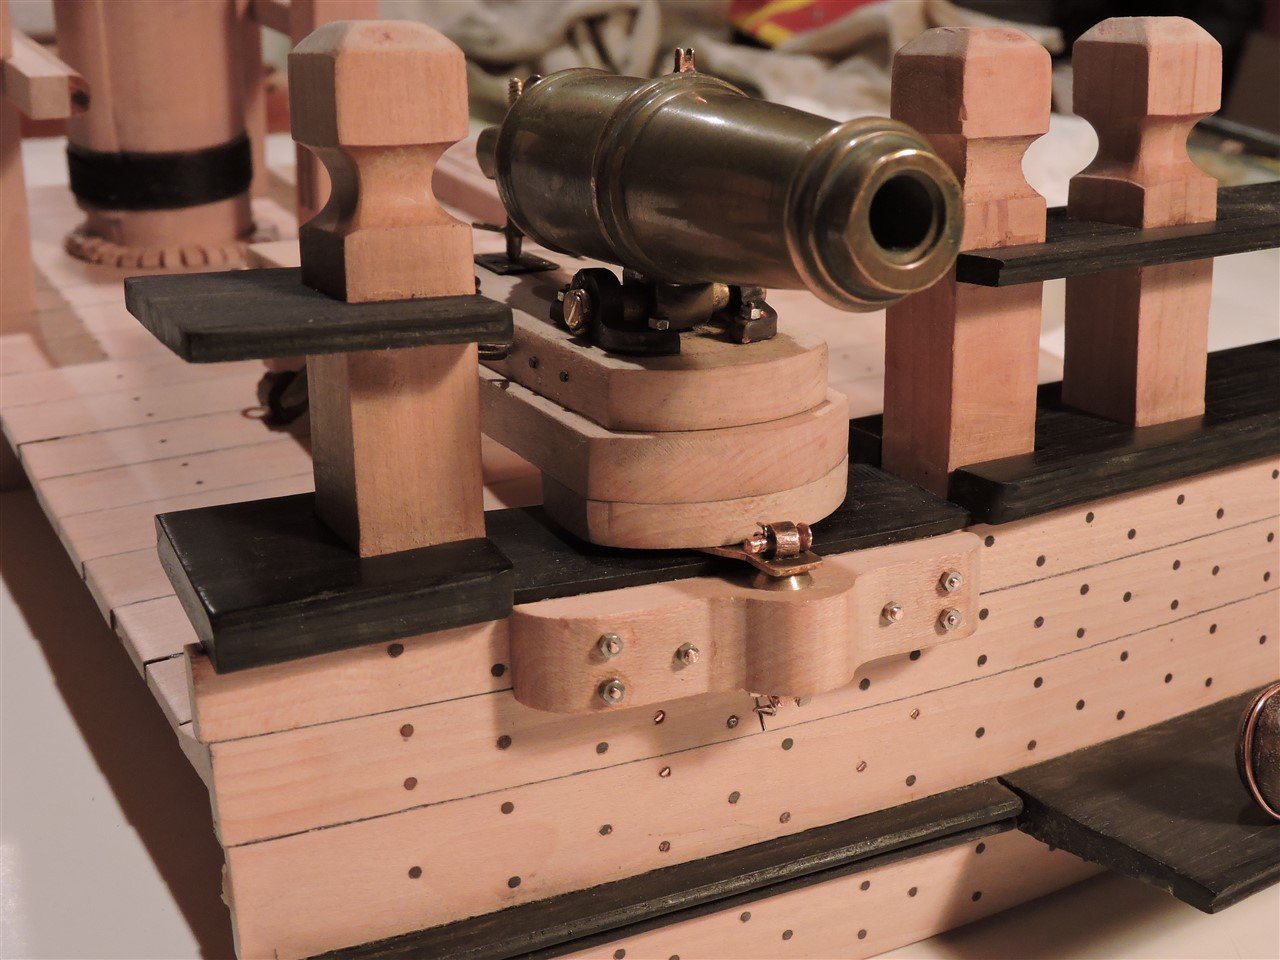
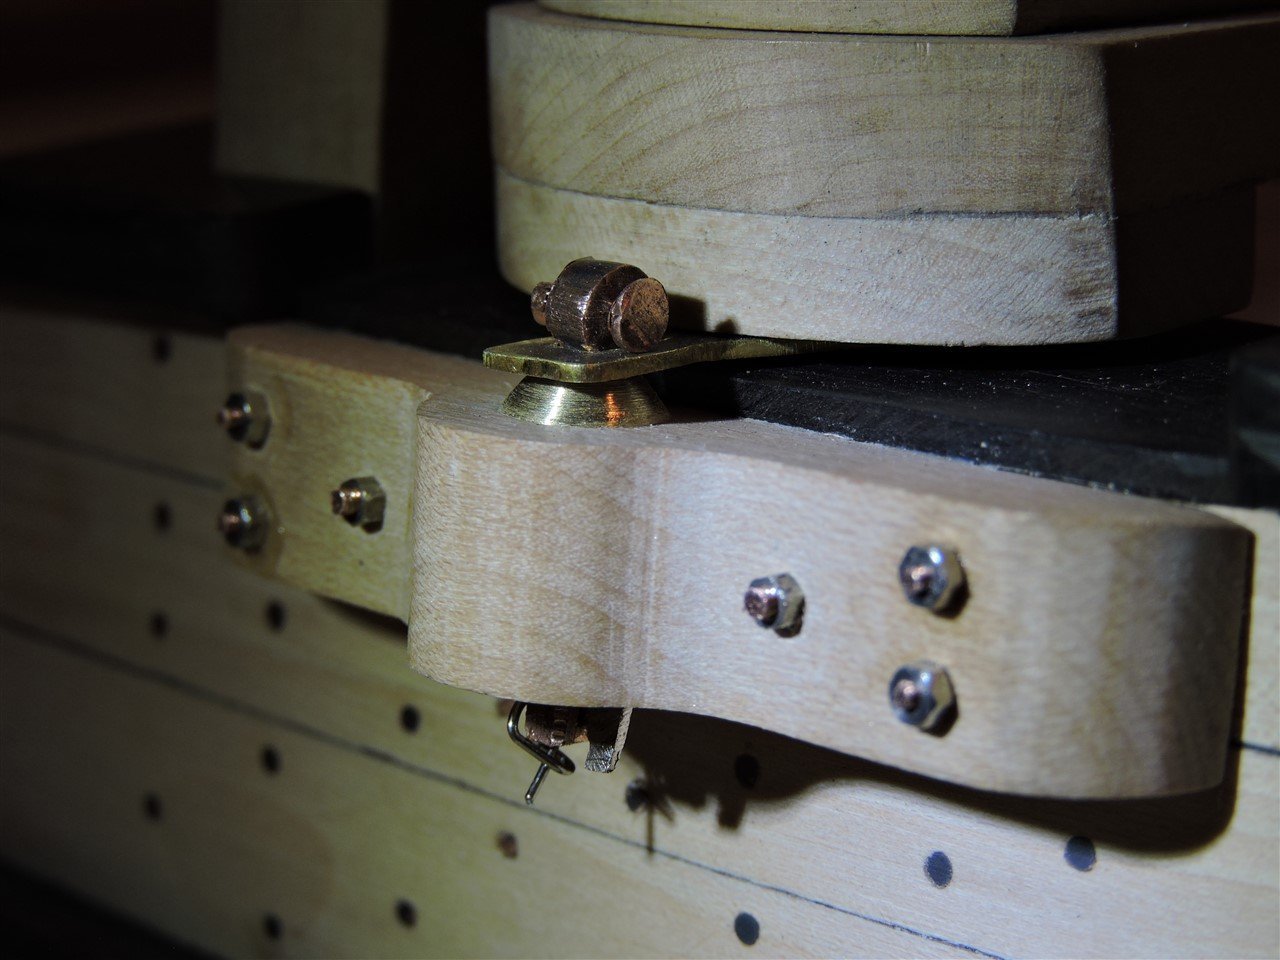
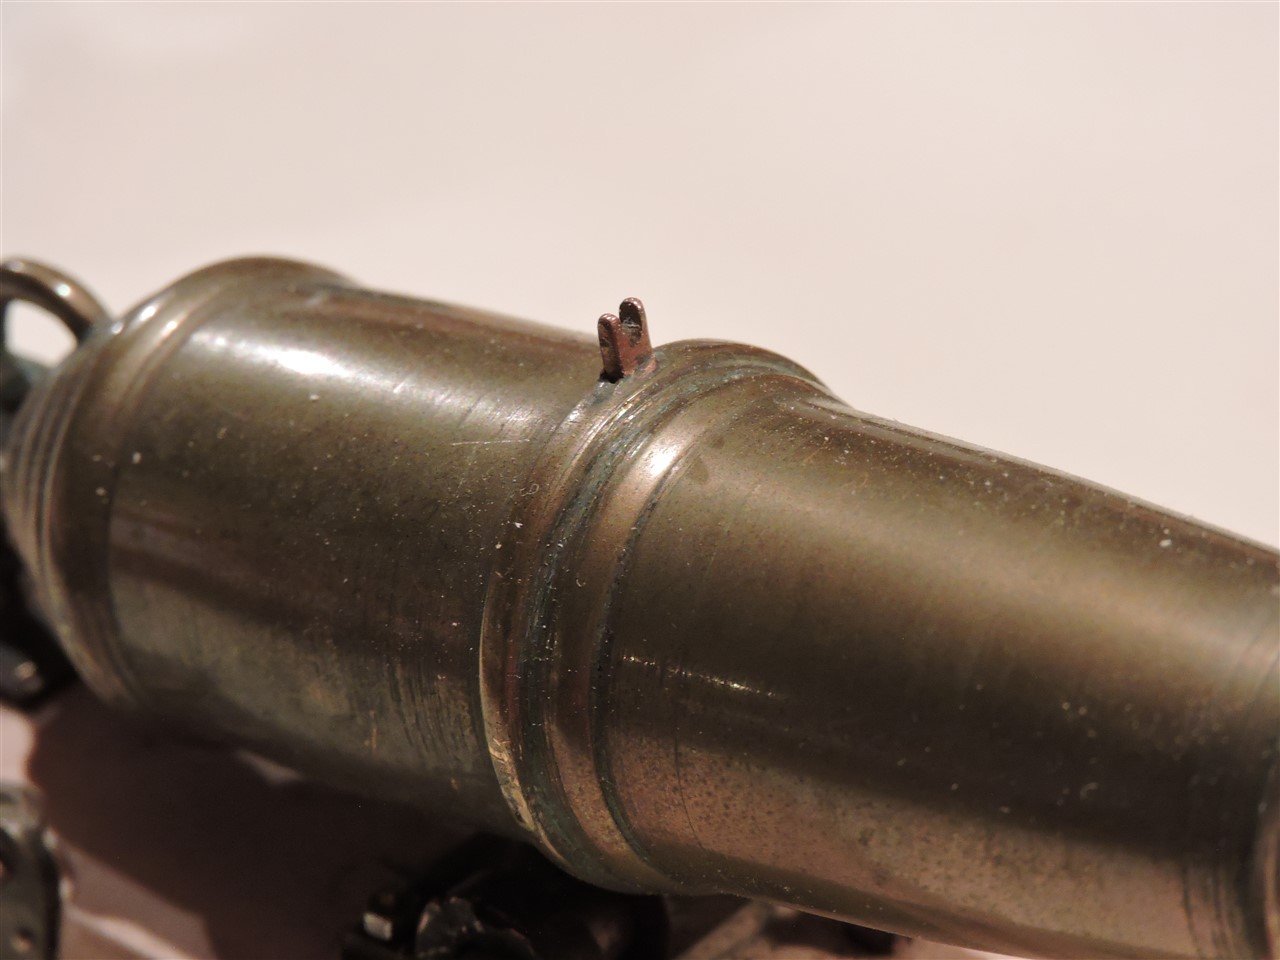
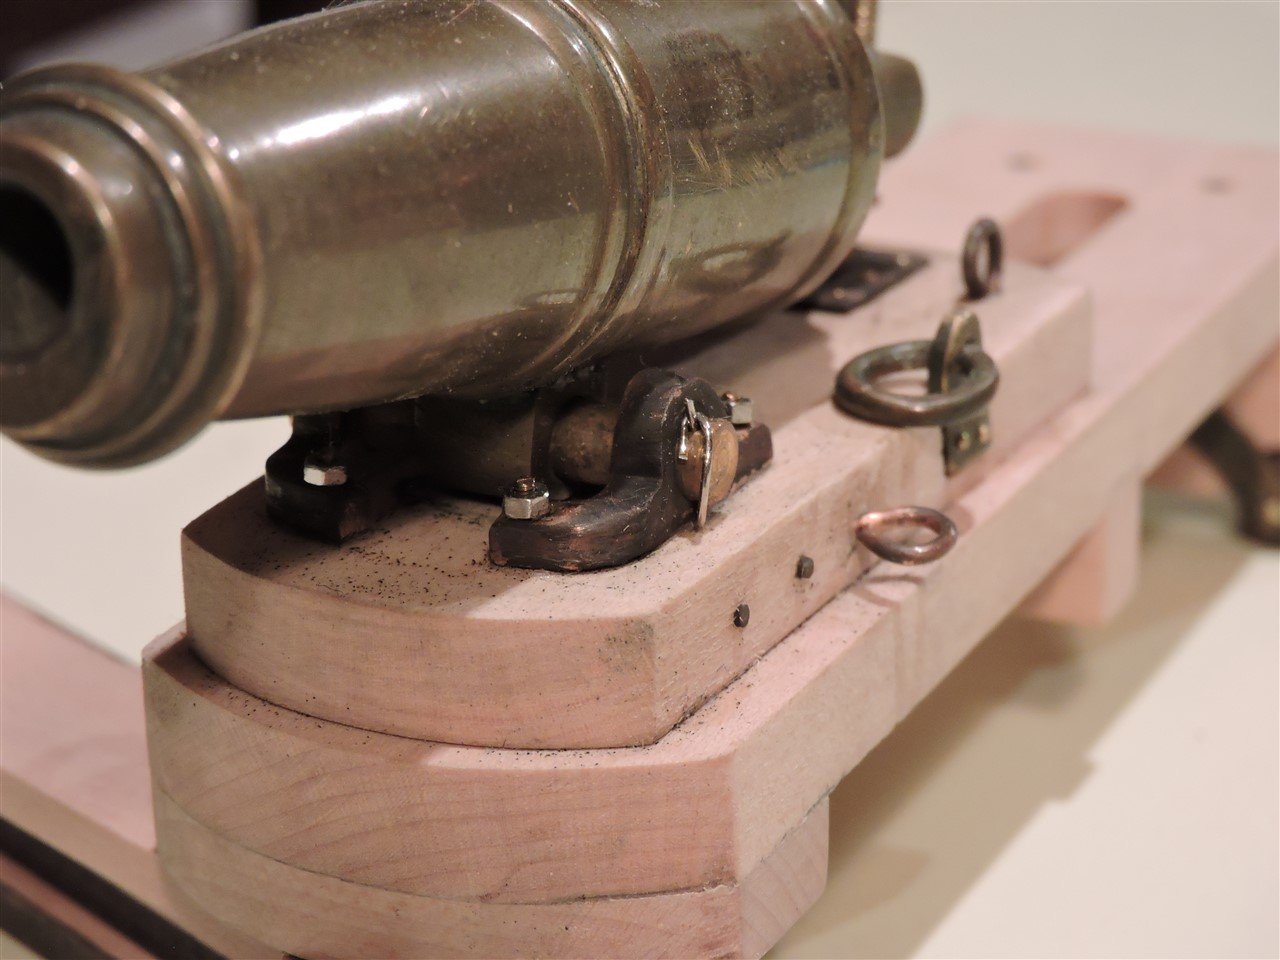
A few detail photos of the cannonade. Mike R
-
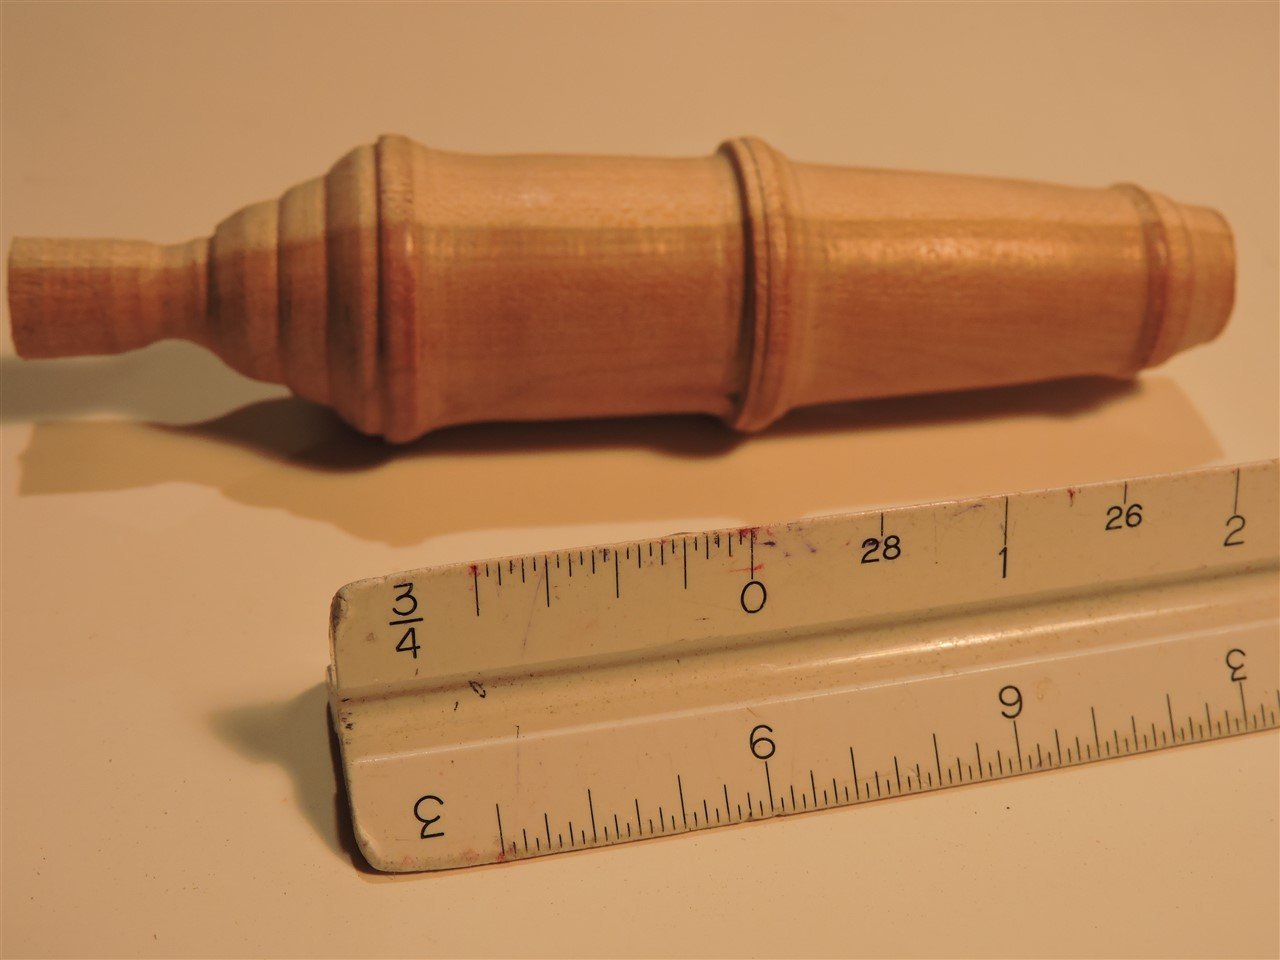
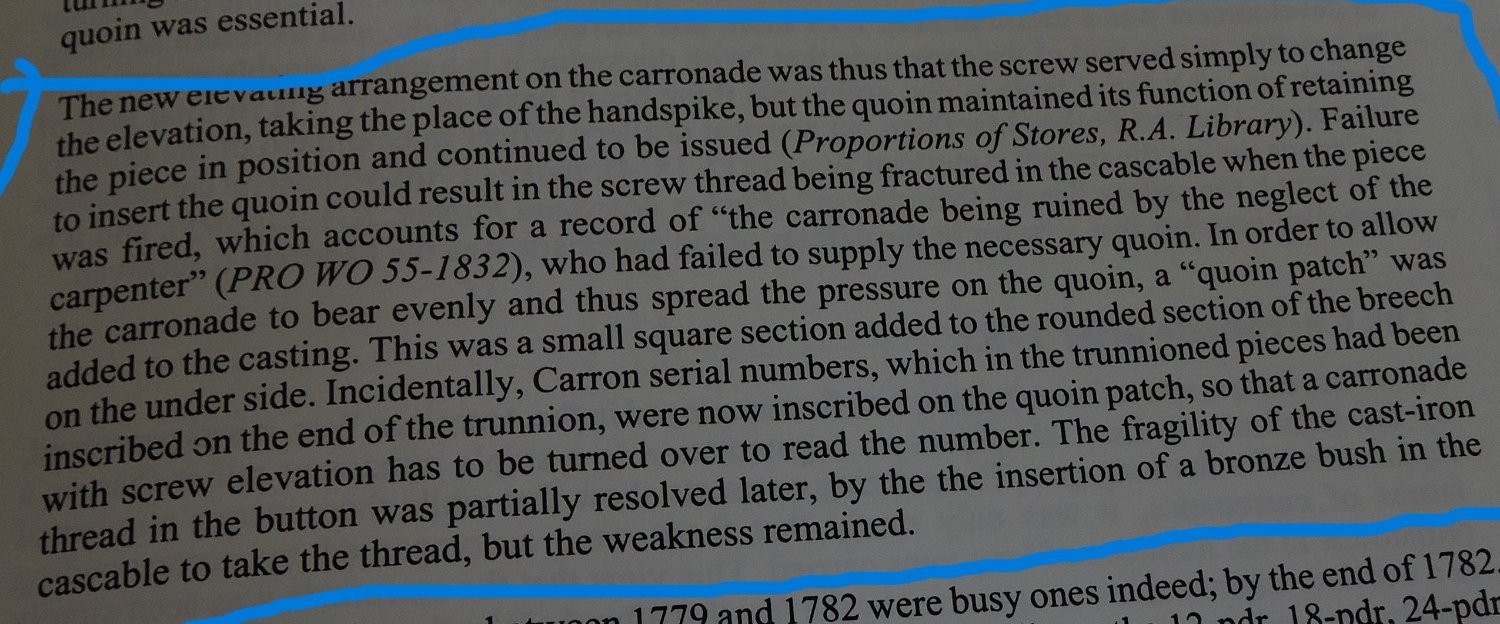
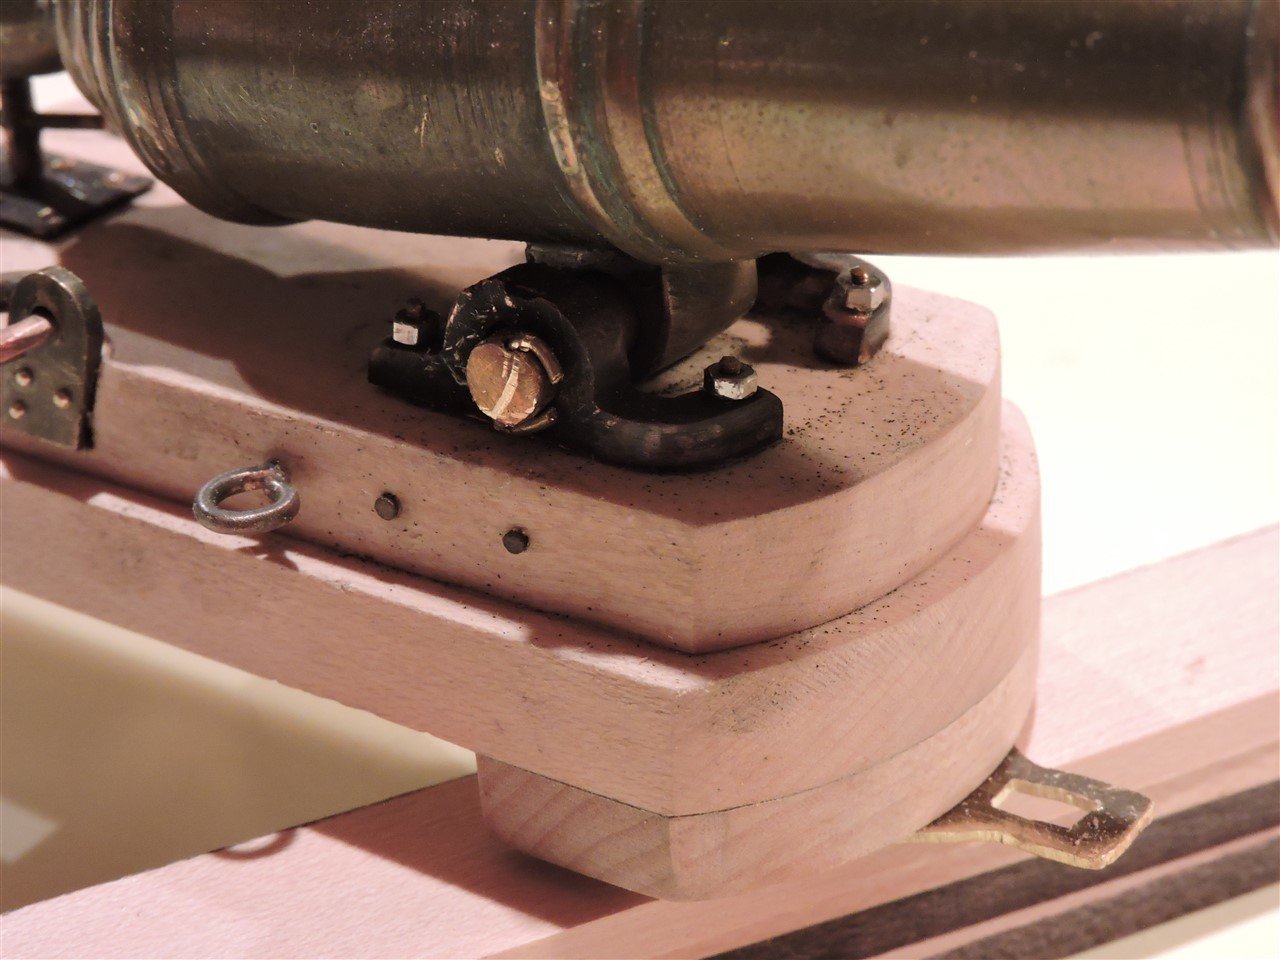
Thukydides The R.A. Library is the Royal Artillery Library. The information I used was from "The History of English Sea Ordnance" by Adrian B. Caruana and on page 185 it states that between 1782 and 1783 the design changed from trunnions to a carronade loop also called "joint" Which did away with the quoin and handspike for elevation the alternative was using a screw for elevation. Druxey That is the same book I used for information. The carronade that I made was a 24-pdr cast by Carron in 1779 Length 32 inches.
-
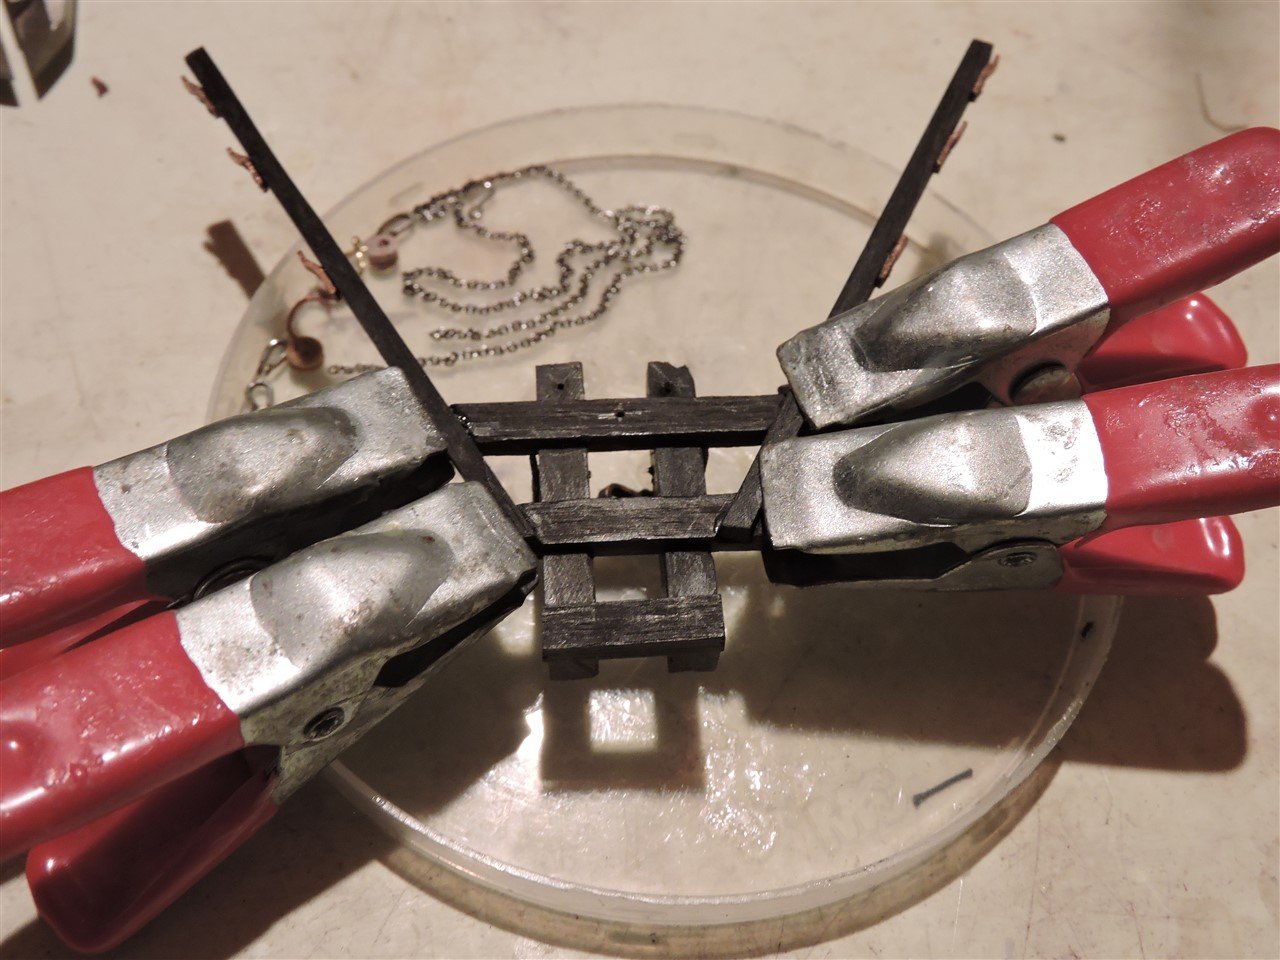
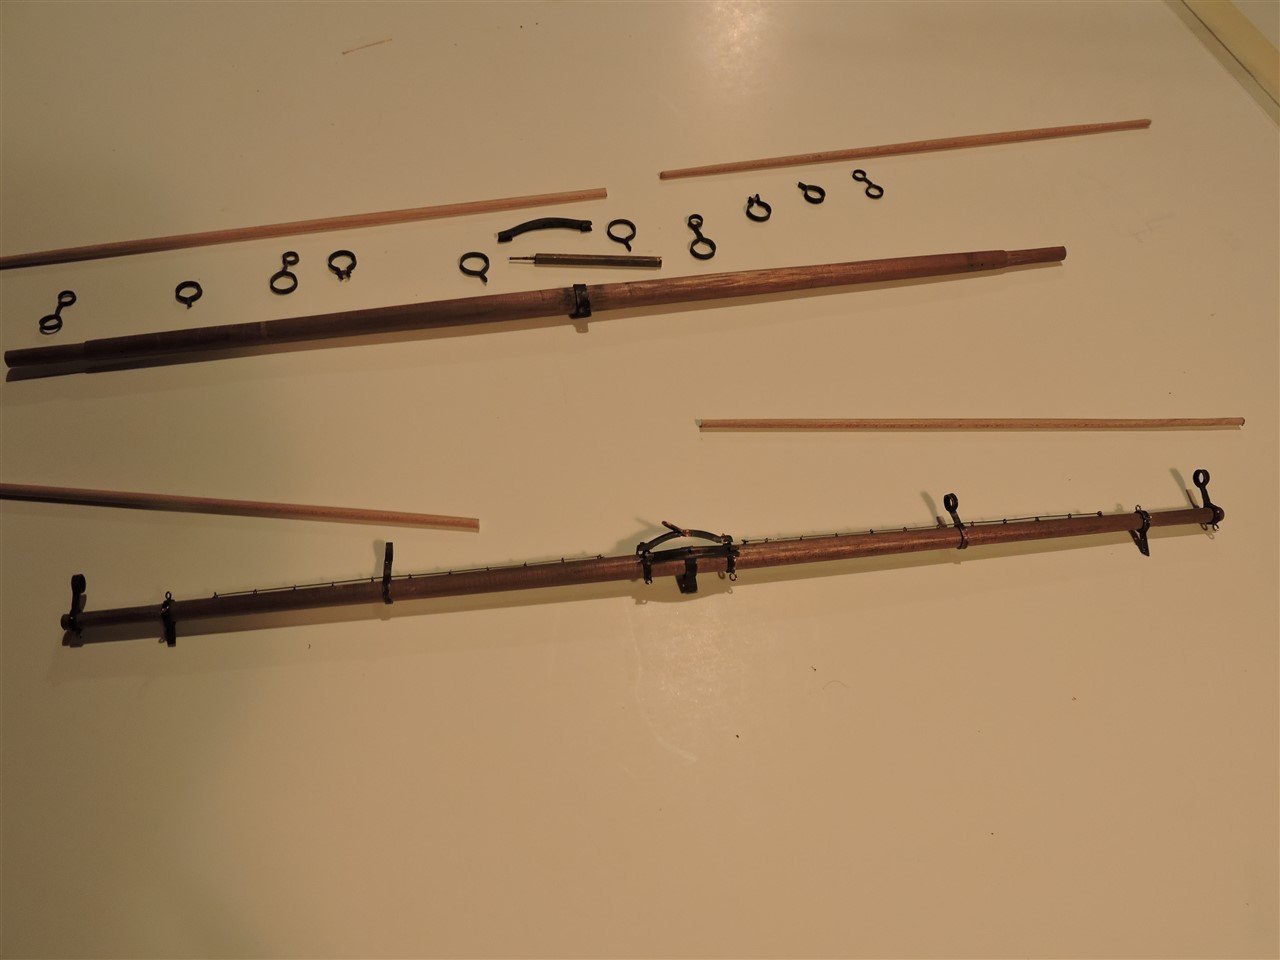
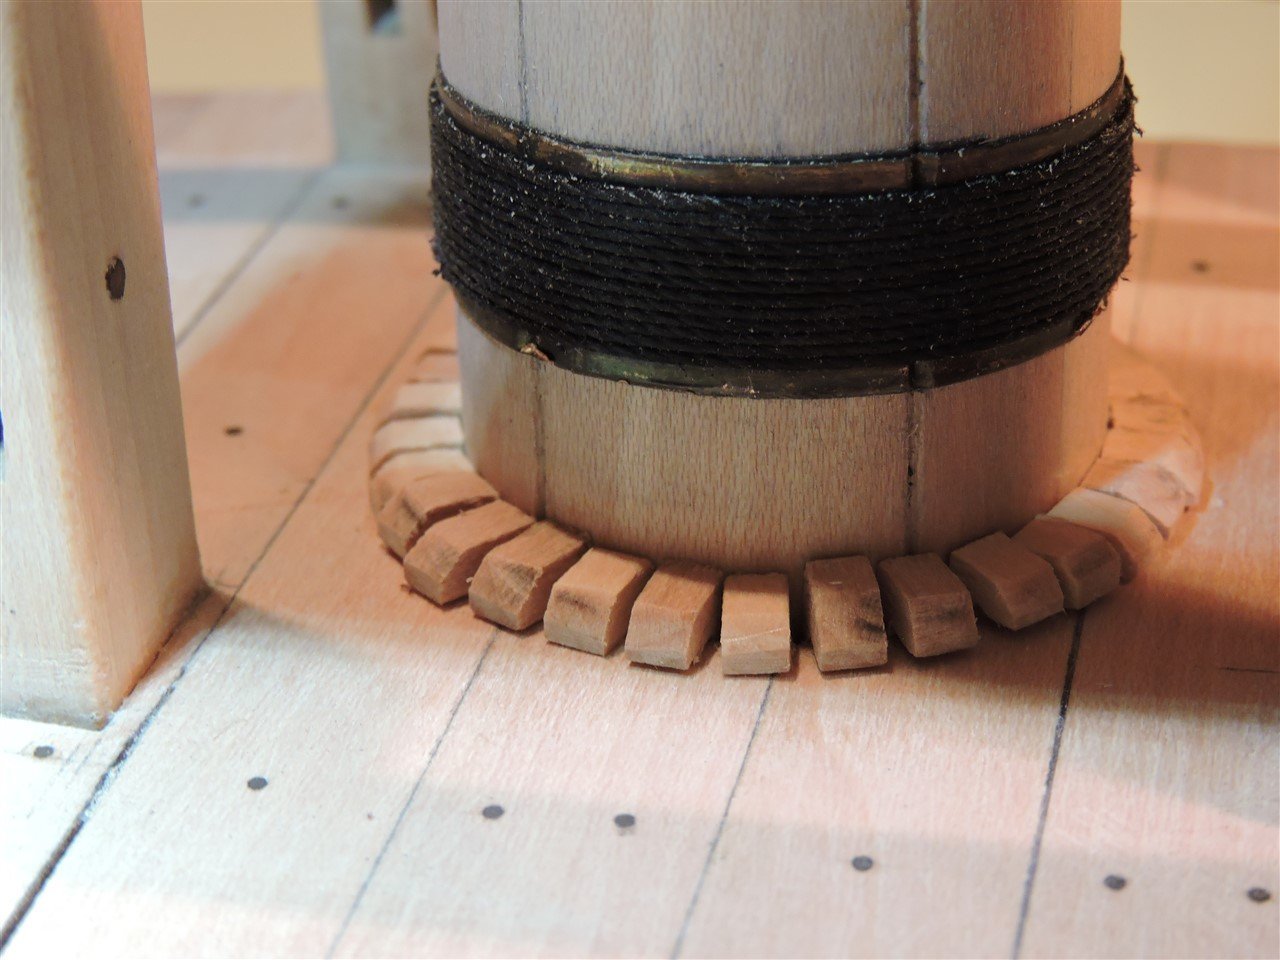
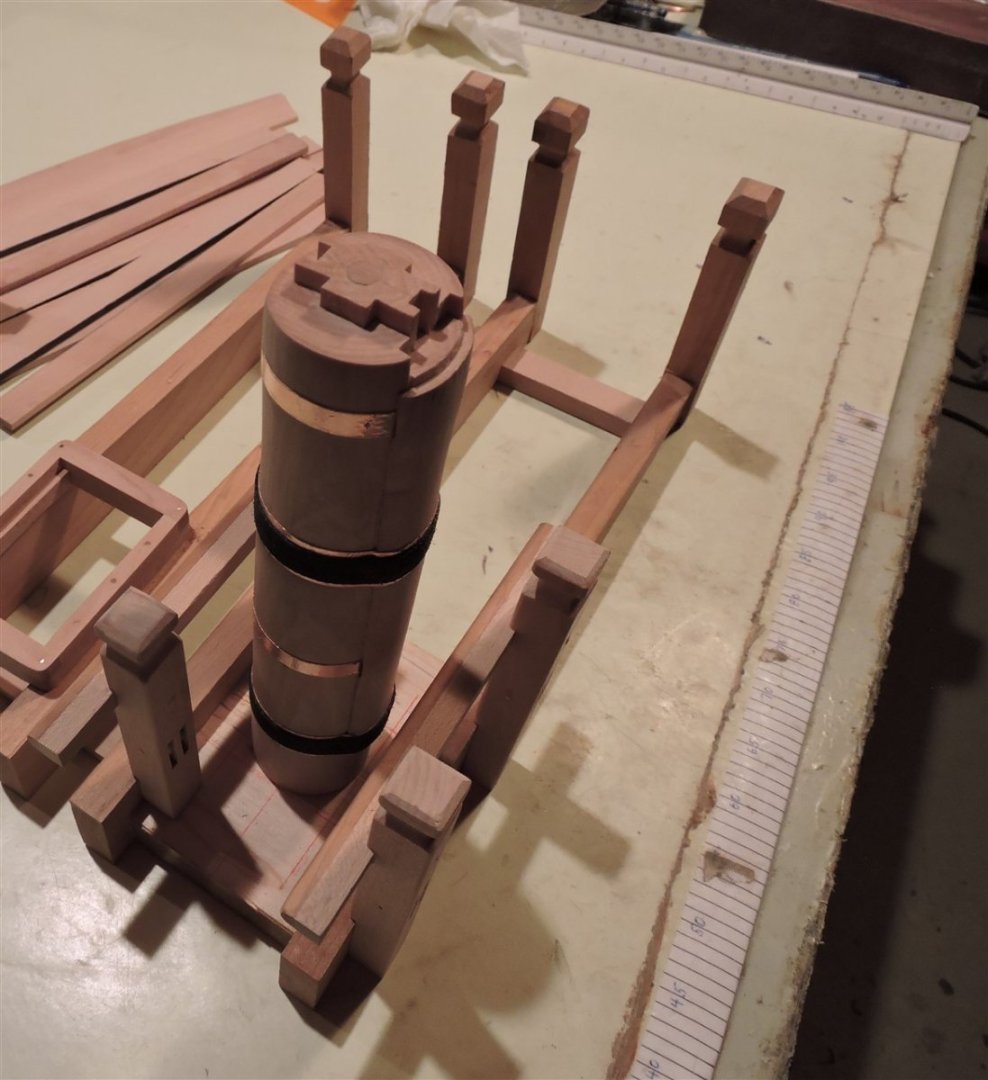
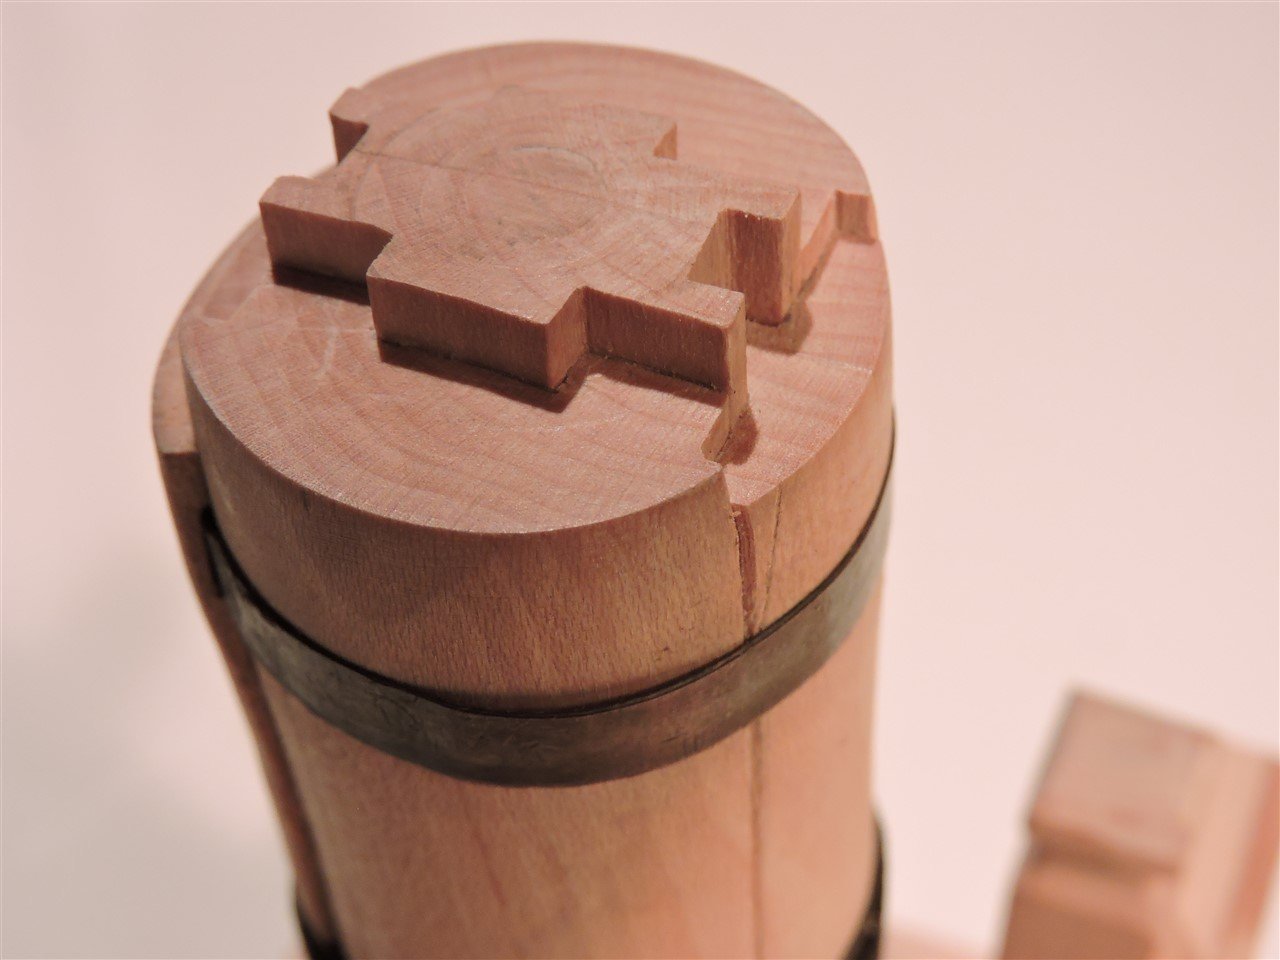
Here is my attempt to make a made up foremast, I glued up two 1" dogwood boards and turned the 1 1/2" mast. I then cut a 3/4" piece off the mast. To this I used rubber cement to glue a pattern of the mast pieces i wanted to cut out. On my scroll saw I used a 2/0 blade (.0087 X .0236) to cut the pieces of the made mast. With this size blade I can cut sharp 90 deg. angles. I then cut these pieces to different lengths and glued them up and attached it to the mast. The top copper band hides the seam. I also added the mast bands, front fish, and rope woolding. Mike R
-
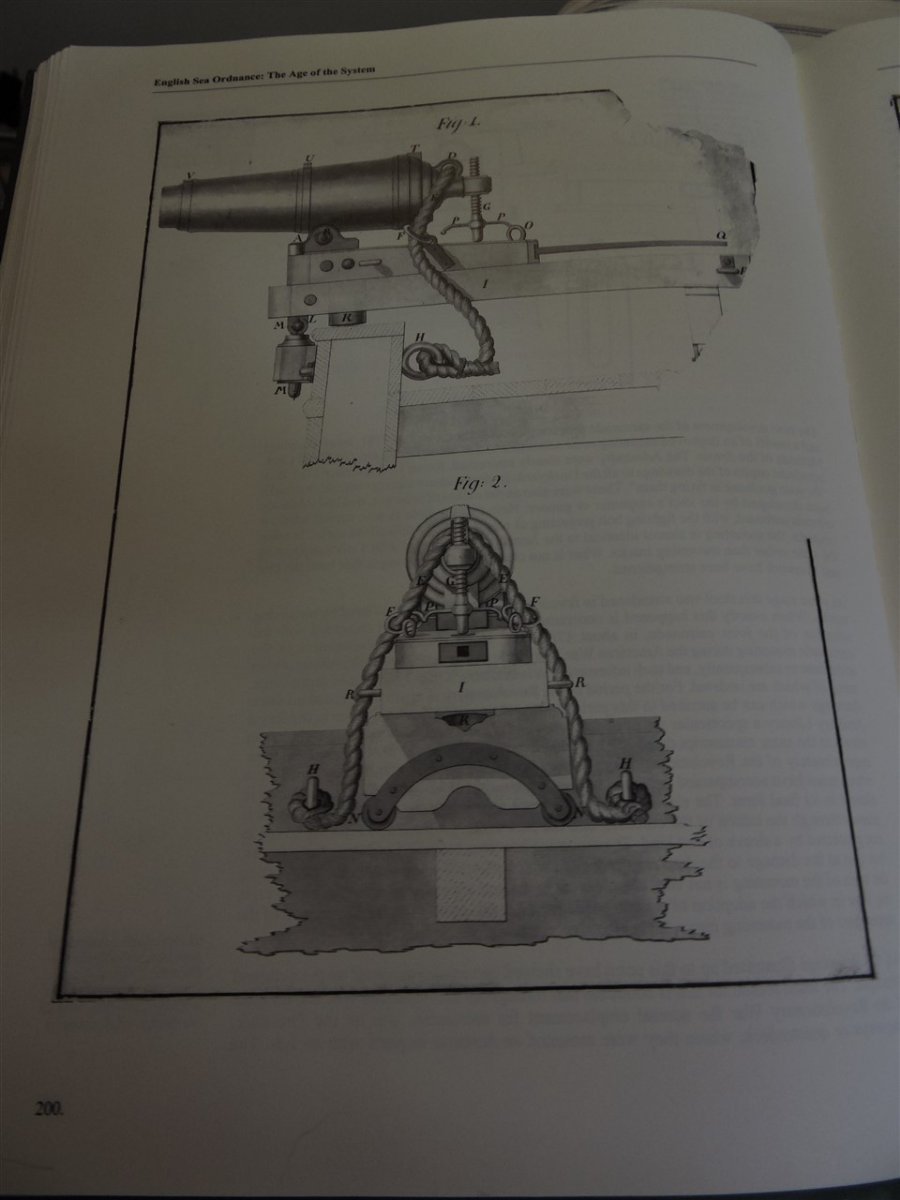
Carronades by Adrian B. Caruana "The History of English Sea Ordnance" The main reason for carronades mounted on the outboard principle is doubtless that throughout the American War and for most of the Revolutionary War the normal emplacement for carronades was on the forecastle, gangways or quarterdeck, where they were mounted en barbette in ports with no lids. Anonymous drawings probably dating from the 1790's of a joint carronade mounted on the outboard principle, with all its fittings (R.A. Library) I will be using cherry, dogwood, ebony, and ipe. For the carronade I will turn it from 1" brass stock on my wood lathe, but first I turned one out of wood for practice.