-
Posts
2,227 -
Joined
-
Last visited
Content Type
Profiles
Forums
Gallery
Events
Everything posted by EJ_L
-
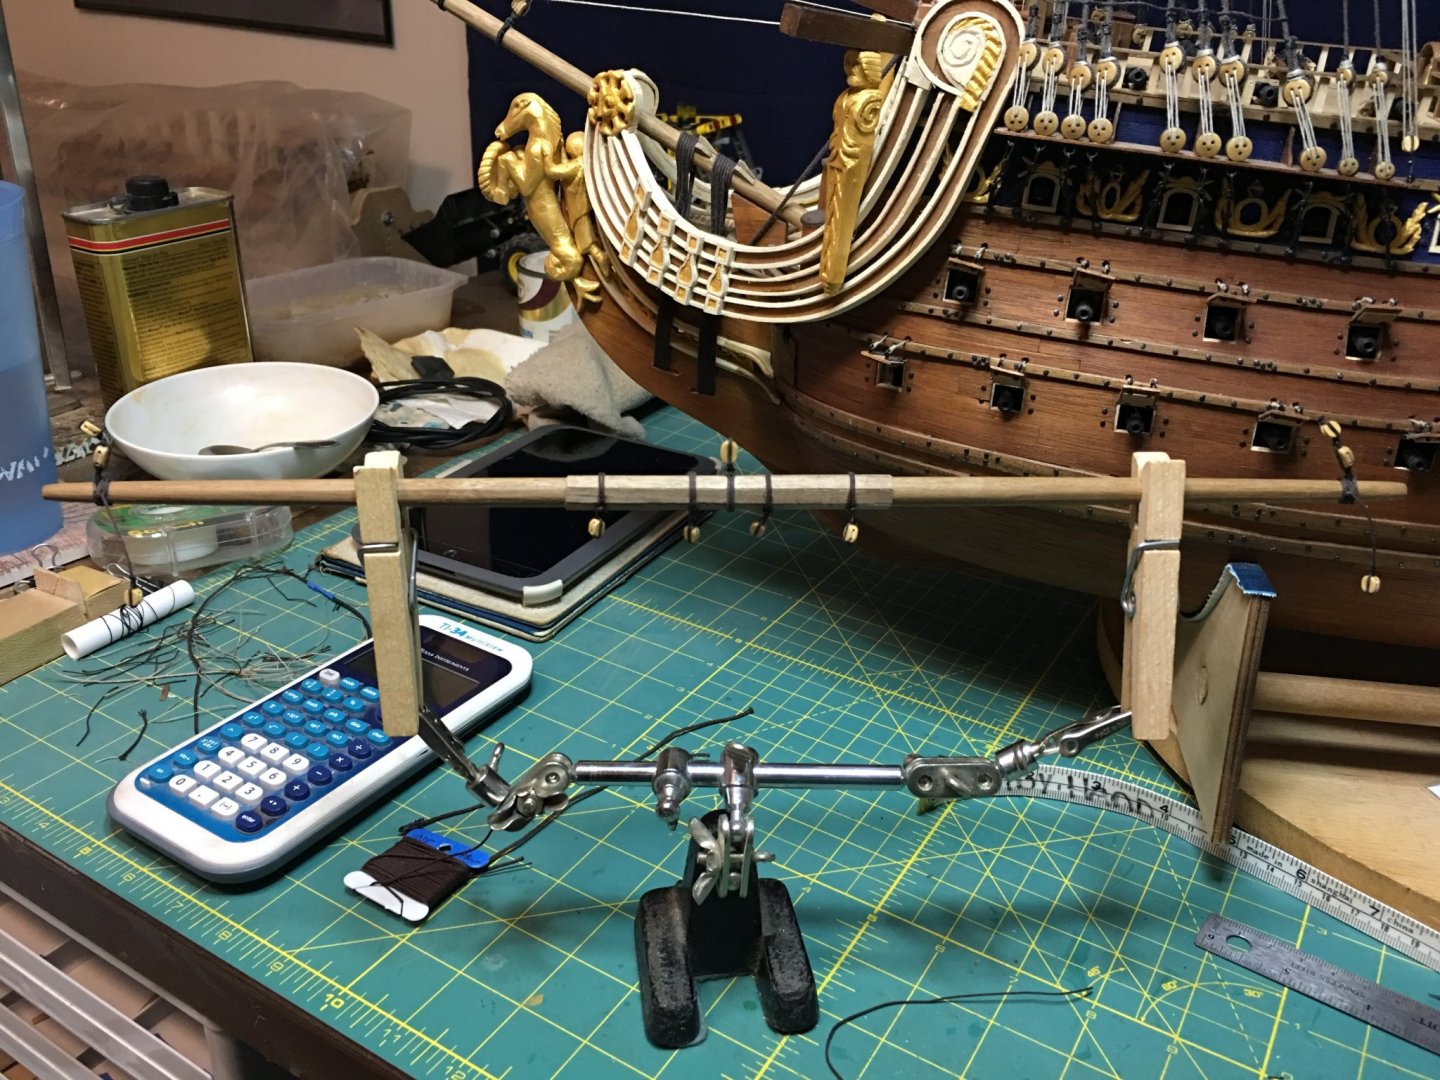
Attaching blocks to yards. I plan on trying my hand at sewing sails this weekend. We shall see how that goes.
- 961 replies
-
A very beautiful build indeed! A ship to display with pride.
- 91 replies
-
- deagostini
- vasa
-
(and 1 more)
Tagged with:
-
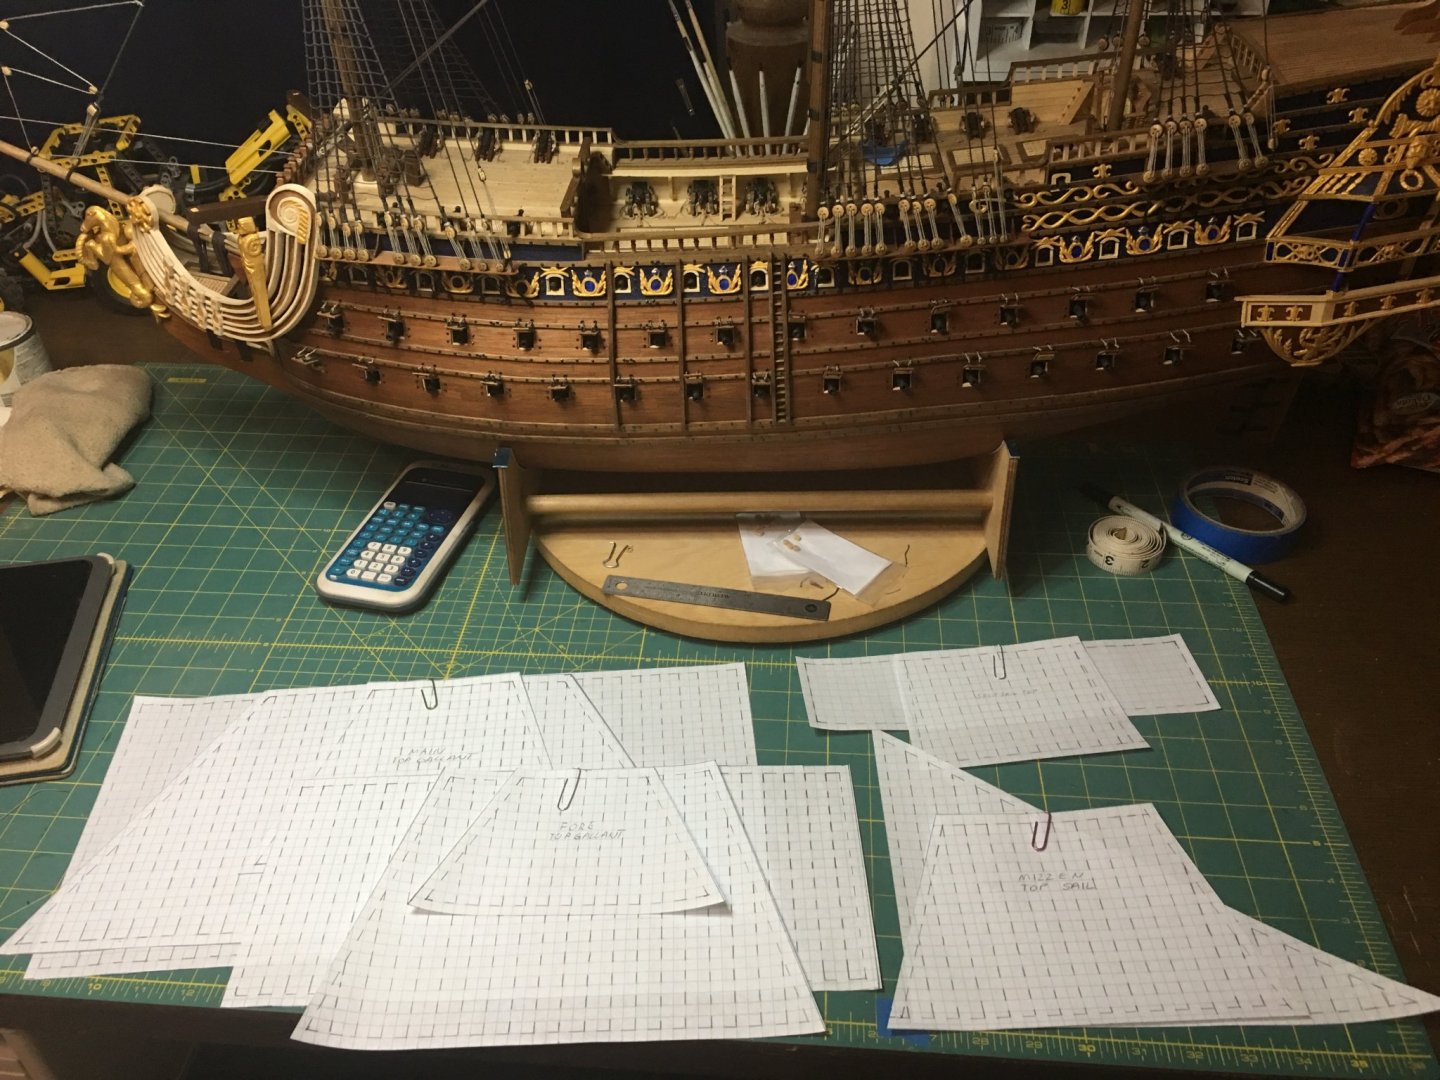
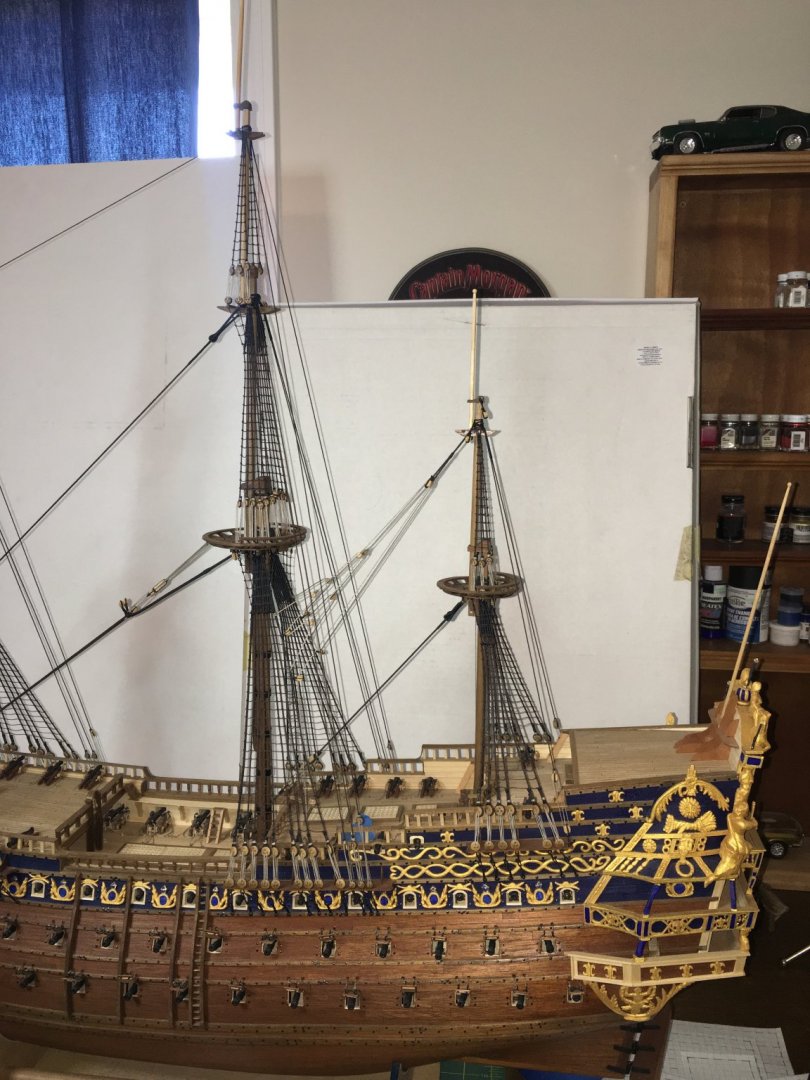
Completed the standing rigging this past week and the masts are now topped out at full height. With that work complete I have moved on to working the yards and sails. Made templates for all of the sails on graph paper to test for size and fit. Now I will transfer them to cloth and begin sewing. I am also going to add the details to the yards themselves as well as blocks and such to prepare them for the sails. I am leaning towards a combination of set and furled sails but we will see.
- 961 replies
-
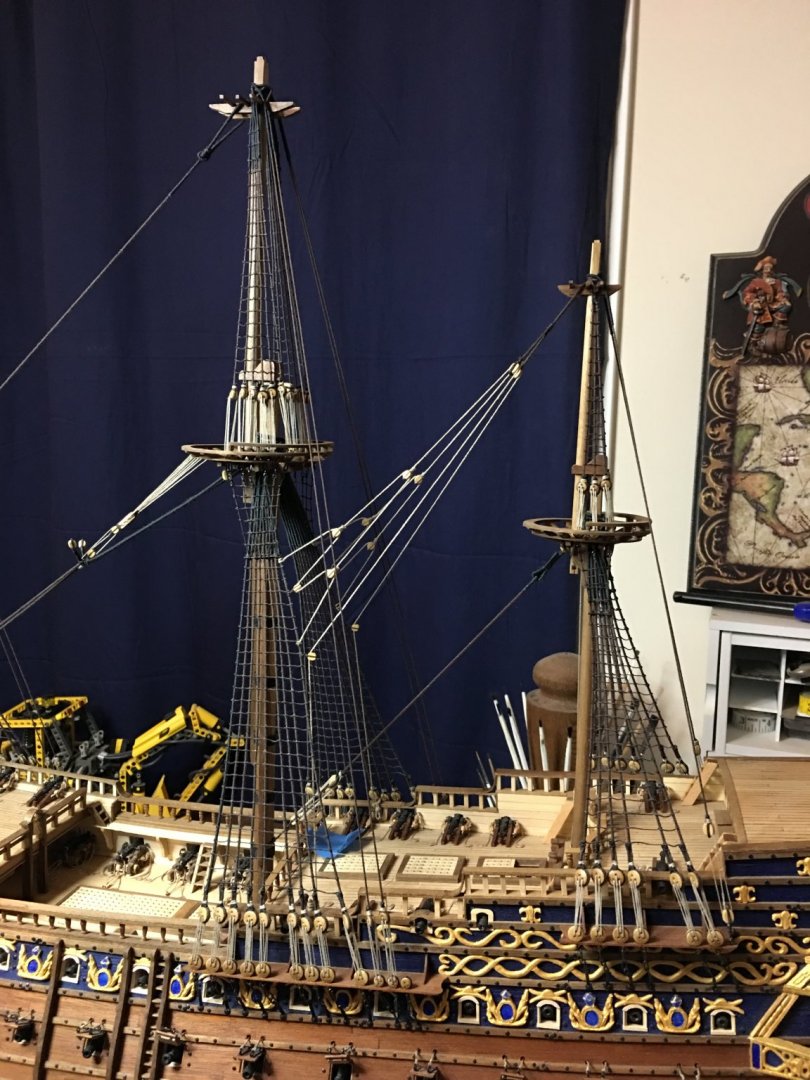
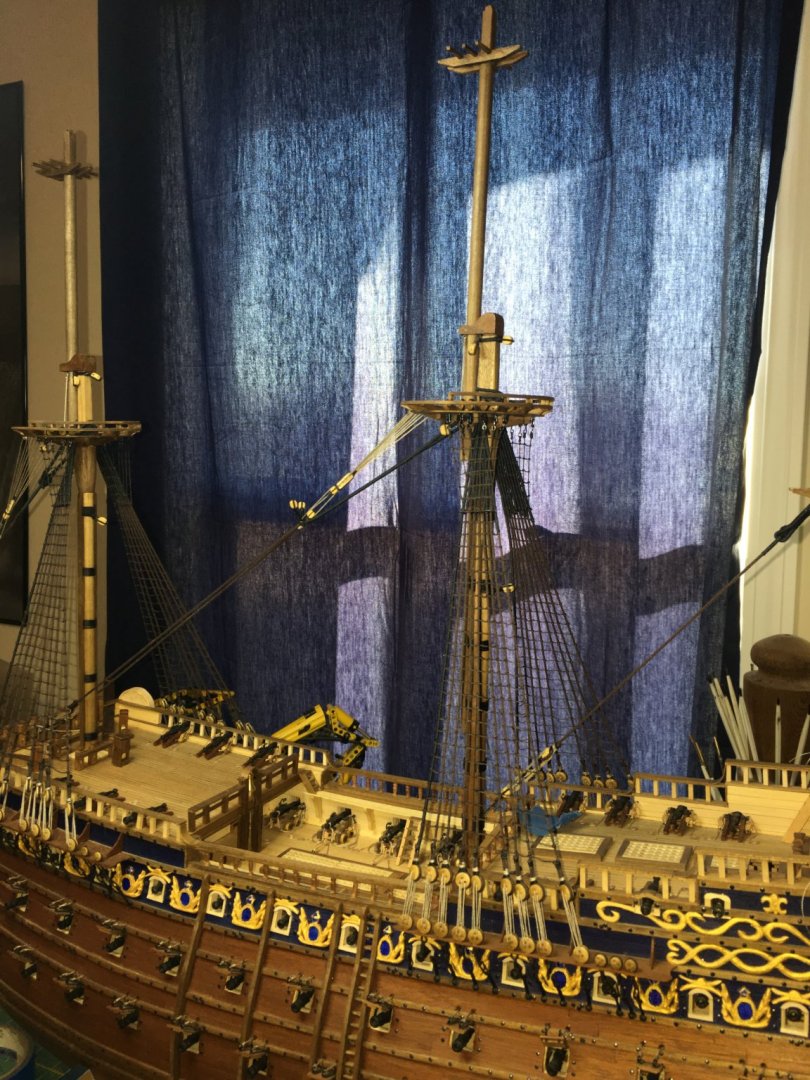
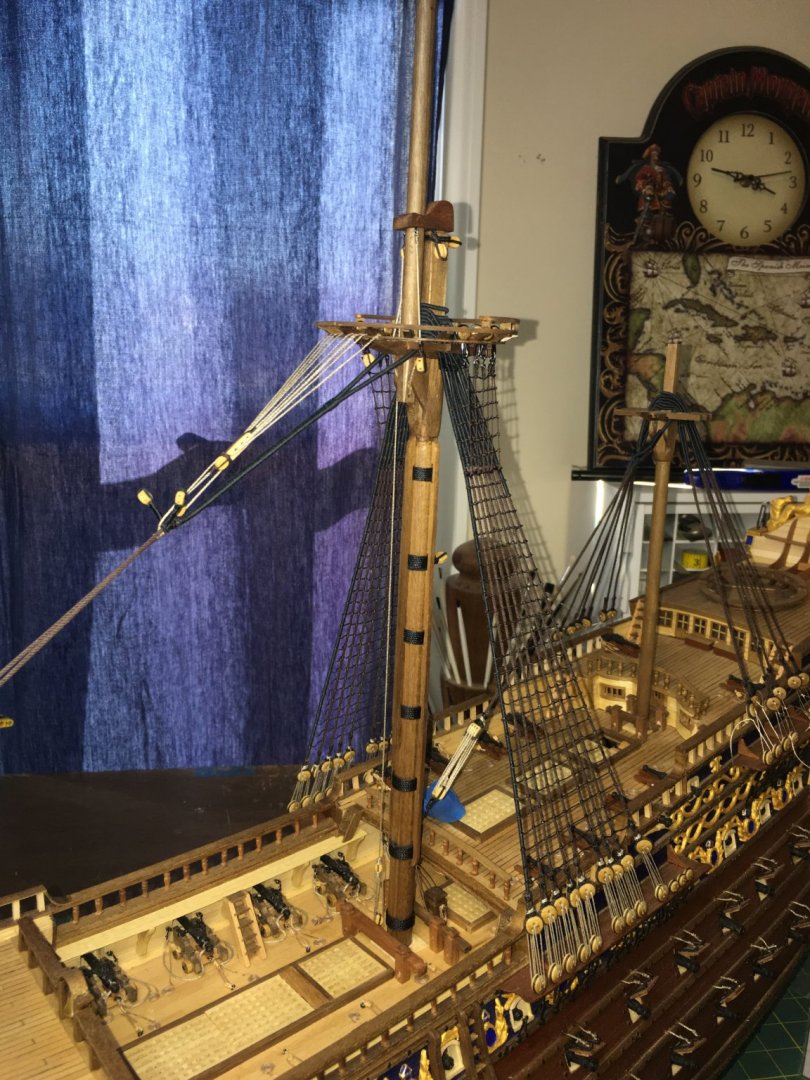
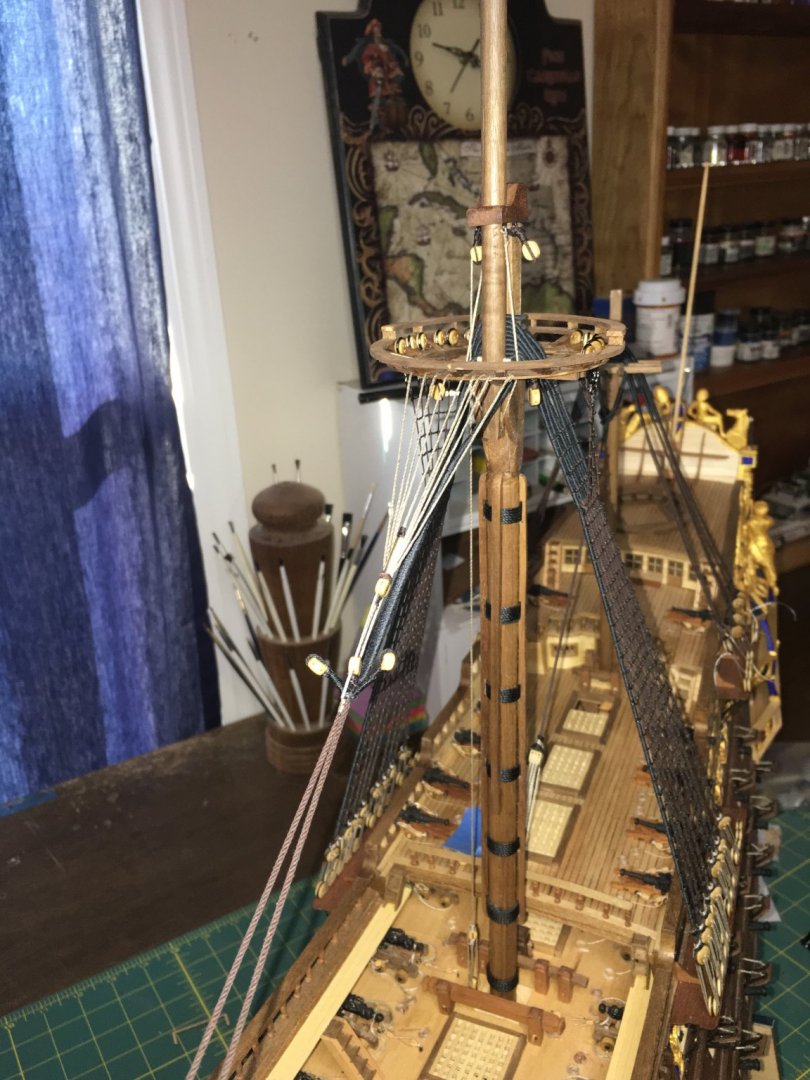
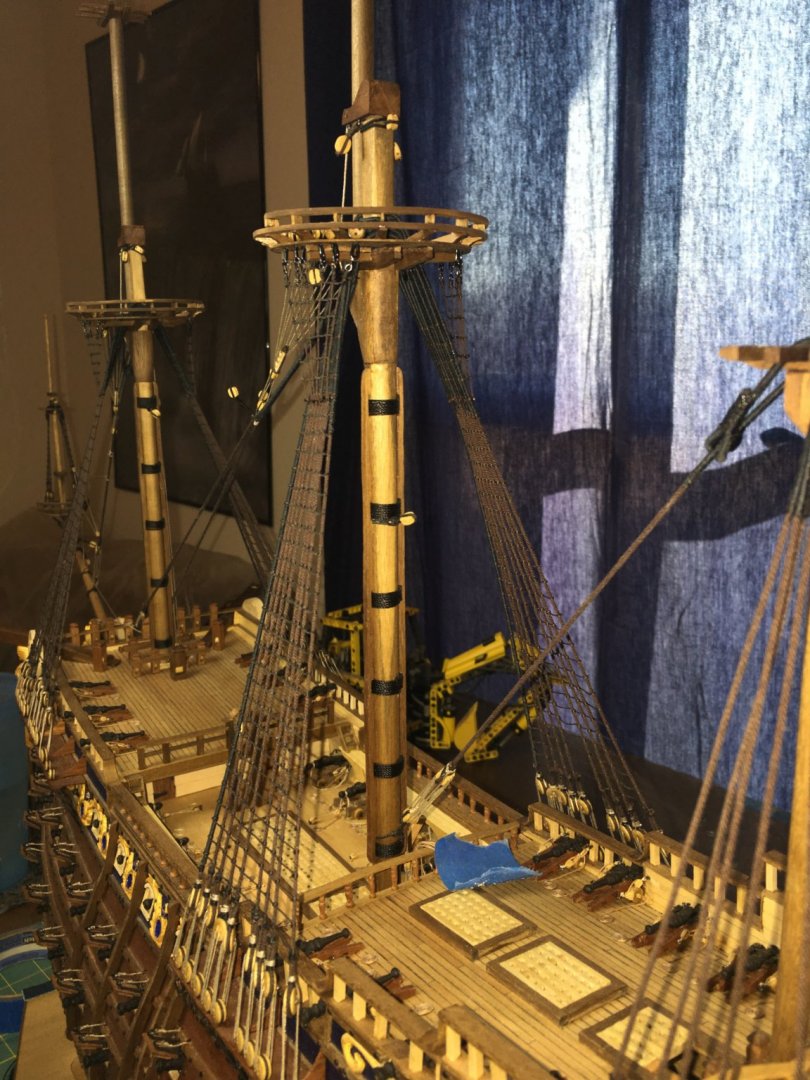
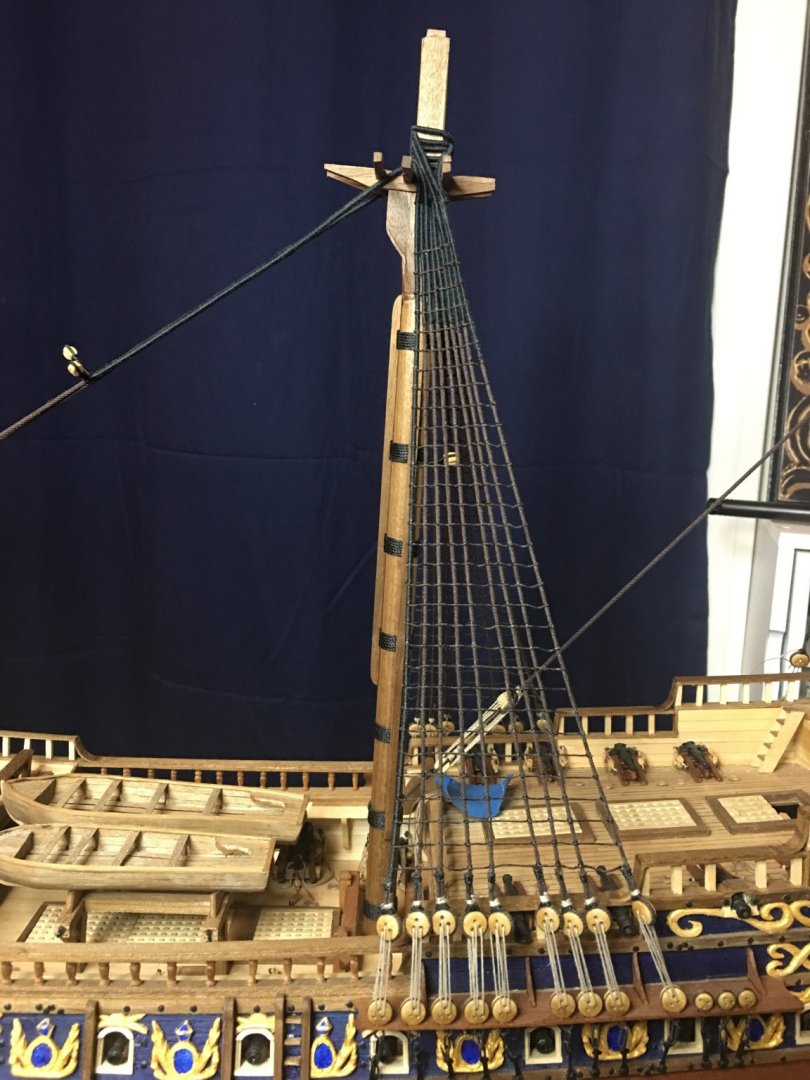
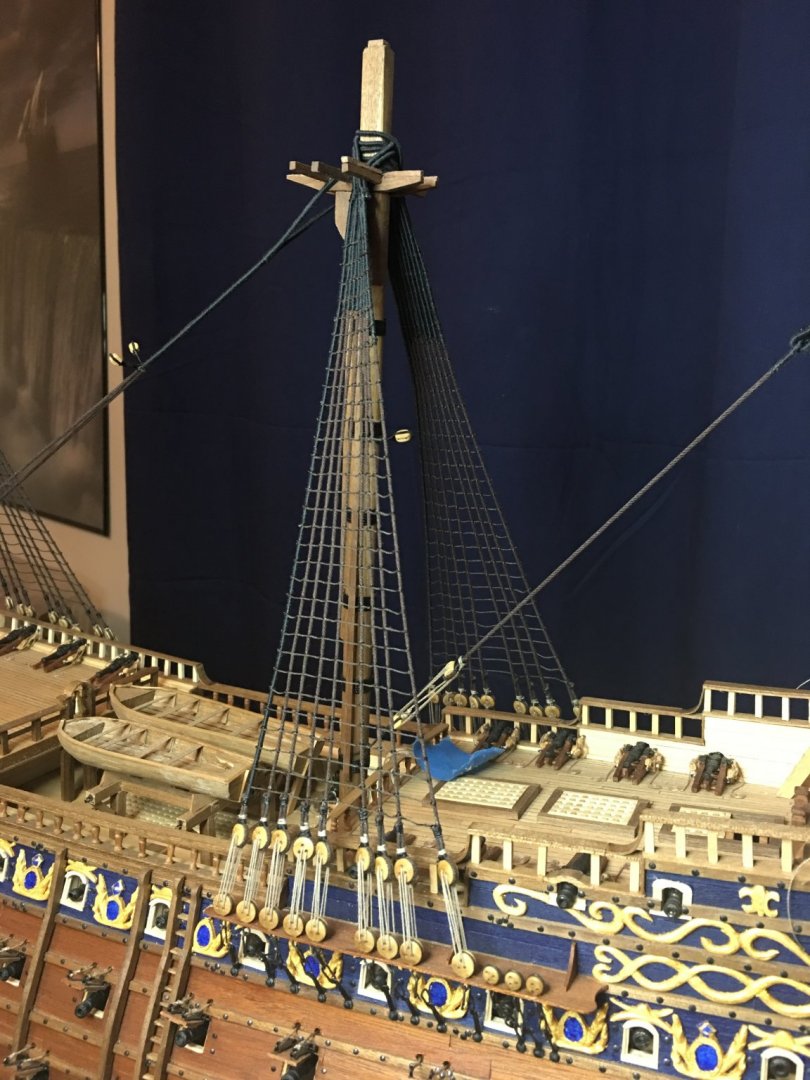
Thanks Tom and thank you to all those who have hit the like button. Honestly, I do a lot of eye balling alignment on the masts. Any side-to-side lean can be easily seen by viewing the masts in line from forward to aft and vice versa, for more exacting, I will use a straight edge and make sure that it touches all three masts as it passes them. A simple square will usually take care of ensuring plumb as well. In looking at alignment of the masts fore and aft (viewed from the side) this gets trickier. Most ships have a rake to their mast of 1-5 degrees (the masts leaned aft so that when the sails were full, they would not pull the masts past 90 degrees vertical). This adds a challenge as a simple square is no longer usable. I will typically fashion a miter gauge out of card stock that is cut to the degree I want my masts set at. I make them for each ship and each mast so that they will fit the build. With deck furniture, gratings etc. it can be hard to get a normal tool in place or to get a true reading off the deck. I will cut the card to fit around and over any deck items and once I have a flush fit, I can draw the angle I want the mast to slope at and cut the card to alignment. After using this to set the lower mast, the upper masts can be aligned using a straight edge. I recommend doing as much of this as possible early on before too much of the deck furniture is in place. Use alignment marks on the deck and masts to help make repositioning easier. To me, the harder part comes in when adding the rigging lines as they can pull masts out of alignment as tension is applied. Work them as evenly as possible, forward and aft, port and starboard and always monitor the opposite side of the one you are working on. I've had to redo plenty of shrouds when I spin the model around and see a mast pulled far to one side.
- 961 replies
-
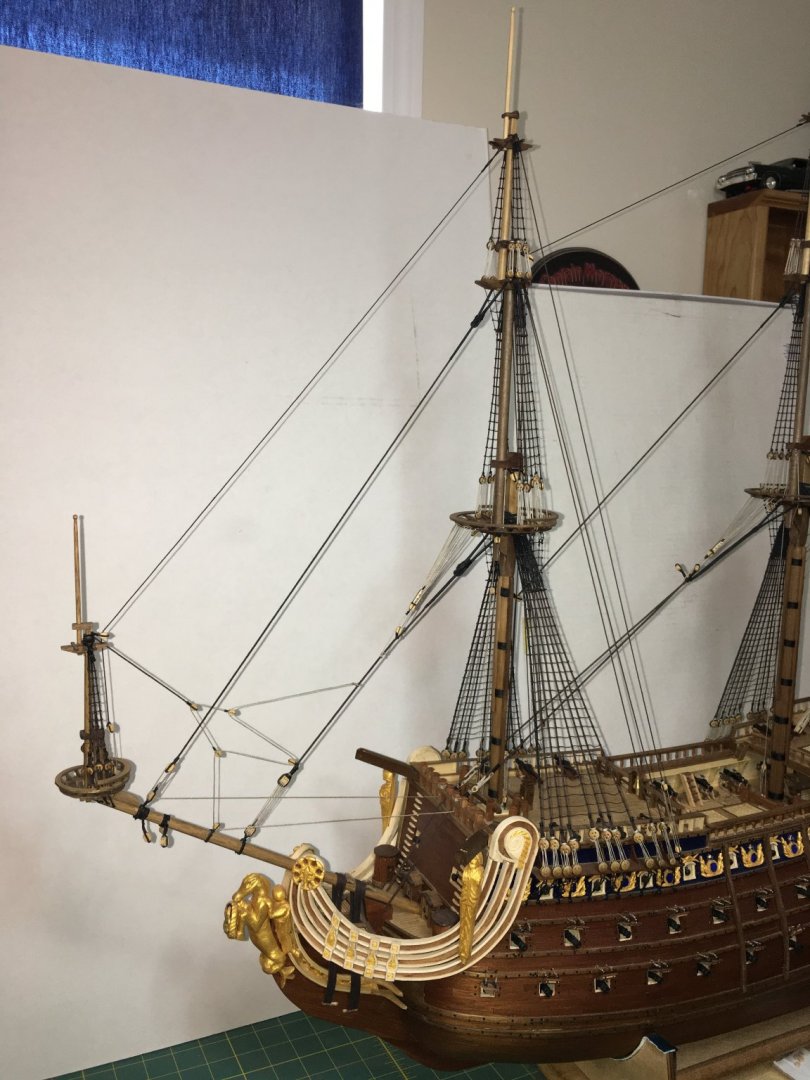
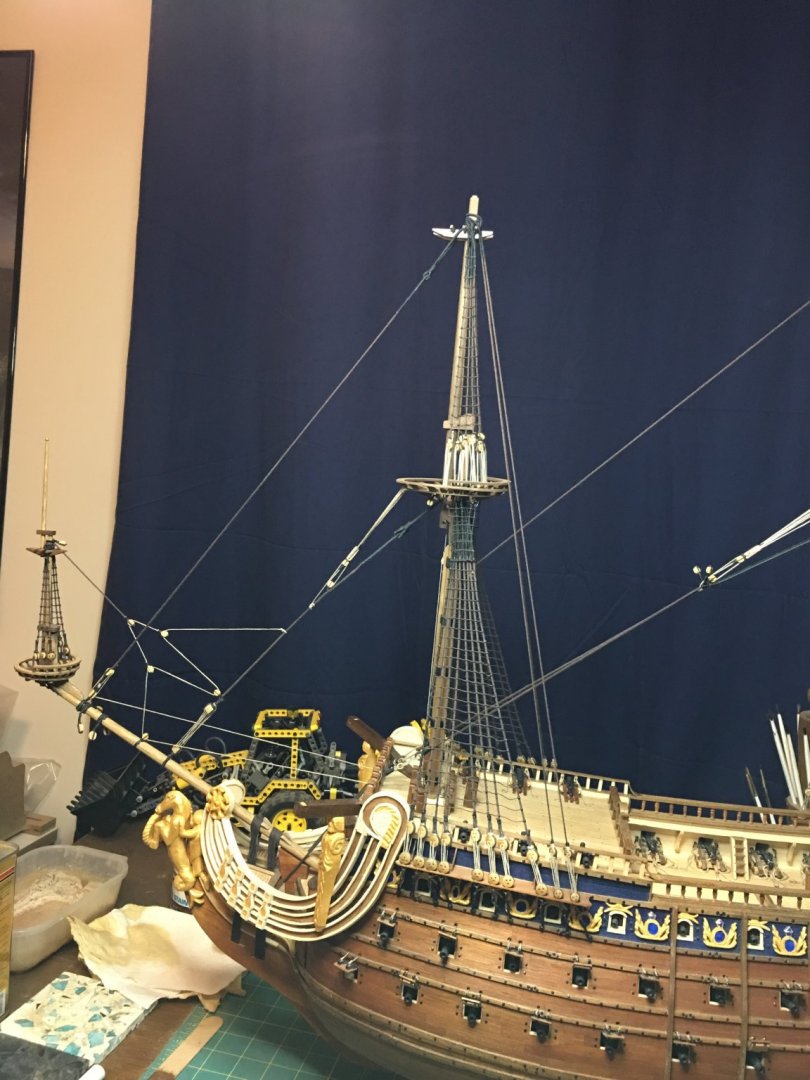
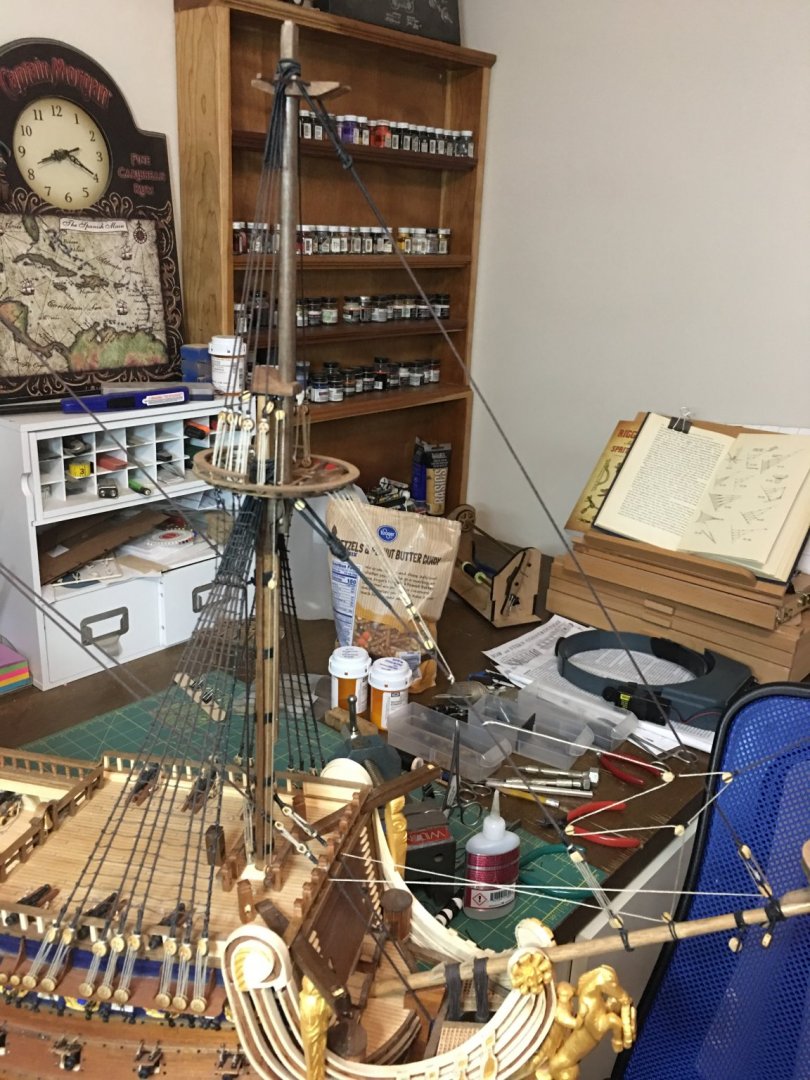
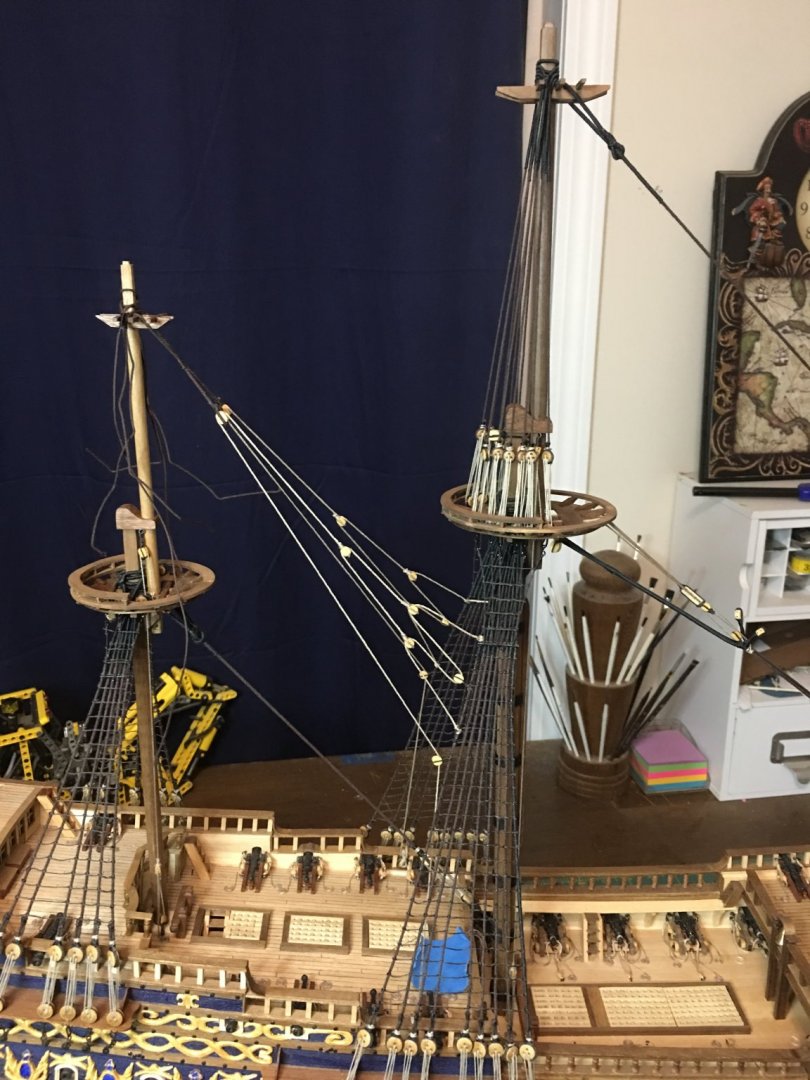
A lot of work for this update. All of the topmast shrouds are complete with ratlines strung and backstays set. Next up up will be work on the topmast caps and then setting the topgallant masts as well as topping out the mizzen with its flagstaff.
- 961 replies
-
That motto banner is incredible! I like what you are planning on doing with the rudder head as well. Some great details to start off the stern decorations.
- 2,432 replies
-
- heller
- soleil royal
-
(and 9 more)
Tagged with:
-
I think I will echo what Druxey and Mark have said in that I don't think you are posting too much. If they were not subject related postings I could understand, but the researched information and detailed experimentation's along with detail construction notes is making this one of the most informative build logs on the site for people creating any vessel of this era or just for good tips on build practices. I say keep it up!
- 2,432 replies
-
- heller
- soleil royal
-
(and 9 more)
Tagged with:
-
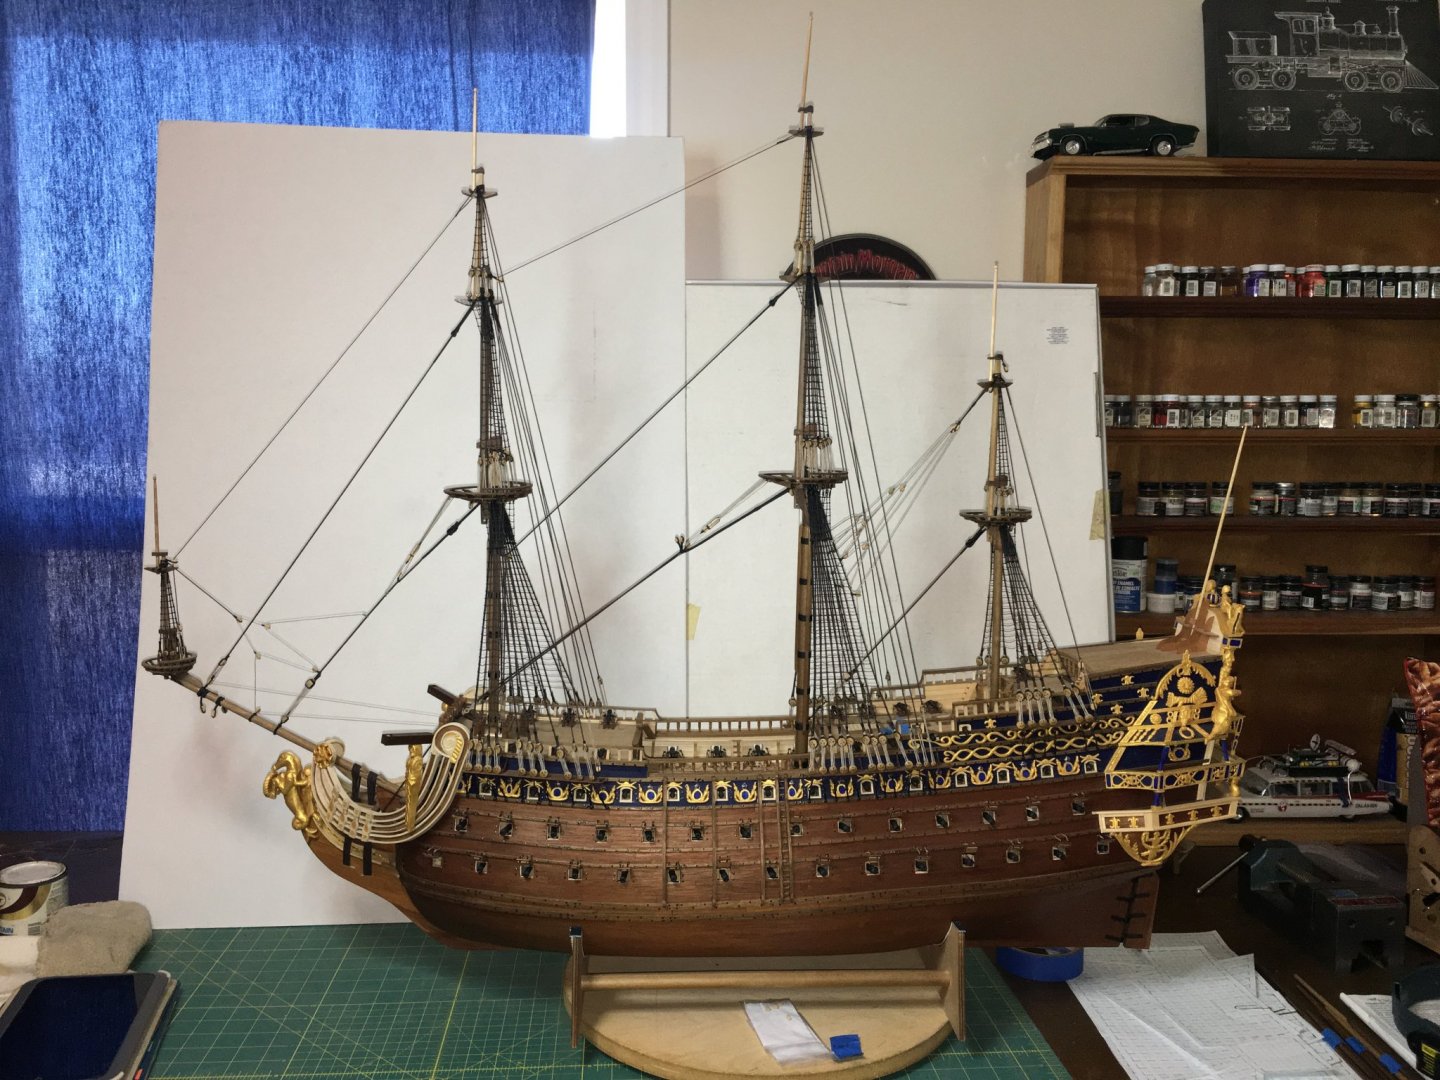
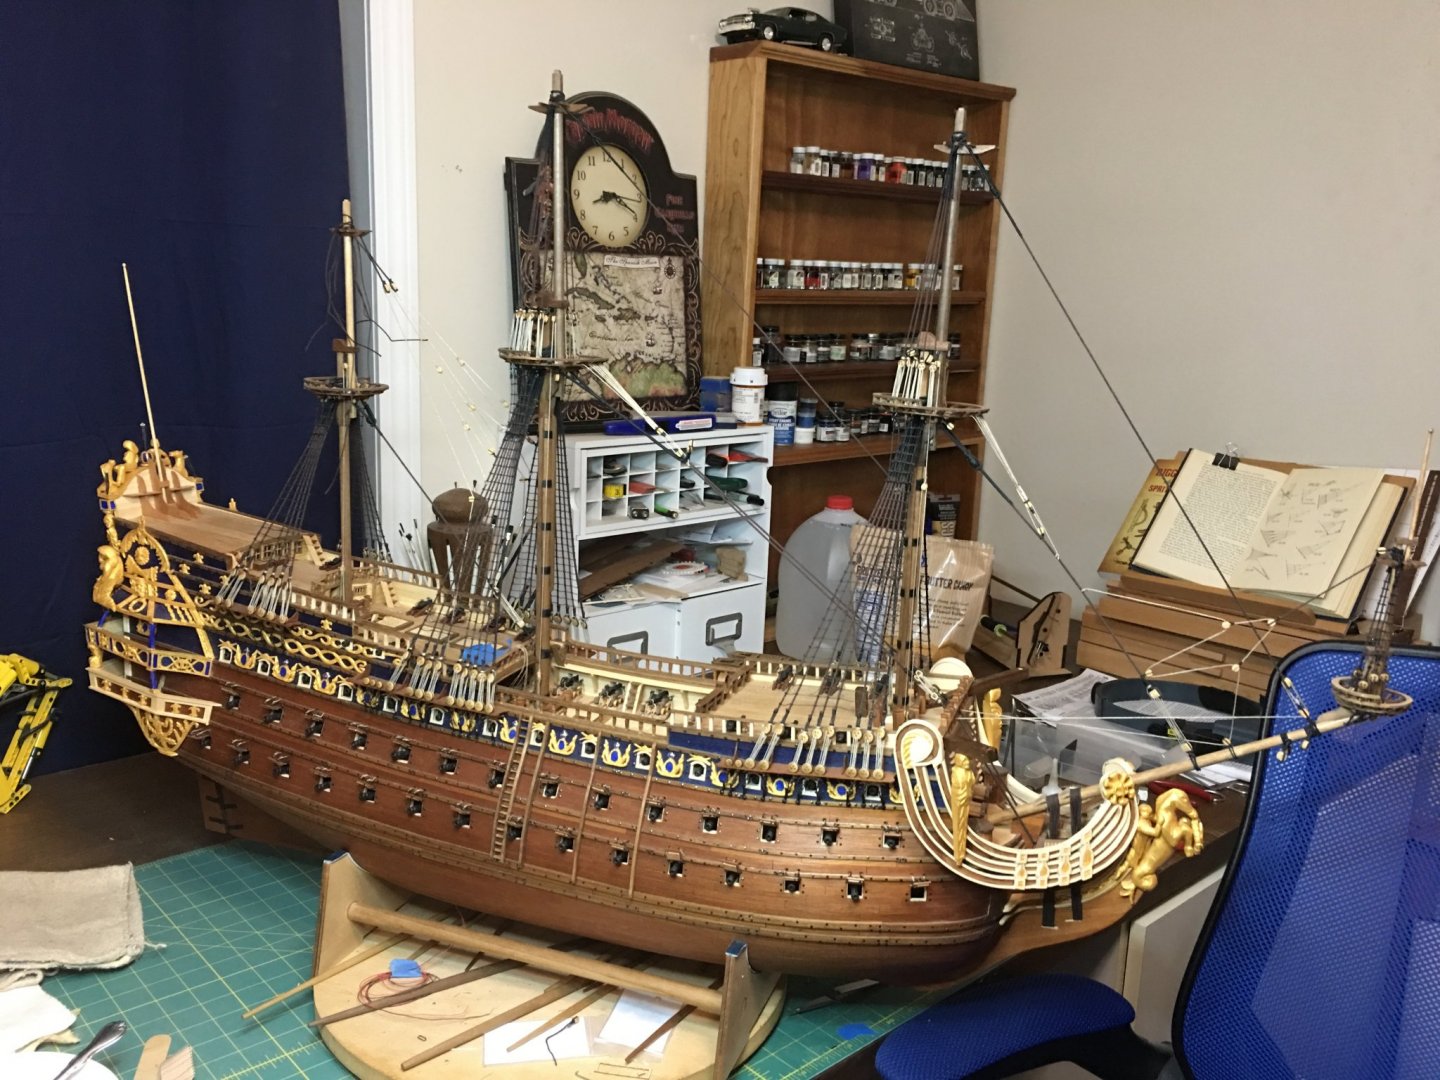
Sorry for the delay in responding and updates, I’ve kept meaning to get on here and then would get distracted. Thank you all for the likes and comments. As always, they are welcome and encouraging. As for her size, she is approximately 42 inches long, and when topped out she will be 36 and inches tall with a width at the longest yard of 18 inches. This truly is a massive model that I have yet to decide where her final berth will be... A problem I will hopefully have to tackle in 2020. This update brings topmast work. Fore stays are in place on fore main and mizzen with shrouds done on fore and main, mizzen shrouds underway and ratlines to follow.
- 961 replies
-
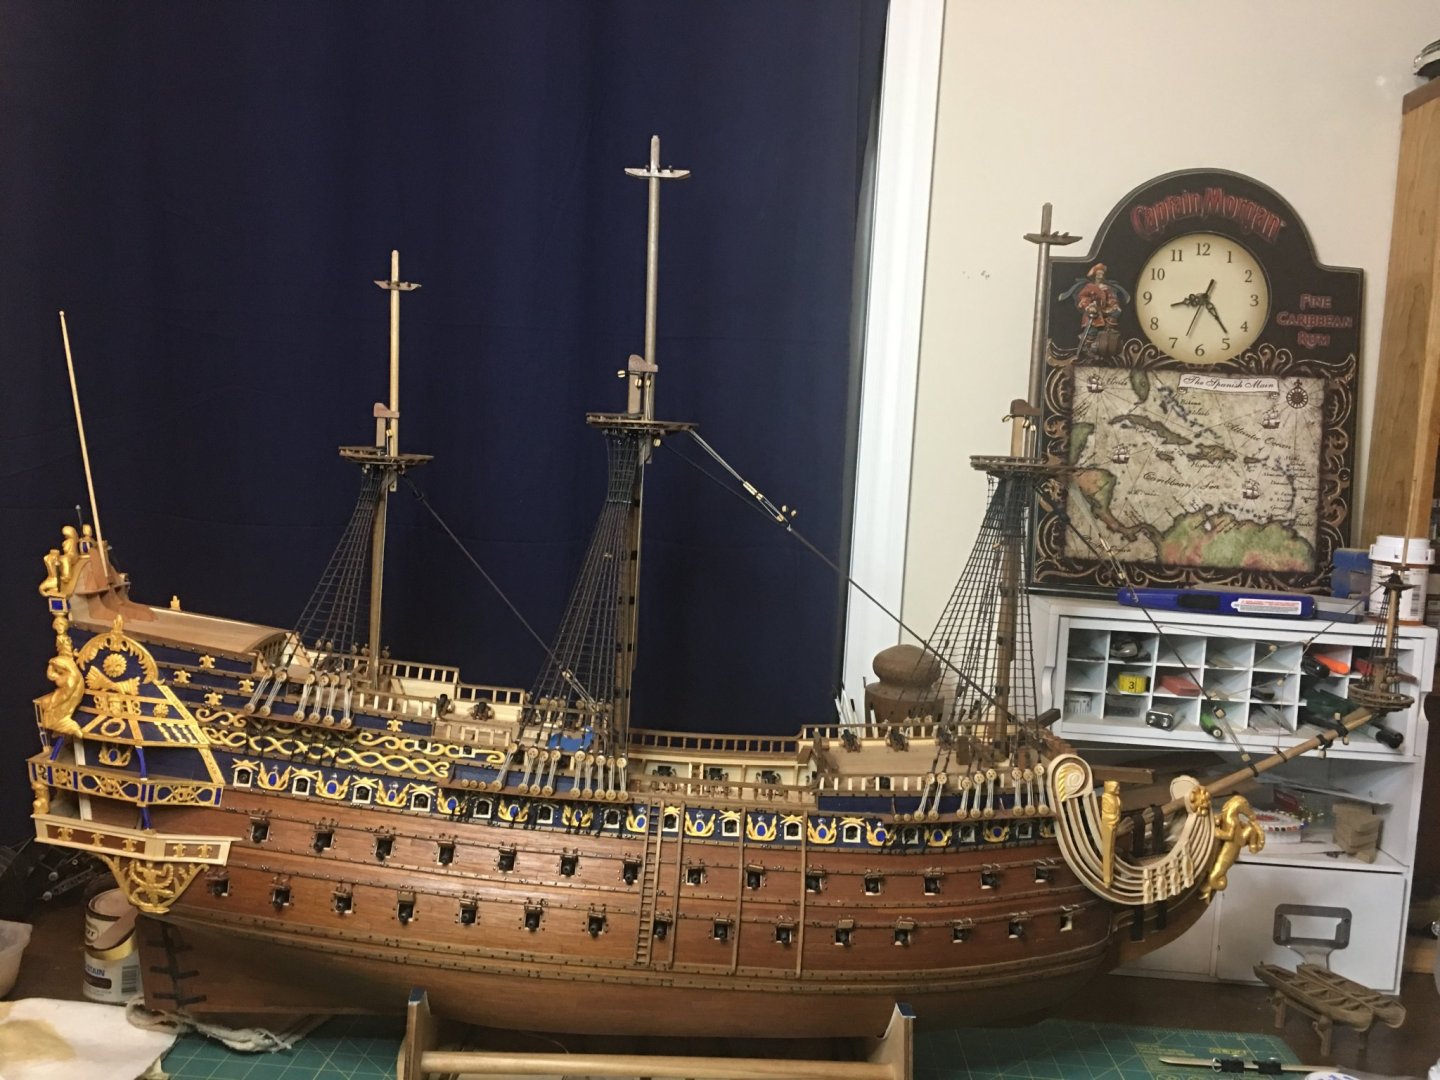
As always, thank you all for the likes, comments and following along. This past week was another big milestone in the build. Not only did I finish the lower mast rigging, the build itself rolled over 3 years and 1,900 hours! This has been a long journey and I know some of you have been with me on it since the beginning. I still have a lot to do, but the end is drawing ever closer. Baring some unforeseen interruption, I'm thinking I might just get her finished in 2020. Well, the weather mostly held, bit windier than I would have liked but sunny and beautiful otherwise, so I was able to get some outside pictures of her. Enjoy! Time for me to get back to making topmast stays.
- 961 replies
-
Good to have you back and that you are healing up. I hope your hand use continues to improve so you can get back to all the things you love to do.
- 786 replies
-
- Royal Louis
- Finished
-
(and 1 more)
Tagged with:
-
A neutral color wood filler or even drywall mud compound will work if you are going to stain the hull. On fine joints, nearly any filler material will work as long as it is something designed to be painted or stained. The nice thing with wood fillers is that if you know the stain color you are going to use, you can usually find a filler that will match.
-
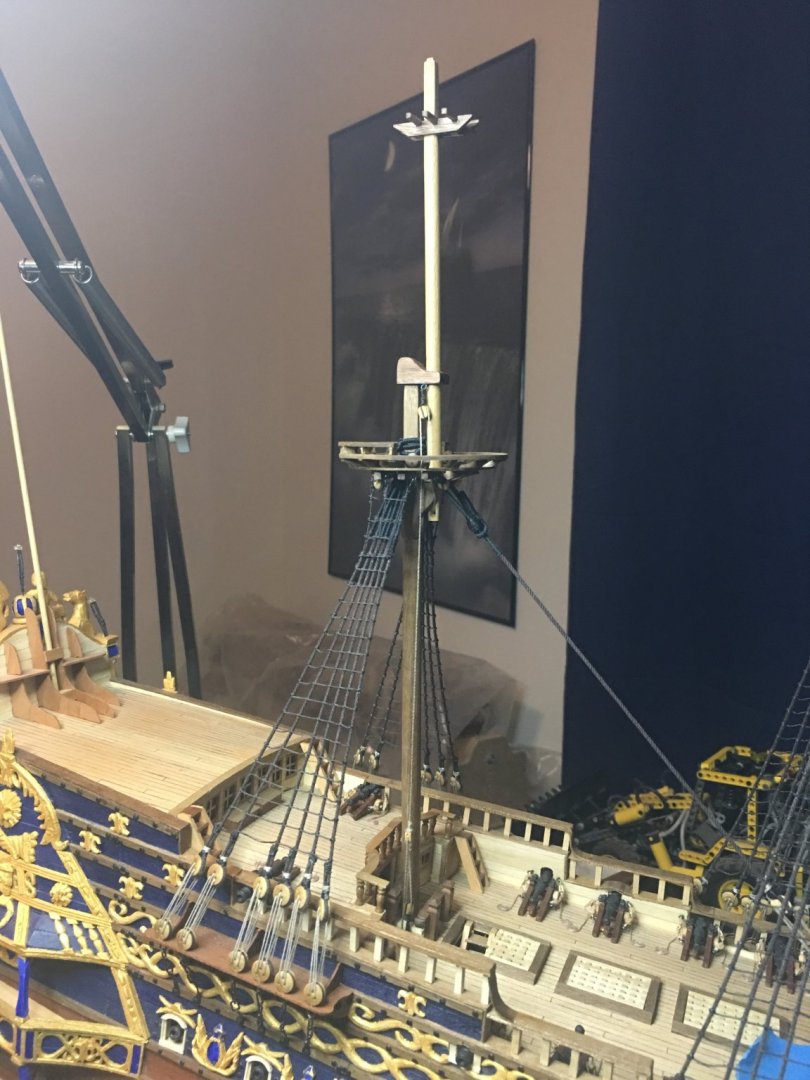
Thank you all for the kind words and all the likes. I’ve completed another stage with the installation of the mizzen mast, top, topmast, shrouds and ratlines. With that, all three mast now stand proud and I can work on the topmast rigging and prep for topgallants. Im hoping to get home from work early enough one evening this week to take some pictures of the entire model as she sits now in natural light. If I can’t get home in time then Saturday looks clear so far. Would like to see her in better lighting than my model room.
- 961 replies
-
Main mast has shrouds, ratlines top and top mast in place. Time to work on the mizzen mast. Fortunately, it is smaller and hopefully will go a bit faster than the fore and main mast did.
- 961 replies
-
It’s been slow going but it is still going. Lower main mast shrouds and ratlines are complete. Working on attaching the deadeyes to the main top as well as the other blocks then I can set the top mast. The cold temperatures have been setting in so staying inside and working on the ship is becoming more and more the thing to do.
- 961 replies
-
I'm so used to seeing wood planks that when you said you were planking, it took me a second to stop looking for wood and see the white plastic plank. I rather enjoy planking myself.It can become monotonous, especially on these larger vessels, but it is also what gives them their shape and seeing that turn out is very rewarding.
- 2,432 replies
-
- heller
- soleil royal
-
(and 9 more)
Tagged with:
-
Your sail work is indeed fantastic. Detailed and clean. I constantly learn more every time you update the build.
- 371 replies
-
I can't say definitively on the black stuff, but most oil base materials would indeed have at least some shiny sheen to them. Even the tar on the ropes and the caulking used would likely have some shininess to it. I think this would vary some depending upon factors of how fresh the application is as well as moisture. The tar used in the rigging would dull faster due to more direct sunlight exposure as well as the effects of the salt air. The black stuff used on the hull would likely maintain a shiny sheen longer due to the water keeping it moist. I think that you will be fine with what you have been doing and am wondering if the camera isn't causing more of a shine than what is really there?
- 2,432 replies
-
- heller
- soleil royal
-
(and 9 more)
Tagged with:
-
Be glad to cover those costs. The research you have been doing will help out in vast ways not only S.R. builders but any ship model of the period. PM me if when it happens. In the meanwhile, I will continue to sit here learning and enjoying the show!
- 2,432 replies
-
- heller
- soleil royal
-
(and 9 more)
Tagged with:
-
Truly incredible. It is a rare thing to see this much framing work done on a plastic build as usually (and I or one am guilty of it) the builder simply slaps the two hull halves together and closes the seams with putty as needed. The customization work takes place with the guns, deck furniture and rigging. The hull is accepted as is and other than the paint job, there is nothing unique about it. What you are doing in changing the entire structure of a molded plastic hull is such a rarity that it is a unique joy to watch as well as inspiring. If you ever get around to publishing that book or even if you simply compile your notes and images from this log and wish to sell them, let me know as that would be something worth buying.
- 2,432 replies
-
- heller
- soleil royal
-
(and 9 more)
Tagged with:
-
Great job indeed. She turned out extremely lovely and will be a great display piece.
- 131 replies
-
- santa lucia
- panart
-
(and 1 more)
Tagged with:
-
Great find indeed! I knew they were creating 3D images of the Vasa for research and preservation but I did not know they were available to view or where to do so. That information will be invaluable for any builders of this great ship. Thank you for sharing the link!
- 61 replies
-
- billing boats
- vasa
-
(and 1 more)
Tagged with:
-
Your tops are turning out very nice. Well done on the modifications to the kits version.
- 61 replies
-
- billing boats
- vasa
-
(and 1 more)
Tagged with:
About us
Modelshipworld - Advancing Ship Modeling through Research
SSL Secured
Your security is important for us so this Website is SSL-Secured
NRG Mailing Address
Nautical Research Guild
237 South Lincoln Street
Westmont IL, 60559-1917
Model Ship World ® and the MSW logo are Registered Trademarks, and belong to the Nautical Research Guild (United States Patent and Trademark Office: No. 6,929,264 & No. 6,929,274, registered Dec. 20, 2022)
Helpful Links
About the NRG
If you enjoy building ship models that are historically accurate as well as beautiful, then The Nautical Research Guild (NRG) is just right for you.
The Guild is a non-profit educational organization whose mission is to “Advance Ship Modeling Through Research”. We provide support to our members in their efforts to raise the quality of their model ships.
The Nautical Research Guild has published our world-renowned quarterly magazine, The Nautical Research Journal, since 1955. The pages of the Journal are full of articles by accomplished ship modelers who show you how they create those exquisite details on their models, and by maritime historians who show you the correct details to build. The Journal is available in both print and digital editions. Go to the NRG web site (www.thenrg.org) to download a complimentary digital copy of the Journal. The NRG also publishes plan sets, books and compilations of back issues of the Journal and the former Ships in Scale and Model Ship Builder magazines.


