Primey
-
Posts
32 -
Joined
-
Last visited
Recent Profile Visitors
308 profile views


-
 tasmanian reacted to a post in a topic:
Cutty Sark by Primey - Arkit - Scale 1:78
tasmanian reacted to a post in a topic:
Cutty Sark by Primey - Arkit - Scale 1:78
-
tasmanian reacted to a post in a topic:
Cutty Sark by Primey - Arkit - Scale 1:78
-
Primey reacted to a post in a topic:
Cutty Sark by Nenad
-
cristikc reacted to a post in a topic:
Cutty Sark by Primey - Arkit - Scale 1:78
-
Elijah reacted to a post in a topic:
Cutty Sark by Primey - Arkit - Scale 1:78
-
Elijah reacted to a post in a topic:
Cutty Sark by Primey - Arkit - Scale 1:78
-
Elijah reacted to a post in a topic:
Cutty Sark by Primey - Arkit - Scale 1:78
-
Elijah reacted to a post in a topic:
Cutty Sark by Primey - Arkit - Scale 1:78
-
Elijah reacted to a post in a topic:
Cutty Sark by Primey - Arkit - Scale 1:78
-
Elijah reacted to a post in a topic:
Cutty Sark by Primey - Arkit - Scale 1:78
-
popeye the sailor reacted to a post in a topic:
Cutty Sark by Primey - Arkit - Scale 1:78
-
Primey reacted to a post in a topic:
Cutty Sark by Nenad
-
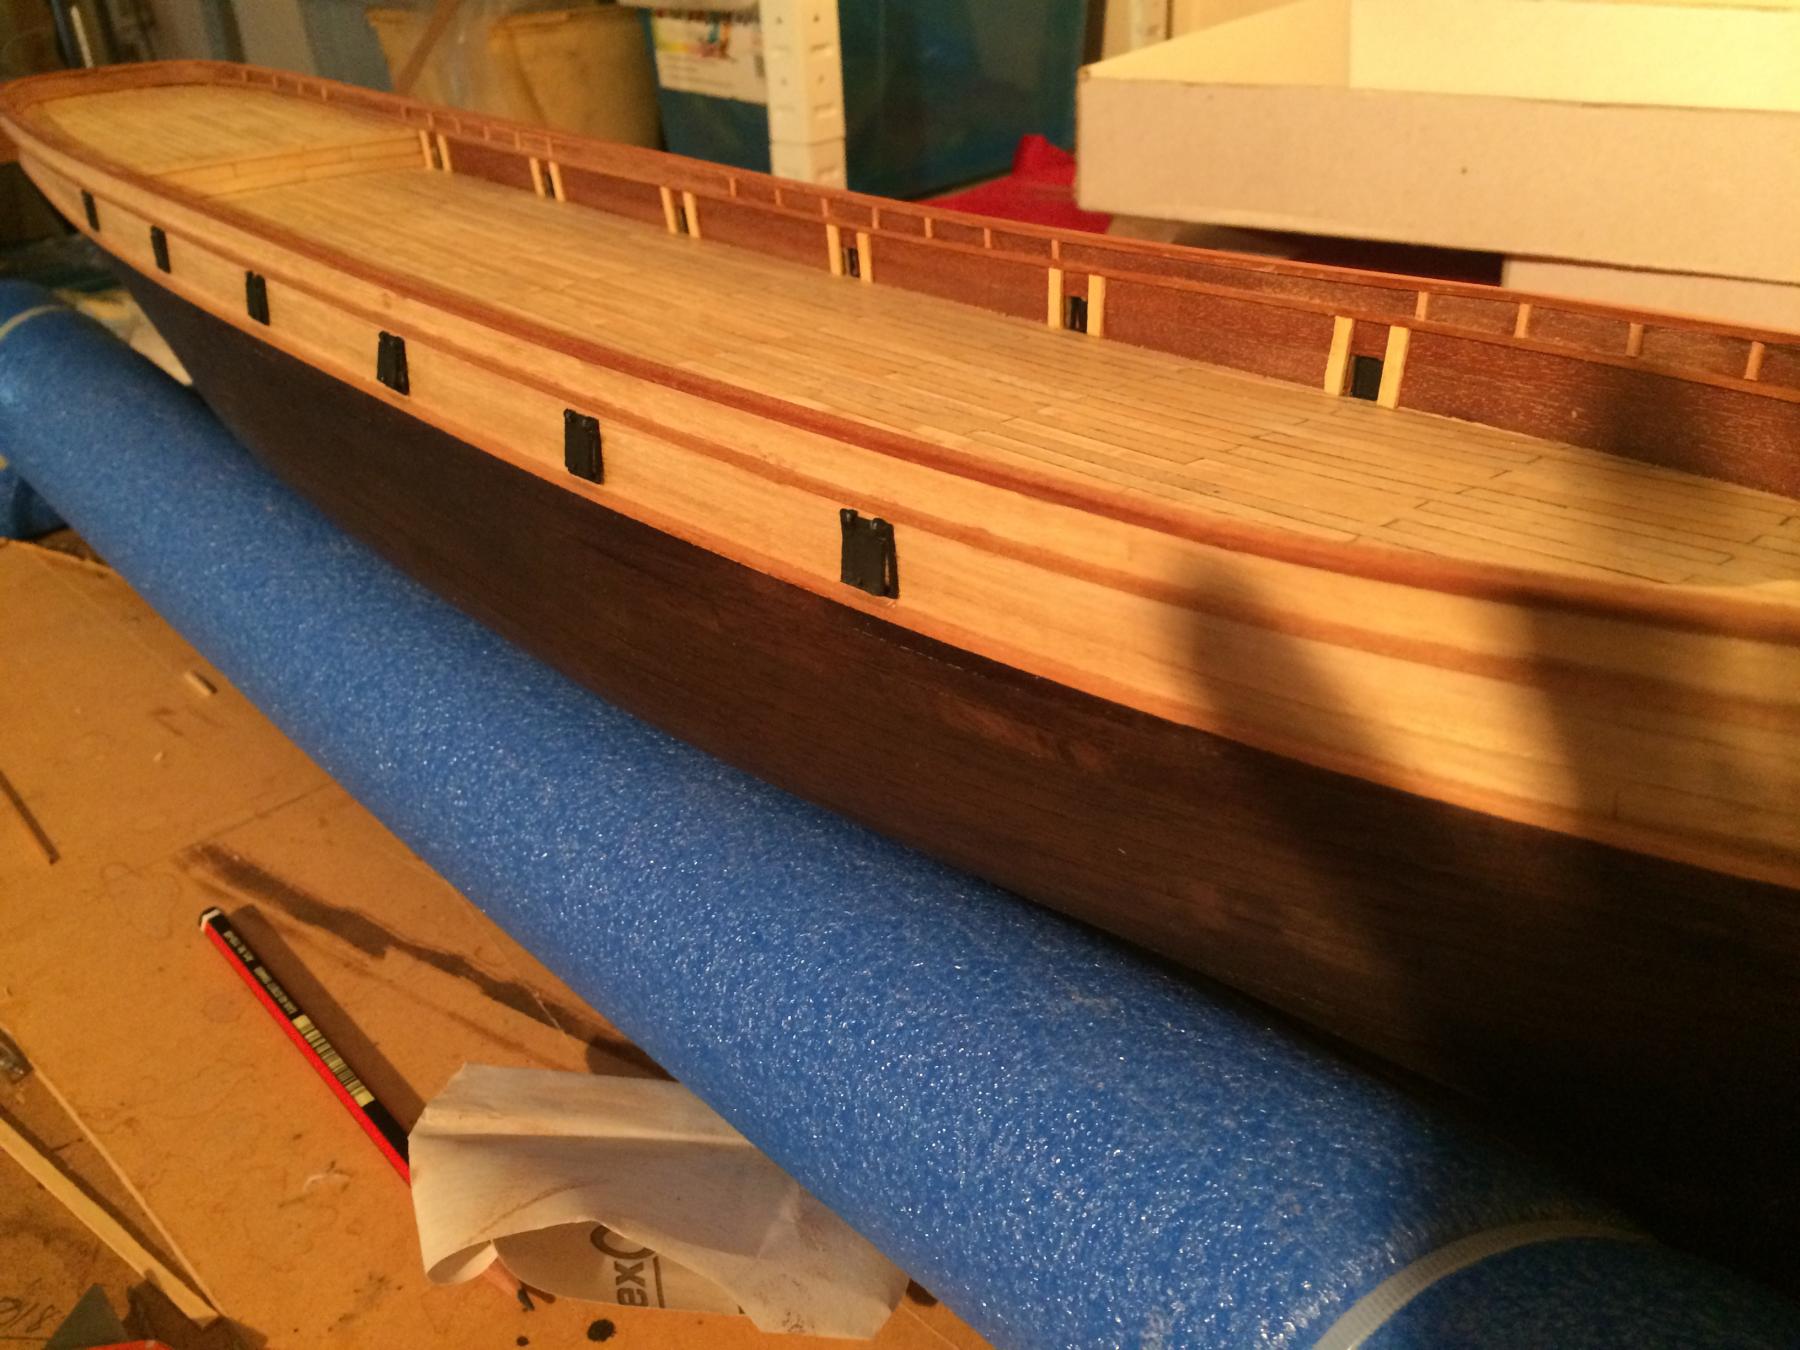
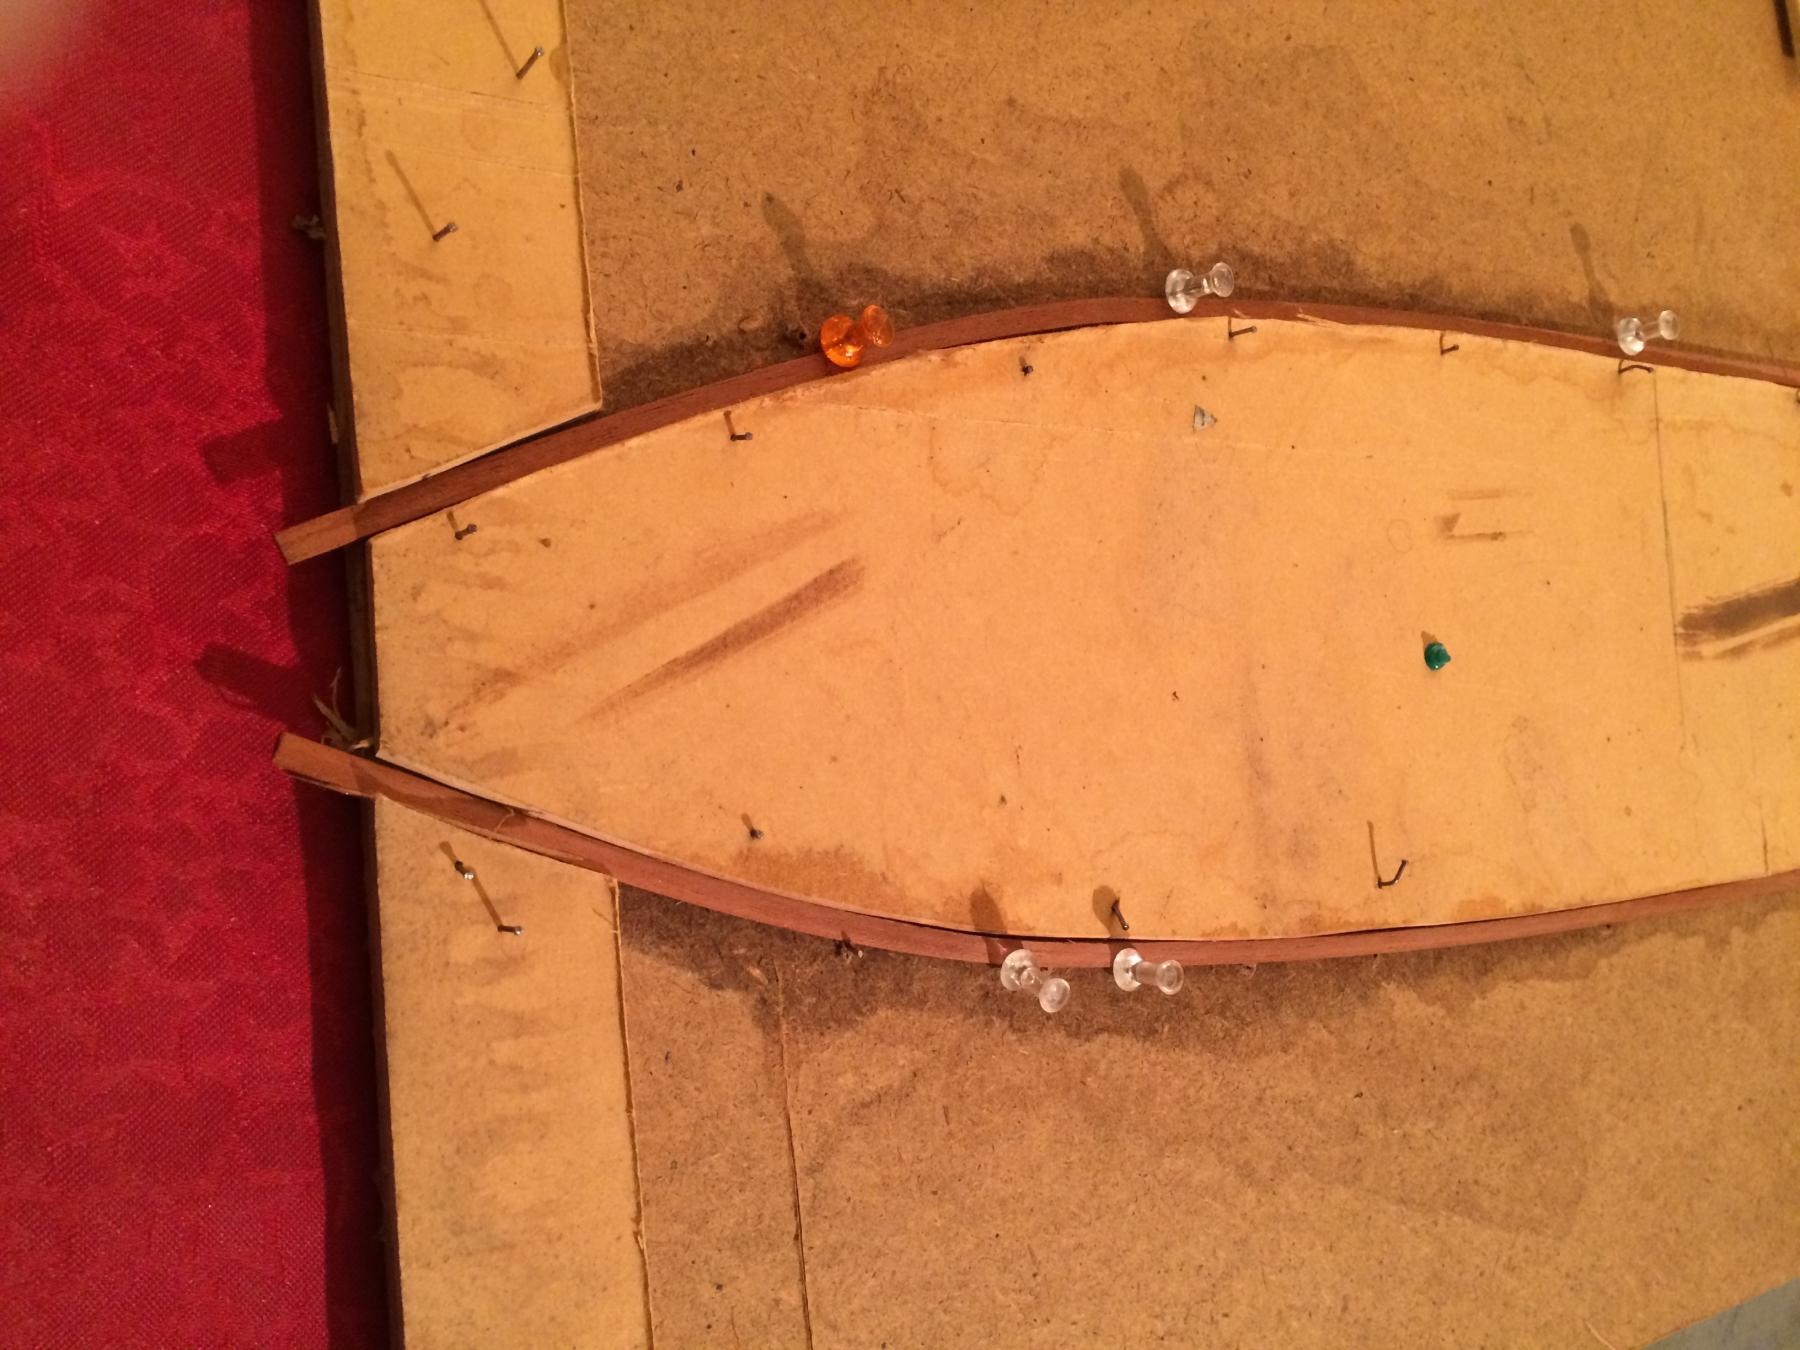
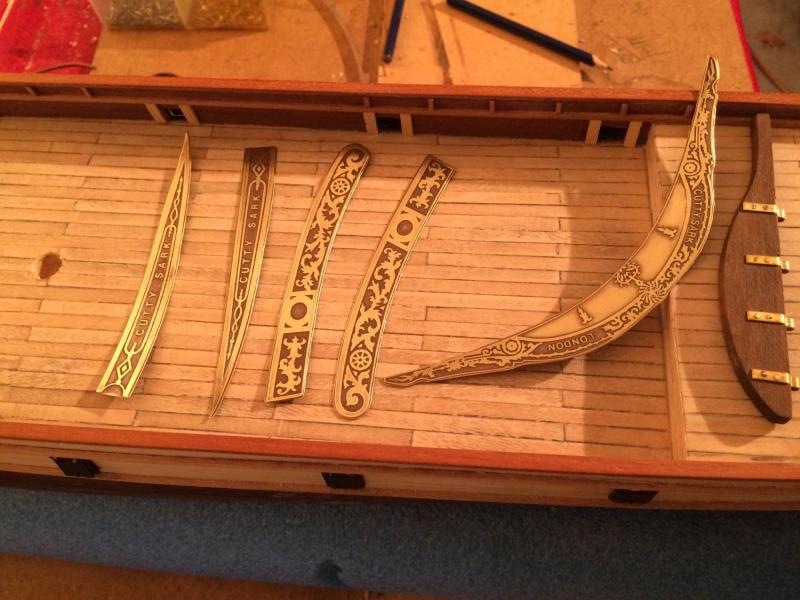
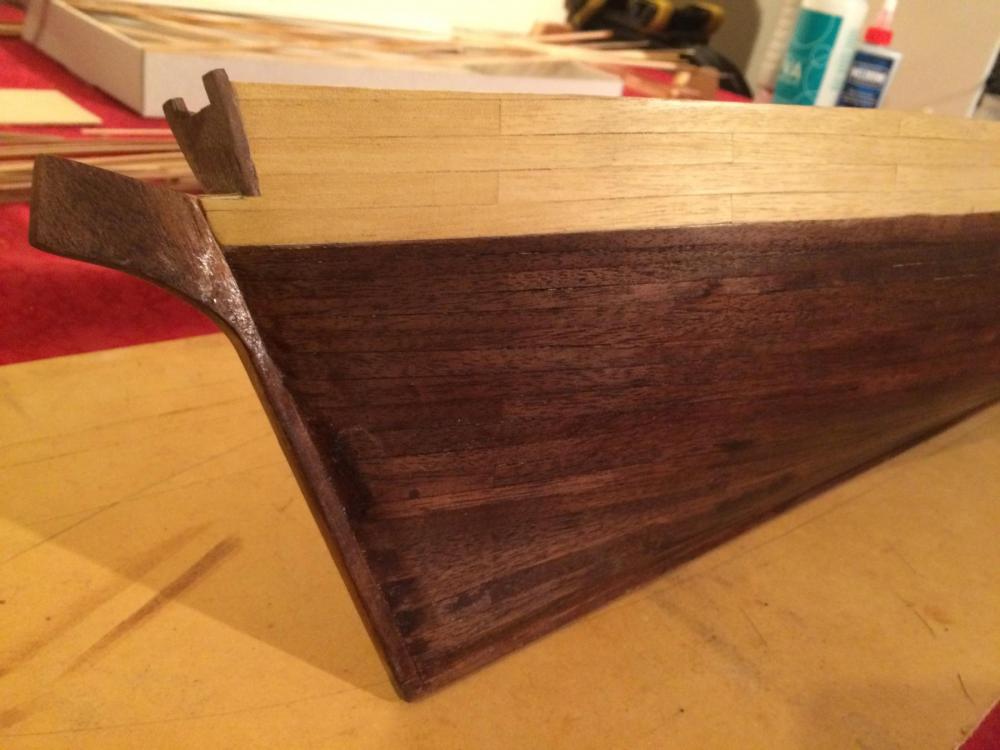
 Drilled mast holes, cut out and polished up prow and stern decorations. Started on belaying pin racks but do not have a small enough drill bit. The pin rack wood is only is 3mm wide 13cm long, need 25 holes so probably only 0.5mm or 1mm drill bit. So purchased both on ebay. And to those looking forward to the copper, not for me I'm afraid. I tried but the copper has beaten me so time to move on.
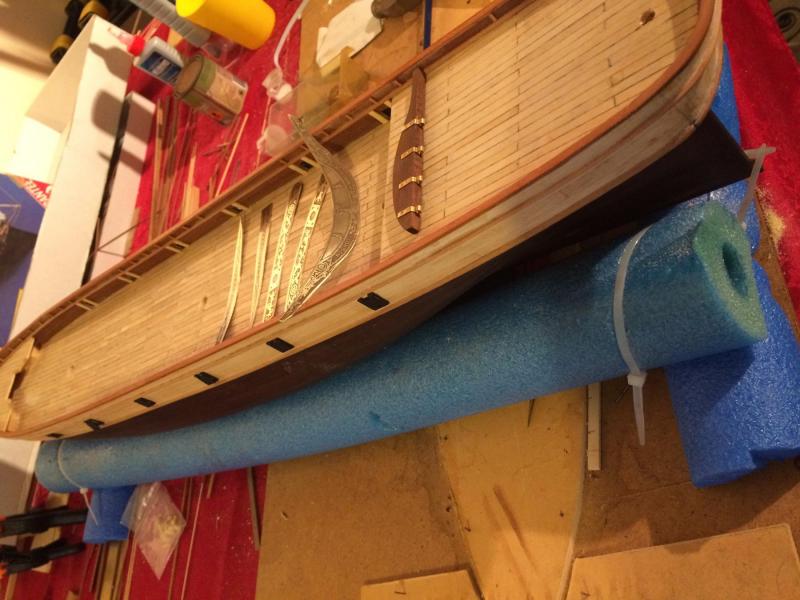

-
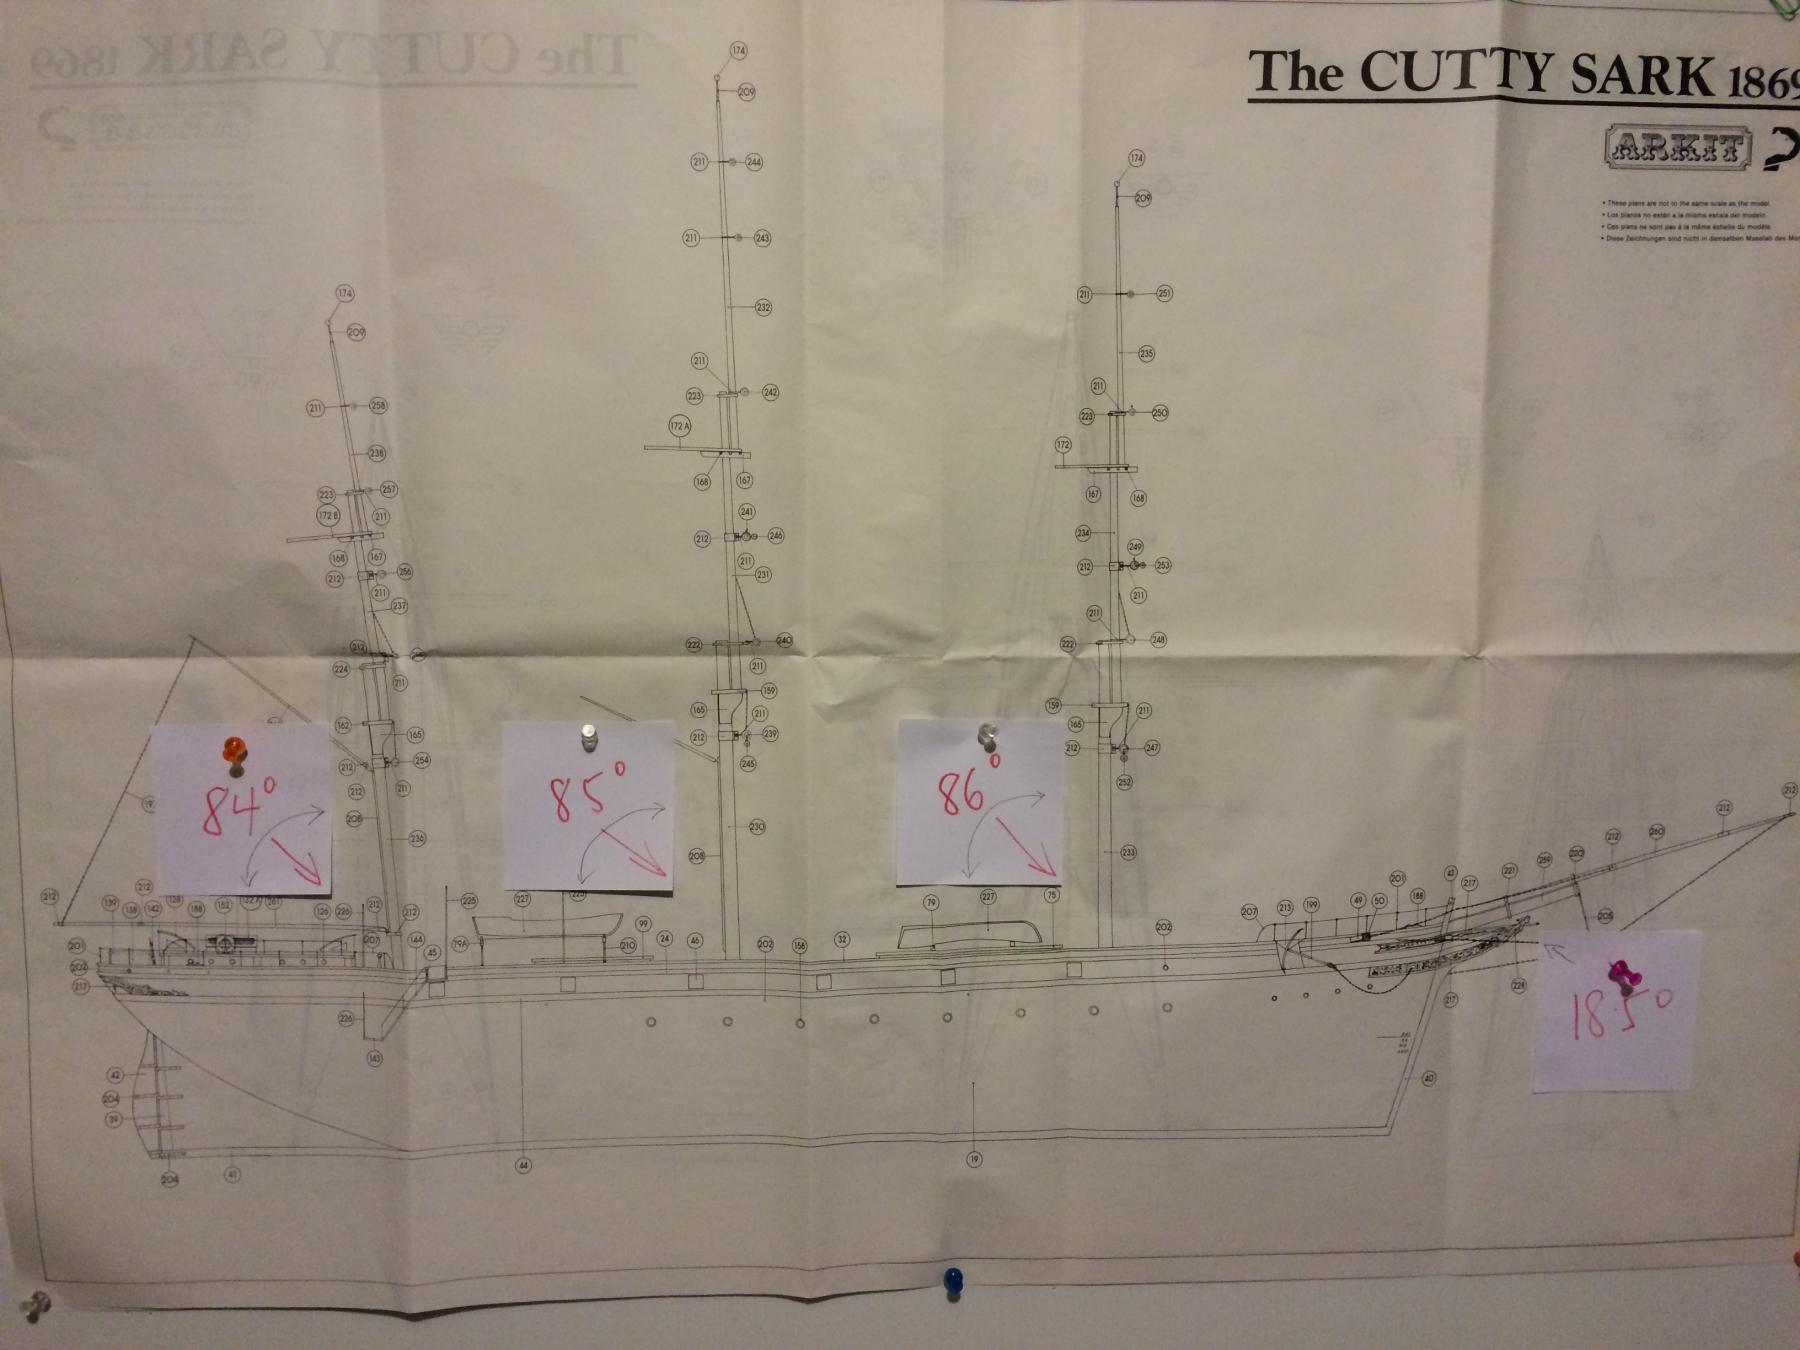
Thanks Nenad According to the protractor, Campbell's plan shows, 85°,86° and 85° to the horizontal. So basically all the same angle. Probably hard to drill the a perfect 85° anyway. Cheers Primey
-
Thanks Hof Protractor angles are 90°,88° and 82° 82° seems a tad extreme. At the end of the day will use my own judgement as you suggest. Thanks again Primey p.s. nice work on your build.
-
Thanks HOF Masts are 10mm base, 8mm and 6mm. Looking at diagram again the rear mast has quite lean. I might check with protractor tomorrow So, I think this is correct. Just making sure before I start drilling Cheers Primey

-
Hi All Just a question on the masts, I have seen pictures where the masts recline slightly, maybe at an angle 5 degrees (or less) to the deck, others appear to be exactly 90 degree to the deck. because my instructions are silent on this (and really just show perpendicular) , are there any rules here? I'm sure it has been asked and answered before and I have tried to find/search for the answer, so sorry for a repeated question. Thanks Primey
-
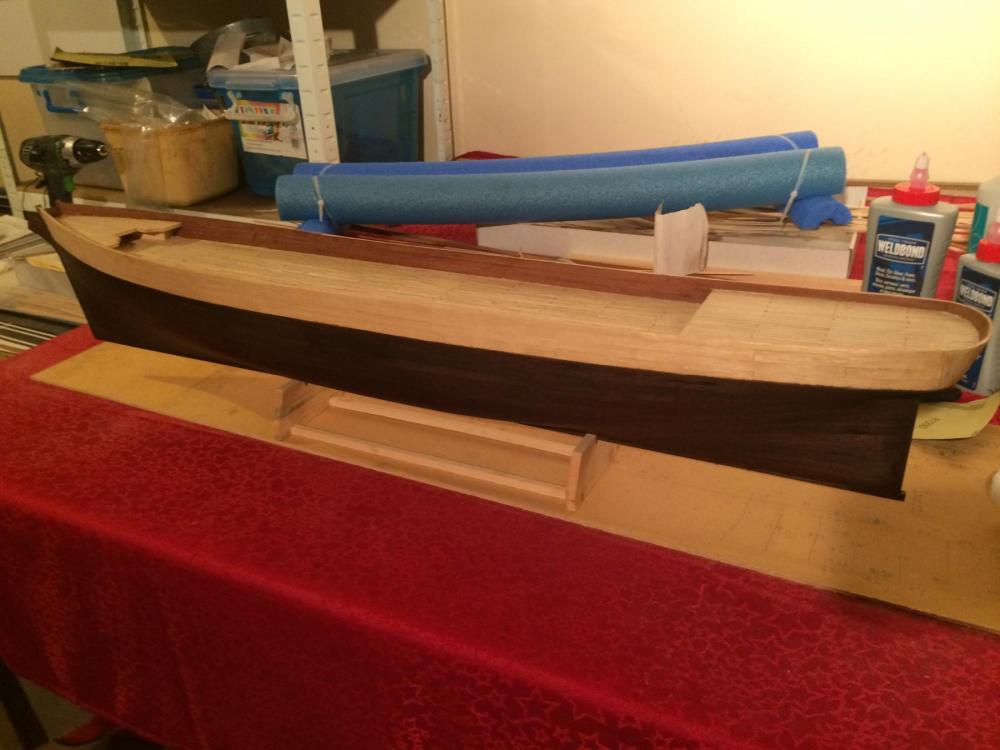
Small steps forward. Next drill holes for masts and bowsprit and prow and stern decorations.


-
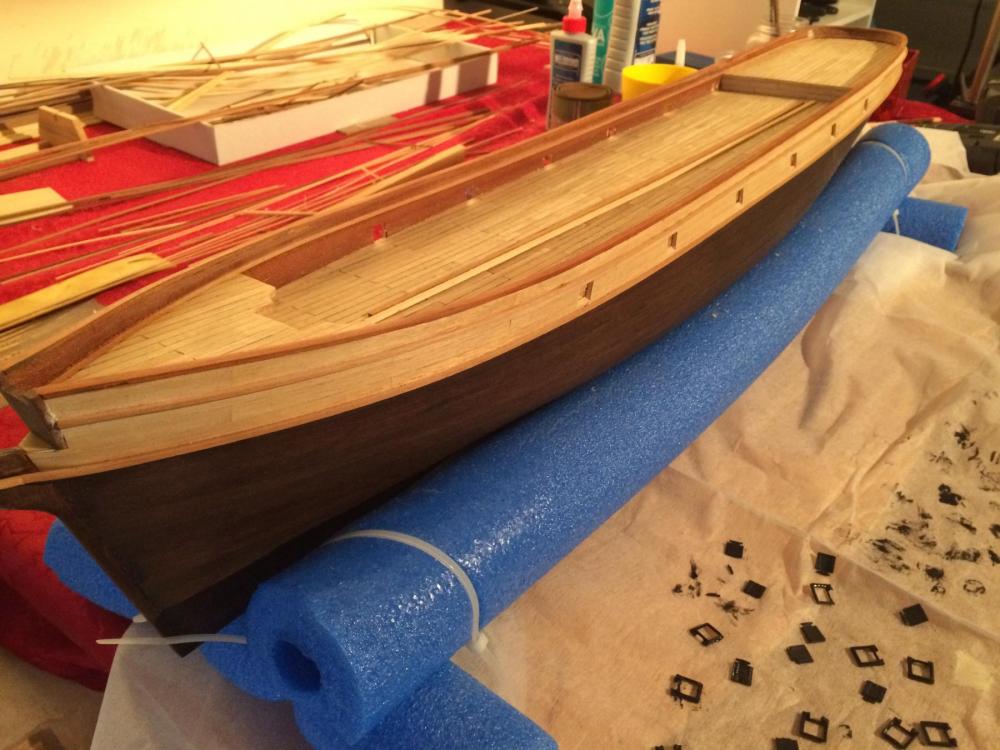
Thanks for your comments Bob and David. I have been struggling with the coppering, not just making plates but trying to visualise the 3 hull colours. The veneer does look good, and the copper plates I've made are "not so good". I am using tape but just can't seem to produce plates that look realistic, maybe using the wrong tools. looking at the finished model on the box I would say this model is meant to be artistic rather than historical. Anyway I'm ploughing on and maybe come back to the coppering later - procrastinate a little longer. Procrastination is something best put off until tomorrow.
-
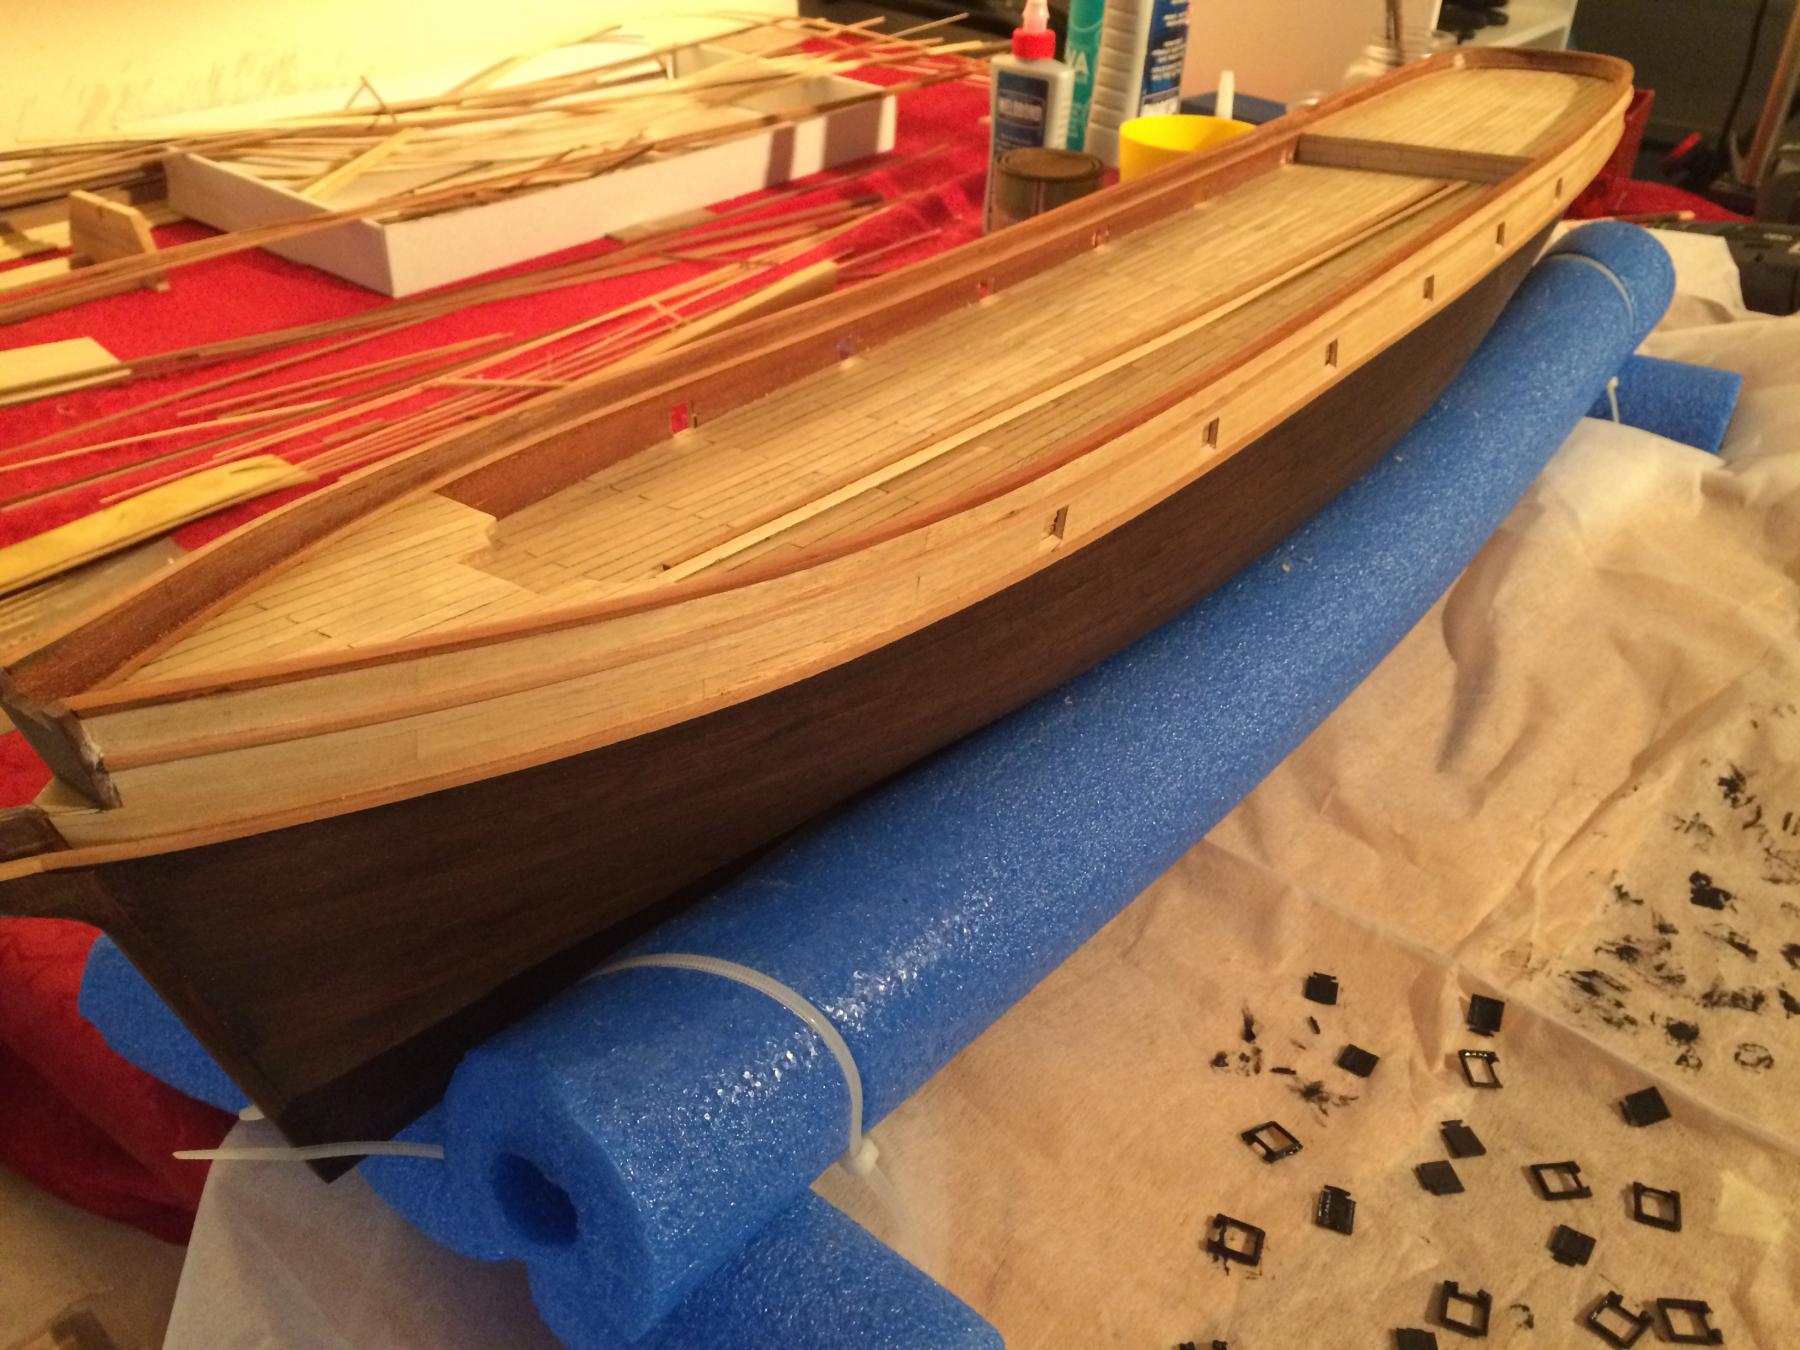
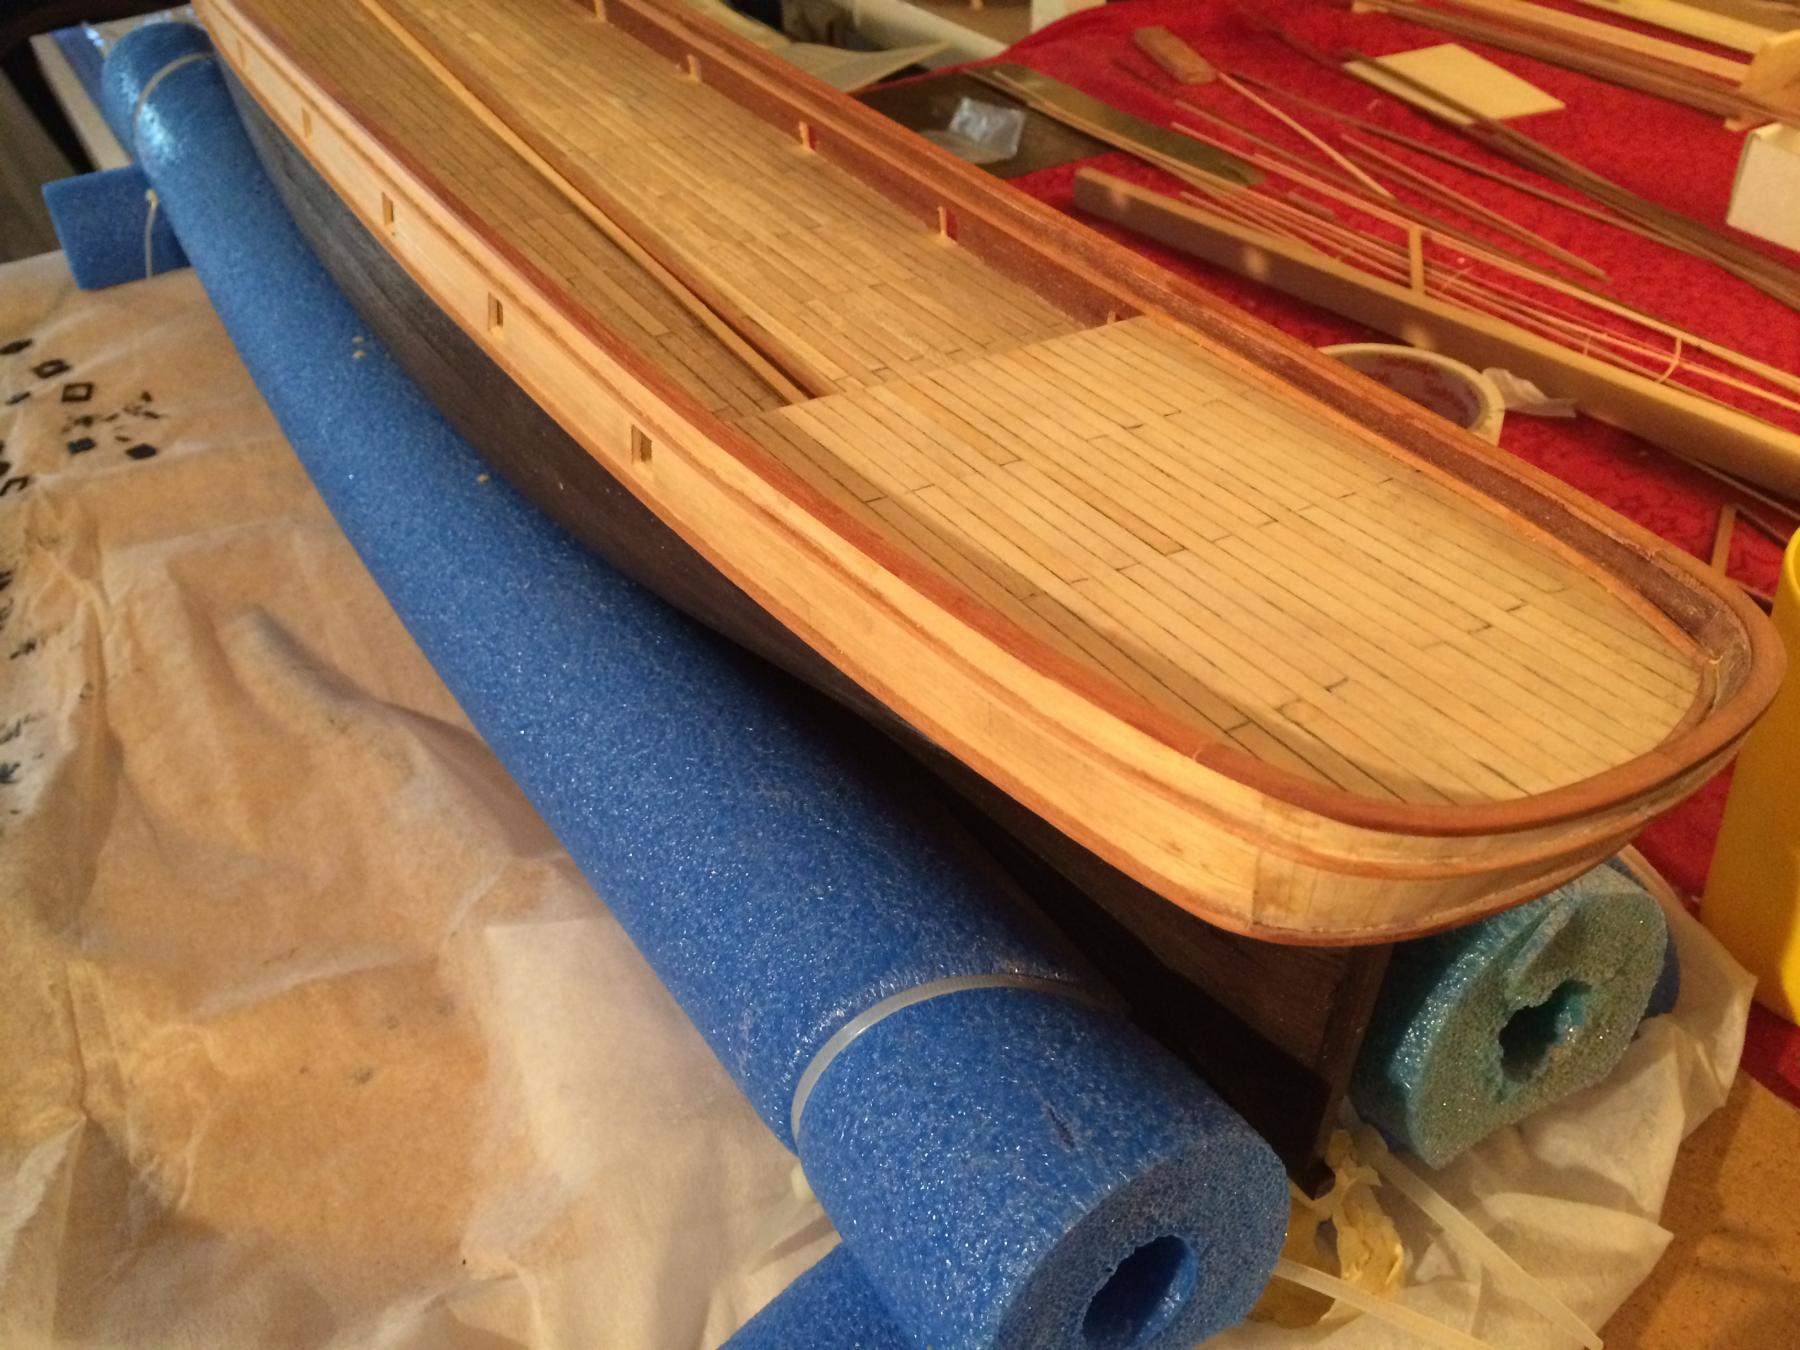
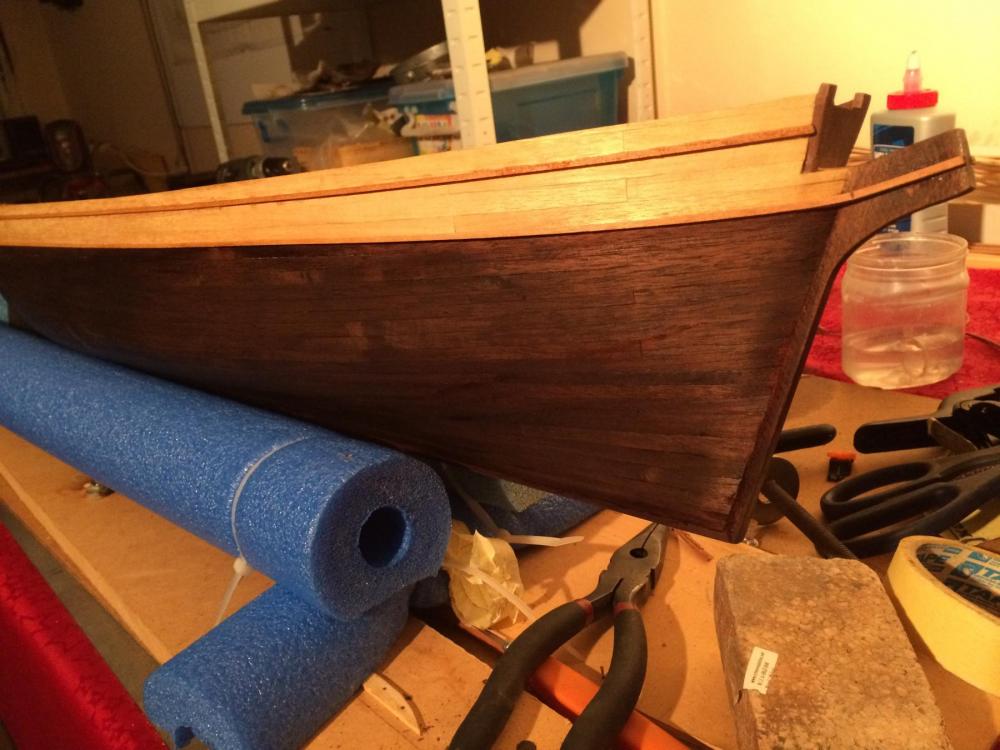
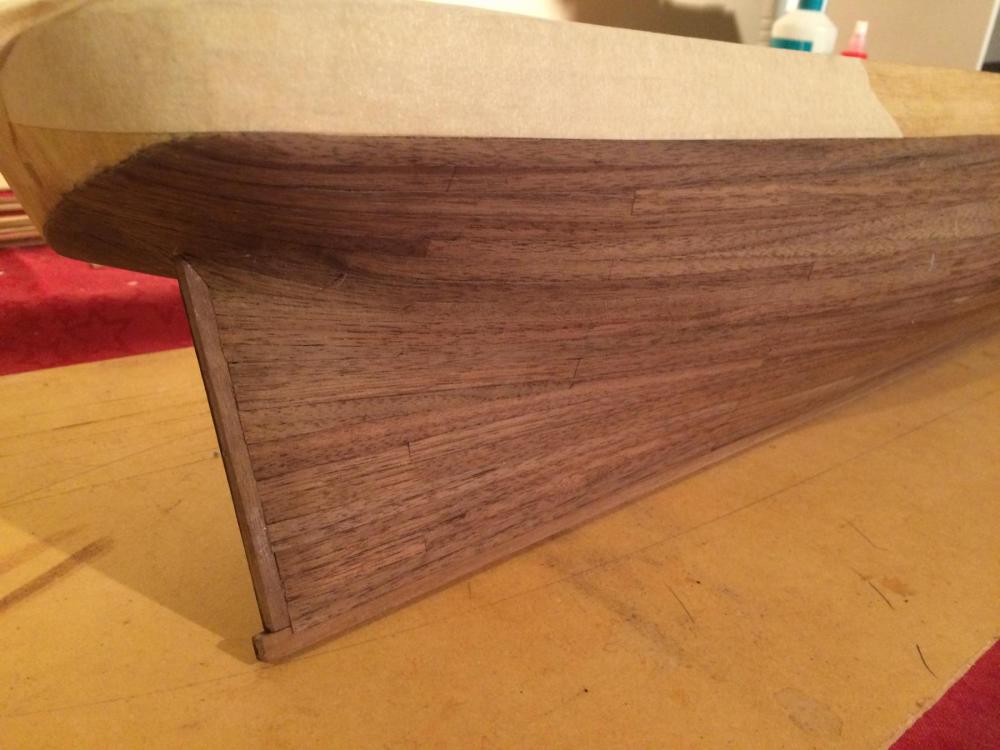
Top hand rail done. Holes for freeing ports done, not sure of the position, plans don not specify so used the picture off the box as a guide. Painting the frames black. Should look good. The copper plates I have made so far are a bit NAFF, so have lost a bit of enthusiasm at the moment. Might go back to it later.

-
Primey reacted to a post in a topic:
CUTTY SARK by keelhauled - Mantua - kit bashed - First wooden ship build
-
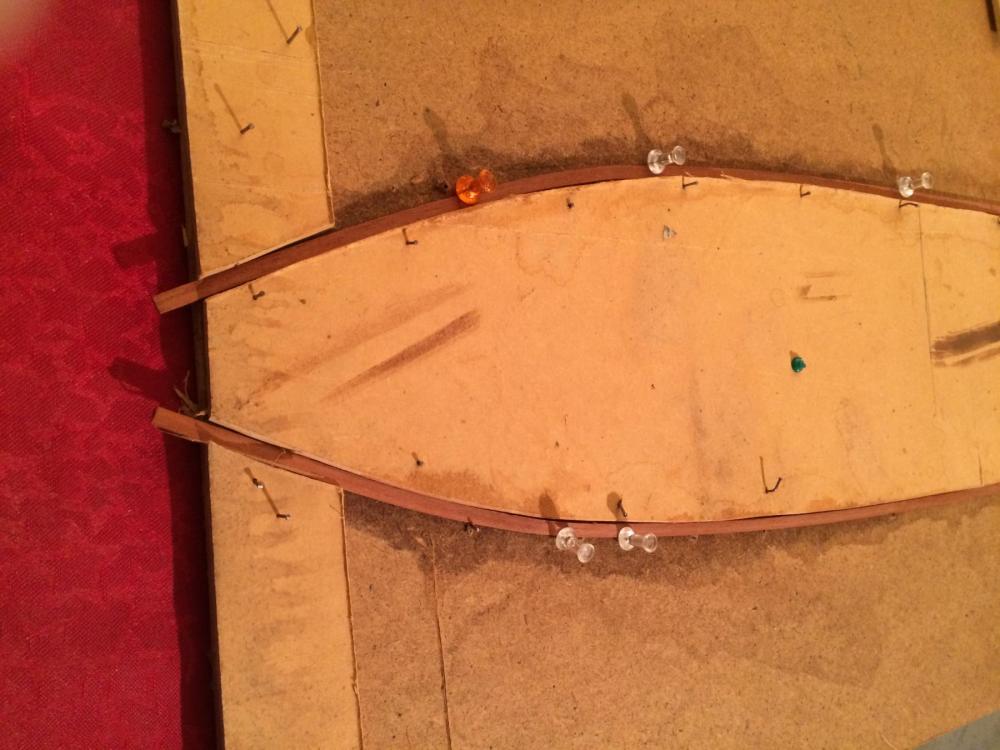
Had some trouble with the wales and handrails. Now just bending wood for top handrail.

-
Been a "go slow" in the shipyard of late, having a few issues with the wales and handrails - bending the wood and making a tight join etc. Hoping more progress this week. Been busy getting a golf handicap
-
Primey reacted to a post in a topic:
Cutty Sark by Nenad
-
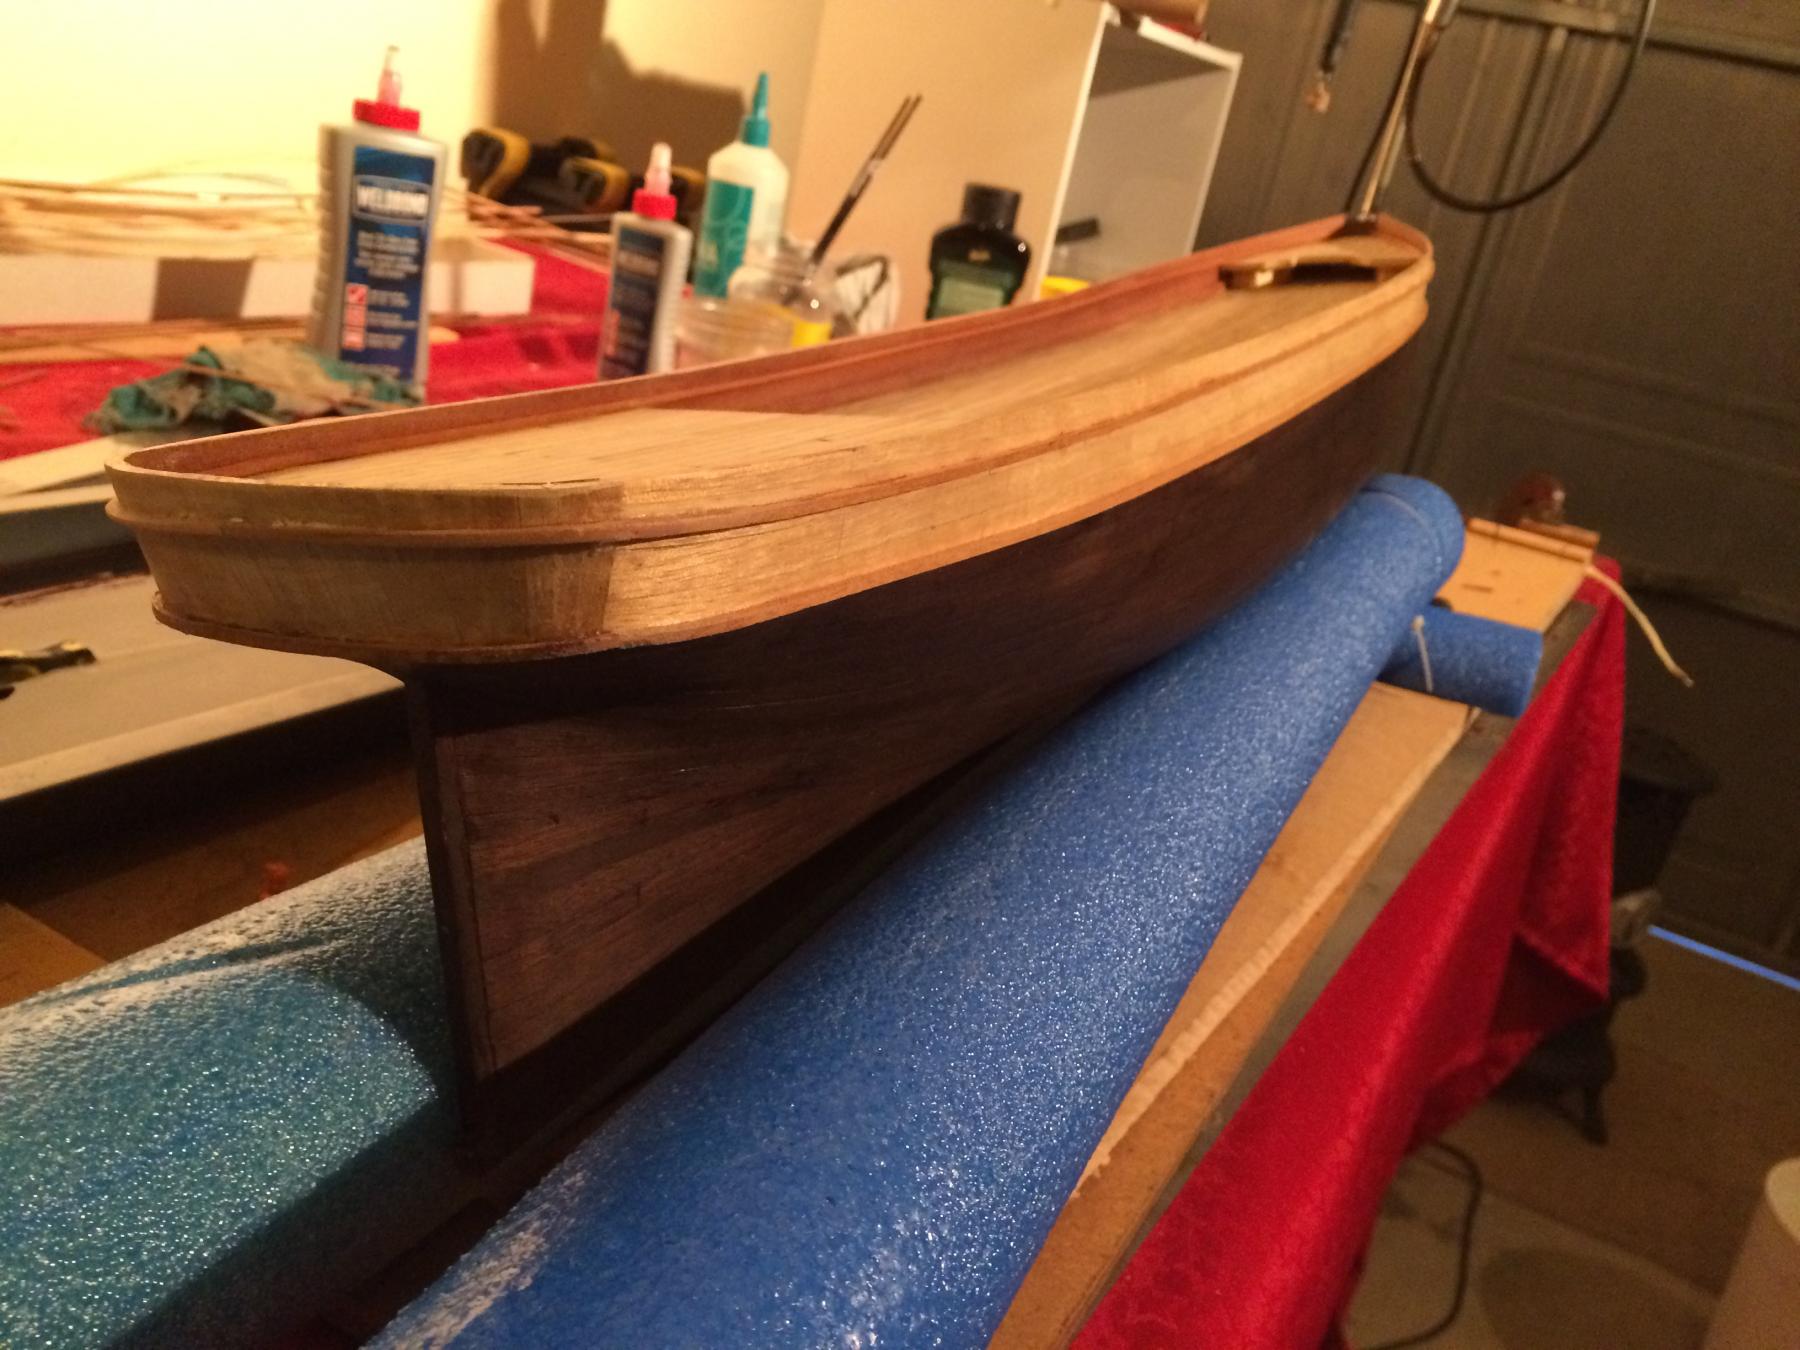
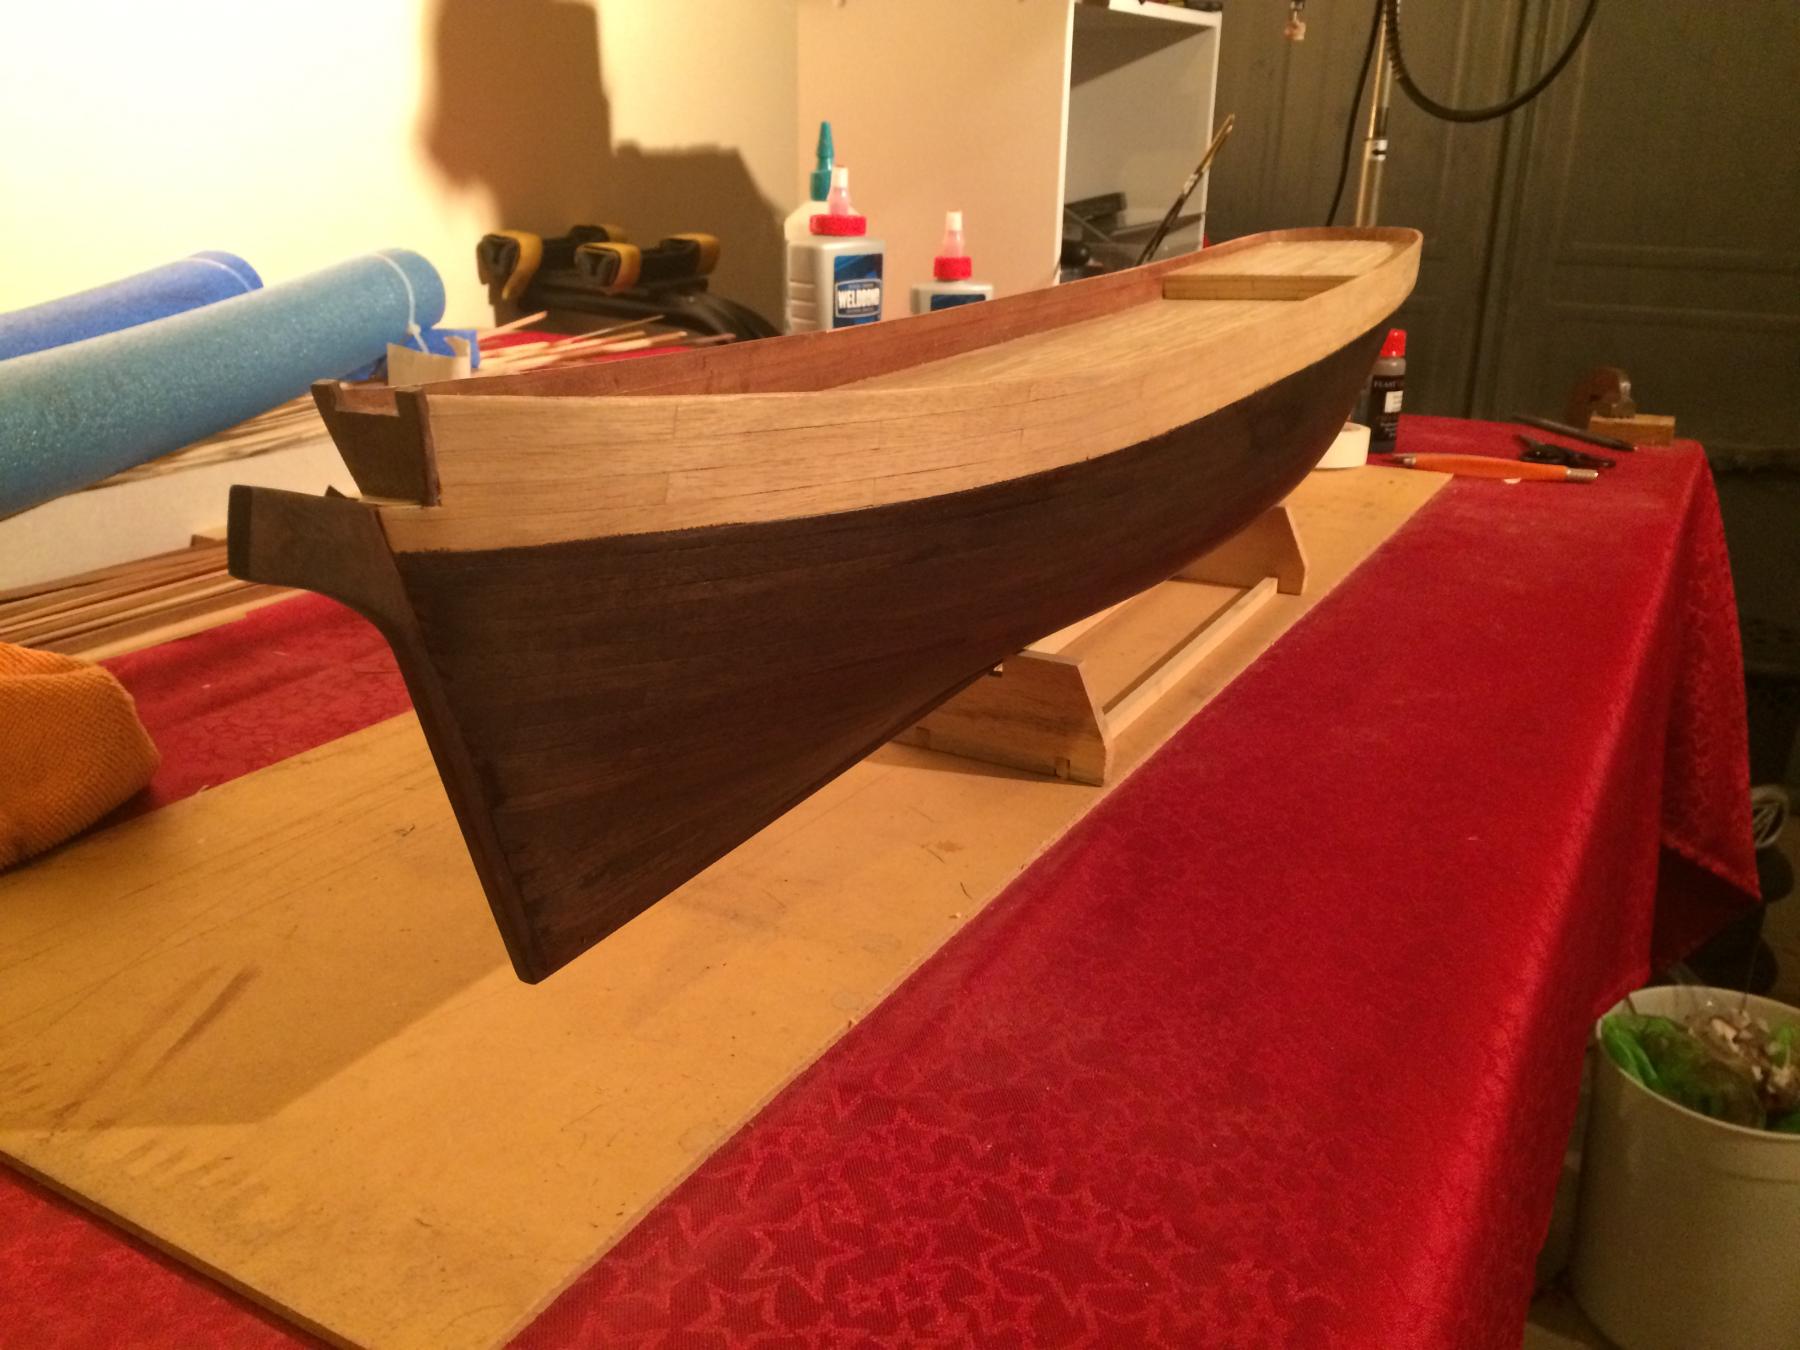
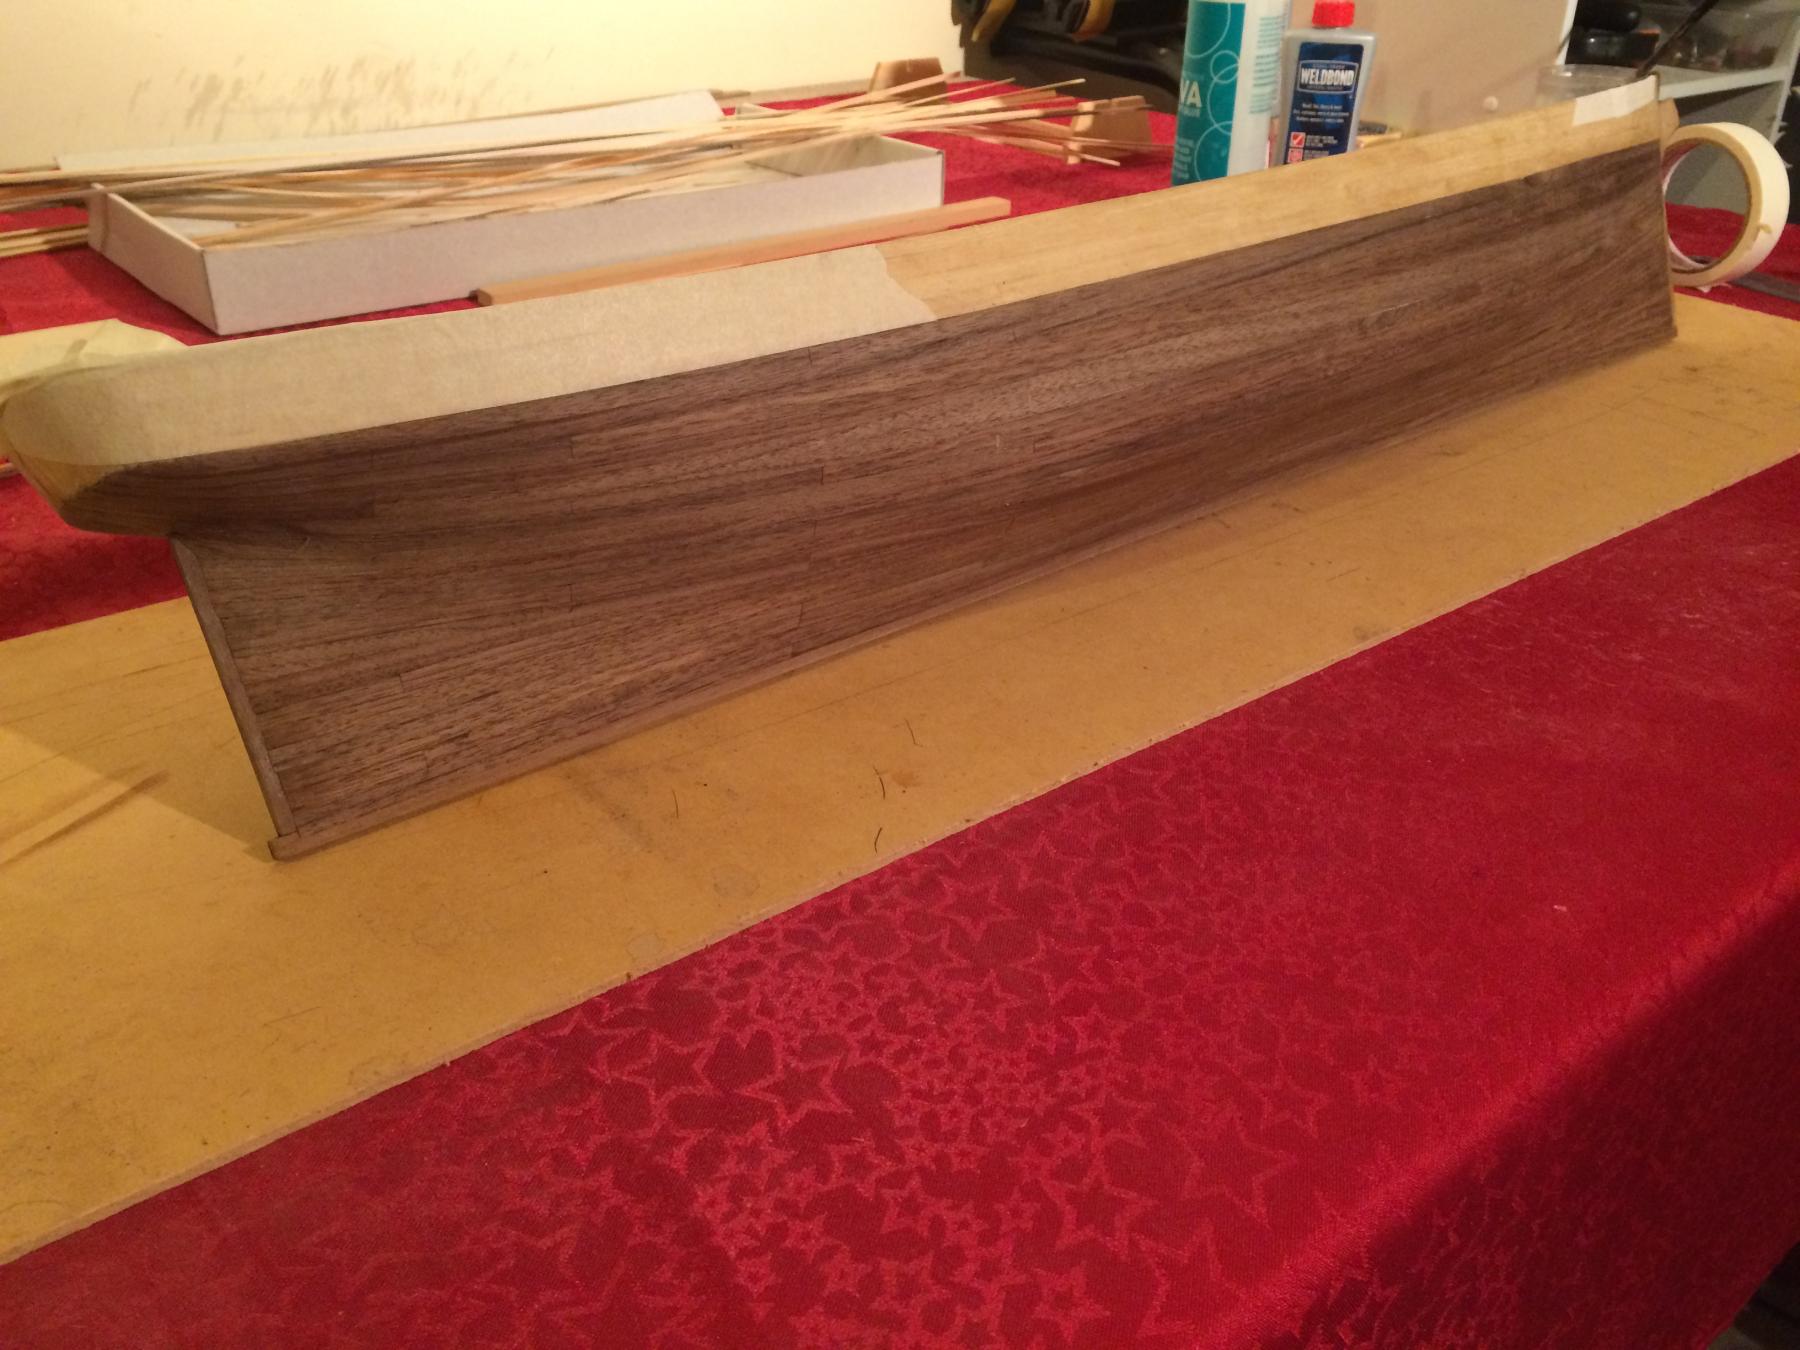
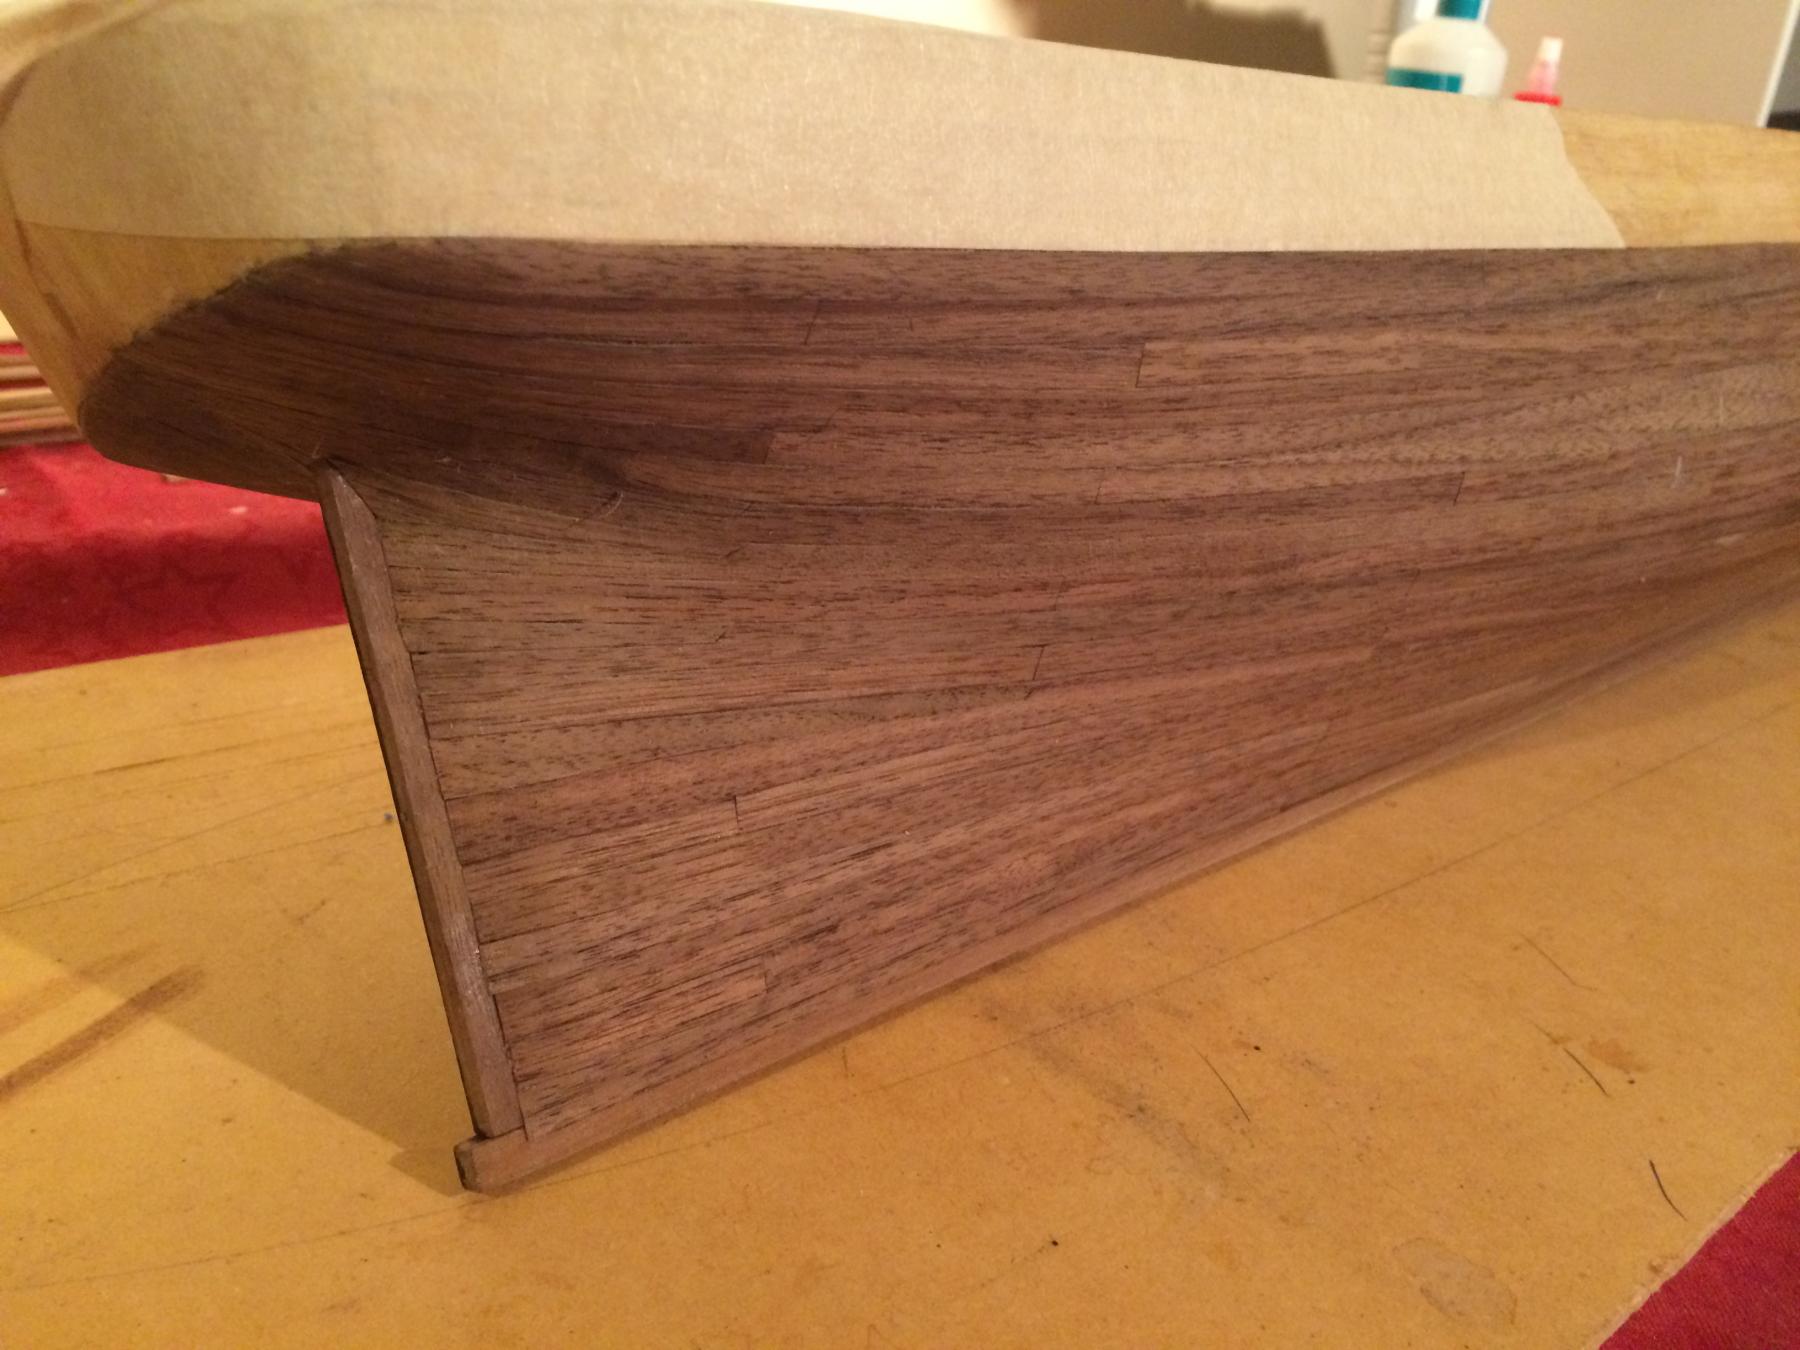
Sanded and stained both sides, a little bleeding into the bulwarks veneer - sanded out OK. Has come up better than expected. So - copper plate or not?


-
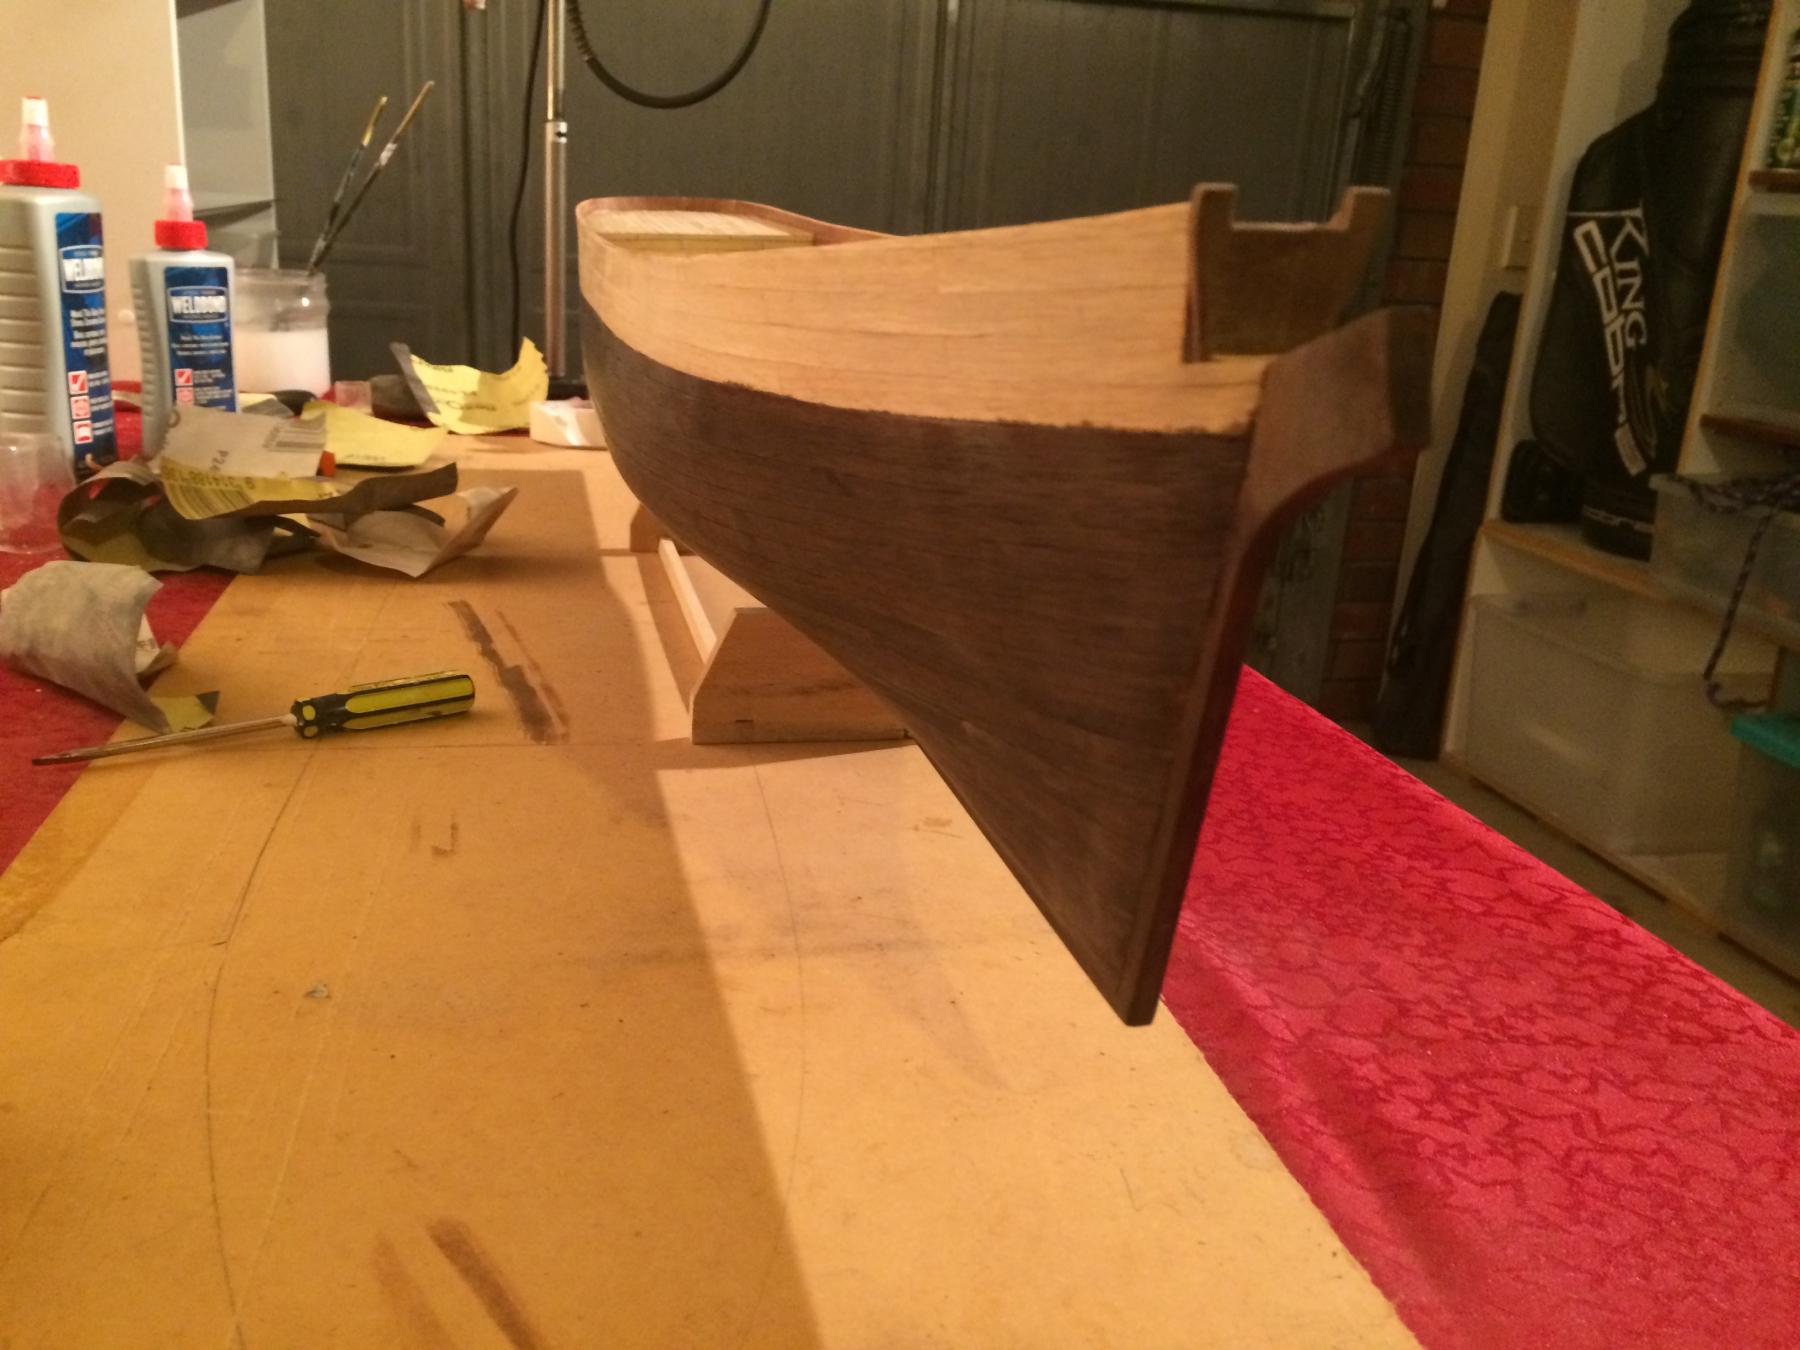
Finished veneer on side No 2, Some sanding and minor maintenance needed. Very challenging, but glad to be on to something different. Stained side No 1 with walnut wood stain.

-
Hi Popeye, Thanks for the comments, I'm happy with the way it's going so far. Not as precise as some builders but enjoying the challenge all the same. Probably had enough to plank to waterline but decided to buy some new walnut veneer to cover the hull - the kit walnut veneer wasn't in the best shape. (very frail edges) I'm going to look at copper foil tape for the plates. Slow going affixing the veneer at the moment. - you know life gets in the way
-
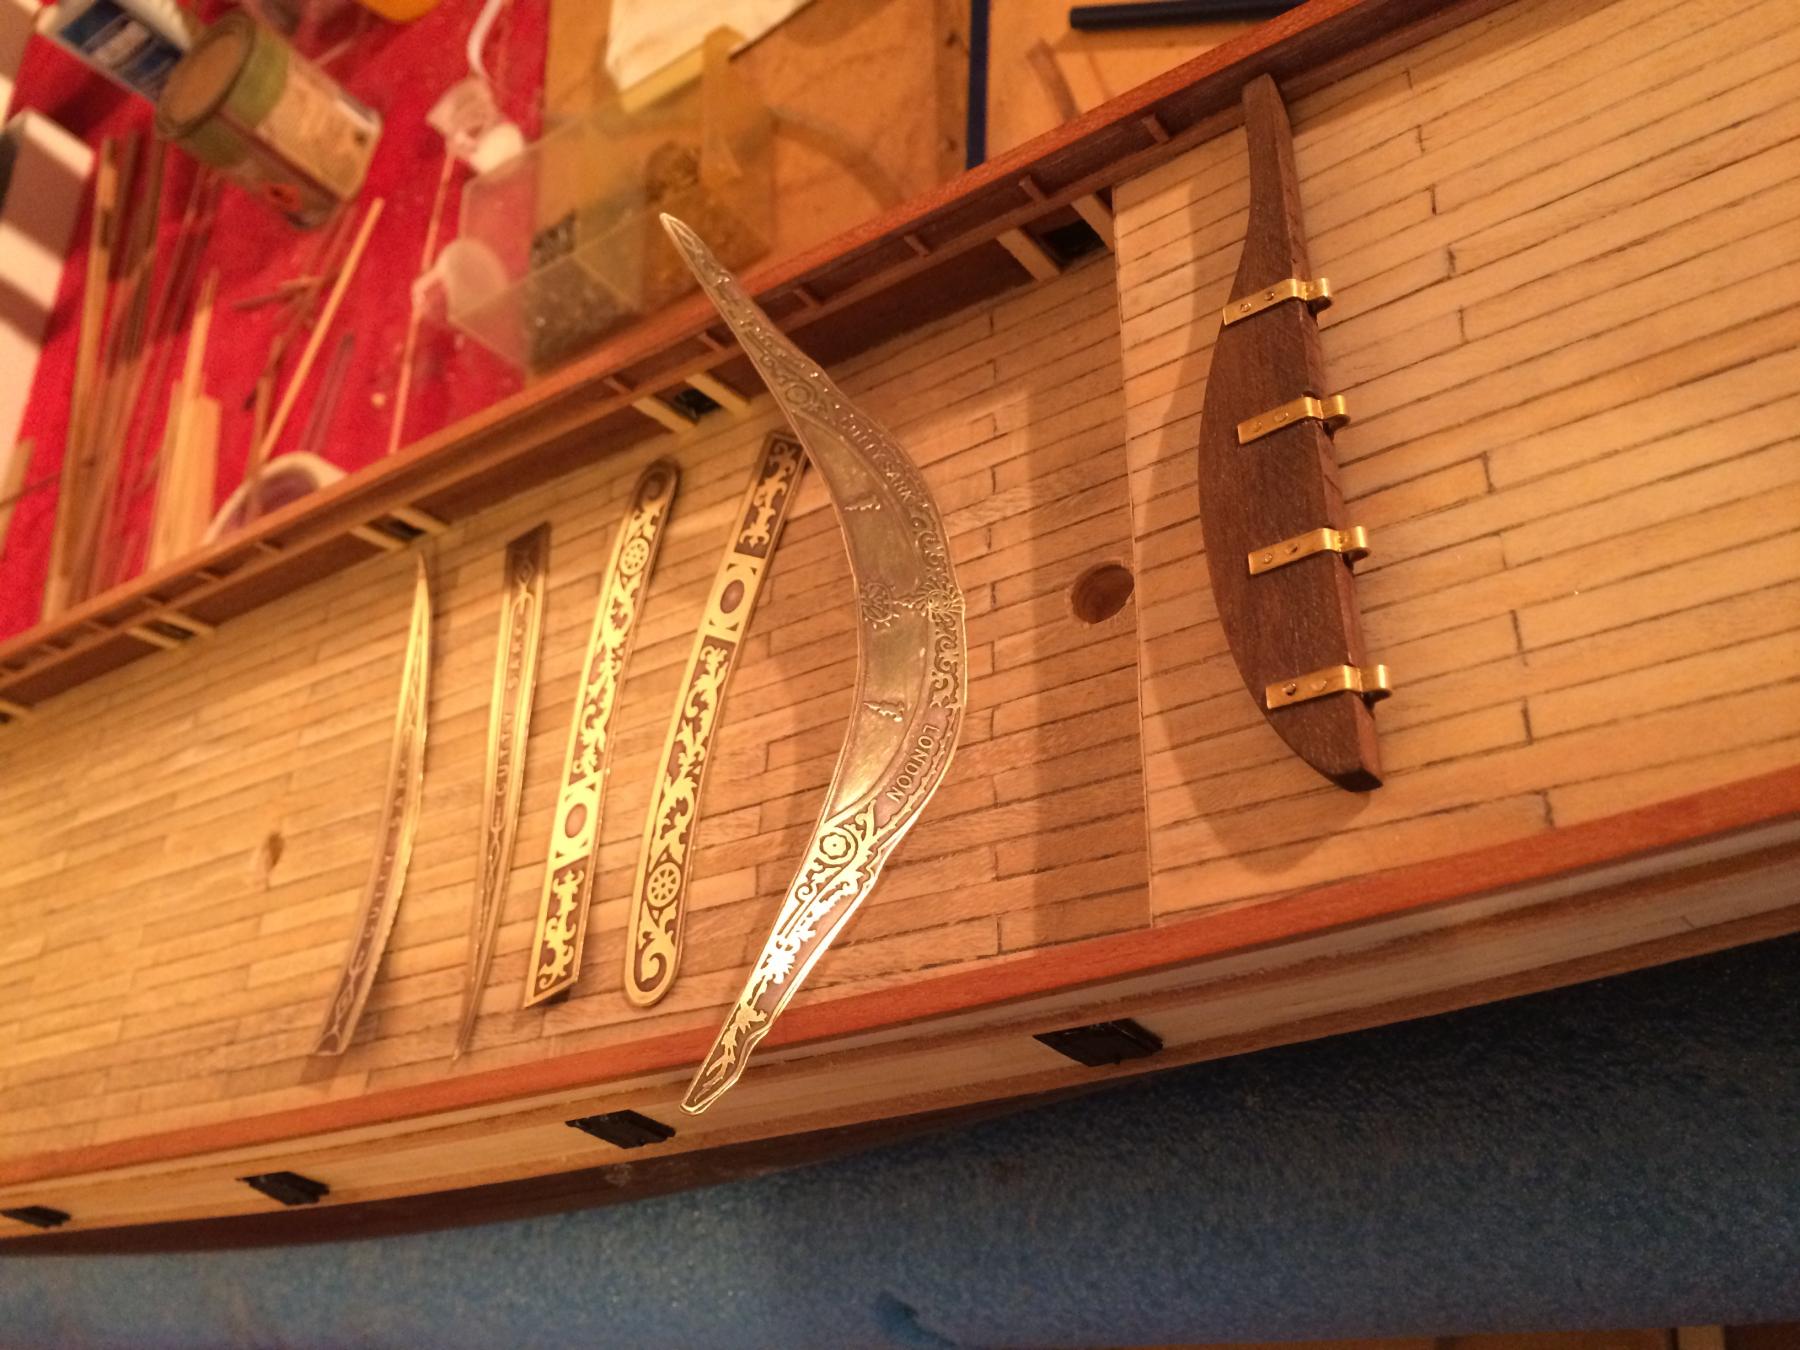
Thanks Martin, Wording suggests that the kit is old. 1980's was a good era. Hope I can do it justice. Cheers Hi Tim, I did think the dark handled tool looked a bit sharp and would need dulling down. I have purchased both tools and some copper foil tape, my thought at this stage is to make individual plates and affix by overlapping each one- but will do some testing first.
-
Primey reacted to a post in a topic:
Cutty Sark by Nenad
-
Thanks Nenad, as you go you learn more and more and probably plank differently next time. But having fun and looks OK so far.