


Robin Lous
-
Posts
564 -
Joined
-
Last visited
Recent Profile Visitors
2,241 profile views


-
 Robin Lous reacted to a post in a topic:
Bismarck by madtatt - FINISHED – Trumpeter with Pontos set – 1:200 - PLASTIC
Robin Lous reacted to a post in a topic:
Bismarck by madtatt - FINISHED – Trumpeter with Pontos set – 1:200 - PLASTIC
-
Vlax reacted to a post in a topic:
Greek Warship Bireme by moreplovac - FINISHED - Amati - Scale 1/35
-
Robin Lous reacted to a post in a topic:
Greek Bireme by Robin Lous - FINISHED - Dusek - Scale 1:72 - First wooden ship build
-
popeye the sailor reacted to a post in a topic:
Norden by JamesG - FINISHED - Billing Boats - 1:30 - First Build
-
Robin Lous reacted to a post in a topic:
Greek Bireme by Robin Lous - FINISHED - Dusek - Scale 1:72 - First wooden ship build
-
J11 reacted to a post in a topic:
Trireme Olympias by Richard Braithwaite
-
Louie da fly reacted to a post in a topic:
10th-11th century Byzantine dromon by Louie da fly - FINISHED - 1:50
-
Old Collingwood reacted to a post in a topic:
10th-11th century Byzantine dromon by Louie da fly - FINISHED - 1:50
-
mtaylor reacted to a post in a topic:
10th-11th century Byzantine dromon by Louie da fly - FINISHED - 1:50
-
Keith Black reacted to a post in a topic:
10th-11th century Byzantine dromon by Louie da fly - FINISHED - 1:50
-
druxey reacted to a post in a topic:
10th-11th century Byzantine dromon by Louie da fly - FINISHED - 1:50
-
Robin Lous reacted to a post in a topic:
10th-11th century Byzantine dromon by Louie da fly - FINISHED - 1:50
-
mtaylor reacted to a post in a topic:
10th-11th century Byzantine dromon by Louie da fly - FINISHED - 1:50
-
 Fantastic! Of course it looks better to the naked eye....close up and blown up photo's are depressing. Robin
 -
Robin Lous reacted to a post in a topic:
10th-11th century Byzantine dromon by Louie da fly - FINISHED - 1:50
-
Robin Lous reacted to a post in a topic:
10th-11th century Byzantine dromon by Louie da fly - FINISHED - 1:50
-
Robin Lous reacted to a post in a topic:
10th-11th century Byzantine dromon by Louie da fly - FINISHED - 1:50
-
Robin Lous reacted to a post in a topic:
10th-11th century Byzantine dromon by Louie da fly - FINISHED - 1:50
-
Robin Lous reacted to a post in a topic:
Marie-Jeanne by captgino - FINISHED - Artesania Latina - 1/50 - Thonier de Concarneau
-
Robin Lous reacted to a post in a topic:
Le Soleil Royal by EJ_L - FINISHED - Sergal - Scale 1:77 - 1669 Version
-
It seems like my "take it easy" advise went out of the window. Looks great OC!
- 455 replies
-
- 3
-
-
- slightly modified
- greyhound
- (and 1 more)
-
Looks spectacular EJ! I checked for my build and...yep! also! So, I'll shamelessly steal your idea.
-
Thanks...the deck planking is abachi, the tree nails are walnut. I picked walnut, because the tree nails are tiny (0,5 mm) I'm not sure what I should do with the hull planking. The planking will be walnut, so no idea what I can use for the tree nails there. I'm afraid lighter wood will look odd. Walnut on walnut might be subtle, but perhaps hardly visible ( a lot of work for no result?).
- 91 replies
-
- 6
-
-
- kolderstok
- duyfken
- (and 1 more)
-
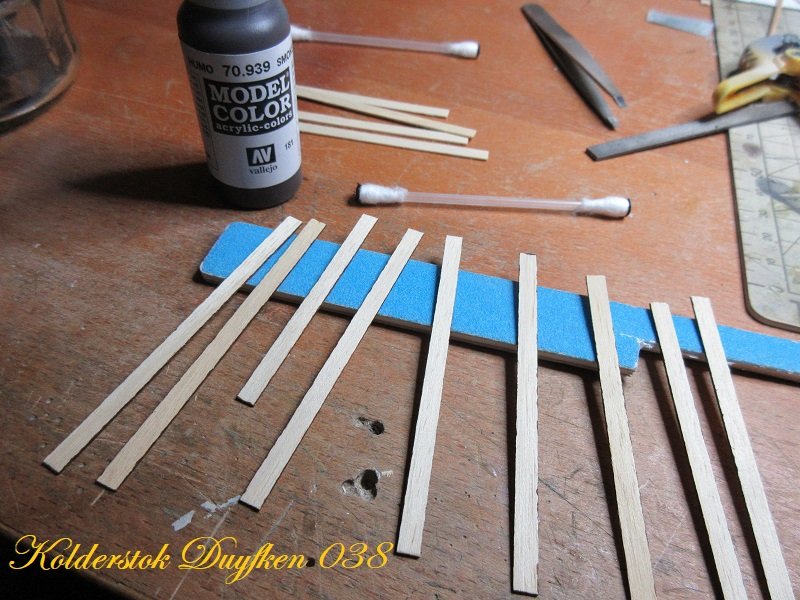
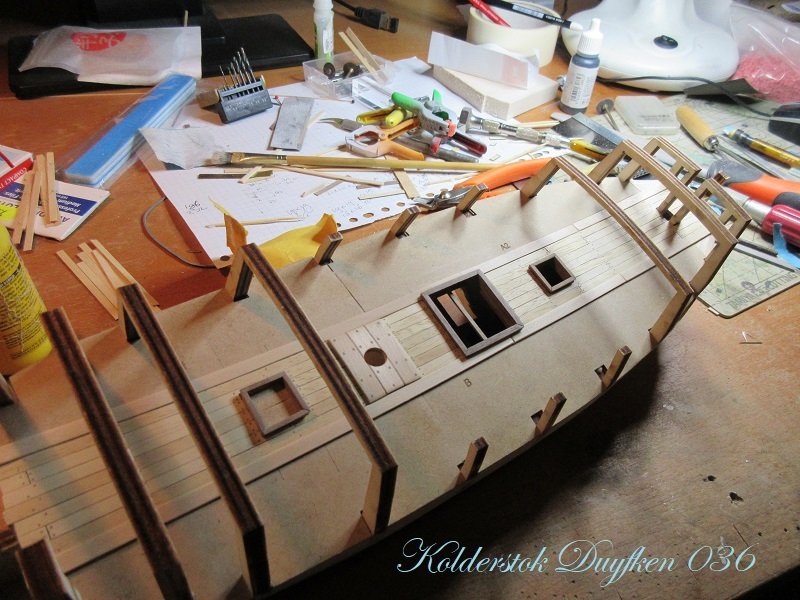
Just to show I'm still working on the shipyard...a minor update. Only very limited shipyard time until January, so things slow down, but I do something daily. Most deck planks done, so more nailing trees soon. I switched from painting the sides of the planks with a brush to dab the paint with a cotton bud. This goes much faster and it doesn't destroy my paint brushes. I use undiluted acrylic paint, so the paint won't suck into the wood. More soon(ish), Robin

- 91 replies
-
- 12
-
-
- kolderstok
- duyfken
- (and 1 more)
-
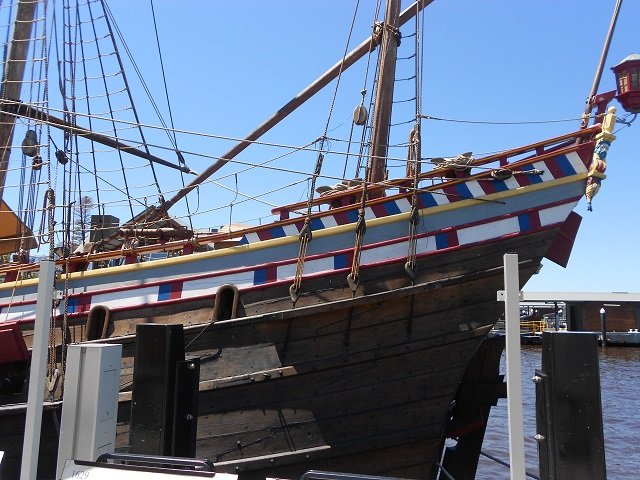
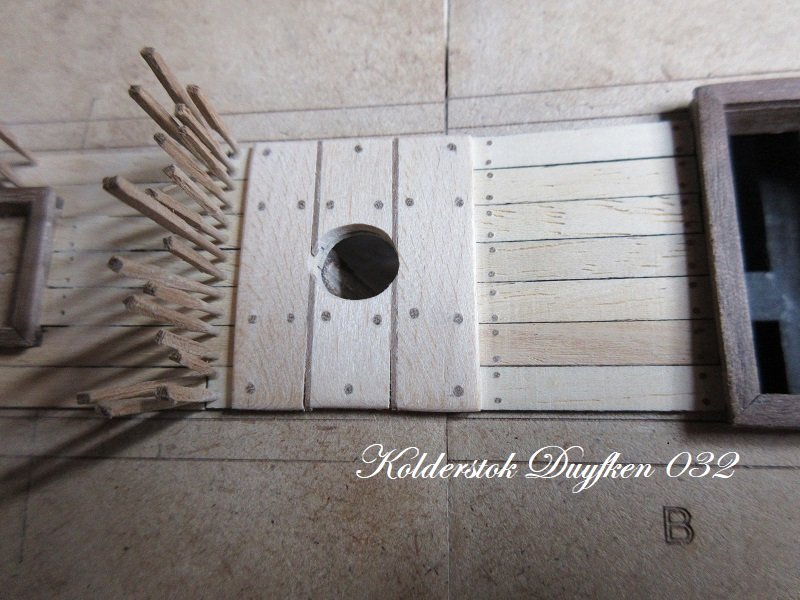
Thanks guys, I now finished the centre part of the deck planking...including the wider planks (schaarstokken) these wider planks don't have nails in them. Different from the manual. After checking photo's these planks are wider, but not noticeable higher. The manual uses 2 regular planks glued on top of eachother. I used wider planks...only a fraction thicker. 232 hecho a mano tree nails used so far. I can now continue the planking, but near the sides (in between the frames) it has to wait until after the hull planking. Frames 4 to 8 will be removed after planking the hull. Slow, but steady...more soon. Robin
- 91 replies
-
- 11
-
-
- kolderstok
- duyfken
- (and 1 more)
-
Welcome aboard Ron.
-
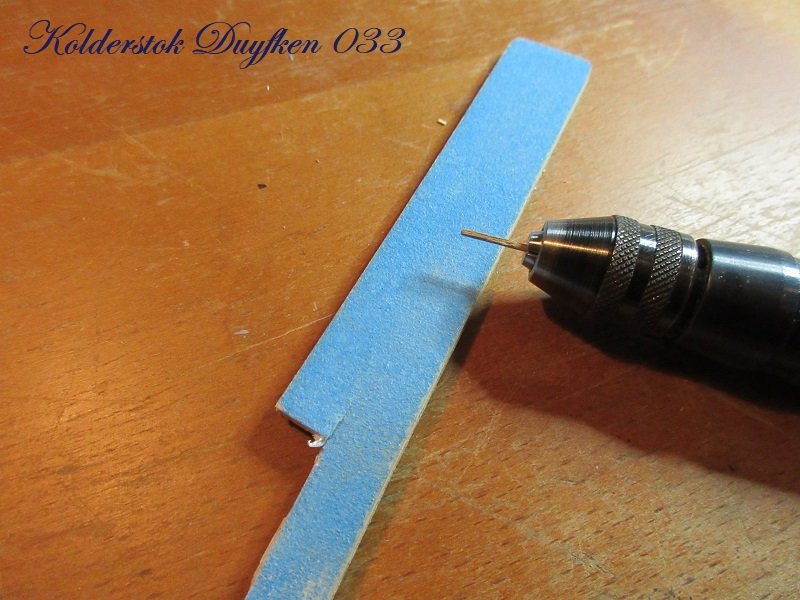
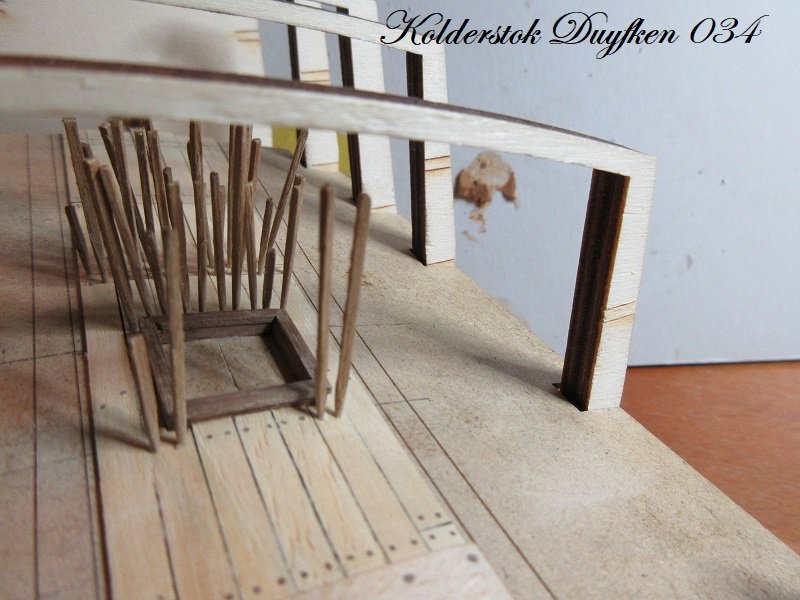
Well Carl, the only way I could think of to make the tree nails.... It is tedious, but only making the tree nails...the rest goes reasonably quick and easy. Marking the place with a pencil, the drilling, placing (with a drop of PVA on the tip), cutting and sanding...all no problem at all. Just sharpening those 1x1 mm walnut strips takes most of the time. I do a batch of about 40 in 30 minutes....just the sticks. Where I am now... By trial and error I learned it's far more easy to use longer punji sticks. The cutting off with a cutter or a pair of decal scissors, filing and sanding is done in minutes. It's all fine, because I think it is worth the effort and because it's 1/50 scale the 0,5 mm tree nails don't look too oversized. A lot of it will be hidden underneath the foreccastle and the quarter deck, but well...I do those also. 138 done! More soon, Robin
- 91 replies
-
- 12
-
-
- kolderstok
- duyfken
- (and 1 more)
-
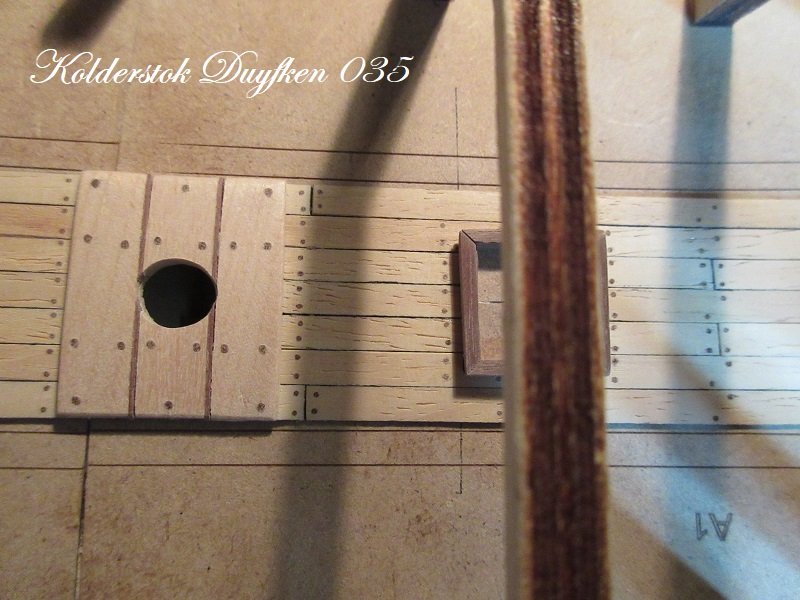
I do part 5 a bit later...I made the planks longer there, so I can cut them to match the cabin wall. Minor update.. More soon, Robin
- 91 replies
-
- 7
-
-
- kolderstok
- duyfken
- (and 1 more)
-
Indeed...indeed. Looks lovely and so nice you found your mojo again.
- 455 replies
-
- 2
-
-
- slightly modified
- greyhound
- (and 1 more)