Pierretessier
-
Posts
97 -
Joined
-
Last visited
Content Type
Profiles
Forums
Gallery
Events
Everything posted by Pierretessier
-
 Little update, been a while since I’ve done any work on the ship. Had a little health issue I’m dealing with. I’m now looking at returning to the shipyard. I need to set things up workbench wise then I need to find and study the build from were I left of. Zoltan sent me some updated build details that will greatly help moving forward. Hoooing to start posting soon. Looking forward to returning.
 -
Yes looking real good. Question Don, is that the rope that comes with the kit?
- 653 replies
-
- 6
-

-
- trabakul
- marisstella
- (and 1 more)
-
Looking good!
-
Have not been here for a bit....WOW I am floored. This is museum quality. Nice work mate!
- 144 replies
-
- 5
-
-
- surprise
- artesania latina
- (and 2 more)
-
Hey Doug, Looking real good, totally agree regarding fairing the blocks. I just spent the weekend with band aids on my thumb. Not that I'm much of an othority on this but I am finding that a pillow and various blocks of wood with coarse sandpaper the best assurance to a nice hull. It's taking a lot of time and patience, trying to keep it all in one piece is key. All in all it's pretty relaxing when you just take your time..... Hey there's my new signature.... Keep up the good work....
-
Looking like you're making headway. I know what you mean about fairing the hull. I just began mine. Slow going and tender handling. Keep up the good work. I'm enjoying the build.
-
Thanks for the kind words. For those following, a little update, I did some preliminary panelling on both sides at the stern and bulkhead 11. Next I started fairing the blocks at the bow, this is a slow going process. Not much to look at I know but this step takes time. You know what they say! "The foundation to a good planking job starts with proper fairing of the hull. "
-
Looking good, quick question? What scale ? Keep up the good work. will be following.
-
Hey Achu, Looks like you are off to a good start, despite having to do some truing of the keel. I am no expert here but I found the Minwax Wipe on Poly works really nice on the wood. It brings out its natural beauty and leaves it satiny looking. There are many other poly finishes out there but this one Ive used on my Batelina and was very happy with the results. Good luck, I will follow your build.
- 13 replies
-
- 2
-
-
- constructo
- Albatros
- (and 1 more)
-
Here we go.. New modeler; new member.
Pierretessier replied to Achu's topic in New member Introductions
Welcome to MSW -
100th posts! Yipeeee Just want to hit my 100th post. LOL.
-
Have to mention that I am building this kit as Zoran (from MarisStella) is sending me updates to his manuals. Did I mention how helpful Zoran has been, very polite and usually replies within 24 hrs. Have to remember the time difference. OK enough with the shameless plug, back to the shipyard.
-
Very interesting to see just how much time and wood goes in this. Wondering if you are keeping a time log on this project and also what the weight of the final build will be. Agree with other post regarding needing a bigger door, I was wondering about the muscles needed to move such a piece.
- 910 replies
-
- 5
-
-
- ancre
- 74 gun ship
- (and 1 more)
-
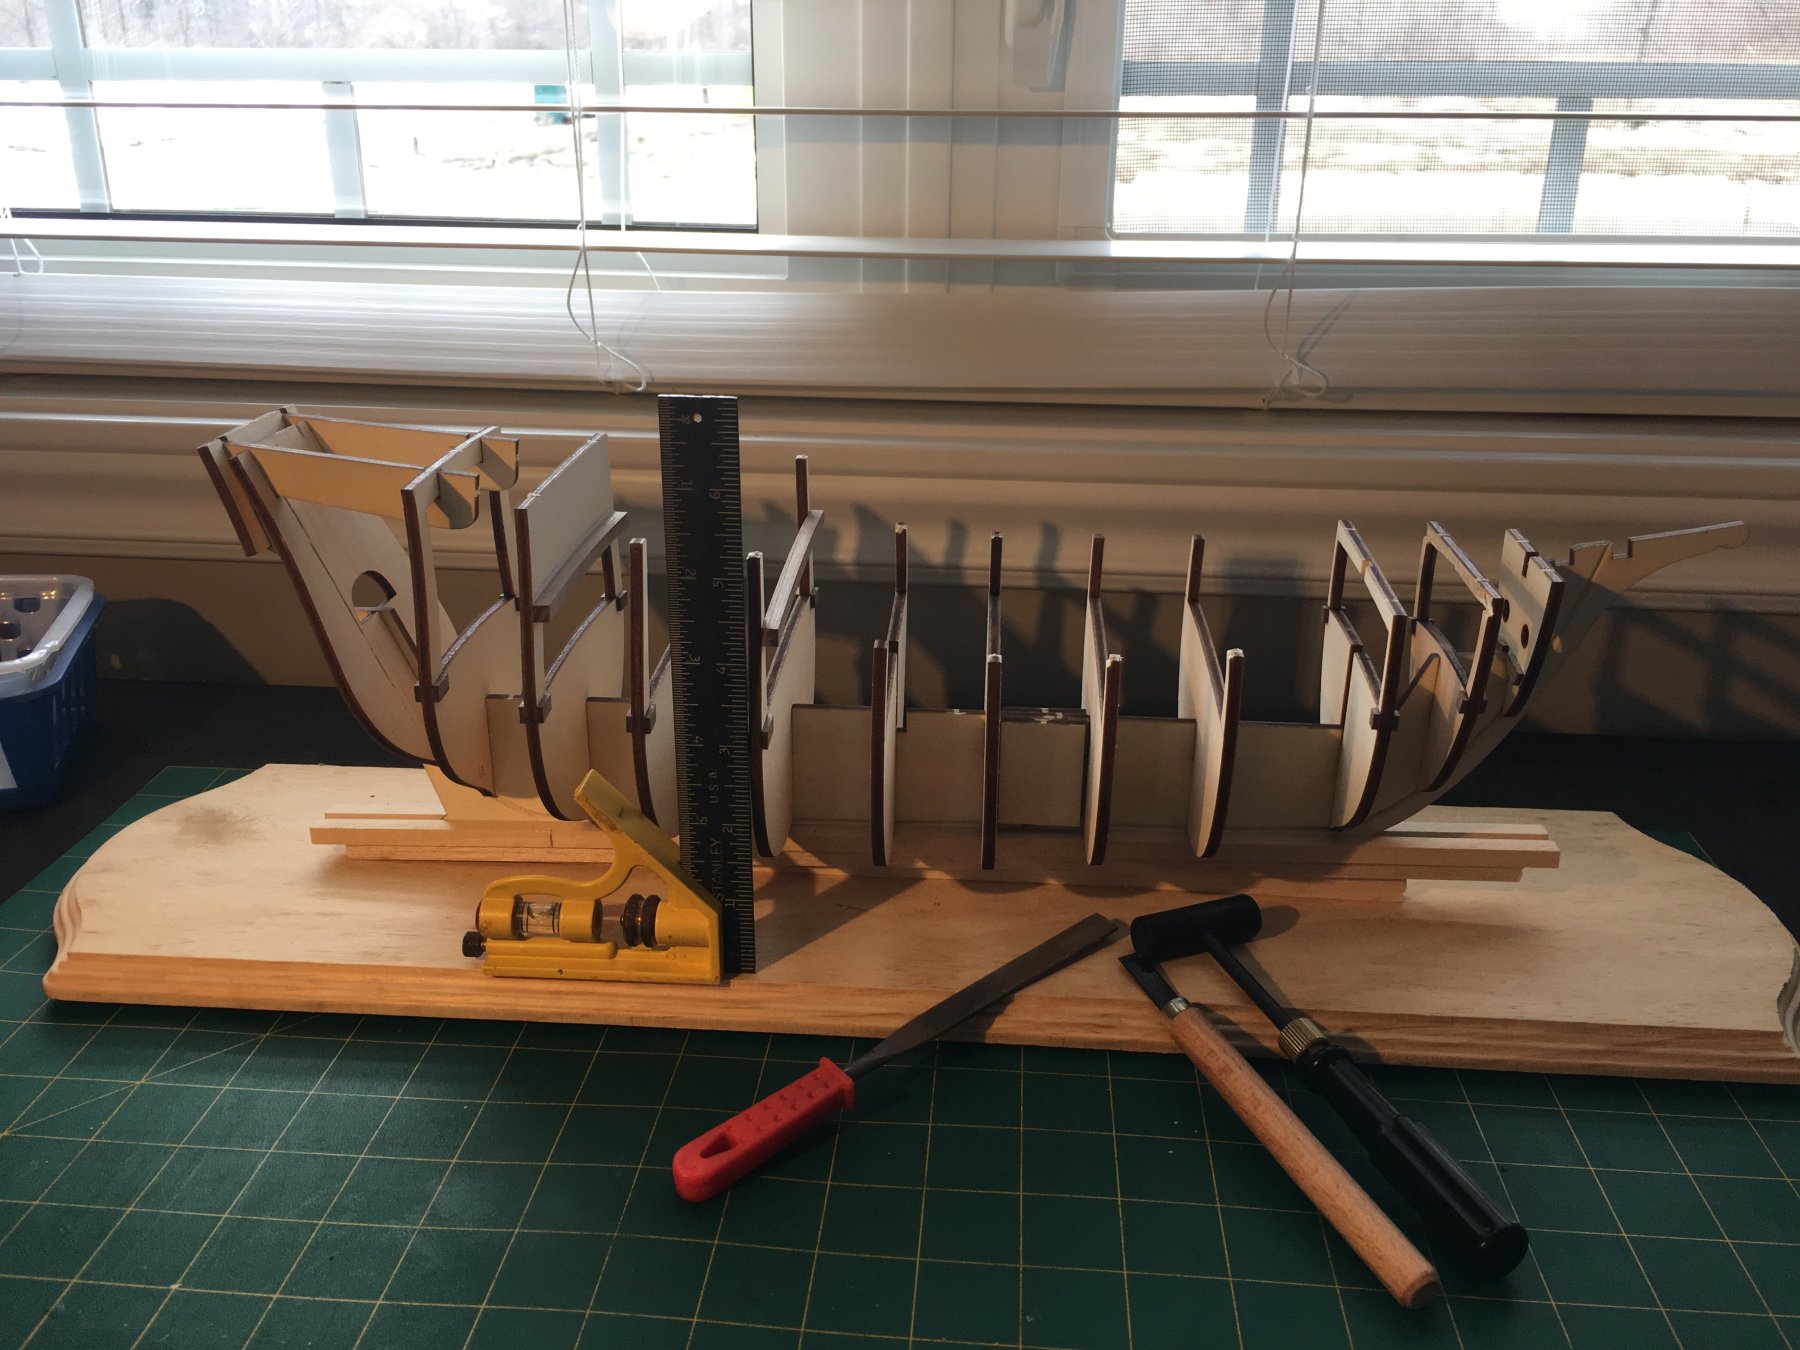
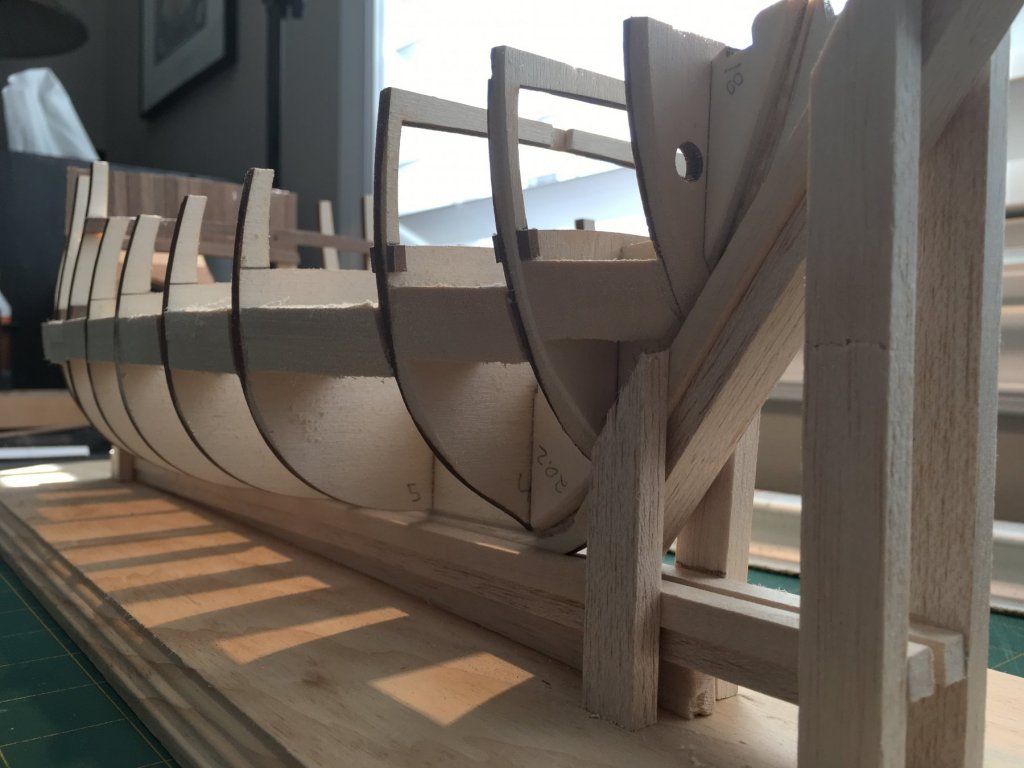
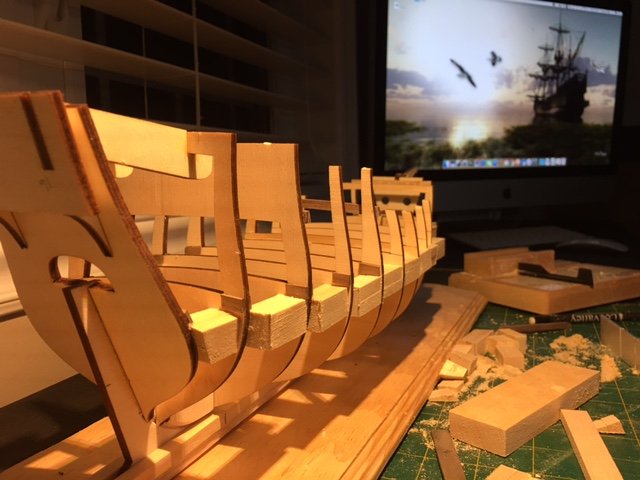
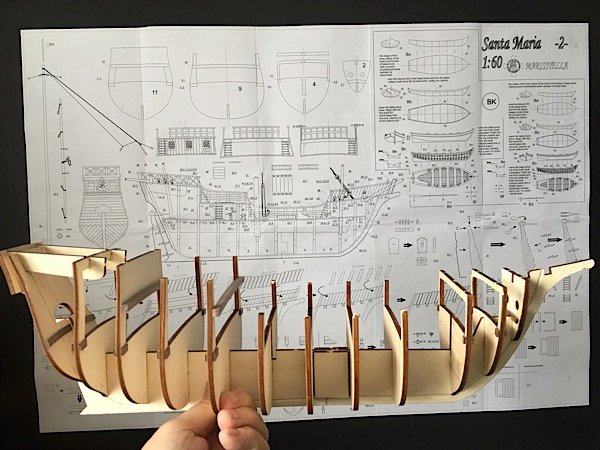
Thanks for the words of encouragement, and likes. Now that the bulkheads are dry and everything is lined up properly it was time to add some supports to help lock the hull before fairing. I decided to use bass wood as it is a bit harder then balsa. I began by glueing stock board I had to make up the blocks needed to create the supports, I then dry fitted them to make sure there was no twisting action.
-
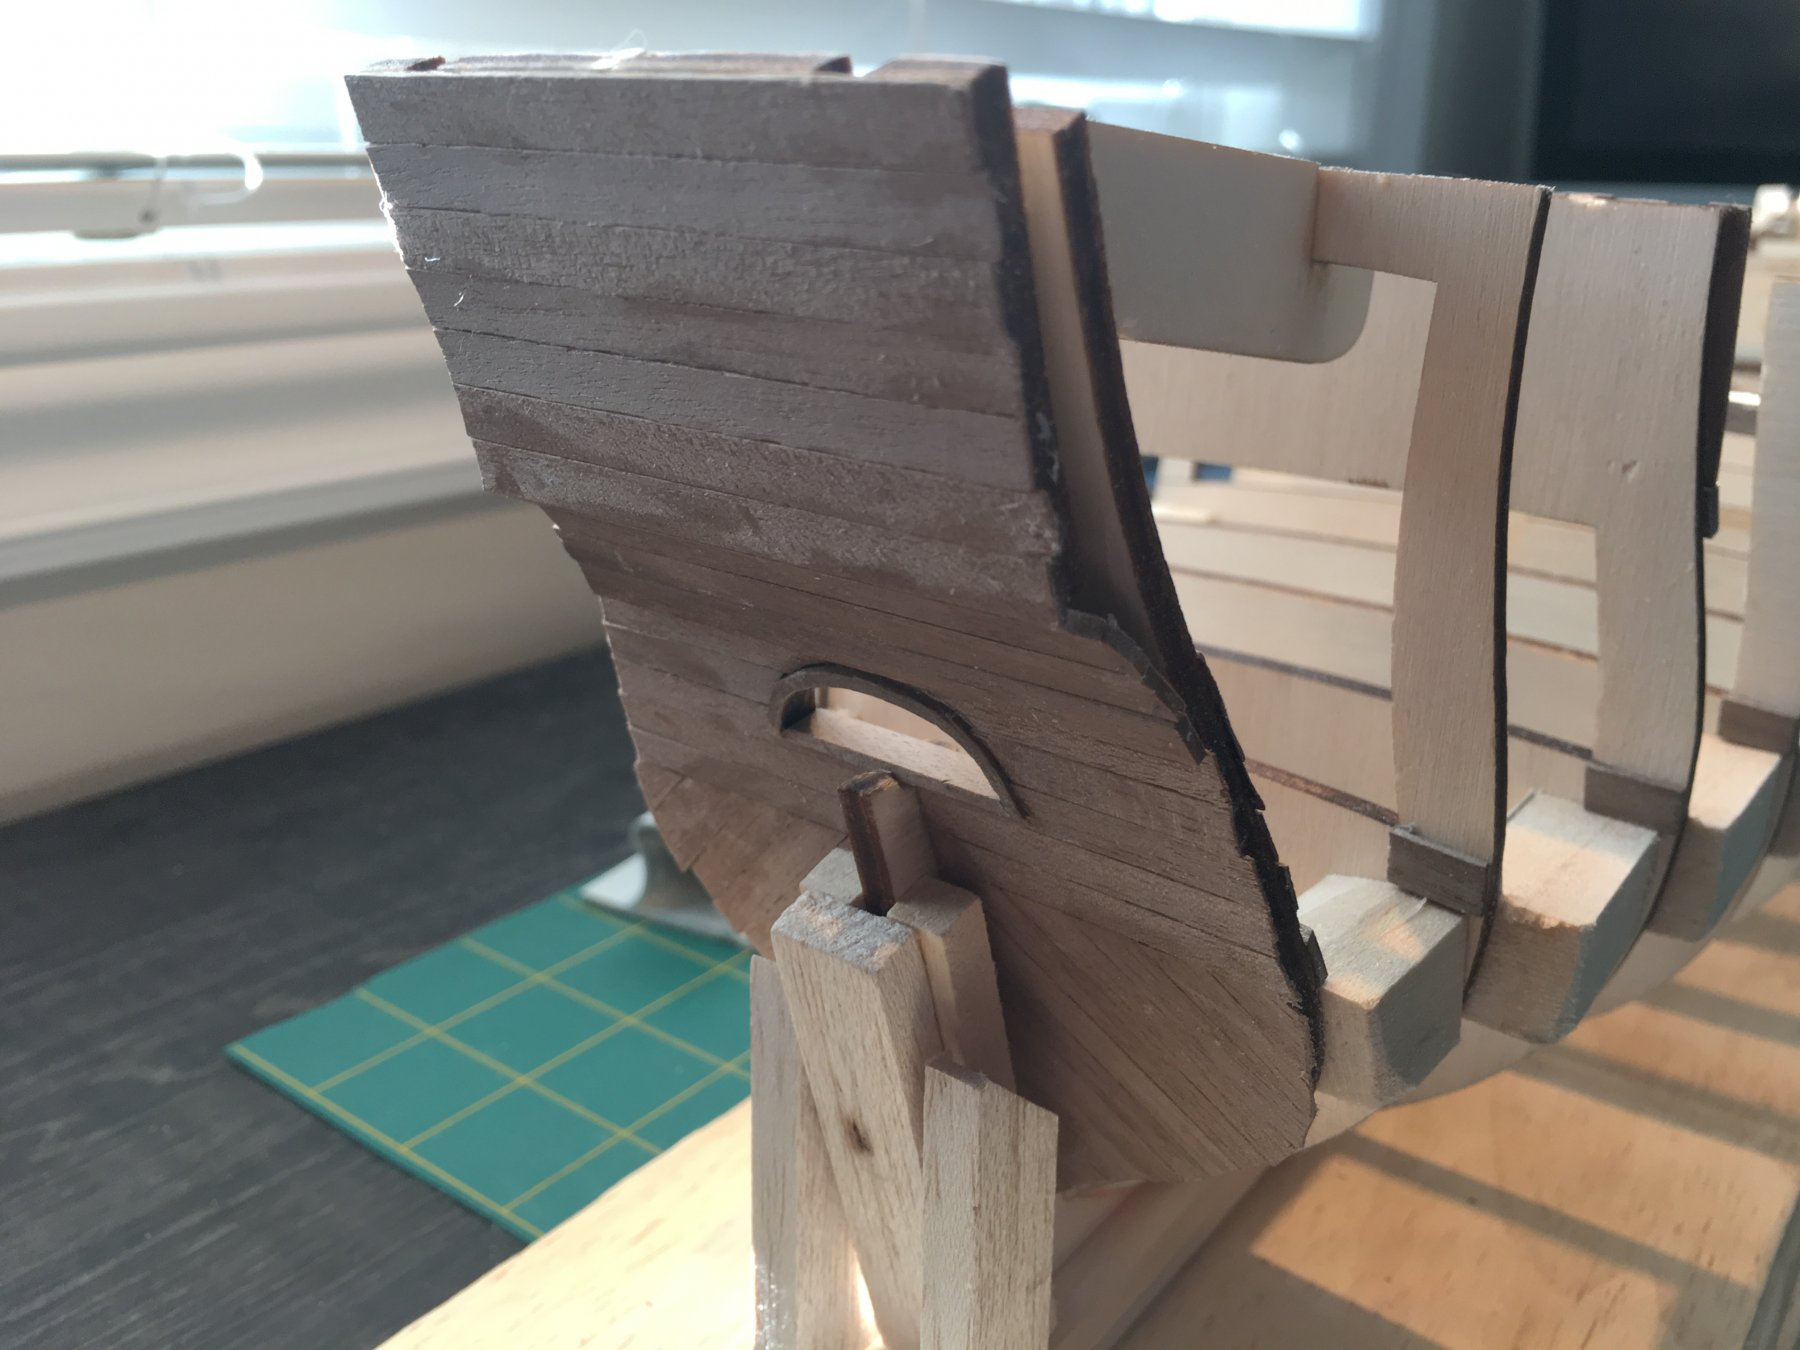
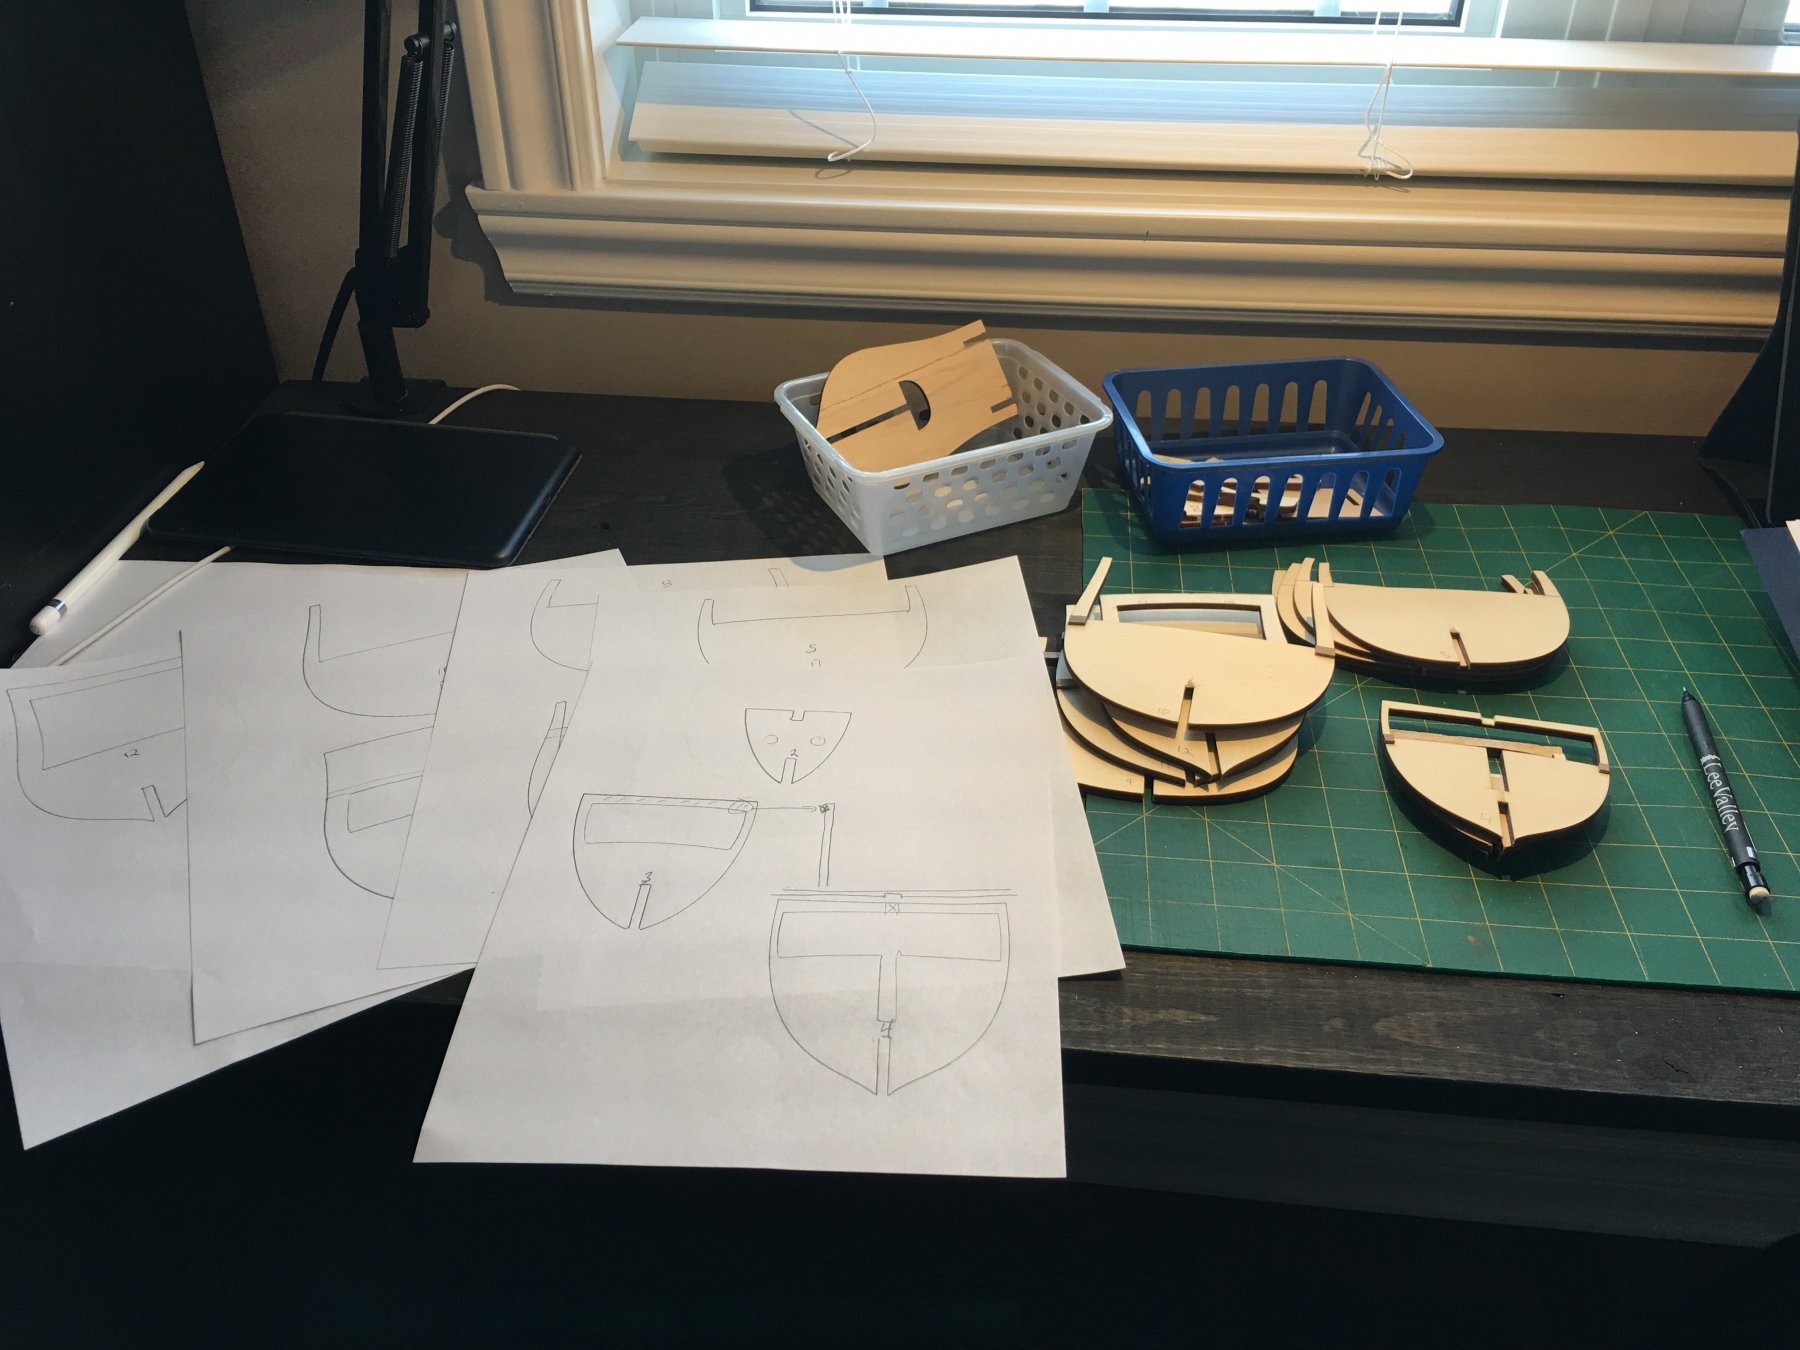
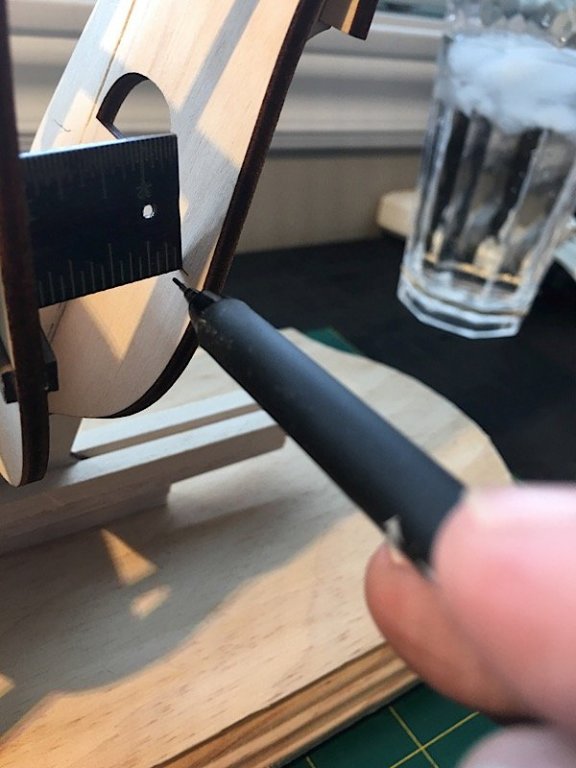
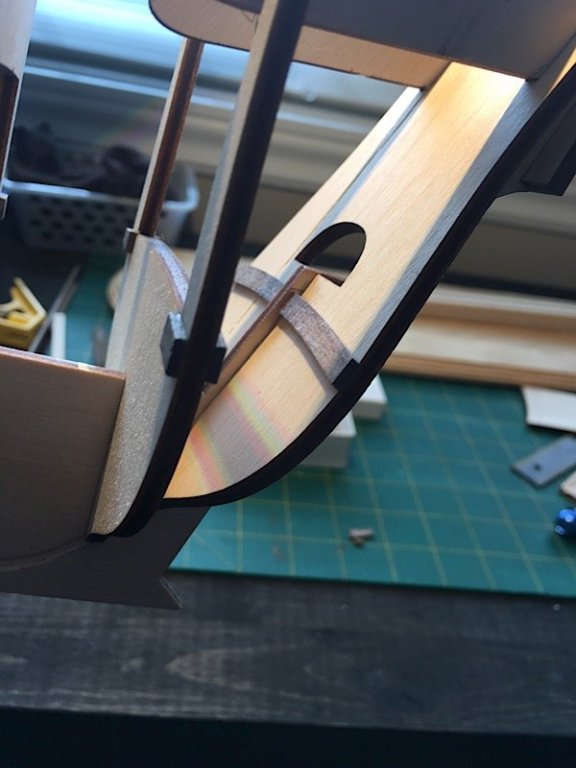
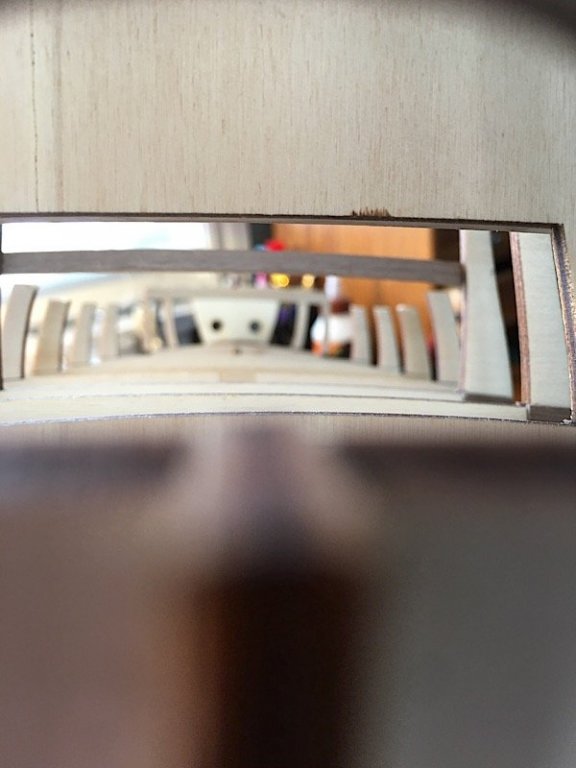
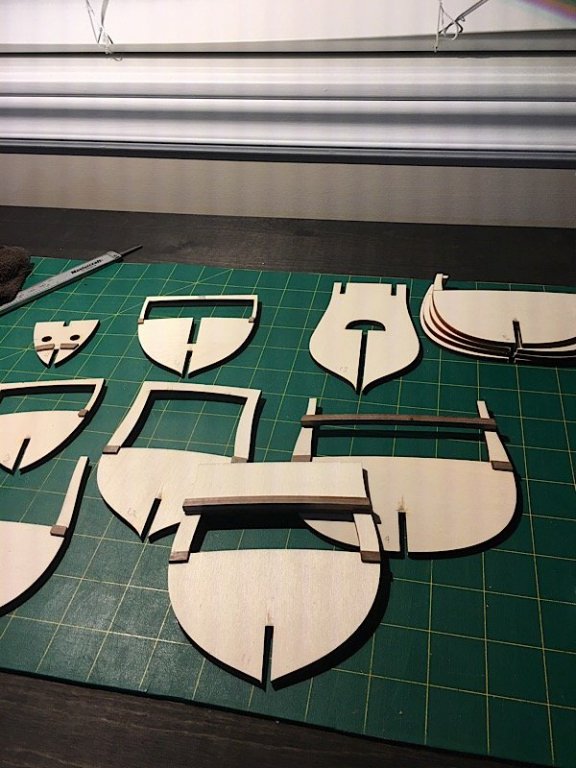
I've been busy doing some work on the bulkheads. Traced them on paper before assembly. This step will be useful in the future when the external supports need shaping. I could of used the negative from the plywood cut out just as well. Did a lot of prep on the bulkheads looking at the drawings and plans trying to imagine the next steps. Dry fitted all bulkheads, made sure every deck level lined up and that everything was square. Here you can see how the decks line up nice and square. Once all was squared off and measured over and over I was able to mark the stern deck support, allowing to shape and glue before final assembly. I was not happy with my original deck support on bulkhead #2 so I decided to reshape another piece. Much nicer I would say! Back in position and re check alignments, A close up of the deck allighnments before glueing together. Took a lot of time here making sure everything lined up perfectly. All glued up. Hope I did not forget any steps.


-
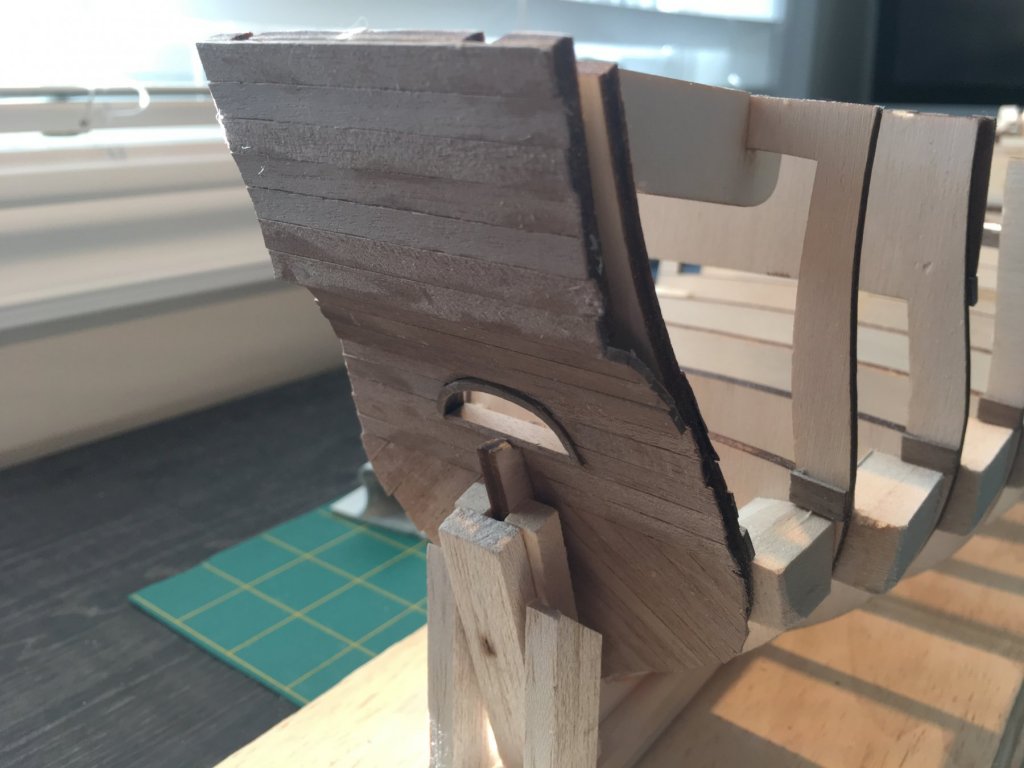
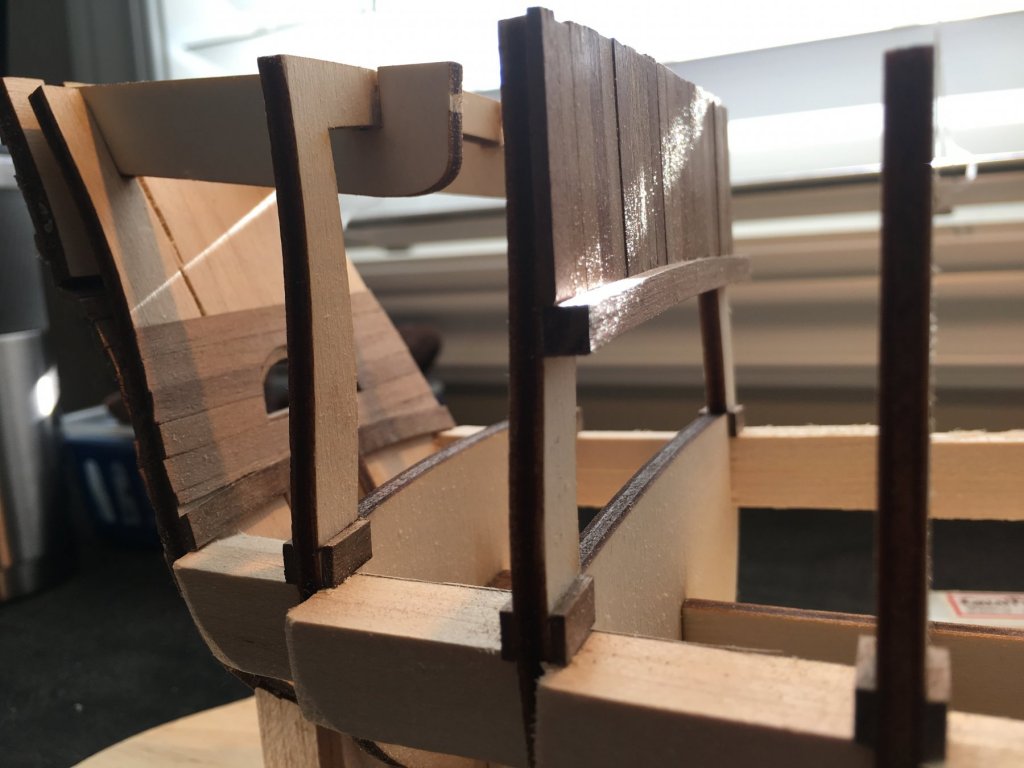
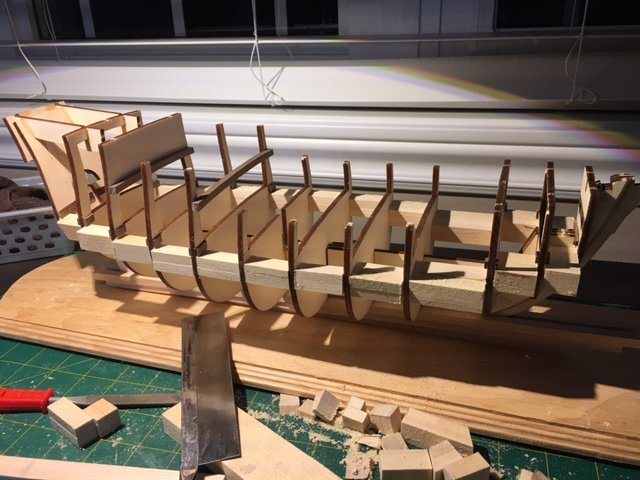
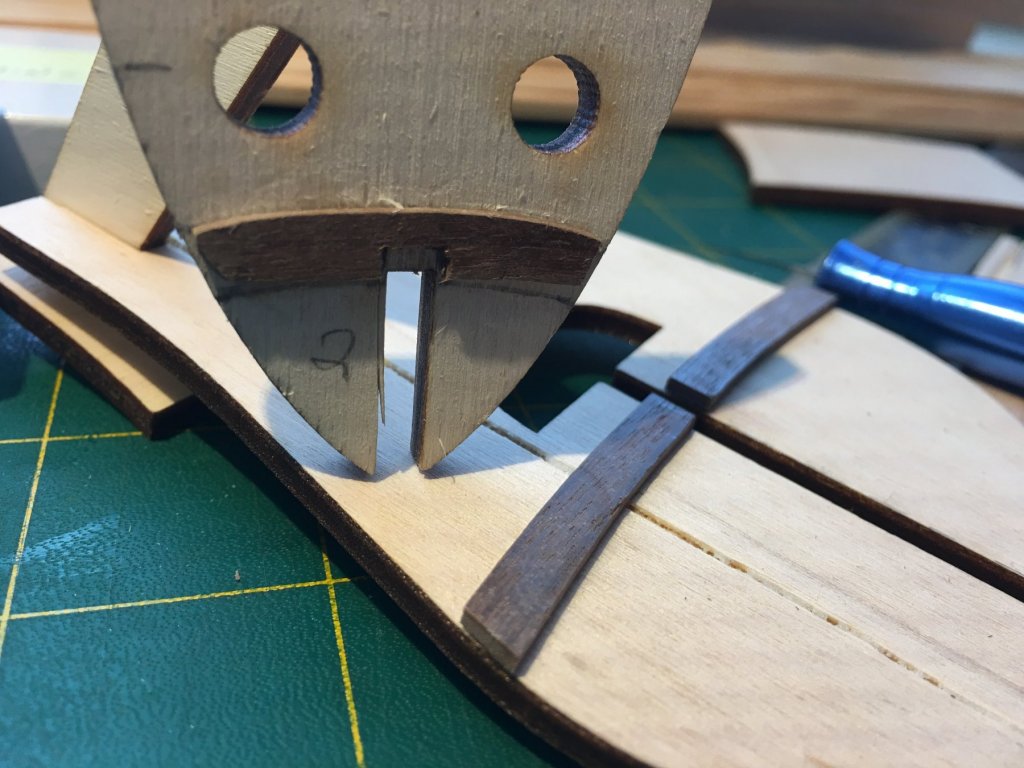
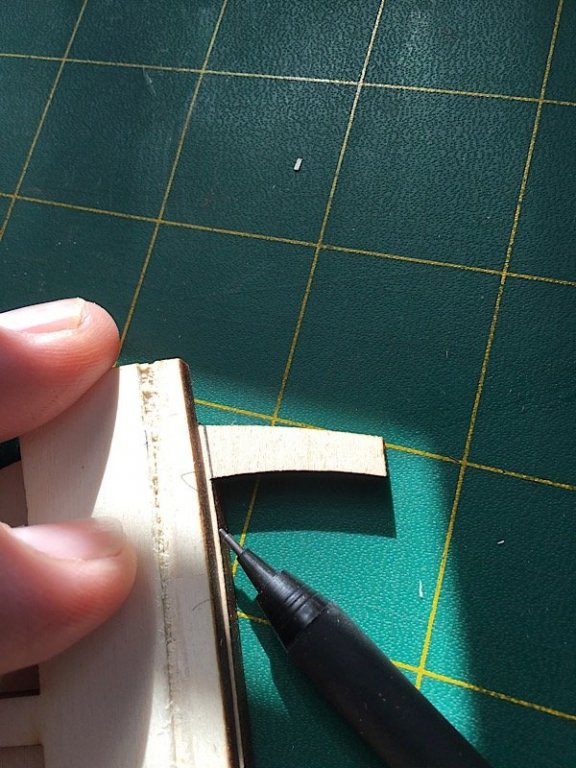
A little update. Here I had to prepare the bulkheads before glueing them to the keel. First was to extend the deck lines with a pencil then add little deck mount blocks, followed by the addition of two deck beams that were bent using water then heat. Not much but I am taking my time, reading ahead, making sure I understand why each step is done. I probably don't need to mention this to the experienced builder but always looking ahead is the way to success. In my books anyway.

-
Nice work, love the toothpick pictures posted earlier. Thinking of doing the same.
-
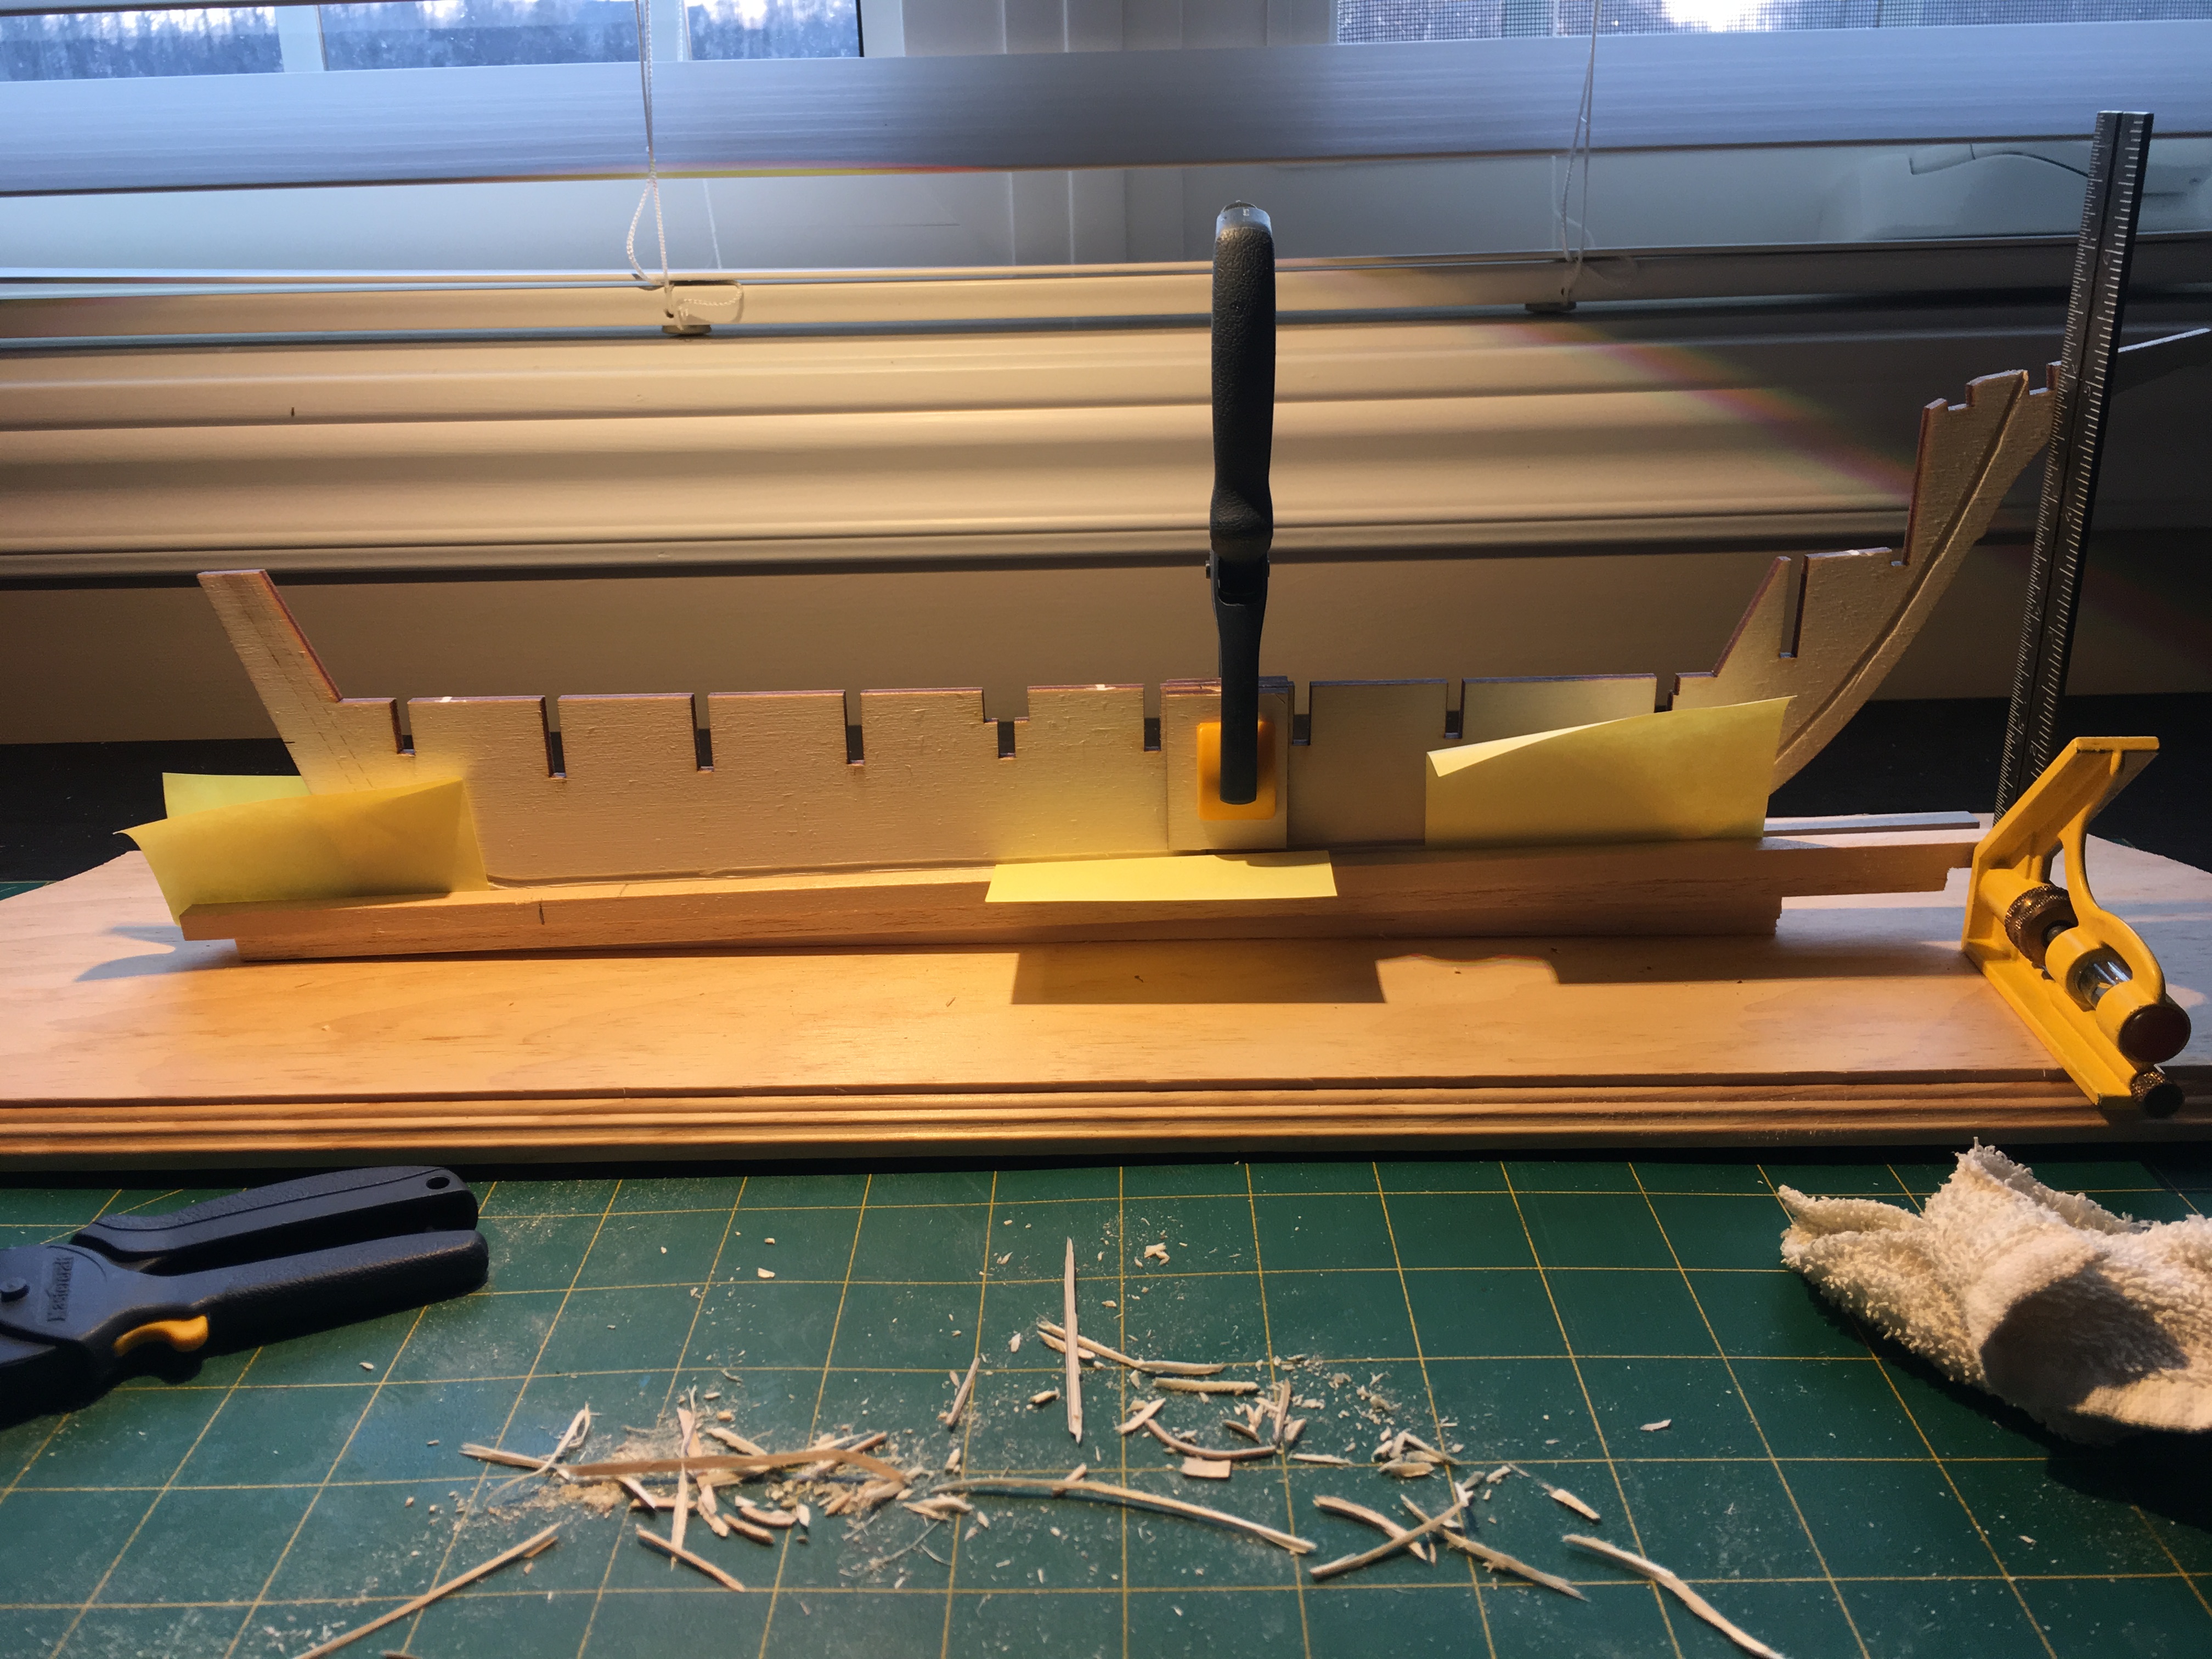
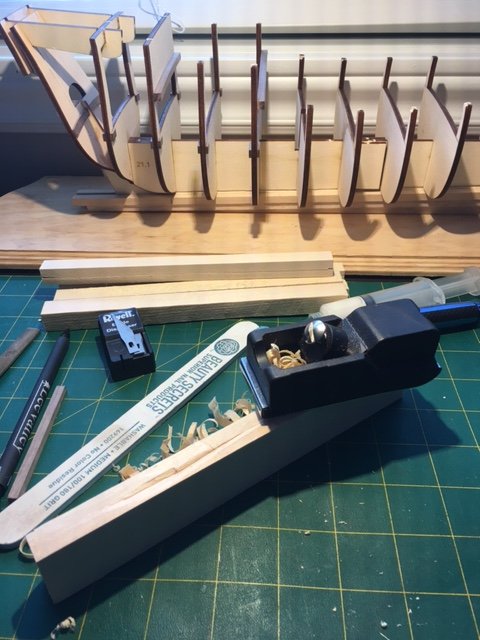
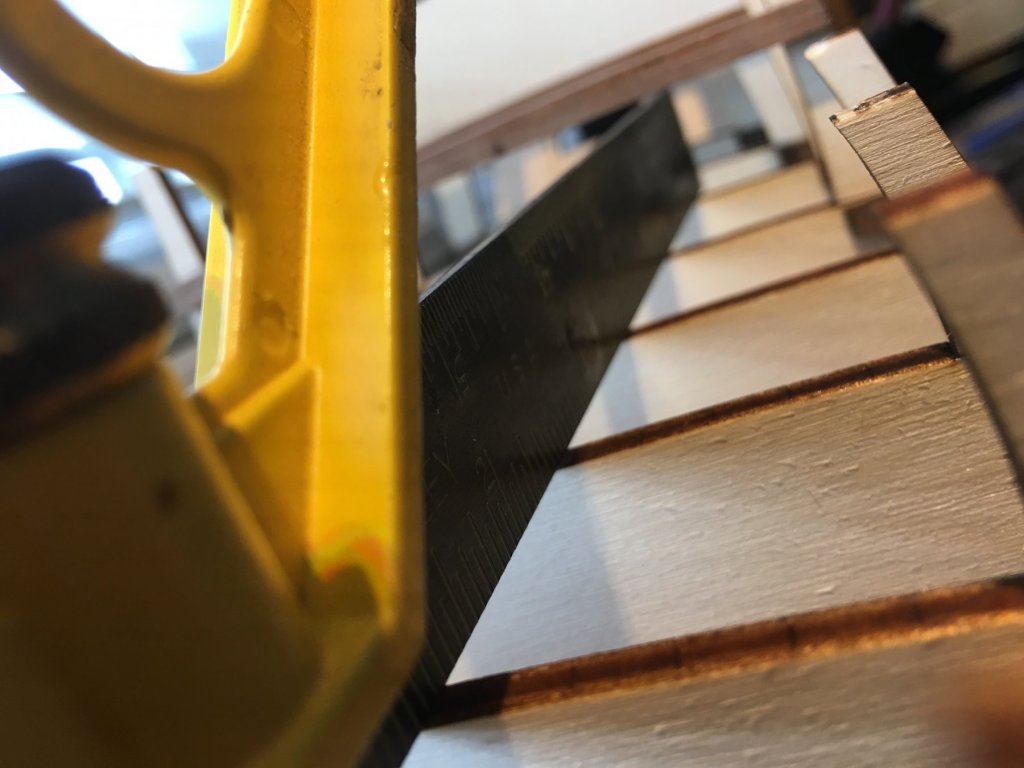
Thanks for the likes and posts.! Did a bit more work on the keel. Rabbet cut completed then two sections glued and clamped.

-
Hello from washington state
Pierretessier replied to fifeman93514's topic in New member Introductions
Good choice for your first build. Lots of info and build logs online. Looking forward to following your build. cheers, -
Welcome to MSW hope you enjoy the best online community for ship modelling.
-
Thanks to all for following my first build. For those interested I have started my second build and can be followed here. Santa Maria Any comments welcomed. Cheers/
- 46 replies
-
- 2
-
-
- batelina
- marisstella
- (and 2 more)