Steven1
-
Posts
29 -
Joined
-
Last visited
Content Type
Profiles
Forums
Gallery
Events
Everything posted by Steven1
-
A local guy is very excited to get it. Mission accomplished. Really, a good outcome. Steve
-
I totally agree. While the model may not have been built to the highest standards, a huge amount of work (and time) went into it. I wish I knew who built it. Steve
-
Thank you! Honestly, it's in rough shape, and the planking isn't well done. One reason I strongly suspect my stepfather didn't build it. He was quite a perfectionist and craftsman. Steve
-
Hello! My stepfather was an excellent model ship builder; on his passing I recovered several of his models. I have two which upon close inspection I'm convinced he didn't build. In later life he suffered from Parkinson's, and I'm guessing my mother found these at an antiques store, estate sale, etc. Here's one (the other is smaller and in better shape). I'm downsizing and won't get to restoring it. I'd like to offer it FREE to anyone who might enjoy fussing with it. There's a lot of nice work in this model and I hate to just discard it. I live near Albany New York, and it would be pick up only, or a reasonable drive to meet you. Any other suggestions appreciated! You can PM or I can be reached at slnightingale@hotmail.com Thanks, Steve


-
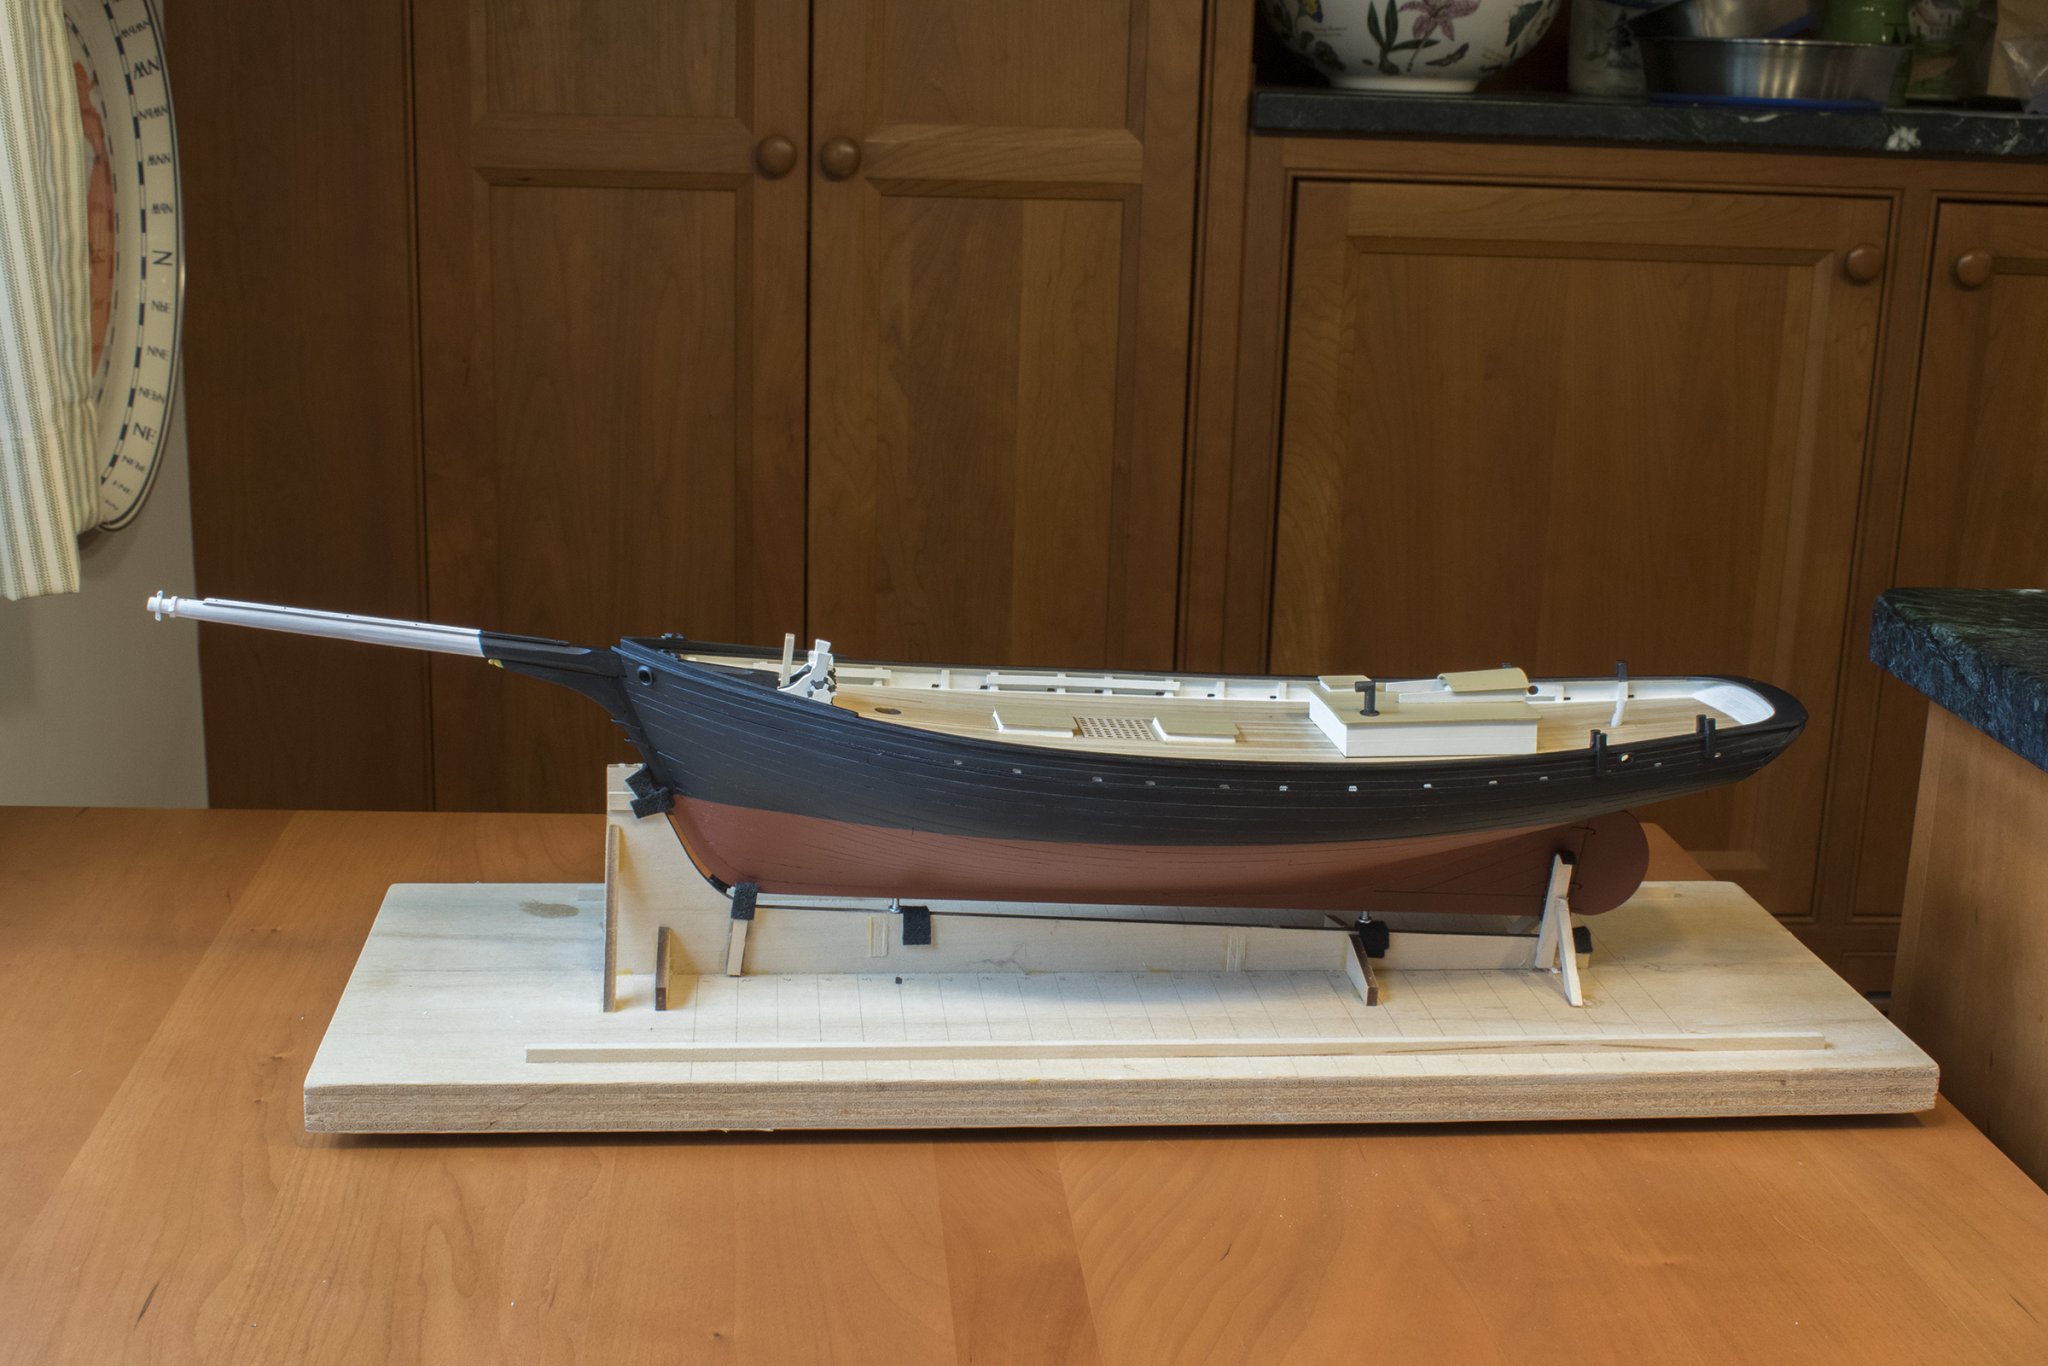
Speaking of acrylics, I've overcome my fear of them and have had great luck with Tamiya acrylics. Here's the bottom of my Emma C. Berry; a mix of 5 parts XF-7 red and 1 part XF-64 red-brown. Steve
-
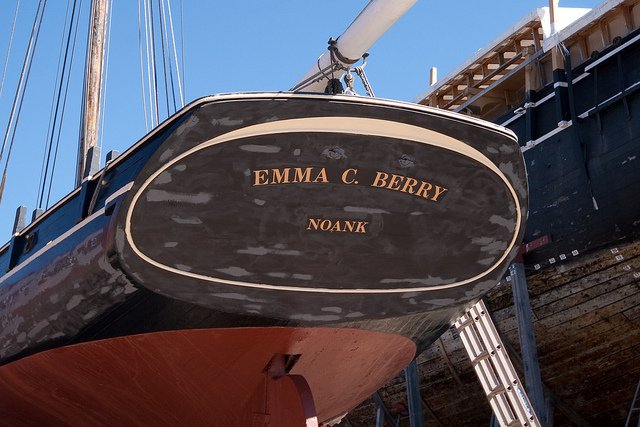
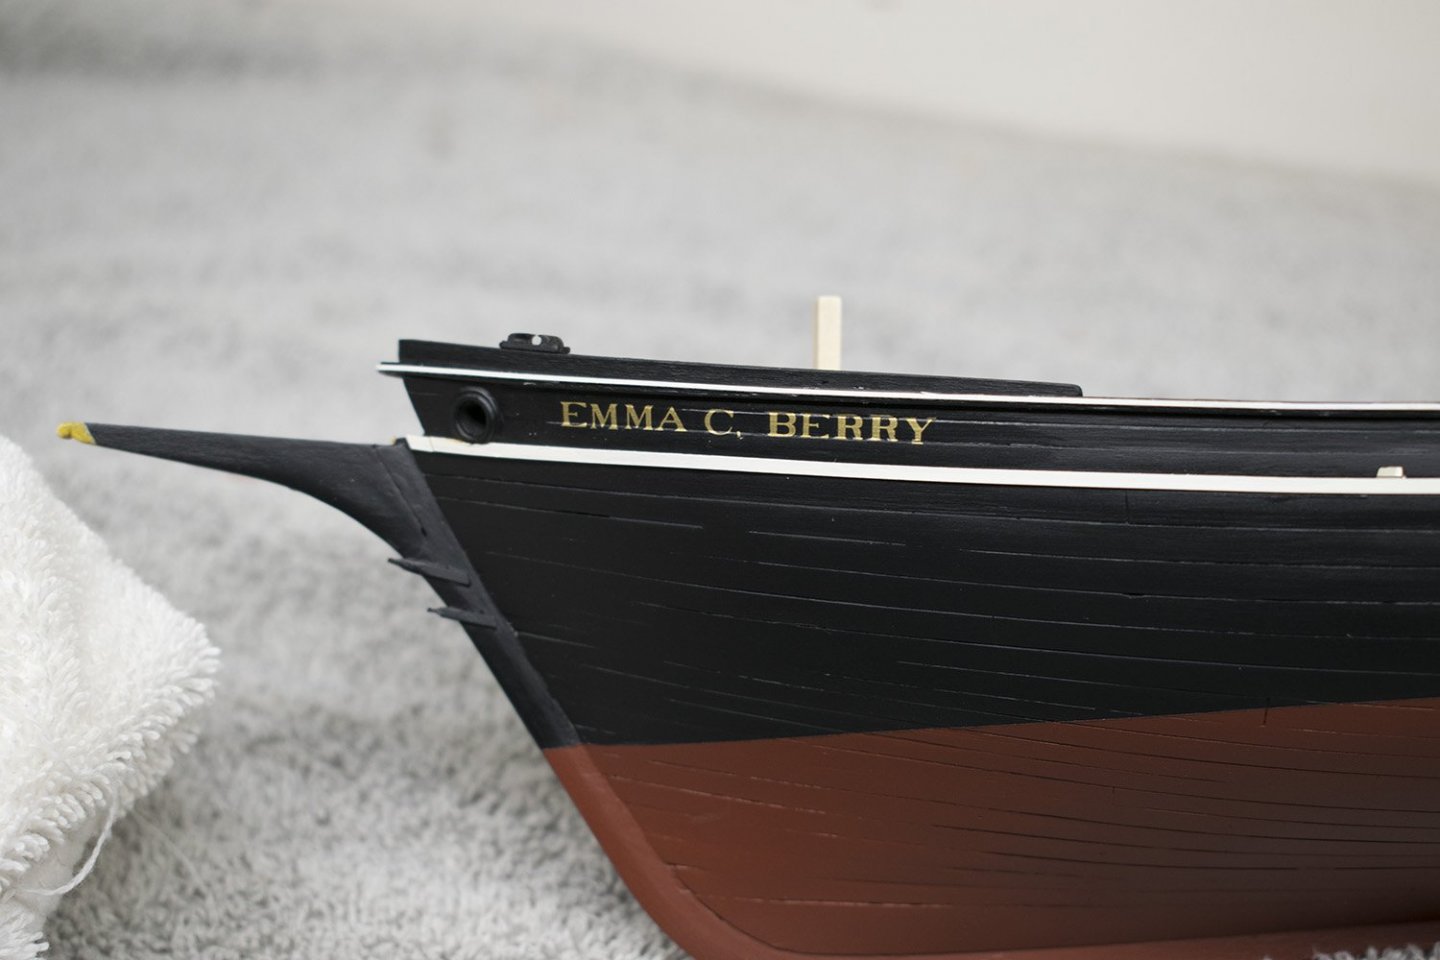
Started putting on the lettering today. I'm using Woodland Scenics MG703 Roman R. R. Gold. On stern "Emma C. Berry" is 3/32 size; "Noank" is 1/16 inch. Gold will need a bit of re-touching with gold paint. I tried 1/8 inch along bow; it's too big and will be sanded off tomorrow! I'll use the 3/32 as on the stern. Steve

-
Thanks everyone, Seems like this will be a good one to dig into when I get my Emma C. Berry done (see my progress under Build Logs--- Model Ship Kits), and a Model Shipways AVS kit that's almost ready for rigging. Glad to hear the positive impressions! And Glen Barlow's model looks fantastic! Steve
-
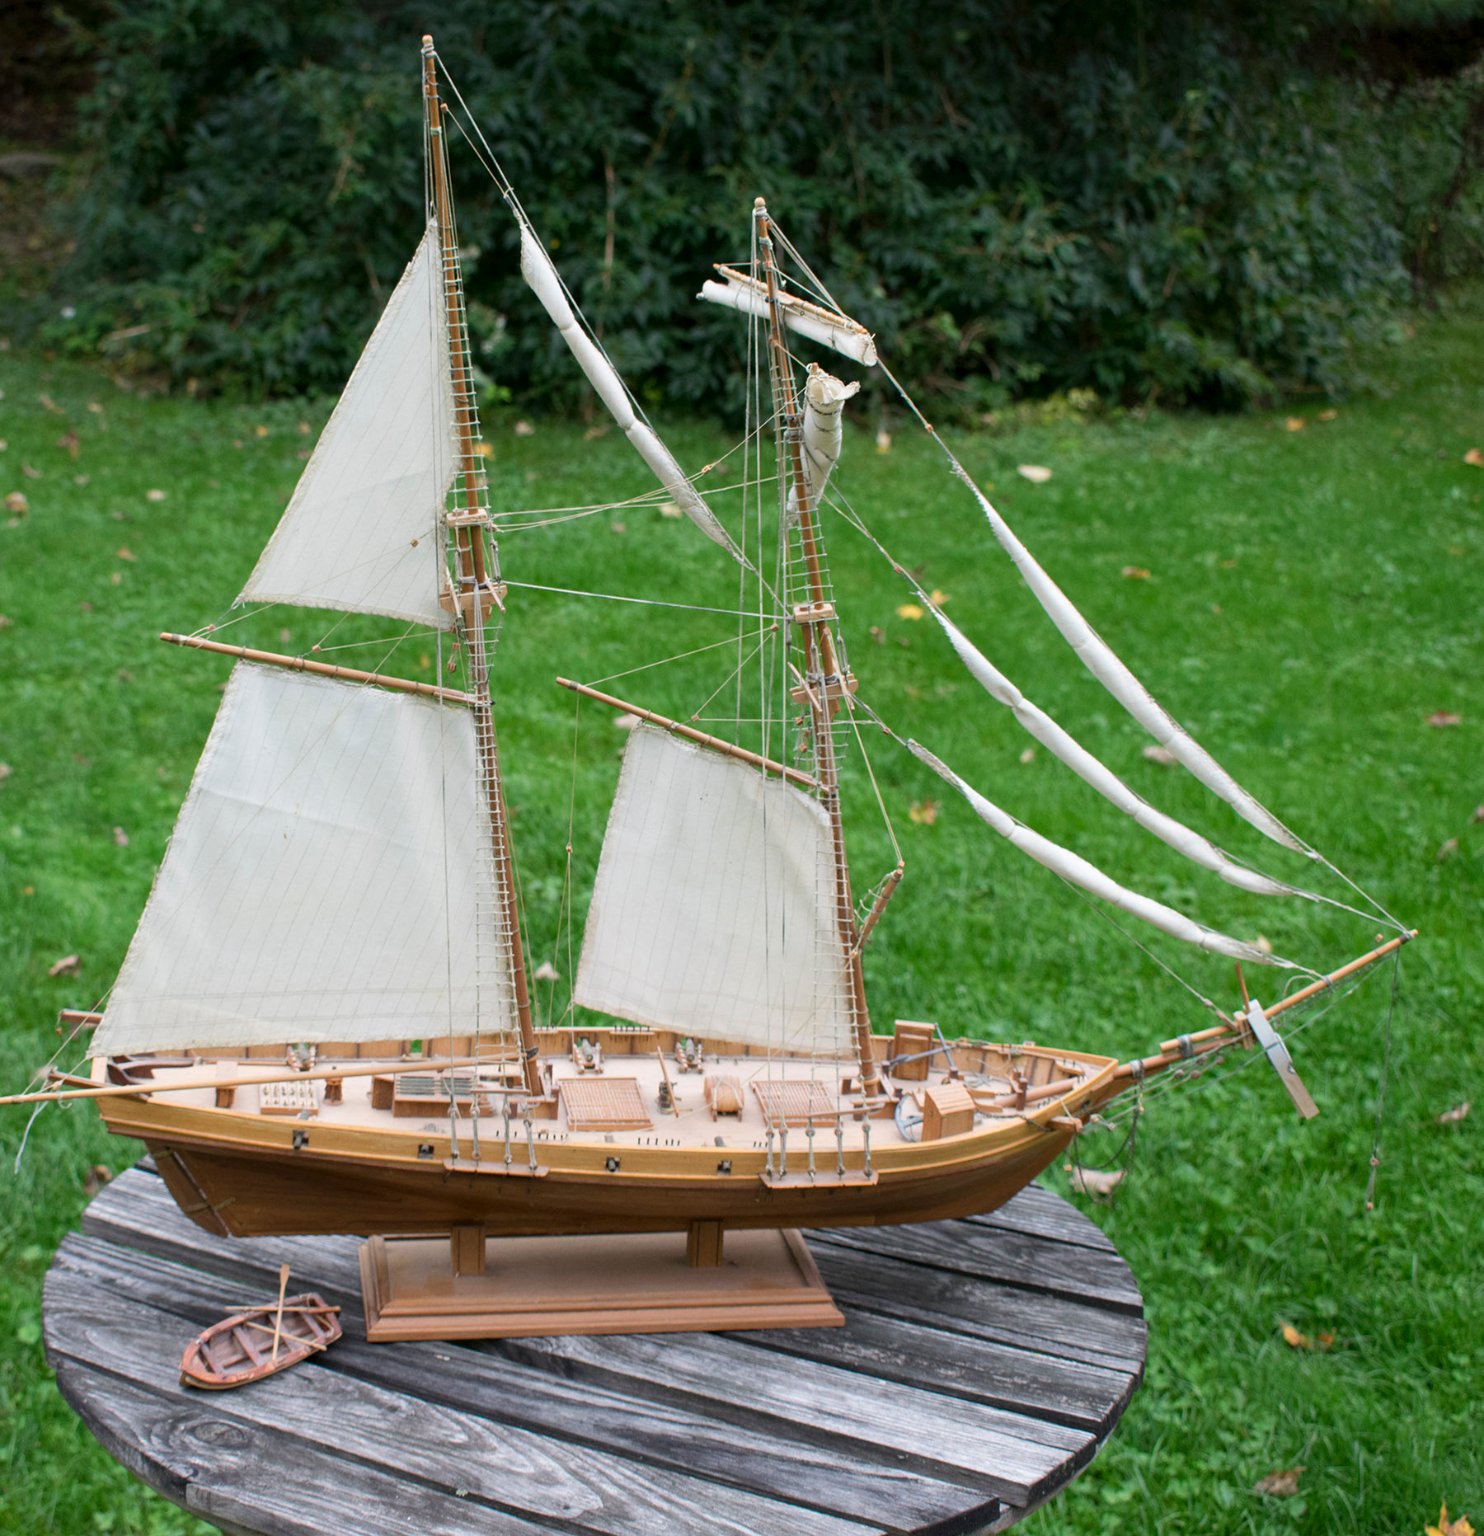
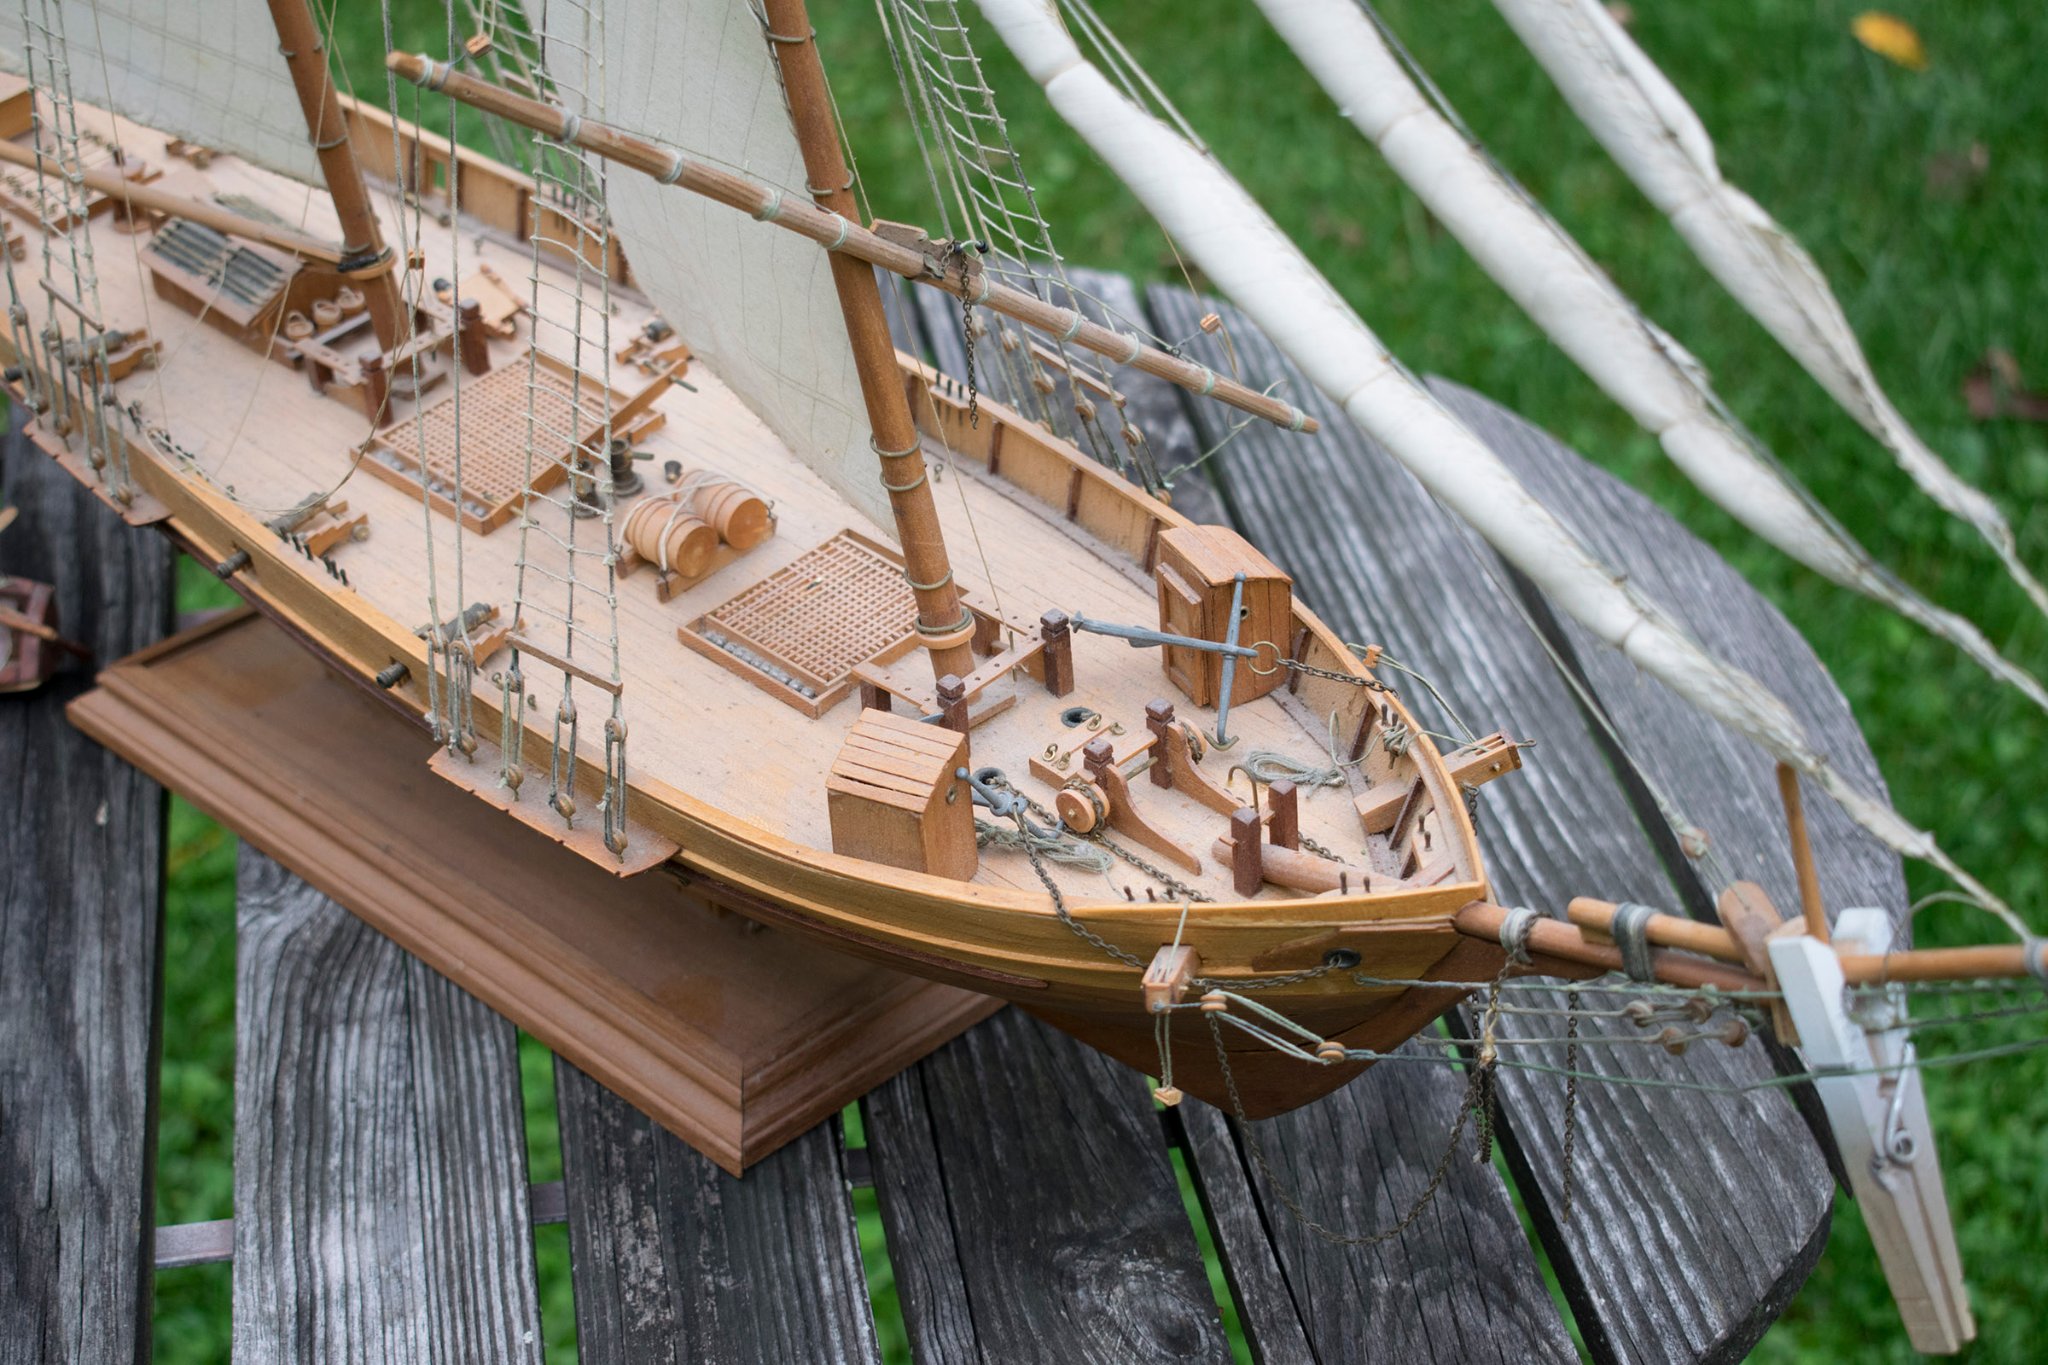
Absolutely beautiful Miles.....thanks for posting. It would appear that the kit CAN be built!!! Steve
-
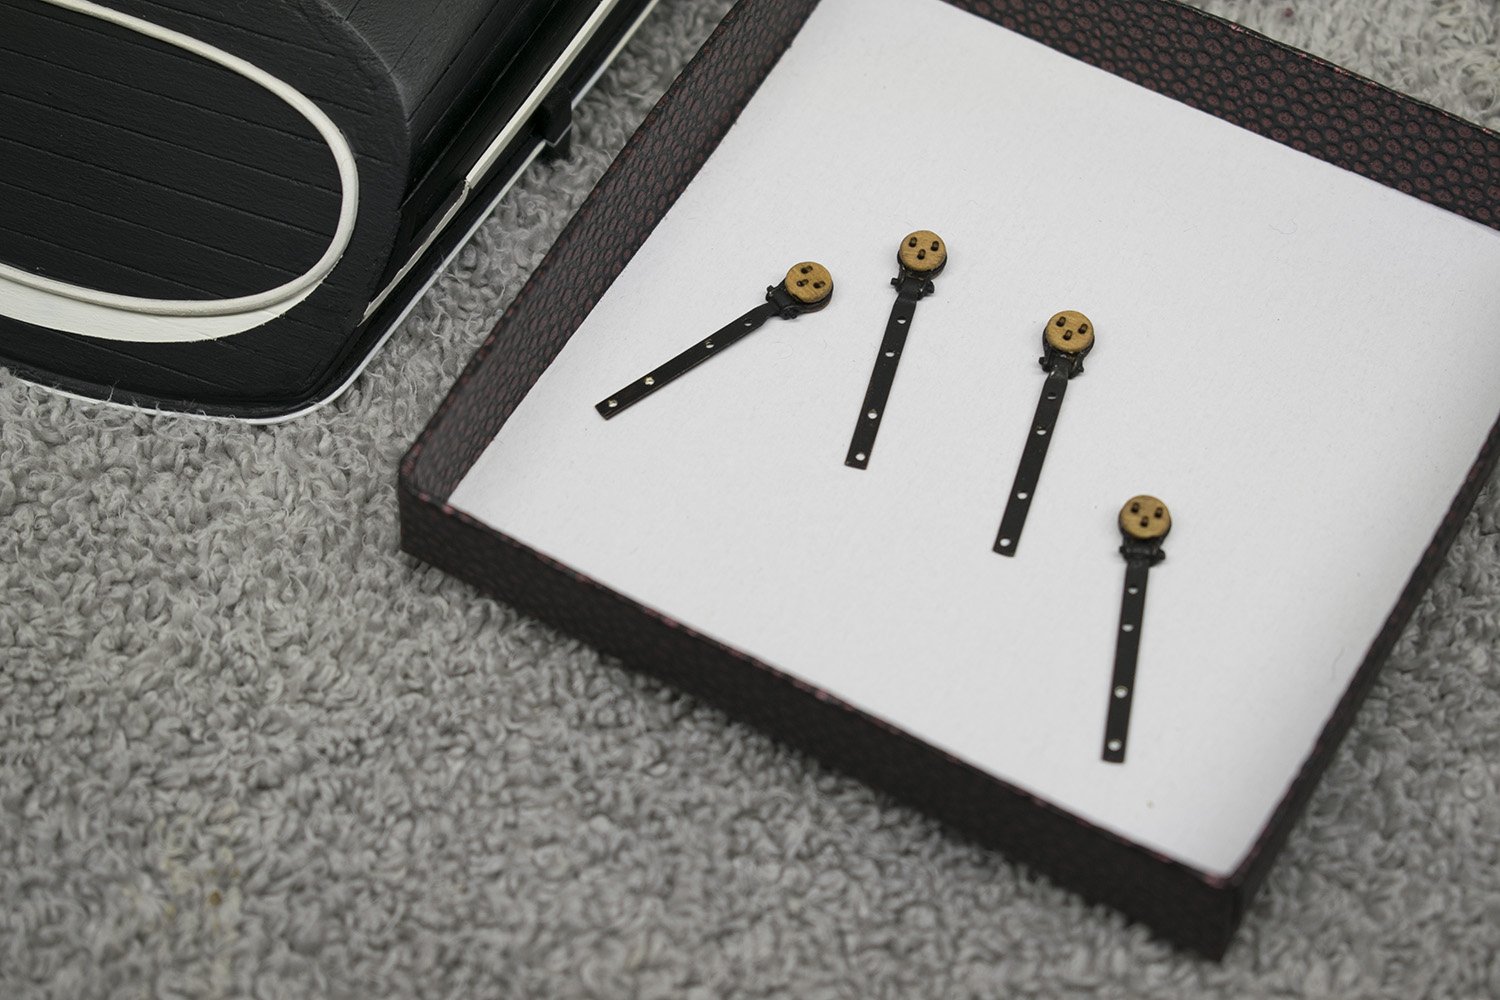
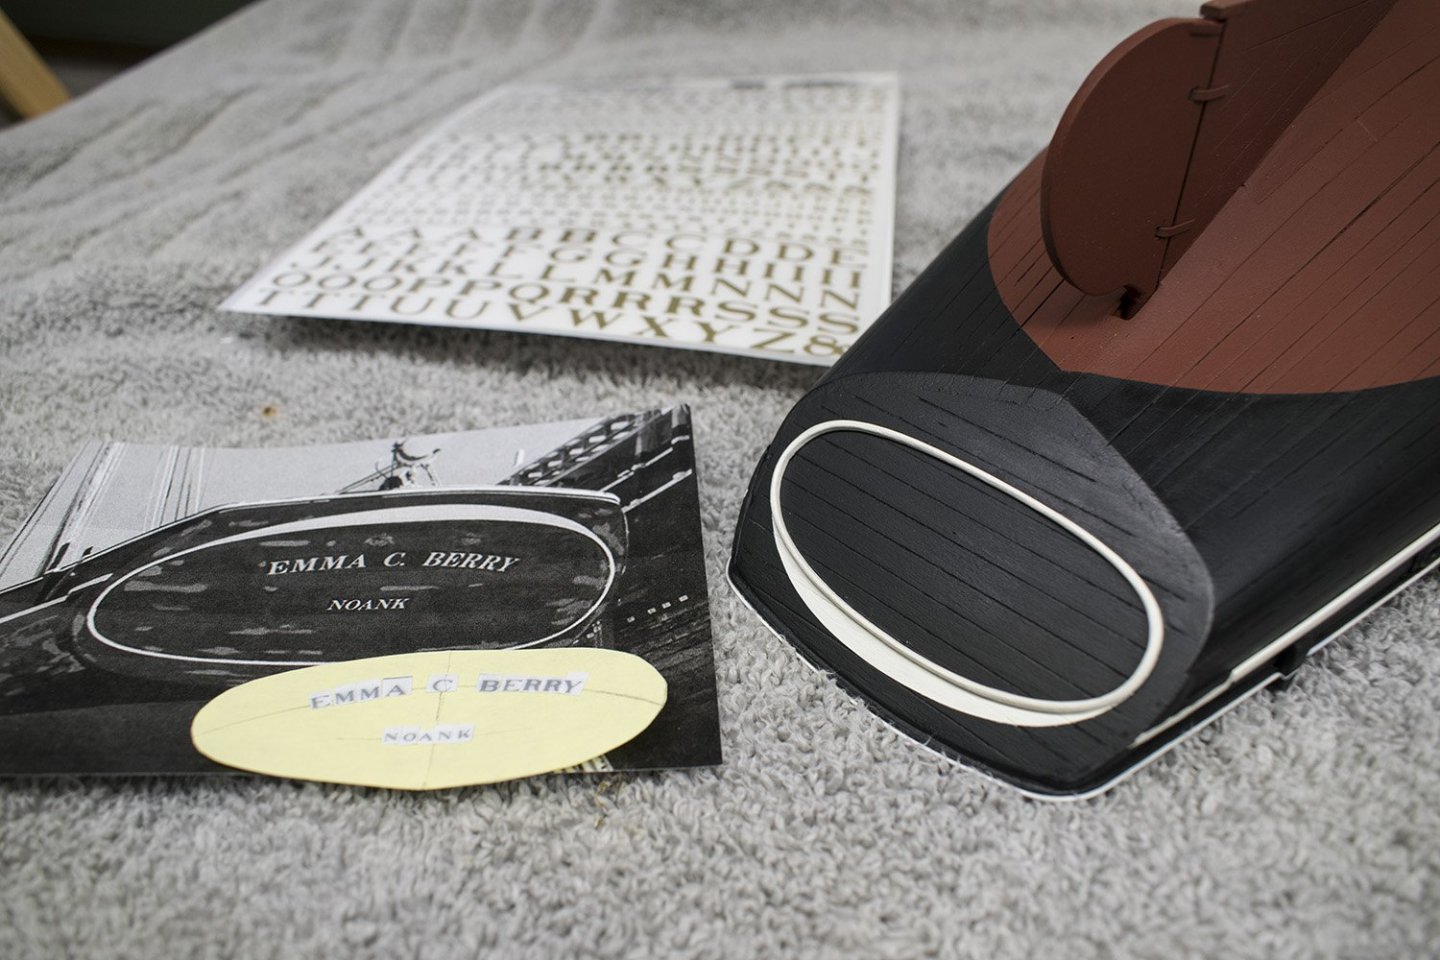
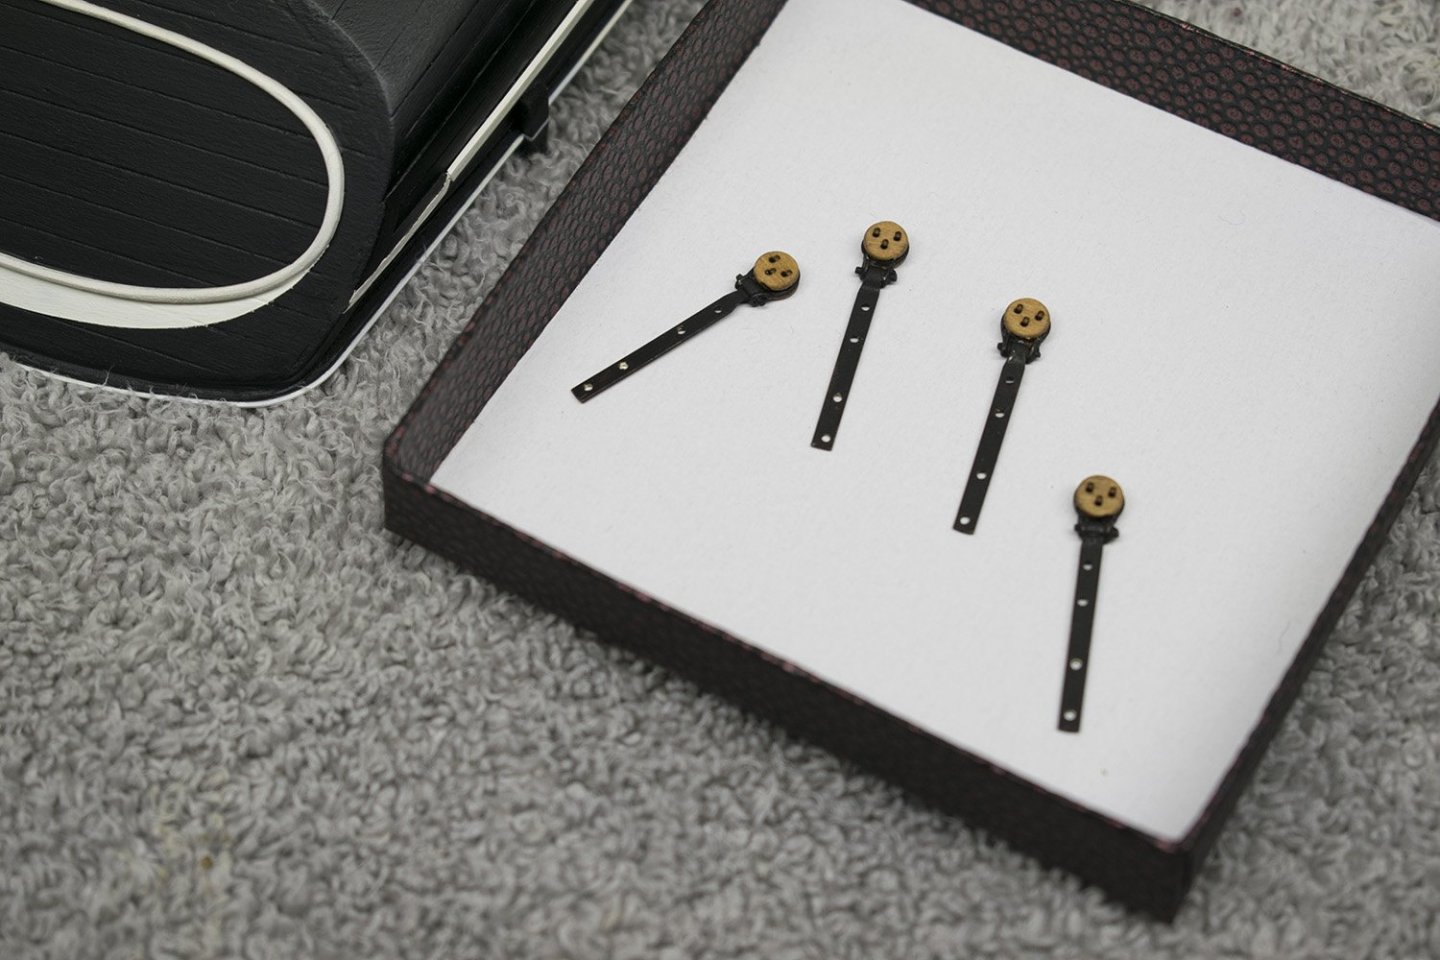
Some more progress on the ECB. Had to deal with the decorative white striping; decided to handle that by ripping some very fine strips, painting them, and gluing them on. Next, dealing with the lettering. Ordered a set of gold rub on letters. Good news is that the font matches the real ECB very well. Bad news is that there are only 2 "M's" of the required size, meaning that even if I don't screw any of them up, I'll need a total of three sheets. Oh well, we've come this far...... I'll paint up some wood to practice applying, using un-needed letters. Attached is a photo showing how I've "mocked up" (or maybe mucked up) how the letters hopefully would be applied. (BTW, the planks are actually tight..as previously stated I beveled the edges to make them show up after paint. May have overdone it a bit....) Also I completed the chainplate-deadeye assemblies. Used Chuck's deadeye "kits". Very nice. My soldering skills need some tuning, though. I may actually re-make them. Comments, suggestions, and taunts solicited! 😄 Steve


-
Hello, In my kit stash is Bob Hunt's "Fair American" kit (kit #58 purchased in 2006). My understanding is that it doesn't represent an actual scale model, but would seem to build up to a very attractive representation of ship construction, etc. I've done a search on this site and I've found two builds, both of which seem to have come to a halt at different stages of the build (I get that, my build of the Emma C. Berry under "Model Kits" go through similar lapses!) If anyone here has the kit, has started it, or even completed it, I would enjoy and appreciate any comments about the kit as I screw up my courage to start it! Steve
-
Thanks! As far as the holes for the wet well goes, from what I can see of the actual boat at Mystic, those no longer exist and the model is based on a relatively recent reconstruction. I've chosen to leave them out. I also put a slight bevel on the plank edges to make them show when the hull was painted. No sense doing all that work if you can't see it! I'm working on adding the white side trim pieces today; I've cut very thin pieces of stripwood which I will paint and then apply. I'll post a pic when that gets finished, probably tomorrow. Steve
-
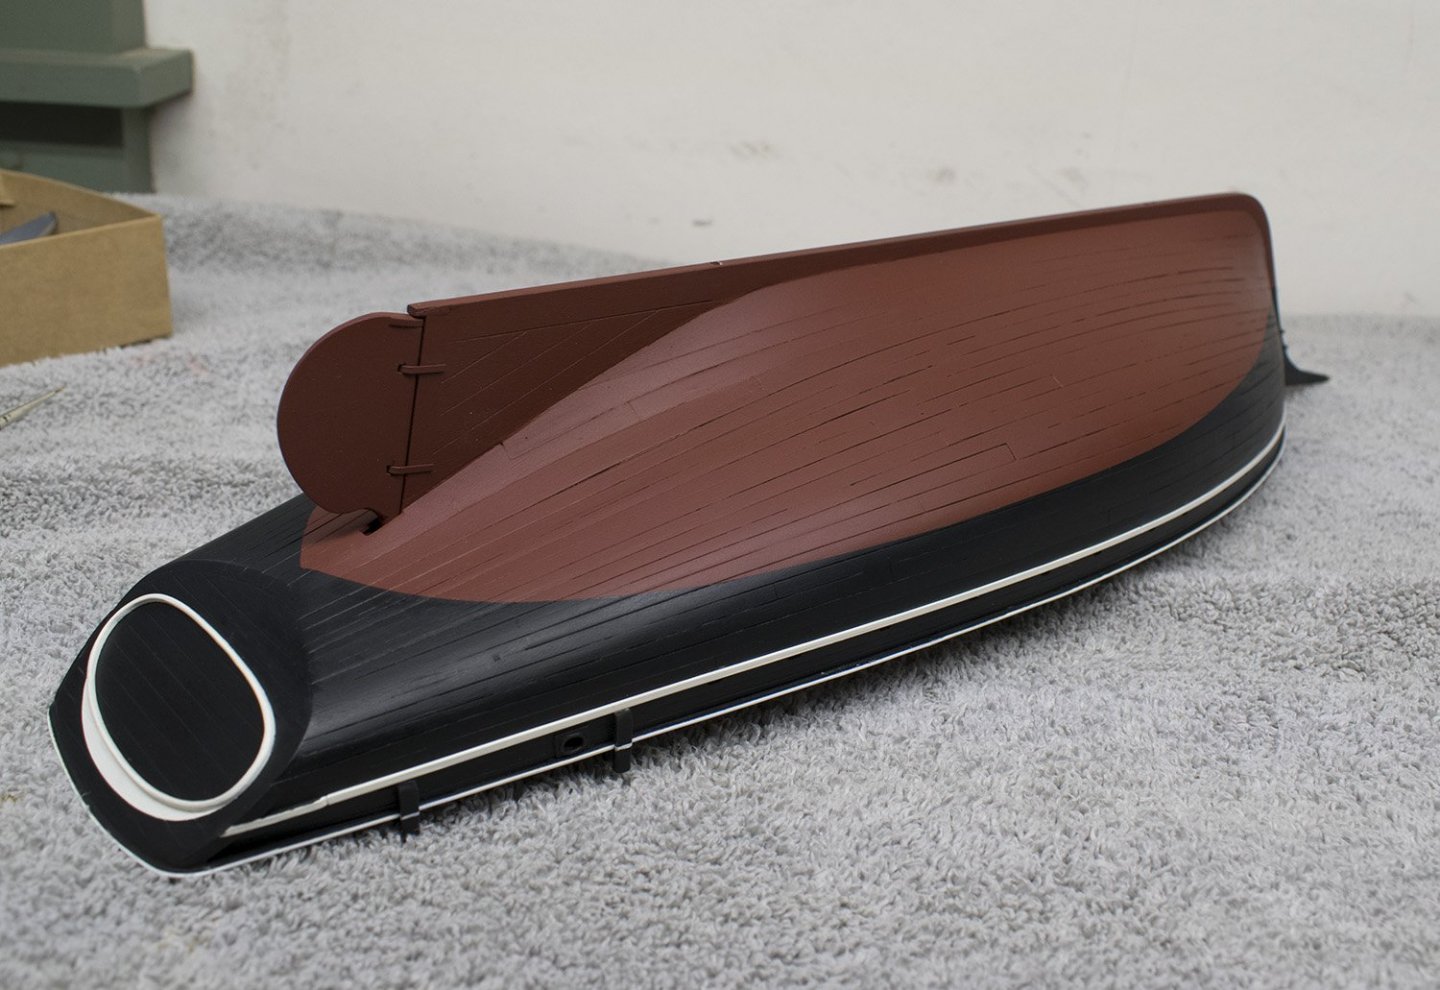
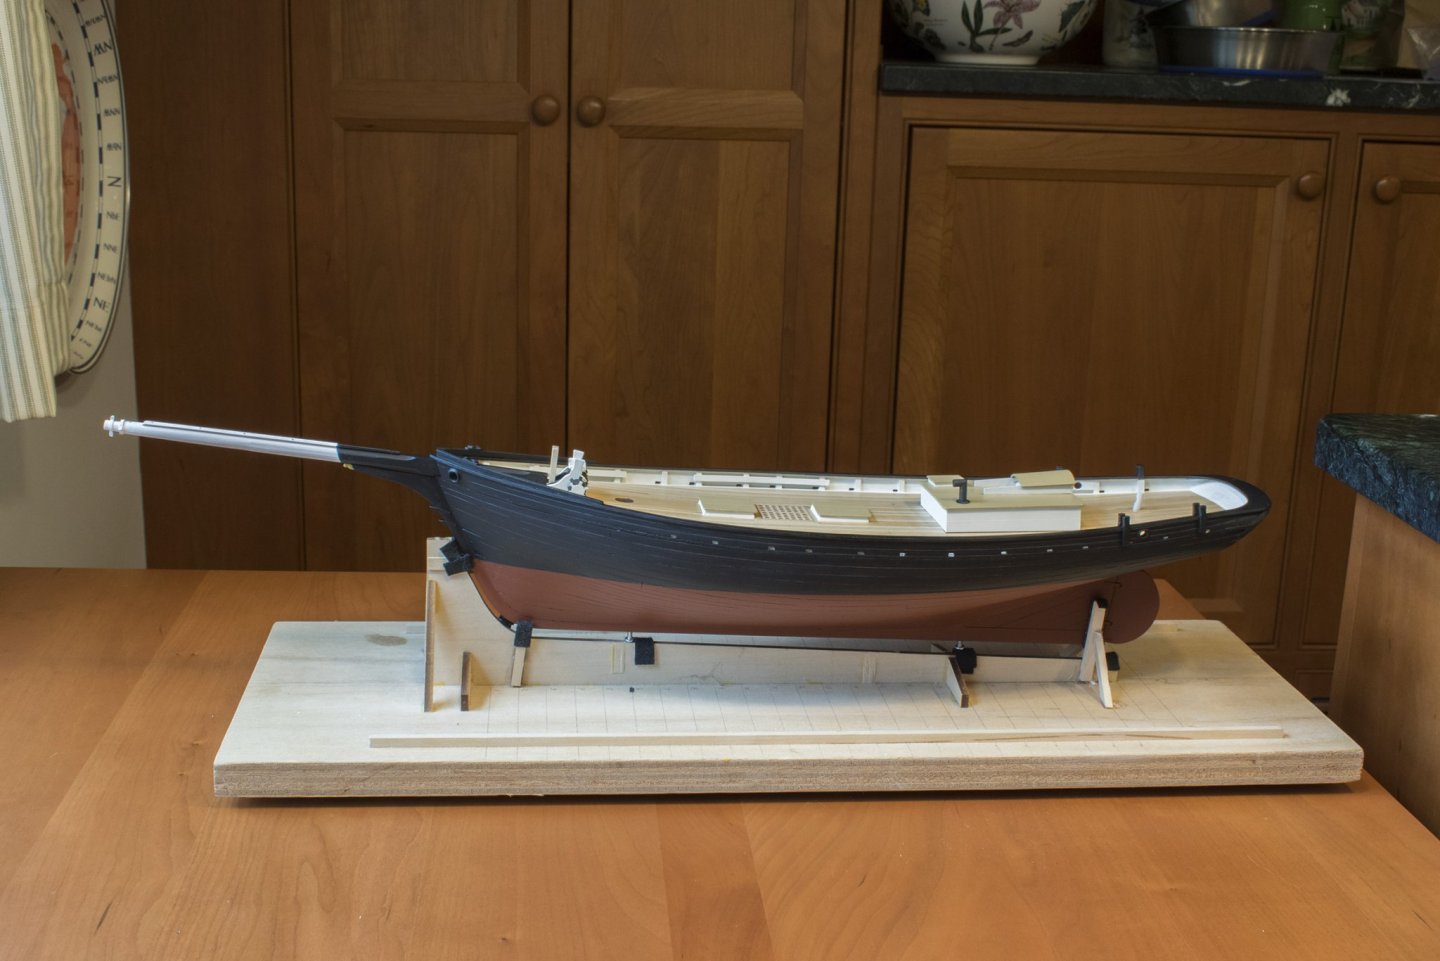
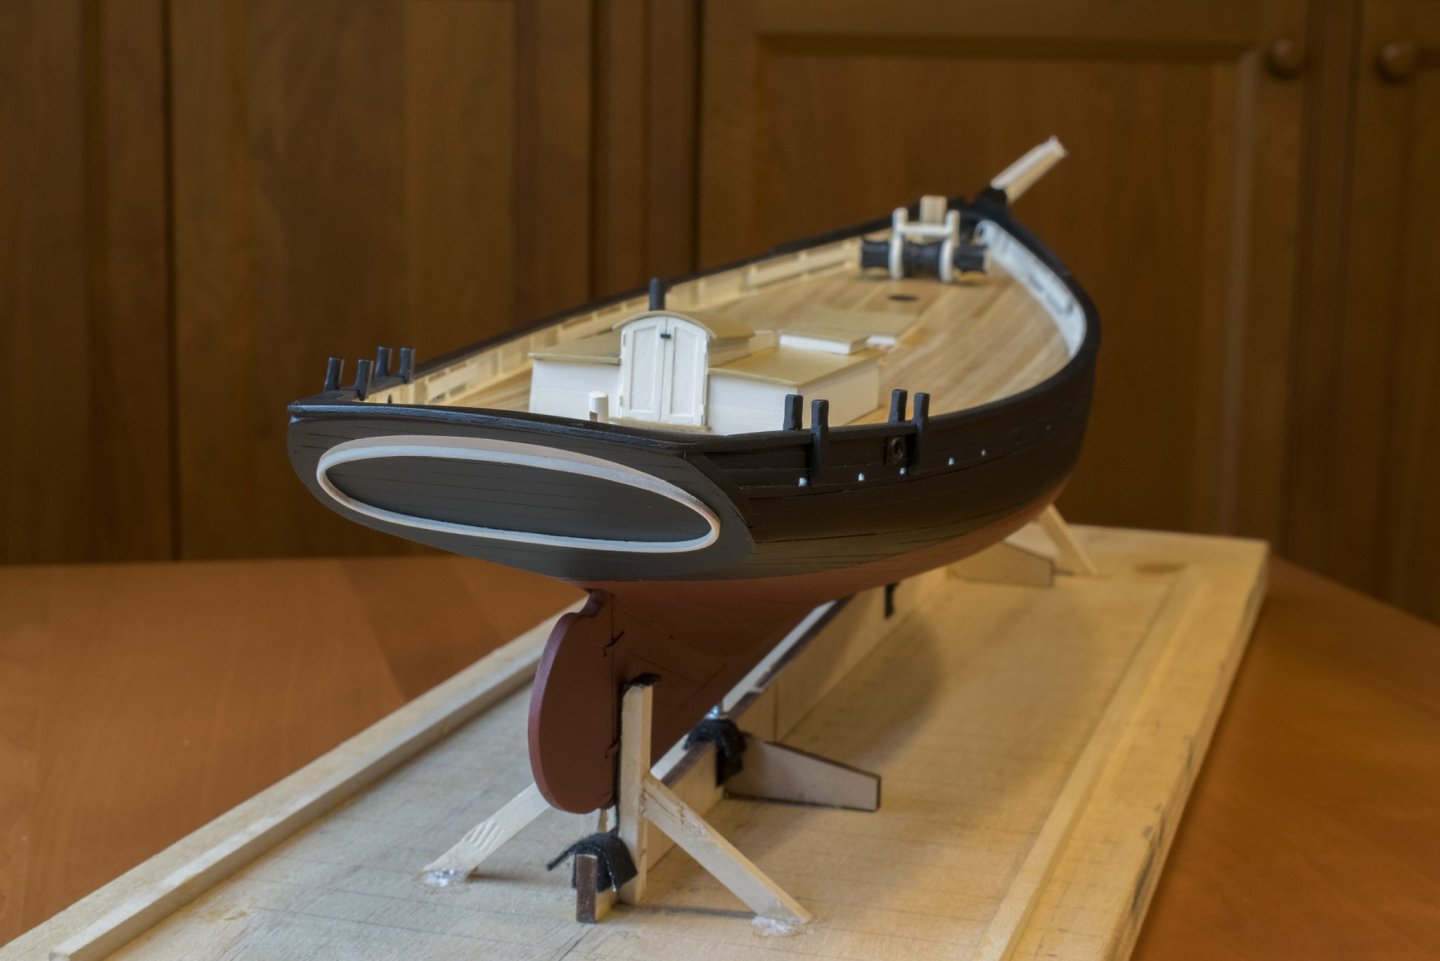
Hi Folks, I've made some progress. Here's the hull so far. A few comments: I've been airbrushing Tamiya acrylics and have been very pleased. My LHS guy suggested I use the acrylic with Tamiya's lacquer thinner and it works well. The "red-brown" under the waterline is a mix of 5 parts XF-7 red, and 1 part XF-64 red-brown. These dry dead flat so I oversprayed everything with some leftover Floquil flat, which is more of a satin/eggshell. I'm also feeling better about the natural wood for the deck. The white oval trim along the stern is more prominent than in the actual boat, but looks pretty good. Headed to Woodland Scenics for rub-on gold lettering; any other suggestions are welcome. Next up will be the white trim along the sides, and installation of chain plates. I've ordered Chuck P's deadeyes; while I've ordered his blocks for other kits in the stash I have some old Warner Woods blocks I'll use here. They're quite nice. I haven't provided a detailed blow-by-blow description of the build but if there are any questions, please ask! BTW, about 170 hours up to this point. Steve

-
Testing...the photos I posted are pretty small. Trying a larger file size. Steve
-
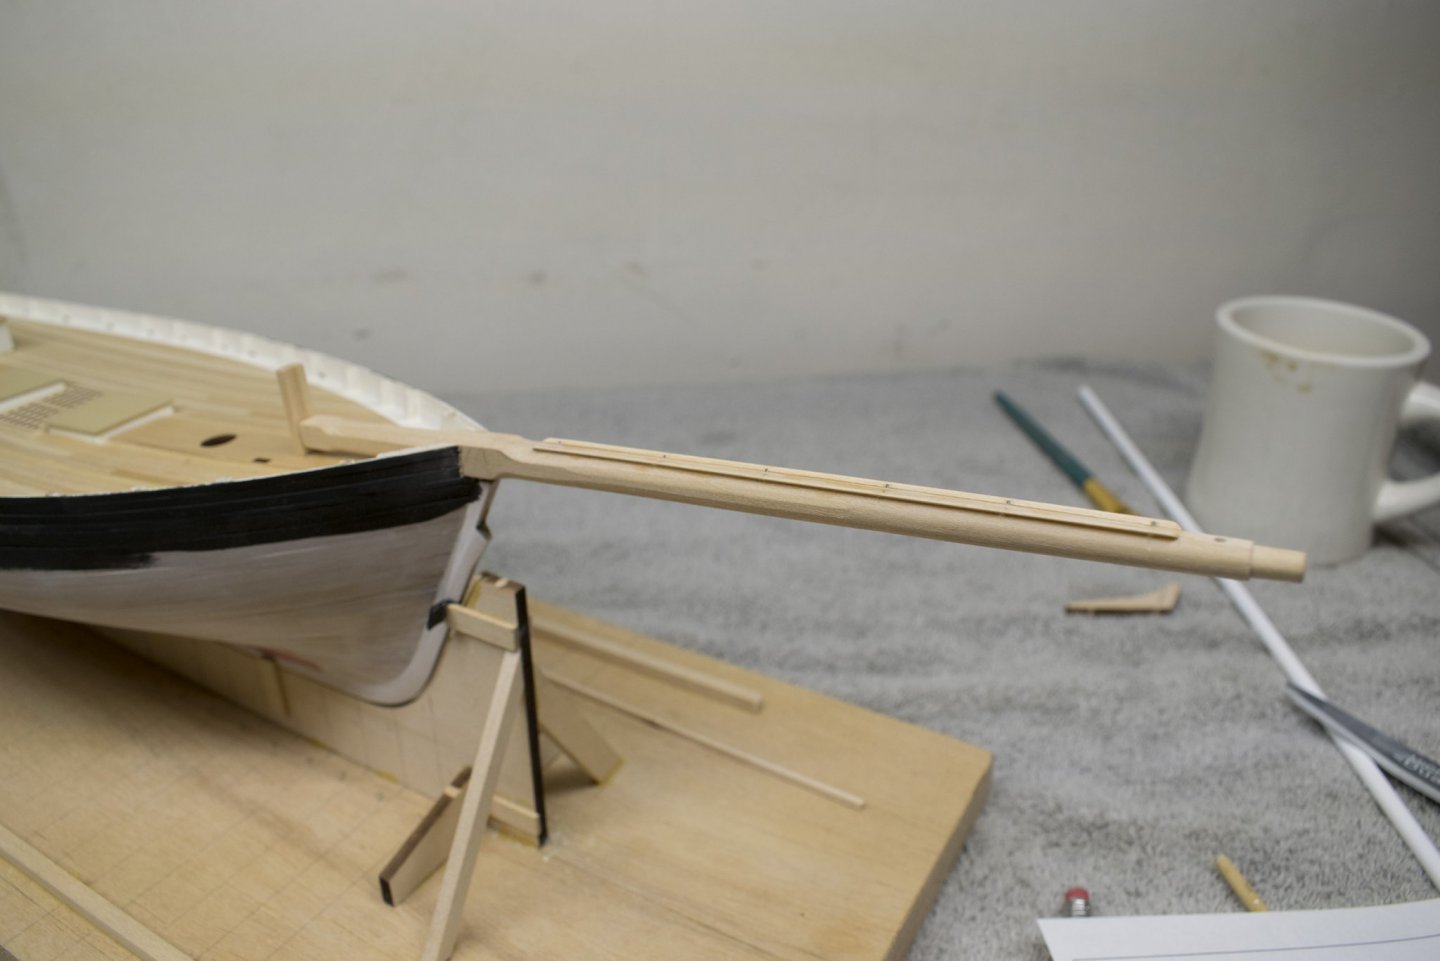
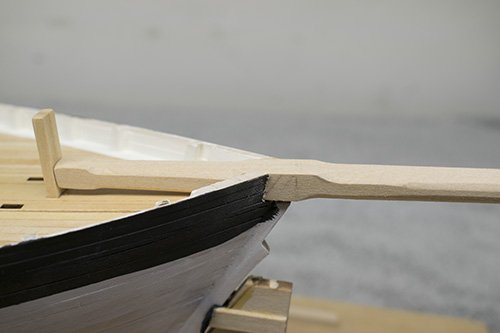
Hi Folks, Well I've finally gotten back to my ECB. Been working on the cabin, and have the bowsprit shaped. I've also got the caprails installed, and hull pretty much painted. Here are a few photos; more tomorrow. Steve

-
David O'B and others.....I'm getting ready to dig into the Emma C. Berry again; been distracted by health issues but I'm back in the saddle. Will post again soon! Steve
-
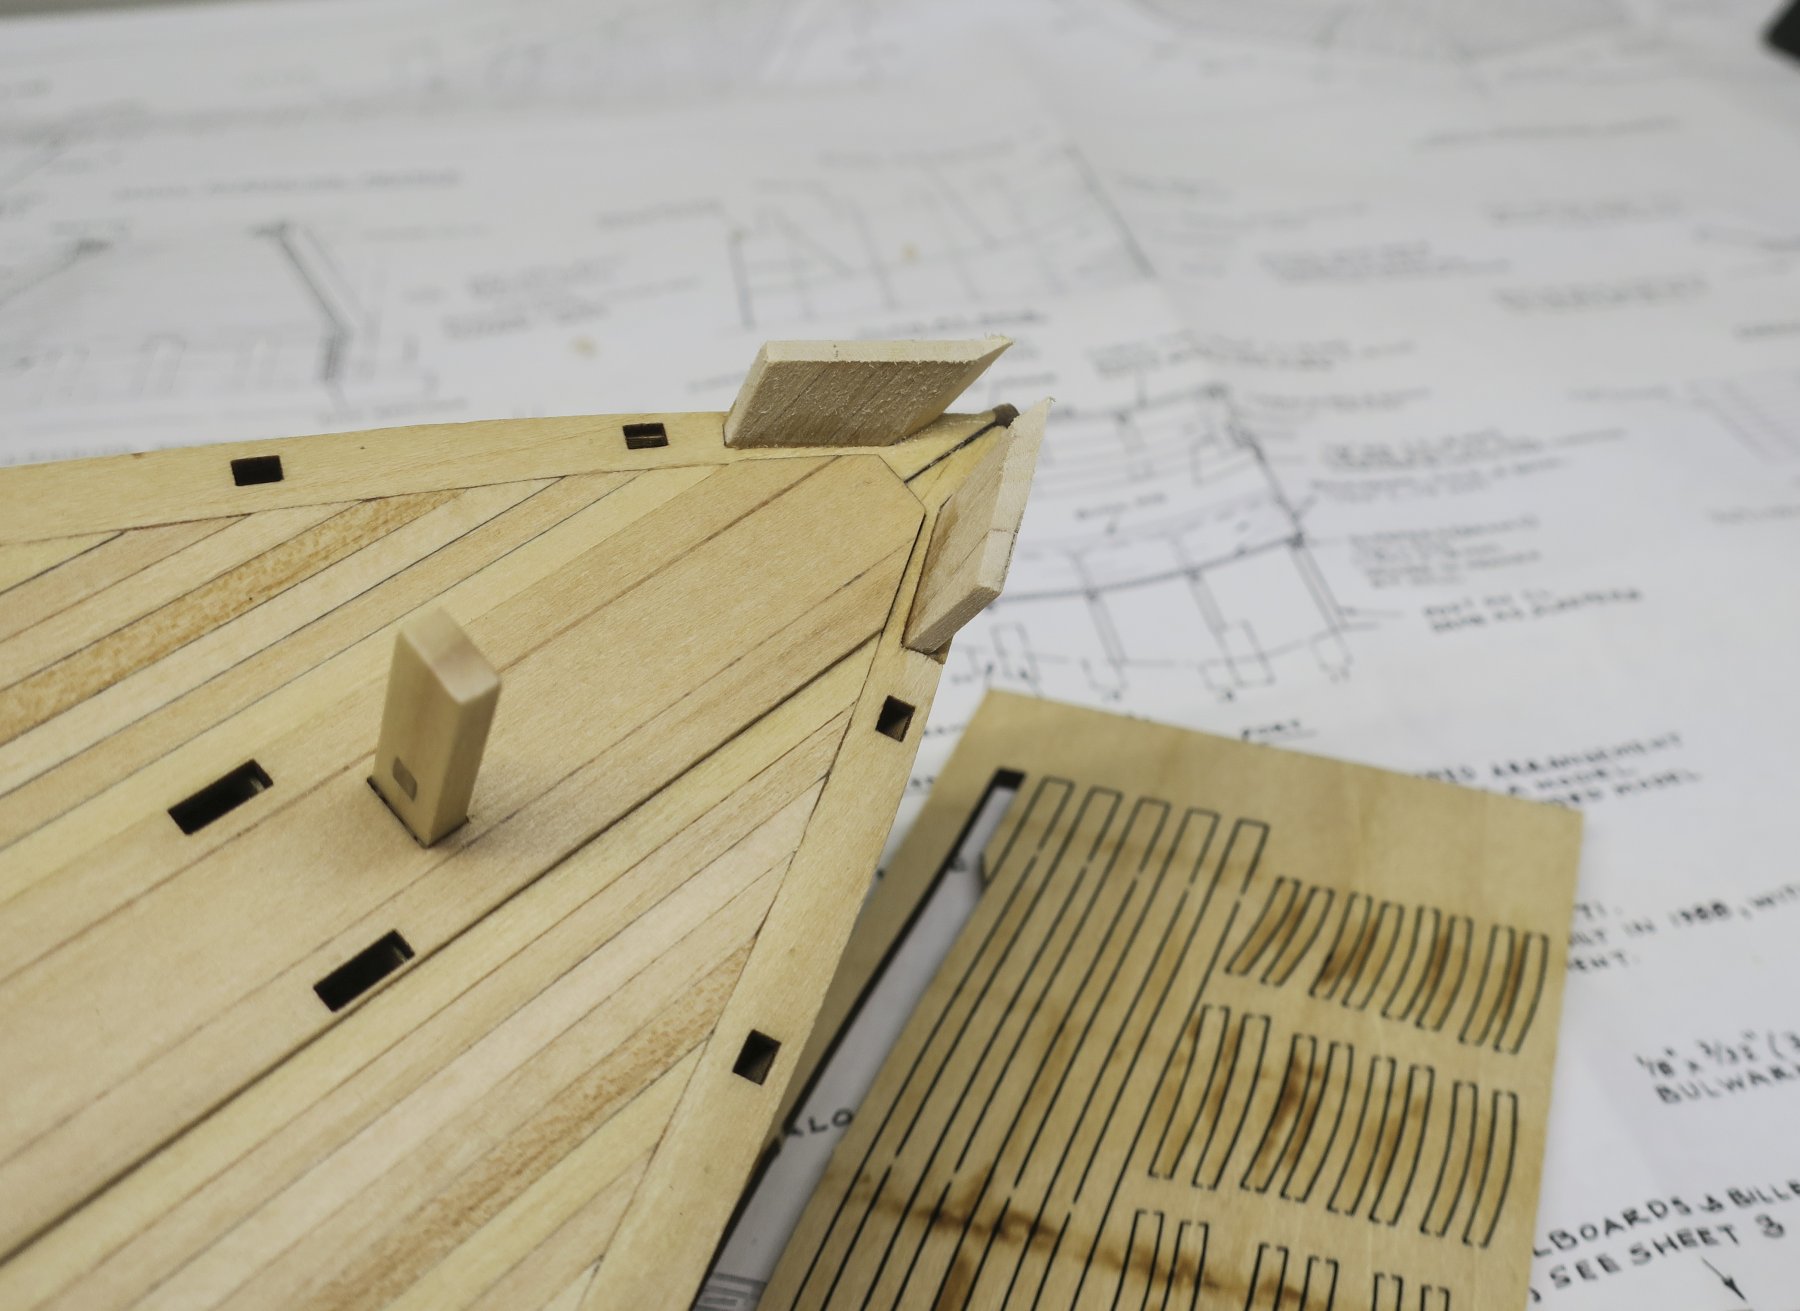
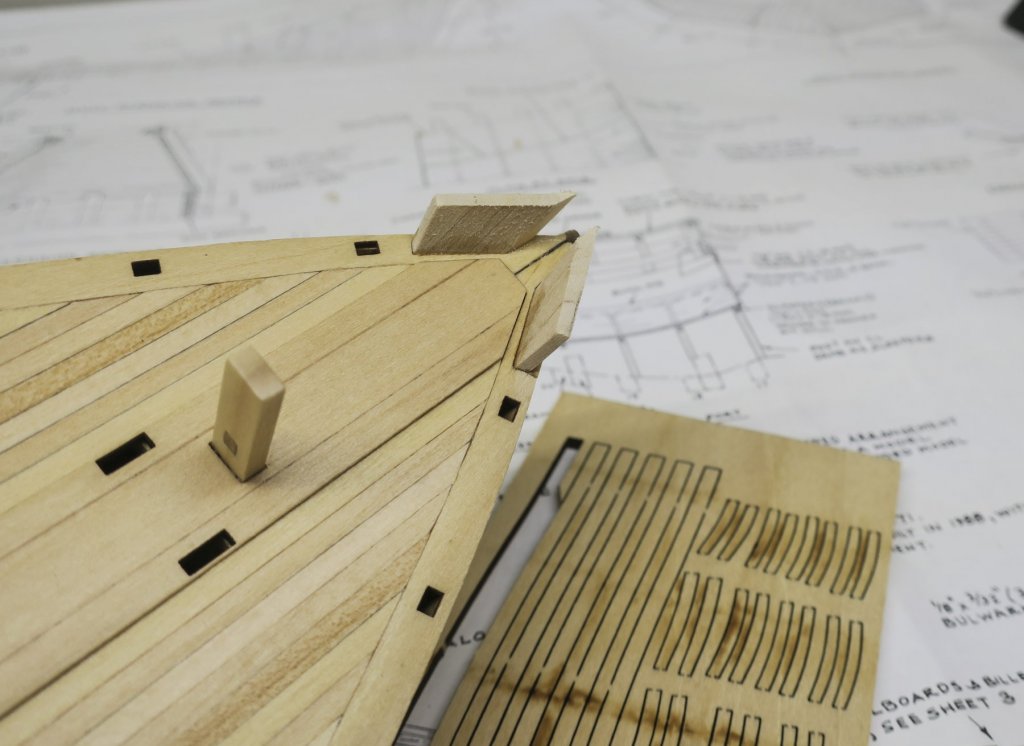
I'm back!!! After a summer off from shipbuilding (gardening, lawn work, maybe a little fly fishing!) weather is cooling off and I can get back to work. Spent the last couple days installing knightheads and stanchions. Not the greatest fit but lots of shimming and fussing got them in! I'll keep you posted! Steve
-
Also Jack, the jig was provided in the kit. Steve
-
I know Port Leyden very well! My daughter lives near Brantingham Lake. The locks preserved along Route 12 are very interesting; I have to visit the museum in Boonville. And Tigersteve, welcome aboard! Will try to get something accomplished tomorrow. Steve
-
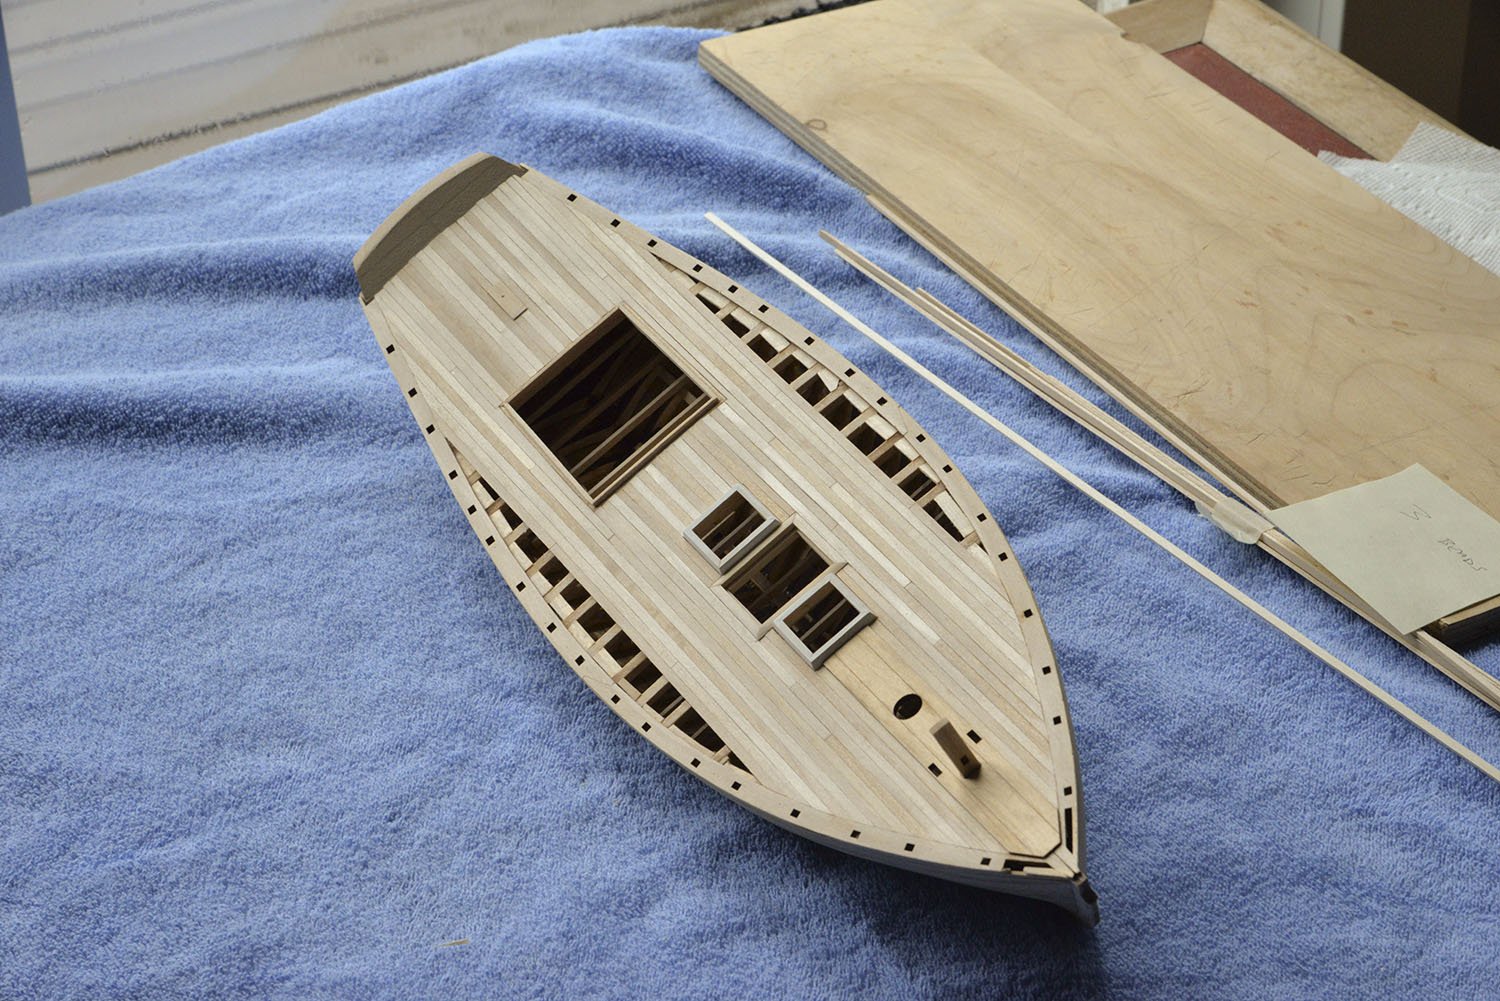
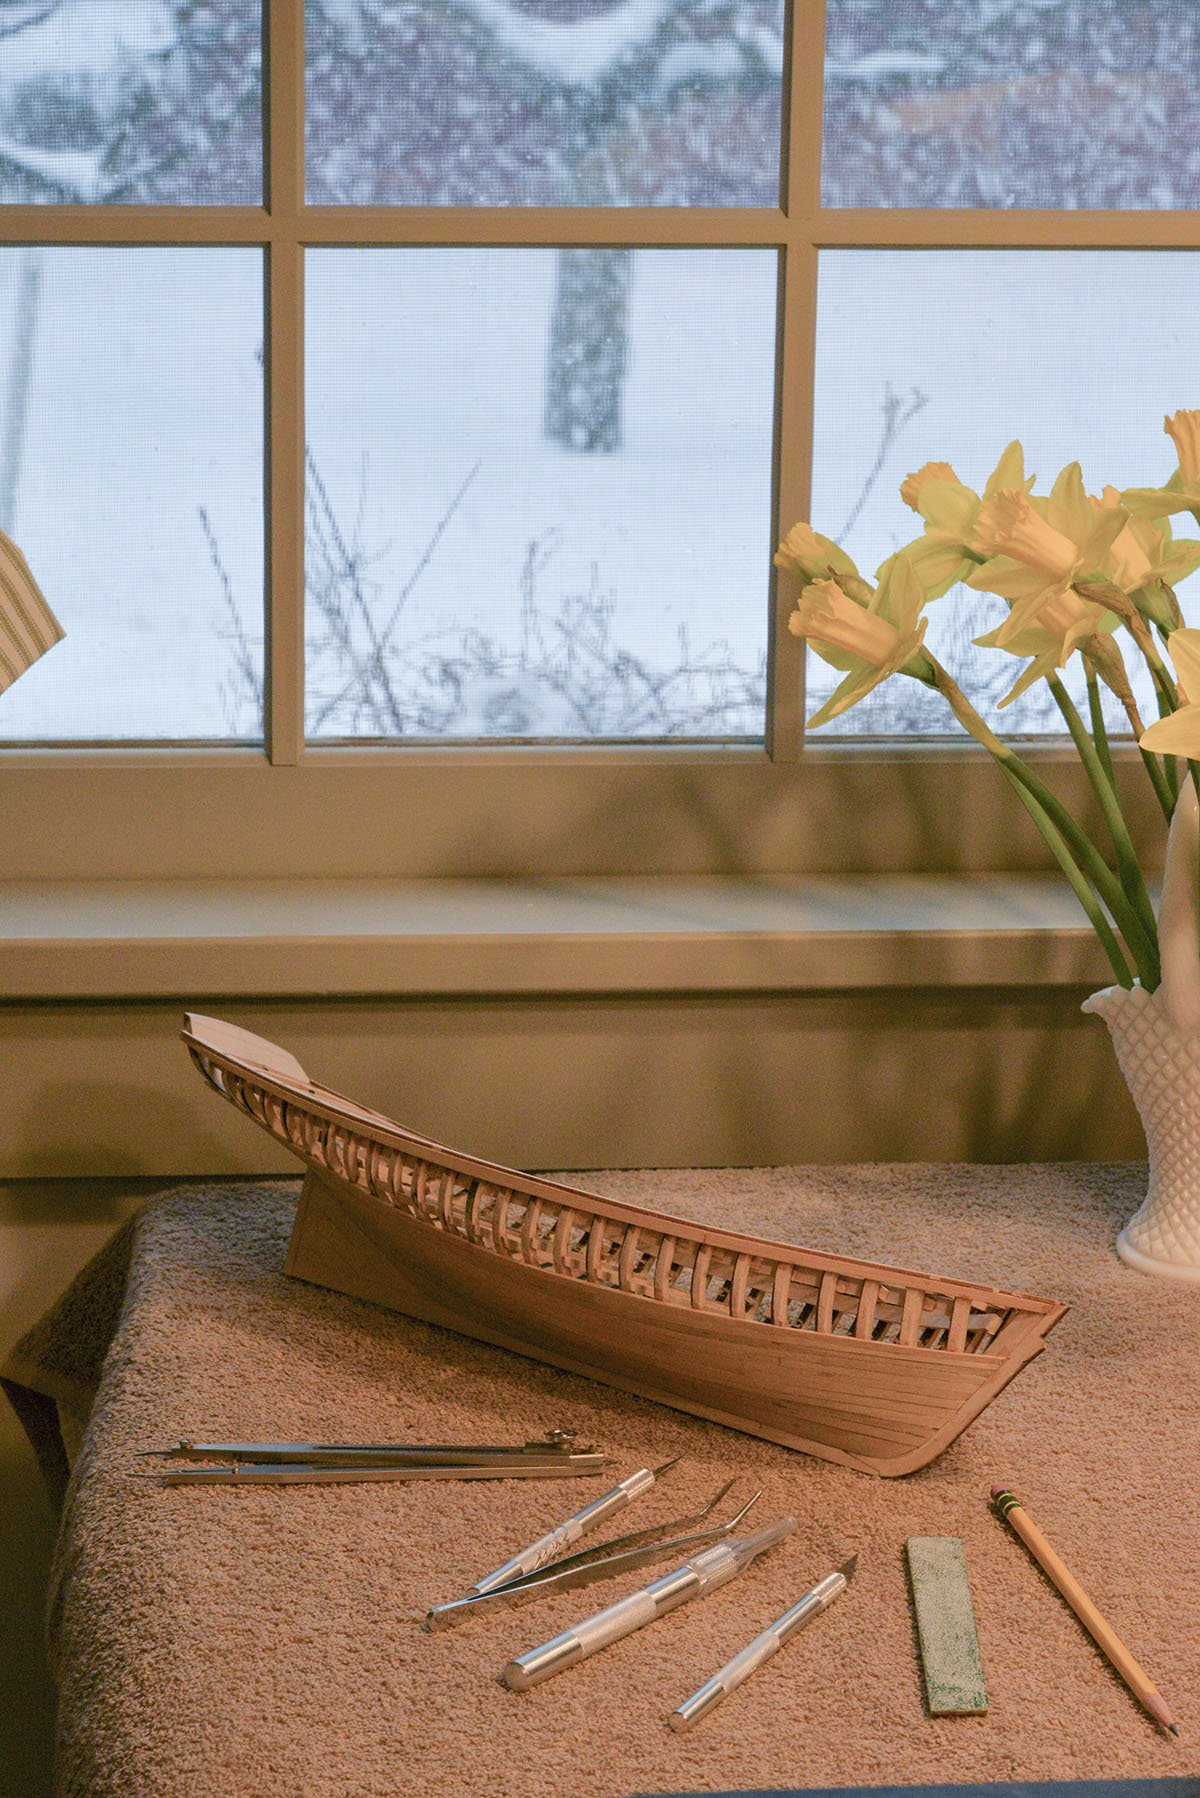
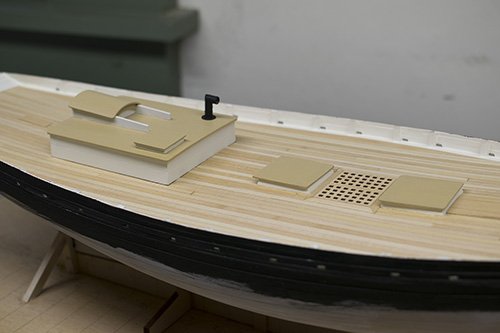
Coamings installed and making progress on decking. Using the supplied basswood, I'm going to leave the finish natural. From what can tell the Emma at Mystic now has the deck painted black; I'm going to paint the rest of the boat so I really would like to see some natural wood. Artistic license! I'm using a mat finish lacquer from a spray can and will rub it down. BTW, I deliberately sorted out my deck wood by shade, and tried to vary the shades of adjoining planks to add contrast and "interest". I'm not sure that I'm happy with the result, it might be a little "much"! You can see the importance I place on an orderly and neat work area! The color to use for the bulwarks and sides of cabins is a pale off-white, cabin roof and hatch covers are a more yellowish "buff". I have a couple Floquil railroad colors in my stash that should work but they're up at the lake so I'll let you know what I will use over the next couple days. I won't make much progress this coming week (I'm drywalling and taping my daughter's garage) but hope to finish the deck, do some sanding and filling of the hull, and start the bulwarks. Please let me know if you have any questions! Steve

-
Final plank to be installed! Steve

-
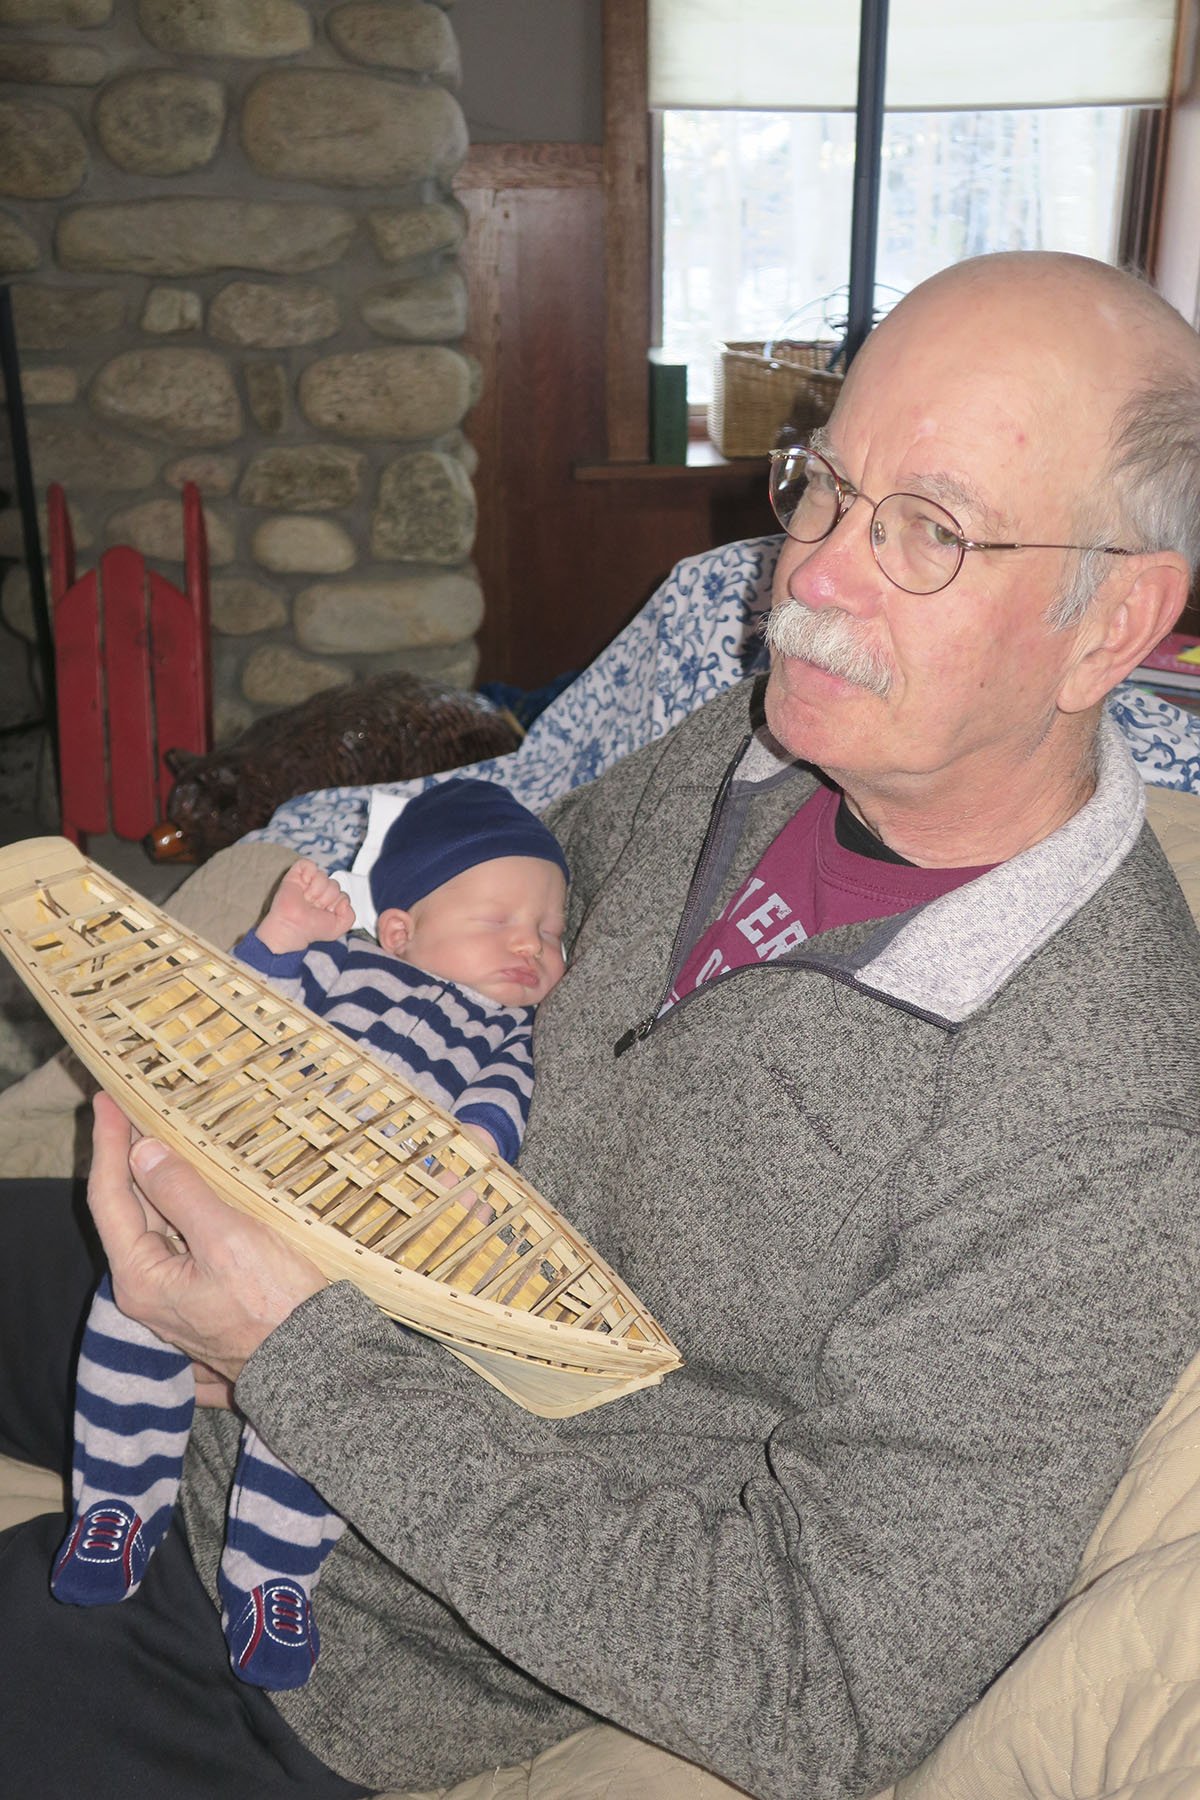
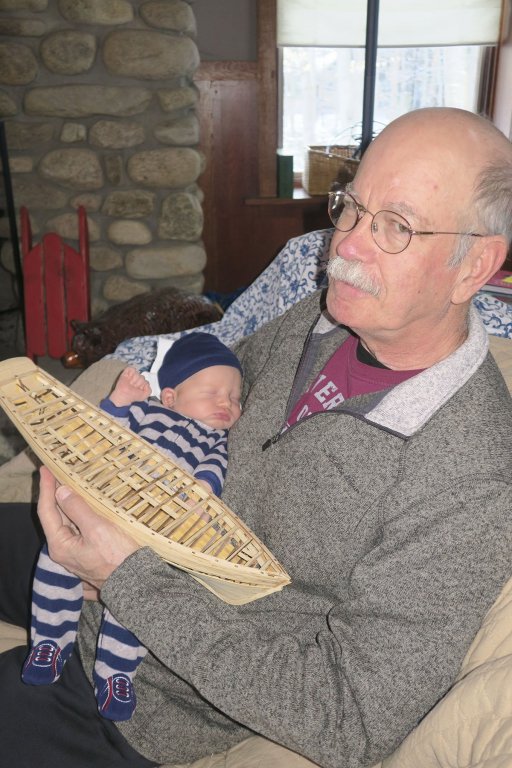
Here's little Sullivan, 18 days old. Very impressed with my workmanship. But you'd be tired too if you worked on a chain gang all day............ Steve
-
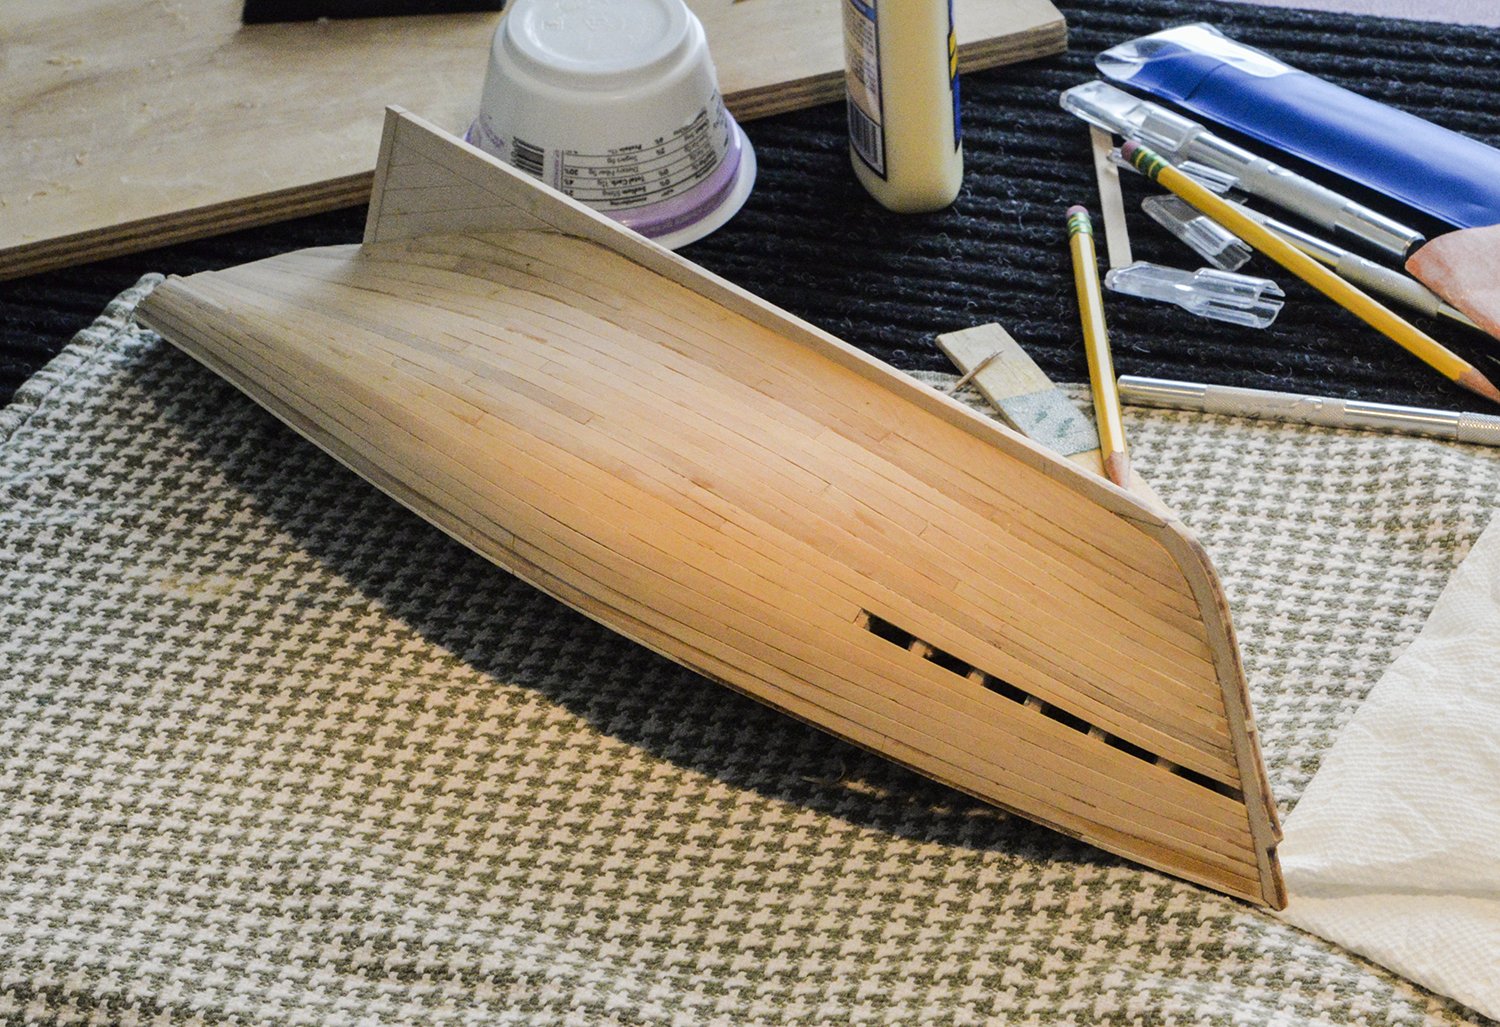
March 13 in Upstate New York!!! Planking is going pretty well. Lots of spiling toward the bow. I use proportional dividers to determine plank width at each frame. Steve

-
WHOOPS! Planking is off to a rocky start. Garboard fits well but is WAY too wide. I'm going to leave it; maybe scribe in a "fake" plank. Well, it's going to be painted but will need to pay closer attention! BTW, I'm using boxwood instead of the supplied basswood. Very nice material, I've always wanted to try the stuff. I have a Byrnes saw and can rip my planks out of 3/64 stock. Also using black thread for batten strips. I think I saw this from David Antscherl. Anyhow, works well. Steve
-
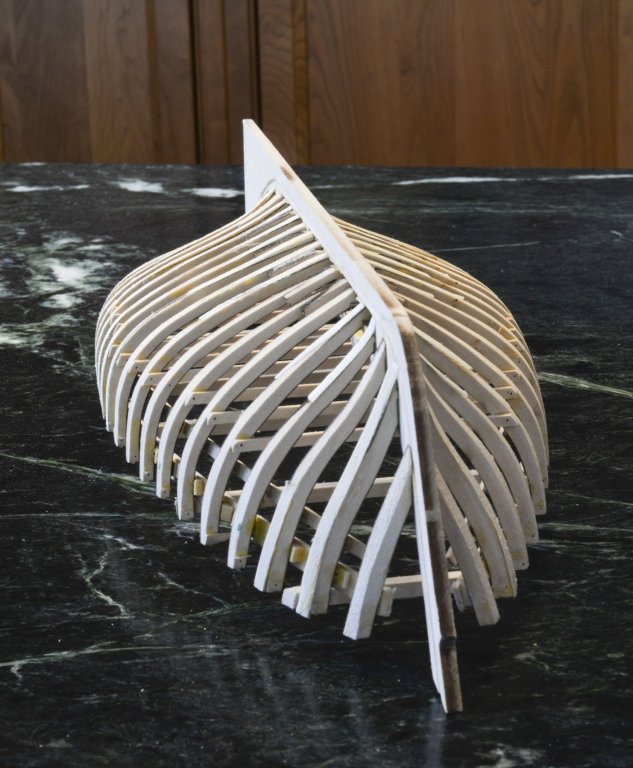
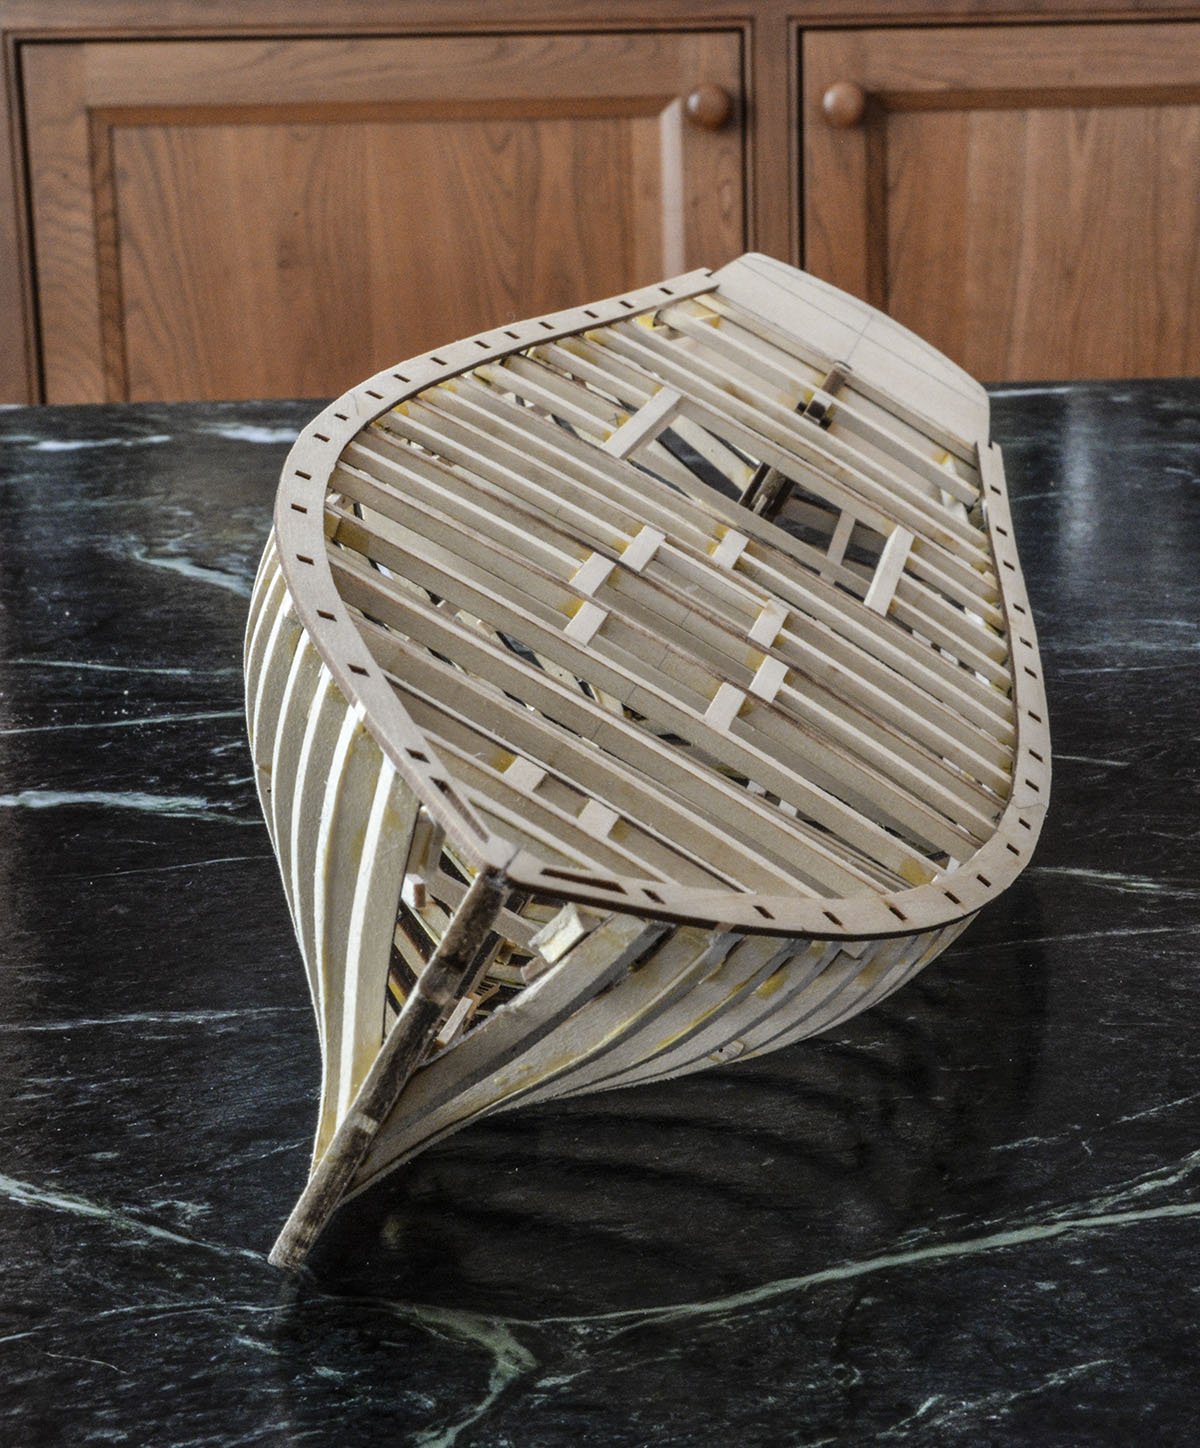
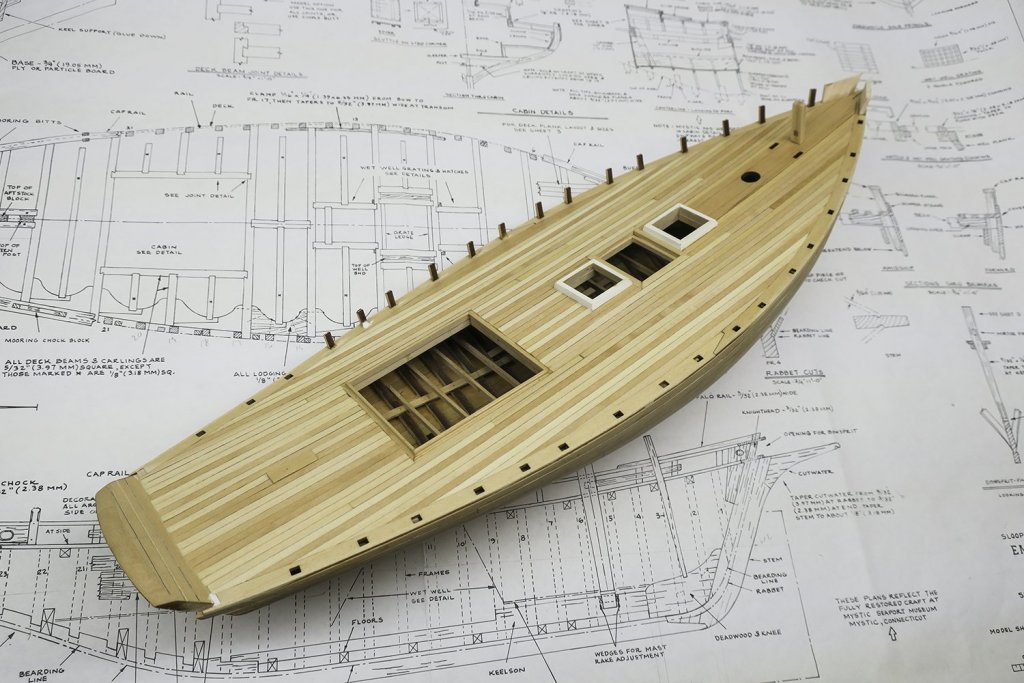
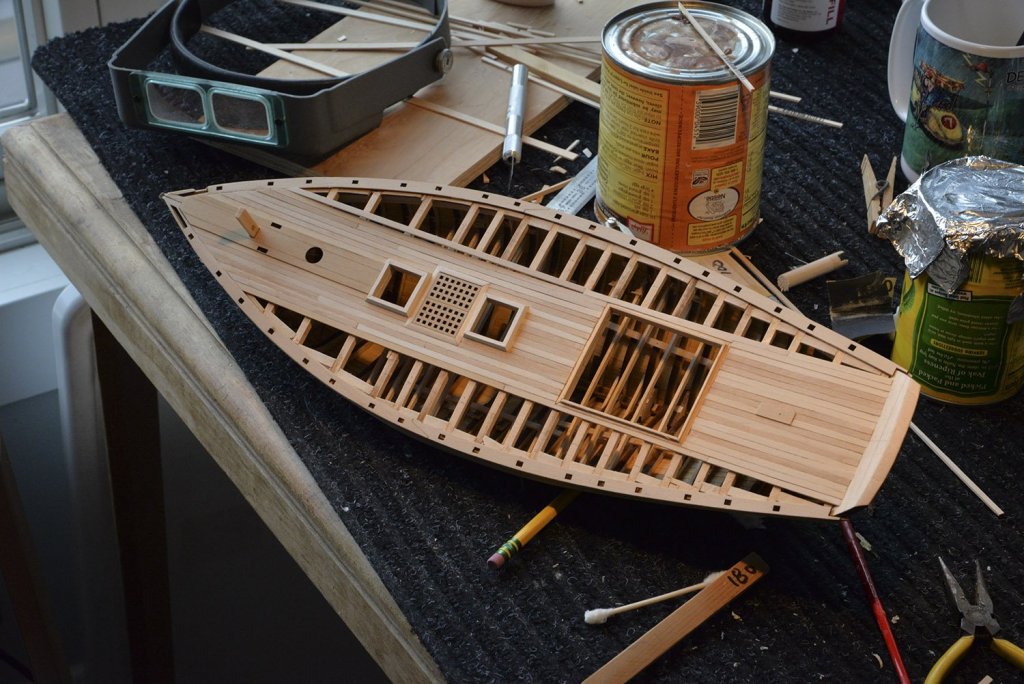
OK--cover board added after fairing tops of frames (not much work needed here). Deck framing added as temporary braces were removed. Looking pretty good at this point. Lots of fussing up to this point should hopefully pay off! Steve

-
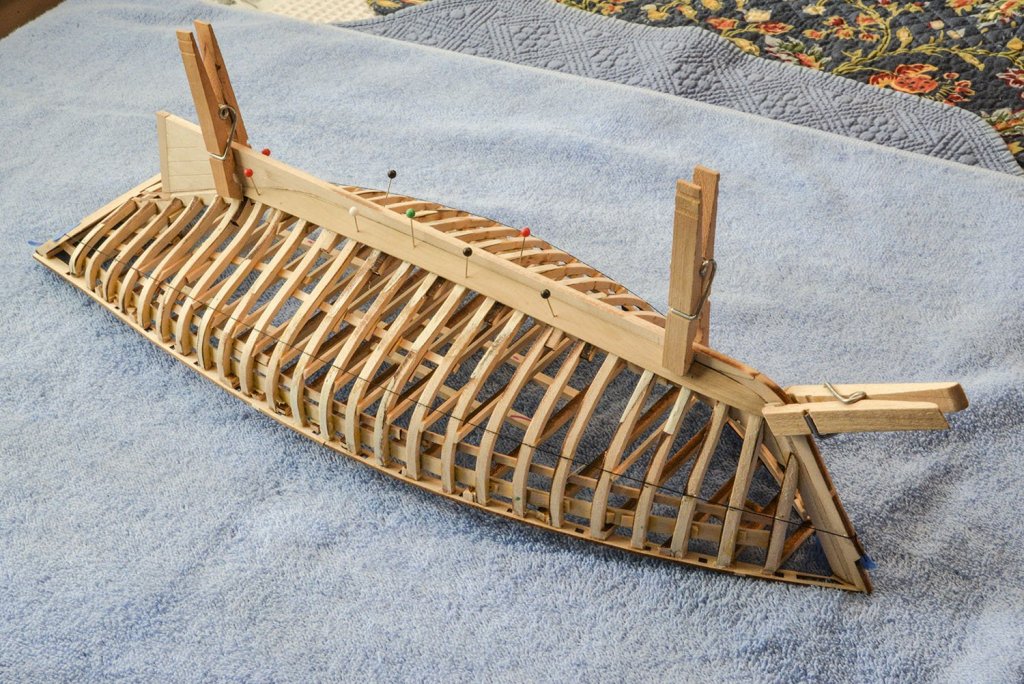
Thanks Thistle17, if I get out your way I'll let you know! My daughter lives near Lowville (she's a large animal vet) and we're hanging out up there to help with my new grandson, "Sullivan". Sounds like a good name for a boat! Anyhow, attached is a photo showing the Emma with clamps installed and outer frames roughly faired (used a series of 1 X 3 inch sanding sticks I made from various grits). I've used battens to determine where to add shims and will continue to fair until I'm satisfied. You can also see reinforcing strips I used to get the frames "spread out" to their proper width before mounting them to the keel. (BTW, Ace Hardware sells a "high performance" sandpaper which uses a ceramic grit. Doesn't clog and lasts a long time. If you haven't tried it, check it out) Note also the top extension of the stem is gone---I got tired of knocking it off and will add it when (eventually) it's needed! Steve