Guillermo Eduardo Madico
-
Posts
78 -
Joined
-
Last visited
1 Follower

Recent Profile Visitors
625 profile views


-
 Saburo reacted to a post in a topic:
HMS Winchelsea by scrubbyj427 - 1:48
Saburo reacted to a post in a topic:
HMS Winchelsea by scrubbyj427 - 1:48
-
FrankWouts reacted to a post in a topic:
HMS Winchelsea - FINISHED - 1764 - by Chuck (1/4" scale)
-
FrankWouts reacted to a post in a topic:
HMS Winchelsea - FINISHED - 1764 - by Chuck (1/4" scale)
-
FrankWouts reacted to a post in a topic:
HMS Winchelsea - FINISHED - 1764 - by Chuck (1/4" scale)
-
DaveBaxt reacted to a post in a topic:
Acrylic paint tips and techniques
-
FrankWouts reacted to a post in a topic:
HMS Winchelsea 1764 by Jeff 1/48
-
 Hello Chuck, Those were great modification; both the reduction in size and moving after the top part. Have you consider moving the bottom part/post a little to keep that diagonal line? Same as the top part but in the opposite direction (forward instead of after). The candle will need to stand by it self to stay center. I think the thicker candle also improved the look. In the drawing of the lantern parts, the top part appears rotated 60 degrees to the rest of the lantern (the arista of the top part does not align with the arista of the lantern. I really like the way it is drawn. Although the way you placed the top is the way it appears in contemporary models with the arista aligned, I will follow your drawing in my build. my 25 cents, G
 -
Guillermo Eduardo Madico reacted to a post in a topic:
HMS Winchelsea 1764 by westwood - 1:48
-
FrankWouts reacted to a post in a topic:
HMS Winchelsea 1764 by Guillermo Madico - semi scratch build
-
FrankWouts reacted to a post in a topic:
HMS Winchelsea by scrubbyj427 - 1:48
-
FrankWouts reacted to a post in a topic:
HMS Winchelsea by scrubbyj427 - 1:48
-
scrubbyj427 reacted to a post in a topic:
HMS Winchelsea by scrubbyj427 - 1:48
-
Thank you JJ, Much appreciated, G
-
Hello JJ, Great job! I think you got those at the correct scale. Would you mind sharing the block and rope sizes you used? G
-
Guillermo Eduardo Madico reacted to a post in a topic:
HMS Winchelsea 1764 by Rustyj - FINISHED - 1:48
-
Thank you Scrubby, Glenn, Matthias, Rusty, Vladimir and Chuck for your comments. They are good encouragement 🙂 Yes Chuck, having a lot of fun. I will try to free more time to work on her. Best, G
-
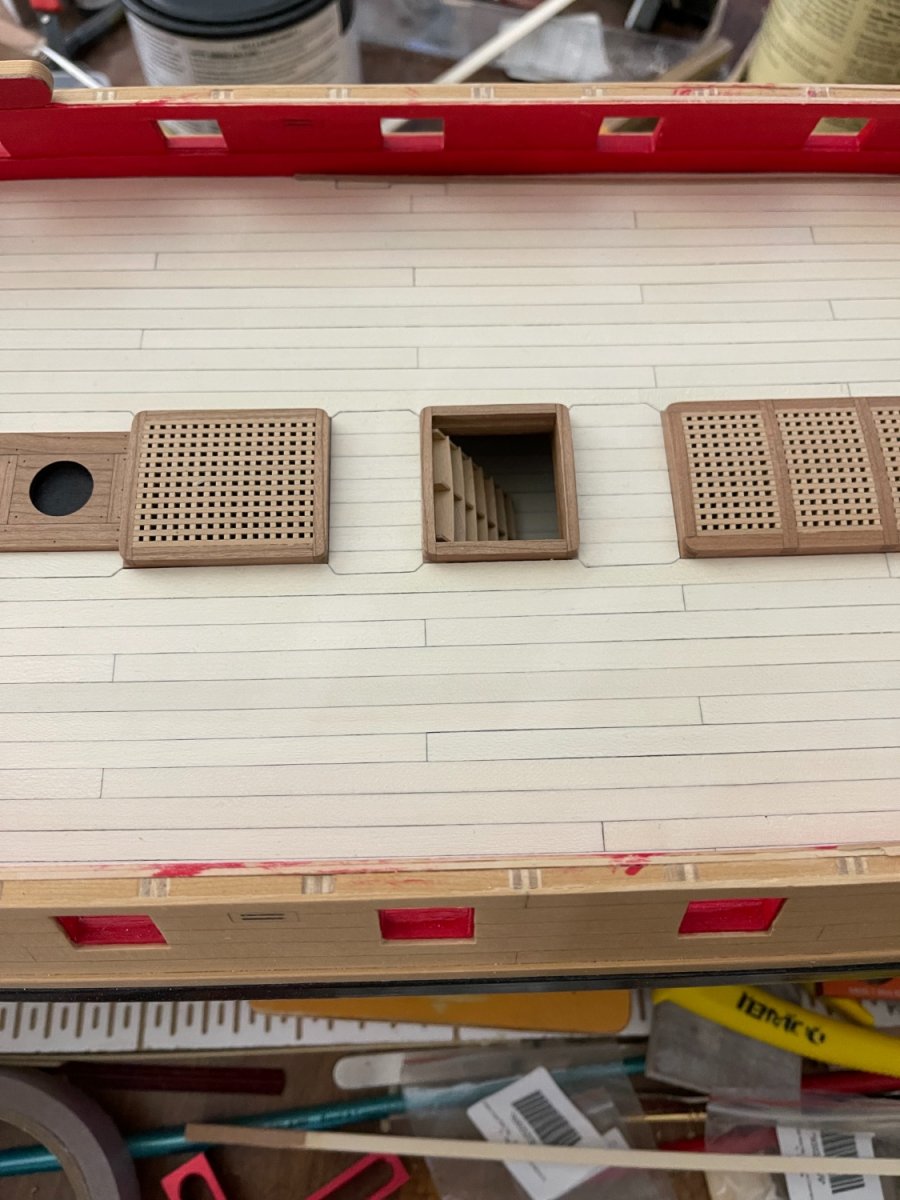
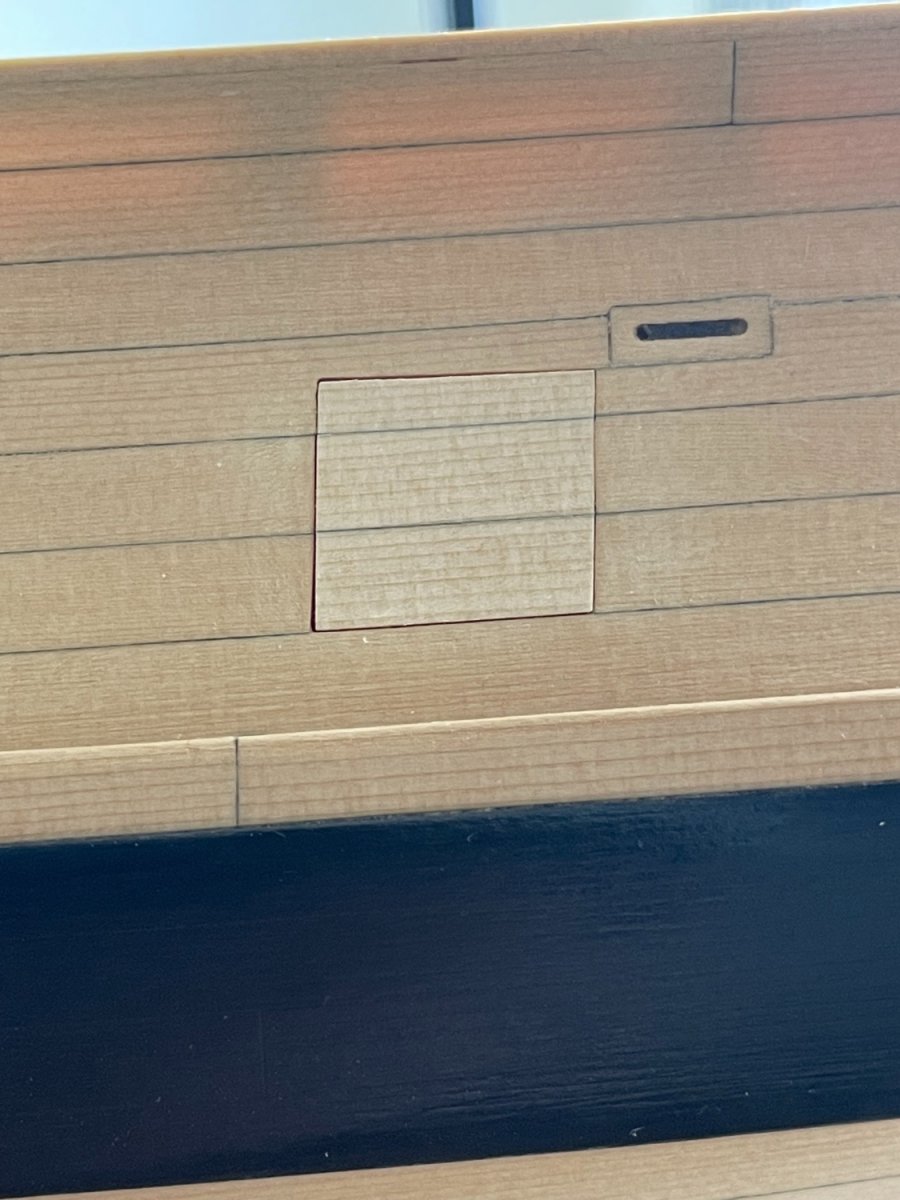
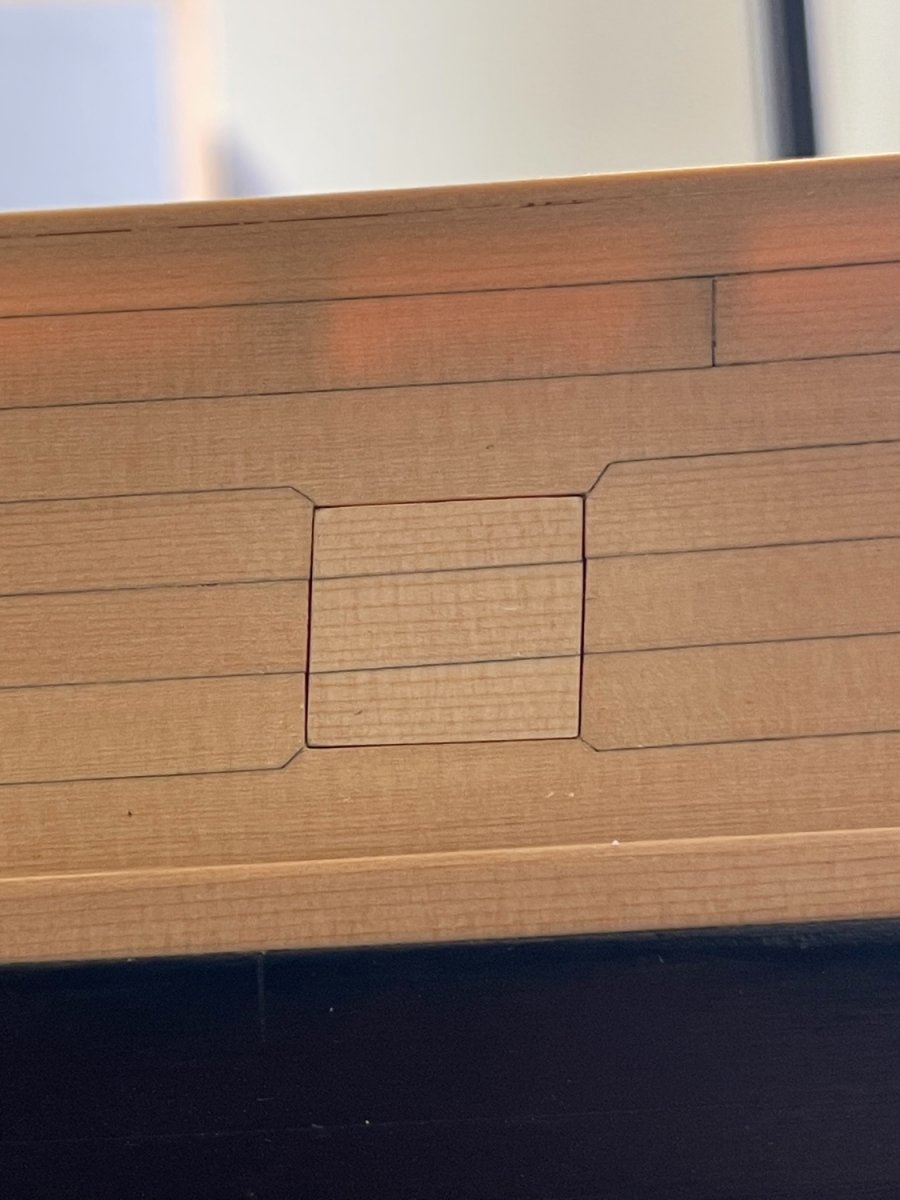
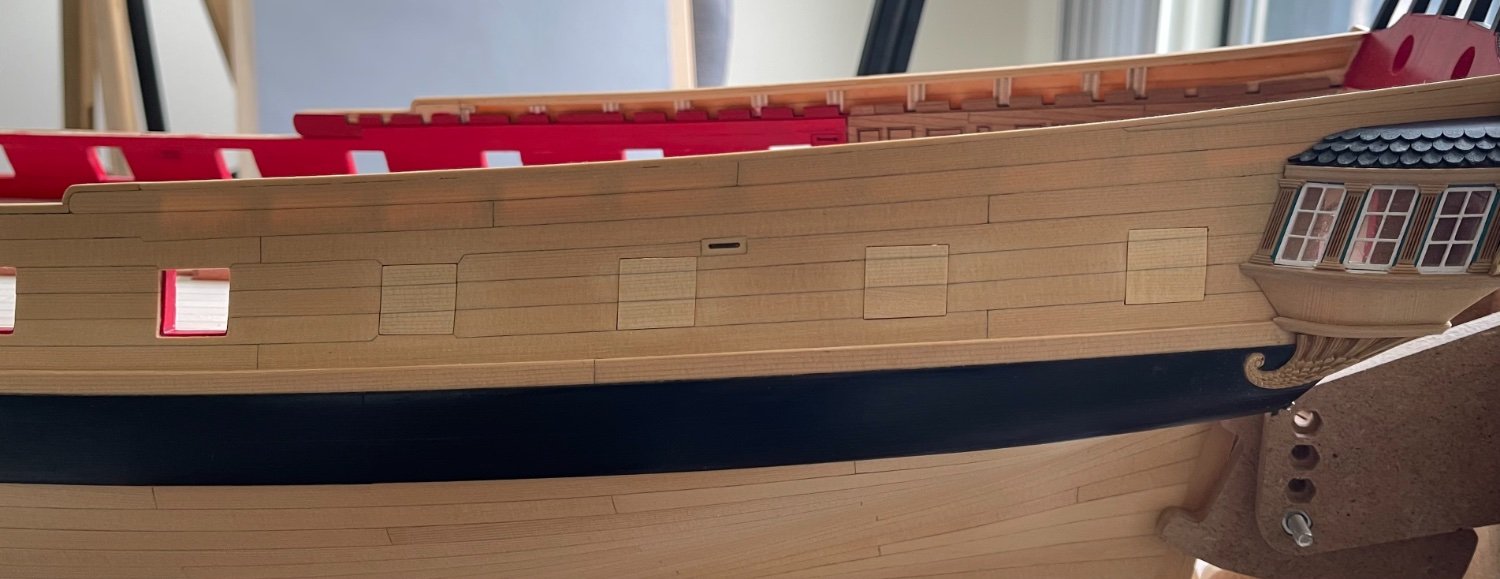
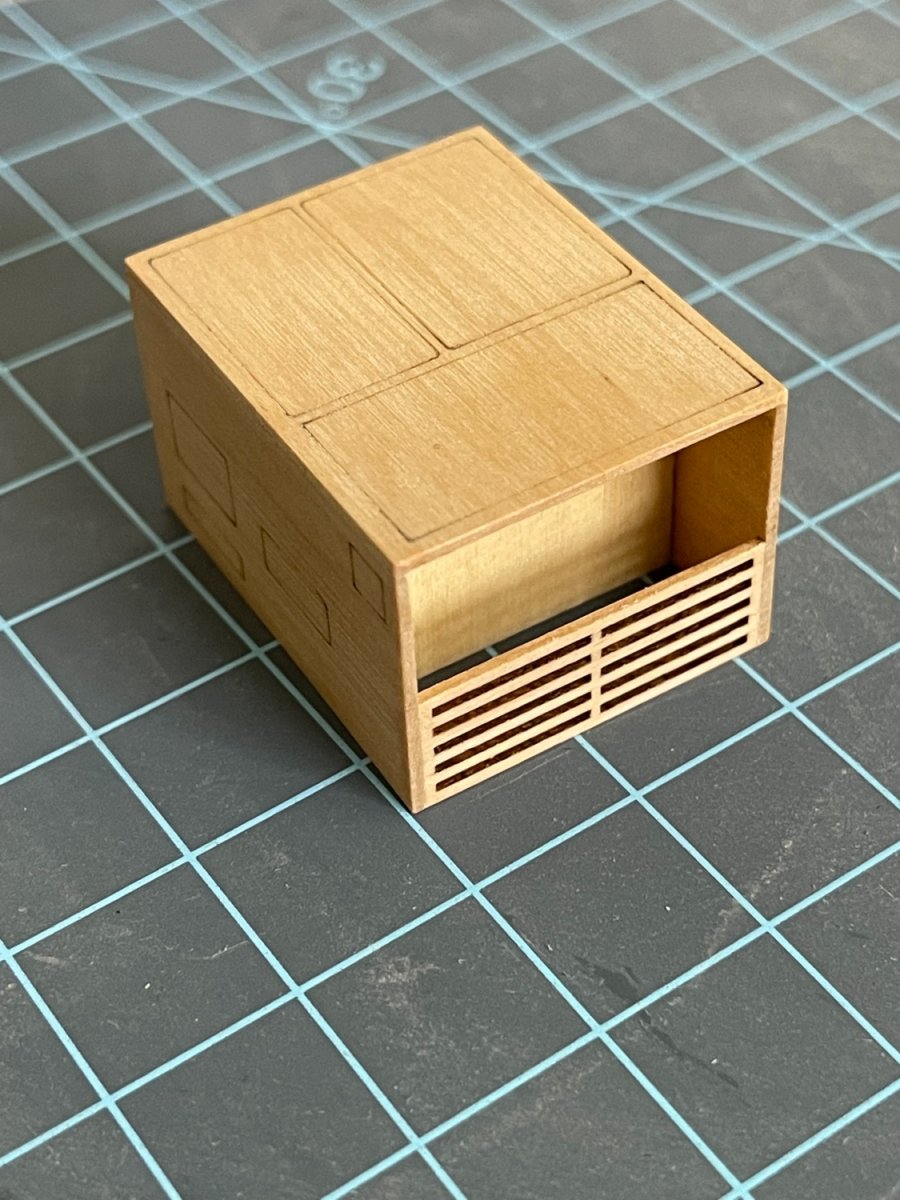
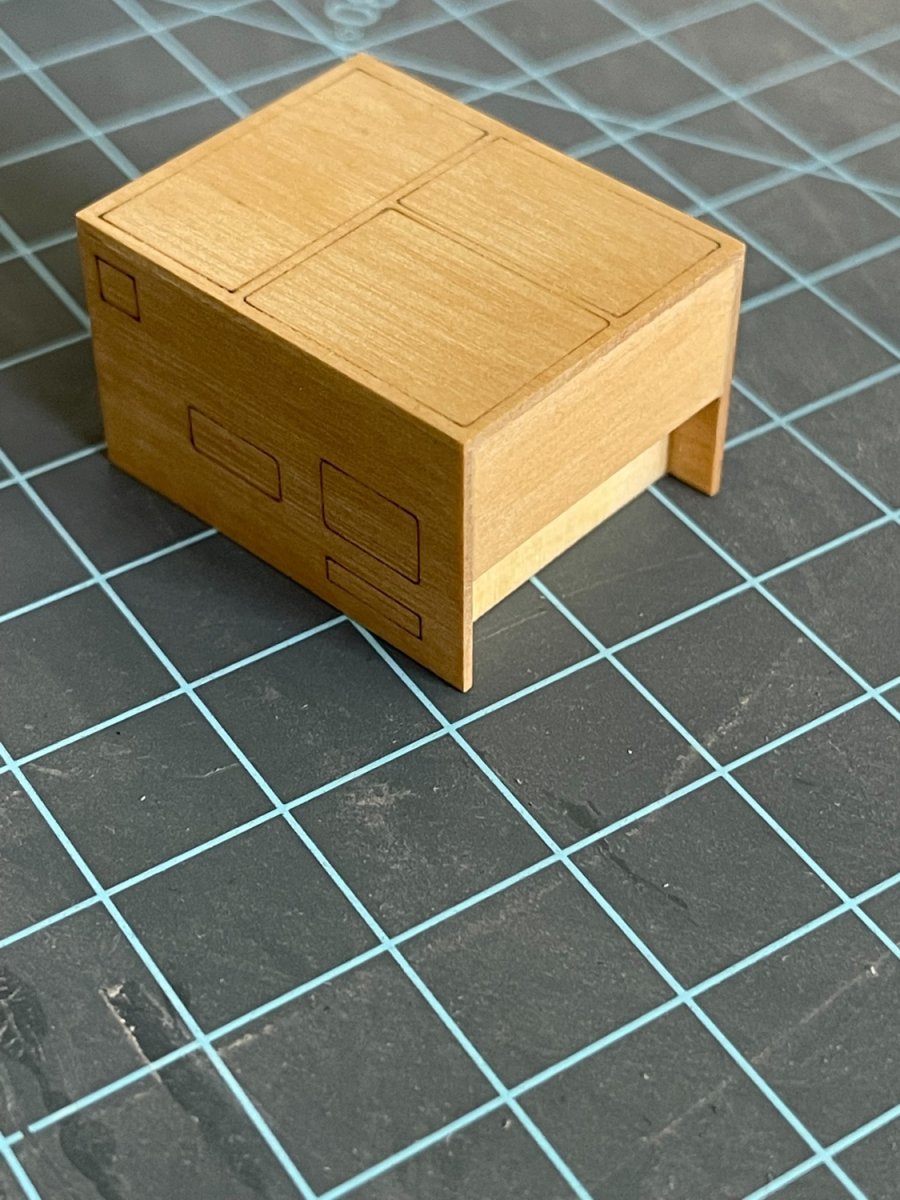
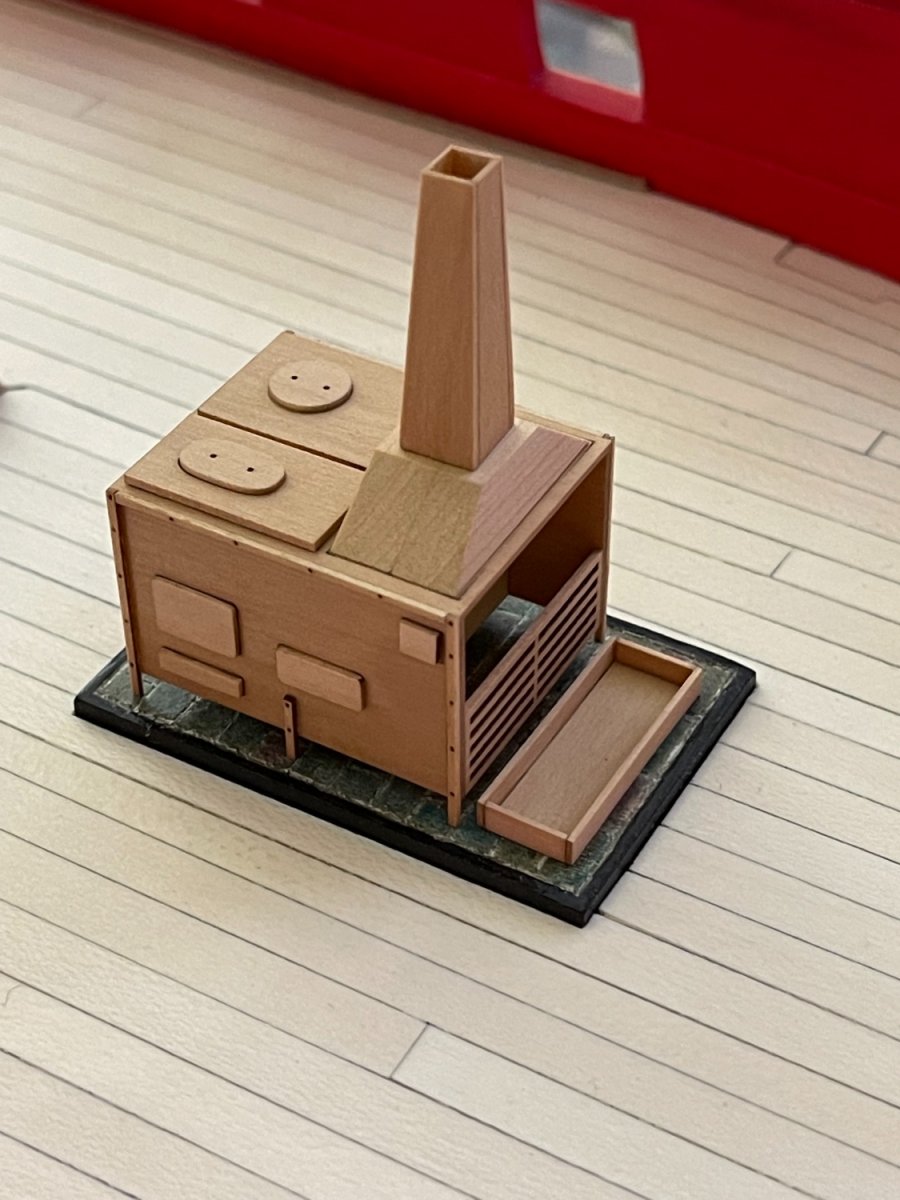
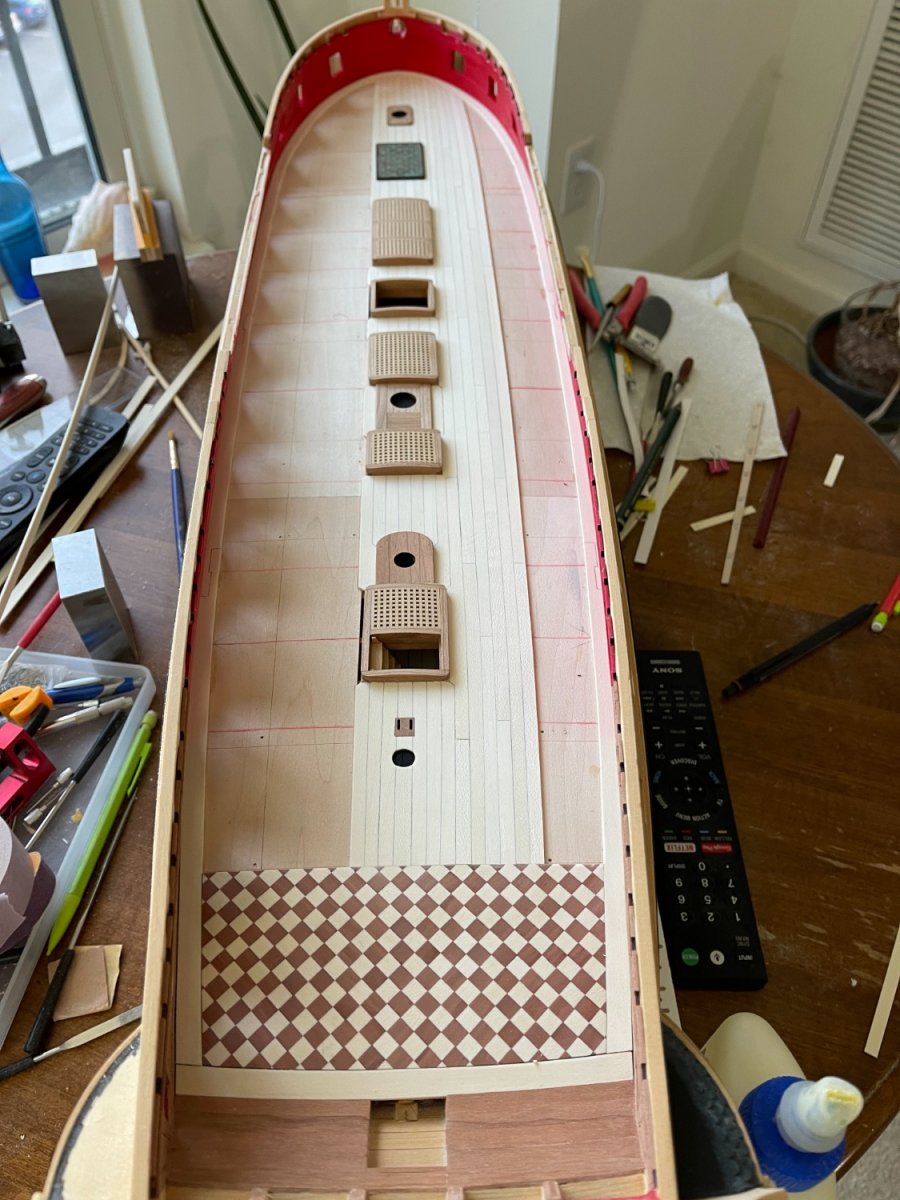
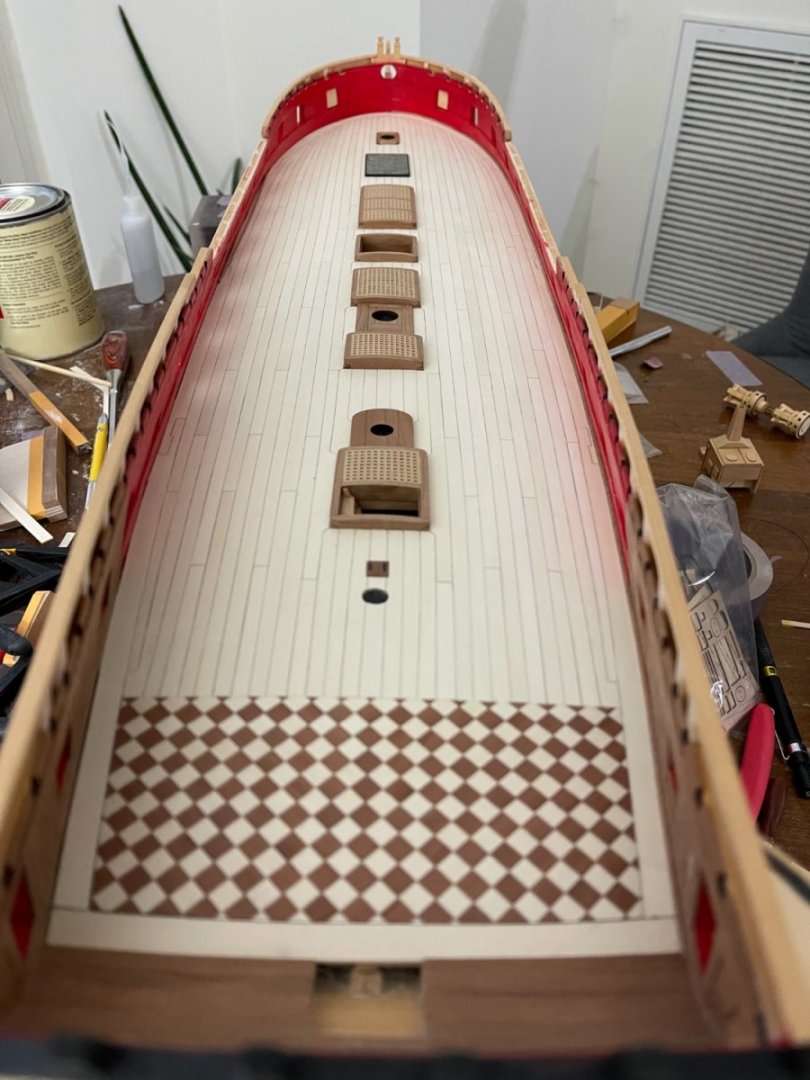
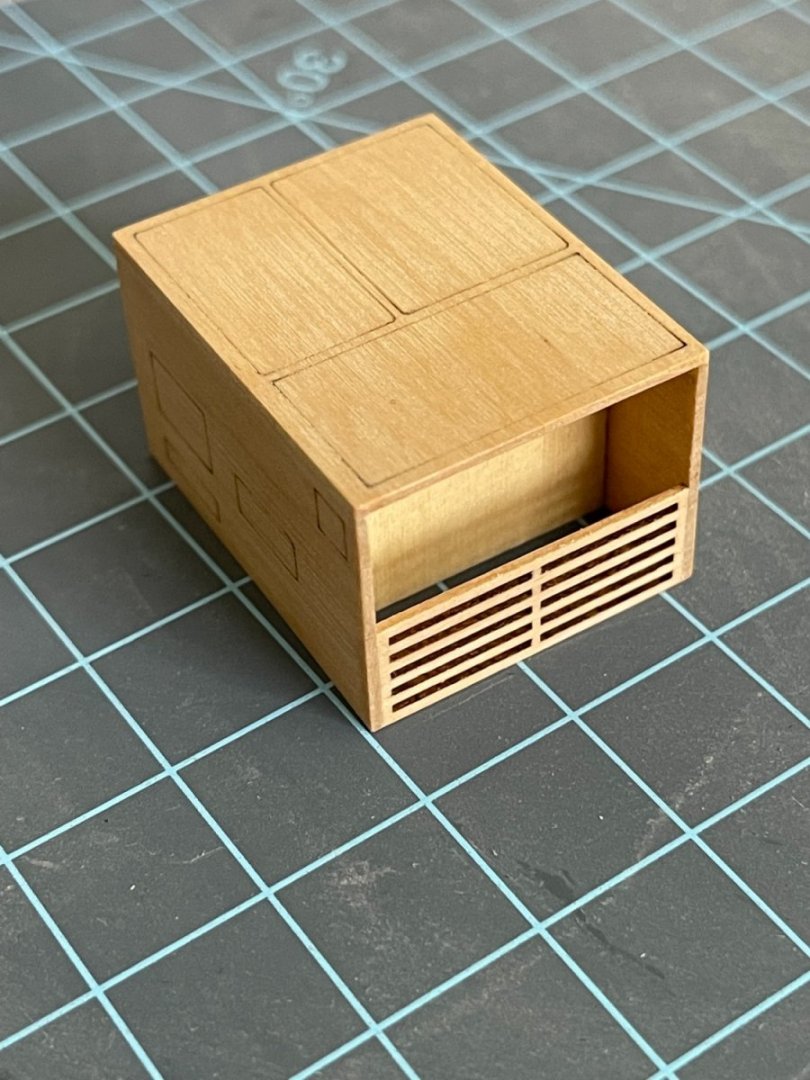
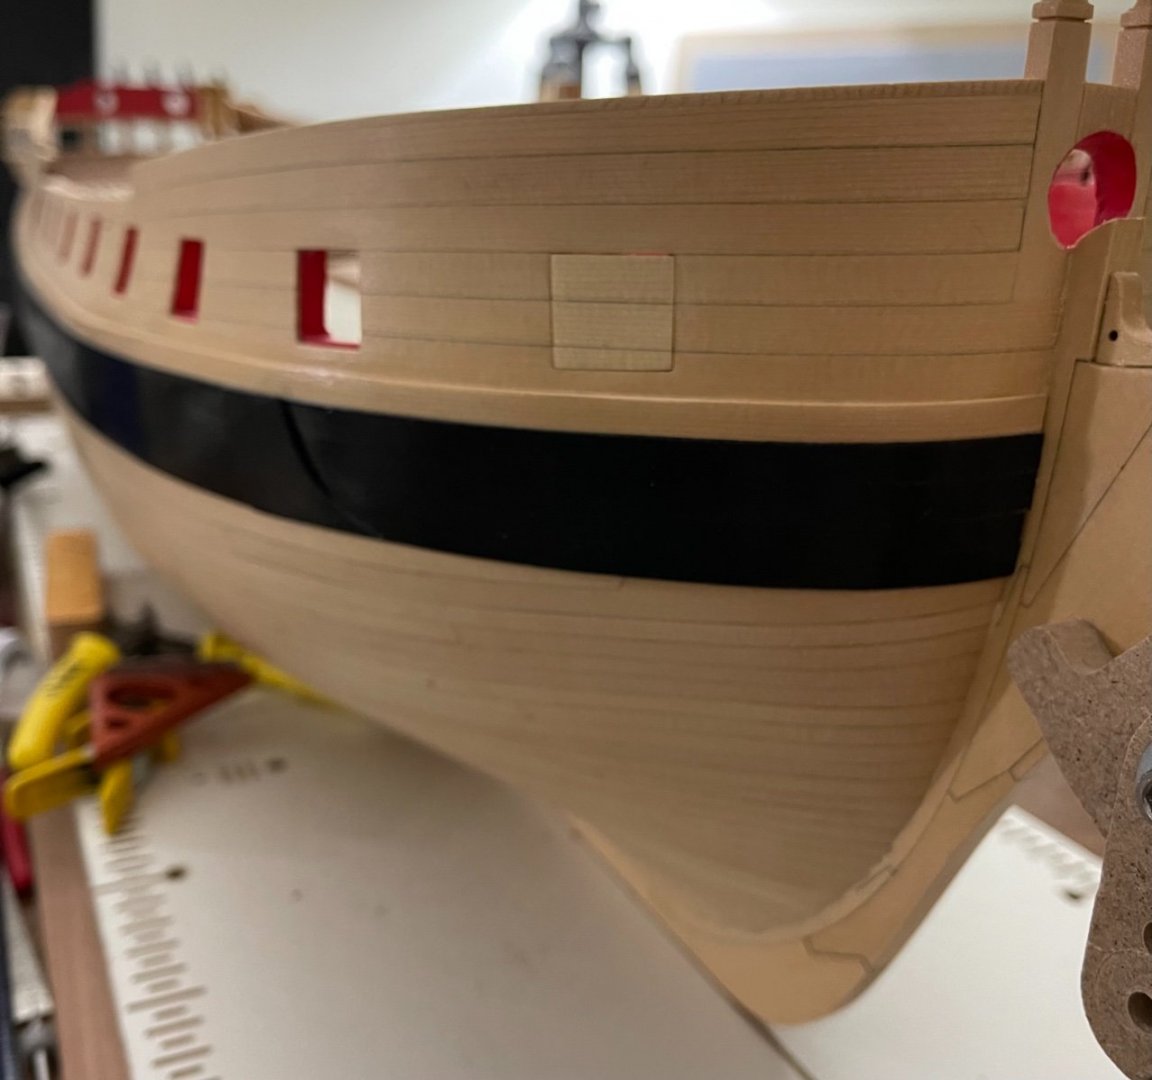
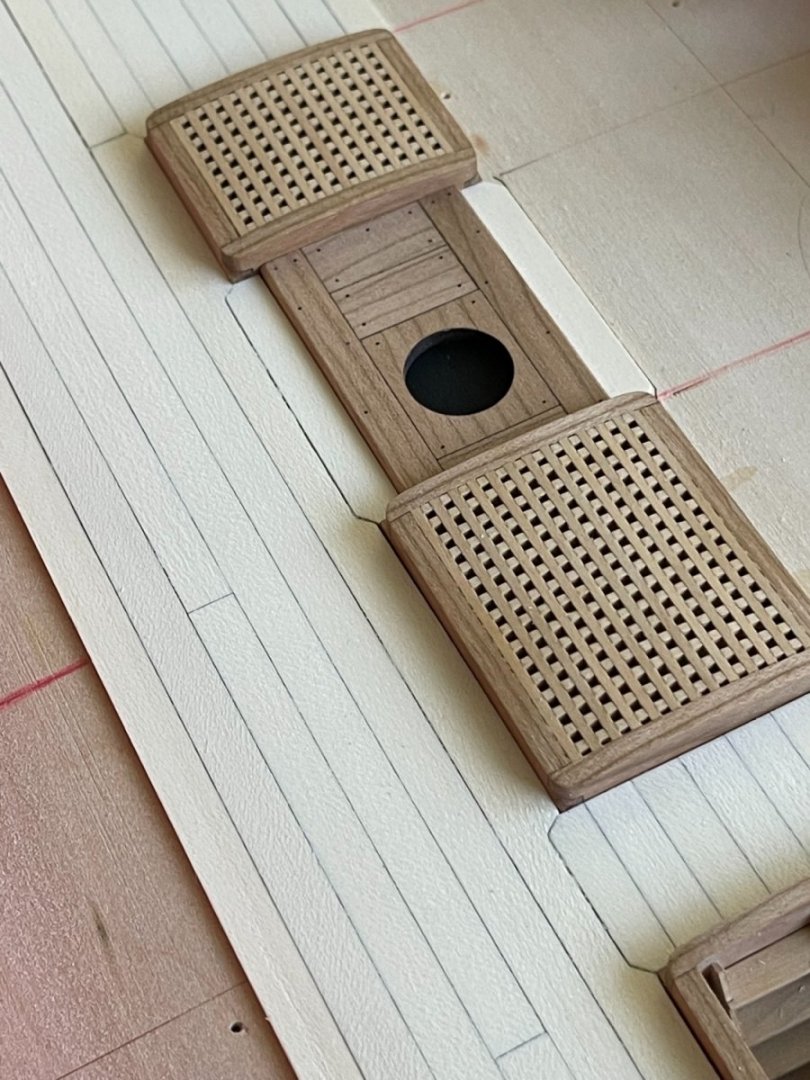
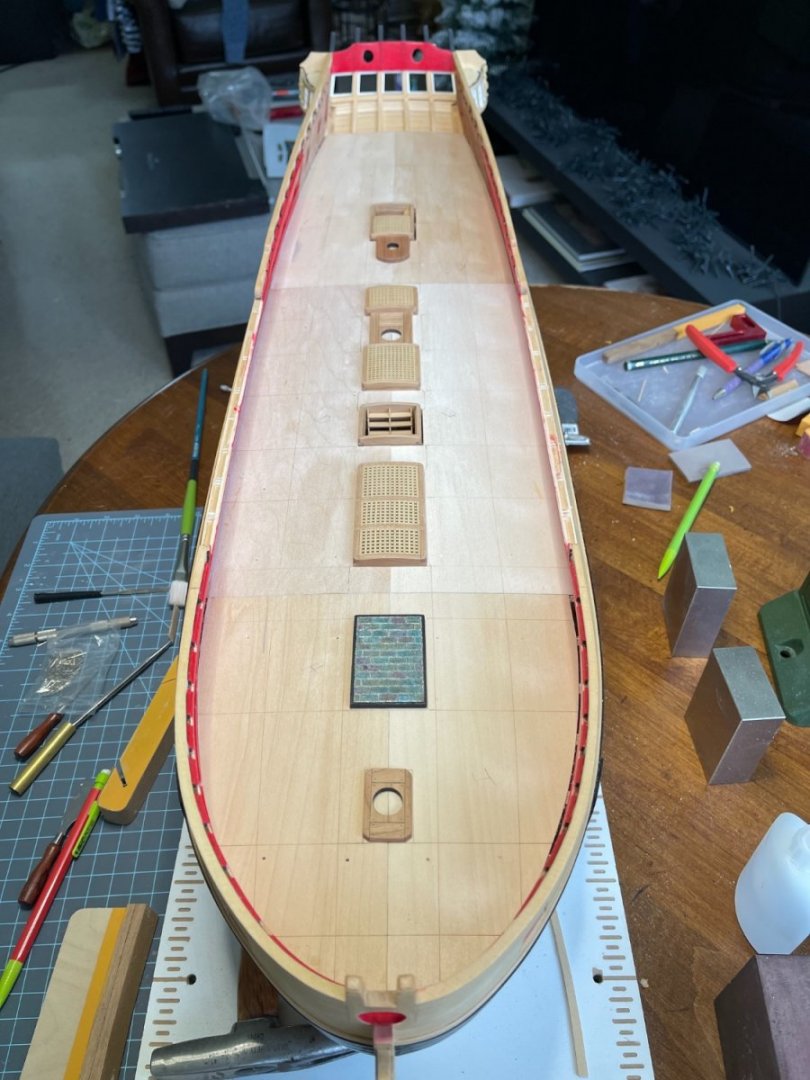
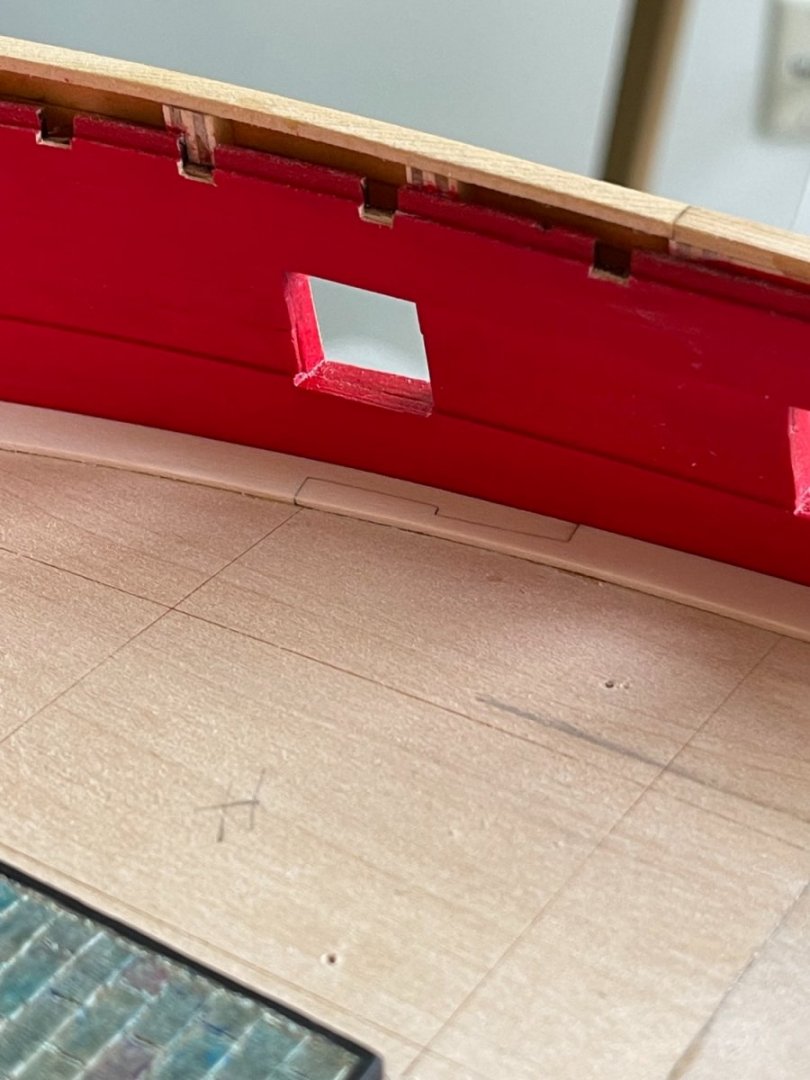
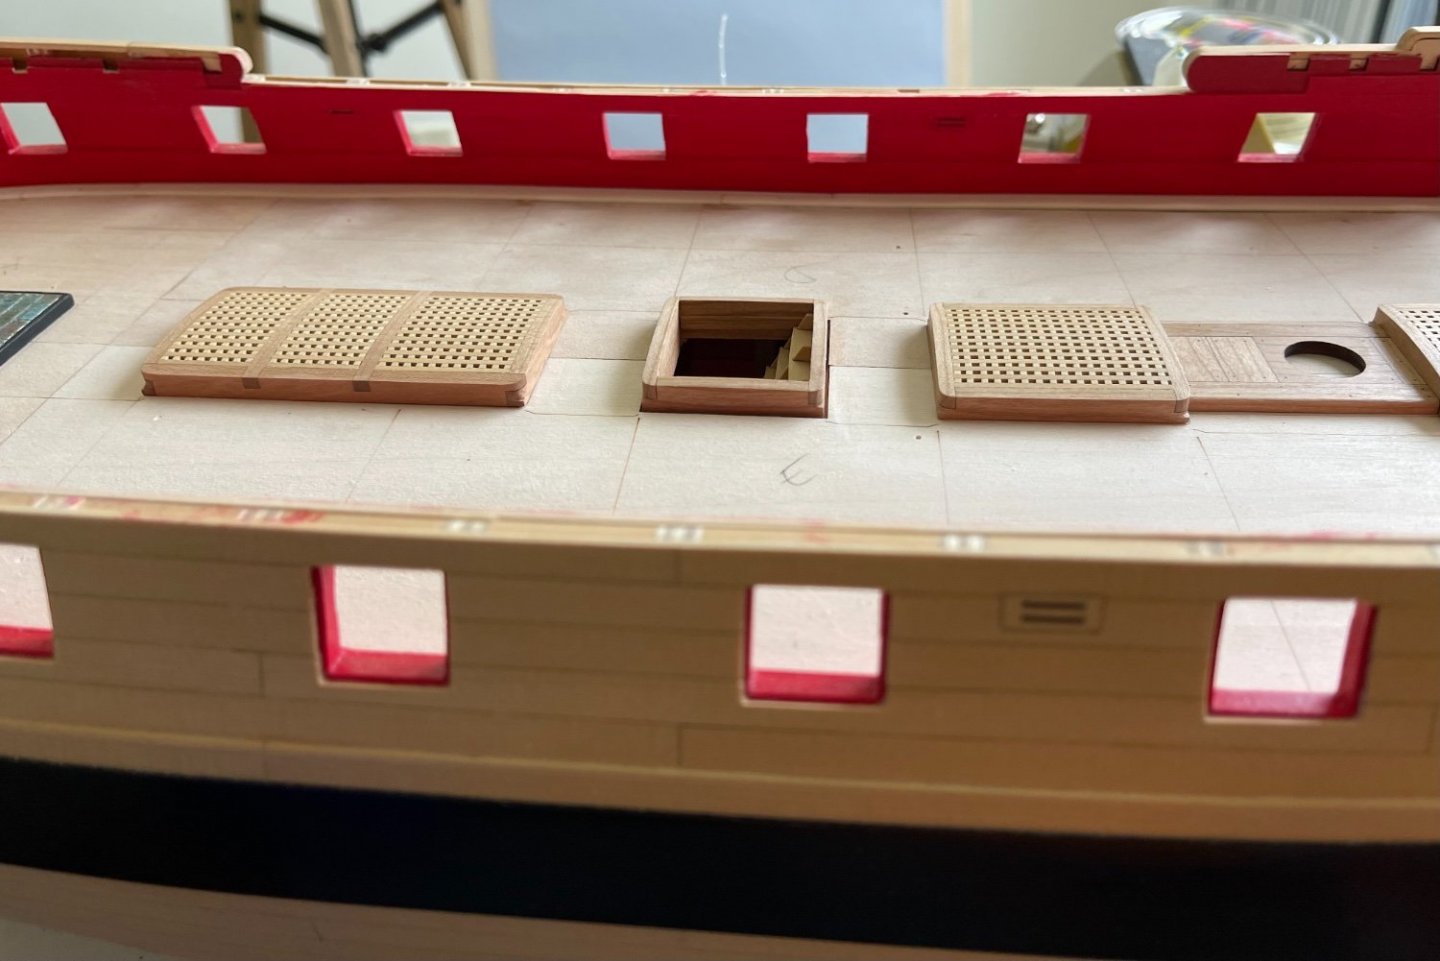
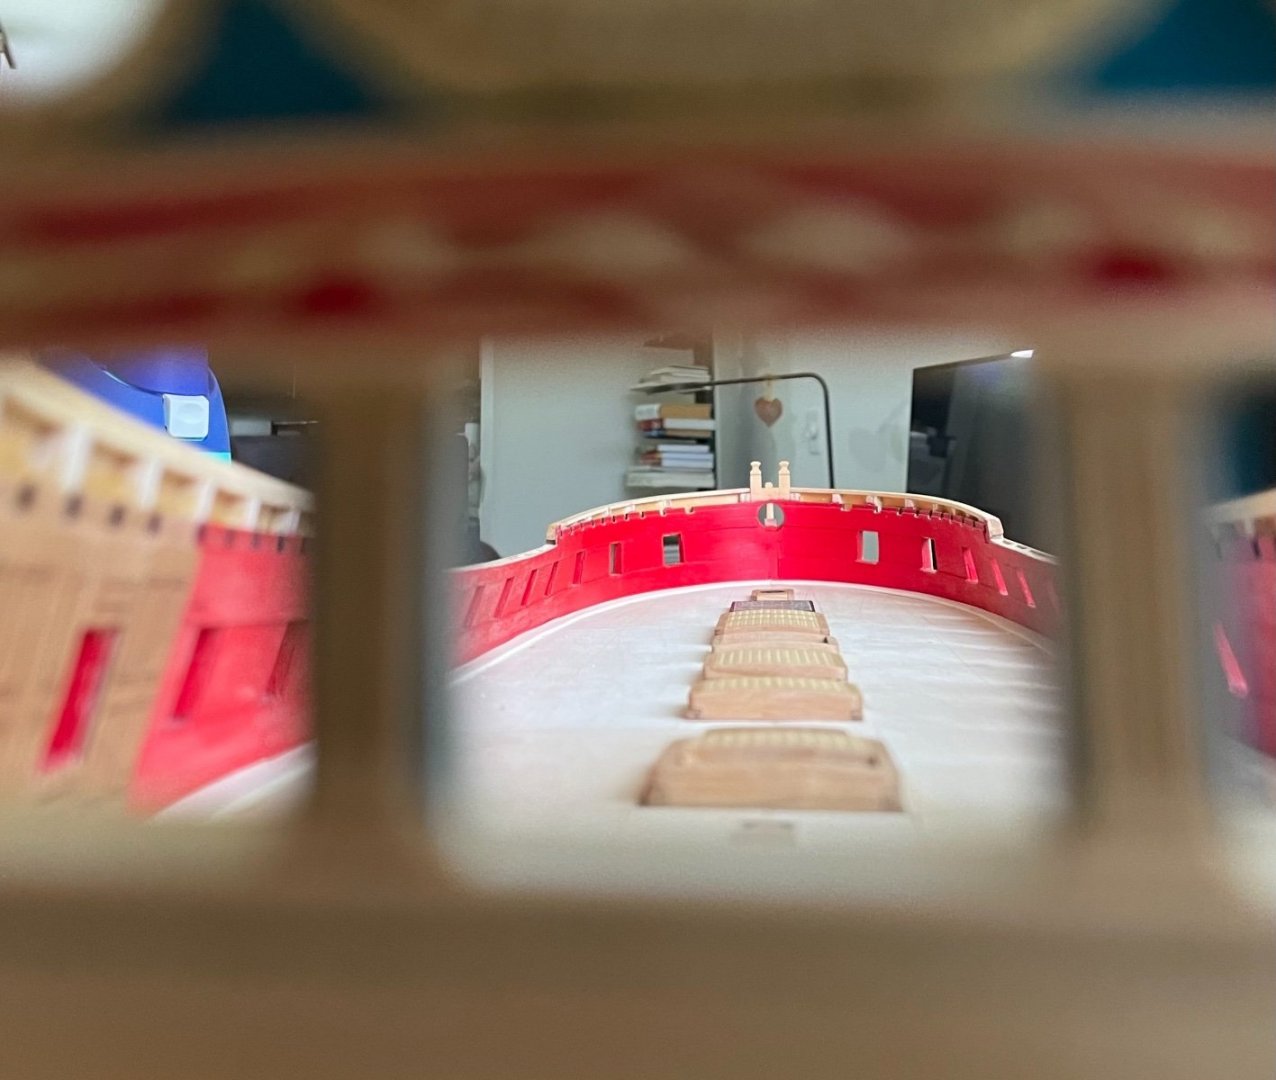
Thank you Everyone for all the likes. I have finished planking the deck. Made all the gun ports and started the stove. Best, G


-
Guillermo Eduardo Madico reacted to a post in a topic:
HMS Winchelsea 1764 a 1/35 por Jorge Diaz O
-
Thank you JJ When working with holly any little mistake shows. I am taking my time to do it right. Best, G
-
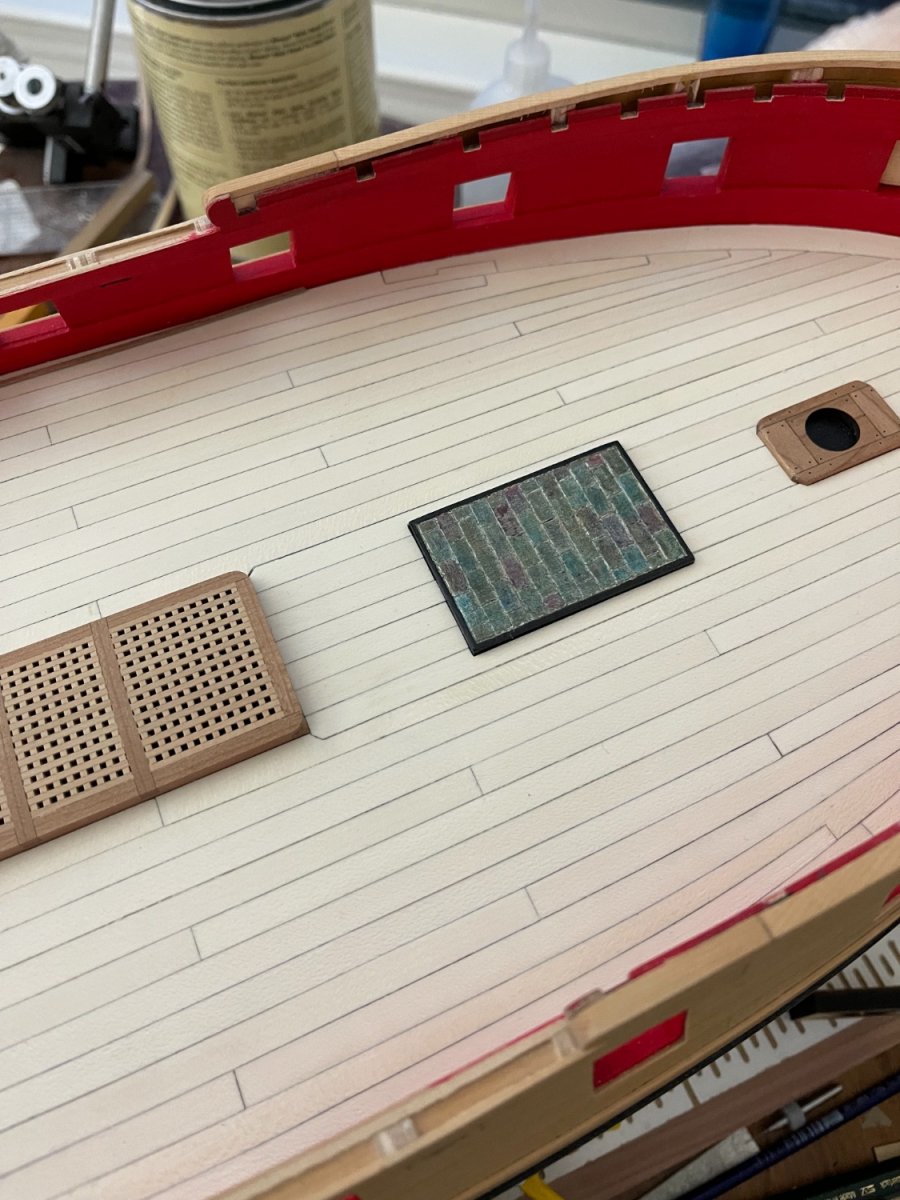
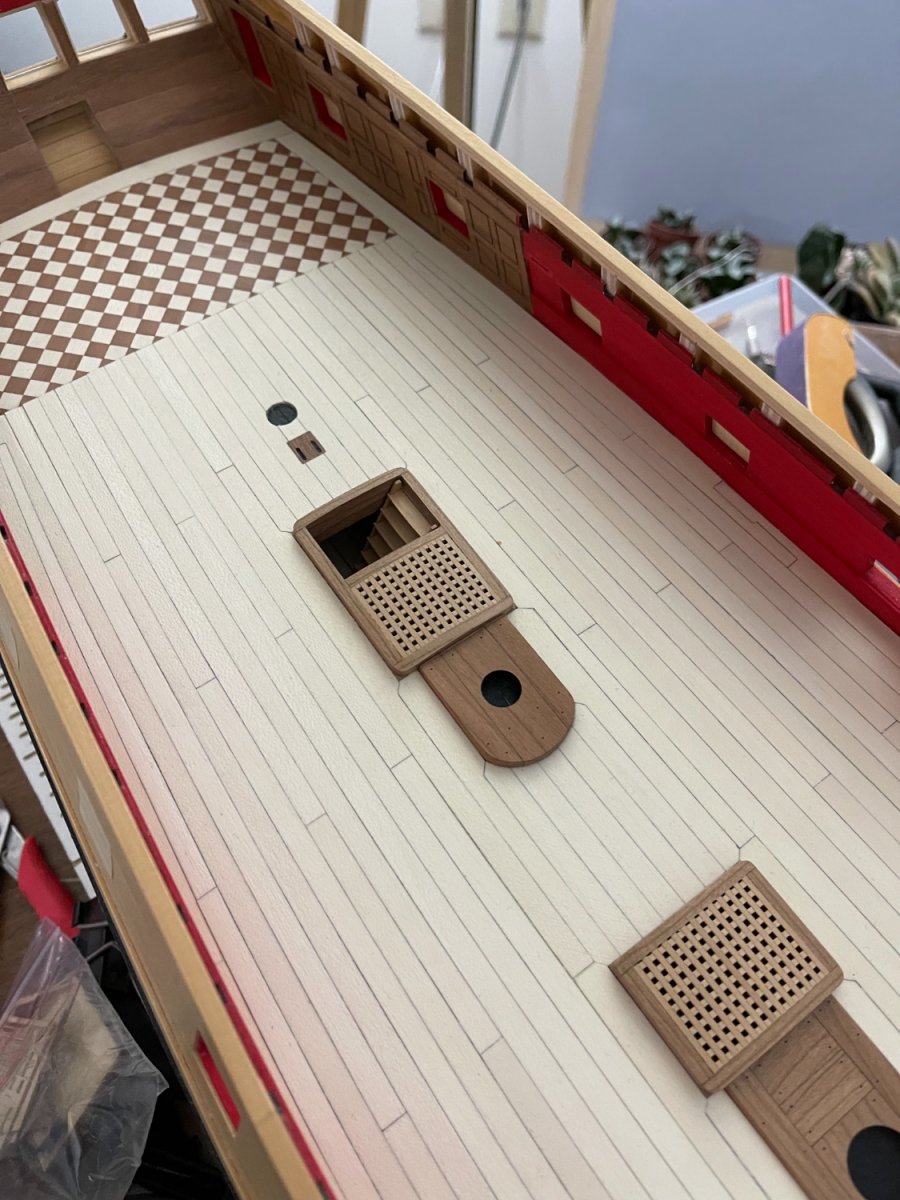
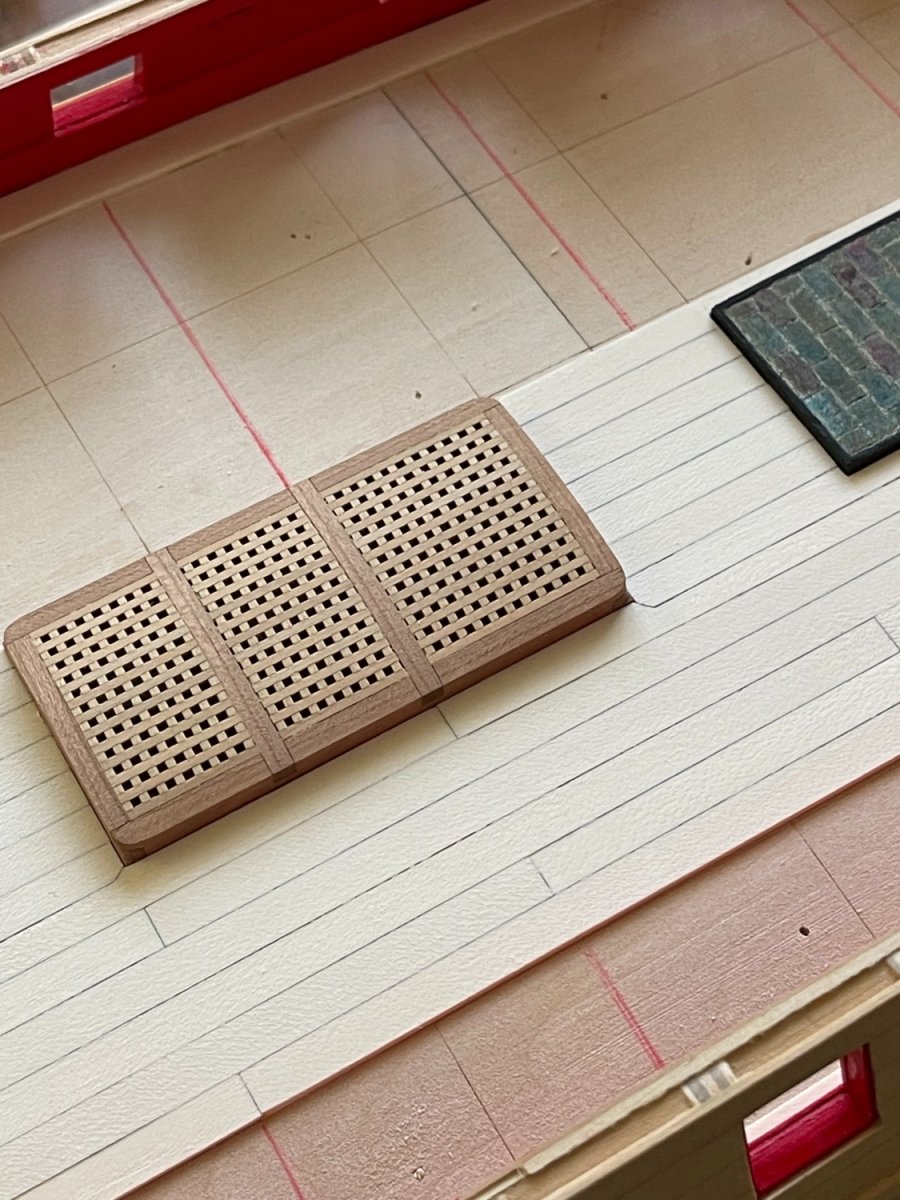
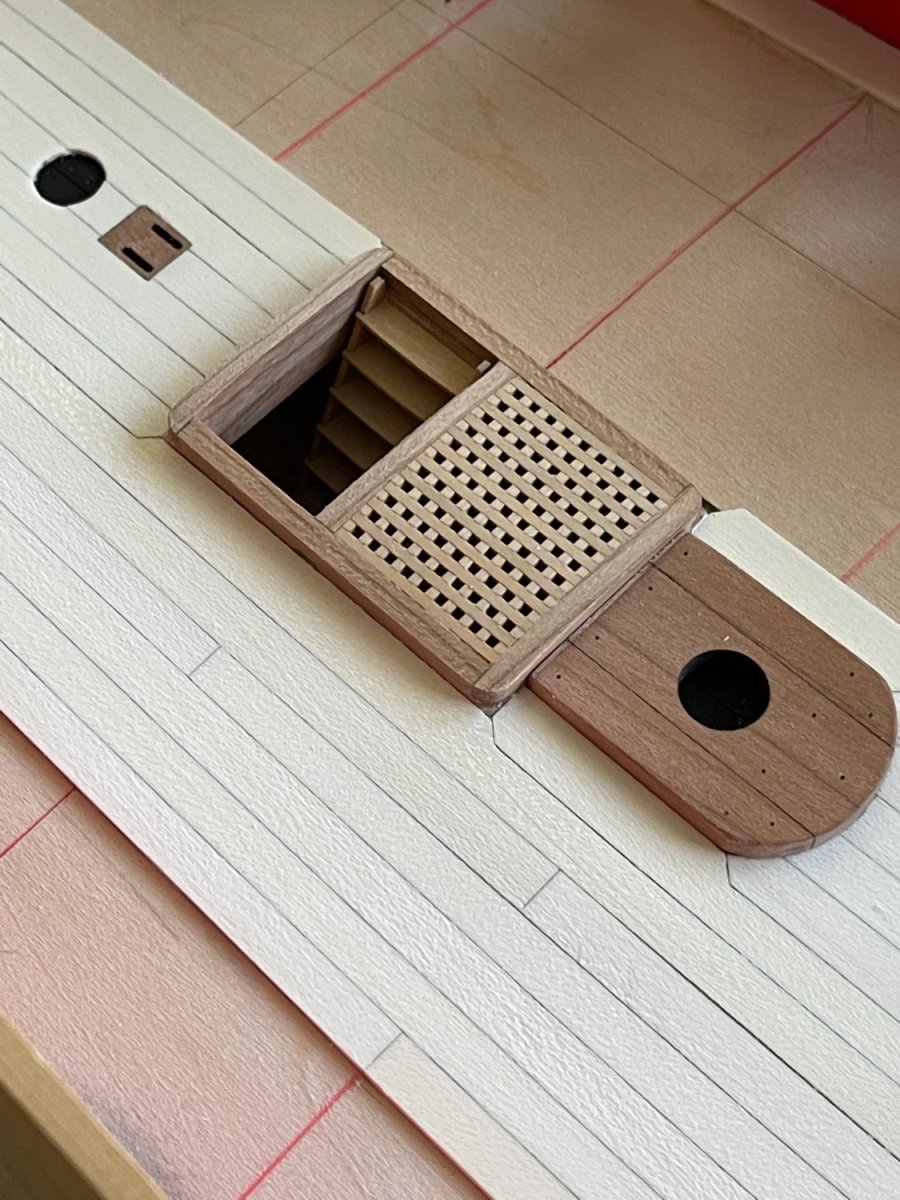
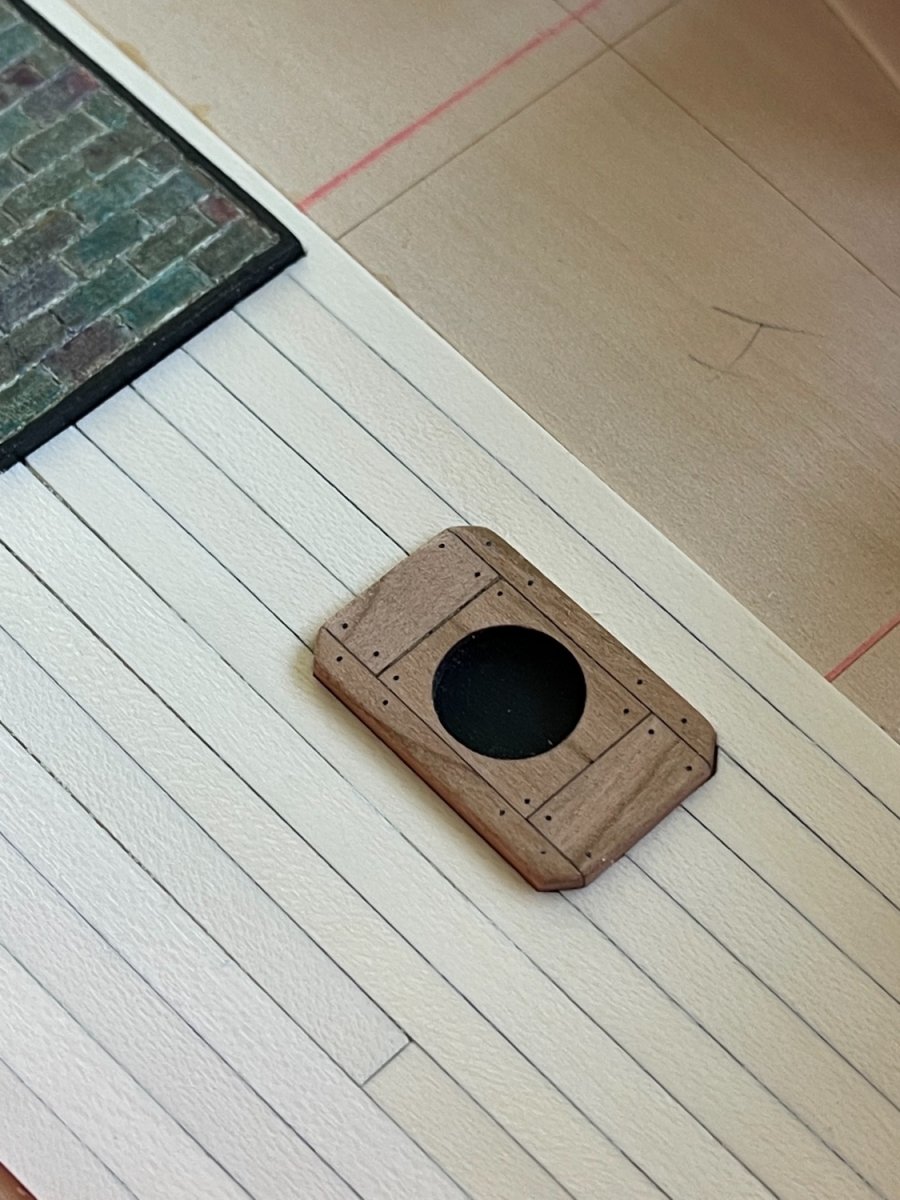
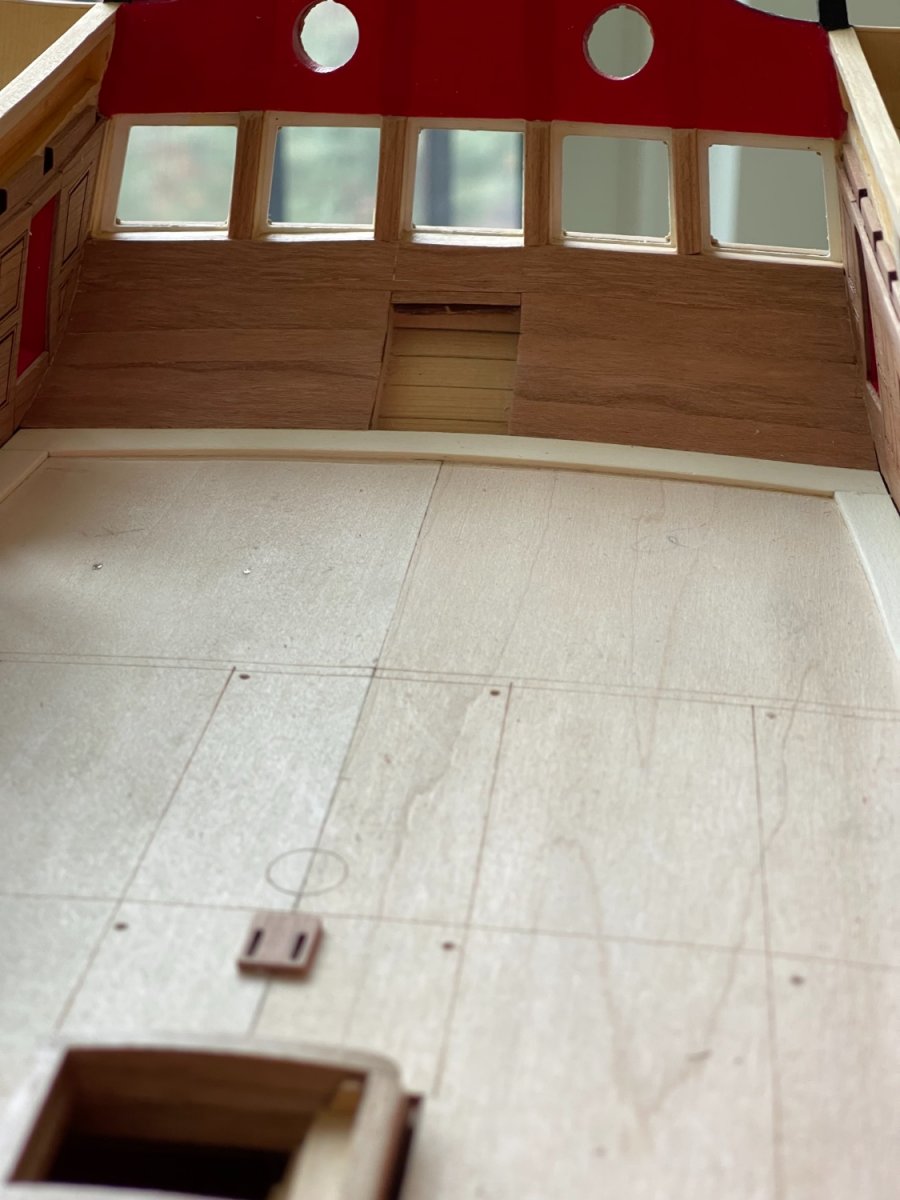
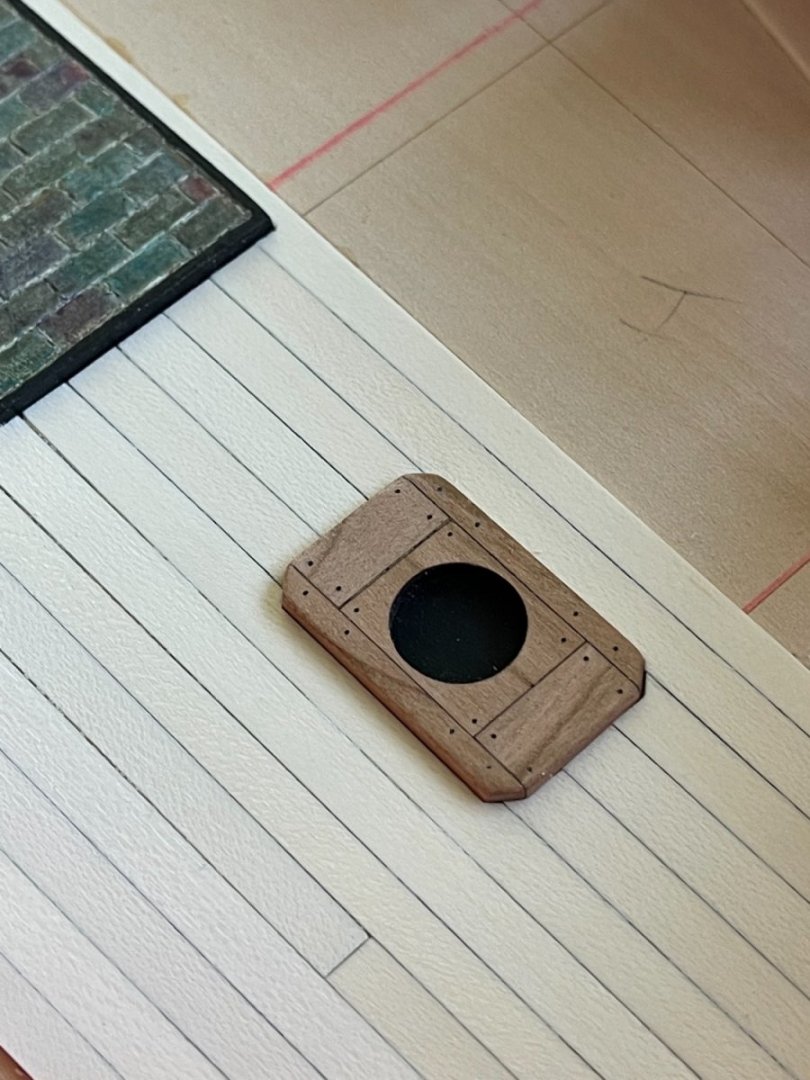
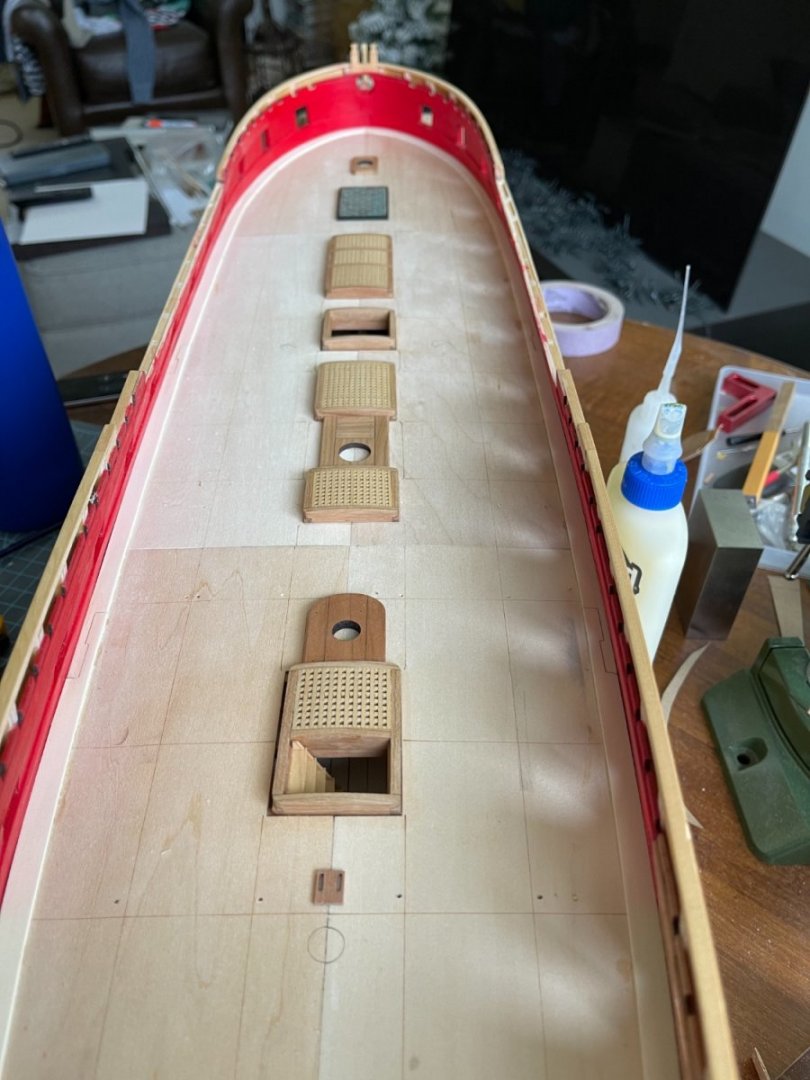
My progress on planking the deck. I am following the plans for placing the joints. Wood is holly. I painted black under the mast partners but also under the comings to increase contrast. Best, G


-
Guillermo Eduardo Madico reacted to a post in a topic:
HMS Winchelsea 1764 by Rustyj - FINISHED - 1:48
-
Guillermo Eduardo Madico reacted to a post in a topic:
HMS Winchelsea by scrubbyj427 - 1:48
-
Thank you Rusty, I am following closely your post on your work with cherry wood. Looks great. G
-
In the instructions figures, that piece is added between step1 (3pieces) and step2 (4 pieces). G
-
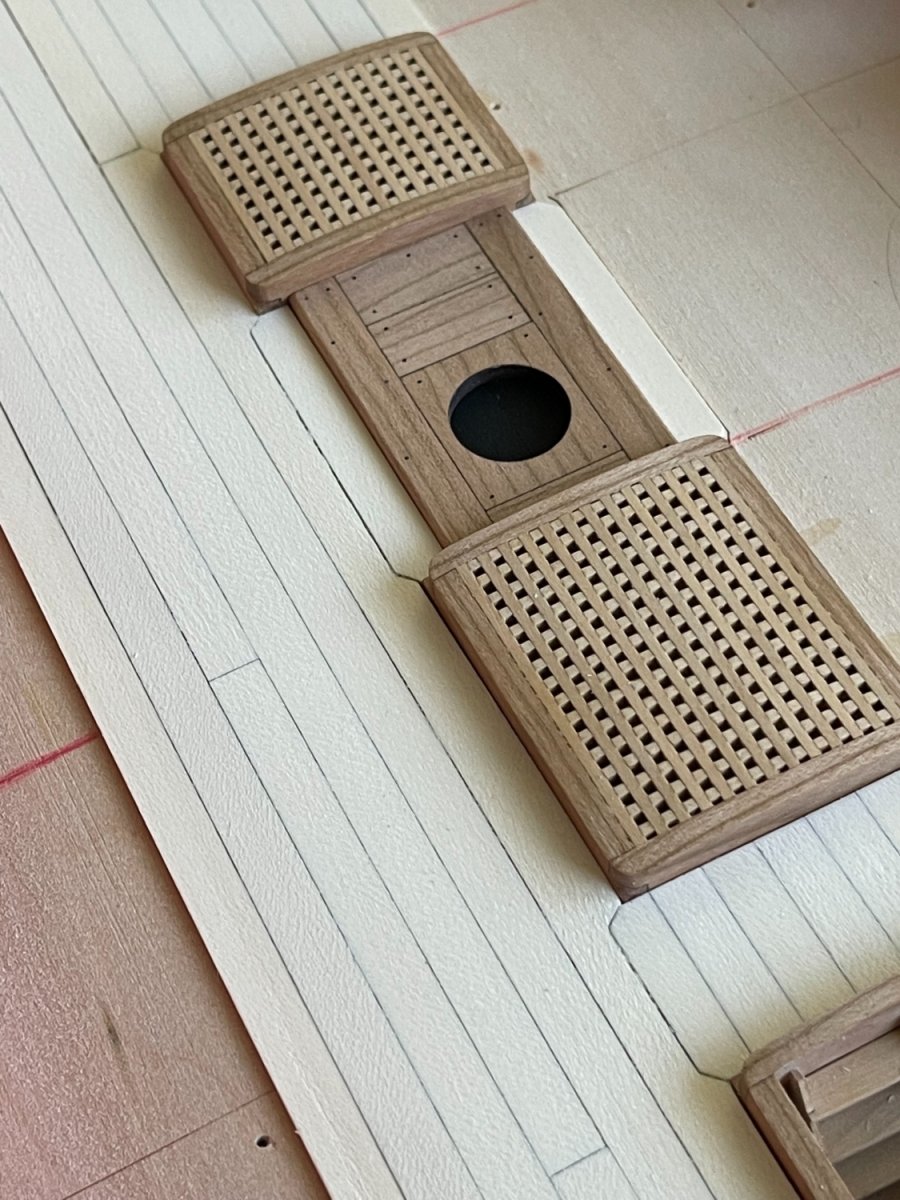
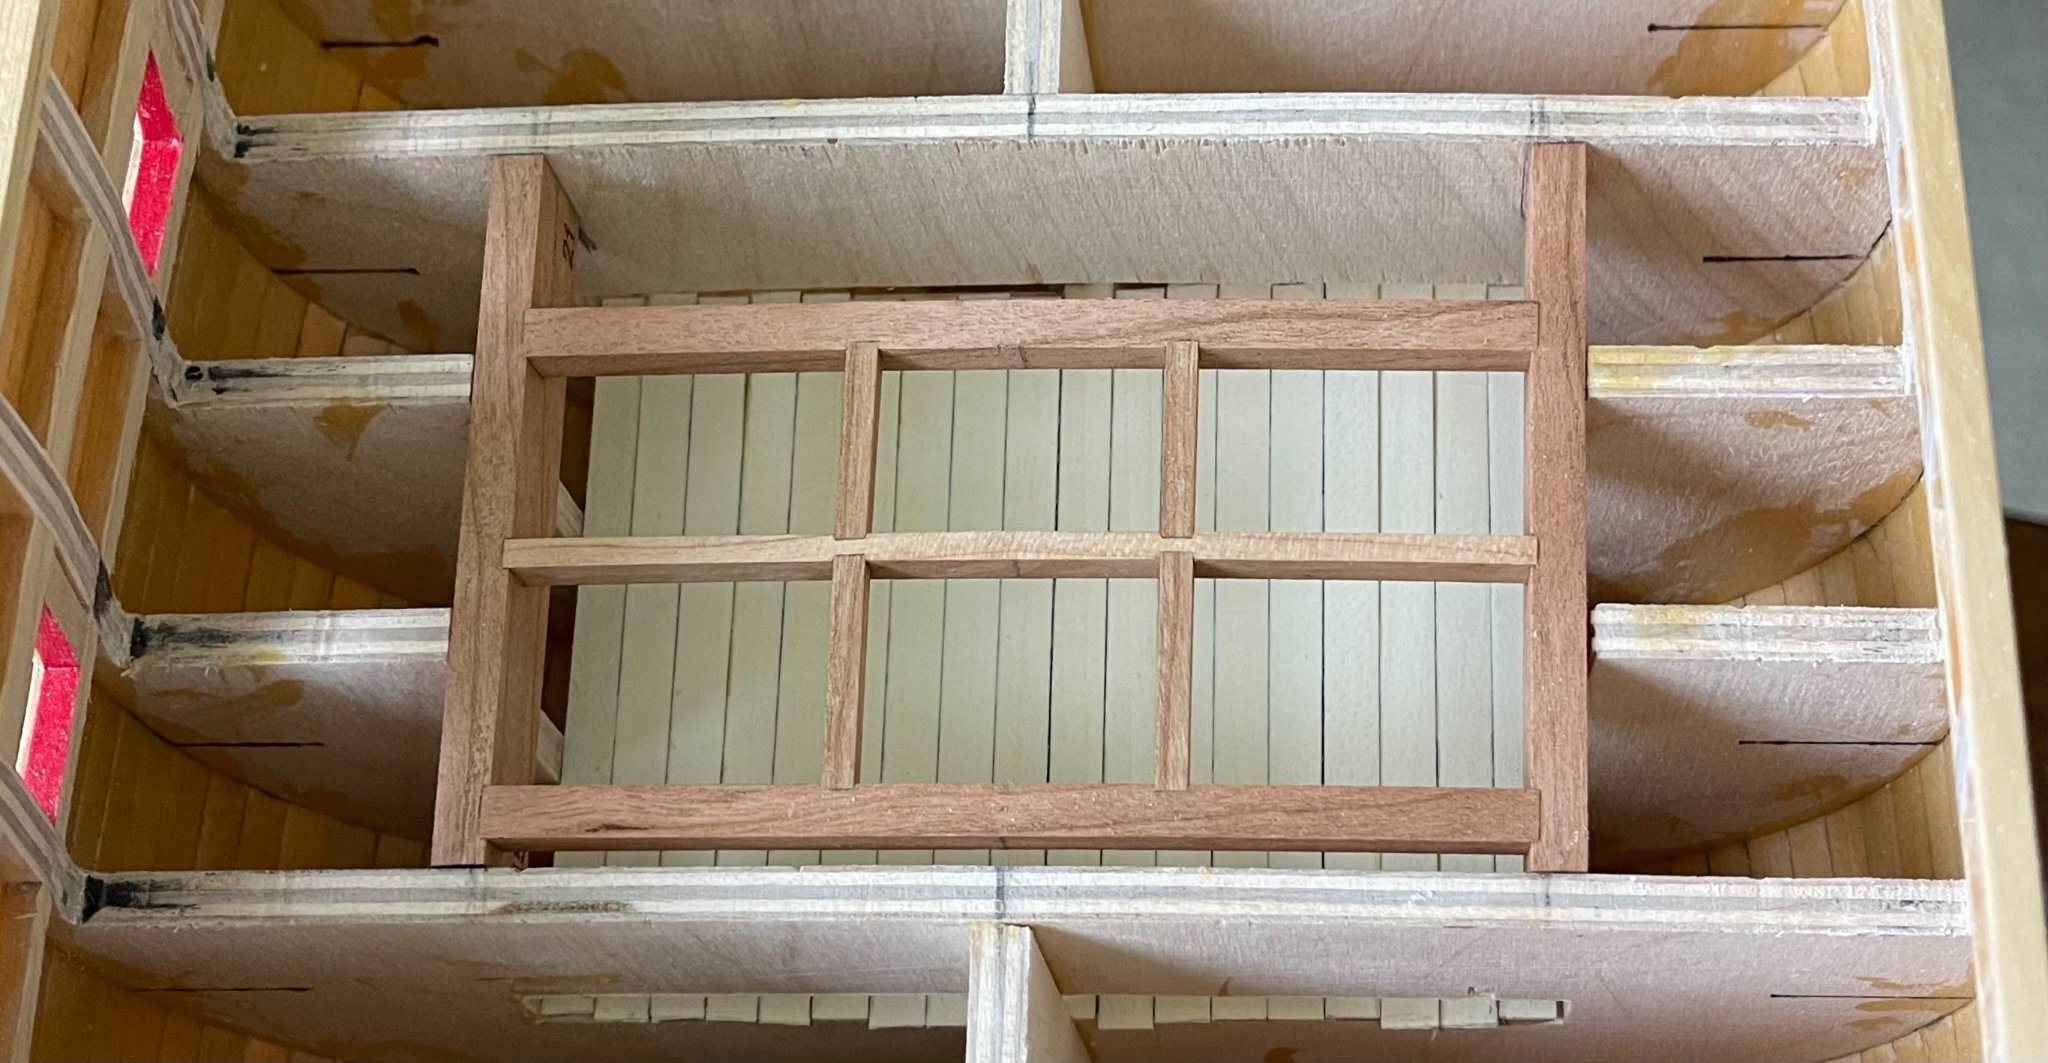
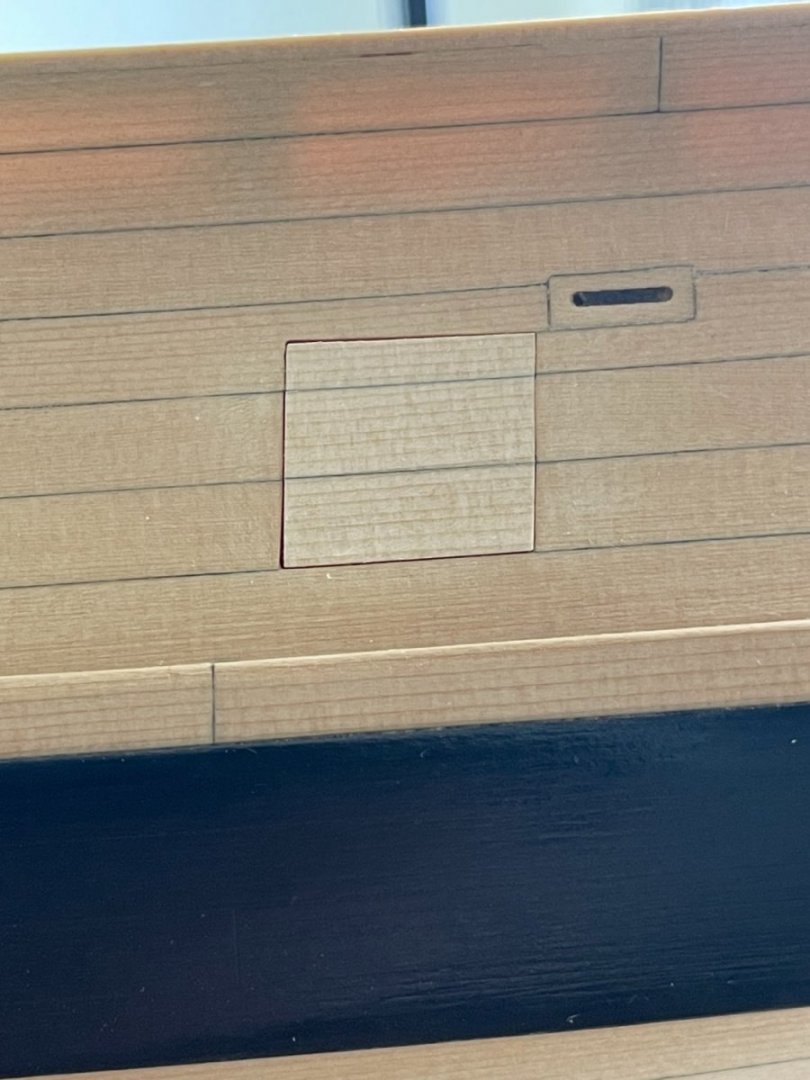
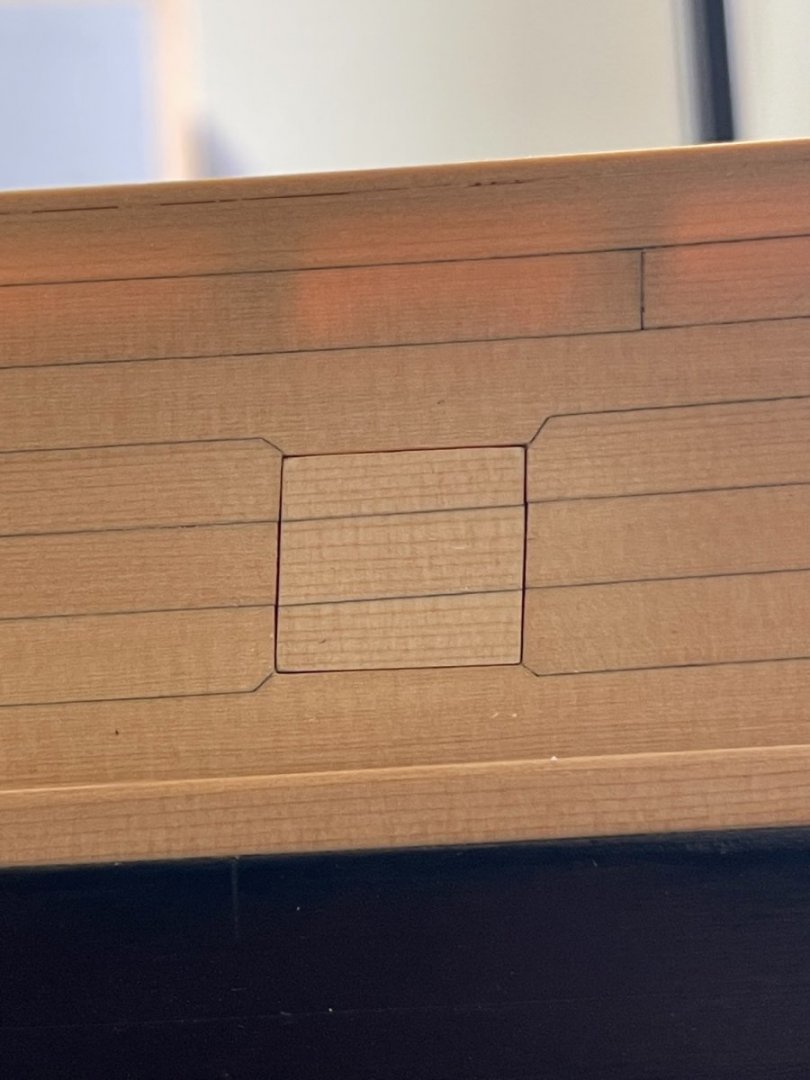
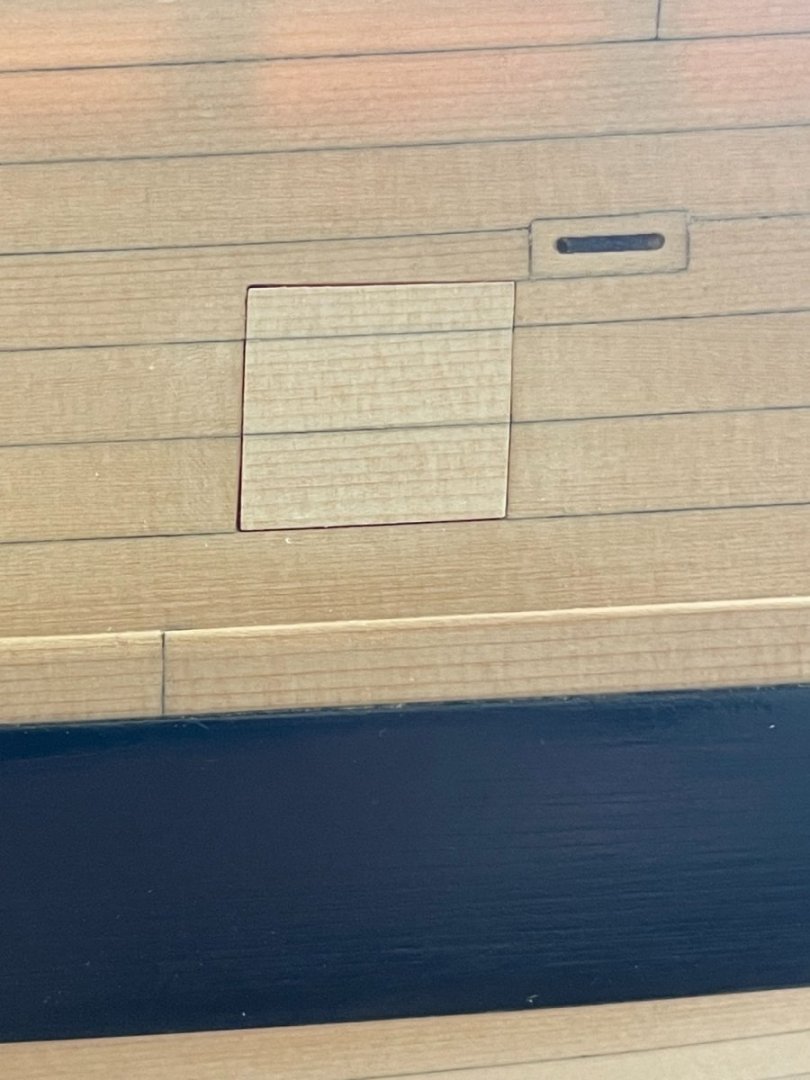
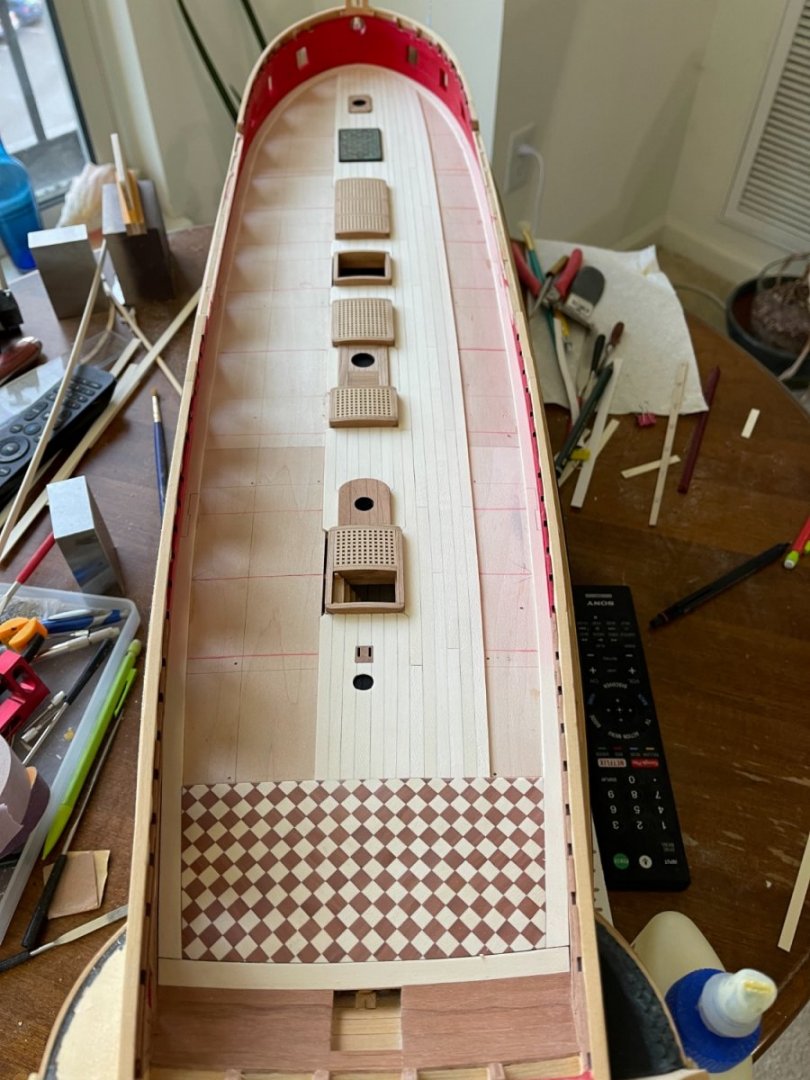
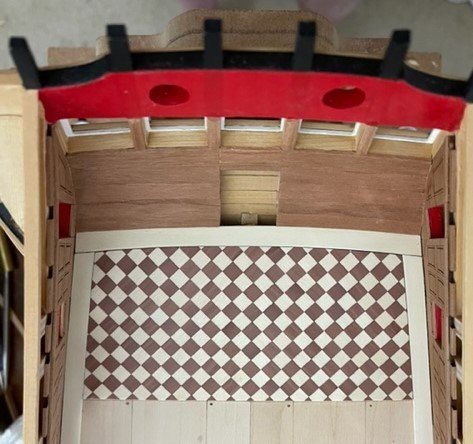
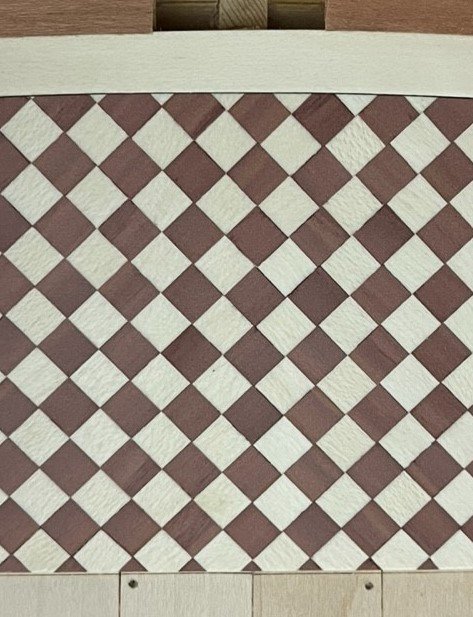
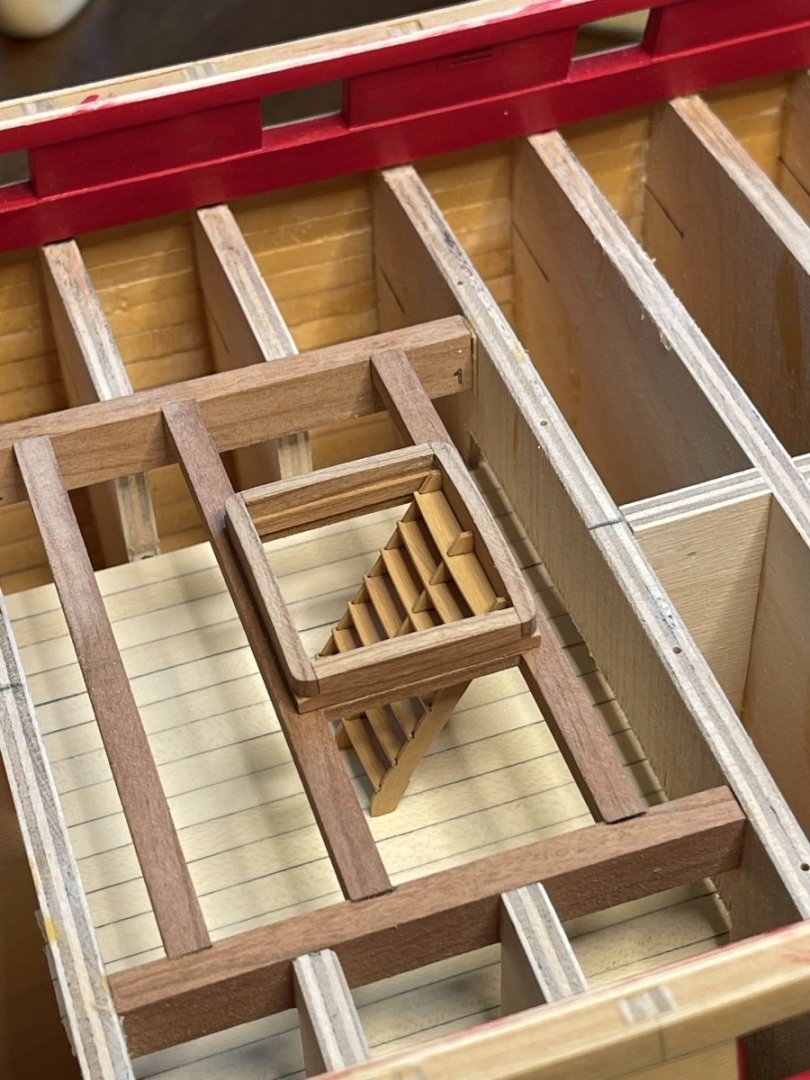
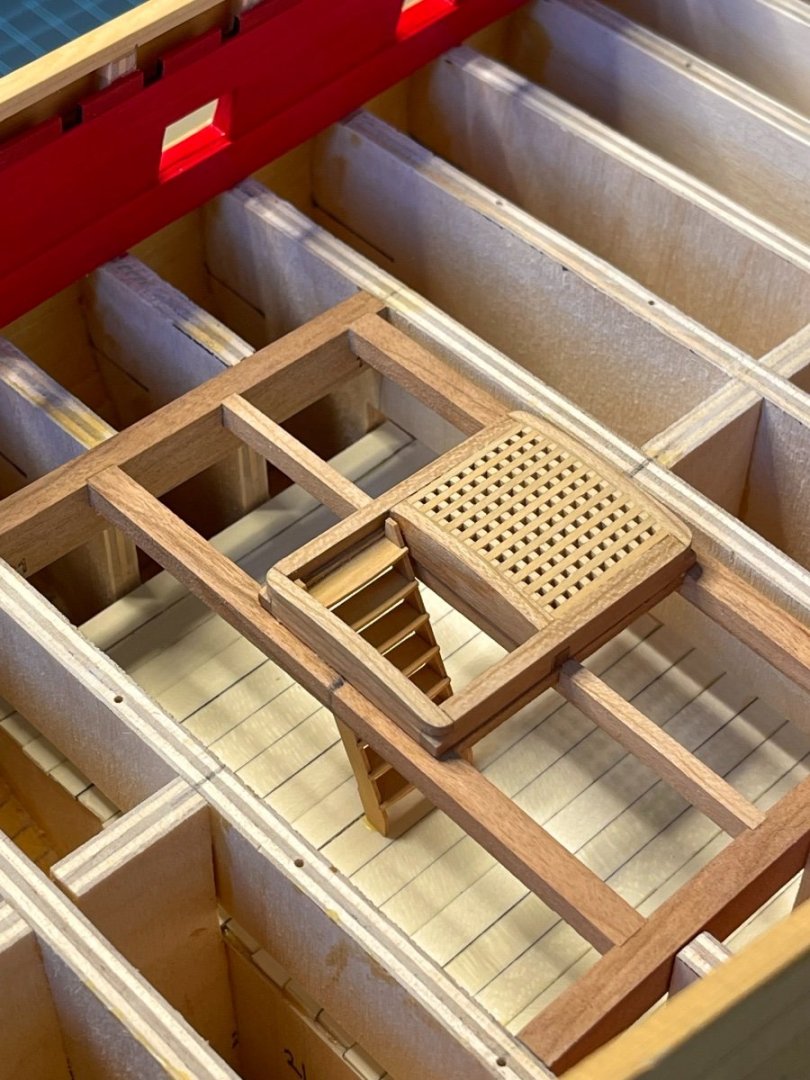
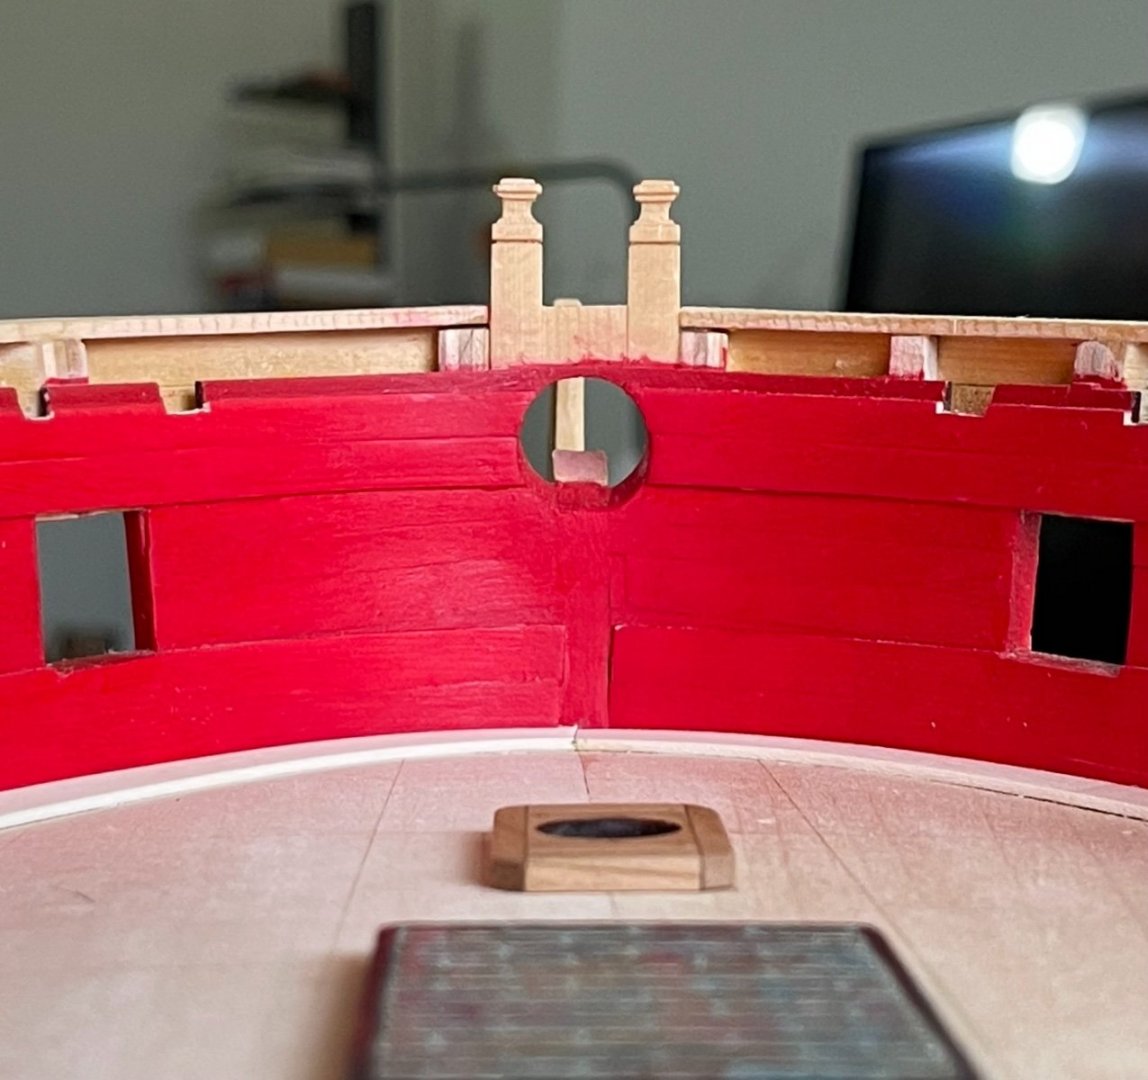
Thank you Vladimir and all for the likes. I finished the captain deck. I followed the method Chuck told us by gluing strips of wood first and cut them again ensuring the the cut is a perfect square. I made a template and glued the strips in a "V" pattern to keep the squares aligned. I use holly and red cedar. Next deck planking. Best, G

.jpg.aafc2ed32ce90d093a21655e0942e5f3.jpg)
-
Guillermo Eduardo Madico reacted to a post in a topic:
HMS Winchelsea by scrubbyj427 - 1:48
-
Guillermo Eduardo Madico reacted to a post in a topic:
HMS Winchelsea by scrubbyj427 - 1:48
-
Guillermo Eduardo Madico reacted to a post in a topic:
1/48 Winchelsea by Dave S
-
Guillermo Eduardo Madico reacted to a post in a topic:
HMS Winchelsea by rafine 1/48
-
Guillermo Eduardo Madico reacted to a post in a topic:
HMS Winchelsea 1764 by glbarlow - 1:48
-
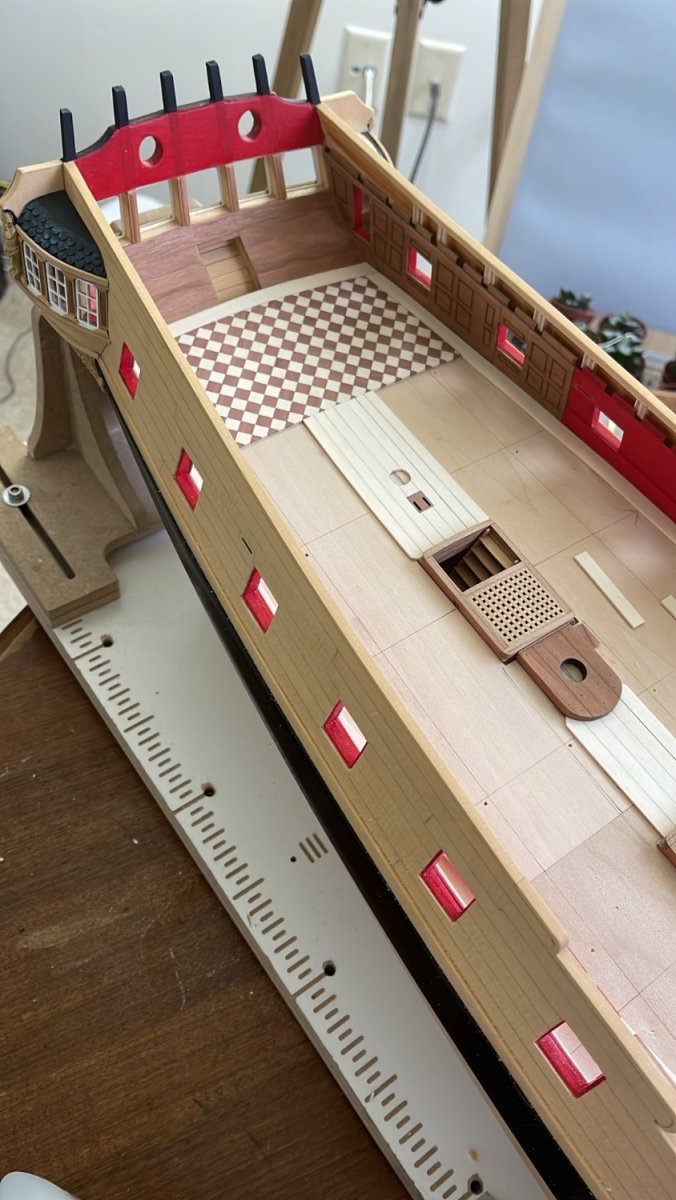
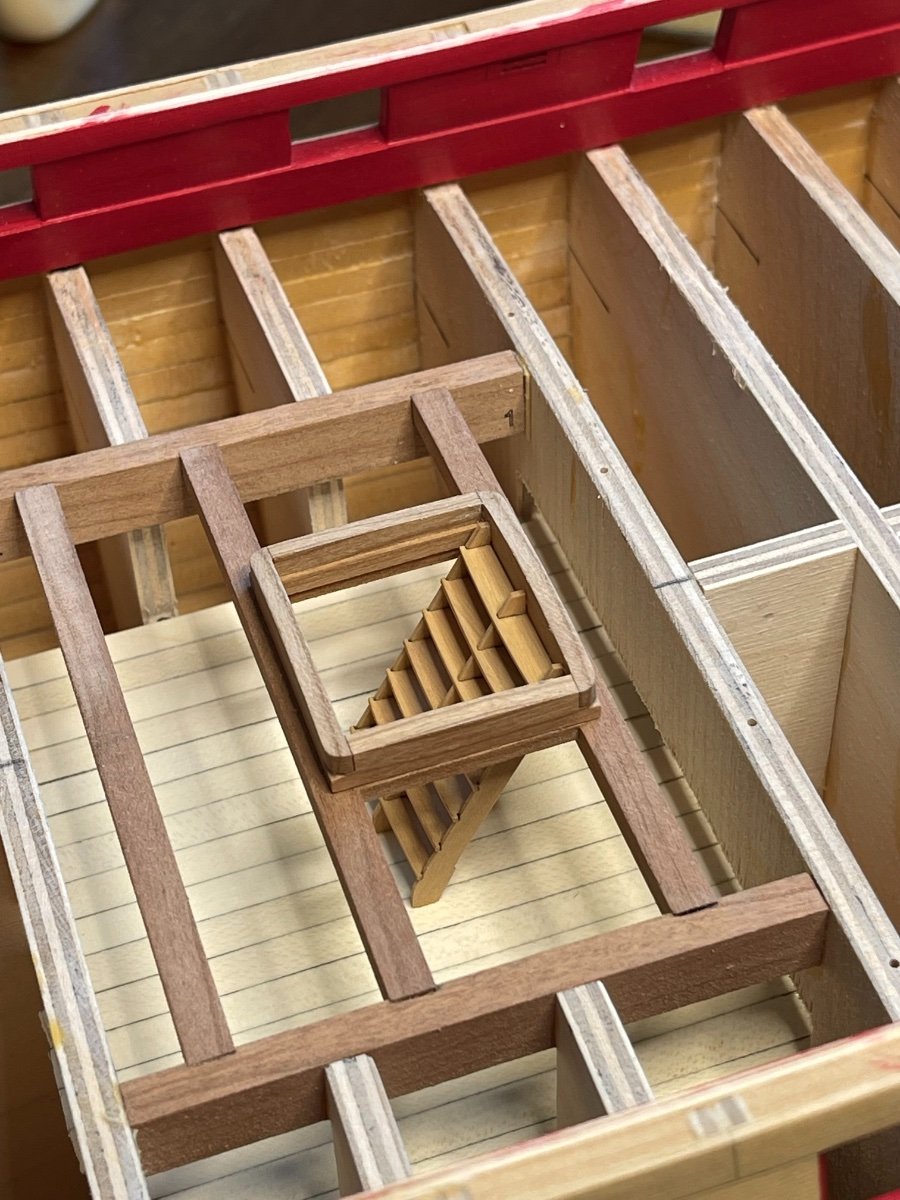
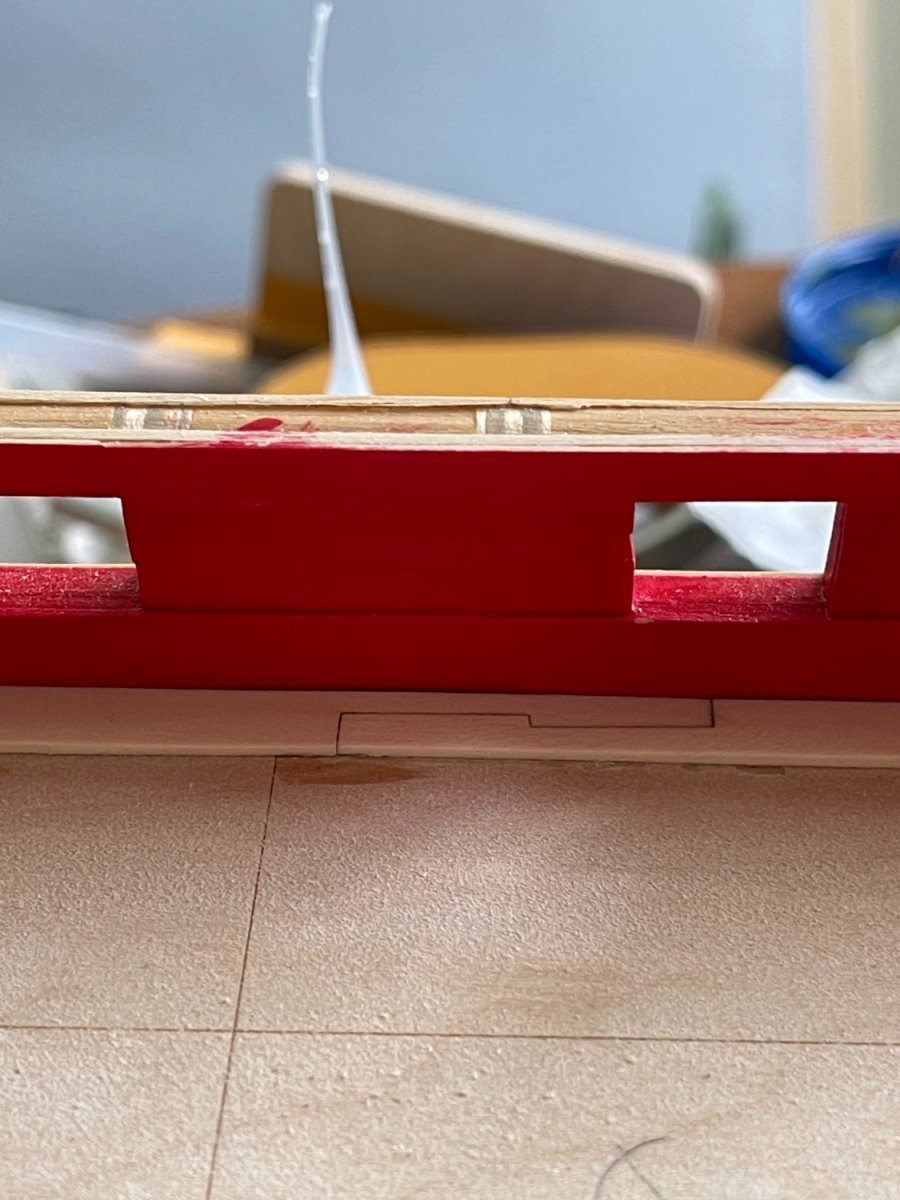
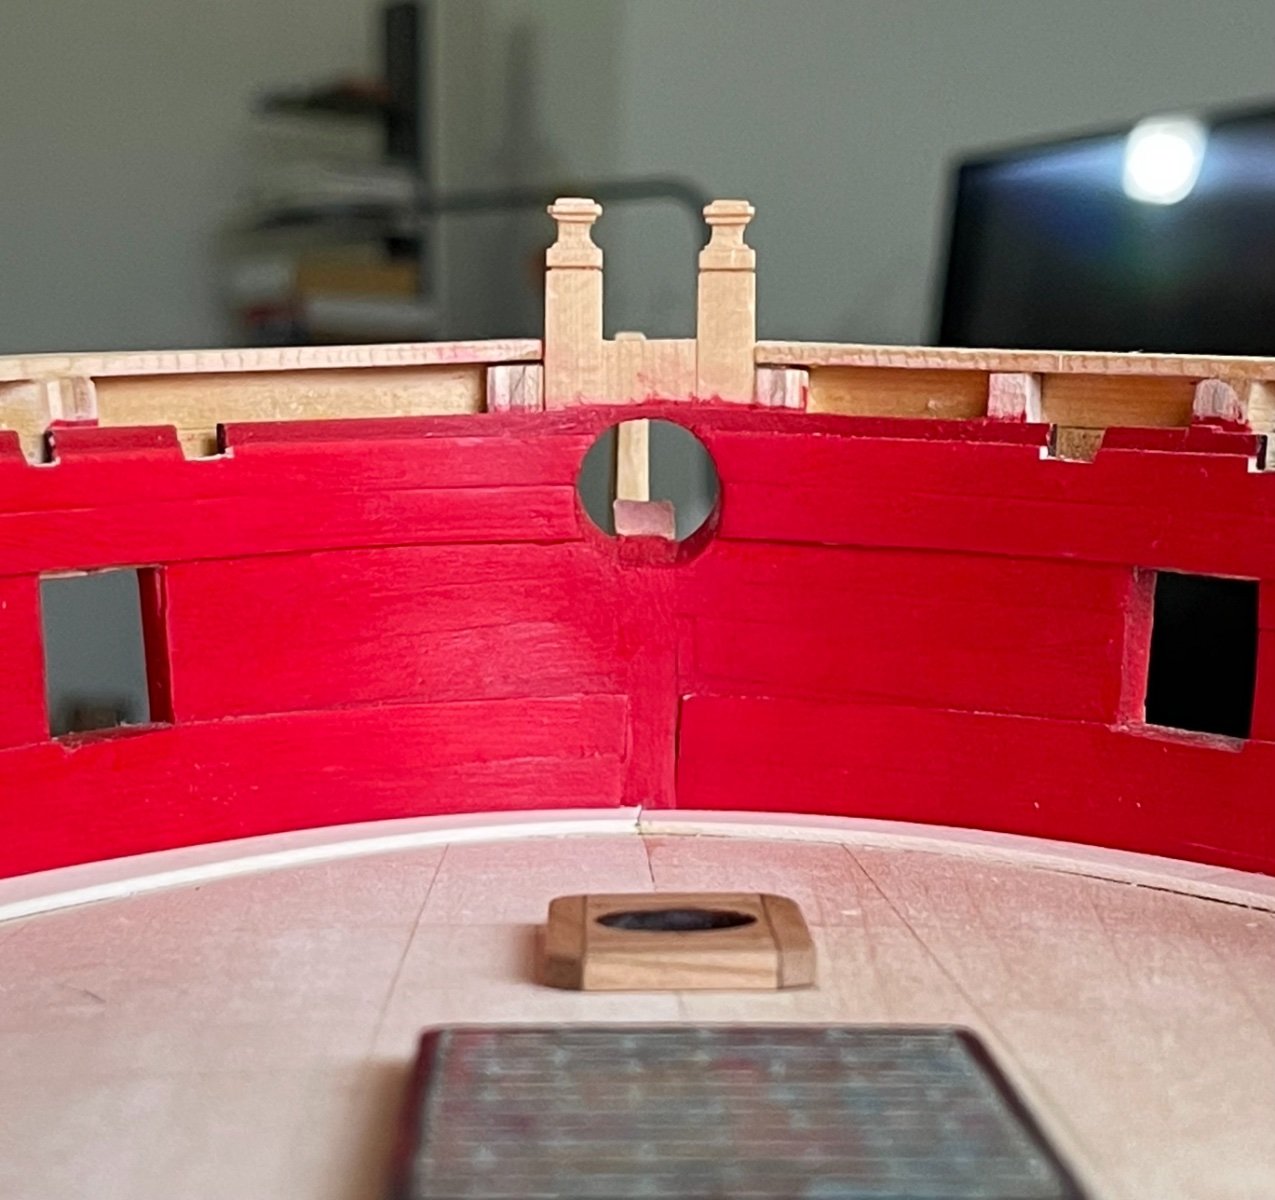
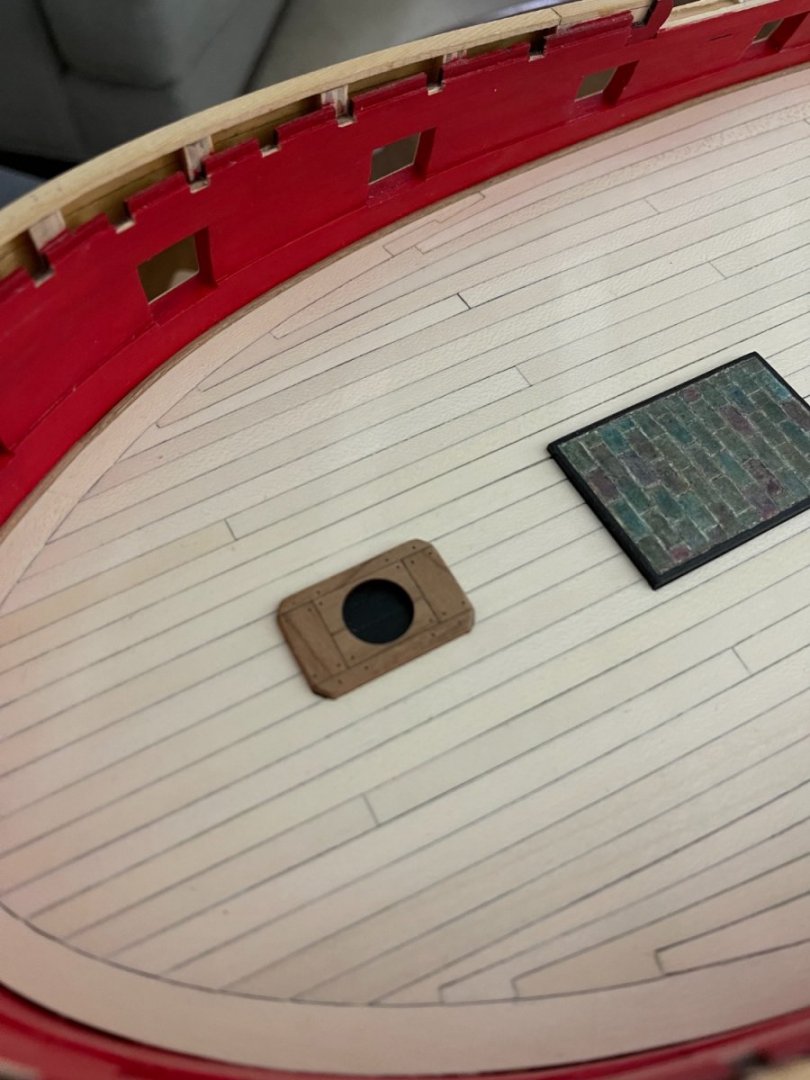
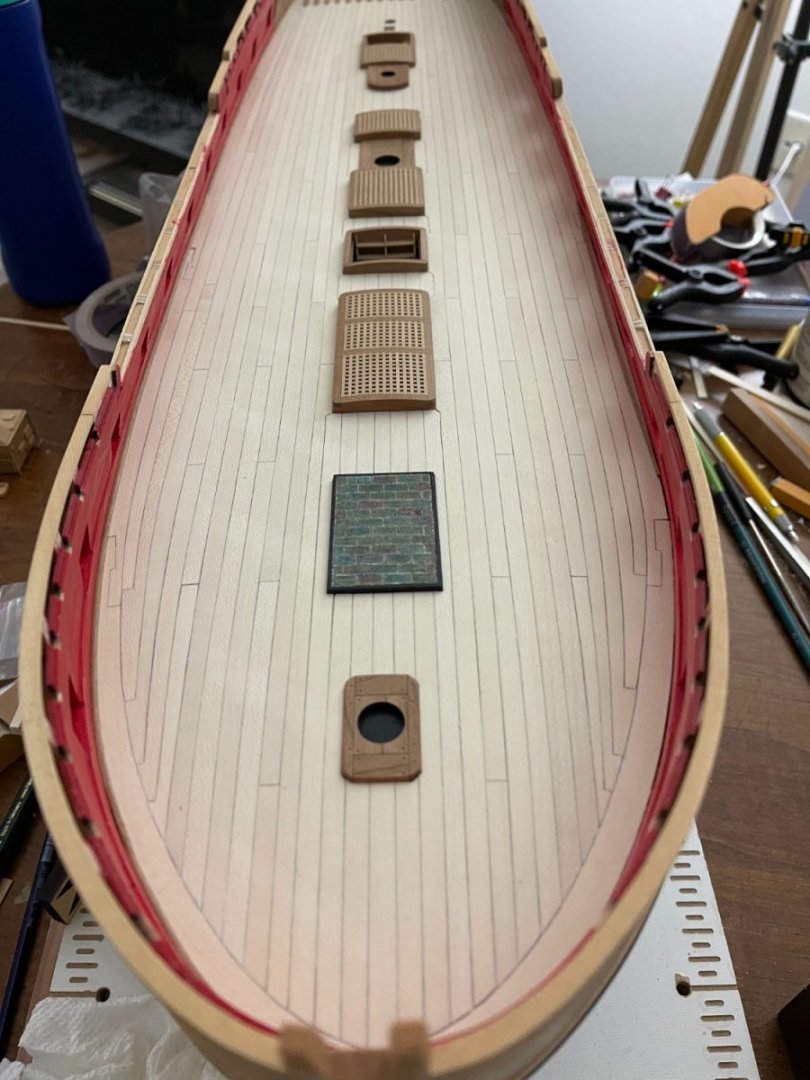
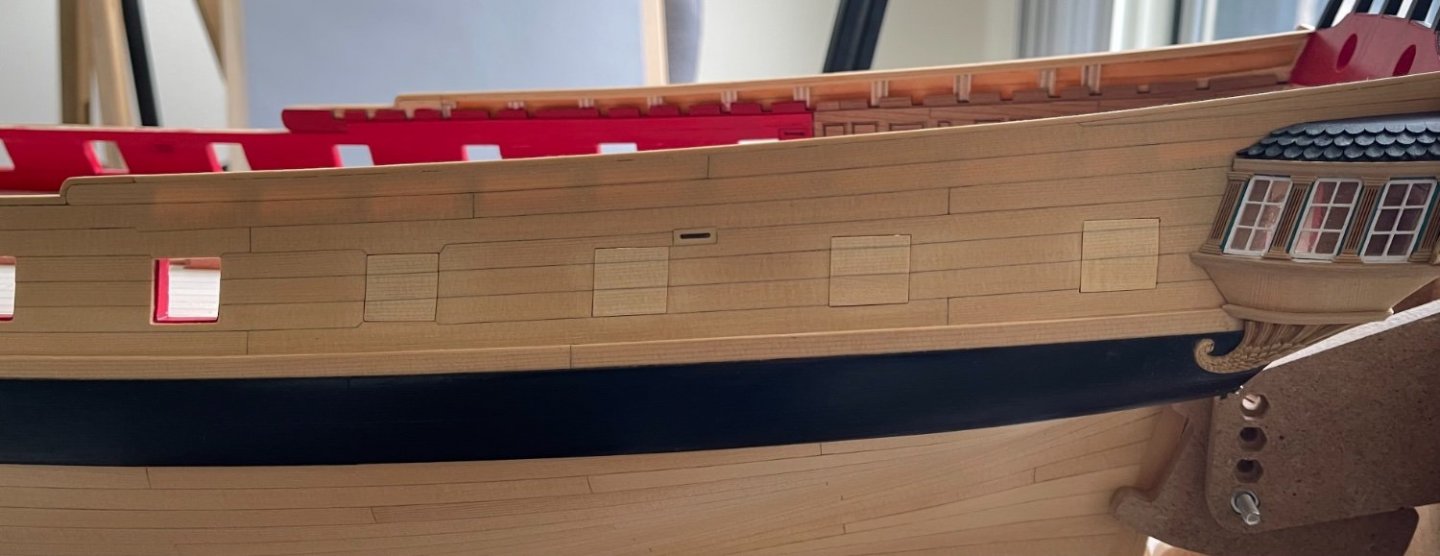
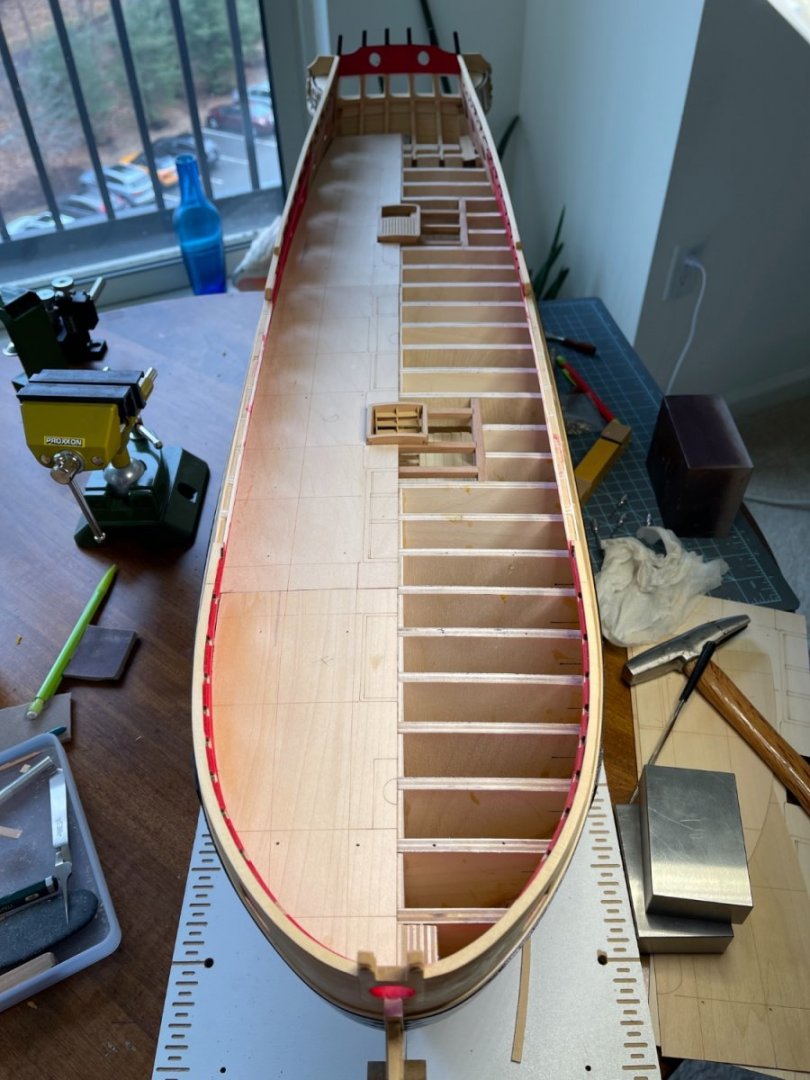
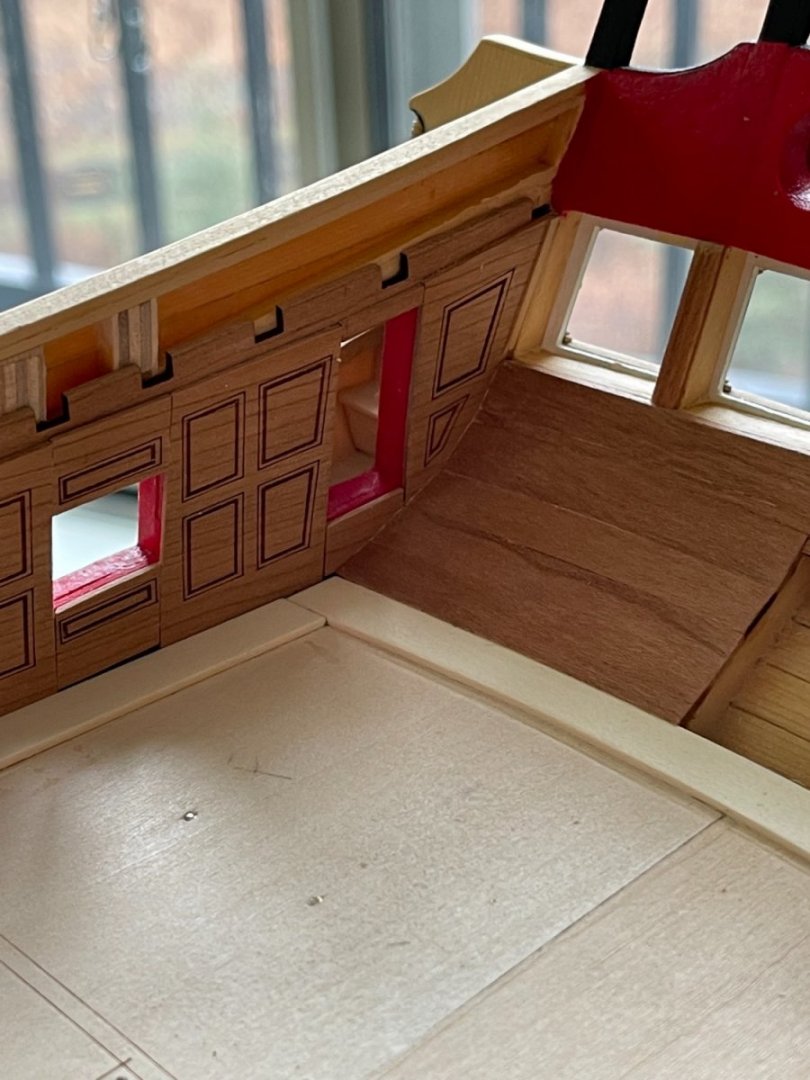
N Thank you JJ, My plan is to use wood for color. Thank you all for the likes. During the Holliday break I completed planking the bulwarks, added the spirketting, clamps, and the panels for te cabin. Before adding the false deck, I finished and placed the ladders. I used cherry for the counter planks, coamings, mast and capstan partners. The base plate for the stove was painted to simulate slate/blue-stone. The stone color was selected to add some of the green color of the freezes in the deck. After painting the bulwark red, I added the margin plank. I used holly and follow the plans for the scarf joins. Next, I will plank the deck with holly. The freezes will be completed after that. Best, G


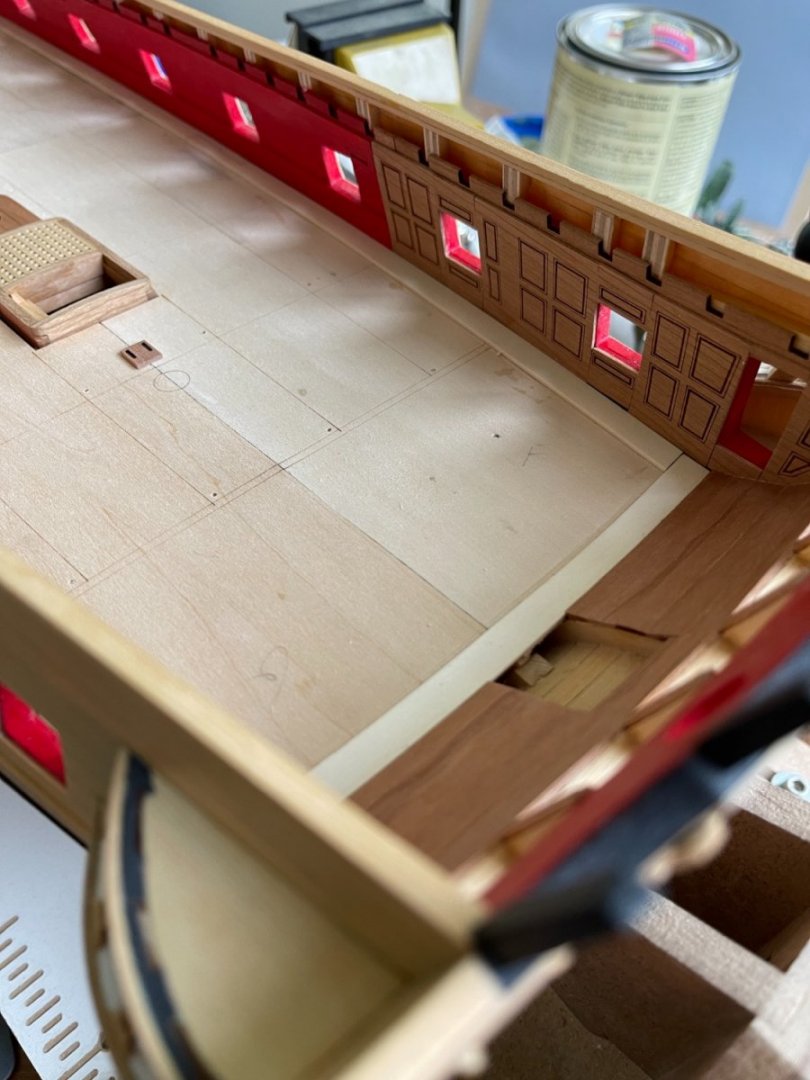
-
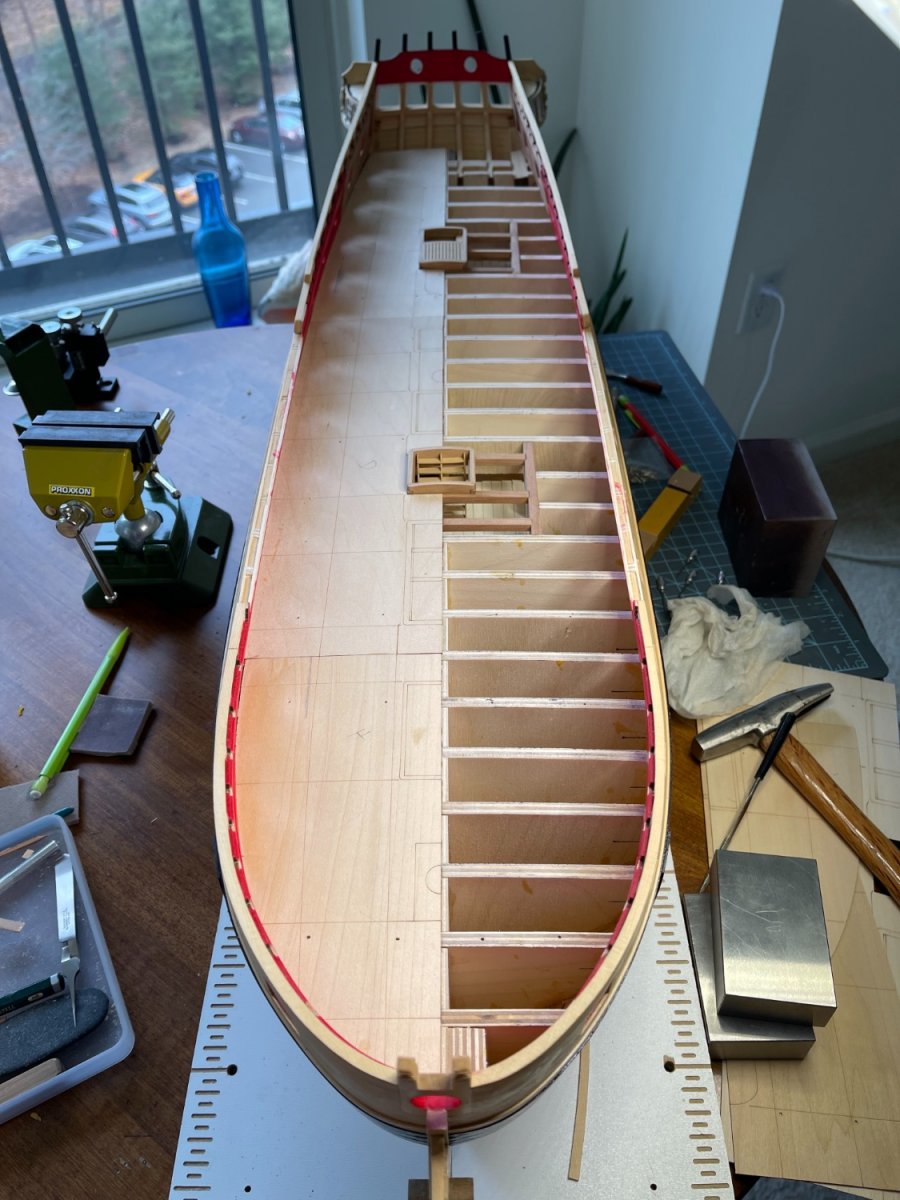
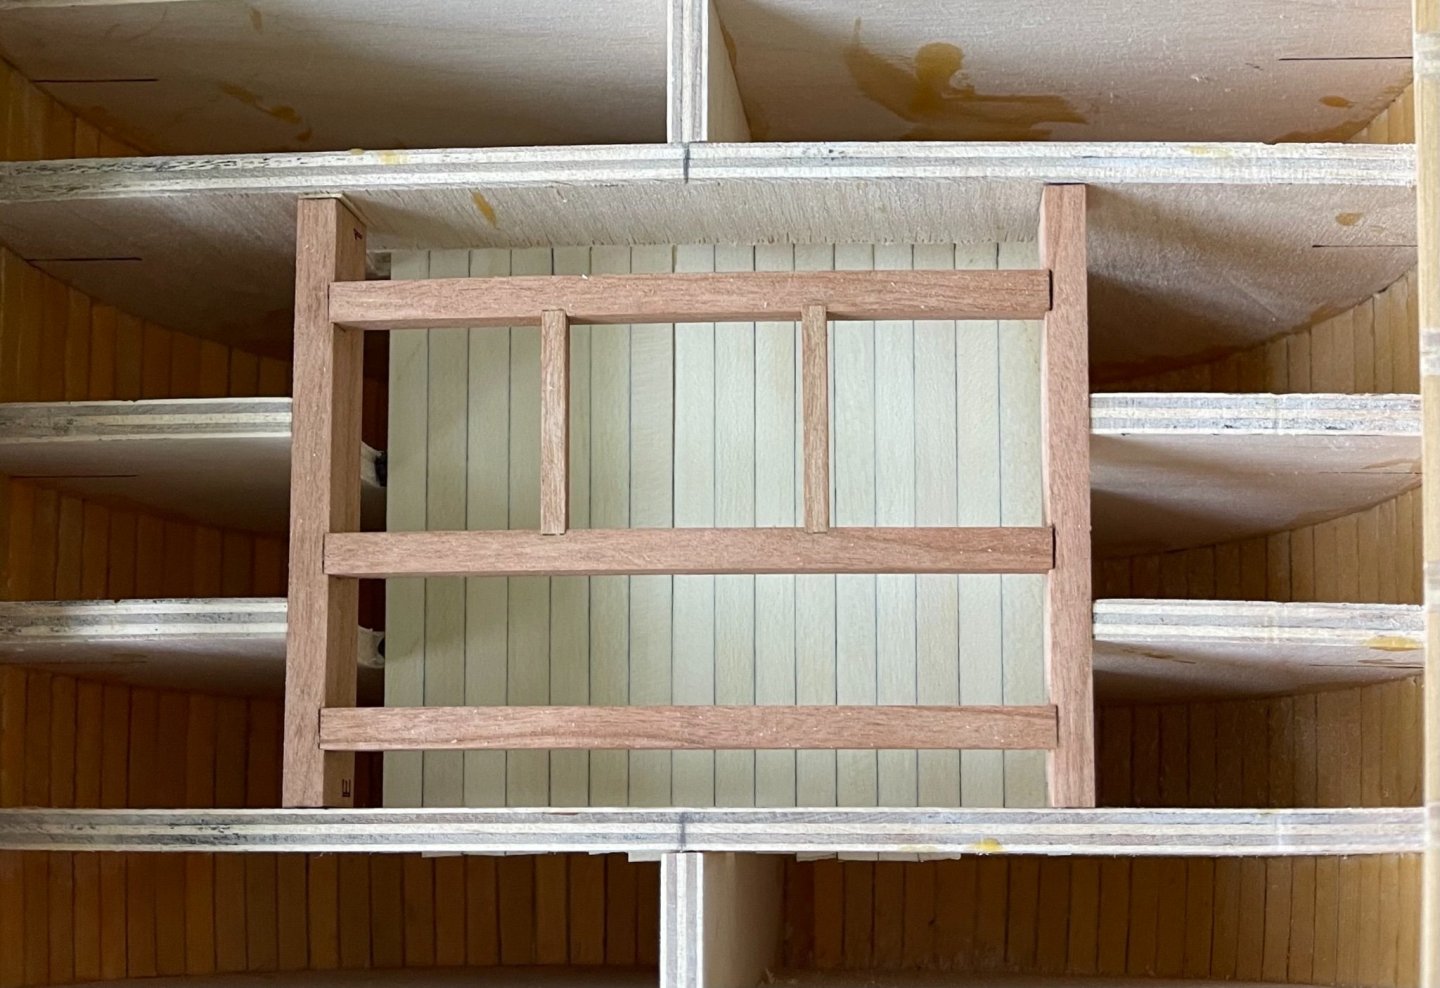
Thank you all for the likes, I decided to build inboard to give strength to all structures before completing the moldings and freezes. It will also give me more time to customize the freezes. I am intentionally mix and matching sedar and sherry wood kits from Chuck's chapter wood installments. The deck planks are holly. I build the sherry parts out of the model to ensure they were squared and placed back into the ship (they are not glued yet). Next, I will add the false deck. Best, G
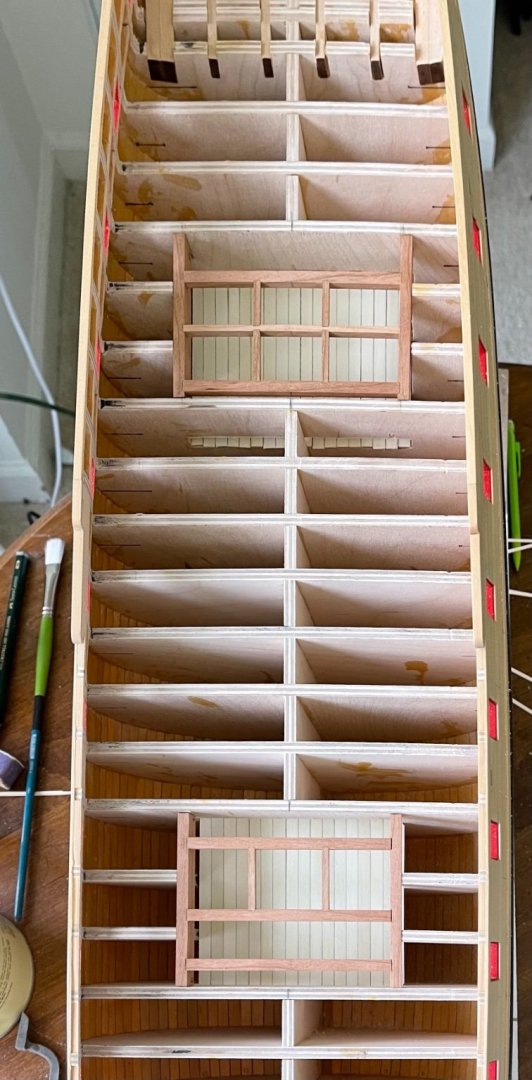

-
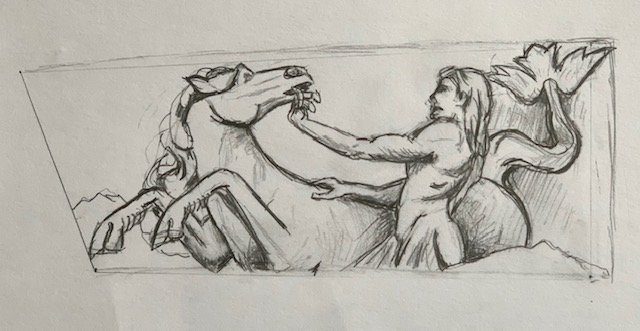
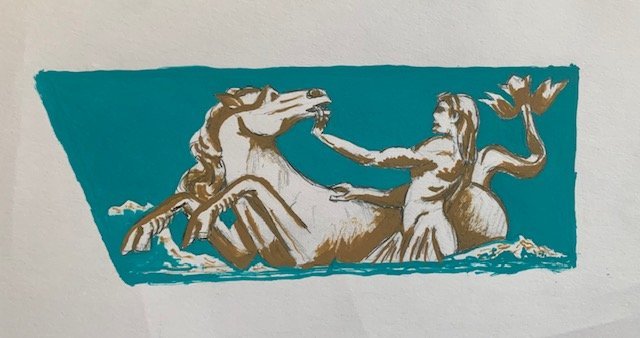
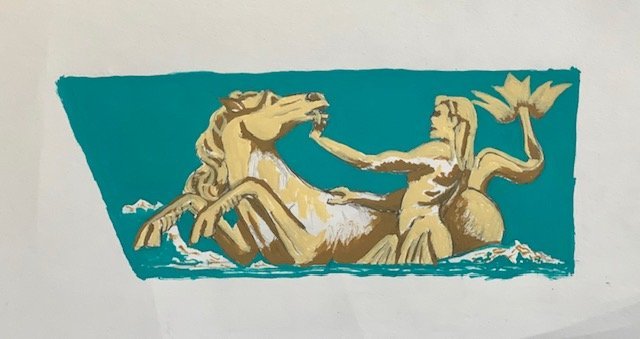
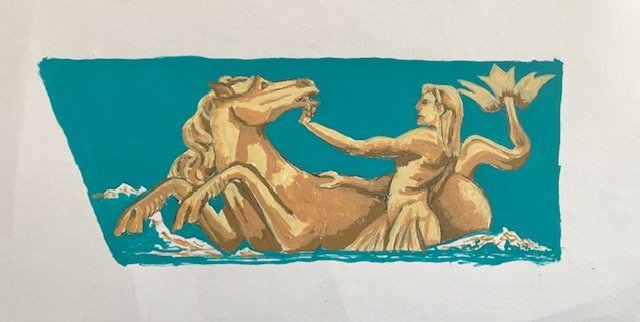
My drawing inspired by the fontana di trevi. Turquoise blue background 1st color 2nd color 3rd color Adding black Two mirror images of this will go next to the ship name. WINCHELSEA Best, G

.jpg.752a85ce3e999324606260baf81a7a5a.jpg)
2.jpg.37186ad2928953a8c8bb34e1f96bd259.jpg)
2.jpg.50ac0496330ebe2035ba8a8b9d50e039.jpg)
-
Thank you so much Chuck. I am glad I did justice to your creation. I probably spent 14 hours total over 5 days; steady work, no rush. It was reassuring to know, it has been accomplished before. Thank you again, G
-
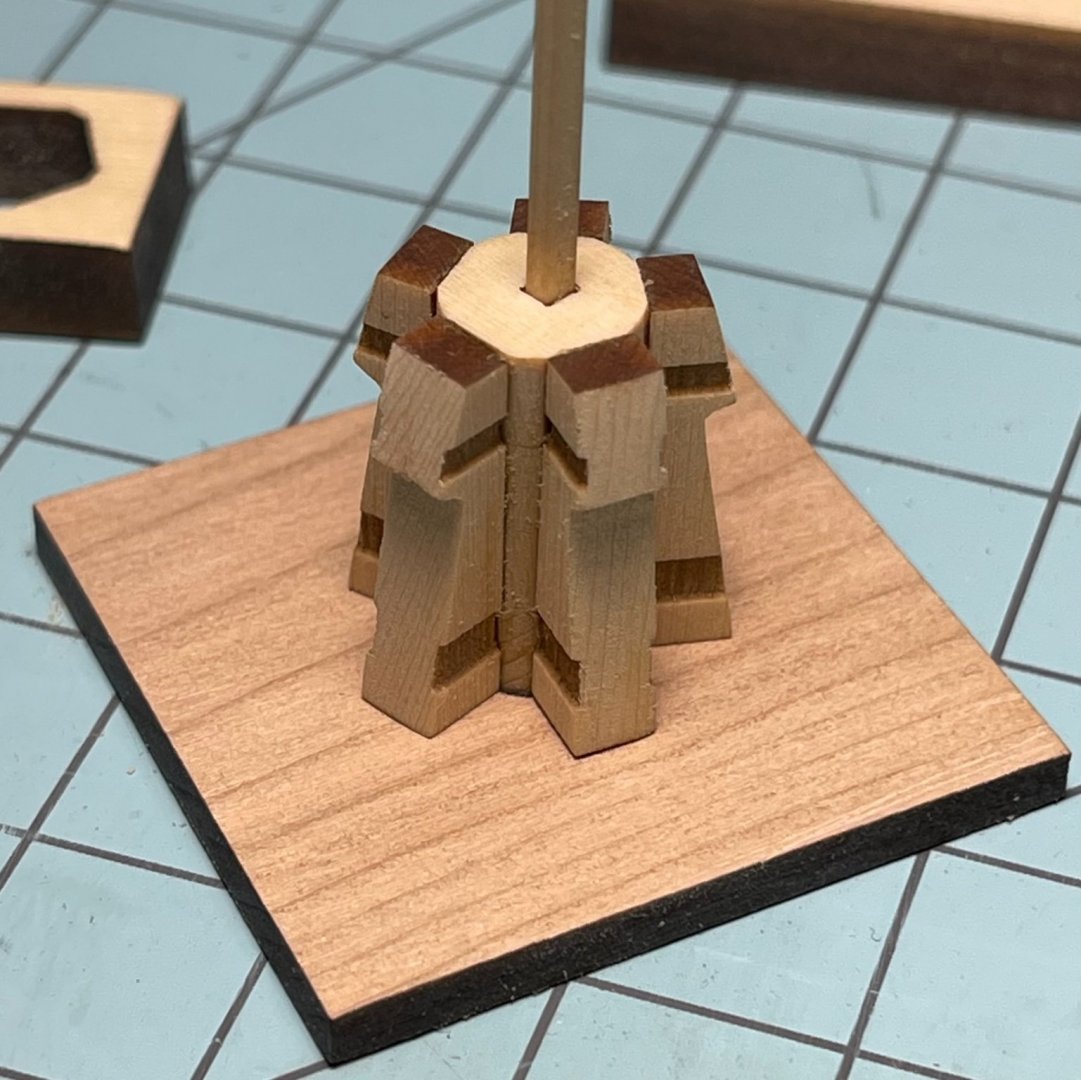
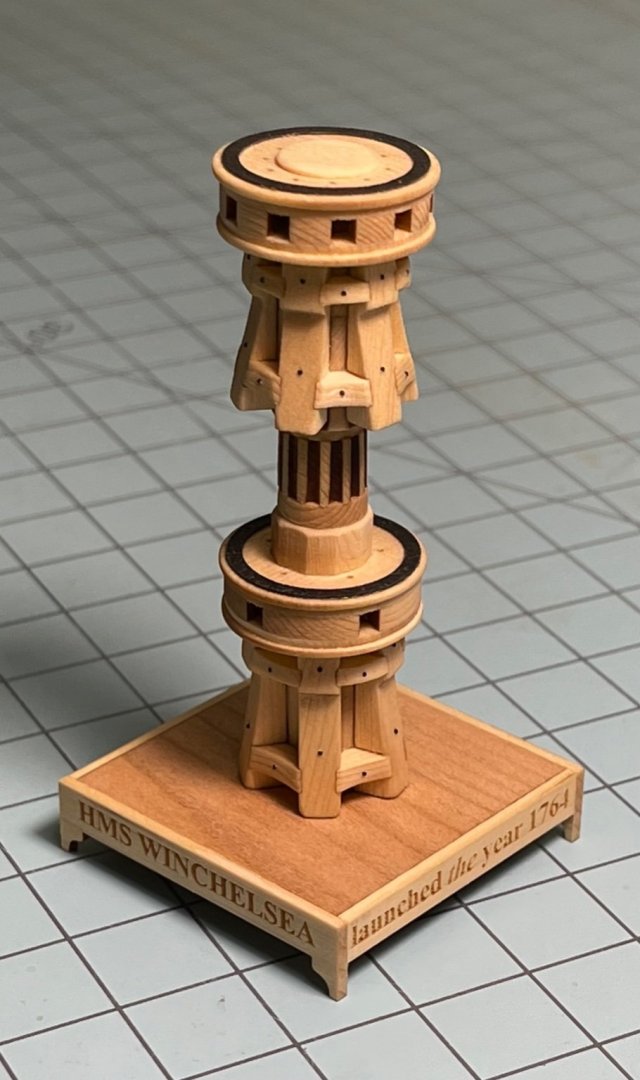
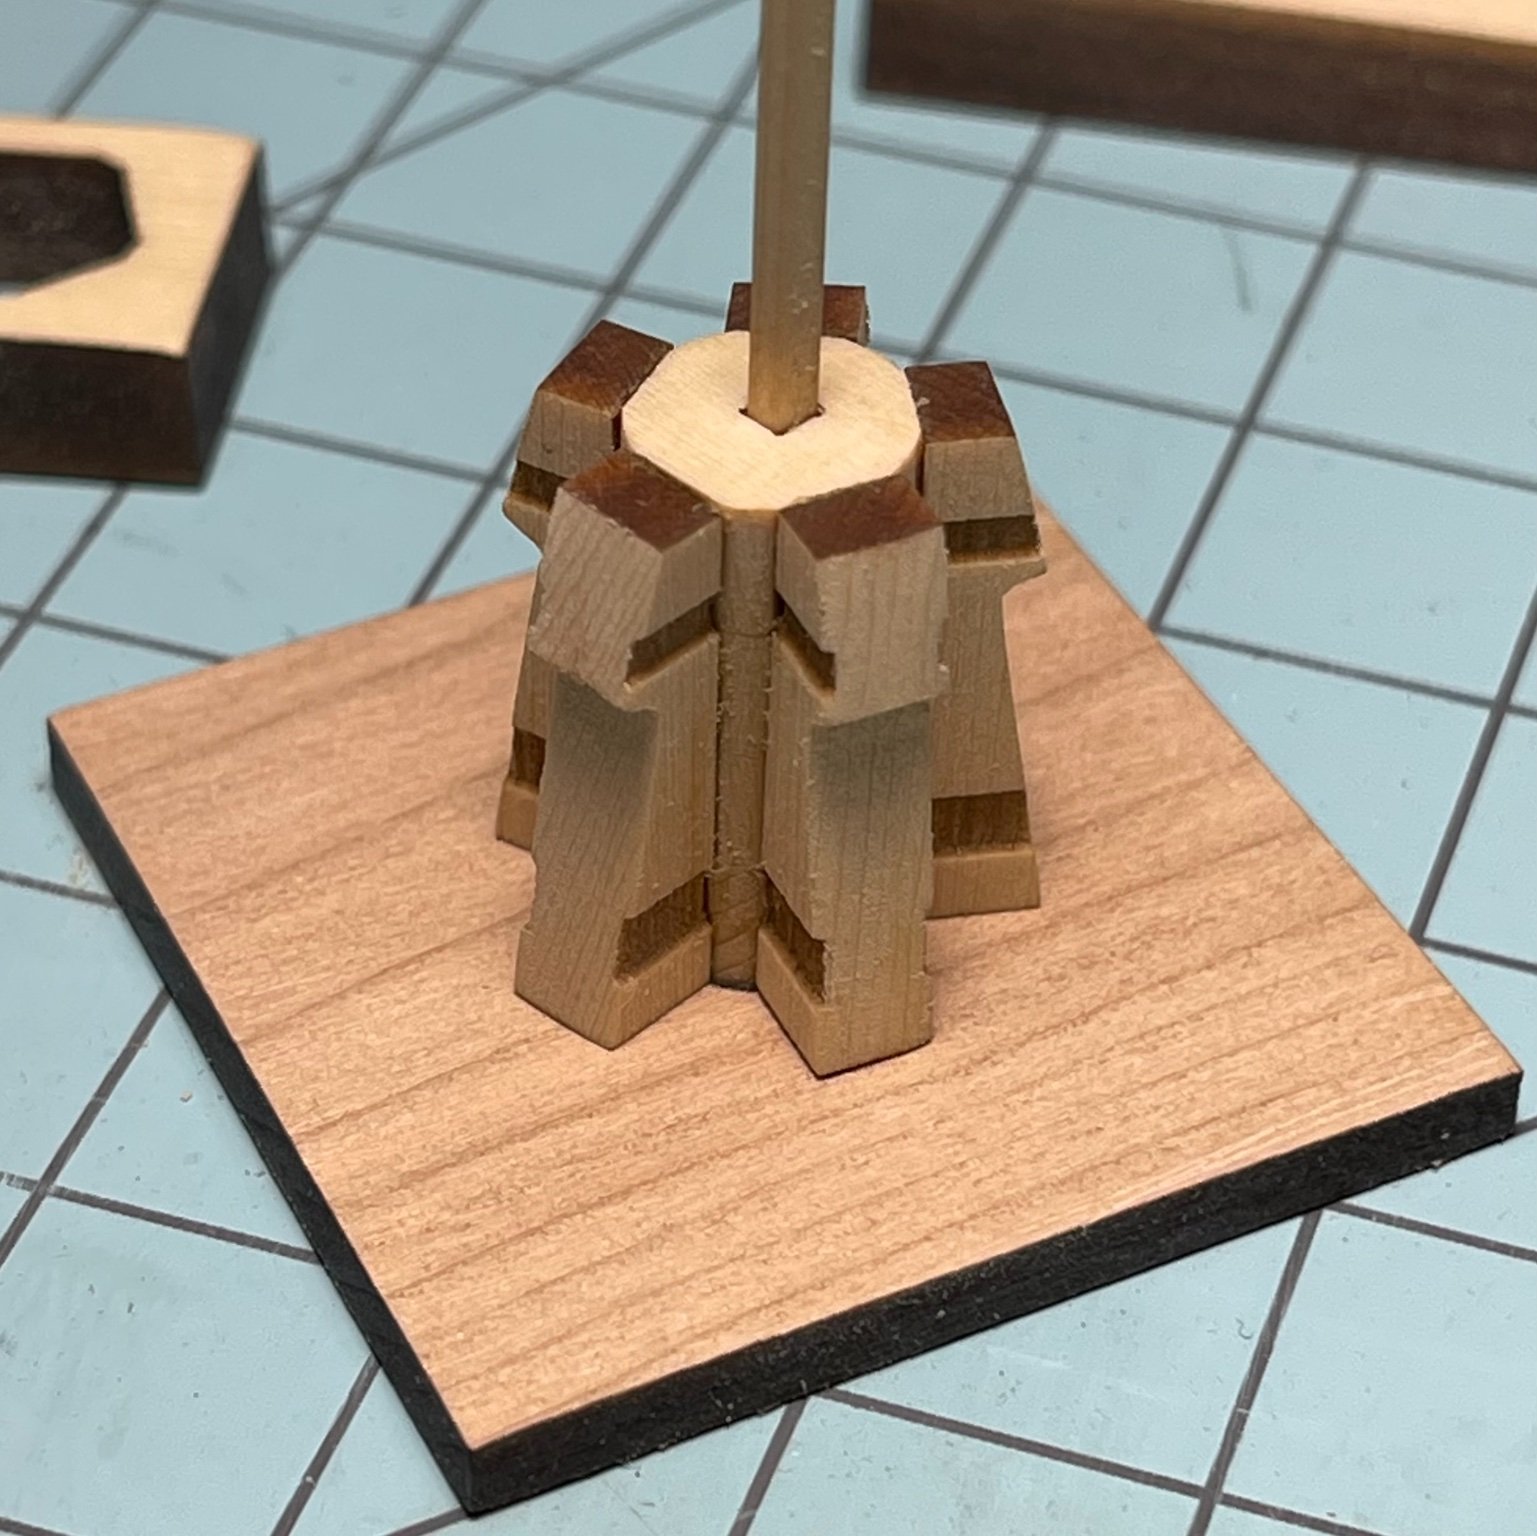
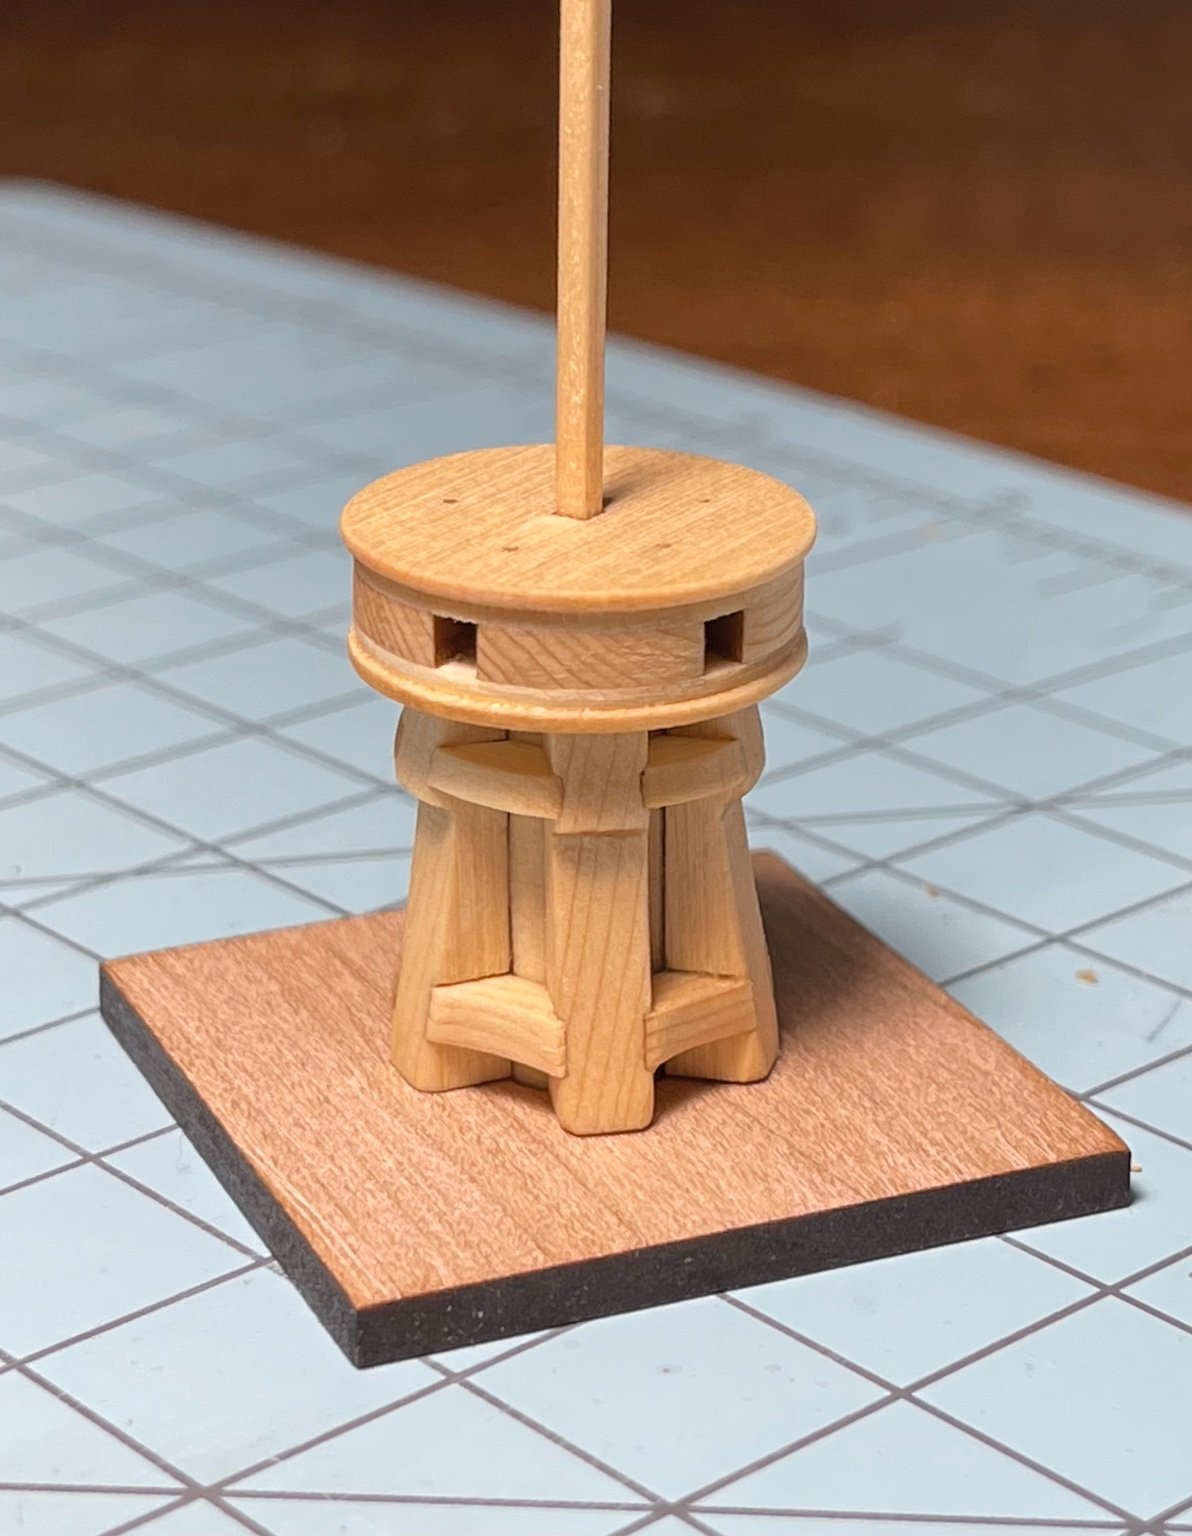
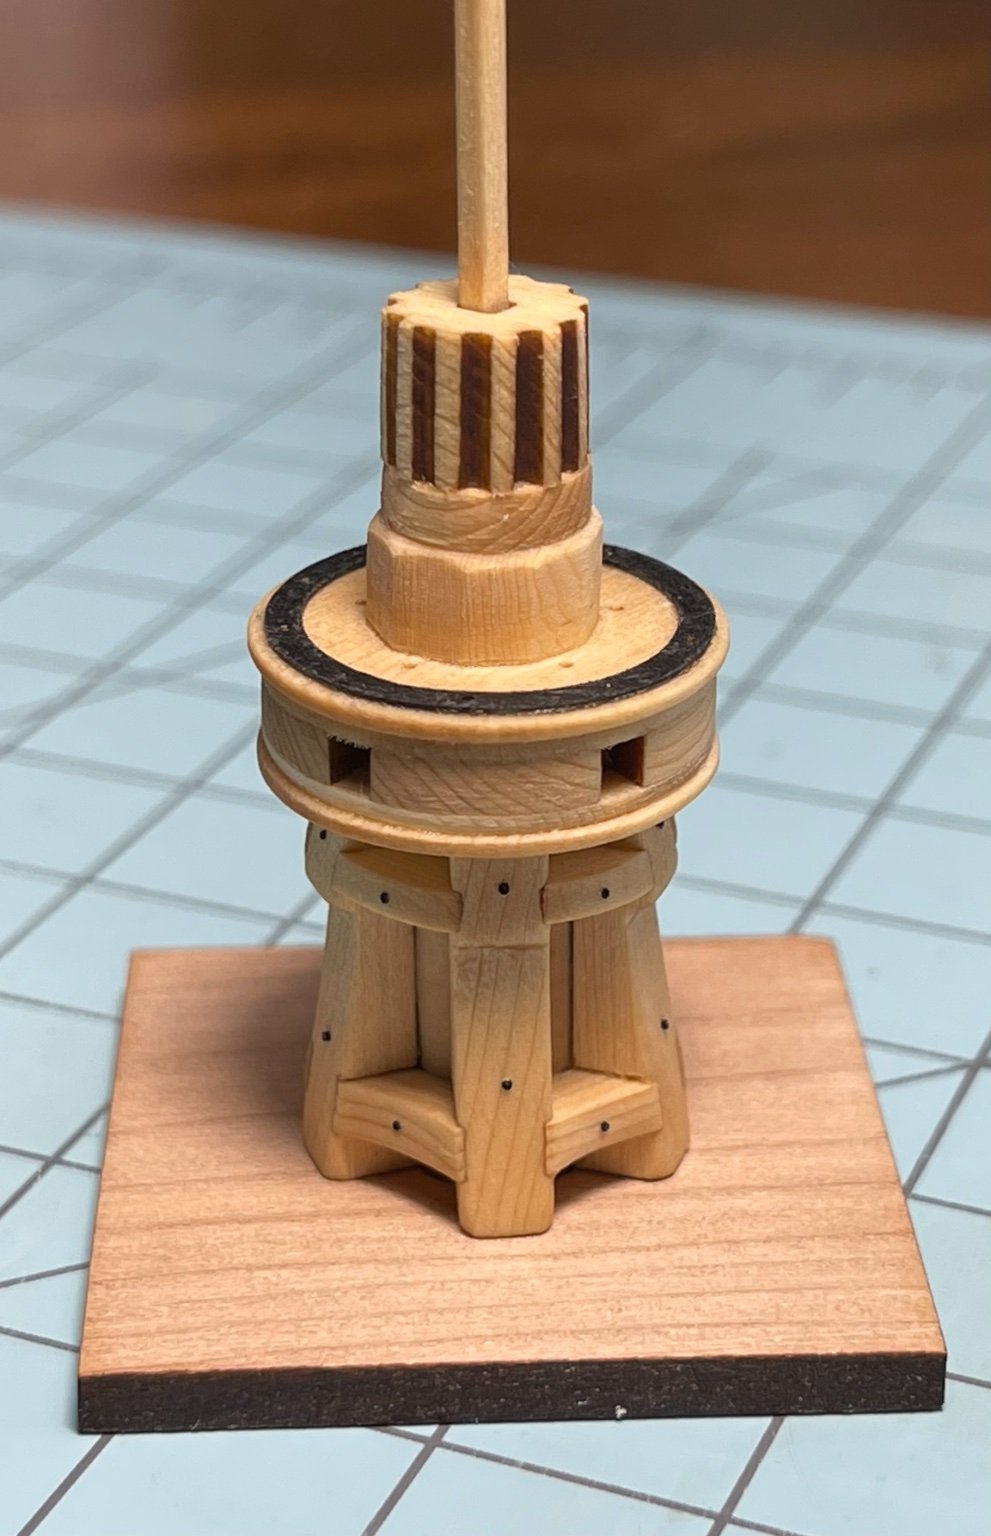
After a long pause, I decided to build the capstan to get back on the horse. it was a lot of fun. Thank you Chuck for the extra pieces. I gave it a finish with water based wood conditioner. I will go back to the model now that i got some practice. G