
rovinsea
-
Posts
4 -
Joined
-
Last visited
Recent Profile Visitors
349 profile views


-
 EricWilliamMarshall reacted to a post in a topic:
Amerigo Vespucci by rovinsea - Mantua - Scale 1:84 - Stuart Vincent
EricWilliamMarshall reacted to a post in a topic:
Amerigo Vespucci by rovinsea - Mantua - Scale 1:84 - Stuart Vincent
-
EricWilliamMarshall reacted to a post in a topic:
Amerigo Vespucci by rovinsea - Mantua - Scale 1:84 - Stuart Vincent
-
EricWilliamMarshall reacted to a post in a topic:
Amerigo Vespucci by rovinsea - Mantua - Scale 1:84 - Stuart Vincent
-
EricWilliamMarshall reacted to a post in a topic:
Amerigo Vespucci by rovinsea - Mantua - Scale 1:84 - Stuart Vincent
-
GrandpaPhil reacted to a post in a topic:
Amerigo Vespucci by rovinsea - Mantua - Scale 1:84 - Stuart Vincent
-
GrandpaPhil reacted to a post in a topic:
Amerigo Vespucci by rovinsea - Mantua - Scale 1:84 - Stuart Vincent
-
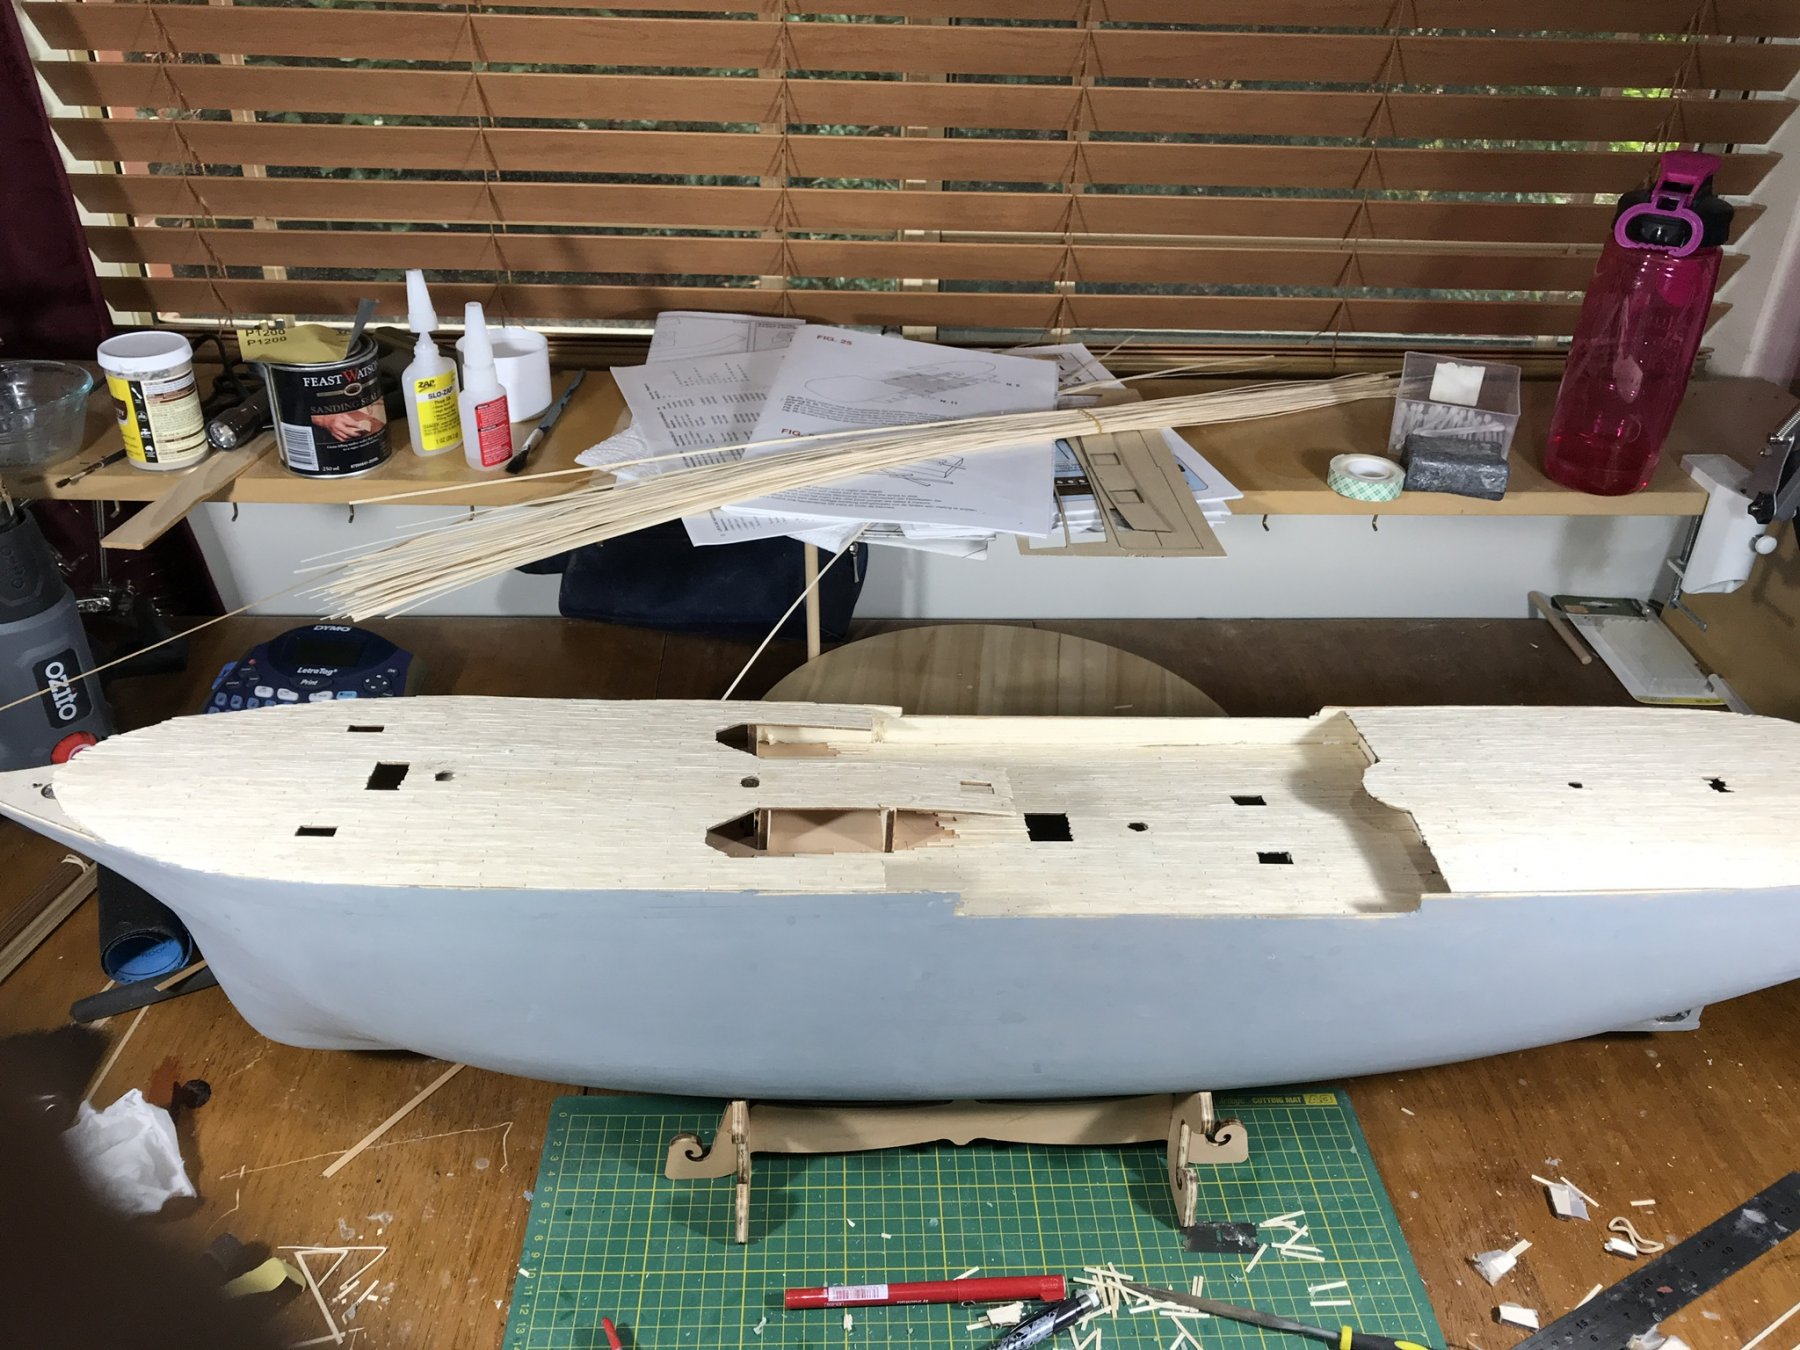
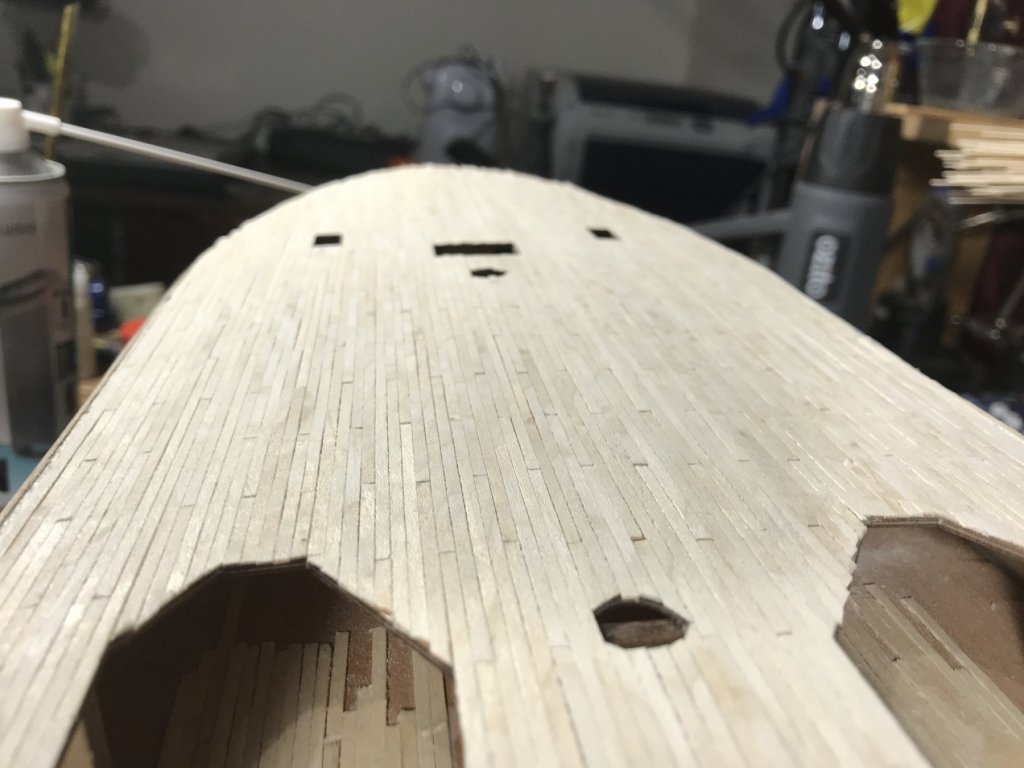
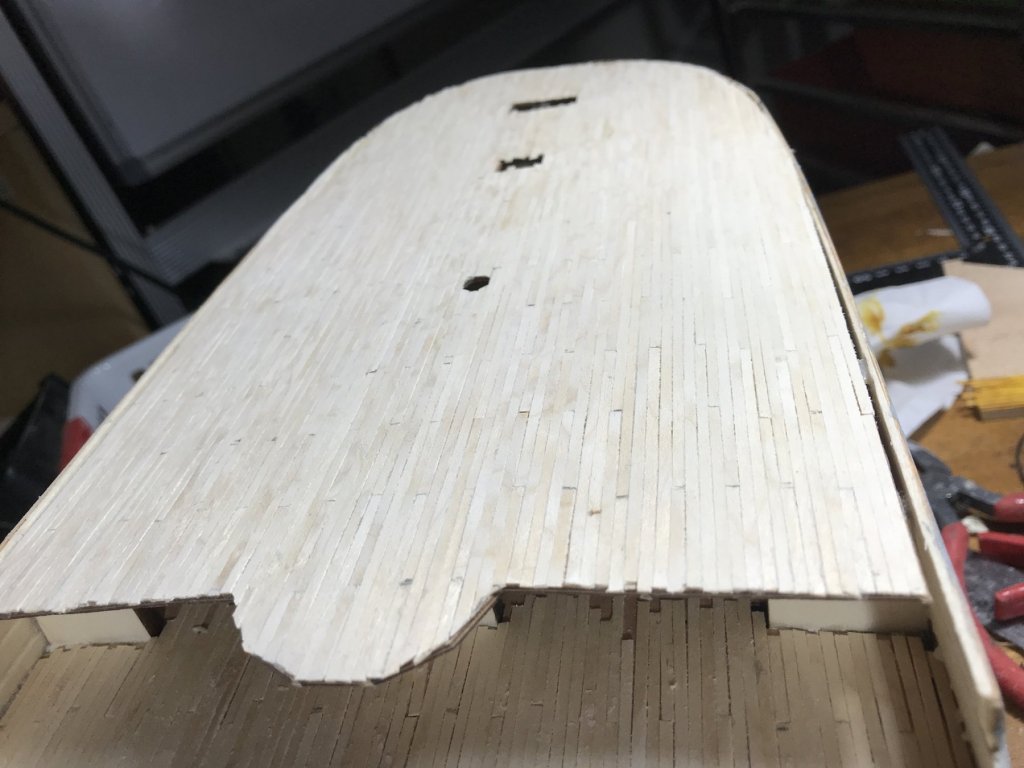
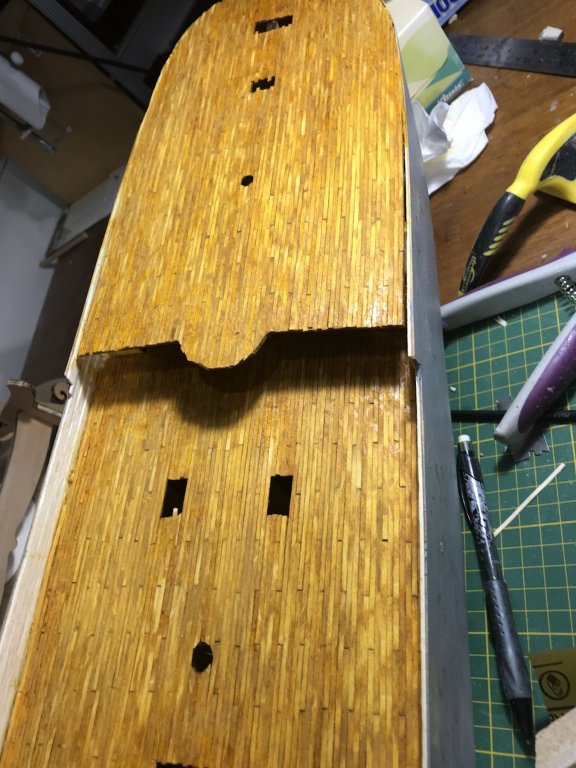
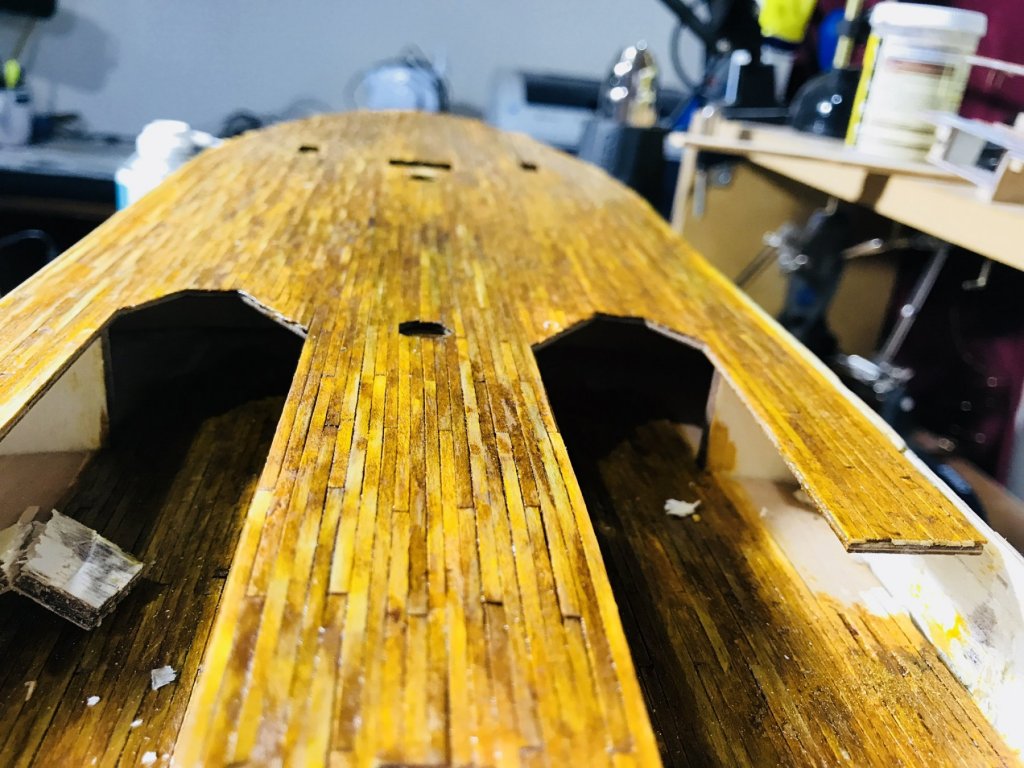
 At last the deck planking is finished, it not without a lot of angst. You see, I now realise that the strips I used for the Second Planking of the Hull, were actually meant for the deck........bugger! Checking the kits contents, I now realise that although they say strips for the second planking were included! That was not the case. So back again to my stash. Fortunately I had quite a lot of 3 x 0.5mm boxwood, and if a little bit of stain were to be applied it would make an idea finish. The designated strips were to be 4mm or 12 inches wide, so to reduce them to 9 inches was not going to be a problem. The strips were cut to 80mm and a 4 step stagger was used. The strips were stuck down with PVA glue The wood stain I choose was Golden Teak. It did produce a nice varied colouring and a good simulation of corking as the joints between strips came out darker. Unfortunately the overall effect was a little to “golden “ for my liking, ut an application of Sanding Sealer with a splash of black stain added darkened it down sufficiently mu


-
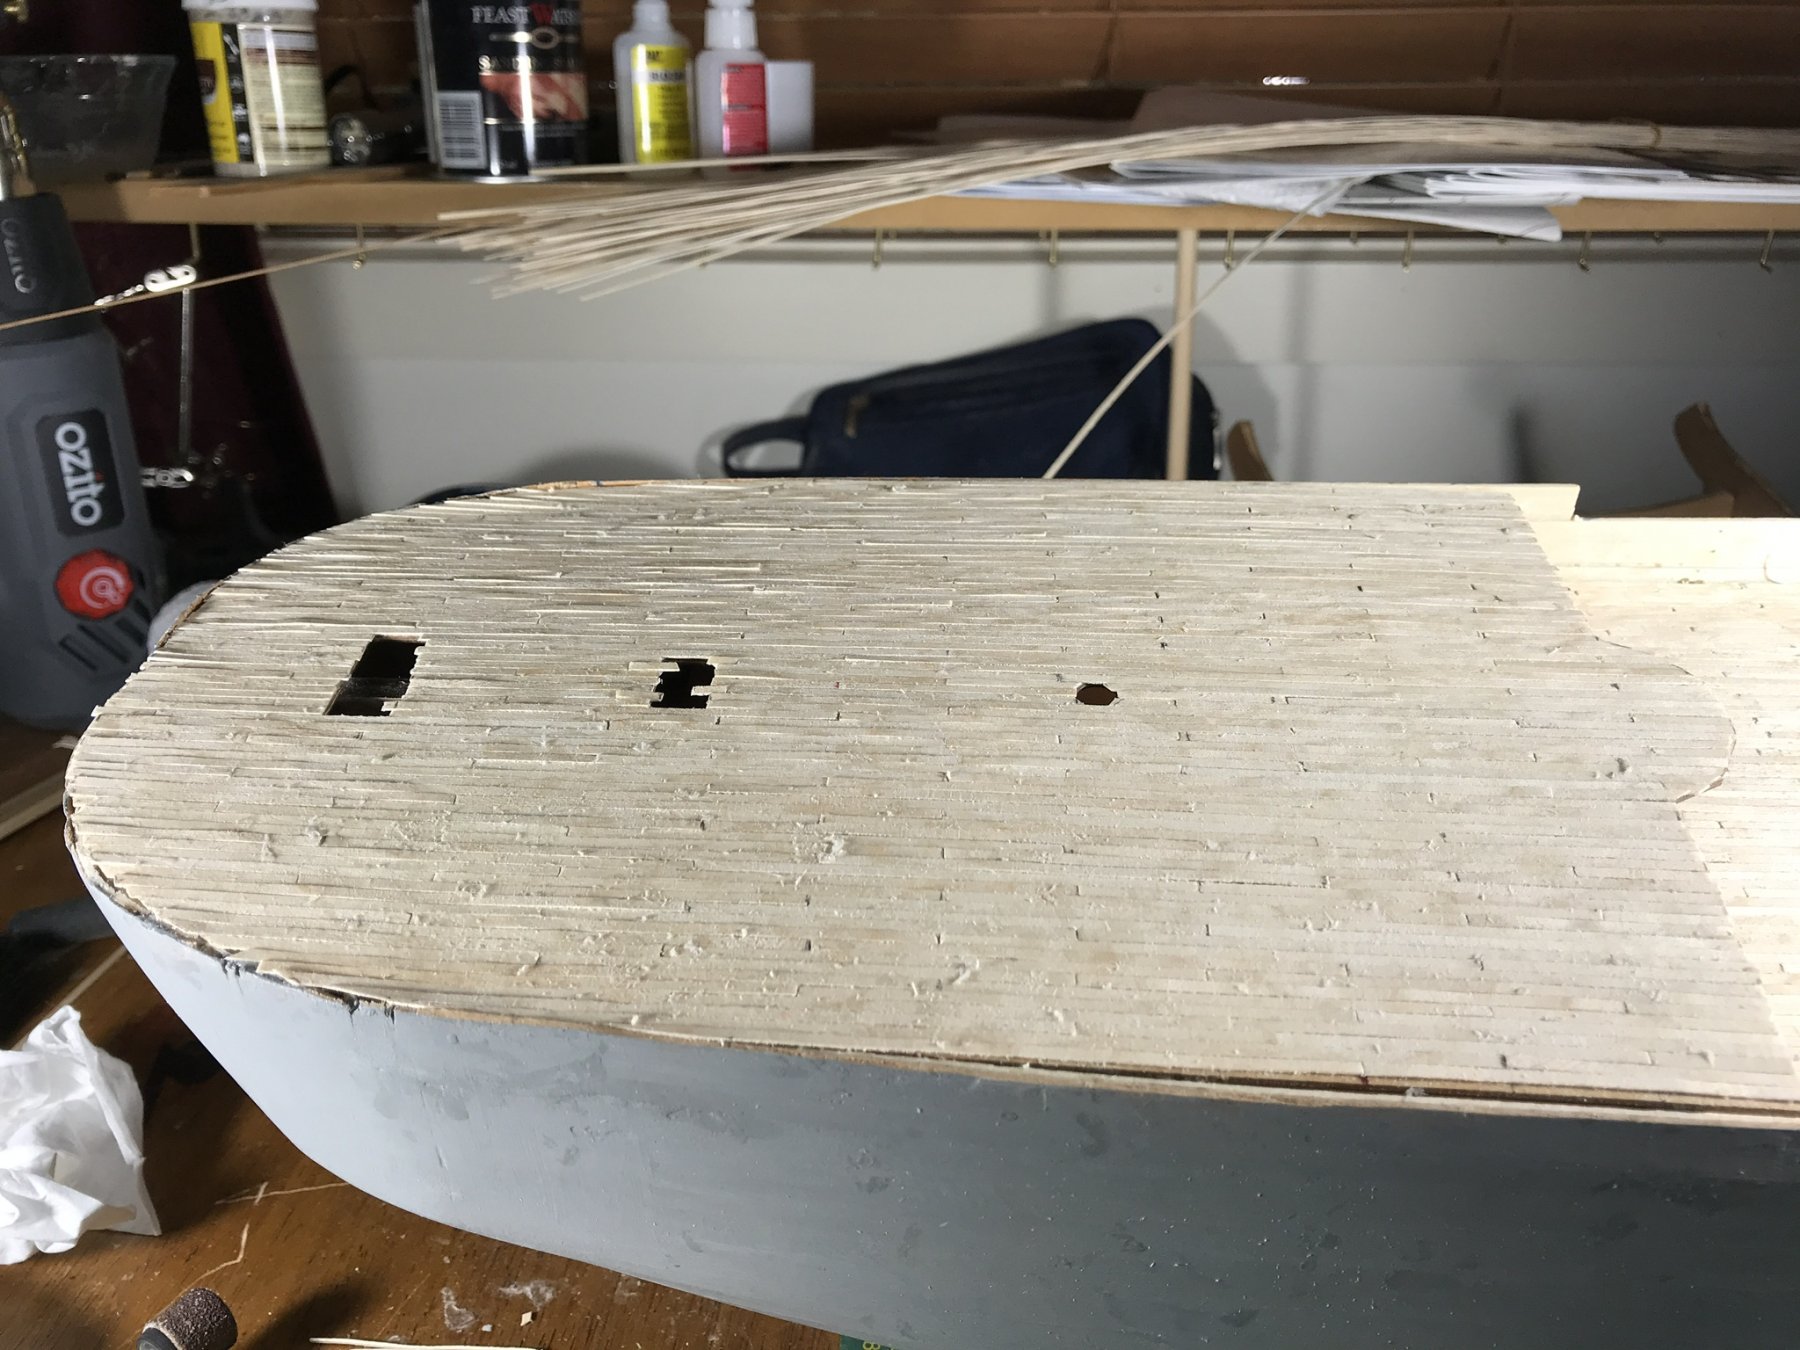
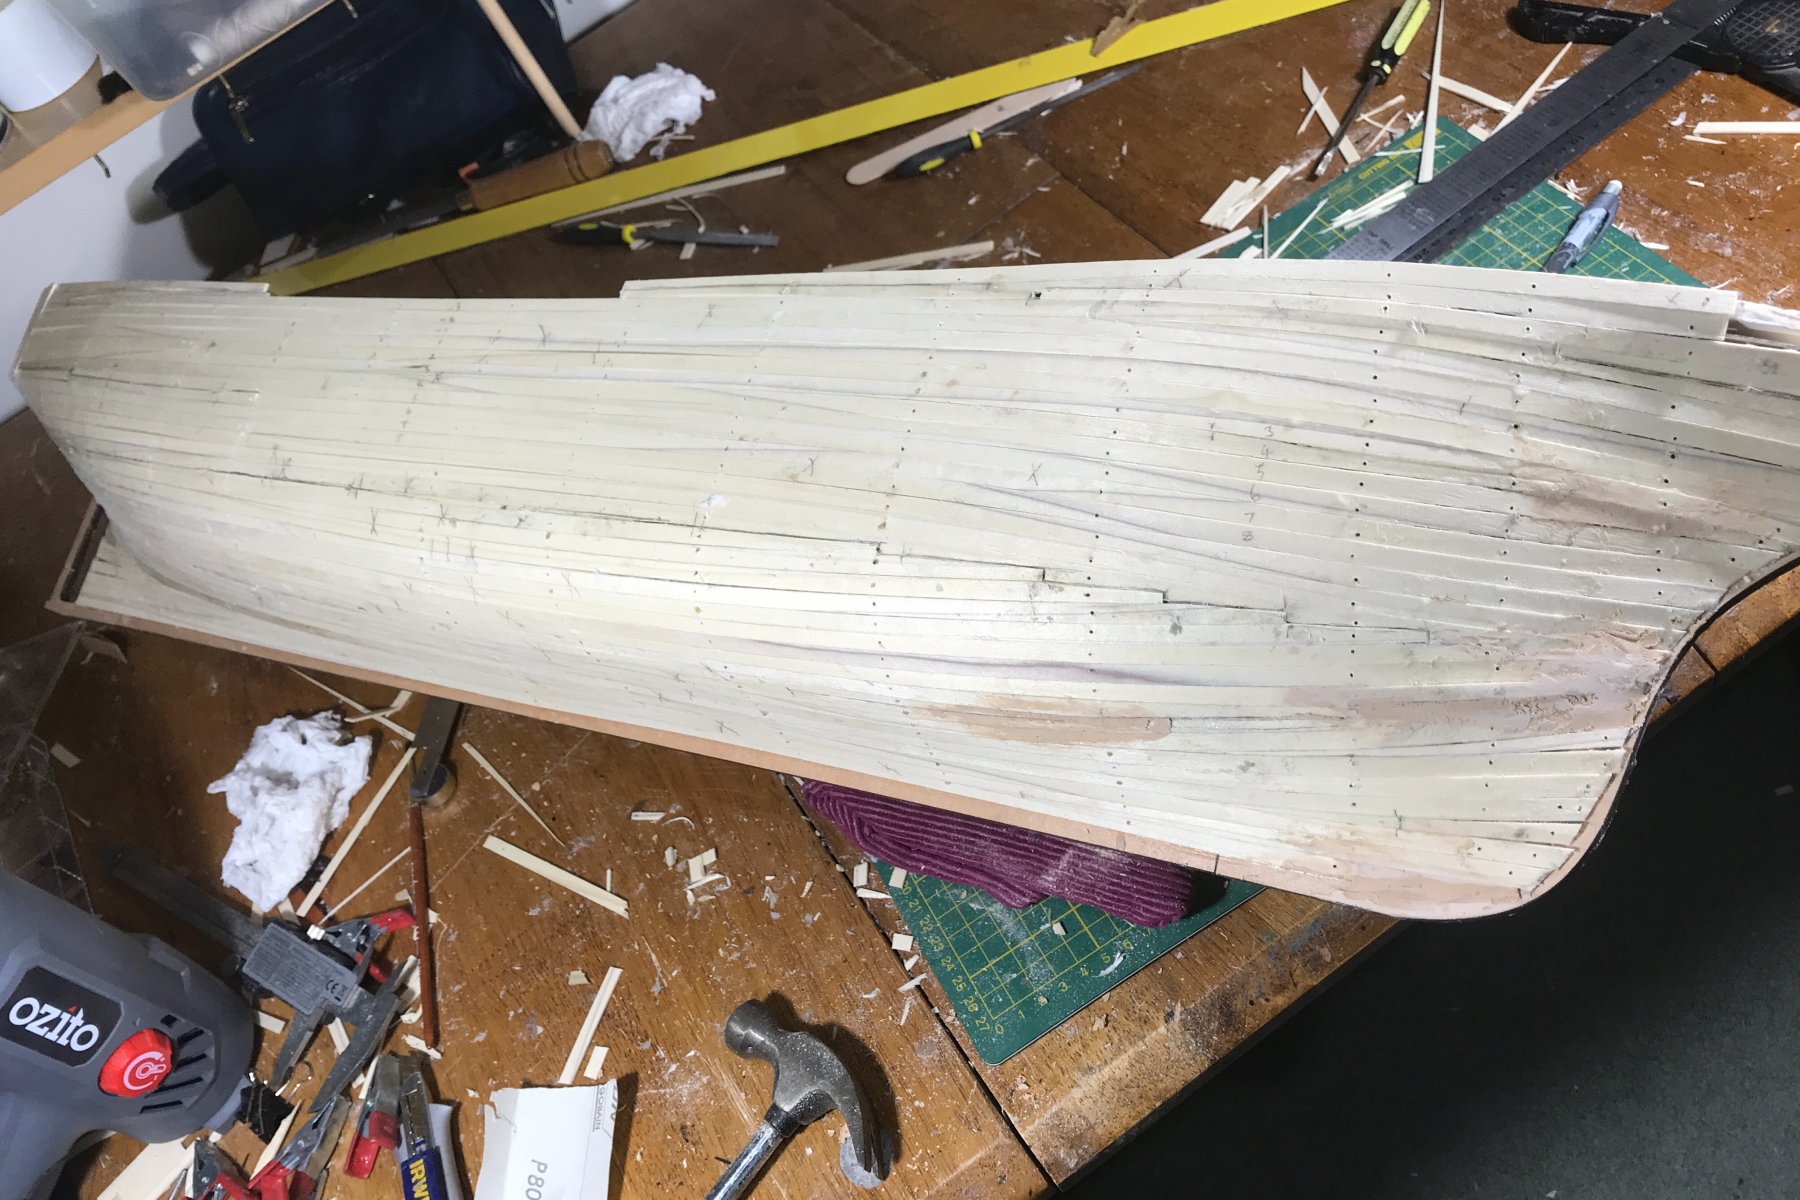
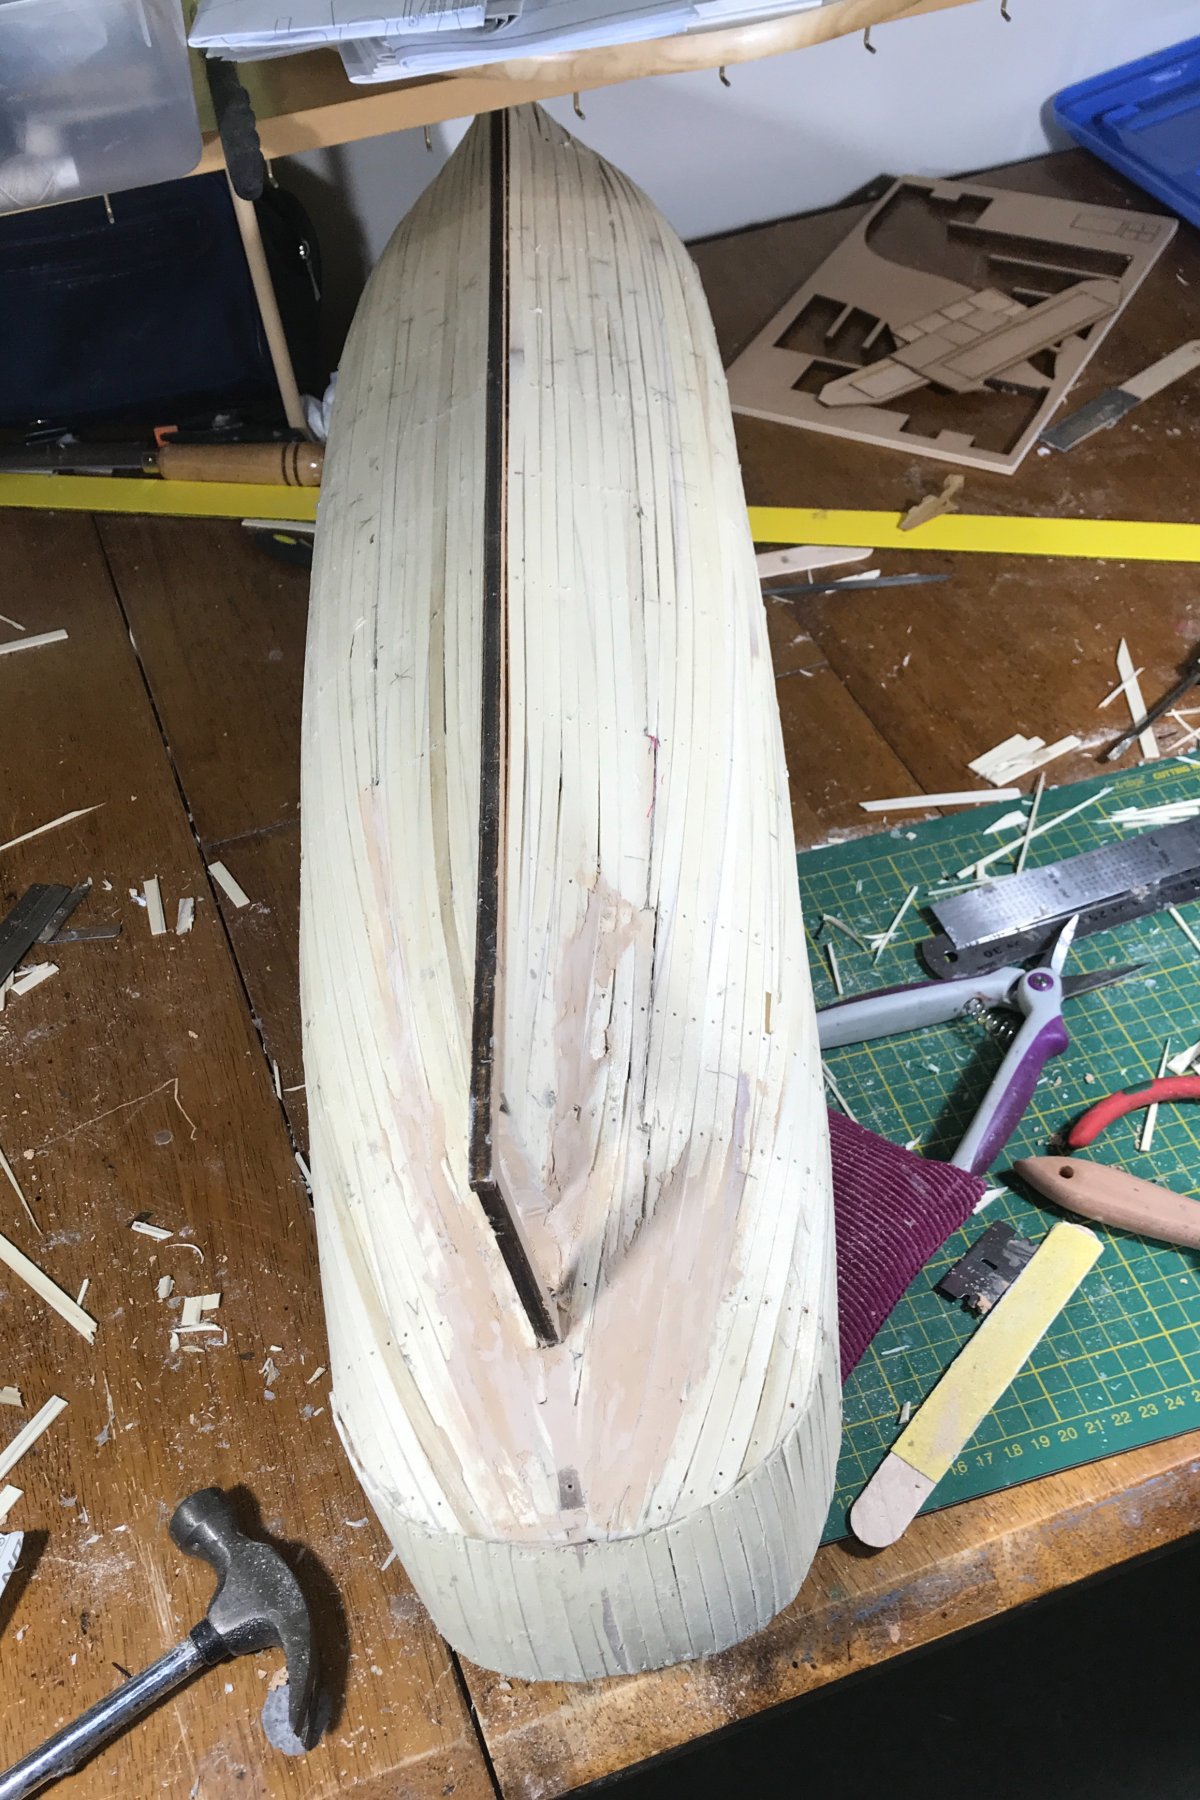
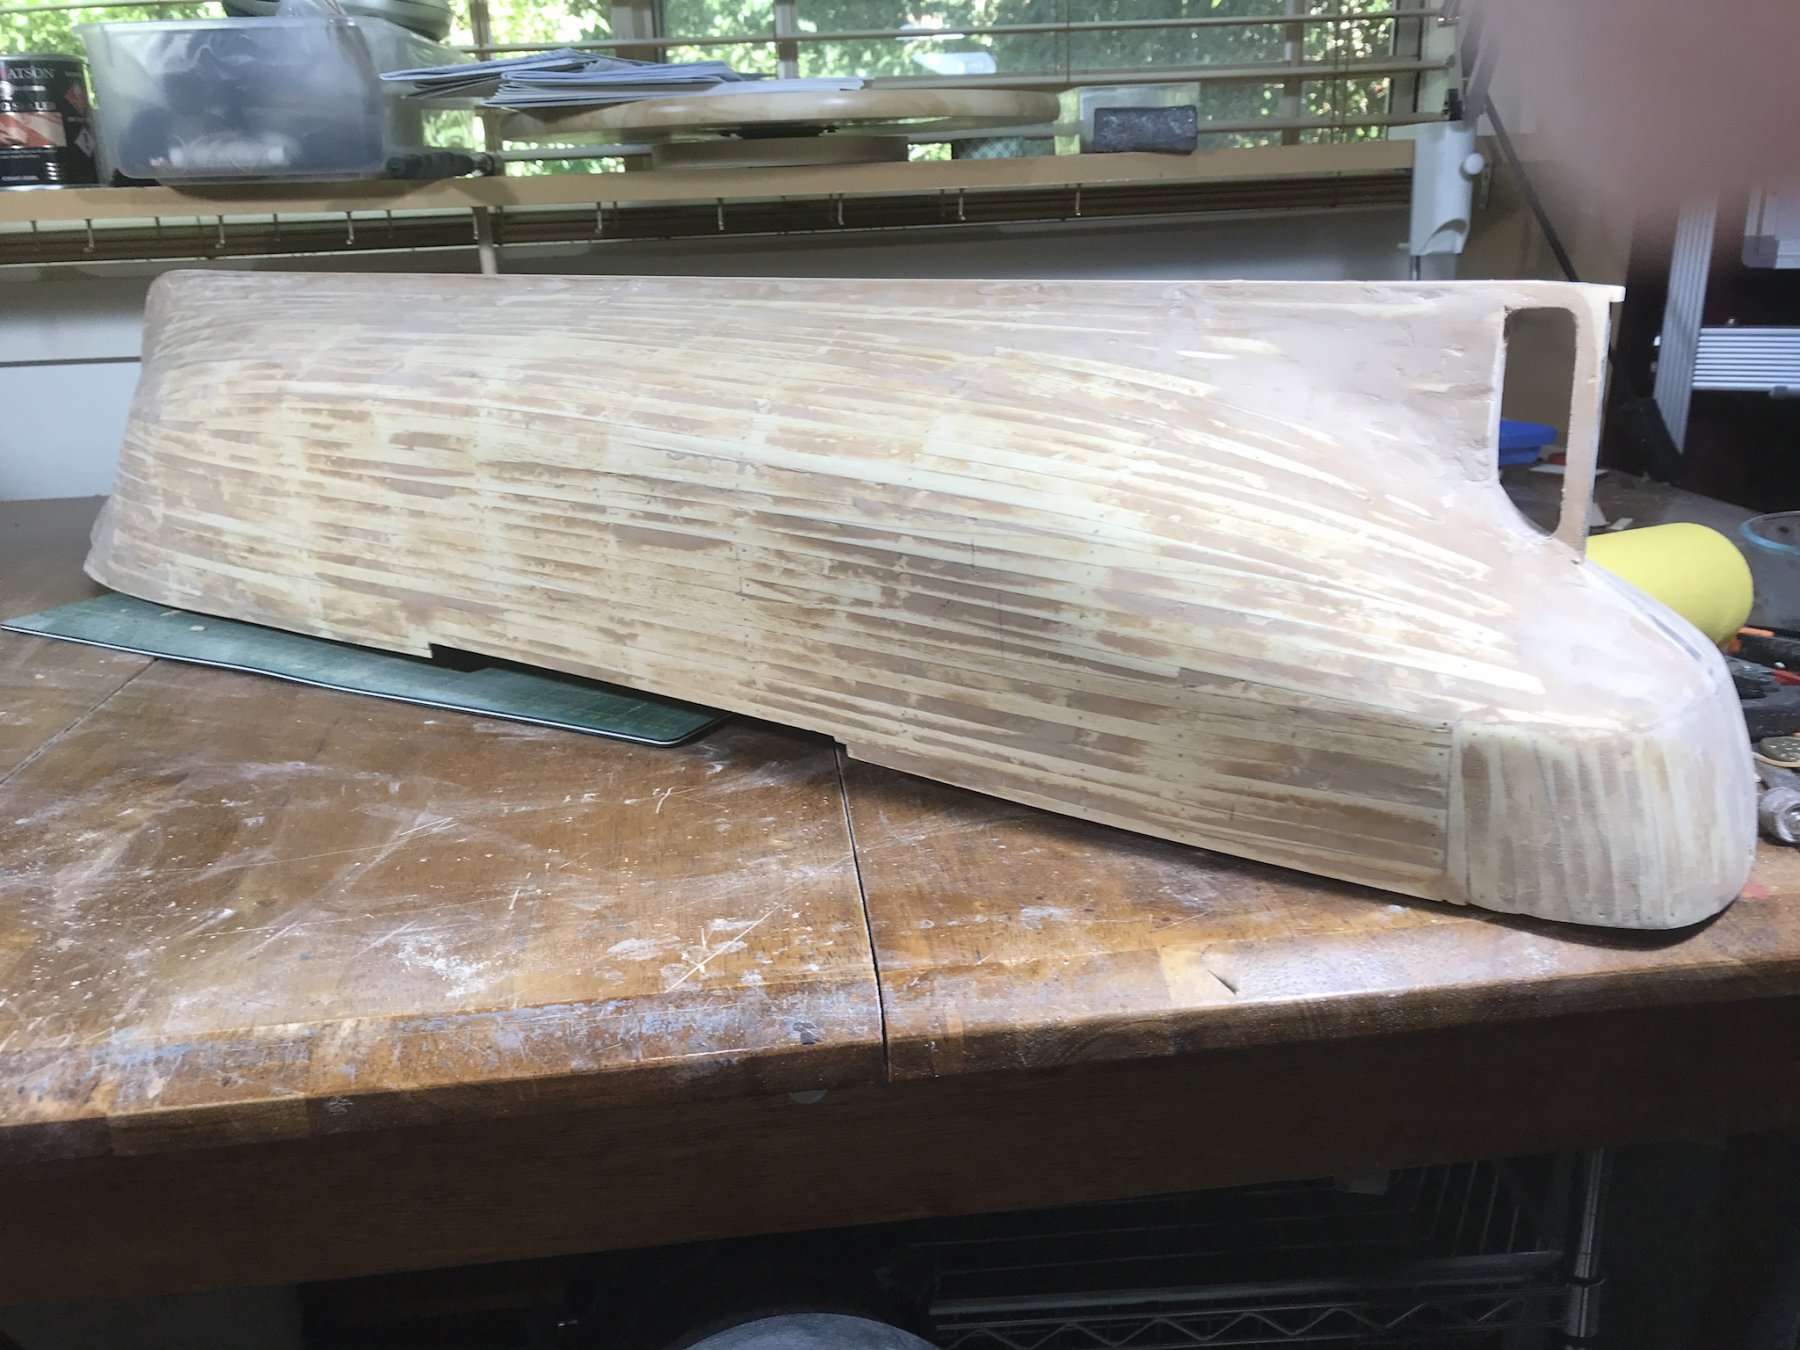
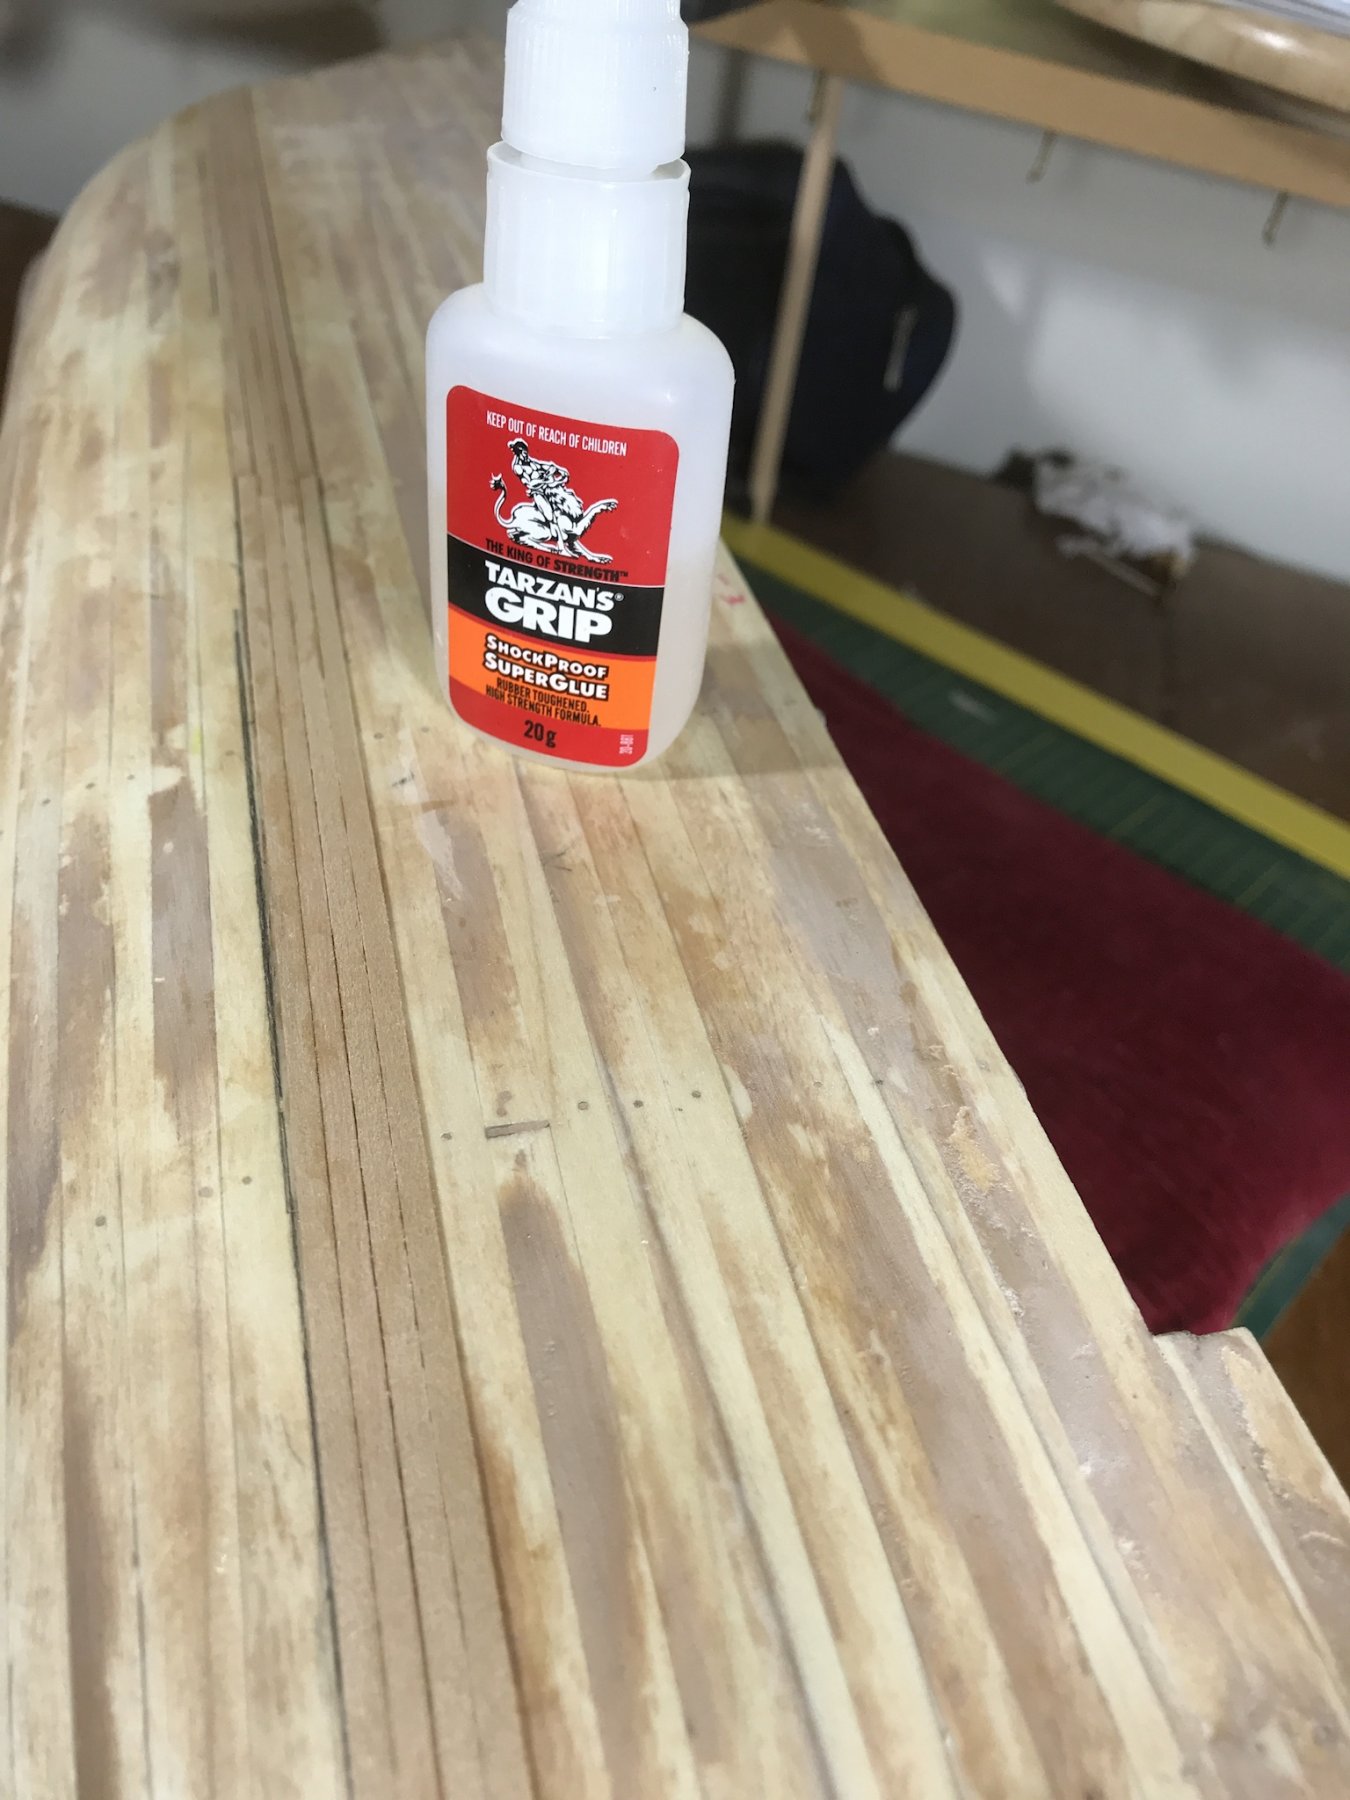
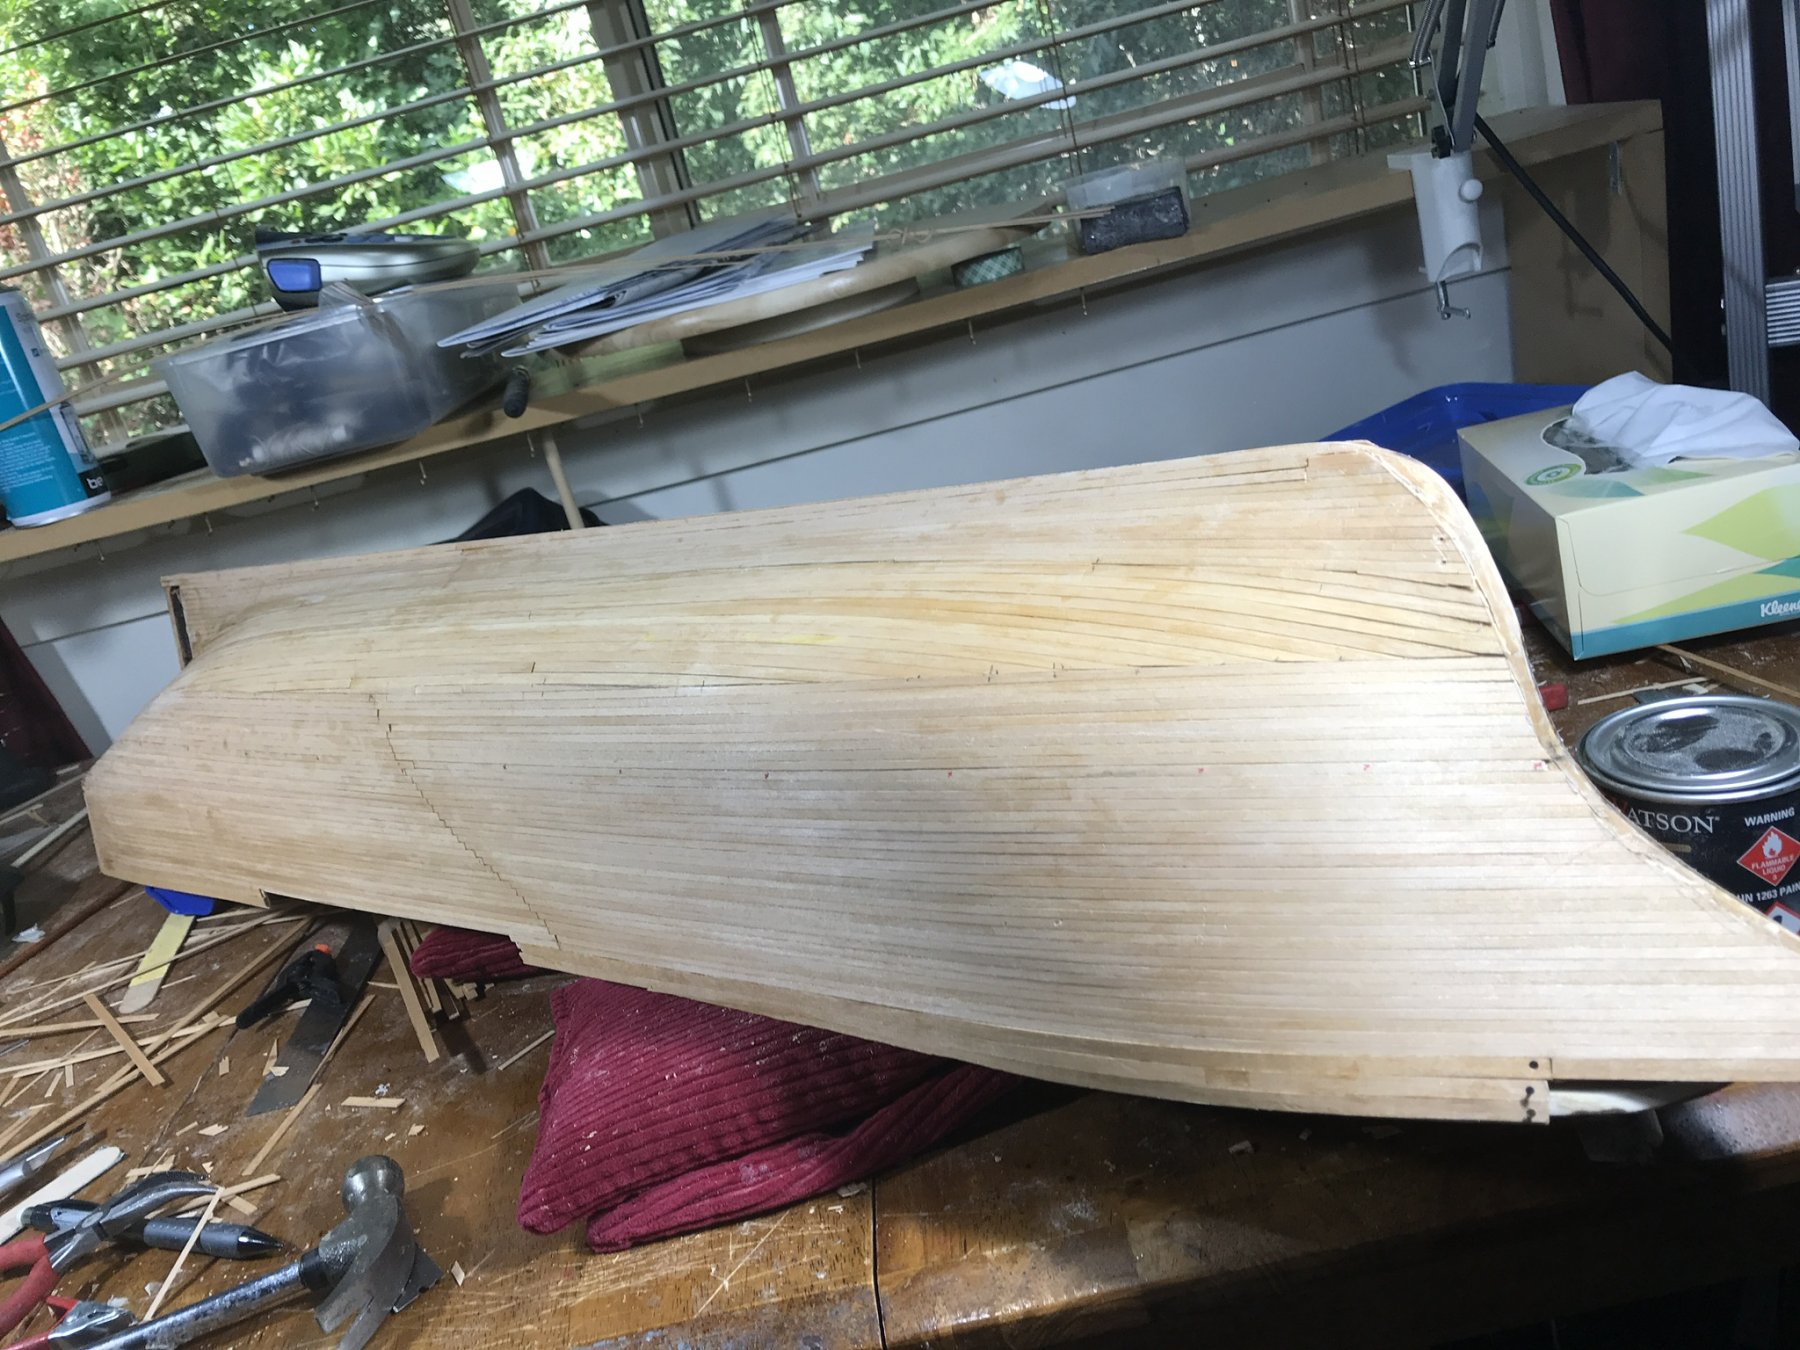
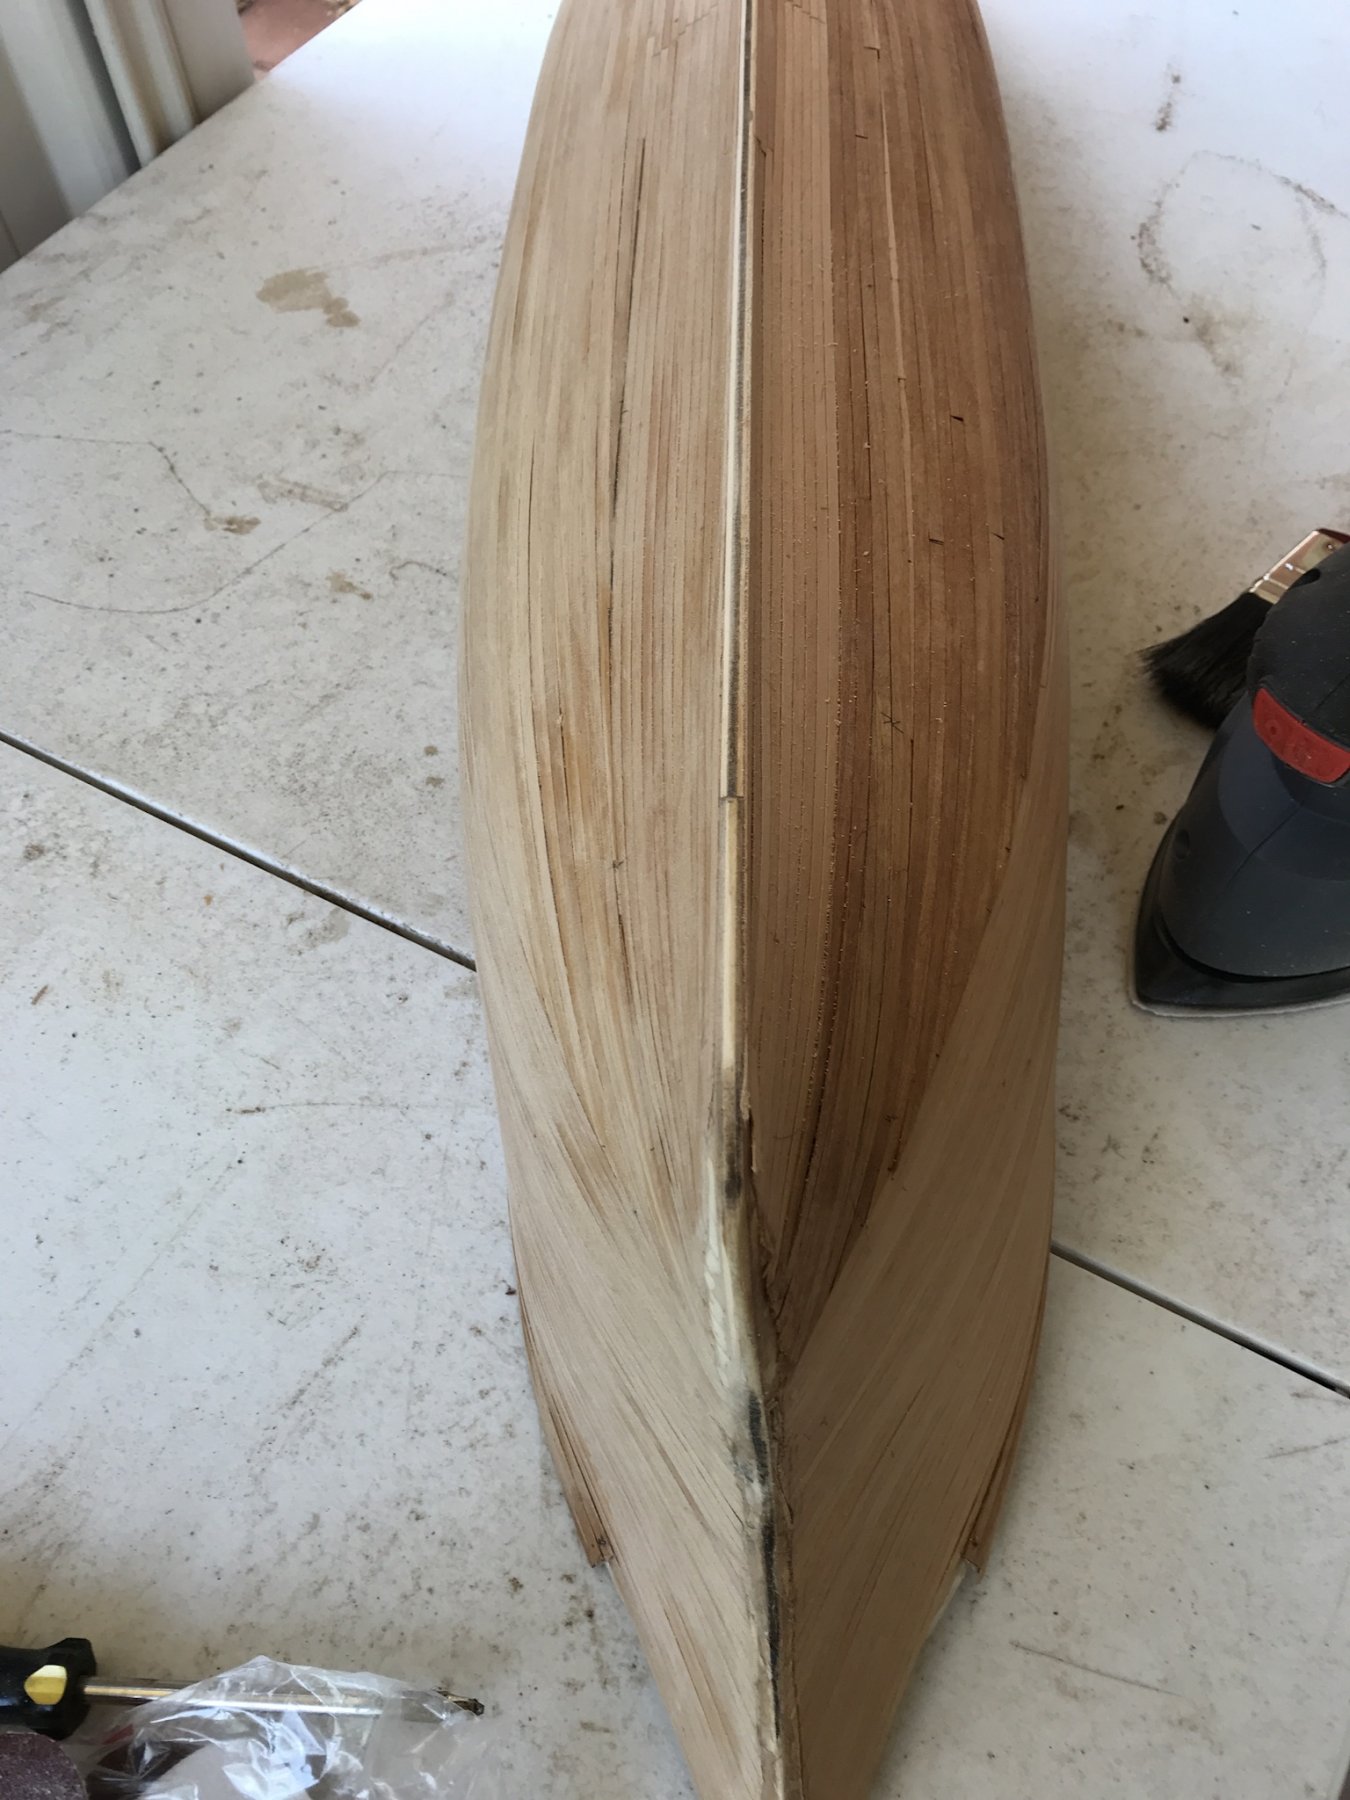
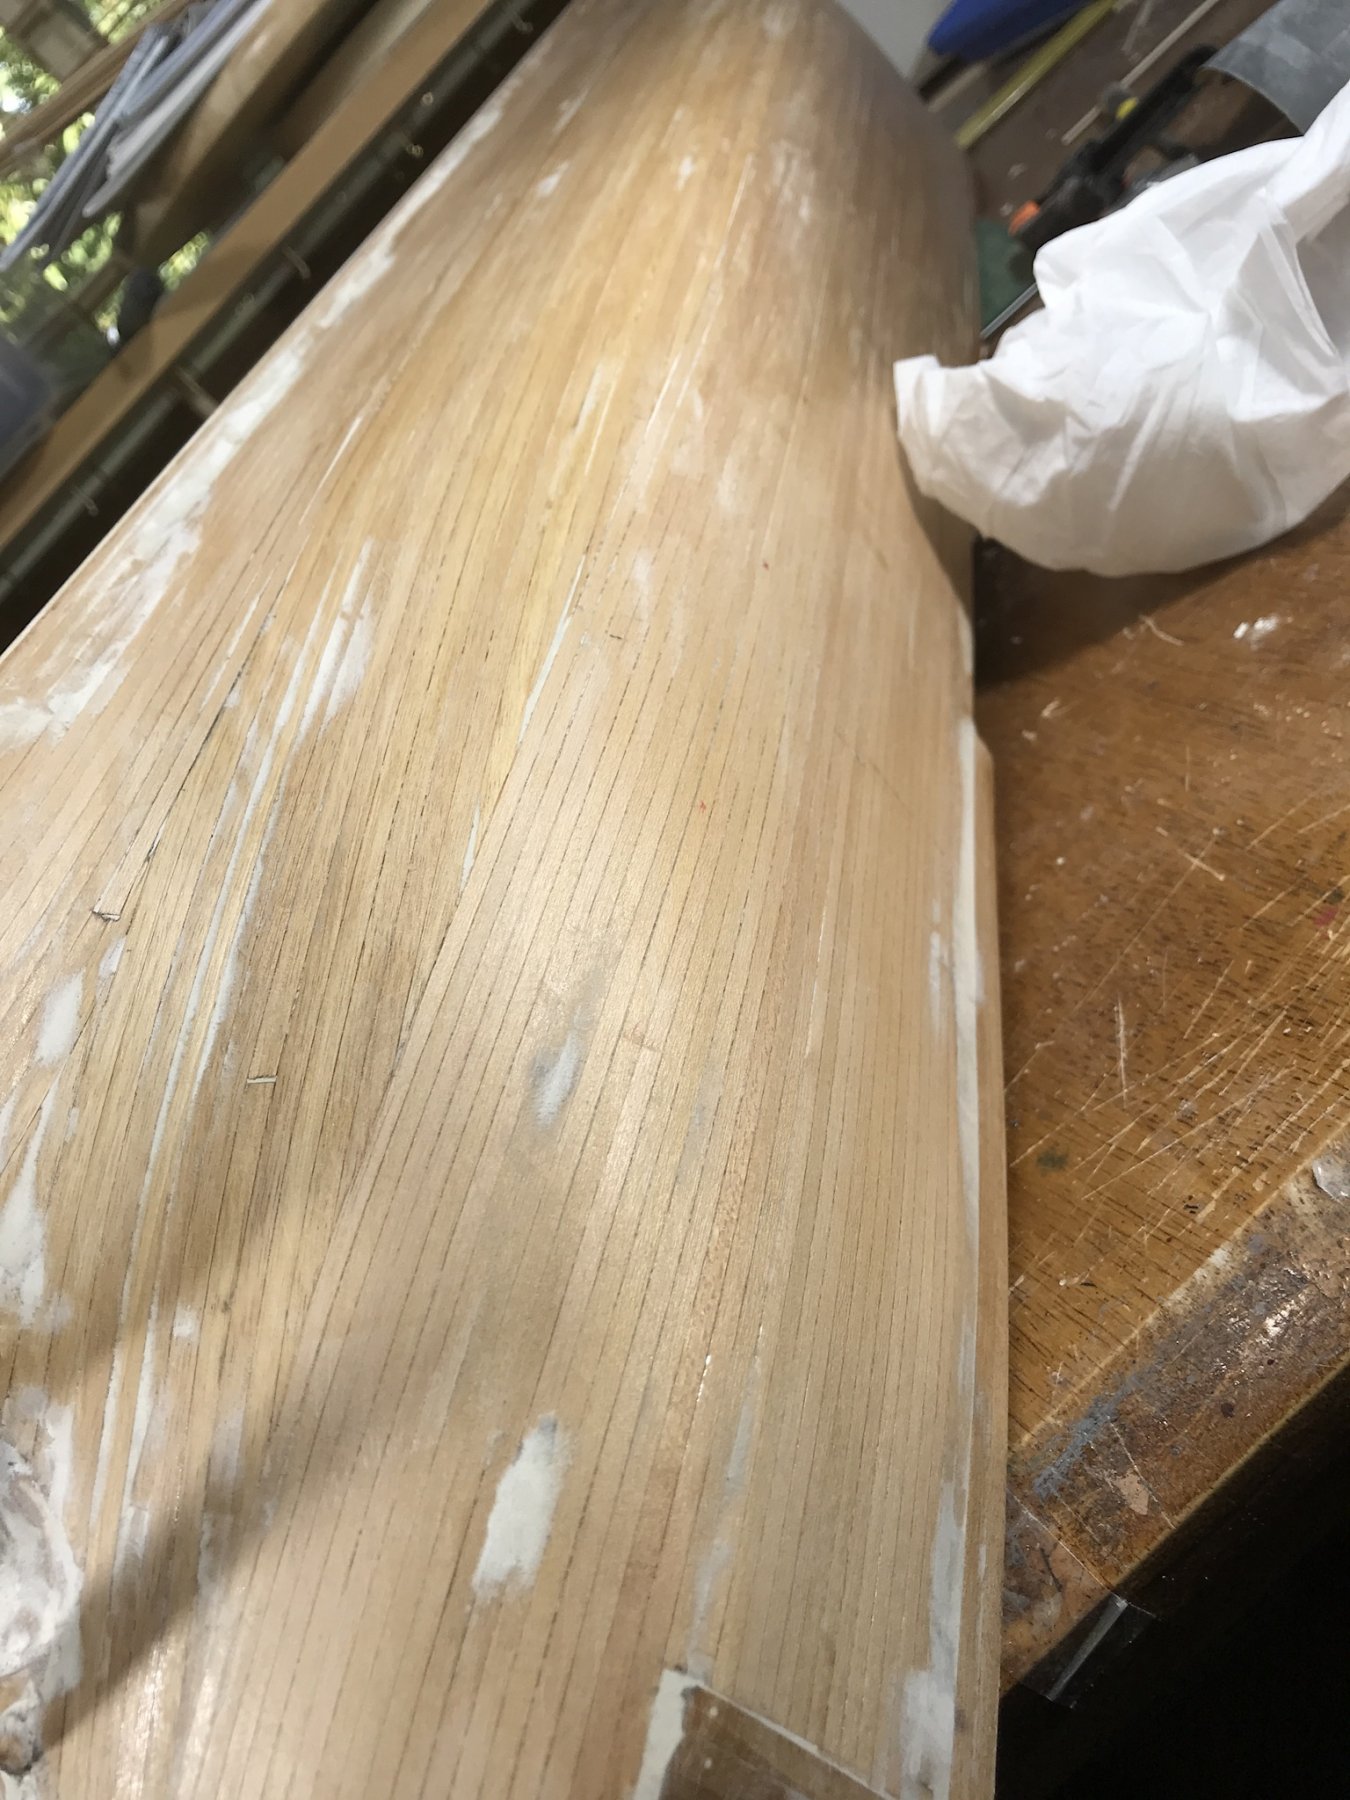
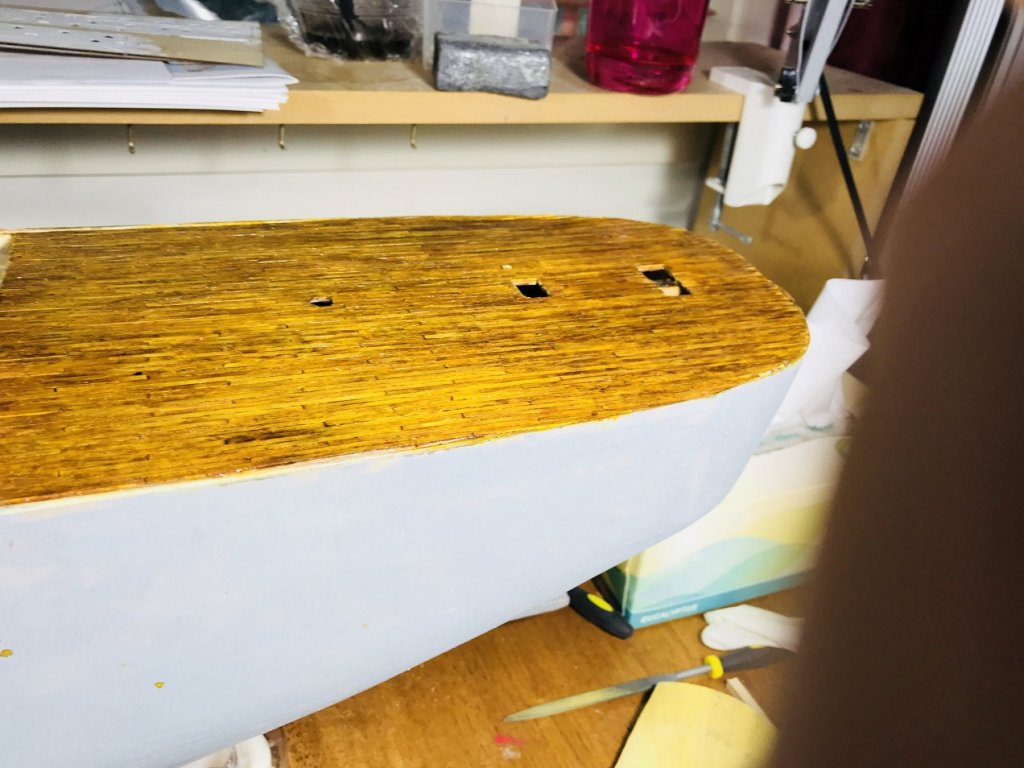
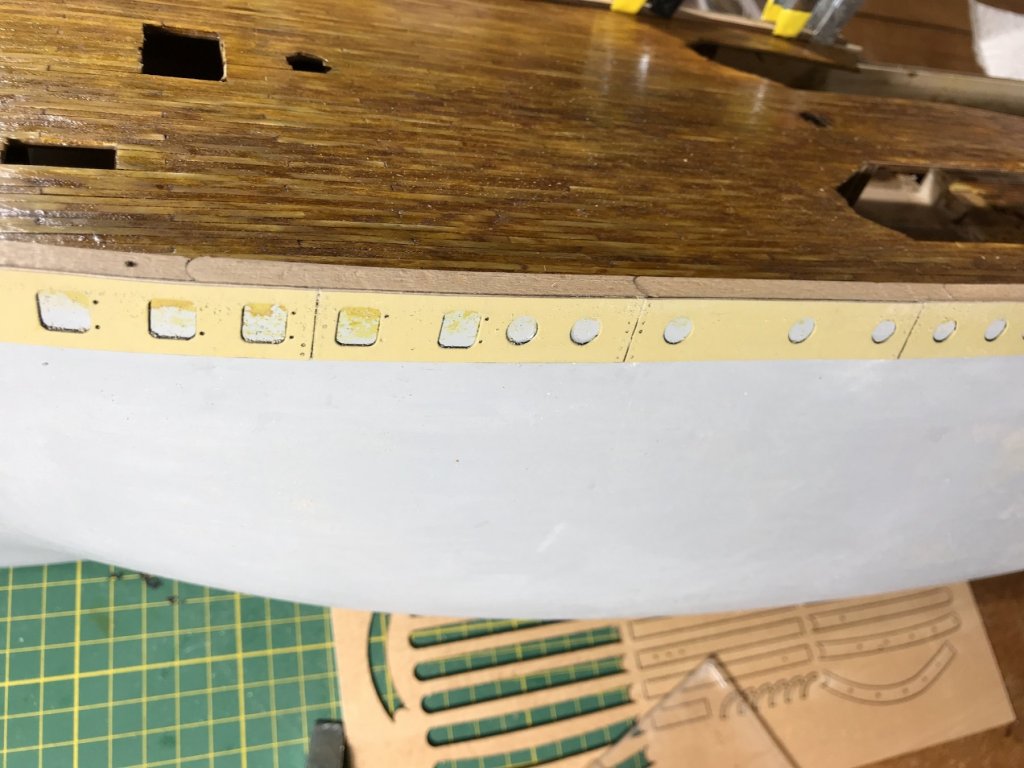
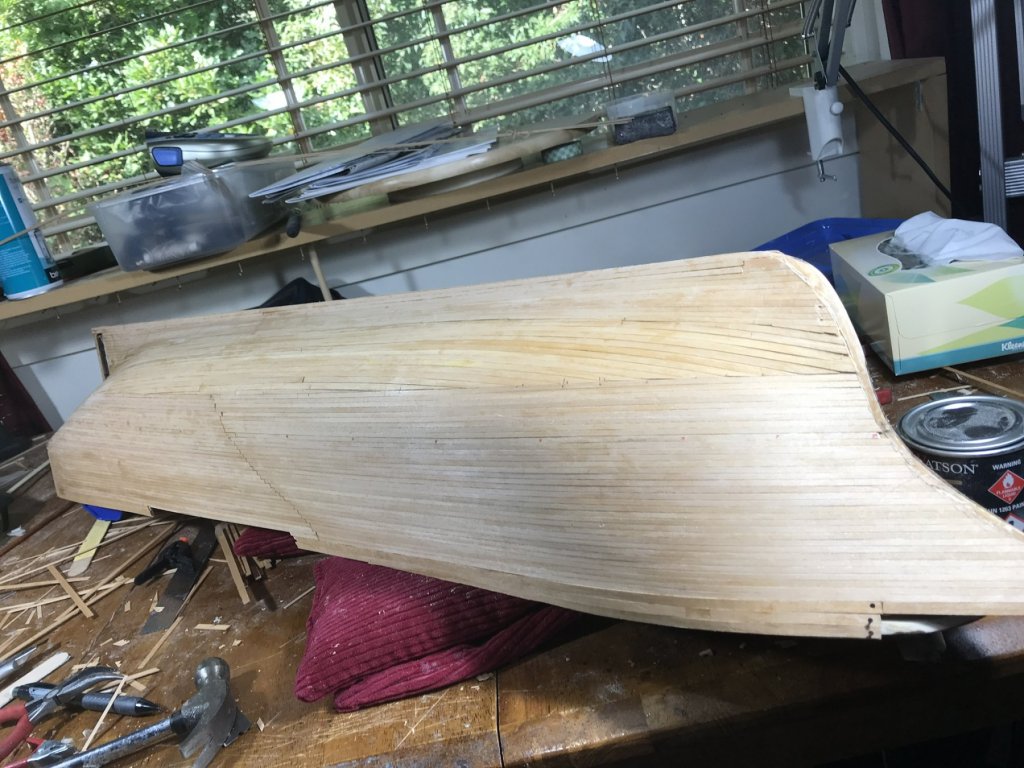
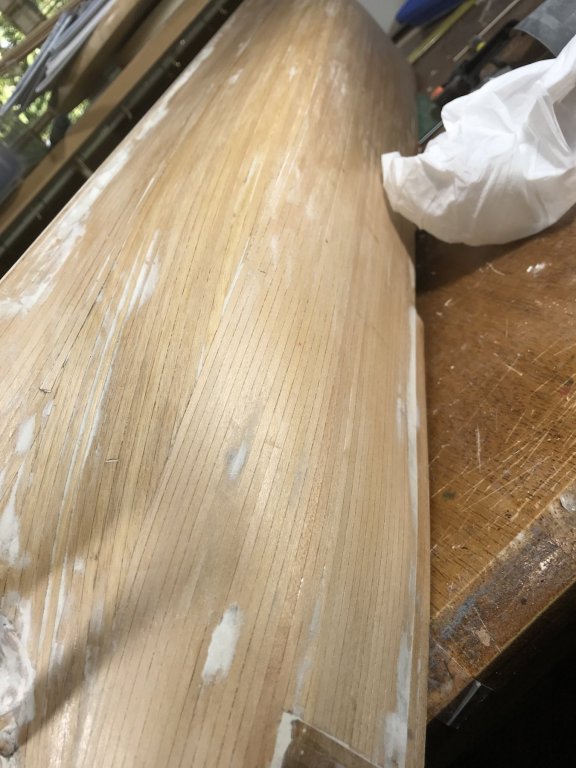
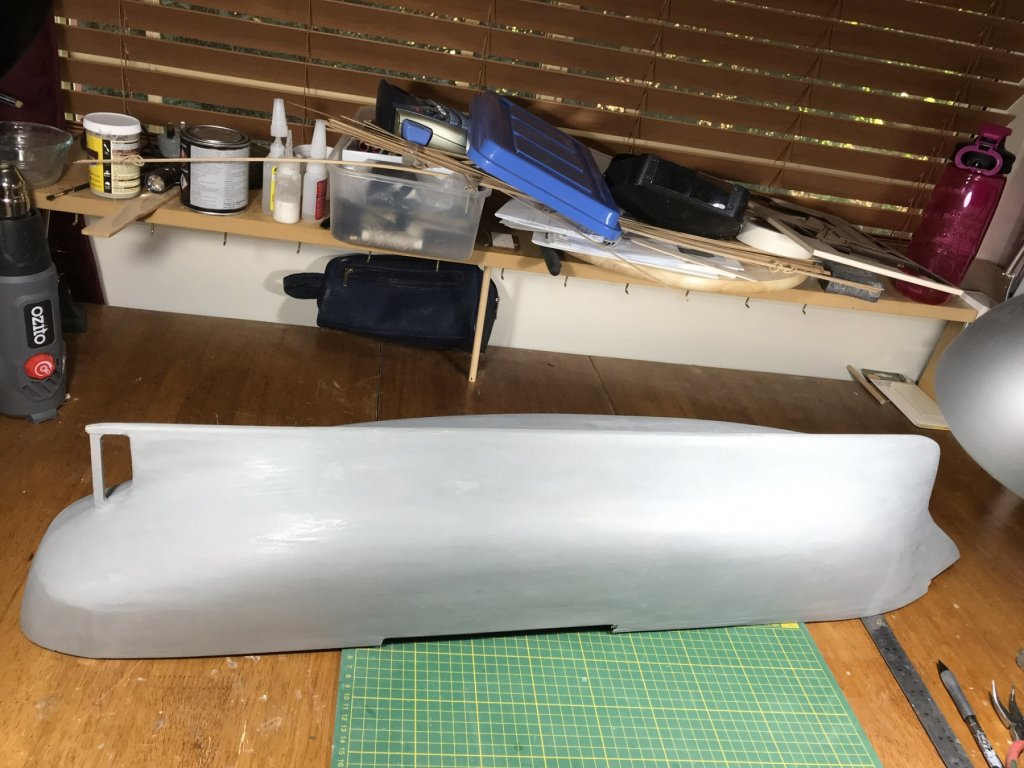
Apologies for taking so long between posts, but I’ve been busy working on the hull. It has been a slow job and have not been able to spend as many hours working on it as I would have liked. The planking at this stage looks a little rough, but lines of the hull are good. The transom planking in place. Looking better now after filling and sanding. The first planking took a total of 29 hrs. That is hands on working time. Started Second planking, using 0.5 x 3.0 walnut strips. Used Tarzan grip style CA glue to fix the planks. Found that I had made major error in choosing the wood strips for the second planking! There was not enough 3.0 x 0.5 mm walnut that I choose to use but I found I had enough 4.0 x 0.5 mm strip in my stach to complete the job. l The completed Second planking, after a little filling, sanding and a couple of coats of Sanding Sealer, looks quite good. Taken another 21 hours to finish this stage. Once a couple of coats of grey sealer paint ( Hombrols 01) were brush painter over the hull, we had a great looking hull. No cracks, no lumps, just a great smooth surface. The instructions call for the use of spray paints which unfortunately due to my lung condition I cannot use. So all painting will be done by brush using Humbrol Enamels. The next step, according to institutions is the planking the deck.........


-
John Allen reacted to a post in a topic:
Amerigo Vespucci by rovinsea - Mantua - Scale 1:84 - Stuart Vincent
-
Magellan1520 reacted to a post in a topic:
Amerigo Vespucci by rovinsea - Mantua - Scale 1:84 - Stuart Vincent
-
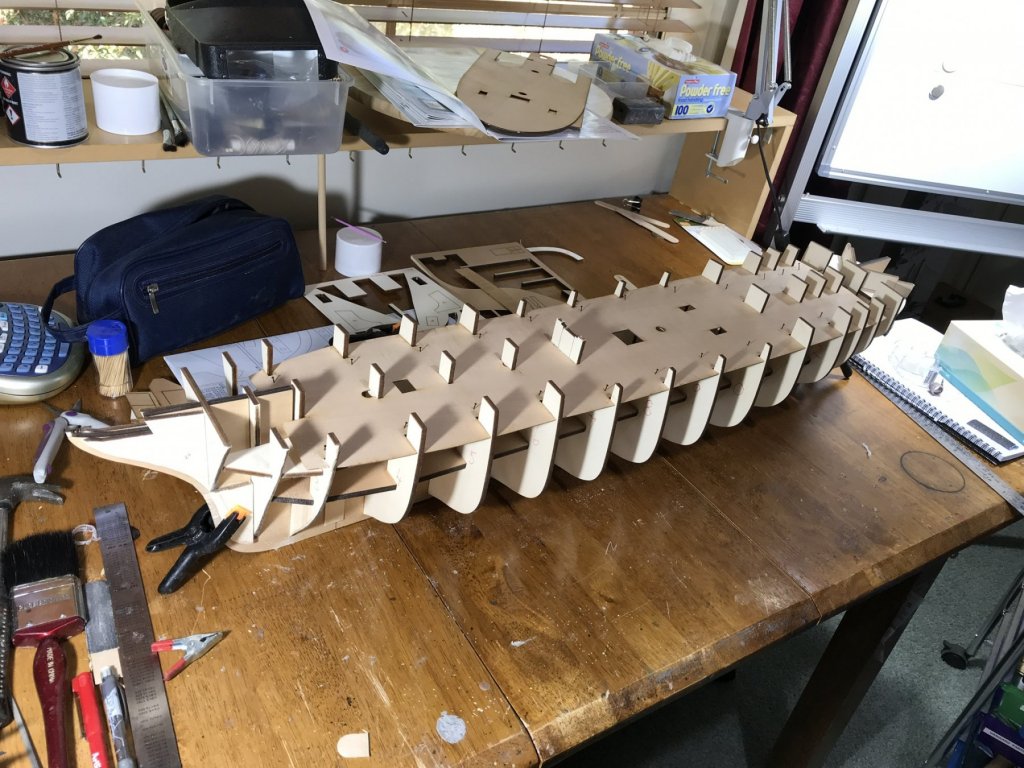
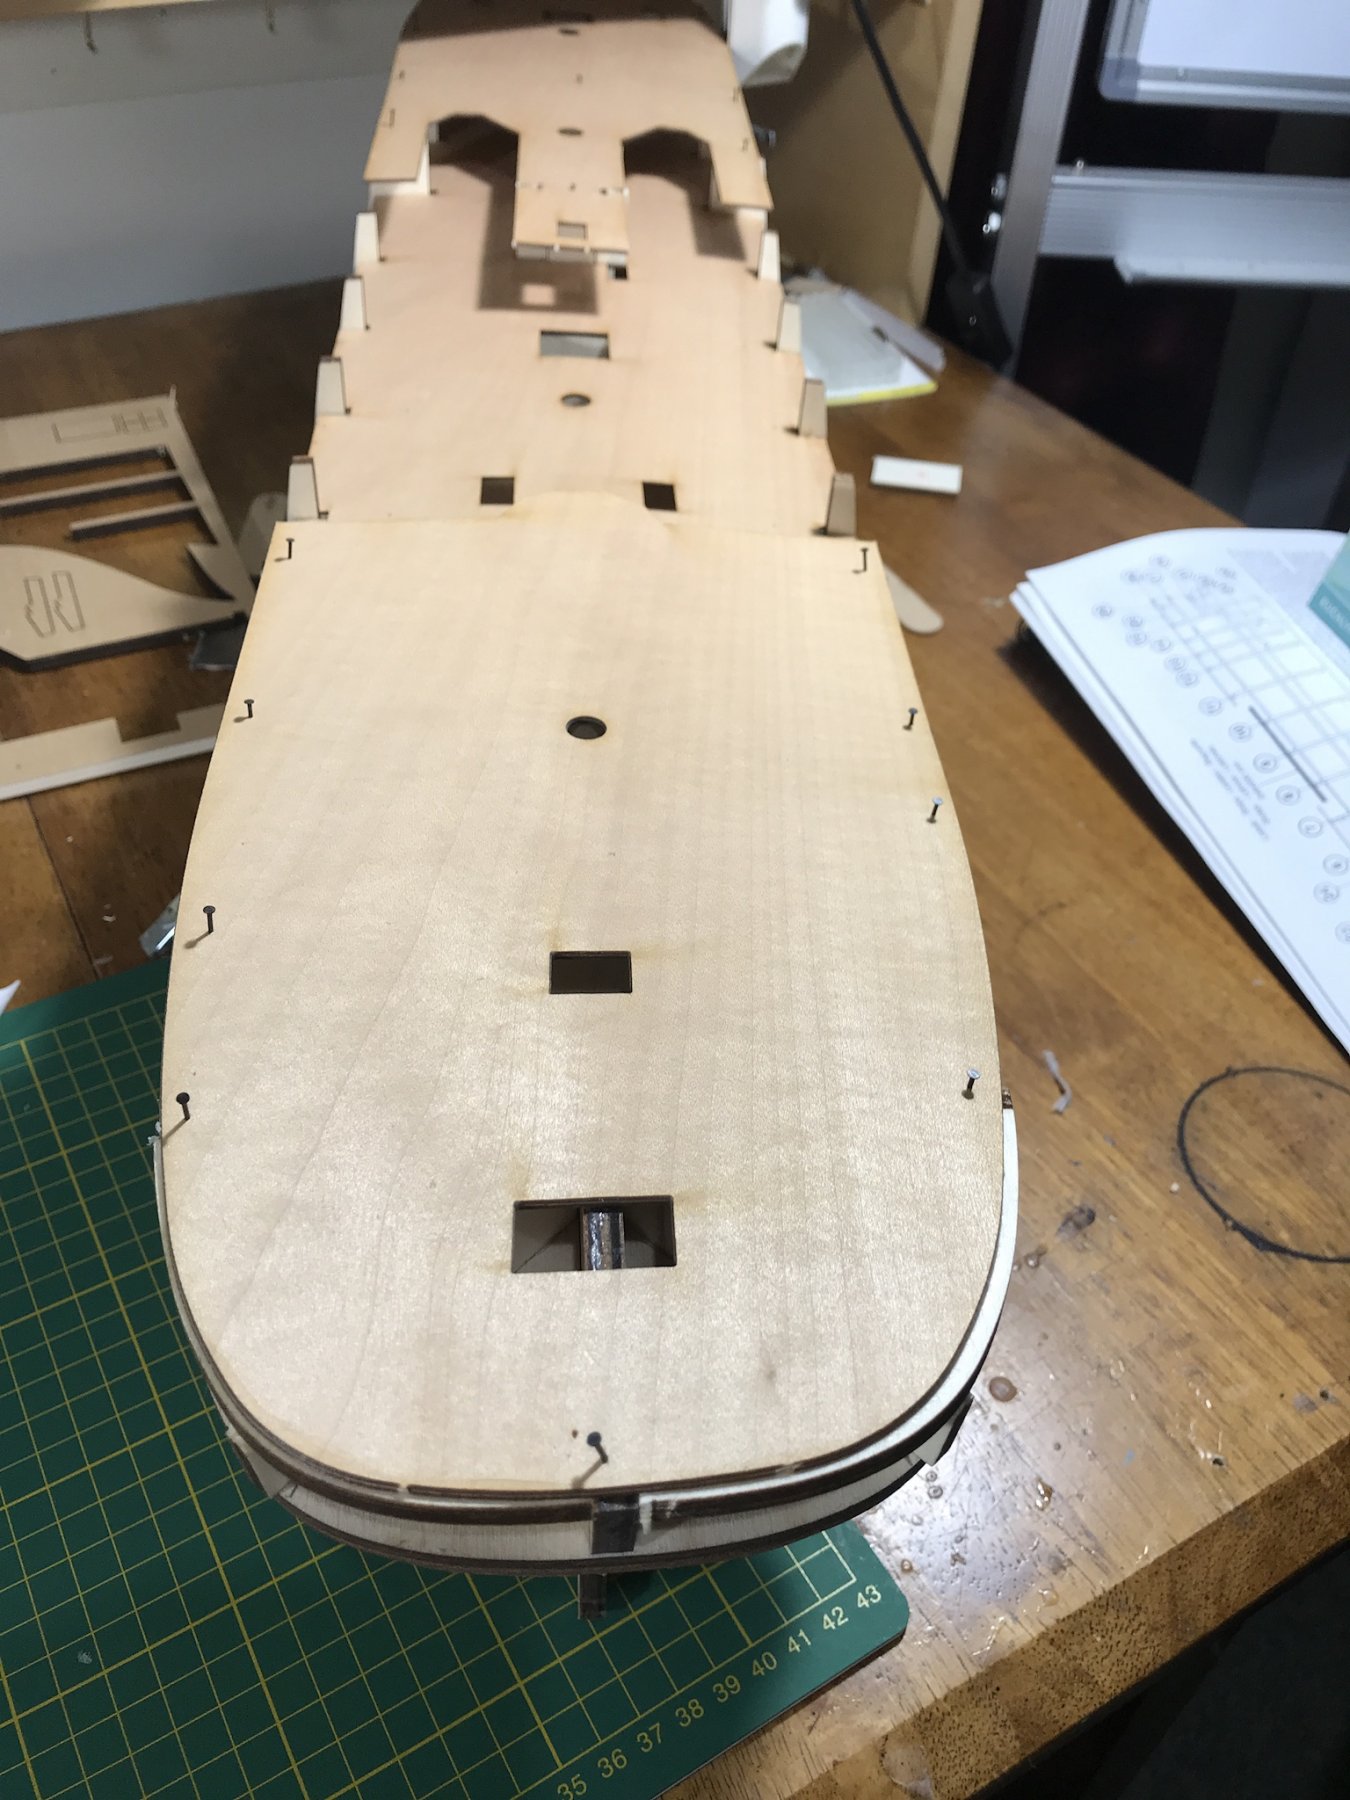
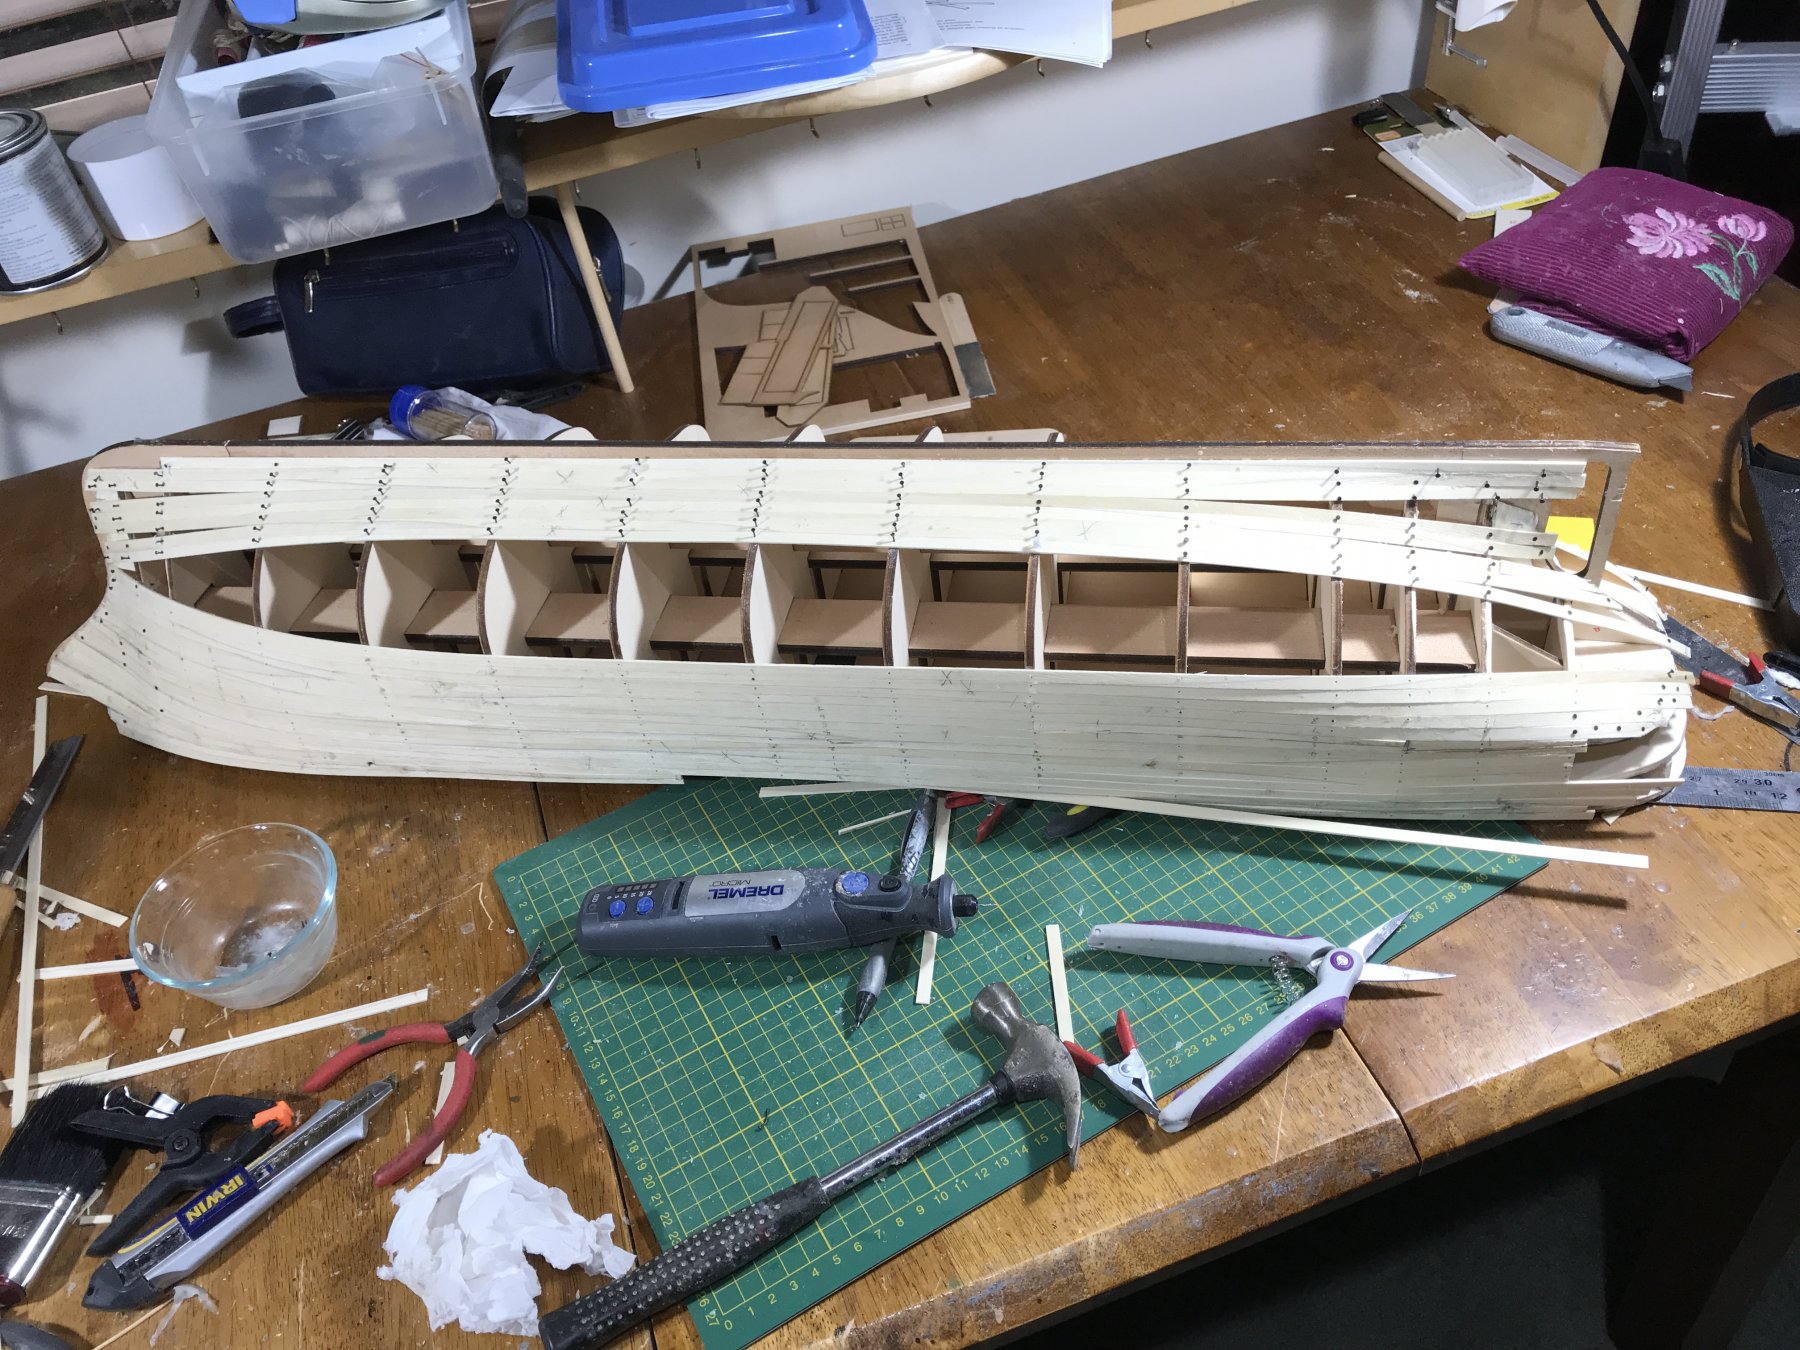
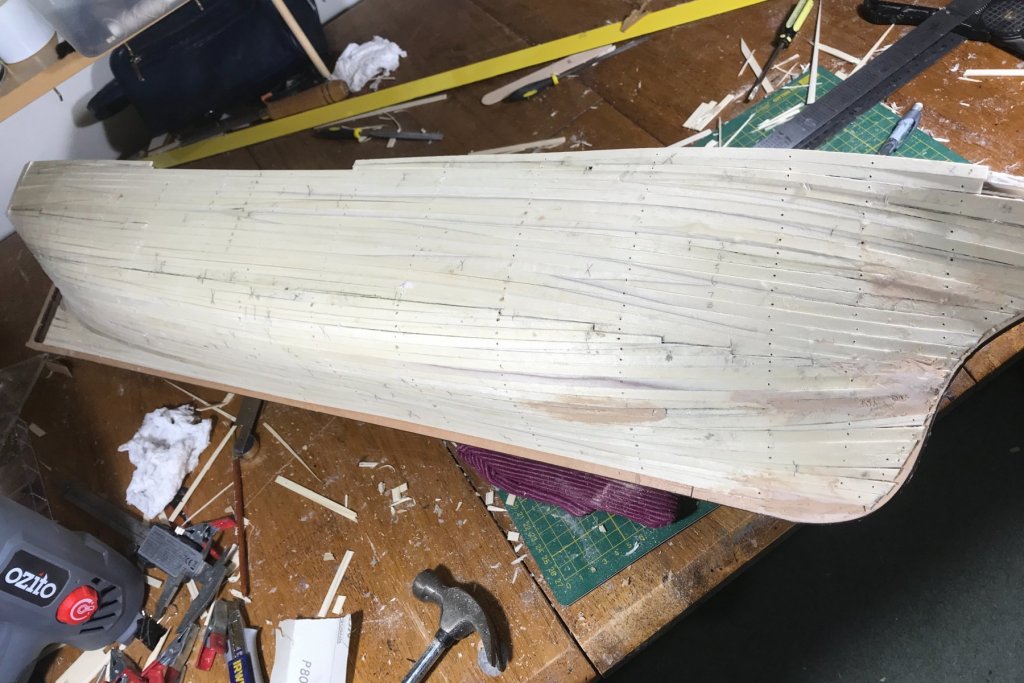
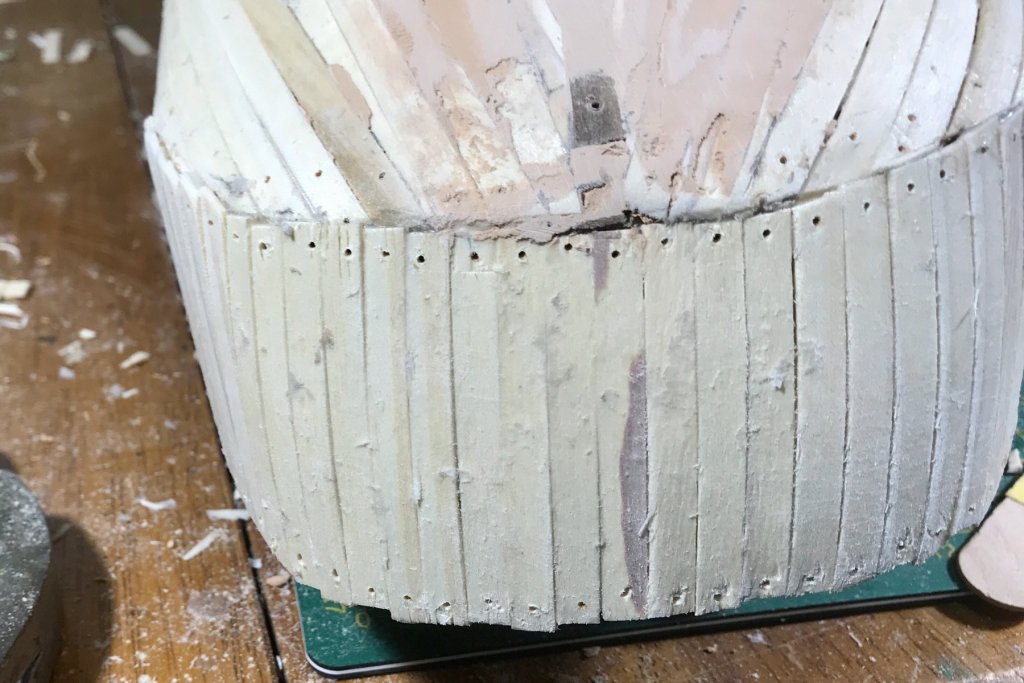
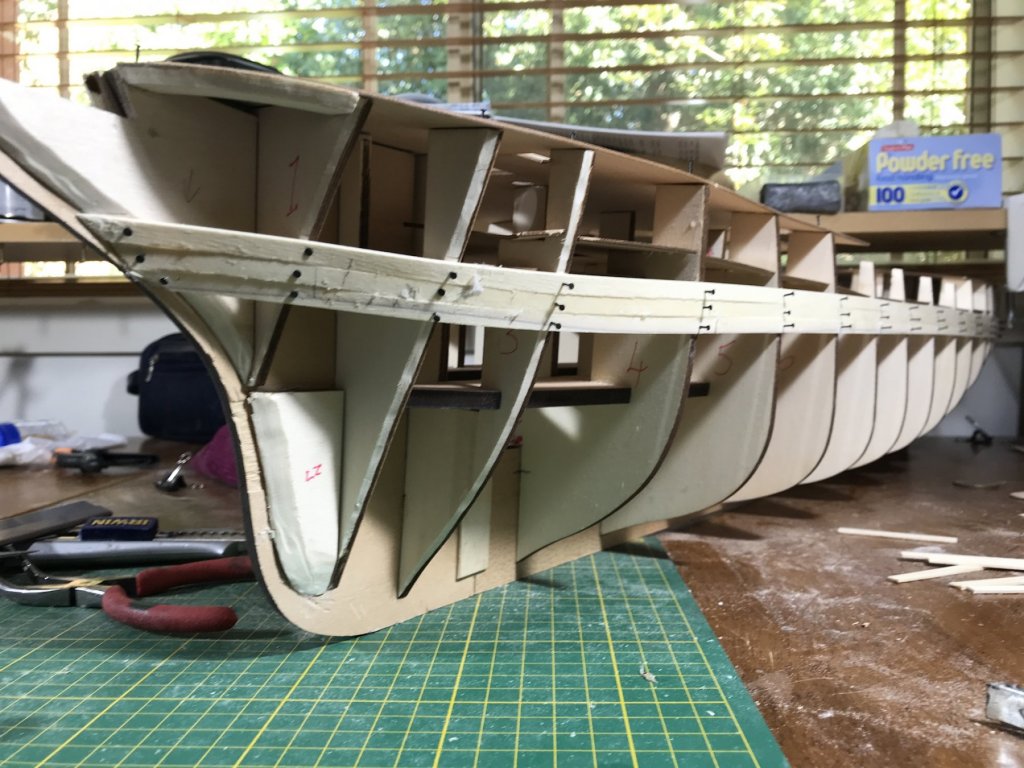
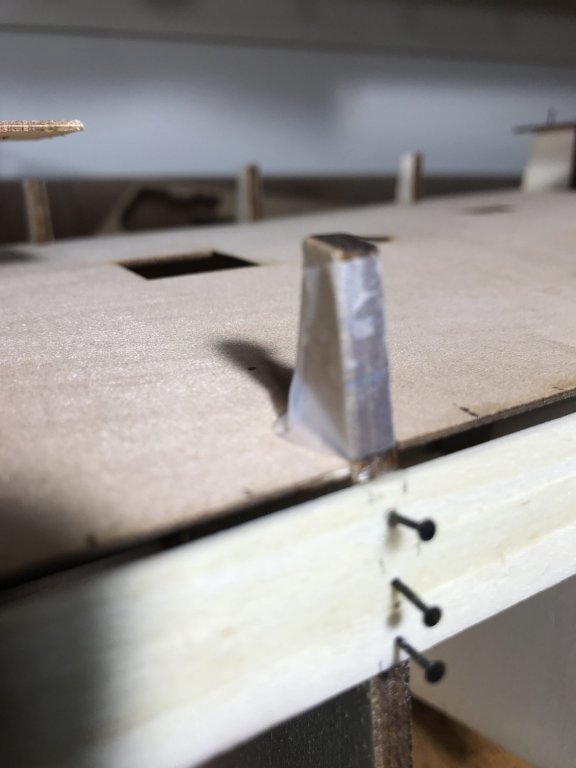
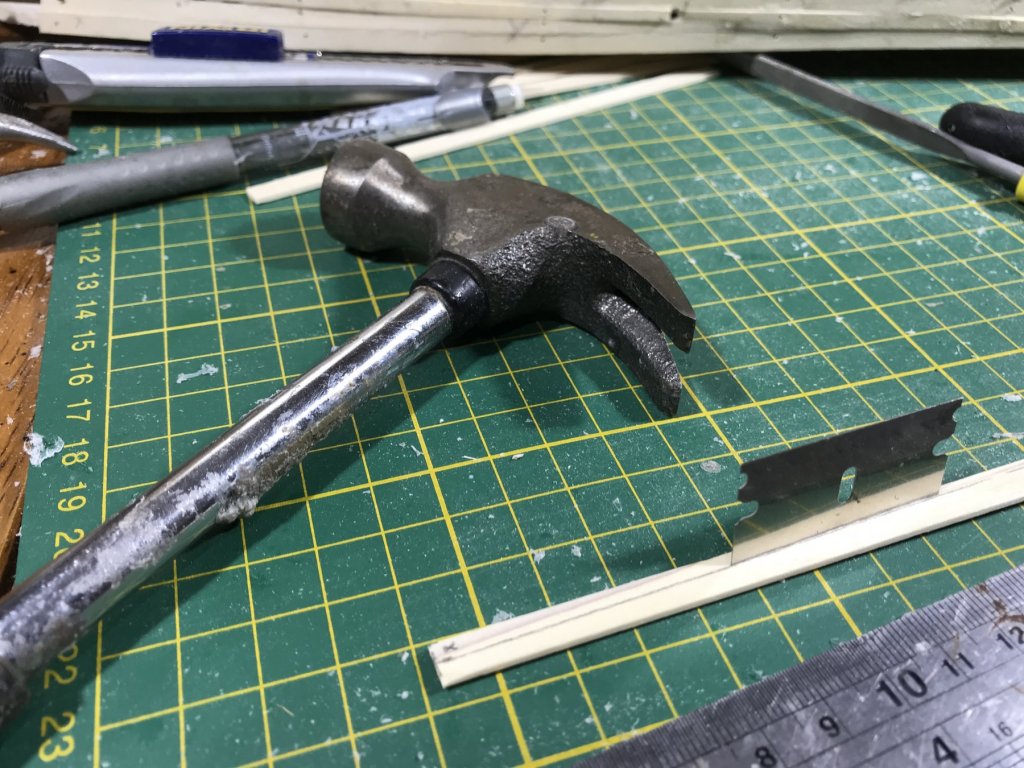
Hi Antony: The ‘extra Bulkhead ‘ you see is actually the upper aft deck. ————————————————————————————————-. Progressing slowly with the First Planking. There was a choice of using Bulsa or Lime wood for first planking; the manufacturer recommended the Bulsa but I decided to go with the Lime. Having used Lime several times before and found I was able to bend and twist as needed; Lime would give a stronger hull.To date I have found no problems with the planking. I will use a Second planking even though there say it is not mandatory if the modelspan paper is used. As the photos show, I use a pin and glue method. The pins are “TrackPins” as used in model Railways, the are strong, sharp, with a large head which makes them easy to remove after the glue has set. Another technique I adhere to is when tapering a plank, I only go to half width, which is more prototypical and gives stronger joints. I also try and make the joint over a Bulkhead. Once you have mastered the method it is easy to follow. To taper a plank I use a razor blade and a gentle tap with the hammer to make a decent straight cut. To bend and twist the planks I use a compilation of Amati plank bender, soaking in water and a heat gun. To stop the Bulkhead top from being glued to the hull planking, I wrapped then in callotape.


-
rovinsea changed their profile photo
-
oscarmate reacted to a post in a topic:
Amerigo Vespucci by rovinsea - Mantua - Scale 1:84 - Stuart Vincent
-
Altduck reacted to a post in a topic:
Amerigo Vespucci by rovinsea - Mantua - Scale 1:84 - Stuart Vincent
-
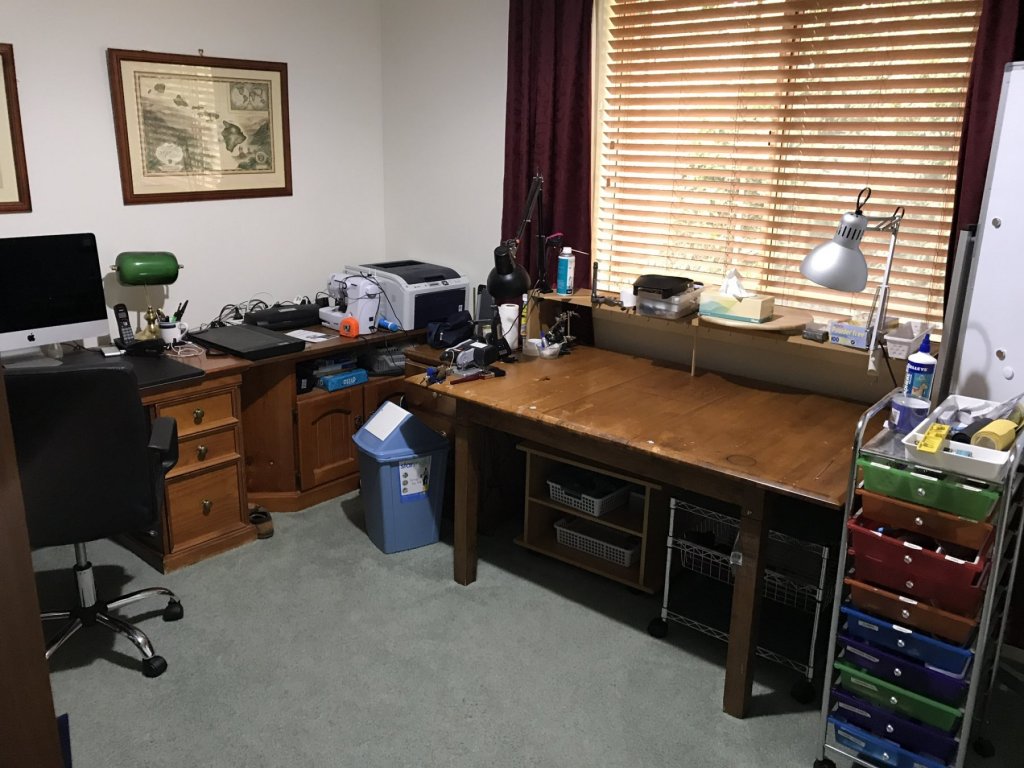
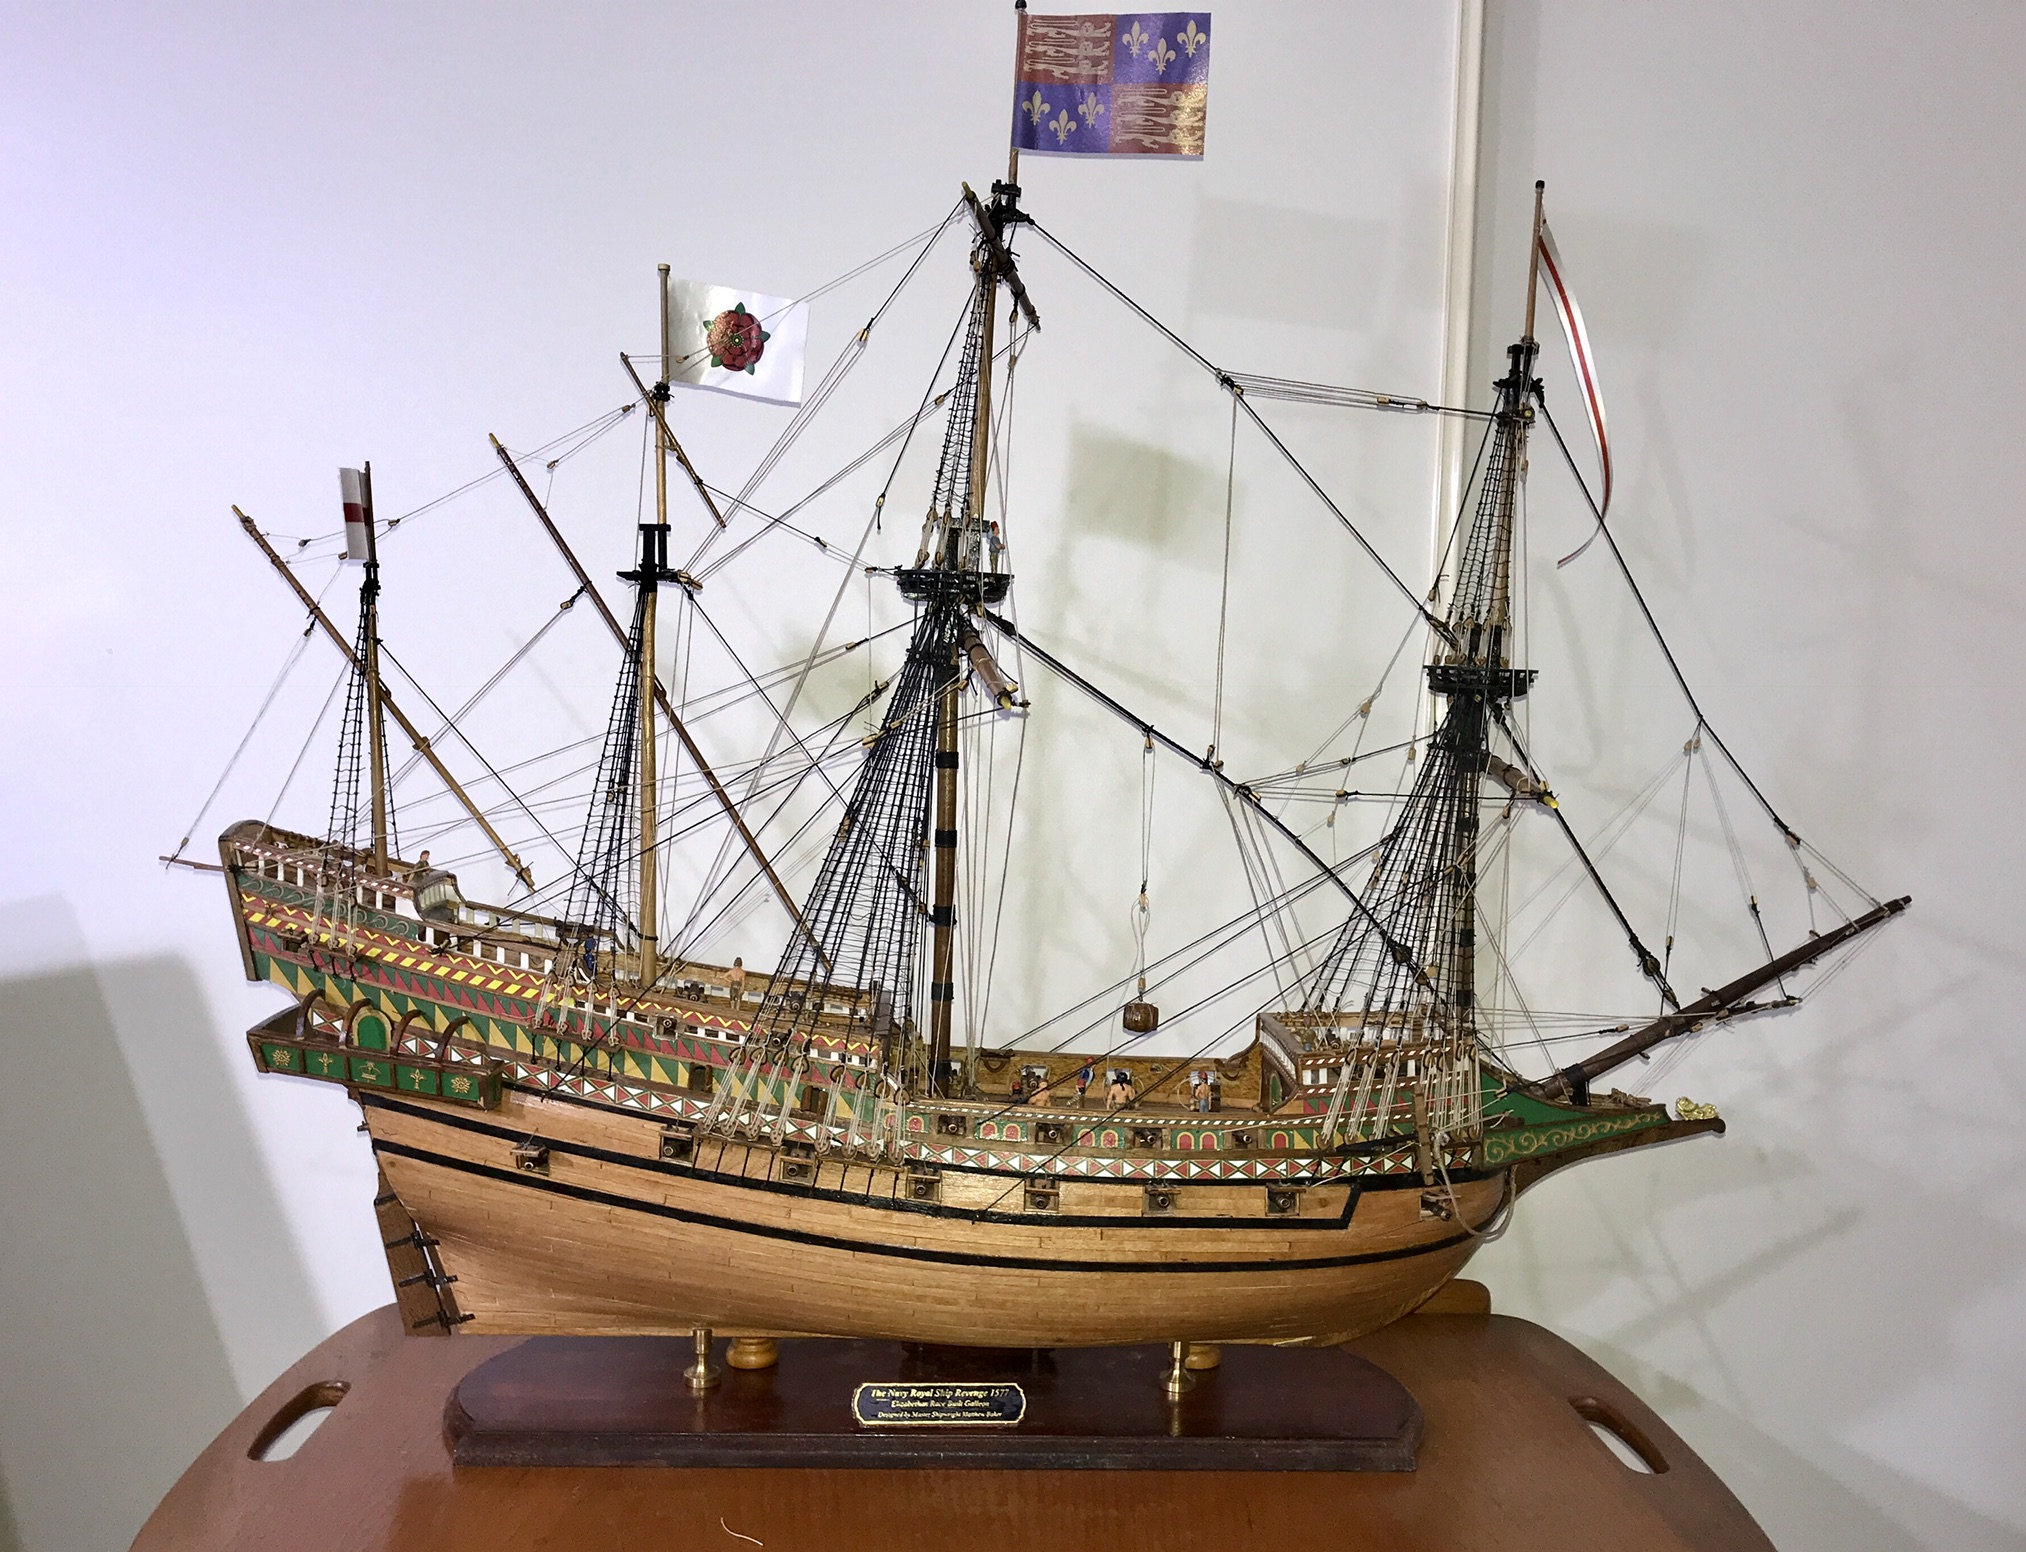
Building Log Although I have been a Member for a number of years, this will be my first attempt at a Building Log. The forum has been a marvellous help over the years, I have picked up numerous tips and tricks from following other builds particularly those of Paul Jarman and Shiffbastler have proven to be of great assistance in picking which kit to choose. Just a bit about myself. I’m now 70 years old and have been Shipbuilding for the past 18 years. I live in sunny South Australia where I am fortunate enough to be able to have a dedicated Display Room as well as a Hobby Room. Most of my models have been purchased from Cornwall Model Boats. . My list of completed models:- * King Mississippi, * Bounty, * Victory, * Wassa, * Sovereign of the Seas, * Vanguard, * Von Hamburg, * Titanic Revange. I find it very a relaxing hobby and would describe myself as being a “if it looks right, it is right” person more than a “rivet counter”. I go for good display quality rather than museum quality. As seen by the photos there is a generous amount of laser cut, brass and cast metal I am expecting that it will take me at least 2 years to complete. So far I have assembled the basic hull, with the bulkheads and main deck and upper deck in place. This part of the build is standard with no real surprises and all parts have fitted neatly together.