Tom Schongar
Members-
Posts
33 -
Joined
-
Last visited
Recent Profile Visitors
-
 etubino reacted to a post in a topic:
USS Constitution by kmart - Model Shipways - scale 1/76
-
 Bill Morrison reacted to a post in a topic:
USS Constitution by kmart - Model Shipways - scale 1/76
-
 J11 reacted to a post in a topic:
USS Constitution by kmart - Model Shipways - scale 1/76
-
 Jasseji reacted to a post in a topic:
USS Constitution by Tom Schongar - Model Shipways
-
 Jasseji reacted to a post in a topic:
USS Constitution by Tom Schongar - Model Shipways
-
 Jasseji reacted to a post in a topic:
USS Constitution by Tom Schongar - Model Shipways
-
I can`t see either,lol. i took my glasses of to do these. Only did one section a night. The rivets are big on the real ship. Should look ok when painted. The ouside ones will be much easier to do. I wanted to get the rivets done before any deck work, masts etc, more room to work, less chance of breaking stuff.
-
 Tom E reacted to a post in a topic:
USS Constitution by Tom Schongar - Model Shipways
-
 Tigersteve reacted to a post in a topic:
USS Constitution by Tom Schongar - Model Shipways
-
I decided to do the rivets next, instead of the hatches and deck planking. There is more room to work on drilling all those tiny holes with a #77 bit. I did about 50 so far, not perfect , but hey, you cant see them damn things they`re so small. lol. getting better as i go, the hard part is not having the rivet fall out of the tweezers. If that happens it`s gone forever. TIP: put down a white cloth under the boat and roll the edges to make a ridge so the rivets won`t get lost because you will drop them.
-
 Tom Schongar reacted to a post in a topic:
USS Constitution by Tom Schongar - Model Shipways
-
 Geoff Matson reacted to a post in a topic:
USS Constitution by Tom Schongar - Model Shipways
-
 Tom E reacted to a post in a topic:
USS Constitution by Tom Schongar - Model Shipways
-
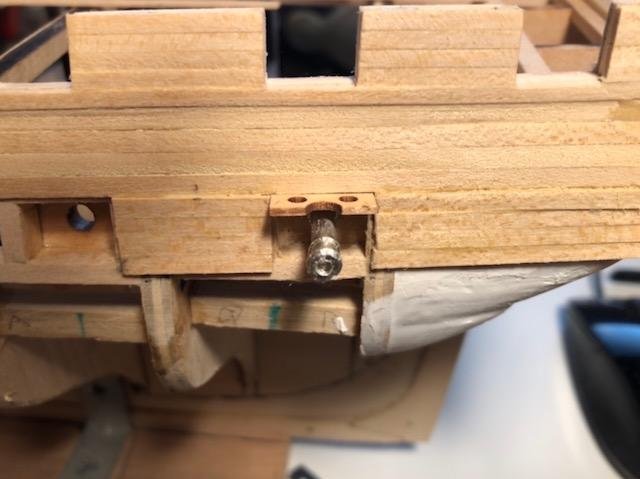
Rear gun ports done. Sanded the whole ship with 1500 grit, and applied sanding sealer. Tommorrow will sand again, one more coat of sealer, then sand again. Next week i start on the deck. Plus i bought all the rivets to do the bulwarks. Boy that should be fun. 3000 pieces that you can`t see or pick up , drill hole for each on in the right spot, lol.Good thing i have a lighted magnifier and tweezers.
-
More progress on the gun ports, and some pics of rope making machine and other pics of our trip to san fransico last week. We visited the maritime museum at Fishermans Wharf. Hope you can use some refernce material on what real fittings look like. Very cool place. Plus pic of old ship. IMG_0219 (1).MOV IMG_0214.MOV IMG_0217 (1).MOV
-
 Tom Schongar reacted to a post in a topic:
USS Constitution by CaptainSteve - Model Shipways - 1:76.8 scale
-
 Tom Schongar reacted to a post in a topic:
USS Constitution by CaptainSteve - Model Shipways - 1:76.8 scale
-
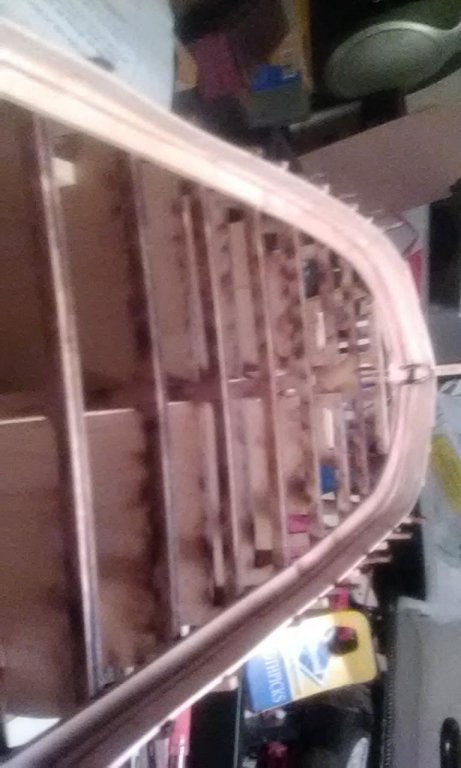
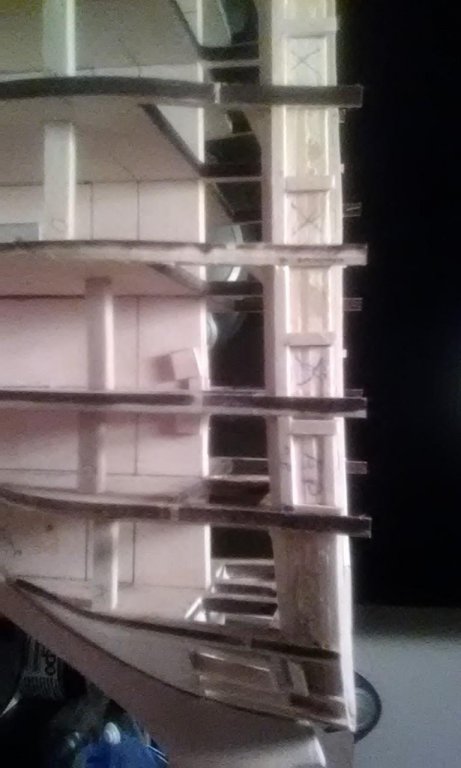
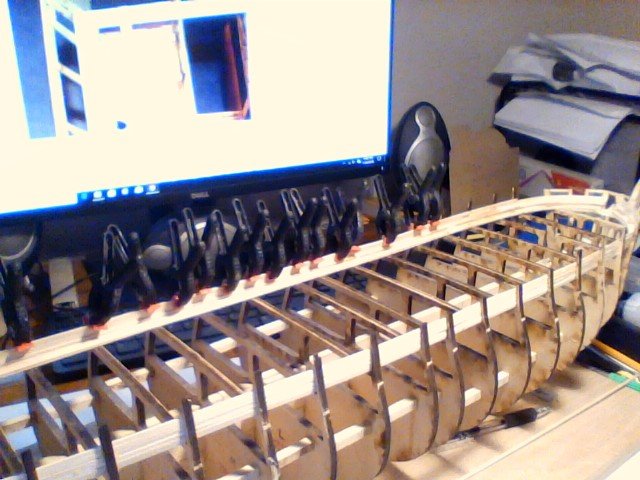
Started on waterways today. Cut bevels and cut miter joints for stern section. Took about 2 hrs to get the first one cut and shaped, and 1 hr for the other side. When on a roll , stay with it. Have port side waterway glued on,and transom piece glued on. Will post pics after i get the other side done and the stem sections of the waterway in. Still have to cut them out. update: waterways and planksheer are done. Inner bulwarks on both sides almost done. 1 more plank to go on each side. Bowsprit is fitted to stem. Sorry aout pics, have to use laptop camera.
-
nice work! your almost done with the hardest parts of the ship. Take your time, your sanding stick and files are your friends. lol
- 117 replies
-
- constitution
- model shipways
-
(and 1 more)
Tagged with:
-
 Tom Schongar reacted to a post in a topic:
USS Constitution by MEPering - Model Shipways - 1:76.8 (5/32"=1'0") - First build
About us
Modelshipworld - Advancing Ship Modeling through Research
SSL Secured
Your security is important for us so this Website is SSL-Secured
NRG Mailing Address
Nautical Research Guild
237 South Lincoln Street
Westmont IL, 60559-1917
Model Ship World ® and the MSW logo are Registered Trademarks, and belong to the Nautical Research Guild (United States Patent and Trademark Office: No. 6,929,264 & No. 6,929,274, registered Dec. 20, 2022)
Helpful Links
About the NRG
If you enjoy building ship models that are historically accurate as well as beautiful, then The Nautical Research Guild (NRG) is just right for you.
The Guild is a non-profit educational organization whose mission is to “Advance Ship Modeling Through Research”. We provide support to our members in their efforts to raise the quality of their model ships.
The Nautical Research Guild has published our world-renowned quarterly magazine, The Nautical Research Journal, since 1955. The pages of the Journal are full of articles by accomplished ship modelers who show you how they create those exquisite details on their models, and by maritime historians who show you the correct details to build. The Journal is available in both print and digital editions. Go to the NRG web site (www.thenrg.org) to download a complimentary digital copy of the Journal. The NRG also publishes plan sets, books and compilations of back issues of the Journal and the former Ships in Scale and Model Ship Builder magazines.

