
LASVcard
-
Posts
11 -
Joined
-
Last visited


-
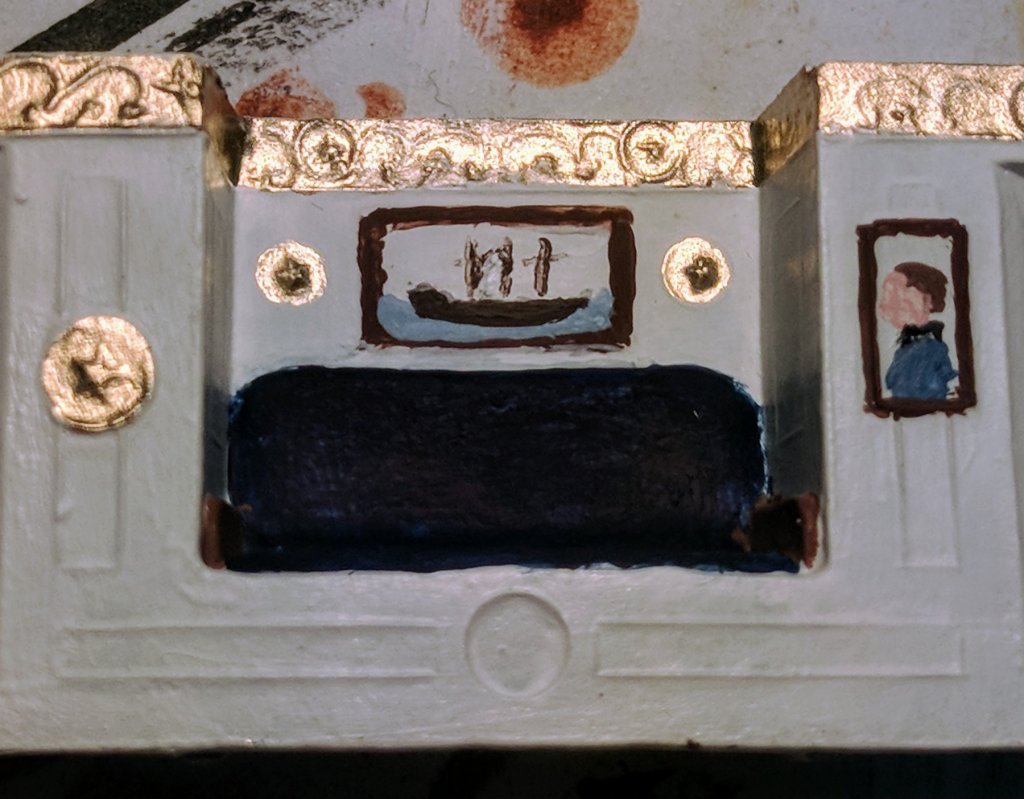
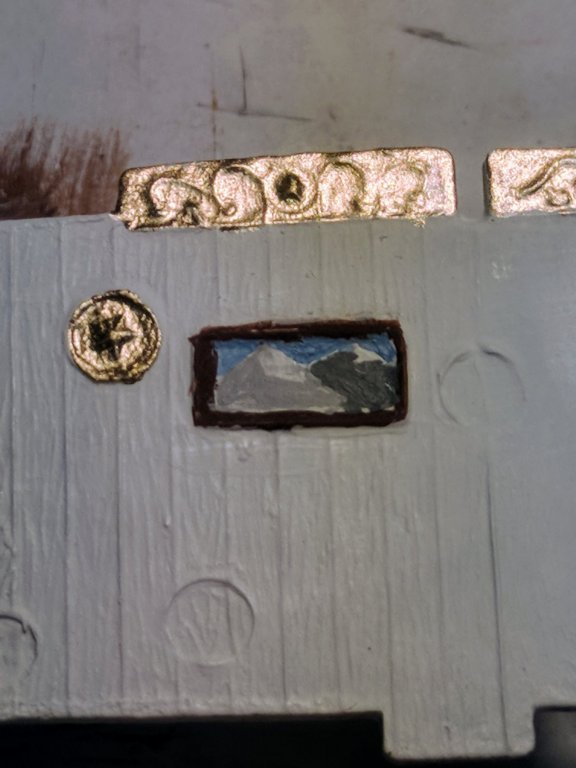
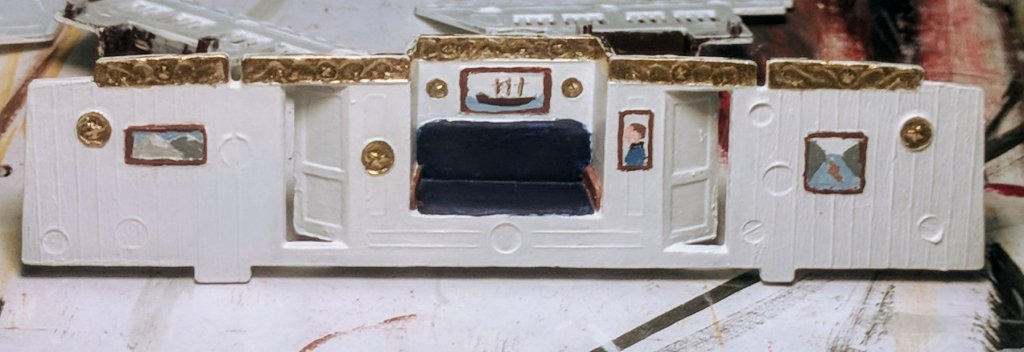
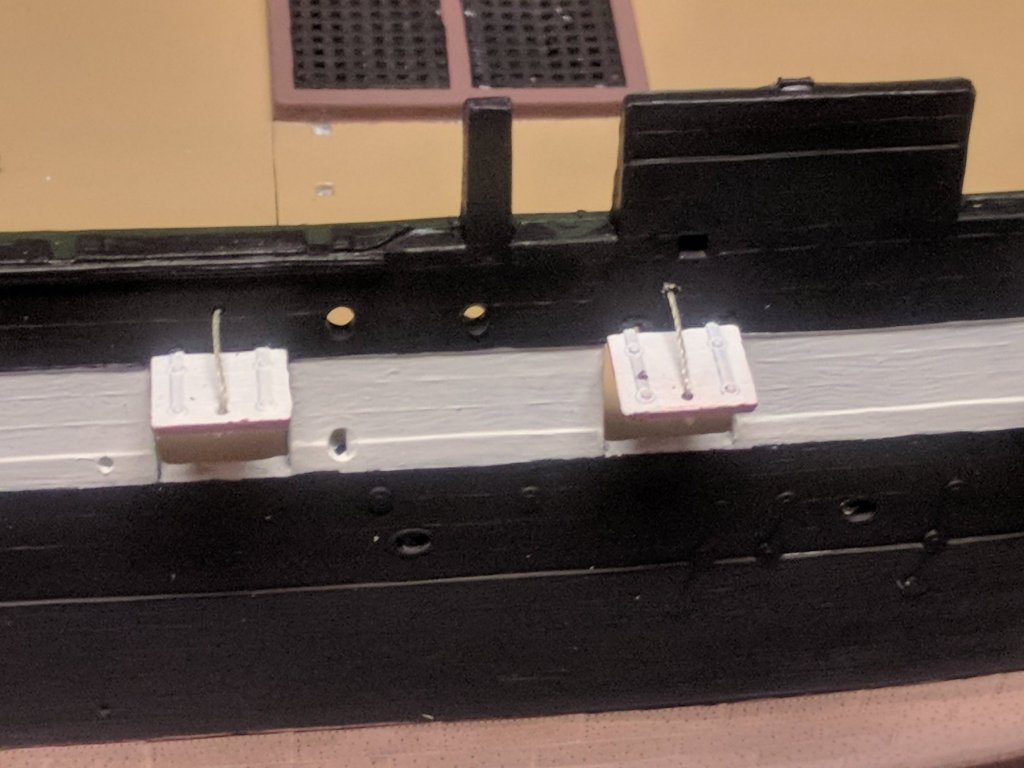
 Got all the gun ports on and tied. Been working on the Captain's Quarters so I can get the guns rigged up. Even though no one will really see it, it's been fun trying to do it. Looks good enough to never be seen.
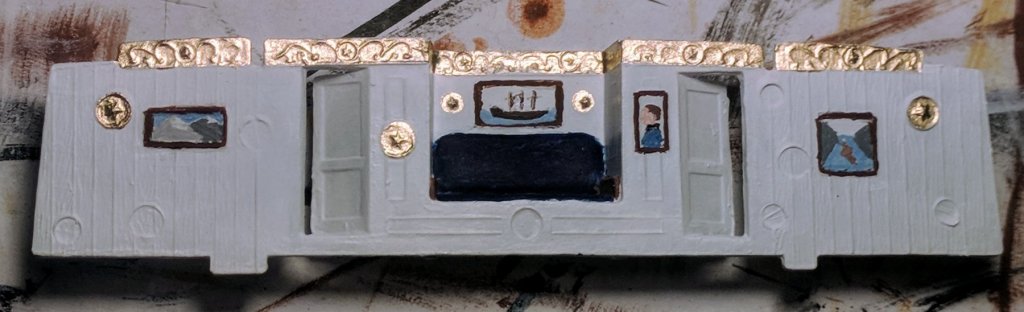
-
 lmagna reacted to a post in a topic:
USS Constitution by LASVcard - Revell - 1:96 - PLASTIC - First build, here we go.
lmagna reacted to a post in a topic:
USS Constitution by LASVcard - Revell - 1:96 - PLASTIC - First build, here we go.
-
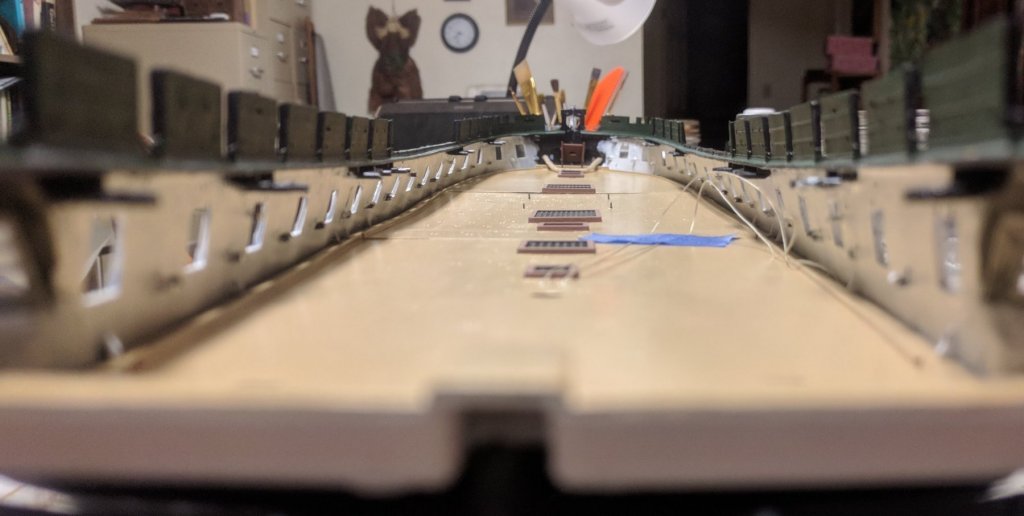
I've been trying to follow Andymech's build log as close as I can, because it a a beautiful build, unfortunately he is a much better painter than I. This is my gun deck. Just a plain tan. Wish I could do better, but I'm alright with that, it will hardly be seen anyway...I think I might try planking the spar deck Next, gluing the gun port doors! Andymech's log shows using pencils and feathering index cards in to hold them flush with the top of the opening. I found that the further I progressed down the deck, the pencils started dropping. So instead I took a stack and placed it flat on the deck, kept them firmly in place for a longer run than the other method. Tying the ropes, needle threader is my friend (some touch-up to do on the paint there...) -Til next time Galen

- 11 replies
-
- 1
-
-
- first build
- plastic
- (and 2 more)
-
Tom E reacted to a post in a topic:
USS Constitution by LASVcard - Revell - 1:96 - PLASTIC - First build, here we go.
-
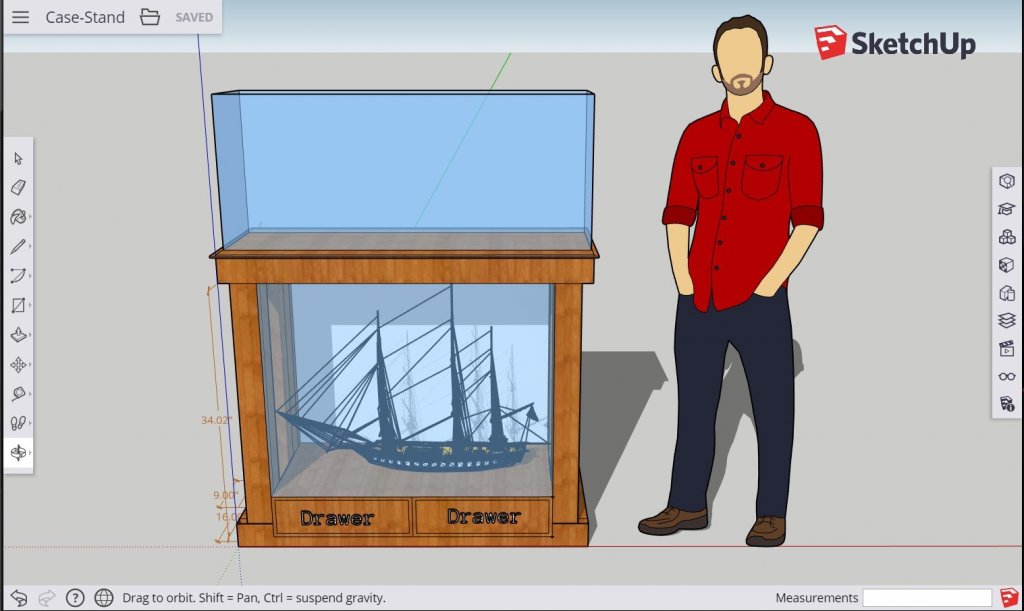
Little update, I've mostly been working on the decks, getting the rudder installed, painting gun ports, etc. Also, I'm getting ahead of myself...but I've been doing this lately. I've got a move coming up (August) and need a stand at the new place for a 55gal aquarium I have. Figured I could kill two birds with one stone... Total dimensions are 19" W x 48.5" L x 41" H The front glass is 38.5" W x 30" H I'd like to put some lights in the top, and a mirror as the back, add some nice trim and a good dark stain. Some Outlets in the top for the aquarium needs, and a switch on the back to control the case lights would be a nice touch too. Hopefully the model of the Constitution I found was to scale. It looks like it might be. -Galen
- 11 replies
-
- 1
-
-
- first build
- plastic
- (and 2 more)
-
LASVcard reacted to a post in a topic:
Bismarck by Dan Vadas - FINISHED - GPM - 1:200 - CARD and PE
-
LASVcard reacted to a post in a topic:
Le Soleil Royal by EJ_L - FINISHED - Sergal - Scale 1:77 - 1669 Version
-
LASVcard reacted to a post in a topic:
New from UT
-
EJ_L reacted to a post in a topic:
New from UT
-
A question that just occurred to me to ask. As I was going over the parts when I opened the kit, I noticed that some of the eye bolts didn't cast correctly. Is this something that Revell would replace if i sent them an email? I've seen that many people recommend replacing them with hand made wire ones, and I'm thinking of maybe just doing that. If I were, what diameter of wire should I use? Thanks in advance! -Galen
-
DCooper reacted to a post in a topic:
USS Constitution by LASVcard - Revell - 1:96 - PLASTIC - First build, here we go.
-
lmagna reacted to a post in a topic:
USS Constitution by LASVcard - Revell - 1:96 - PLASTIC - First build, here we go.
-
popeye the sailor reacted to a post in a topic:
USS Constitution by LASVcard - Revell - 1:96 - PLASTIC - First build, here we go.
-
popeye the sailor reacted to a post in a topic:
USS Constitution by LASVcard - Revell - 1:96 - PLASTIC - First build, here we go.
-
popeye the sailor reacted to a post in a topic:
USS Constitution by LASVcard - Revell - 1:96 - PLASTIC - First build, here we go.
-
Dan Vadas reacted to a post in a topic:
USS Constitution by LASVcard - Revell - 1:96 - PLASTIC - First build, here we go.
-
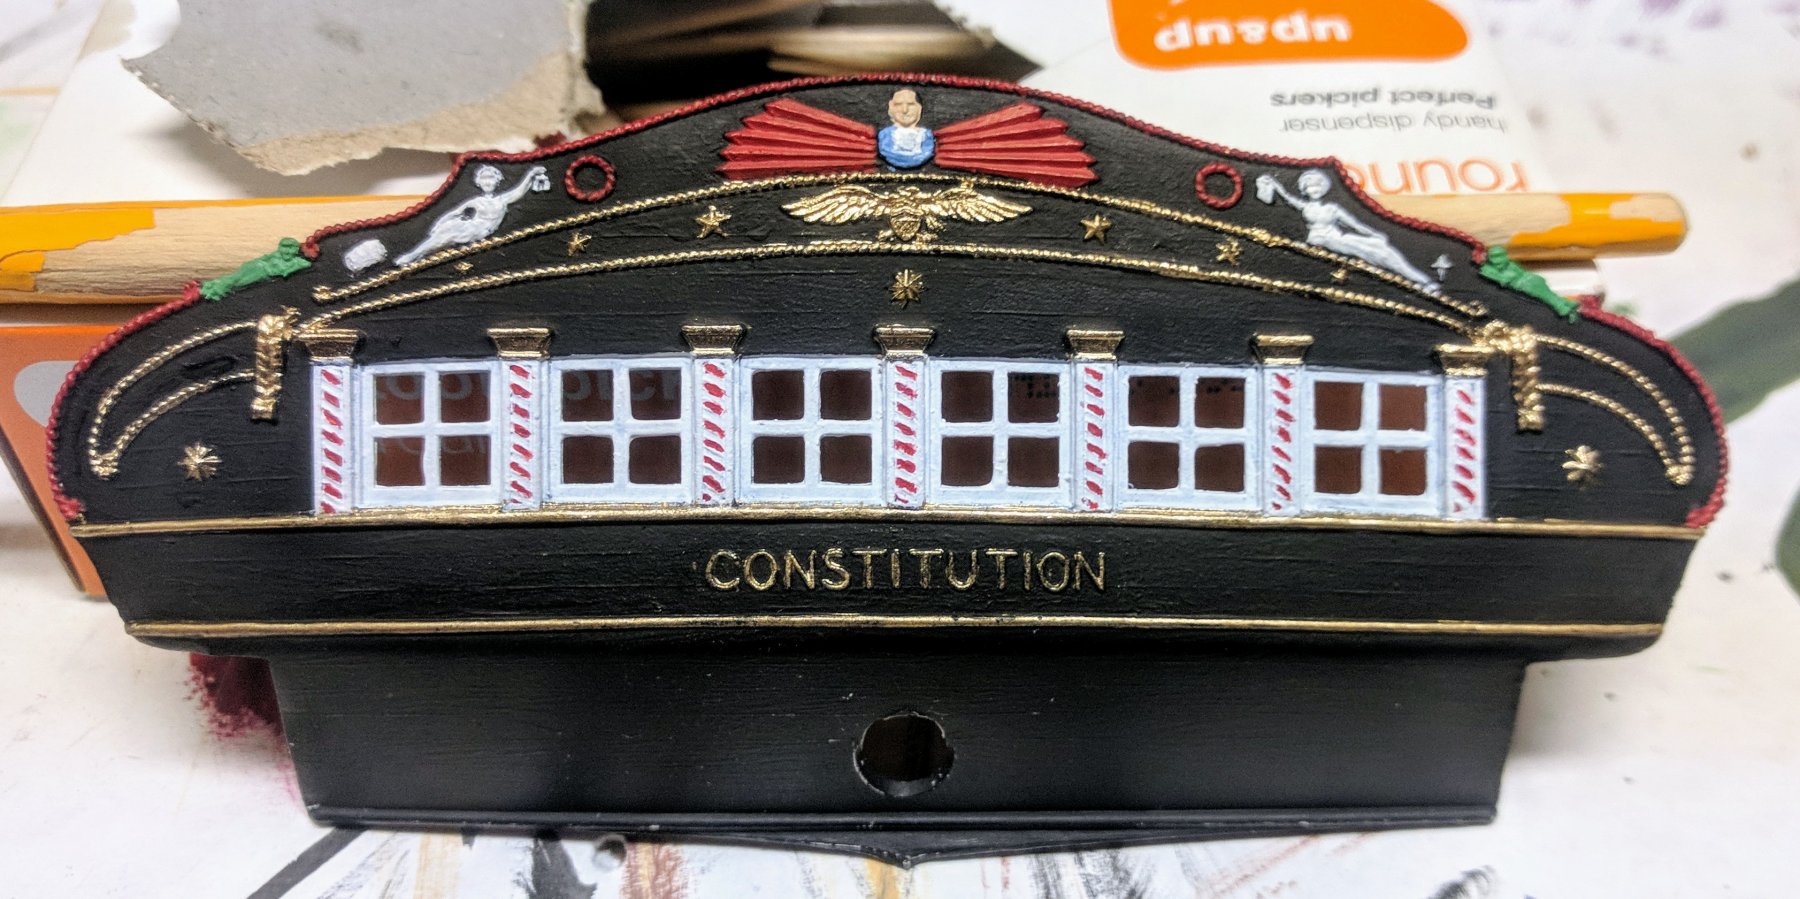
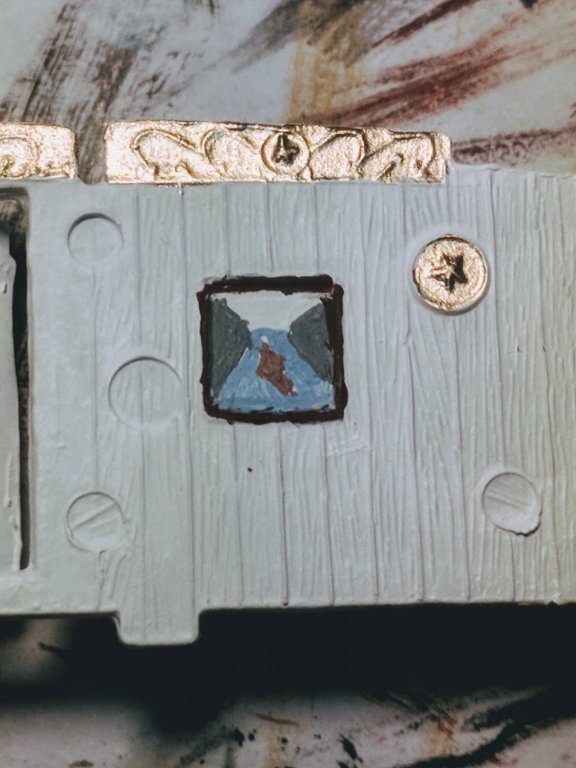
Don't look too closely, but I'm quite happy with my effort on this. Quite a bit of touch up, been at it for the last 2 hours .

- 11 replies
-
- 4
-
-
- first build
- plastic
- (and 2 more)
-
LASVcard reacted to a post in a topic:
New from UT
-
I'm in Microbiology, specifically Host/Pathogen interactions. And yes, it is the Ebola virus. Not something I've worked with, yet.
-
Dan Vadas reacted to a post in a topic:
USS Constitution by LASVcard - Revell - 1:96 - PLASTIC - First build, here we go.
-
Thanks Dan, I'll look into the Tamiya tape, I've seen other good things about it. As for now, I've been able to get a much cleaner line panting by hand, with little mistakes easily cleaned up on the spot. I've been admiring your Bismarck build, very impressive stuff!
- 11 replies
-
- 1
-
-
- first build
- plastic
- (and 2 more)
-
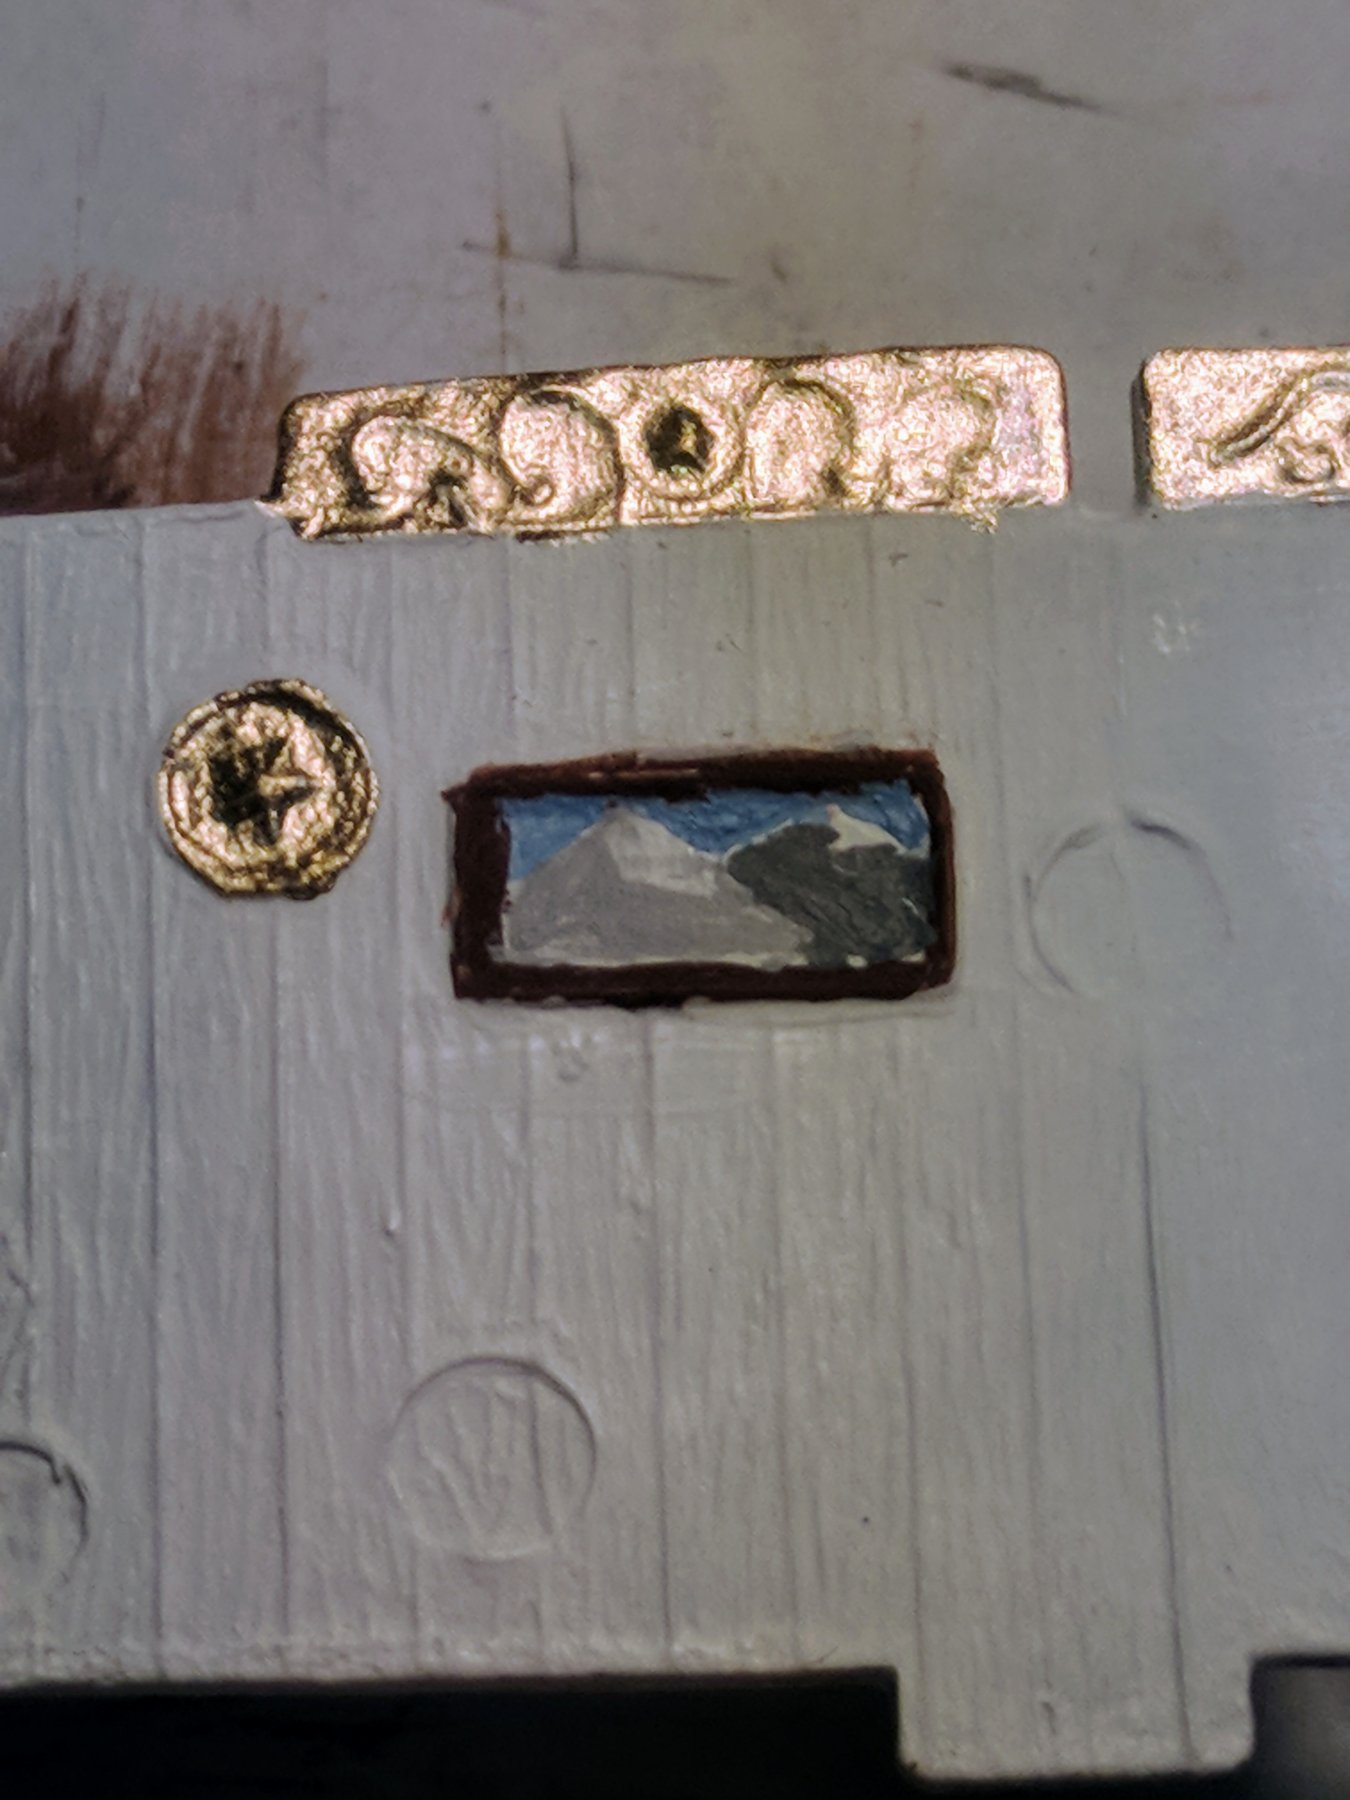
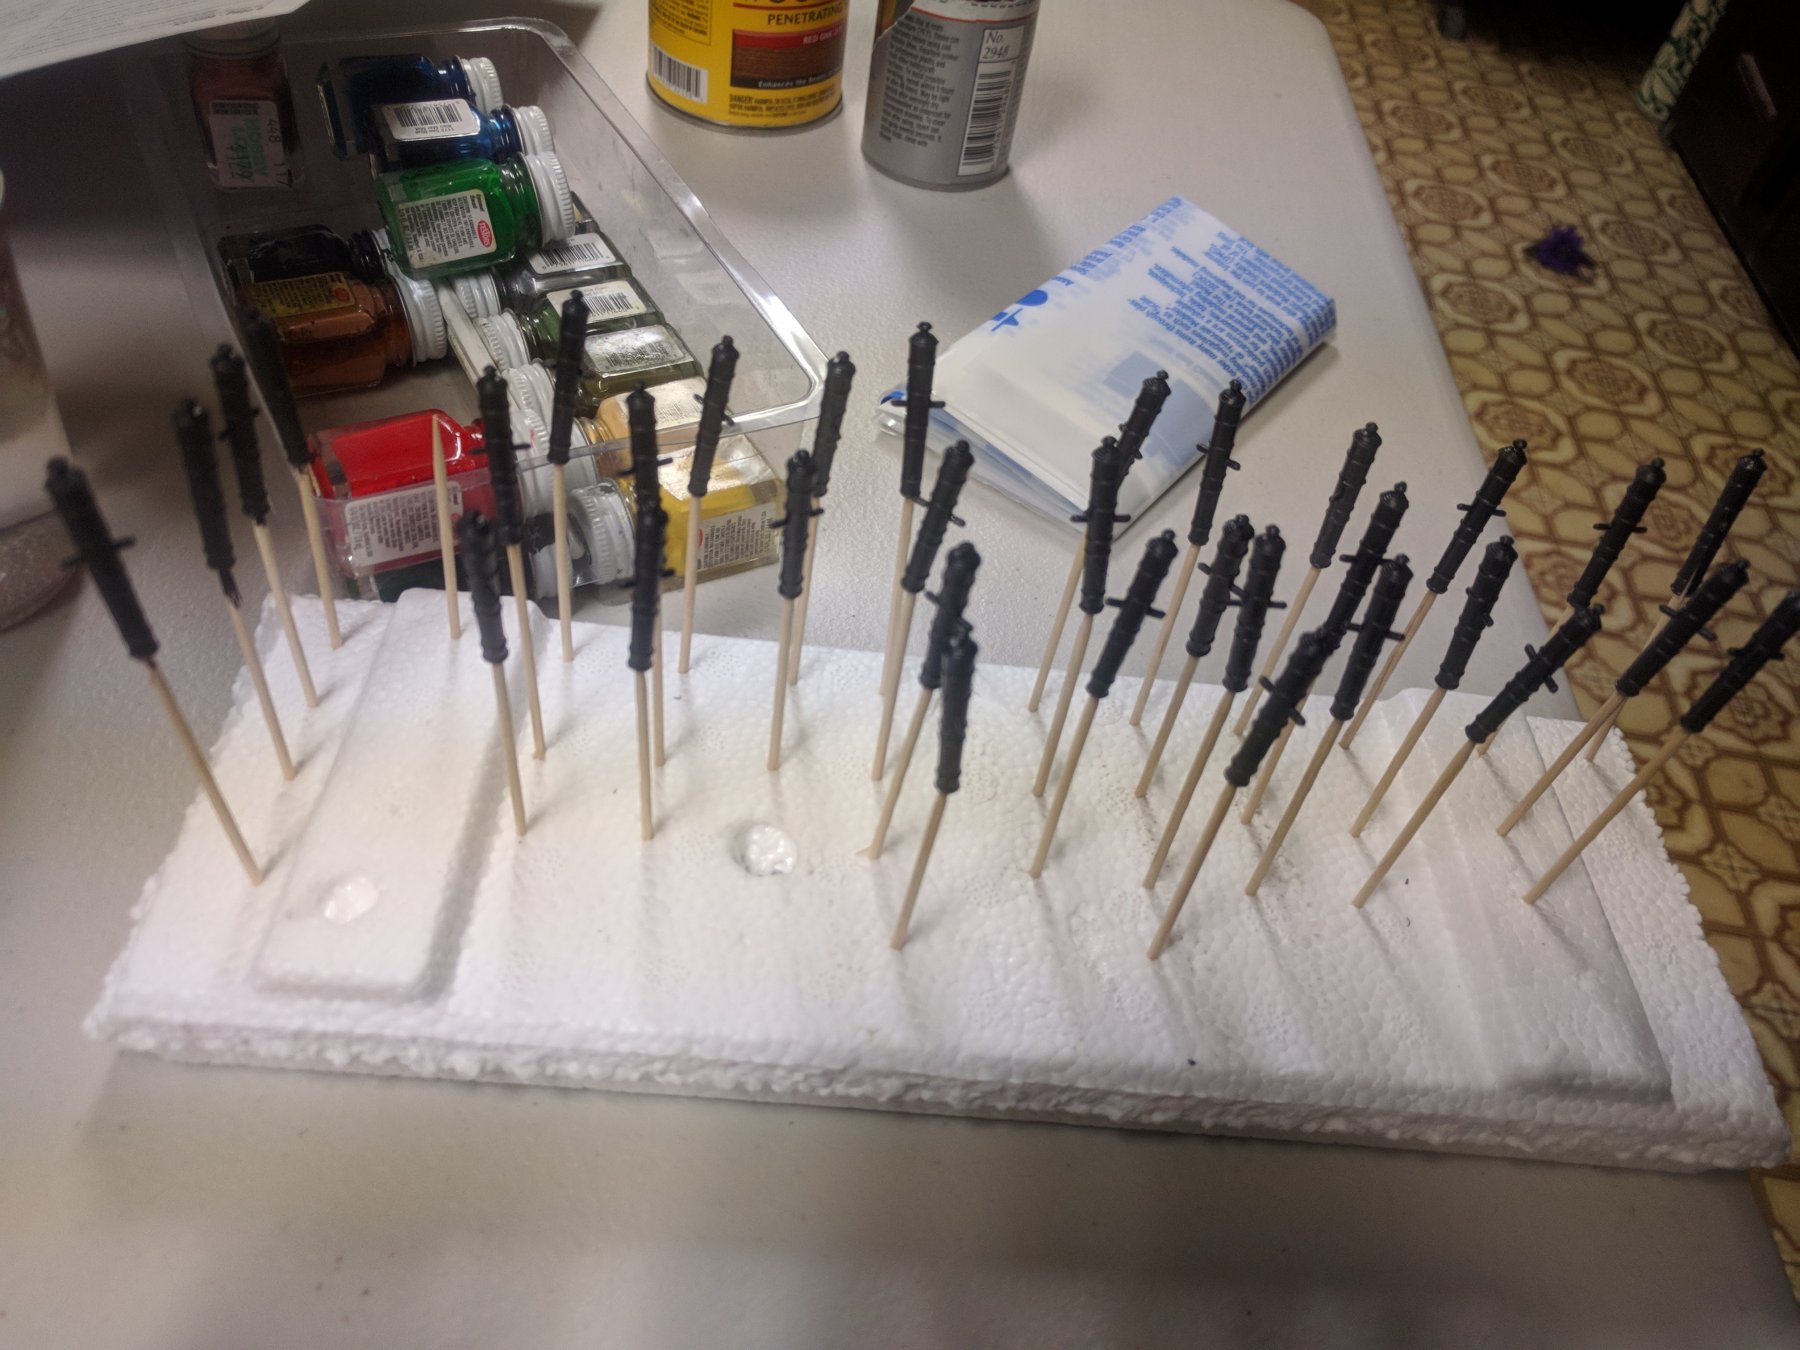
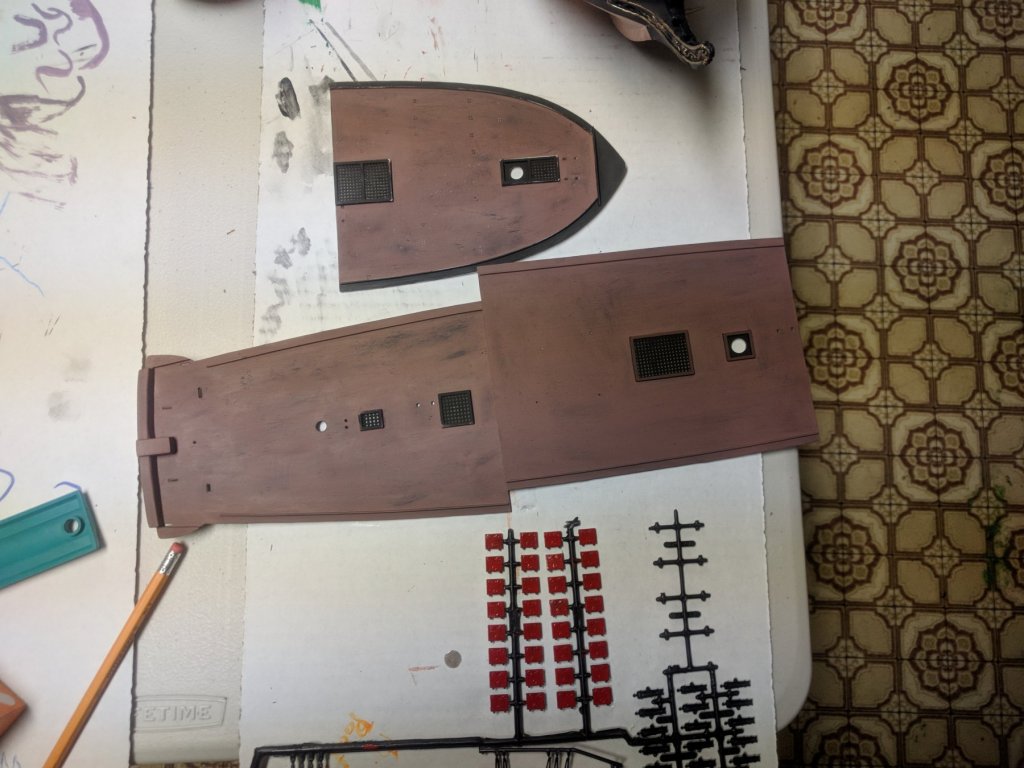
Small updates. I decided to try it acrylic paint, I am much happier with how easy it is to work with compared to enamel. Mostly just been painting the last couple days, lots done today during the college football playoffs ( too bad Sooners...). I glued the 33 long guns together, painted the gun deck sections, attempted a dry brush to help the grain stand out, not too happy with the outcome, will likely try again. Details on the hull painted, touched up, bulwarks painted a dark green. Painted the gun port doors white, the inside red. I was wanting to drill a hole in the middle of each and cut them in half like shown on the box, but then I realized there are three circular flashing marks on the backs, and they would show... But the red is a nice touch anyway. I also started painting the stern details, no picture, because it looks horrific right now...


- 11 replies
-
- 2
-
-
- first build
- plastic
- (and 2 more)
-
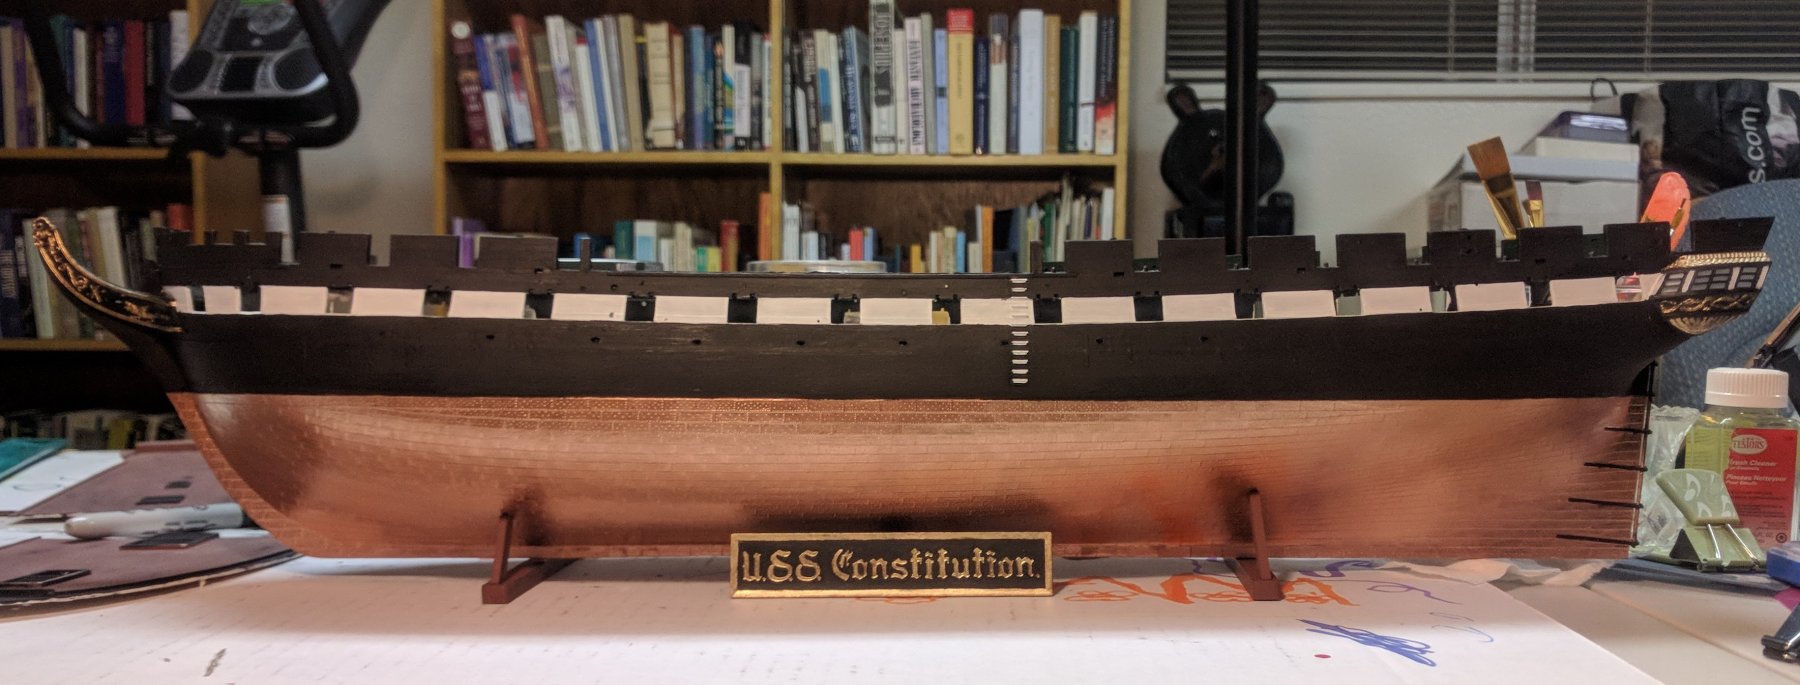
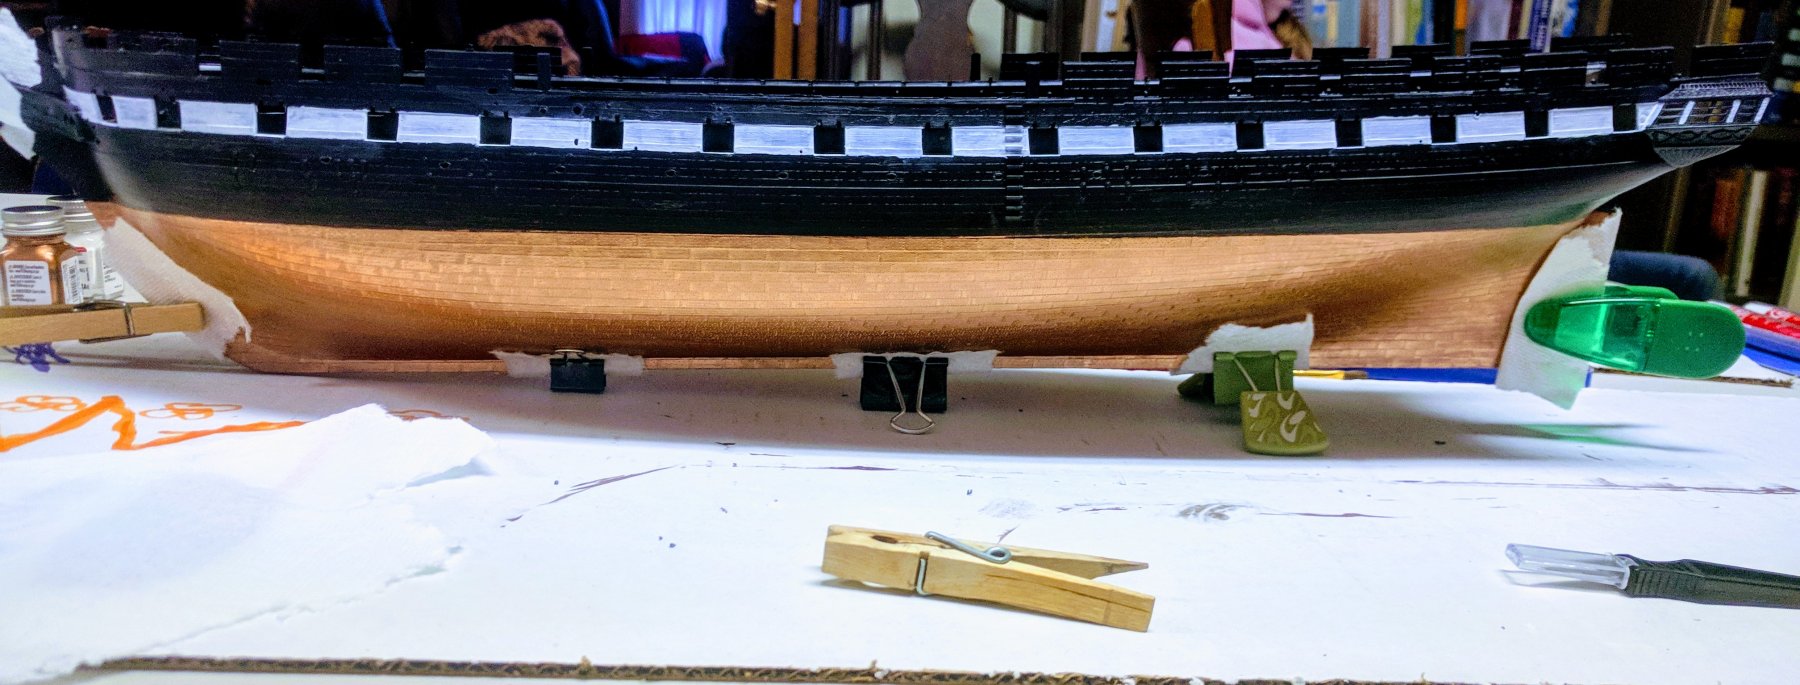
Got the kit for Christmas, convinced my wife to let me into it early. Been going on it for about a week now. Kinda crazy all the additional little purchases you need to make to aid in the build. This image is from a few days ago. I had seen different recommendations on how to paint (I'm REALLY new to this) as far as priming, thinning, enamel vs acrylic. I decided to go with enamel, no priming or thinning so that I wouldn't have to paint the whole hull black, but I'm regretting that a little now and I'll probably have to go back through and paint all the black to get rid of the little mistakes I made with the white. I taped off the waterline to get a nice clean line, but there was some seepage in places, more drastic in others as well... I cleaned that by taking a Q-tip soaked in thinner and rubbed it off, same as I did with the white, which you can tell it kinda left smears, a few more wipes with a clean Q-tip and it mostly went away. You also can't really tell in the picture, but there are obvious brushstrokes in the copper plating below the waterline and I don't really know how to get rid of them. I'm thinking I just need to paint another coat with some thinned paint. From here on out, I'm going to be priming any large part that I need to paint (decks, mast, etc.), and thinning at a paint to thinner ratio of 15:1. Any recommendations would be greatly appreciated. -Galen

- 11 replies
-
- 3
-
-
- first build
- plastic
- (and 2 more)
-
LASVcard changed their profile photo
-
Provo/Orem area. I'm finishing up a Master's at BYU this summer, then hopefully off to a PhD somewhere.
-
Hey, After being fascinated with the detail put into models for years, I just started ship building, and I got Revell's 1:96 USS Constitution for Christmas. I realize now that it is going to be quite an ambitious project. The last model I build was an F-16 fighter jet over ten years ago. Needless to say I just glued that one together right out of the box, added the decals, and painted a few things. But I'm old enough, smart enough, and patient enough now (maybe?? ) to do a good job on this build. Most importantly I think, is that I want to have a great finished product when I'm done! Any help is greatly appreciated, as I am not much of an artist -Galen