RStrick
-
Posts
6 -
Joined
-
Last visited
Recent Profile Visitors
340 profile views


-
 Blue Pilot reacted to a post in a topic:
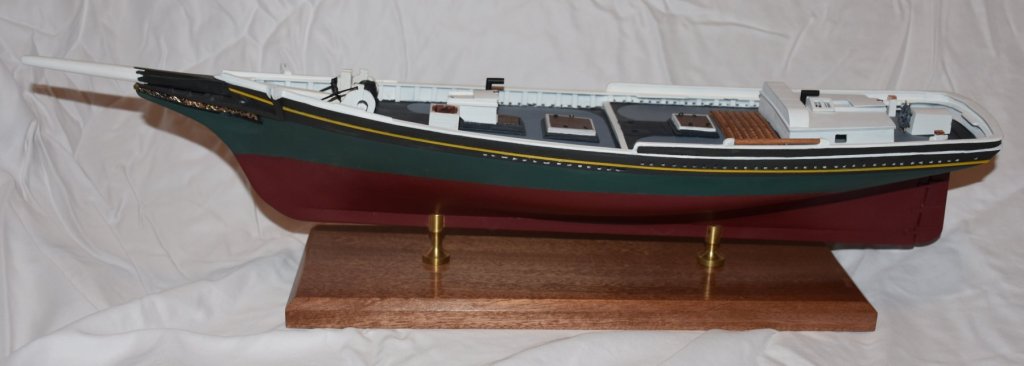
Smuggler 1877 by RStrick - BlueJacket Shipcrafters - Scale 1:48 - Gloucester Fishing Schooner
Blue Pilot reacted to a post in a topic:
Smuggler 1877 by RStrick - BlueJacket Shipcrafters - Scale 1:48 - Gloucester Fishing Schooner
-
Papa reacted to a post in a topic:
Smuggler 1877 by RStrick - BlueJacket Shipcrafters - Scale 1:48 - Gloucester Fishing Schooner
-
John Allen reacted to a post in a topic:
Smuggler 1877 by RStrick - BlueJacket Shipcrafters - Scale 1:48 - Gloucester Fishing Schooner
-
John Allen reacted to a post in a topic:
Smuggler 1877 by RStrick - BlueJacket Shipcrafters - Scale 1:48 - Gloucester Fishing Schooner
-
John Allen reacted to a post in a topic:
Smuggler 1877 by RStrick - BlueJacket Shipcrafters - Scale 1:48 - Gloucester Fishing Schooner
-
russ reacted to a post in a topic:
Smuggler 1877 by RStrick - BlueJacket Shipcrafters - Scale 1:48 - Gloucester Fishing Schooner
-
russ reacted to a post in a topic:
Smuggler 1877 by RStrick - BlueJacket Shipcrafters - Scale 1:48 - Gloucester Fishing Schooner
-
russ reacted to a post in a topic:
Smuggler 1877 by RStrick - BlueJacket Shipcrafters - Scale 1:48 - Gloucester Fishing Schooner
-
Tom E reacted to a post in a topic:
Smuggler 1877 by RStrick - BlueJacket Shipcrafters - Scale 1:48 - Gloucester Fishing Schooner
-
Tom E reacted to a post in a topic:
Smuggler 1877 by RStrick - BlueJacket Shipcrafters - Scale 1:48 - Gloucester Fishing Schooner
-
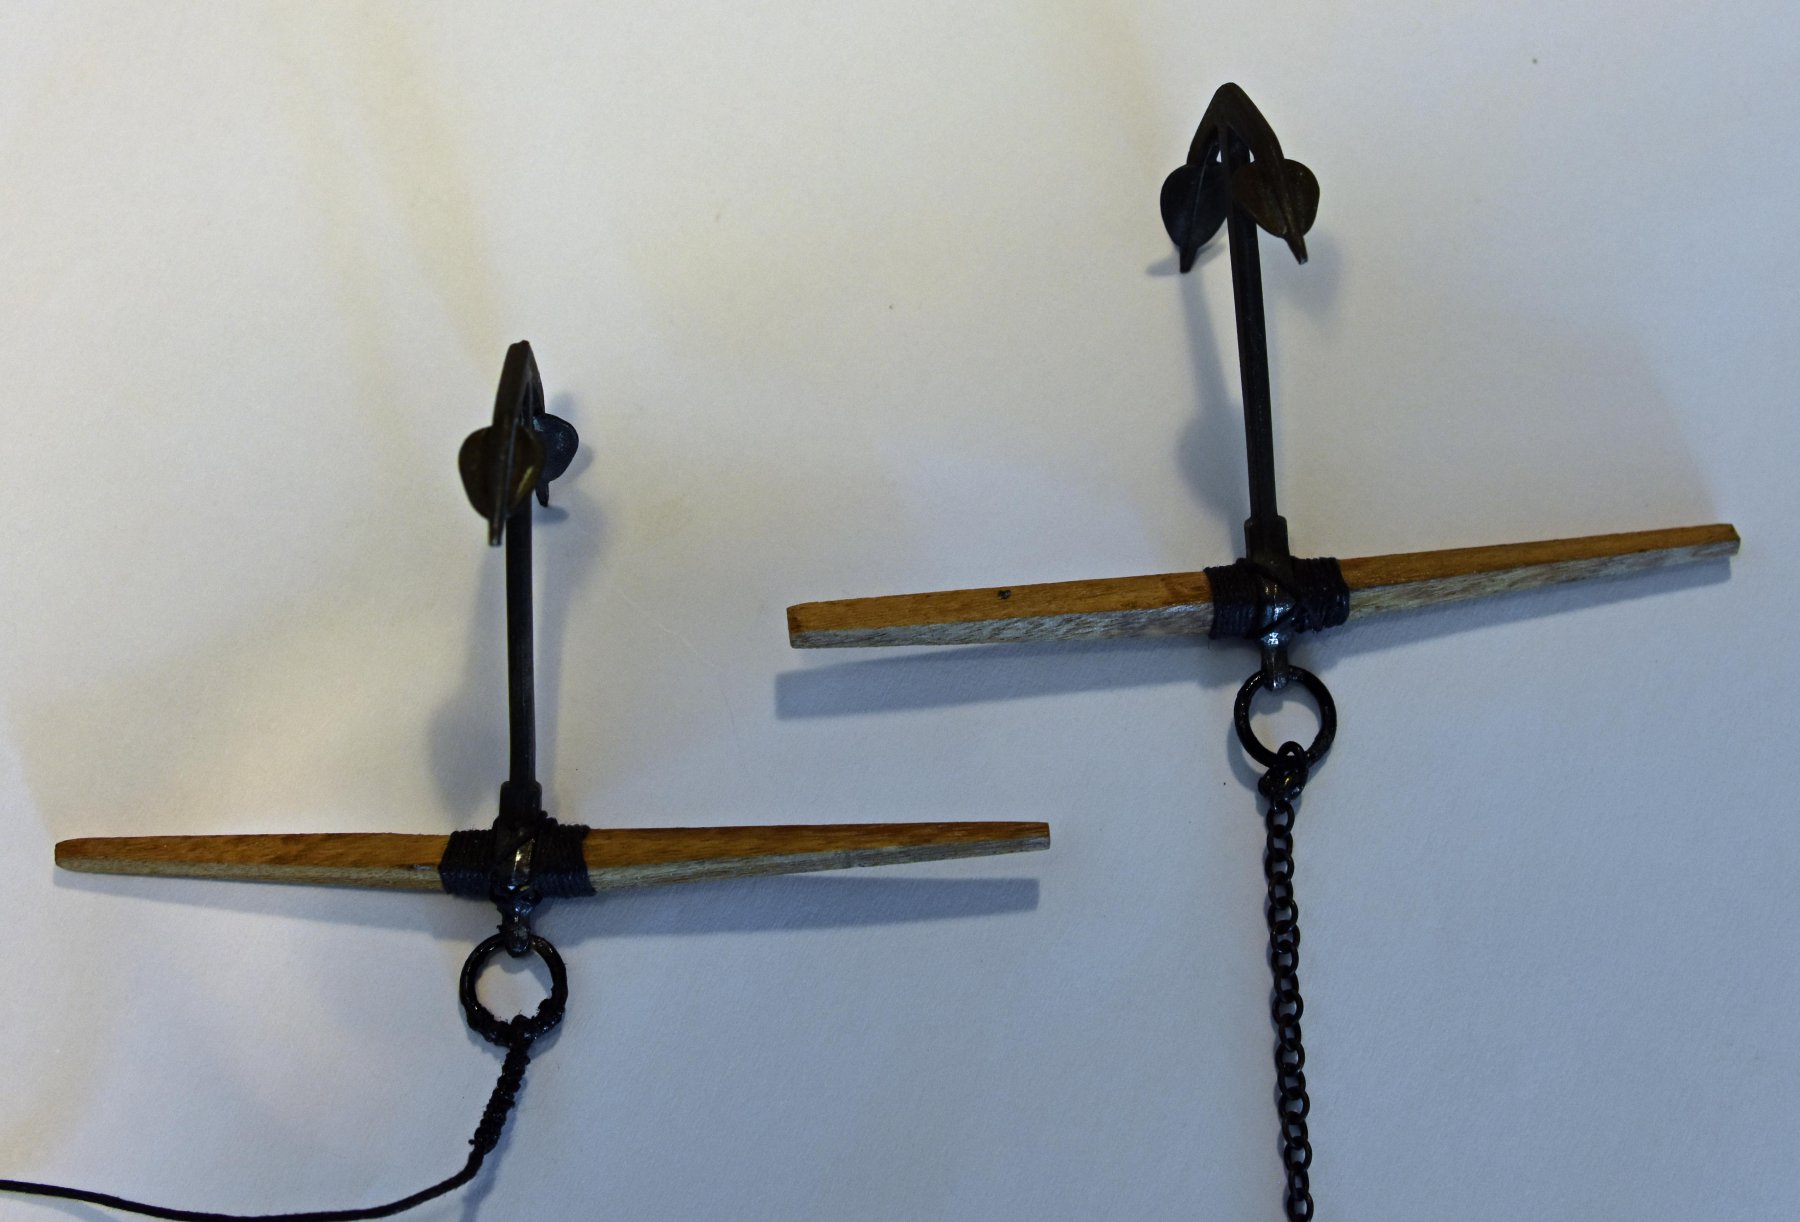
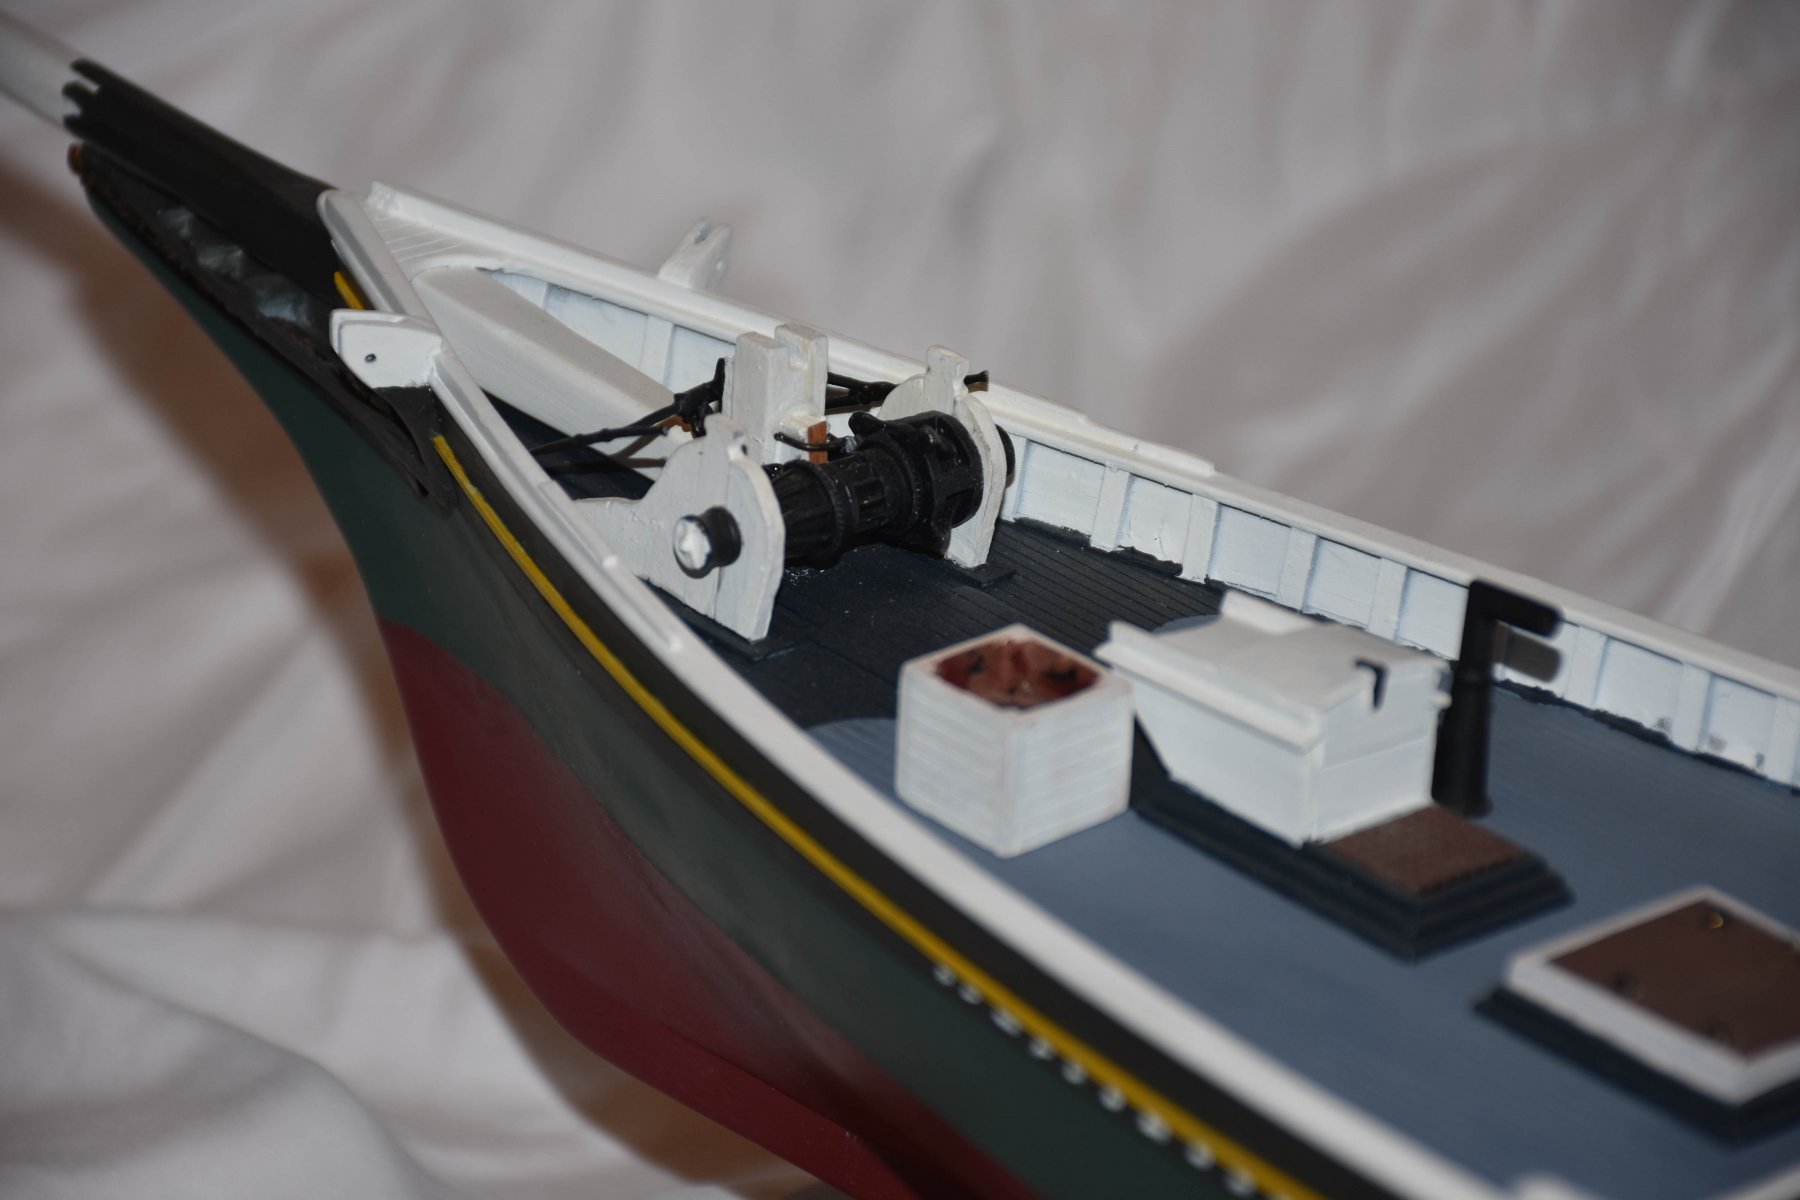
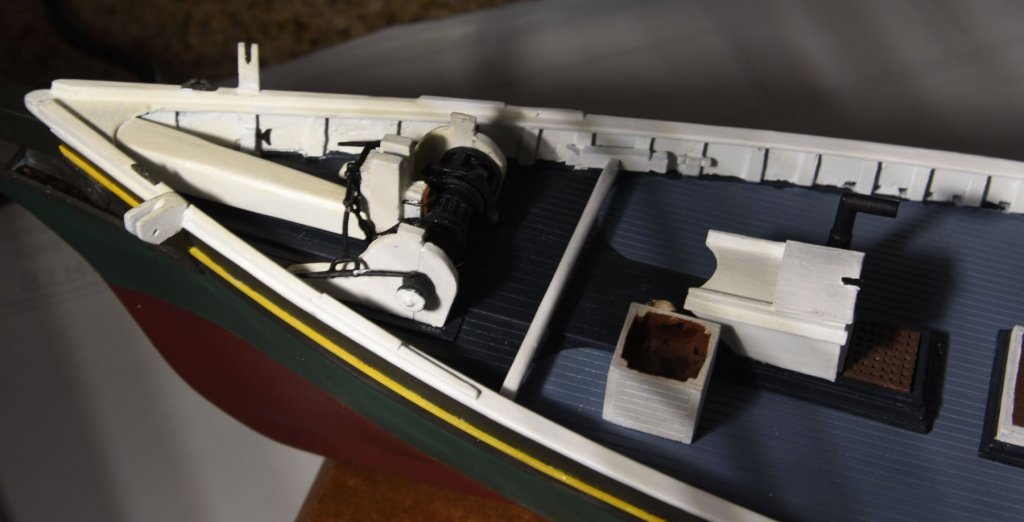
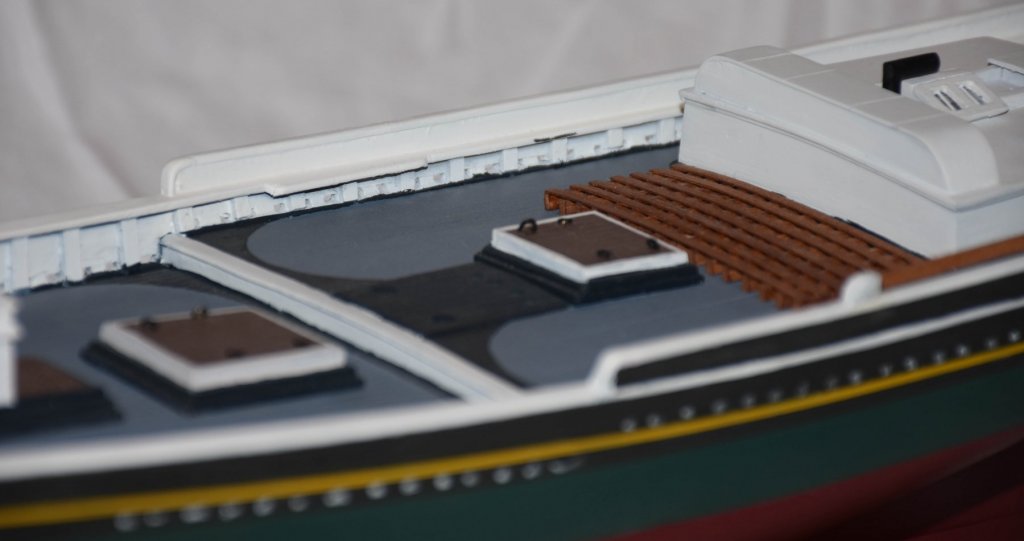
The BlueJacket came with two-part anchors made of Britannia metal. I made new crosspieces made of African teak, which has very fine grain. The windless assembly is set up for a chain on the port side and rope on the starboard side. The port anchor chain is attached to the ring with a shackle made of brass rod with a pin used as a bolt. Blackening chemicals were used in lieu of paint whenever possible.

-
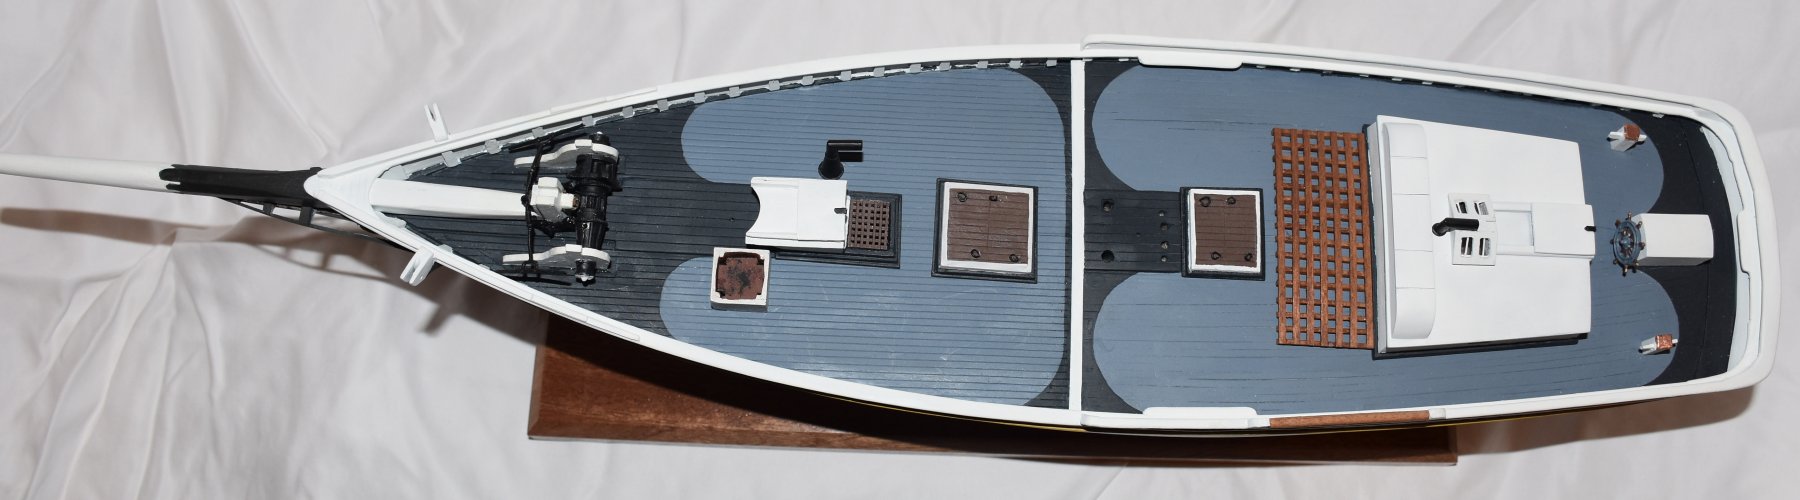
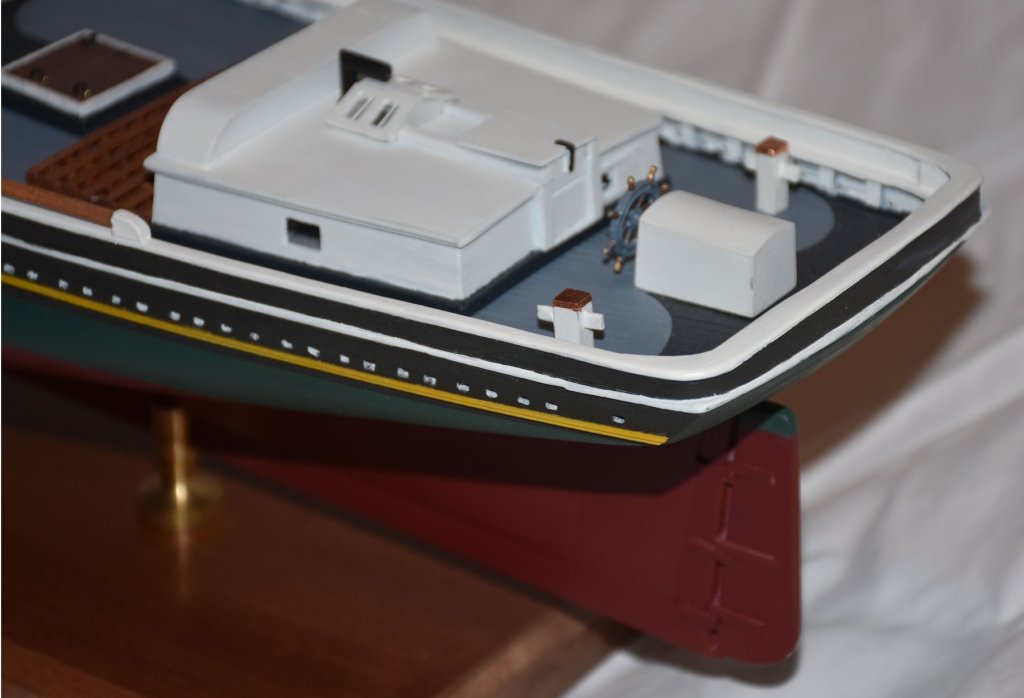
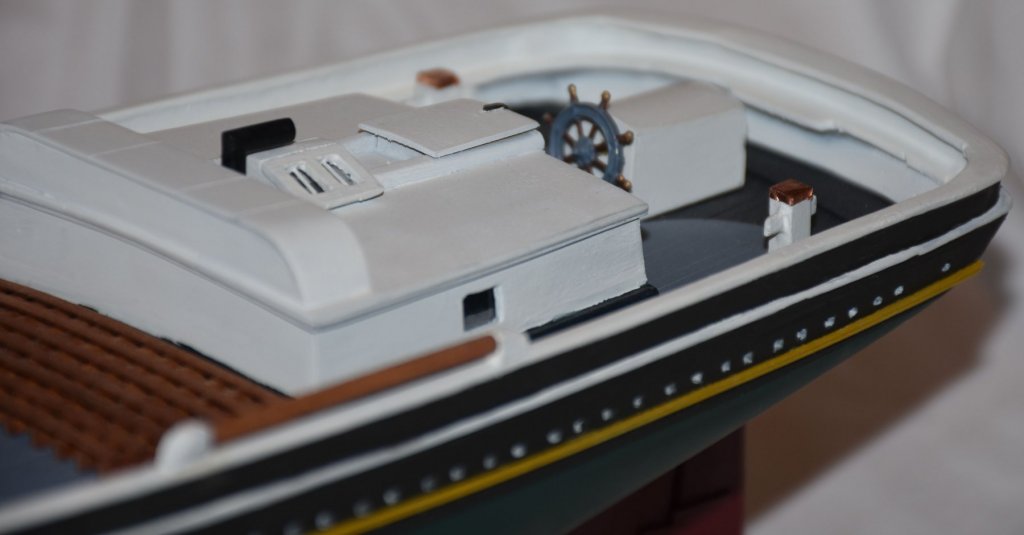
The jumbo horse was made from flat stock since it needs square ends and the length has to be carefully fitted with the cavils on the ends. It has to be curved to match that of the deck with ends as large as the body so dowels would not work.Once I had the correct length I glued the horse to one of the cavils then rounded it. I then painted this assembly and the remaining cavil and added the ring, which I soldered for strength, before gluing into place. I made a mistake waiting to install the 14 small cleats. It would have been much easier to install without some of the large items on the deck and before painting. I had to use a Xacto knife to scape away some paint to get a good glue bond.
-
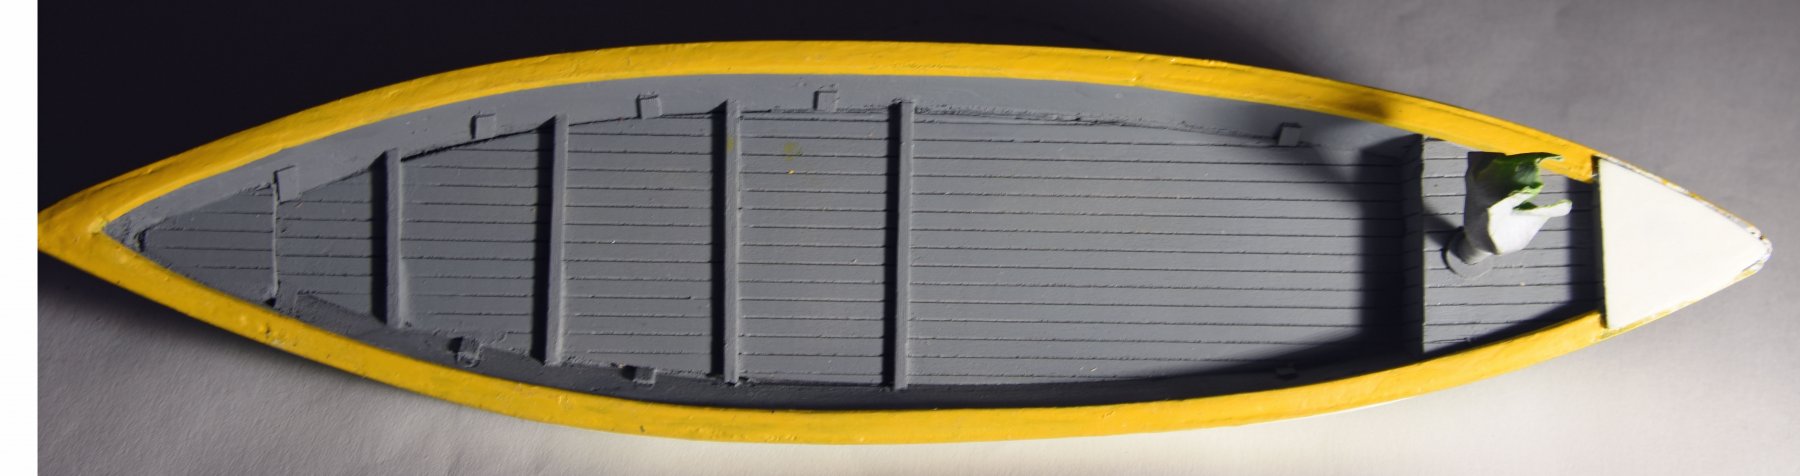
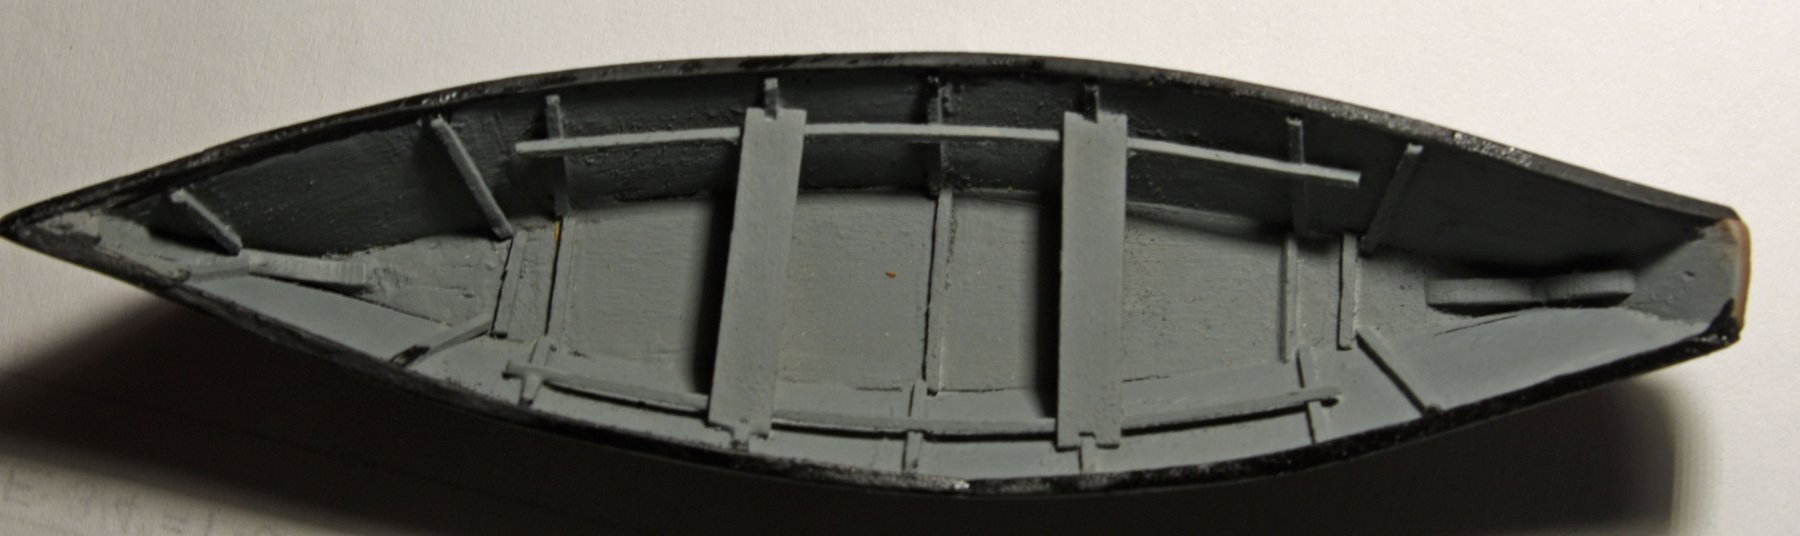
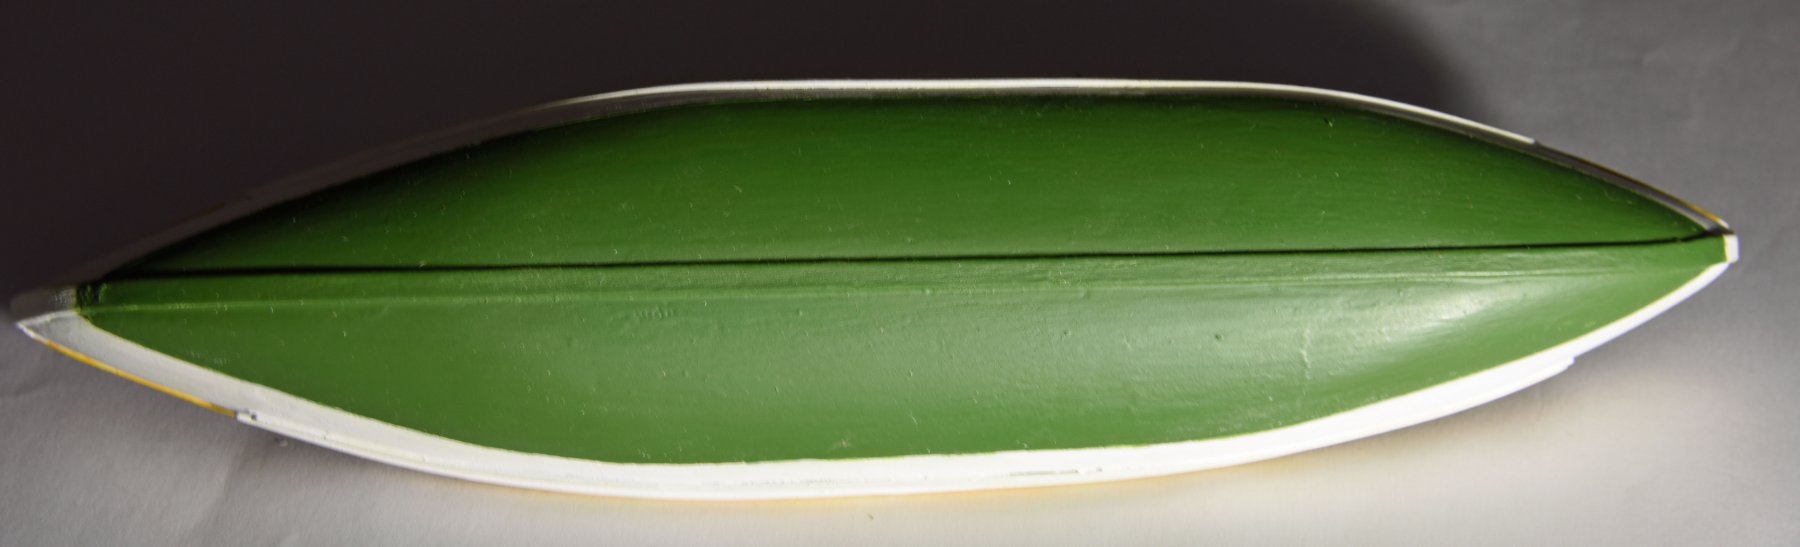
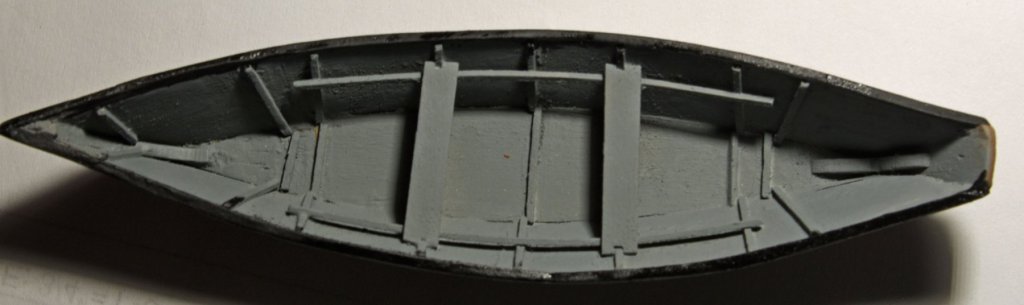
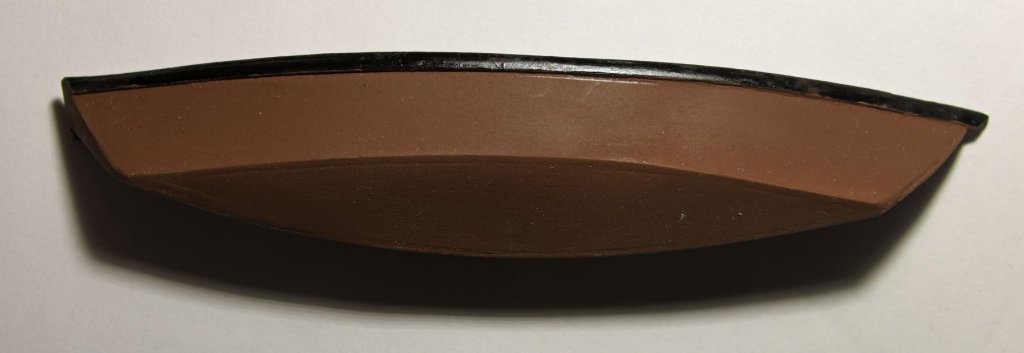
I have been busy adding some details and working on two dories and a larger seine boat. The kit came with a dory kit made of plywood parts. I bought a second dory and the machine-carved hull of the much larger seine boat. The wall thickness required a lot of work with chisels. I added the decking and fore and aft cubbies. The pump is still covered in masking tape since I will be spraying the primed interior before I add the seats and their supports plus numerous details. The interiors of the dories still have to be sanded and painted as they are also just primed. Note that the new close-up lens I am using shows details not visible to the naked eye.


-
Thank you all for the comments and encouragement. It has been a bit difficult to work totally in the blind. I regret not finding out about the NRG sooner. I have worked steadily for the last two weeks as time allowed focusing on the smaller details on deck. I will have more pictures later this month after I return from vacation.
-
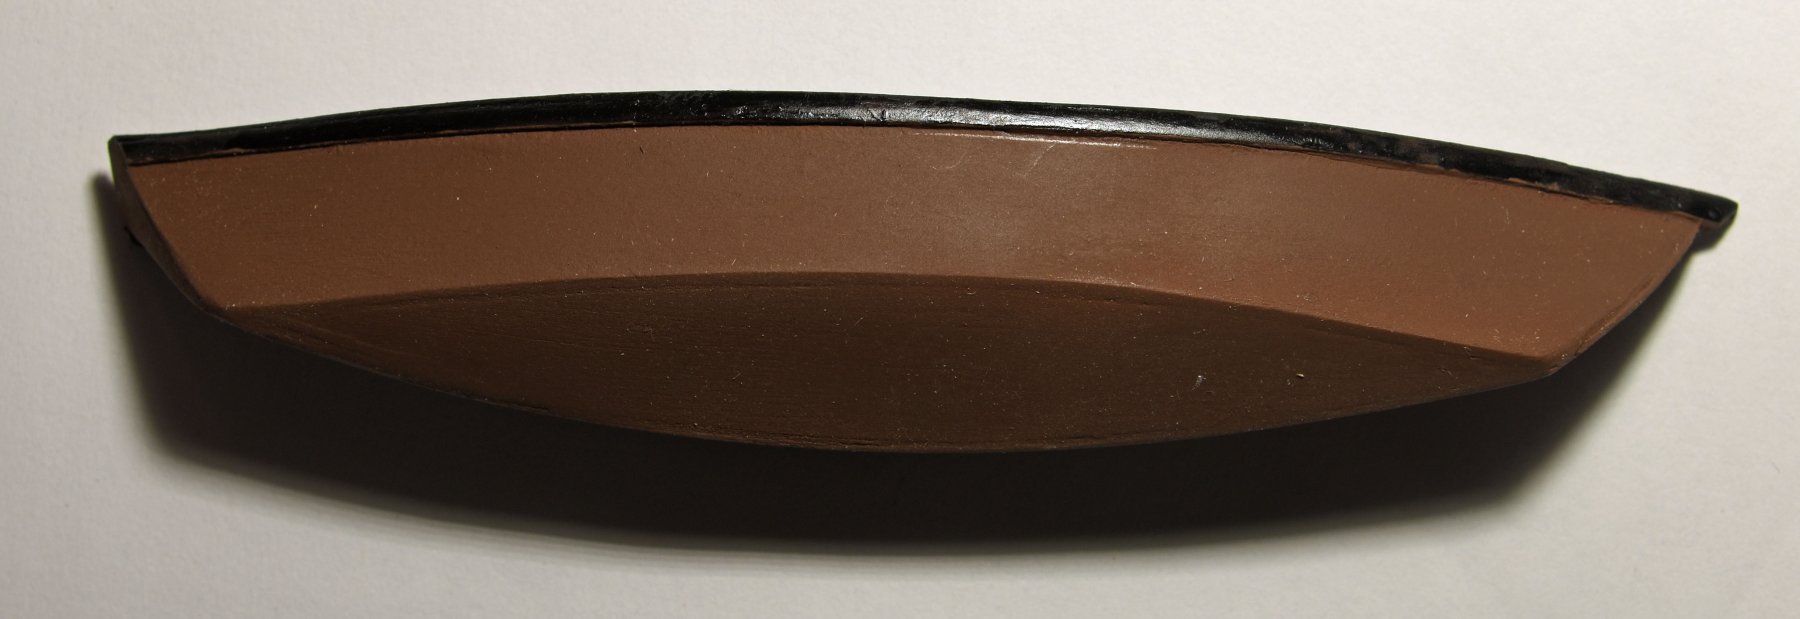
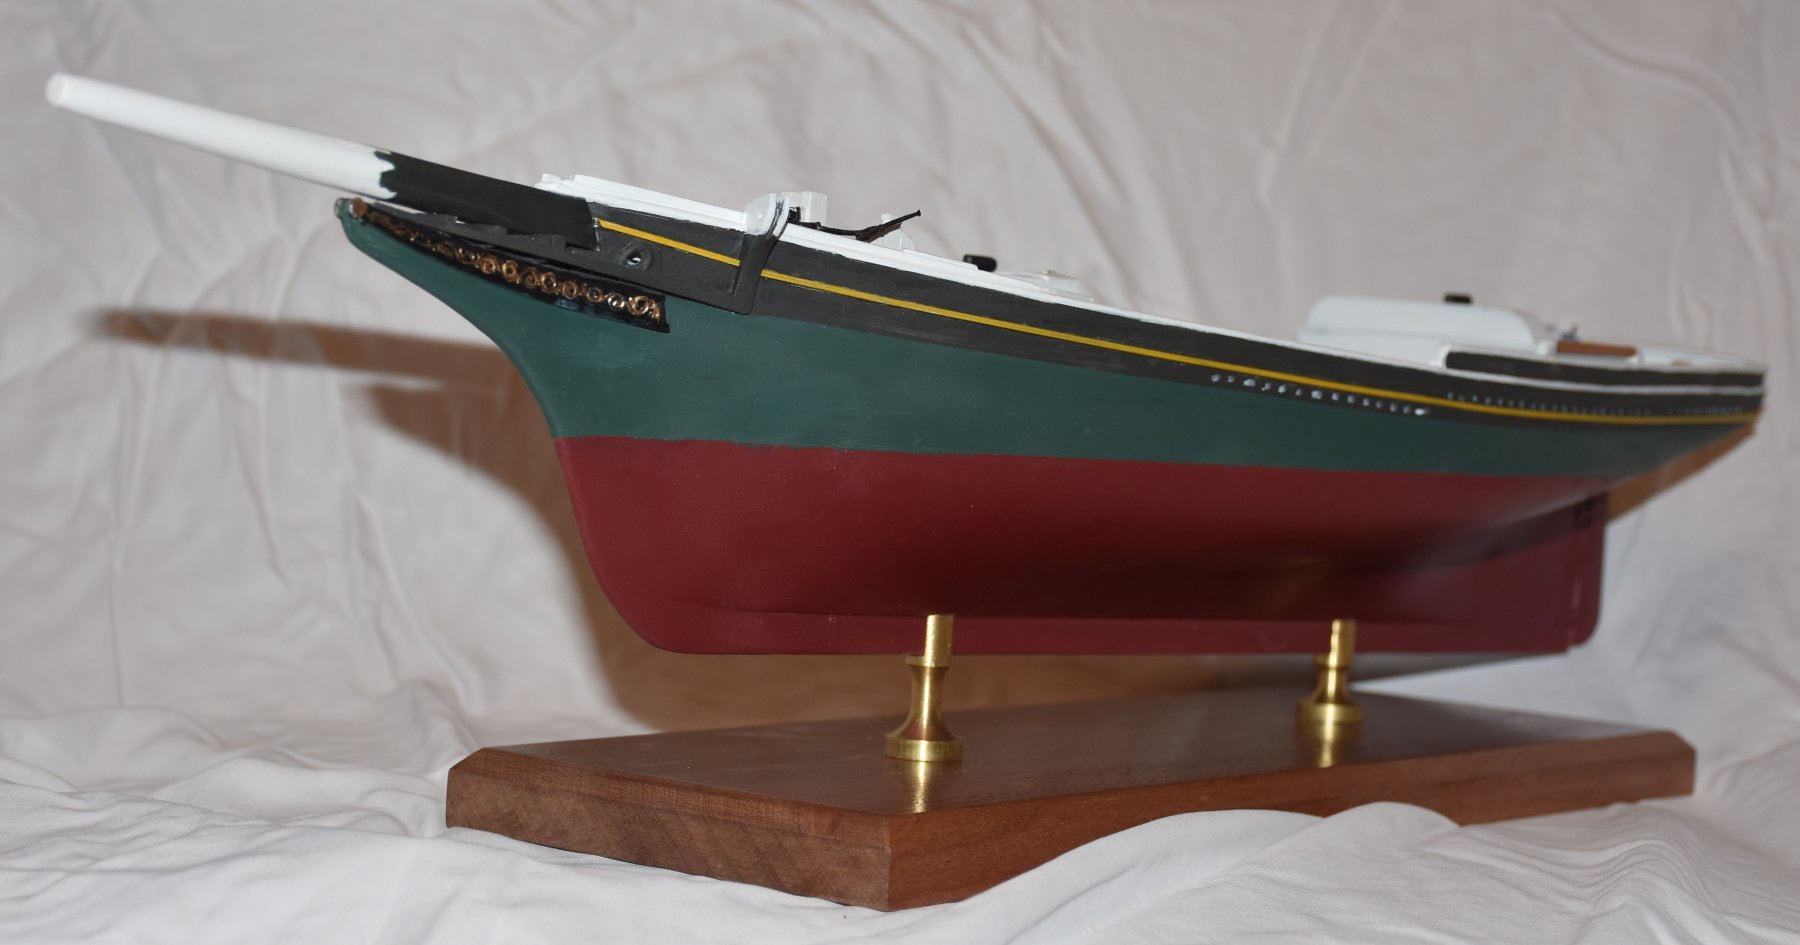
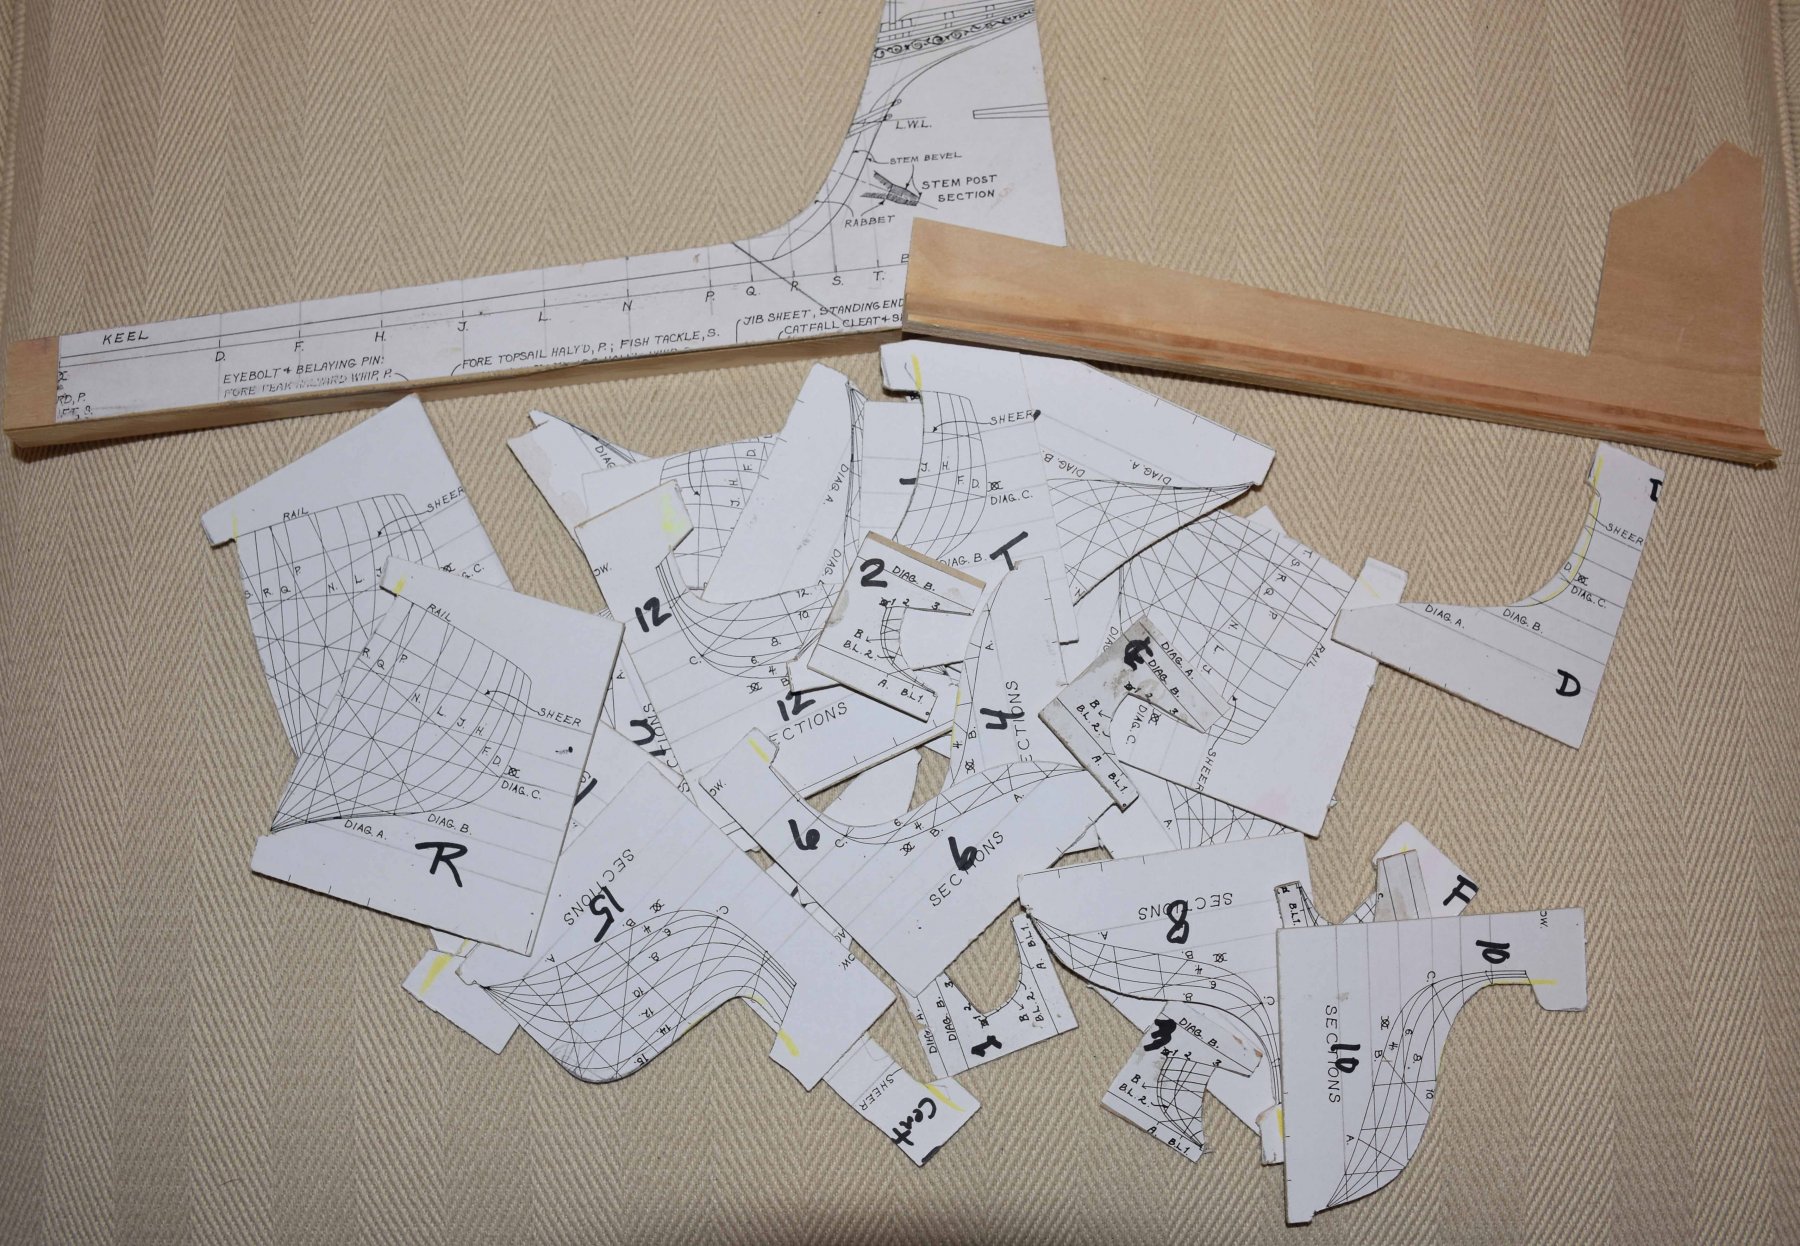
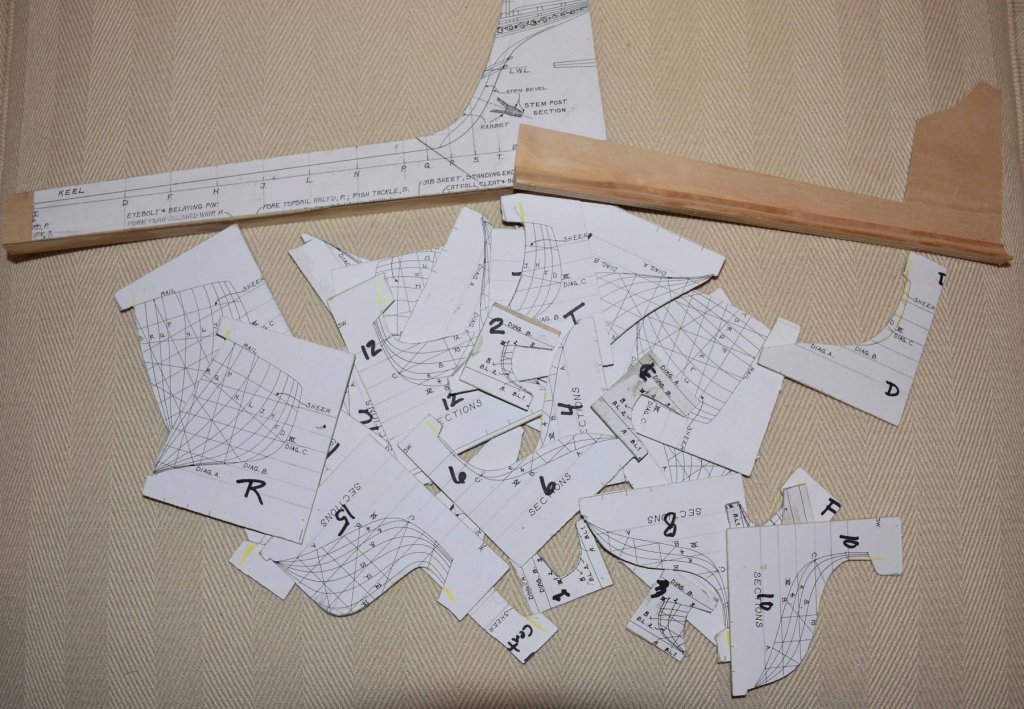
I started this project in January 2017 and worked on it steadily for about three months but have not worked on it since. This is my first model of any kind. In retrospect, it was probably a bit advanced for a first model. I thought my experience as a fairly advanced woodworker and having engraved scrimshaw for several years gave me some of the skills (and most of the tools) I would need. The one thing that kept me going was the Bluejacket helpline that is manned by a very experienced modeler. In fact, Charlie has built models not only for himself but under contract to Bluejacket for those individuals that are willing to pay a great deal of money for a model. He has built the Smuggler more than once. The hull and major structures have been completed and painted. Next, I plan to finish everything except for the masts and rigging. I have also nearly completed two dories and a seine boat. The woodworking tools that I have found most useful are a Lie-Nielsen small brass block plane and some very sharp chisels. This is a solid hull construction. I thought that was a good place to start for a first model. I made templates by getting several photocopies and using spray adhesive to mount them on separate pieces of 1/16” plywood. Each was cut out with a coping saw and finished with sandpaper and a curved sanding block to get just up to the line. The fore-aft templates were reinforced to make sure they remained straight. Once I got the hull shaped as perfectly as possible using the templates to confirm the shape I made a major deviation from the kit plans based on a recommendation from Charlie. The machine-shaped hull has the bulwarks and transom incorporated. Rather than trying to chisel the inside of the bulwarks and transom to get to the proper thickness and attempting to sand the decks to shape, I cut everything off at the level of each deck. At this point, I was able to sand the decks exactly to the shape I wanted as everything was open. I installed the scribed decking supplied in the kit on the foredeck as the original Smuggler has straight planking. However, rather than taking the same approach on the main deck, I purchased wood strips so that I could install curved decking in the same way it was on Smuggler. I then installed the waterboards and built up the bulwarks and transom using 1/16” v 1/16” strips. This method allows one to get accurate wall thickness and real scuppers.


- 11 replies
-
- 12
-