GrandpaPhil
-
Posts
4,877 -
Joined
-
Last visited
Content Type
Profiles
Forums
Gallery
Events
Everything posted by GrandpaPhil
-
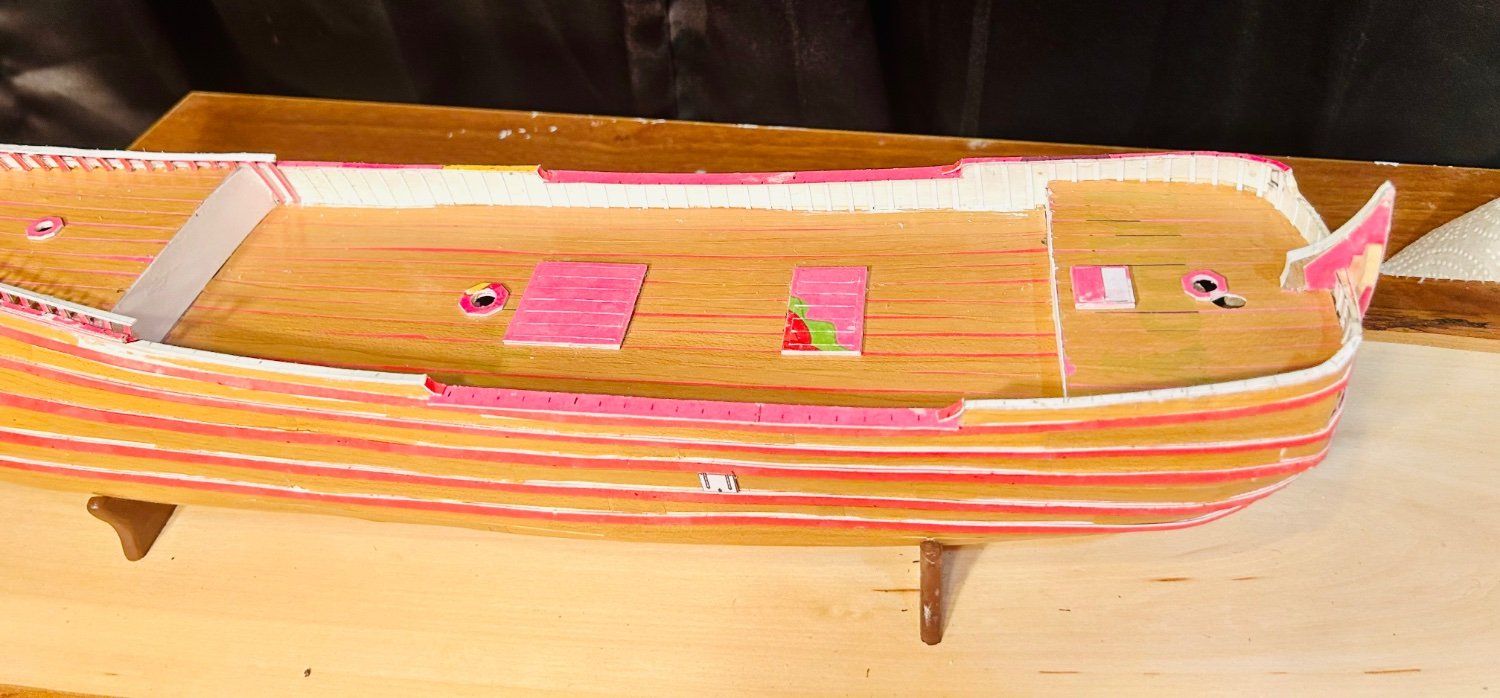
Made a little more progress: Railings are done. Stern trim is done. All gunport lids are just dummy gunports, there is nothing behind them.


- 77 replies
-
- 10
-

-
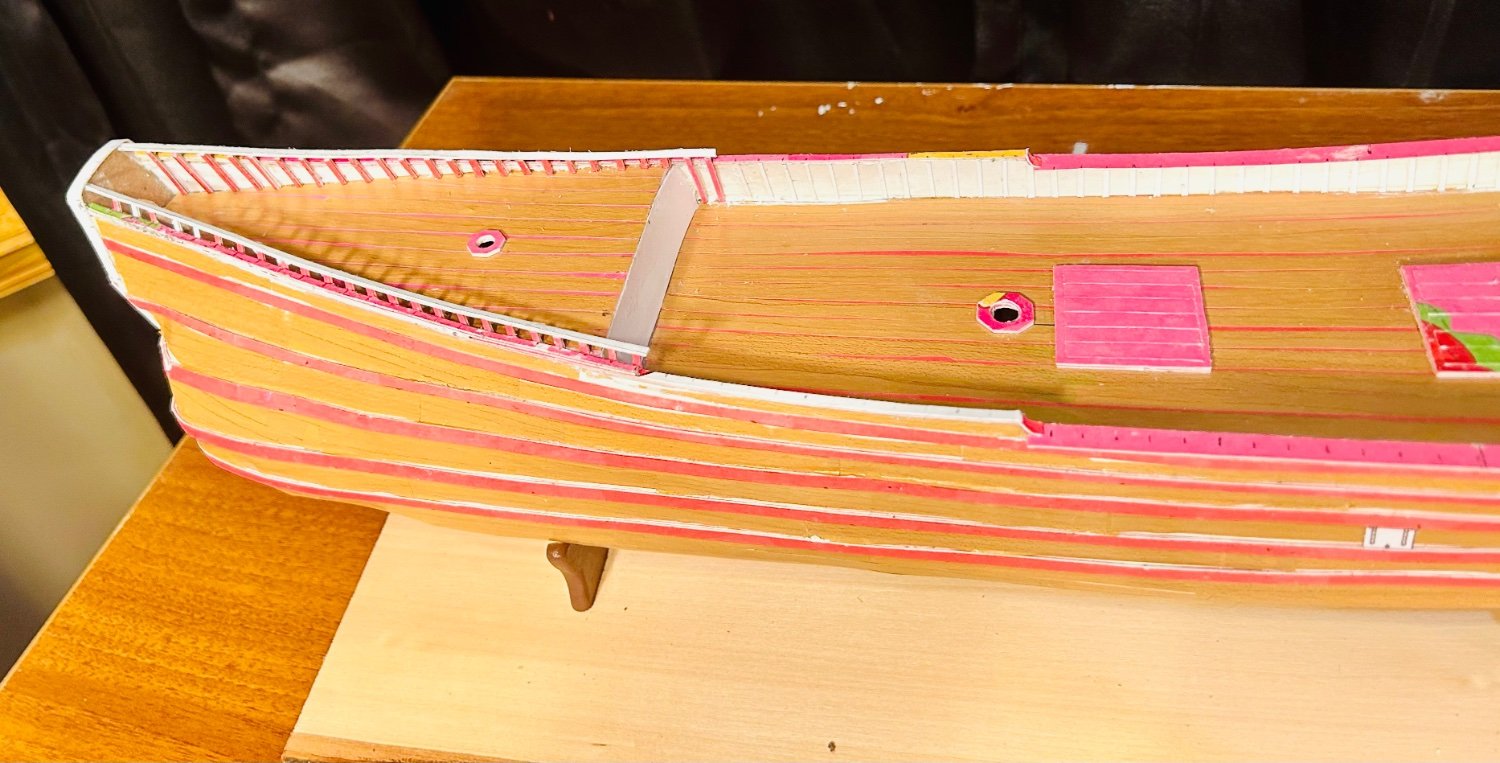
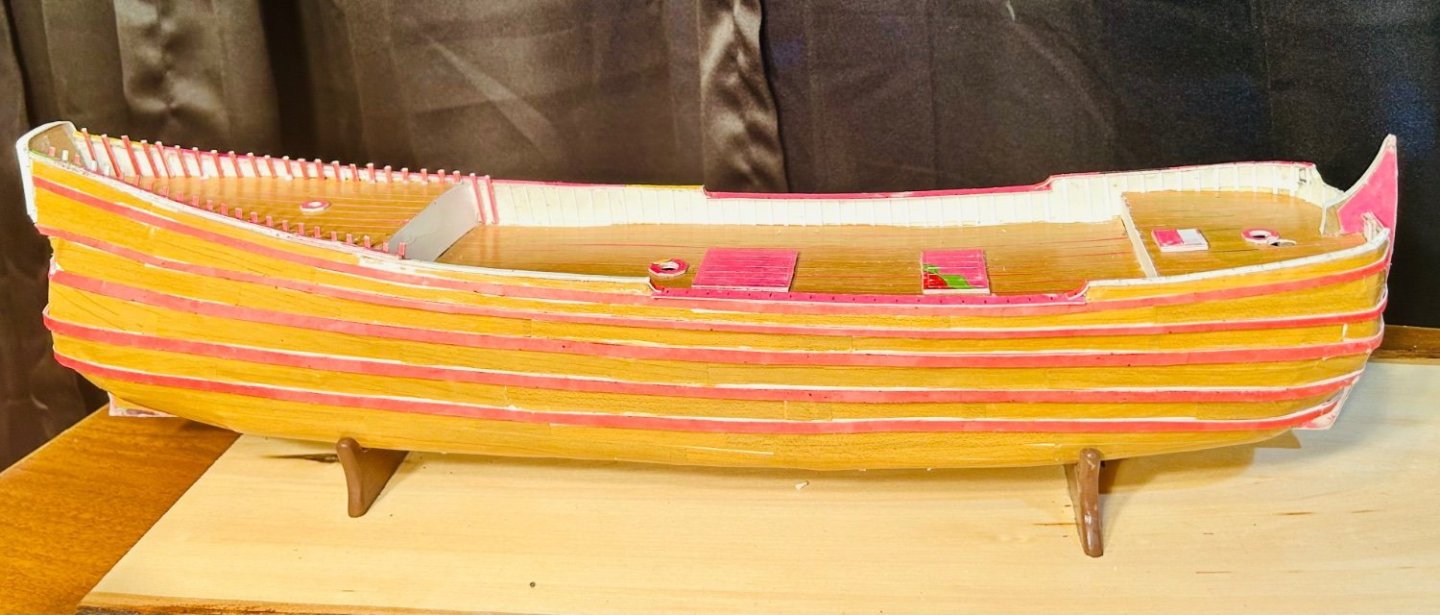
The railings are nearly complete: The frame extensions are complete. Next I will add the last railings and then the accent trim pieces to the stern. I still need to make the companionway with the associated door in the bulkhead in front of the quarterdeck, prior to the initial painting. I carved 2 caryatids from McKay’s Sovereign of the Seas book for the doorframes. I know this ship is supposed to have only minimal decoration, but I wanted to see if I could make them. I am going to install most of the hull fittings prior to painting as well. I have most of them already copied and drawn out. They just need cut out and installed.
-
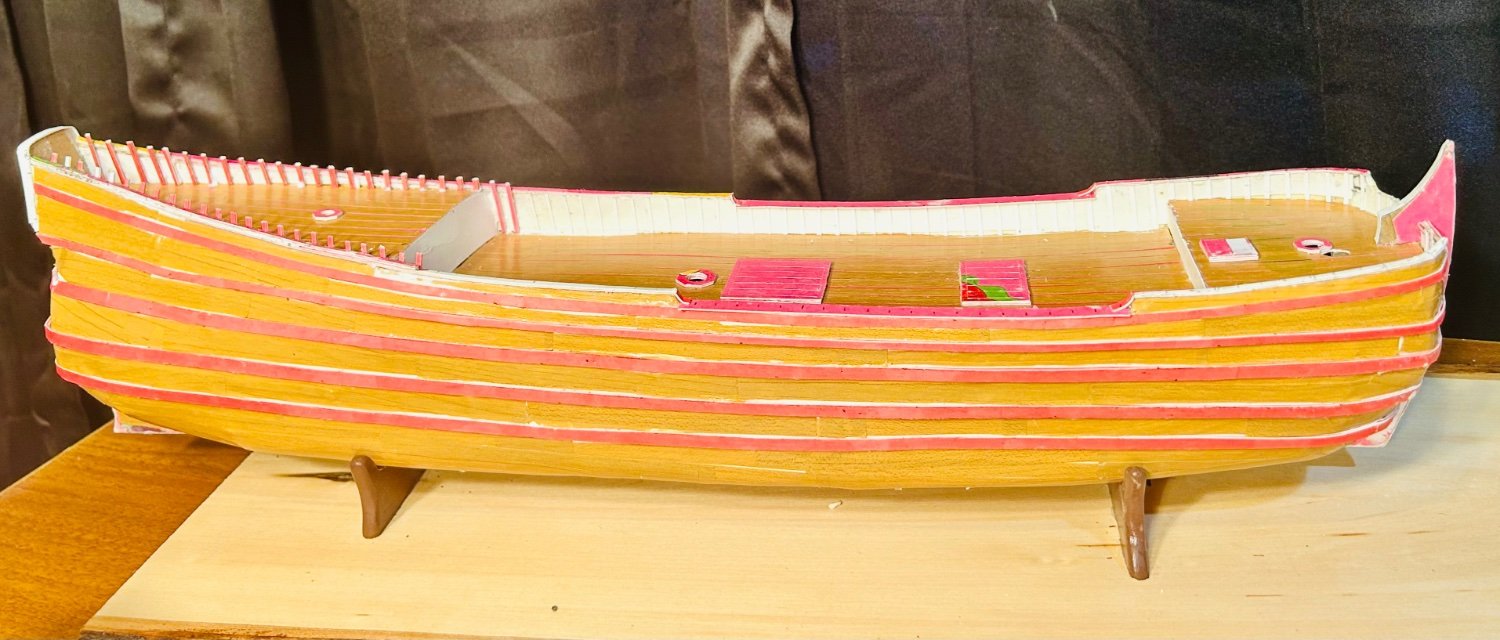
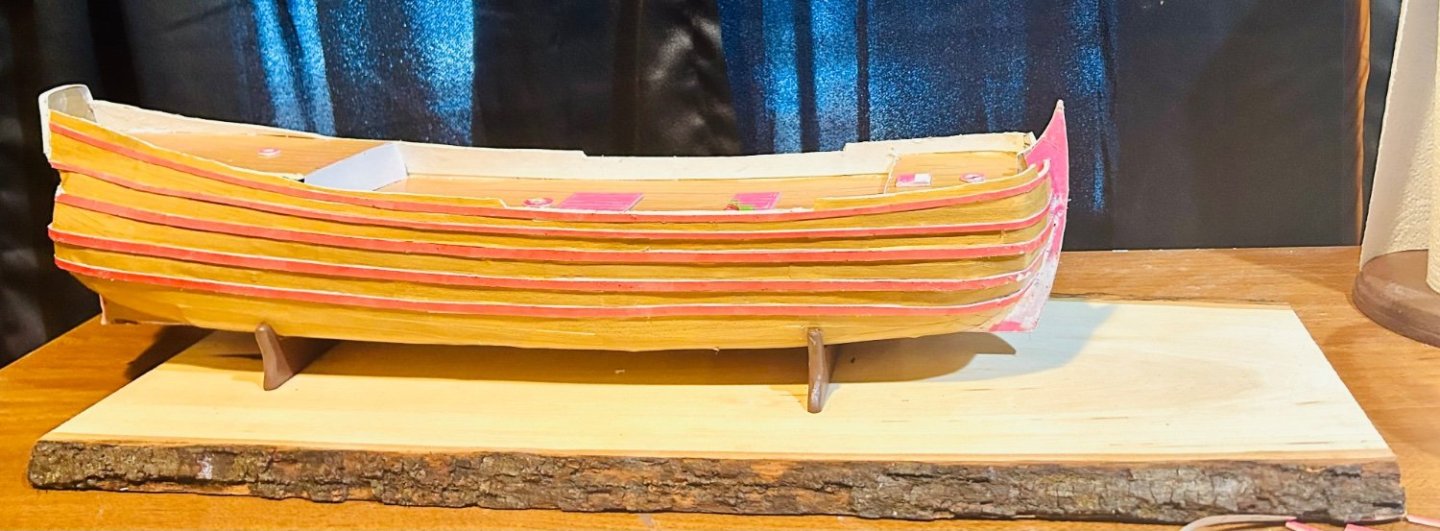
The outer hull covering is on: Been working deck fittings too: The grating is done, but needs painted before assembling and I want to paint everything before it gets installed. I know the run of the “planking” is a little (read a lot) off, especially by the bow and the stern, but it shouldn’t matter. Everything is getting sealed and painted and the last two times I built like this, you couldn’t even really see the run of the planking at all and that was with contact paper with a lot more wood grain than this contact paper. My next step is to seal the entire model again and start to add railings, with their associated supports, a companionway and frame ends. Then on to the hull fittings. Then it will be time for the initial painting!

-
Welcome!
-
Welcome!
-
Chris, They use the pulp board for the laser-cut pieces? So, I can use that for the thicker pieces, like framing, on my Orel kits (I made a run on their ironclad and pre-dreadnought battleships) that would ordinarily be purchased as aftermarket laser-cut sets? I ask because I have a large sheet of the pulp board I bought for the inner hull covering on my cat ship that I am done with now and thought would sit around until I built another one from scratch.
-
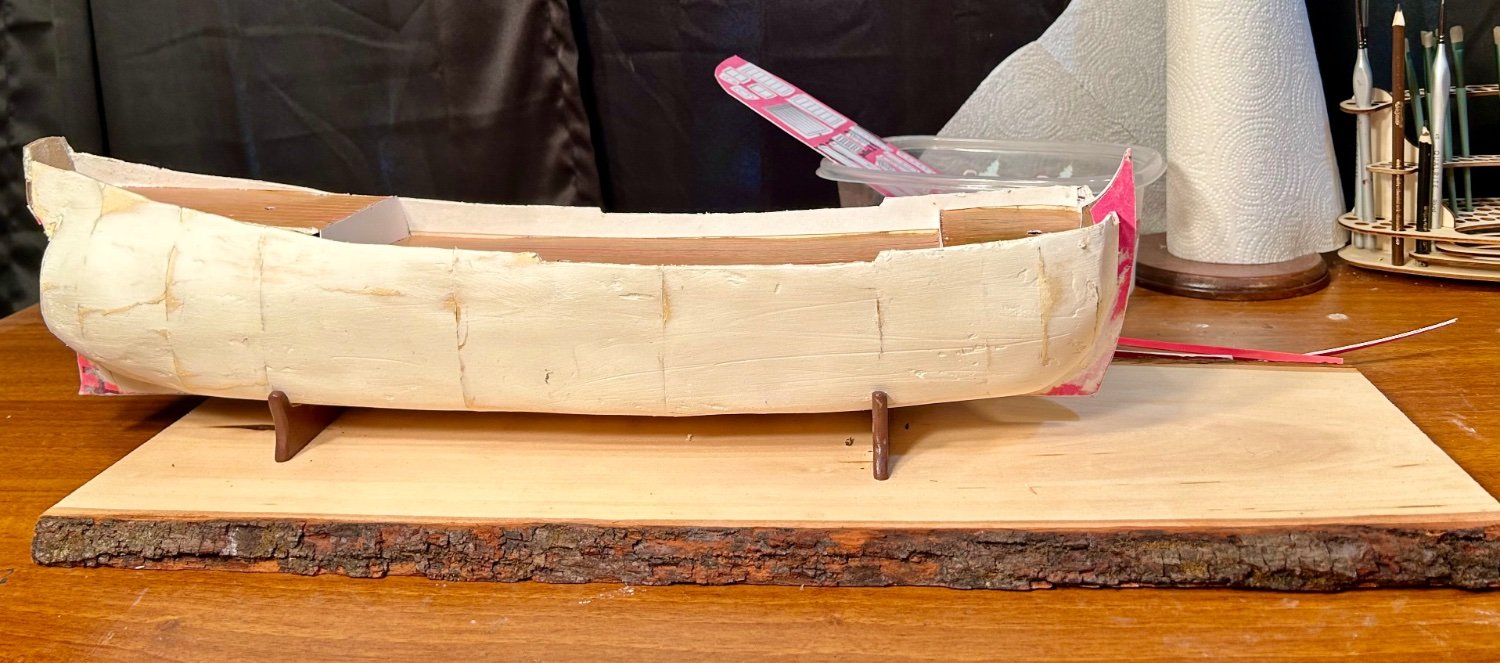
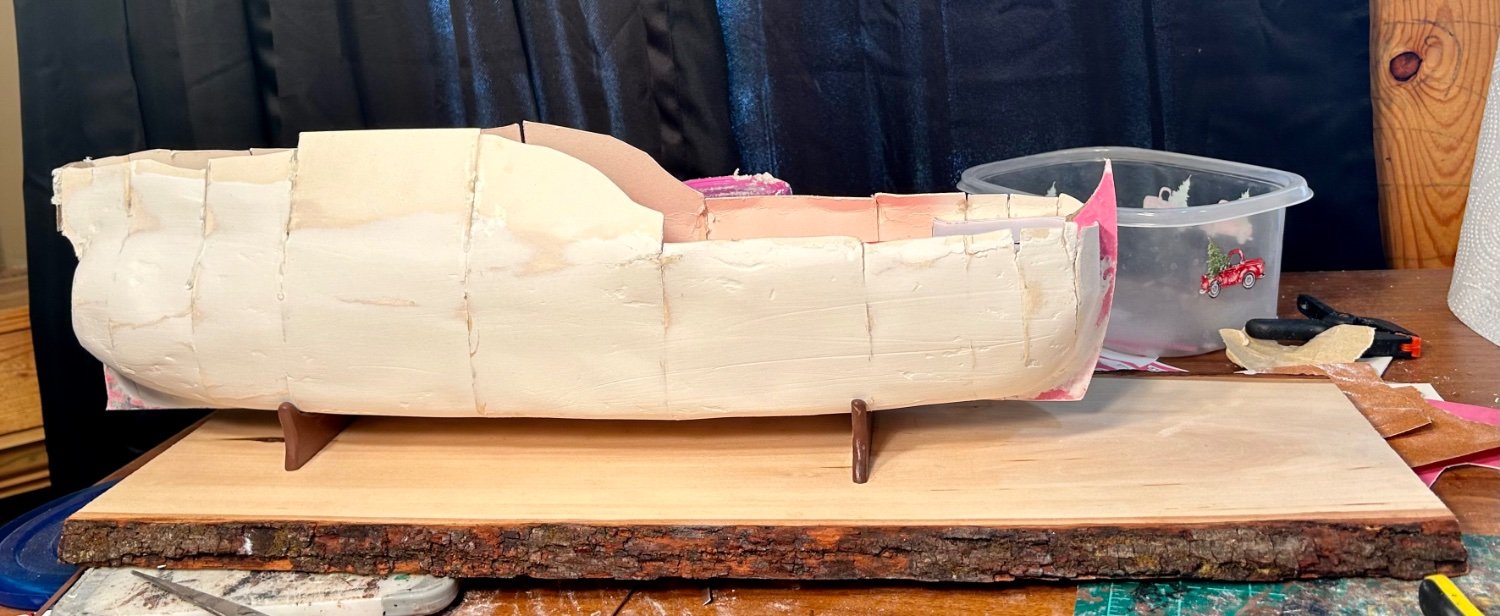
I cleaned up my work area and now have a basic hull, awaiting 4 sets of wales:

-
Welcome!
-
Yes, the hull would likely have been coppered. Black, with white across the gunports was a common color of the American sailing Navy.
-
Mike, Out of curiosity, do you have a release date for Ab Hoving’s new book, yet?
-
I use clear plastic packaging for glass on models, too. It has always worked well for me.
-
Ferrus, The cat ship is similar in basic shape to a fluyt, but it is a separate type of ship. The cats are a more basic design and are intended to be more of a working ship. They were mostly flat bottomed and have a nearly square cross-section for more cargo capacity. Cats only had minimal decoration and their sterns typically had a painting on the transom instead of more decorative carvings like the ones on the fluyts or pinas. Think of a seagoing Mack truck. I wanted a cat ship as soon as I saw it in the book and I had so much fun making my last workboat that I decided to build it and try to build a hull with more structural pieces than I had used in the past. I have been enjoying this project.
-
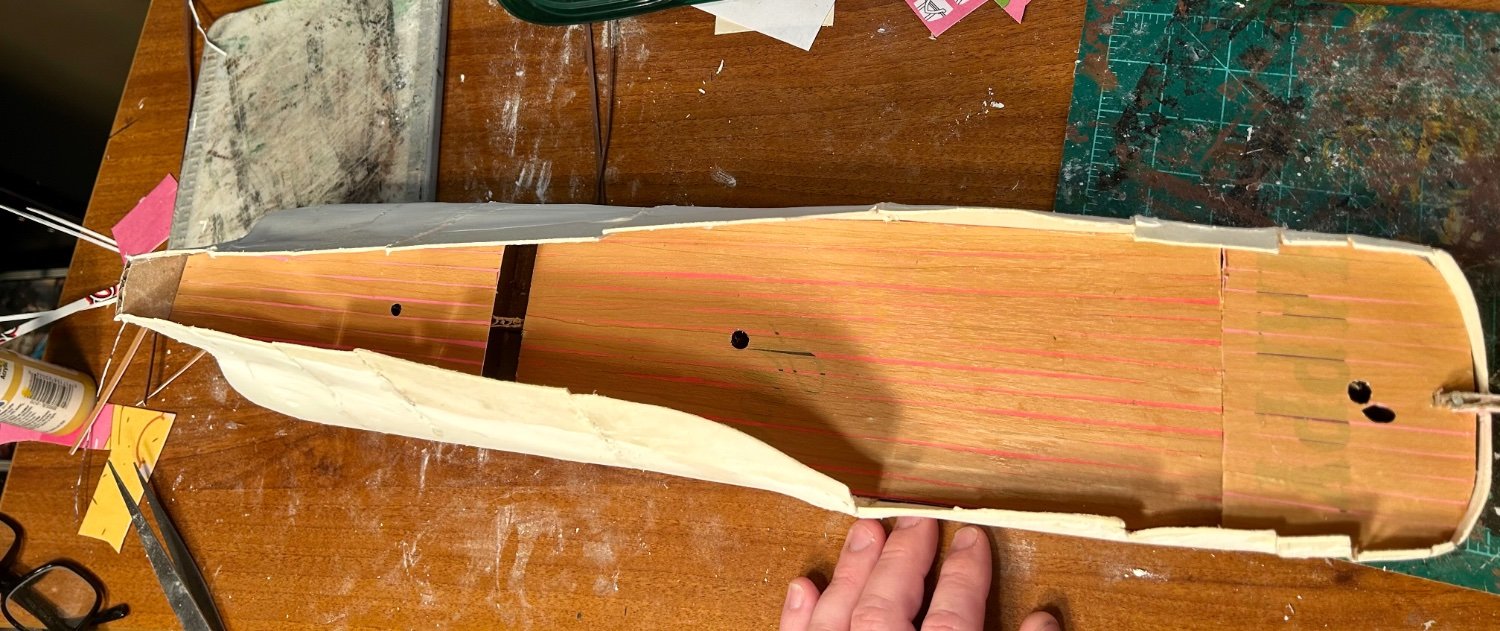
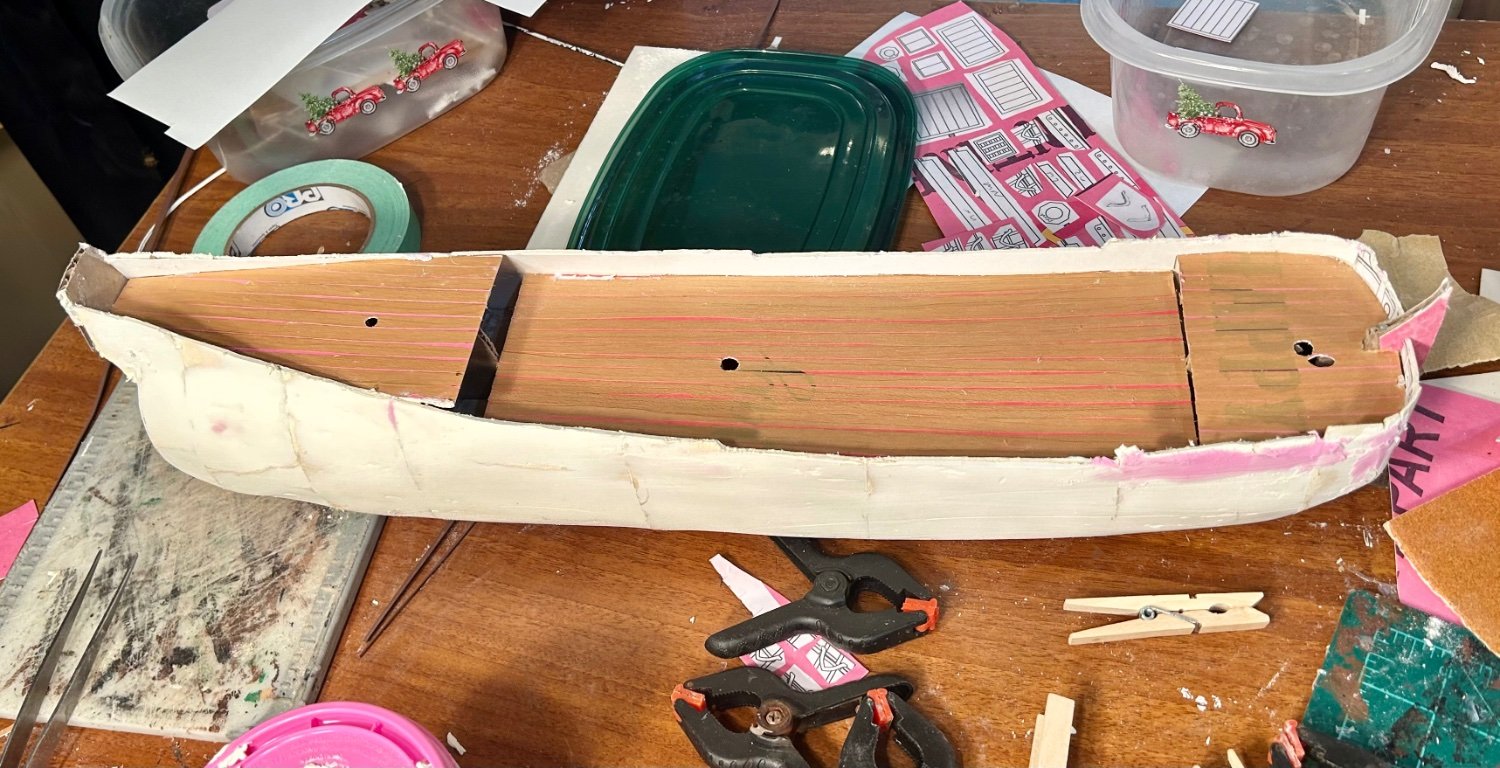
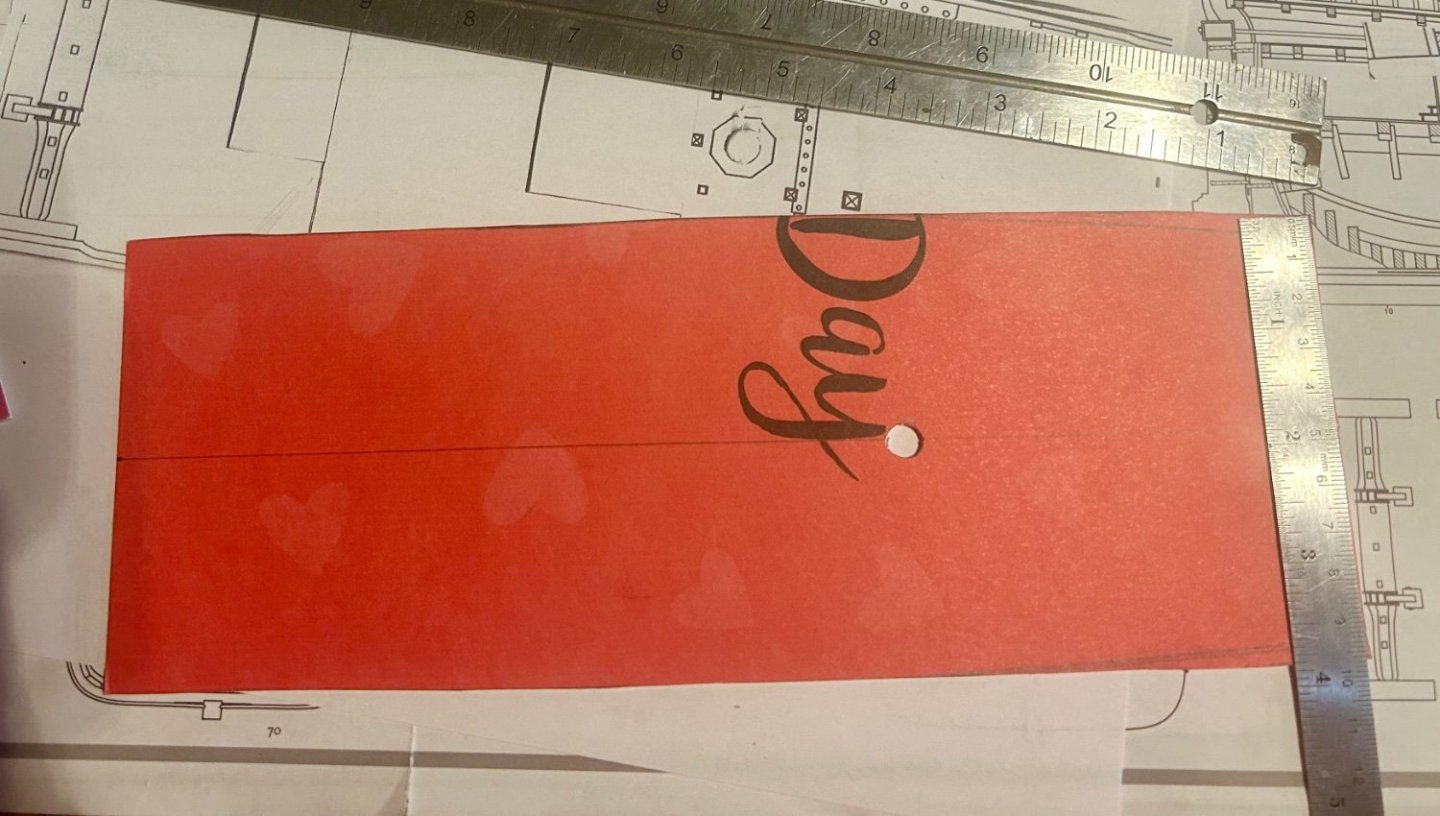
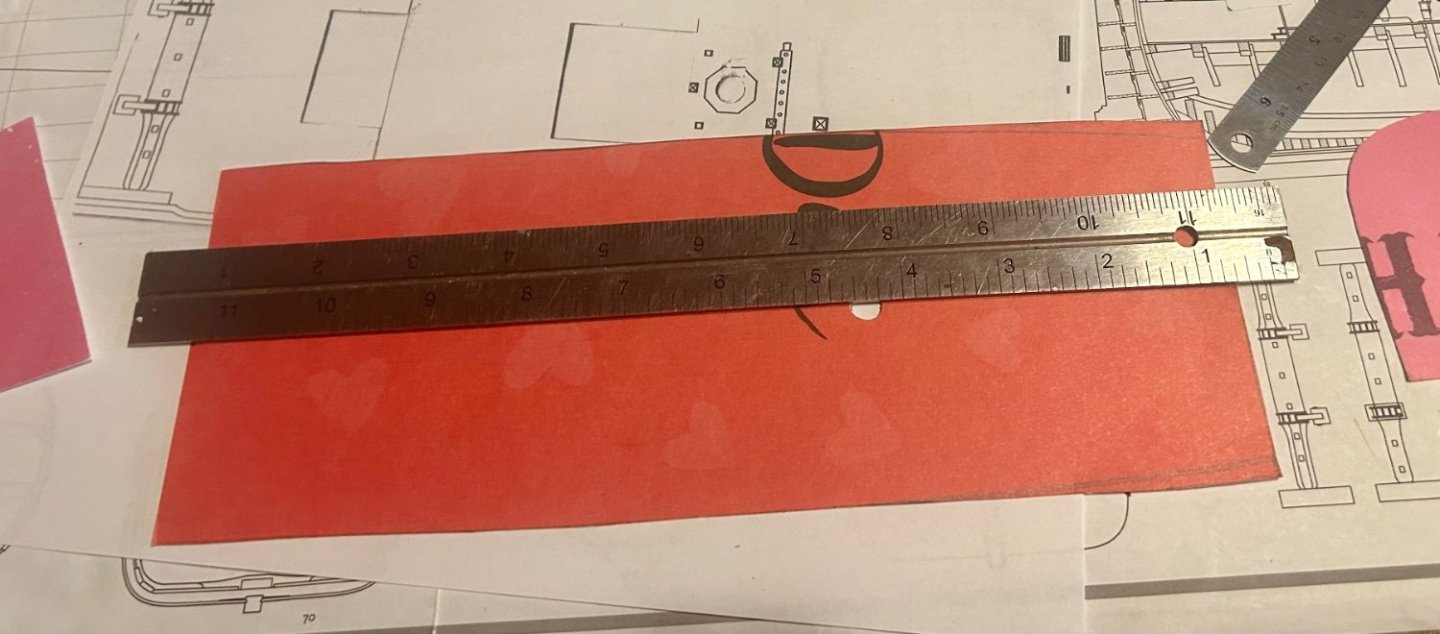
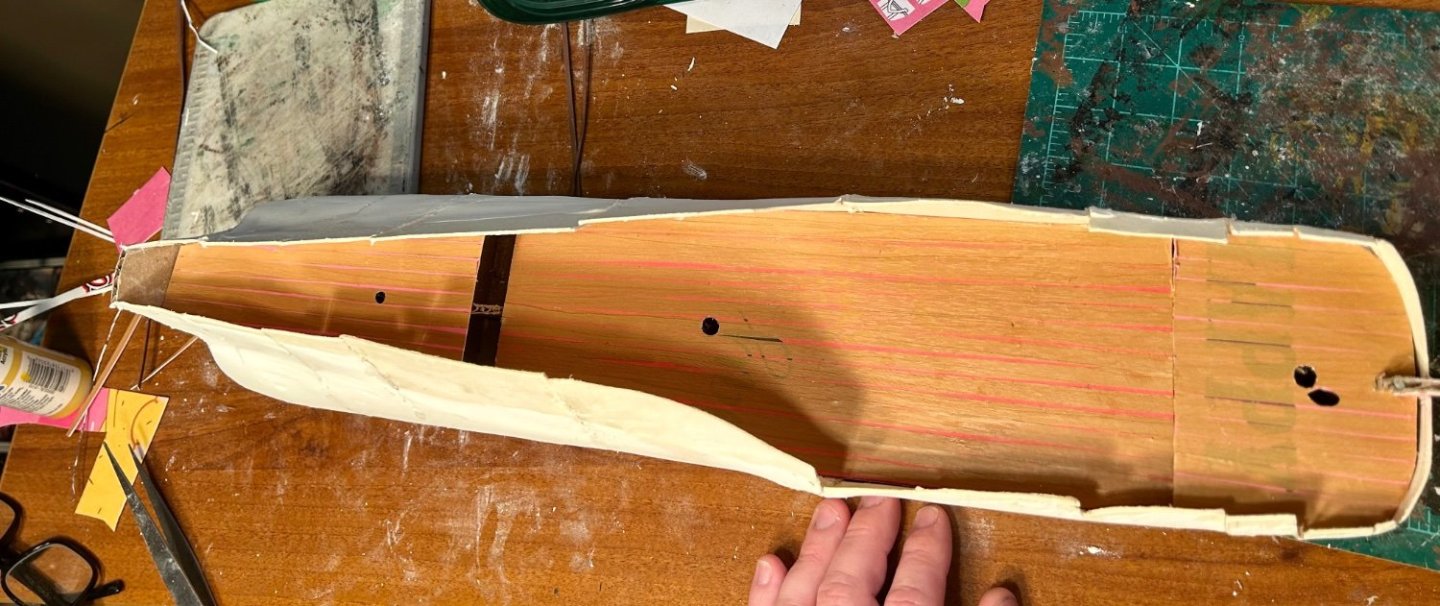
For my buddy from work: To line off the deck, I measured the middle of the decks at each end and made a line down the middle. Then I laid a center plank down the middle, lining up on the centerline. Then I laid a plank on each side, alternating until I filled up the deck. Next, I flipped the deck over and trimmed all holes and excess. I forgot to take pictures of that part. Here are my decks installed: I know that there are gaps, but my planks are contact paper and do not have thickness. You won’t see the gaps once they are painted (and on this model, everything is getting painted). For a wood model, you will want to color in the sides of each plank with a colored pencil or charcoal to give the impression of the tar that would have been between them on a full sized ship. You will also not want to have gaps. On a separate note I cut down the sides of the ship to the tops of the bulwarks, just below all the layers of railings
-
Congratulations! Very nicely done!
-
Looking forward to this build!
-
What are the best detailed plastic models?
GrandpaPhil replied to Ray1981's topic in Plastic model kits
In my personal opinion, Heller makes the best plastic sailing ships, although I have never built an Airfix plastic sailing ship, which seem to be well regarded. -
From what I understand the San Felipe of 1690 did not actually exist. Why not release a kit of a Spanish 3-decker from that time period that actually existed?
-
Stuns’ls aren’t too bad. I made them for the first time for my Prince de Neufchatel. Their rigging run can take some adjustments to prevent them from interfering with other sails.
-
I would not add any more running rigging or sails yet, but the mainsail and mainsail rigging shouldn’t interfere with the standing rigging. You have already built the hard part and done it well. You’ve got this.
-
Meriadoc, I am building the cat ship out of his book. The book and the plans are excellent. I strongly recommend them. This is my first time building from a book from Seawatch Books.
-
Sorry to hear about Maggie! I hope she gets better soon! We will be praying for her here!
-
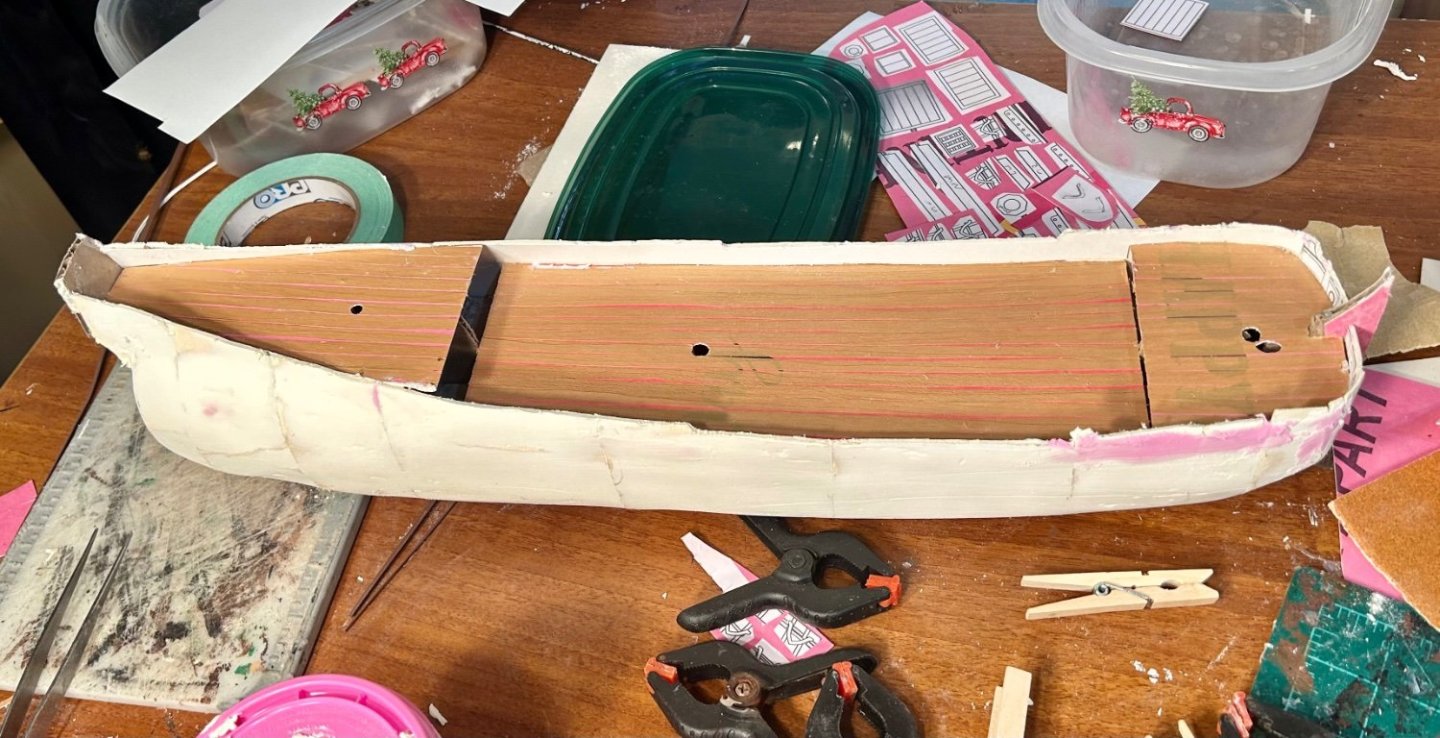
Jan, Thank you for the information. I will put that in my list of things to do better next time and integrate it into my next build (of which hopefully there will be many). Here is where I am at now. The hull is sanded now and the decks have been fitted. I made the baseboard already and the model sits perfectly on it. I need to plank the decks with wood grain contact paper prior to permanent installation. One of my coworkers who is used to building plastic models saw my Sampang when I had it in my office and really liked it. He purchased a Mamoli Il Luedo that evening. It will be his first ship model. He asked me to do a tutorial on measuring off for deck planking, so I will do that. For this model, I need to seal the hull next and add wales which will add structural integrity.