smarra
Members-
Posts
102 -
Joined
-
Last visited
Recent Profile Visitors
The recent visitors block is disabled and is not being shown to other users.
-
 GrandpaPhil reacted to a post in a topic:
US Brig Syren by smarra - Model Shipways - 1:64 - First wooden ship build
-
 GrandpaPhil reacted to a post in a topic:
US Brig Syren by smarra - Model Shipways - 1:64 - First wooden ship build
-
 smarra reacted to a post in a topic:
Trumpeter 1/200 Bismarck (Upgrades)
-
 lmagna reacted to a post in a topic:
Trumpeter 1/200 Bismarck (Upgrades)
-
 mtaylor reacted to a post in a topic:
Trumpeter 1/200 Bismarck (Upgrades)
-
 Canute reacted to a post in a topic:
Trumpeter 1/200 Bismarck (Upgrades)
-
 CDW reacted to a post in a topic:
Trumpeter 1/200 Bismarck (Upgrades)
-
See this link https://modelshipworld.com/topic/8798-mk1-design-versus-pontos/ I decided on the Pontos advanced detail set. Since this is my first time working with PE, it seems most think the Pontos instructions are clearer than the MK1 instructions. That is what swayed me. You can find fantastic builds on this site with either of the kits that elevate the model to the next level. Here is a link to a build by Semorebutts using the MK1 set https://modelshipworld.com/topic/16996-bismarck-by-semorebutts-finished-trumpeter-1200-scale-with-mk1-detail-set/ Here is a link to a build by MadManSK using the Pontos set https://modelshipworld.com/topic/24028-bismarck-by-madmansk-finished-trumpeter-1200-electric-and-radio-control-with-pontos-detail-set/ I'd be happy if my build came out half as good as those above.
-
 Overworked724 reacted to a post in a topic:
US Brig Syren by smarra - Model Shipways - 1:64 - First wooden ship build
-
 smarra reacted to a post in a topic:
US Brig Syren by WalrusGuy - FINISHED - Model Shipways - Scale 1:64 - Second wooden ship build
-
 Ron B reacted to a post in a topic:
Bluenose by CPDDET - Model Shipways - Scale 1:64 - First ship build
-
 smarra reacted to a post in a topic:
US Brig Syren by abelson - FINISHED - Model Shipways - Scale 3/16"
-
 smarra reacted to a post in a topic:
US Brig Syren by abelson - FINISHED - Model Shipways - Scale 3/16"
-
 smarra reacted to a post in a topic:
US Brig Syren by abelson - FINISHED - Model Shipways - Scale 3/16"
-
 smarra reacted to a post in a topic:
US Brig Syren 1803 by Overworked724 – Model Shipways – Scale 1:64
-
 Overworked724 reacted to a post in a topic:
US Brig Syren by smarra - Model Shipways - 1:64 - First wooden ship build
-
 Overworked724 reacted to a post in a topic:
US Brig Syren by smarra - Model Shipways - 1:64 - First wooden ship build
-
 smarra reacted to a post in a topic:
US Brig Syren by NovaStorm - Model Shipways - 1:64
-
 smarra reacted to a post in a topic:
US Brig Syren by NovaStorm - Model Shipways - 1:64
-
 smarra reacted to a post in a topic:
US Brig Syren by NovaStorm - Model Shipways - 1:64
-
 smarra reacted to a post in a topic:
US Brig Syren by NovaStorm - Model Shipways - 1:64
-
- 119 replies
-
- syren
- model shipways
-
(and 1 more)
Tagged with:
-
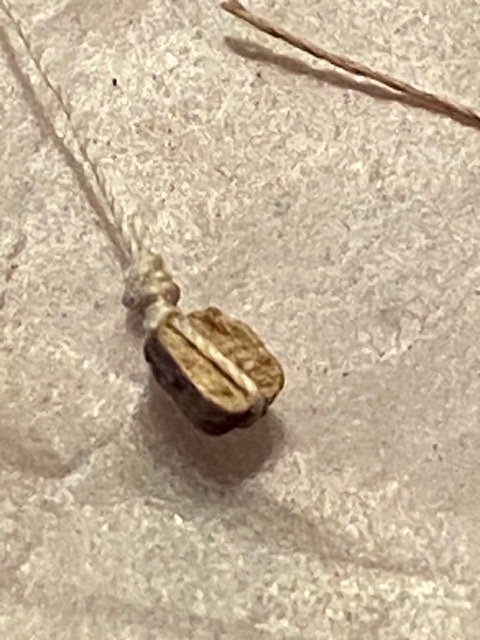
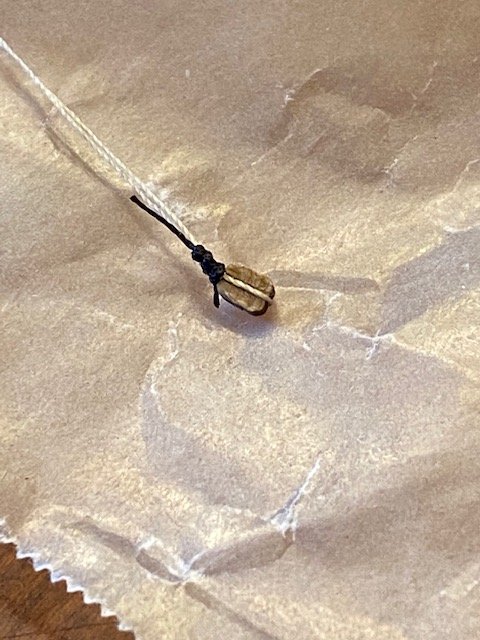
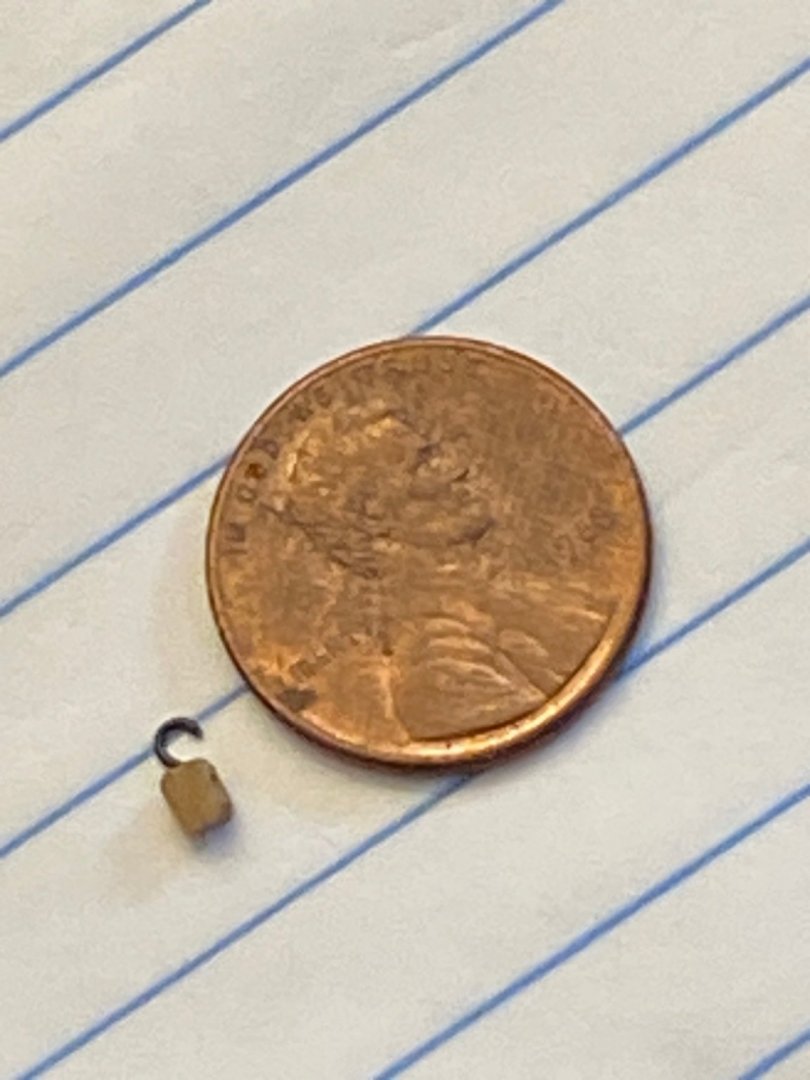
I've Been practicing how to seize the blocks for the cannons. This is like the 30th attempt. Each attempt is getting better. I used the black thread just so it would show up in the photo. Debating whether to switch out the rope with the rope made by Syren. I still want to get in more practice making these before deciding if what I'm doing warrants it. I have been using the method used by J Brent that is on youtube. The only difference is I used 2 vises and 2 hemostats to hold everything.
- 119 replies
-
- syren
- model shipways
-
(and 1 more)
Tagged with:
-
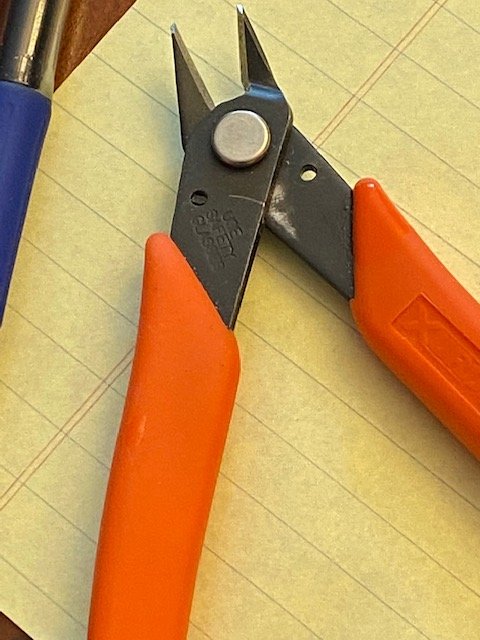
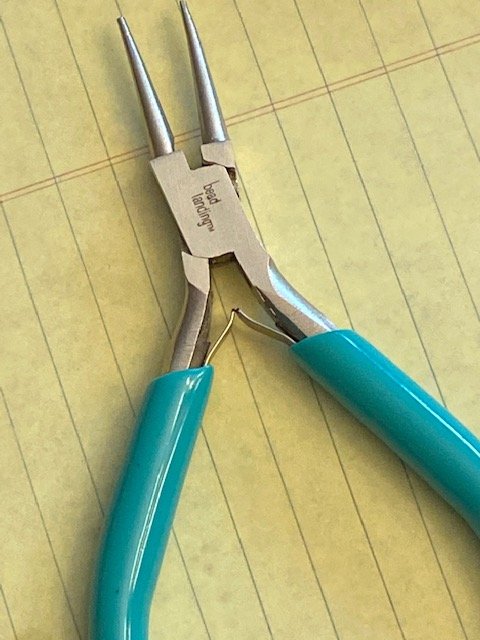
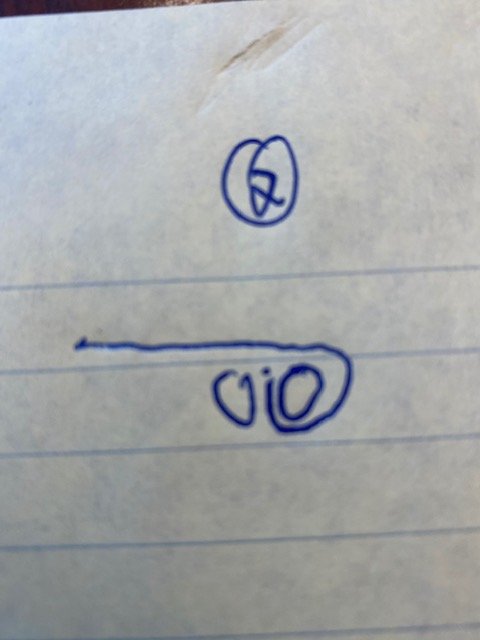
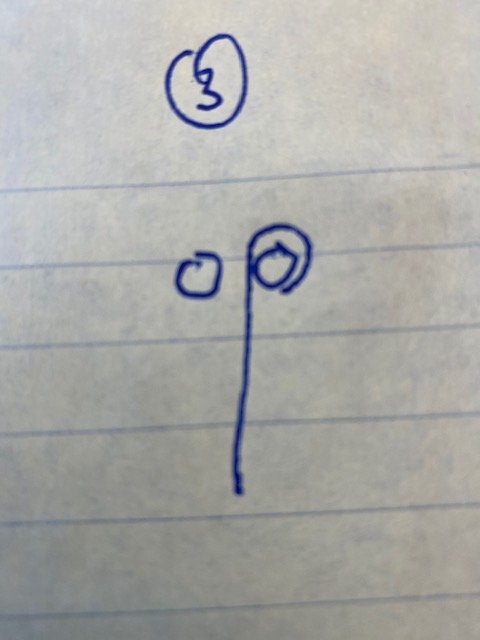
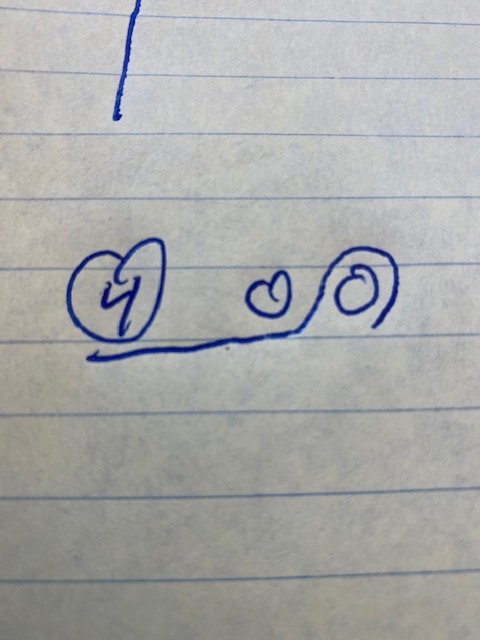
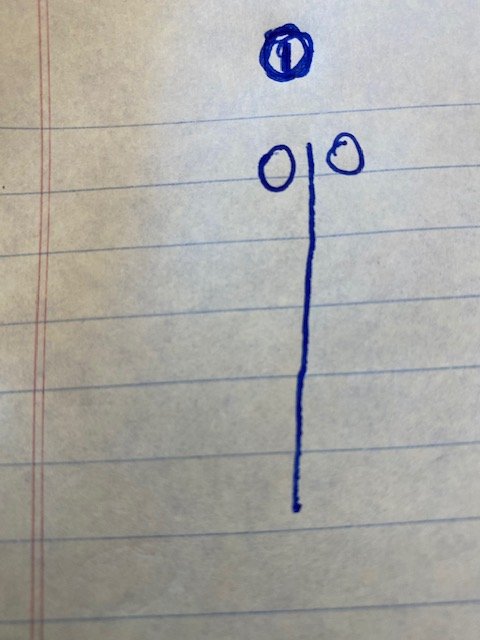
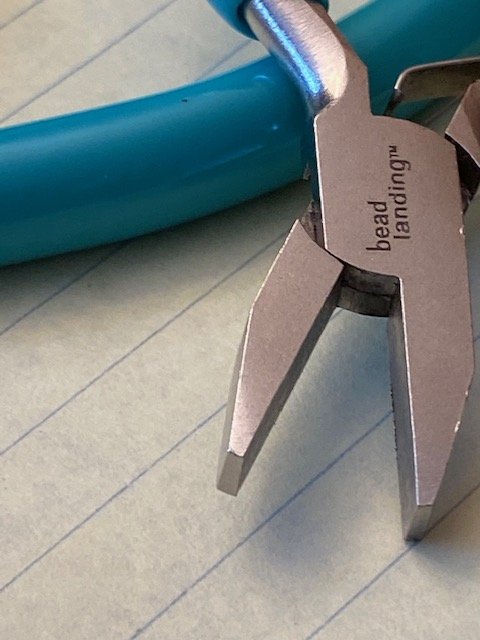
I used a pair of bead landing round nose pliers from Michaels For straighten the hook I used a bead landing flat nose plier from Michaels For clipping I used a pair of Xuron flush cutters, that I have had for the last 10 years. I couldn't hold the camera while making one and take pictures, so I drew out the steps Grasp the 28 gauge wire with the round nose pliers Wrap the wire around the plier Reposition the wire for the next bend Finish making the hook I used the flat nose pliers to straight out the hook and flush cutters to trim it. Somethings you need to go back with the round nose pliers and adjust the bends in the hook.
- 119 replies
-
- syren
- model shipways
-
(and 1 more)
Tagged with:
-
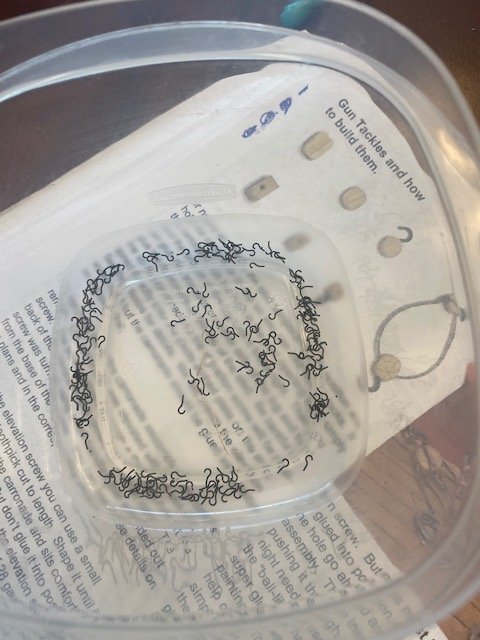
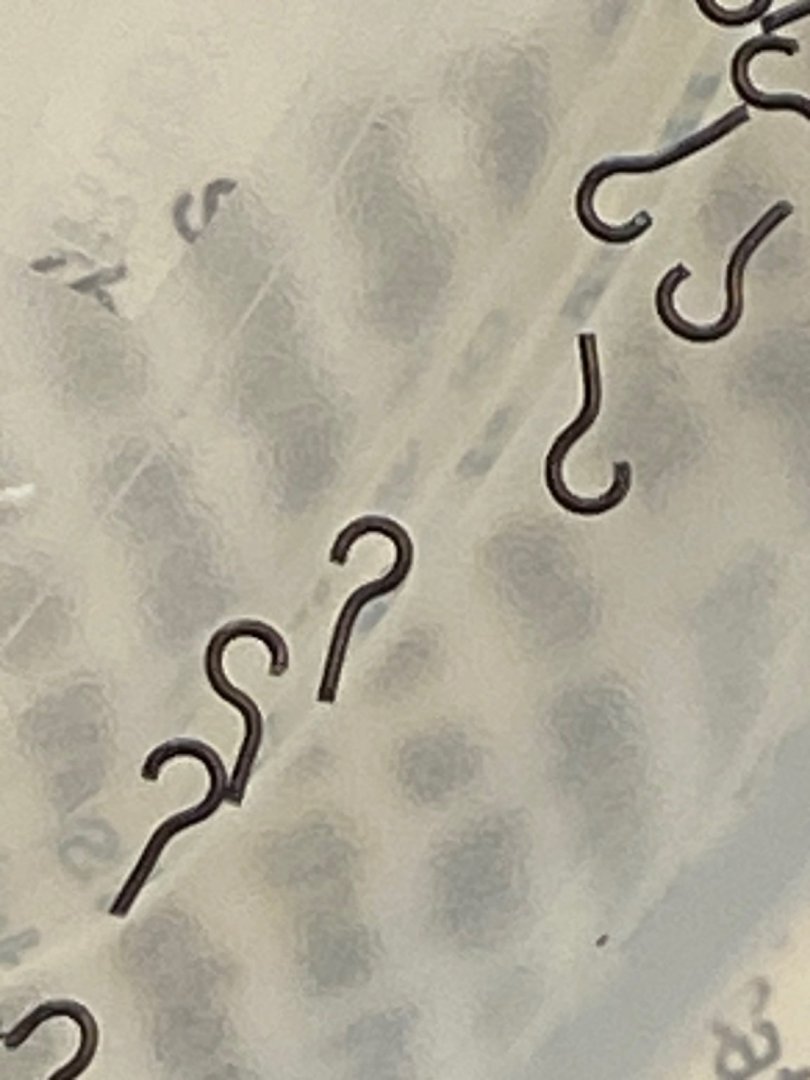
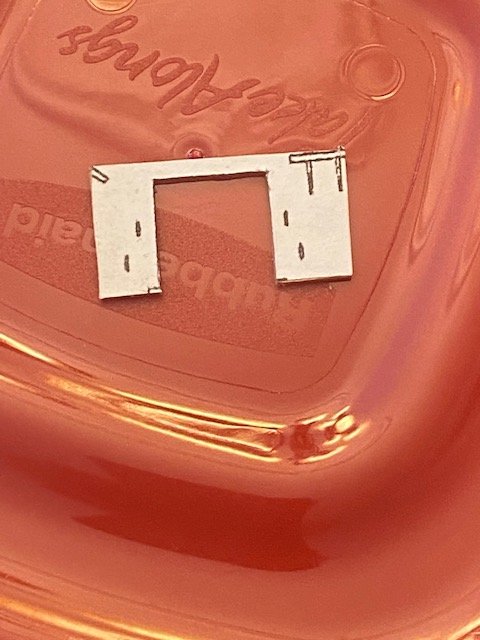
Made the hooks for the blocks. I'm assuming that being so small I'm going to lose quite a few of them so made 30 extra. Also made a jig to drill the holes for the eyebolts, to keep them consistent.
- 119 replies
-
- syren
- model shipways
-
(and 1 more)
Tagged with:
-
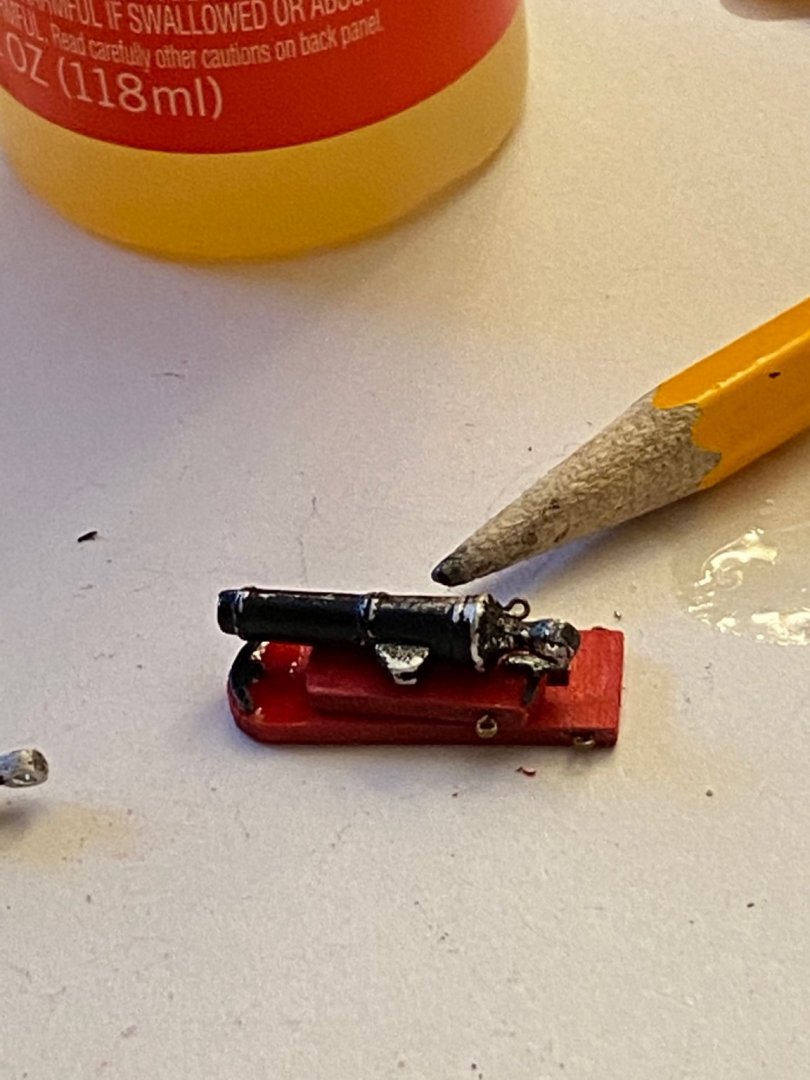
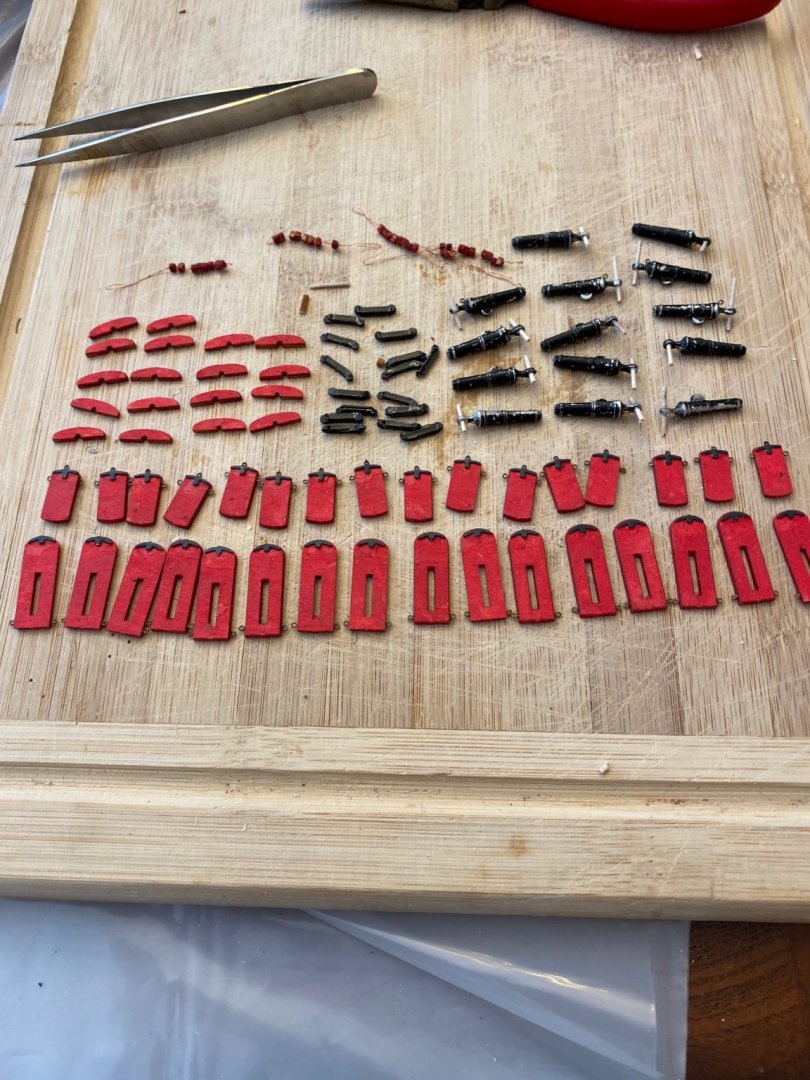
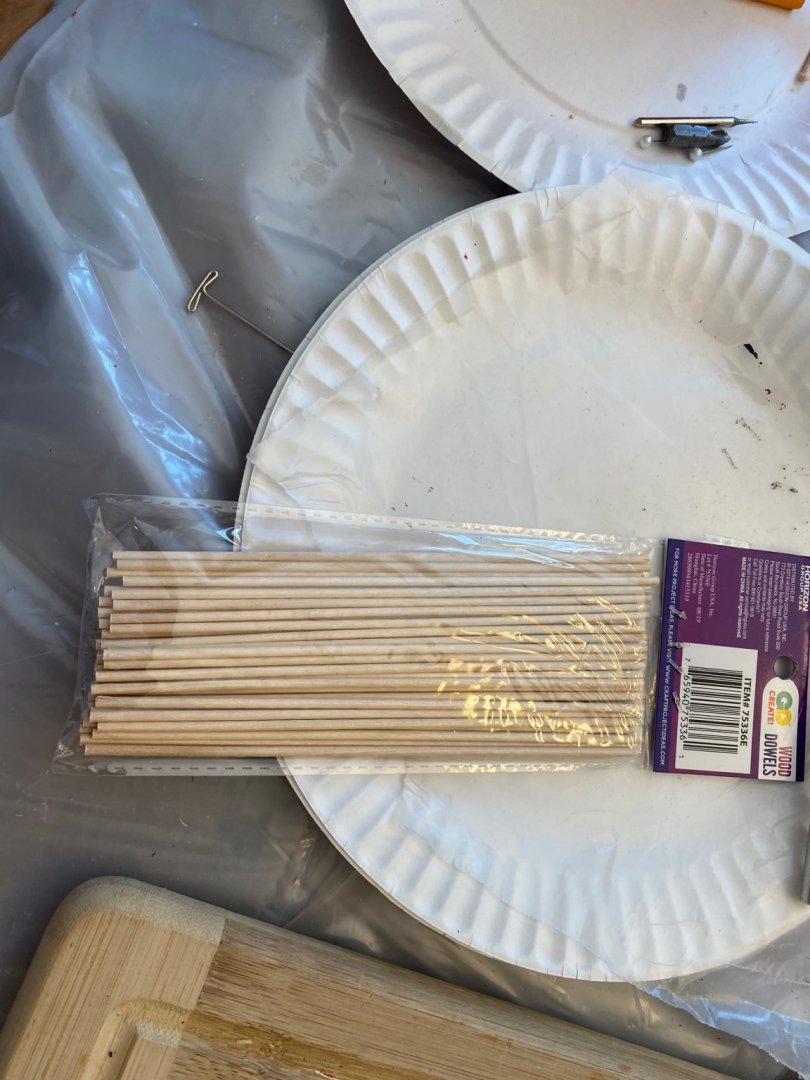
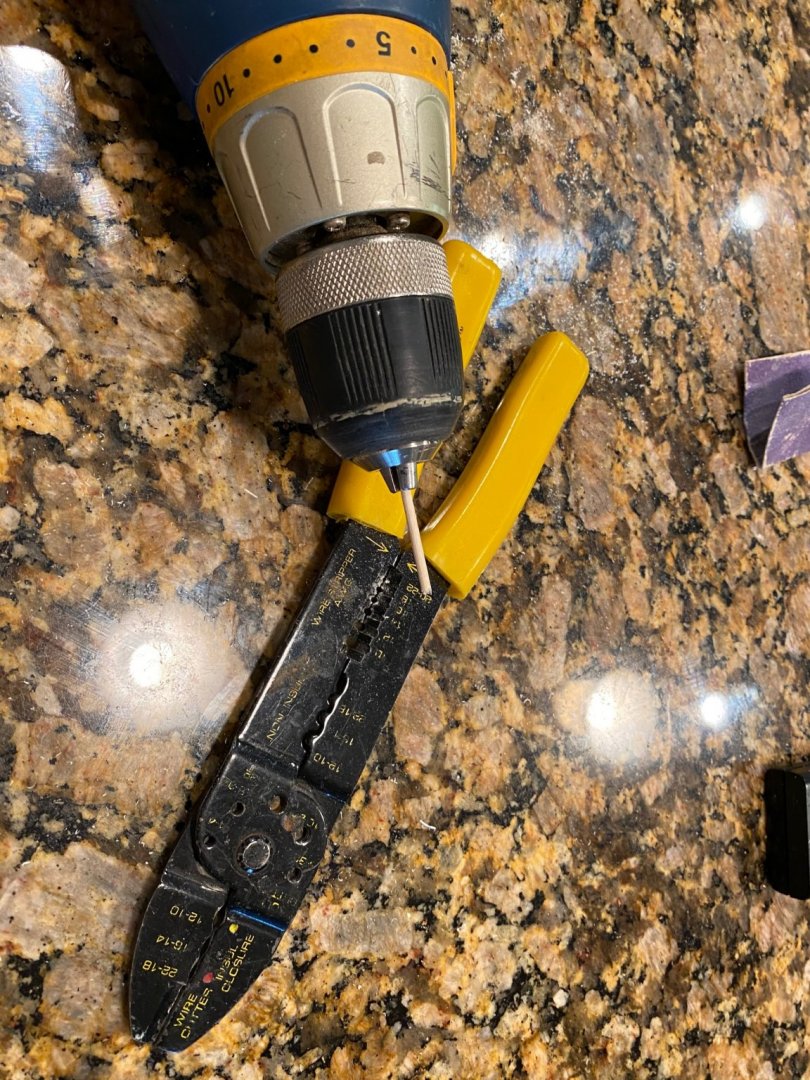
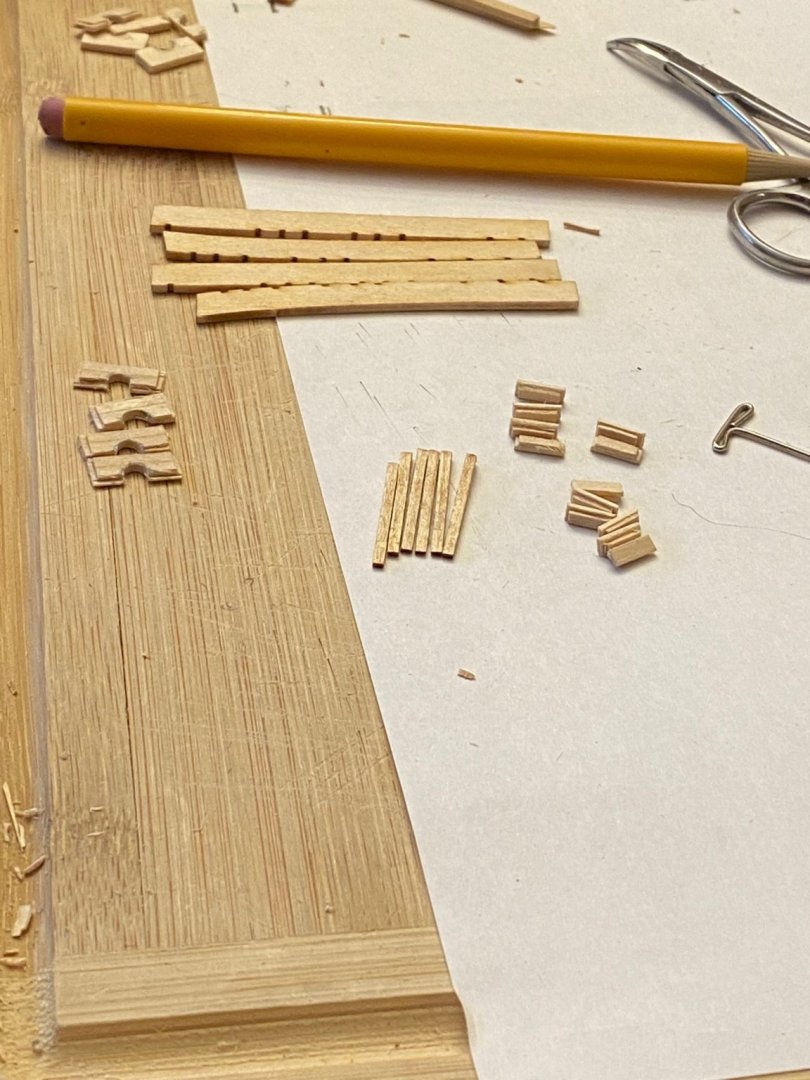
Decided to skip the head rails for now and started on the carronades. To make the pins for the cannon, I used a 1/6 dowel and turned it down in a drill using a wire stripper as a makeshift draw plate and then gave it a light sanding. To drill the holes for the eyebolts, I used I used a dremel in their drill stand using some micro drills I picked up a Harbor Freight. All of the parts ready for assembly.
- 119 replies
-
- syren
- model shipways
-
(and 1 more)
Tagged with:
-
Eyebolts installed in the channels. I used the 28 gauge wire and wrapped around 1/16" drill bit. Stern is now complete. Just the sheaves remain.
- 119 replies
-
- syren
- model shipways
-
(and 1 more)
Tagged with:
-
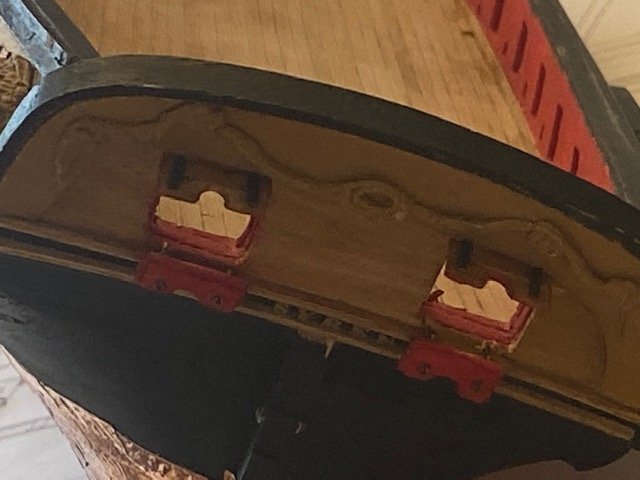
Oops, the starboard channels by the stern were in the wrong position, along with the steps. Was able to carefully remove and place them in the proper position. Port side is now almost complete also, have to still do the sheaves and scuppers along with some eyebolts. Then on to the gunport doors on the stern. Can't believe I've been on chapter 9 for over 2 years now. Feels good to finally be making progress again.
- 119 replies
-
- syren
- model shipways
-
(and 1 more)
Tagged with:
-
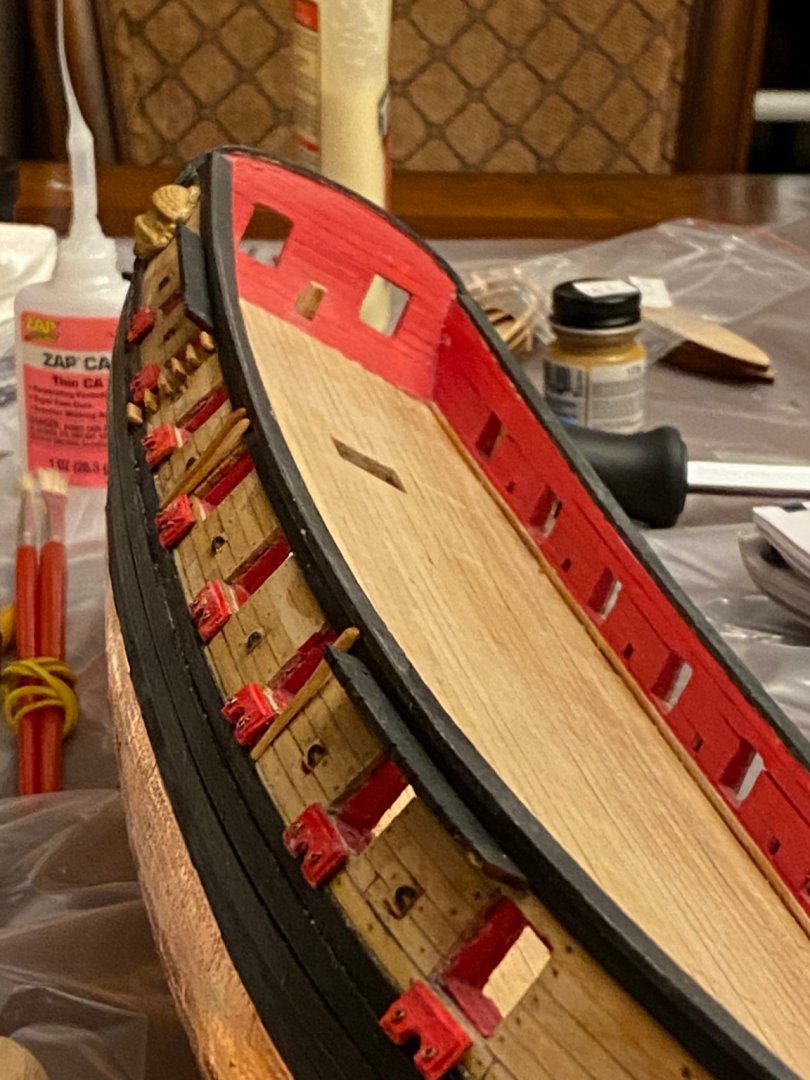
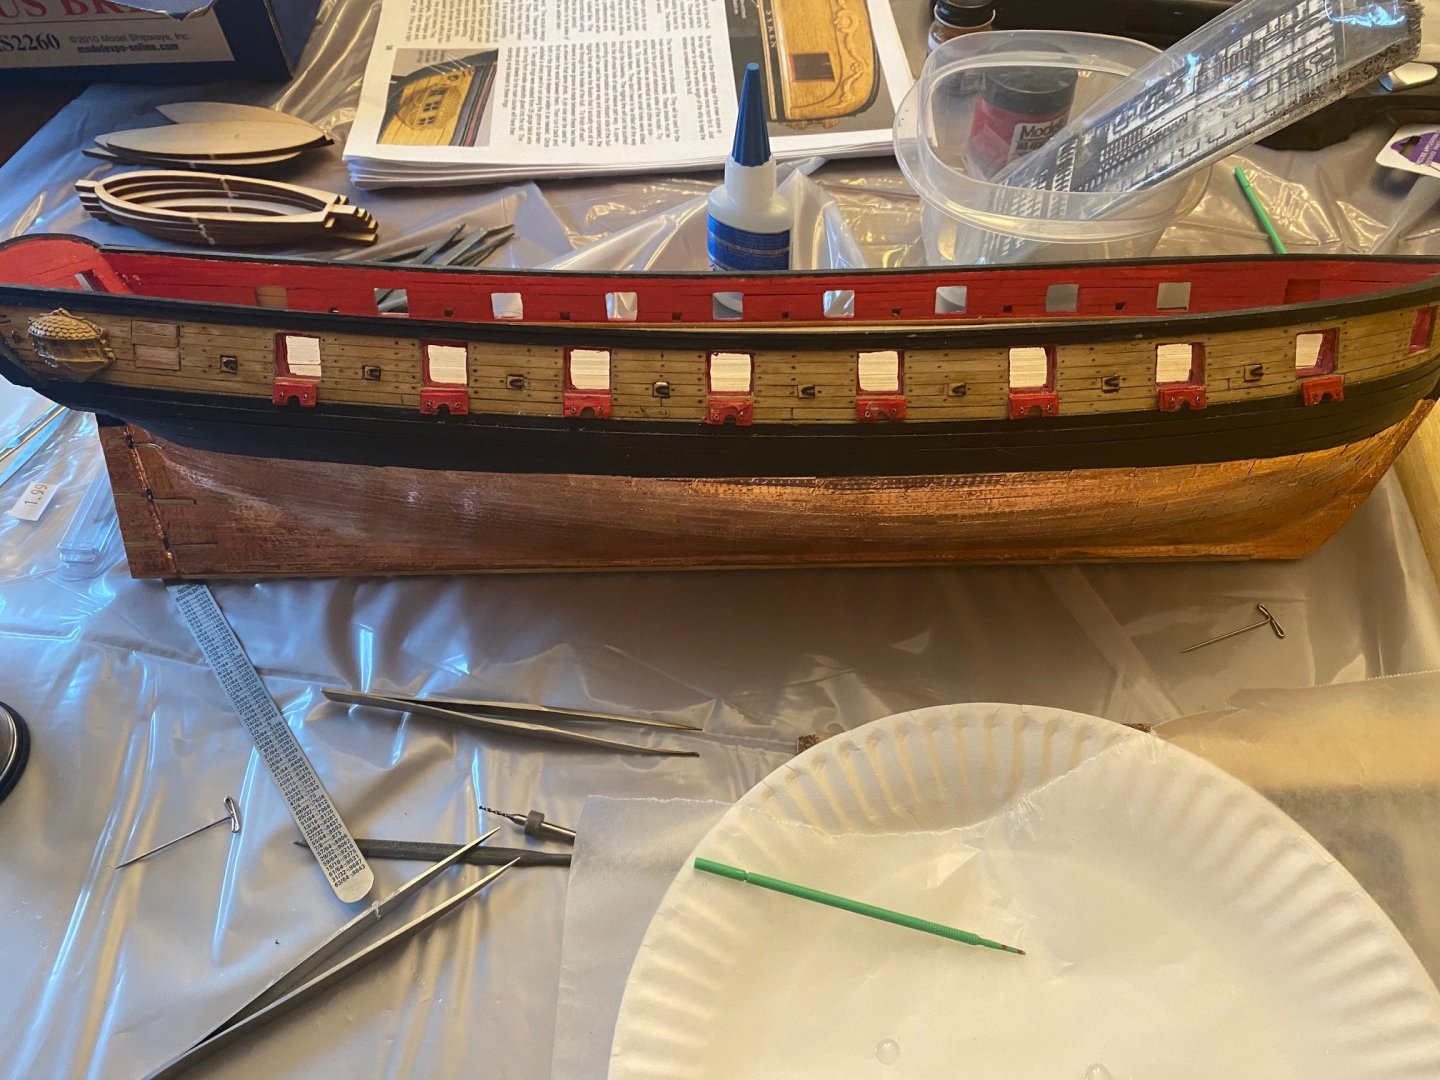
More progress on chapter 9, there are a lot of pieces to do in this chapter, starboard side is almost complete.
- 119 replies
-
- syren
- model shipways
-
(and 1 more)
Tagged with:
-
- 119 replies
-
- syren
- model shipways
-
(and 1 more)
Tagged with:
-
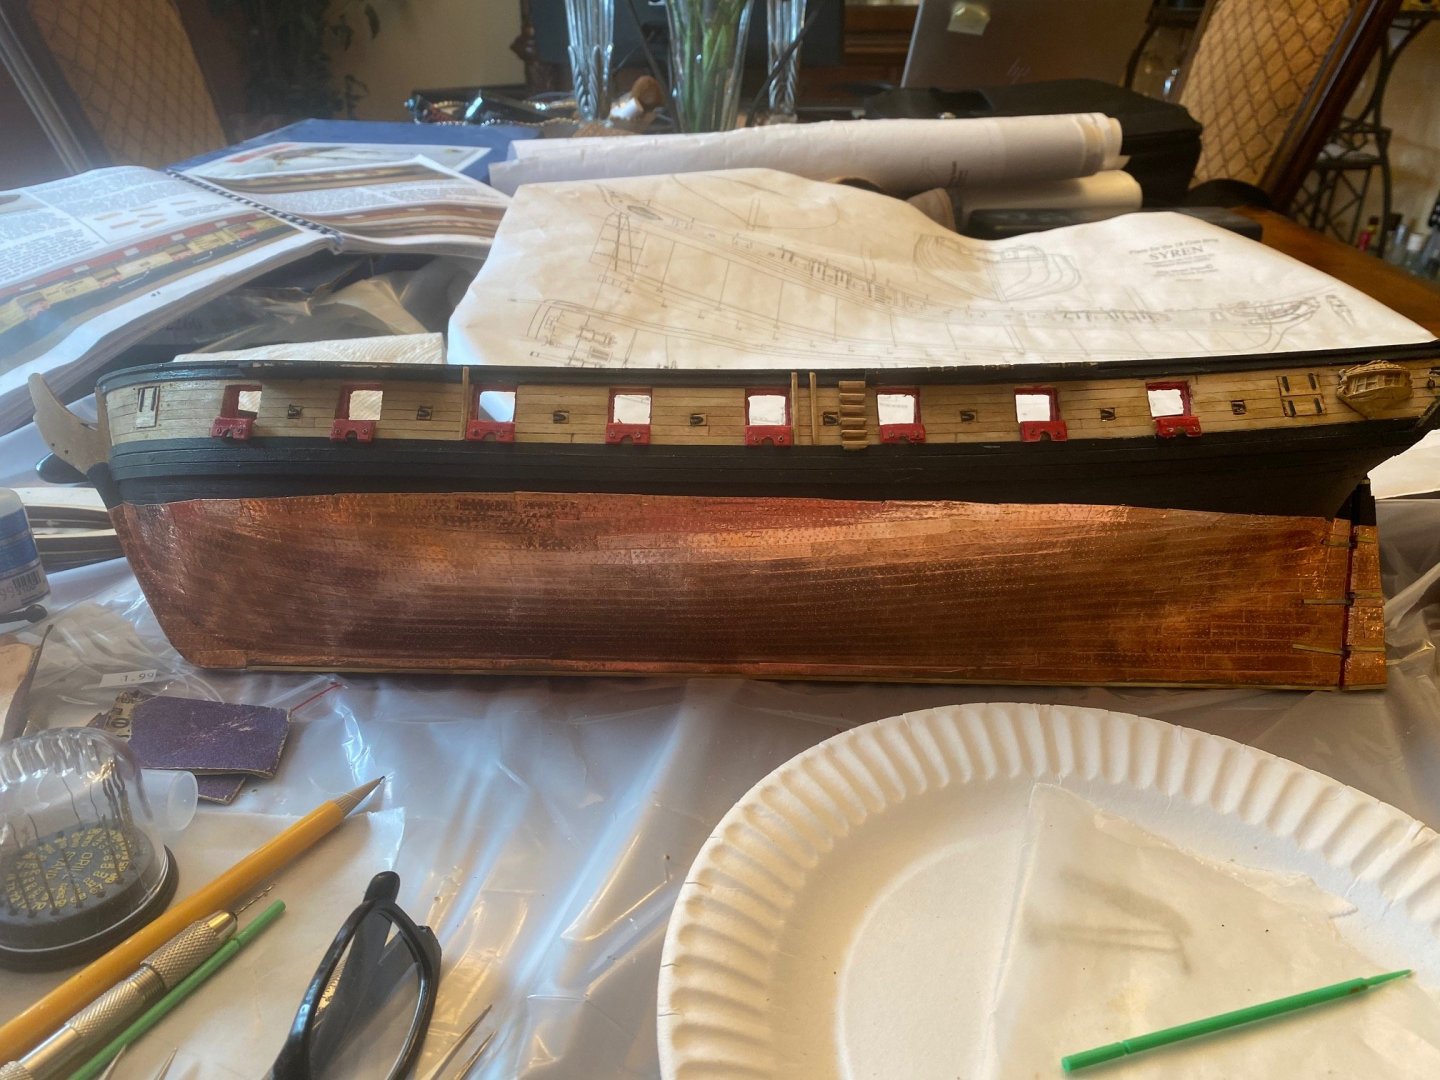
Gun port door and sweep port hinges are now installed on the starboard side. Progress has been slow to date, but I'm happy how it is coming out.
- 119 replies
-
- syren
- model shipways
-
(and 1 more)
Tagged with:
-
Thanks, I was worried about using epoxy for this.
- 119 replies
-
- syren
- model shipways
-
(and 1 more)
Tagged with:
-
What glue has everyone used for the sweep port hinges, I've used 5 minute epoxy on the gun door hinges, but I'm worried that may make a mess on the sweep port hinges.
- 119 replies
-
- syren
- model shipways
-
(and 1 more)
Tagged with:
-
That is looking fantastic, I enjoy following your build.
- 1,133 replies
-
- model shipways
- syren
-
(and 2 more)
Tagged with:
About us
Modelshipworld - Advancing Ship Modeling through Research
SSL Secured
Your security is important for us so this Website is SSL-Secured
NRG Mailing Address
Nautical Research Guild
237 South Lincoln Street
Westmont IL, 60559-1917
Model Ship World ® and the MSW logo are Registered Trademarks, and belong to the Nautical Research Guild (United States Patent and Trademark Office: No. 6,929,264 & No. 6,929,274, registered Dec. 20, 2022)
Helpful Links
About the NRG
If you enjoy building ship models that are historically accurate as well as beautiful, then The Nautical Research Guild (NRG) is just right for you.
The Guild is a non-profit educational organization whose mission is to “Advance Ship Modeling Through Research”. We provide support to our members in their efforts to raise the quality of their model ships.
The Nautical Research Guild has published our world-renowned quarterly magazine, The Nautical Research Journal, since 1955. The pages of the Journal are full of articles by accomplished ship modelers who show you how they create those exquisite details on their models, and by maritime historians who show you the correct details to build. The Journal is available in both print and digital editions. Go to the NRG web site (www.thenrg.org) to download a complimentary digital copy of the Journal. The NRG also publishes plan sets, books and compilations of back issues of the Journal and the former Ships in Scale and Model Ship Builder magazines.

