smarra
-
Posts
102 -
Joined
-
Last visited
Content Type
Profiles
Forums
Gallery
Events
Everything posted by smarra
-
See this link https://modelshipworld.com/topic/8798-mk1-design-versus-pontos/ I decided on the Pontos advanced detail set. Since this is my first time working with PE, it seems most think the Pontos instructions are clearer than the MK1 instructions. That is what swayed me. You can find fantastic builds on this site with either of the kits that elevate the model to the next level. Here is a link to a build by Semorebutts using the MK1 set https://modelshipworld.com/topic/16996-bismarck-by-semorebutts-finished-trumpeter-1200-scale-with-mk1-detail-set/ Here is a link to a build by MadManSK using the Pontos set https://modelshipworld.com/topic/24028-bismarck-by-madmansk-finished-trumpeter-1200-electric-and-radio-control-with-pontos-detail-set/ I'd be happy if my build came out half as good as those above.
-
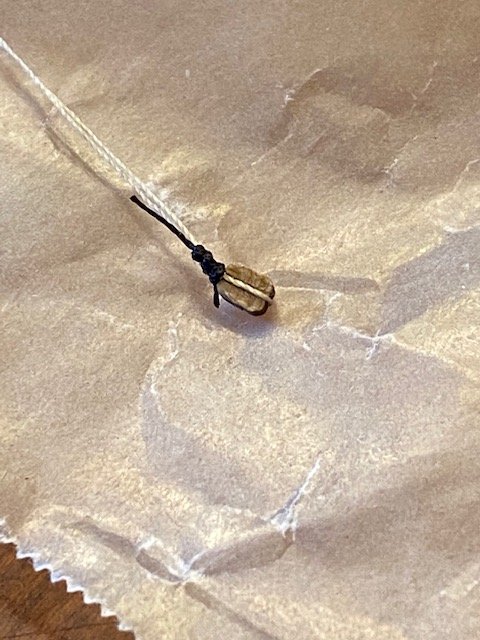
I've Been practicing how to seize the blocks for the cannons. This is like the 30th attempt. Each attempt is getting better. I used the black thread just so it would show up in the photo. Debating whether to switch out the rope with the rope made by Syren. I still want to get in more practice making these before deciding if what I'm doing warrants it. I have been using the method used by J Brent that is on youtube. The only difference is I used 2 vises and 2 hemostats to hold everything.
- 119 replies
-
- 3
-

-
- syren
- model shipways
- (and 1 more)
-
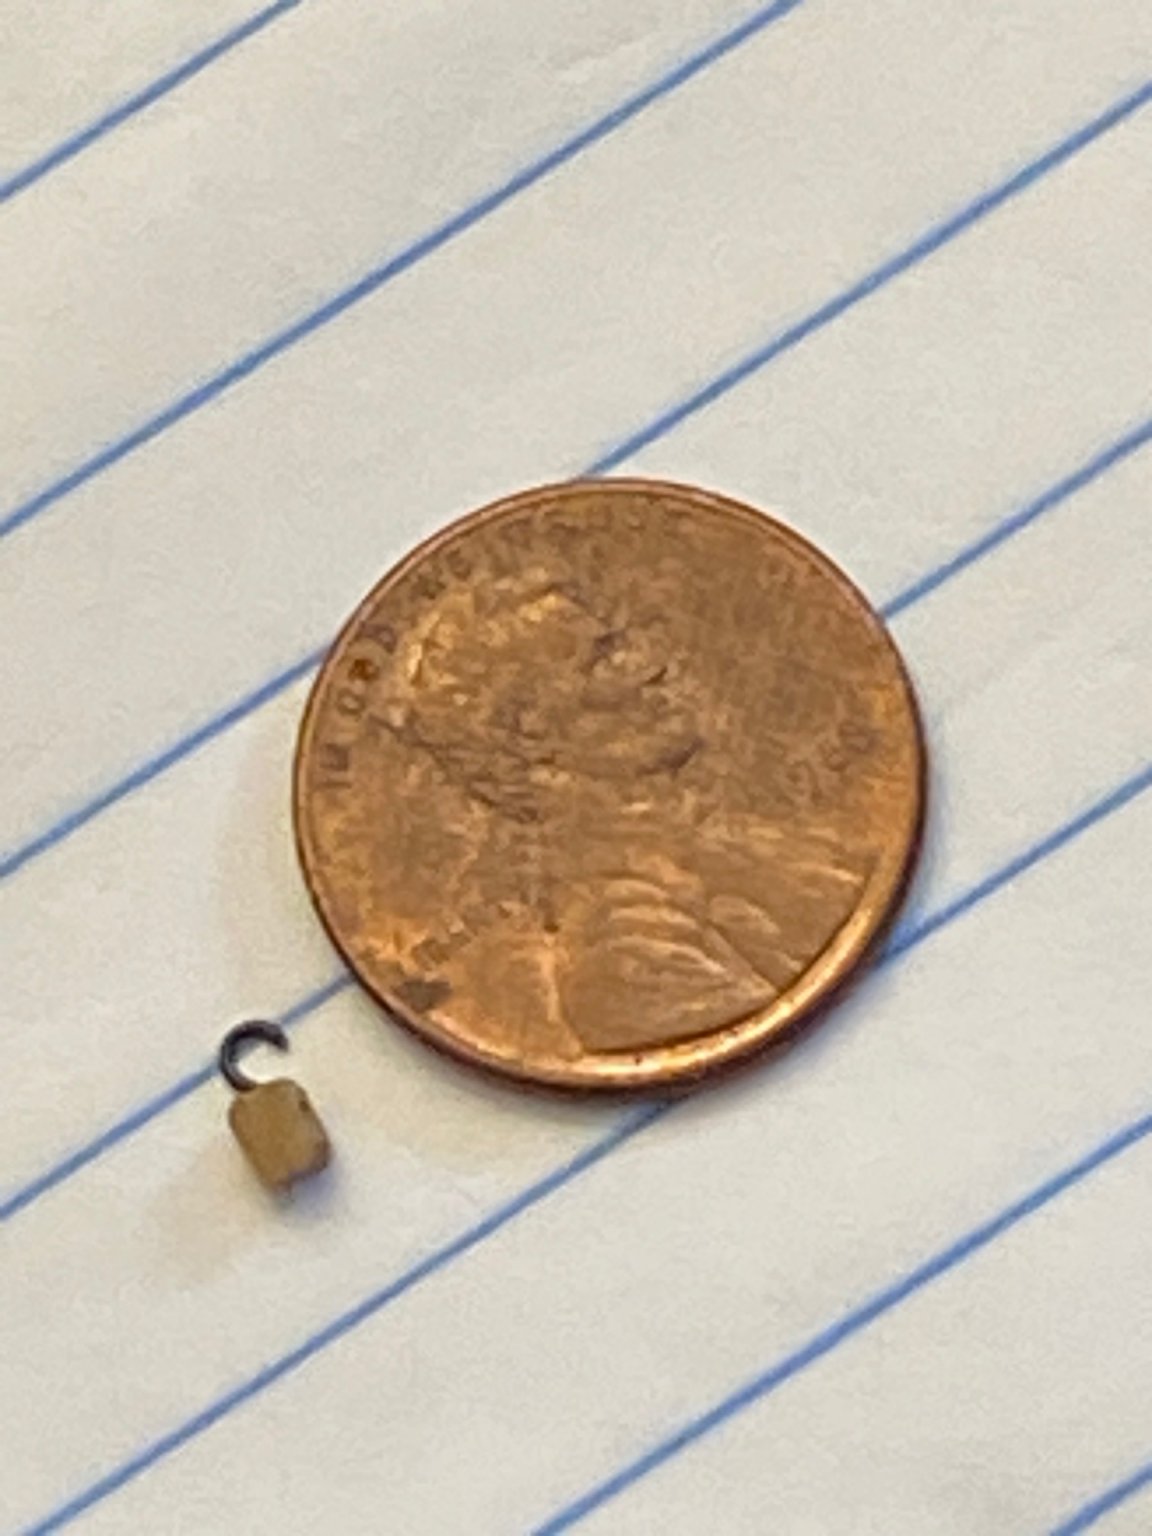
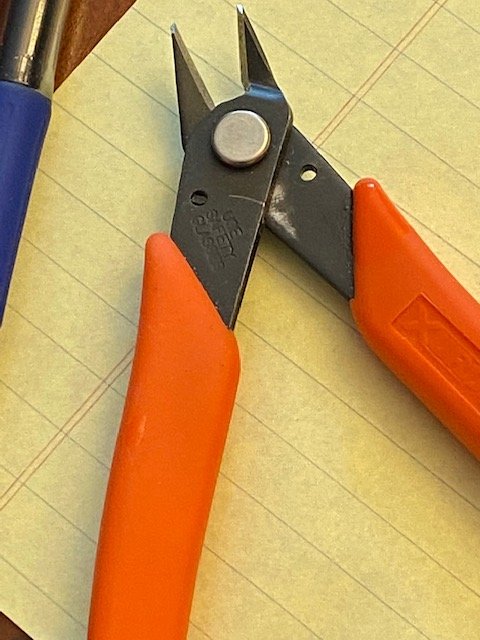
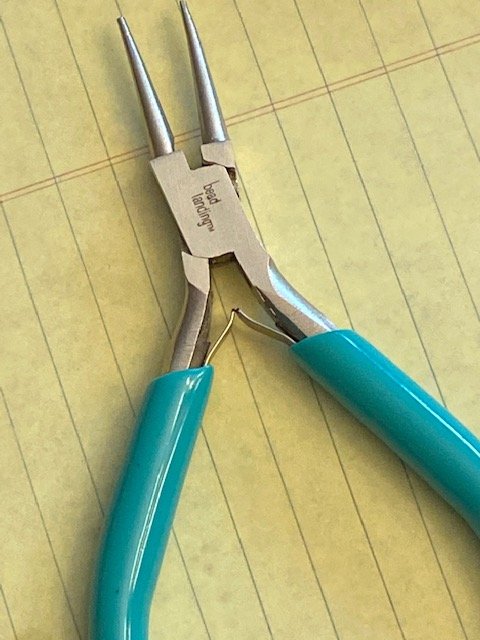
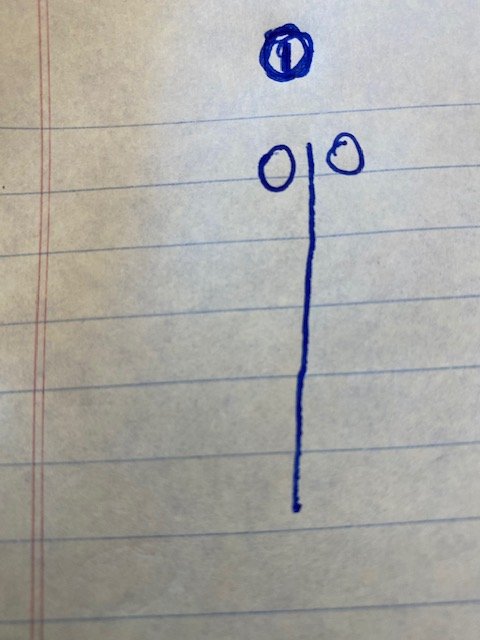
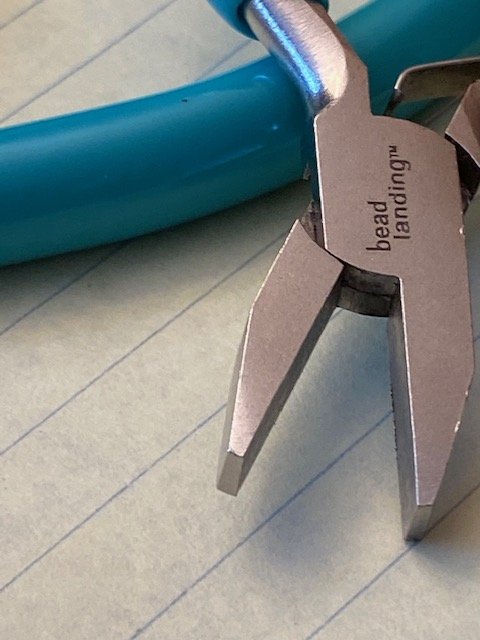
I used a pair of bead landing round nose pliers from Michaels For straighten the hook I used a bead landing flat nose plier from Michaels For clipping I used a pair of Xuron flush cutters, that I have had for the last 10 years. I couldn't hold the camera while making one and take pictures, so I drew out the steps Grasp the 28 gauge wire with the round nose pliers Wrap the wire around the plier Reposition the wire for the next bend Finish making the hook I used the flat nose pliers to straight out the hook and flush cutters to trim it. Somethings you need to go back with the round nose pliers and adjust the bends in the hook.
- 119 replies
-
- 3
-
-
- syren
- model shipways
- (and 1 more)
-
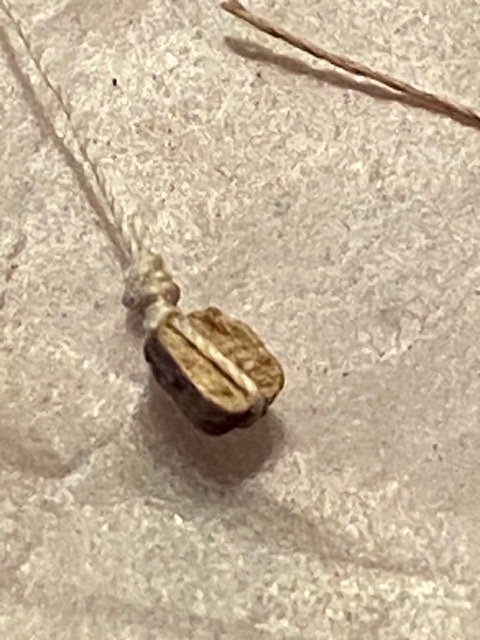
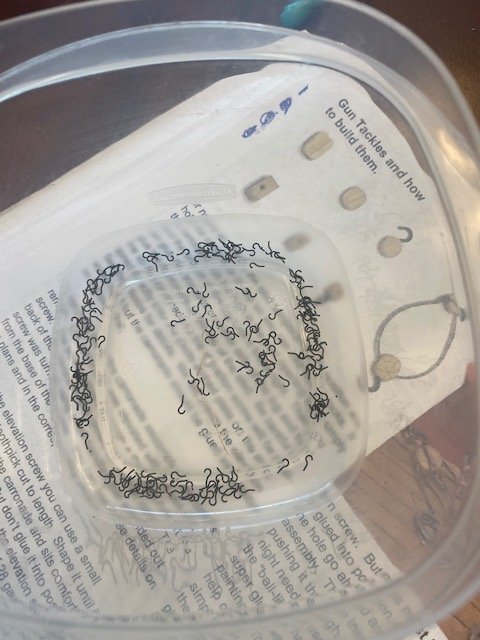
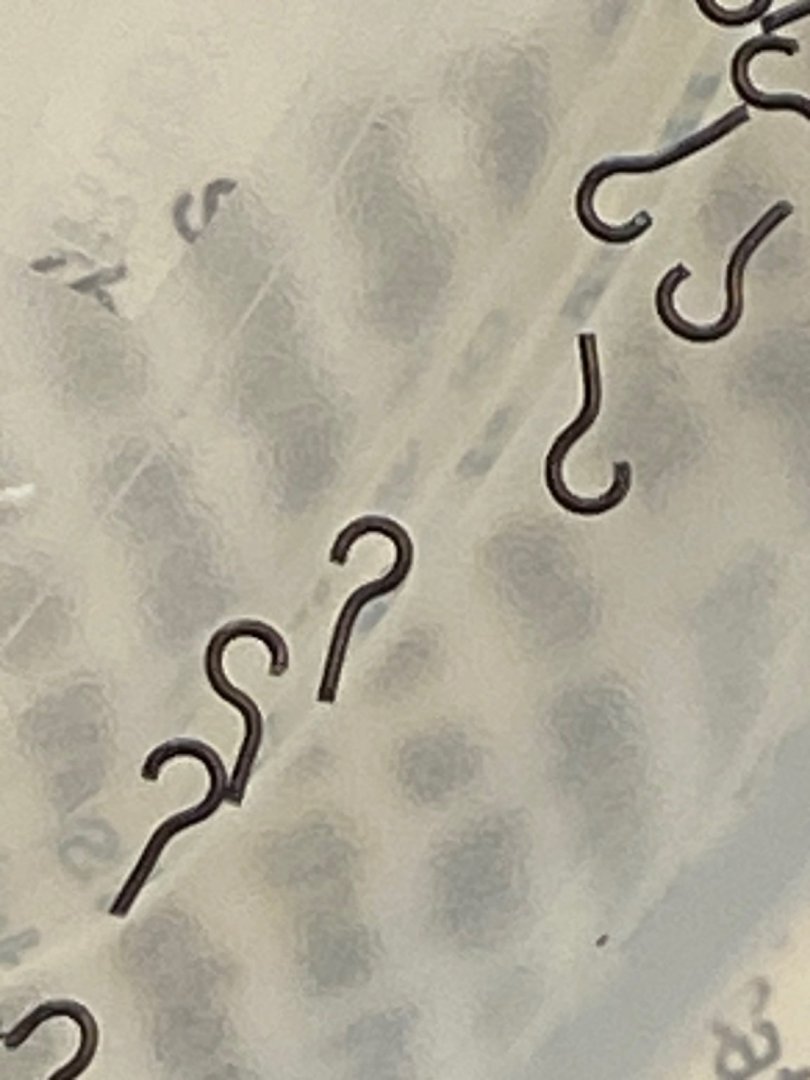
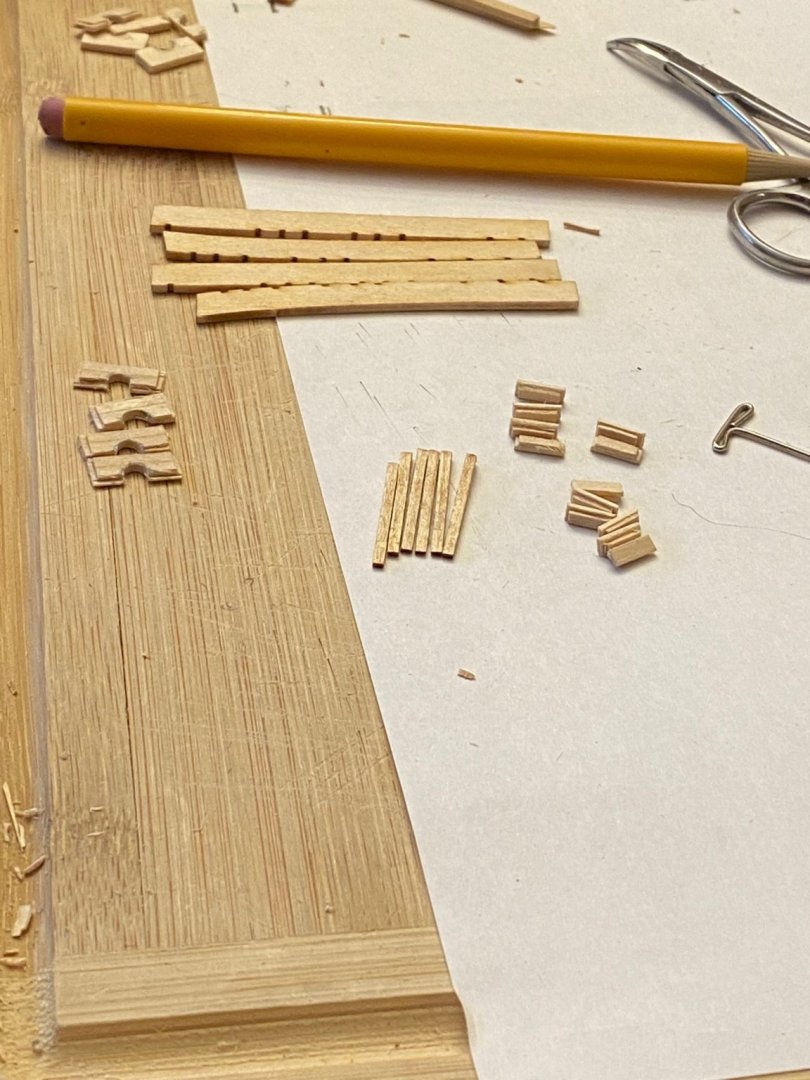
Made the hooks for the blocks. I'm assuming that being so small I'm going to lose quite a few of them so made 30 extra. Also made a jig to drill the holes for the eyebolts, to keep them consistent.

- 119 replies
-
- 3
-
-
- syren
- model shipways
- (and 1 more)
-
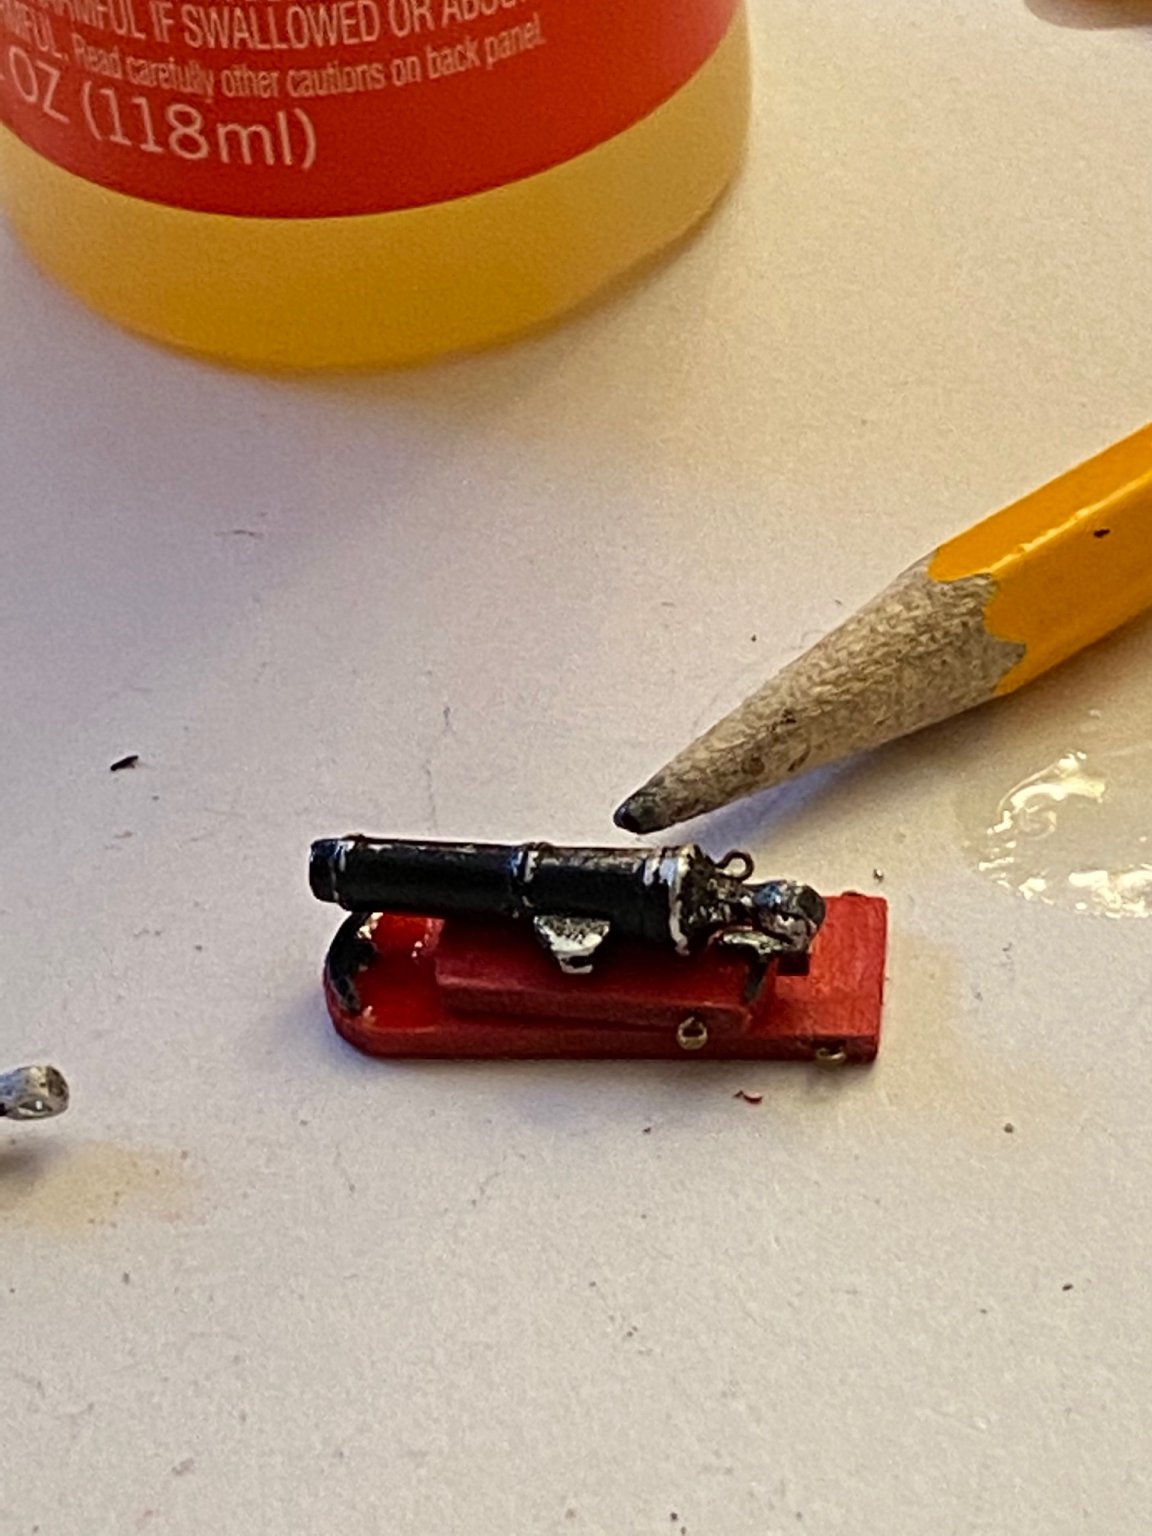
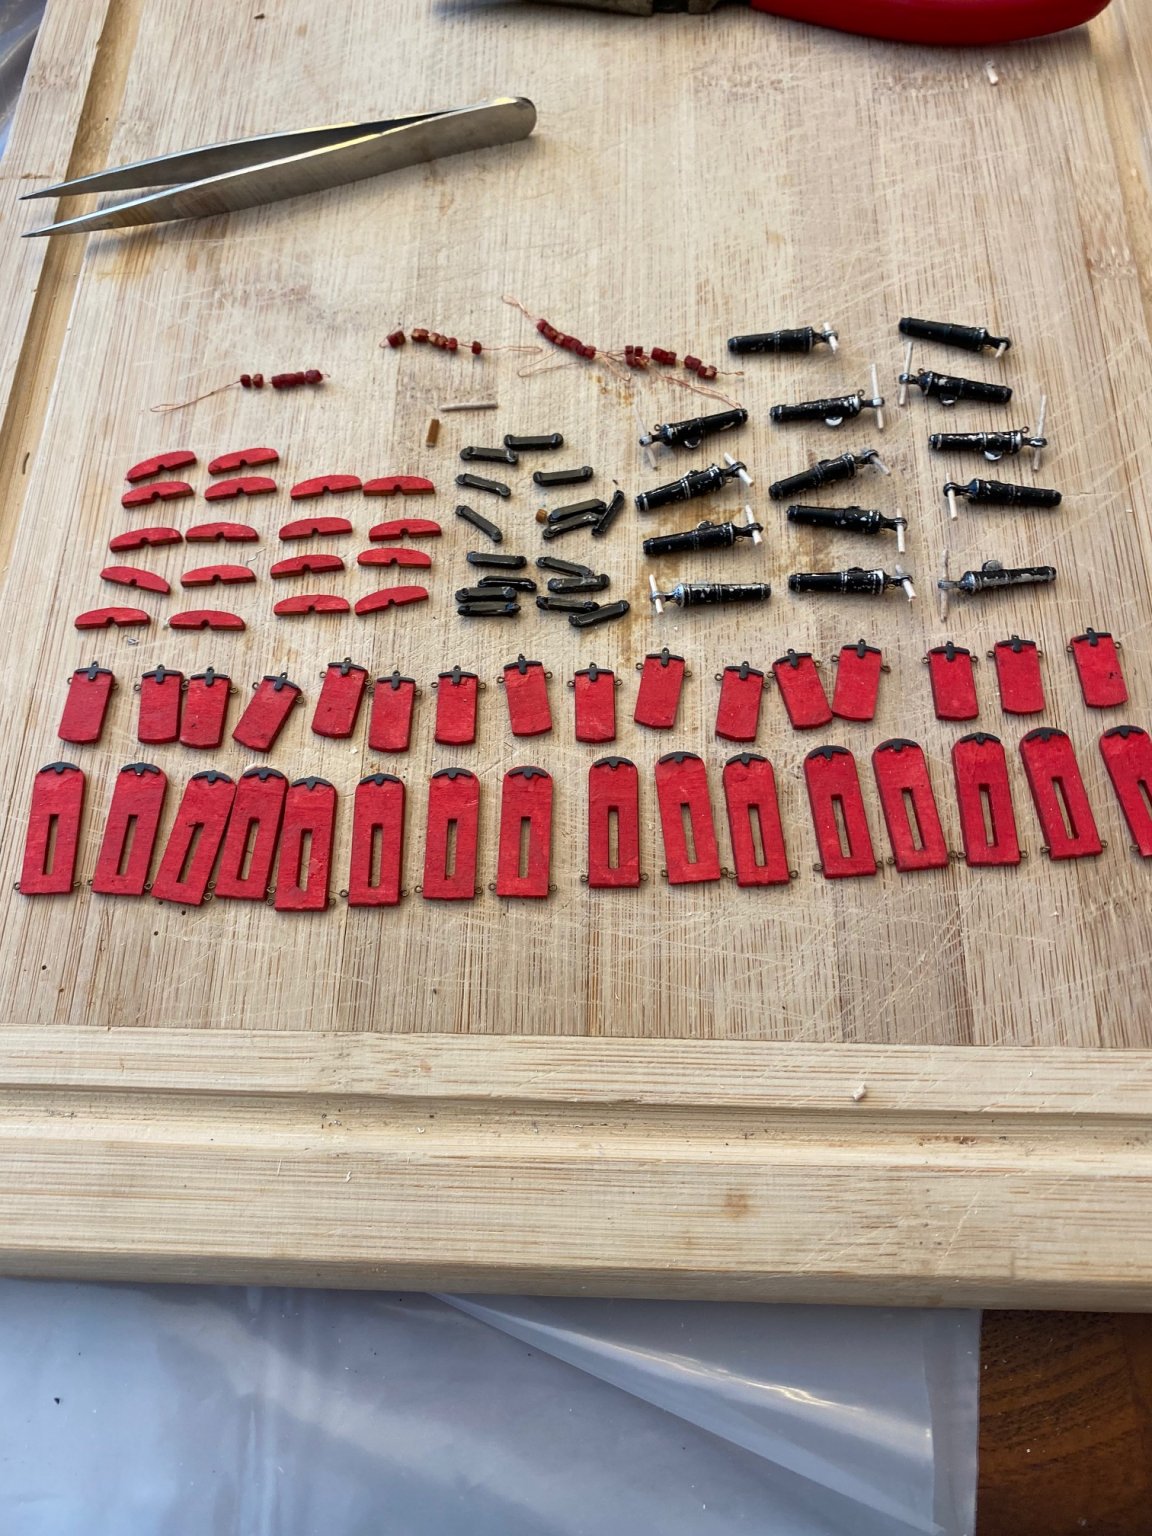
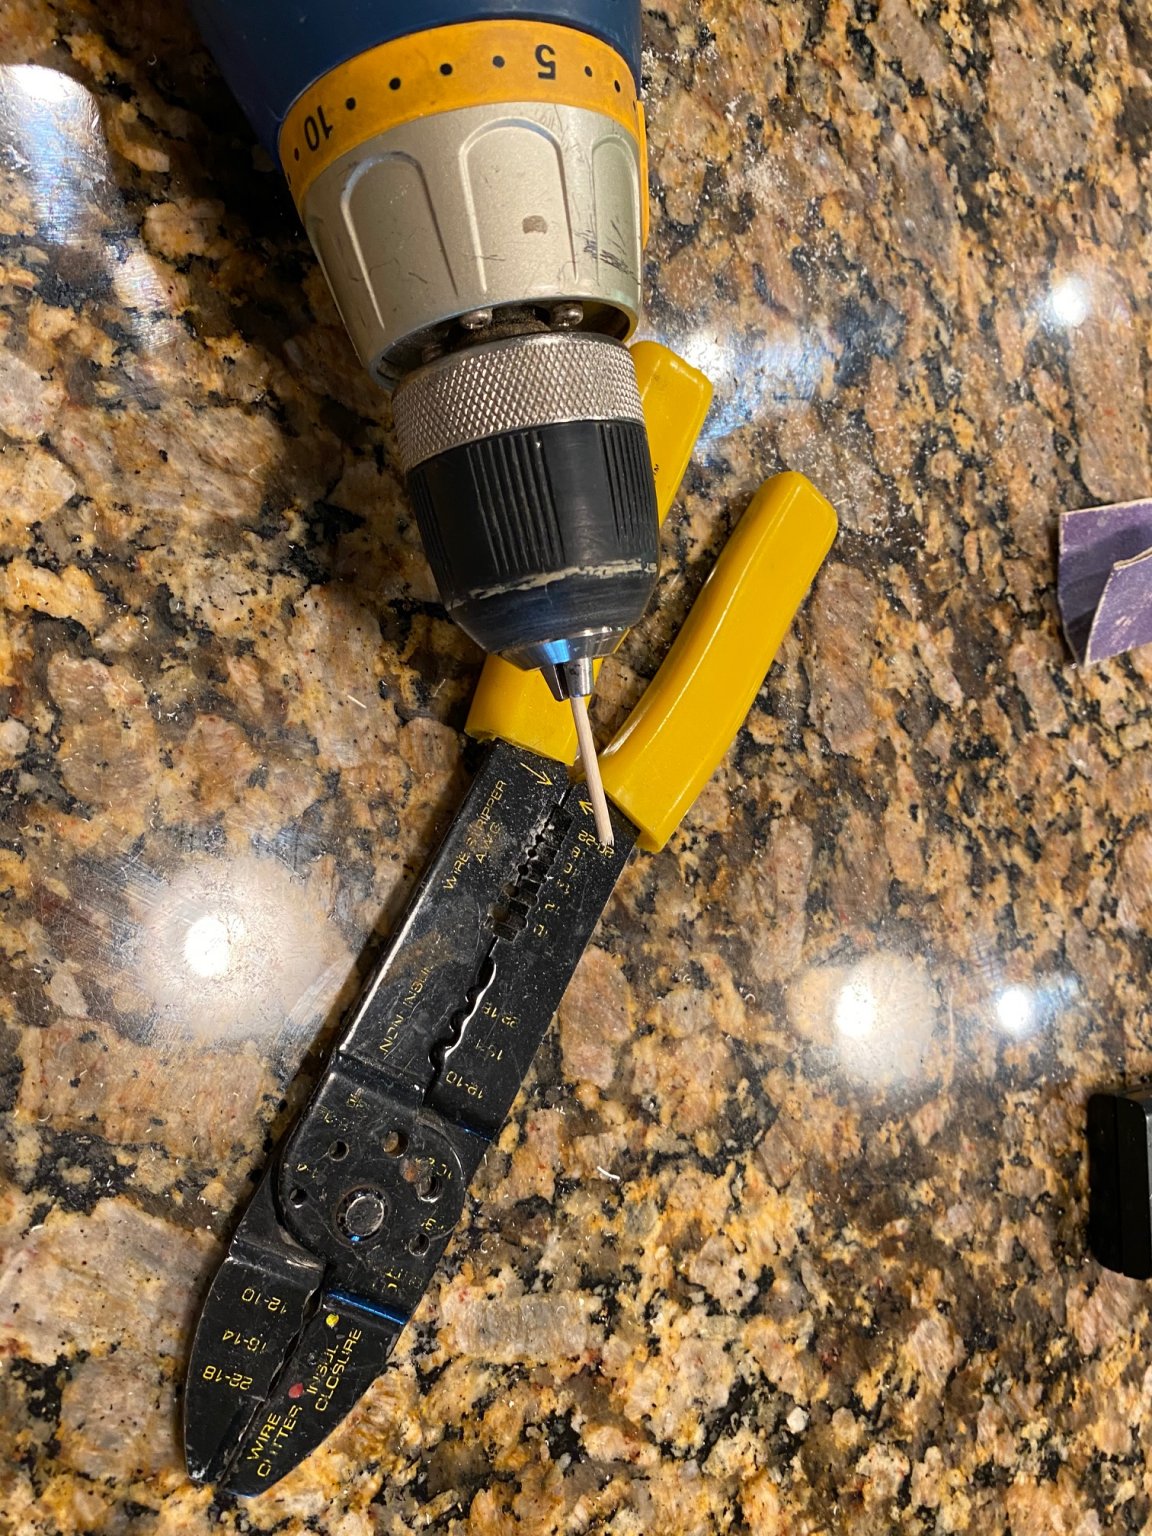
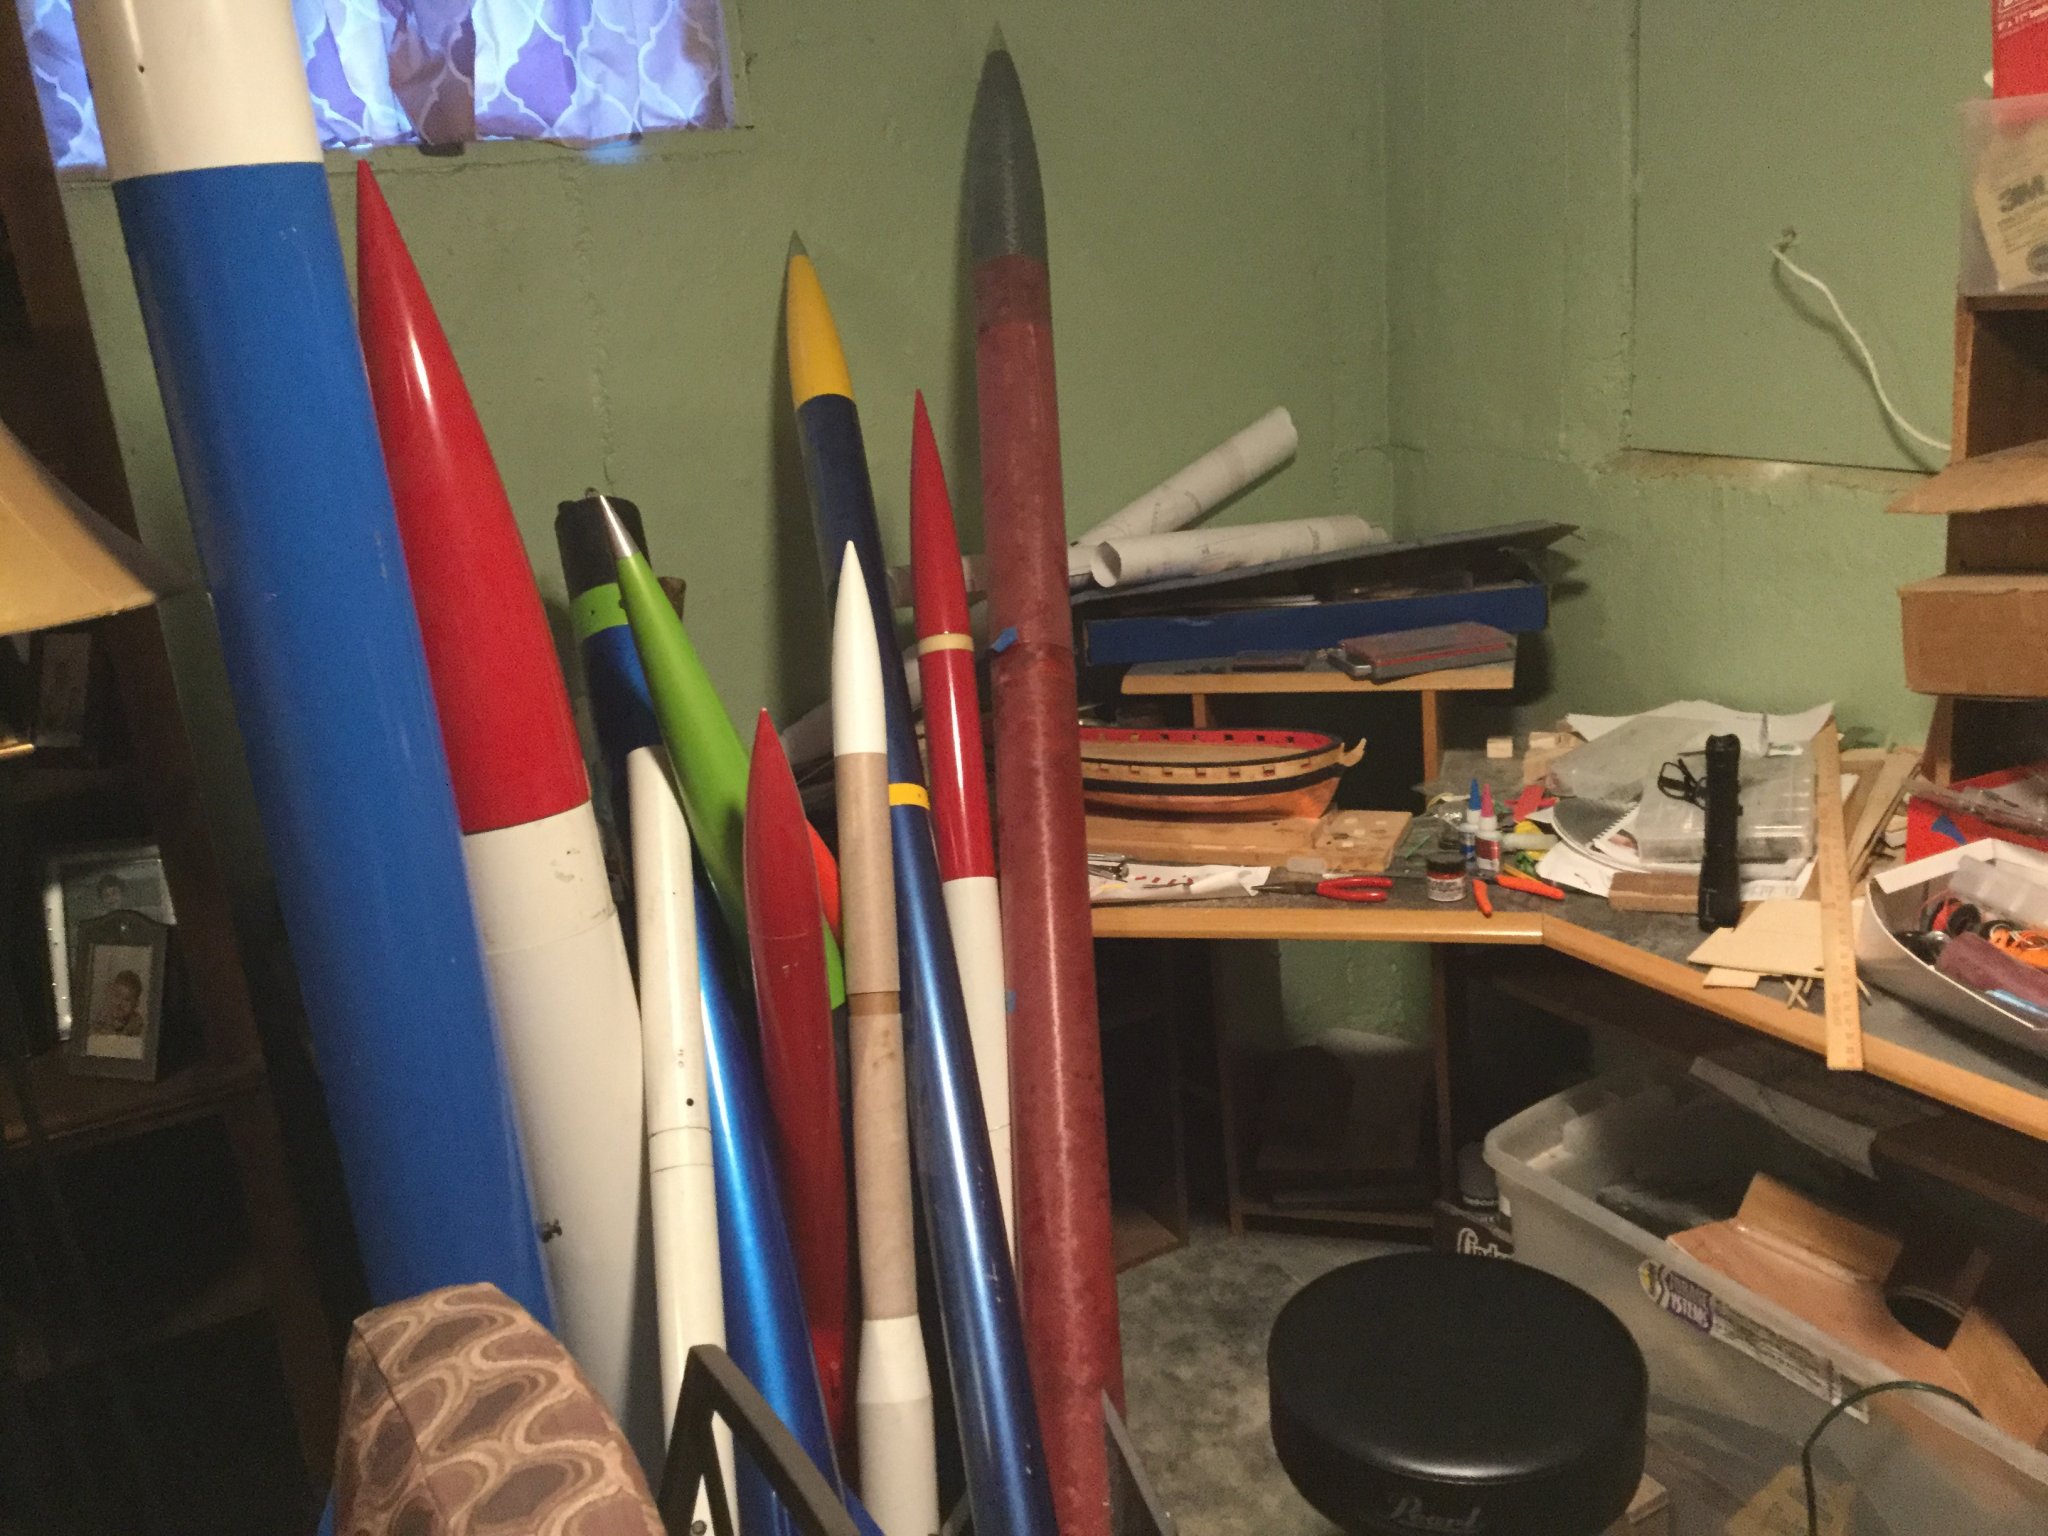
Decided to skip the head rails for now and started on the carronades. To make the pins for the cannon, I used a 1/6 dowel and turned it down in a drill using a wire stripper as a makeshift draw plate and then gave it a light sanding. To drill the holes for the eyebolts, I used I used a dremel in their drill stand using some micro drills I picked up a Harbor Freight. All of the parts ready for assembly.


- 119 replies
-
- 1
-
-
- syren
- model shipways
- (and 1 more)
-
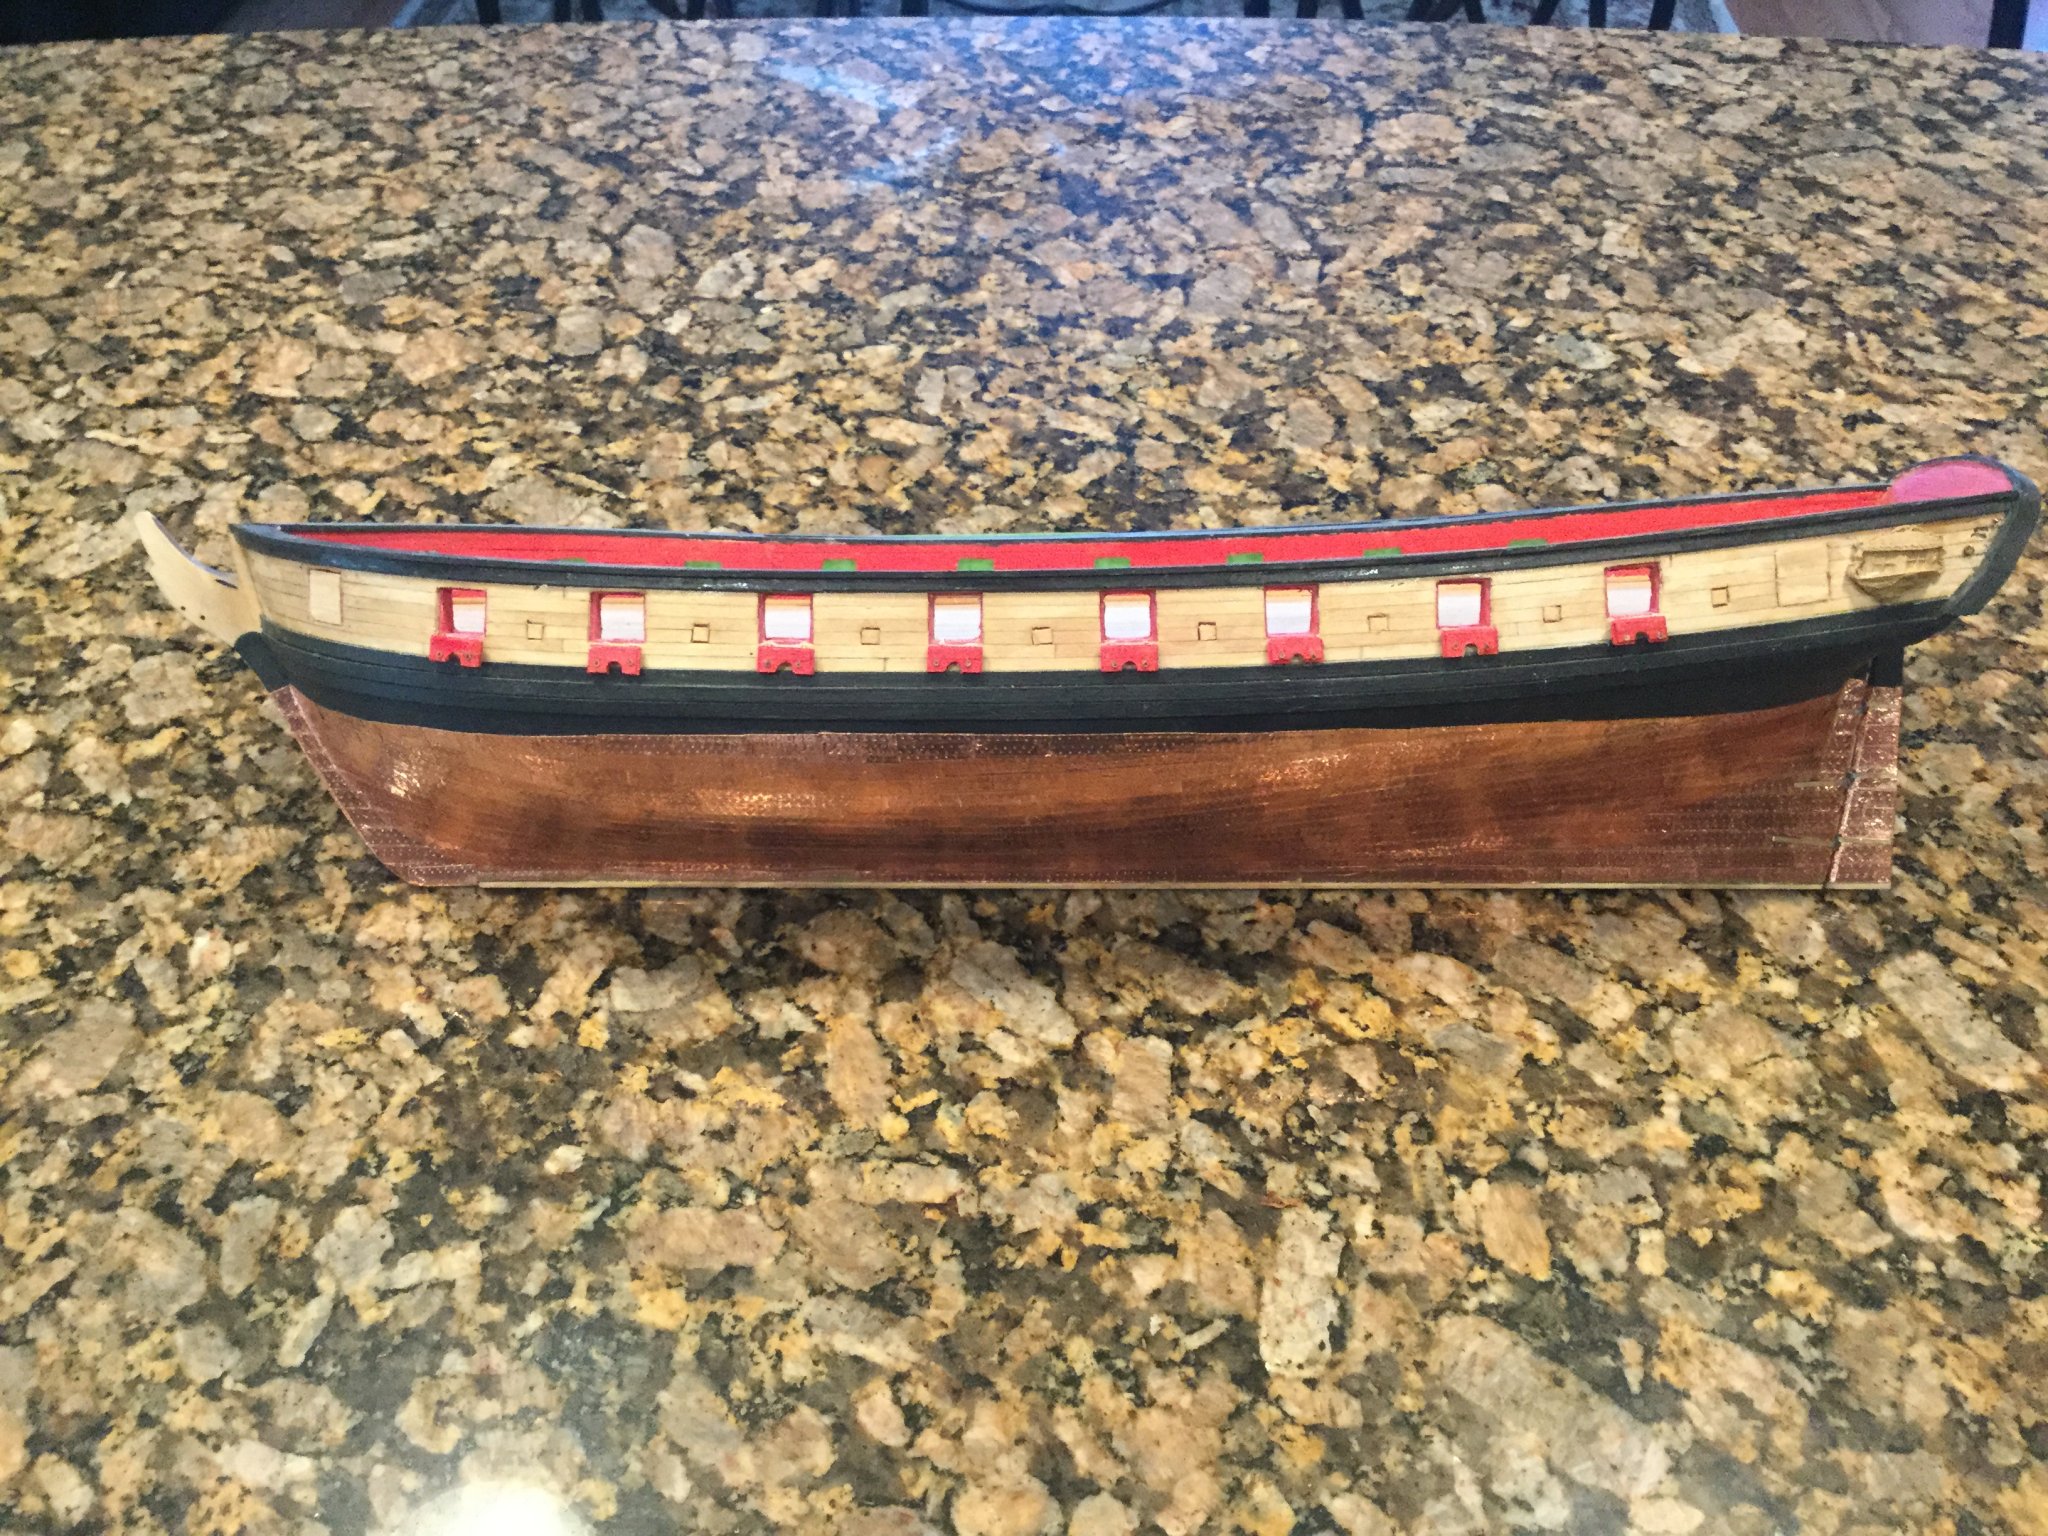
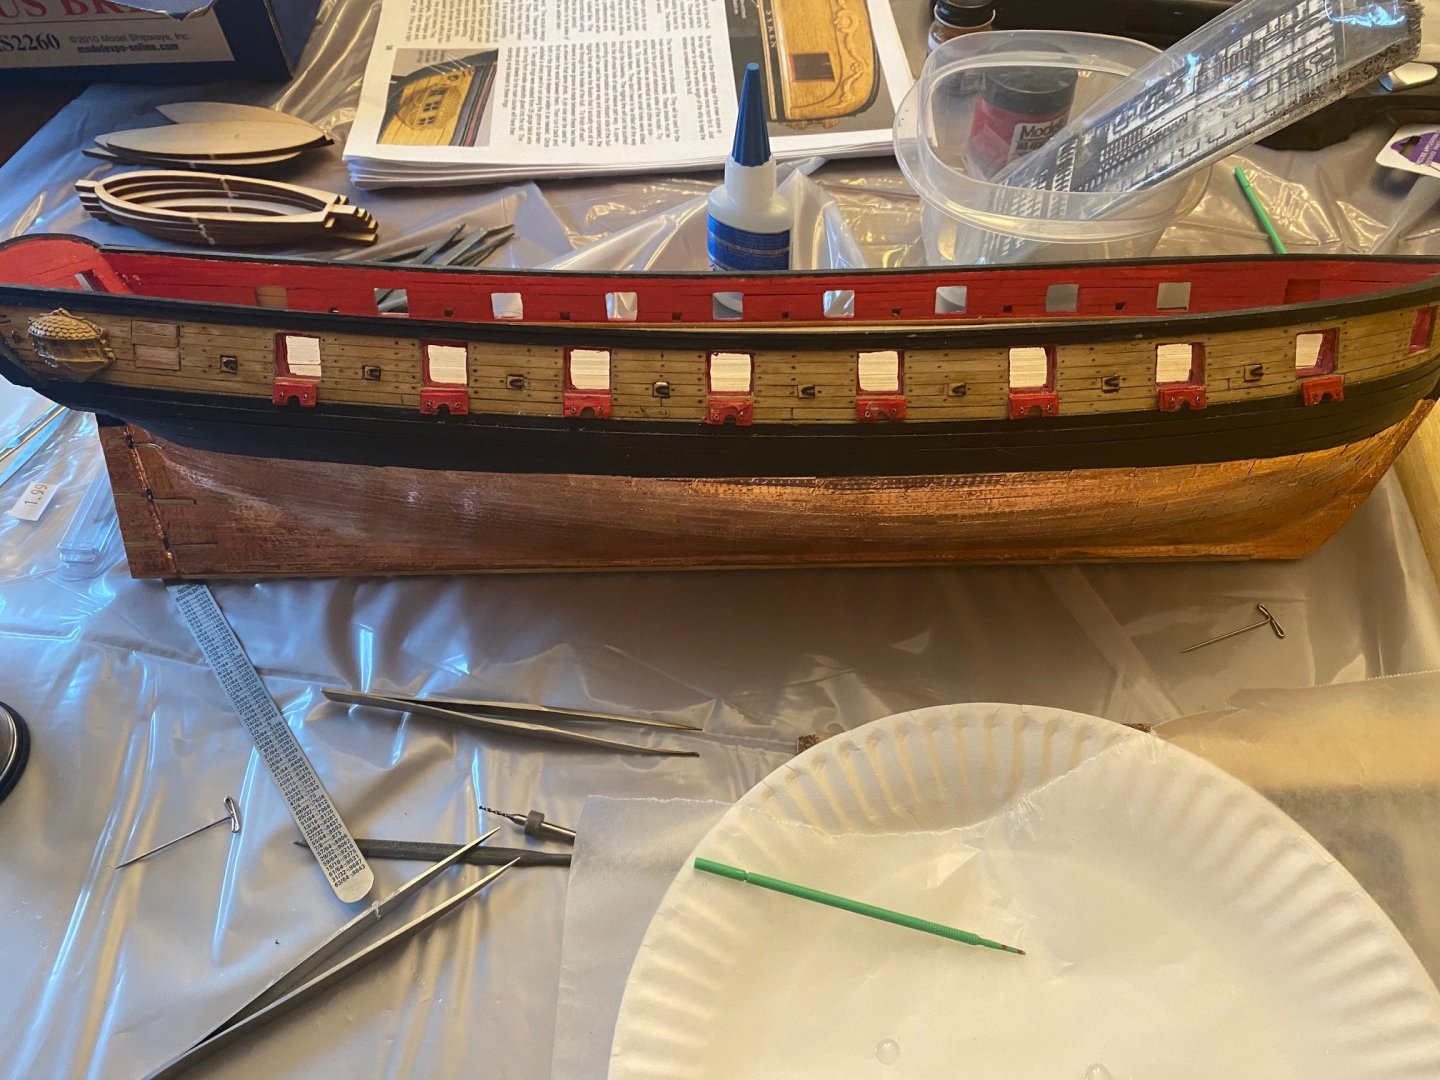
Eyebolts installed in the channels. I used the 28 gauge wire and wrapped around 1/16" drill bit. Stern is now complete. Just the sheaves remain.
- 119 replies
-
- 4
-
-
- syren
- model shipways
- (and 1 more)
-
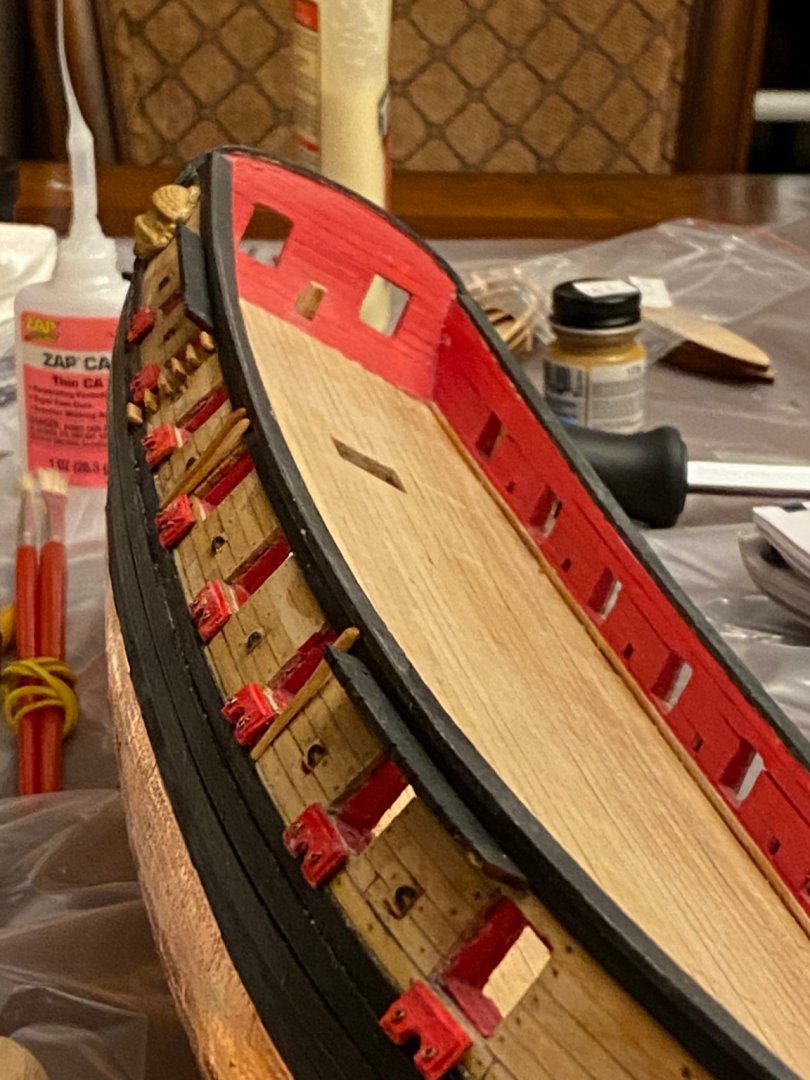
Oops, the starboard channels by the stern were in the wrong position, along with the steps. Was able to carefully remove and place them in the proper position. Port side is now almost complete also, have to still do the sheaves and scuppers along with some eyebolts. Then on to the gunport doors on the stern. Can't believe I've been on chapter 9 for over 2 years now. Feels good to finally be making progress again.
- 119 replies
-
- 6
-
-
- syren
- model shipways
- (and 1 more)
-
More progress on chapter 9, there are a lot of pieces to do in this chapter, starboard side is almost complete.
- 119 replies
-
- 3
-
-
- syren
- model shipways
- (and 1 more)
-
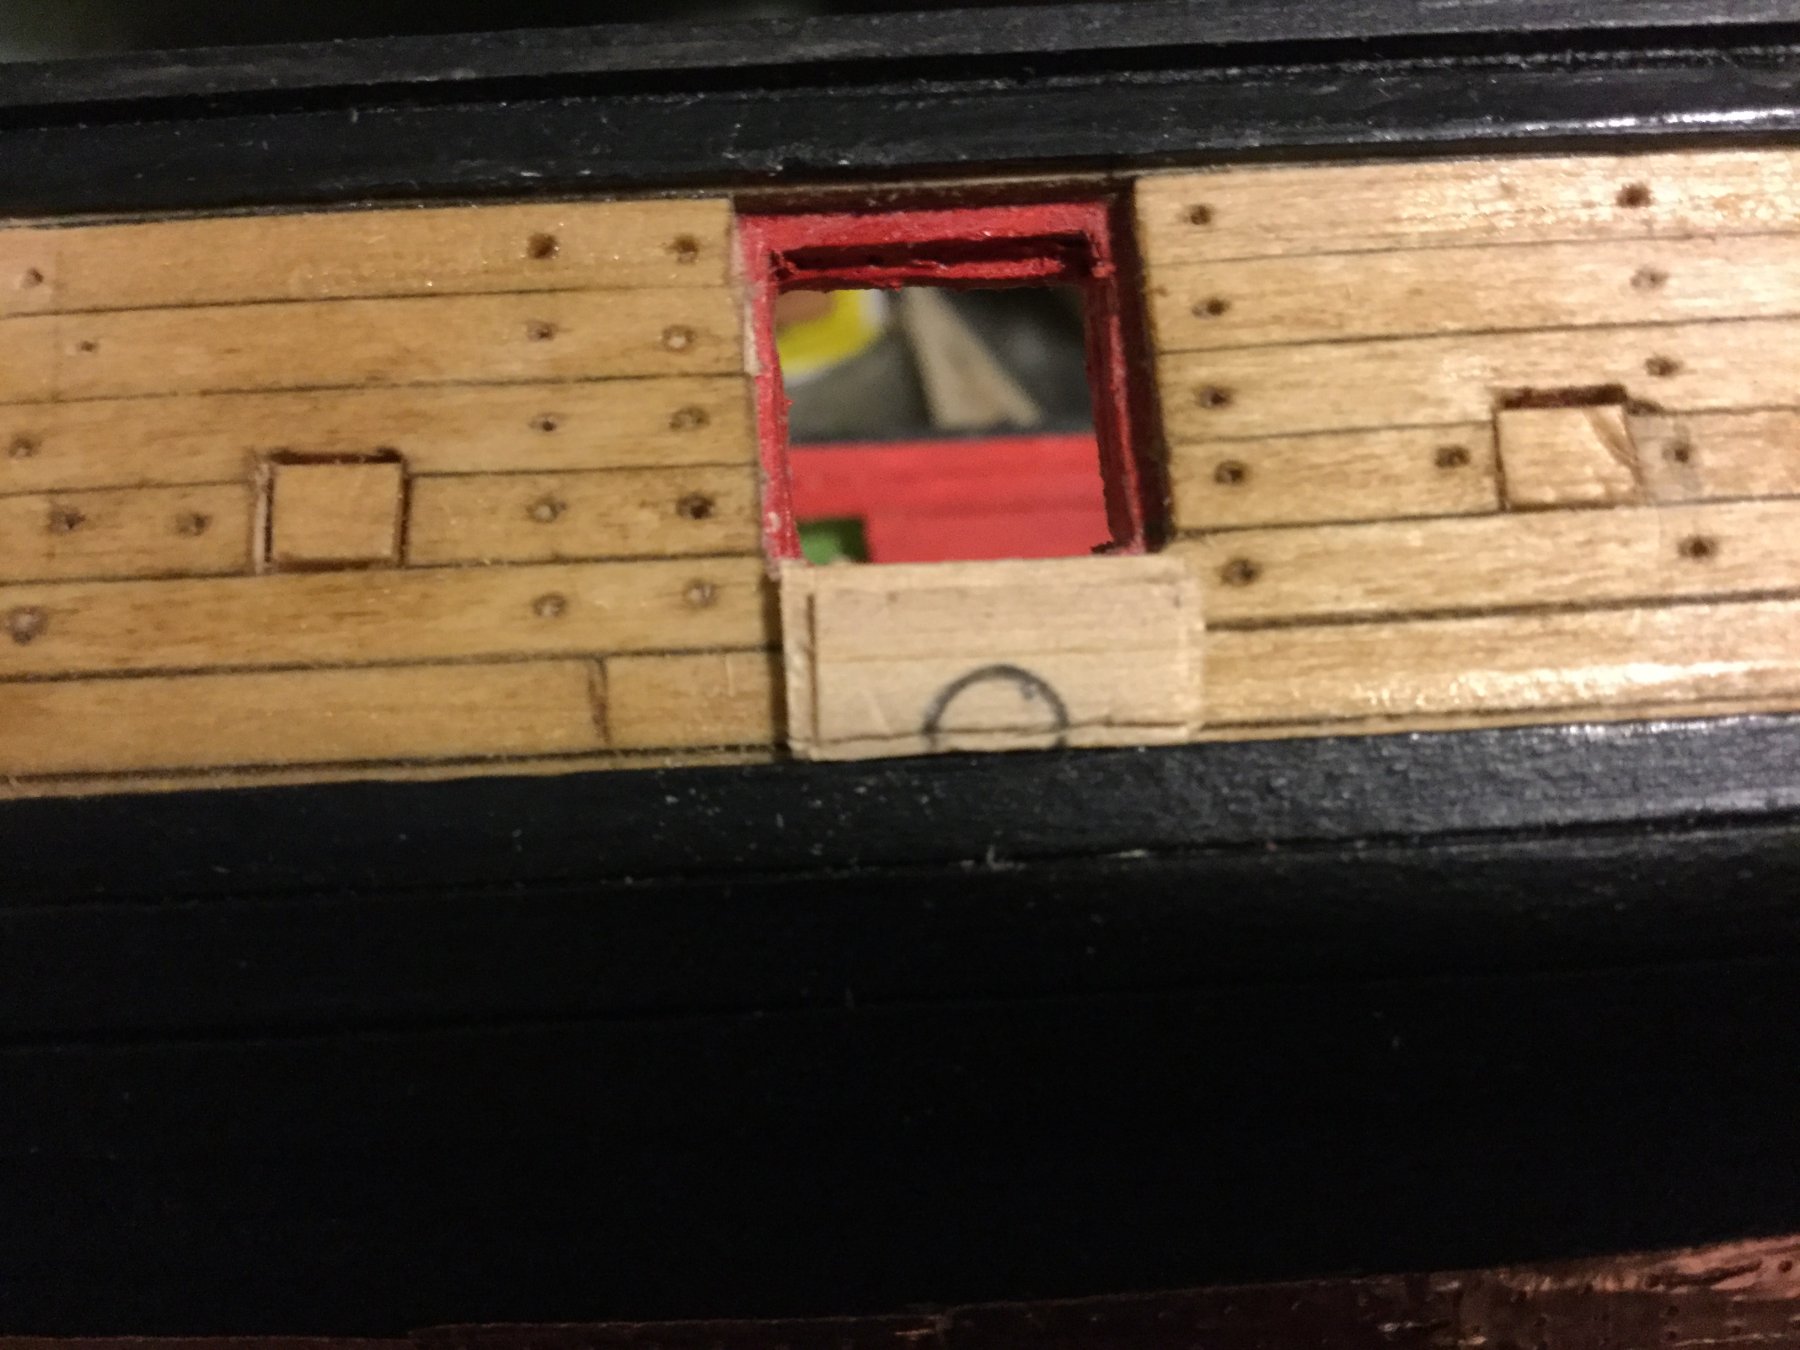
Made the gun port doors for the stern and the steps.
- 119 replies
-
- 2
-
-
- syren
- model shipways
- (and 1 more)
-
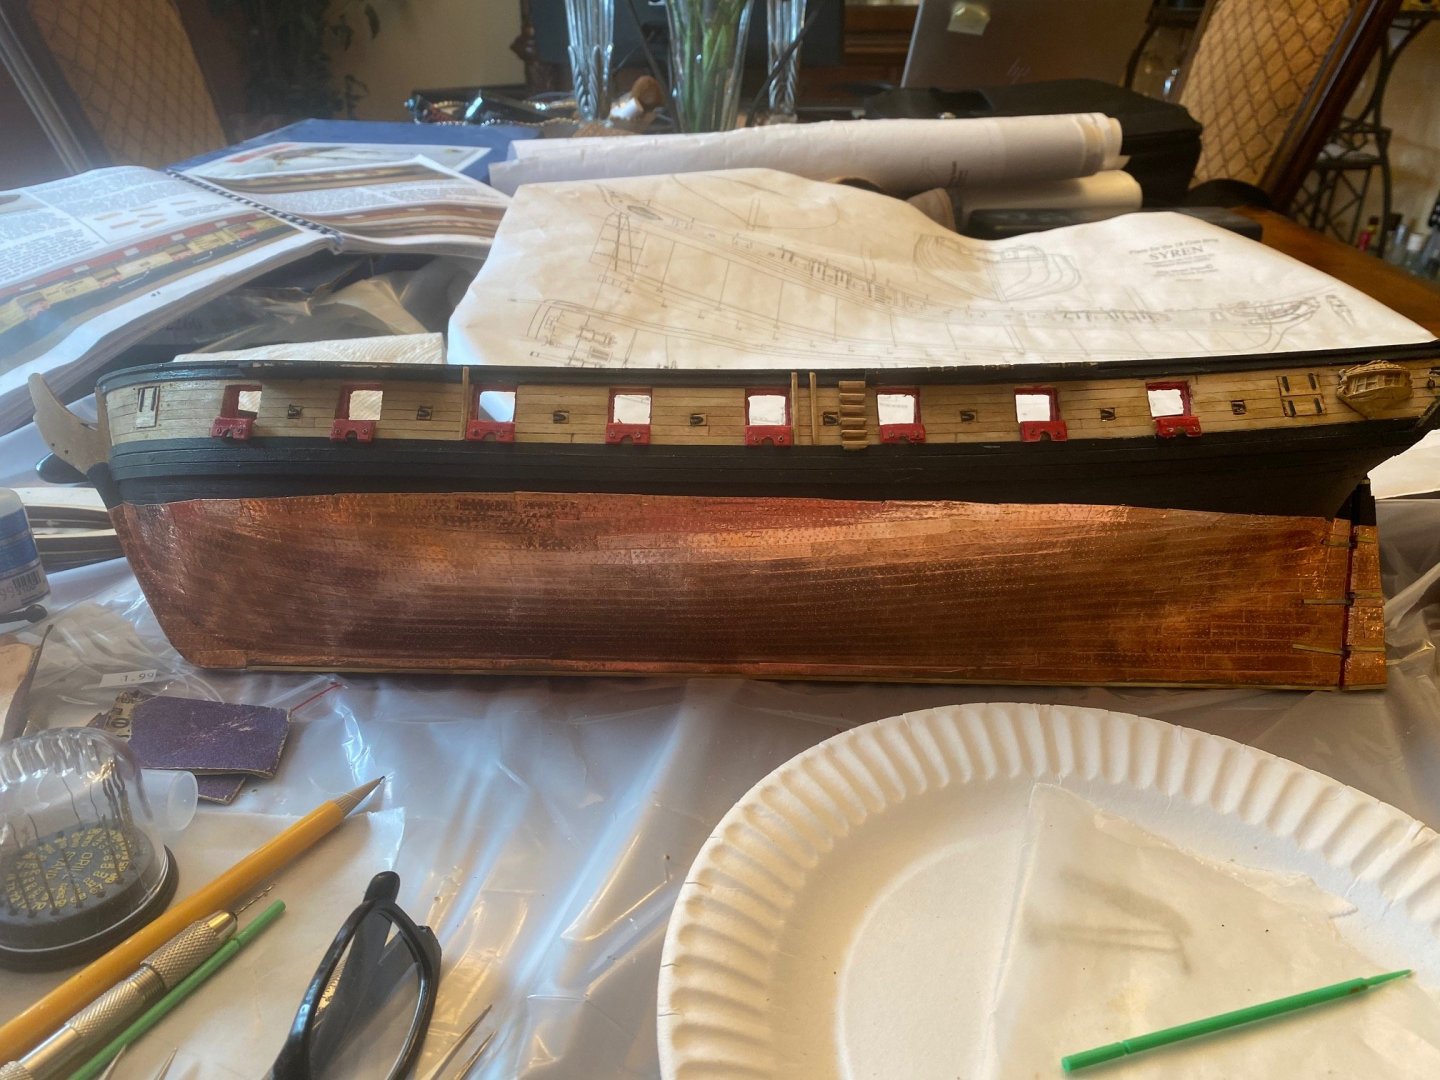
Gun port door and sweep port hinges are now installed on the starboard side. Progress has been slow to date, but I'm happy how it is coming out.
- 119 replies
-
- 2
-
-
- syren
- model shipways
- (and 1 more)
-
Thanks, I was worried about using epoxy for this.
-
What glue has everyone used for the sweep port hinges, I've used 5 minute epoxy on the gun door hinges, but I'm worried that may make a mess on the sweep port hinges.
-
That is looking fantastic, I enjoy following your build.
- 1,133 replies
-
- 1
-
-
- model shipways
- syren
- (and 2 more)
-
I have walked through your complete build log, very impressive. I have it booked marked
-
Got some time today to start the starboard side gun port doors. Spent 1/2 an hour looking for one of the hinges on the floor, finally found it. Does anyone know if there are extras supplied in the kit ? I think I'll need to straighten up the work shop before going further. Barely enough room to sit right now.

- 119 replies
-
- 3
-
-
- syren
- model shipways
- (and 1 more)
-
I haven't given up, the gun port doors are now installed on one side. The doors are made for the other side, yet not installed yet. The past year has been crazy as we have been going thru 2 mergers at the same time.

- 119 replies
-
- 7
-
-
- syren
- model shipways
- (and 1 more)
-
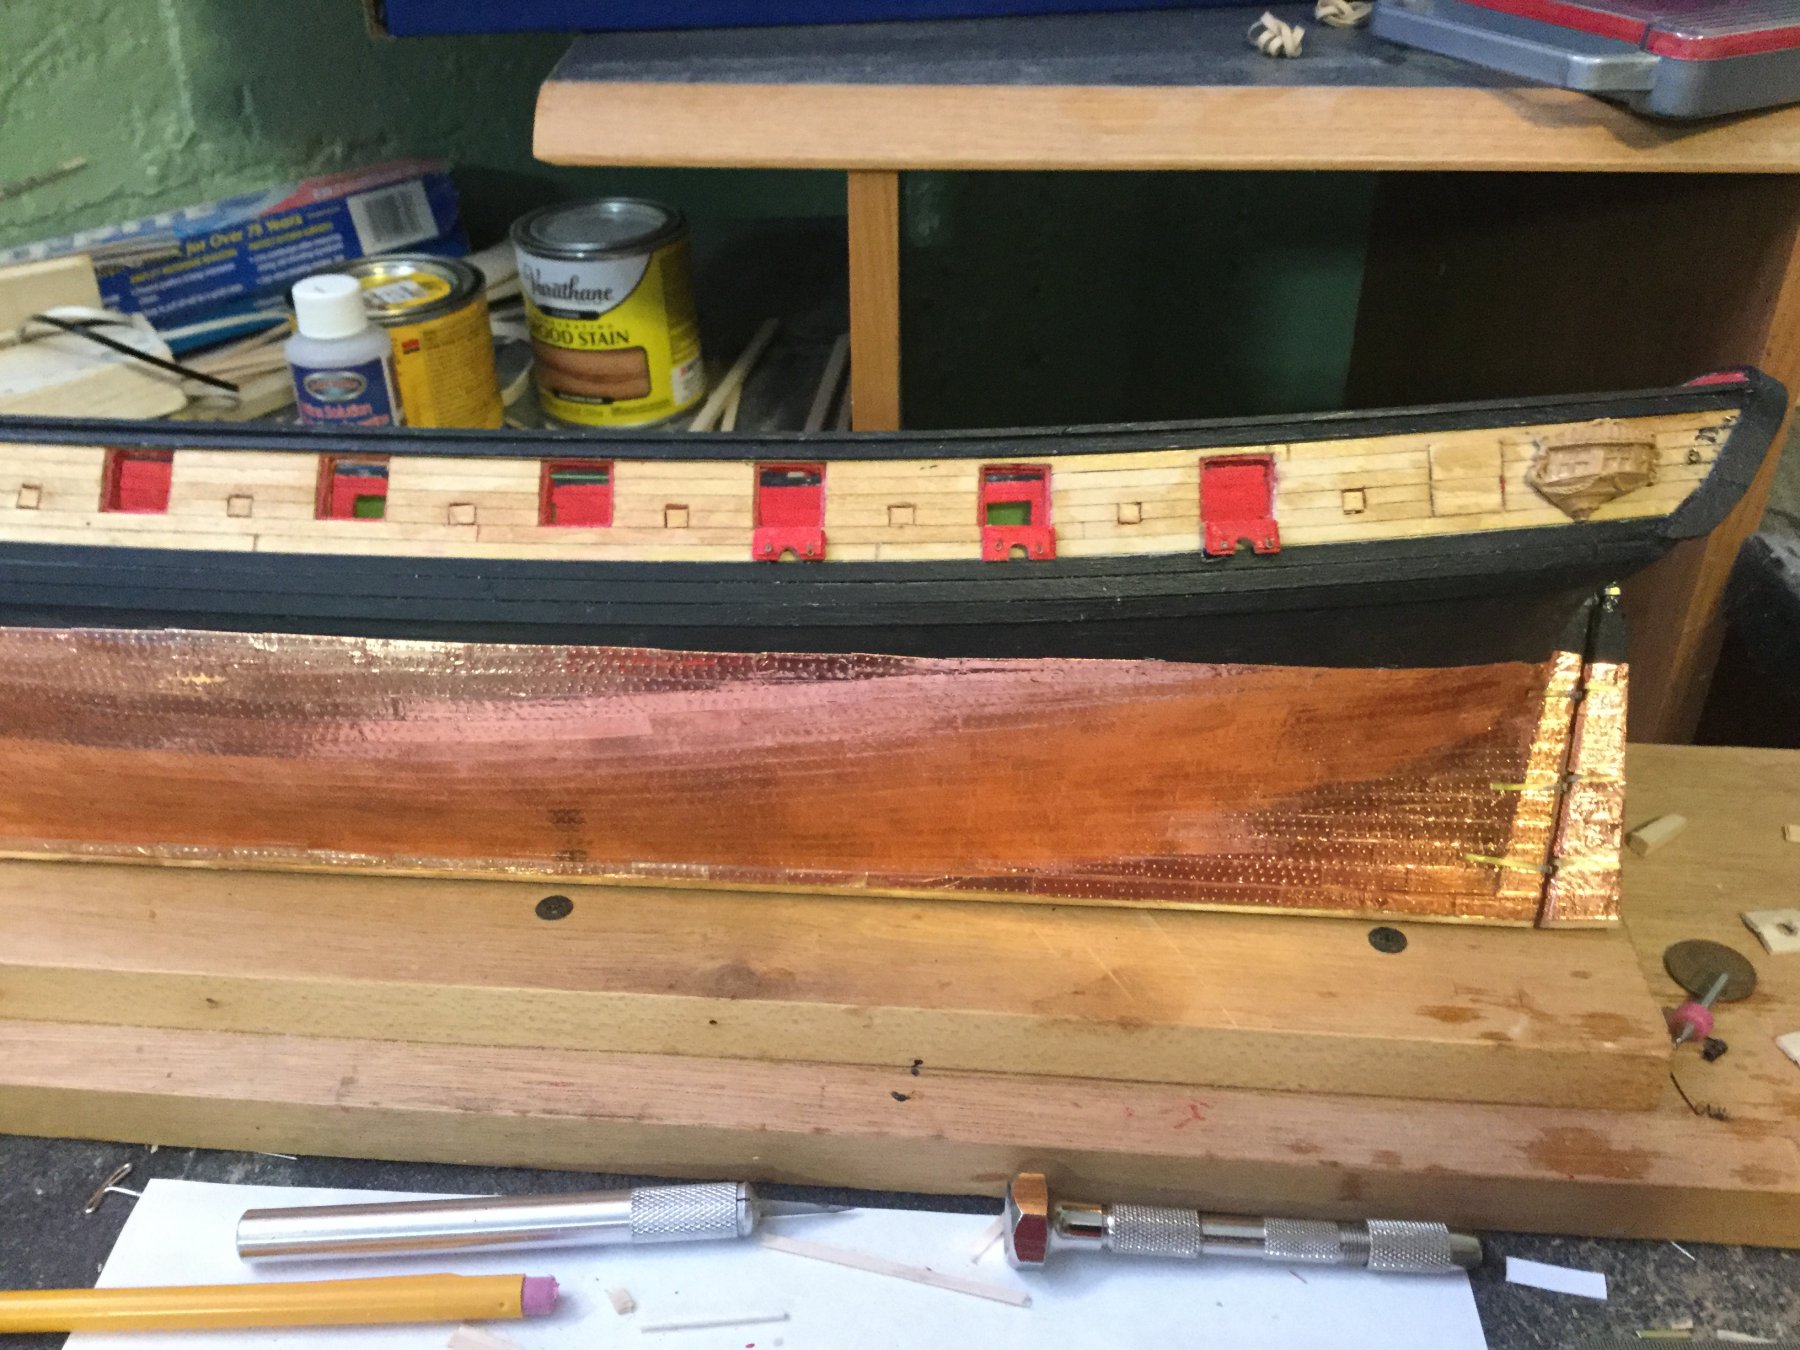
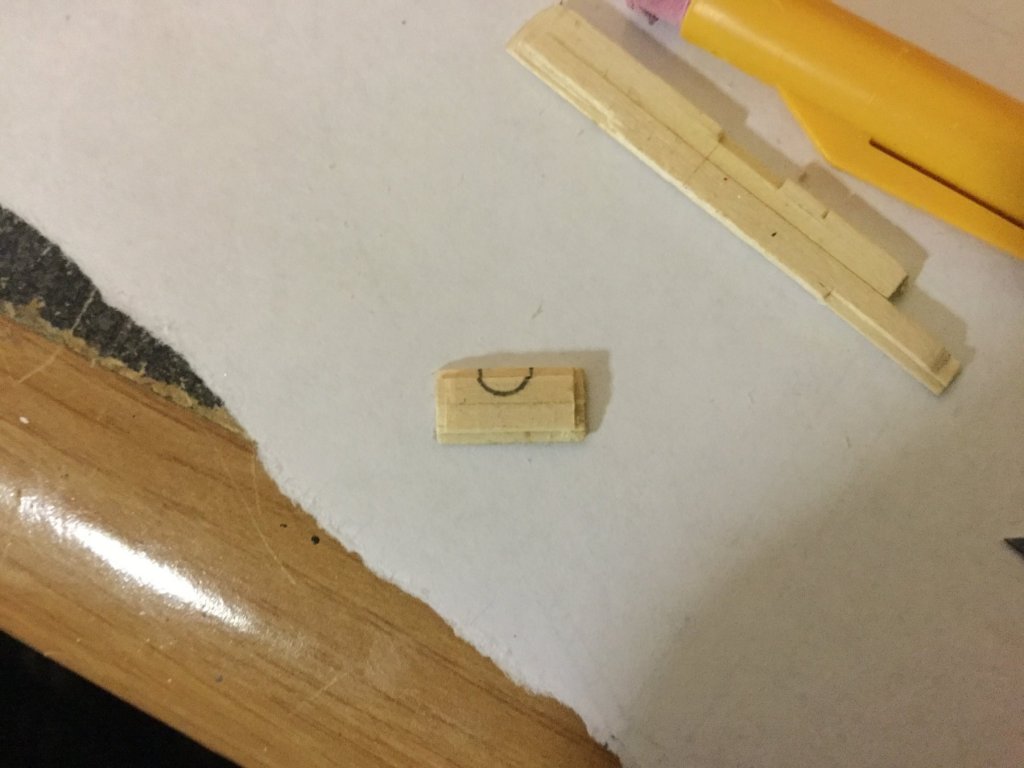
Making progress on the gun port doors, 3 installed. The more I have made the rabbet cuts the better I've gotten at making them. Must have made 50+ doors to come up with 20 that I'm happy with. Not perfect, but I can live with the result.

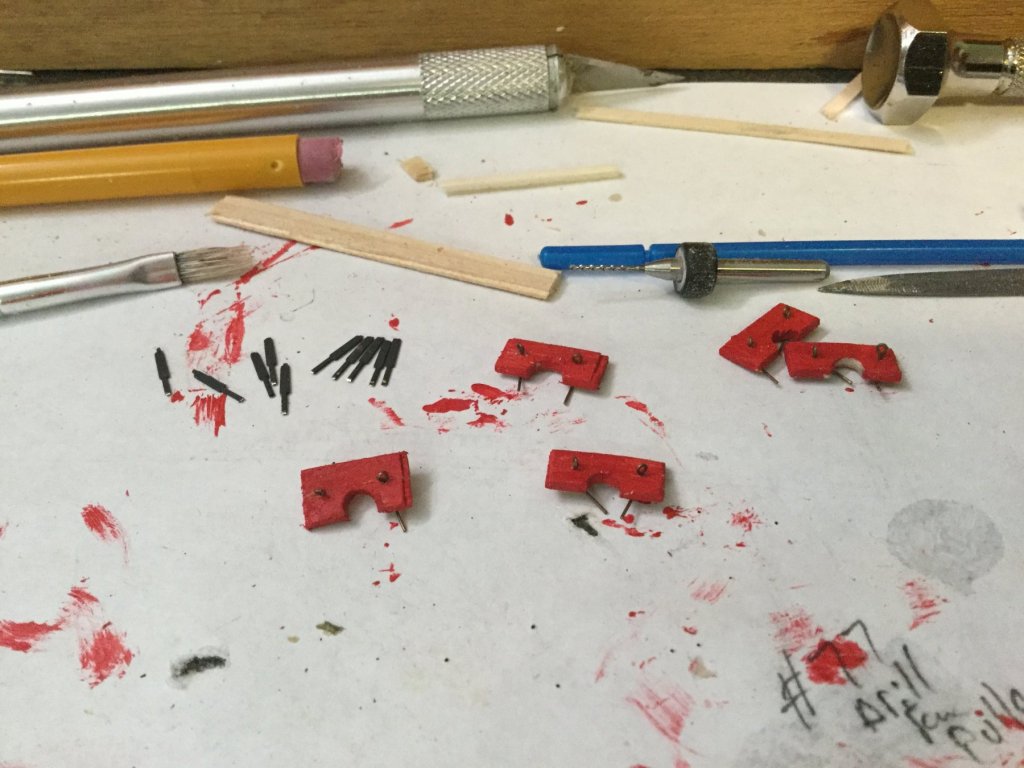
- 119 replies
-
- 7
-
-
- syren
- model shipways
- (and 1 more)
-
I didn't take it that way at all. At this point, I have ordered some boxwood strips to see if I can get a better rabbet cut with that wood. I'll keep the ones I have so far and see if I can make better ones. They have gotten better as I have made more of them. If this is the best I can do, I'll be happy knowing that I gave it my best shot.
-
So far on this build, this has been the most frustrating part. Not sure why I can't get a consistent rabbet on the gun port doors. Not sure how many I have tried to make. These are the best I have been able to do. 1 side done, one to go. They're just sitting there, not installed yet.

- 119 replies
-
- 6
-
-
- syren
- model shipways
- (and 1 more)
-
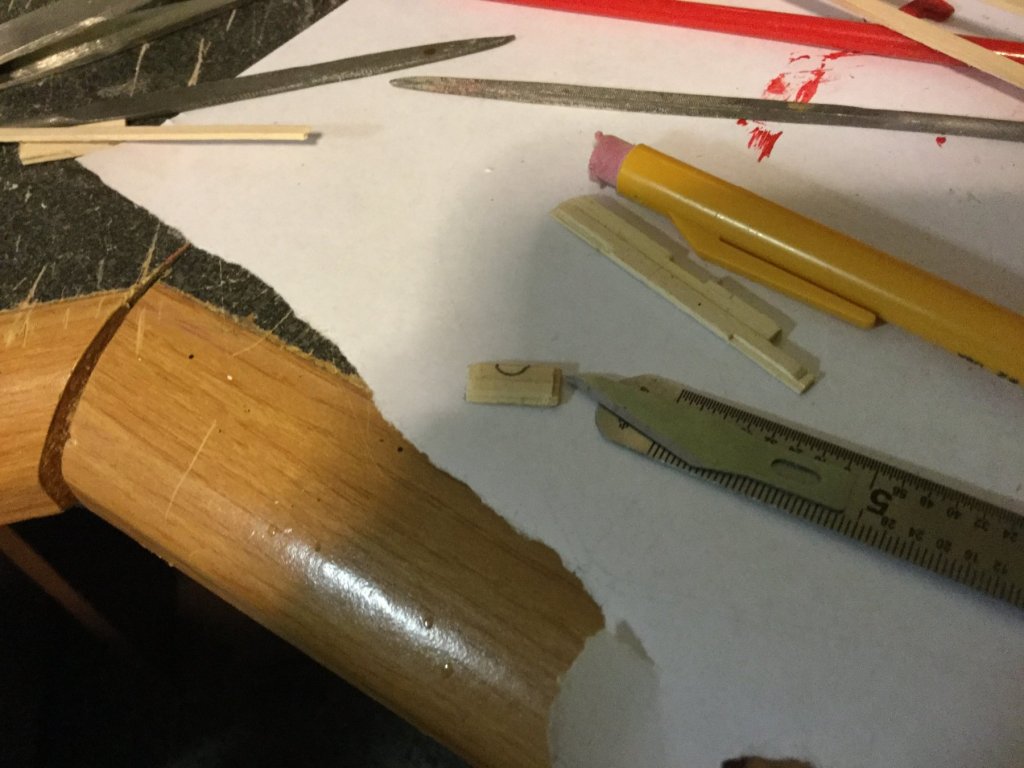
Not much progress, but I think I've found d a way to get a consistent rabbet on the gun port doors. I placed an xacto blade on top a metal ruler and lightly scored to cut the rabbet. The result while not perfect is much better than what I was trying to do with a file. I'm happy enough to proceed with the rest of the doors.
- 119 replies
-
- 4
-
-
- syren
- model shipways
- (and 1 more)
-
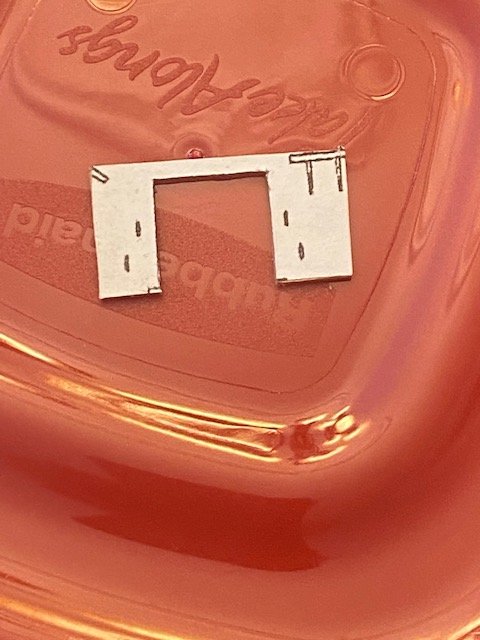
Having trouble making the rabbits on the gun port doors. Working with a file. The one on the left is the fifth try. They look rather sloppy. How have others made this rabbet cut ? I don't have access to a drill press or milling machine. I could easily see that either would be handy here.

- 119 replies
-
- 2
-
-
- syren
- model shipways
- (and 1 more)
-
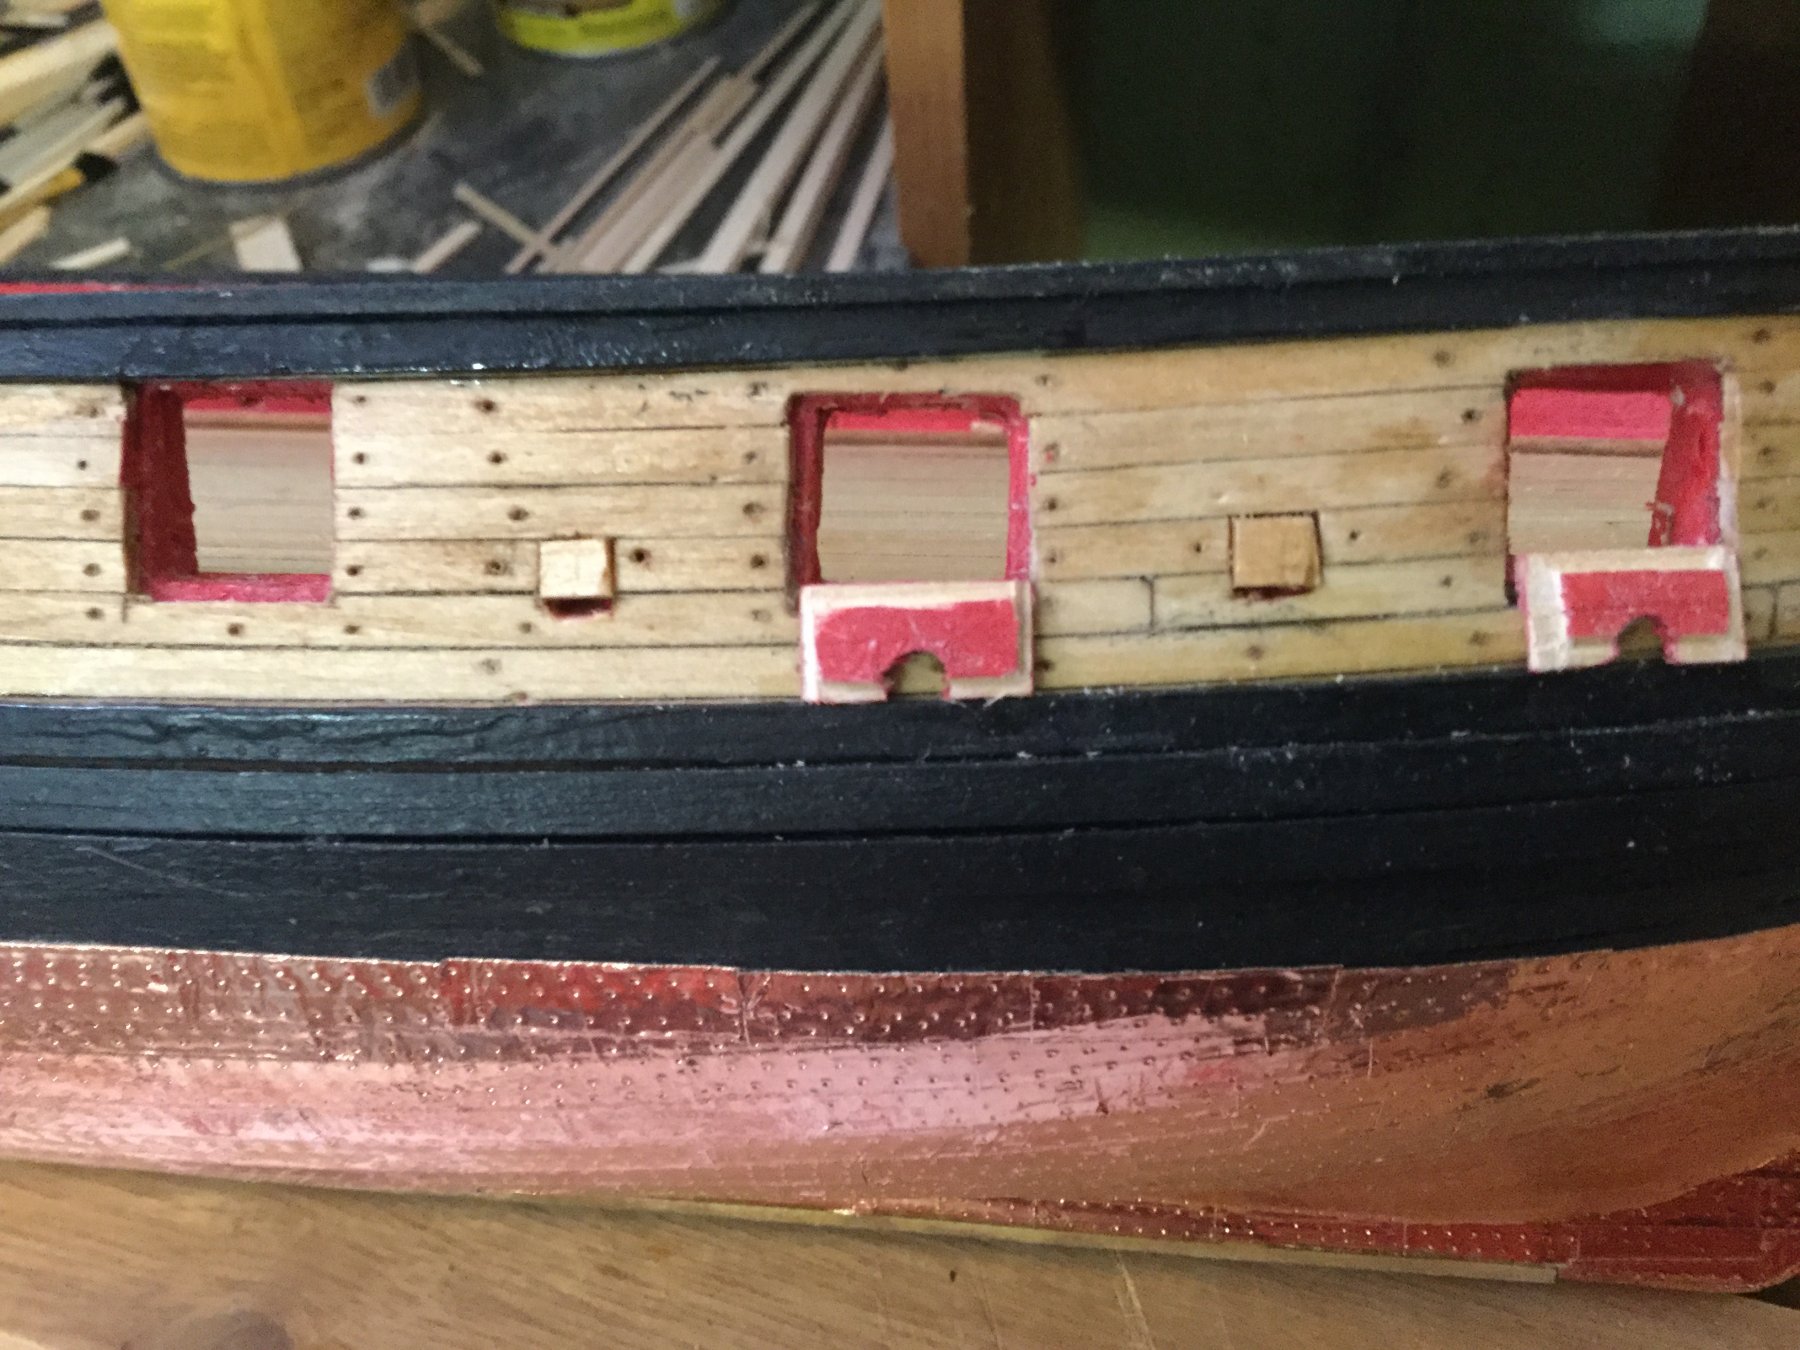
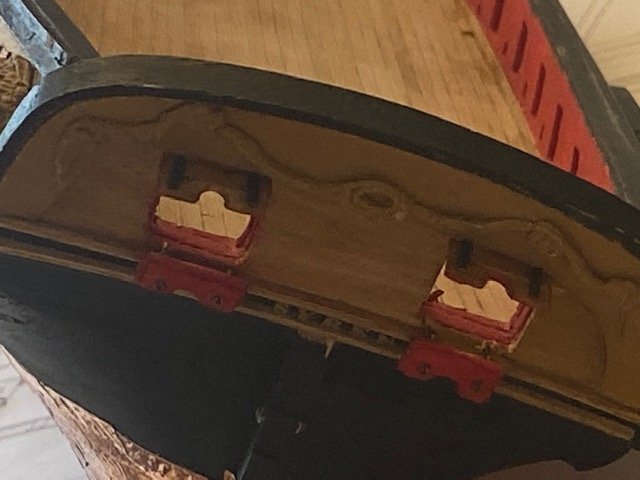
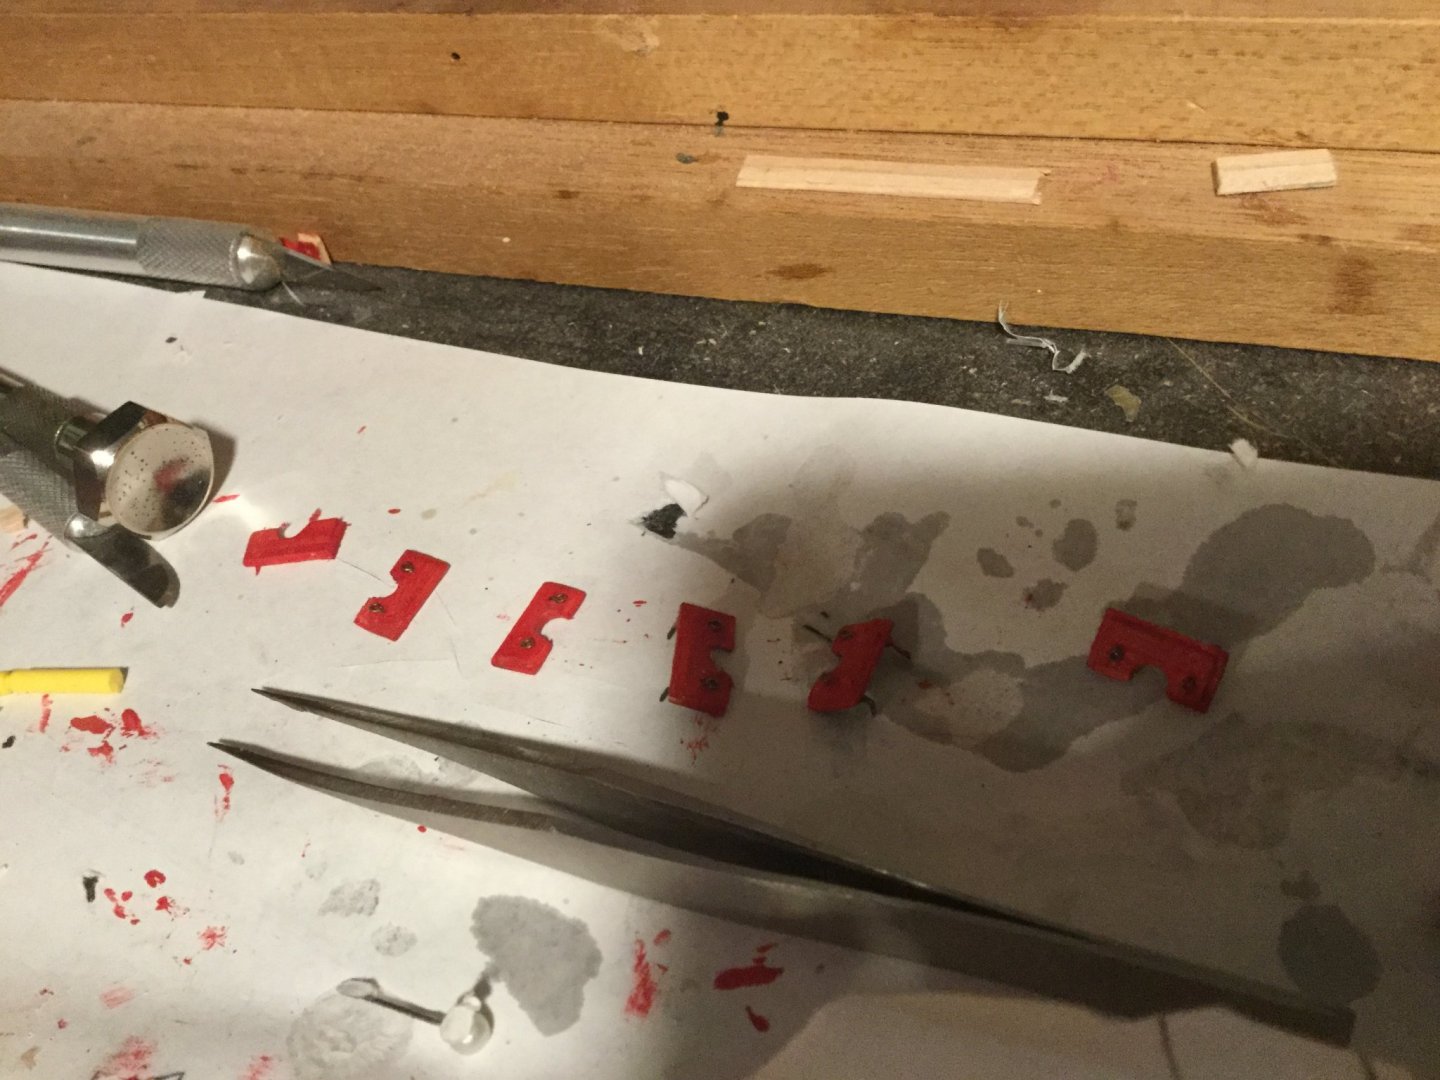
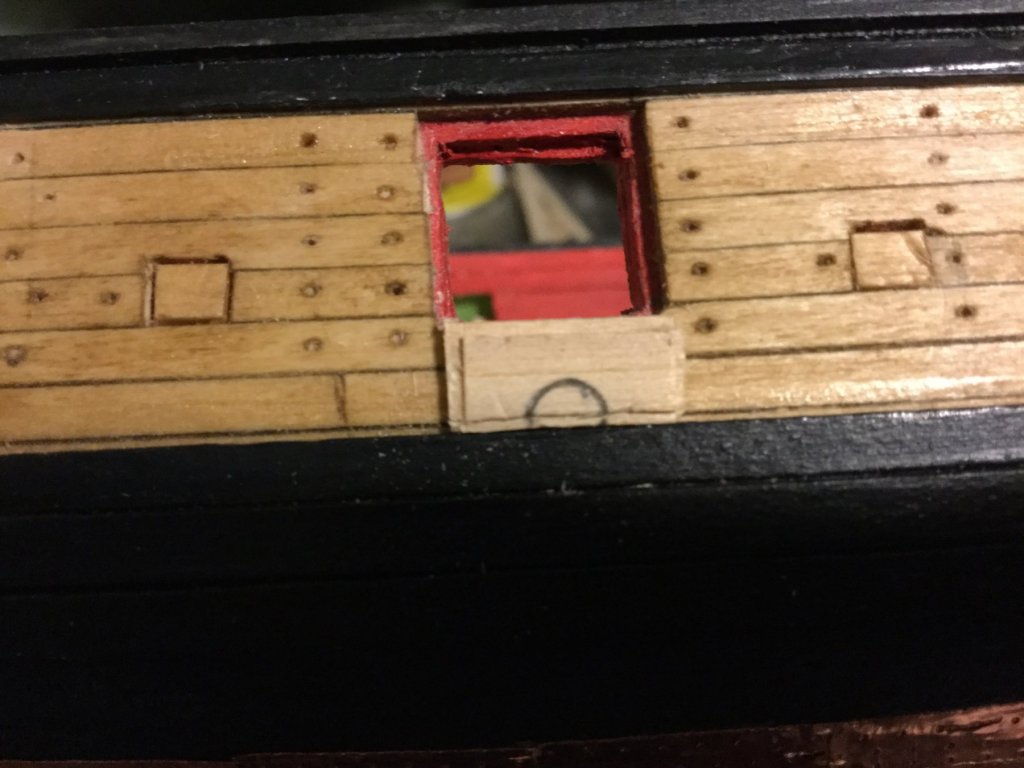
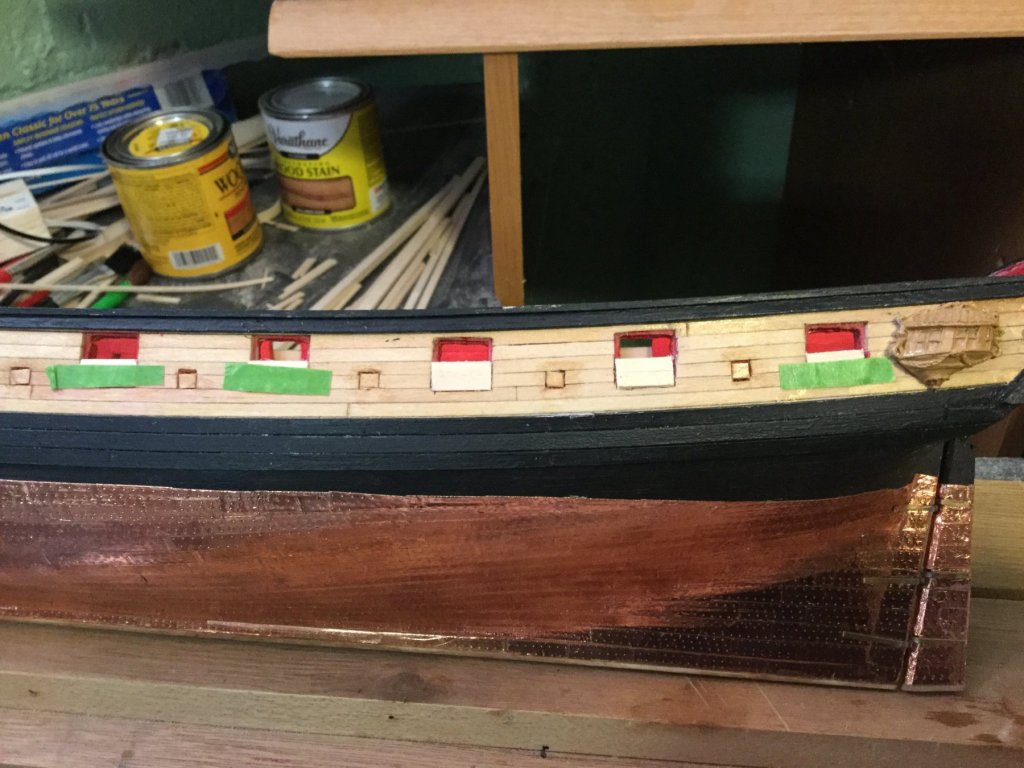
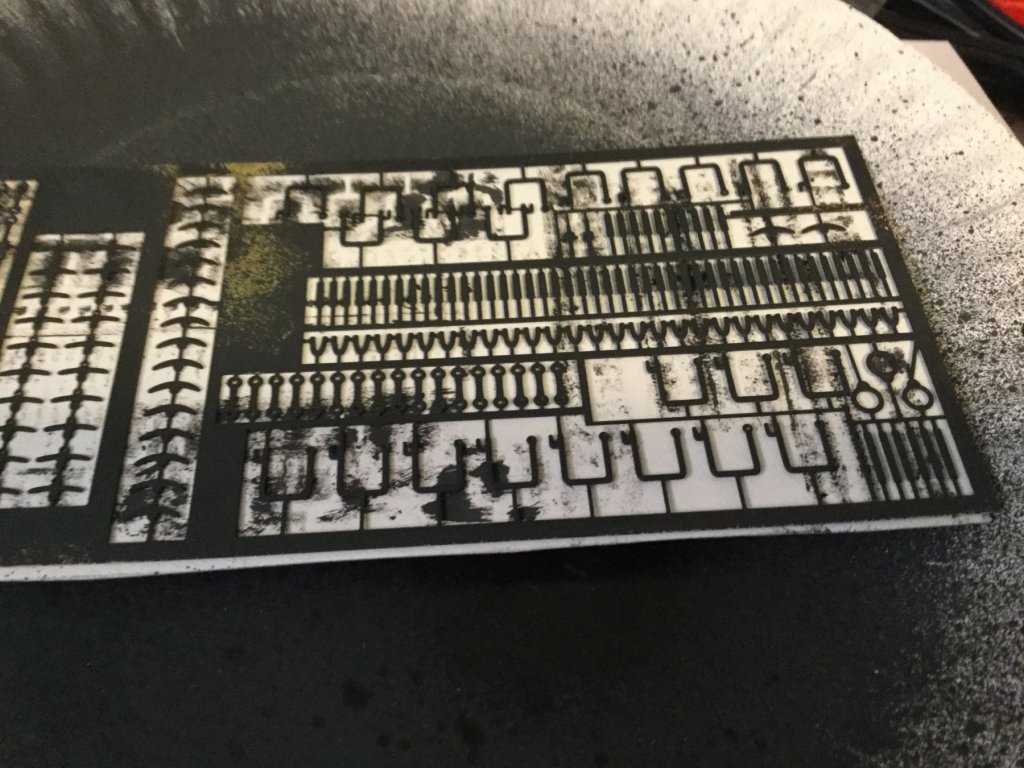
Sweep ports installed, working on gun port lids. PE painted flat black.
- 119 replies
-
- 5
-
-
- syren
- model shipways
- (and 1 more)