-
Posts
57 -
Joined
-
Last visited
Content Type
Profiles
Forums
Gallery
Events
Everything posted by dmalcolm72
-
Sorry, I haven't accomplished much this week...I had other things going on. Tonight I sat down and glued in some 3/4" long 1/4"x1/4" reinforcing pieces into the false keel-bulkhead joints to strengthen them for later when fairing the hull and installing the first layer of planking. (As a side note, I have some 0.6mm walnut planking coming for the veneer.) I have dry fitted the false deck and it looks to sit well...I need to sand the counter to be sure the deck has a good flat attachment point.
- 20 replies
-
- Amati
- lady nelson
-
(and 1 more)
Tagged with:
-
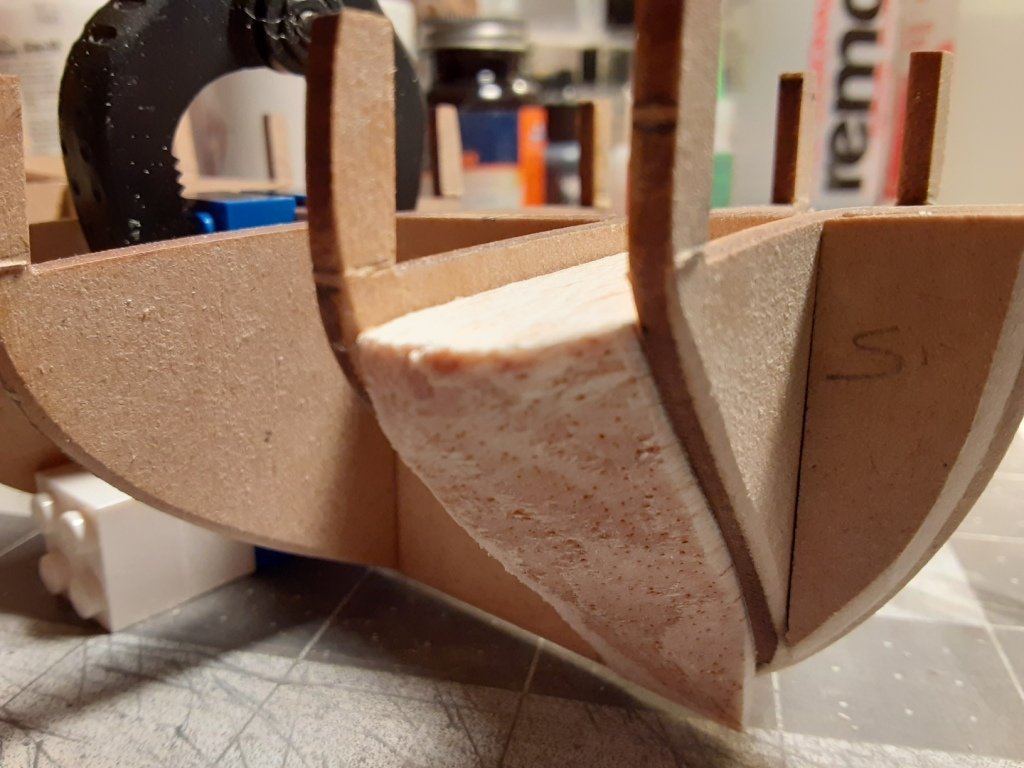
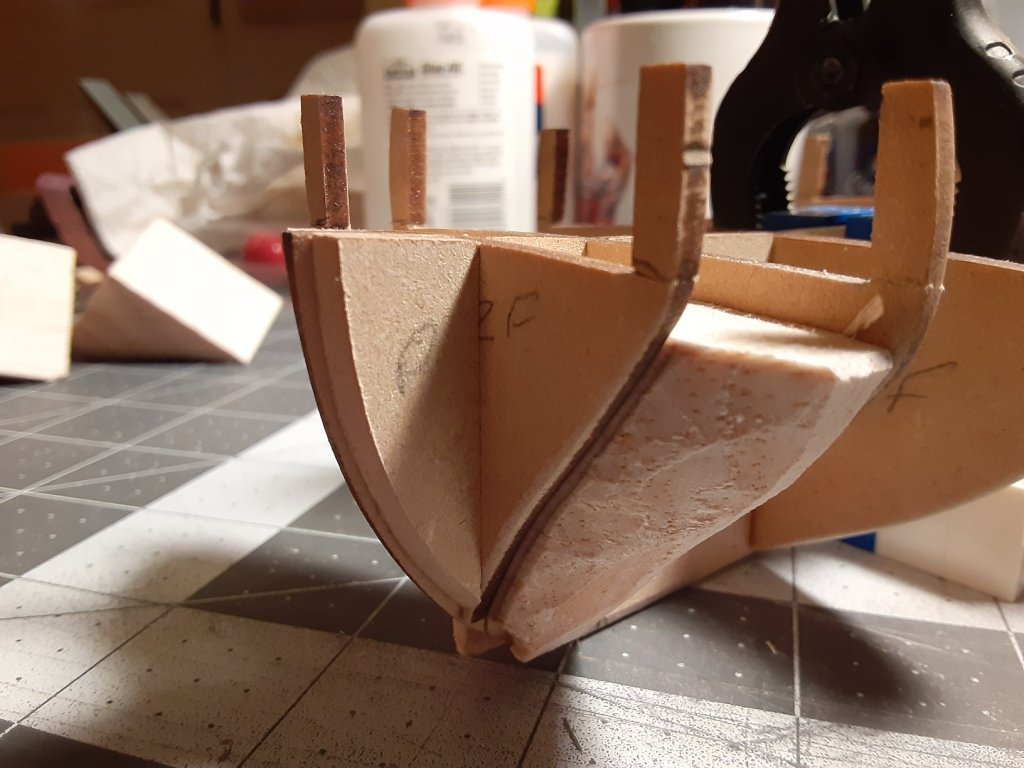
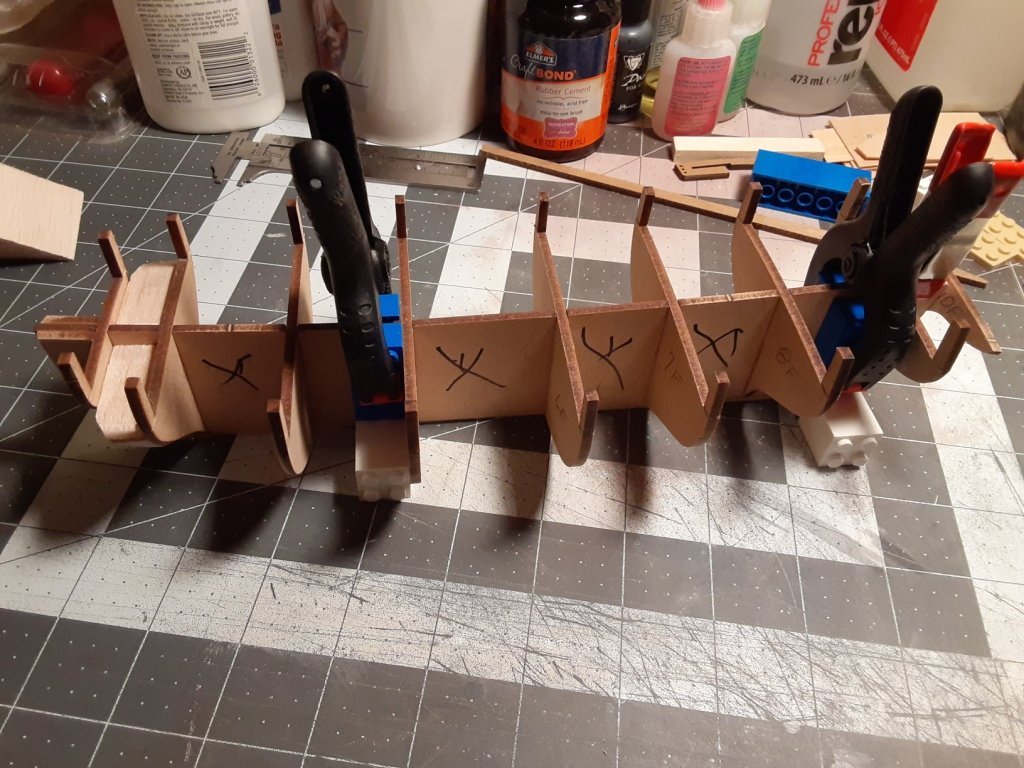
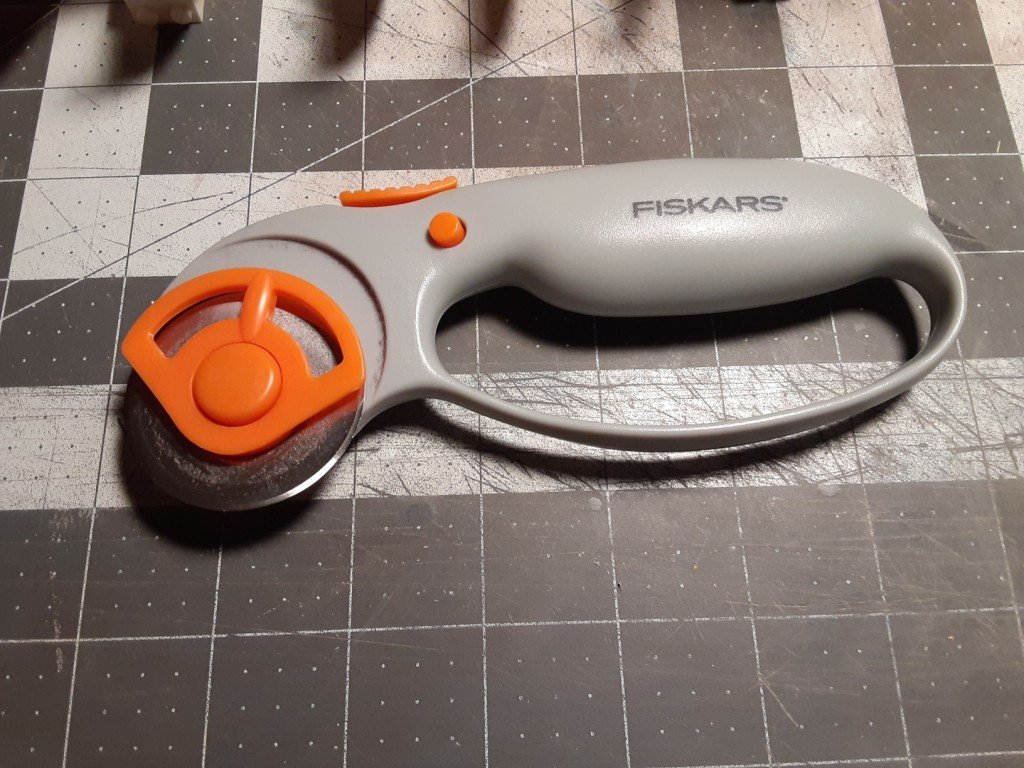
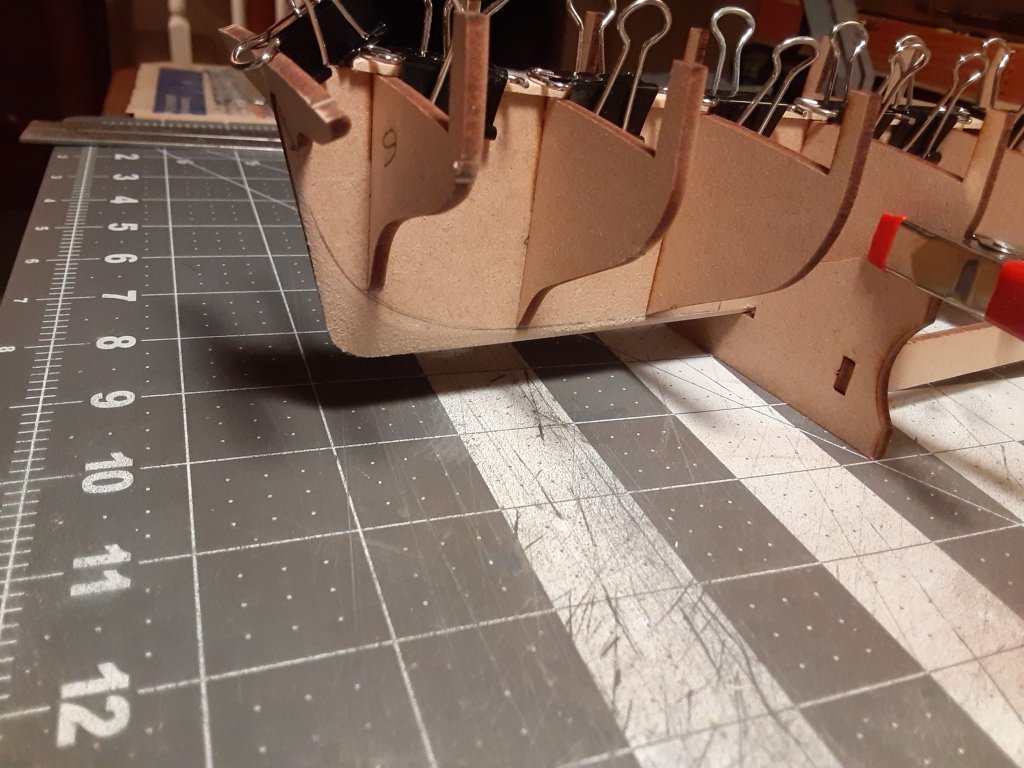
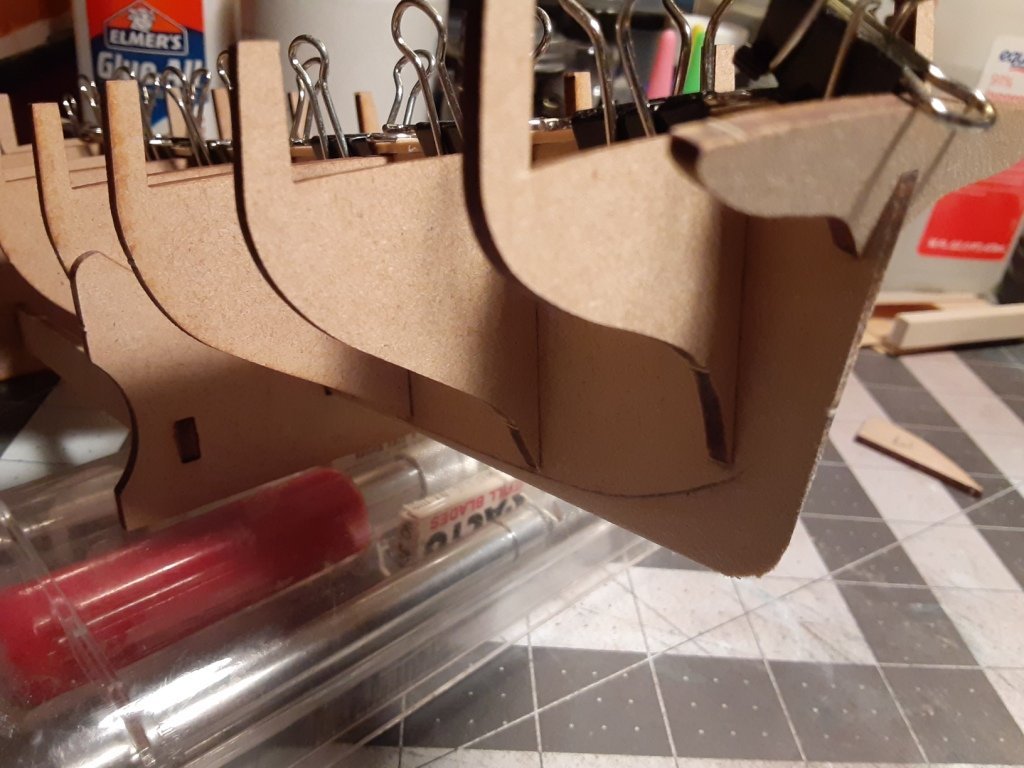
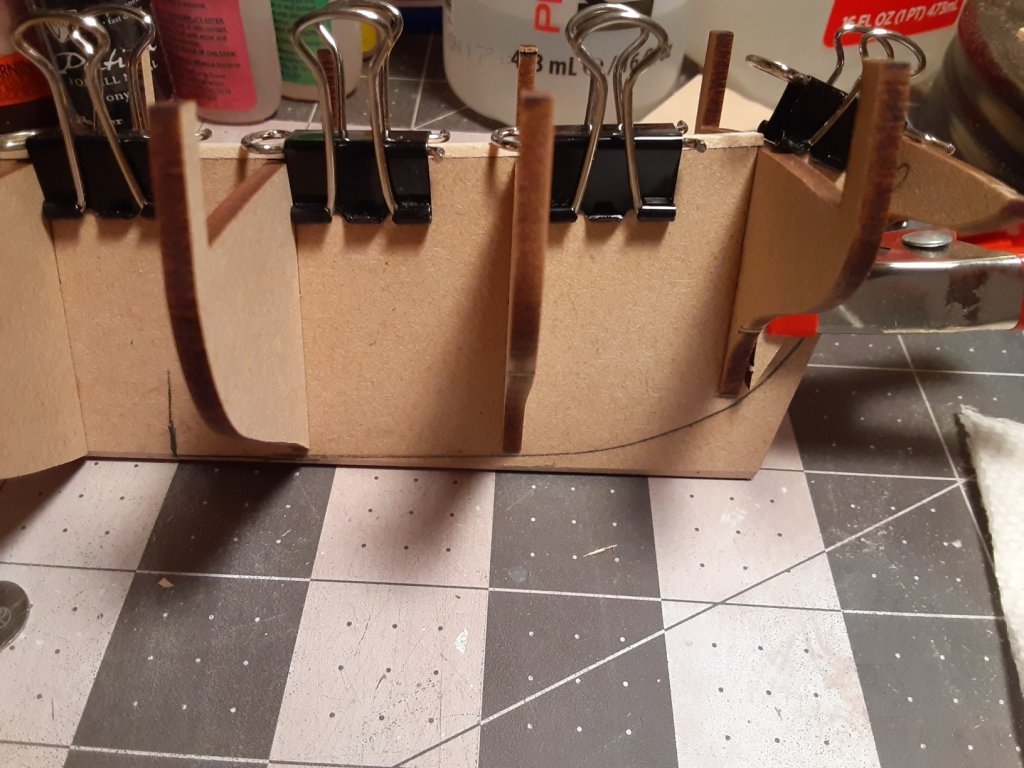
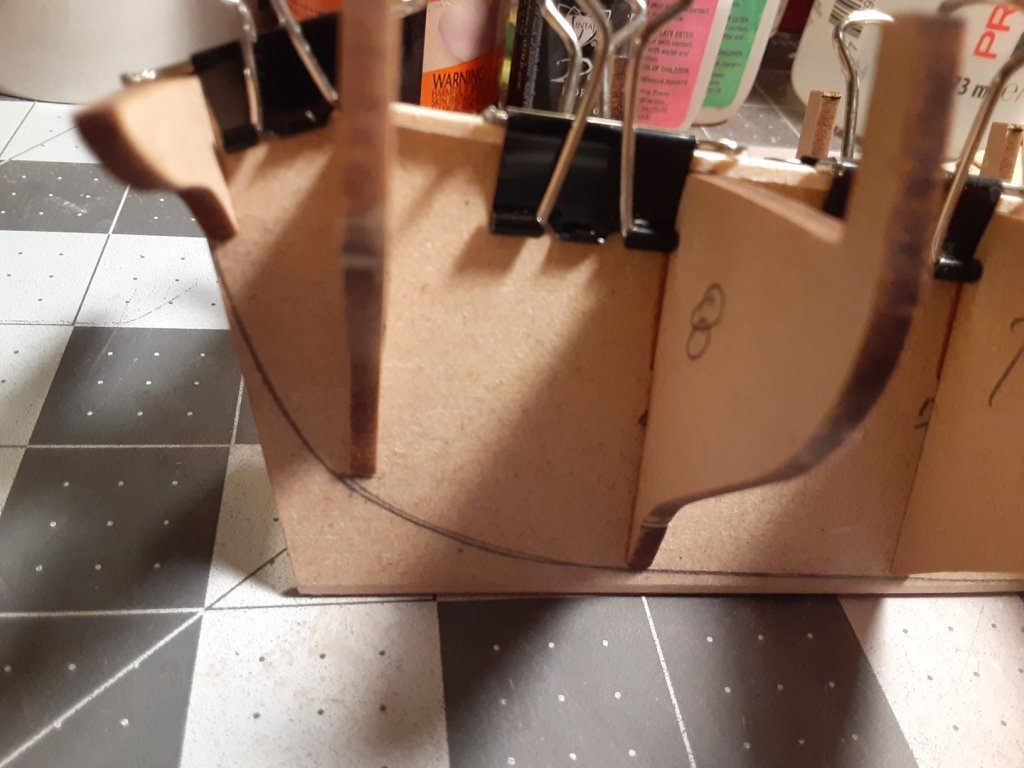
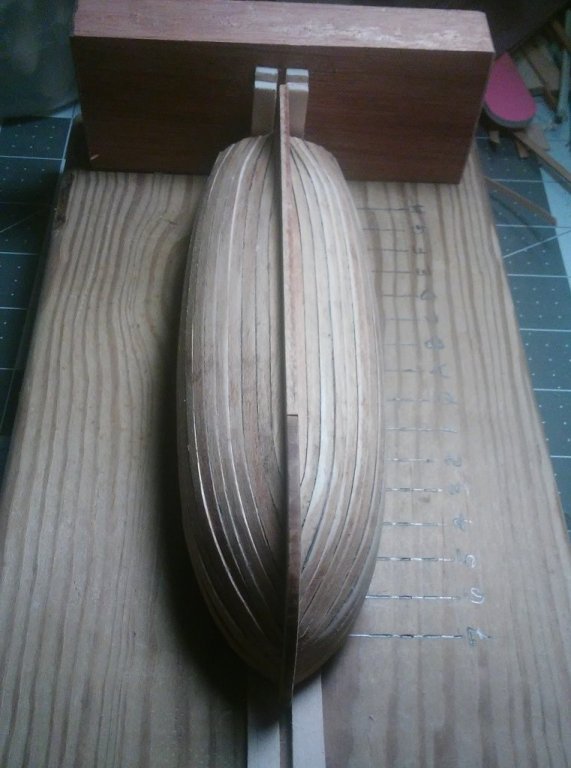
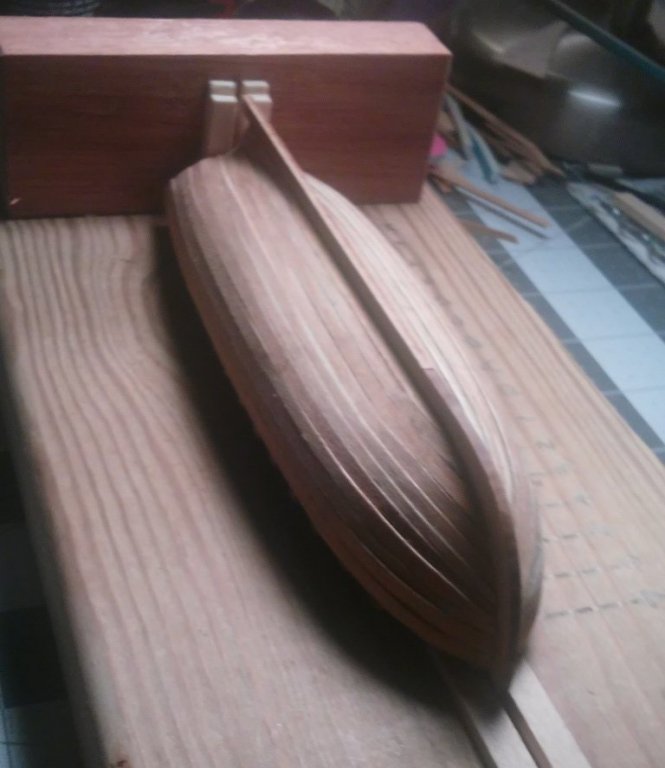
Dang! It's been almost a week and not a lot to show...oh well, some weeks are more active than others...there will be a 9 week hiatus from late October to the first of the year as I switch to the "Polaris" in the Southern Yard (and get in a couple of dozen dives). Now, since the last post I have been reading and thinking (yes...it hurt ). I finished attaching all of the bulkheads except the transom. After much rumination I decided to fit some balsa blocks aft of the first bulkhead and also in the stern (yet to be done). This will provide more surface area for the first planking to attach. I've rough carved the balsa blocks for the bow and have glued in the first pair. I still need to cut and carve the after blocks, but will do so this week. The bow blocks have been sanded and installed so things are coming along. The following pictures show the filler blocks at the bow and the hull with all bulkheads installed. All are square within +/- 1/64". STBD Filler Block Port Filler Block Installed Bulkheads I dry-fitted the false deck and everything seems good to go. I do like the idea of installing wider planking around the bulwarks and will be getting these planks and studying how to edge-bend them to fit. I've been thinking about how to do the hull planking....the 1mm first planking is pretty much tied in with the bulwarks...the two are paired and probably shouldn't be messed with to avoid dimensional issues, but the 1 mm walnut second planking is a lot of thickness for a veneer. I'm probably going to pull the trigger on 0.5 or 0.6 mm veneer in walnut for the second planking. Checking sources now and will order this week. Also, when we cleaned out my mother-in-law's house we found several fabric wheel cutters...I tried one last night and with a straight-edge it does an amazing job of trimming planks....
- 20 replies
-
- Amati
- lady nelson
-
(and 1 more)
Tagged with:
-
Excellent idea, go for it. I built a Midwest Crabbing Skiff along with/during my first build and it really helped...with skills and with confidence.
- 20 replies
-
- Amati
- lady nelson
-
(and 1 more)
Tagged with:
-
Go for it! You won't get the first one done without doing starting. 😎 So far this appears to be a relatively simple (in my limited experience) build. That said, I did make a mistake early on in the build...so I still have much more to learn. This is not my first build, I have two done and one more in the ways. "Lady Nelson" will be my first build with guns and ratlines... two new experiences and more skills.
- 20 replies
-
- Amati
- lady nelson
-
(and 1 more)
Tagged with:
-
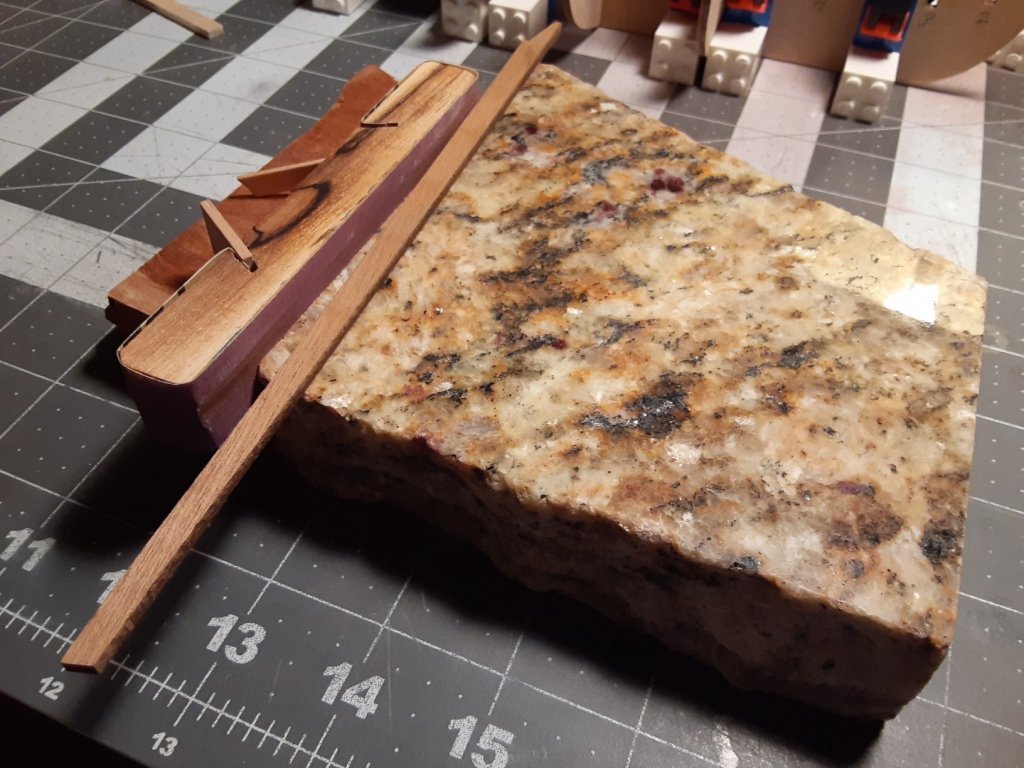
Well, I'm continuing to glue in the bulkheads this weekend. I did punch out the keel and the stem. I lightly sanded them to remove the char and also to clean-up the sprues. Oftentimes I struggle to keep my sanding square and true. A while back I came up with using this sanding surface. The scrap piece of granite countertop is perfectly flat and the straight side cuts are 90° true (I verified with my carpenters square). By placing a sanding block of the proper height (I can adjust that with a scrap of wood) I can keep the sandpaper square to the surface and then use the flat face of my surface to keep my part true.
- 20 replies
-
- Amati
- lady nelson
-
(and 1 more)
Tagged with:
-
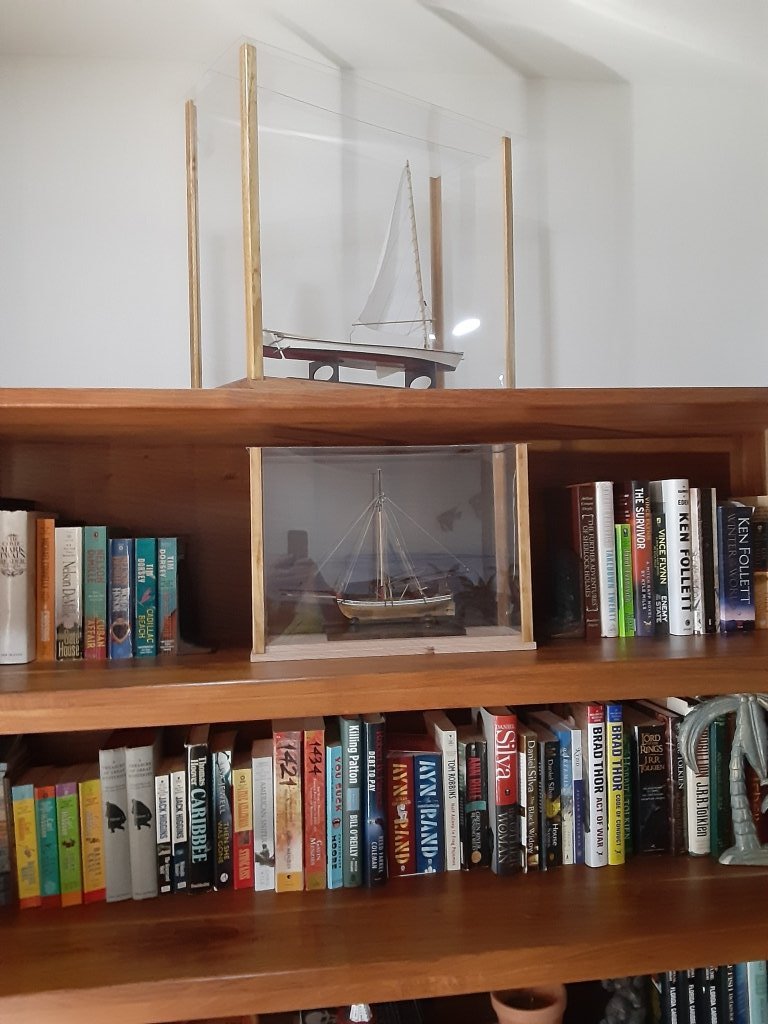
This past July I moved the Skiff to Mexico and put it in a simple case. It now sits on top of our bookcase, just above the 18th Century Longboat in the Living Room.
- 13 replies
-
- crabbing skiff
- Chesapeake Bay Crabbing Skiff
- (and 2 more)
-
Thanks. I appreciate the insight. I finished the Model Shipways 18th Century Longboat a year ago. It was a single plank layer...I planked it at least 4 times before I got it how I liked it.
- 20 replies
-
- Amati
- lady nelson
-
(and 1 more)
Tagged with:
-
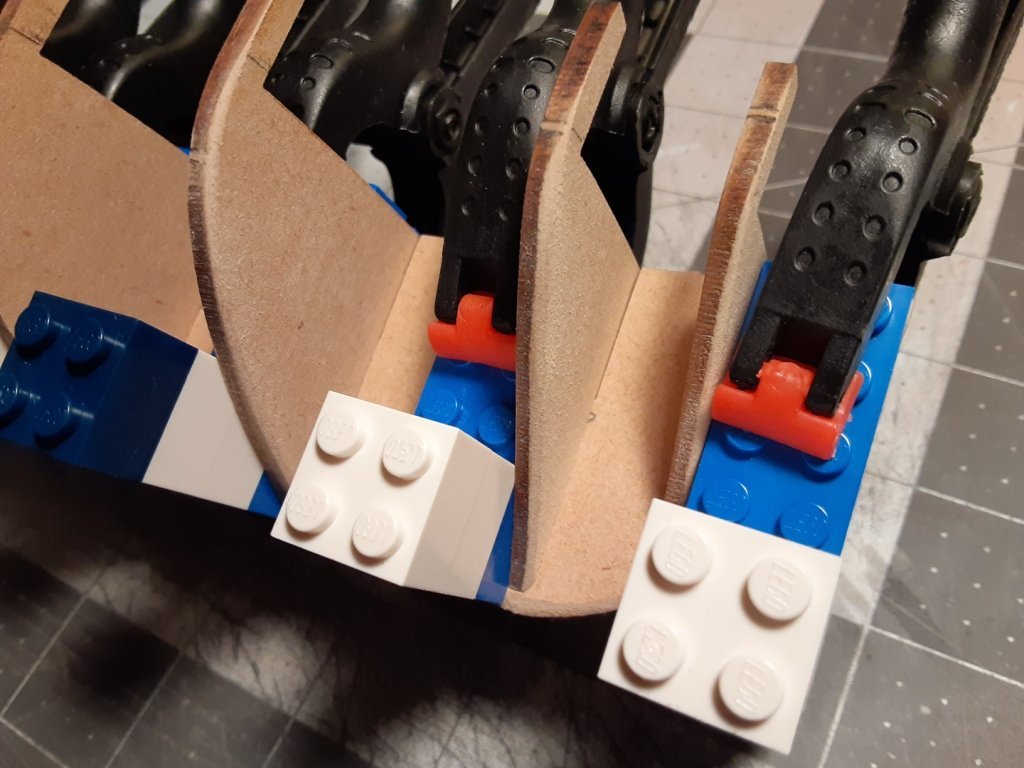
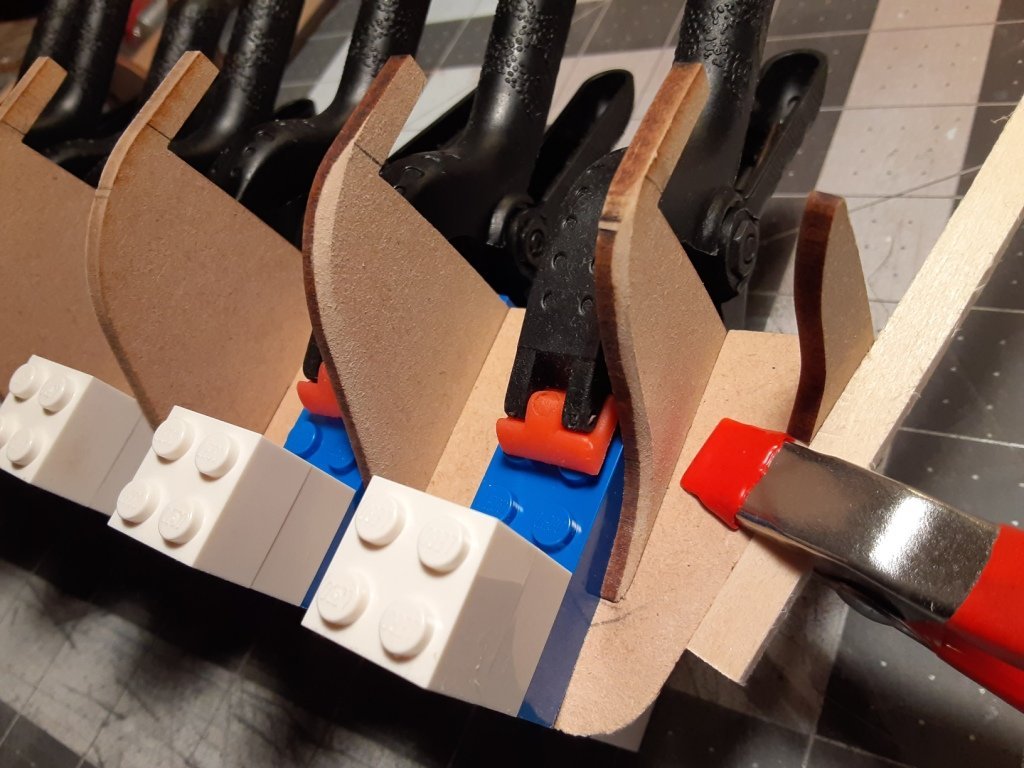
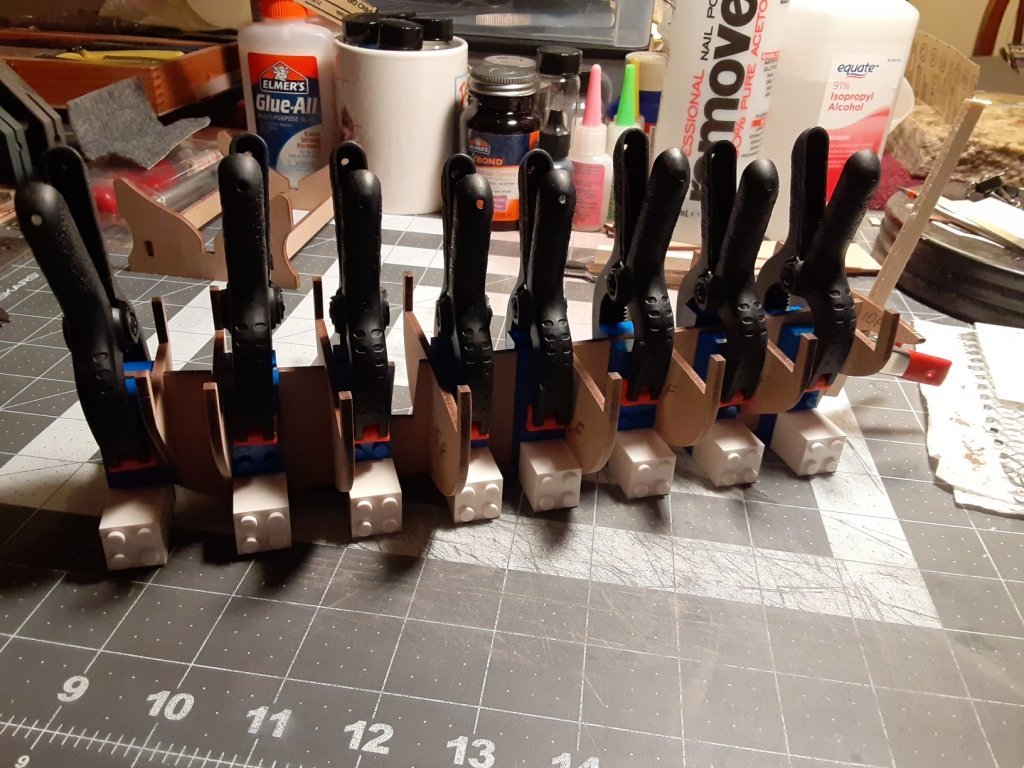
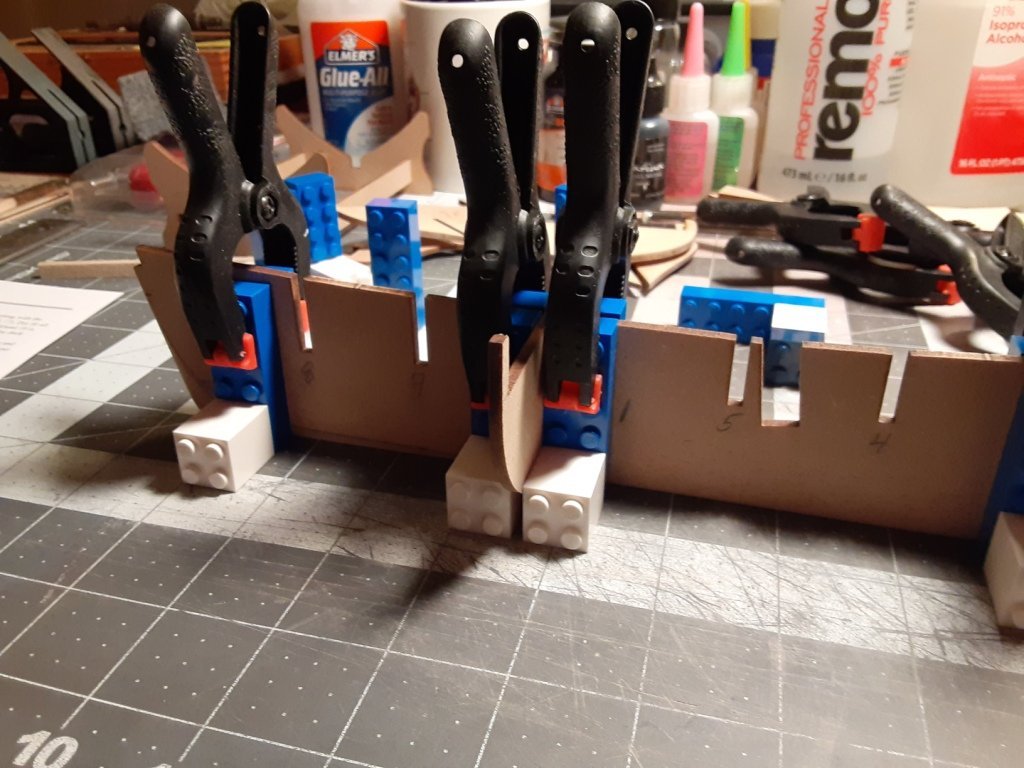
So in thinking about things, I went ahead and lightly pre-sanded the edges of the three forward and three after bulkheads and lightly edge sanded the center bulkheads to remove the char. I then test fitted all of the bulkheads and squared them using my Legos. Everything looked good so last night I glued one of the center bulkheads in place and blocked it on all four quadrants with Legos while it set up and dried. I did forget to score the bulkhead tabs, but will do that tonight. From here I will probably do two bulkheads each night (remembering to score the tabs) until complete. Initial Fairing Bow Initial Fairing Stern Dry Fitting Bulkheads Gluing First Bulkhead
- 20 replies
-
- Amati
- lady nelson
-
(and 1 more)
Tagged with:
-
I ran across something tonight on Facebook that may help explain my FUBAR a couple of nights ago. It's called the Dunning-Kruger Effect. The graph below is a representation of this concept... Now, my current position on this curve is way over to the left...the following curve clearly displays the left of the above graph...I think I have navigated its entirety... 😕😕😕
- 20 replies
-
- Amati
- lady nelson
-
(and 1 more)
Tagged with:
-
I've been giving this some thought and, short of contacting Amati and requesting a new keel, this seems the better option. I will soldier on as you suggest. I am wrestling with obtaining some 0.5 or 0.6 mm walnut for the second layer of planking....not quite sure which way to go.... That being said, I will begin installing the bulkheads tonight. Some of the build logs suggest presanding the bulkheads before installation...I think I would prefer waiting until after they are in place. I've done 2 other hulls and I've done both that way...I seem to visualize the shape better.
- 20 replies
-
- Amati
- lady nelson
-
(and 1 more)
Tagged with:
-
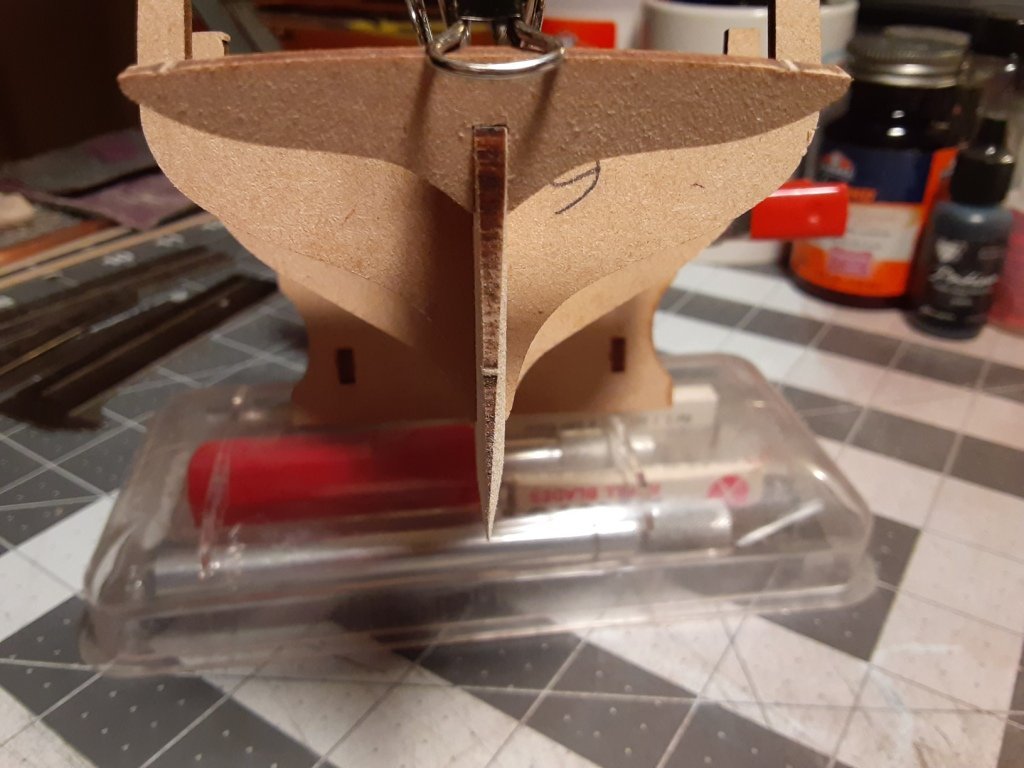
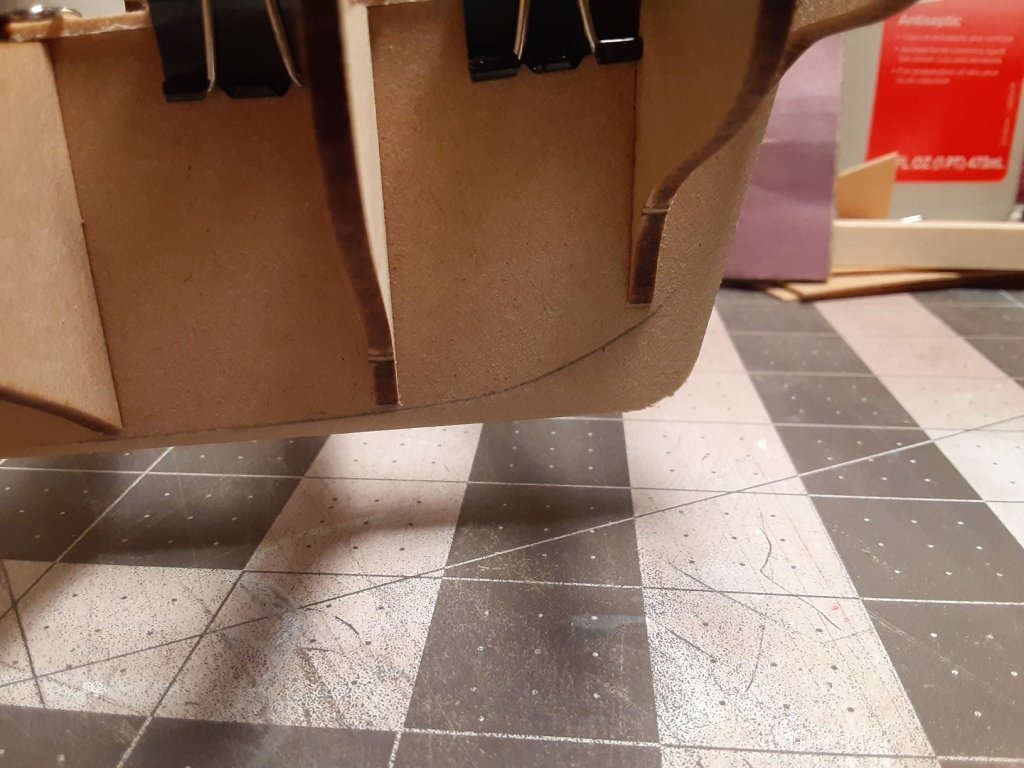
After laying off last night I decided to work on rough sanding the deadwood below and aft of the bearding line. I used 220 grit paper and a flat sanding block...I was aiming for a taper to a final edge about 1 mm thick at the bottom and the stern. I'm classifying this as a "rough" sanding because I plan to go back and complete it when the bulkheads are installed to hopefully get a better "flow" to the whole structure. Here's the progress for tonight... And we have the first FUBAR of the build...I had not recognized how soft the composite pieces are and as a result I was probably too aggressive in my sanding. In sanding the curve of the bearding line (while feathering the deadwood) I ended up rounding the keel... Luckily this will be covered by 2 layers of planking, the sternpost and the keel, but I'm perturbed that I did this. I think the solution to this may be to cut out this section and insert a piece of scrap and CAREFULLY re-sand it. The alternative would be to let it go and fill the void with planking and cover it with the keel and sternpost....I think I'll sleep on it and "fiddle" around with it tomorrow evening. "La Jefa" got her new passport in the mail today so nothing should prevent our departure for the Southern Yard...It'll be good to get back. I can retire to my Cueva del los Barcos and work to finish the "Polaris." I've also got a scratch-built "Battle Station" (1:32) by Navy Board Models that I've started cutting wood for. I haven't decided if I'll take it down this trip or get further along on it before transport.
- 20 replies
-
- Amati
- lady nelson
-
(and 1 more)
Tagged with:
-
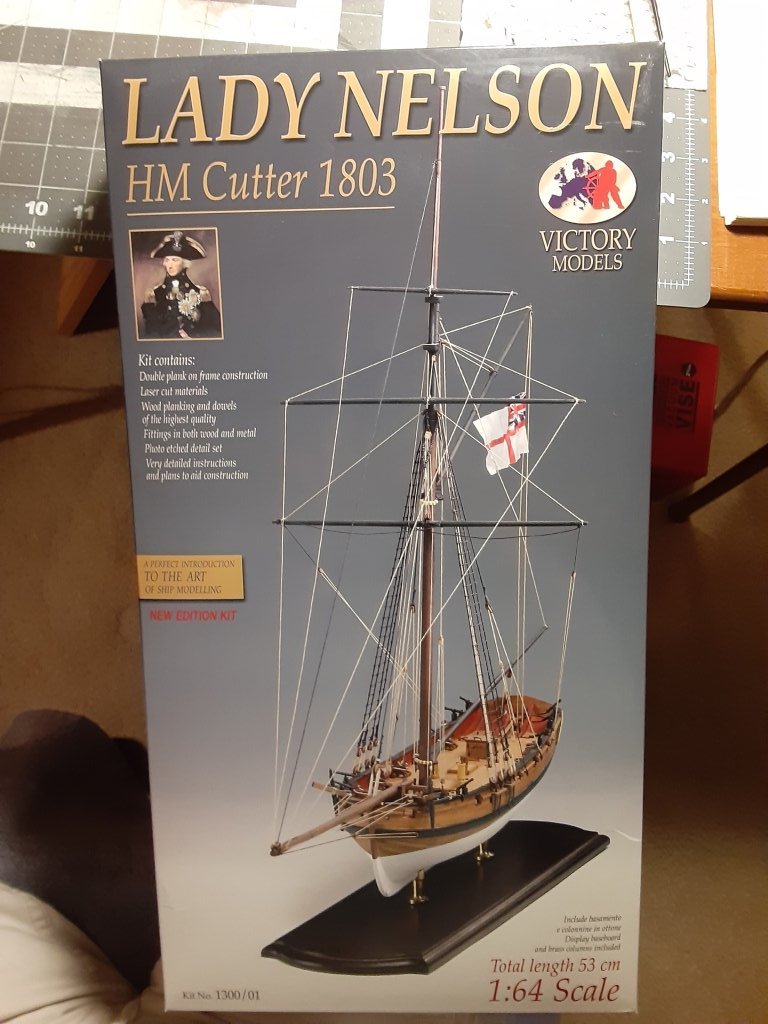
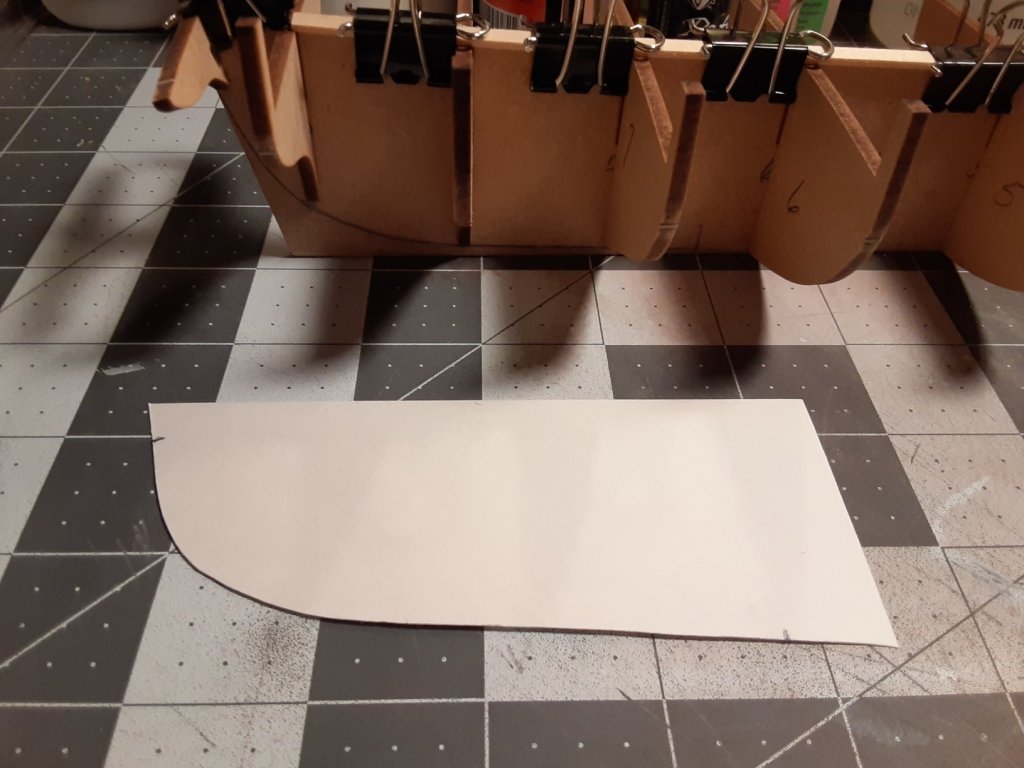
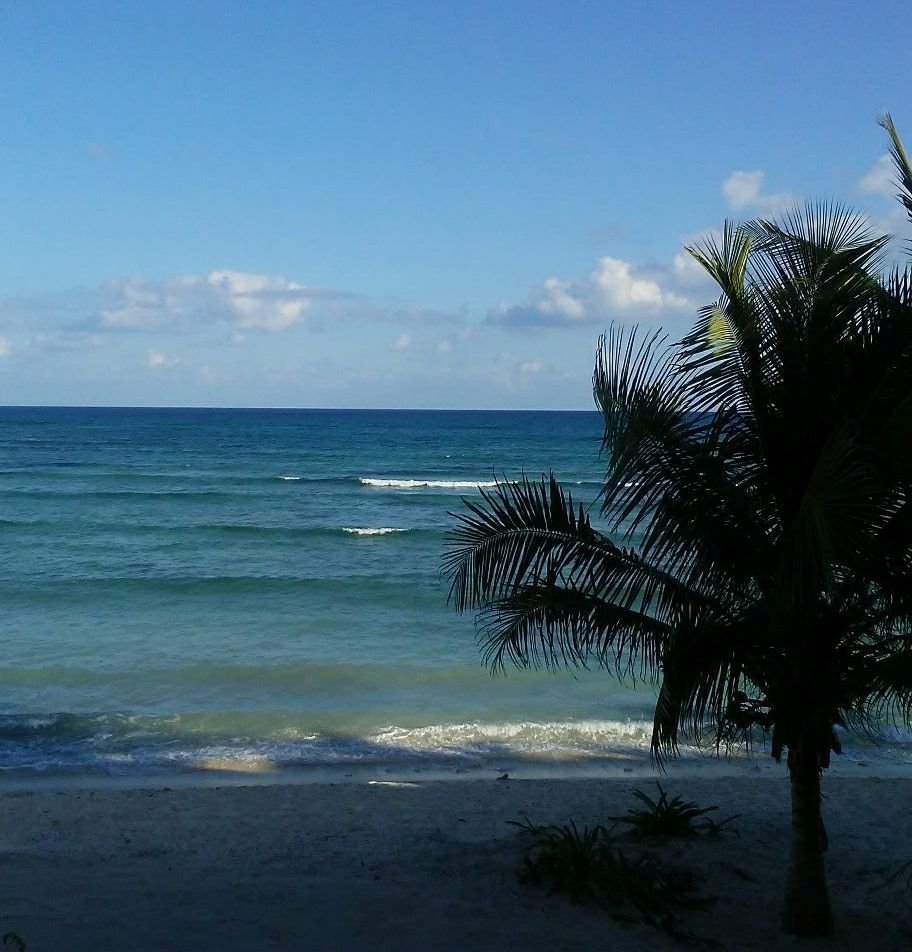
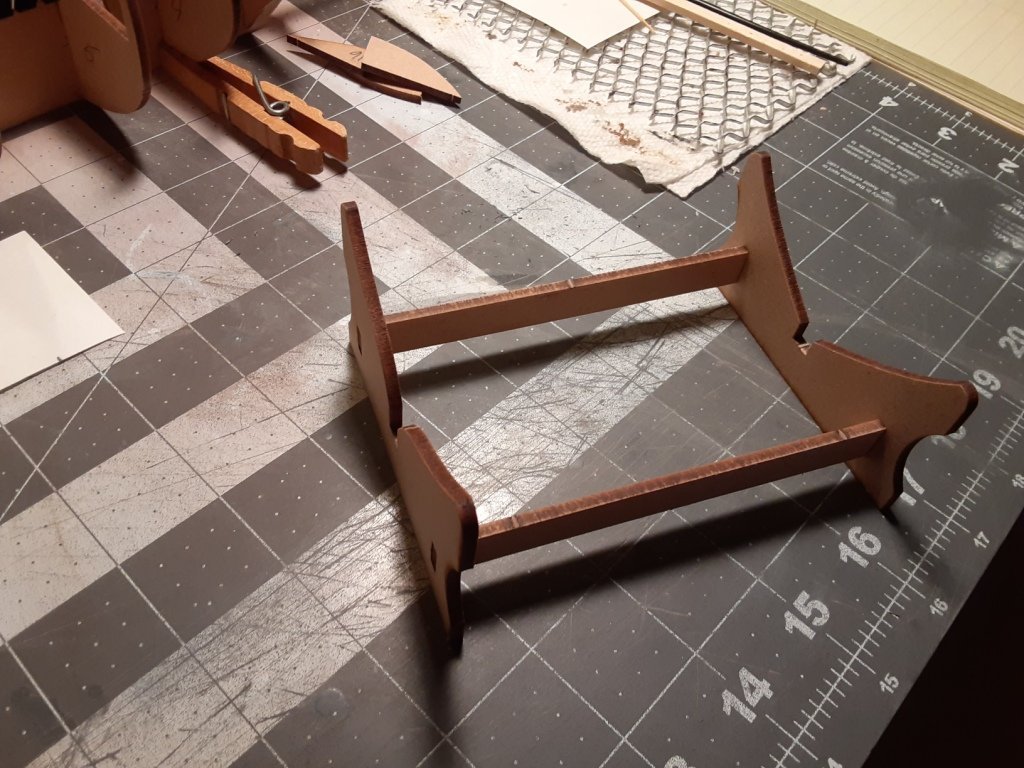
Well, I'm back again. This is my third planked hull and hopefully I can do this one as it should be done." I say third hull because my second has not been finished. I paused it after planking the Occre Polaris so that I can transfer it to the Southern Yard (see below for view from the window...). For those unfamiliar with the package, here's the obligatory box photo. I successfully inventoried the contents to ascertain all parts are as specified...took me three passes to get a complete, correct count (might have been the rum!) After rigorously studying the two pages of instructions and poring over the first two drawings I liberated the false keel, the bulkheads, the "plank termination patterns," and the temporary construction stand. Next up was some gentle sanding to remove all of the sprues. First success was a few nights back...I assembled the construction stand.... I'm now in the process of preparing the false keel to accept the bulkheads. I'm preparing a rabbet to accept the planks forward and the garboard planks along the keel. It will simply be a shallow bevel (not all the way to a point) deep enough to accept both planking layers. Now the tricky part for me...because I've never done this part before...and I'd like some guidance on this...the plans do not include a bearding line. What I've done so far is to clamp the bulkheads in place and mark the bottom of the last 3 bulkheads on the false keel. I then used a set of French curves to draw what I think is a fairly smooth curve on one side of the keel. I then transferred the curve to tracing paper. Placing the tracing paper on cardstock I used my knife to cut the curve templet in the cardstock. After matching up the templet on the original curve I then used it to trace the curve on the opposite side. If this sounds like a good approach, my next step will be to sand the beard to a point at the stern and then move forward with installing the bulkheads and then the stem and keel. Stem and keel will be glued into position, and then drilled and pegged with 24 gauge wire. That's it for tonight...my updates are random but usually after a notable milestone or encountering a potential trouble spot. I look forward to your thoughts and inspiration....
- 20 replies
-
- Amati
- lady nelson
-
(and 1 more)
Tagged with:
-
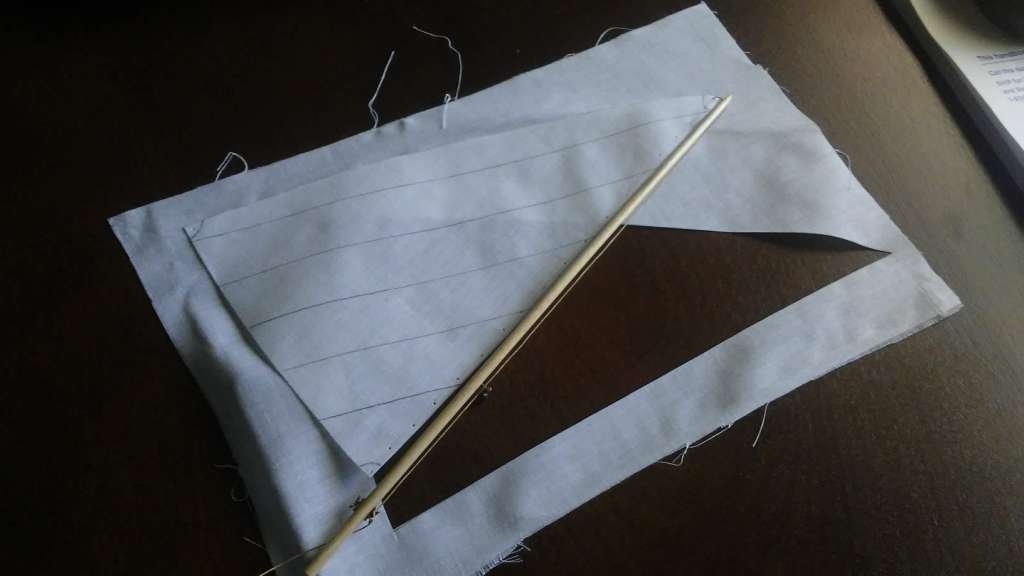
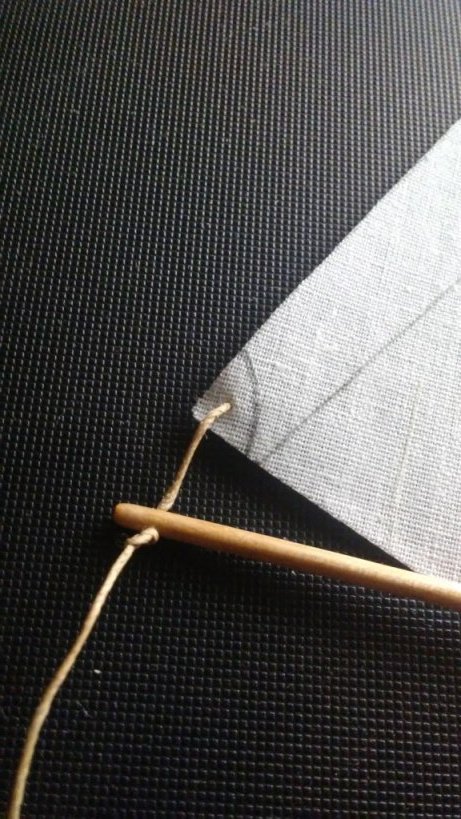
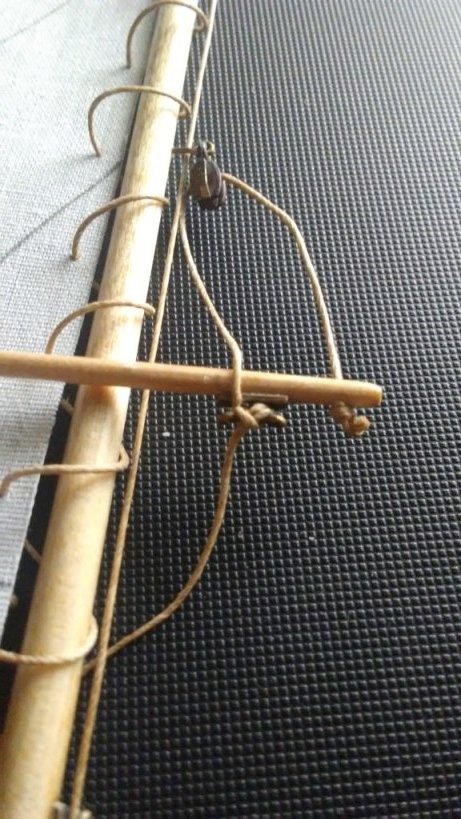
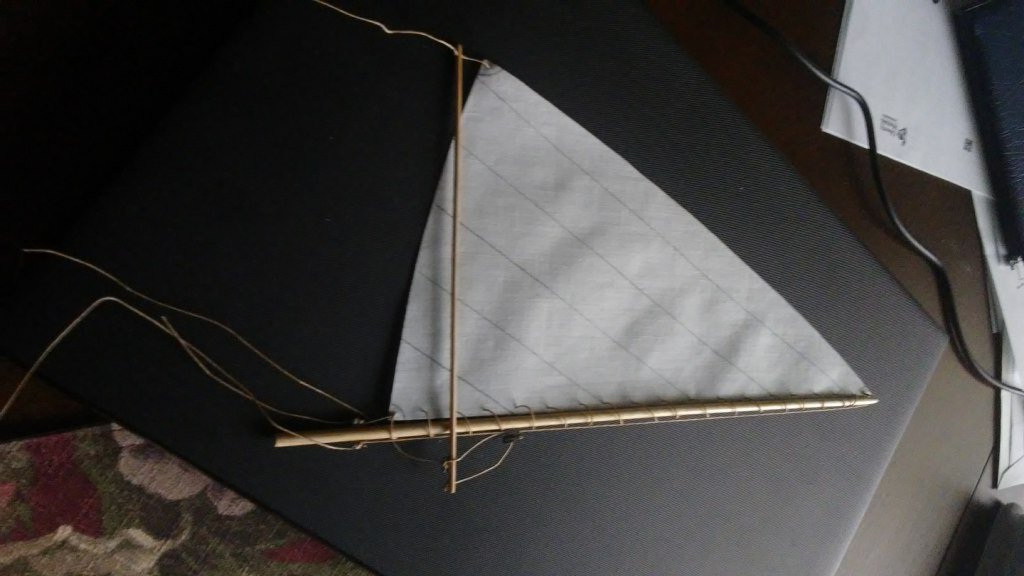
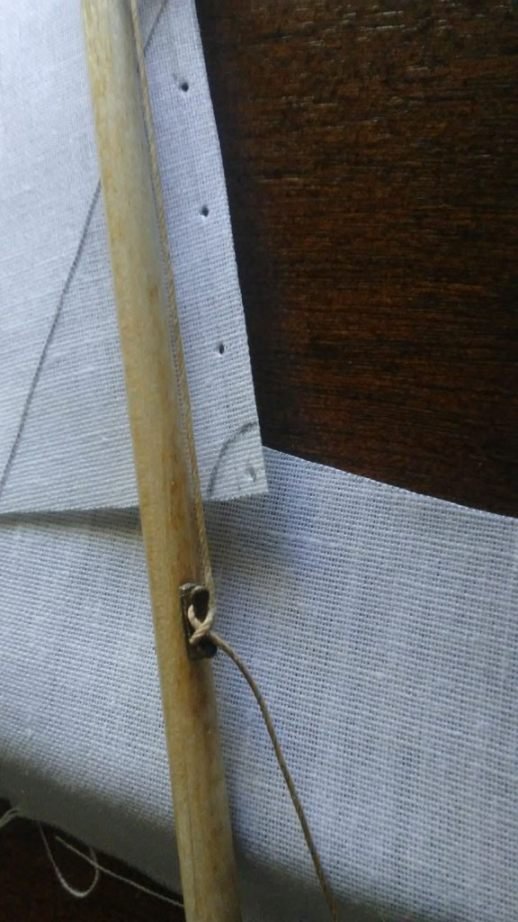
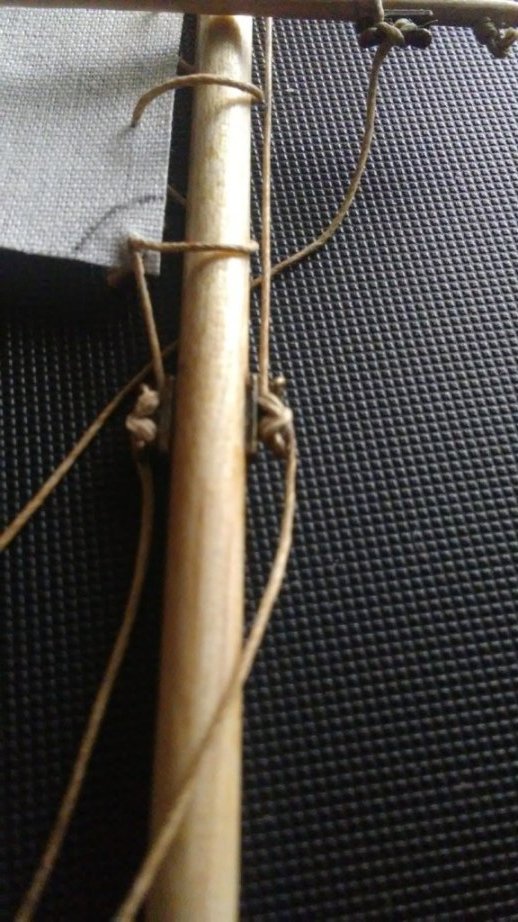
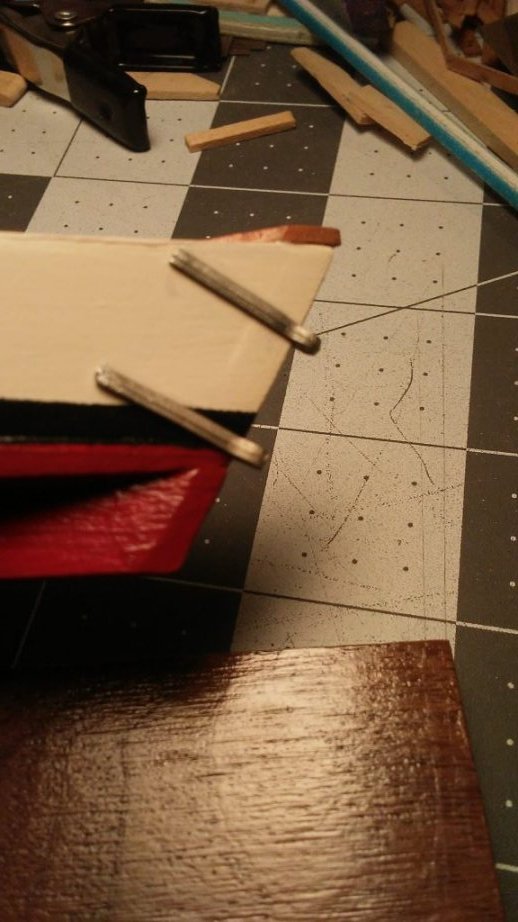
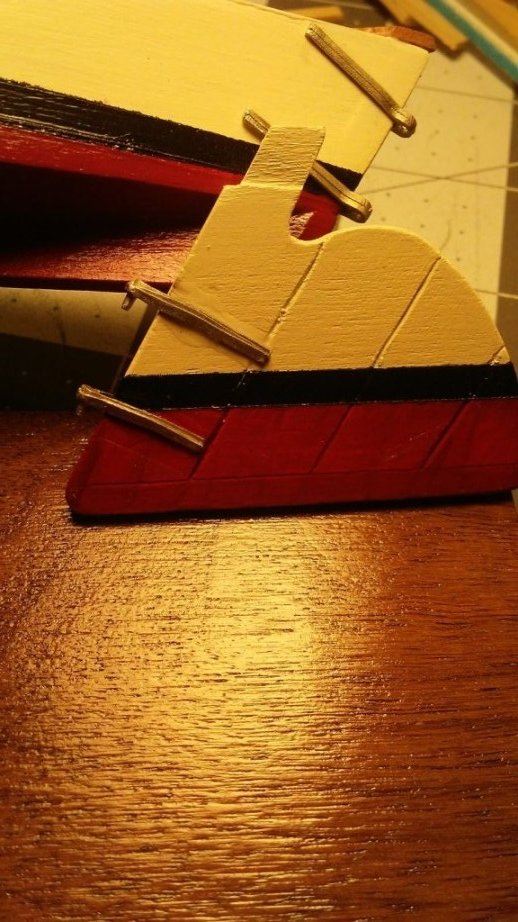
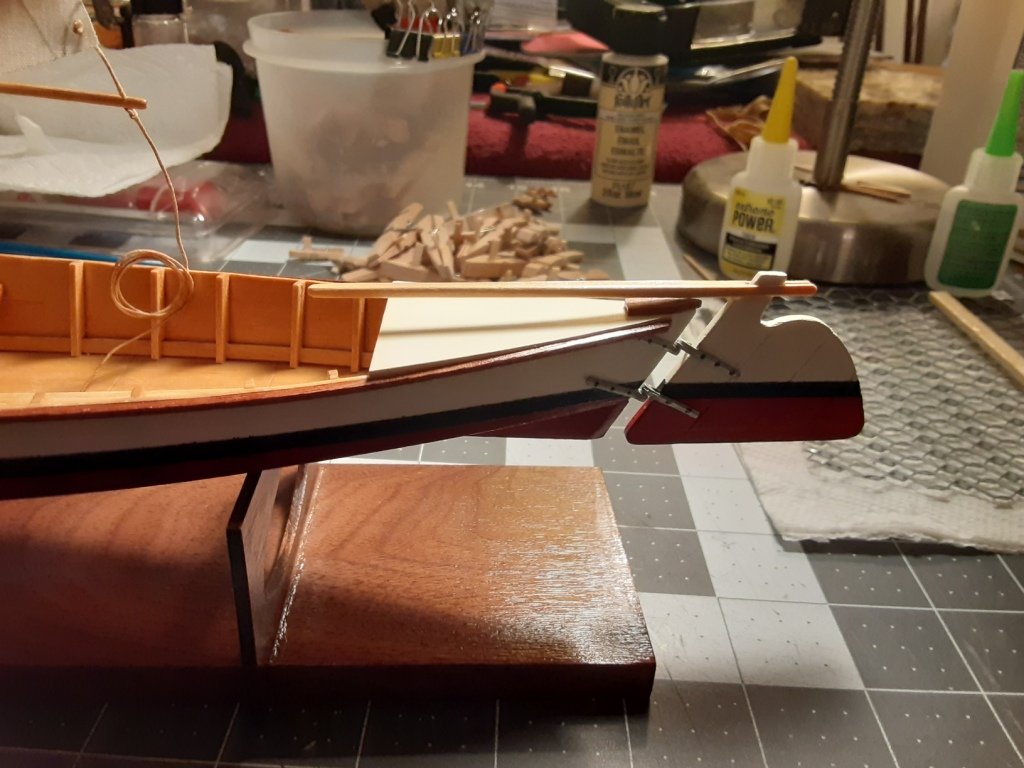
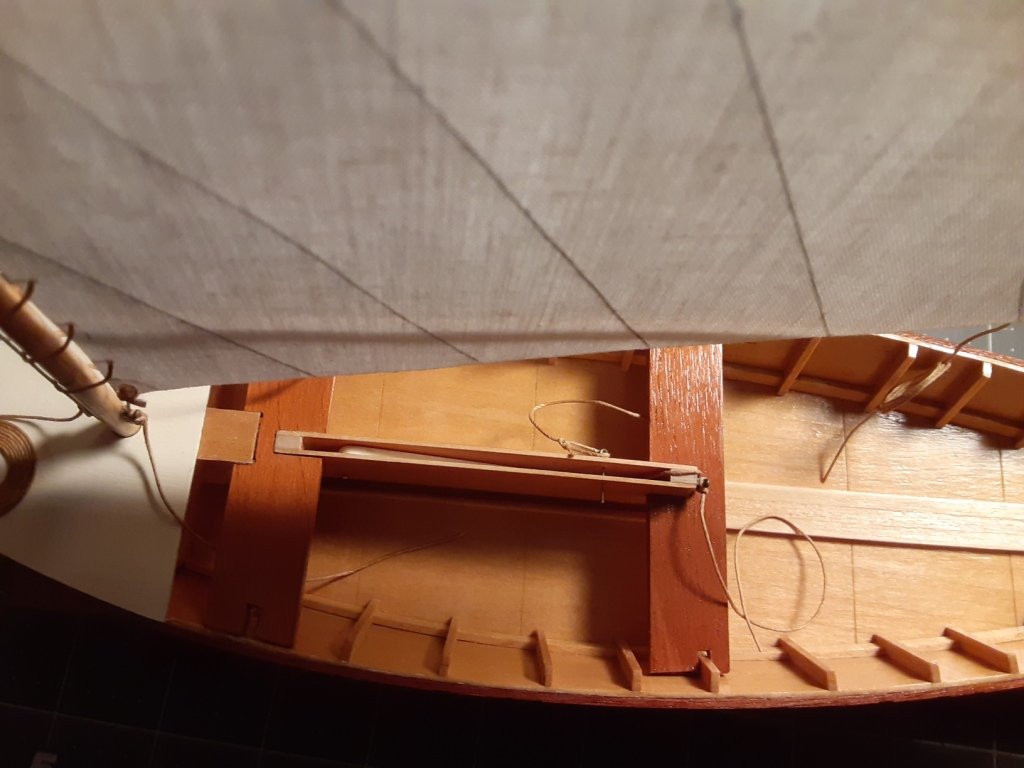
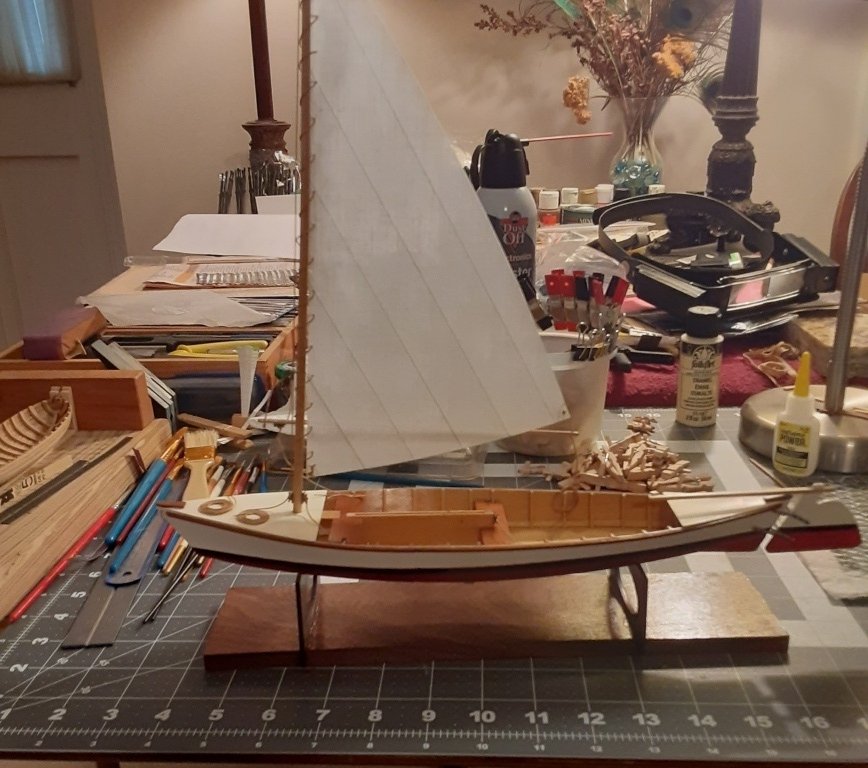
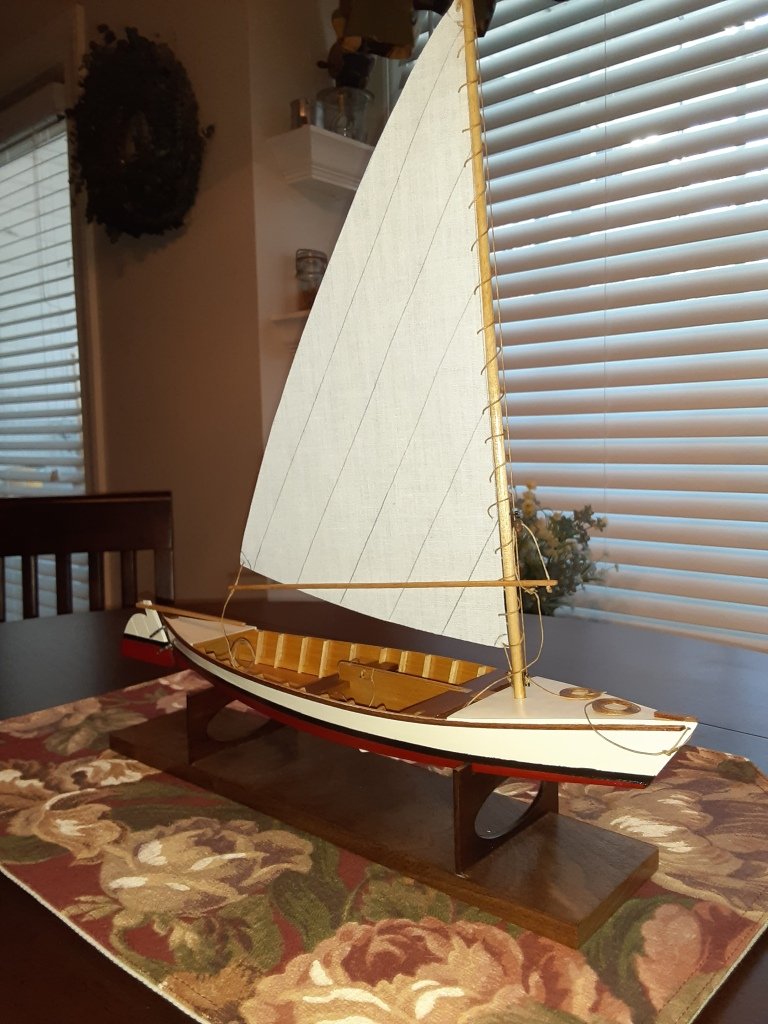
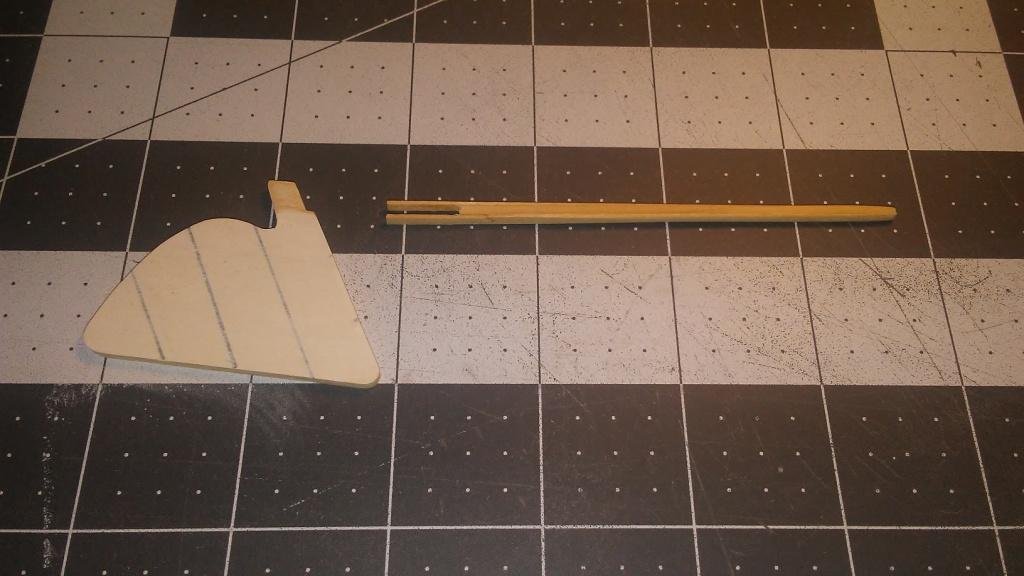
Well, I'm finally getting back to catching this back up to date. Nothing like being over 18 months behind. We got back from our trip and I started back on the Skiff. First up was to layout the sail. Using the drawing, I laid out the sail with pencil per the instructions. I used pencil to mark the seams and then coated the whole thing with 3:1 thinned PVA and let dry to stiffen the cloth. Then I cut it out and tied-on the downhaul after punching all of the holes required. You can see the downhaul tied off to the cleat in the following picture. Next was to continue painting the waterline (I think I redid this 3 times to get a sharp line). While the paint was drying I laced the sail to the mast. Included in this was to rig the sprit to the sail and the mast. The following pictures show these details and then the finished sail. And the finished sail ready to be stepped into the boat. Next agenda item was to finish the rudder. I laid out the planks on the rudder using the plans and then used a steel rule and scribe to score the joints between the planks. I also detailed the gudgeons and pintles with a black sharpie to simulate the mounting bolts. Lastly, after hanging the rudder, I added the tiller. And now all that was left to do was to attach the painter to the bow, insert the centerboard retaining pin, and stow all of the ropes. A few carefully places drops of CA and the boat was finished. I finished off the display with a brass tag showing the model name, scale, and finish date. I finished the Midwest Chesapeake Bay Crabbing Skiff on February 16, 2020. I plan to take this model to our condo in Mexico for display. To do it safely, I will remove the mask and install it when we get there. To this end, I will be making a mount for the foot of the mast. I will need to bore a hole in a thick piece of scrap and mount it above the mast step. I haven't figured all of how to do that yet, but have some ideas. I'm also thinking of building some scale crab pots to place in the boat along with some floats. I think that would set the model off really well.
- 13 replies
-
- crabbing skiff
- Chesapeake Bay Crabbing Skiff
- (and 2 more)
-
I'm pretty new to this and am starting the rigging on the MS 18th Century Longboat. How are the instructions for this kit? Are they clear and understandable? Accurate? How about the drawings? What about quality of materials? Thanks for your incite.
-
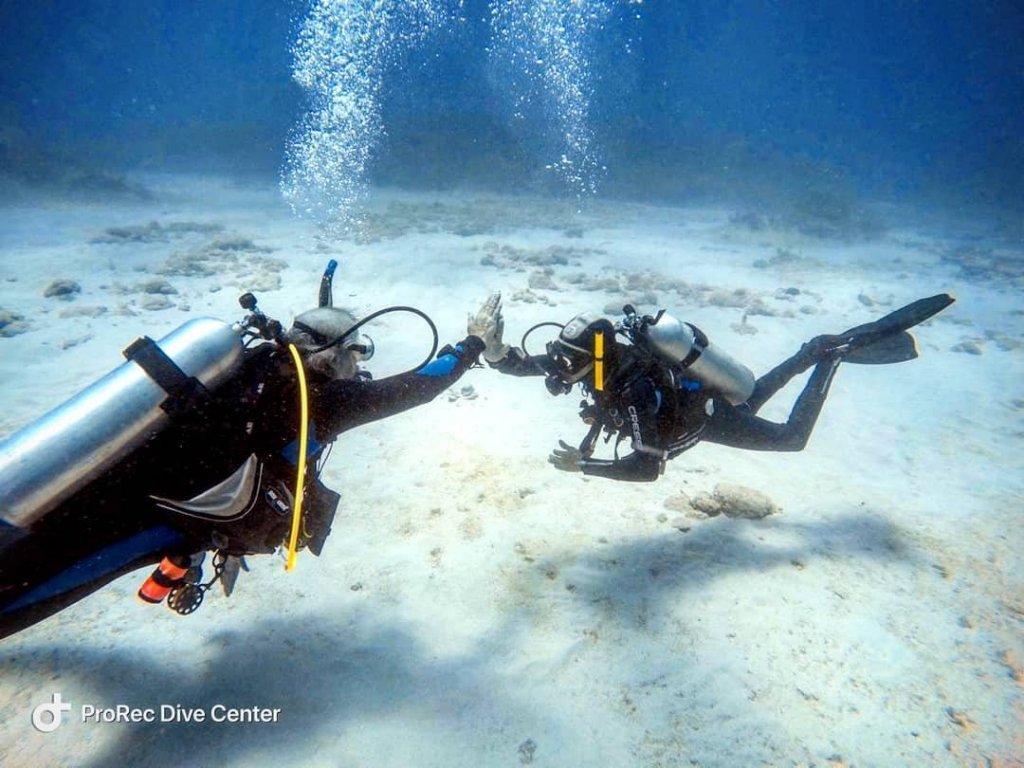
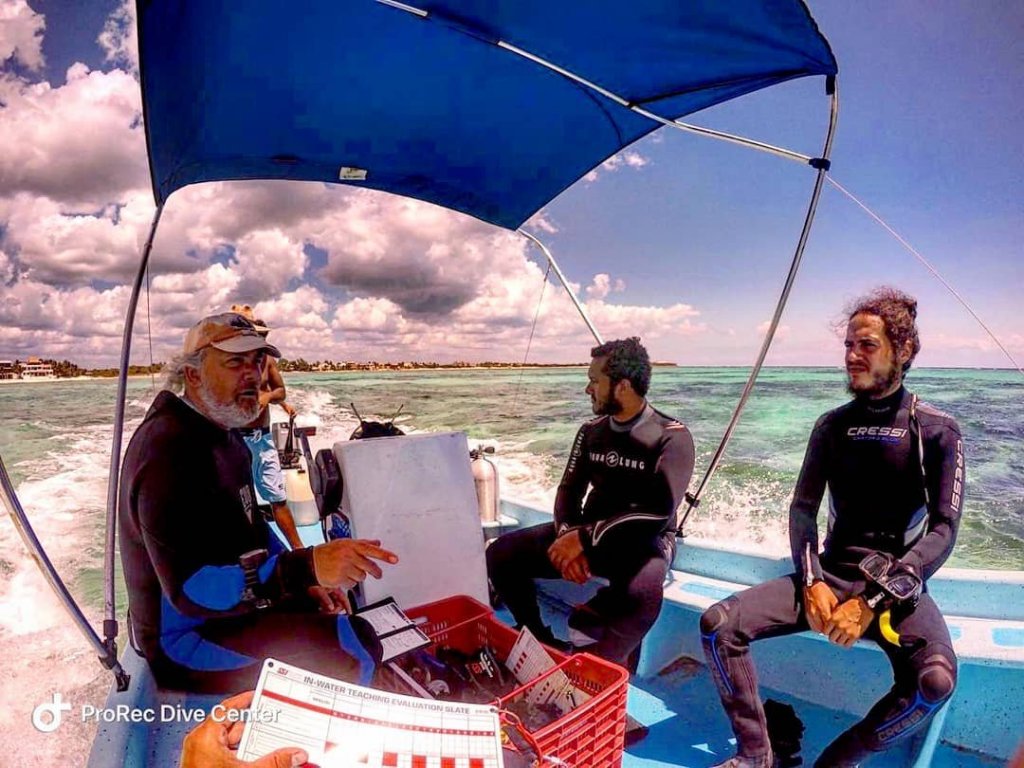
Sorry I haven't been updating for much too long. To catch up, I sidelined shipbuilding for a bit and focused on scuba diving. I was still working on the longboat and was able to finish planking the hull by the end of February. Here are a couple of pics to prove myself. It's certainly a long way from expert performance, but I'm ready to move forward on the build. Oh, and like so many others I broke the stem... The Commodore and I went back to Akumal in early March for 4 weeks. For me, two of those weeks were spent in class certifying as an open water scuba instructor. I passed my final exams at the end of March and am now fully certified to train new divers. So now, if I can find a job, I can supplement my Social Security AND have fun at the same time. I'm on the left in both these pictures: Anyway, we're back for a couple of months and so I finally got back to the longboat last night. I started sanding the completed hull and will try to complete that task tonight. I'm looking forward to continuing the build. I want to move on to another project and apply these new found skills.
- 25 replies
-
- 18th century longboat
- model shipways
-
(and 1 more)
Tagged with:
-
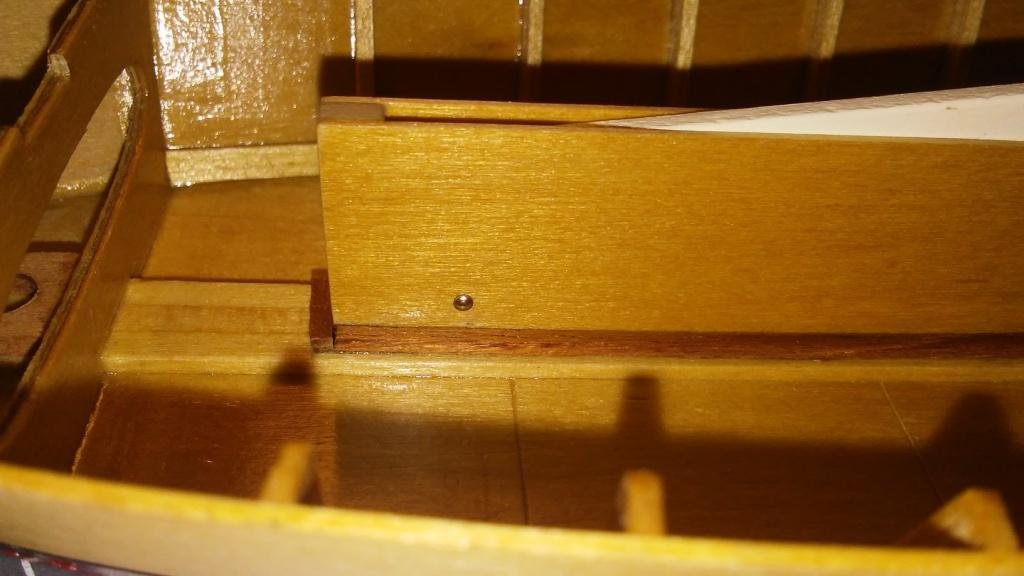
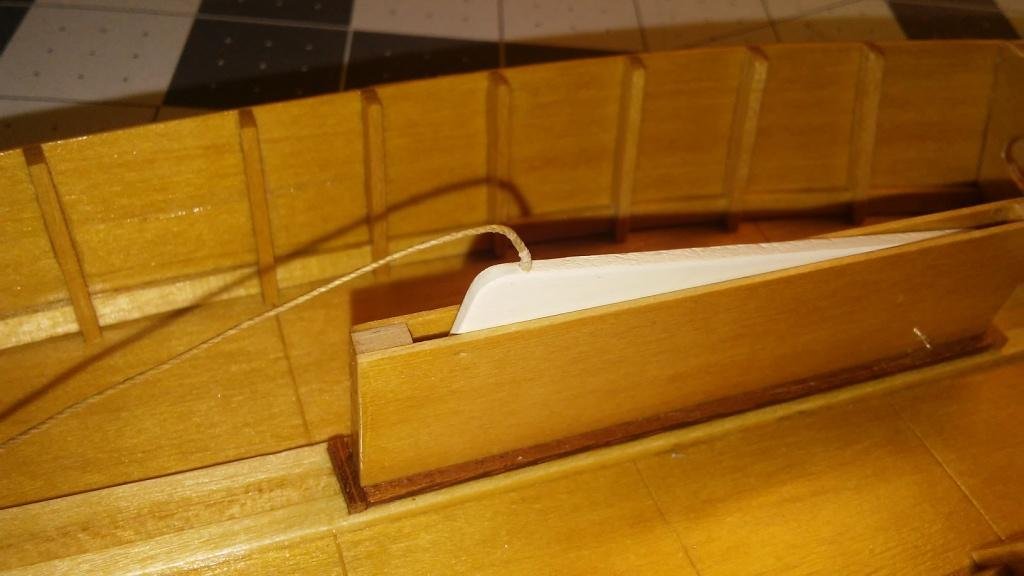
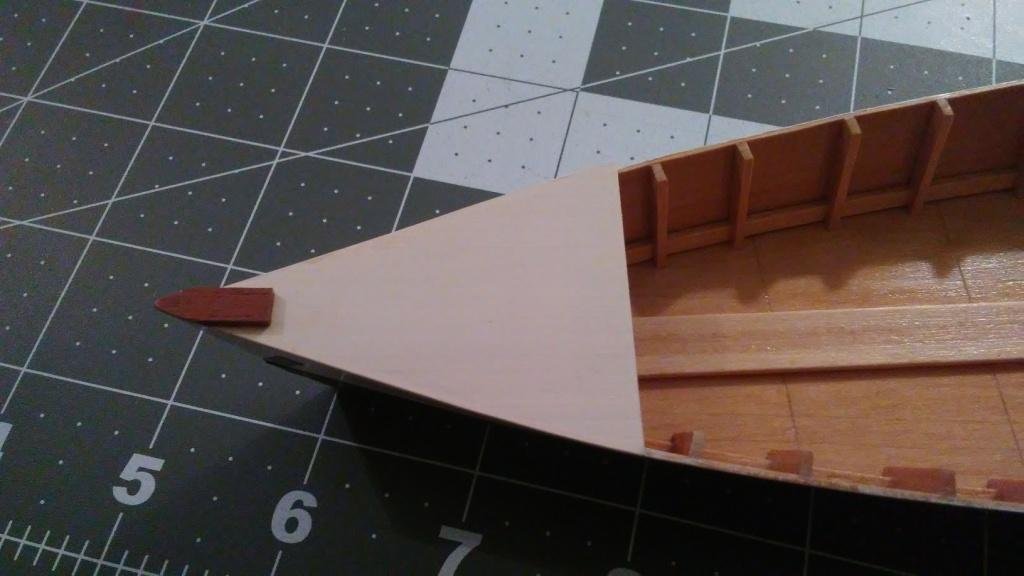
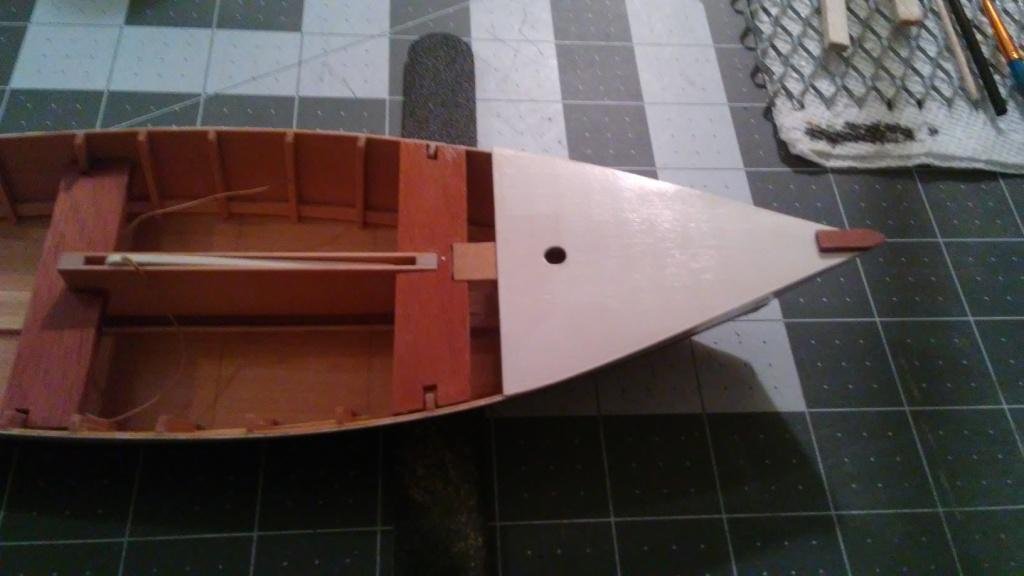
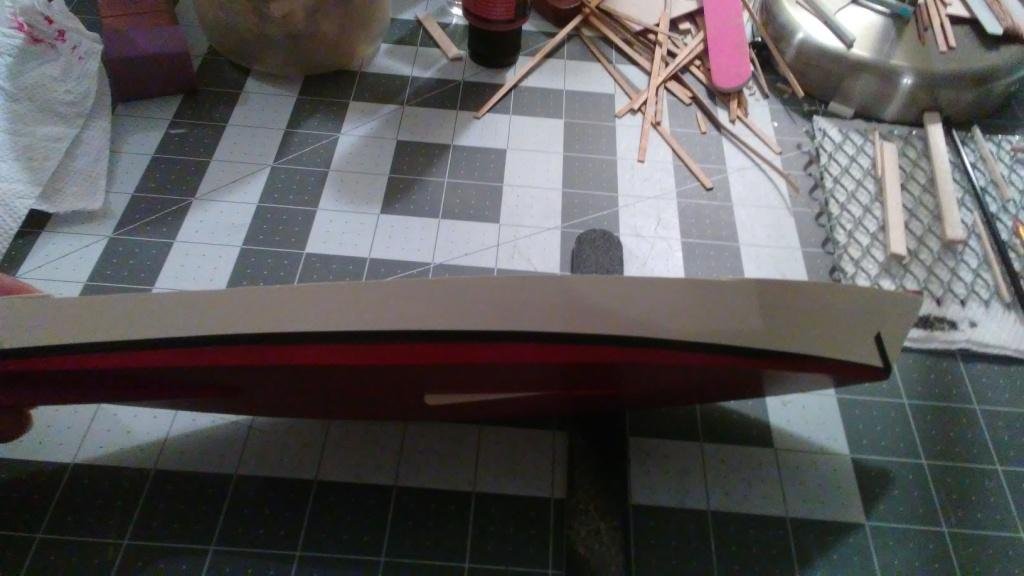
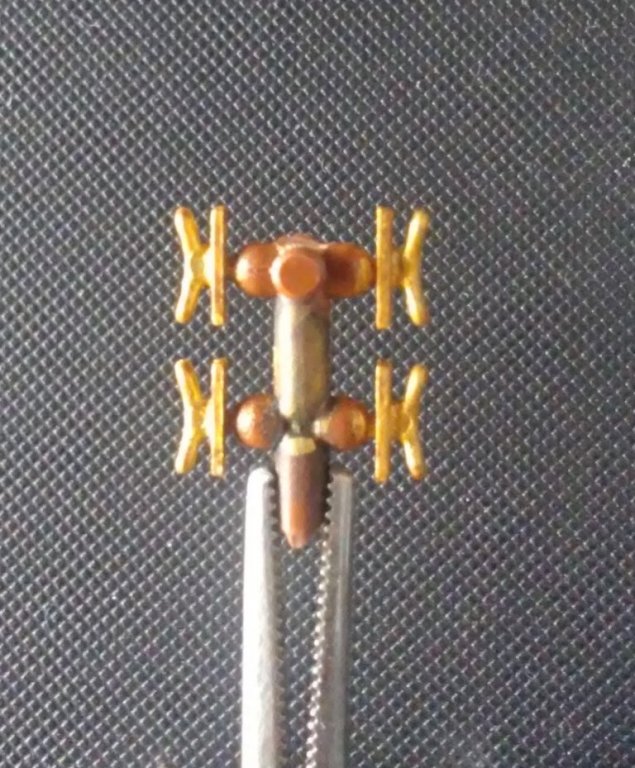
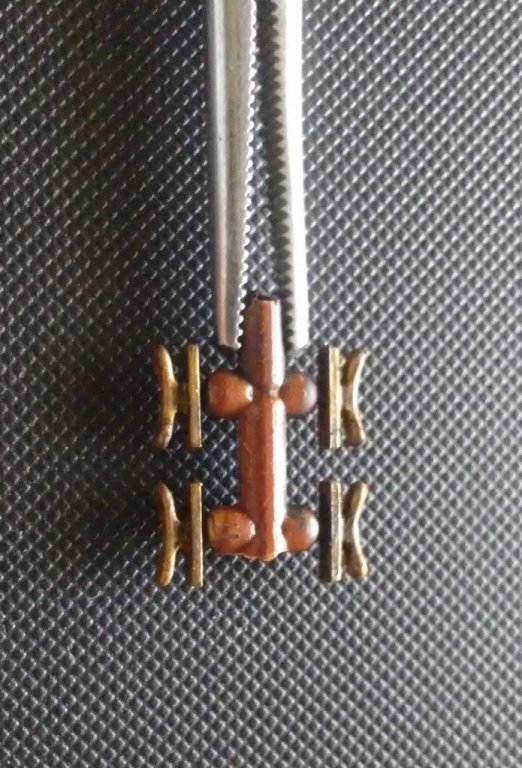
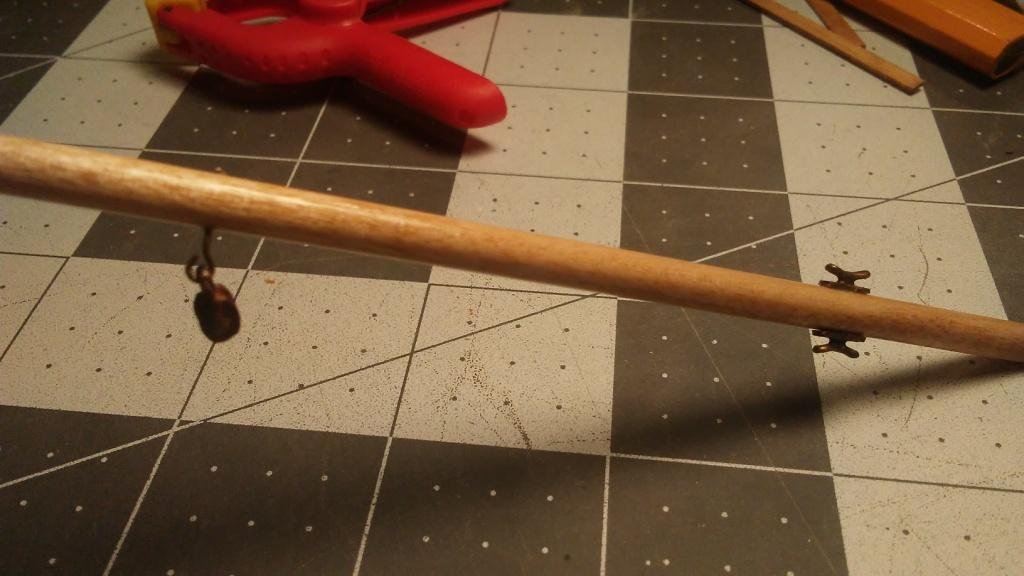
Wow! I must apologize; I had no idea it had been over a month since my last update. Not to worry...I have been working on the skiff, albeit at a very leisurely pace. Still, much has been accomplished and I can see the final steps for completion. I got the centerboard installed before called out in the instructions. It seemed to me it would be easier to insert the hinge pin with the thwarts out of the boat. I then added the centerboard rope. As I mentioned previously, I added the thwarts and the decks. After several coats of paint I also added the end caps. I elected to make the caps out of scrap mahogany and I think It adds a nice contrast to the decking. Below you can see the thwarts with the foredeck and bow cap: And the stern cap: During this time I've been painting the hull and decks. I'm using gloss acrylic paint for all the painted surfaces. The stained and sealed surfaces are coated with Minwax Polycrylic Gloss. I'm using an off-white color for the decks and hull above the waterline and "engine red" below the waterline. The painting has been long and slow with several detours. Having thinned the paints with water to help in smoothing the coats, multiple coats were required. Then, I had to sand them for smoothness. I found a couple of imperfections that meant sanding off all the paint and adding wood filler, sanding that, and seeking a smooth surface. It's not as good as it could be, but I think it will be alright. I still have to do the actual black waterline, but the picture below gives a good idea of how it looks so far (the black line is masking tape I'm using to paint the bottom. In the meantime, I got the mast and sprit sanded, stained and coated with gloss. Part of that endeavor was to paint the block and the cleats. I got some gold paint and painted the cleats. I then used a VERY thin flat black wash to try to give them a worn patina. I'll let you judge my success. Below are the cleats before and after the wash: I painted the block a flat nut-brown color and also washed it with the thin black. I added a couple of small gold-colored spots to simulate the pin through the sheave. Once this was done I assembled the cleats and block to the mast with CA using the plans as a guide. If I could do it over I would have raised the cleats 1/4" to 1/2" higher on the mast (I think they're going to be just above, and too close to, the foredeck. During this time I also dyed the rigging line with Minwax Golden Oak stain. When it was dry I drew the line through beeswax to give it some body and to "defuzz" it. I think It will be fairly easy to work after that treatment. Next up: Finish painting the hull: waterline and final overcoat with clear gloss; Lay out the sail and coat it to give it some body. I'm leaning to a very thin PVA wash add the needed body. I will probably also lay it over a towel to dry so it has some billow to it; Finish laying out the rudder and get it painted to match the hull. I'm going to try to complete it before my next dive trip. I've got two weeks....so....I'd better get going...
- 13 replies
-
- crabbing skiff
- Chesapeake Bay Crabbing Skiff
- (and 2 more)
-
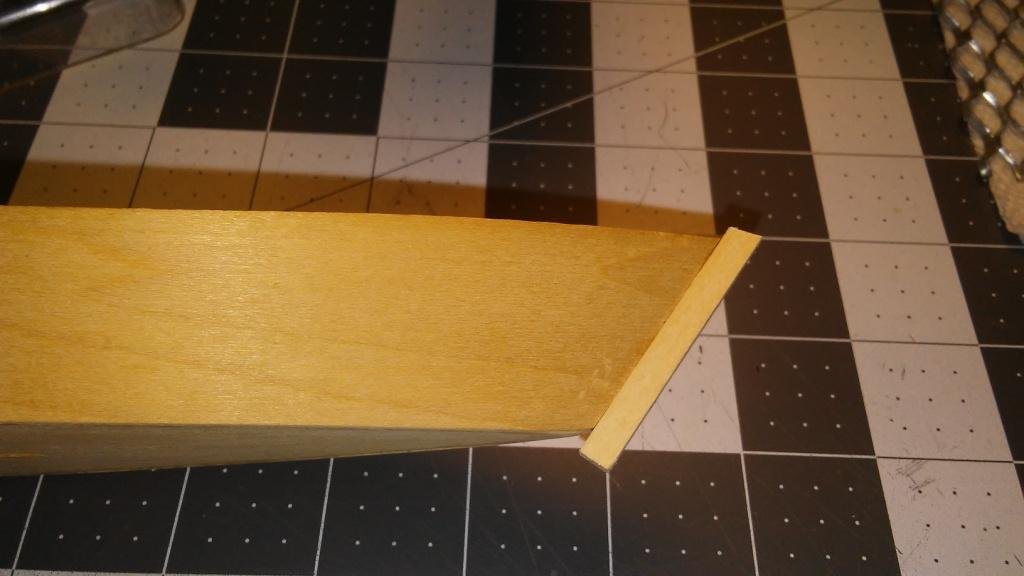
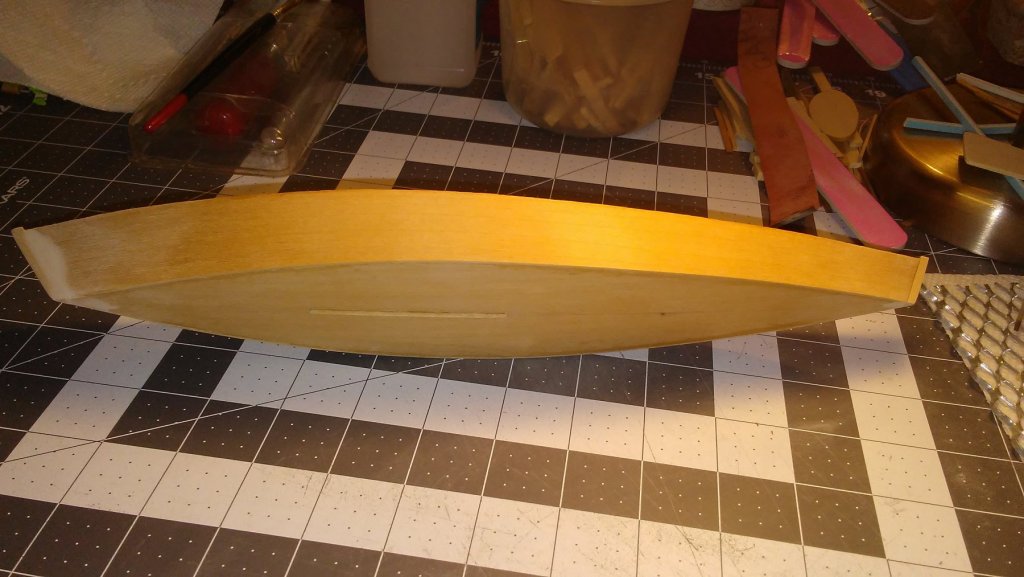
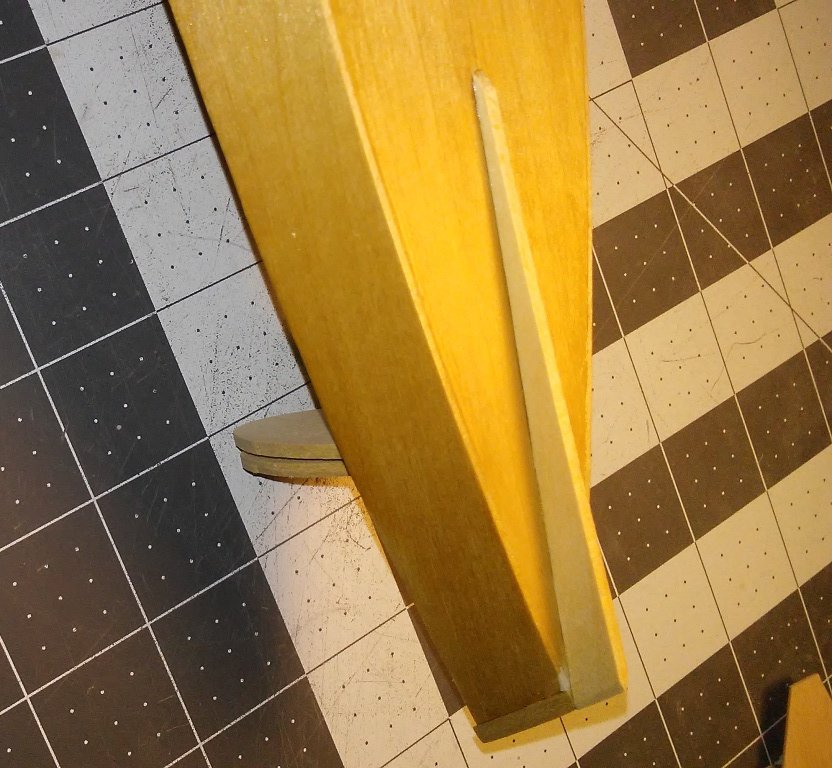
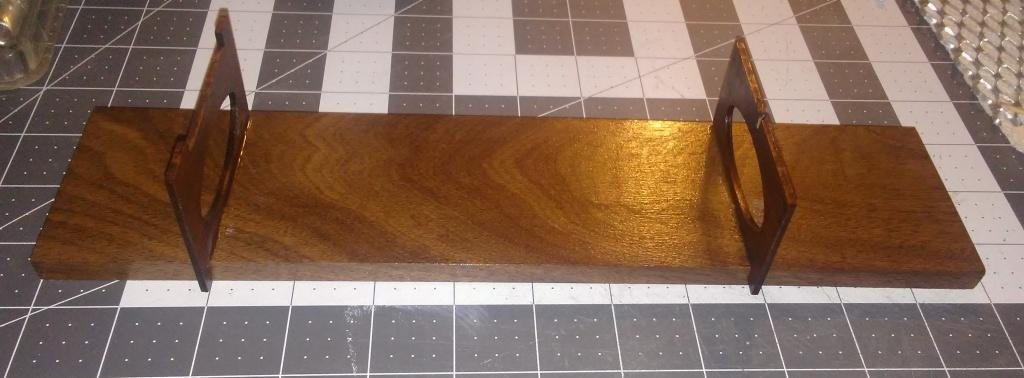
Well, quite a bit done since the last update. Again, I've diverted from the instruction book sequence for the sake of ease of construction (at least in my mind). I am delaying the installation of the foredeck until after I have installed the centerboard. But to do that, I need to have "other things" done first. So, here goes: I went ahead and installed the false stem and stern post and sanded them as instructed. You'll notice the addition of some wood filler to correct some imperfections in the assembly and to facilitate fairing the sides. Below is the false sternpost (unfinished): Finished false stem and sternpost: You can see a small "step" that I left on top of each. This is to accommodate the fore and aft decks (1/32" thick). I dry-fitted the aft deck and discovered that there was not enough overhang forward of the aft bulkhead (supposed to be 3/16"). A quick trip to the hobby store for a sheet of 1/32" x 4" basswood and I was able to cut a replacement deck. I decided to hold off on adding the stem and stern caps until after I have painted the two decks. The instructions call for painting these with the decks but I elected to cut them from mahogany scrap to provide some color contrast. I'll glaze them with clear gloss after installation. I test fitted the gudgeons on the false sternpost and adjusted the bevel for a good fit. Then I installed the skeg. This took quite a bit of careful sanding to get the curve to meet the curve of the bottom. The instructions showed the skeg flush with the back of the sternpost. To make it match better I sanded the back of the skeg to match the bevel of the post. I'm not sure if this is correct or not, but it looks smooth. I then cut out the rudder and marked it as the instructions indicated. A light coat of paint and it looks pretty good. Also at this time I made the tiller per the instructions. Again the pieces look pretty good. I'll stain and glaze the tiller before assembly and finish the painting on the rudder before assembly. During this time I also finished the display stand: That's it so far. I've actually done a little more on the centerboard and the decking but don't have any photos yet. I've gotten the bottom painted so I should be able to install the centerboard, thwarts, and foredeck in the next few days. In the meantime, I'm still working on the Longboat - adding planks...one small victory at a time...
- 13 replies
-
- crabbing skiff
- Chesapeake Bay Crabbing Skiff
- (and 2 more)
-
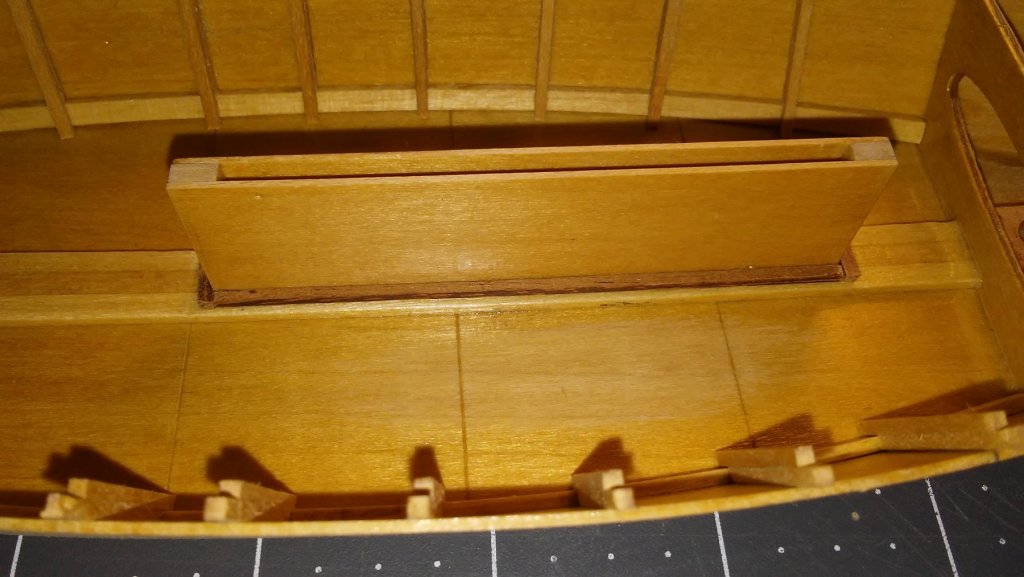
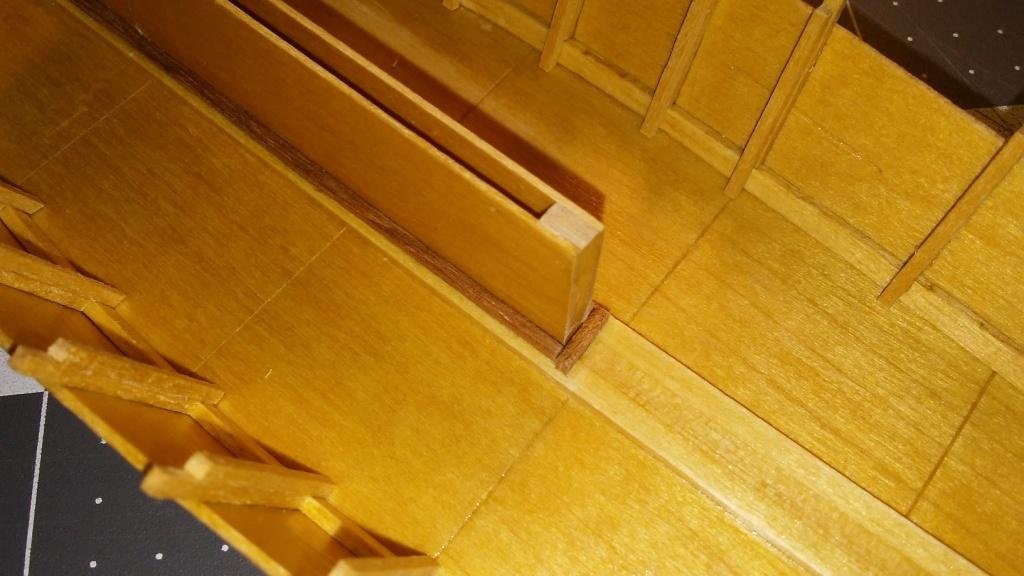
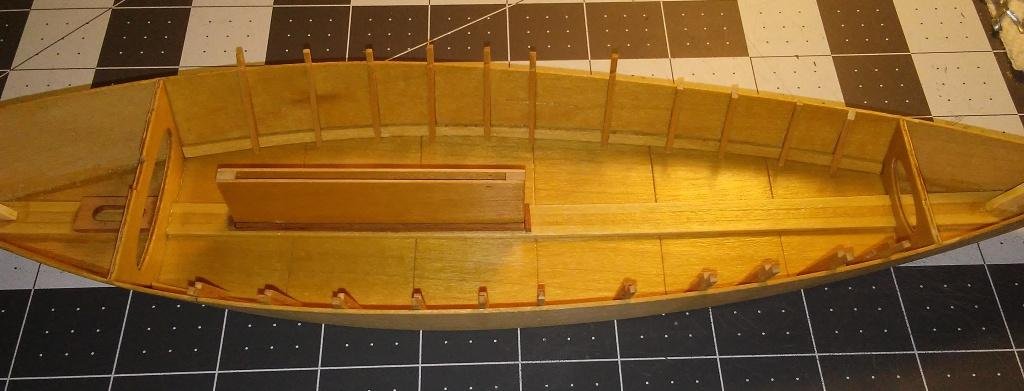
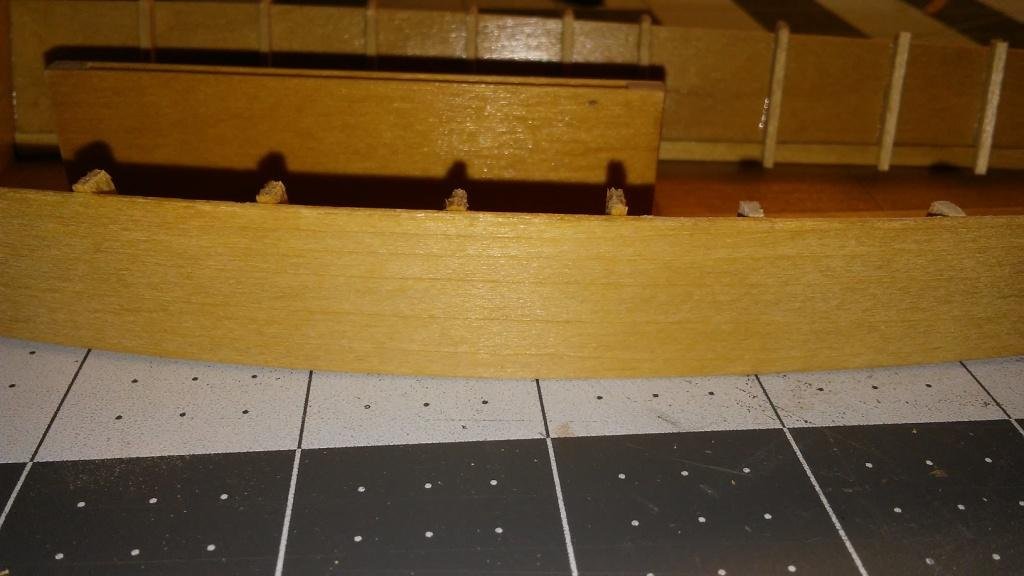
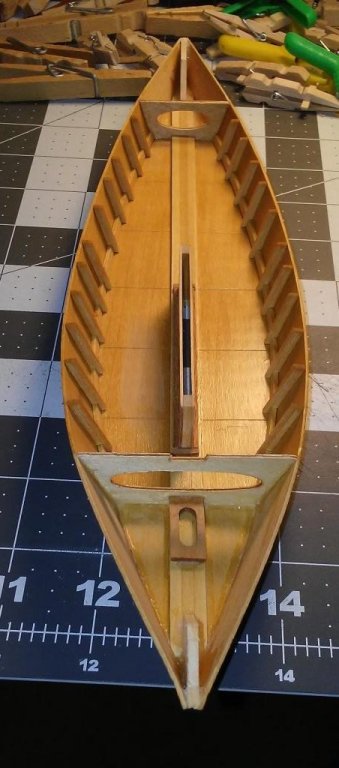
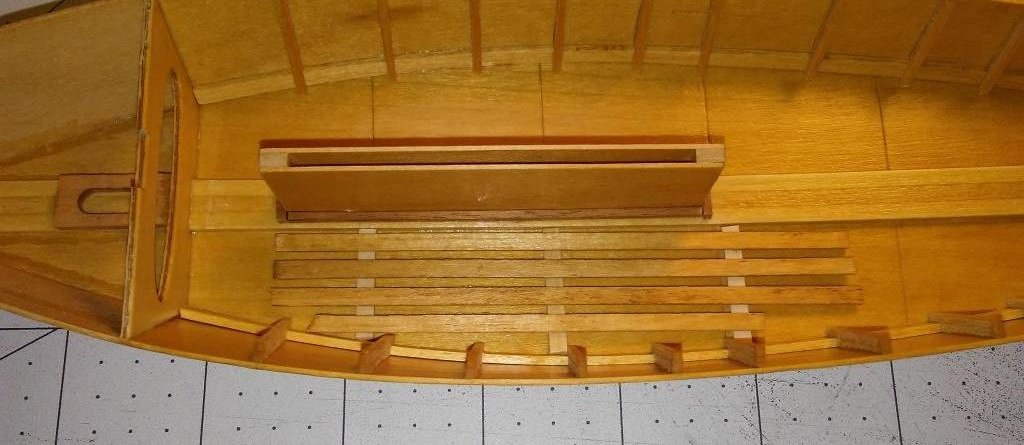
OK, well now that I've completed the travelogue... I've been busy with the Skiff since I got back: I elected not to install the fore and aft decks until after I completed the chine batten and the frame installations. As it turned out, this was a good thing. Most of the interior of the skiff as well as the thwarts had all been coated with the clear glaze. I had assembled the king plank and forward thwart with PVA glue that did not penetrate adequately to give me a solid joint. Same with the centerboard case attachment and the rear thwart. So, live and learn. This also gave me pause to consider the installation of the centerboard, the chine battens, and the frames. I think it will be easier to install all of these BEFORE I lock the thwarts and the decks in place. After these pieces popped loose it was relatively easy to trim and fit the chine battens. In retrospect, I could have spent more time in sanding the battens to fit flush on the bottom. There is more more gap than I would like in some places. Hopefully most of it will be masked by the forward thwart. I used a little thin CA glue to insure the centerboard case was firmly attached. And then I went off the rails with some personalization: I cut some 1/16" x 1/16" strips from the leftover mahogany. I elected to use it in lieu of the basswood pieces in Step #57. I also added two endcaps to the case, also in mahogany. I then proceeded to use install the first run of frames using CA glue to attach the frames to the hull. Again, a little more care could have been exercised in insuring the frames were perpendicular to chine batten and aligned with the pre-scored marks on the inside of the hull. The frames were all pre-stained to match the hull but were not glazed. Because I didn't glaze the frames I felt confident to use the PVA glue to attach the second row of frames to the first. I then let them dry before rough trimming. I used a clipper to do the rough trim of the frames: And then I used an emery board to sand the frames down flush with the top of the side: Finally, there's some scoring on the bottom of the skiff, but there does not appear to be a reason for it in the instructions. I'm considering adding a false floor to the skiff and use the scoring as a guide for location of the supports. I expect it will look something like this: Any thoughts on this? Is this appropriate, and reasonable from a practical (real world) perspective? More later as I get further along...
- 13 replies
-
- crabbing skiff
- Chesapeake Bay Crabbing Skiff
- (and 2 more)
-
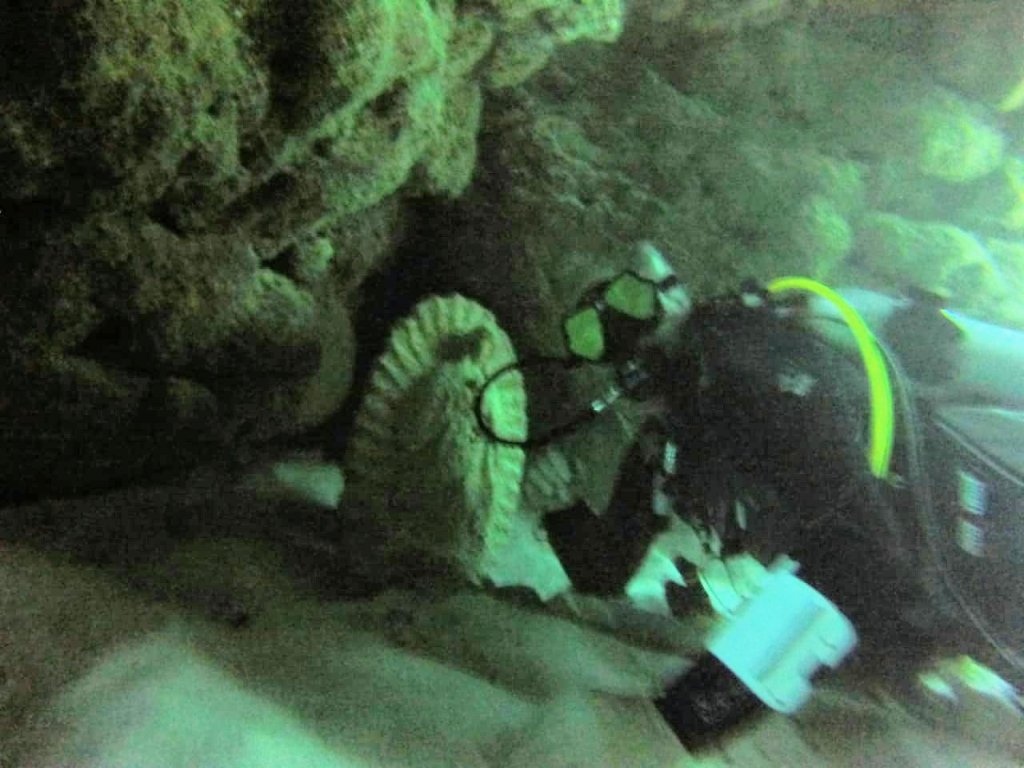
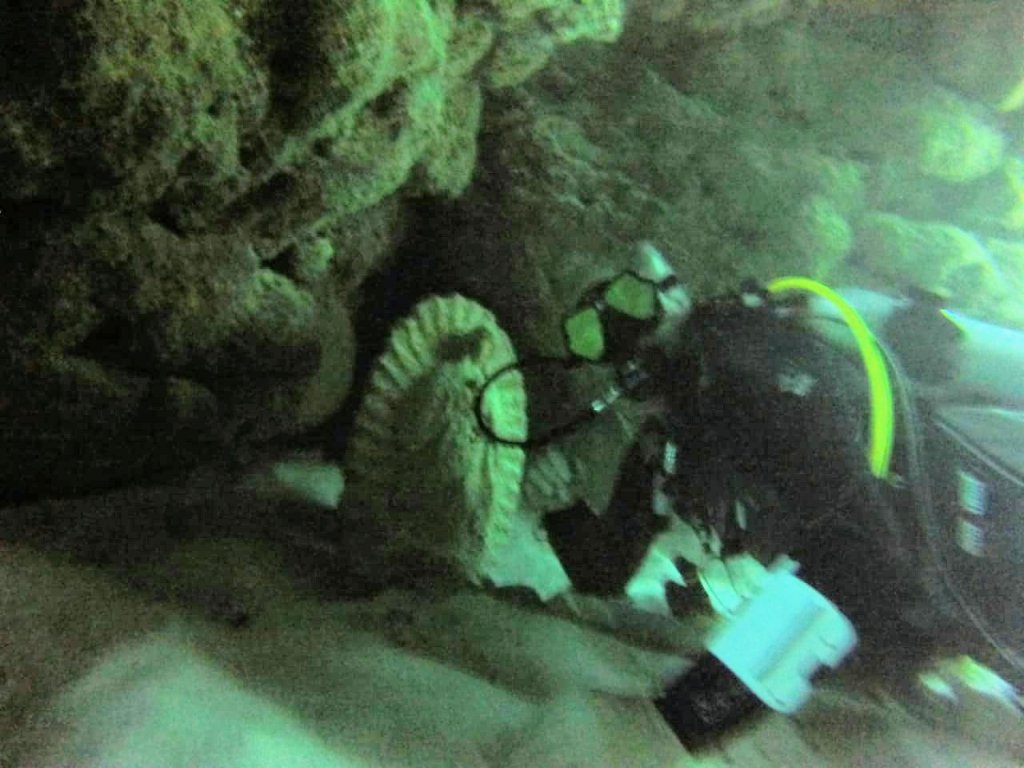
Well, I decided to come back to the States a couple of weeks early. The Commodore was not able to make the trip so I wanted to get back before the start of the Holidays. The weather was beautiful, but a bit chilly some mornings with lows in the low 50's. And the diving was great! A friend took a camera on my last dive. The picture of me below was taken inside a small grotto inside a shallow reef. The statue is of the Virgin of Guadalupe, Patron Saint of Mexico. I've already removed a hull plank since I've been home and re-installed. I'm going to try and focus more on this project over the next few weeks...before I head back to Mexico for another round of "therapy."
- 25 replies
-
- 18th century longboat
- model shipways
-
(and 1 more)
Tagged with:
-
Well, I decided to come back to the States a couple of weeks early. The Commodore was not able to make the trip so I wanted to get back before the start of the Holidays. The weather was beautiful, but a bit chilly some mornings with lows in the low 50's. And the diving was great! A friend took a camera on my last dive. The picture of me above was taken inside a small grotto inside a shallow reef. The statue is of the Virgin of Guadalupe, Patron Saint of Mexico.
- 13 replies
-
- crabbing skiff
- Chesapeake Bay Crabbing Skiff
- (and 2 more)
-
Which "Hornblower?" The movie with Gregory Peck or the BBC program with Ioan Gruffodd? Both are excellent. I will bring mine down next trip. Hoping things go well with the Admiral Don
-
The main bay in Akumal, Mexico; south of Cancun
- 25 replies
-
- 18th century longboat
- model shipways
-
(and 1 more)
Tagged with:
-
Haven't gotten much done on the Longboat lately, but there are other rewards...
- 25 replies
-
- 18th century longboat
- model shipways
-
(and 1 more)
Tagged with:
-
- 13 replies
-
- crabbing skiff
- Chesapeake Bay Crabbing Skiff
- (and 2 more)
About us
Modelshipworld - Advancing Ship Modeling through Research
SSL Secured
Your security is important for us so this Website is SSL-Secured
NRG Mailing Address
Nautical Research Guild
237 South Lincoln Street
Westmont IL, 60559-1917
Model Ship World ® and the MSW logo are Registered Trademarks, and belong to the Nautical Research Guild (United States Patent and Trademark Office: No. 6,929,264 & No. 6,929,274, registered Dec. 20, 2022)
Helpful Links
About the NRG
If you enjoy building ship models that are historically accurate as well as beautiful, then The Nautical Research Guild (NRG) is just right for you.
The Guild is a non-profit educational organization whose mission is to “Advance Ship Modeling Through Research”. We provide support to our members in their efforts to raise the quality of their model ships.
The Nautical Research Guild has published our world-renowned quarterly magazine, The Nautical Research Journal, since 1955. The pages of the Journal are full of articles by accomplished ship modelers who show you how they create those exquisite details on their models, and by maritime historians who show you the correct details to build. The Journal is available in both print and digital editions. Go to the NRG web site (www.thenrg.org) to download a complimentary digital copy of the Journal. The NRG also publishes plan sets, books and compilations of back issues of the Journal and the former Ships in Scale and Model Ship Builder magazines.

