enemeink
-
Posts
43 -
Joined
-
Last visited


-
 GrandpaPhil reacted to a post in a topic:
Jolly Roger Pirate Ship by Kimberley - FINISHED - Lindberg - PLASTIC - 1:130
GrandpaPhil reacted to a post in a topic:
Jolly Roger Pirate Ship by Kimberley - FINISHED - Lindberg - PLASTIC - 1:130
-
GrandpaPhil reacted to a post in a topic:
Prince De Neufchatel by emeneink - Model Shipways
-
GrandpaPhil reacted to a post in a topic:
Prince De Neufchatel by emeneink - Model Shipways
-
GrandpaPhil reacted to a post in a topic:
Prince De Neufchatel by emeneink - Model Shipways
-
GrandpaPhil reacted to a post in a topic:
Prince De Neufchatel by emeneink - Model Shipways
-
GrandpaPhil reacted to a post in a topic:
Prince De Neufchatel by emeneink - Model Shipways
-
GrandpaPhil reacted to a post in a topic:
Prince De Neufchatel by emeneink - Model Shipways
-
GrandpaPhil reacted to a post in a topic:
Prince De Neufchatel by emeneink - Model Shipways
-
GrandpaPhil reacted to a post in a topic:
Prince De Neufchatel by emeneink - Model Shipways
-
GrandpaPhil reacted to a post in a topic:
Prince De Neufchatel by emeneink - Model Shipways
-
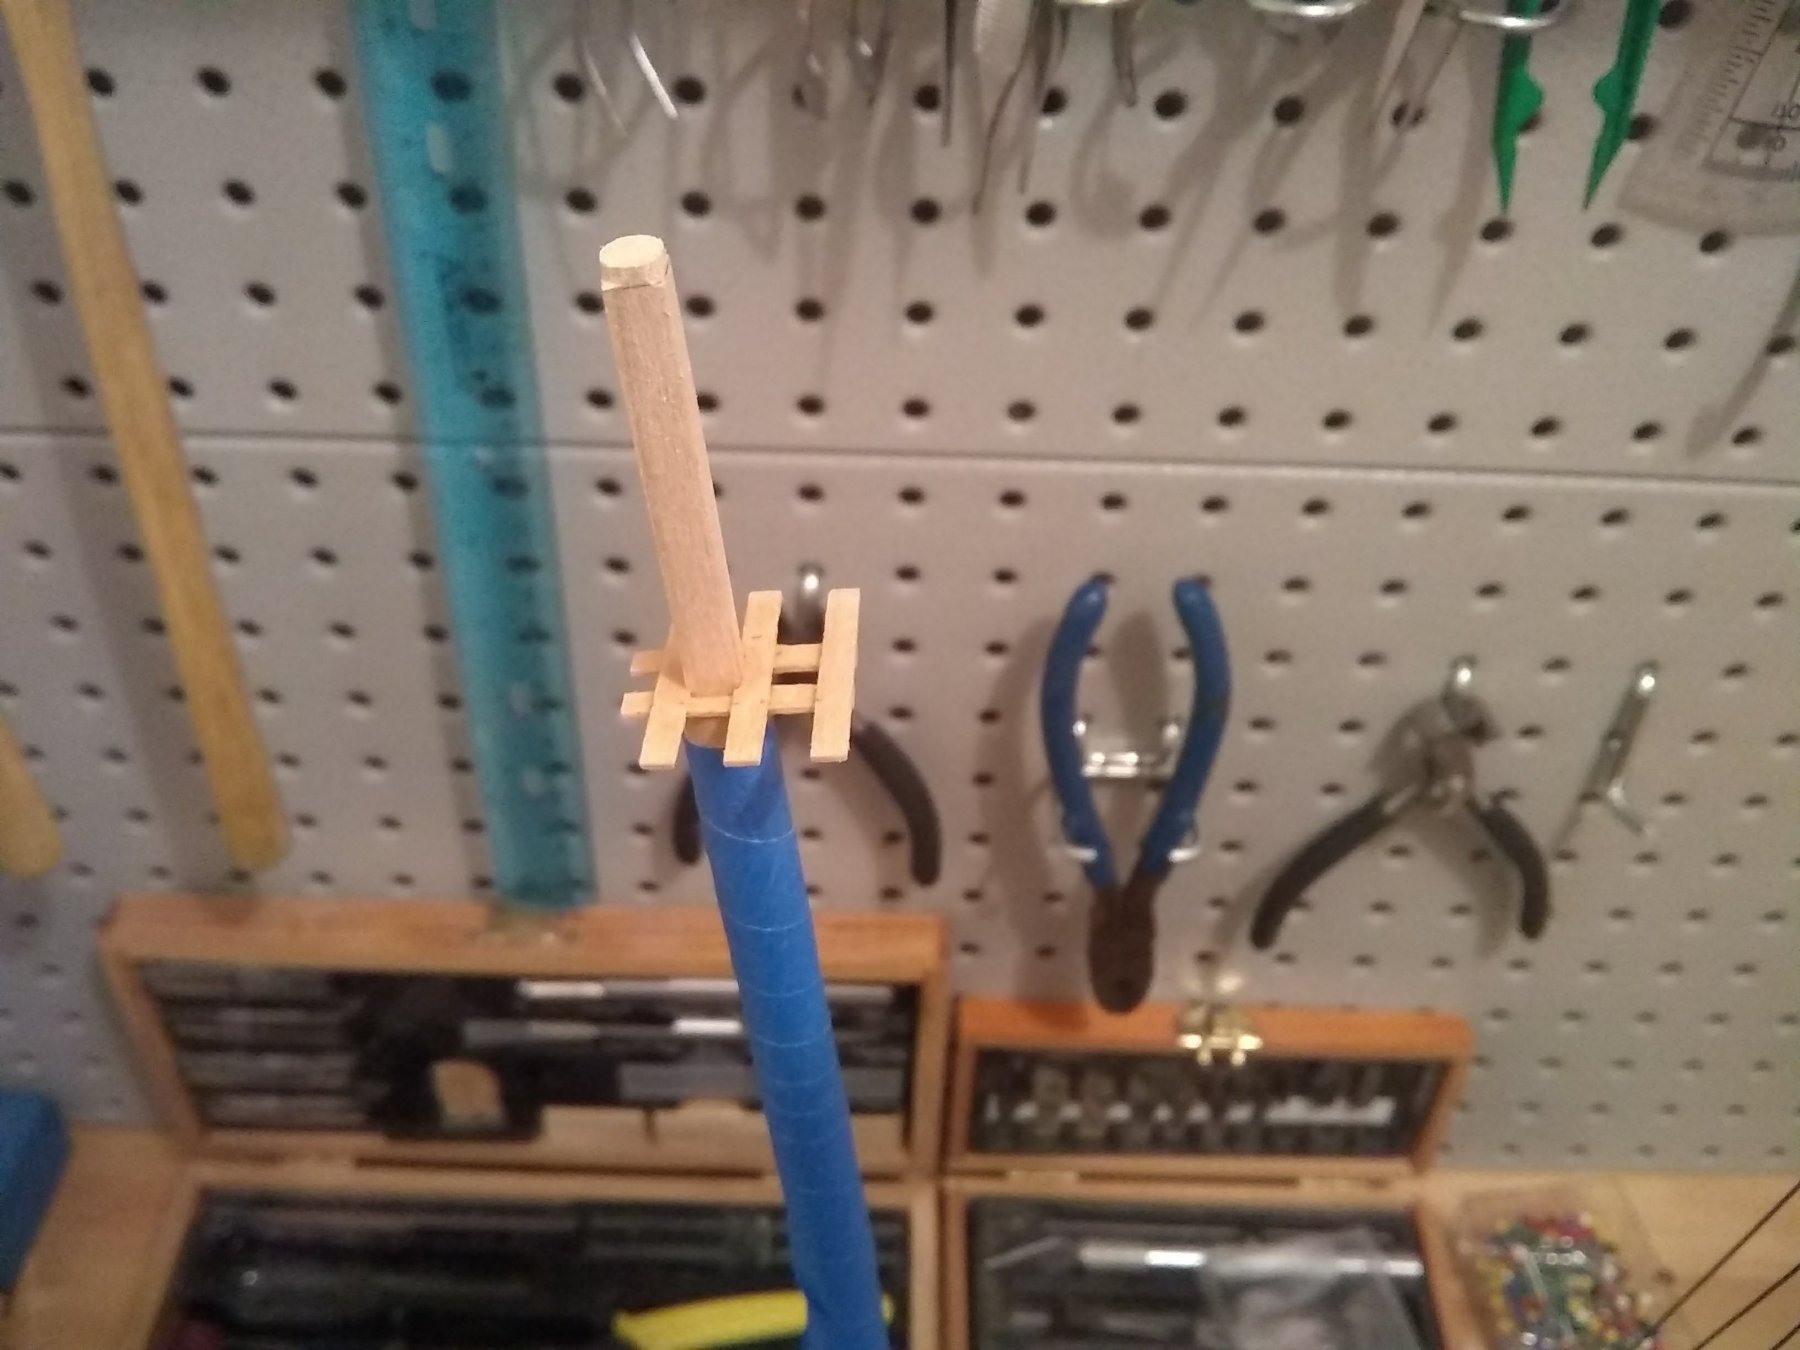
 I've decided to put the spar off until the other mast is completed and installed. It's been slow battle with spring "trying" to warm up... As I was making the mast I realized that I was missing one of the mast caps (#8 on the drawing) so I had to make one from scratch. The small walnut strips I have worked the best and we're fairly easy to shape. I just need to make the cheeks and top and I can get it painted and sealed. Also I wrap the painters tape on the mast to keep finger oils and dirt out of the wood as I'm shaping the mast, since this will be stained a natural color.
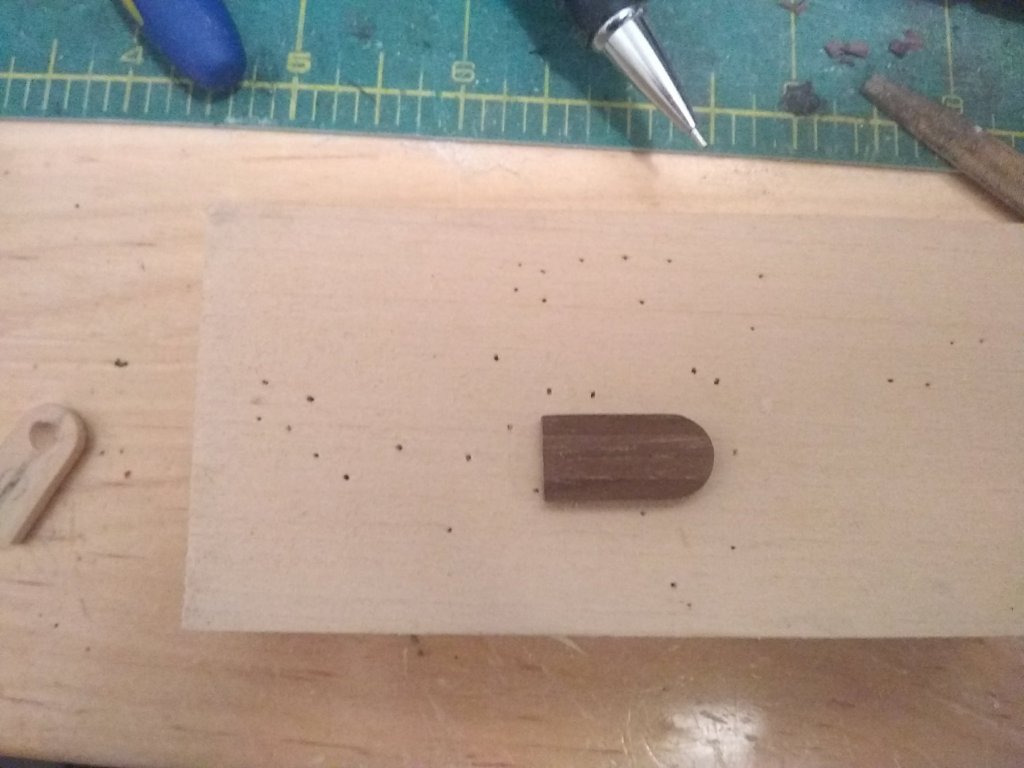

-
Looking good!! For me the mast tops we're not as confusing as we're the cheeks directly under the tops. These only exist as a 2D image on one of the drawings and without a reference.
-
enemeink reacted to a post in a topic:
Prince de Neufchatel by David Lester - FINISHED - Model Shipways - Scale 1:64
-
She's coming along nicely! I believe I only did the single plank with the basswood and then went over the top with the thin walnut strips planks.
- 359 replies
-
- 4
-
-
- prince de neufchatel
- model shipways
- (and 1 more)
-
I remember that gratings being problematic and crumbled easily. I ordered a different size from model expo as to keep the thickness the same as the railing. I don't recall having to sand down the grate to clear the bow spirit. I'll have to take a look at it.
-
I remember struggling with this life boat and giving up on it after a couple of trys. Which is why in a fit of frustration I bought and the cast one from Amanti that i ended up using on my build. I've been complementing add one off the stern. And if I go that route, it'll be another one of these. http://www.amatimodel.com/en/accessories/fittings-and-accessories/wooden-metal-lifeboats
-
enemeink reacted to a post in a topic:
Prince de Neufchatel by David Lester - FINISHED - Model Shipways - Scale 1:64
-
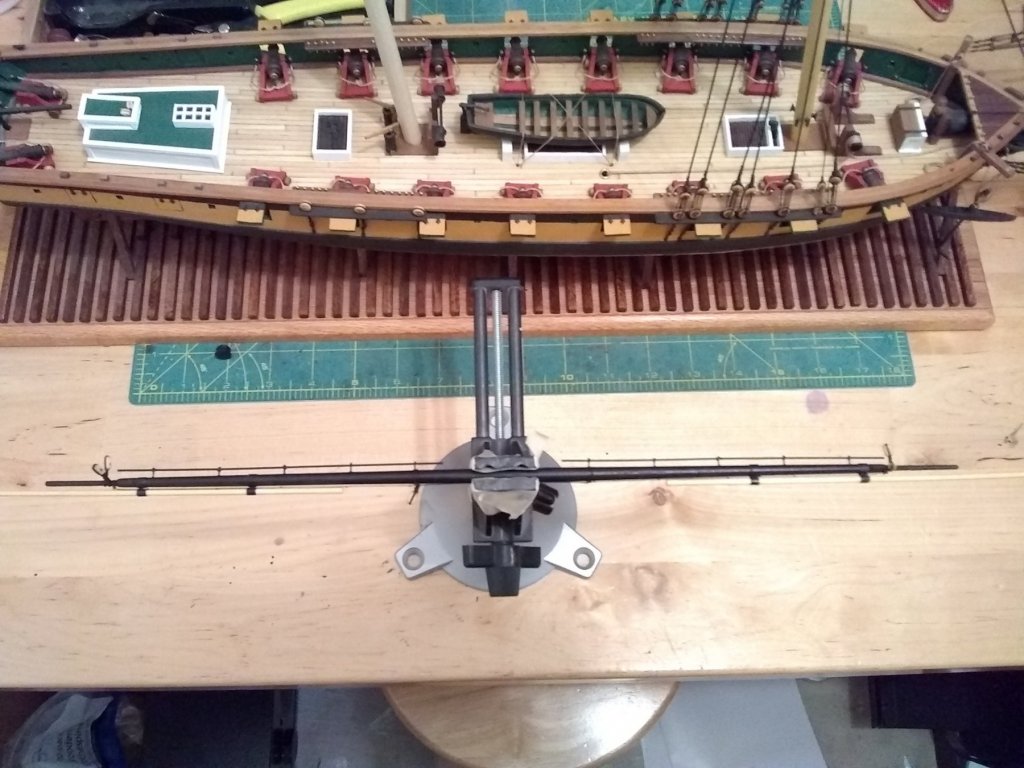
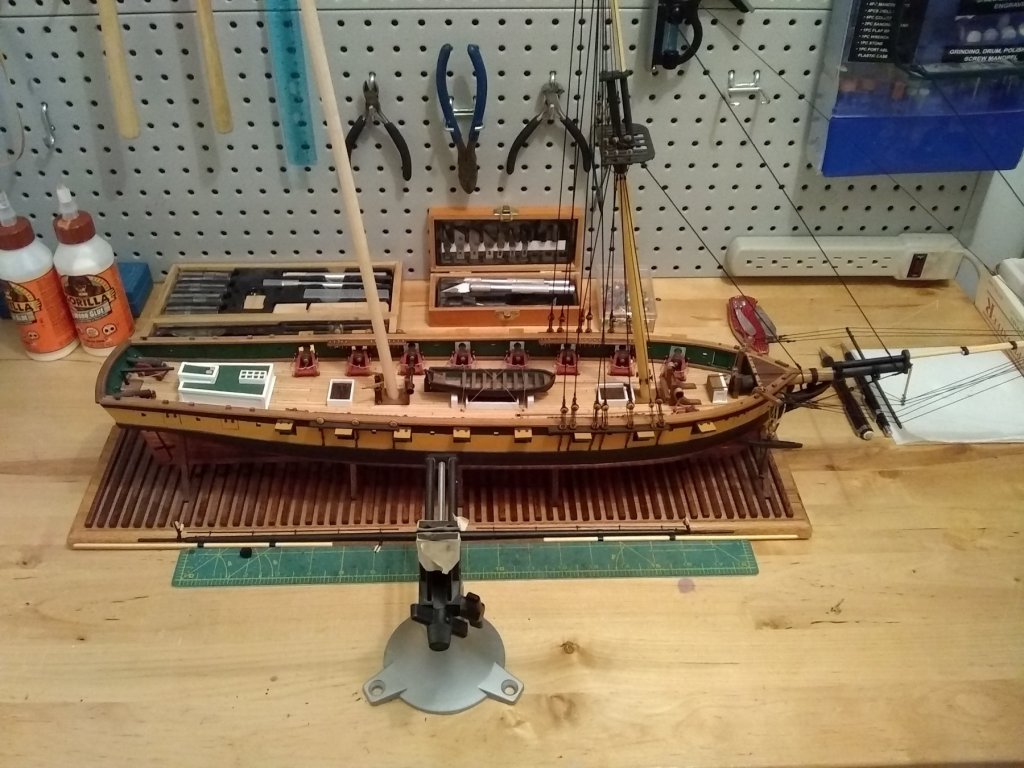
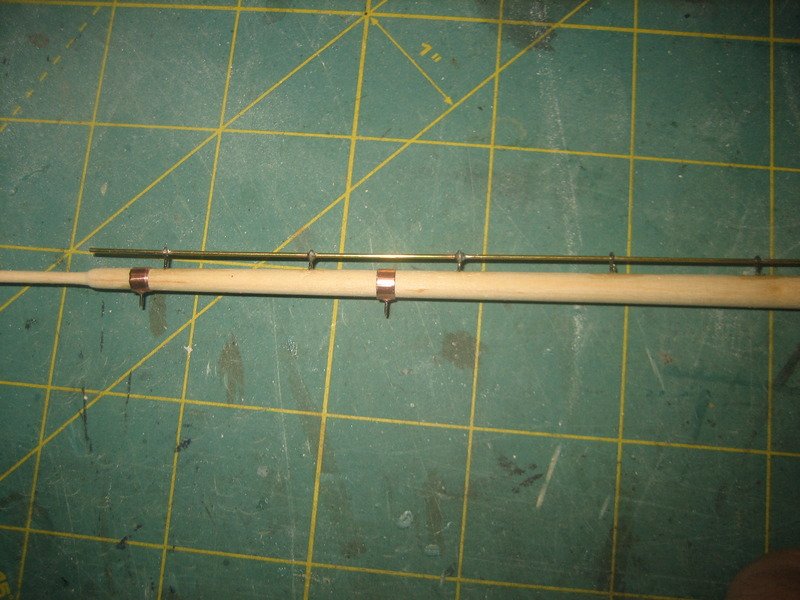
Managed to get my bench set up and the spar repaired. I now need to add a couple of blocks and it'll be ready to be attached.
-
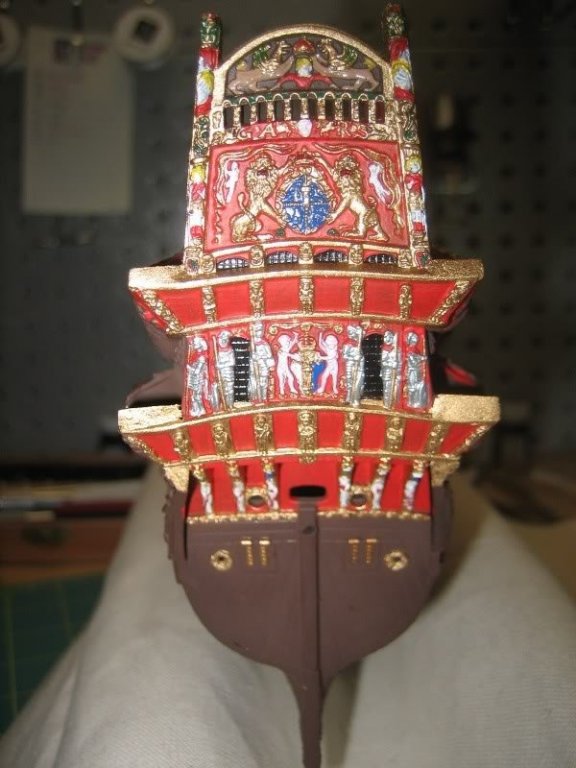
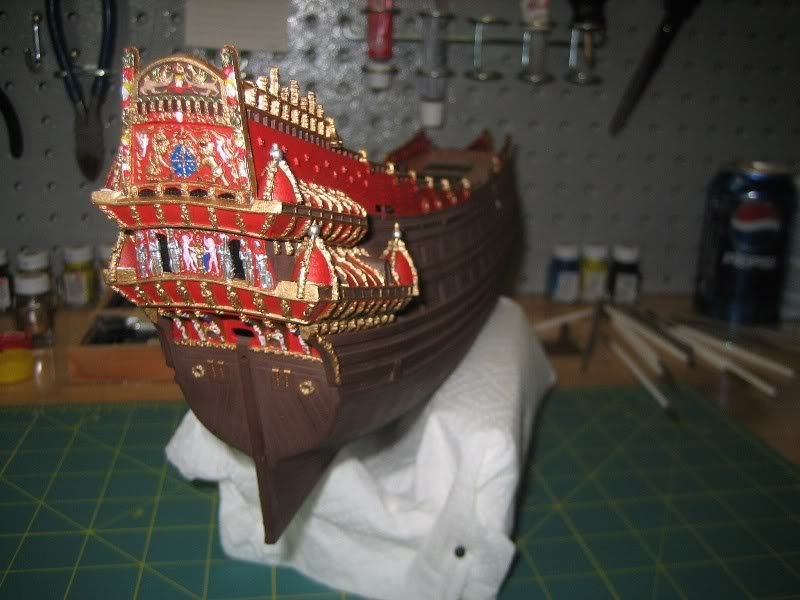
I built this kit about 8 years ago. I loved it. I ended up using this website as an excellent resource for reference and colors for painting the bow and stern. http://www.wasadream.com/Index/indexenglish.html
-
It’s been awhile. Again. But in my defense, I’ve completed two degrees, moved homes twice, and displaced my workbench about half a dozen times. However, I’ve never truly put the ship away or given up on it. I’ve merely put it off. So I’m here, still. And looking to get back at it. I’ve been lurking on and off. So I’ve never truly left, I’ve just been absent. But I need to do some repair work to a broken spar that was a work in progress that became a casualty of the moving and shuffling. Luckily it was only a small piece and easy to fix. Hopefully now my work bench is in its final work space and won’t ever have to move again. Also, I have plenty of broken image links. This may have already been discussed at great lengths in my absence, but apparently Photobucket has decided to disable third party links, unless I pay a $399 a year subscription. Yeah not going to happen. So I’ll start moving these out of photobucket and just put them here. I just need to figure out which ones are missing. This would also explains why the older source material pictures I was referencing seems to have all but disappeared from the internet… good times.
-
I built a plastic airfix kit years ago and used this website for reference. It's a big archive of info if ever needed. One day I will build this ship in wood, just as soon as I have a place to put it when it's done, and the budget to buy it... http://www.wasadream.com/Index/indexenglish.html
- 305 replies
-
- 3
-
-
- deagostini
- vasa
- (and 1 more)
-
enemeink reacted to a post in a topic:
Vasa by puckotred - DeAgostini - Scale 1:65
-
enemeink reacted to a post in a topic:
Vasa by puckotred - DeAgostini - Scale 1:65
-
enemeink reacted to a post in a topic:
Prince De Neufchatel by emeneink - Model Shipways
-
bow spirit standing rigging is complete, well as much as I can tell. I have started shaping spars to get those moving. Good times! Enjoy.
-
enemeink reacted to a post in a topic:
Soleil Royal by kpnuts - Heller - 1/100 - 17th Century ship of the line
-
enemeink reacted to a post in a topic:
Wasa 1628 by JanV - Corel - scale 1:75 - Vasa
-
annnnd here's an update. See ya next year! haha kidding

-
*cough cough cough... pardon the dust and cobwebs.... I haven't abandoned this. It's still on the workbench and not shelved. Life has been busy, and I haven't had time for much else thanks to my odd desire to go back to school and finish a degree, and pursue another. Damn life goals... Will this be the year I polish this off? I'm hoping so. I actually started about a week or two ago. but since I hadn't touched this is so long I 1.) forgot where I left off. (seriously. looking at rigging plans and trying to decipher where I left off and needed to be was a head scratcher). 2.) lost my touch/technique and my work quality looked pretty poor. 3.) spent time going back and fixing things from #2 that I wasn't happy with. So. Two weeks back and I think I have my groove again. Pictures will be forth coming.
-
thanks for showing me the syren models. i heavily contemplating trying this line. my only reservation is that the lines only come in 20ft bundles.
-
The model shipways thread is straight nylon. not that great for tying off. getting the deadeyes tied right has been a little bit of a chore due to how the thread behaves with the plastic fibers. Corel is a cotton polyester blend.
-
Currently I've been using the black nylon thread that has come in my model shipways kit for the standing rigging and have been thinking about swapping over to Corels for the running rigging. My complaint about the nylon thread is that it's not very easy to work with when it comes to tying of the line or making coils of rope on the deck. it's too stiff and springy in my opinion. plus when it comes off the spool it retains the shape of the flat spool. My question is: Am i going to have the same issue with the Corel rigging line or will it be easier to work with? it's a cotton polyester mix as opposed to straight Nylon.