Matrim
-
Posts
1,401 -
Joined
-
Last visited
Content Type
Profiles
Forums
Gallery
Events
Everything posted by Matrim
-
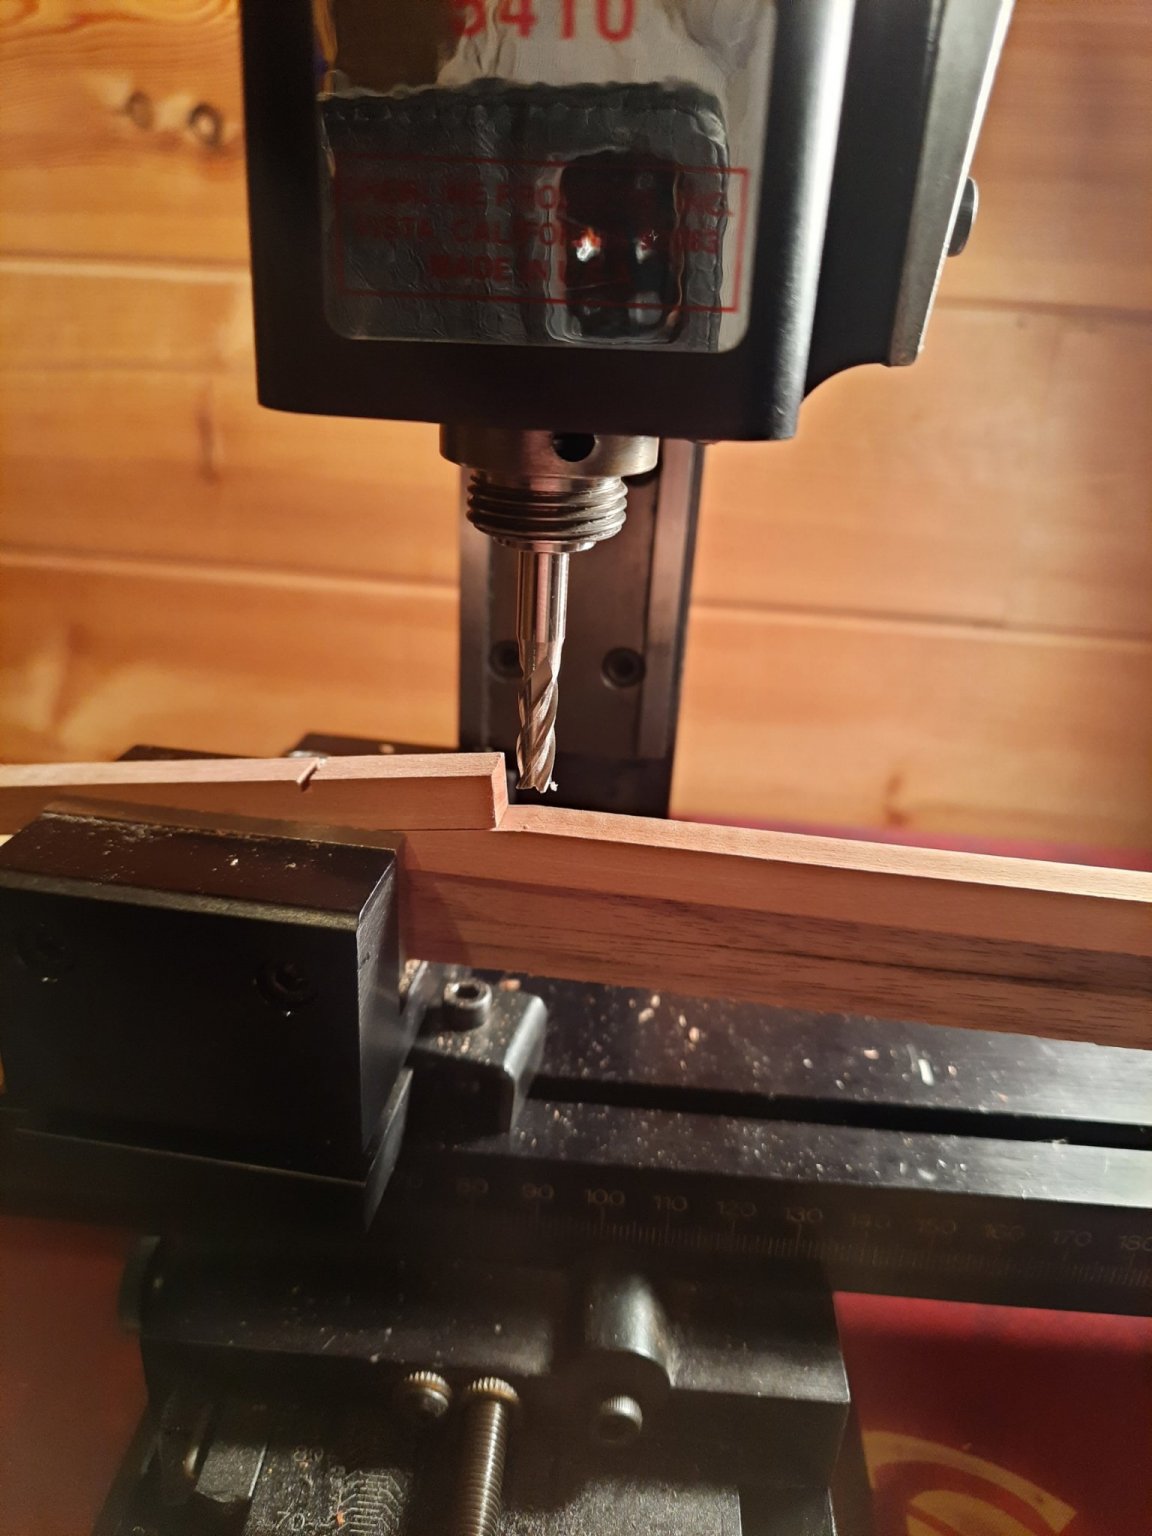
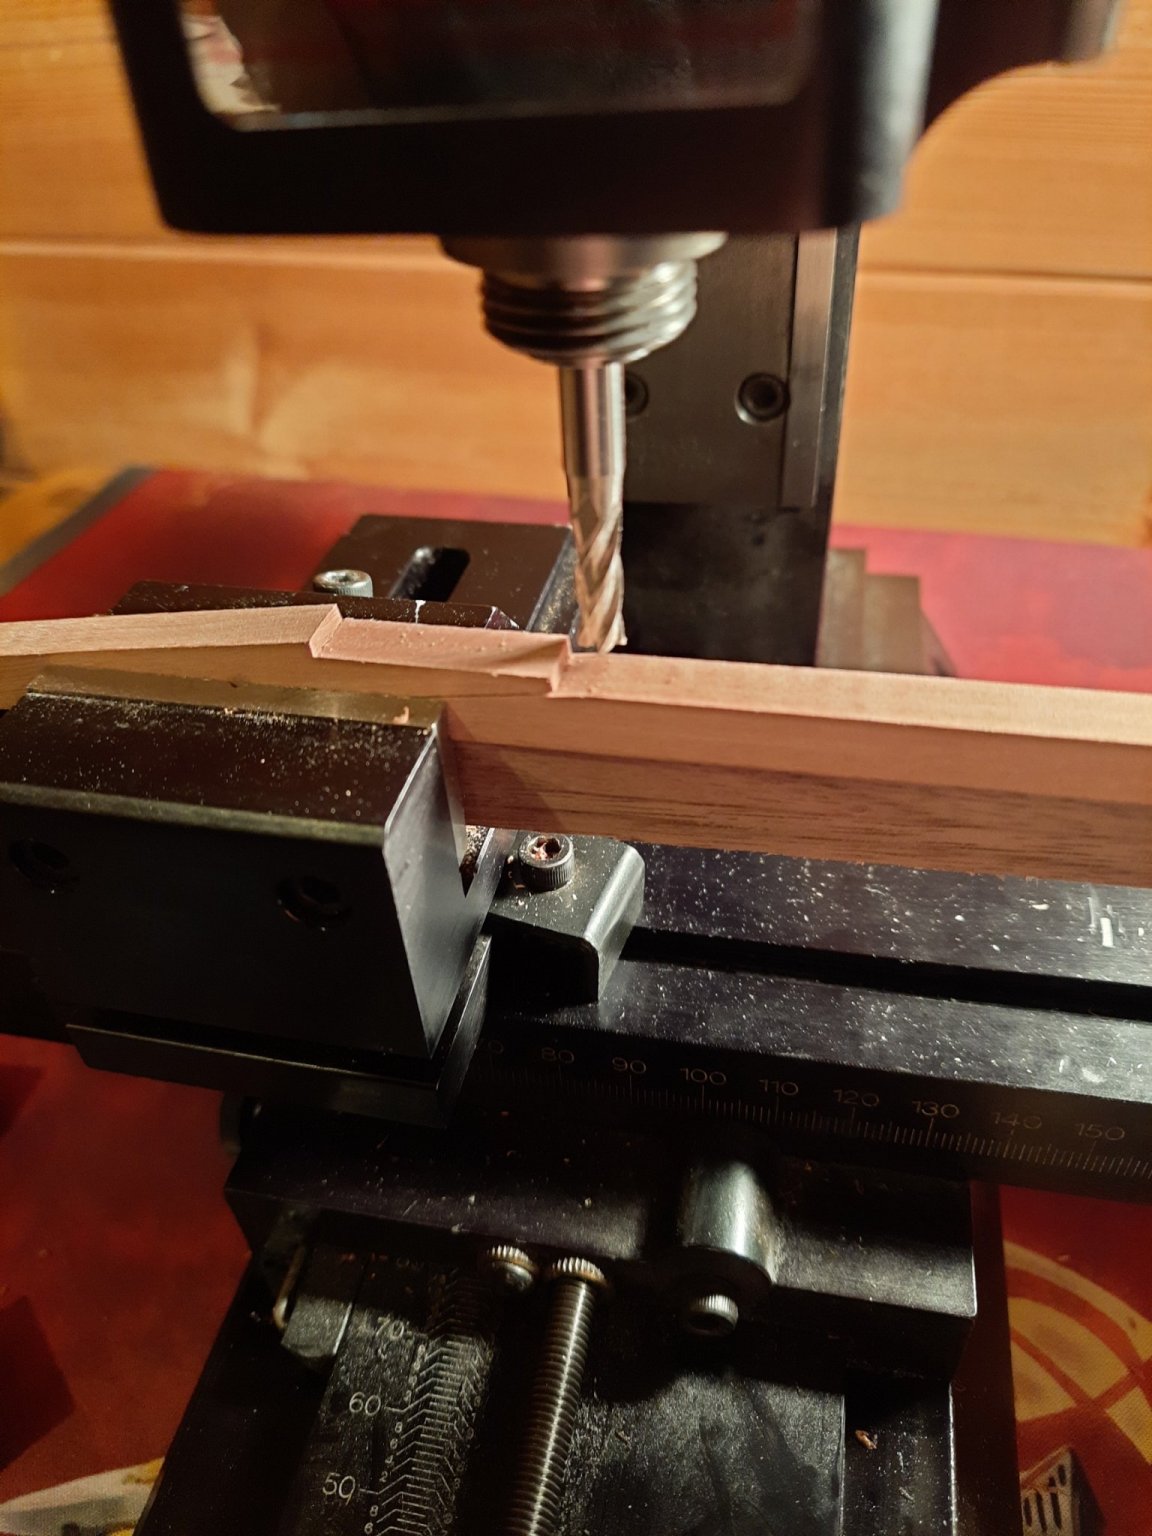
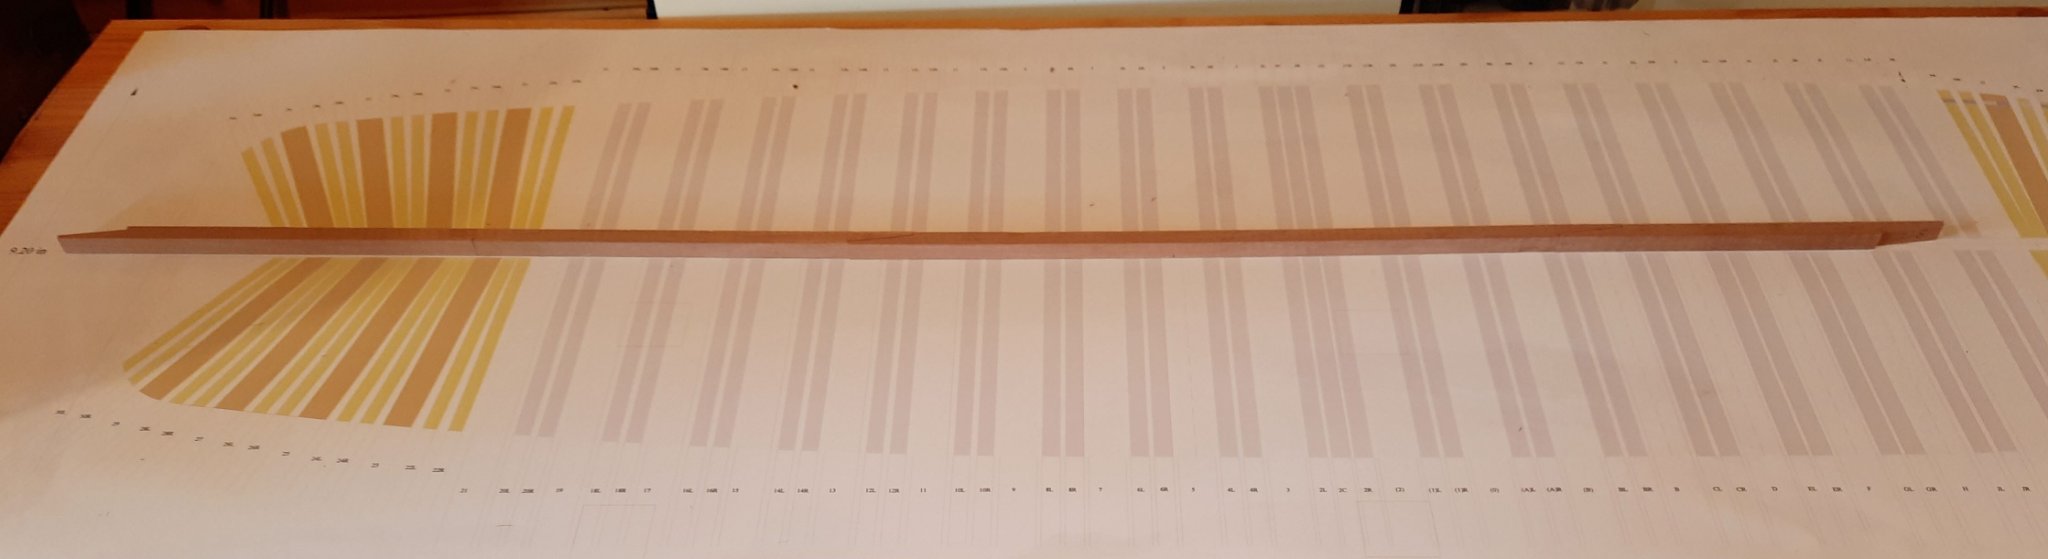
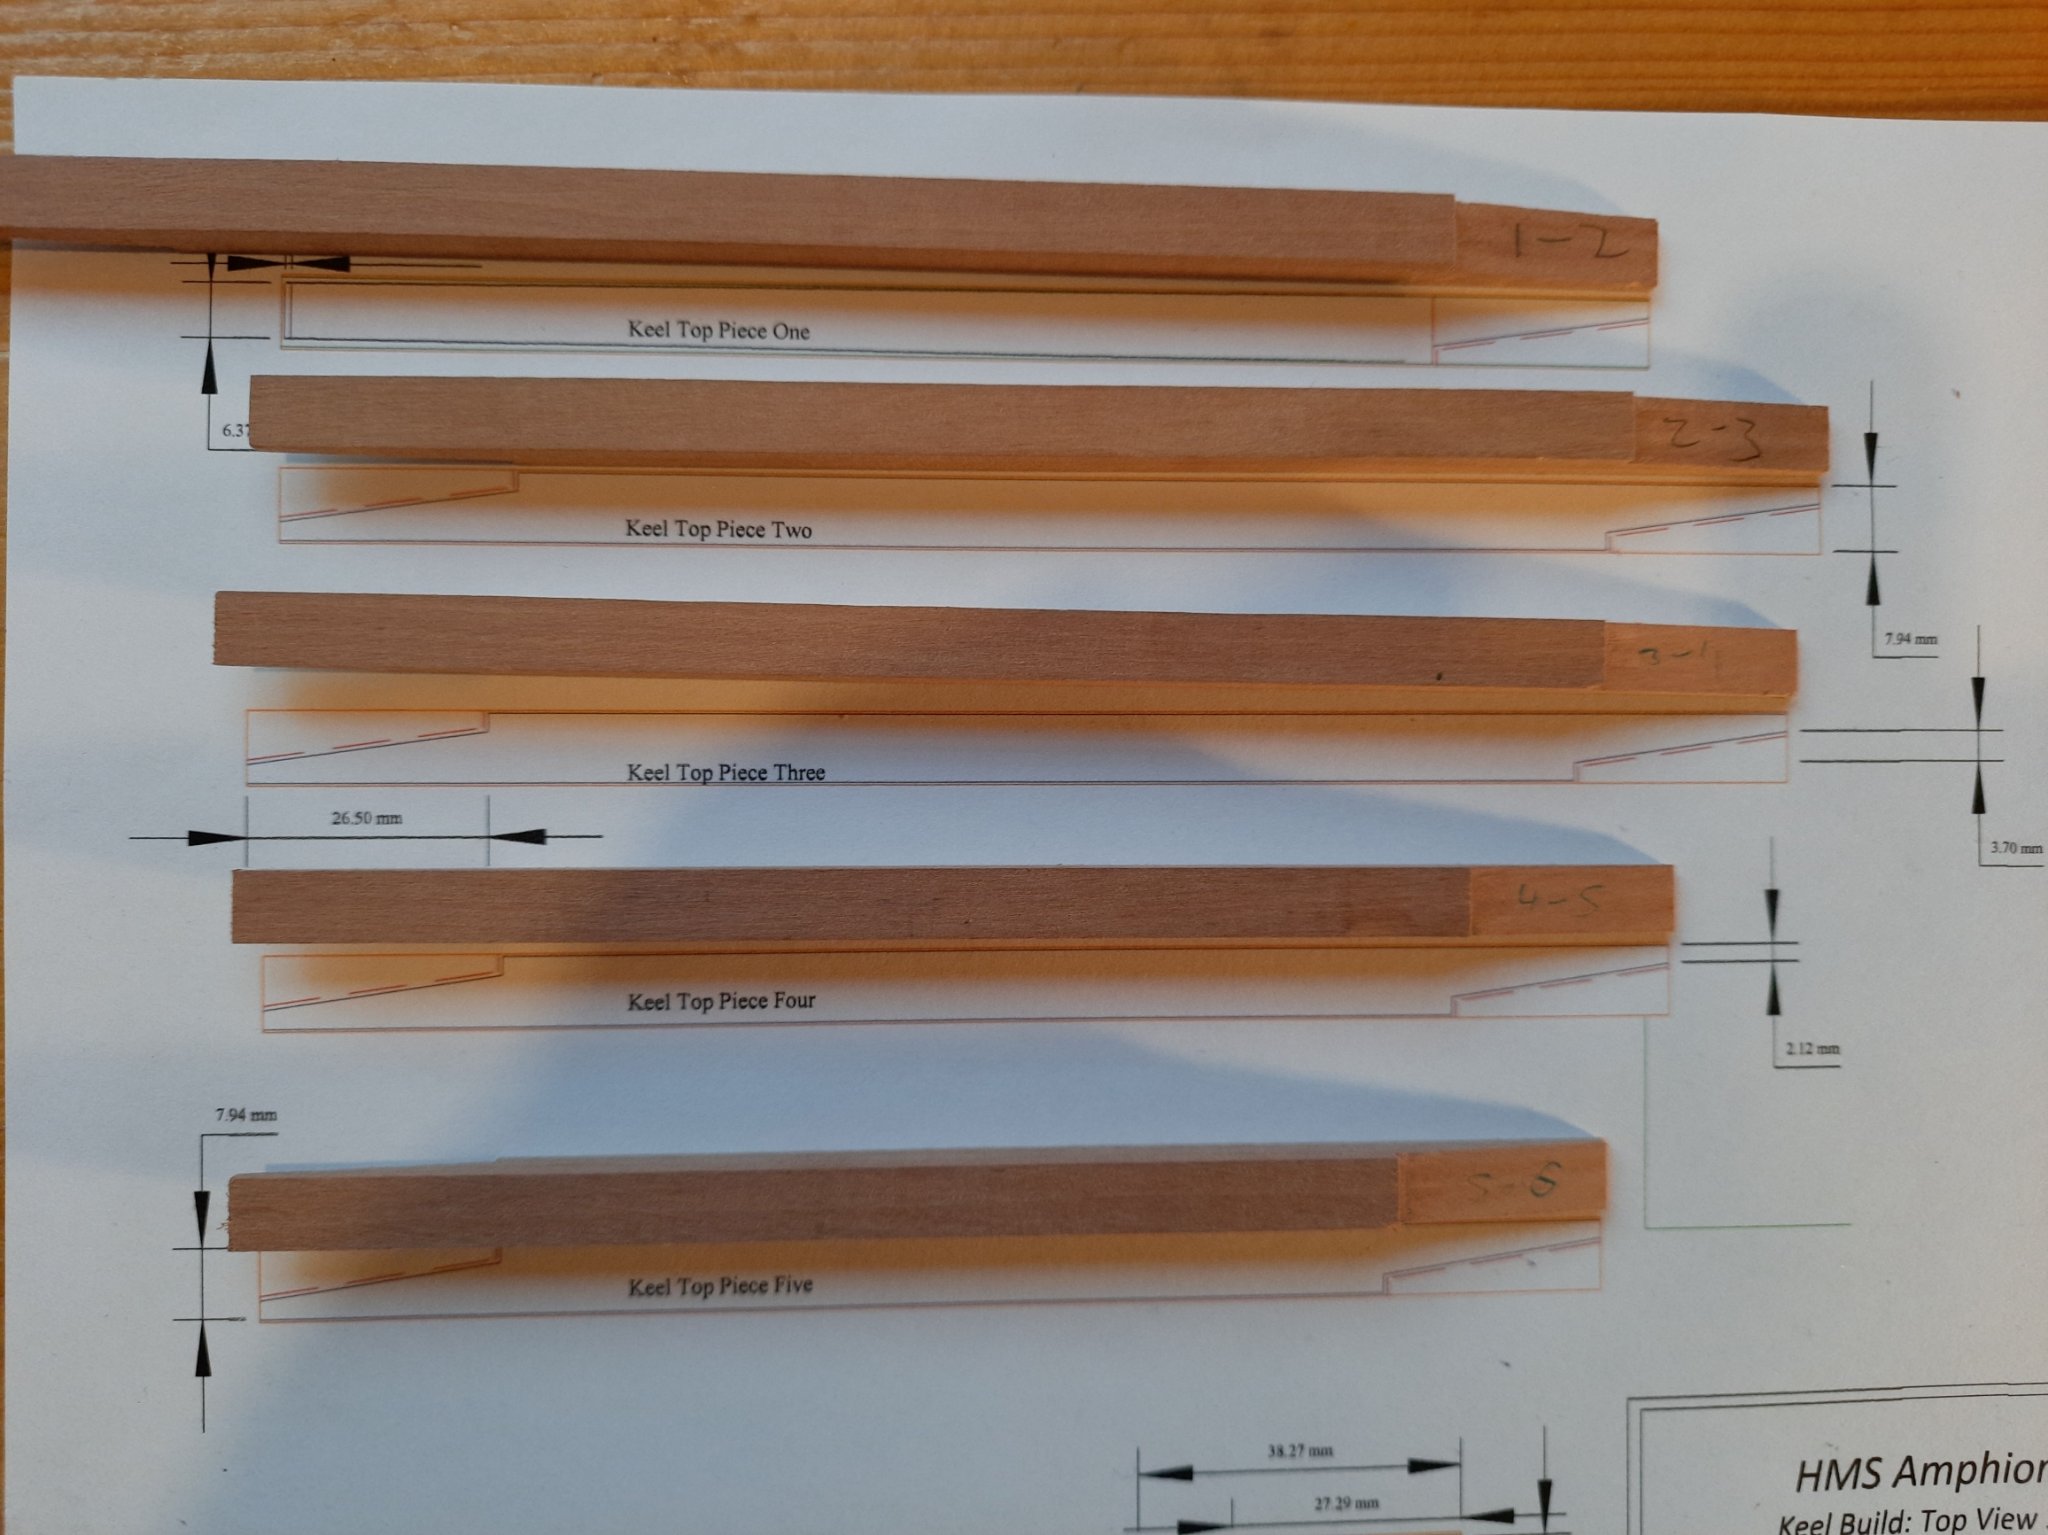
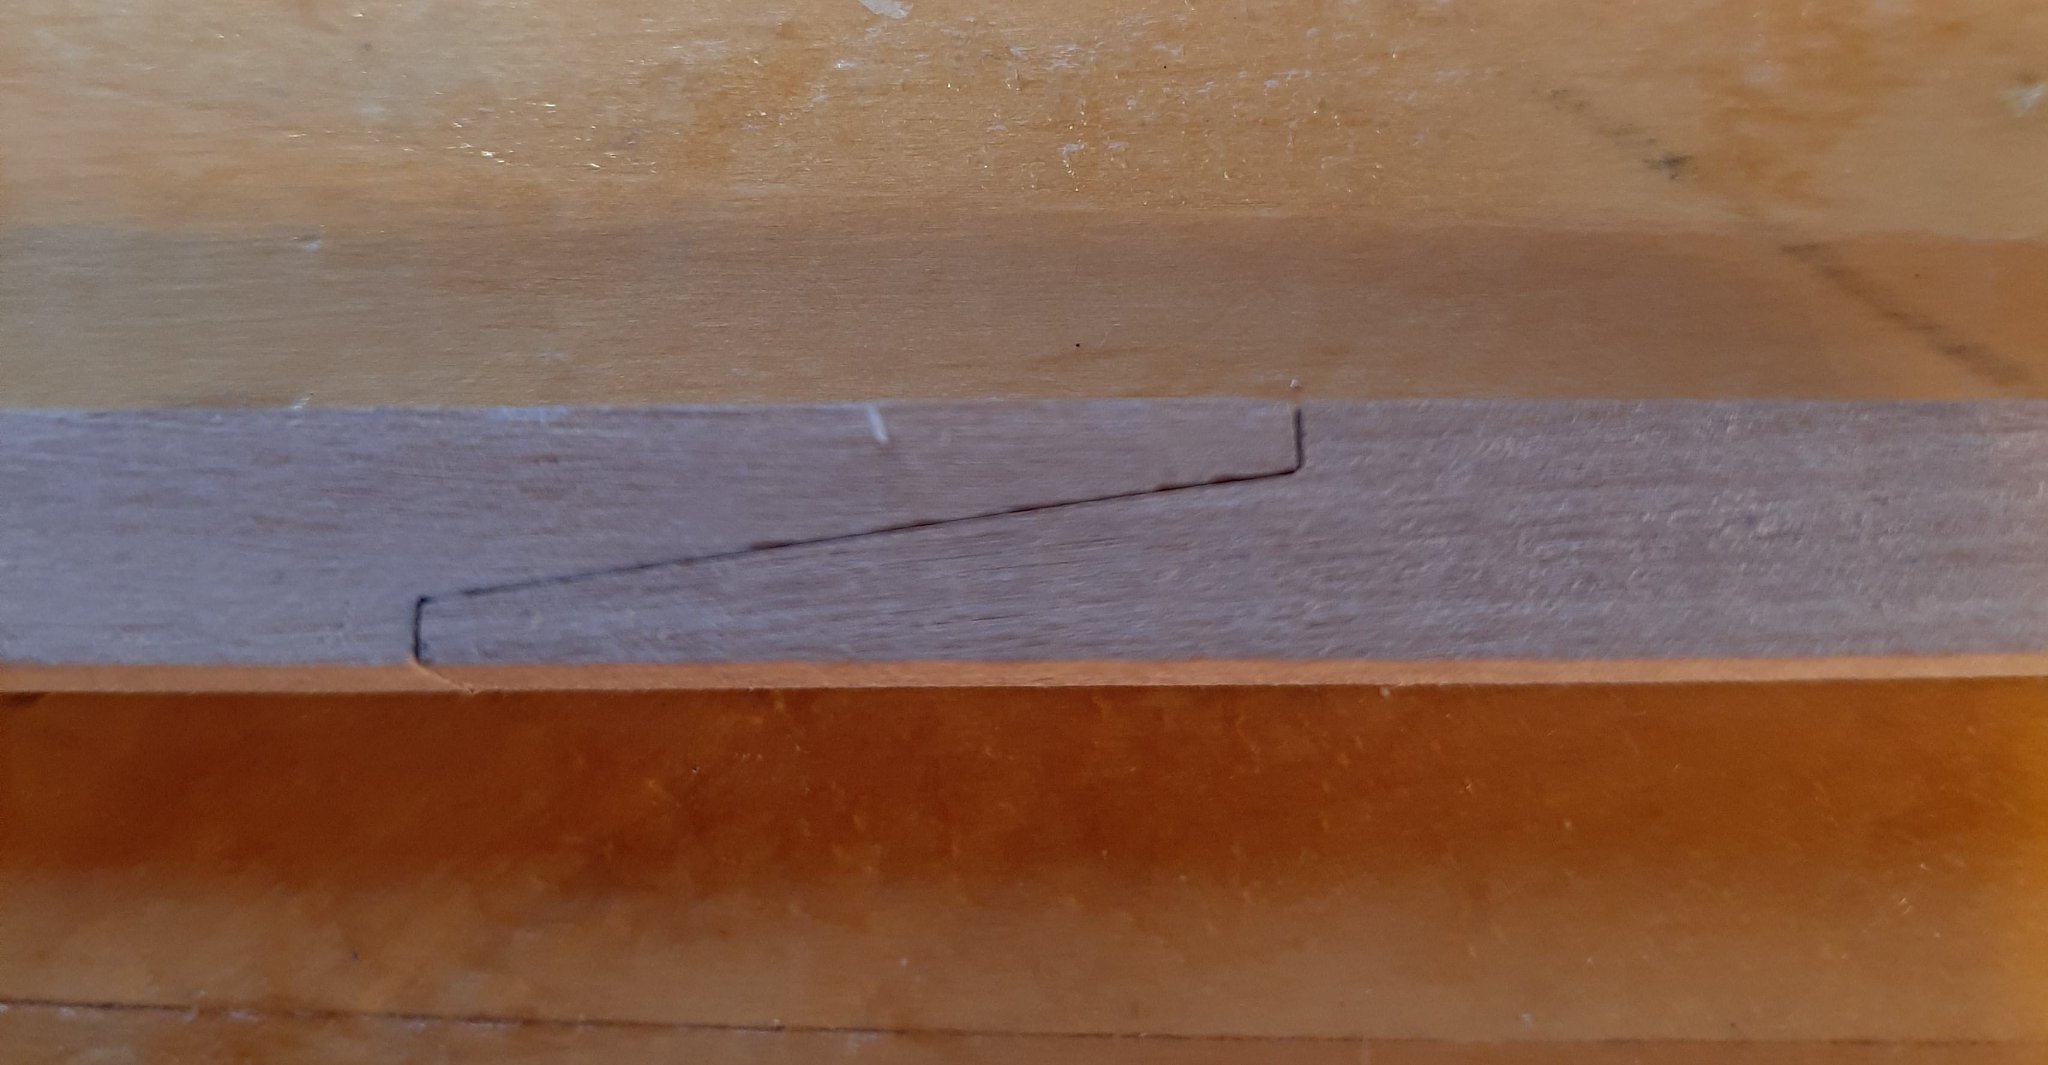
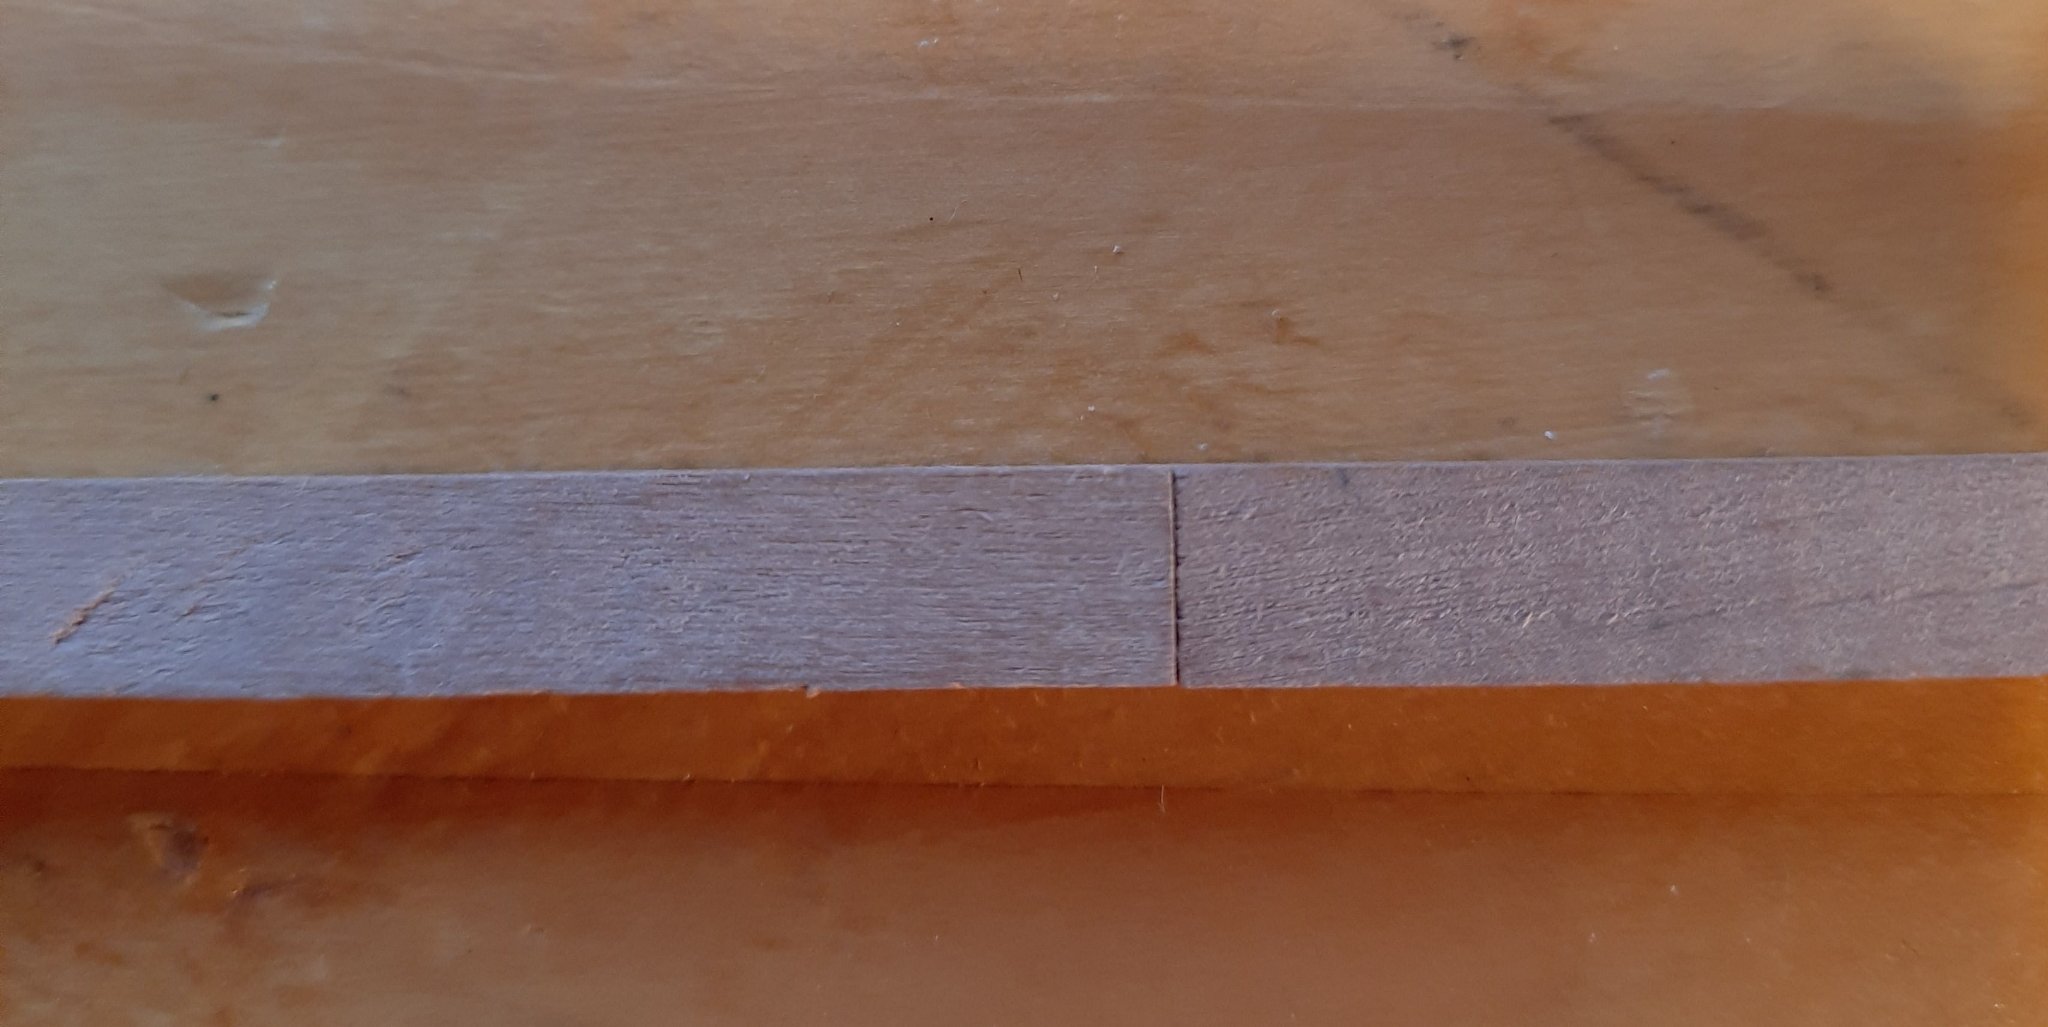
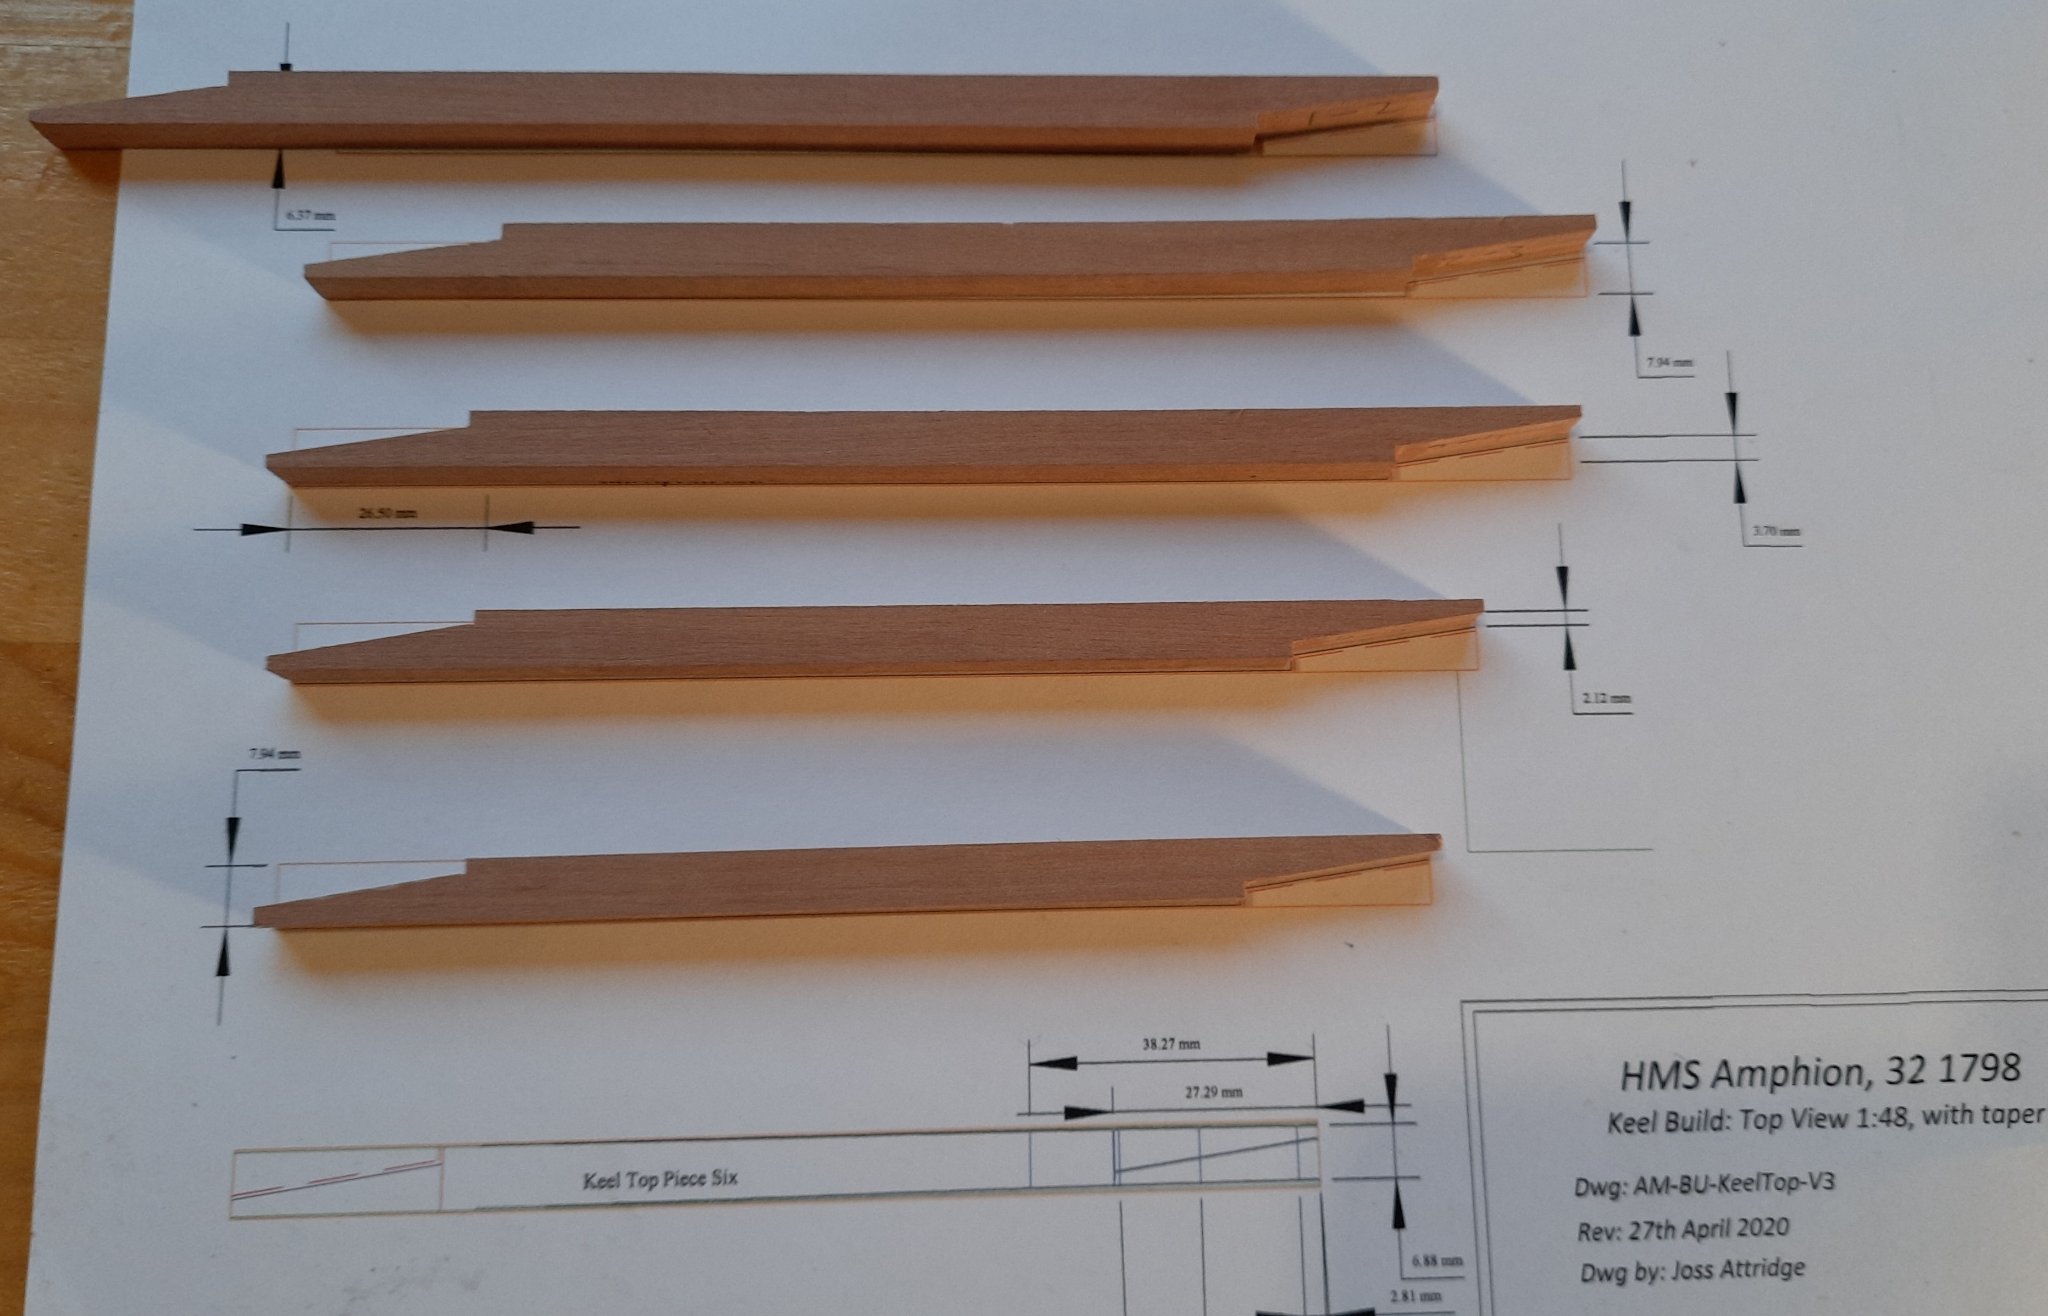
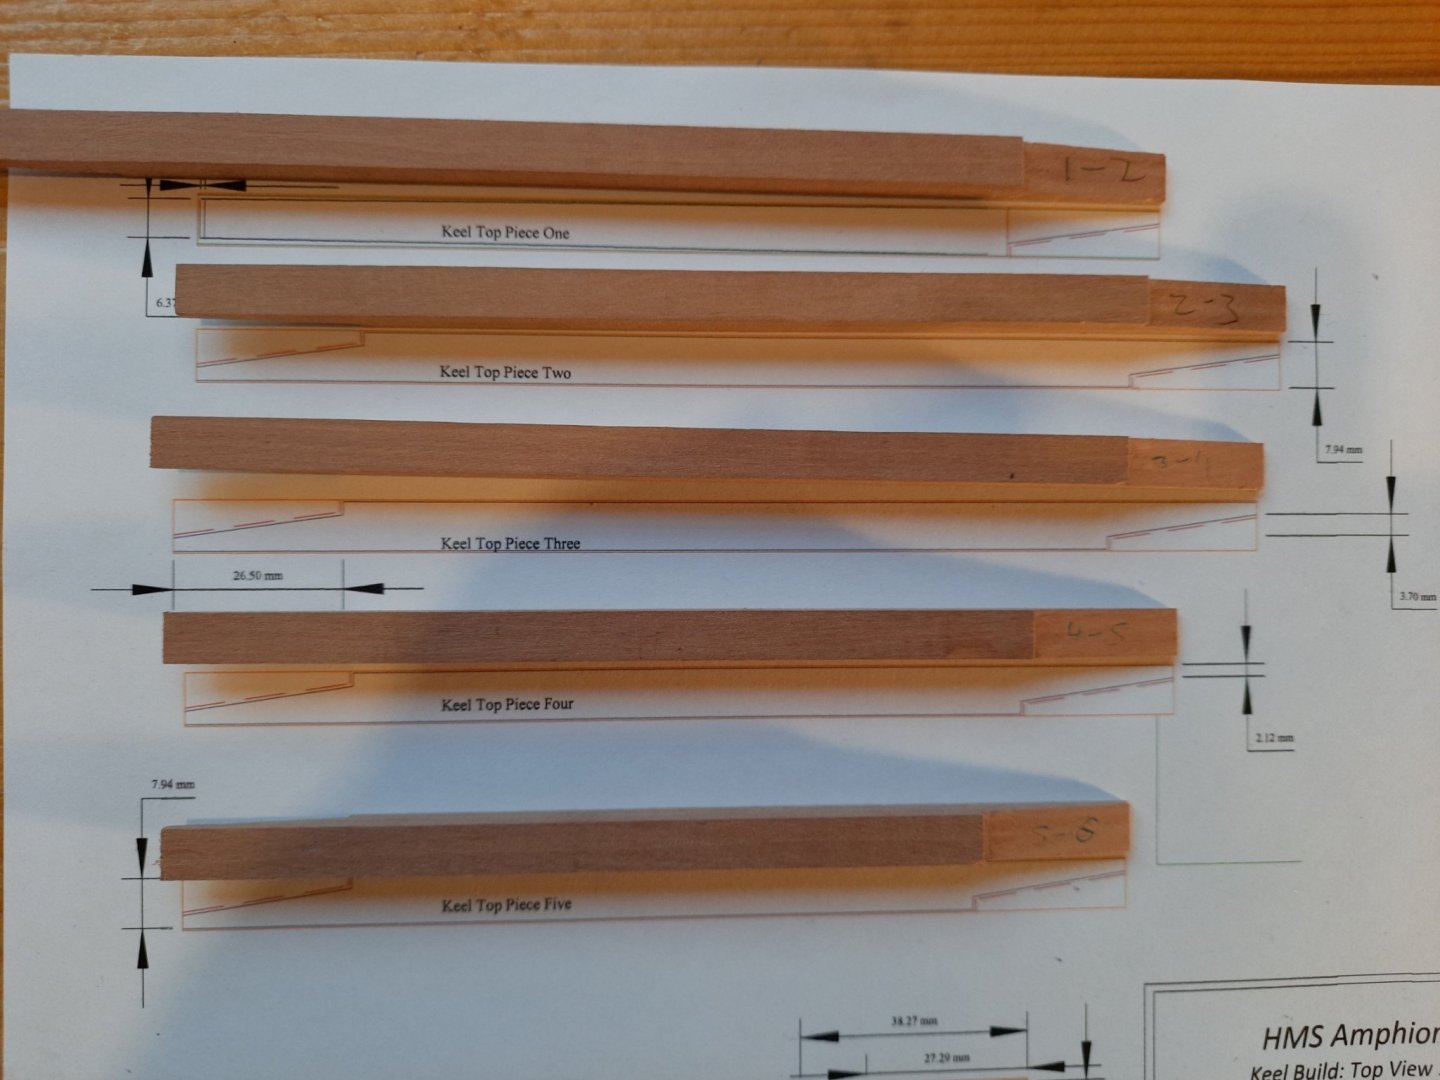
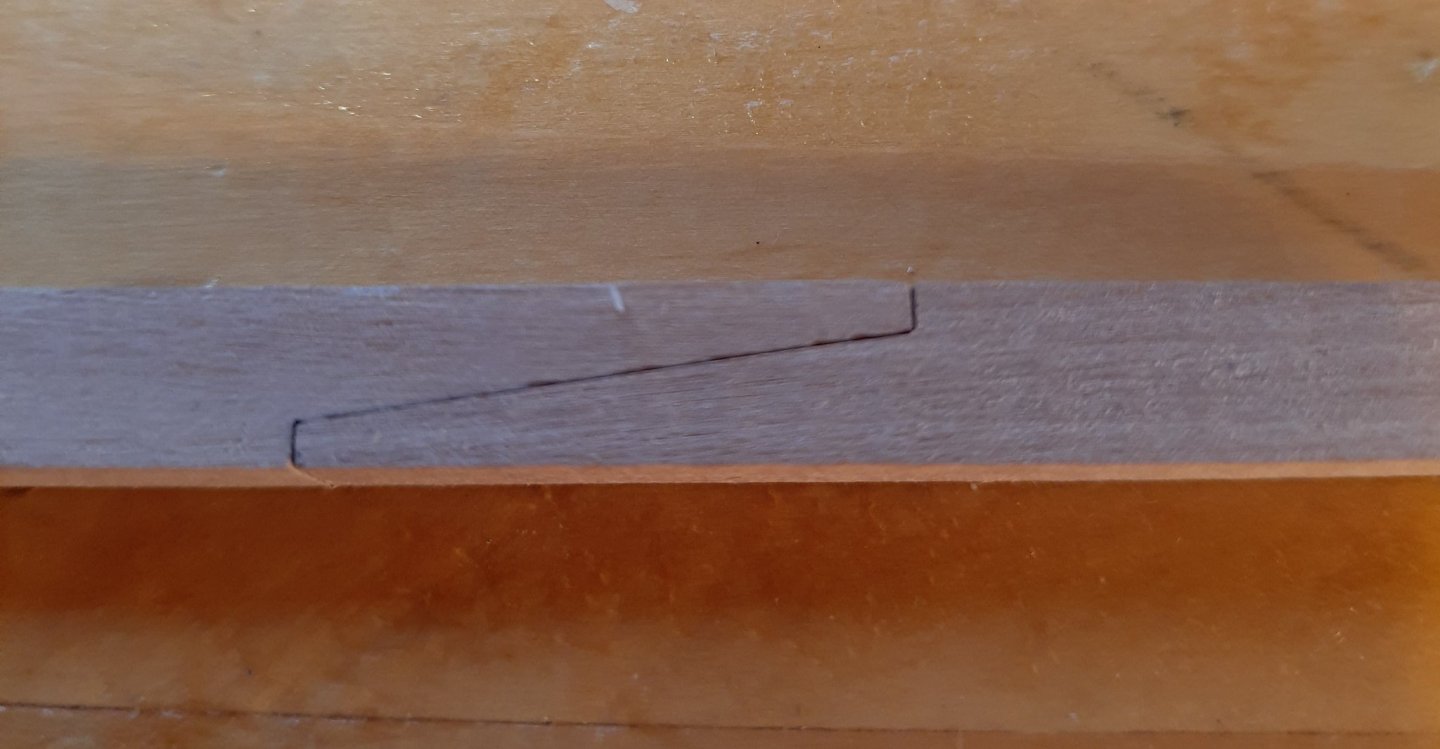
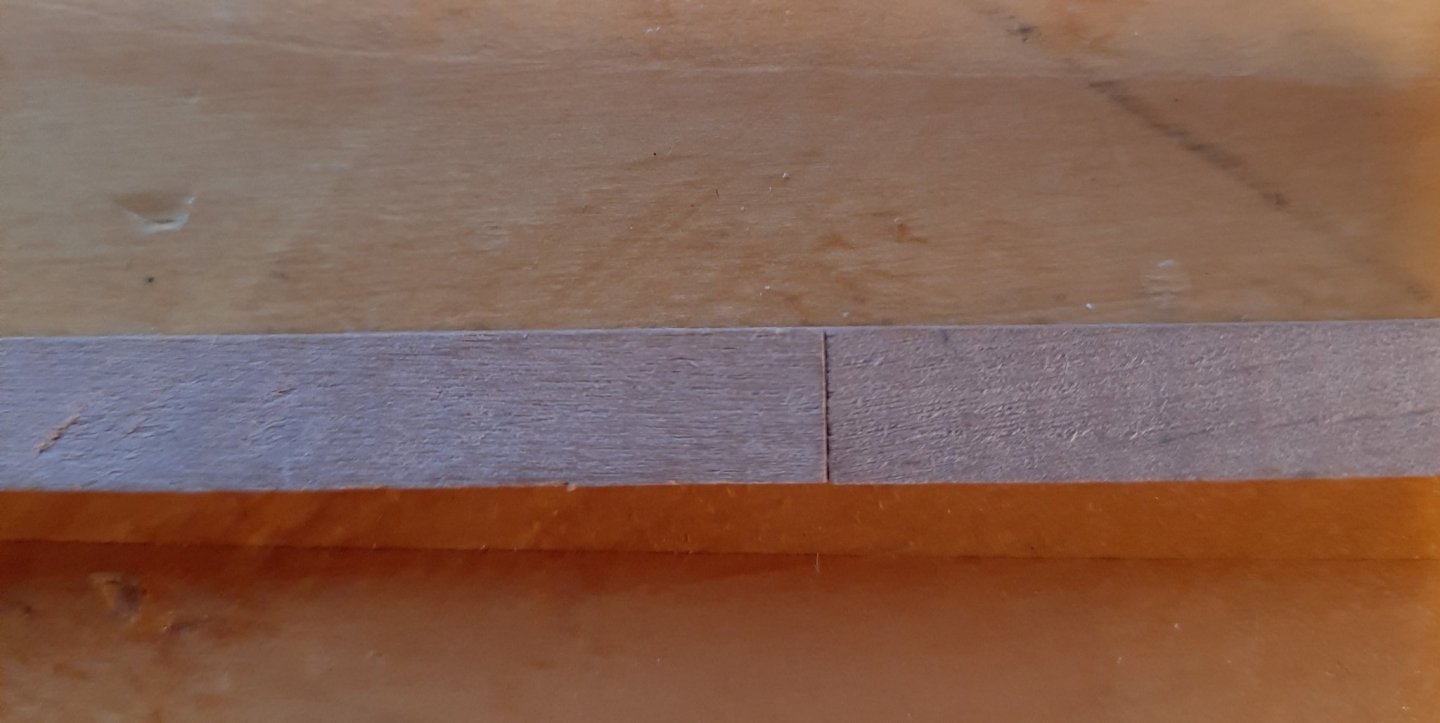
Time for a ramble and then an update..Years ago Henry Ford commented on failure which is a wonderful way to approach things I think and is certainly something I use a lot in modelling. The relevance here is that I started on my keel pieces and used the approach I detailed (in considerable detail) around page 5 of this log ( urk 5 years ago). Anyway I cut some joints and wasn't happy with them. Two things in particular irked me and these are admittedly both correctable. Firstly using the scroll saw to cut the shoulder tended to produce a slightly angled cut that became more obvious once the joint was made (this can be expected as the Scroll saw will cut faster as it initially contacts but the later cuts meet more resistance and the blades are thin enough that they can bend). The solution here is either a thicker blade or a slower cut with a faster saw speed. The other was that post table saw cut (close.) to the diagonal line the joint still needed lots of hand work and it proved surprisingly easy to over work it and go to deep etc. Either way I was not pleased. After considering the problem I decided to try two different approaches. For the initial shoulder cut the table saw would be an adequate replacement. It can cut to a specific depth, utterly straight thus eliminating any bend. For the diagonal though I had to think of other options and in the end moved to use one of my favourite power tools - my Sherline mill specifically with an end mill. I had used this in the previous build for the complex joint at the end but that was at right angles and this most certainly was not. The main issue was that even if I managed to replicate the exact angle of the cut over every cut even a slight over cut would result in different angles and bad joints. My way of compensating was as follows (and I may still change this as I am (frankly) still tempted to cut all the joints with the same angle). Anyway. I used one of the better previous pieces as a base line and secured that in a vice. I then put the next piece into the joint but the wrong way round. This way the bits to be removed would stick up and I could then mill them out. The advantages here are that as long as each joint matches if I over cut one then the next will automatically be undercut and vice versa and 'should' be a good join. At least to acceptable tolerances. Since this makes little sense lets cut to lots of pictures. Please note that the mill shots are of the initial pieces cut against a set angle, after these are cut following joints are made with the joint it will be used with. Here is the initial method of securing the keep piece and what the mill is cutting against. The key point is not to drop lower than the table saw cut (which can be clearly seen to the left). The mill has several methods of ensuring accuracy across multiple dimensions so its a matter of how its approached as opposed to a specific way of doing so. Next up we have shot of the joint once it is complete. since you still have to be careful near the shoulder itself it may still require some very minor manual touching up. Here is a photo of the simple keel pieces 'complete'. You will notice piece 1 is considerably oversized. This is so that once gluing is complete I can cut that to the exact keel length and thus avoid any incremental sizing issues that might have arisen in either direction. Another of the pieces on their sides with my simplistic joint numbering system As a rough sizing attempt I laid it on the full size plan Finally some detail of the joints Next up I have to work on the complex joint at keel piece 6 but I am expecting to redo this for two reasons. The first is I don't think I cut enough blanks (I have 4 for the box joint and they are oversized so in case of disaster can shorten and restart) but more importantly I think I need more fat on these pieces for thicknessing to the correct size post gluing. This 'may' not be necessary but for the moment I am treating as a blind test run so see what other potential improvements/technique adjustments can be planned. I also want to re-look at that joint in turbocad. I did design it with the main joint at an angle but in the original version I kept it at right angles to simplify it. I'm not currently sure which approach to take. Anyway thanks for reading!


-
Greetings! When working on kits I tended to paint once the part was complete (so the wales when the wales done) but not wait until the end as rigging etc gets in the way. On my first kit i did this then covered the entire model in talcum powder in an erroneous attempt to mark the water line. Then I had to paint it again plus wash out bits that should not be painted. (Did look good as a 'ghost' ship though...)
-
It is really hard to bend. I found it easier to 'carve' it into the bent shape as opposed to trying to force it to bend. If you do try to bend it then lots of water and heat and beware of it splintering. Best sources are old furniture/ornaments if you can find them. It is a protected wood so it shouldn't be sold from recently cut down trees..
-
I haven't but you will getter a better response by starting a build log or asking perhaps on a member who has done (doing) the build of the kit.
-
I use the nails (and a push nail thing which is probably not the right name) on the underlayer of planks (normally limewood?). I never use them on the outer layer as I dont want the holes plus you have a better gluing area at that point so there is less need.
-
Fisher 34 motorsailer by Geam
Matrim replied to Geam's topic in - Build logs for subjects built 1901 - Present Day
Hull looks lovely. -
Variety is the spice of life! or something along those lines....So any model is a pleasure to see built. Nice to have you aboard.
-
Good build choice and I will also search out the book.
-
Greetings, any existing skill with making stuff should mean you have an advantage over many beginners. Nice to have you here.
-
I think I may have mentioned it before but I have actually held (and swished about) Broke's sabre (it was owned by a private collector). It was quite surreal holding a piece of history like that even though it was something only a naval historian would even recognise as important.
-
Yes that was a fascinating encounter and Lawrence was a brave man (who had certainly proved himself in the Hornet/Peacock US win). If he had had more time to train his crew to his own standards then that combat would have been much more even. You (I am fairly sure) will have read Ian Tolls book as well where he delves into the design decisions of the American designers and Humphreys versus Fox. You would have to say that Humphrey's was proved correct in the end.
-
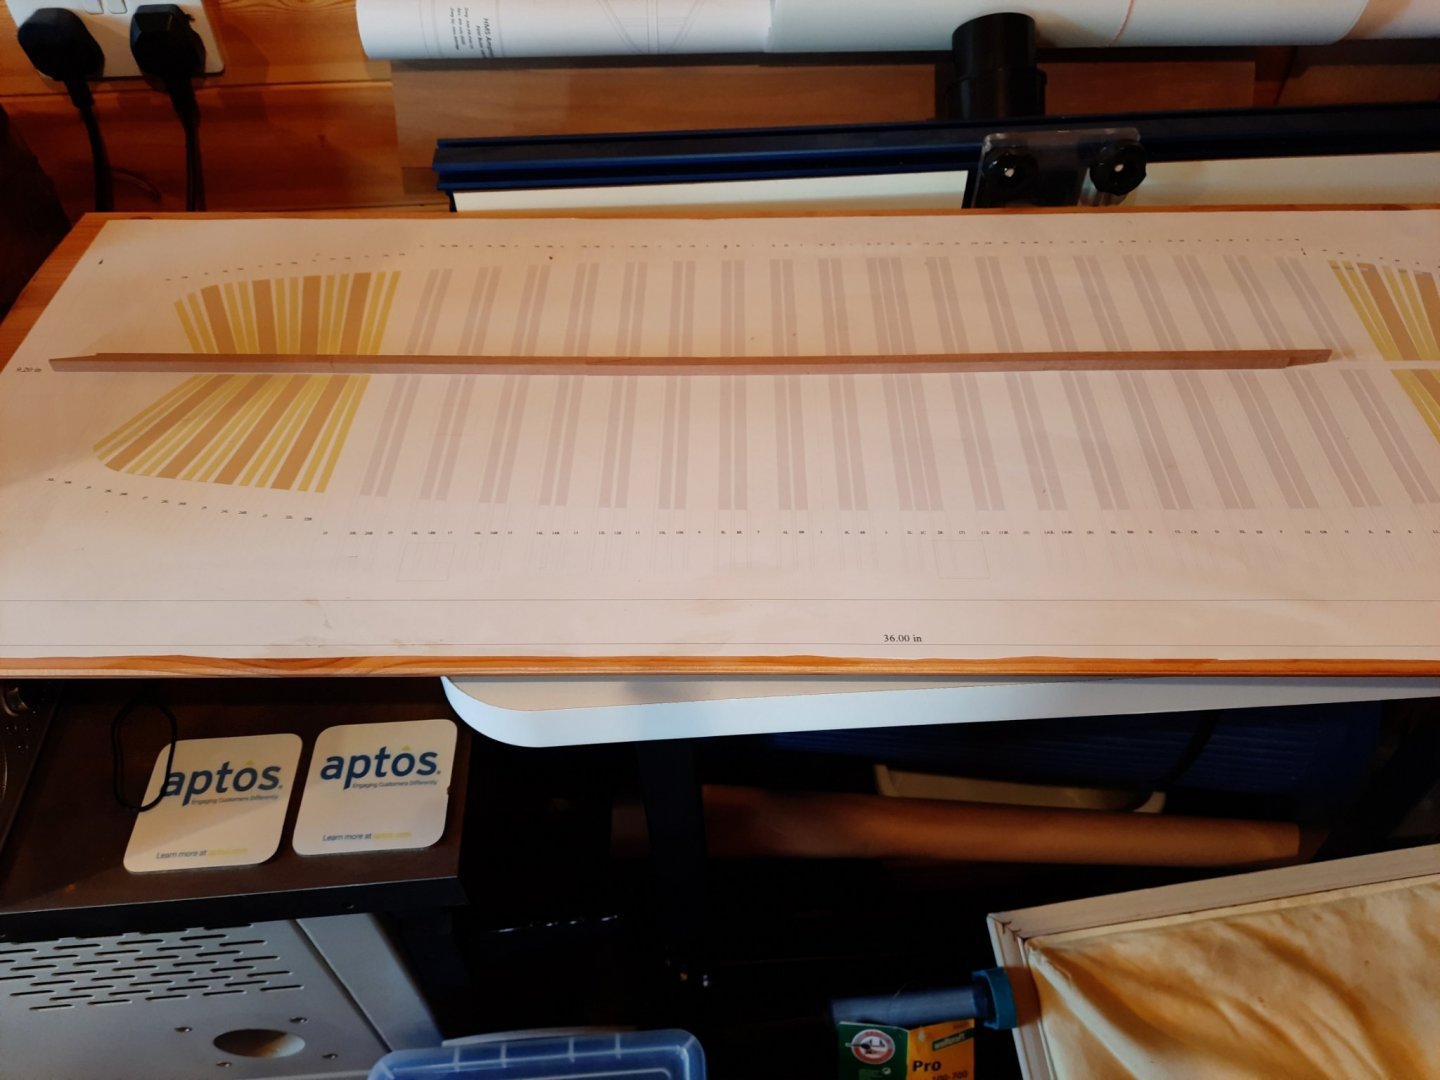
Not quite at the building stage yet (my new work desk apparently arrives 15th October at which point I can switch my home office from my workroom back to the house and start building). I do have some slight progress. Thanks to the generosity of fellow MSW member Mark P - who kindly offered to use his larger printer to print out a lovely full size copy of my base board plan (to avoid having to try and do so on my A4 printer with resultant possible join errors) I now have a lovely base plan on the building board ready for work to begin. lovely. I can't wait

-
Roosevelts bias is much more subtle than James though its still there. James's case for the prosecution is his War of 1812. When he wrote his huge naval history and got to the 1812 war he states that he wont go into all the arguments as he already covered that in his book on 1812. Roosevelt uses the Naval History and not the War of 1812 as his base to argue against so you sometimes get into strange situations when James says A in his Naval History . Roosevelt argues against A for reasons B & C (which seem reasonable) but then you look at the War of 1812 and James adds arguments D & E with F directly countering C. If anyone is interested I can try and research up some examples (it will take me a while as I would have to re-read them all, and by a while I mean months-years to do properly). James is certainly more strident but he was basically a lawyer attacking press lies in public. Roosevelt is a historian so is writing a very different book and against someone who cant argue back. You have to read all three to see the historiography of it....though go for Roosevelt and James's 1812 to get a feel for the direct arguments and see what you think for yourself. Personally I follow NAM Rodgers opinion. The bigger ship won in every single frigate engagement (not smaller ships like sloops where even combats occurred and the US won), both navies were good and you don't need to read any nationalistic superiority into it beyond that.
-
Ripping Planks - what I've learned from others
Matrim replied to glbarlow's topic in Modeling tools and Workshop Equipment
lovely topic that I shall return too when back on planks.. -
Nice to have you. Hope you get loads from the site to help..
-
The Revel plastic does not appear badly priced either. https://www.wonderlandmodels.com/products/revell-172-black-pearl-model-kit/
-
it would have driven you mad if you had left it without correcting though...even though 99.9999999% of the world would not have...
-
Love it. Plus I will try and approach my ratlines with your approach as it will keep things tidier than my (doing it by eye)
-
Greetings! and nice to see you becoming active
-
Welcome.. it's also nice to have another scratch builder join! I think the thought of it scares some people (though some of the kits out nowadays are just amazing so I can see both sides)
-
Nice to have you with us. It can be a very satisfying hobby, I would also recommend starting a build log as it is a good way to get assistance and helps mark your own progress (which in years to come you will be pleased to look back on)
-
Keel taper question
Matrim replied to bruce d's topic in Building, Framing, Planking and plating a ships hull and deck
(the post numbers by the way are at the top right of the post in format #9 - that post is on page 7 on my browser. It basically shows how many very strong plans designers are on the site and are willing to discuss and assist. One of the strengths of NMM and we are lucky to have them all (I dont want to imagine how wrong my plans would be without their assistance..) . Plus it reminds me how fun drawing ship plans can be. You can such a sense of progress.. -
It looks like Chuck is correct and it may be advisable to check what sort you have applied. For me it appeared second on the list

-
Nice to have you with us. Have you considered starting a build log? It can be very useful to get tips and advice and record your endeavours!!
- 16 replies
-
- 2
-

-
- new member
- dallas
- (and 1 more)
-
Nice start and the bulkheads look nice and solid. That filler piece certainly looks 'unusually shaped' which makes me wonder.. It 'might' be that intend to allow you to sand back to fit. But that seems like to much effort for a kit so must be wrong. From what I can see the piece looks the right size to fit on the front but where then would the bow of the ship go?? Do the instructions have any shape/positioning comments? On most kits I have seen (not AL admittedly) the bow is a part of the backbone structure of the ship and there are two filler pieces that go either side. Hopefully another Artenesia builder can make a comment as that does not seem right. Though it might be a peculiarity of the ship itself.