DocBlake
-
Posts
1,811 -
Joined
-
Last visited
Content Type
Profiles
Forums
Gallery
Events
Everything posted by DocBlake
-
 Thanks guys! Given the simple transom and lack of carvings back there, I'm leaning toward no quarter badges/lights. I think either option has historical precedent. Charlie: I haven't decided anything about a name yet!
 -
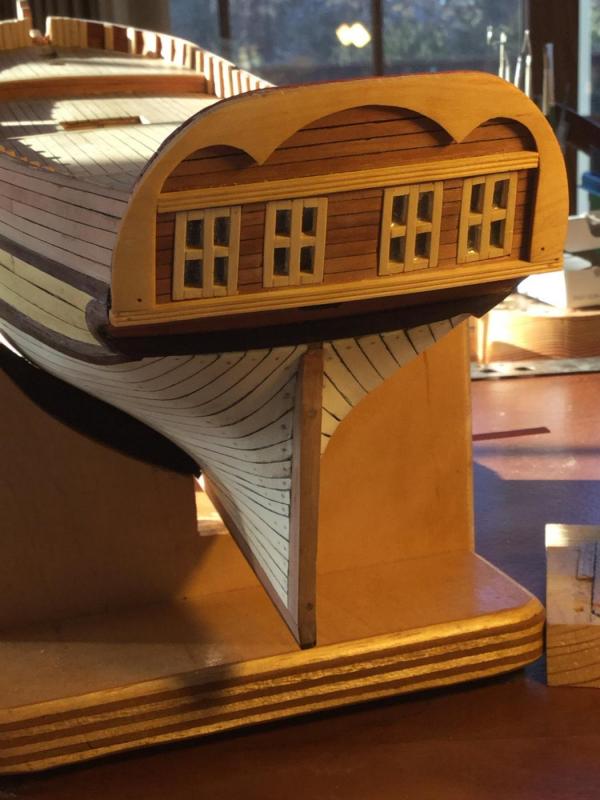
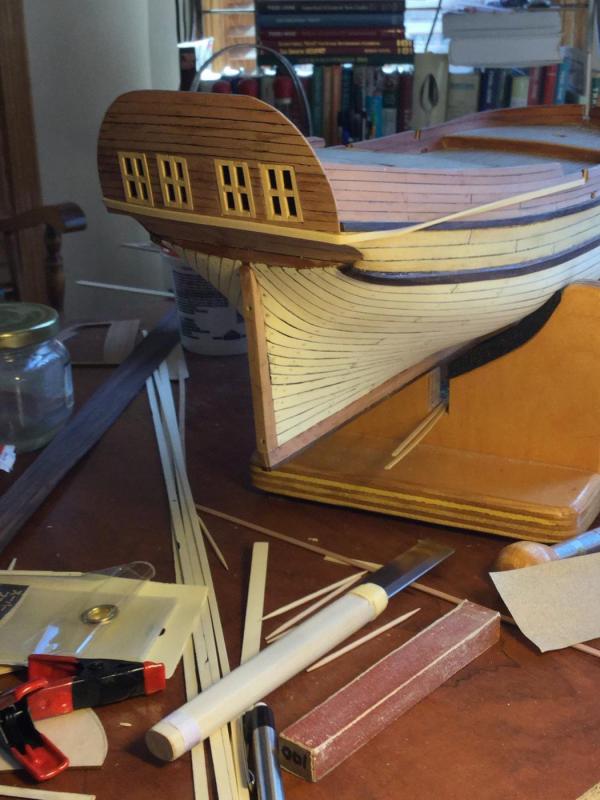
I installed the moldings and the fascia to the transom. I still need to do some treenailing back there and install the taff rail, but the rail will come after the main rails are fitted to the bulwarks. The transom is jazzed up a bit, but still relatively simple for this small, converted merchantman. I think I like the look as it is and won't add any more to it.
-
I planked the inboard surface of the transom with red heart. I'll trim it to final size tomorrow. I also drew up the design and cut out the boxwood fascia that will decorate the transom. This is similar to what was installed on my Patrick Henry AVS. Lastly, I installed all the bulwark frames. These are 3mm X 2mm boxwood pieces.

-
That turned out really well, Mike!
-
Mike: Bloodwood does seem to darken with age, but overall it stays a deep red. I've not seen it turn "black" I think it's a nice choice for inner bulwarks, but pear or cherry are good also (and MUCH easier to work!).
-
Hey Don! Here's a link: http://www3.towerhobbies.com/cgi-bin/wti0001p?&I=LXGEGJ
-
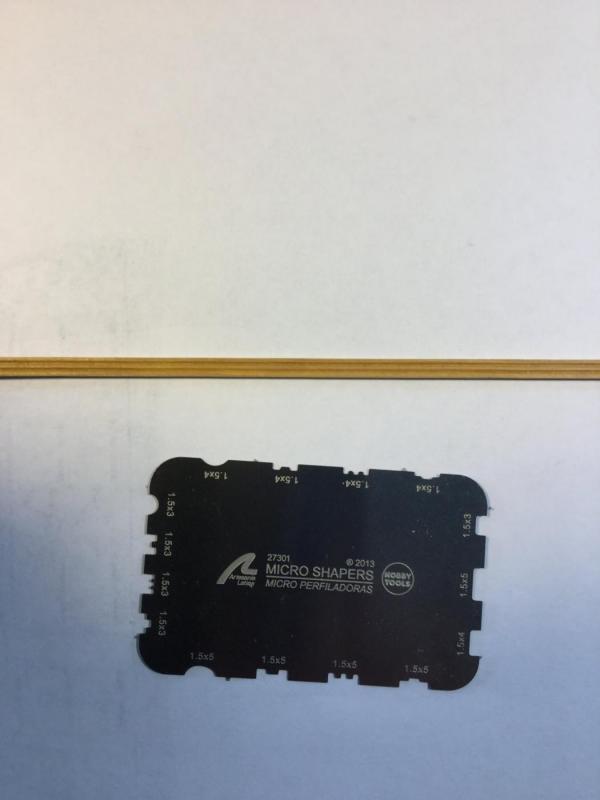
Don: The scrapers do a great job and are easy to work with. The steel is strong and substantial (.012" thick) as opposed to a razor blade (.008" thick).
-
Don: Yellowheart will hold it's color, as will bloodwood. Redheart fades to a brownish red after a few months. The yellowheart I used to plank the bulwarks on my MS AVS is a yellow as the day the planks were lain!
-
Here is the transom glued in place. I used epoxy. I made some molding out of boxwood using my Artesania Latina scrapers. There will be two horizontal strips across the entire transom. One below the windows and one above. I haven't worked out what else I may include back there yet.

-
Thanks, Zoltan!
-
Since Fly and Pegasus are sisters, I thought this site might interest you: http://hmsfly.com/index.html
-
Hi Don! I missed this when you first posted, but I'm on board now. Great progress! This should be fun.
-
Thanks, Don. My inclination is to just skip the quarter badges altogether. This is a simple ship!
-
Great job on your Morgan so far, Mike!
-
I'm at a decision point regarding the stern of the ship. I'm wrestling with the question of whether to add quarter badges or not. Obviously "Halifax" had quarter badges with pretty elaborate carvings, but "Hannah" did not. "Chaleur" had small parallelogram shaped lights, but no carvings, and even "Sultana" had quarter badges. Any opinions on which way to go?
-
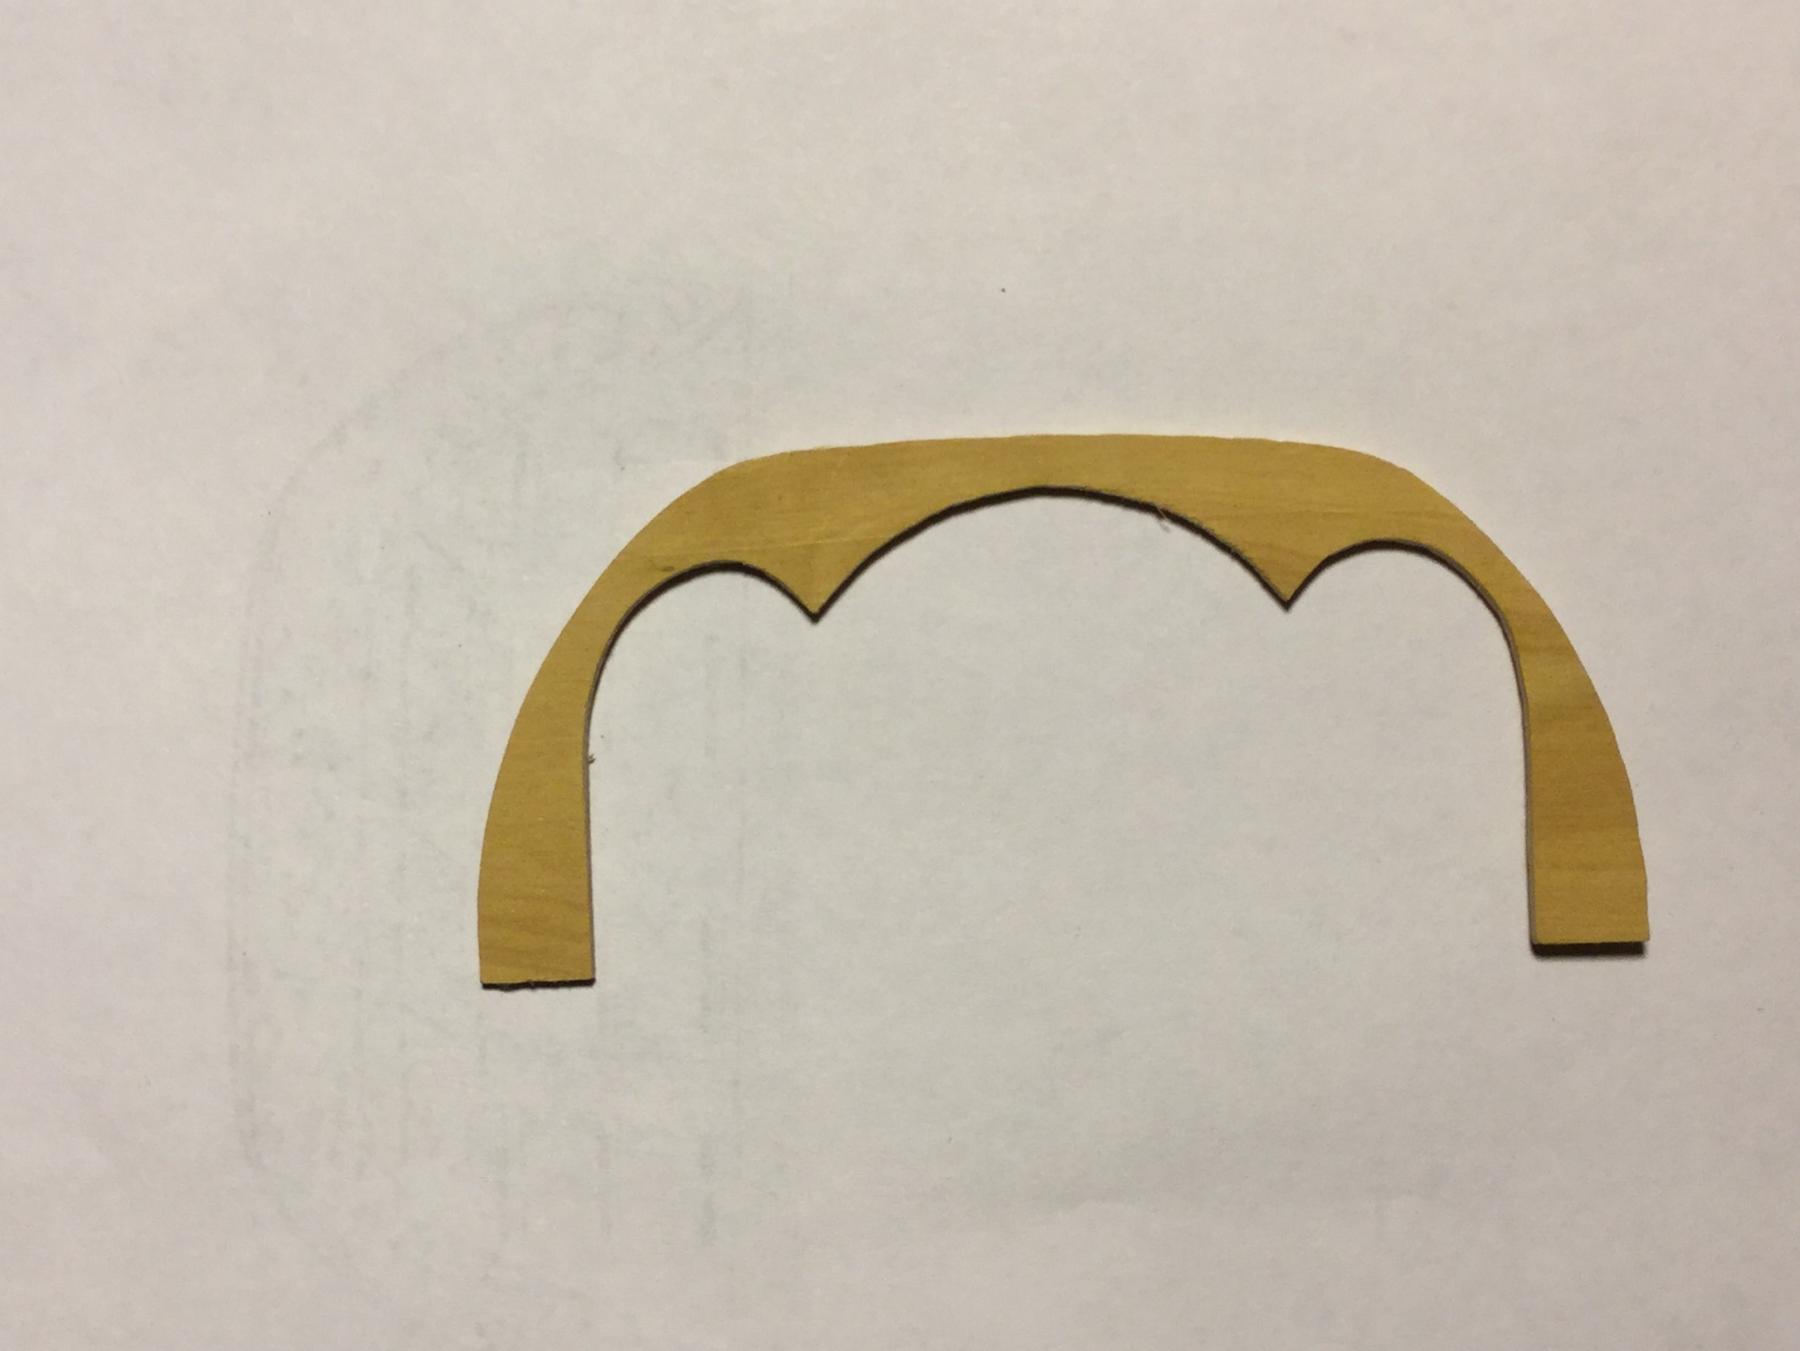
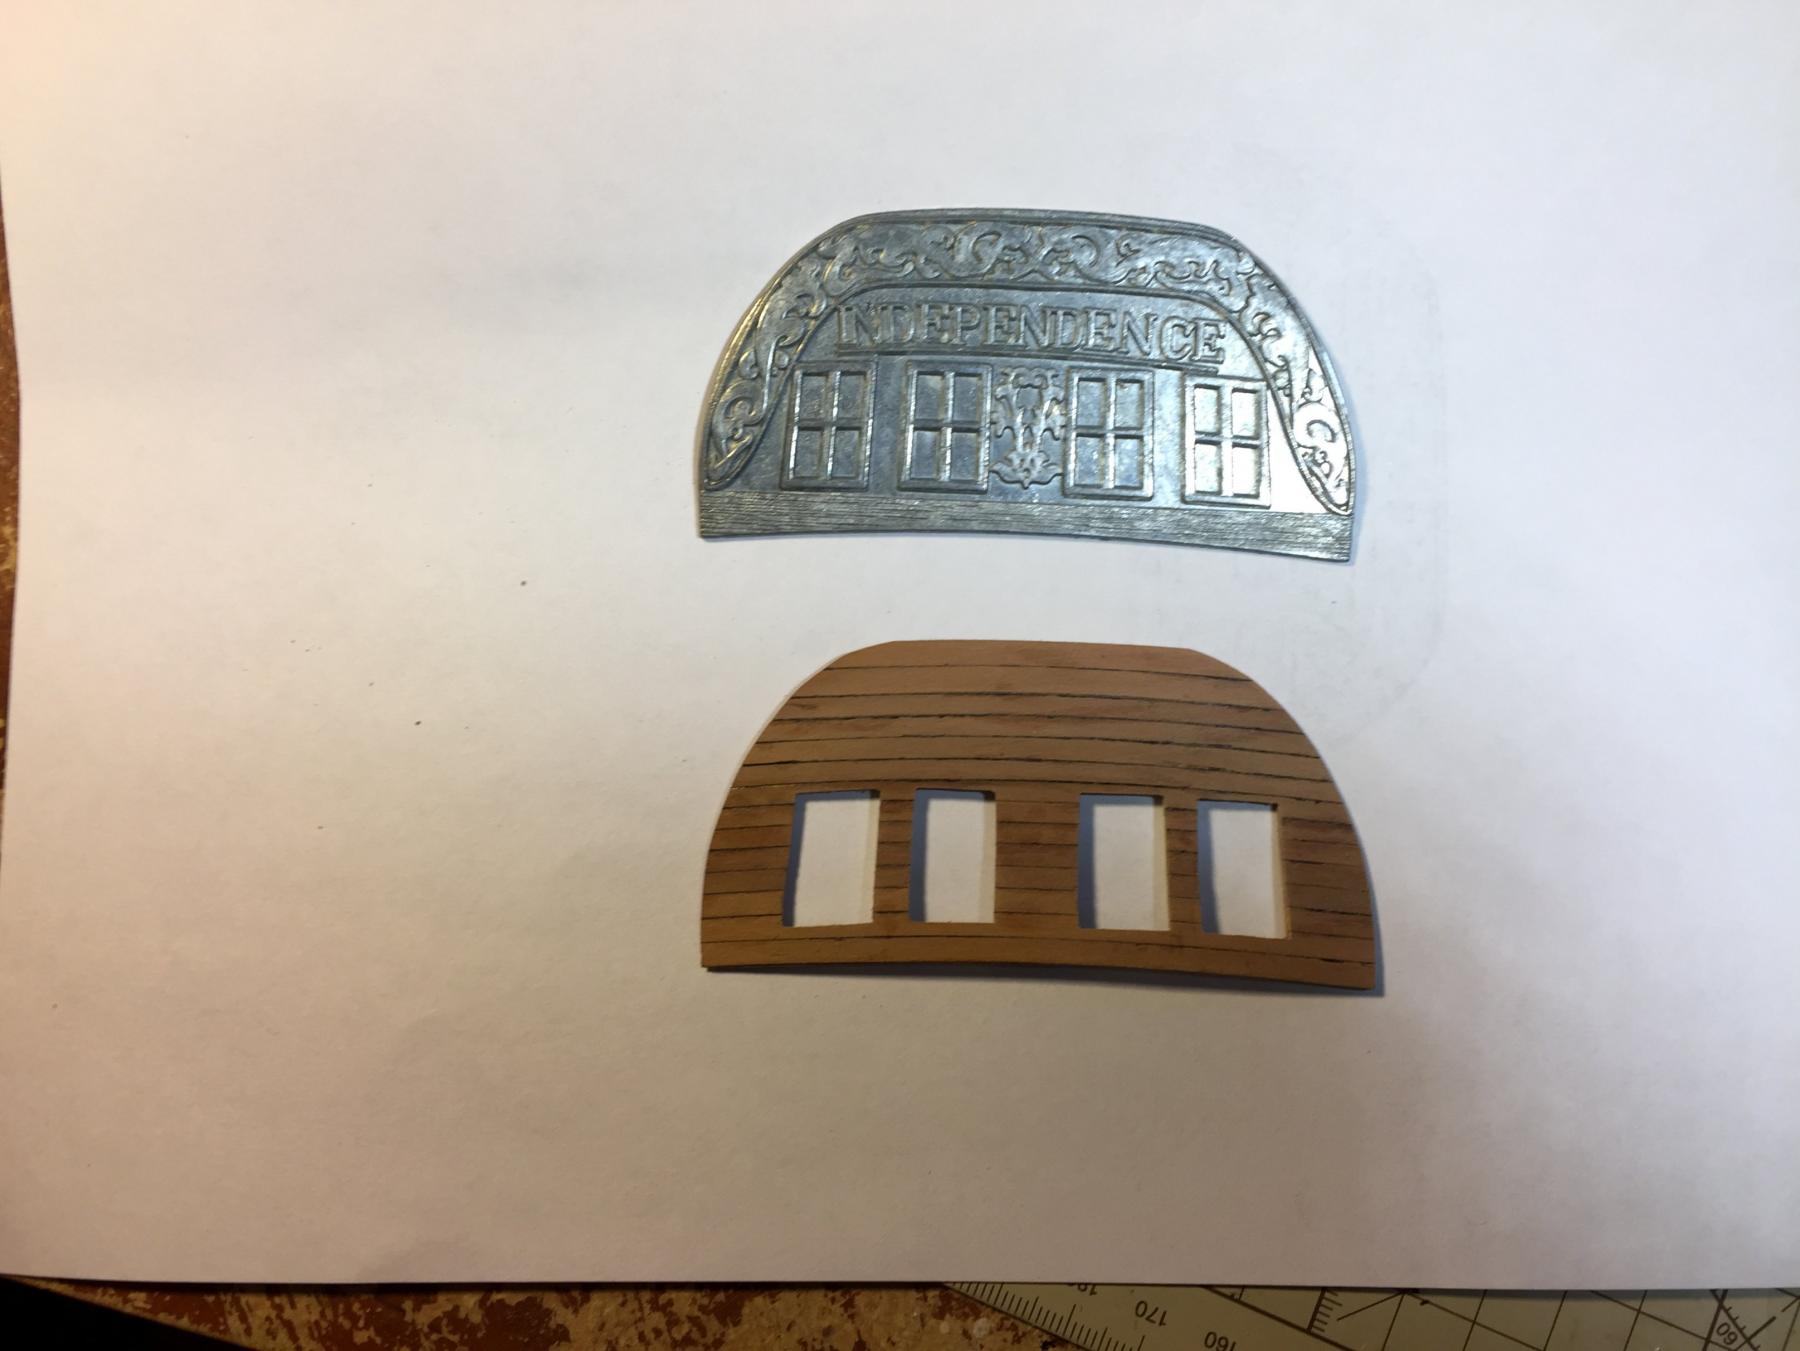
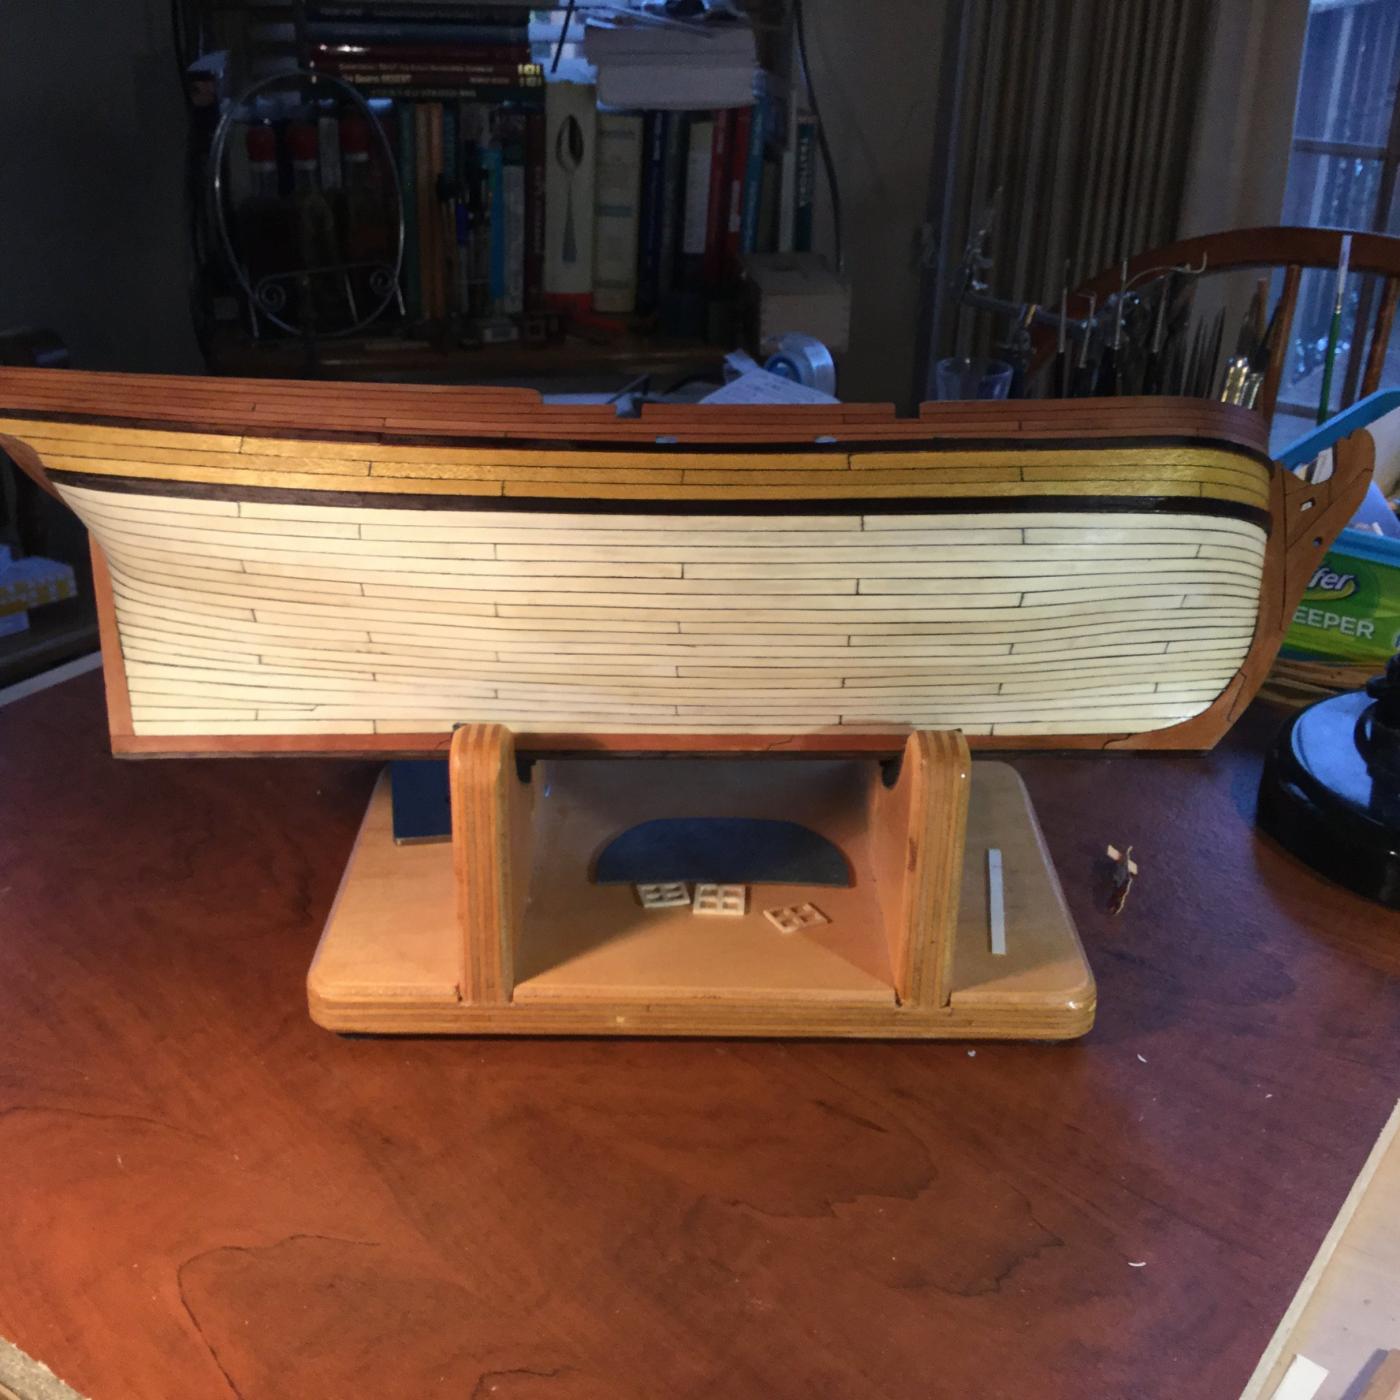
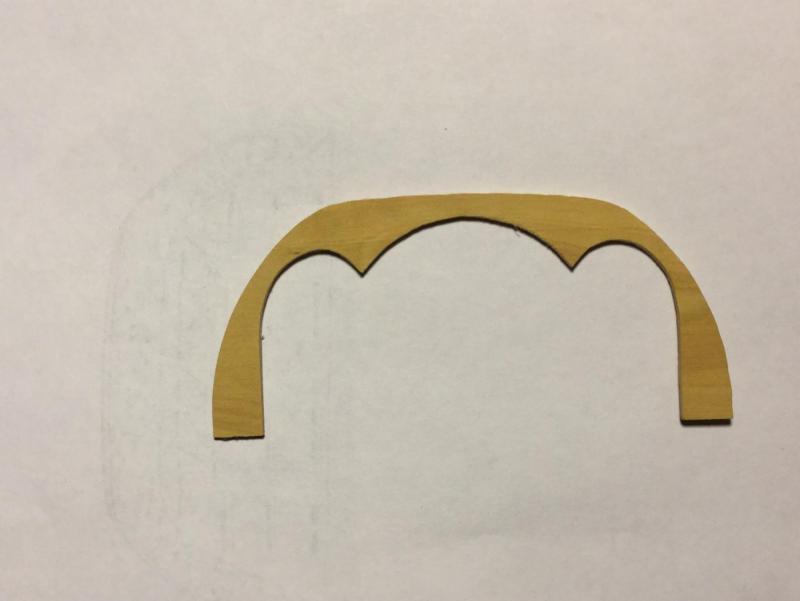
Here's a shot of the transom temporarily held in place by a rubber band. The original stamped metal transom had an elaborate carved arch on it. I think that is overkill for a very small vessel that began life as a merchantman. Simpler is better. I plan two horizontal moldings of boxwood one above and one below the lights. I may also add a boxwood "trim piece" as decoration. The second photo shows how Clayton Feldman handled the problem of a simple transom

-
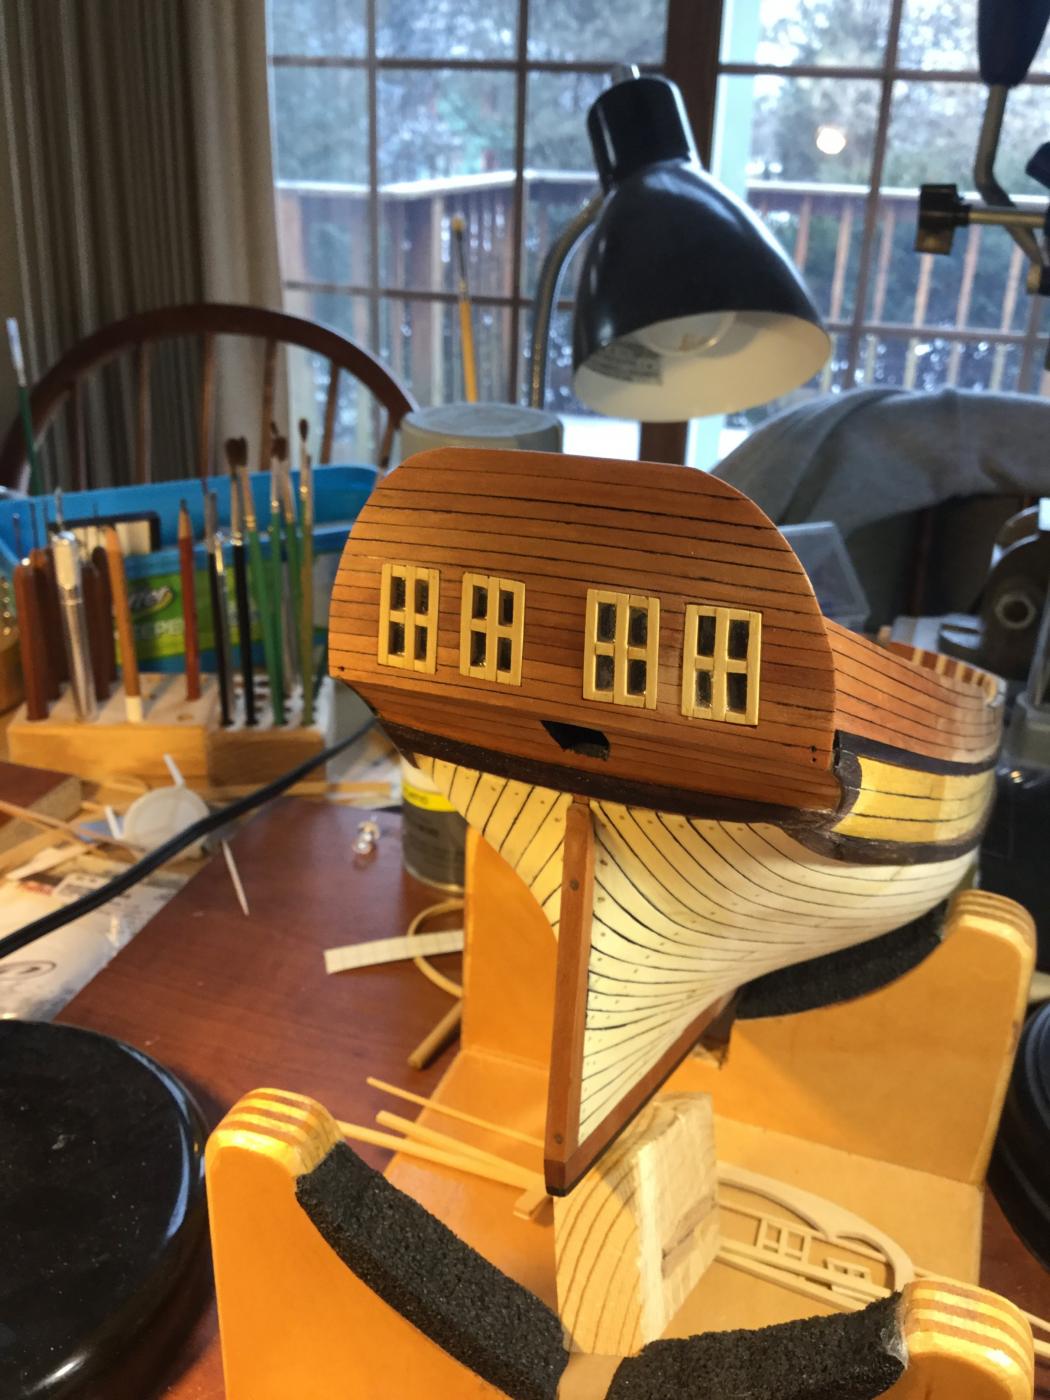
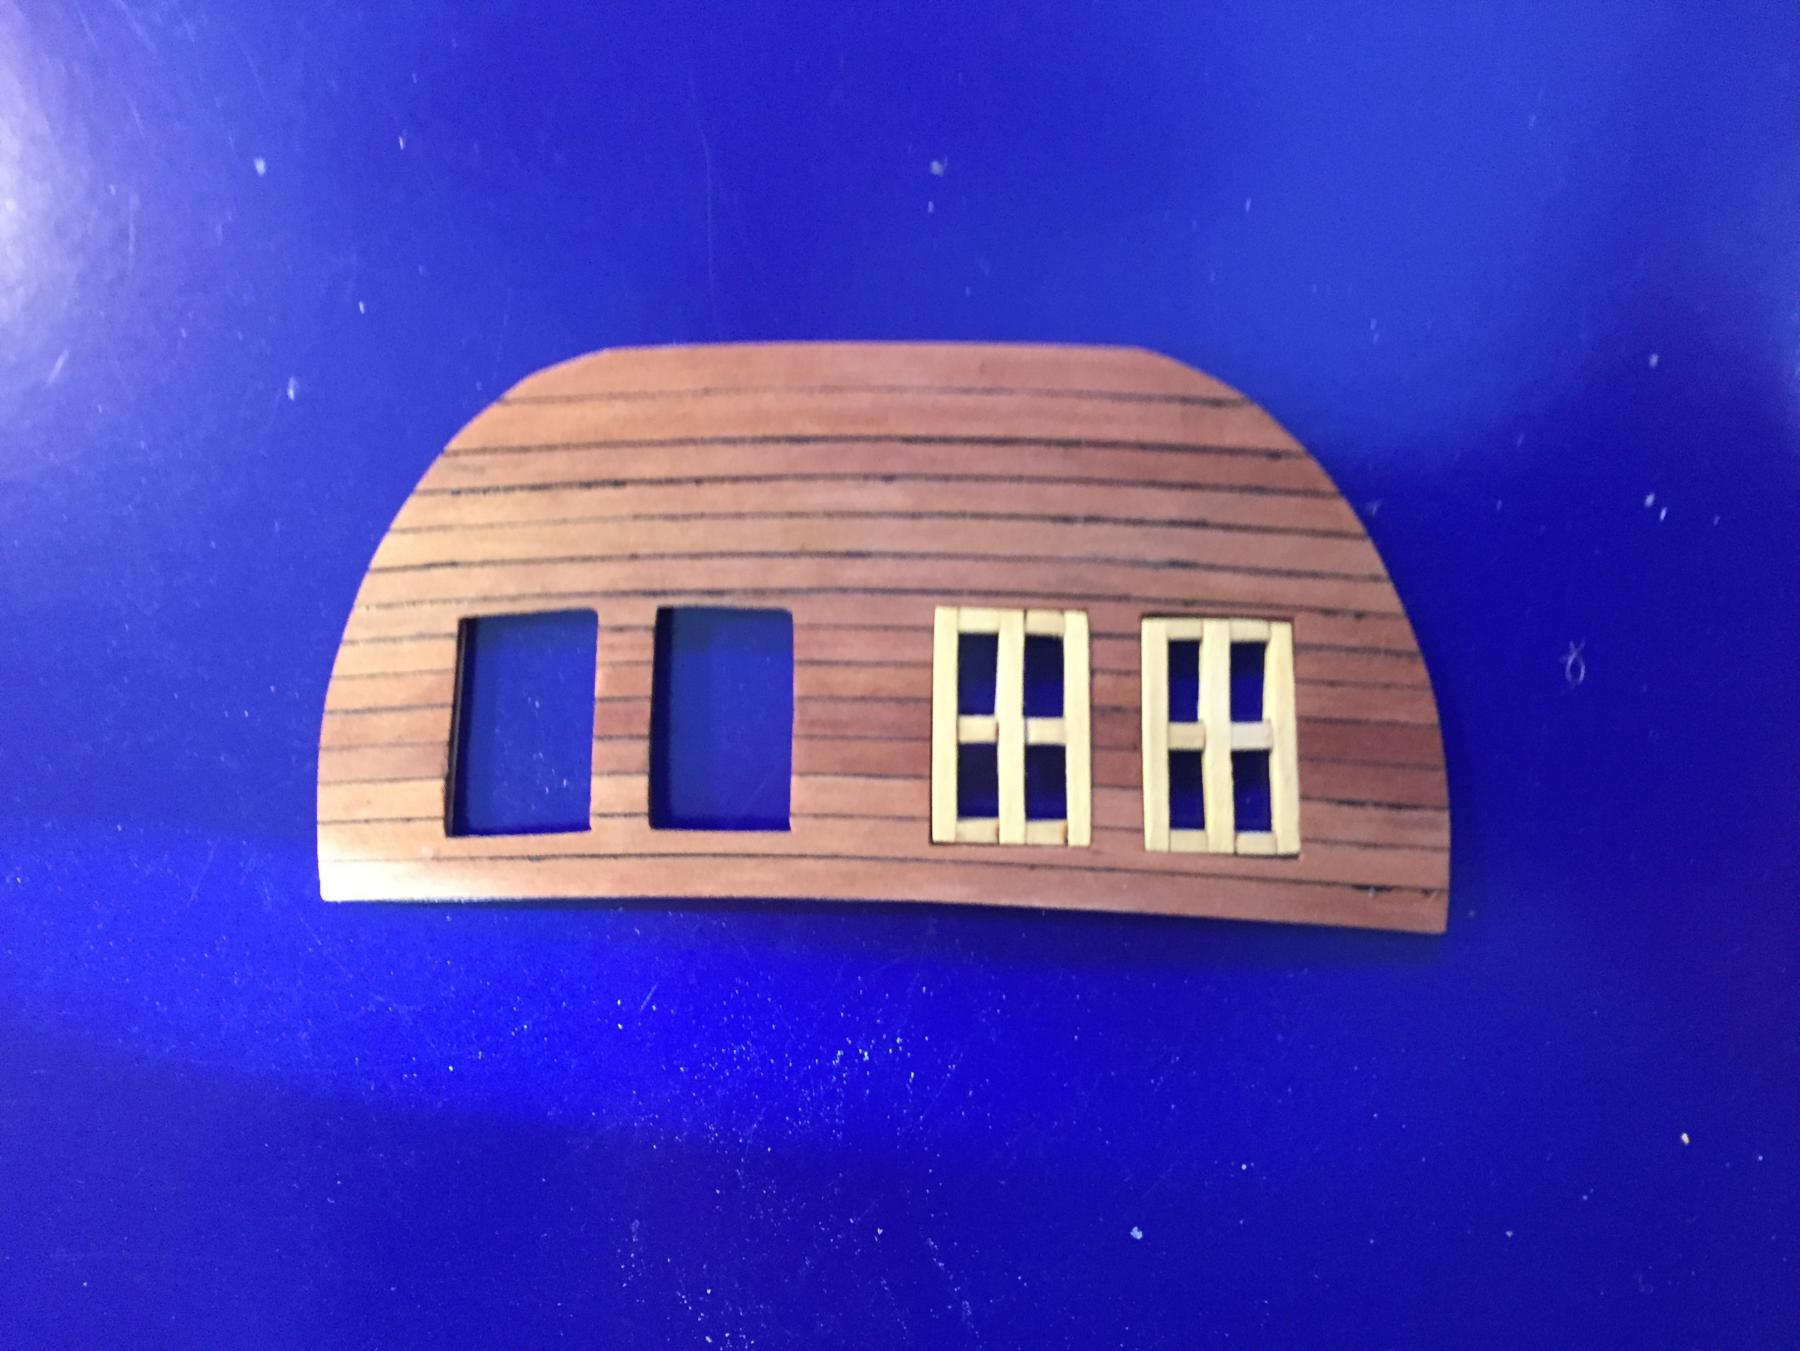
Thanks, Keith! I finished two of the four lights I need for the transom. The technique is pretty simple. here's a link to the page in my AVS log that explains it: http://modelshipworld.com/index.php/topic/10979-armed-virginia-sloop-patrick-henry-by-docblake-finished-lauck-street-shipyard-scale-132-pof-admiralty-style/page-15

-
Thanks, guys. Charlie:! I haven't thought about a name yet, only it won't be Independence". I'm open to ideas and suggestions. If I choose a real historic vessel name, I may have to deal with the nitpickers who'll point out inaccuracies in my build compared to the actual historic ship!
-
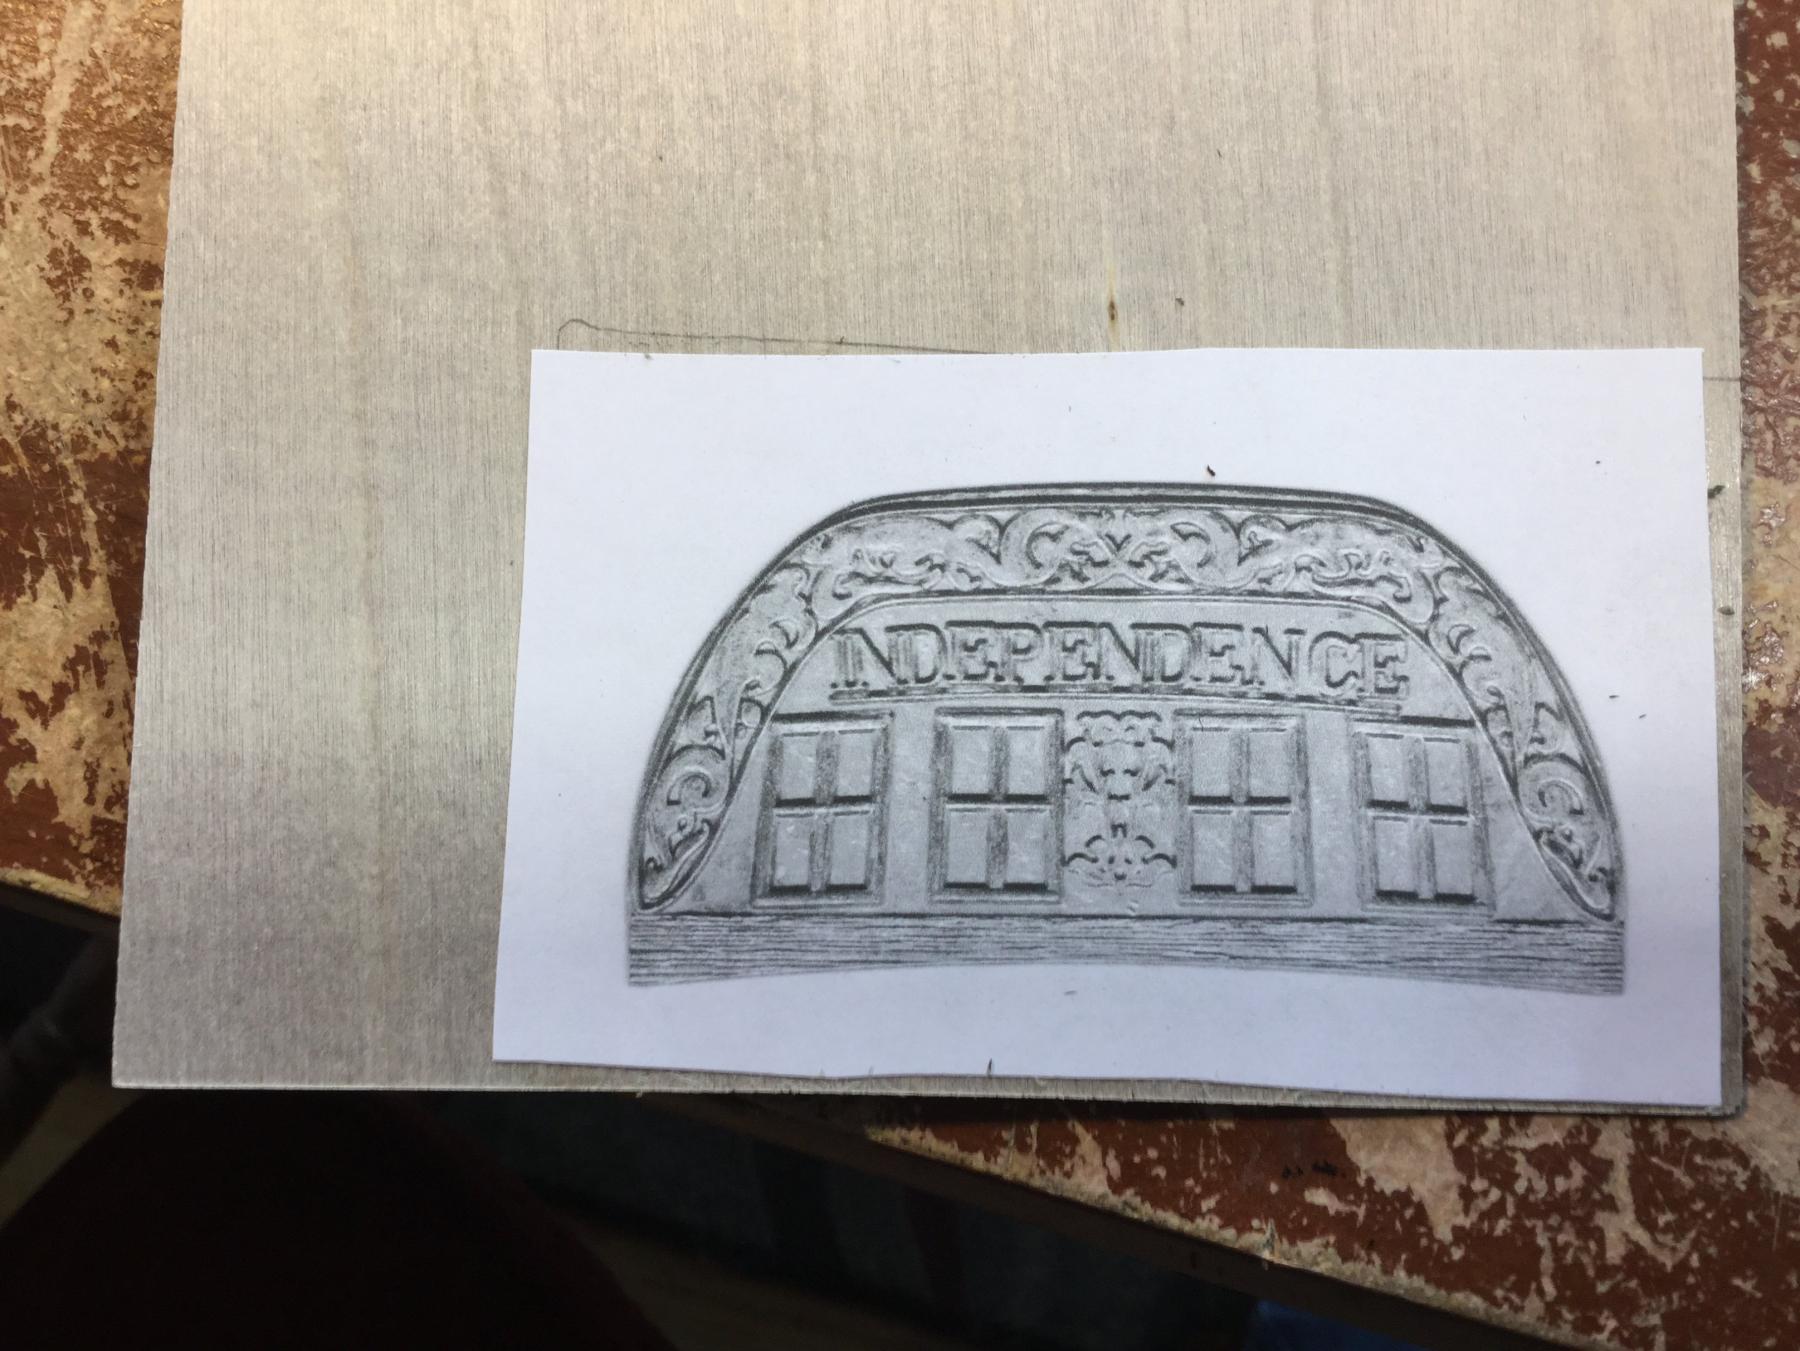
I started work on the transom. I photocopied the horrible metal casting that was supposed to be the transom and rubber cemented it to a piece of 1/64" thick plywood. I was able to cut out the outline with a simple pair of scissors! I carefully removed the lights from the plywood and then removed the template and residual rubber cement. I planked the transom in swiss pear. next up are the lights (windows). I'll make them out of boxwood as I did in my AVS build,


-
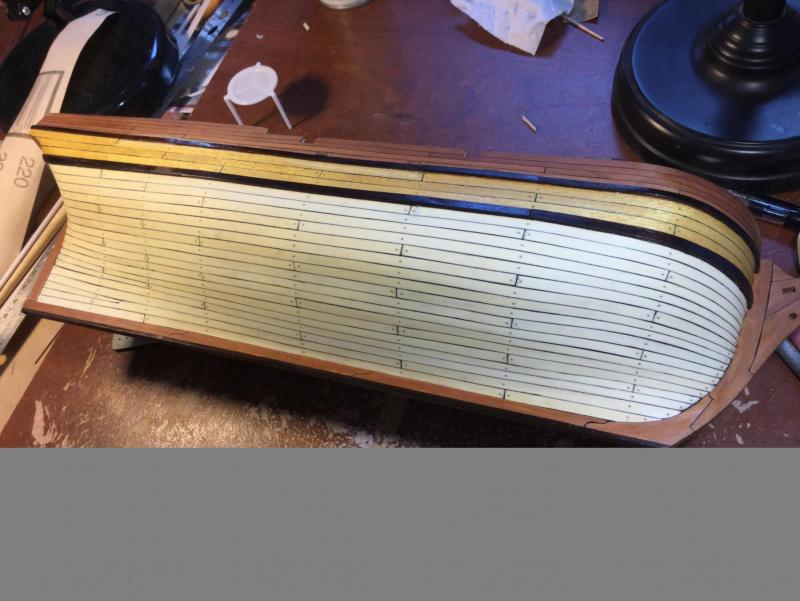
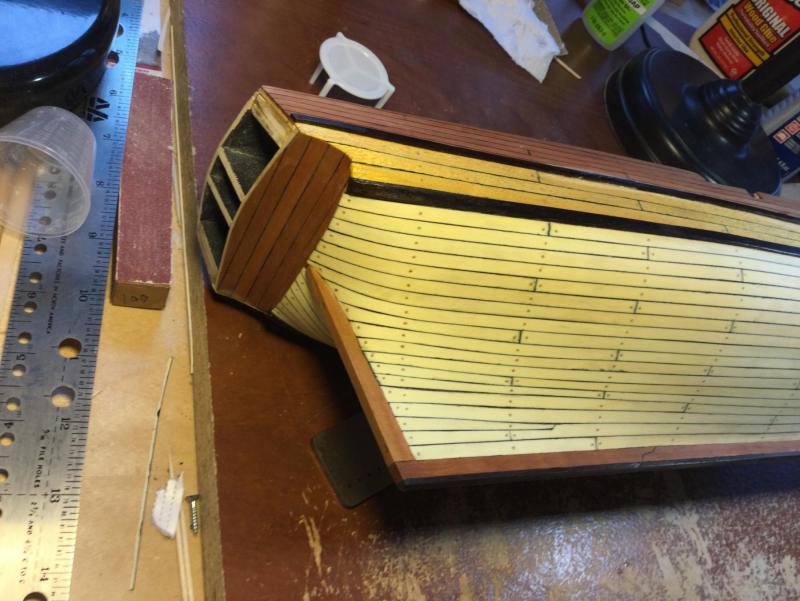
I finished treenailing the hull. The pattern is stylized with treenails only on the bulkheads where butt joints in the planking occur. I'm still not sure whether to try to treenail the bulwarks, because they are very thin, and the risk of drilling through the inside surface from the outside is real. I'll have to think about it. I'm now planning my rebuild of the transom

-
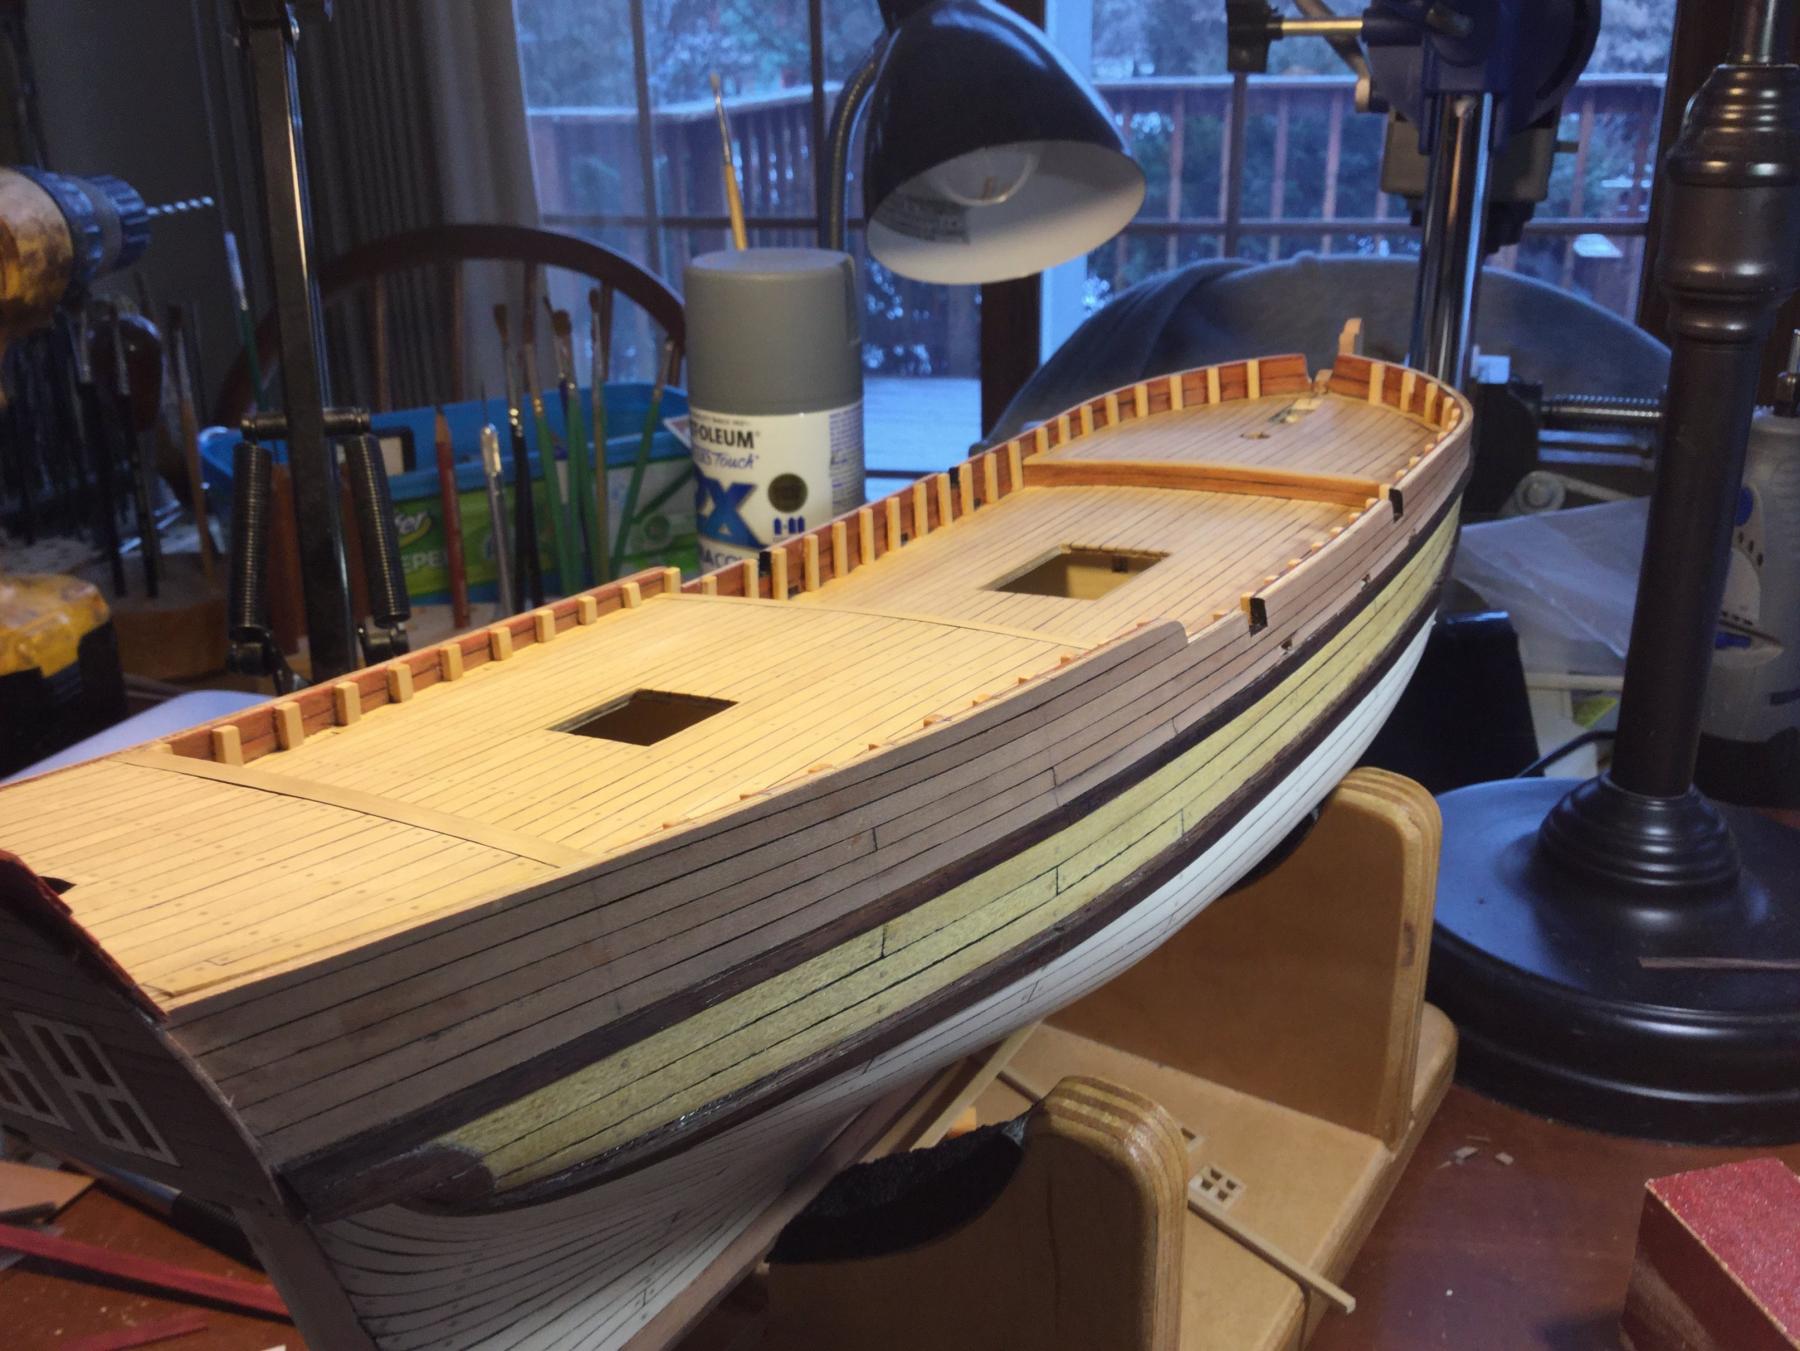
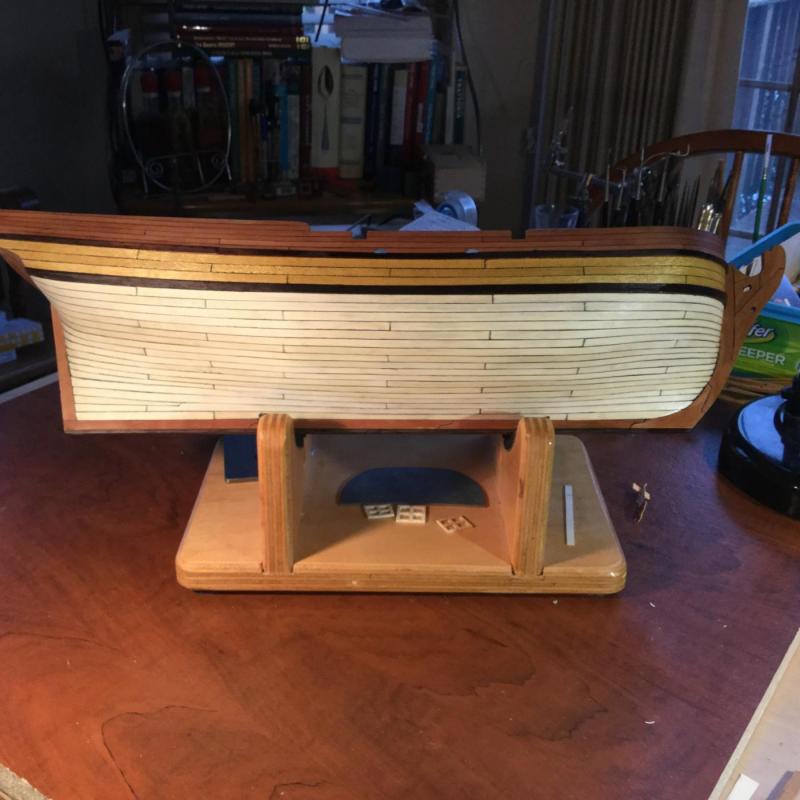
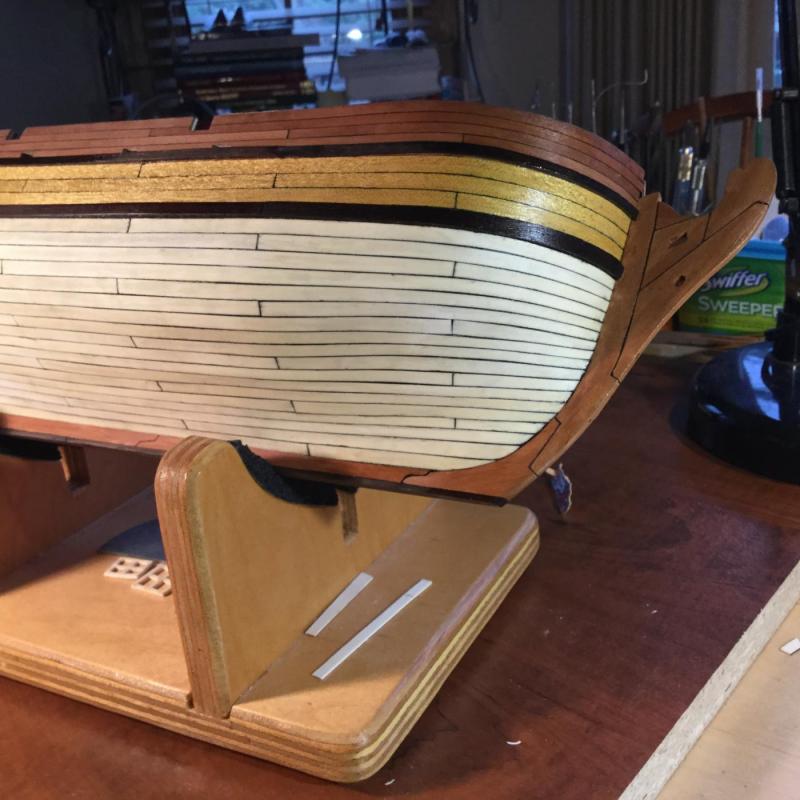
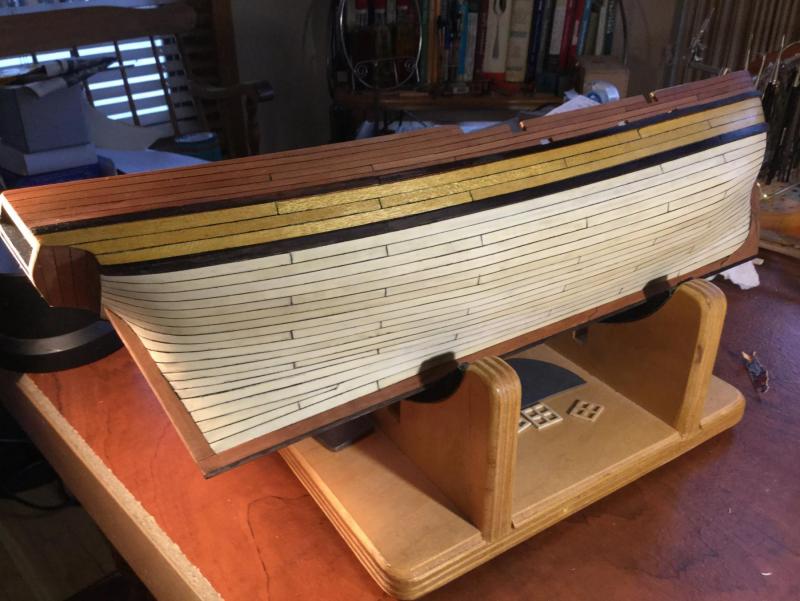
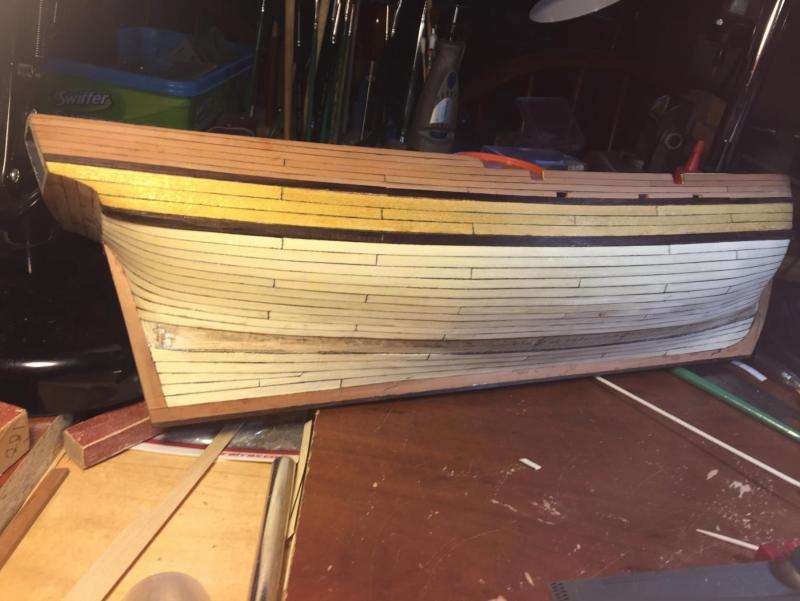
At last post I had 3 strakes per side to install. These proved to be the most difficult of the entire job! The hull is finally planked! A major milestone. Overall I'm happy with the results, especially at the bow and amidships. The stern could have turned out better with more uniformity in the terminal widths of the planking, but I did the best I could given the weird geometry of the hull aft of the final bulwark. Next up is treenailing, then fairing the hull. Once that's all done I'll turn to completely rebuilding the transom and figure out a way to install the fashion pieces at the stern
-
Only 3 more strakes on each side to complete and the hull planking is done! No joggle planks (drop planks) were used at all, and I only needed one stealer per side at the stern to start the rise of the planking to match the shear. This was a difficult hull to do, but I learned a lot.
-
No, Russ, a joggle plank, where two strakes approaching the stern join a single plank back to the stern post. Just like the photo, but at the stern, not the bow.

-
Has anyone seen an example of a joggle plank used at the stern of a ship, as opposed to solely at the stem? I'm working on planking my "Independence" and I could actually work a joggle in at the stern. The hull has an odd shape.
-
This is a fun build, and you will enjoy it. I substituted a lot of wood in the kit and chose not to paint the model. That was a big part of the enjoyment for me. Good luck! I'll follow this with interest.
- 231 replies
-
- 2
-

-
- model shipways
- armed virginia sloop
- (and 1 more)