Stevinne
-
Posts
294 -
Joined
-
Last visited


-
 davyboy reacted to a post in a topic:
Mary Rose by Baker - scale 1/50 - "Your Noblest Shippe"
davyboy reacted to a post in a topic:
Mary Rose by Baker - scale 1/50 - "Your Noblest Shippe"
-
GrandpaPhil reacted to a post in a topic:
Mary Rose by Baker - scale 1/50 - "Your Noblest Shippe"
-
mtaylor reacted to a post in a topic:
Mary Rose by Baker - scale 1/50 - "Your Noblest Shippe"
-
tartane reacted to a post in a topic:
Mary Rose by Baker - scale 1/50 - "Your Noblest Shippe"
-
Baker reacted to a post in a topic:
Mary Rose by Baker - scale 1/50 - "Your Noblest Shippe"
-
 I remember reading somewhere, maybe in response to questions on a Facebook post by the MR museum, that there are currently no plans to uncover and raise more of the remaining parts of the ship. I think the last thing they raised was what remained of the stem post, but that was decades ago. It is a shame, since it might settle the debates about what the ship looked like in the end once and for all.
 -
Scottish Guy reacted to a post in a topic:
For Beginners -- A Cautionary Tale
-
Baker reacted to a post in a topic:
Roter Lowe by Stevinne - Mamoli - 1:55 - Dutch-built Galleon
-
Baker reacted to a post in a topic:
Roter Lowe by Stevinne - Mamoli - 1:55 - Dutch-built Galleon
-
Stevinne reacted to a post in a topic:
Mary Rose by Baker - scale 1/50 - "Your Noblest Shippe"
-
Scottish Guy reacted to a post in a topic:
For Beginners -- A Cautionary Tale
-
Baker reacted to a post in a topic:
Mary Rose by Baker - scale 1/50 - "Your Noblest Shippe"
-
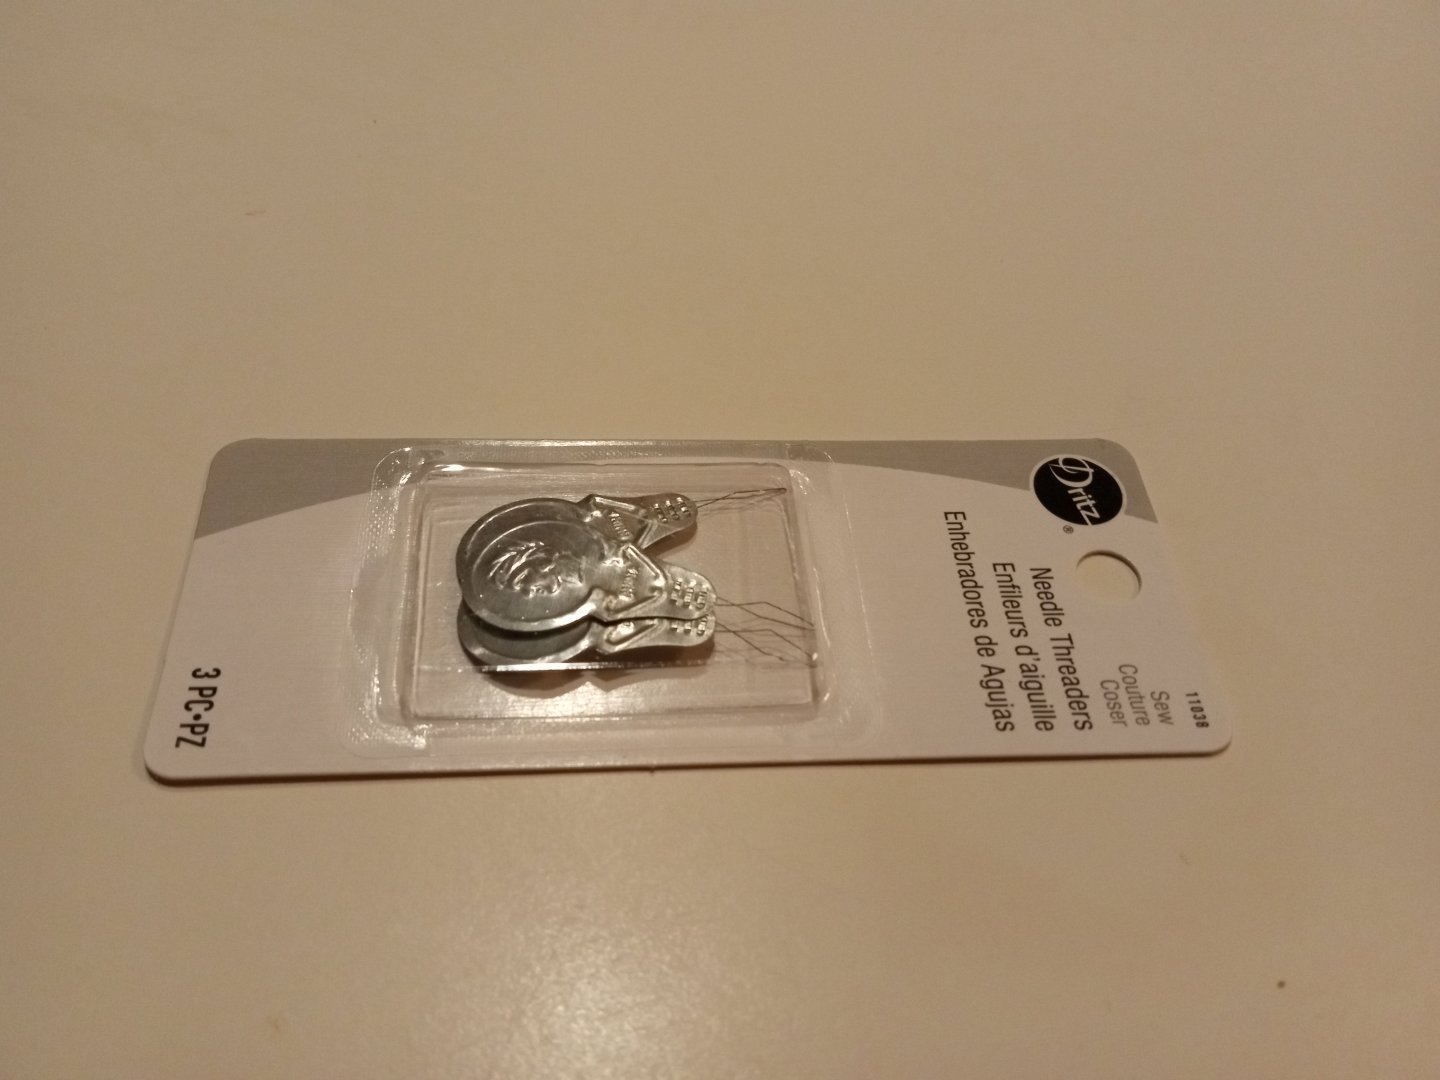
I've started adding fore and back stays, but early on into the process I ran into difficulty. I don't know how many needle threaders Sir Francis Drake took with him when he sailed the Golden Hind around the world, but at $1.50 per pack, for $10 today at Walmart I got enough of these bad boys to hopefully last me a decade or so.
-
Back when MR was first constructed, that was the way warships were built. Cannon, being hard to aim and slow to load, the tactics were to fire a broadside, get close and board and generally, having the highest "castle" at the fore or stern helped you win. It wasn't until the Armada that the English pioneered fighting in lower and more maneuverable ships. That change came along with the change in tactics that called for fighting artillery duels instead of hand-to-hand combat. One of the debates about MR is whether or not they cut her down during the course of her career as they rebuilt her and increased her compliment of heavier guns.
-
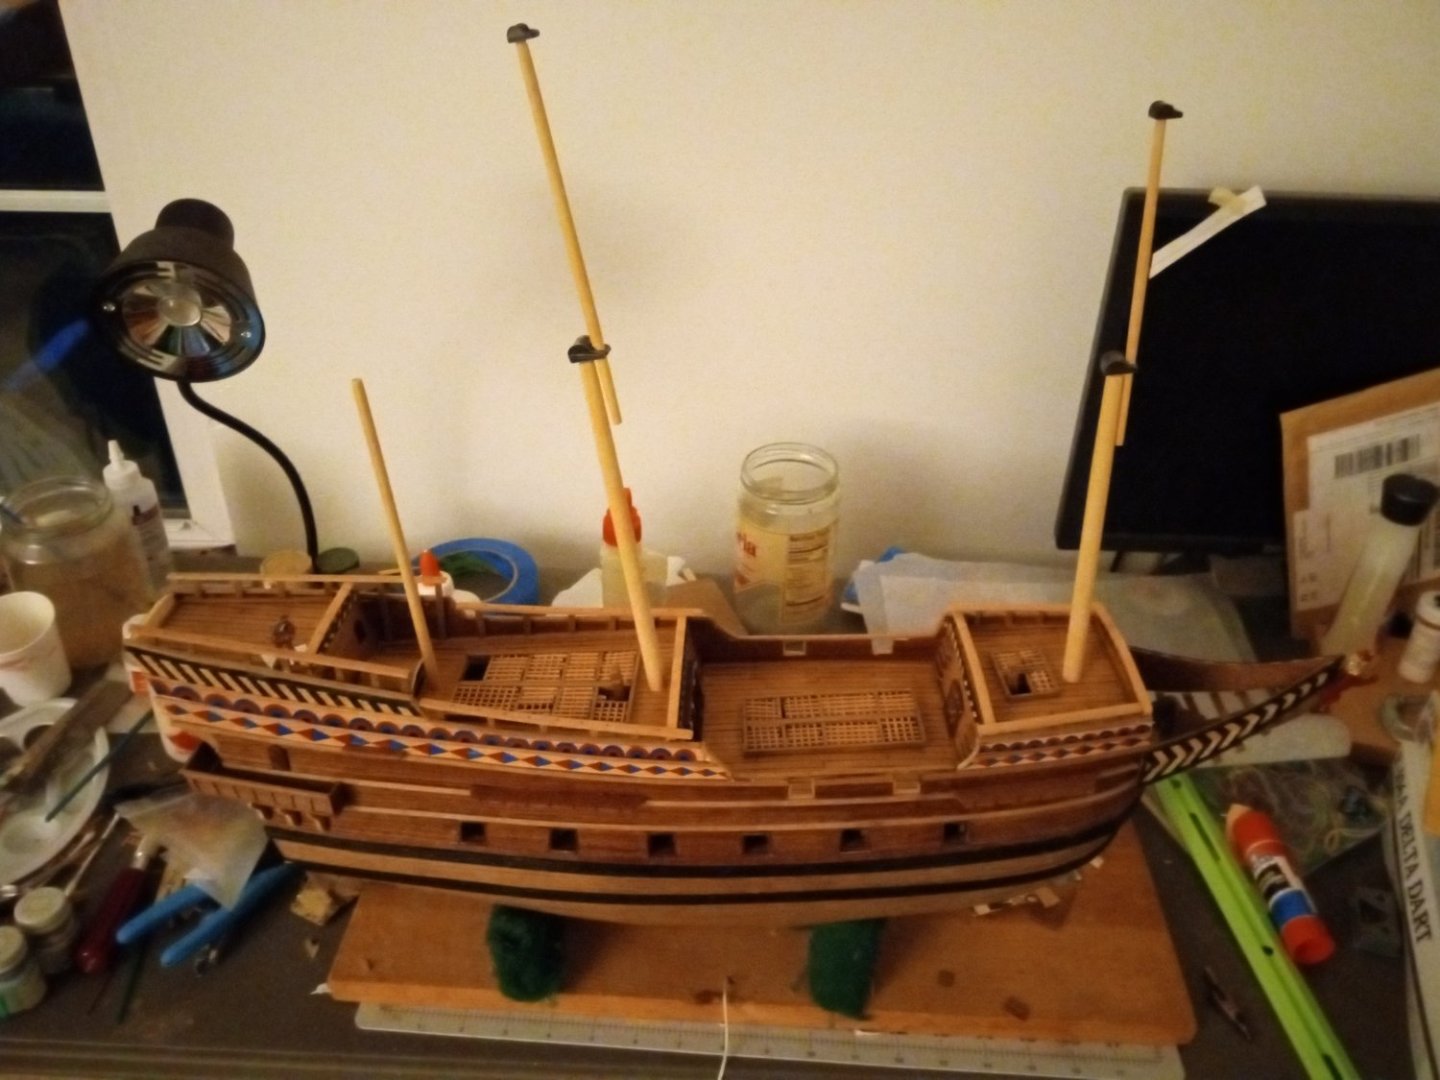
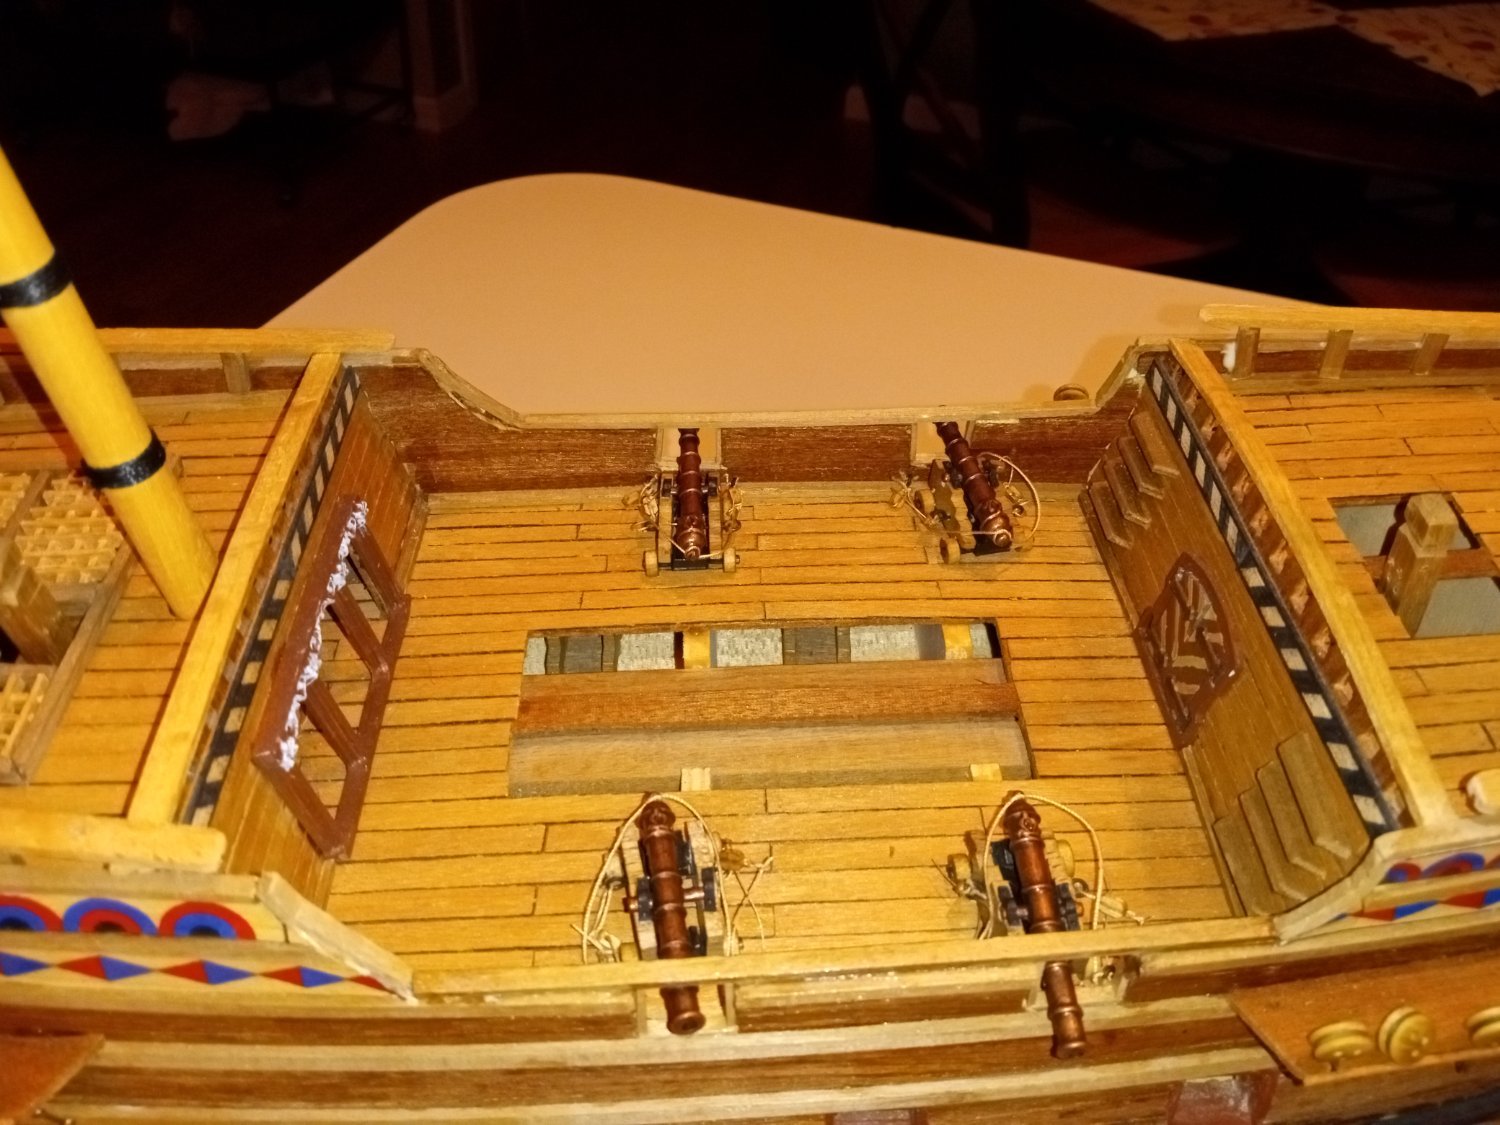
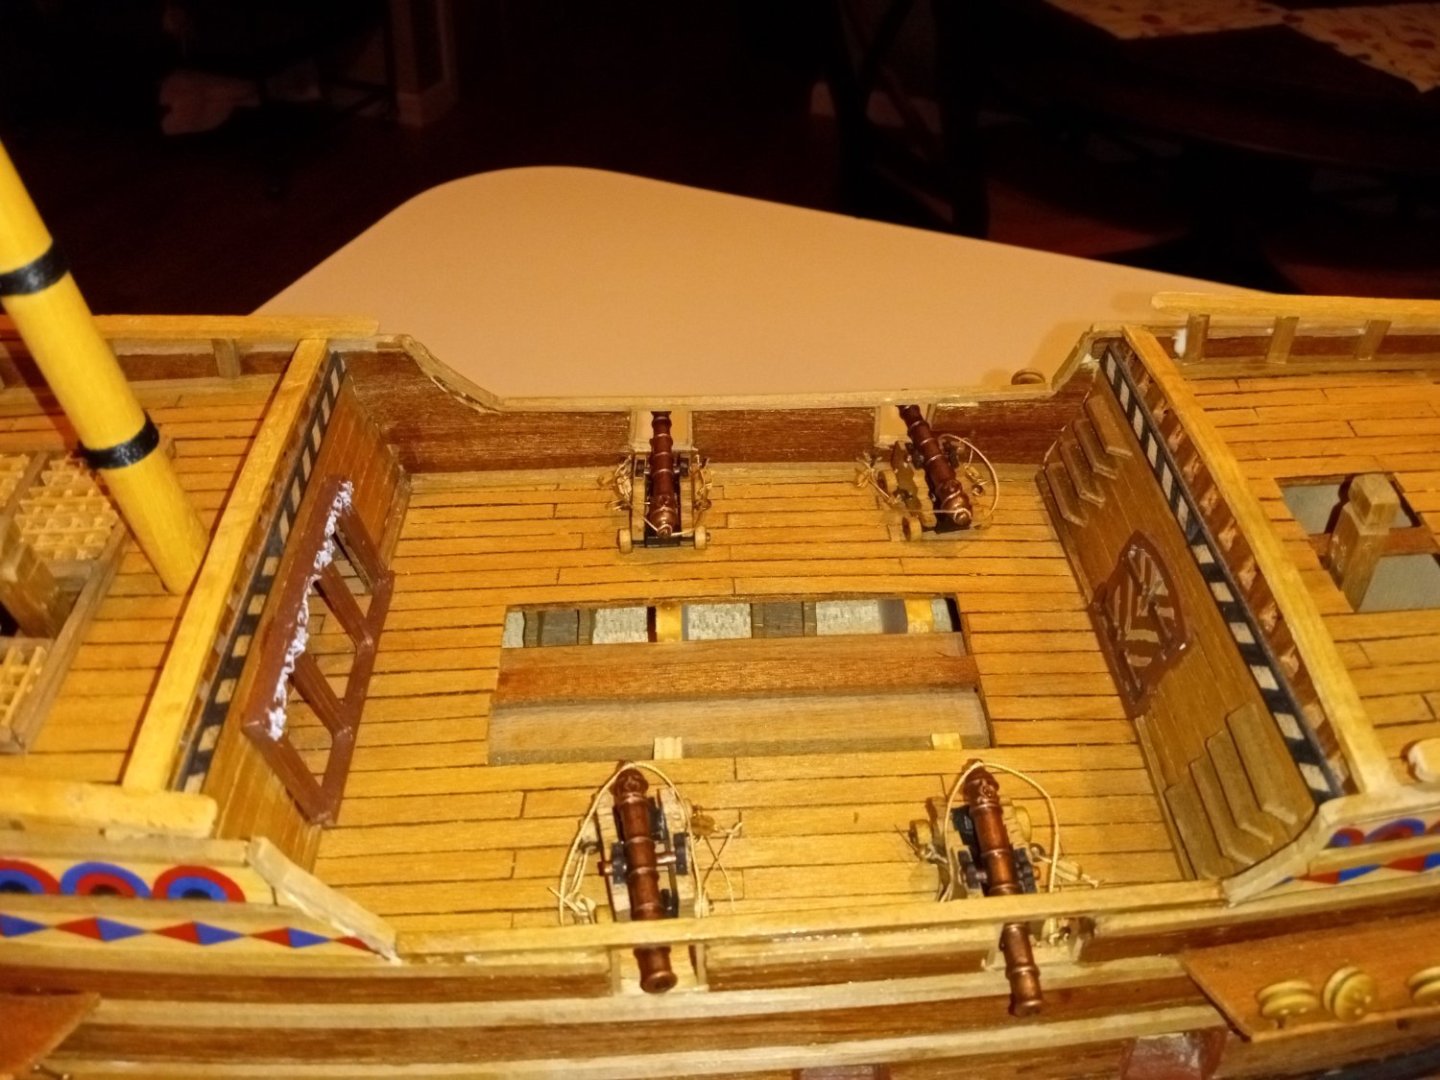
Been a while since I posted, but I've been slowly and steadily working. Got the sticks and deadeyes in her and rigged and installed the cannon. Those were a pain as I left too much wiggle room between the blocks and the brass pins that anchor them to the deck. Looking forward to getting the shrouds on her.
-
Stevinne reacted to a post in a topic:
USS Cairo by Zetec - 1/50 scale
-
Stevinne reacted to a post in a topic:
USS Cairo by Zetec - 1/50 scale
-
Stevinne reacted to a post in a topic:
USS Cairo by Zetec - 1/50 scale
-
Stevinne reacted to a post in a topic:
USS Cairo by Zetec - 1/50 scale
-
 Stevinne reacted to a post in a topic:
HMS Dreadnought 1907 by RGL - FINISHED - Zvezda - 1/350 - PLASTIC - revisited
Stevinne reacted to a post in a topic:
HMS Dreadnought 1907 by RGL - FINISHED - Zvezda - 1/350 - PLASTIC - revisited
-
Stevinne reacted to a post in a topic:
Lynx by Peter Joyce - Panart - 1:62 - Baltimore Schooner
-
Stevinne reacted to a post in a topic:
Ship in trouble by Ab Hoving - FINISHED
-
Stevinne reacted to a post in a topic:
Ship in trouble by Ab Hoving - FINISHED
-
I haven't watched any of his videos, but it sounds like I should. I haven't encountered any issues with shrinkage yet - at least with the second layer, but that could just be luck. I have had fit issues with my first run of planks, but I've always attributed that to my lack of skill with an Xacto knife and pencil. Maybe there was more to it than that. Thanks for the heads-up.
-
Unfortunately, I'm not planking anything right now. I usually soak my second layer wood before working with it, because I feel it makes it easier to cut and to also to bend. My plank shaper is basically a soldering iron with a big metal bulb in place of the soldering point. I got it on Model Expo many years ago. It came with a wooden jig for bending planks off the ship, but I usually don't use it. When placing the second plank I apply the glue while the wood is still wet and then run the heated bulb back and forth over it until everything dries. I find it forms a solid bond.
-
I usually use a combination of CA and carpenter's glue on the second planking. I use a small amount of ca at points to start the attachment, then a run of carpenter's glue. I run my plank shaper over the glued section once it's in place - it speeds up the drying process. Then I will use another dot of ca, some more carpenter's glue and continue the run. I find that for me, this works well, especially when I am trying to line up the planks along the curves of the bow and stern. One issue I find with CA and the second-layer is that if you get any spillover onto the exterior, it is very difficult to remove without staining the wood.
-
Stevinne reacted to a post in a topic:
HIJMS MIKASA 1902 by Jeff59 - HobbyBoss - 1/200 - PLASTIC
-
I'm not familiar with either kit, but another consideration is the quality of instructions provided, which can make or break the experience when working on your first few ships.
-
Chuck, Thanks for the quick and reasoned response. I hadn't realized they had been asked to stop and kept doing it nonetheless. Makes a lot more sense now.
-
I never visited the shore leave section, but this is what the description was when it opened: "If you haven't noticed, we've added a new topic area: Shore Leave. From the pinned posts there about it: This is the area that many wanted, and perhaps didn't even know it. If your topic is nothing to do with the world of ships or ship modelling, then here is the place to post it. General chat, Birthday announces etc. No politics. No religion. No inflammatory topics. This area can be used for things like "visits to other members", non-nautical type vacations, basically anything anyone wants to share but with the caveat that it will be heavily monitored for taboo subjects. Want to discuss cars? Airplanes? The great vacation? The wedding? No problem. Lastly, we will periodically clean it out of old posts and topics. This forum was created in order to cut down on the off-topic posting in our other areas of the site. Please post everything else here and in order to preserve the model resource for all of the build logs, techniques forums etc and make them easier to navigate and read through. Thanks Don't hesitate to share your experiences with all of the friends you have met through the site!!!" While cat memes (how do you pronounce that?) weren't specifically banned, it sounds like the problem wasn't folks were posting stuff that was offensive or not what members were told the forum section would or would not accept. I also don't recall seeing any posts decrying the state of the forum. It seems just a case that what was posted was what didn't fit with someone's idea of what the forum should be. Now get those kids off my lawn!
-
I have given this book as a gift whenever I have given someone a ship model to get them interested in the hobby. I think it is a great introduction and something I still refer to when working on projects.
-
The Alan Lewrie series by the late Dewey Lambdin is fun, light reading with good naval battles thrown in. Not nearly as realistic as Patrick O'Brian but very enjoyable. If weight is an issue, I'd recommend checking out the Internet Archive, a free online library with loads of books, though I believe you must have an Internet connection to read, as they work as a regular library, with only one person allowed to check out a copy at a time.
-
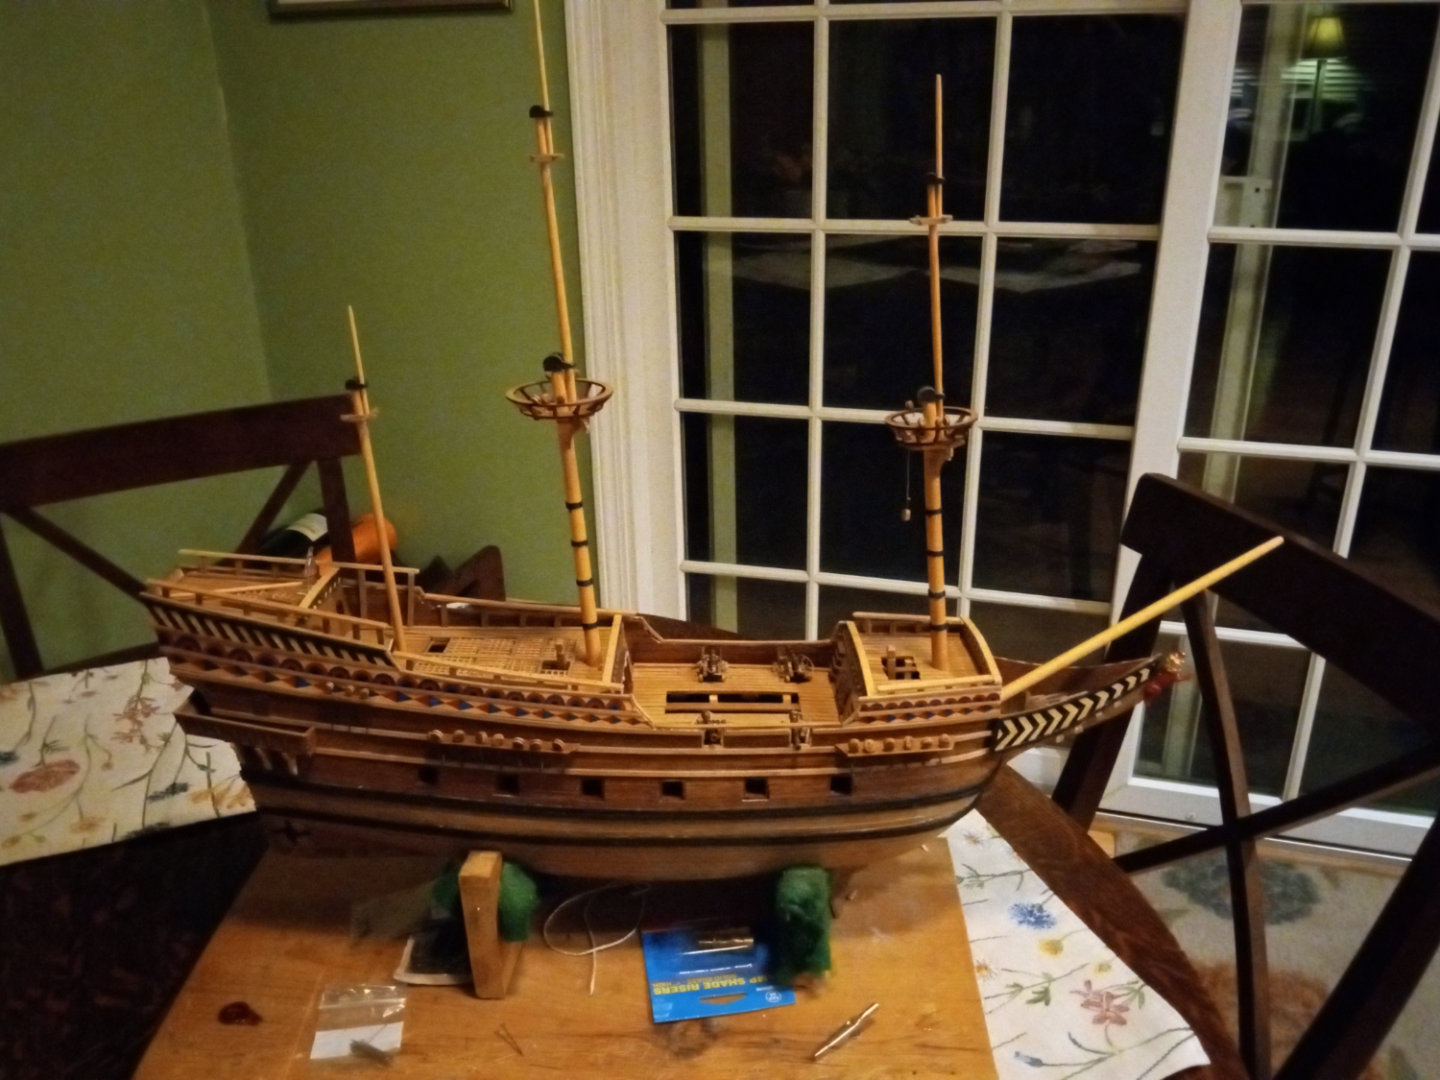
A bit more work on the masts. I used a technique I learned wrapping the guides on my bamboo fly rod to make the mast wraps. The crows nests went together easily, the support pieces were white metal that I painted brown. The masts were stained with pecan stain. Nothing is glued in place yet. I'm waiting on some backing links for the chainplates, since the plates that came with the kit are too short. I'm not sure if I'll use them and the backing links or just create my own to use with the backing links.
-
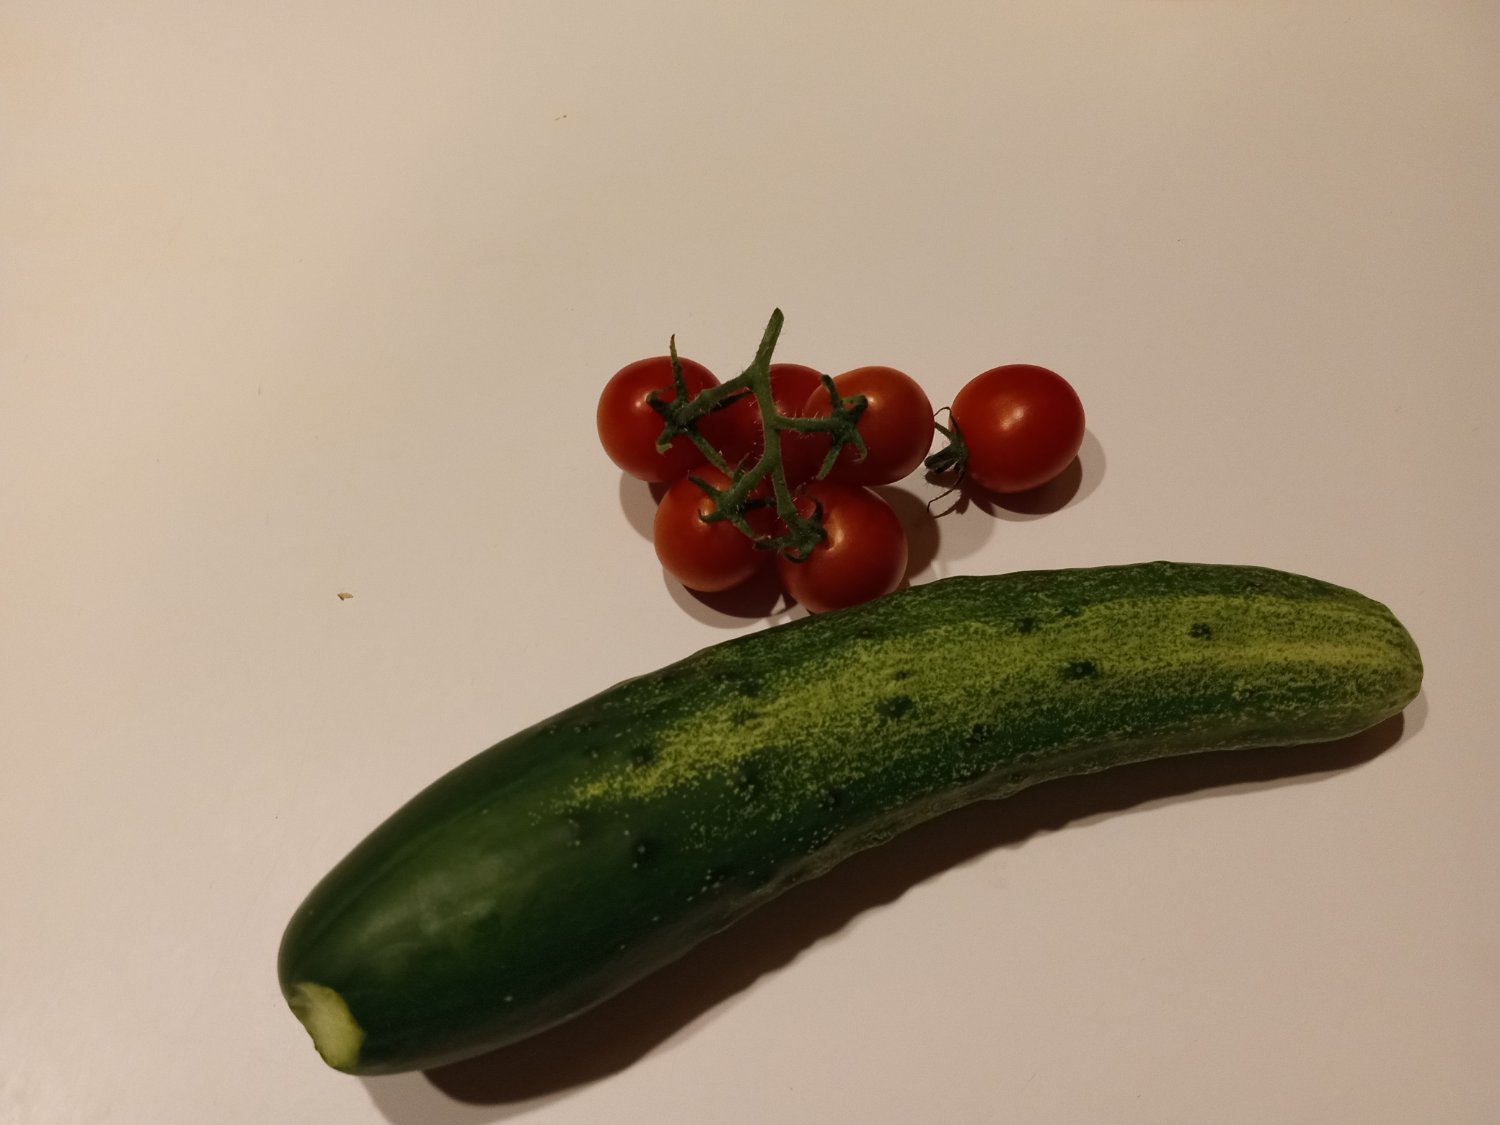
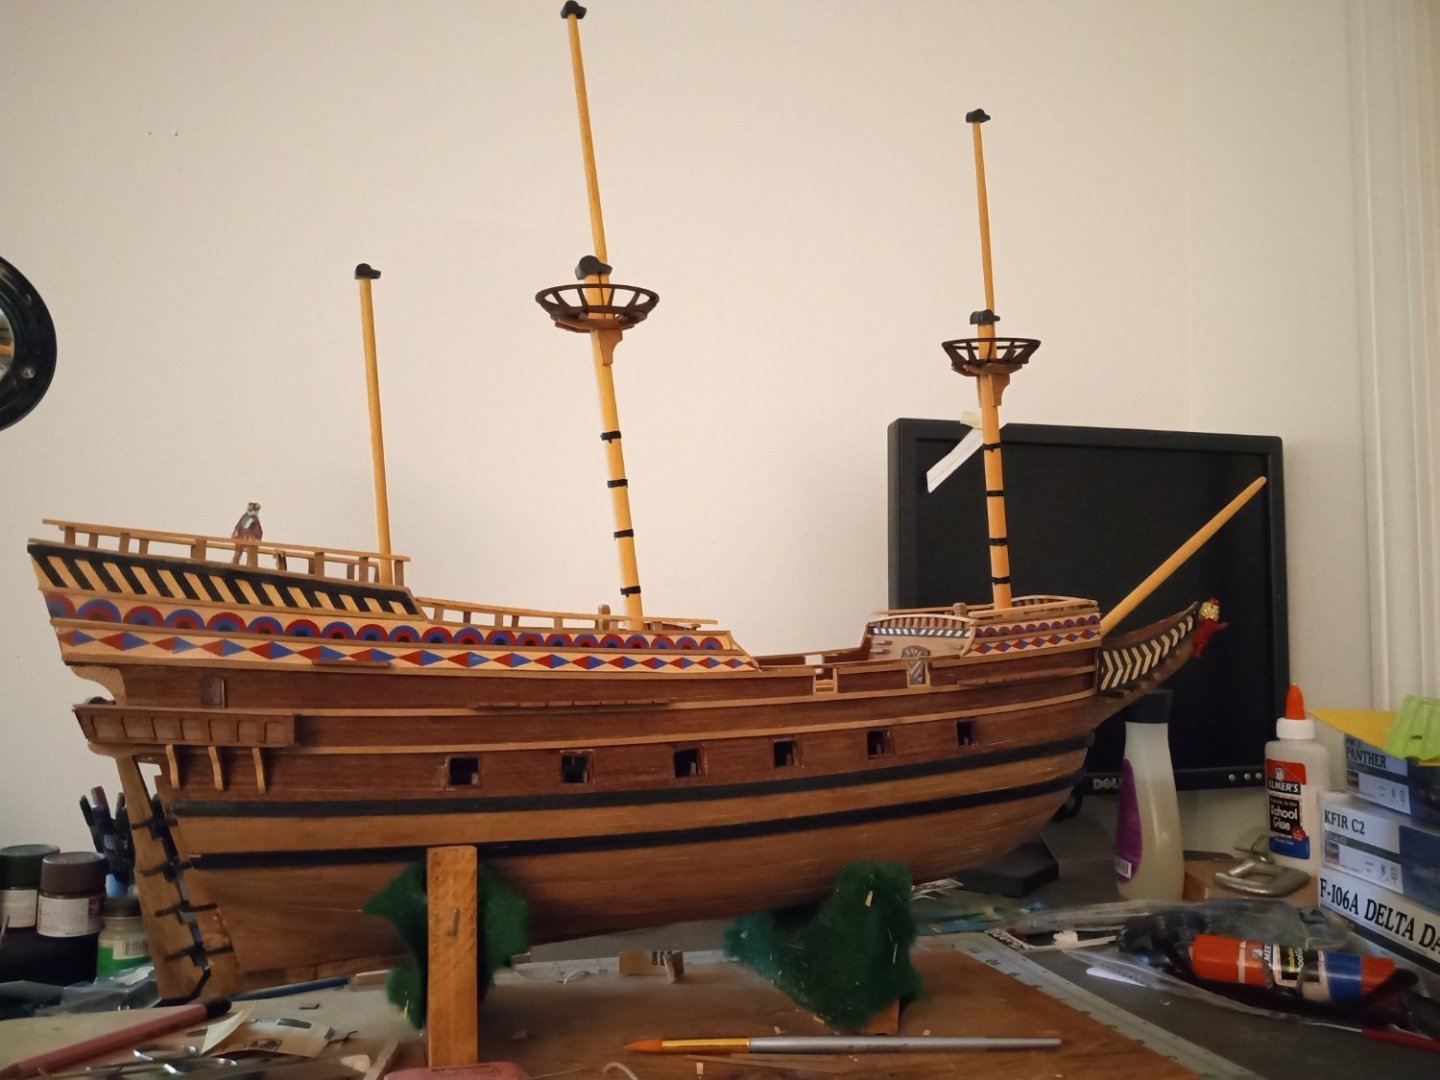
Tapering masts and yards is one of my least-favorite aspects of ship building. This time, however, I used a mini-plane that I purchased about a decade ago to get one of my Mom's doors to close when the wood swelled during summer. That really got the job done, with me then chucking the mast into my battery-powered drill and using some 100 grit sandpaper to smooth out the plane lines. The mast caps on this kit are cast metal, so there's little opportunity to widen the holes with a file. That's meant that the top masts are tapered at both the bottom to fit into the cap and at the top. I still need to work on the mizzen top before staining and adding some rope bindings. Tapering masts is so tedious, I took a break from my efforts to pick the first salad ingredients from this year's garden. Starting plants from seeds usually means my garden is running a little late each summer, but it gives me great satisfaction to grow my own. This is the first year I tried cherry tomatoes, but it looks like we are in for a bumper crop, so I'm pleased.