guitarguy687
-
Posts
51 -
Joined
-
Last visited


-
 cristikc reacted to a post in a topic:
HMS Victory by guitarguy687 - Corel - 1:98 Scale - Cross-Section
cristikc reacted to a post in a topic:
HMS Victory by guitarguy687 - Corel - 1:98 Scale - Cross-Section
-
cristikc reacted to a post in a topic:
HMS Victory by guitarguy687 - Corel - 1:98 Scale - Cross-Section
-
cristikc reacted to a post in a topic:
HMS Victory by guitarguy687 - Corel - 1:98 Scale - Cross-Section
-
JPett reacted to a post in a topic:
HMS Victory by guitarguy687 - Corel - 1:98 Scale - Cross-Section
-
Altduck reacted to a post in a topic:
Looking for advice, Black Pearl Build - moved by moderator
-
pompey2 reacted to a post in a topic:
Looking for advice, Black Pearl Build - moved by moderator
-
fatih79 reacted to a post in a topic:
Syren by guitarguy687 - Model Shipways - US Brig
-
fatih79 reacted to a post in a topic:
Syren by guitarguy687 - Model Shipways - US Brig
-
fatih79 reacted to a post in a topic:
Syren by guitarguy687 - Model Shipways - US Brig
-
fatih79 reacted to a post in a topic:
Syren by guitarguy687 - Model Shipways - US Brig
-
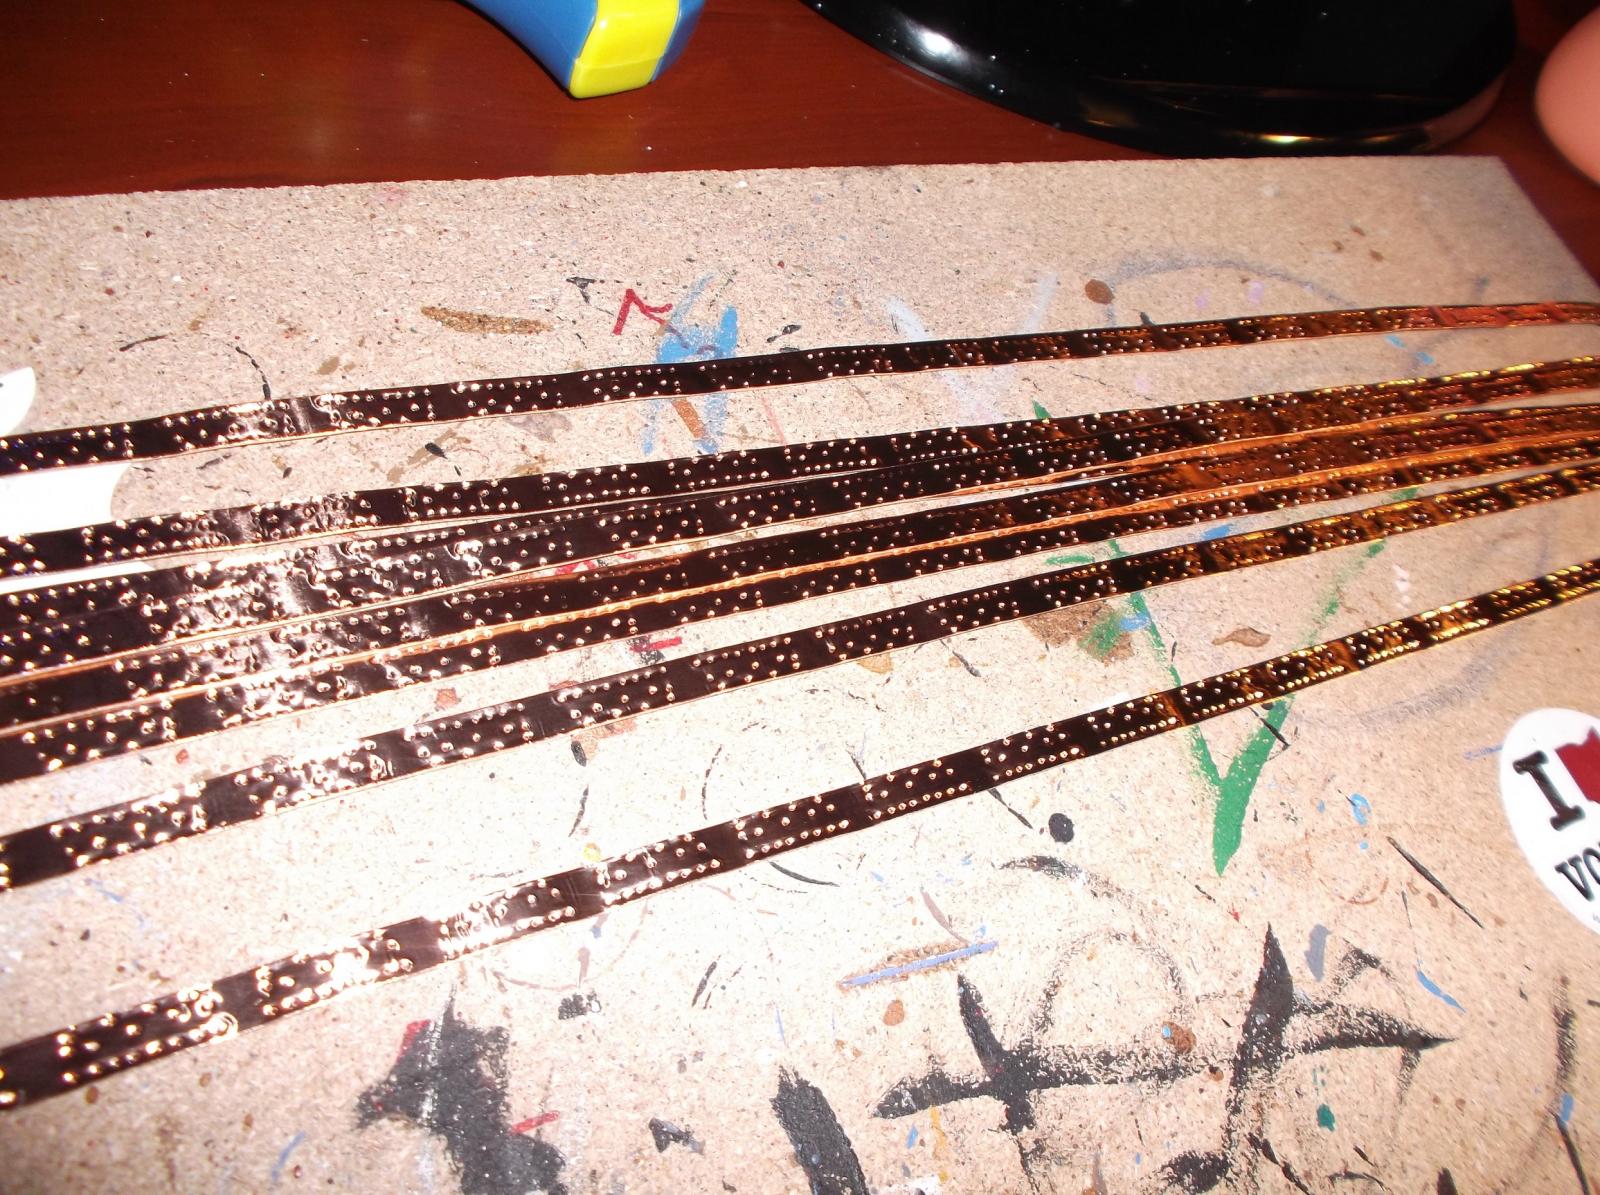
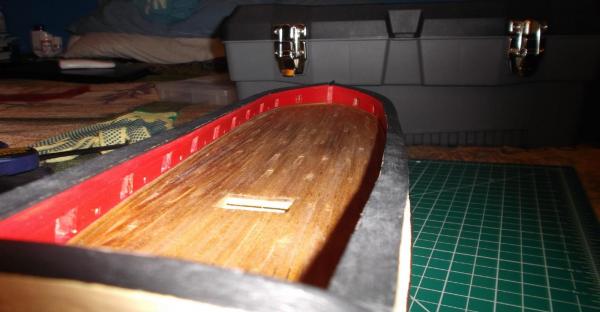
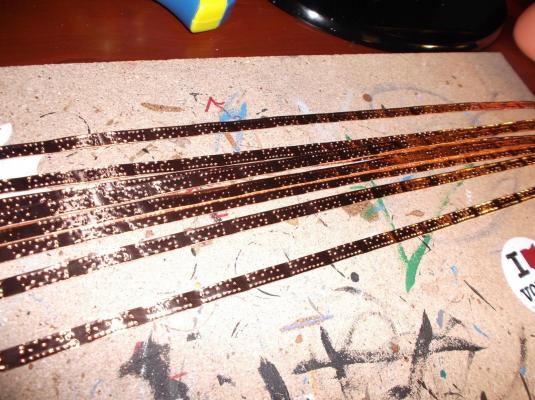
 The bulwarks are finished and painted. Cap rail is finished. Put the deck planking down, tree nailed, and stained. Need to do a little paint touch ups. I have stamped all the copper plates, and now am in the process of cutting them all out.
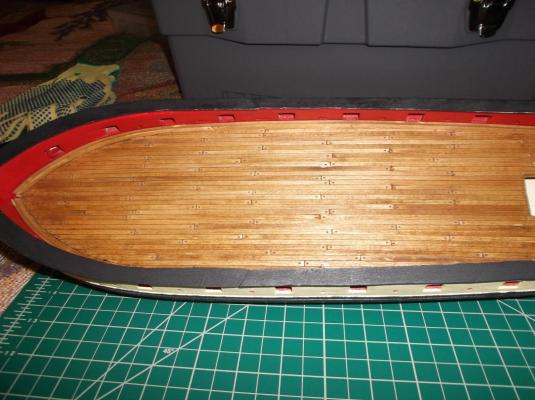


-
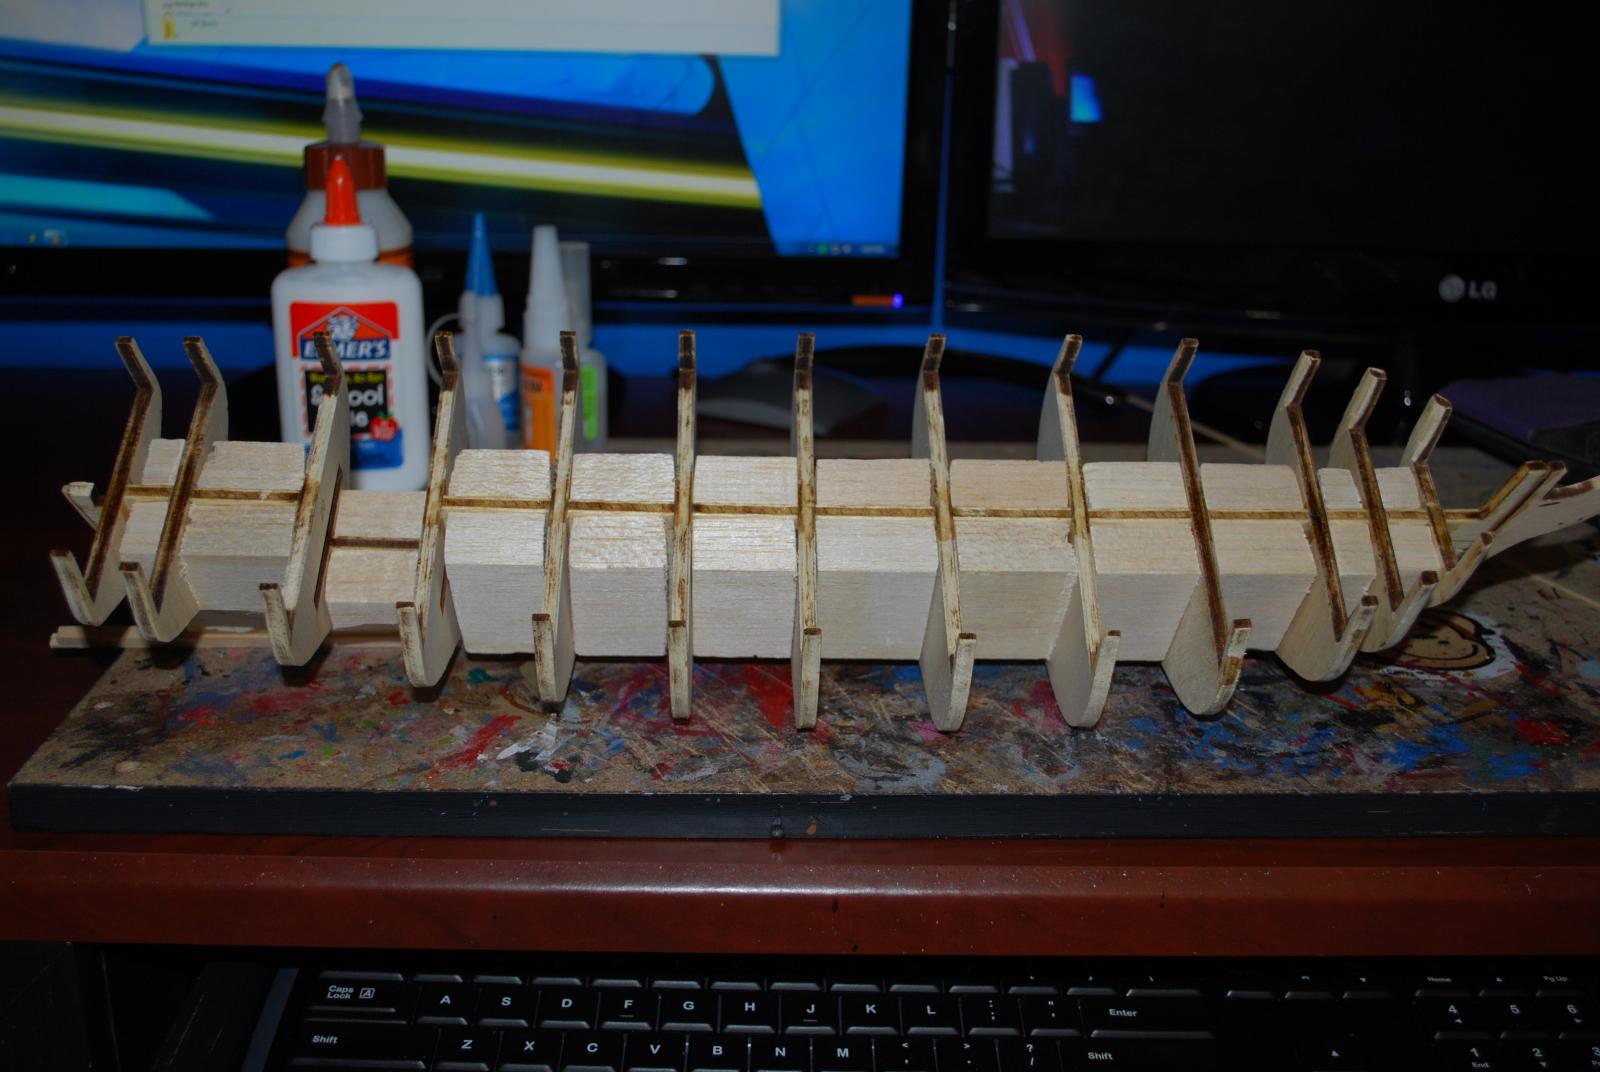
My board has been used for many many years! Maybe I should put it on ebay? A little abstract art lol!!!
-
guitarguy687 reacted to a post in a topic:
Syren by guitarguy687 - Model Shipways - US Brig
-
guitarguy687 reacted to a post in a topic:
Syren by guitarguy687 - Model Shipways - US Brig
-
guitarguy687 reacted to a post in a topic:
Syren by guitarguy687 - Model Shipways - US Brig
-
guitarguy687 reacted to a post in a topic:
Syren by guitarguy687 - Model Shipways - US Brig
-
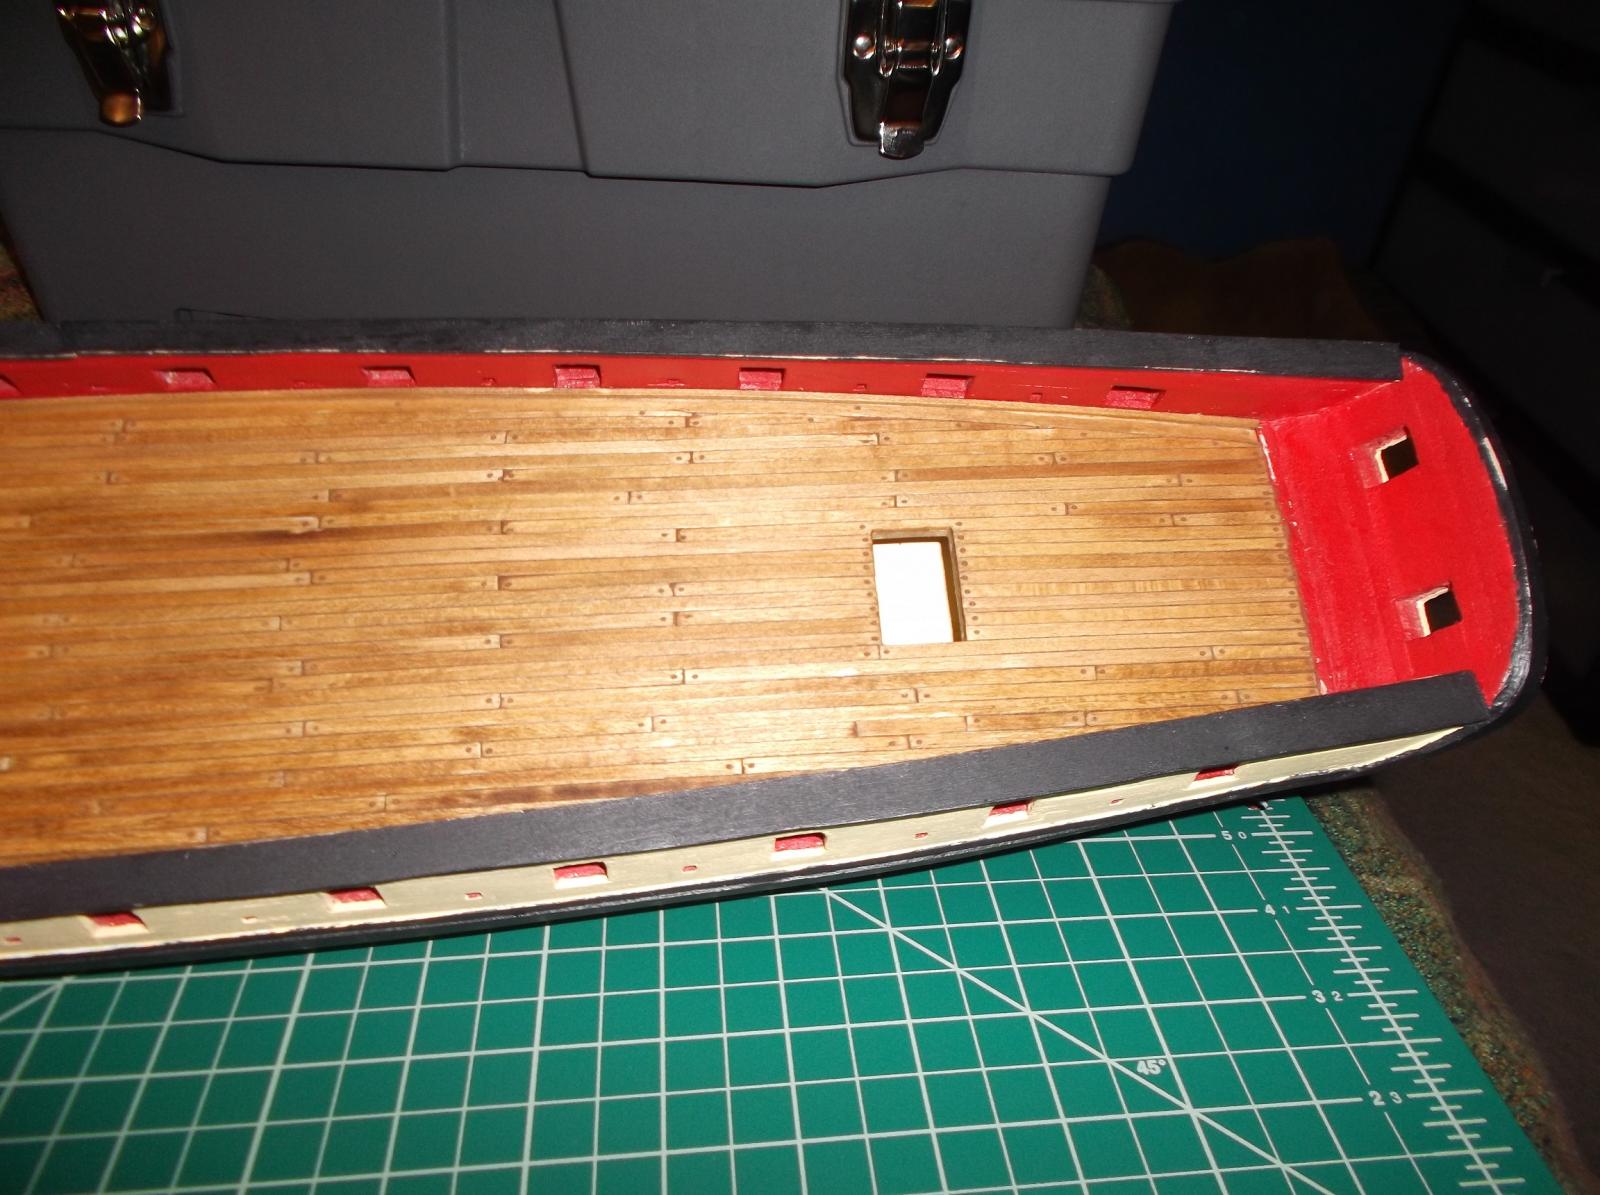
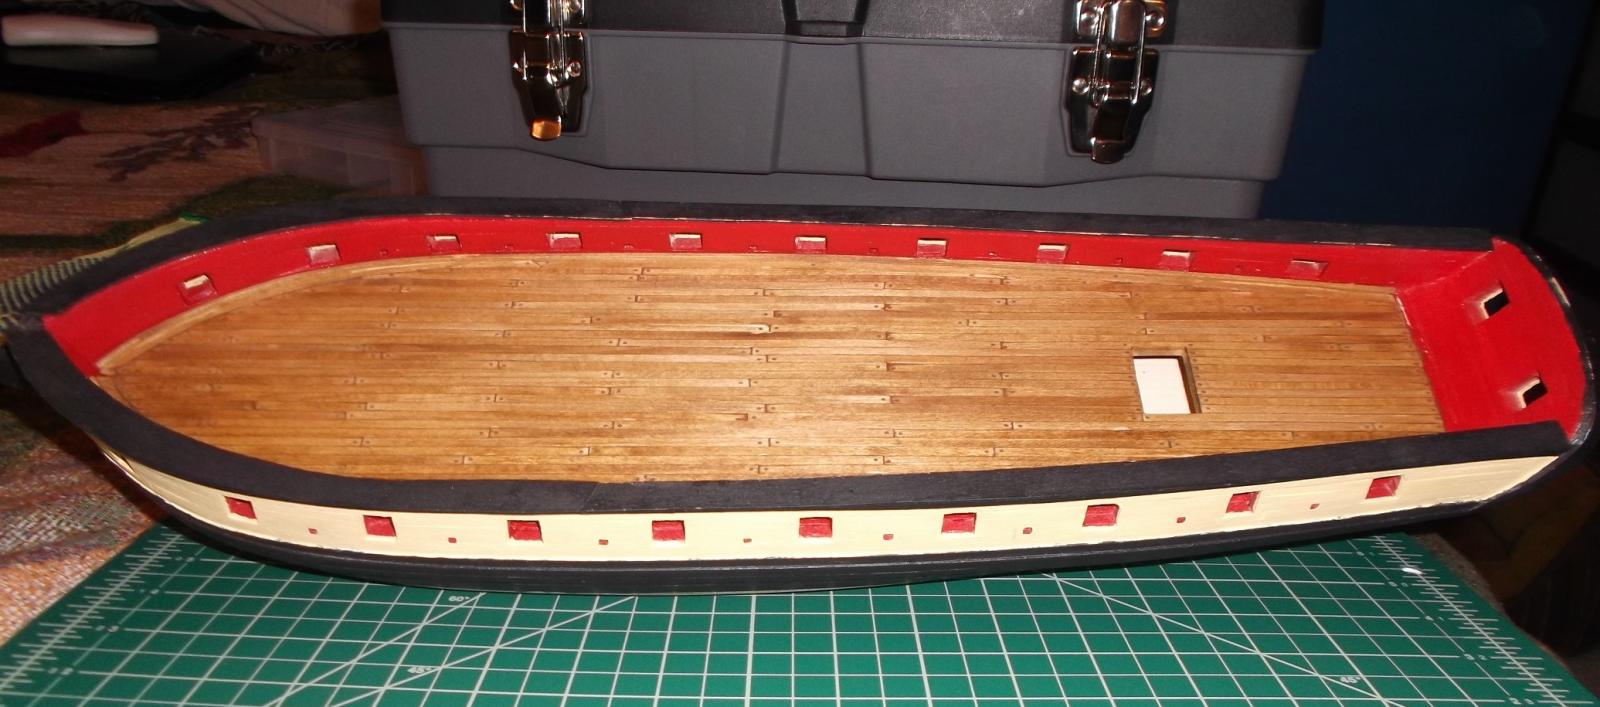
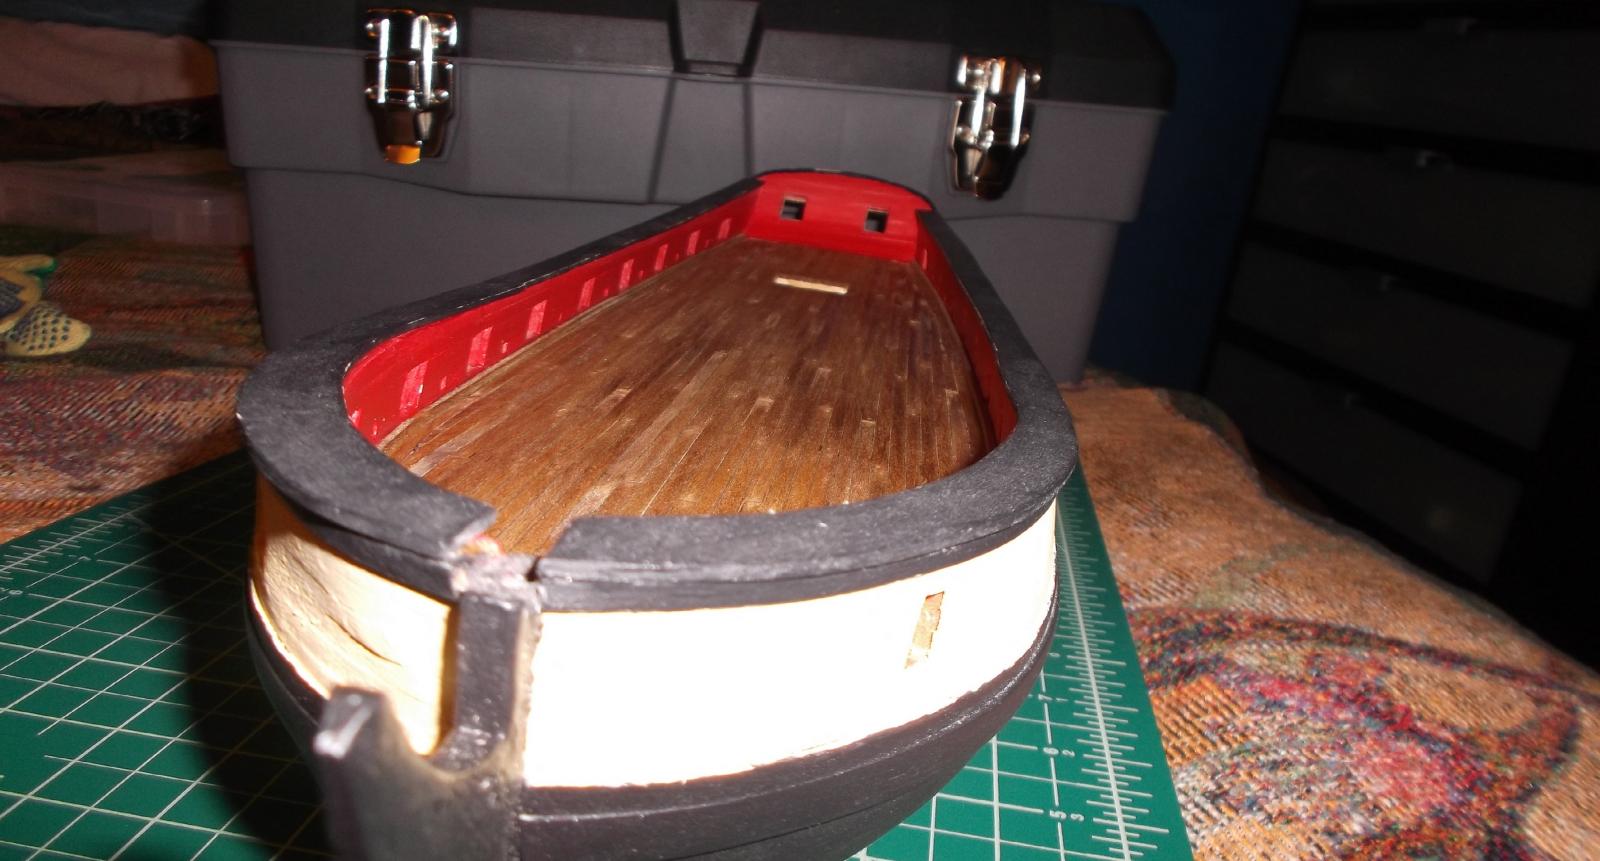
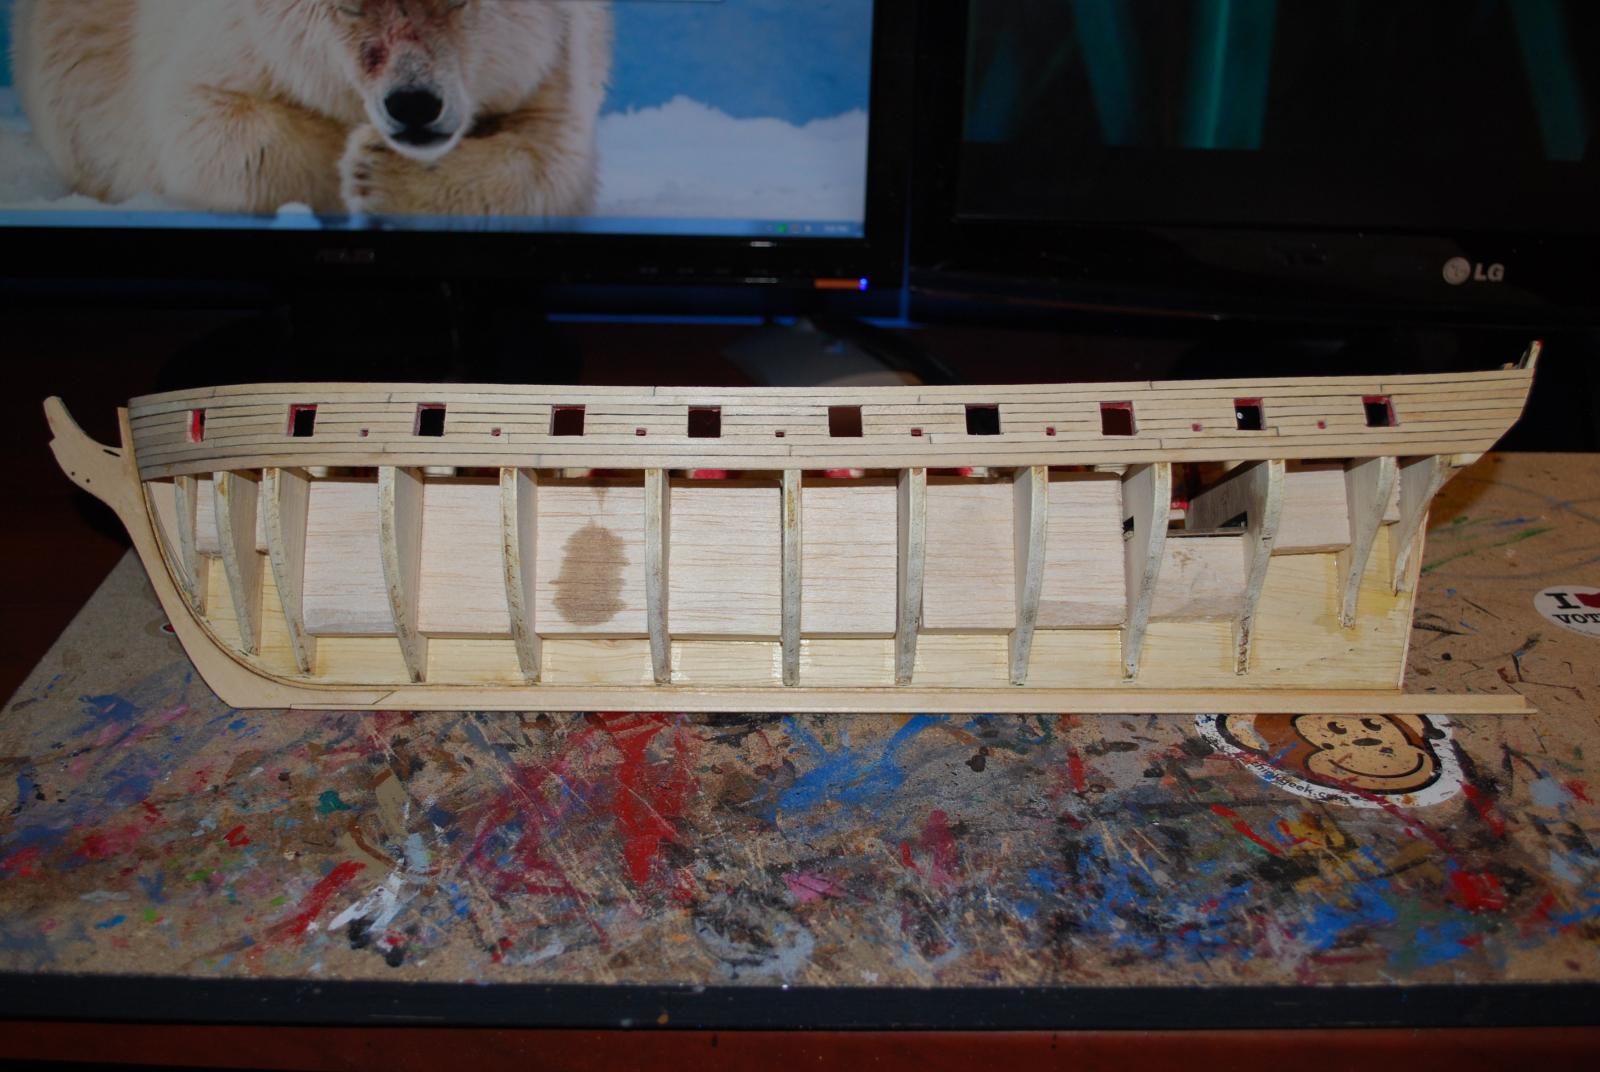
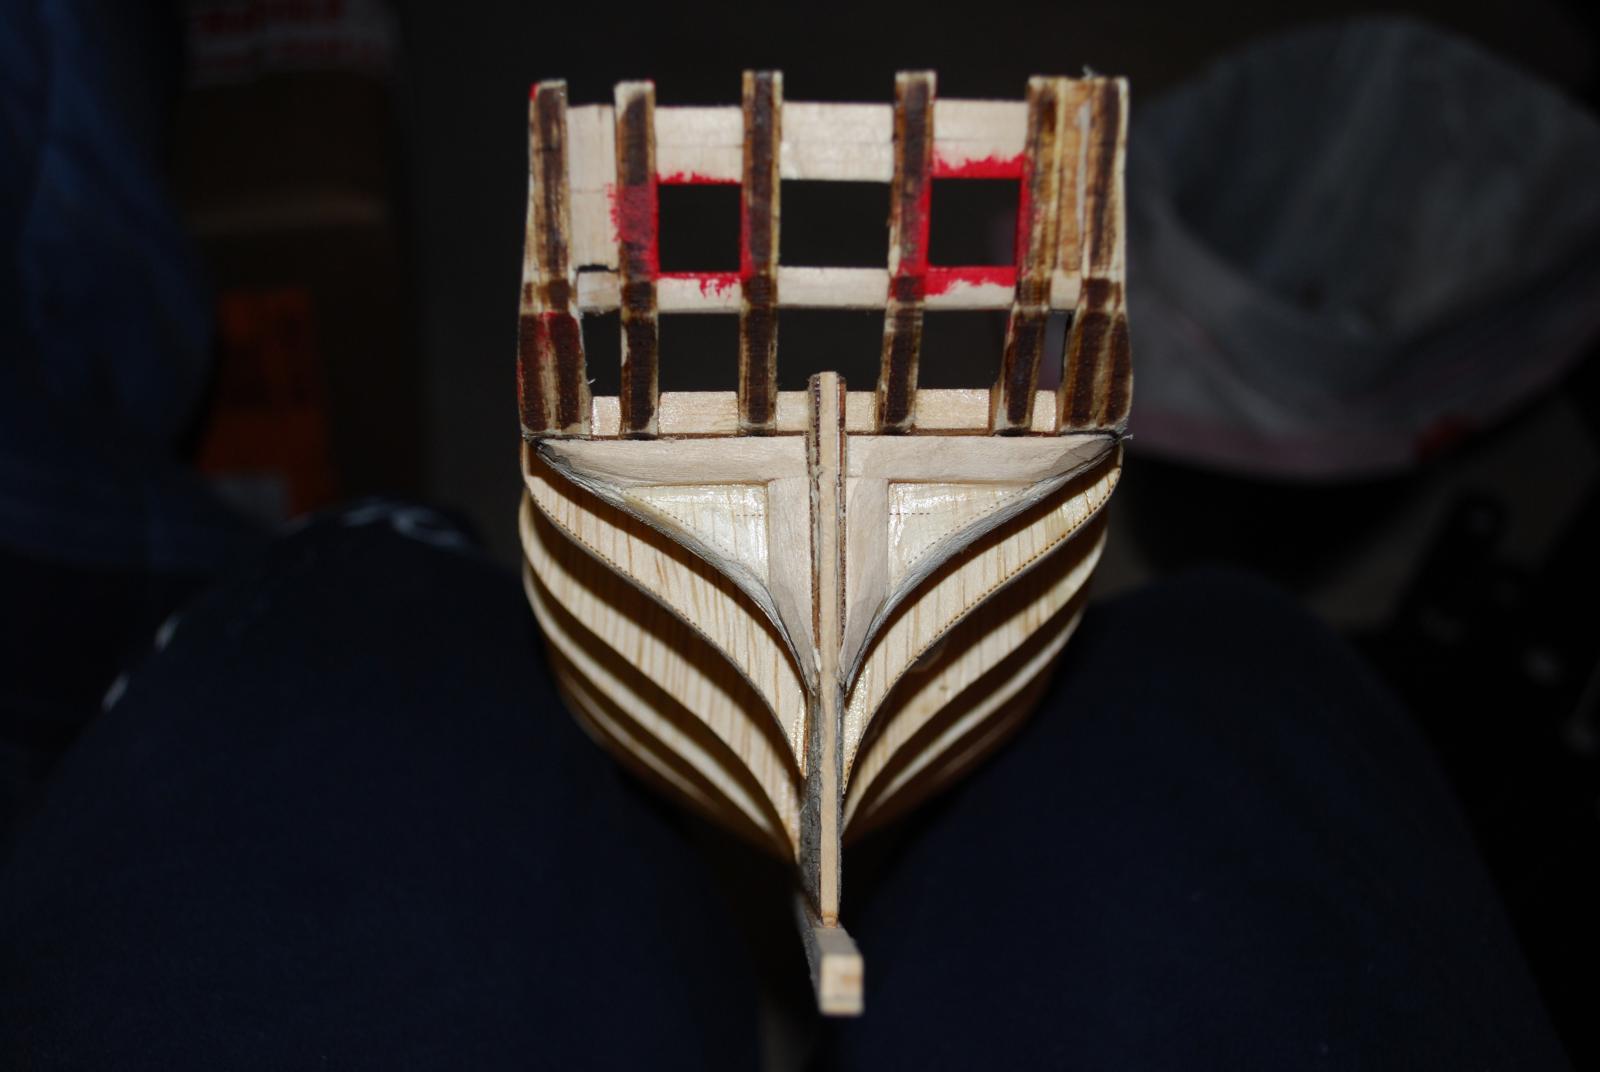
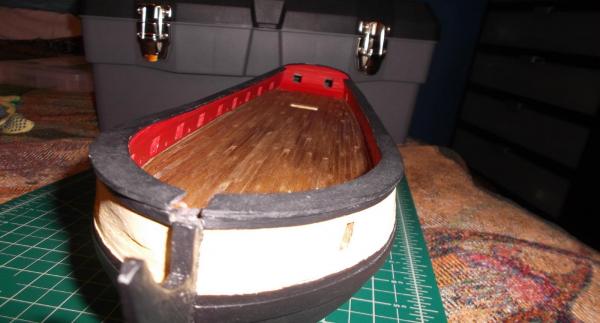
Ok, well that is chapter 5. All the planking, sanding, etc is all finished. Painted the black on the outside, and then I decided that I wanted to paint the gun port area above the wales rather then stain it. So I ended up with Spar Black and H. Cream on the outside (both model shipways paint). The bulworks and inside of the gun ports are all going to be paint color Bright Red (also model shipways paint). The deck I am planning on staining a very light natural, I haven't settled on a stain yet for the deck. Here are some pictures in her current state. I really need to find a better working vice or mount. Any recommendations? Next onto finishing up the stern, then bulworks, and decking.


-
Well the hull is planked, roughly. Literally just glued down one of the last planks, and it hasn't seen any sanding yet at all. It needs some very good sanding and some good wood filler. As this hull is painted and plated I was able to be a little less picky with the planking, and I know I am still going to get an amazing result. The hull will look much better the next time you see it.


-
guitarguy687 reacted to a post in a topic:
Syren by guitarguy687 - Model Shipways - US Brig
-
Got some planking done today. The upper most strip of the wales and all the planks above it are on. Next up some sanding and staining...

-
guitarguy687 reacted to a post in a topic:
Syren by guitarguy687 - Model Shipways - US Brig
-
guitarguy687 reacted to a post in a topic:
Syren by guitarguy687 - Model Shipways - US Brig
-
guitarguy687 reacted to a post in a topic:
Syren by guitarguy687 - Model Shipways - US Brig
-
guitarguy687 reacted to a post in a topic:
Syren by guitarguy687 - Model Shipways - US Brig
-
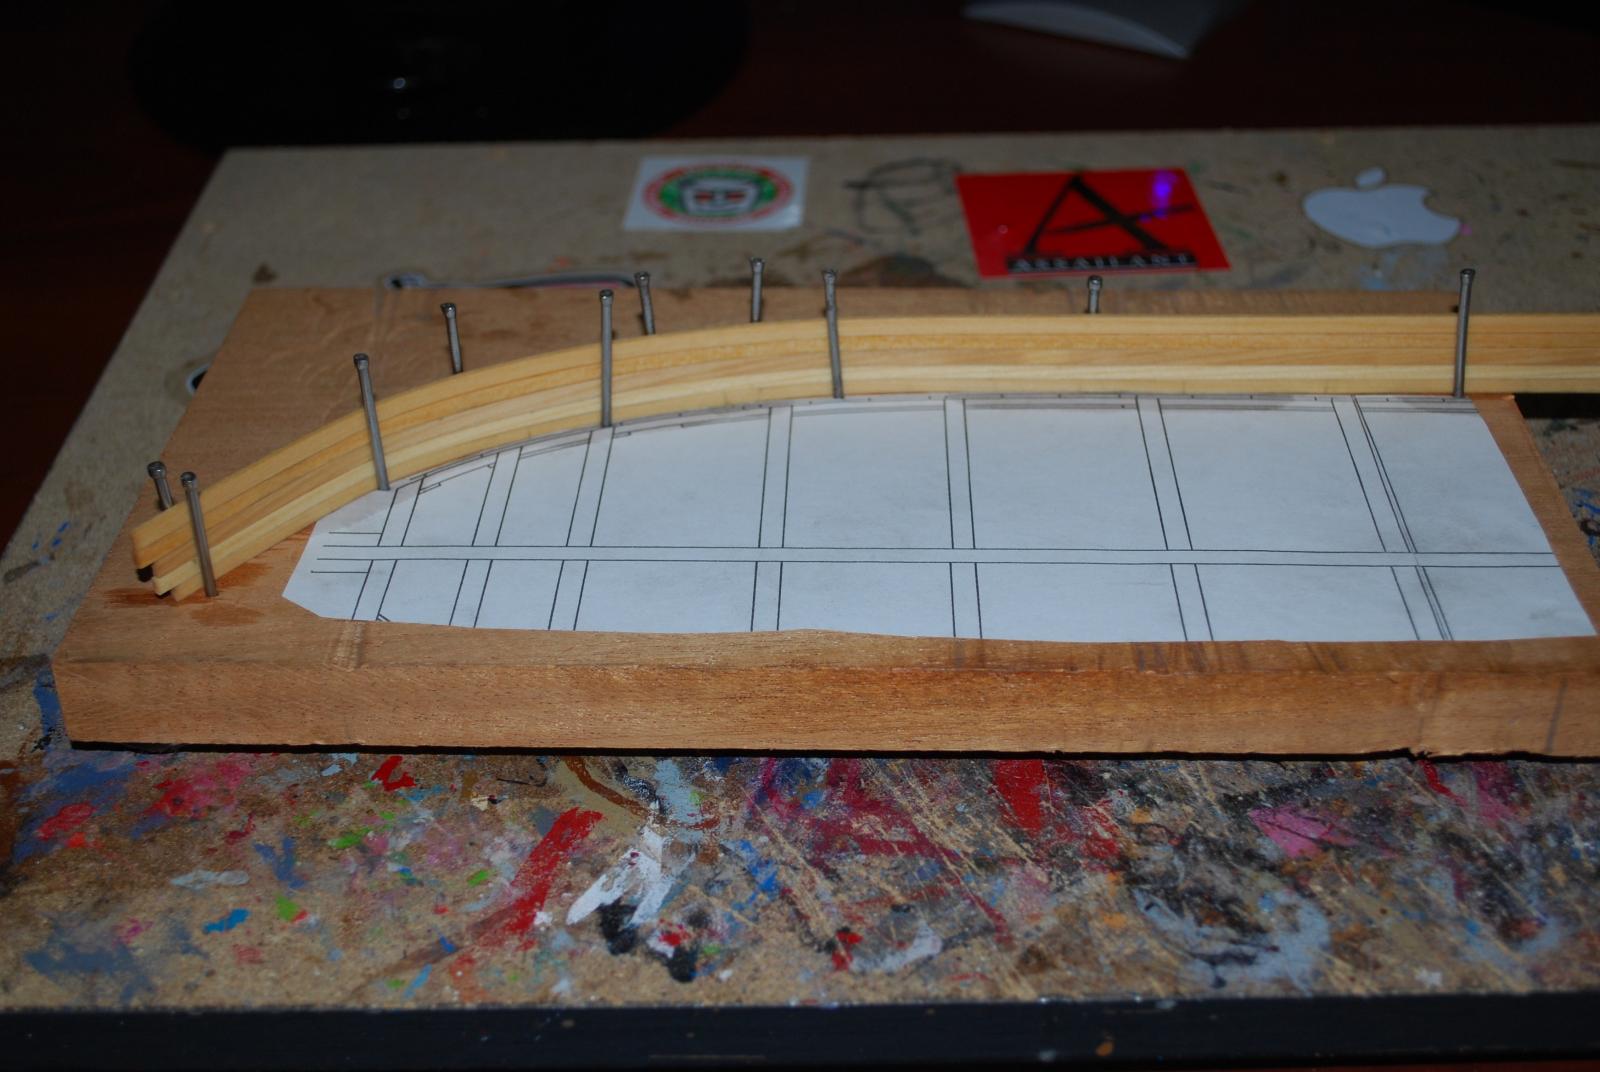
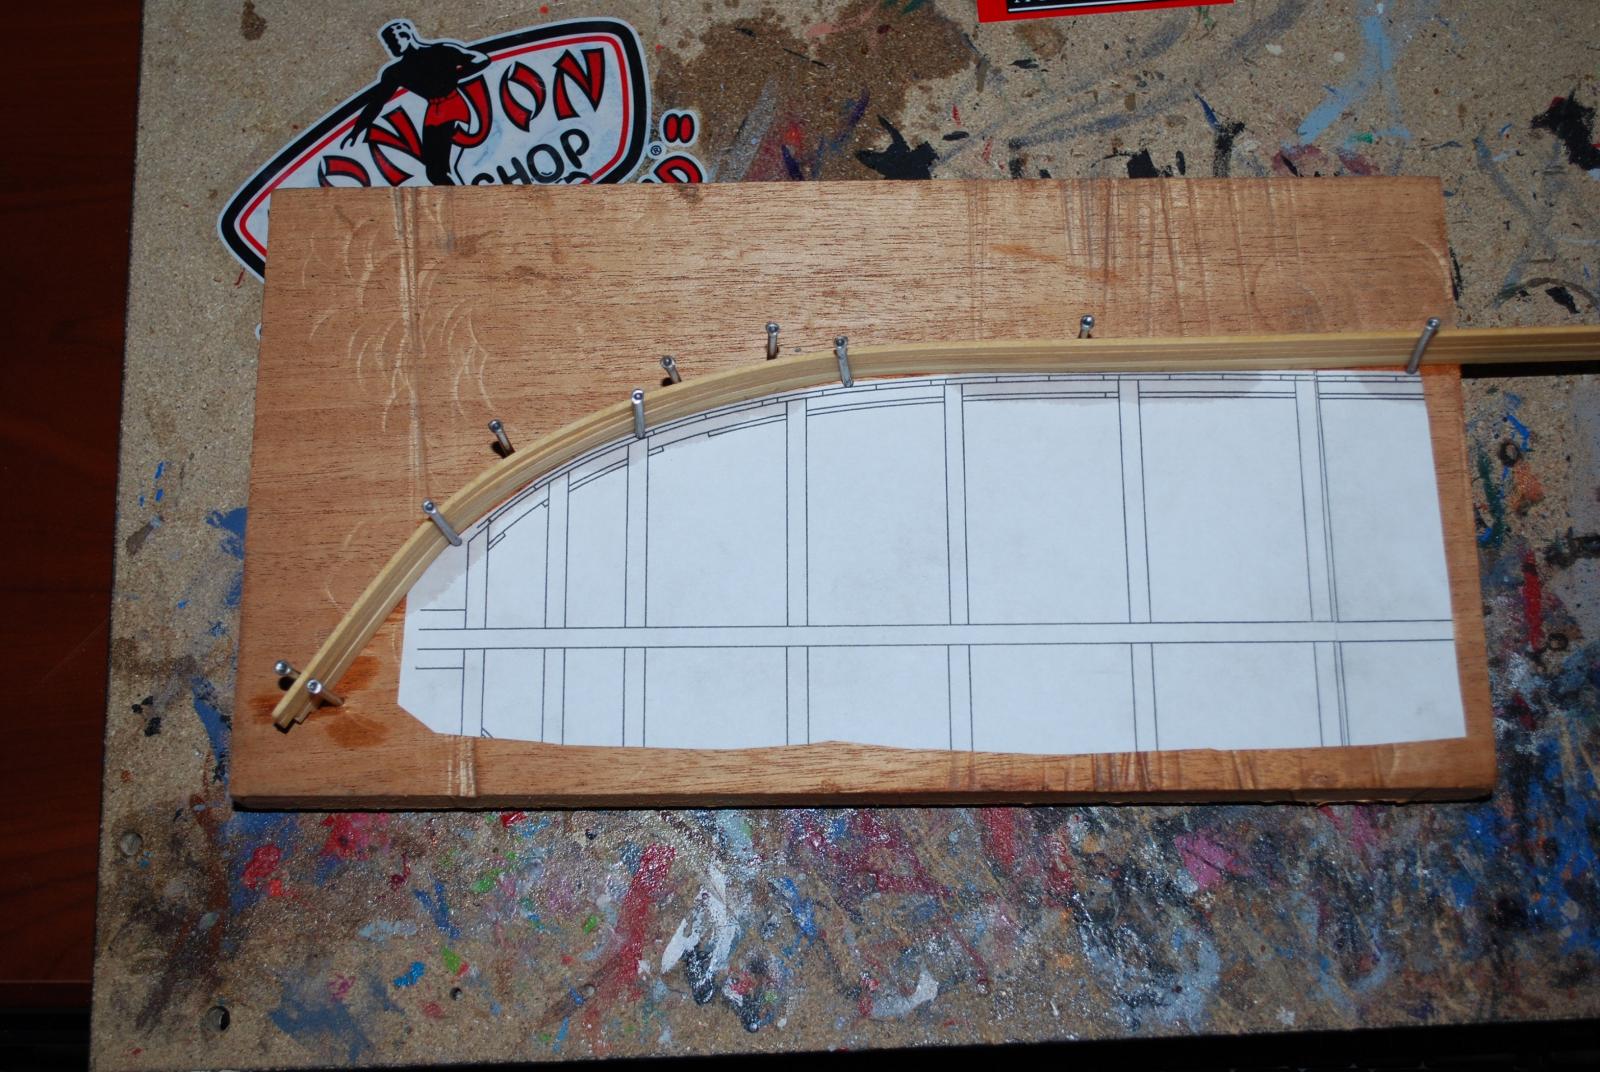
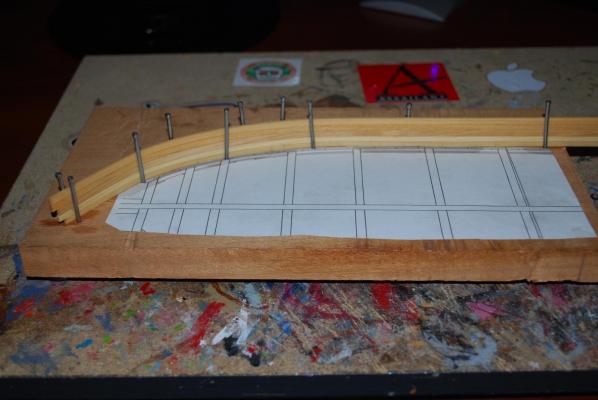
Plank bending jig created today. First planks now drying. Not very pretty but it gets the job done.

-
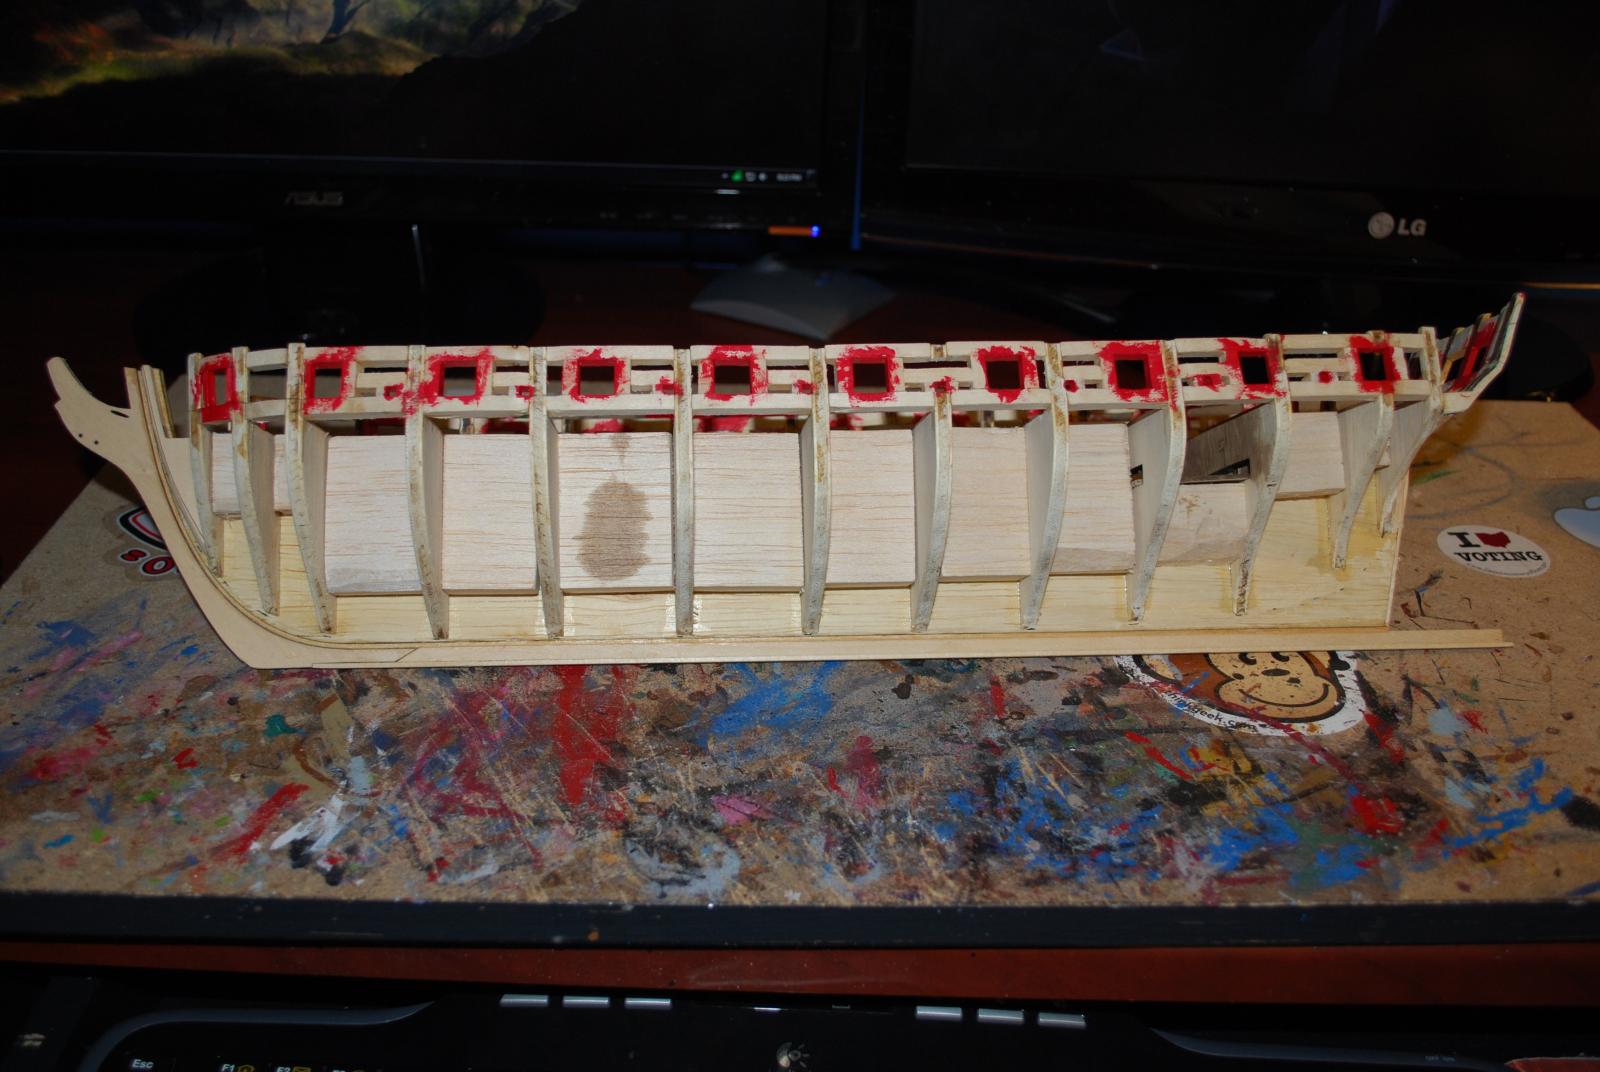
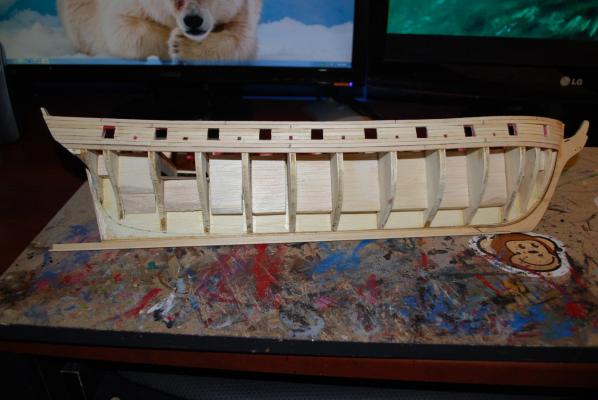
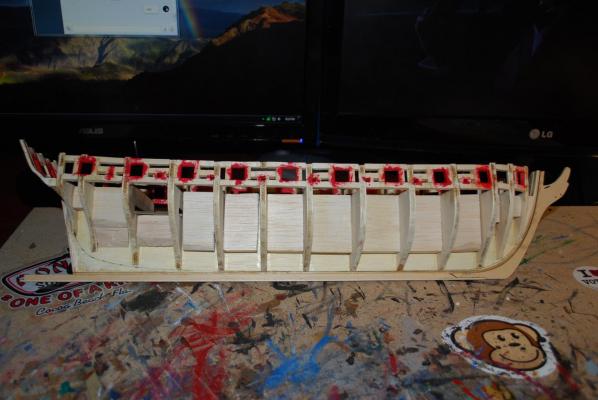
Well have all the gun port and sweep port framing done on both port and starboard, and also did the stern framing. Just finished painting all the ports with model shipways red. Everything is faired at this point, I am not really sure if I have taken enough off of the stern filler pieces. I have a picture of it posted below, so if anyone can give me any tips that would be great.


-
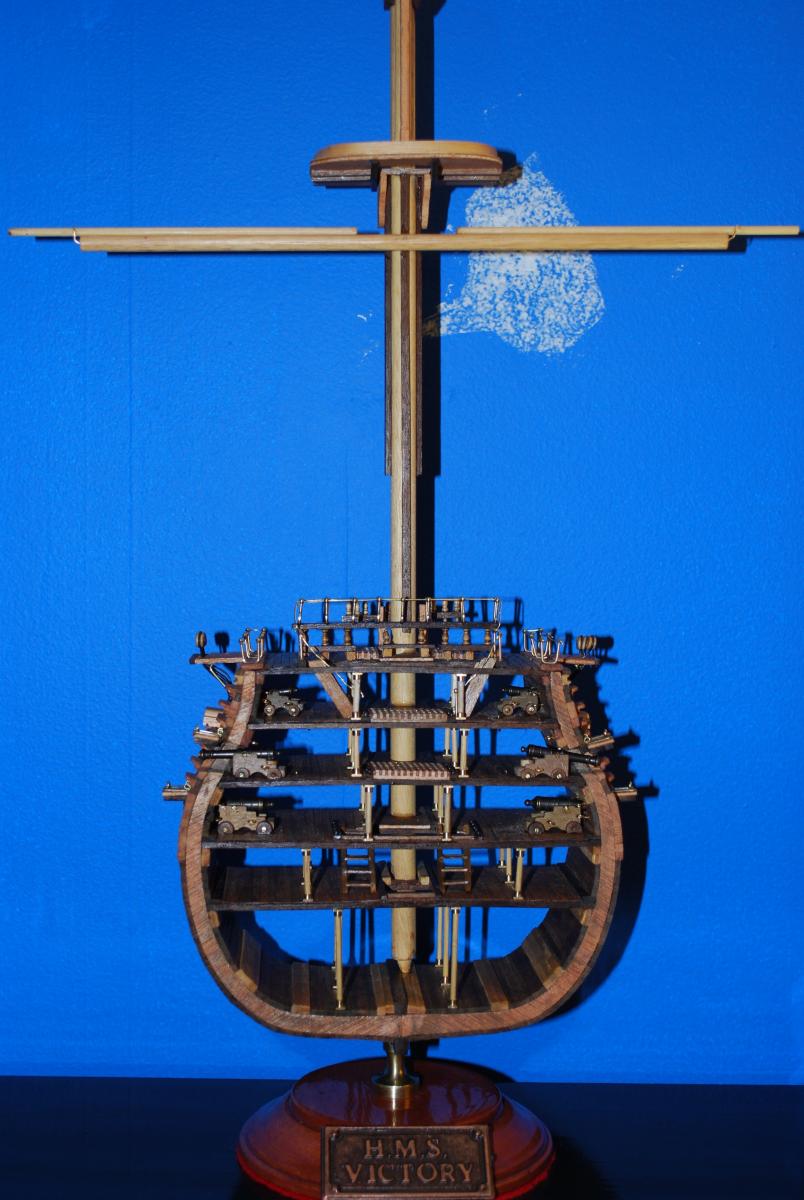
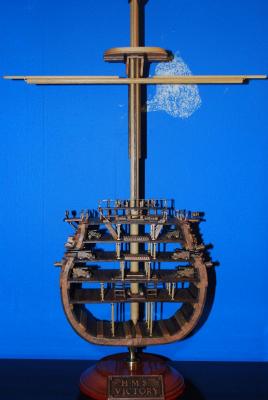
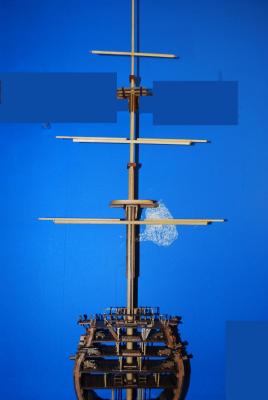
I have gotten quite a bit done the last couple weeks. I am going back and forth between this build and my Syren. I have some additional rigging to do on the cannons, and quite a bit of rigging left to do on the mast. It is coming along nicely, I have definitely made some mistakes, but I have learned a lot from them, so that's whats important. Wow, can the rigging get tedious. It has really shown me that I need to get some new glasses! haha! Dr. Manhattan chilling next to the victory cross section. Wall patching in progress.. The corner of my Syren, that is where it gets stored while glues dry.


-
guitarguy687 reacted to a post in a topic:
US Brig Syren by Augie - FINISHED - Model Shipways - 1:64
-
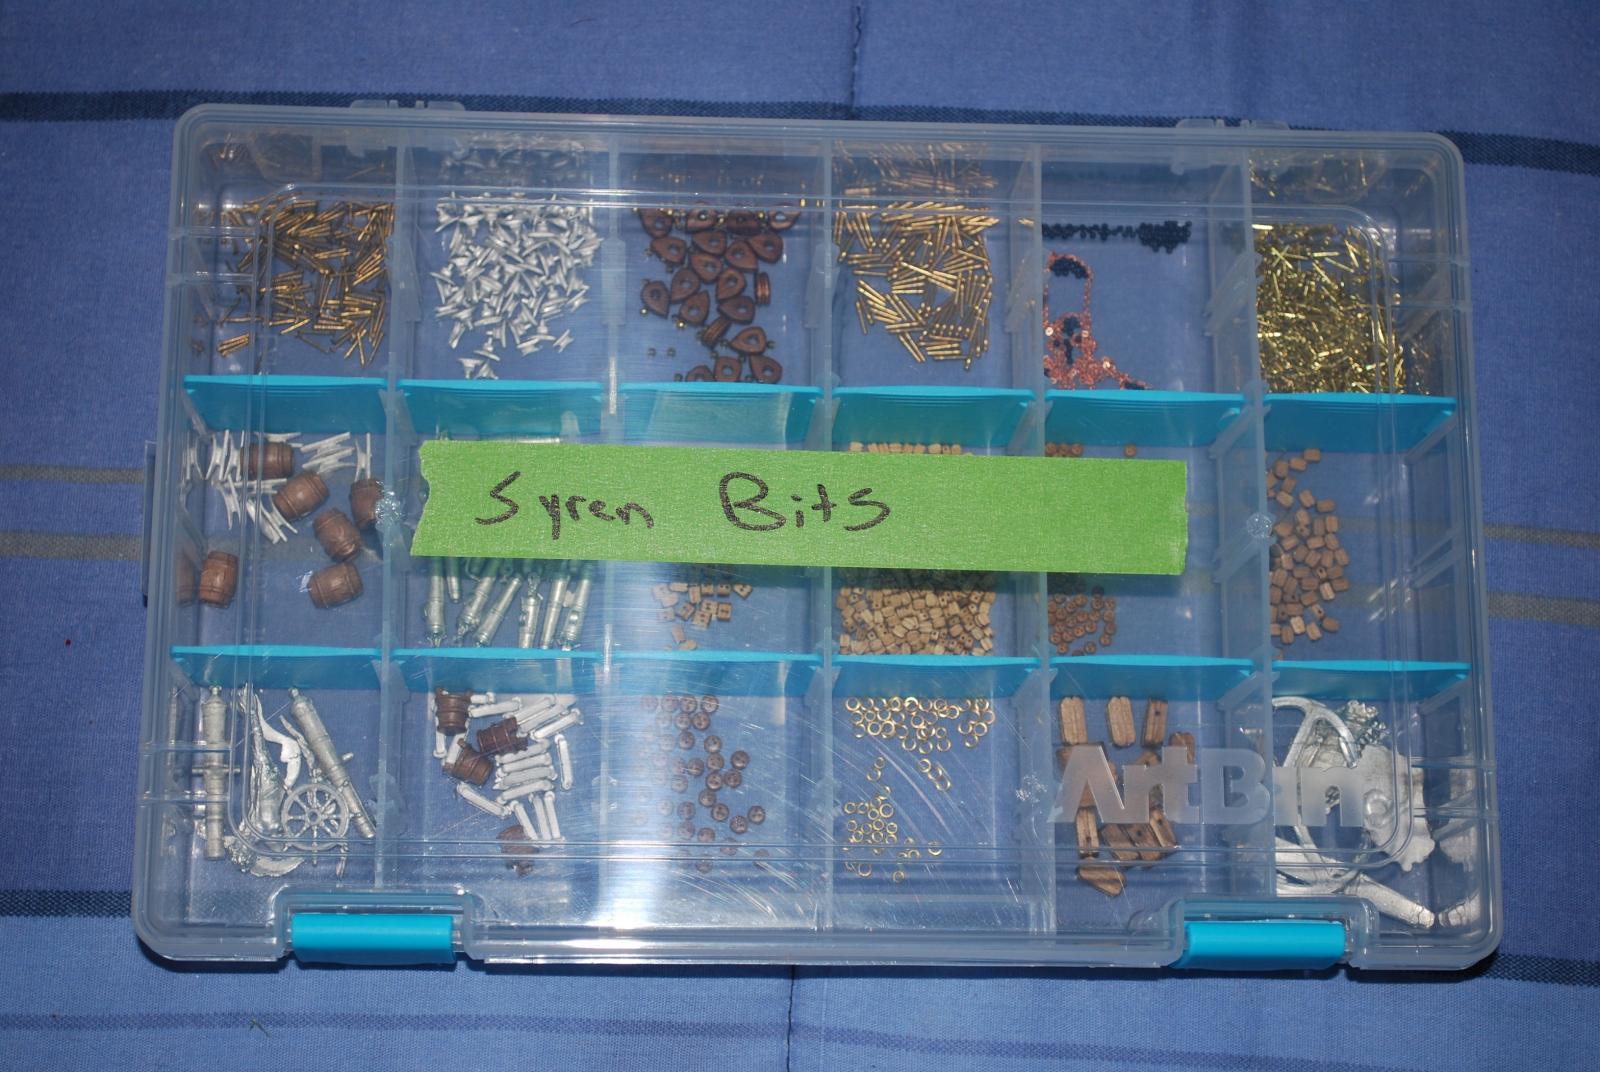
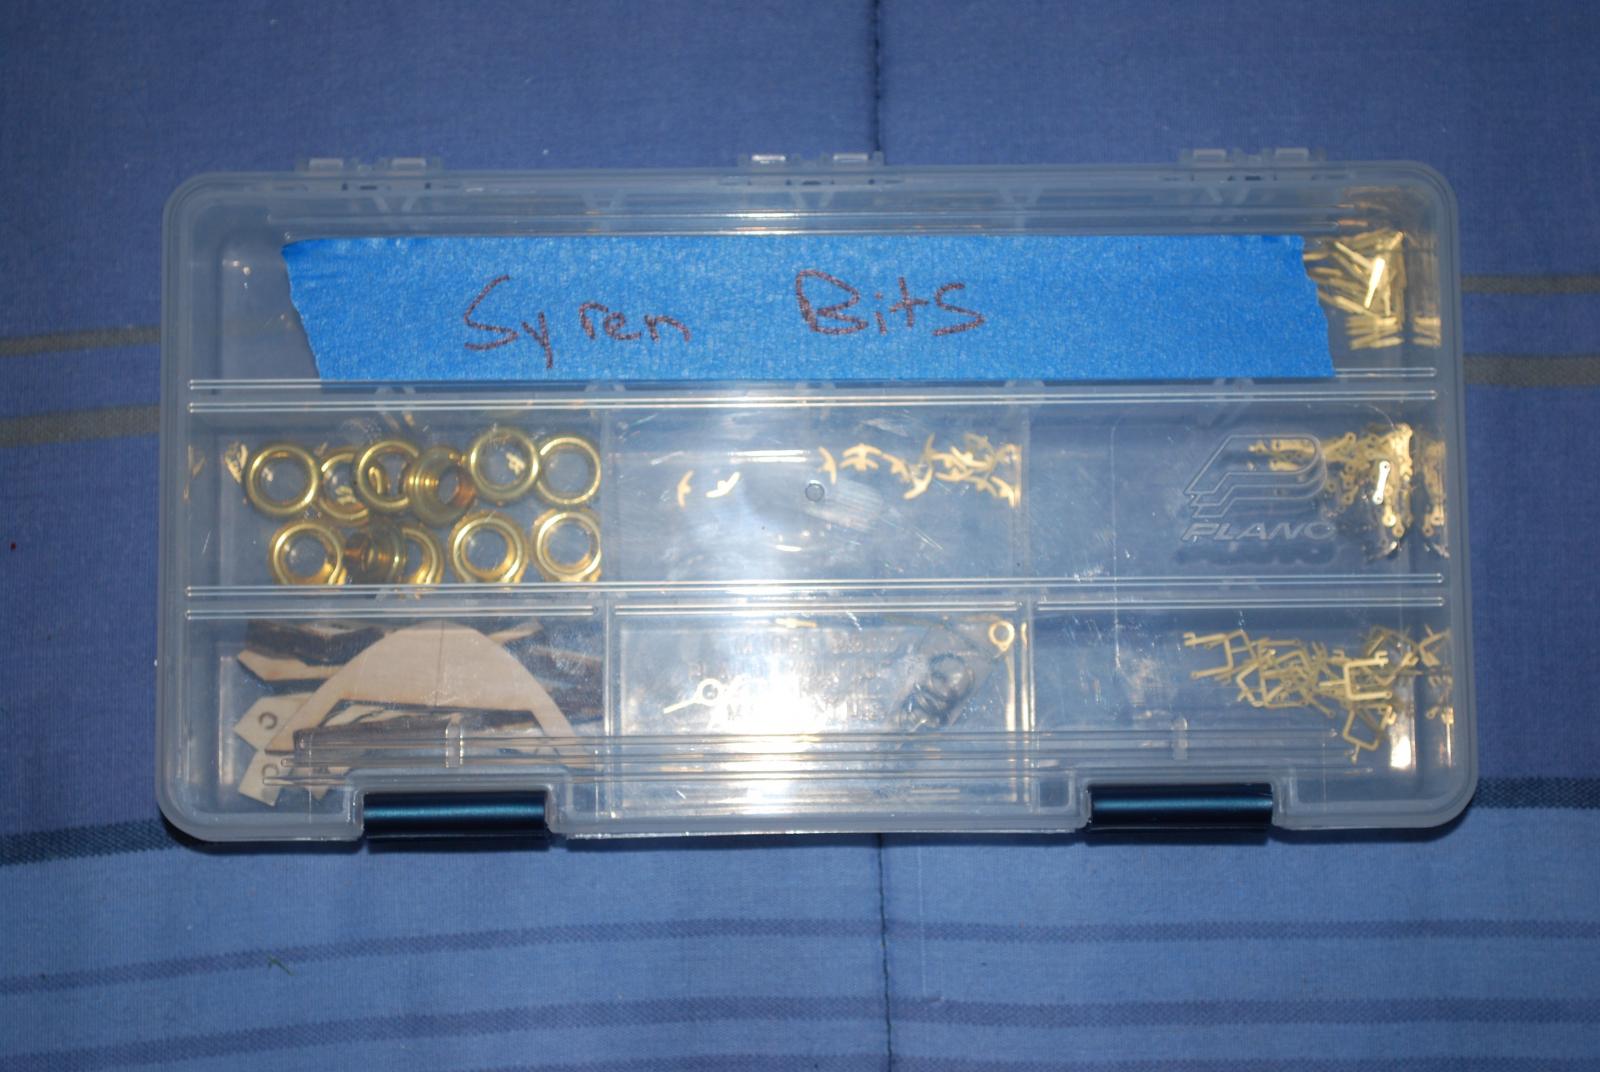
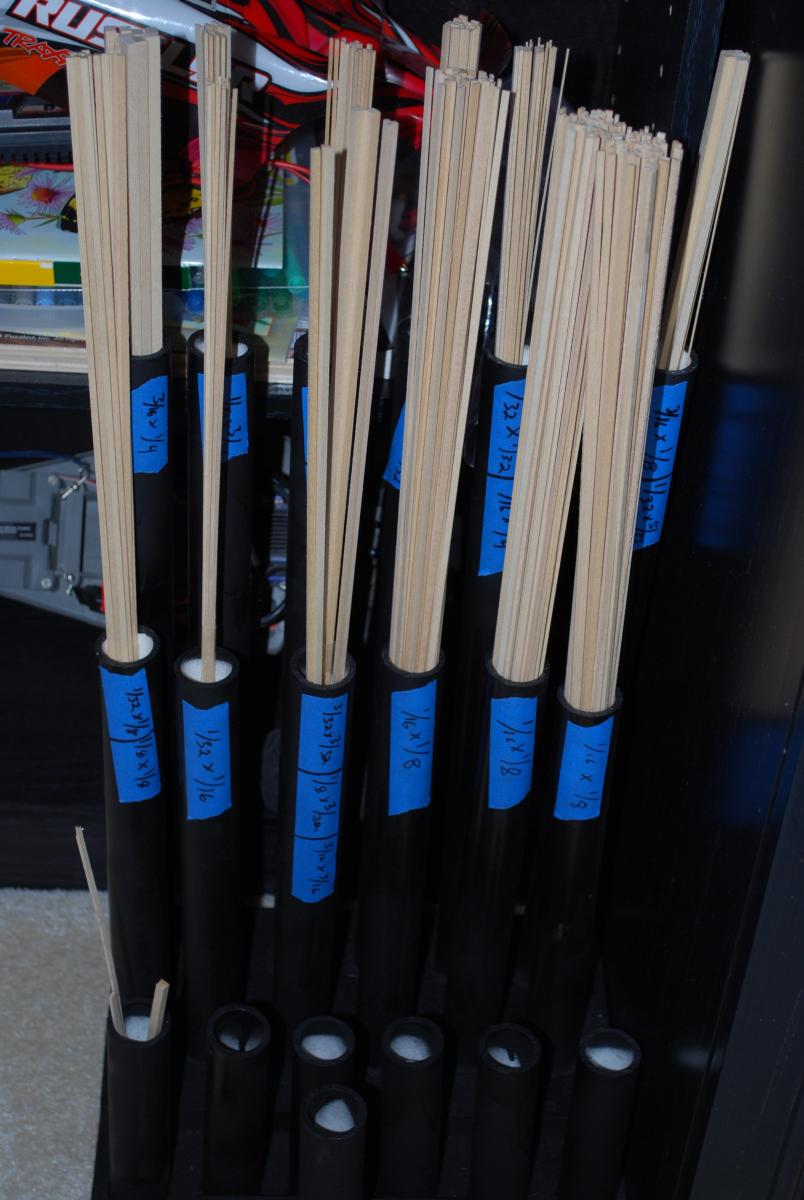
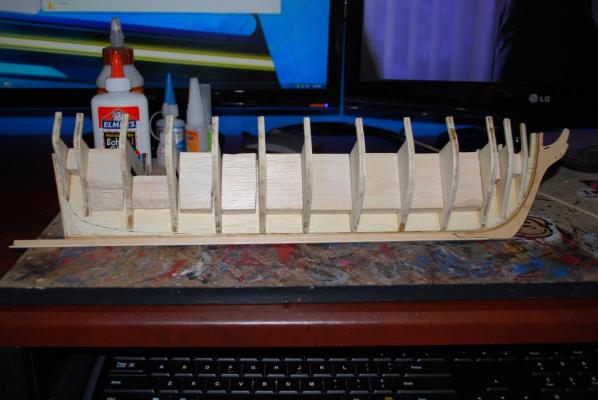
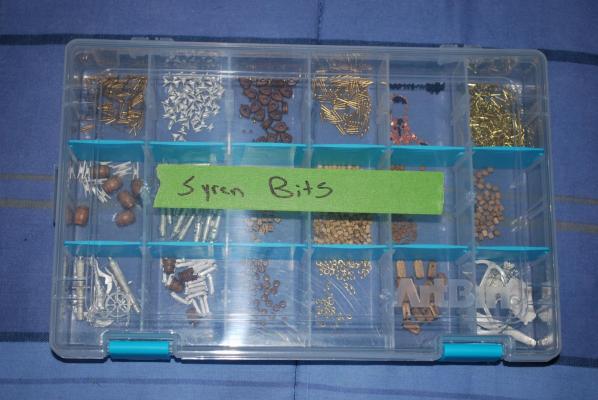
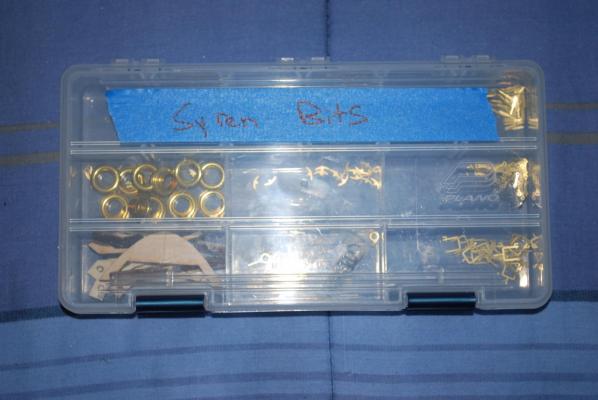
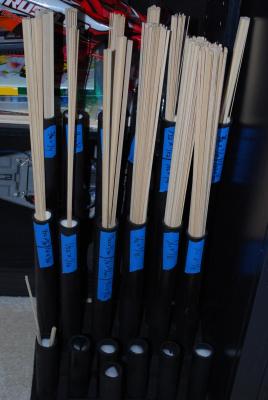
Hello everyone! Well as expected M.E. was awesome about the parts, and they arrived the next day. First thing I did was cut out all the parts, then obsessively organized everything into divided boxes, and the basswood strips into my wood organizer I made awhile back. I guess this is one good thing about O.C.D. Cleaned up the bulkhead former, all the bulkheads, etc. Cut and shaped down from the bearding line, installed the rabbet, the stem knee, then the keel, and false keel. I used rubber cement to temporarily attach the false keel as I did not have any double sided tape handy. Then dry fitted all the bulkheads to check for accuracy, squared everything up, and then permanently attached them all. After that it was on to the bulkhead filler blocks, used balsa wood blocks and formed them as well as I could without pushing anything out of square. That brings us up to where I am now, next is planking the platform between bulkheads 16 and 20, then bow fillers. I unlike a lot of people do most of my work at night during the week, and get very little done on the weekends. So see you all next week!


-
Thank you for all the well-wishes!
-
Can anyone confirm or deny for me if the filler pieces used in between the bulkheads are traditionally included in the kit? If they are not (which I am assuming they are not since I had none in the kit), what would you recommend using?
-
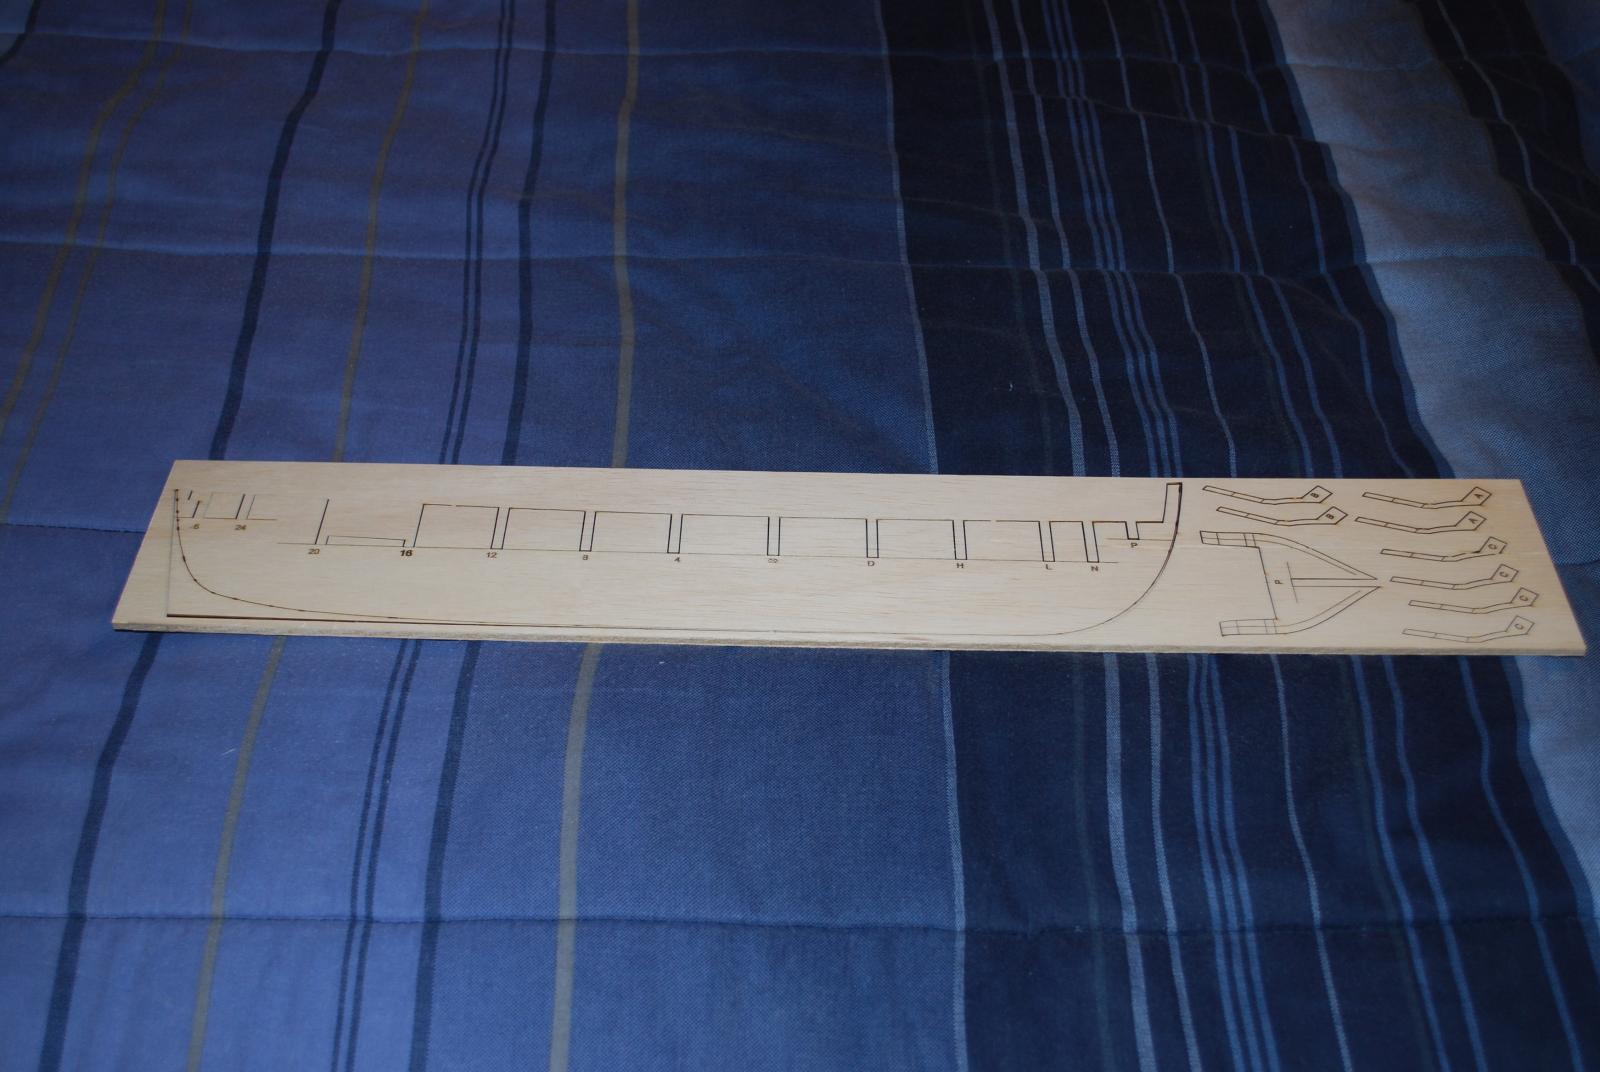
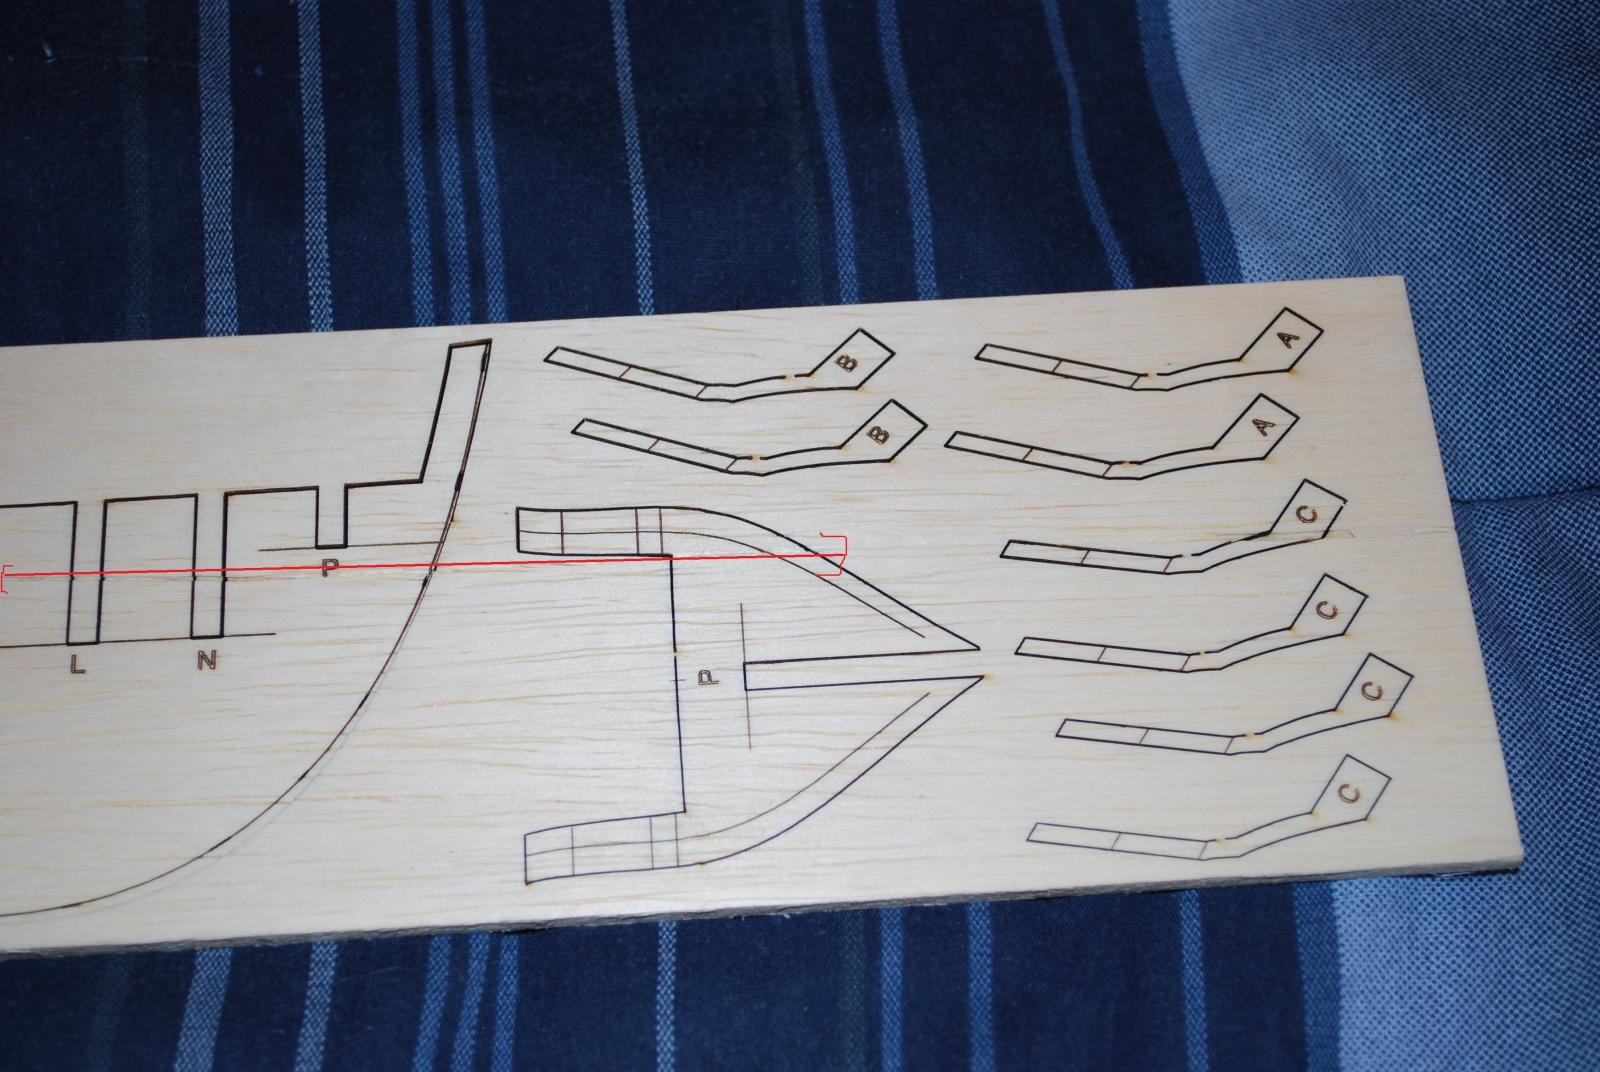
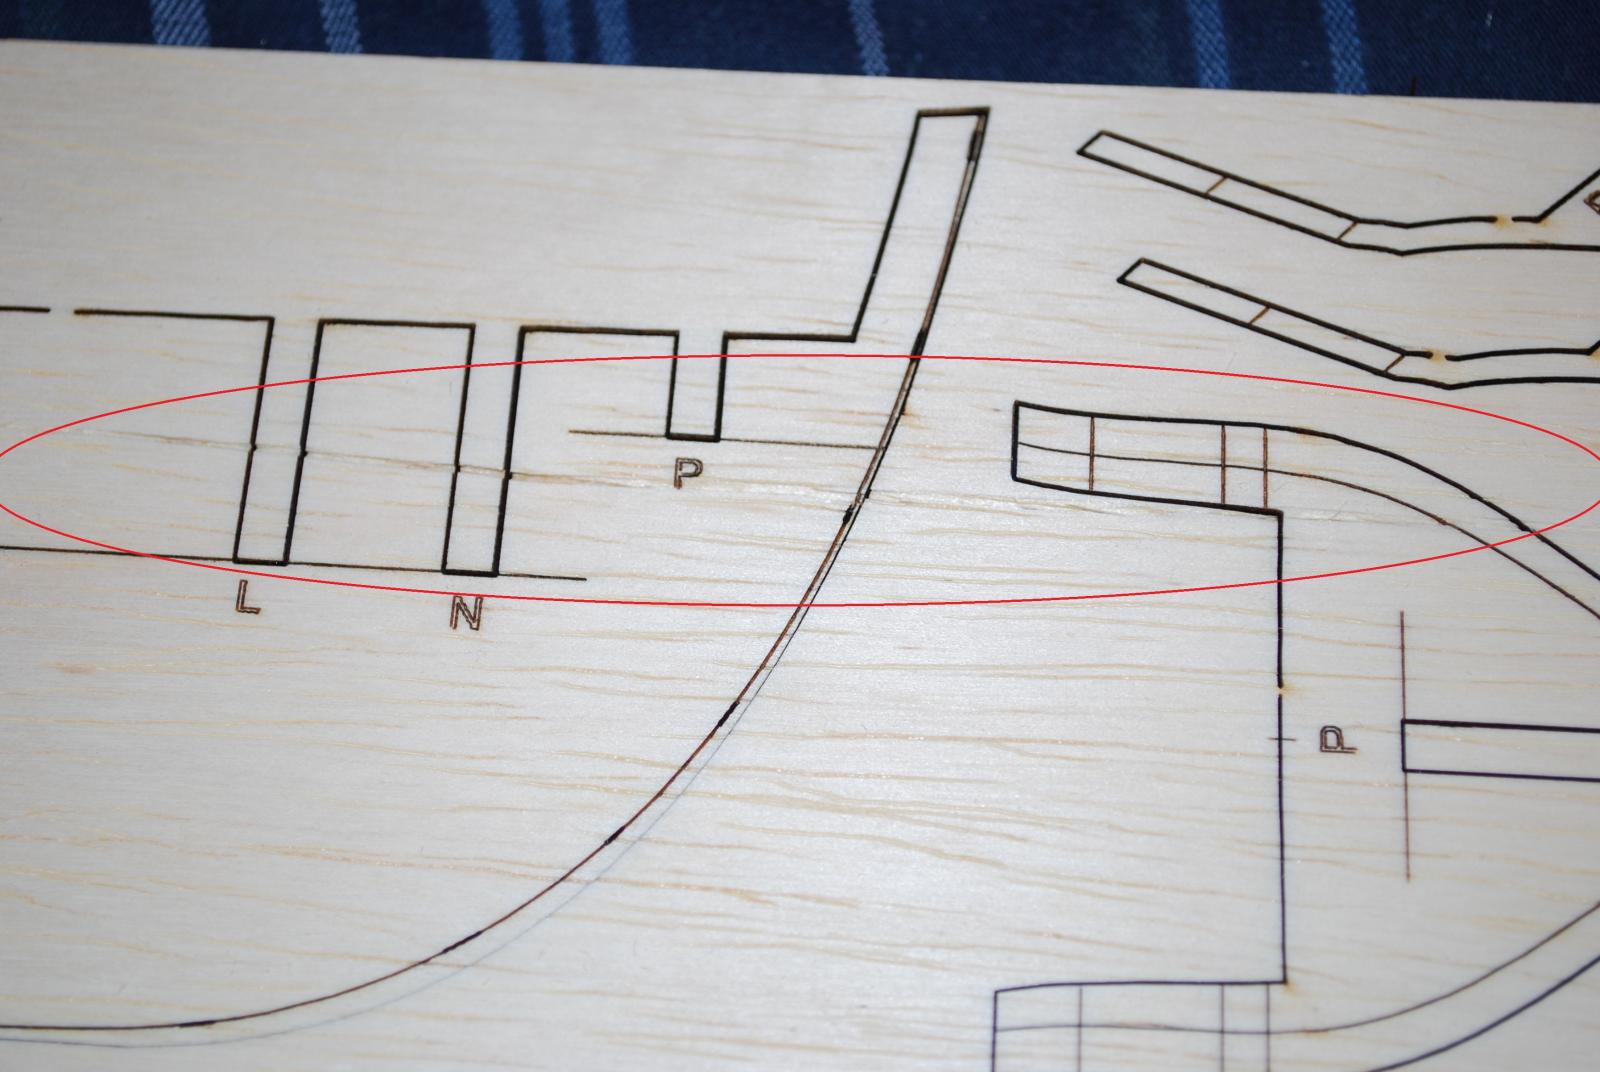
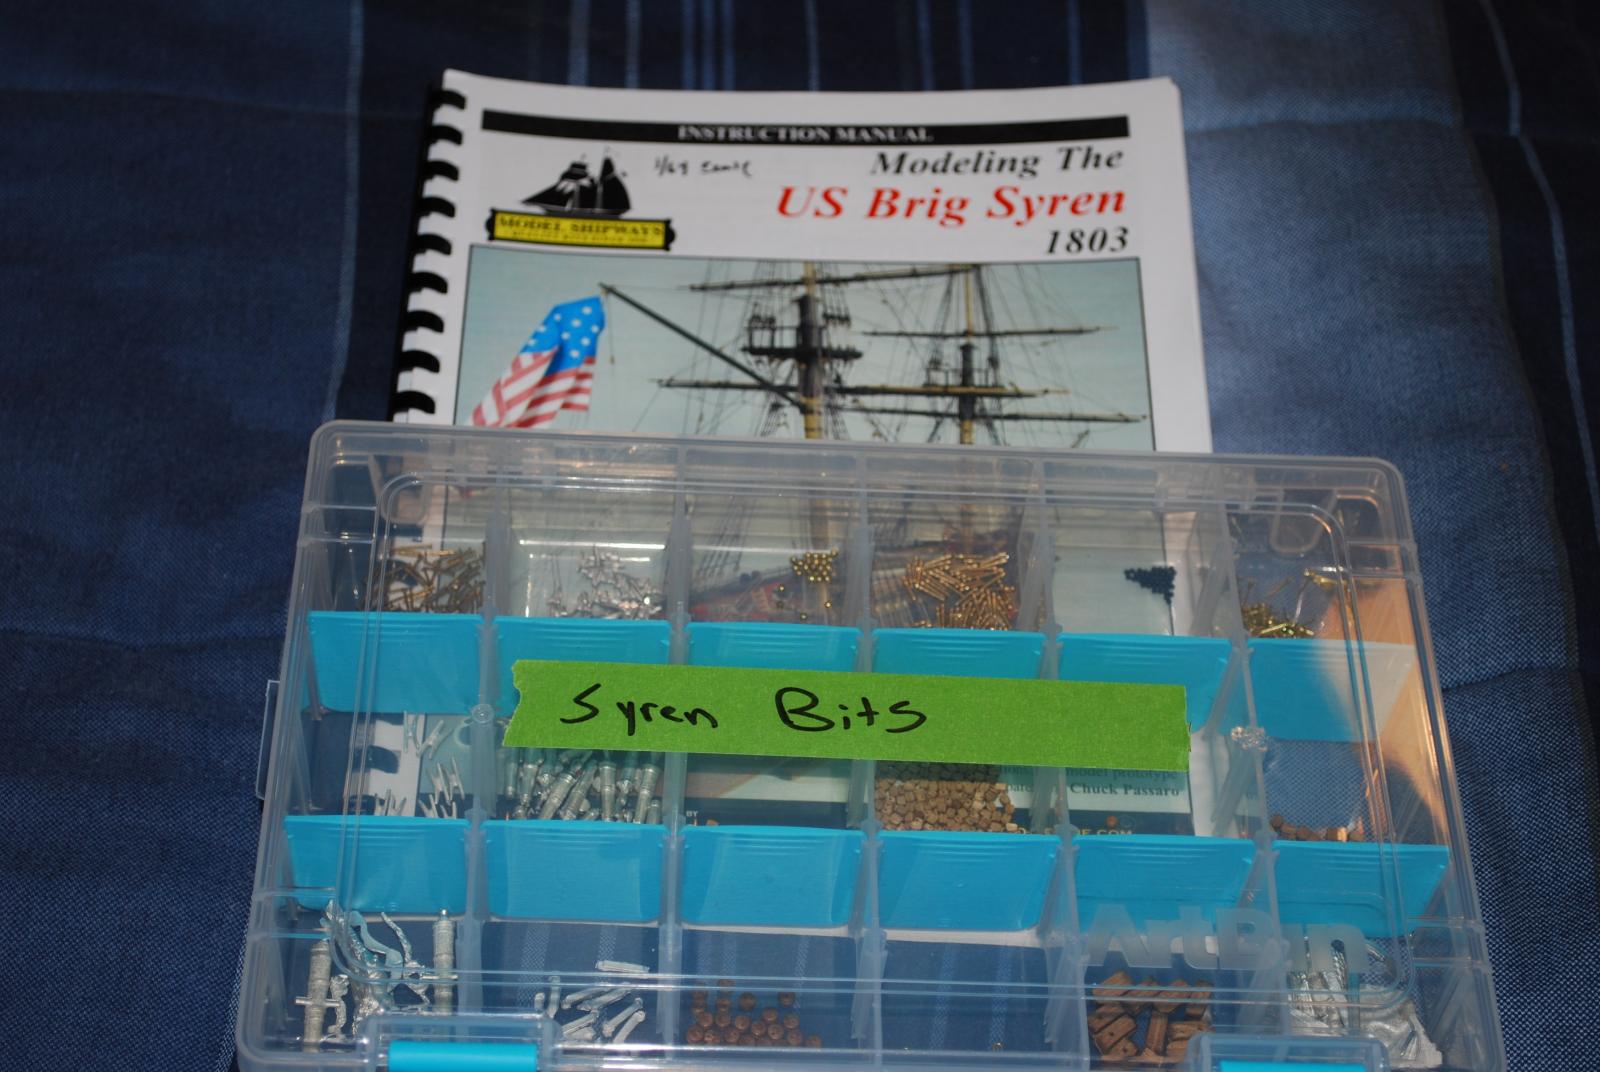
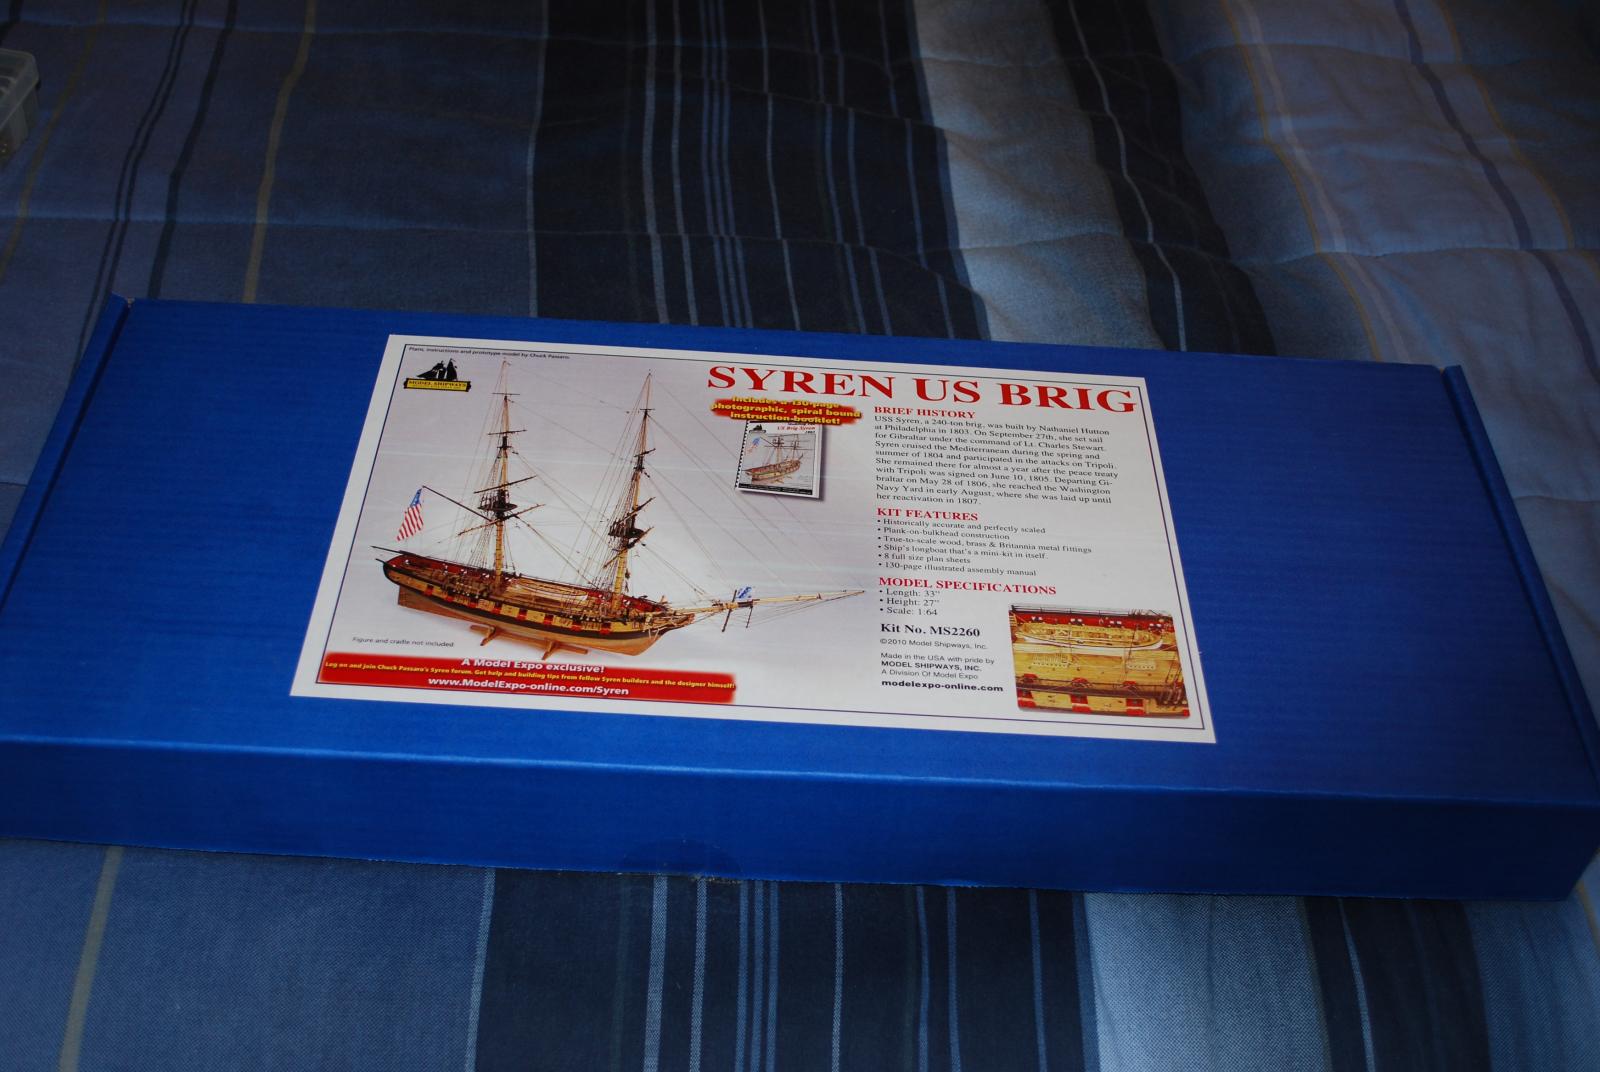
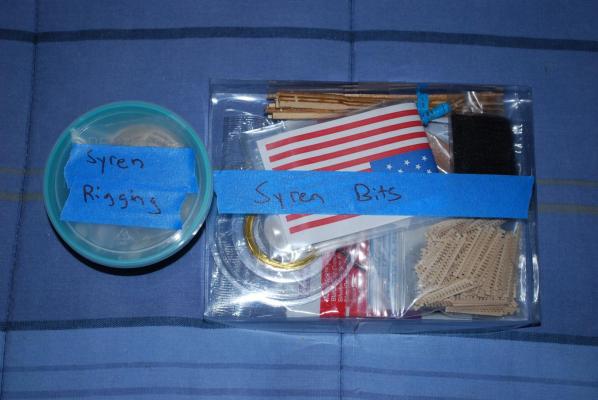
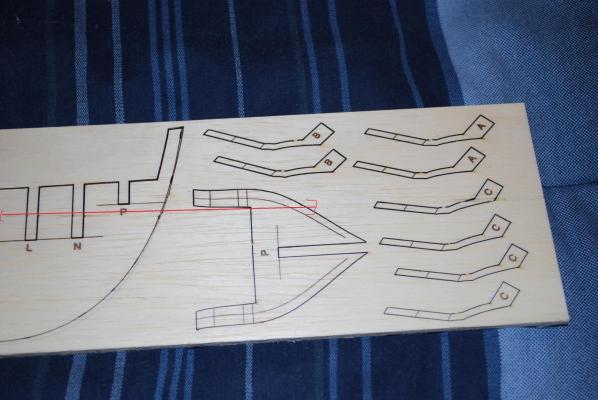
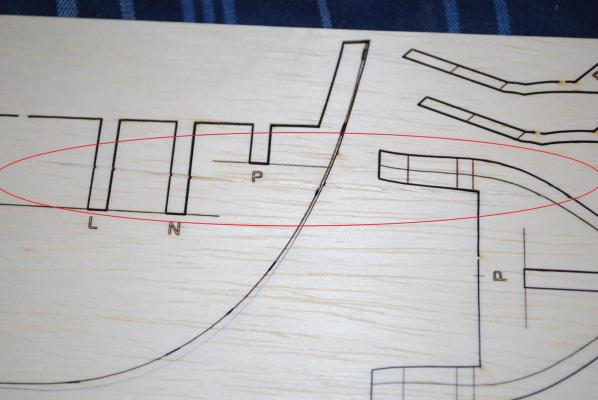
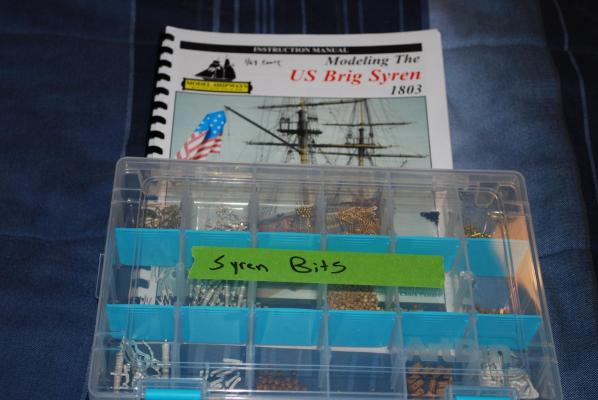
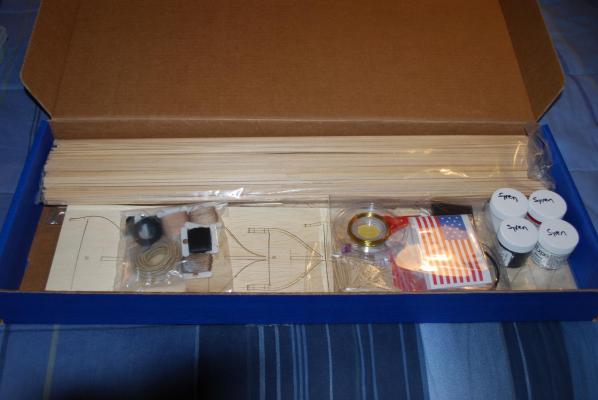
Hello everyone! Opened up my Syren kit yesterday <-- VERY excited. Checked the parts list, checked for quality, and all that other fun un-boxing stuff. Noticed some very good things, it had the correct carronades, I think this is the best out of the box instructions I have ever seen - props to Chuck! Most all the parts were there, was missing a couple things though, some 5mm cleats, also no rigging hearts were included (or on the parts list) but in chucks instructions it very clearly shows them being used in a couple places. Nothing to be used as filling blocks in the framing was included, maybe this is normal, not a big deal to pick some up. The one thing I did find which was very upsetting was a very large about 6mm thick crack down the laser cut sheet that holds the center keel and a couple other framing pieces were affected. Going to give M.E. a call Monday about that (see pictures). Otherwise everything looked to be in great shape, good machining, nice cast pieces, and all wood blocks, dead-eyes, etc were in really really good condition compared to what I have seen in some European kits. I am eager to get started on this build, but it will be a little limited until M.E. gets a new center keel sent out to me. I will keep you updated, AND to be expected un-boxing pictures!!! Center Keel Sheet I was speaking of. It's more difficult to see the damage from the camera. I tried to highlight it to make it more visible. It is not split all the way through but there is only about 1mm of material left in that large indent. It runs from about bulkhead H's slot all the way through the actual bulkhead P. The AMAZING instructions booklet, and my organizational attempt at some of the smaller little bits. MMMM Blue Box The rest of the laser cut pieces, the dowels, wood, etc all look great and pristine condition. I also purchased the Syren paint set which can be seen here. More updates will be coming!


-
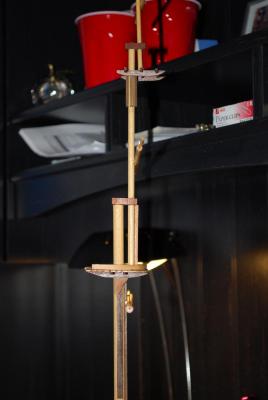
Made some progress on this model, though I think things are going to come to a screeching halt. My Syren kit is calling my name, so for awhile I will have 2 going at the same time. Anyway I have assembled and mounted all the cannons, built the main mast and all of the yards. Basic gluing to the model, still a lot of shaping and refining to do. I have also mounted the model to its final base, took some work to get the things leveled, but it worked out ok. Detail work and rigging left to do...

-
Looking great! I am itching to get started on my Syren, so I will be watching enthusiastically!
-
Hello there! Sending good health vibes your way! Looks great so far! I am working on the Corel Victory cross section right now so I will be eager to see what some of the differences in the kits are!