jim_smits
-
Posts
650 -
Joined
-
Last visited
Content Type
Profiles
Forums
Gallery
Events
Everything posted by jim_smits
-

Mechanical Solar System Build Log
jim_smits replied to jim_smits's topic in Non-ship/categorised builds
Hi there I’ve come back to the thread very late! glad you got your gearing problems sorted. Jim -
Hi The mounting posts are these: https://www.cornwallmodelboats.co.uk/cgi-bin/sh000001.pl?WD=mounting&PN=Artesania-Latina-Bronze-Finish-Mounting-Column-34mm-AL8816.html#SID=1856 I used one of these and another shorter one. Both at Cornwall Model Boats. Hope that helps.
-
Hello there! I haven’t been on in quite some time! You’ve picked a great model as a novice. Snake was my first build started. You are correct that I haven’t yet finished but don’t let it worry you, life simply got in the way. I moved to a new house and didn’t have a work area set aside and then my son was born a little over two years ago so finding model time has been very hard! Any questions just ask and I’ll try to help. Noticed Beef has commented as well and he is an excellent modeller. All the best! Jim
-
HMS Snake by drtrap - Caldercraft
jim_smits replied to drtrap's topic in - Kit build logs for subjects built from 1751 - 1800
Hi there, Only just seen your message on my build log. I think jwvolz is about right. I didn’t add any eyebolts to the deck around the mizzen. Ill take a closer look tomorrow evening when I’m home from work and confirm the rigging layout. -
Standard caldercraft as I’m still working on finishing the Snake build. The Hood has been parked for the moment.
-
With the munchkin in tow we had family visits well into January! Anyway, I need more rigging from CMB and then we might even move this discussion into the correct build log....! 😬
-
No avalanches in my garden I’ll have you know. Proper engineering there....! Still alive but busy with work, the munchkin and Christmas period.
-
Hi! Yes, personally I think best plan is to assemble all the yards separately and then start adding them to the masts. I would triple check all the plans (incl running rigging) for all block locations as I have been caught out and adding blocks while dodging rigging was painful. Also, if I started from scratch I would start from the bow and work towards the back. Take your time, study the plans carefully and really visualise in your head the steps needed. Break it down into mini projects and set yourself targets. Otherwise the rigging will see like a mountain to climb.
- 412 replies
-
- 2
-

-
- snake
- caldercraft
- (and 1 more)
-
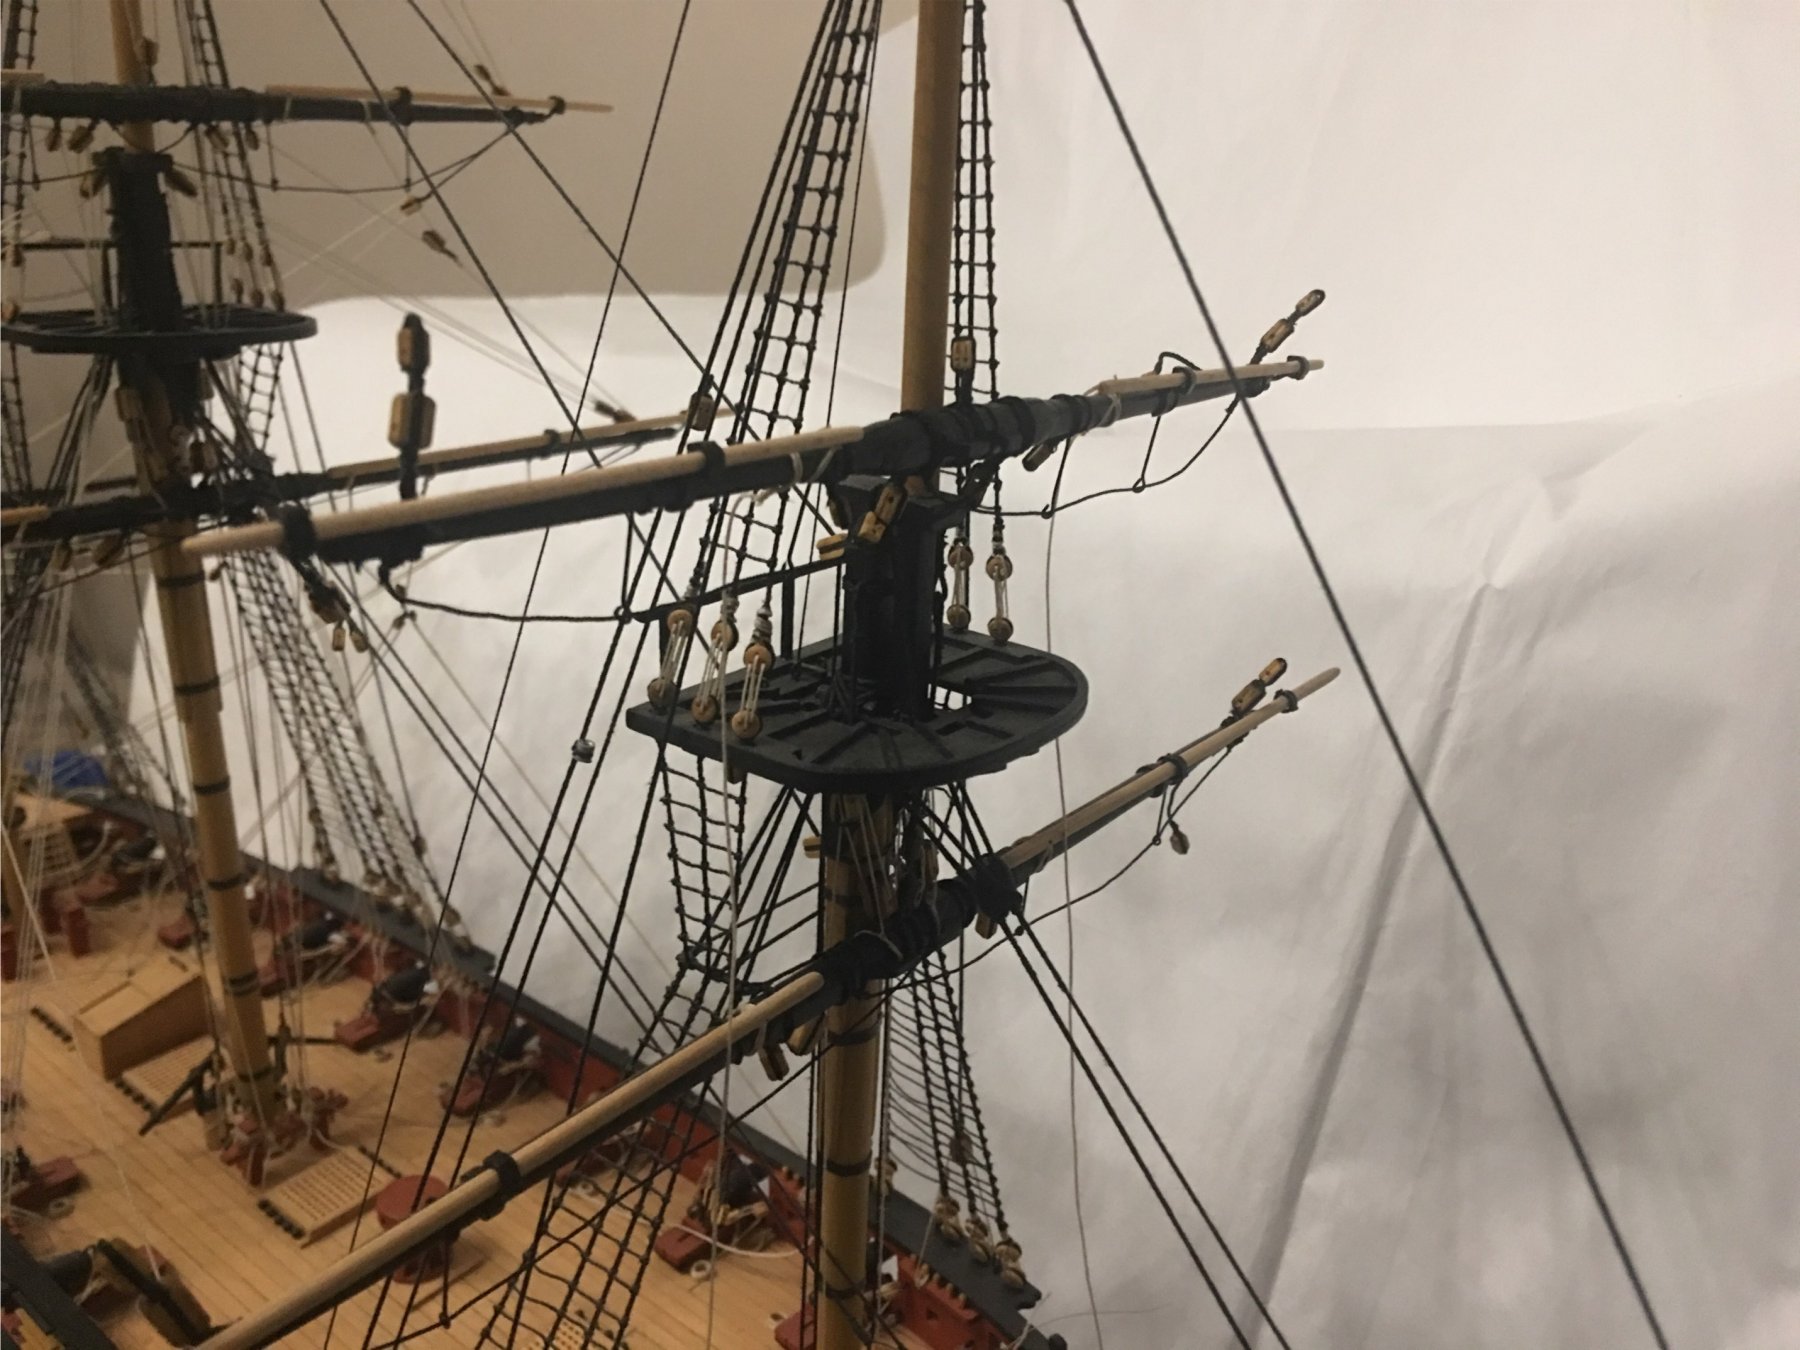
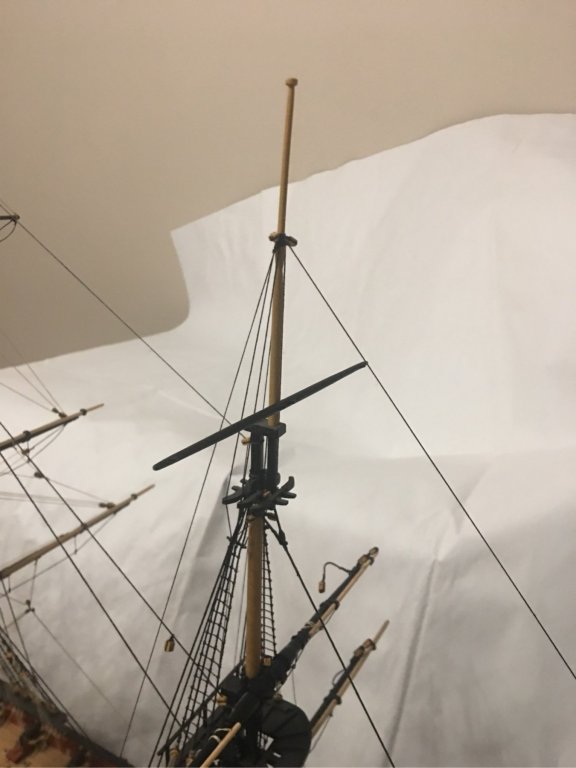
Thanks for the likes all. Quick update! The foremast top yard is now complete and attached with a pin and the parrals. Remembered how much I hated doing the parrals on the main mast as it very fiddly and restricted. Top gallant is now next target to be rigged up ready for permamnt attachment to the mast.

- 412 replies
-
- 9
-
-
- snake
- caldercraft
- (and 1 more)
-
Only just caught this build today! Looks really good cog, both the detail and paint job are excellent.
-
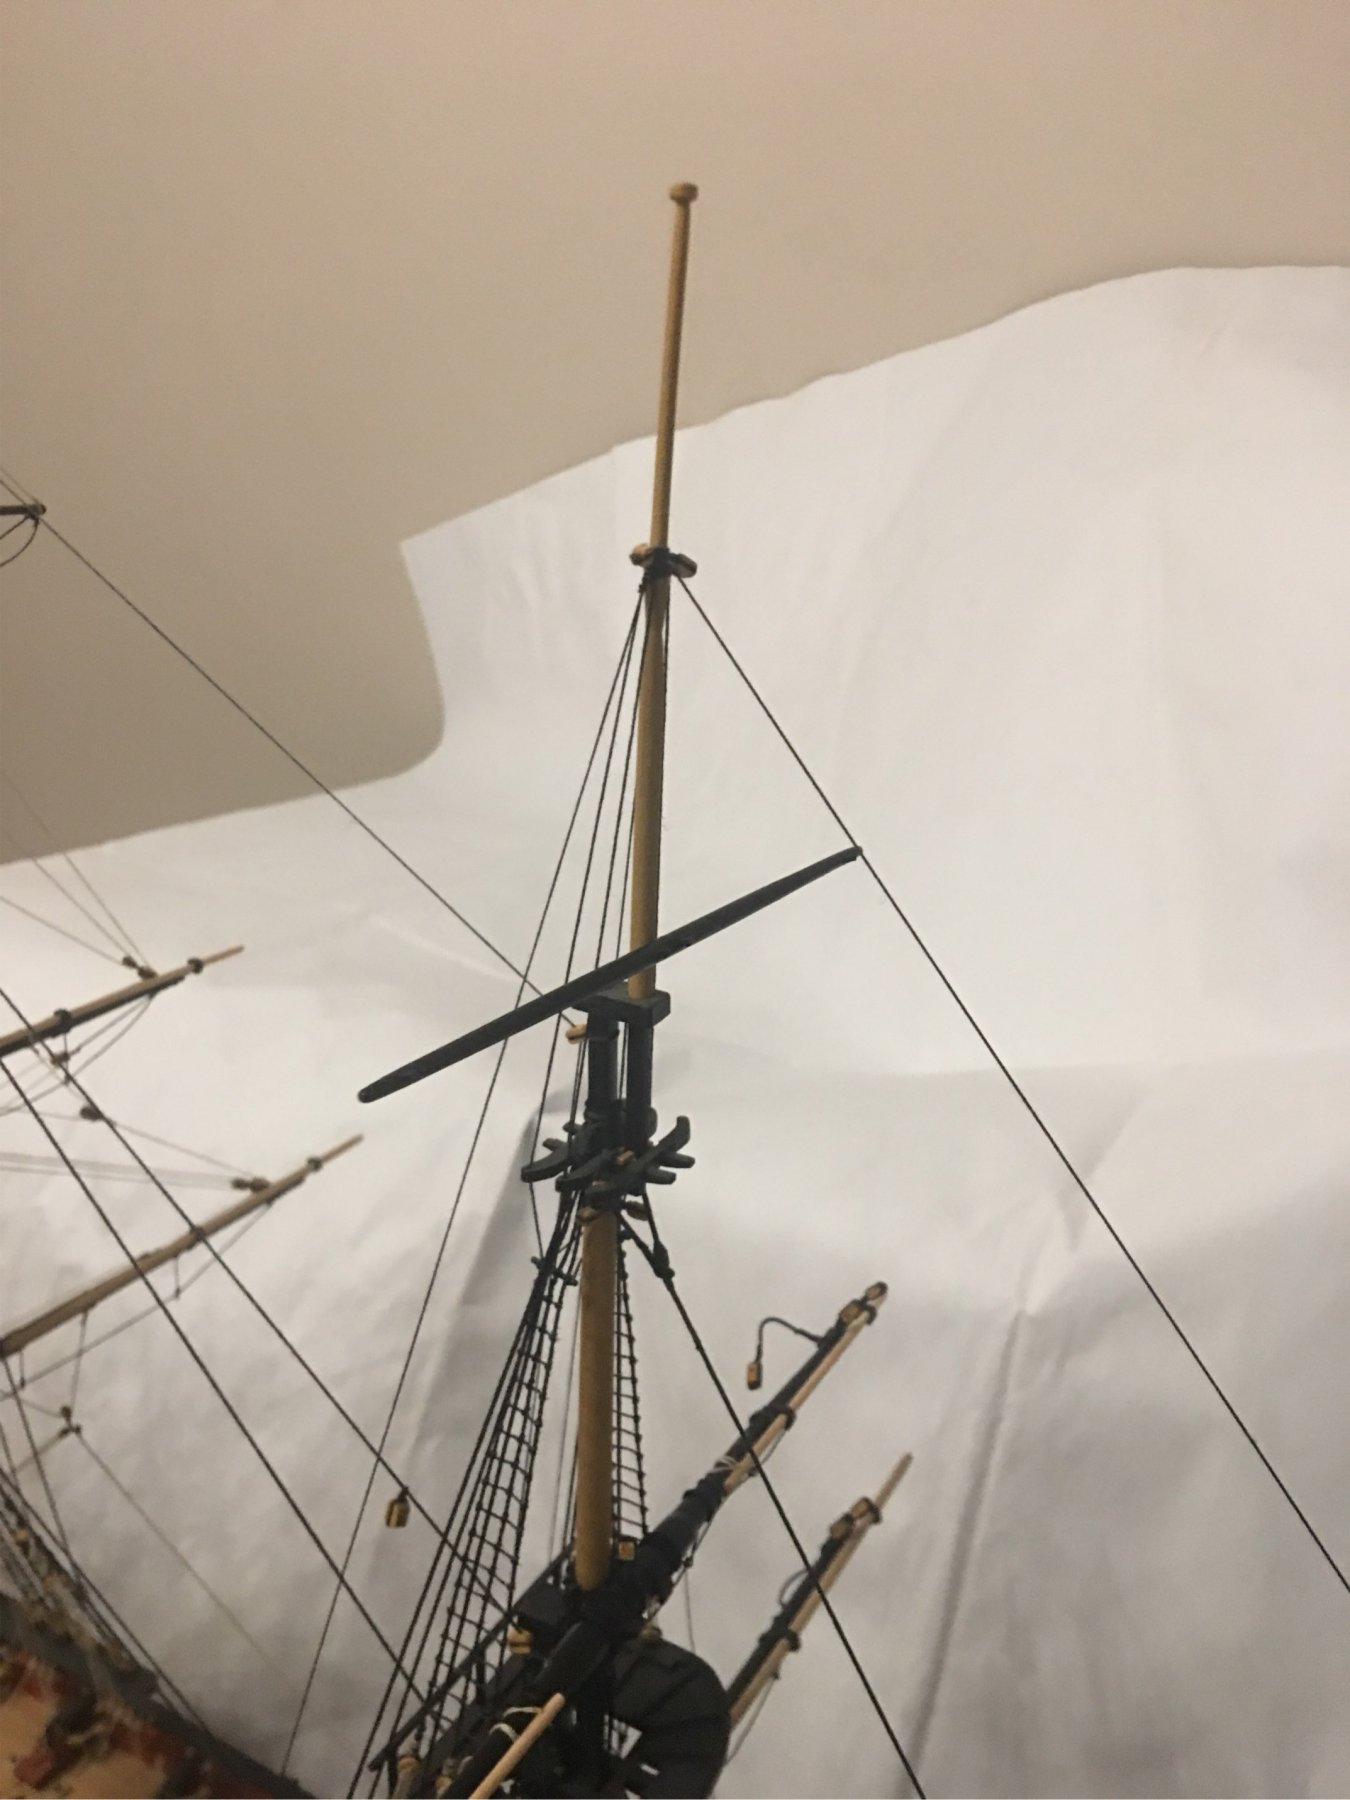
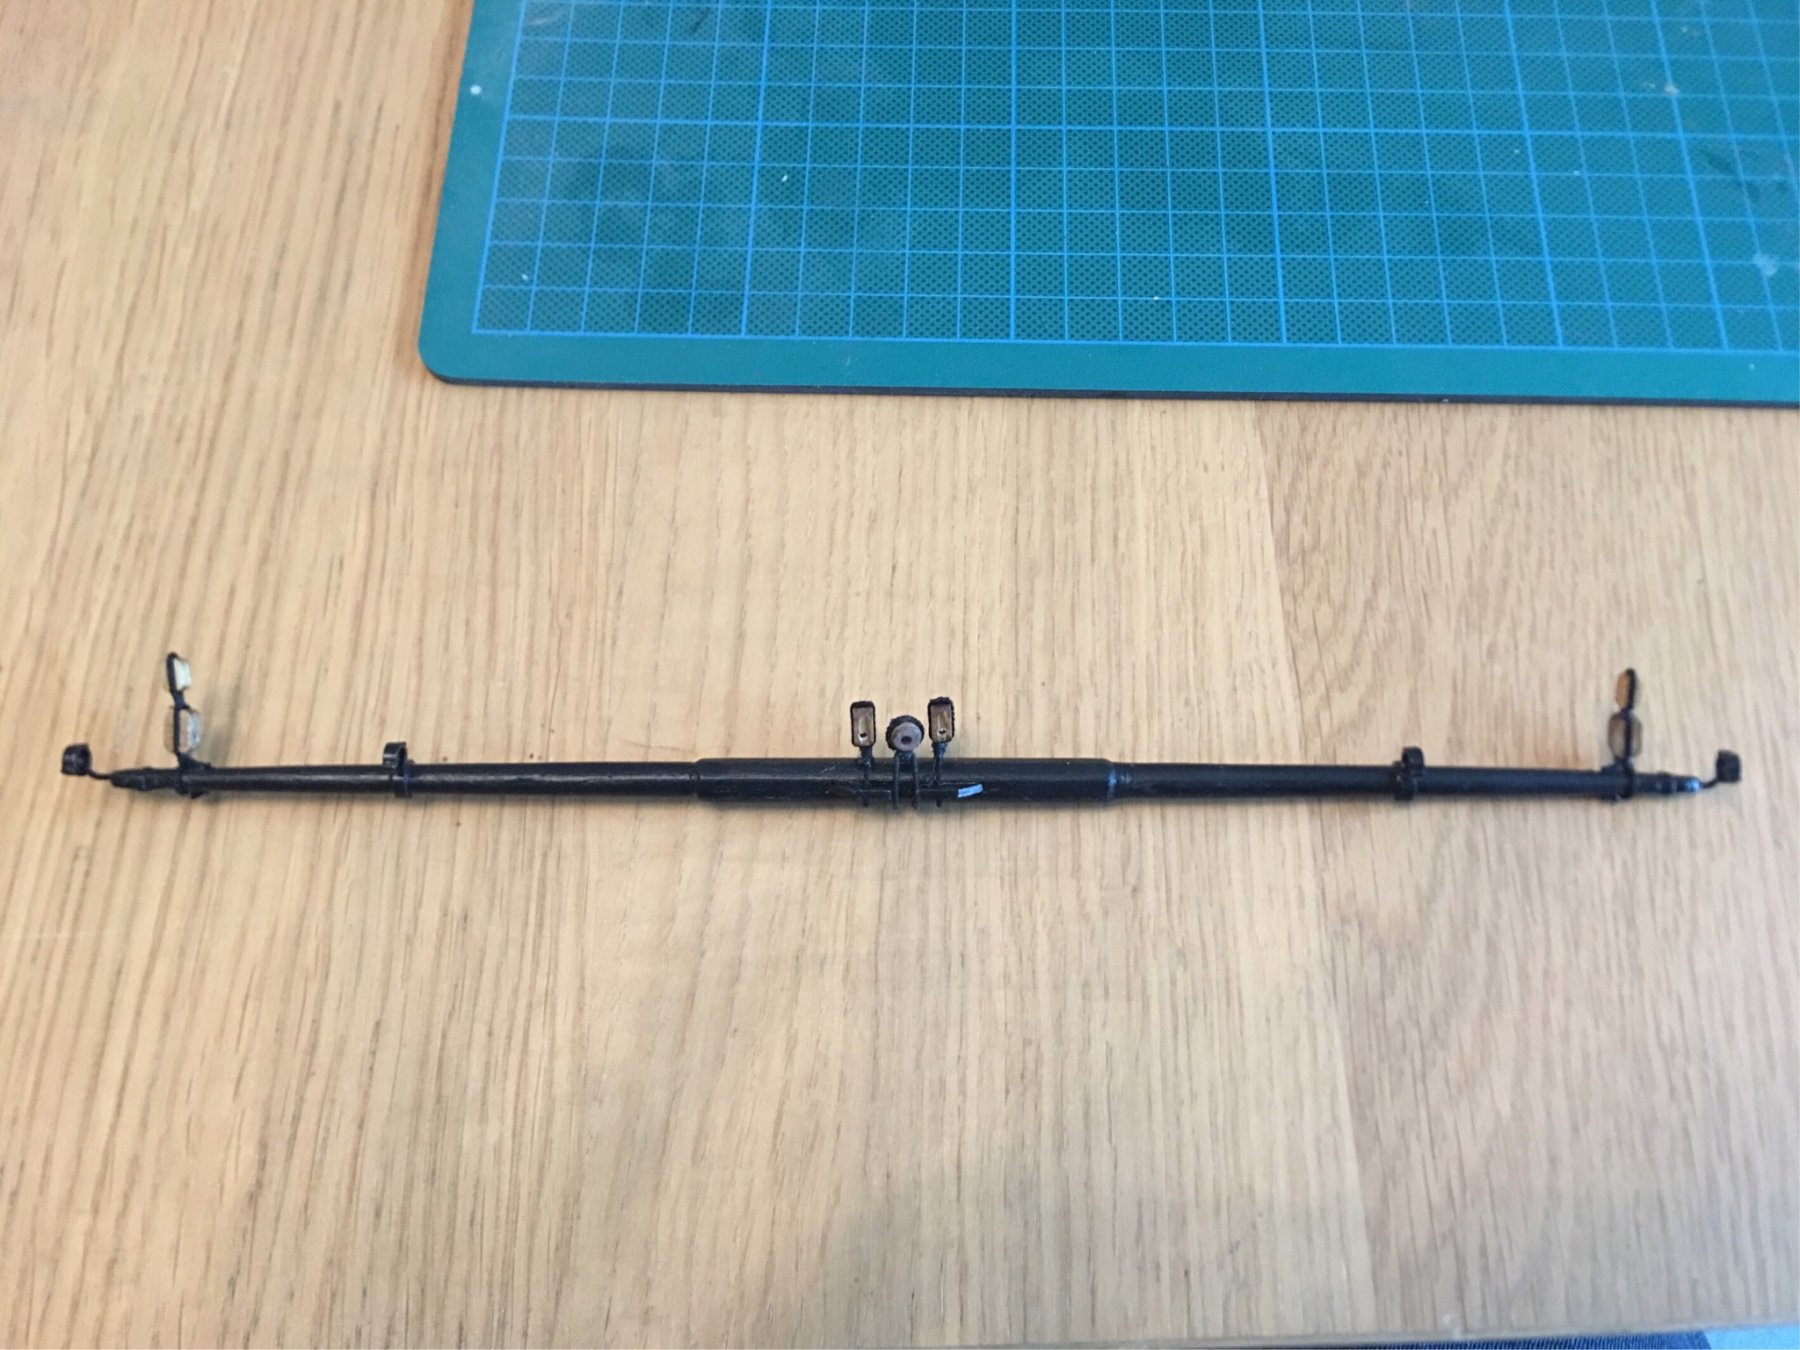
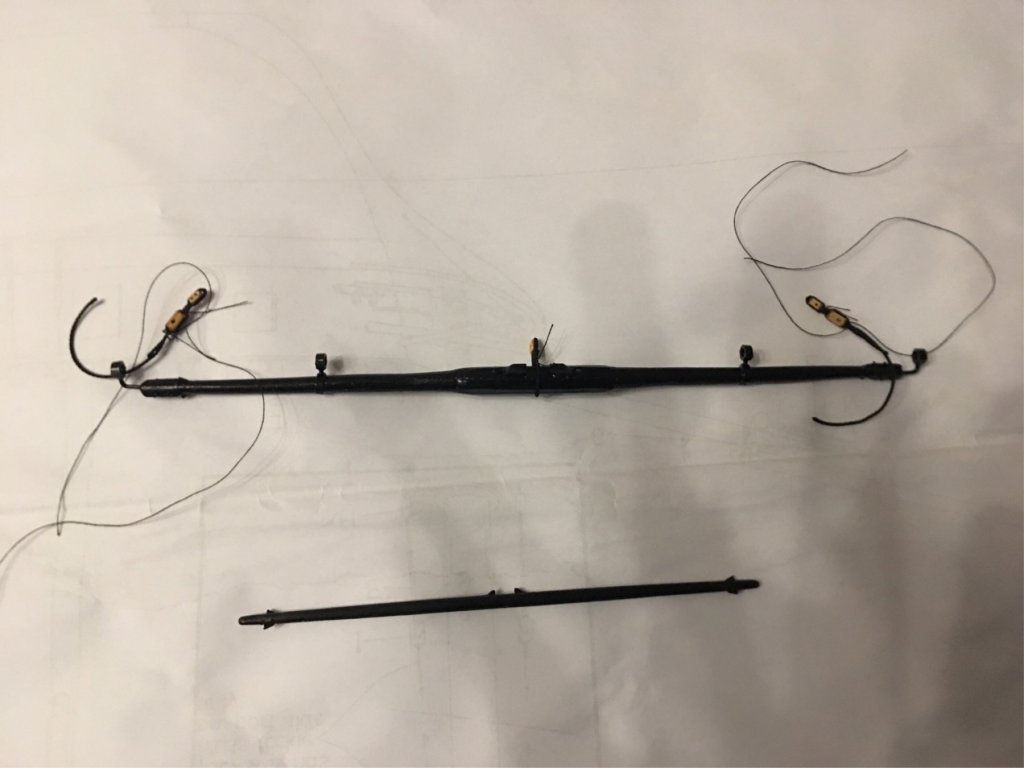
A bit of progress made today. Putting together the last two yards and starting to get them rigged up. Top yard and topgallant yard yard are now shaped and with the ironwork added. As with the previous yards I used styrene strips and tubing to simulate the various pieces of iron work. I did still use the metal cast pieces for the stuns’l boom irons as there was a little extra detail. Everything painted in a coat of metal primer and then two coats of dull black. And now just working through all the various blocks to be rigged.
- 412 replies
-
- 5
-
-
- snake
- caldercraft
- (and 1 more)
-
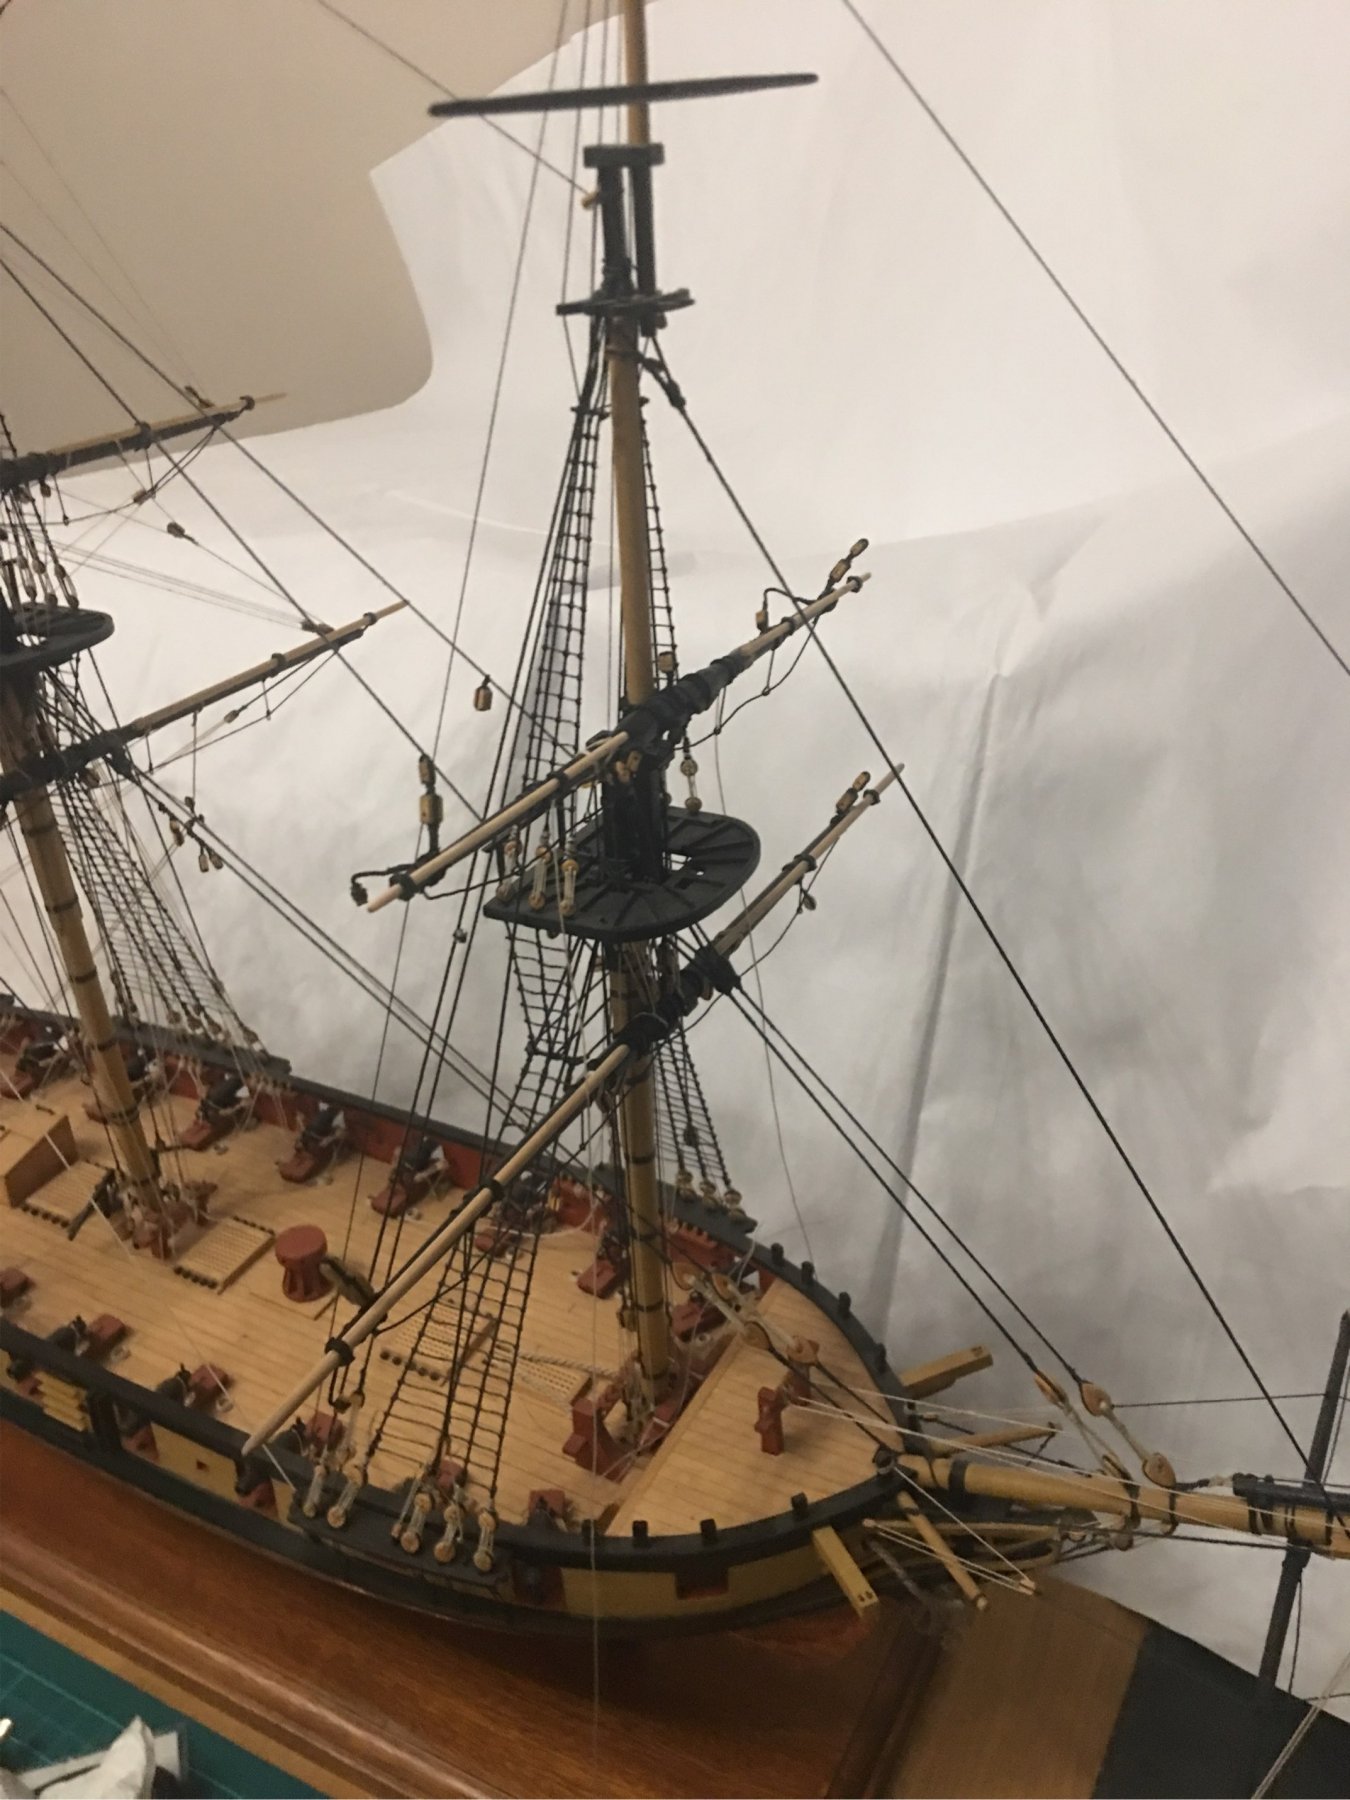
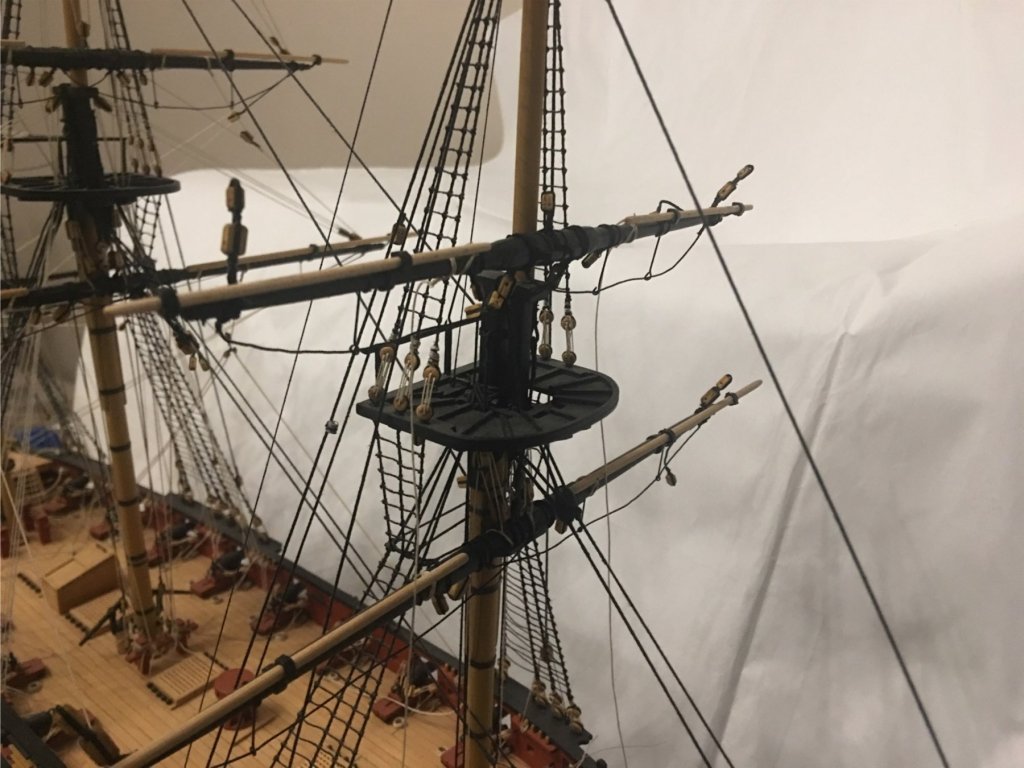
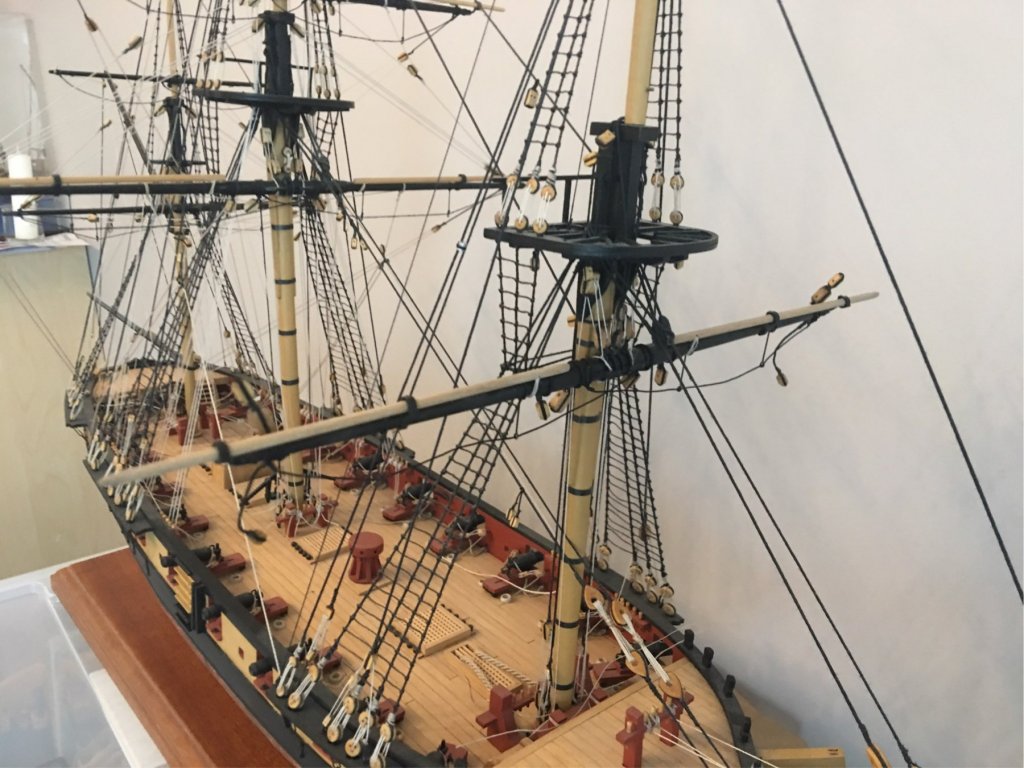
Here you go master cog! 😉 Foreyard is attached and the main slings and trusses are in place as previously mentioned. The positioning of the yard will be tweaked when the braces etc are rigged in. Next steps now are to make the top and topgallant yards.
- 412 replies
-
- 14
-
-
- snake
- caldercraft
- (and 1 more)
-
Sorry, I’ve been a bit lax on pictures as we’ve a couple of busy days. Promise I shall sort some out tomorrow afternoon. CMB is Cornwall Model Boats. Great website with a huge range of stock. I believe they ship worldwide and their turnaround and customer service is excellent.
- 412 replies
-
- 1
-
-
- snake
- caldercraft
- (and 1 more)
-
Wow. CMB are still excelling themselves in customer service. Ordered Tuesday evening and arrived this morning.
- 412 replies
-
- 2
-
-
- snake
- caldercraft
- (and 1 more)
-
Slight stall as I just don’t have enough rigging thread to complete. Quick order to CMB and I should be on my way again in a couple of days. The yard is pinned onto the mast and the slings and truss rigging are in place to keep the yard in place.
- 412 replies
-
- 1
-
-
- snake
- caldercraft
- (and 1 more)
-
Hi Jason, My personal opinion would also be the heavier rope but go with your gut. Also worth considering is how easy each size is to work with and get a decent looking finish. Jim
-
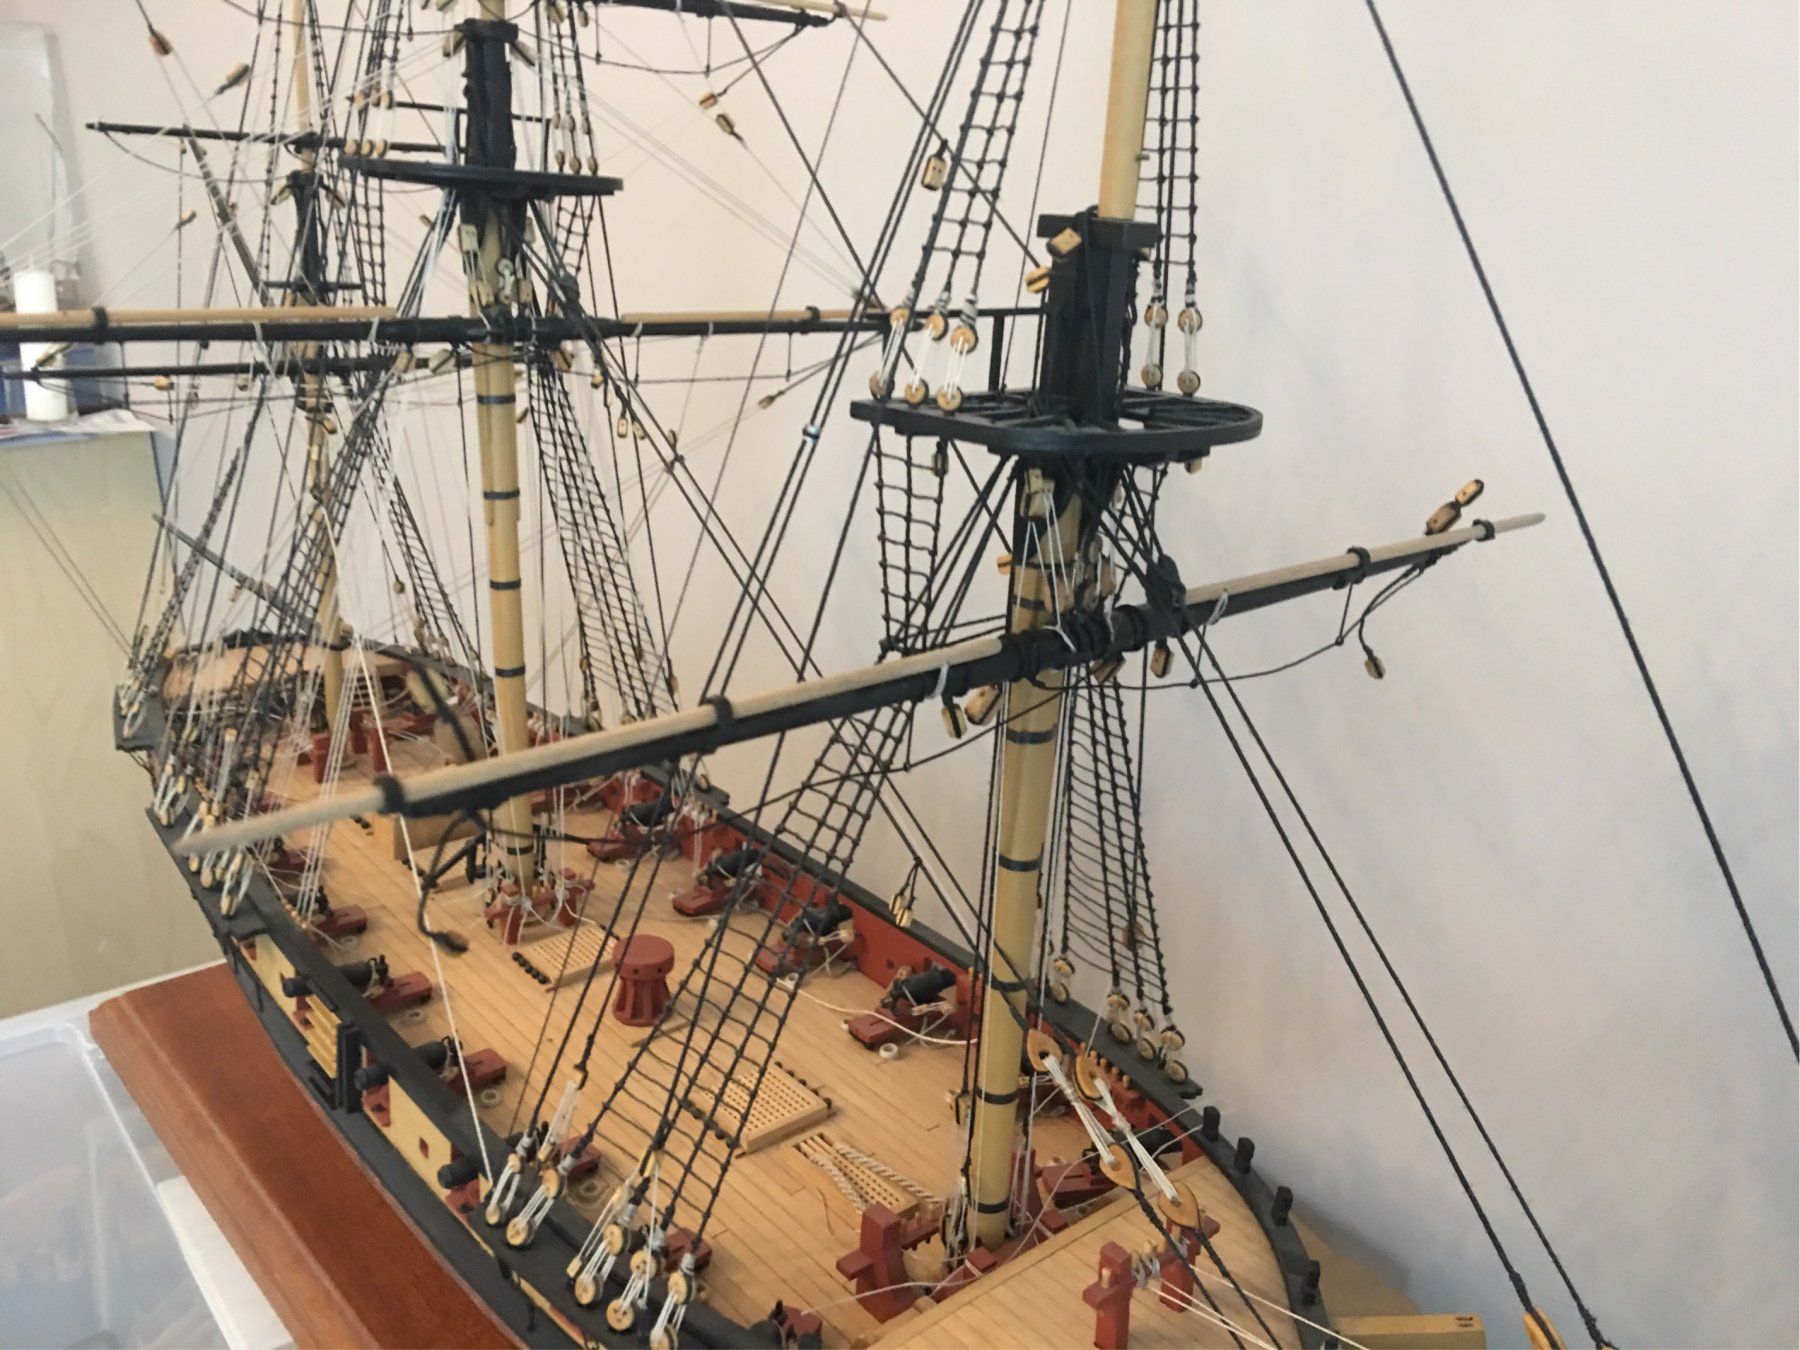
Hi all, Still bashing away at the foremast yard rigging and associated mast rigging. Some of my earlier comments from the build log regarding reading all elements of instructions for the yard and mast before assembly are flooding back. Trying to rig up the slings and some of the extra blocks onto the mast whilst all the standing rigging is in place is really delicate and fiddly work. All the blocks are are now in place on the yard and I have just finished the foot ropes. Just need to add the trusses and the running rigging the is secured to the yard and I can think about pinning it to the mast. I’ll follow with pictures later today and hoping to get a bit more done as I have the week off. I’ll see if the new cabin boy can help out!
- 412 replies
-
- 2
-
-
- snake
- caldercraft
- (and 1 more)
-
A brass road is less rich than the gold road but still very profitable..... Ahem cough! Spelling updated.......
- 412 replies
-
- 3
-
-
- snake
- caldercraft
- (and 1 more)
-
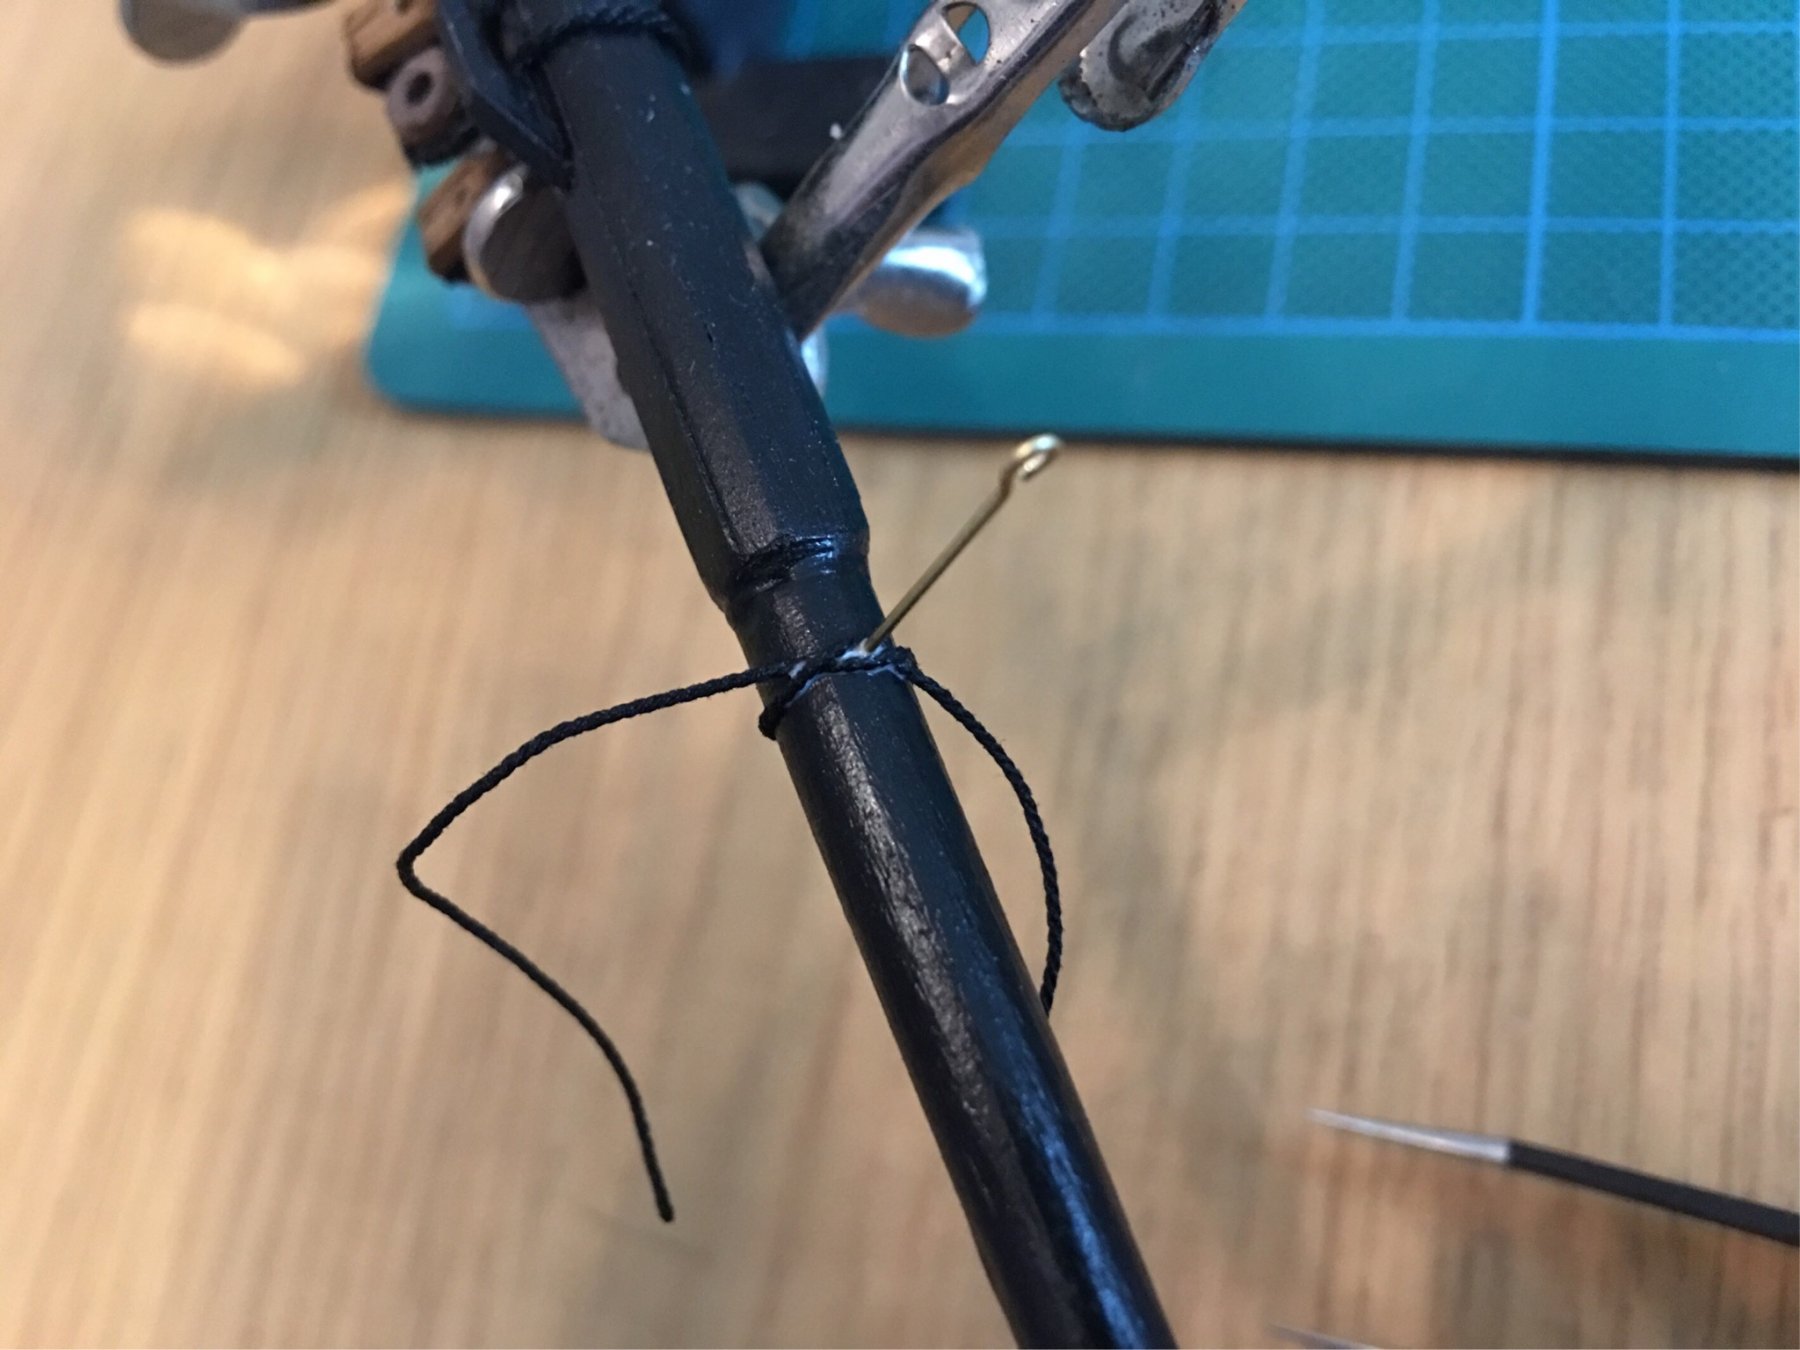
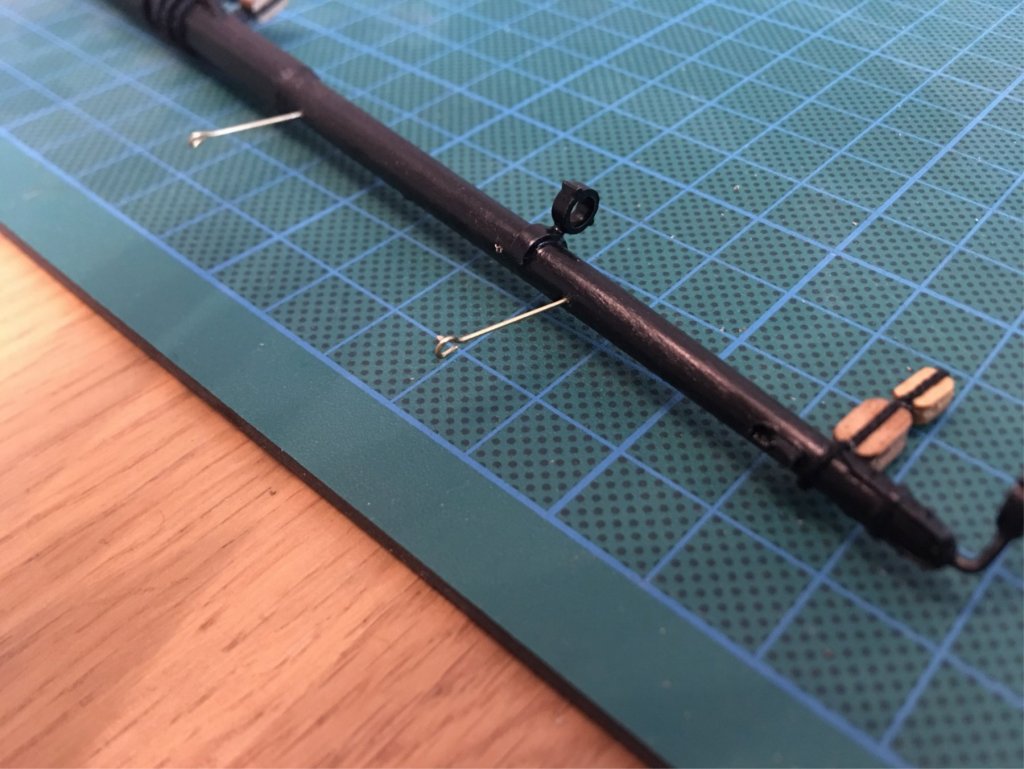
Good progress and happy to say I haven’t totally forgotten everything! I had already created the foremast yard. I just needed to get the metalwork primed and then paint the main coats of black. Spent the next next few nights rigging up the blocks to the yard. Next used length of 0.5mm brass rod to fashion four foot rope stirrups. Finally to create the impression of the stirrups being tie to the yard I tied a loop of thread with a half hitch around the brass rod. Just been soaked with watered down PVA and waiting to be trimmed once dry.


- 412 replies
-
- 9
-
-
- snake
- caldercraft
- (and 1 more)
-
Great set of guns Jason. All you have to do is rig them all up now.....
-
Well, spent the evening trimming excess thread from several half finished bits of rigging and generally tidying up. Then proceeded to pore over the rigging diagrams. After a three year hiatus it’s taking a while to get my head round them again!
- 412 replies
-
- 4
-
-
- snake
- caldercraft
- (and 1 more)
-
It’s that period between feeds at 9pm and then midnight. Without anything to actively do I have found I really struggled to stay awake. With the build to concentrate on it will be far easier to get through.
-
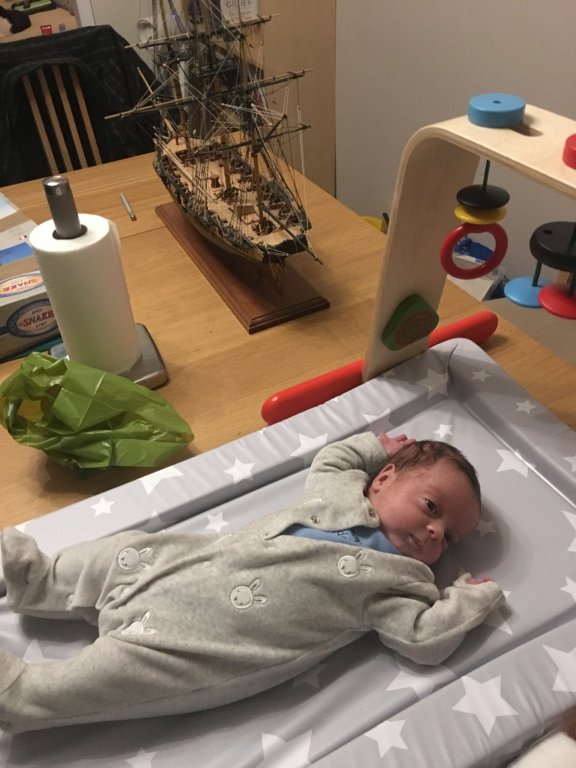
Well.... This post is over three years overdue! Two new jobs, one house purchase and move, wedding and an early first baby. Quiet really.... I am taking the late shift on feeds whilst my wife gets to bed early. So while baby Edward is napping I have two hours to kill each night. Really struggling with space to build Hood until my workshop gets done so time to unpack the Snake build and get it finished off finally. Tonight is is going to be spent re-sorting all my bits and pieces and trying to find all the wood, dowels, styrene strips and tools that have been packed up. Small shopping list needed also! Kitchen table is dual role!
- 412 replies
-
- 14
-
-
- snake
- caldercraft
- (and 1 more)
-
HMS Snake by drtrap - Caldercraft
jim_smits replied to drtrap's topic in - Kit build logs for subjects built from 1751 - 1800
The “Shore Leave” section of the forum. Its for non-build Chat.... -
HMS Snake by drtrap - Caldercraft
jim_smits replied to drtrap's topic in - Kit build logs for subjects built from 1751 - 1800
Hi Stergios Having checked my Snake (currently in attic...), the cleat is as per Jason’s. For your problem I would just use the adjacent belaying pin as it is a “spare”. As for the backstays, I think i did each one as an individual stay with a false splice, but don’t quote me as it was three years ago (wow!)