-
Posts
31 -
Joined
-
Last visited
Content Type
Profiles
Forums
Gallery
Events
Everything posted by daddytotwo
-
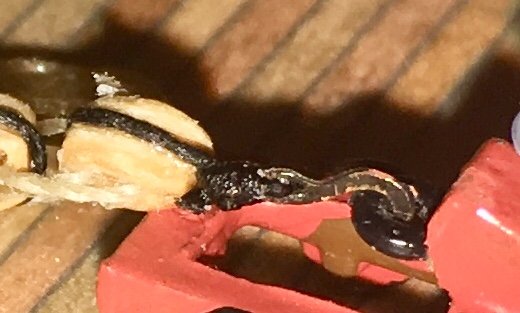
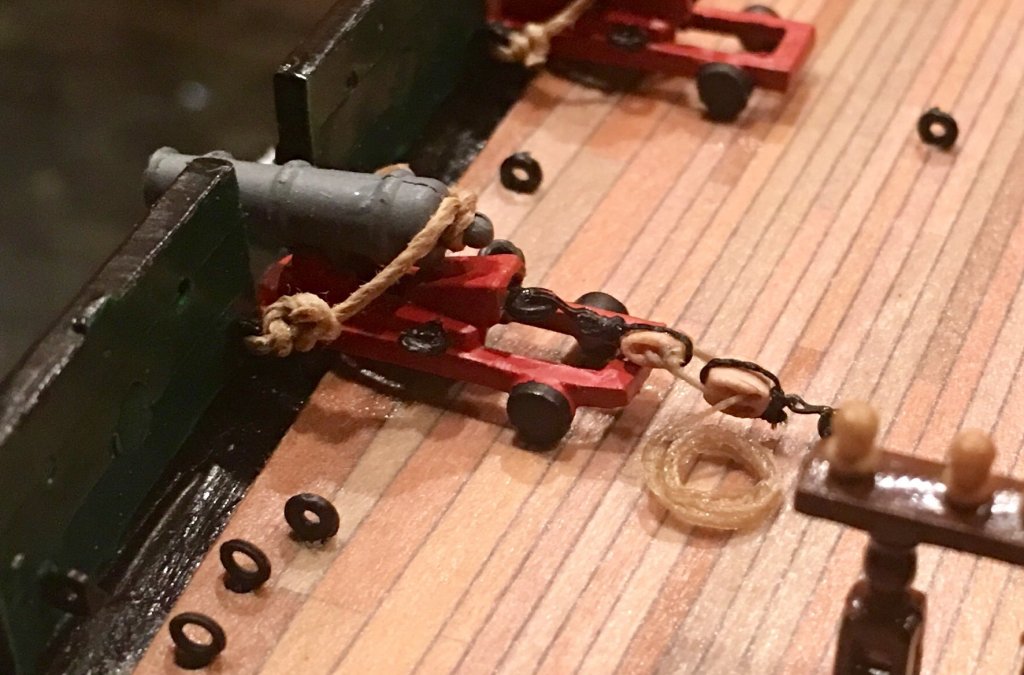
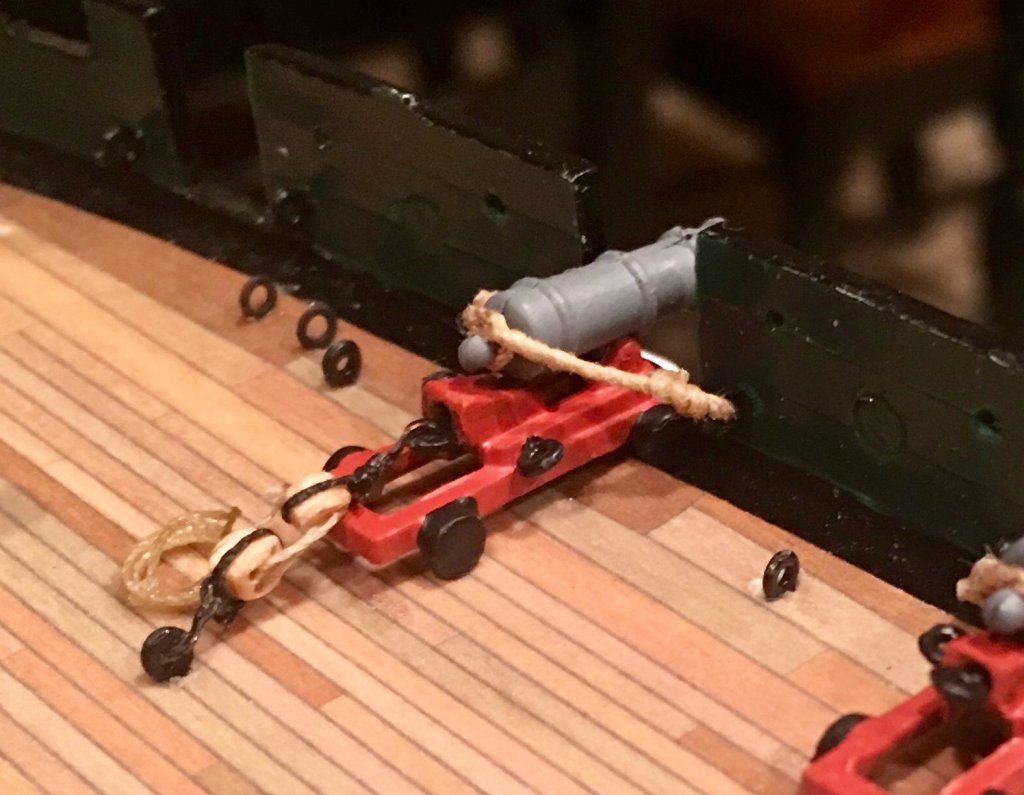
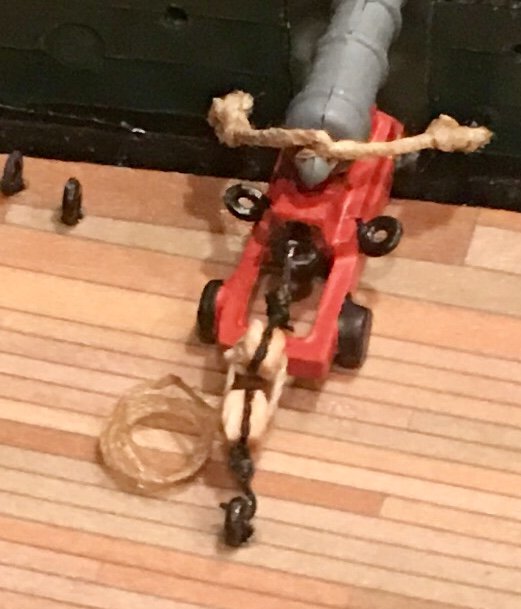
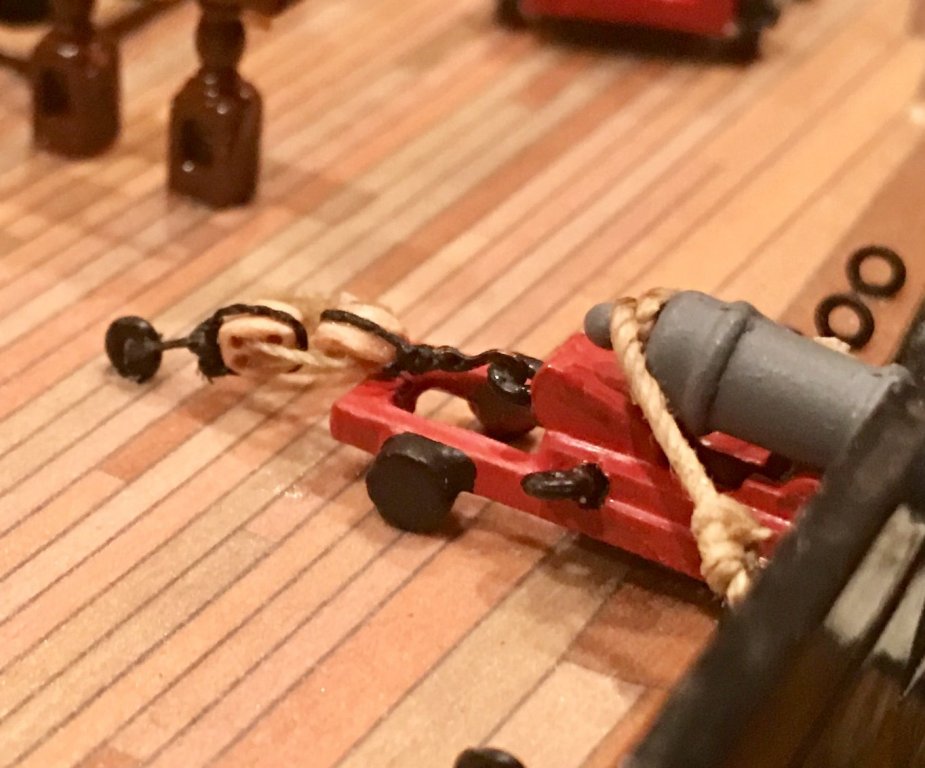
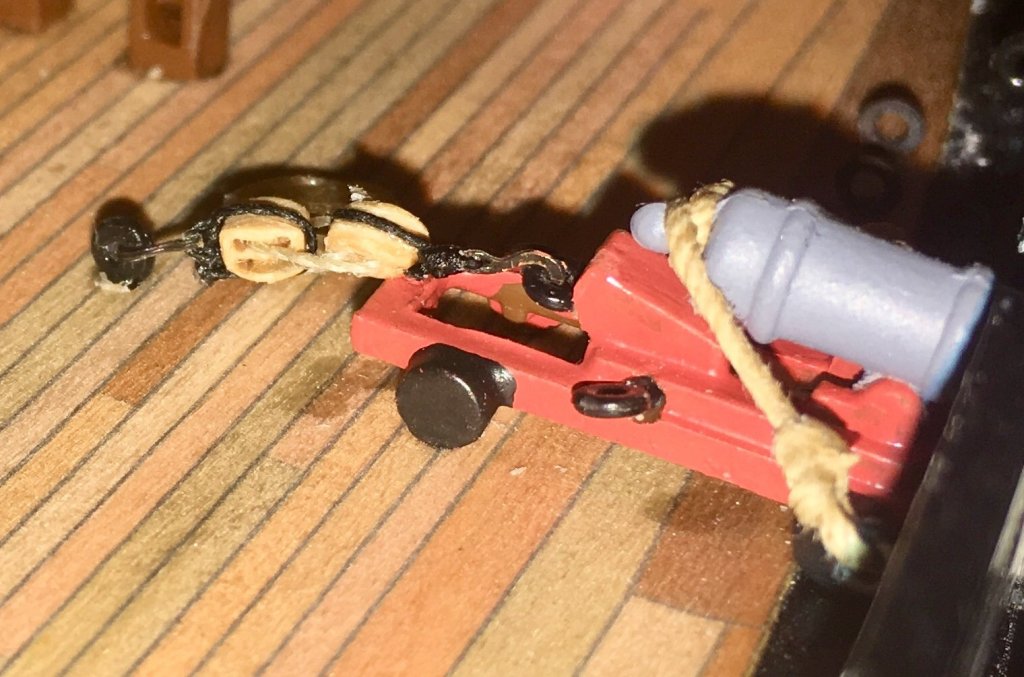
Hi everyone. I am just getting into doing my gun rigging on my Connie. I am trying to come up with a good wat to tie the metal hooks to the blocks. The blocks are 3mm and I am having a hard time making them look good. It also took way too long to do just one. Does anyone one have any tips or tricks to doing this? Videos would be great! Thanks!
-
I spent about 2 1/2 hours doing the back rigging in one gun. I’m sure I will start to get faster at it once I do a few more.
- 35 replies
-
- constitution
- revell
-
(and 1 more)
Tagged with:
-
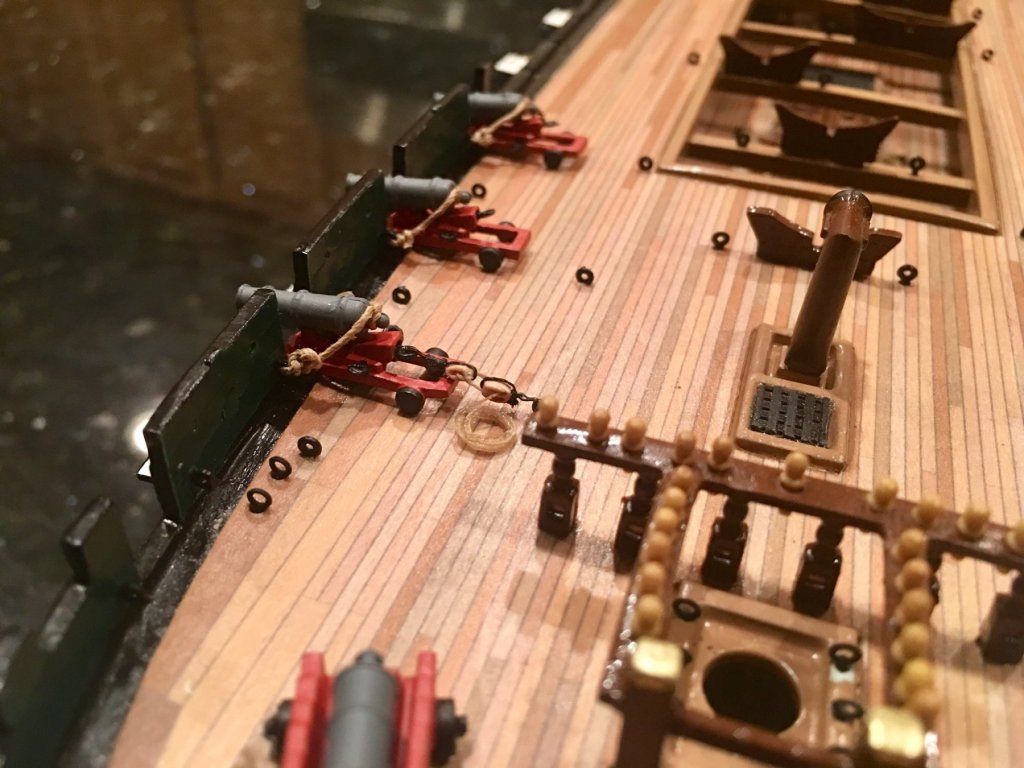
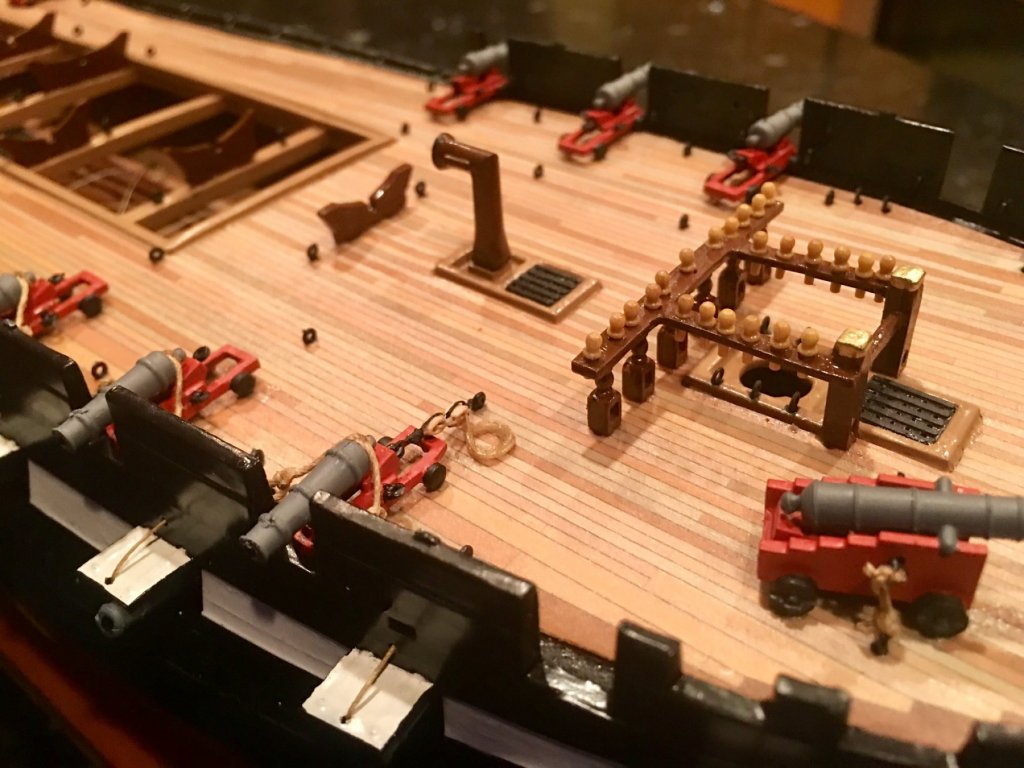
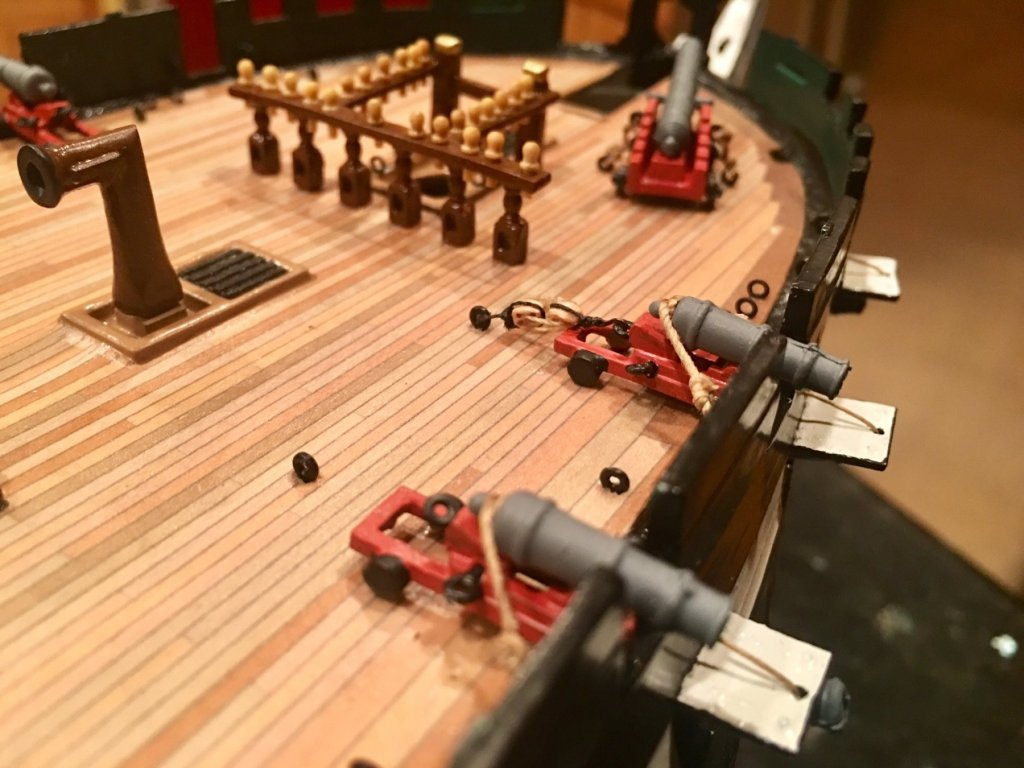
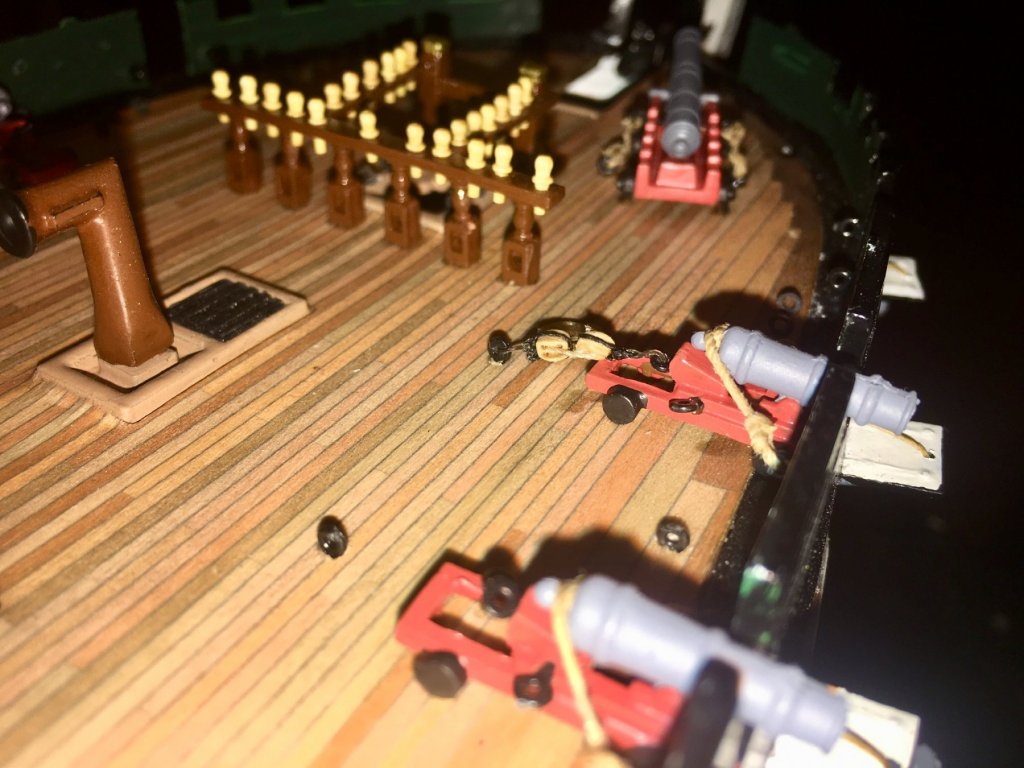
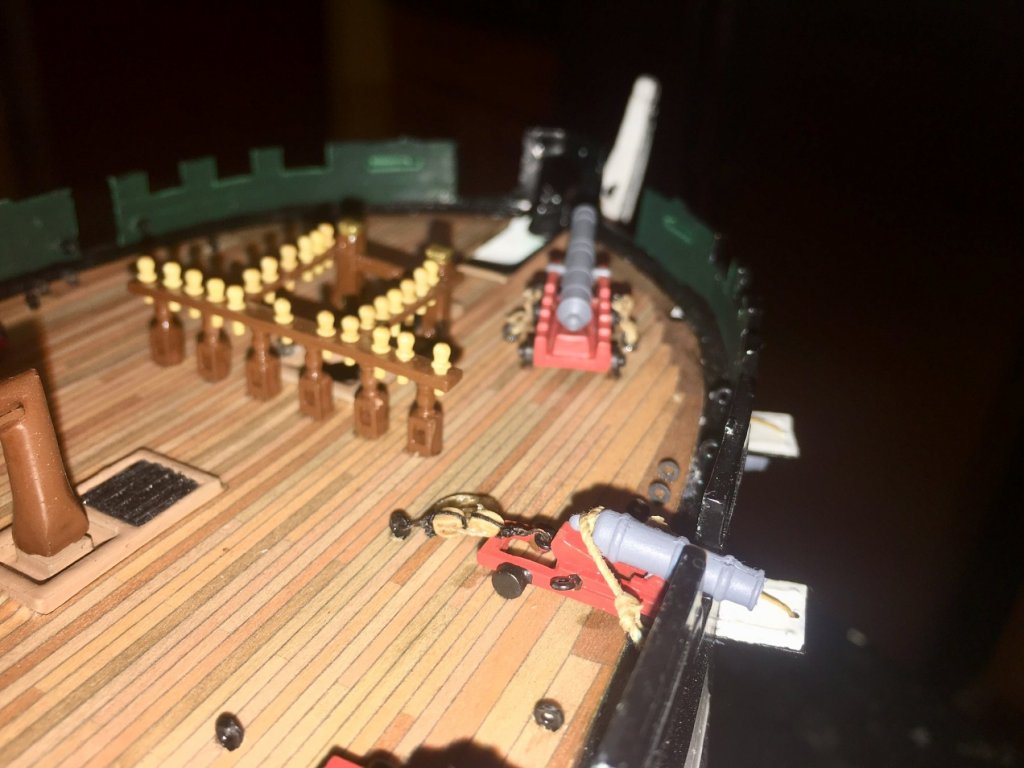
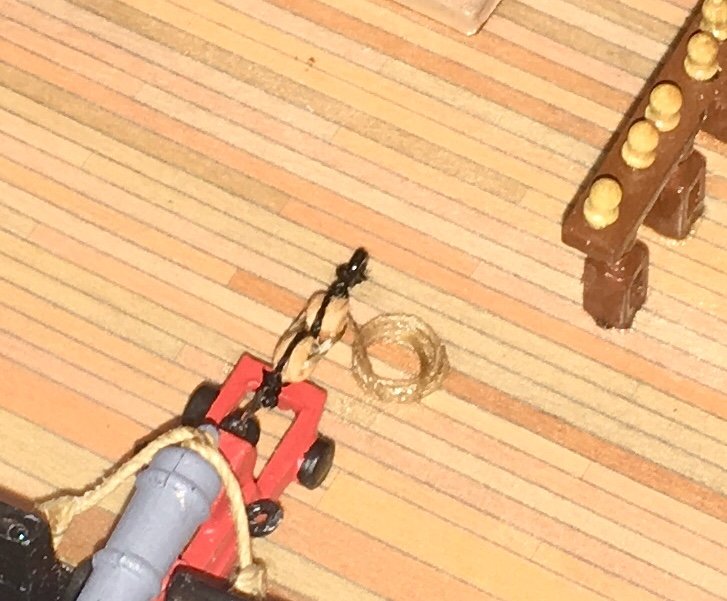
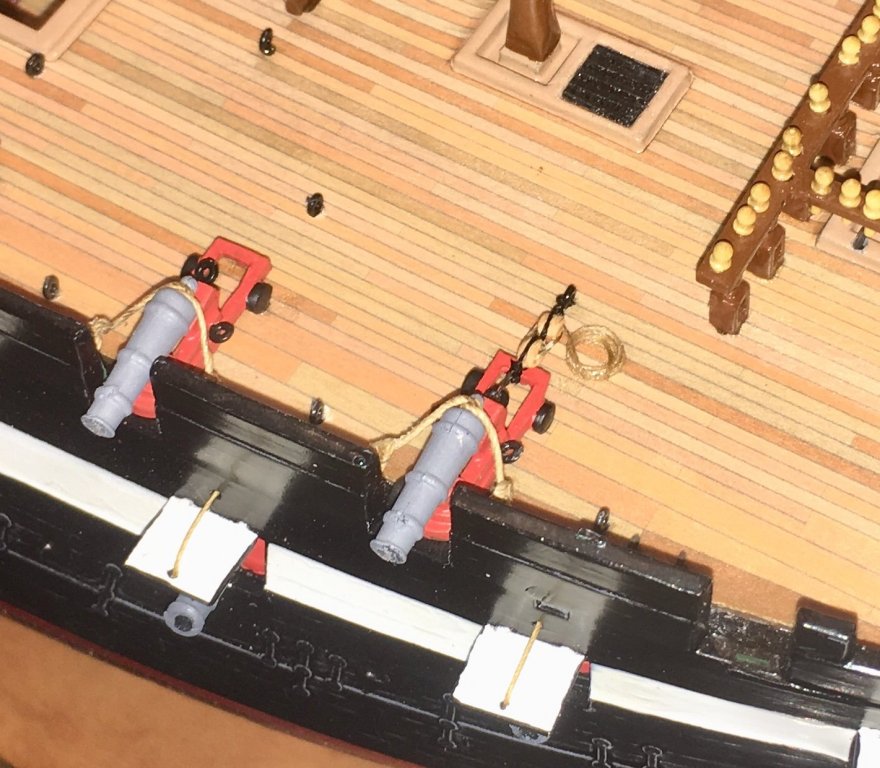
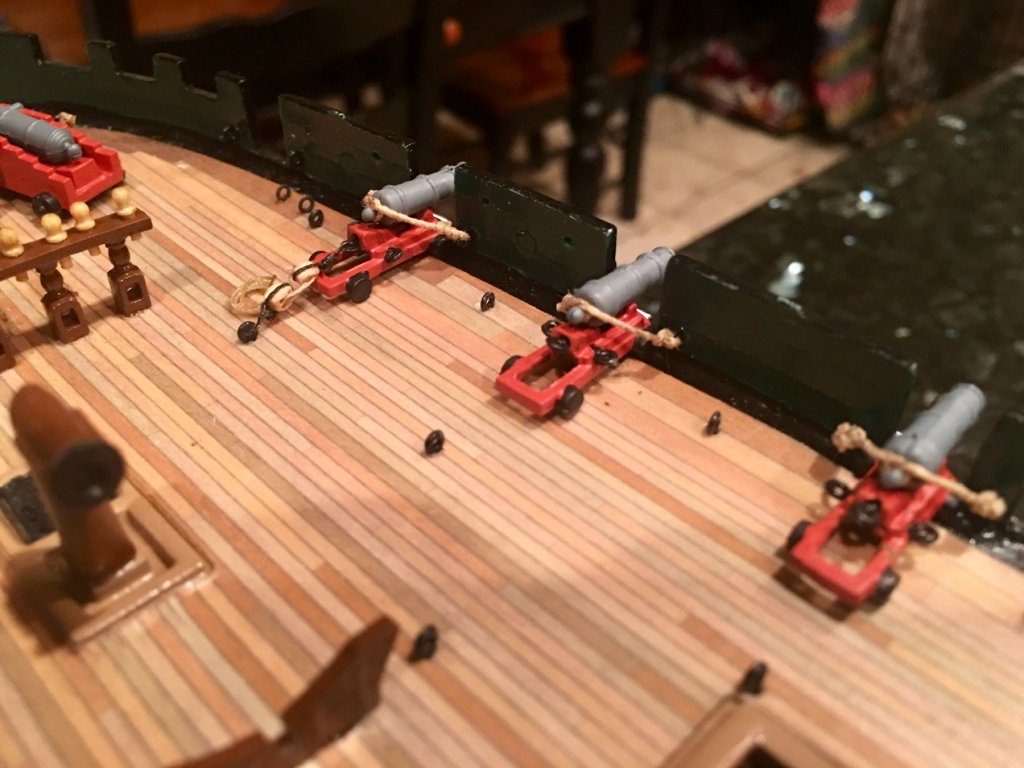
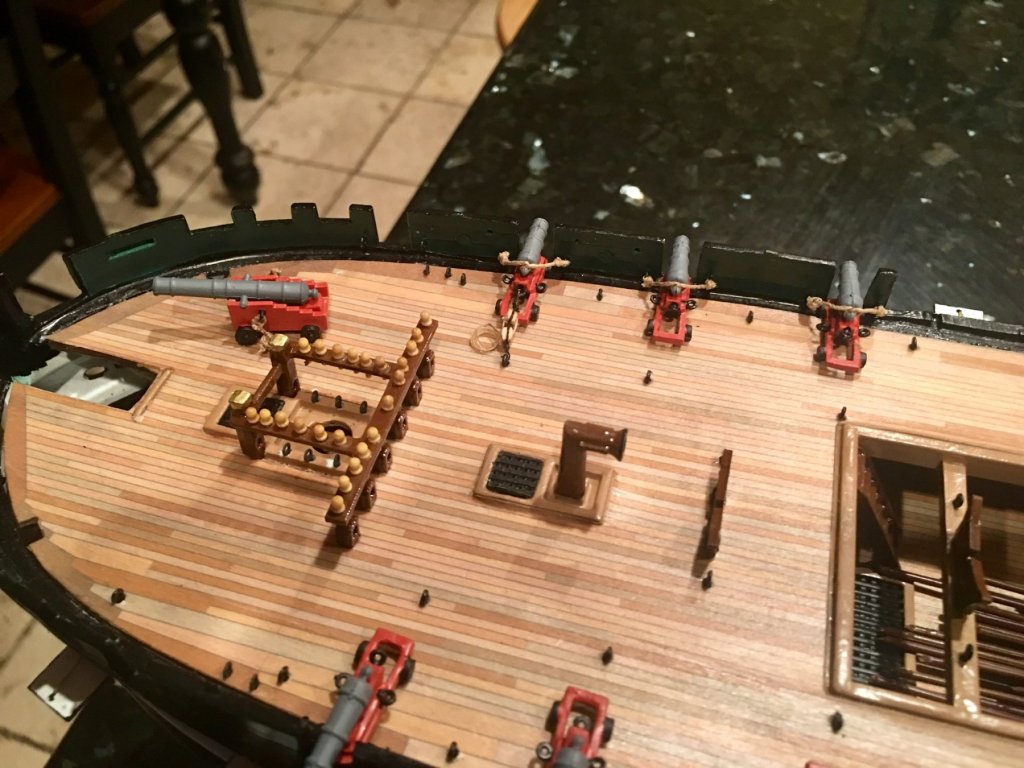
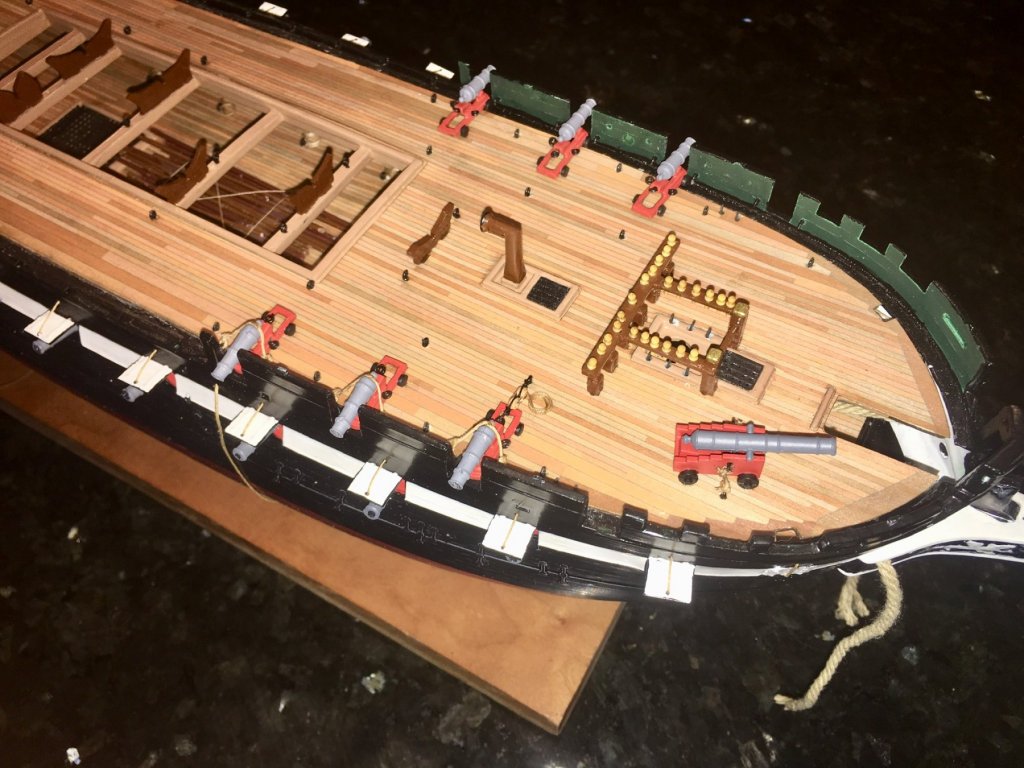
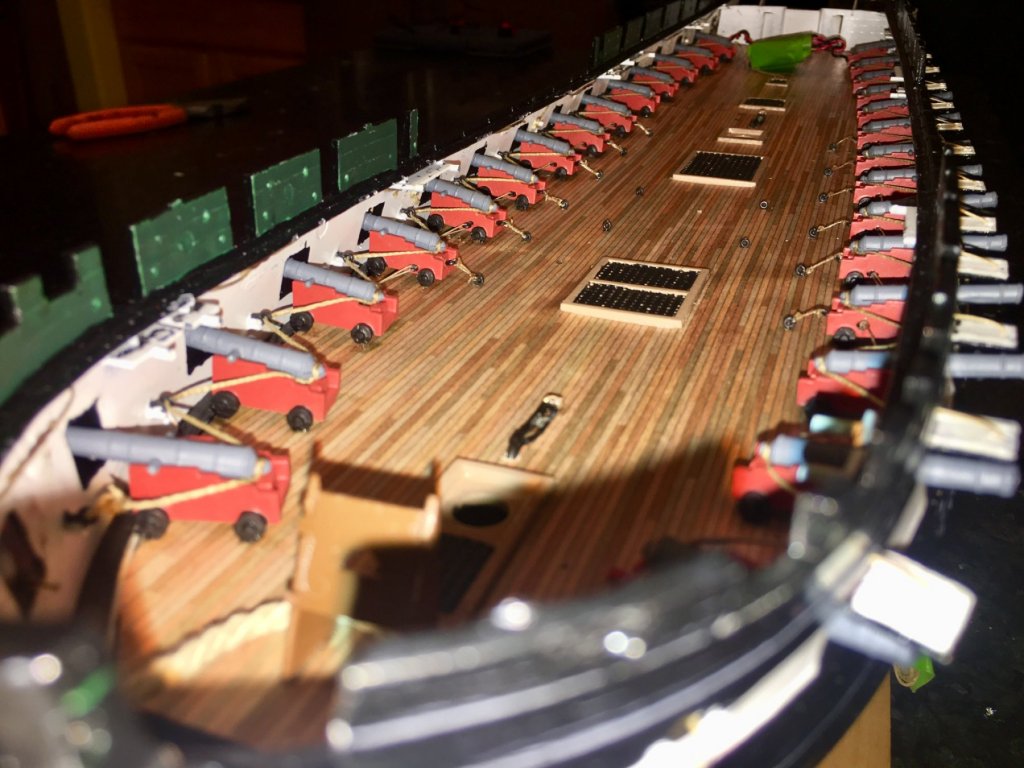
Next I got the guns glued to the top deck. I have the Breaching ripe o. On side, and am starting to do the gun rigging.
- 35 replies
-
- constitution
- revell
-
(and 1 more)
Tagged with:
-
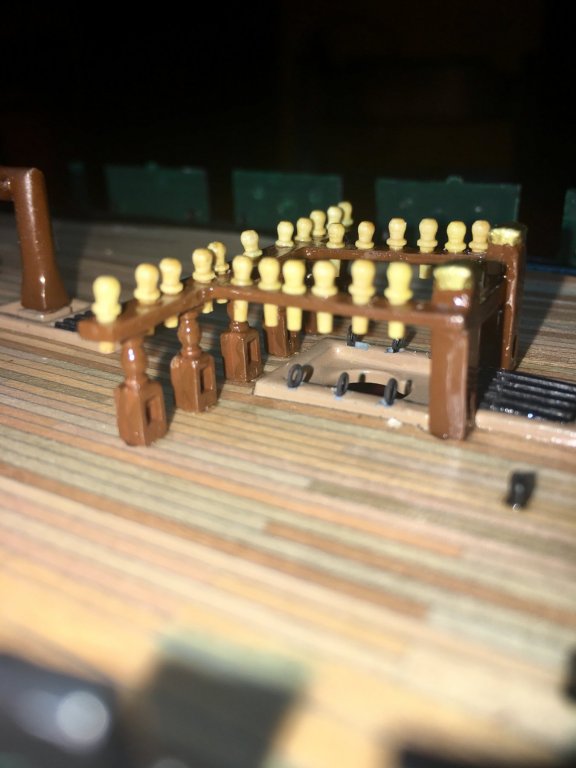
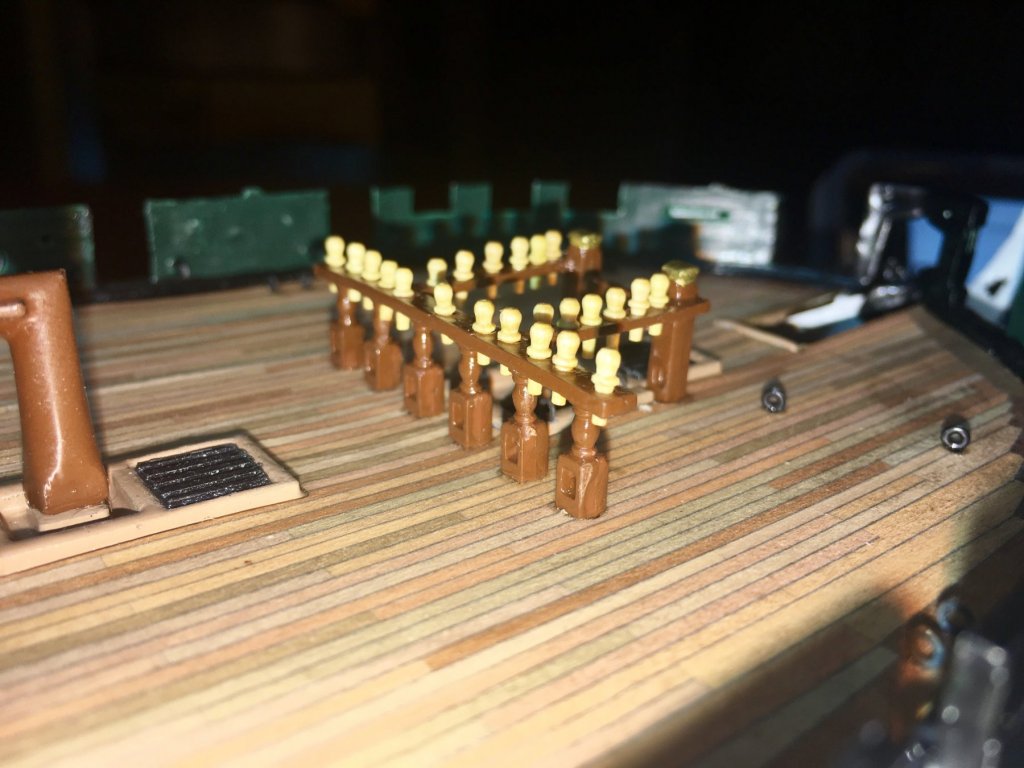
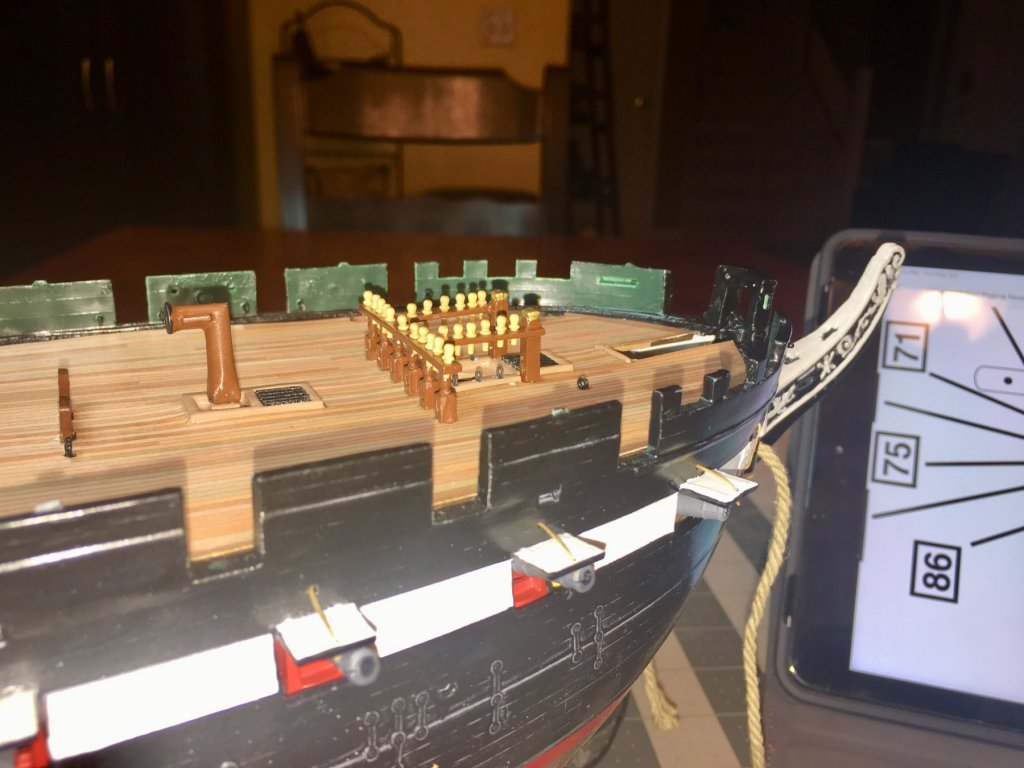
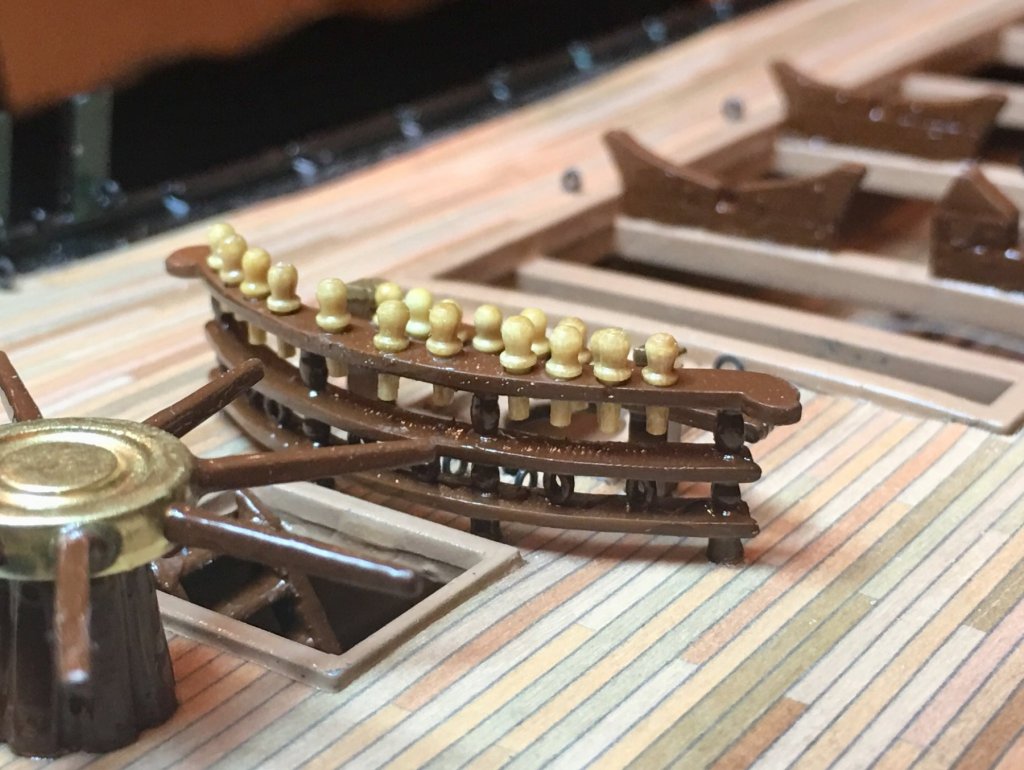
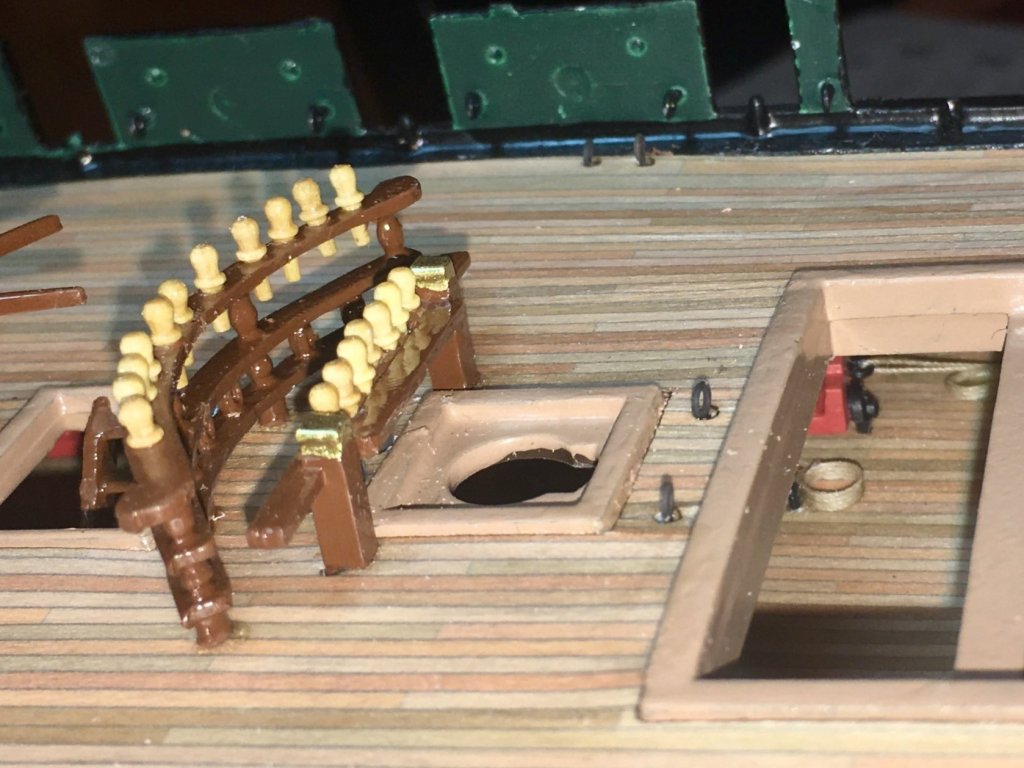
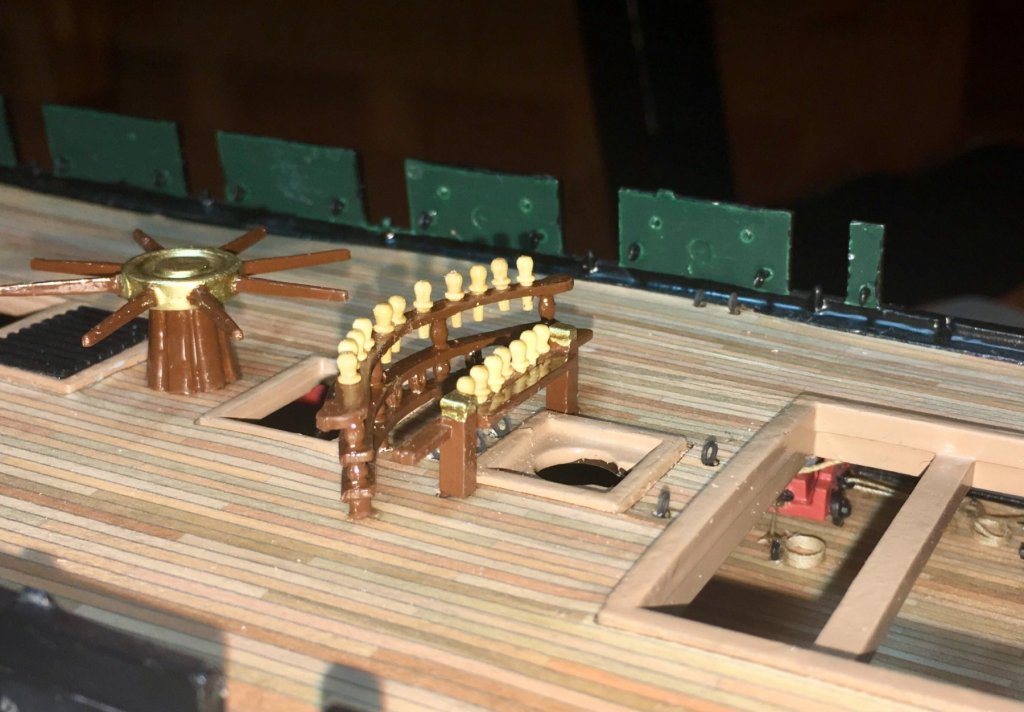
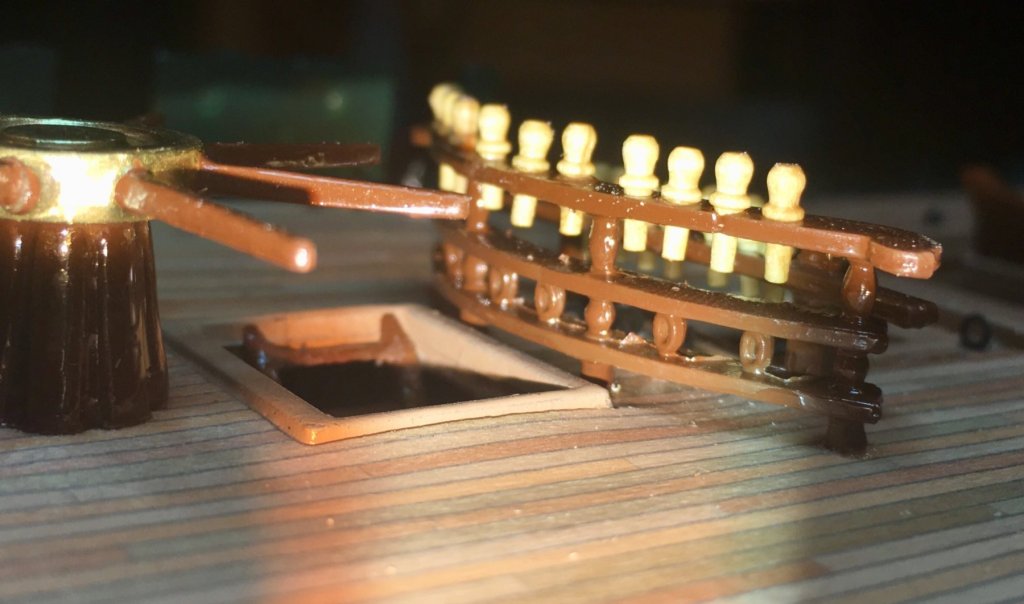
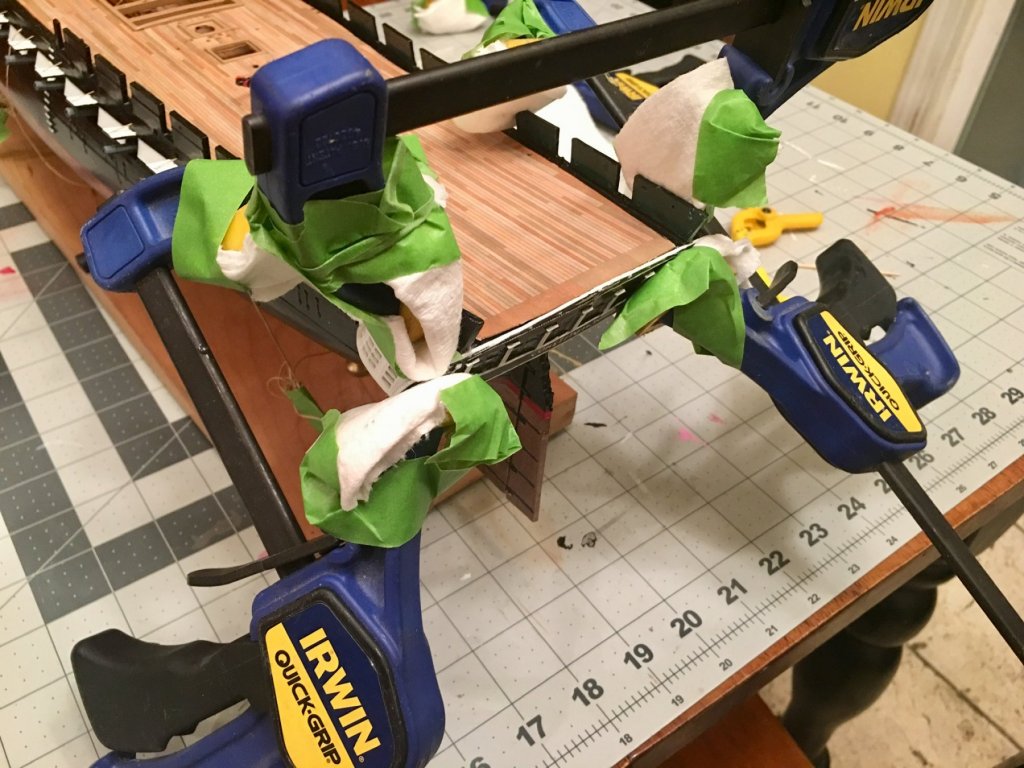
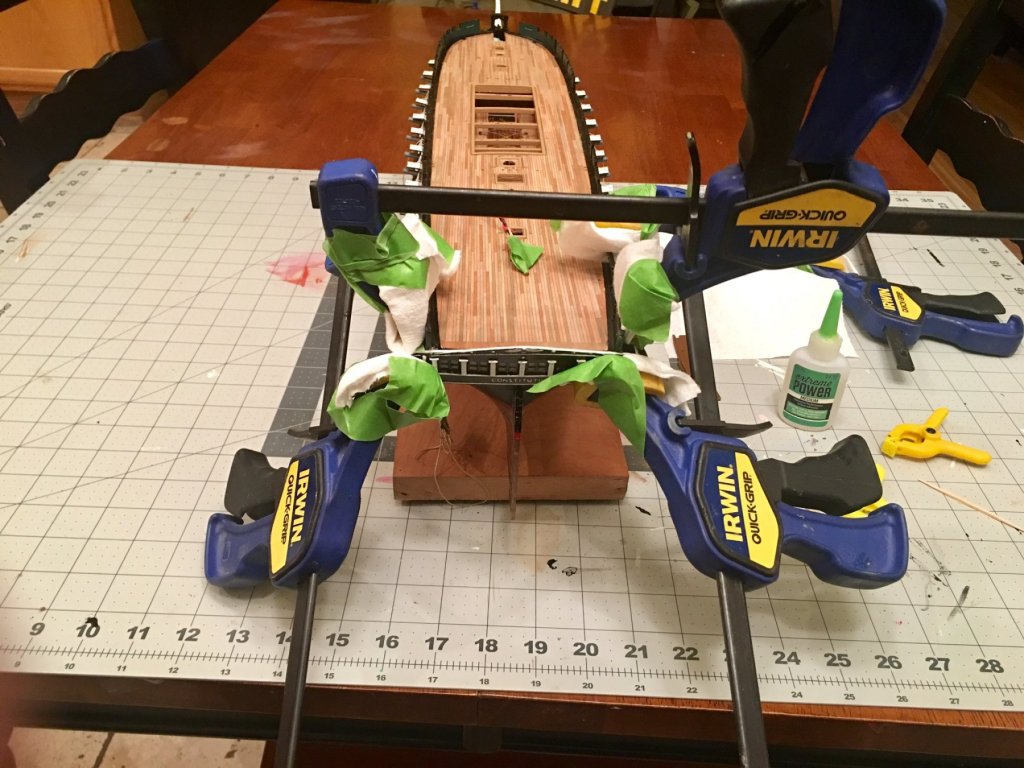
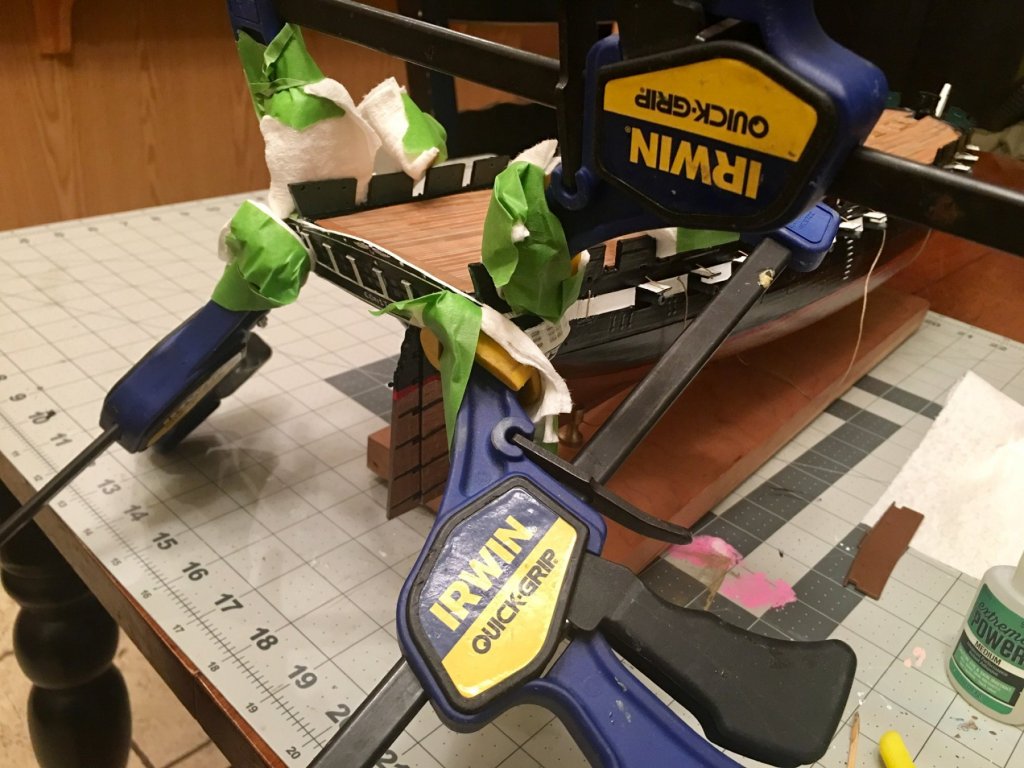
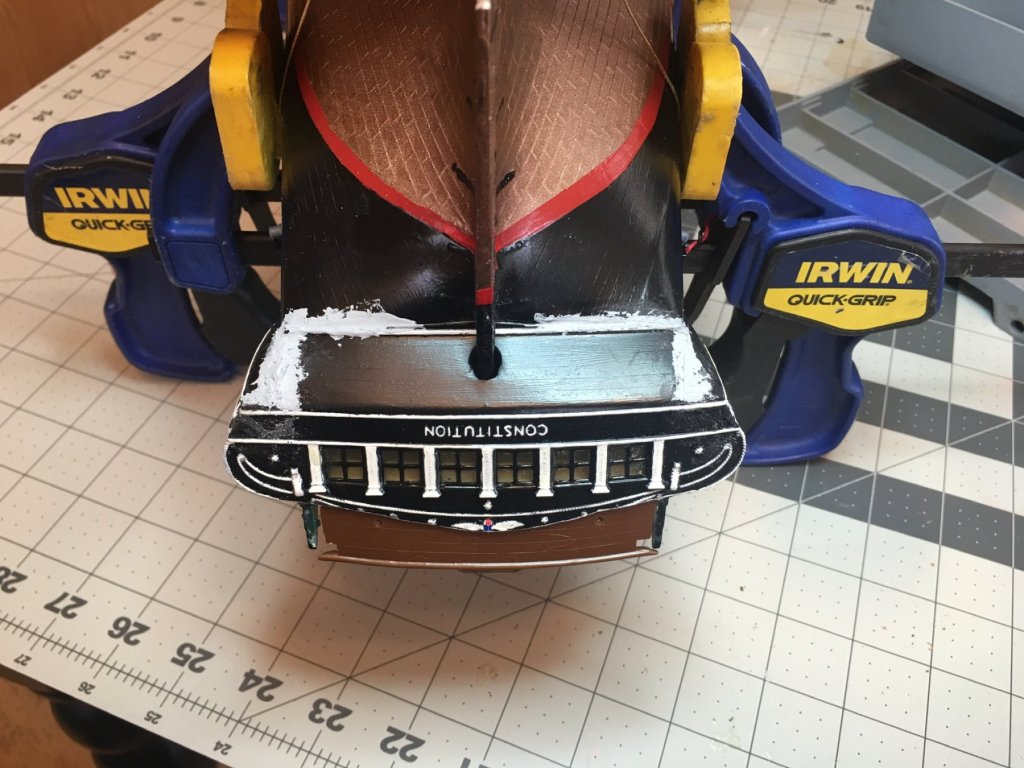
The stern was really a pain in the *** to get aligned and glued. After some shaping, putty, and sanding I got it all painted. Now it’s time to work on the top deck. The other times I tried this kit, the Pinrails in the bulkheads and the monkey rails were always breaking and screwing up my rigging, so I decided to modify them and add some after market Belaying Pins.
- 35 replies
-
- constitution
- revell
-
(and 1 more)
Tagged with:
-
- 35 replies
-
- constitution
- revell
-
(and 1 more)
Tagged with:
-
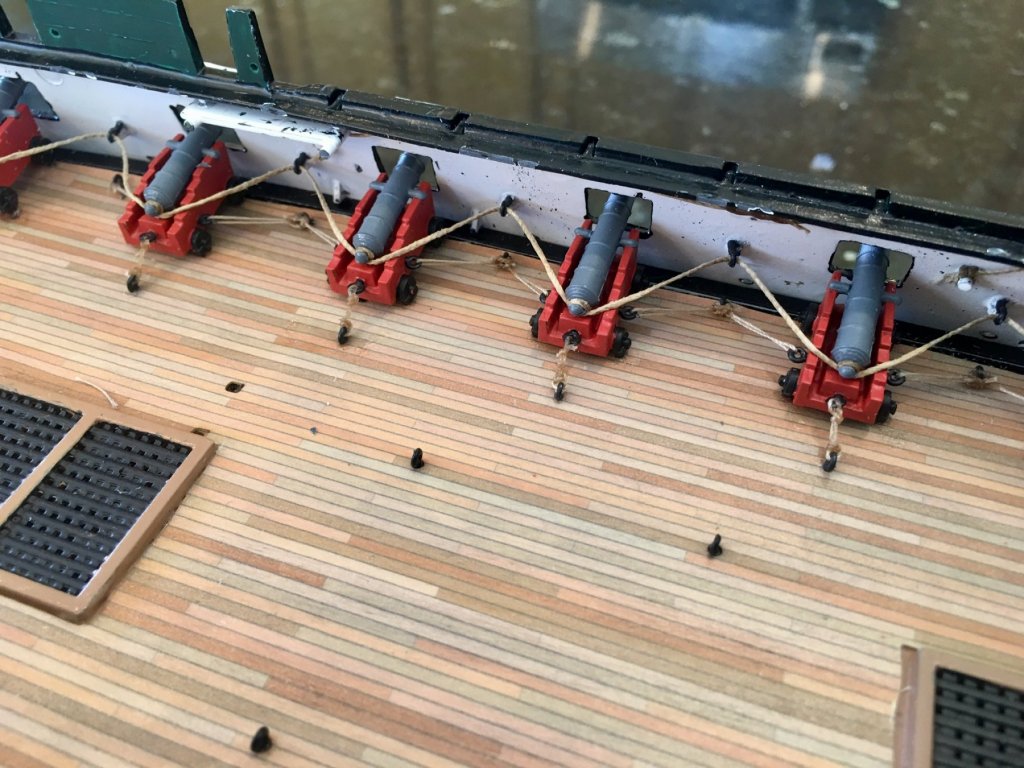
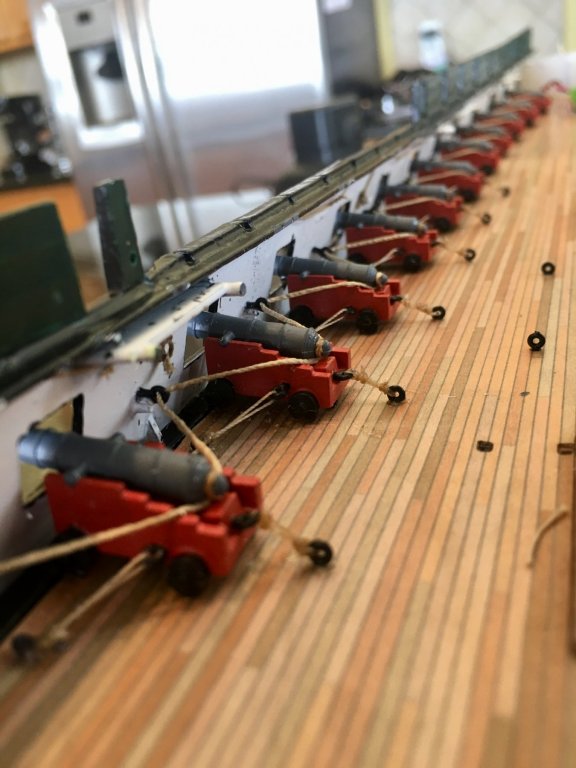
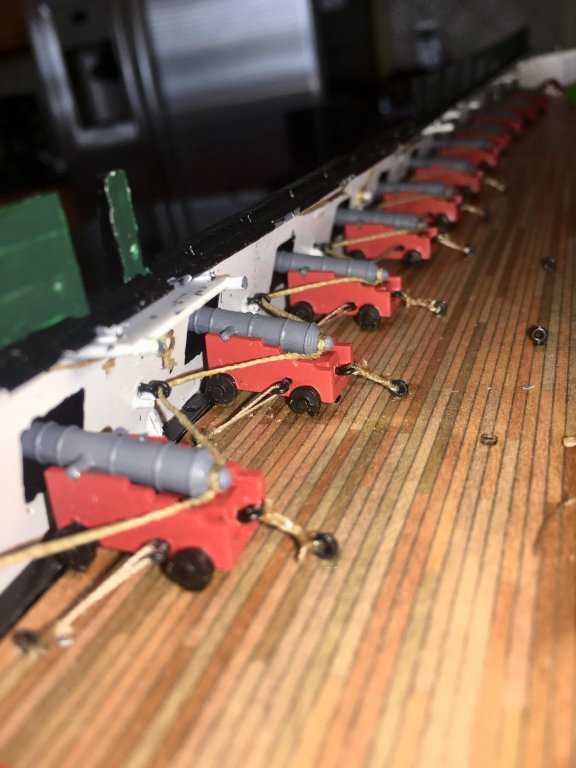
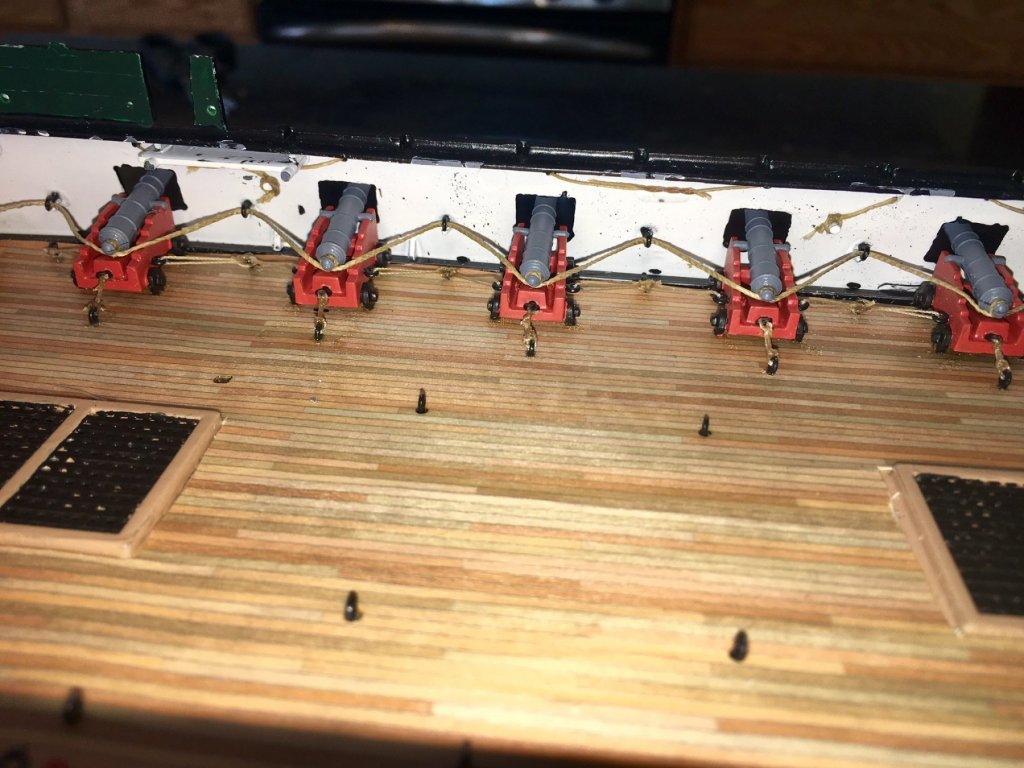
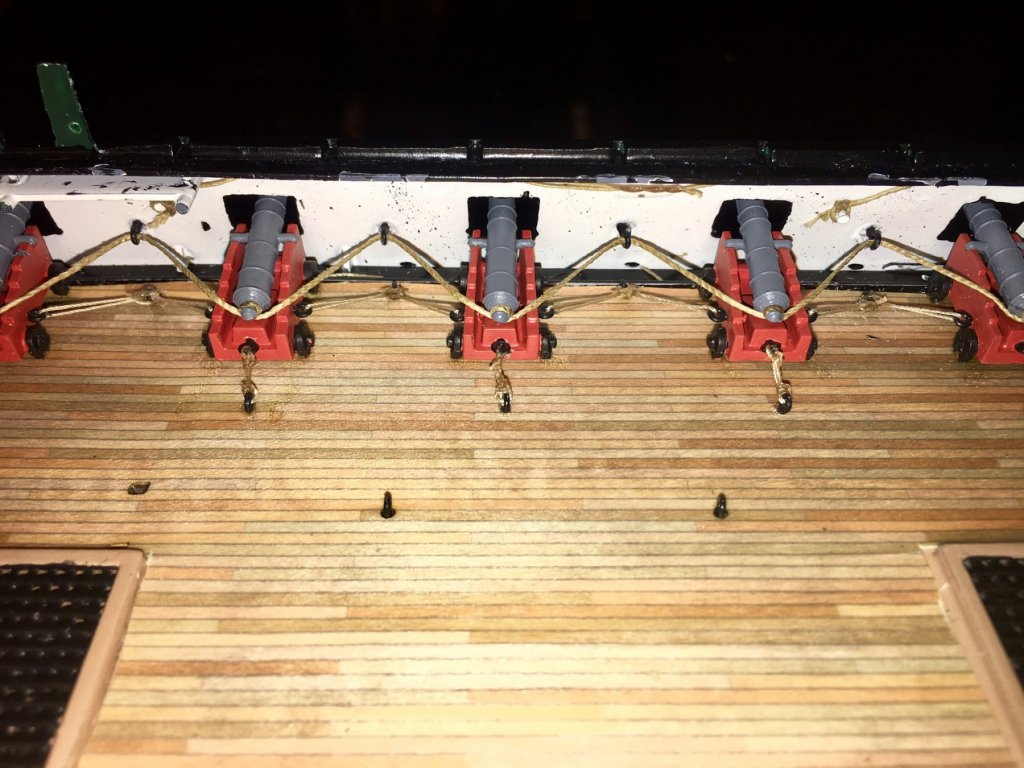
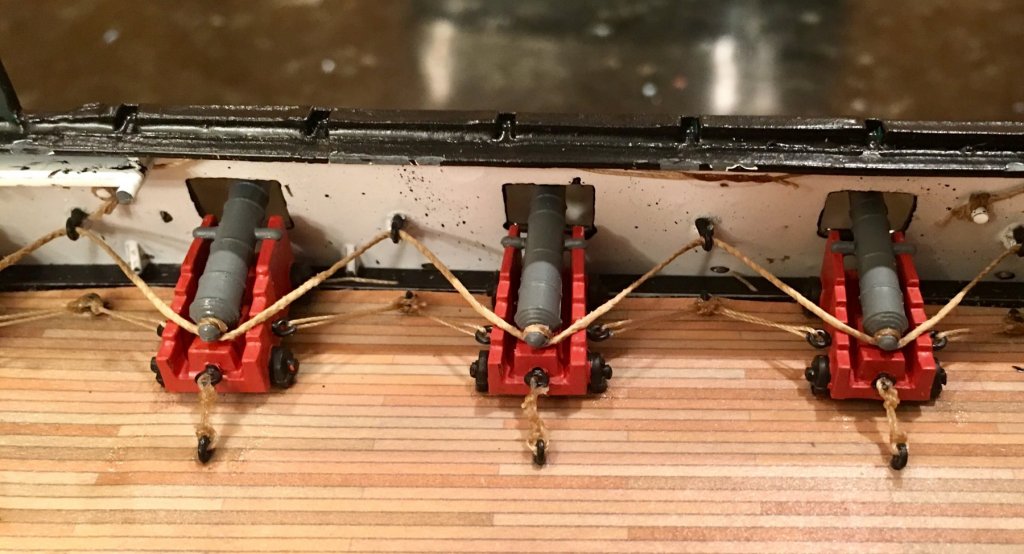
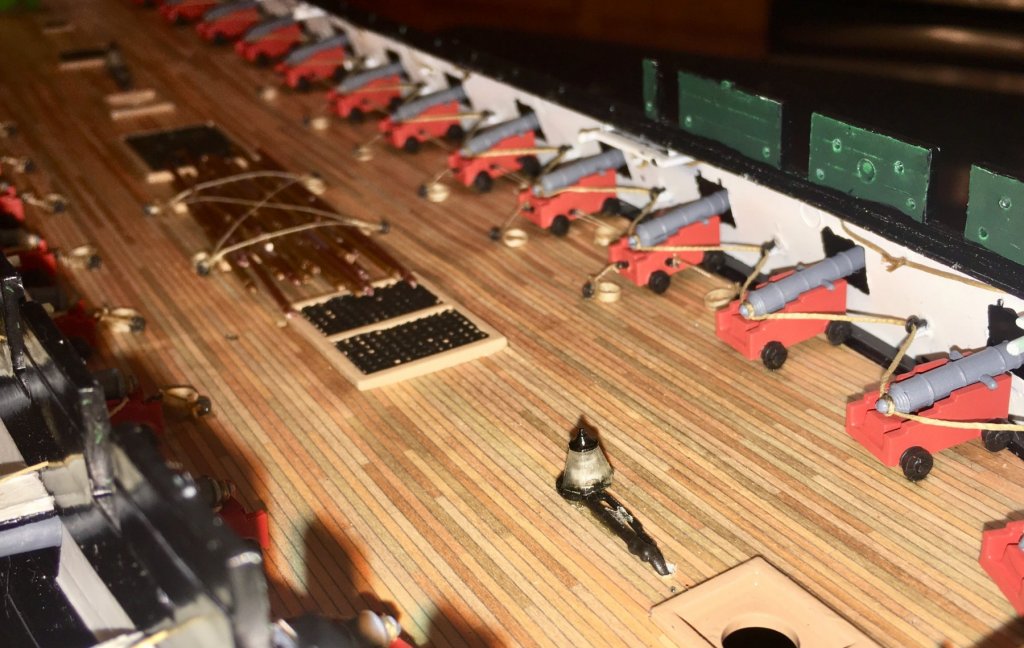
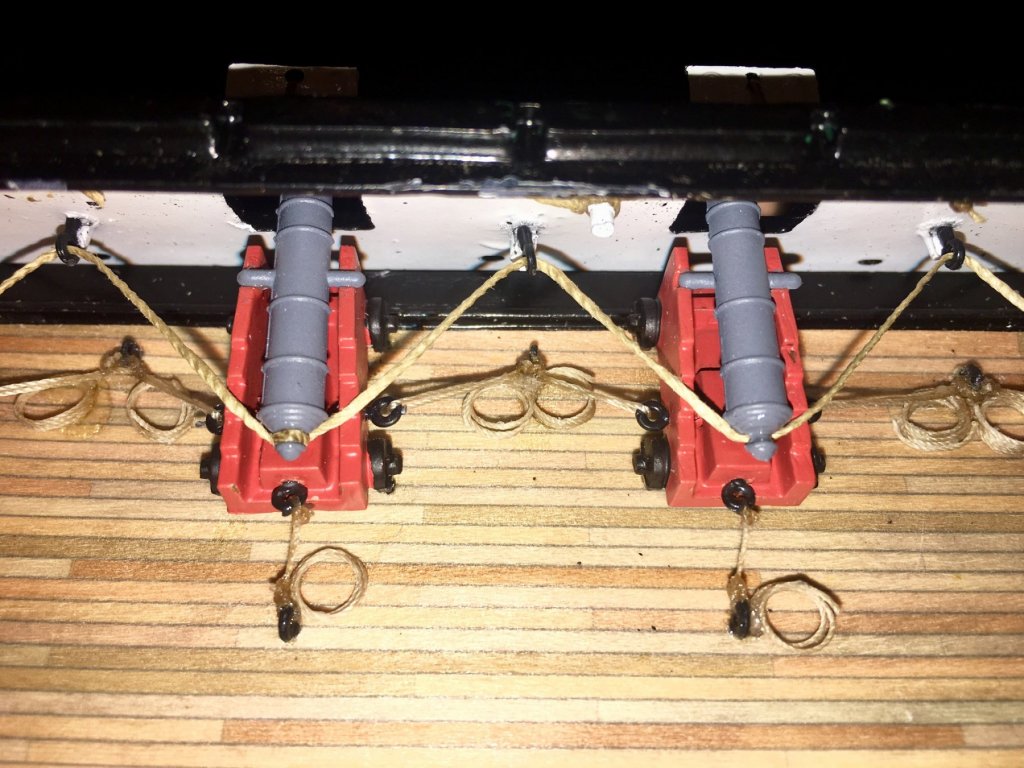
I have all the cannon Glued and rigged to the gun deck. I didn’t like the little “nubs” on the walls to attach the breaching rope, so I glued eyebolts to them. They won’t be seen, but I know they are more secure this way. I also added extra rigging to the guns that will be visible. I didn’t have room to use hooks and blocks, so I just tied them off and added some coils.
- 35 replies
-
- constitution
- revell
-
(and 1 more)
Tagged with:
-
Wow! Has it really been 3 months since I have posted? Life sure has a way of getting in the way huh? I’ve gotten a lot done since then. I’ll add a little at a time until I get caught up.
- 35 replies
-
- constitution
- revell
-
(and 1 more)
Tagged with:
-
- 35 replies
-
- constitution
- revell
-
(and 1 more)
Tagged with:
-
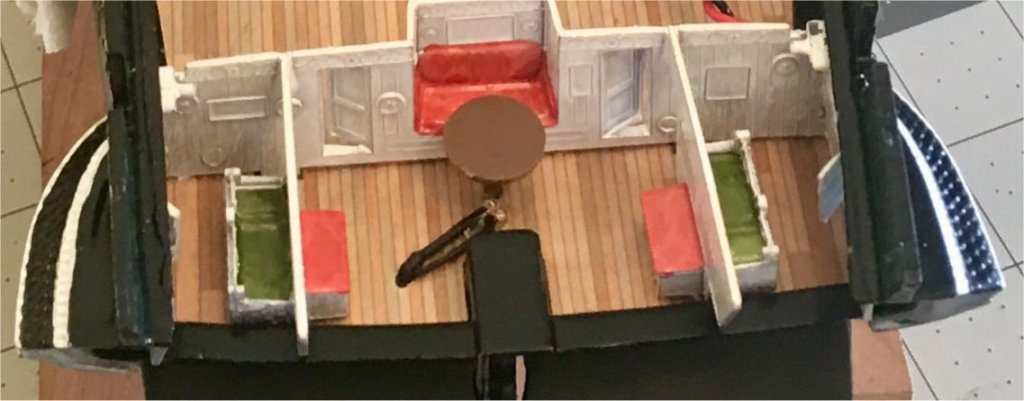
I decided to glue the Gun Deck in, even though the instructions say not to. Im assuming it is supposed to make it easier to install the masts, but I don't like the idea of the deck moving around with all the cannons on it. Also, I decided not to do a lot of detail in the Captain's Cabin because you cant see thru the liquid windows I used. I just did a quick white wash on the walls and put in a little color for affect.
- 35 replies
-
- constitution
- revell
-
(and 1 more)
Tagged with:
-
The finished product. I am going to dab a bit of orange paint on the LEDs so they are a little dimmer and look closer to lantern flame color. IMG_5286.MOV
- 35 replies
-
- constitution
- revell
-
(and 1 more)
Tagged with:
-
I got my lighting installed on the gun deck this weekend. Here you see an LED in the Captain's Cabin and another by the Mizzen Mast: One by the Fore Mast: And one by the Main Mast: These will all be hidden by the Spar Deck. I used Liquid Window Glass (not sure what it is really called) in the galley, so it is sort of opaque and cant be seen thru. Any LEDs that are visible once the Spar Deck is in place will be camouflaged with Barrels, Boxes, and Canvas. All the wiring is hidden under the Gun Deck. You can see in the top left corner of the pic, I have 1 feed going thru the gun deck (in a corner where it will be easy to hide) that will connect to 1 final LED i am going to put somewhere close to the helm. Still haven't figured out how I am gonna make that one actually look like a lantern. I have a Dimmer switch in l;ine, but it turns out the LEDs don't flicker corectly until they have the full 9 volts. I will be removing the dimmer and rewiring the battery directly to the plug.
- 35 replies
-
- constitution
- revell
-
(and 1 more)
Tagged with:
-
Lastly, I received these Chain Plate Kits! They look great! I can't stand the thought of putting those big, ugly, molded chainplates that came with the kit on, since that is one of the first things that your eyes are drawn to. This will be a challenge!
- 35 replies
-
- constitution
- revell
-
(and 1 more)
Tagged with:
-
- 35 replies
-
- constitution
- revell
-
(and 1 more)
Tagged with:
-
Well, i got some packages this weekend and **** JUST GOT REAL! 😲 The first wave of accessories from HISModels.com came in. The first kit is for adding the rigging for the guns: The next kit is the Standing rigging kit: And I also ordered the Cloth Flag Set and Draft Scales: The flags are really nice and printed on both sides. Too bad they are the LAST thing to go on 🤦♂️
- 35 replies
-
- constitution
- revell
-
(and 1 more)
Tagged with:
-
Lol! That is a little weird! Hi, I’m Bob. Nice to meet you 😝🤣
- 35 replies
-
- constitution
- revell
-
(and 1 more)
Tagged with:
-
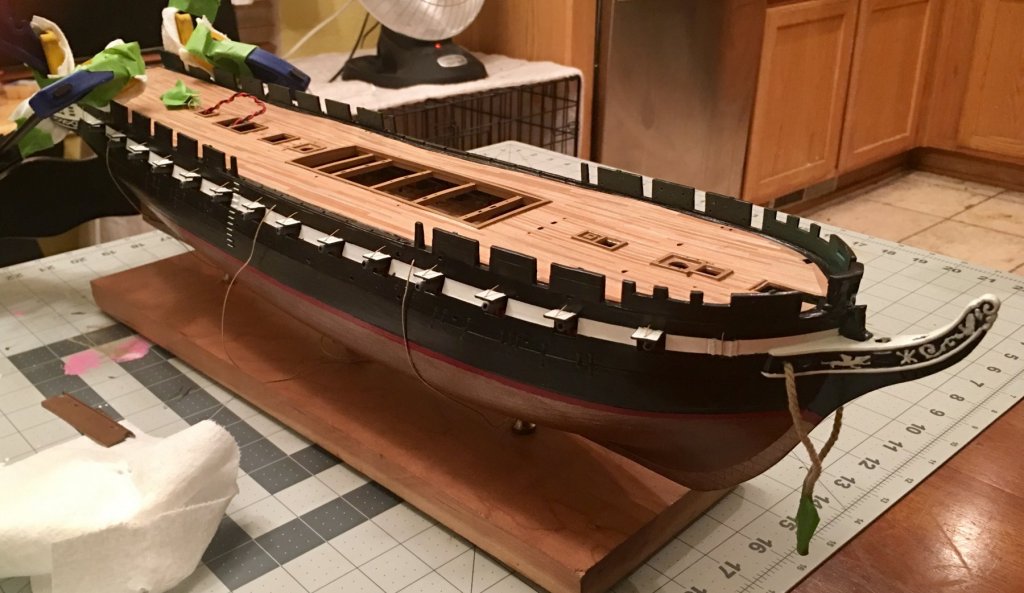
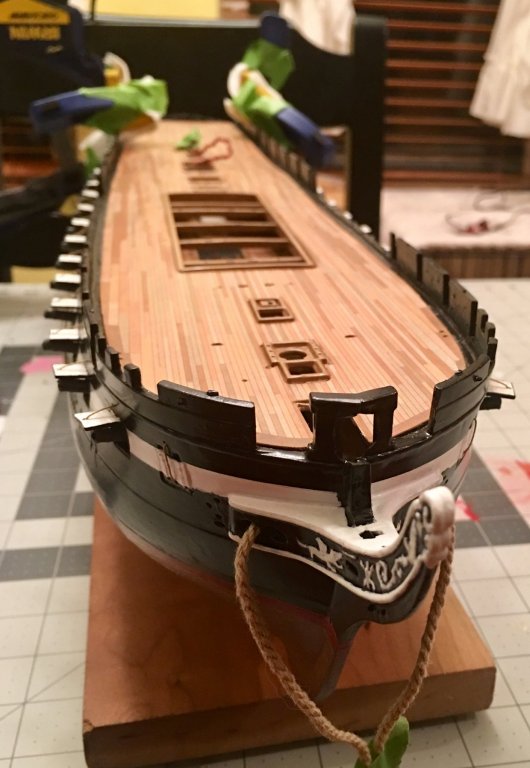
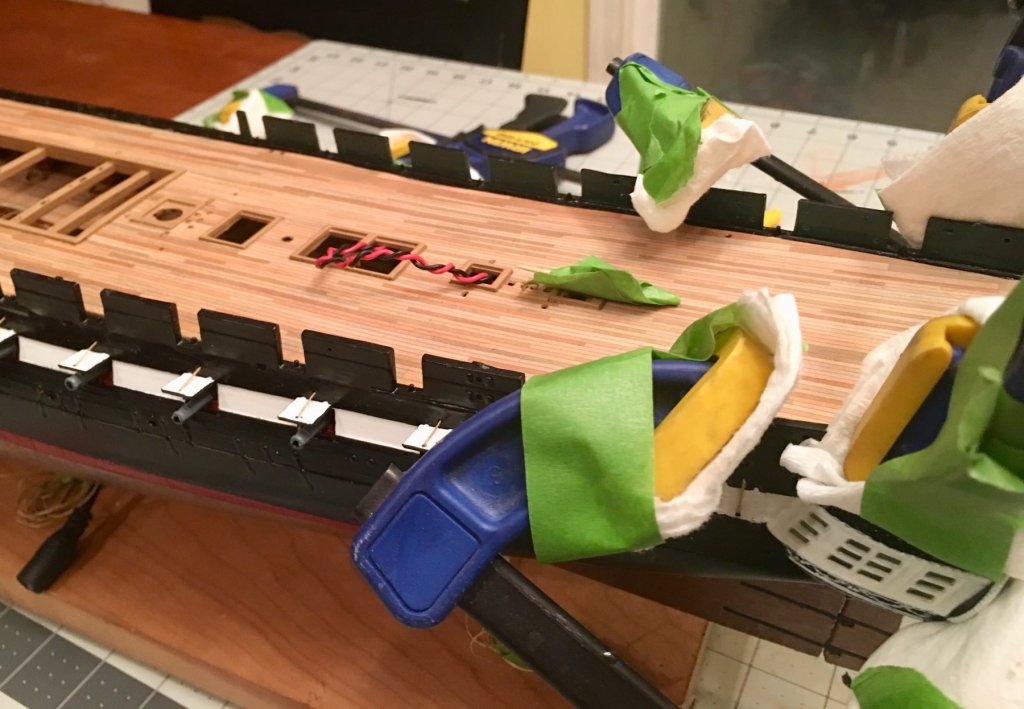
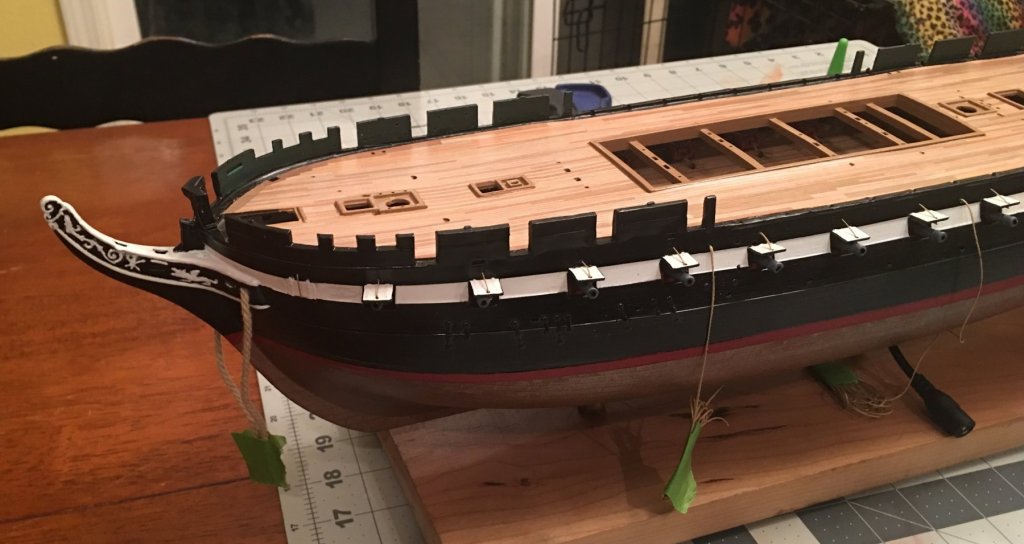
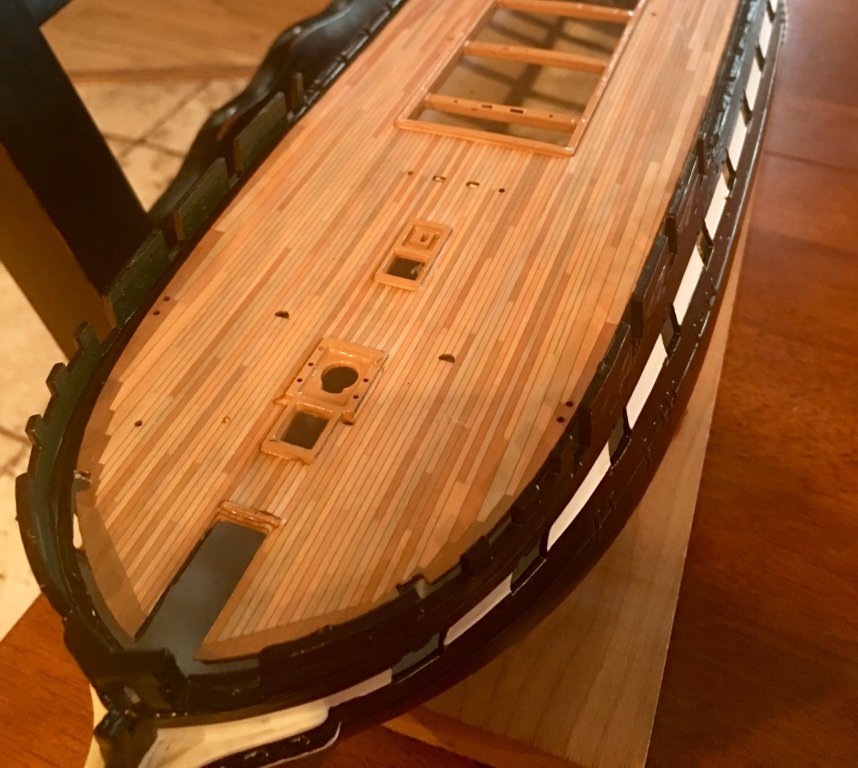
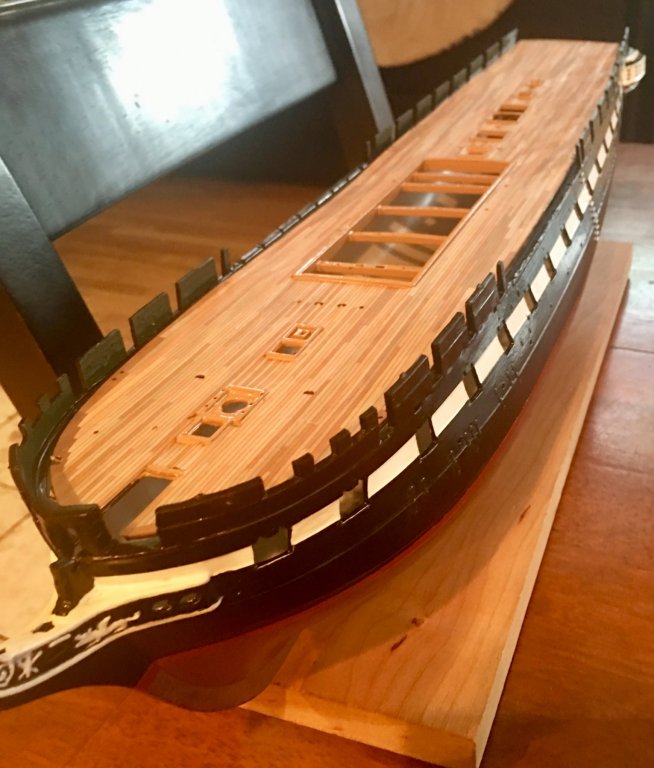
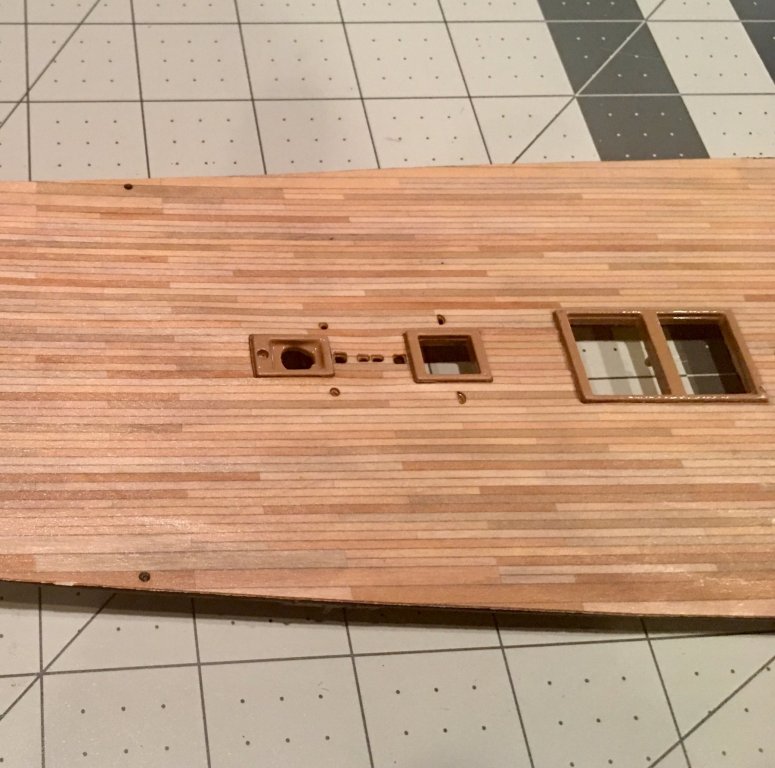
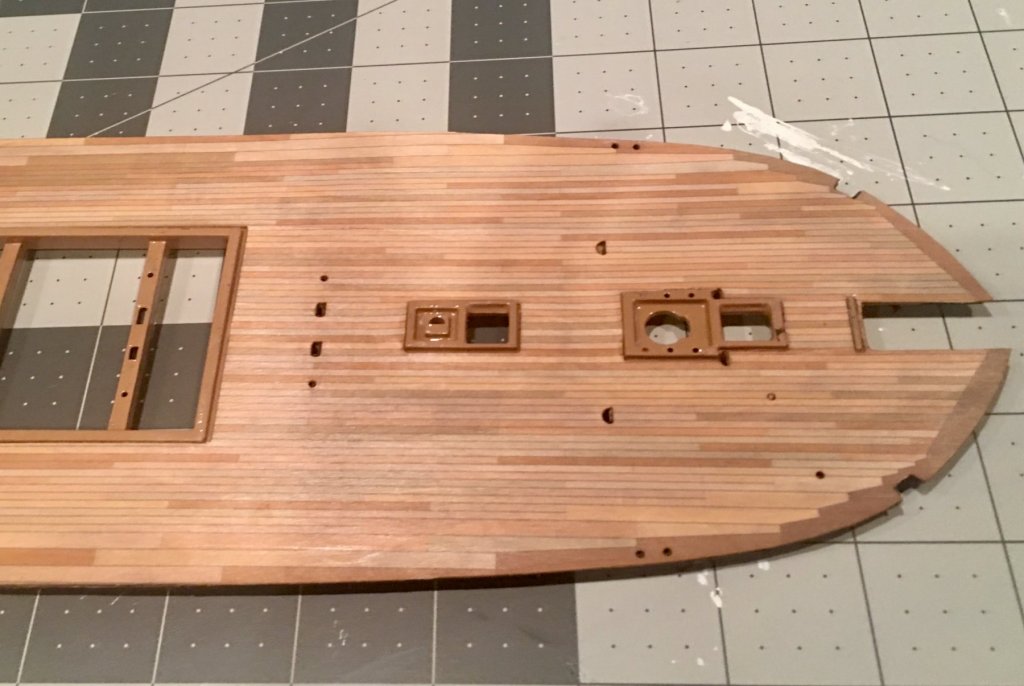
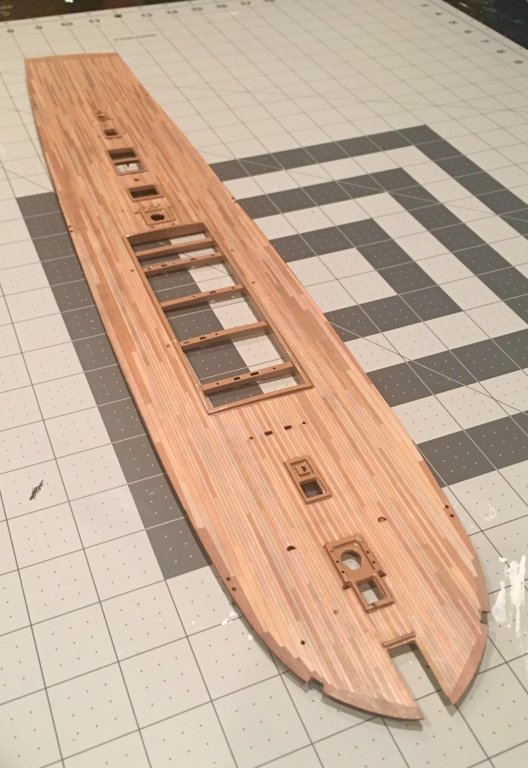
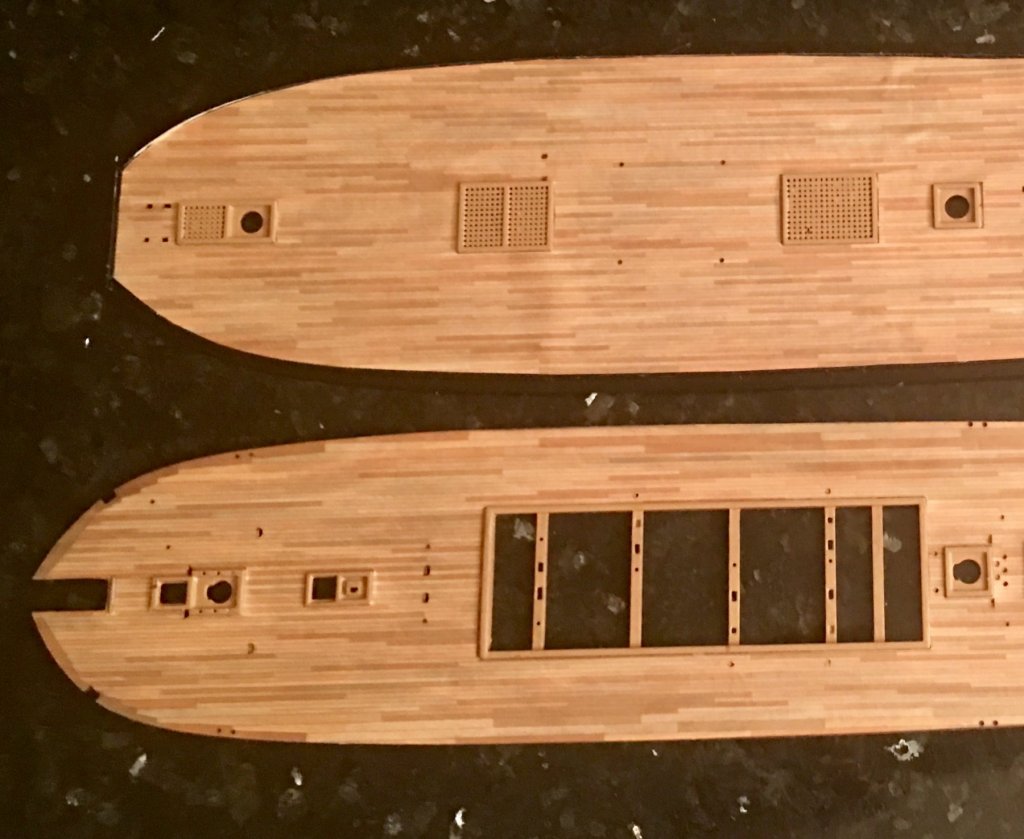
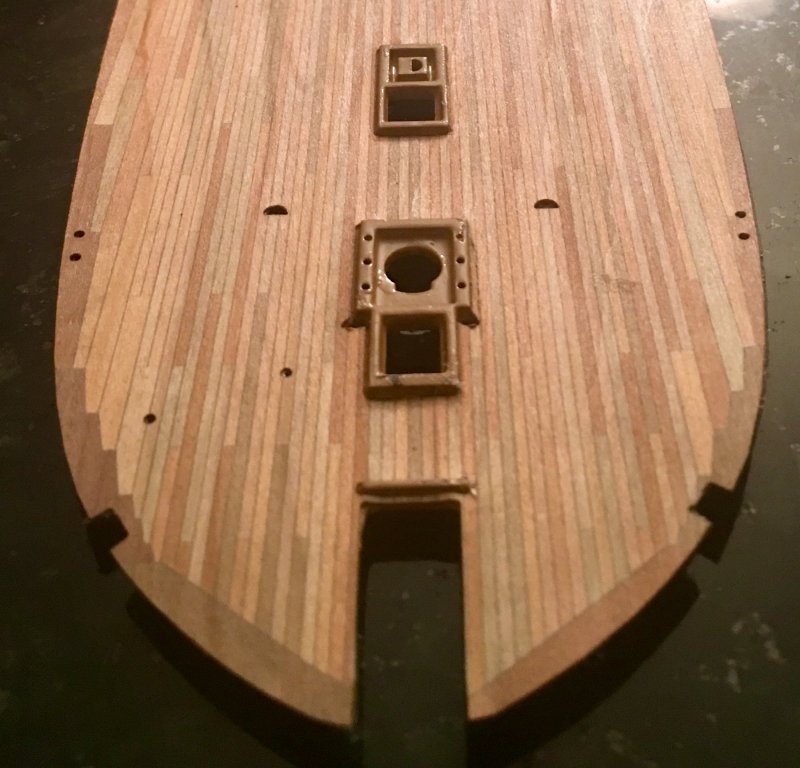
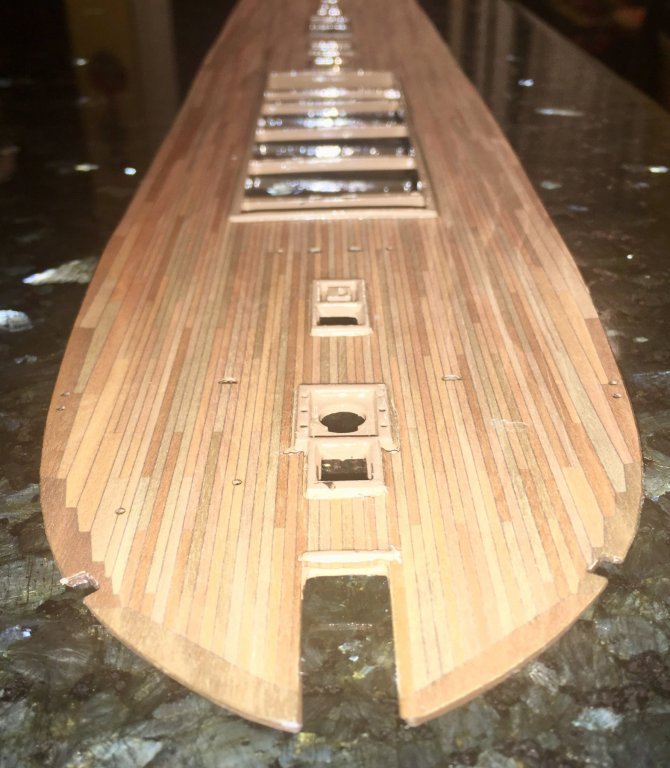
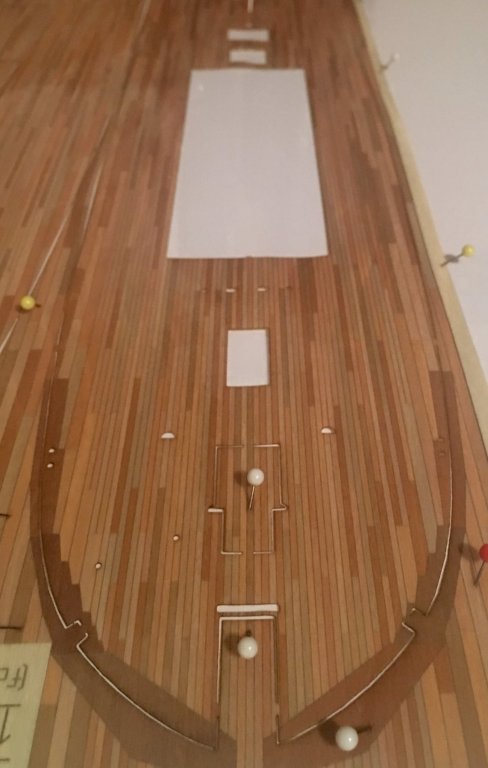
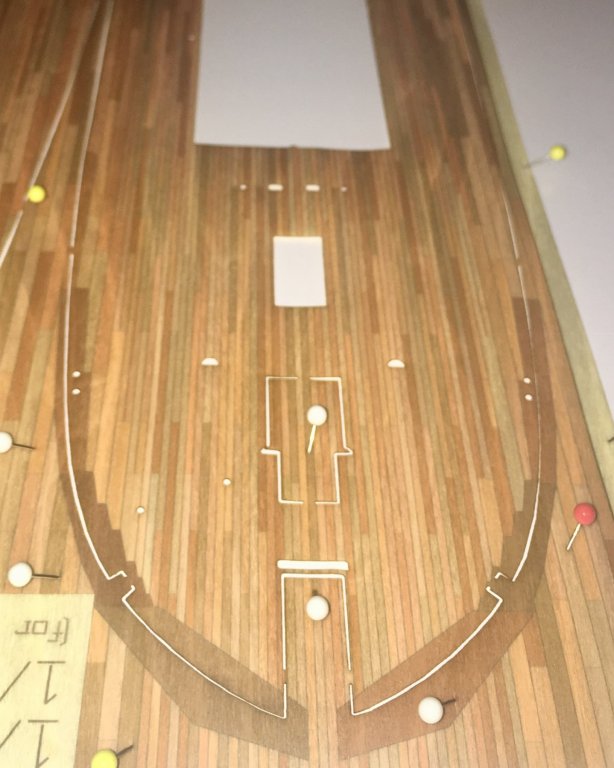
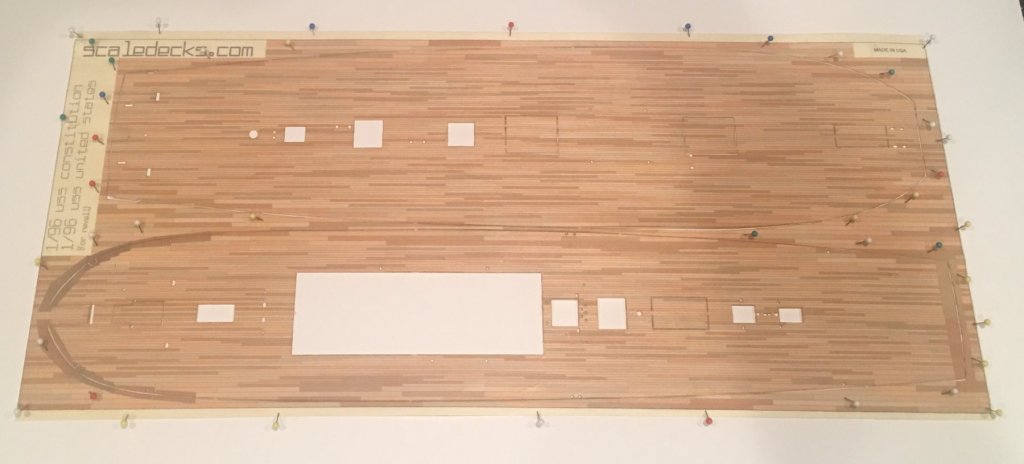
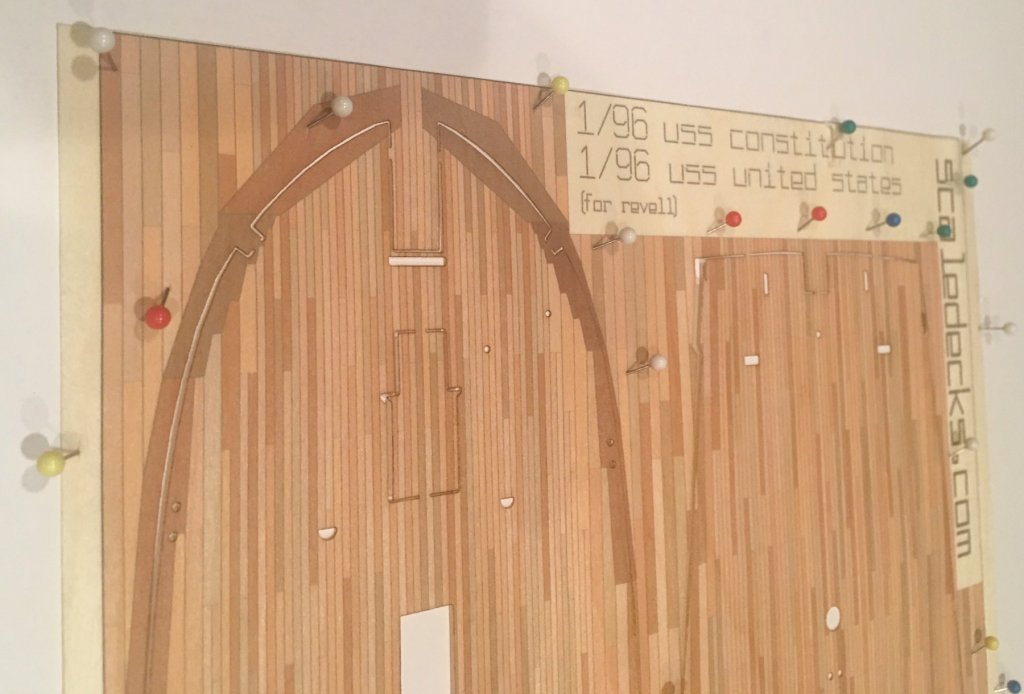
Of coarse, I HAD to set the Spar Deck in the hull to see what it looks like! As I said before, there is absolutely NO WAY I could have painted the decks even close to realistic so I am very happy with the extra $$ for the wood laminate. If anyone is interested in them, you can find them on EBay. The sellers name is “ScaleDecks”.
- 35 replies
-
- constitution
- revell
-
(and 1 more)
Tagged with:
-
Of course I have a little touch up to do on the painted parts, then a few coats of satin clear to tie it all together, but I think they look pretty good!
- 35 replies
-
- constitution
- revell
-
(and 1 more)
Tagged with:
-
- 35 replies
-
- constitution
- revell
-
(and 1 more)
Tagged with:
-
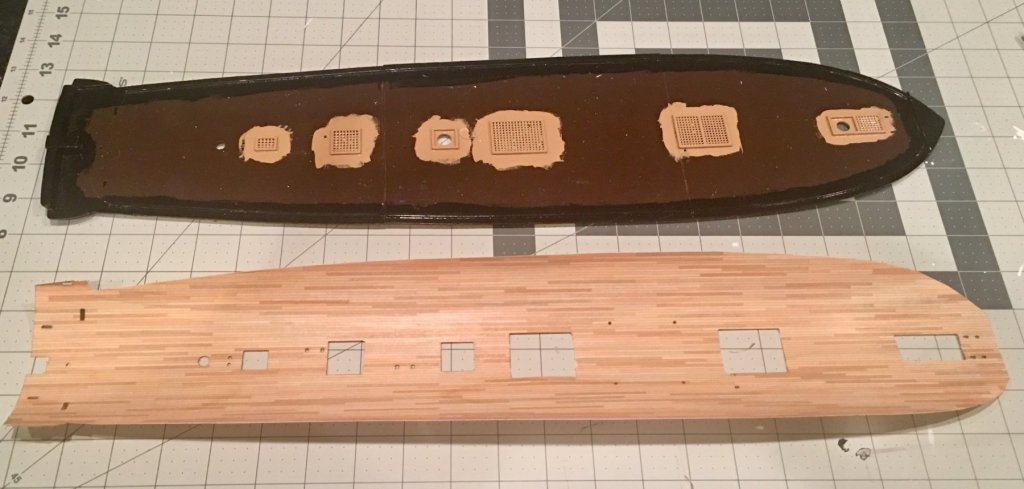
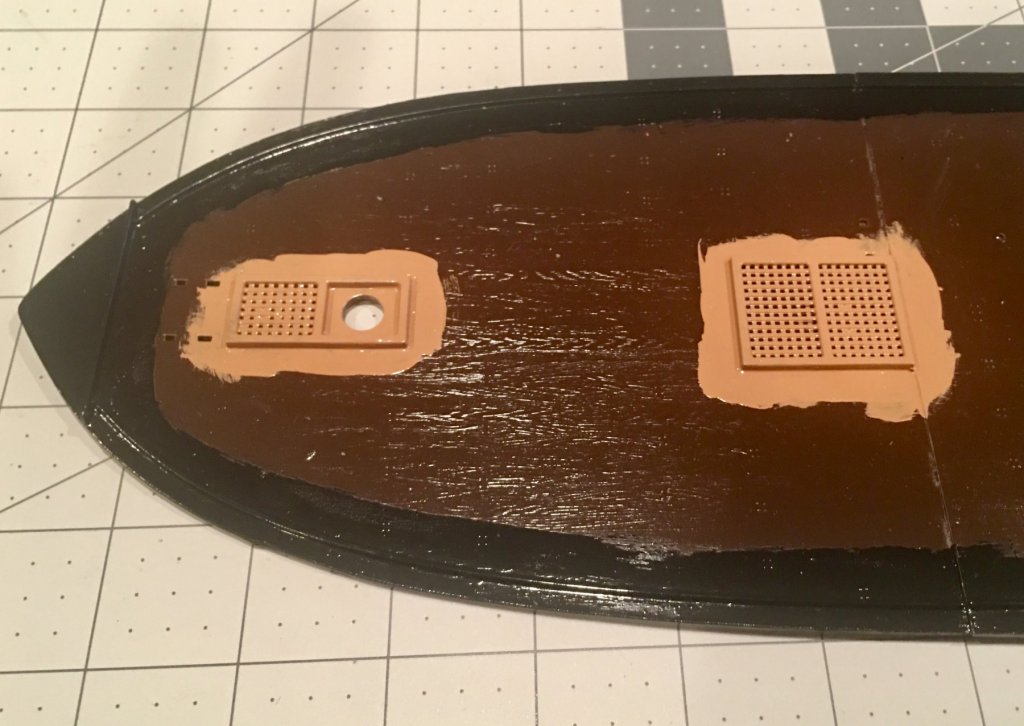
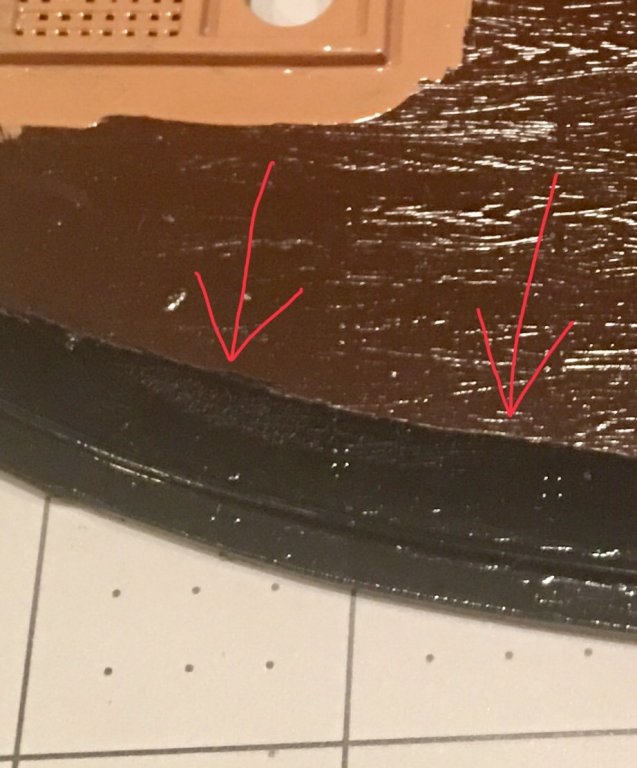
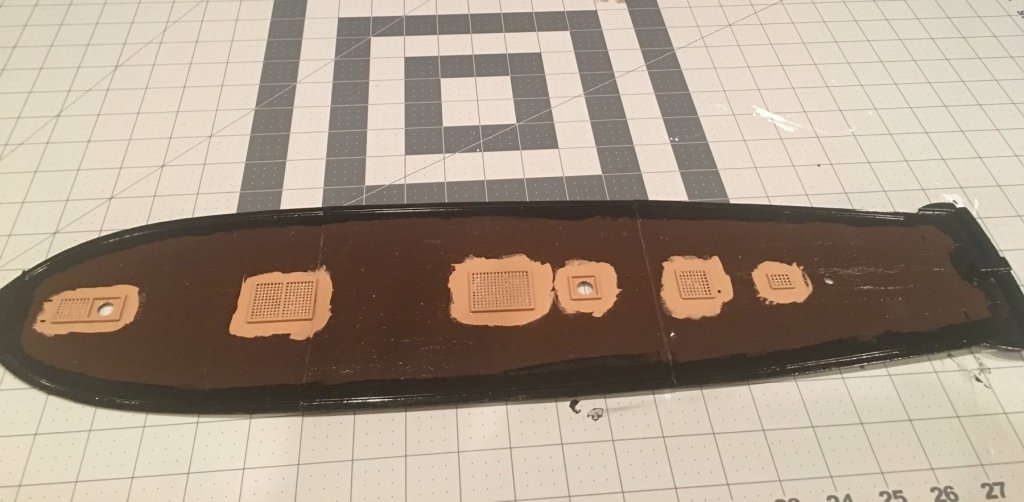
I’ve been busy this afternoon! I really need to learn not to rush things. The next step of my build is to finish the decks so they are ready to install. First I painted the decks a very dark brown. The manufacturer of the wood laminate said that the color under the laminate could affect the shade of the decks, so I went pretty dark. I also figured it would help hide any spots where the wood isn’t cut exactly correct. I then painted the parts that that will show a light “Wood” color. The wood is cut so that, if you shave down the ridge on the gun deck, it will reach all the way to the edge. I wanted to keep the ridge line to help align the cannons, so I trimmed the wood to fit and painted the outside edge of the gun deck black.
- 35 replies
-
- constitution
- revell
-
(and 1 more)
Tagged with:
-
Thanks Man! I saw the "spare tire" idea on your build log. Thats a great idea. 👍 I hardly ever use the plastic cement any more. CF Glue (Super Glue) works really well for me, even on the painted parts. The plastic cement works by melting the two pieces of plastic together where CF Glue actually glues the surface of the part, or paint, or whatever. As long as you have a good top coat, you will be alright. 😉
- 35 replies
-
- constitution
- revell
-
(and 1 more)
Tagged with:
-
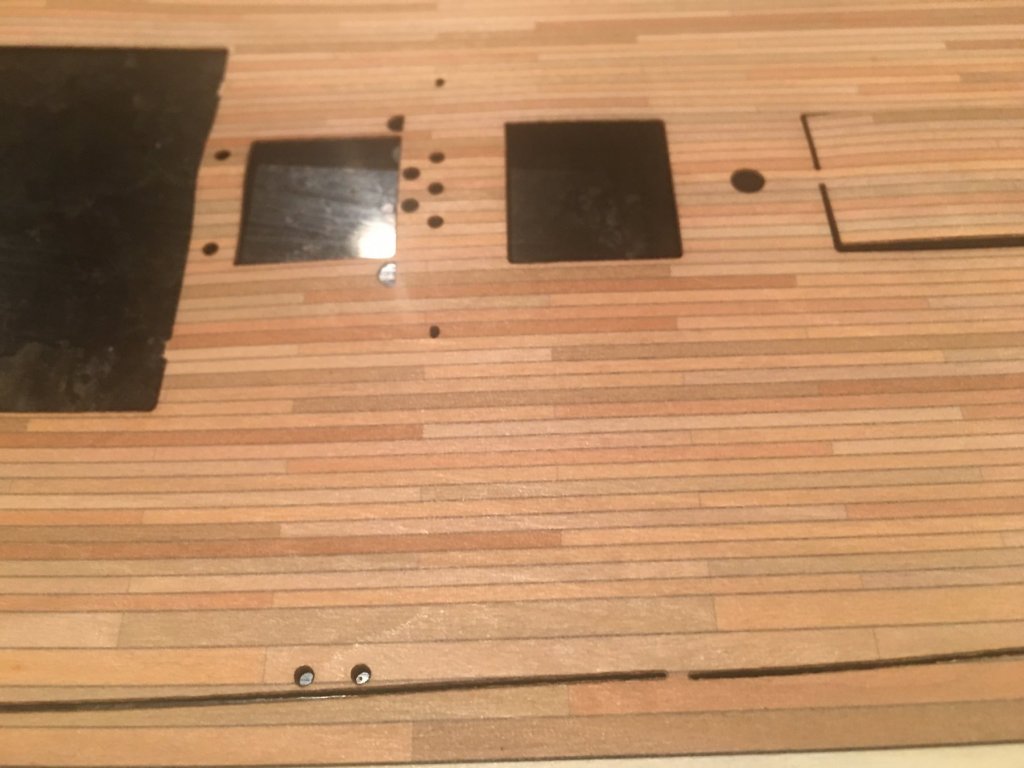
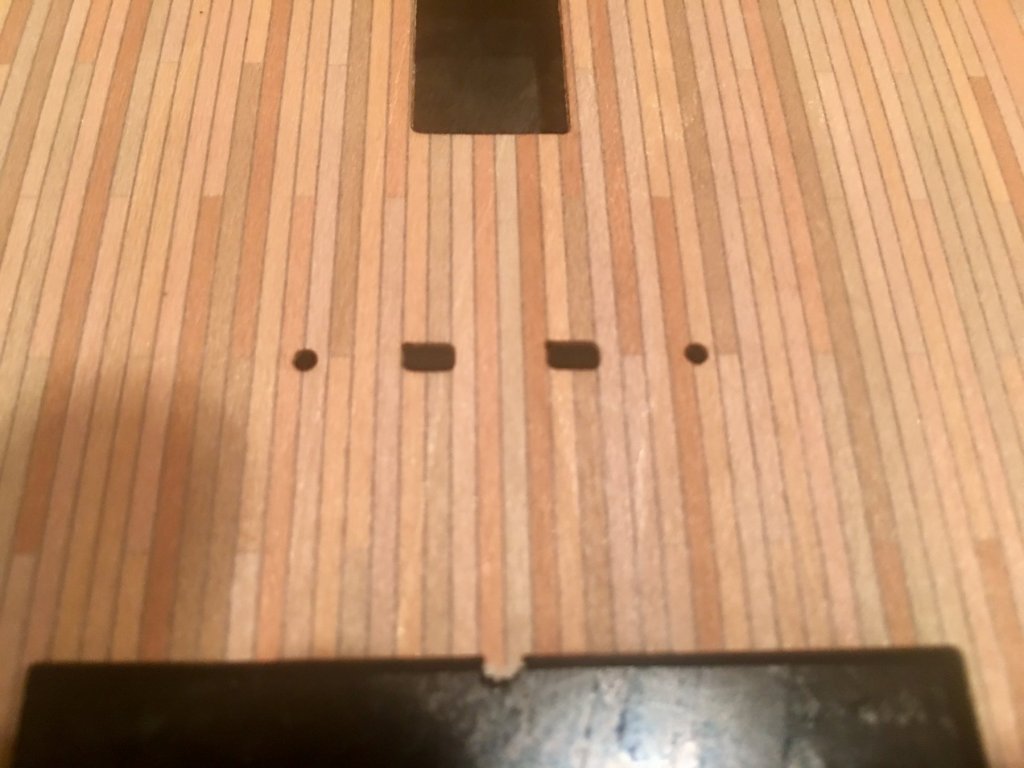
These pics are after only one coat, and it’s still wet, but I really like the way it’s bringing out the color.
- 35 replies
-
- constitution
- revell
-
(and 1 more)
Tagged with:
-
I had enough time tonight to get one coat of clear coat on the decks. I pined the whole sheet to a fiberboard so I could handle it while spraying it.
- 35 replies
-
- constitution
- revell
-
(and 1 more)
Tagged with:
-
I got my Deck Laminate today. It looks pretty good. I figured there was NO WAY I could ever paint the decks to look realistic, so this was the next best thing. They are very thin and fragile, but I think when I get them glued to the decks they will be fine. The only thing that surprised me is that they are real wood, but the “plank” pattern is thermal printed on and the manufacturer’s instructions say you should not stain them. I painted the entire plastic deck dark brown, so that should darken them a little. They do say you should spray them with clear satin sealant so that fits right in with my “showroom” look.
- 35 replies
-
- constitution
- revell
-
(and 1 more)
Tagged with:
-
Hey Mike! Thanks for checking her out! I’m glad you like it so far, thank you. I’m really happy with the way it’s coming out this time around. It’s really hard to take my time and not rush it. I’m really looking forward to getting to the rigging. I actually havent recieved anything yet 😂 So far I have ordered everything in HISModel’s Constitution set except any of the cannon kits or the decks. I am really excited about the full sails with studding sails, but of course, that’s the last thing I get to do! 🤦🏻♂️ I also ordered some extra eyebolts and some other extra metal fittings. I ordered some deck laminates from someone in California on eBay. I’d rather not say the sellers name until I have seen them. I also orded a bunch of misc blocks, deadeyes, and some cool looking Chain Plate sets for the Deadeyes on the Channels connecting the Ratlines from Model-expo.com. I will probably upgrade all the guns, but that is gonna have to wait till I get my allowance 😝 Bob
- 35 replies
-
- constitution
- revell
-
(and 1 more)
Tagged with:
-
Hey mike you are doing an incredible job on her! I just started this model, Again, in December. I think going thru you build up to this point has really caused me to up my game! And, it has caused me to send a lot of my money to Europe in the last few weeks 😉 Keep up the great work and swing by and check my build out! 👍🏻
- 209 replies
-
- constitution
- revell
-
(and 1 more)
Tagged with:
About us
Modelshipworld - Advancing Ship Modeling through Research
SSL Secured
Your security is important for us so this Website is SSL-Secured
NRG Mailing Address
Nautical Research Guild
237 South Lincoln Street
Westmont IL, 60559-1917
Model Ship World ® and the MSW logo are Registered Trademarks, and belong to the Nautical Research Guild (United States Patent and Trademark Office: No. 6,929,264 & No. 6,929,274, registered Dec. 20, 2022)
Helpful Links
About the NRG
If you enjoy building ship models that are historically accurate as well as beautiful, then The Nautical Research Guild (NRG) is just right for you.
The Guild is a non-profit educational organization whose mission is to “Advance Ship Modeling Through Research”. We provide support to our members in their efforts to raise the quality of their model ships.
The Nautical Research Guild has published our world-renowned quarterly magazine, The Nautical Research Journal, since 1955. The pages of the Journal are full of articles by accomplished ship modelers who show you how they create those exquisite details on their models, and by maritime historians who show you the correct details to build. The Journal is available in both print and digital editions. Go to the NRG web site (www.thenrg.org) to download a complimentary digital copy of the Journal. The NRG also publishes plan sets, books and compilations of back issues of the Journal and the former Ships in Scale and Model Ship Builder magazines.

