jud
-
Posts
1,171 -
Joined
-
Last visited
Content Type
Profiles
Forums
Gallery
Events
Everything posted by jud
-
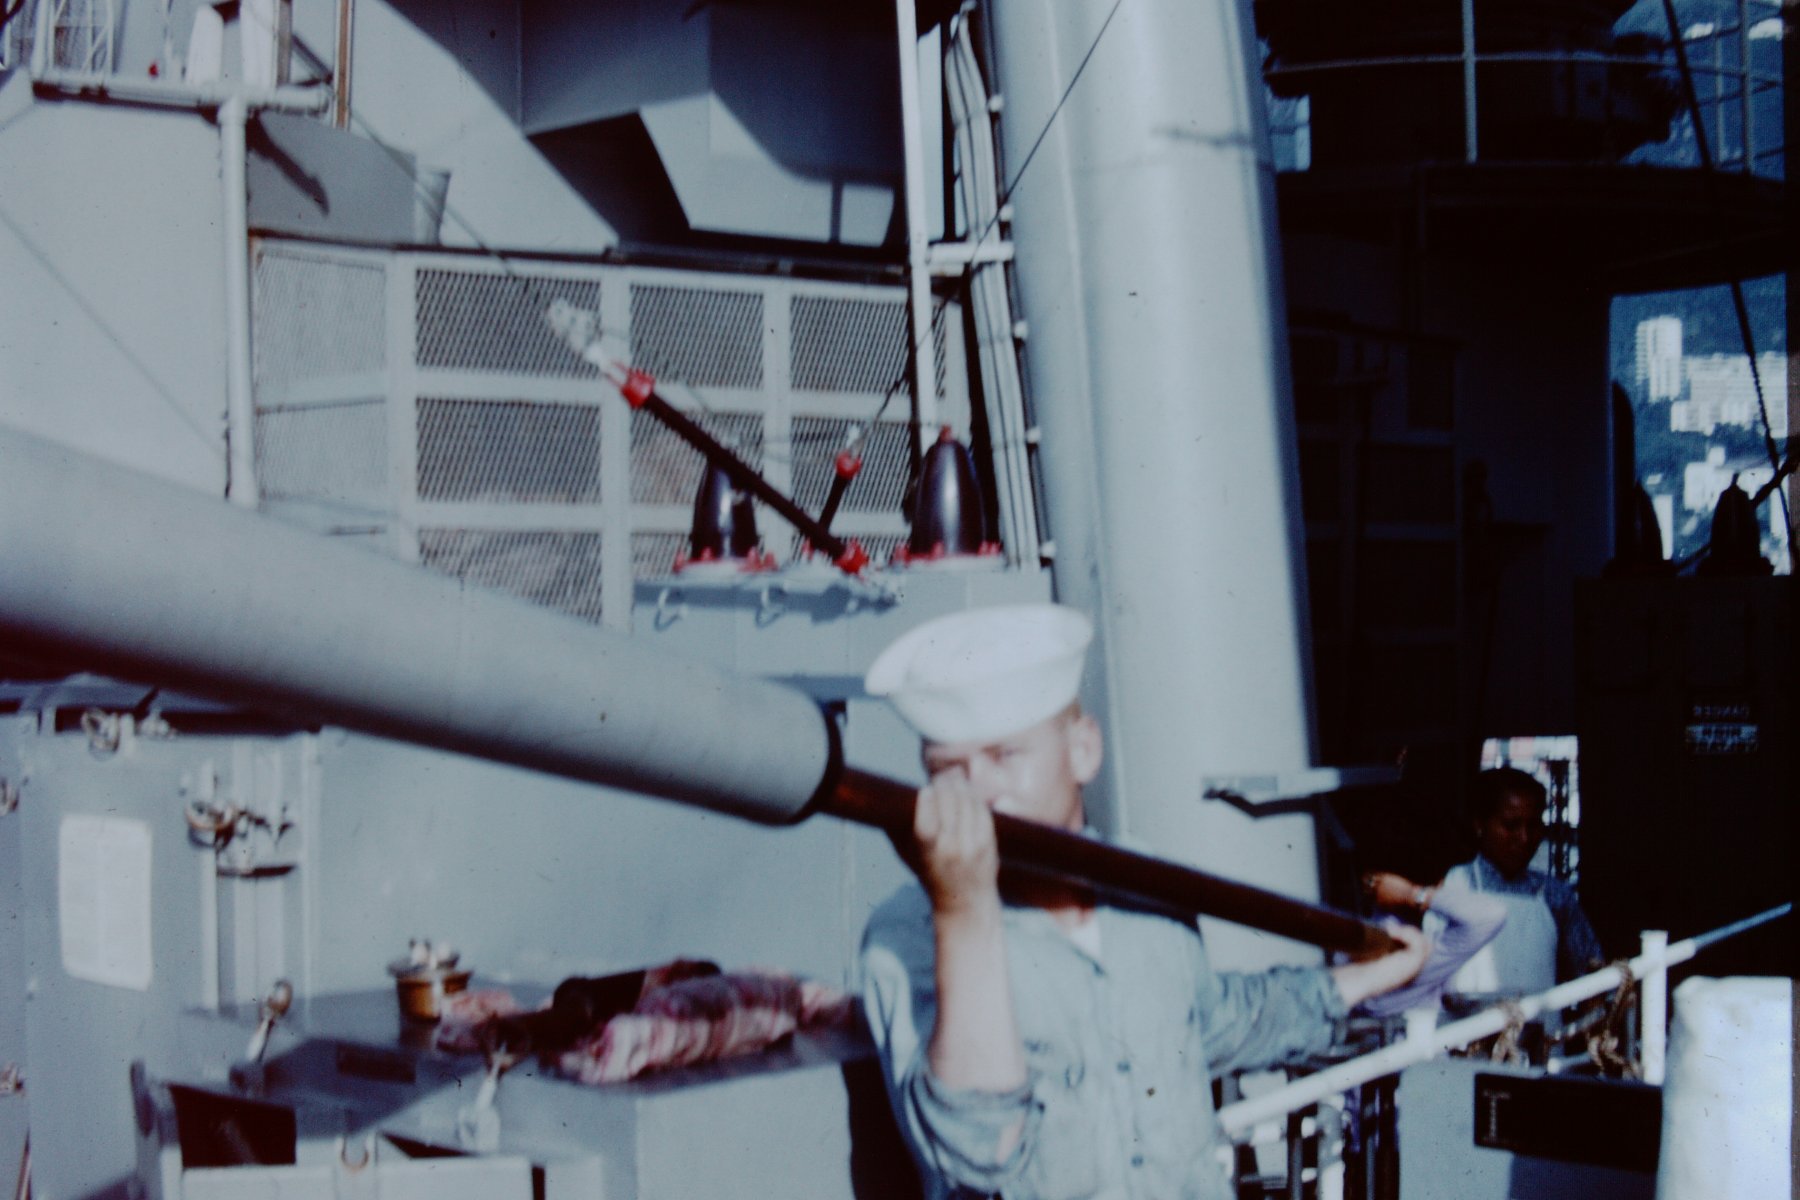
 I removed my post and the attached photo of a Twin Bofors because it lead away from the modification to the model being discussed and that was not my intent. Bad habit, see something that triggers a memory or opinion and I post it, usually inappropriately. Photo reveals why I did not like the shields in the drawings, regunning, replacing worn out barrels.
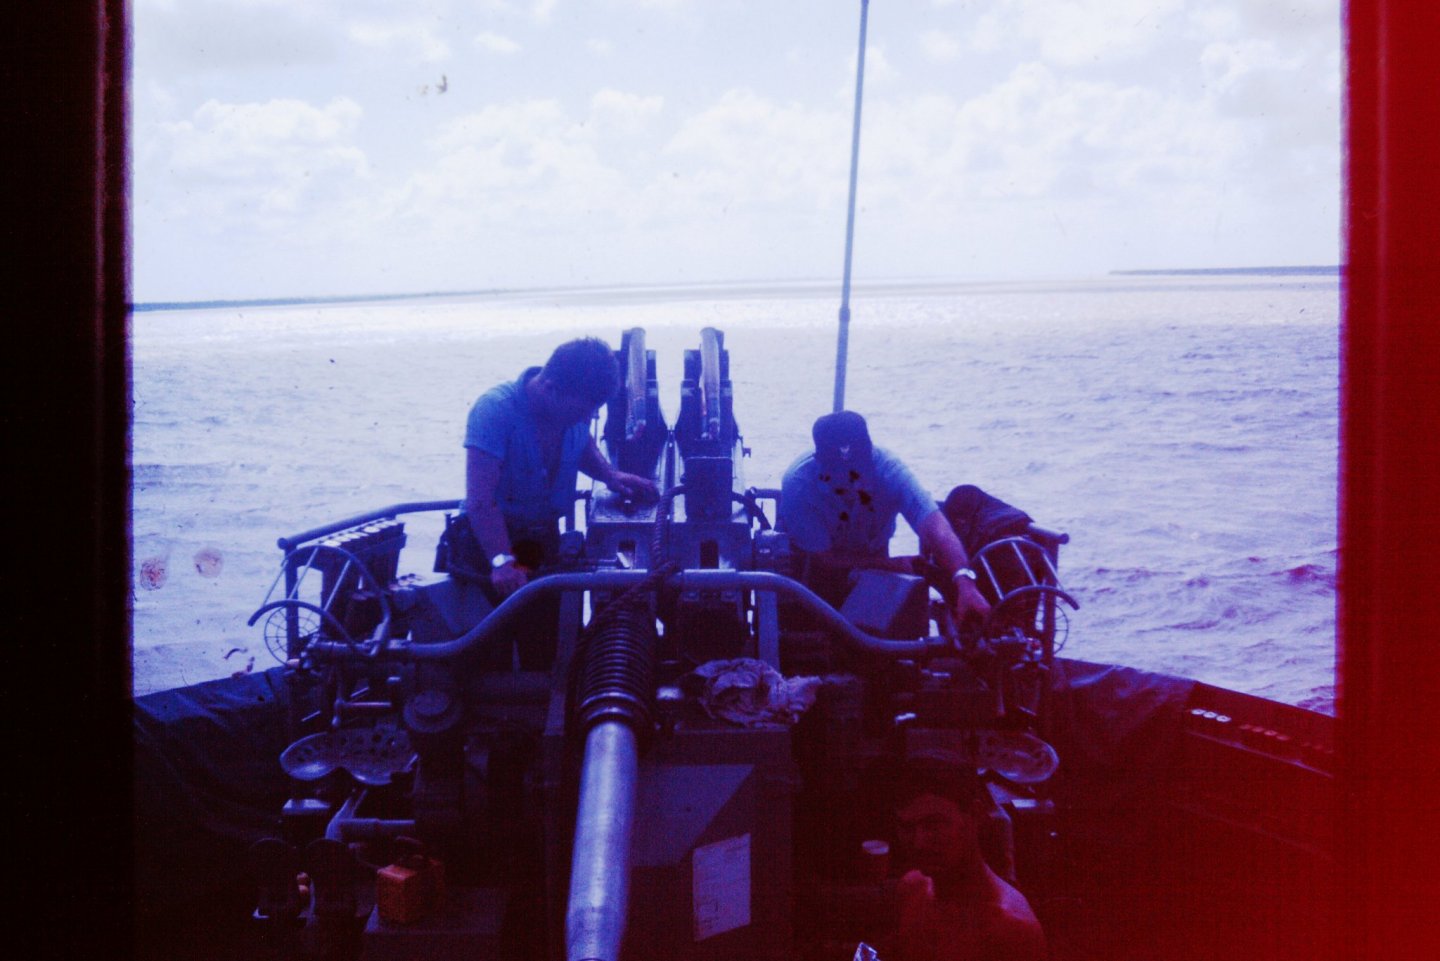
- 378 replies
-
- 4
-

-
- java
- pacific crossroads
- (and 2 more)
-
In my world, felt is hair, washed steamed and pressed, adding tar would make it impervious to water, My felt hats will eventually soak through and I have washed my work cowboy hats with soap and water in a bucket, pat most of the water out and wear them dry, later using steam from an iron and the iron itself to reshape, hair, tared and used in a joint to waterproof the end grain sounds reasonable to me. Tared felt in the stem above the waterline and coppering makes sence to me, water getting into the endgrain, then drying and wetted again leads to dry rot.
-
Peterbuilt Semi-Trailer by Dan Vadas - CARD - FINISHED
jud replied to Dan Vadas's topic in Non-ship/categorised builds
Brings back memories; One I drove when I was back from RVN. 250 block bored to 335 with a blower and the pyrometer ruled, 5 speed main and 3 speed auxiliary, nice truck. Joe Bowen, Springdale. Arkansas; Owner
-
Shot garland, or...
jud replied to Hallibag's topic in Discussion for a Ship's Deck Furniture, Guns, boats and other Fittings
1926, breach loader days. Device to hold ready service cartridges, dropped in and stopped by the cartridge rim. Hole in the center used as a holder so the holding plate could be removed and replaced by a different caliber if the Ammo Cart was used for a different sized gun. Don't know, pure speculation. Maybe some evidence of compression on the bottom of the small hole, it may have been set on top of a cylinder and secured, Possible compression showing on the brass plate around the large holes. Hope someone with better research skills can solve the mystery. -
Traditional Wooden Boats in the Norwegian Maritime Museum, Oslo
jud replied to wefalck's topic in Nautical/Naval History
Great pictures wefalck. Now time for a stupid question. Those boats were open to the elements, so would collect rain or melted snow water in the bilges, also they would ship water under oars or sail in calm to moderate seas then there are the lively seas that might come aboard anytime from any direction, No pump wells or dipper wells, water looks like it was allowed free movement in the bilges. Has any means to dewater those boats been found in the remains now on display, modern or ancient? Closest I ever was to seasick was when I had my head in the bilges just forward of the engine of a 34' Troller in SE Alaska. There because the pump could not keep the bilges pumped because it was rough and the bulge water was running back and forth in the bottoms, coming up the sides and getting into out bunks and cooking area, I was there with a flattened on one side gallon can catching some of that water as it went by, made it through 3 gallons and had to get out of there, from the wheelhouse my head and belly returned to normal, since that experience in 1965, I always look to see how water in the bilges is managed and the reason for my inquiry. Cans and scoops have their limits. -
Jaager, glad to see someone expanded on my chainsaw post, modeling kits certainly have made many power tools overkill. Some start scratch building at the cured log, end product may resemble a kit, but it requires much more effort. Some mighty fine models were produced long ago without power tools as you know. Your list of methods clarifies my statement about goals much better than I did, that is the primary starting point for acquiring and it sets the limits for useful power tools.
-
A good chainsaw would be a big help in harvesting your raw material, I would ask someone in your area what they use for that job. Opened up a big subject, without a hint about what your goals are, sometimes the tools you are using are the best choice, supplemented by a good rotary tool with a selection of chucks to broaden the usefulness of the thing might be a good start but not much good for cutting out Frames. Adding various fixtures that the rotary can be clamped into is often a step taken to refine cuts. You need to refine your goals to obtain useful information or you will end up with lots of chainsaws and a few axes hanging on your wall. Good luck. Use the right tool for the job.

-
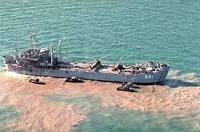
Admire your work, hope you continue posting. I do have a ship in mind that has a long history and still serves in the South China Sea. A bit of self interest because I was a Gunners Mate aboard her when she was the Harnett County LST 821, TF 116, TU 76.8.3, one of four LST's in that role and would puff up like a balloon if you found her worthy of a drawing. Brown Water Navy. http://defensestatecraft.blogspot.com/2014/04/treasure-of-sierra-madre-wwii-lst-in.html
-
Can you identify this feature? 19th century 1st Rates
jud replied to Martocticvs's topic in Nautical/Naval History
Suspect you are following the right scent, would expect a gang of fairleads and blocks to lead the mooring line to the Capstan. Ever lead the forward line through a chock, around a bit and on to the Capstan? When the ship was in place then using a stopper to hold the tension while taking the turns on the bitts so you could double up without losing the tension, bundling with small line and putting the Rat Guards on. Those openings look to be in the proper place for mooring alongside a pier. -
Great progress. You mentioned netting with a photo above, suspect the netting of today is for child and pet safety, there for insurance purposes. The railings and Bullworks should suffice for a working cargo ship and did not exist in her working years. Have admired your progress through one wreck after another with the model and your life, it has made you into a fine modeler with unique skills, patience and empathy for others, proud of you.
- 4,145 replies
-
- 4
-
-
- cutty sark
- tehnodidakta
- (and 1 more)
-
I have read somewhere in this Forum that the messenger loop used around the Capstan came about with the increase in size of the Anchor Cable to where it would have been damaged by passing it around the Drum several times. The loop was tight enough to guide itself and pass around a fixture at its forward turnback, under tension only between the Capstan and the most forward tie to the cable. I suspect it was all taken down and stored below unless needed, that being the reason it is seldom seen in drawings and paintings, models followed suit.
-
Have tormented myself that way without the mesh stick, thanks. The lack of that tool defeated me on every attempt at net making.
-
HM Bark Endeavour by Dashi - Caldercraft - scale 1:64 - 1768-71 - bashed kit. This is a build log you must study, much thought, research and why asked, with solutions, sometimes outside the accepted, I am impressed with the work but more so with the Gray Matter used and reasons given for deviating from the norm. Some testing done in order to determine if solutions were practical enough to have worked in real life, chock full of questions, research and testing. One item I believe this work has established was the crossover built over the tiller, why? Cook needed a place to set up his Plane Table and Alidade, this was addressed. Others just blindly built a crossover where a Seaman or Officer would normally, just step over the tiller, mucking up the rear deck area. This Log is well worth your time to study closely. Finding a kit true to the original I suspect is imposable, some closer than others, Dashi bashed her kit, rewards in following her guidance, research and adding to it by your research.
-
It might depend on the needs of the Commission wether to treat sails against mold and sun. Regardless, there would be mismatched patches and reinforcing scattered around all sails treated or not. Treating sails with pine tar, paraffin and coal oil would require a place to do it and a method to heat the mix so it would be thin enough to penetrate fully and cure. I live in a windy part of the nation and when surveying spent hours in it, moving or standing at an instrument. Bought a Drover Coat for my wife that was lined and myself one that was not. They are like wearing a canvas tent, but stop the wind and shead water well, also they are heavy. Don't wear them much today although I did this spring for a few days, they are about 25 years old now, have retreated them once and expect them to be good for another 25 years . Suspect treated sails would display what these canvas coats displayed, heavy, stiff and tough.
-
I would expect to see a copper pan about 1 foot larger than the stove footprint all around and about 2-3 inches deep filled with sand with the stove sitting on brick platforms at the corners with air clearance between the stove and sand. The sand could be changed as needed and also wetted to cool it, wet or dry it would block high heat from penetrating to the wood deck. A brick platform might also been used as a platform for the stove. Metal transfers heat, can provide a resistant platform, but without air circulation behind it or other heat shield, heat transfers quickly through it to the material it is resting on.
-
A lead stovetop would tend to flow downward to become part of the decor at stove top temperatures. Copper, brass, bronze or Iron will not melt from normal stove heat, forget lead.
-
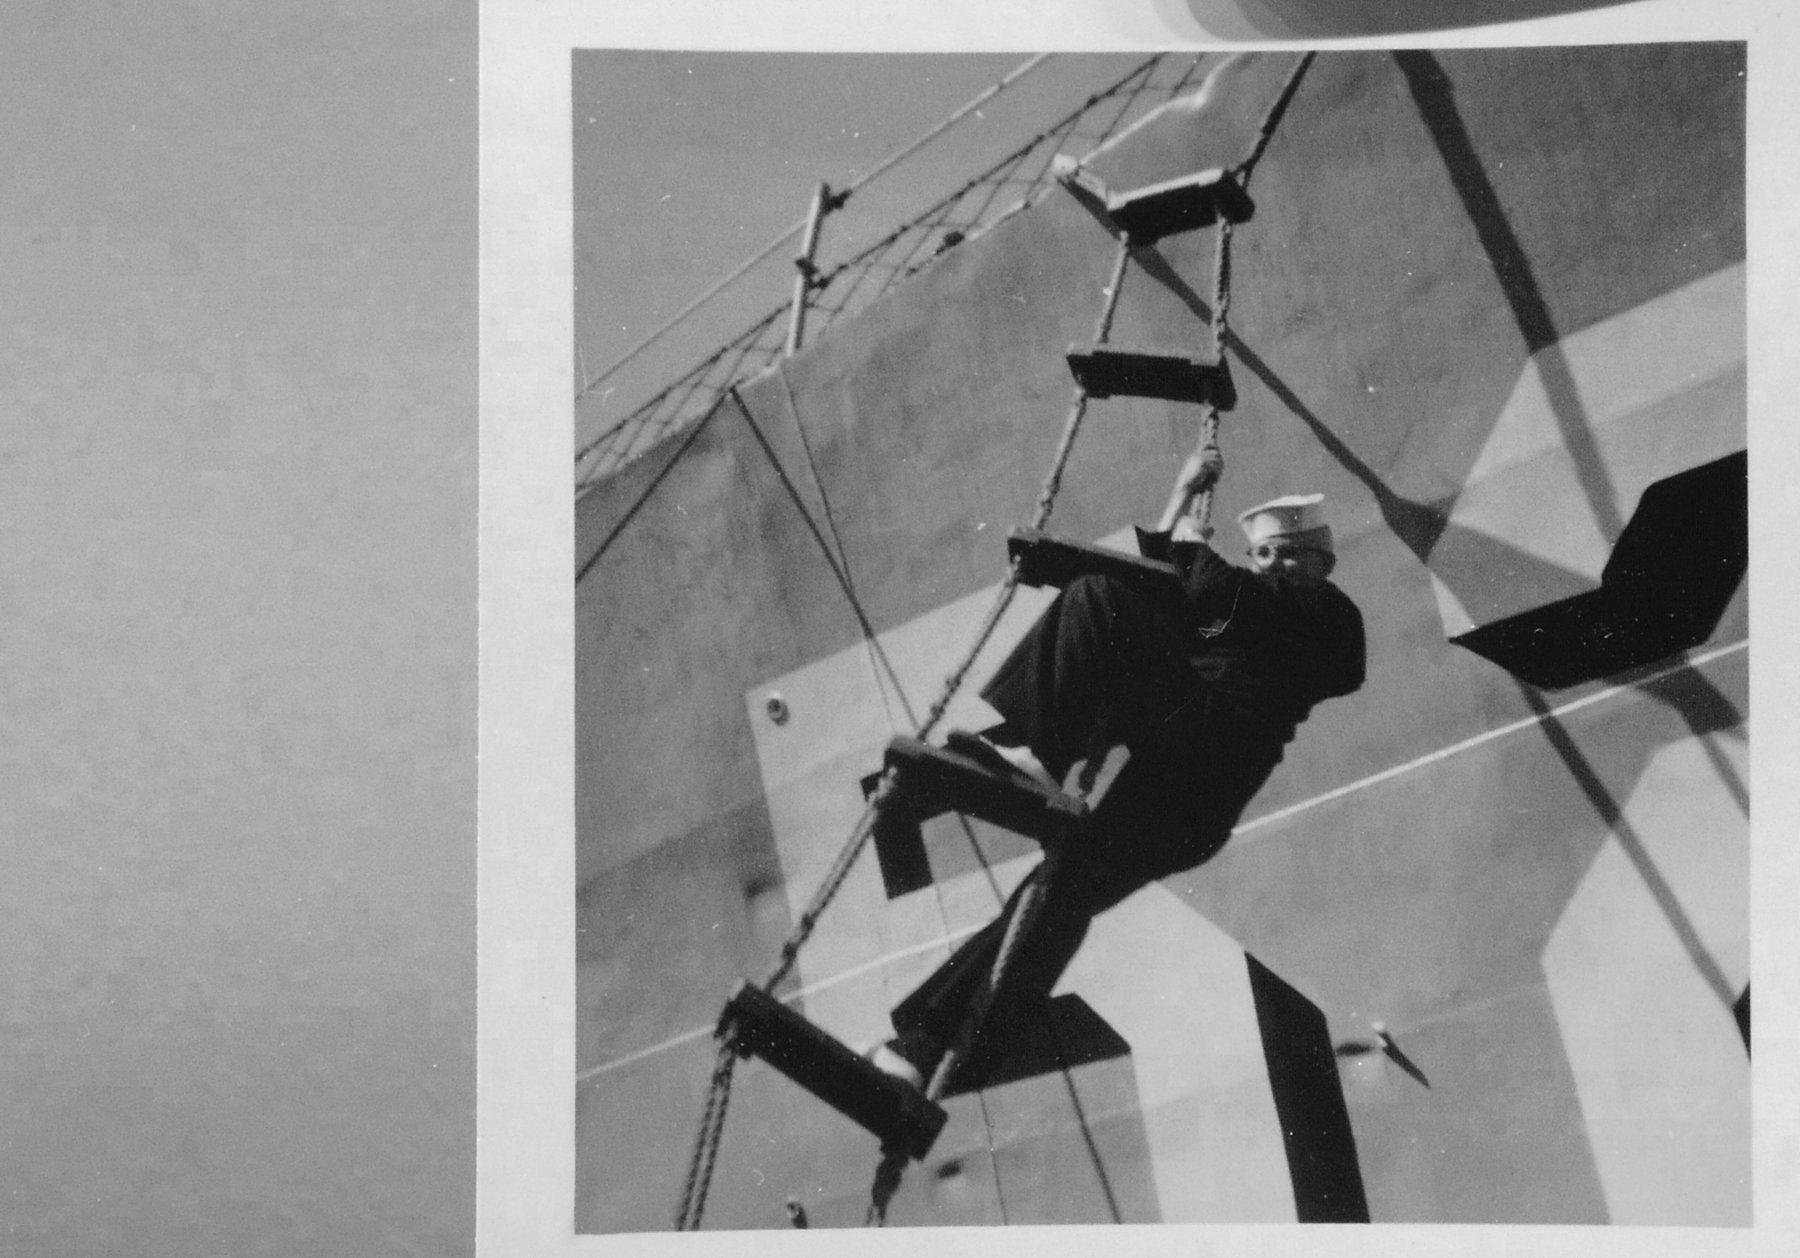
In the photo at Post #12, it is obvious that the lengths varied, also the distance between the top of each step is uniform and it appears as if the outside edge of each step are all equal distances from the Framing Ribs, regardless of location, be it Planking or Wale. Can only assume that the effort to make it so, was the result of experience and the preference of those using those steps. Man is an ordered creacher and the steps in Post # 12 reflect that part of our nature.
-
Sometimes you need to use the side of ladders, in my case in the photo, climbing from the Whale Boat to the Bows, 'Bow Hook', is climb the sides or look at your toes while using your arms to climb with, 'spacing on that thing made for a hard climb, up or down'. There would have been man Ropes at the sides of those Boarding Steps, which indicates they were climbed looking inboard. That would require some uniformity between steps without an obstruction at the Wale. Perhaps the majority of the ships had no steps on the Wales, 'if spacing would allow', a step below and the next above the Wale. Larger ships with beefer Wales could preserve the uniformity of the steps by minimum width for footing on the Wales and those steps below and above extended to match the outboard edge of those steps mounted on the Wales.

-
"The destinies of two [countries]...seem to be tied by some god-damned things called LST's" -Winston Churchill Love your, 'One of the Beaches', work and appropriate to 6 June 1944. Love the LST's, 1051 were made to support the Amphibious assaults that were happening around the world. Spent 3 months aboard the Cheboygan County LST 533, 'She was one of the "T's" that were there', for familuaration as part of the commissioning crew of the Clark County LST 601. My Vietnam time was a Gunner's mate on the Harnett County LST 821, TF 116, TU 76.8.3 so really enjoy seeing these one mission ships in your work. The Harnett County LST 821 is still serving the Philippine Government as a placeholder with a handful of their Marines aboard in the South China Sea. //////////////////http://defensestatecraft.blogspot.com/2014/04/treasure-of-sierra-madre-wwii-lst-in.html///////////
-
Trawler deck planking
jud replied to Kevin's topic in Building, Framing, Planking and plating a ships hull and deck
2nd attempt piece, indicates you are getting it figured out. -
Trawler deck planking
jud replied to Kevin's topic in Building, Framing, Planking and plating a ships hull and deck
From what I read, it is not angle that controls the decision to nib or not, it seems to be width, as John said above, when the plank must be narrowed to 1/3 it's normal width, nib. Some thought into what lies underneath, to nail to, is also important, hard to secure a pointed board and prevent leakage as the vessel works and the sun and cold have their way with it. -
Some leave their anchors in strange place's. http://www.navsource.org/archives/05/pix1/0552728.jpg
-
Who knows, something was fabricated and they are simple enough to have been forged then. But you are right, I included it as an example not a footnote of history unless you consider my experiences of 1960 as history. The Collett DD 730 left her anchor here aboard the Ammen DD 527 19 July 1960, another 1960 event I have memory's of. http://www.navsource.org/archives/05/pix1/0552728.jpg
-
Photo of the Sullivans DD 537, a Fletcher Class , I rode the Ammen DD 527 same Class, same Ground Gear, we used the Gear as shown as I described, I knocked the keeper off of the Hook several times when I was on the deck force. We would take up any slack in the chain and set the brake, back off the turn Buckle and remove the hook from the chain, ease off the brake and let the anchor clear the Hawse Hole and reset the Pelican Hook, ease off on the brake and leave the load on the Pelican Hook and Turnbuckle as shown In my above post. When the word from the Bridge came down, a sledge was used to unlatch the Hook allowing it to open and the chain ran out with little drag from the brake. That gear is what held the anchor when out and also held the anchor up in the Hawse Hole, the brake was not set. So I will argue about the Pelican Hook being used as a quick release. http://www.williammaloney.com/Aviation/USSTheSullivans/DeckViews/images/21AnchorChain.jpg
-
What a setup. Nice "B" Model Mack pulling the lowboy. Depicts an era not so long ago, many around who remember such scenes when they were kids. That setup is worthy of protection and longevity, is that in the plans?