gkharrin
-
Posts
91 -
Joined
-
Last visited


-
 Archi reacted to a post in a topic:
Seeking source for very small nails or pins
Archi reacted to a post in a topic:
Seeking source for very small nails or pins
-
Archi reacted to a post in a topic:
Seeking source for very small nails or pins
-
Archi reacted to a post in a topic:
Seeking source for very small nails or pins
-
GrandpaPhil reacted to a post in a topic:
Aspinet 1908 by gkharrin - FINISHED - Scale 1: 120 - ship-themed wood inlay cribbage board
-
GrandpaPhil reacted to a post in a topic:
Aspinet 1908 by gkharrin - FINISHED - Scale 1: 120 - ship-themed wood inlay cribbage board
-
GrandpaPhil reacted to a post in a topic:
Aspinet 1908 by gkharrin - FINISHED - Scale 1: 120 - ship-themed wood inlay cribbage board
-
GrandpaPhil reacted to a post in a topic:
Aspinet 1908 by gkharrin - FINISHED - Scale 1: 120 - ship-themed wood inlay cribbage board
-
GrandpaPhil reacted to a post in a topic:
Aspinet 1908 by gkharrin - FINISHED - Scale 1: 120 - ship-themed wood inlay cribbage board
-
GrandpaPhil reacted to a post in a topic:
Aspinet 1908 by gkharrin - FINISHED - Scale 1: 120 - ship-themed wood inlay cribbage board
-
GrandpaPhil reacted to a post in a topic:
Aspinet 1908 by gkharrin - FINISHED - Scale 1: 120 - ship-themed wood inlay cribbage board
-
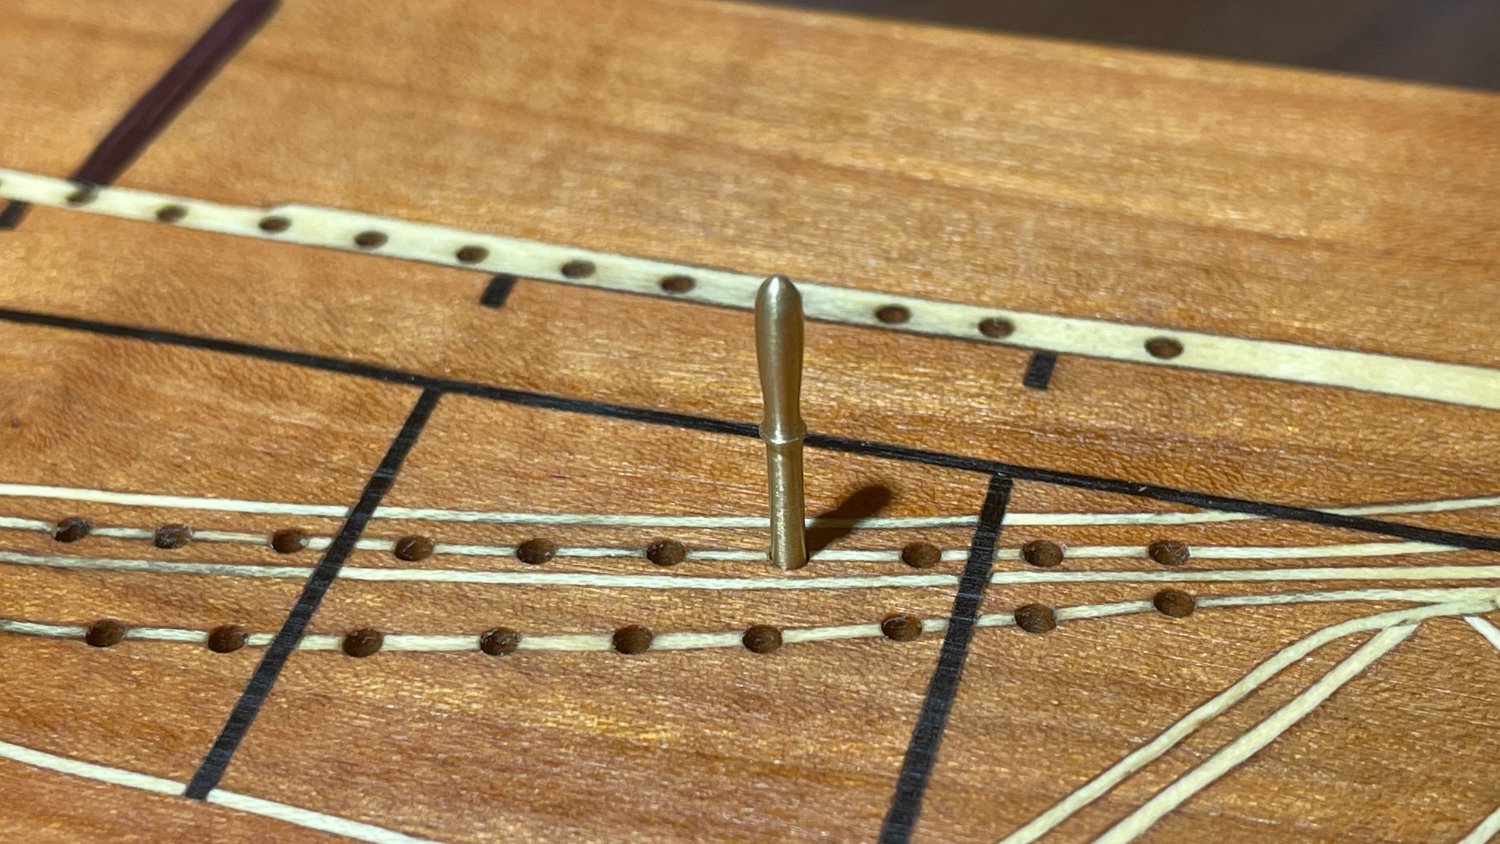
I see my post was moved to "Non-ship/categorised builds". I get that, because it closer to scrimshaw than a boat model. But when I looked at the rest of the posts in the category, I was dismayed my ship-themed item buried among dozens of plane and tank models. Why are those even on this site at all? At least mine is a ship. It was also changed to "finished", which isn't quite true. Not a problem. But as noted earlier, there are still a few details to add. This is the first of the belaying pin counting pegs.

-
I was certain I had compared them before, but as my memory is highly suspect, I double-checked. The dimensions of the web file and CD ROM files are the same. For example, 8415 x 6139 for the construction drawing of De 13 Søskende. More than adequate for building a model - you can see the grain of the paper.
-
The sad thing is, I bought the book and decided to build the eel drifter. Years went by and a CD with high-res scans was made available. So I bought that too. More years went by, and now all of the drawings in that book can be downloaded for free from the Maritime Museum of Denmark. This includes the German drifter: Lines Sail plan Construction Maybe you already have these in your research. I'll search out your build log also.
-
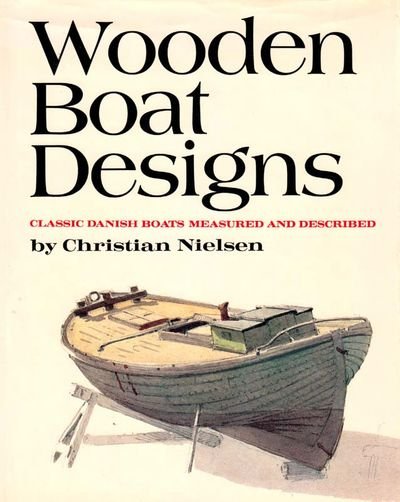
It most definitely is. I first learned of eel drifters from this book: All the boats are Danish, with one exception: it includes a German eel drifter for comparison to the Danish one. It specifically states the German boat design was adapted by the Danes. This article (same author) has the same information in somewhat greater detail. However, I'm sorry to say I think the Danish design is the more handsome one 😉

-
Yet to be done: Turn belaying pins to use as the counters, one set from brass and other of some white metal (aluminum, stainless?) Inlay some belaying pins or other decoration on the sides? Inlay the name "Aspinet" or add a brass plaque? If I inlay the name, I would carve it out and fill it with colored epoxy (after several trial runs). No way I could inlay script letters and I would not want blocky ones. The plaque would be safer.
-
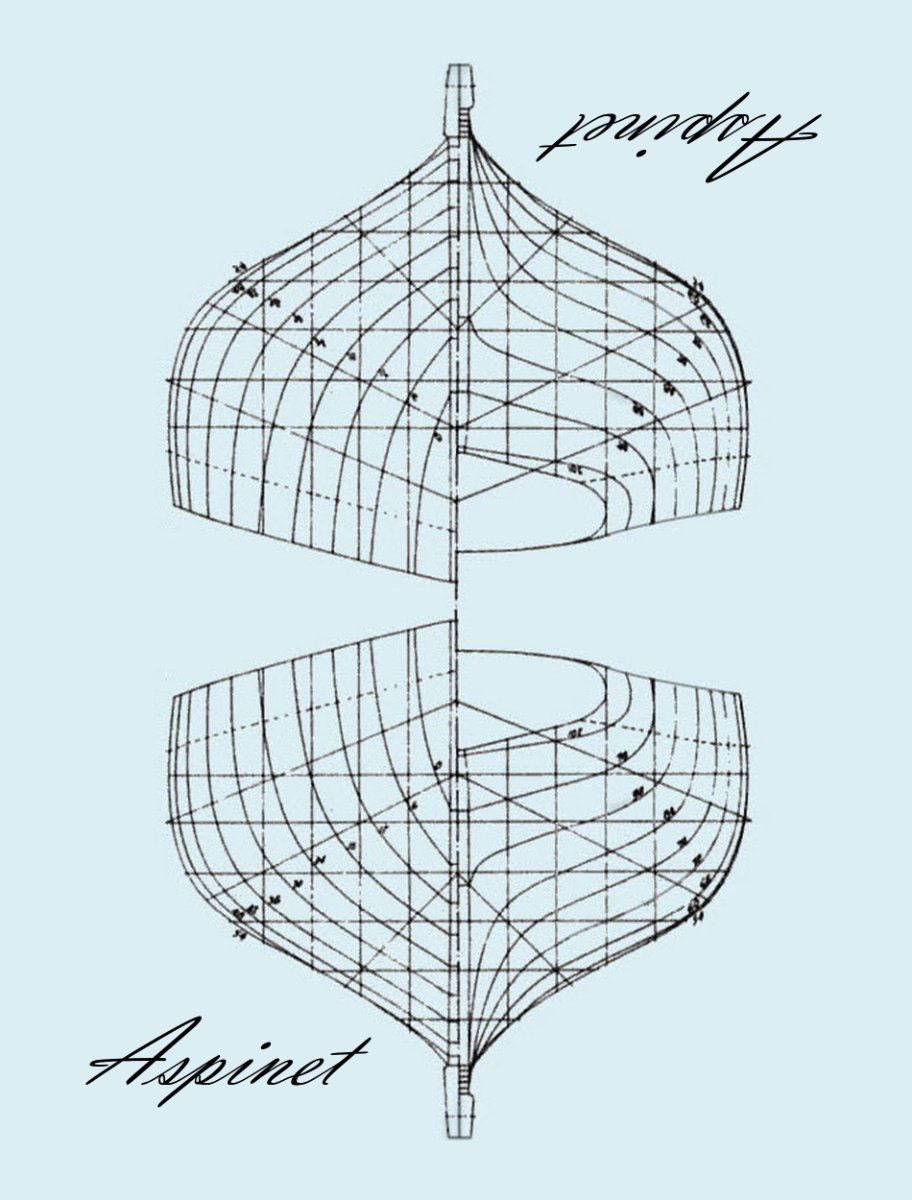
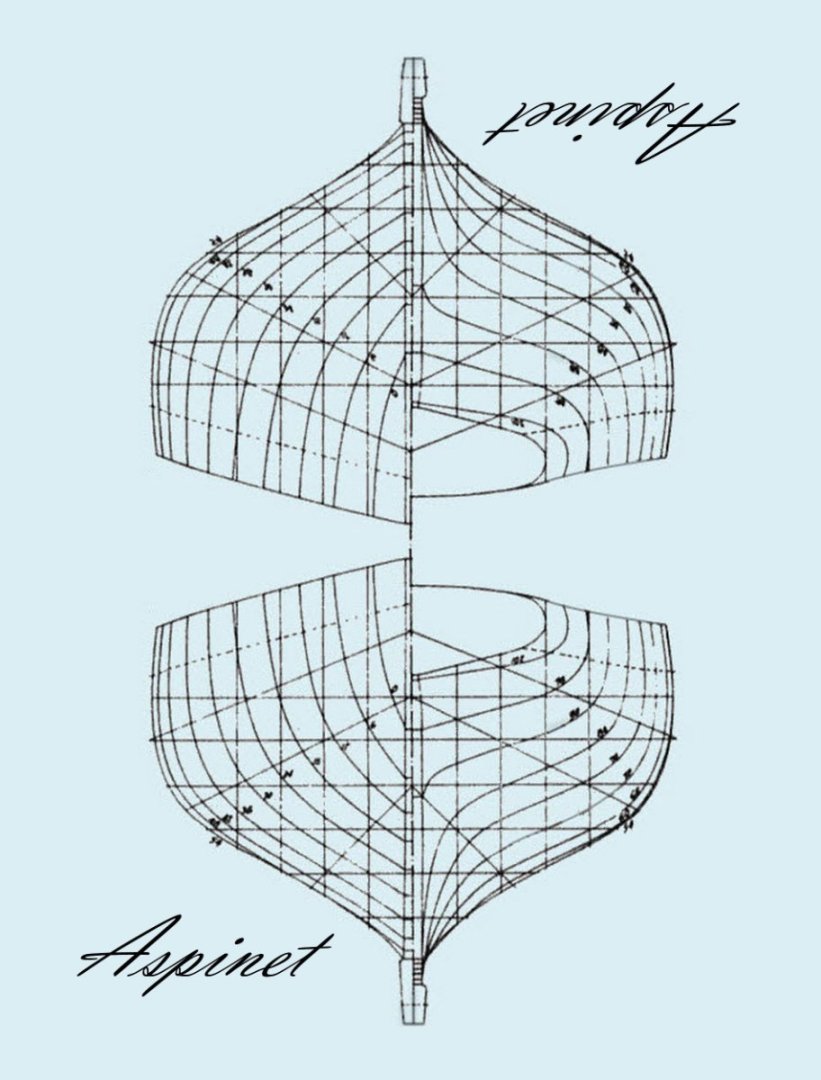
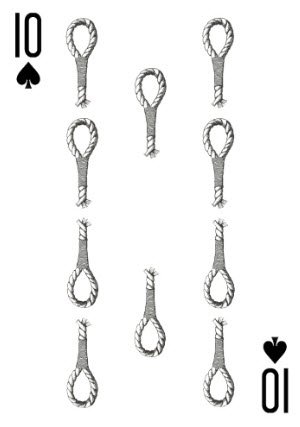
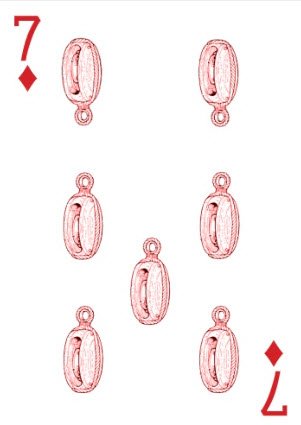
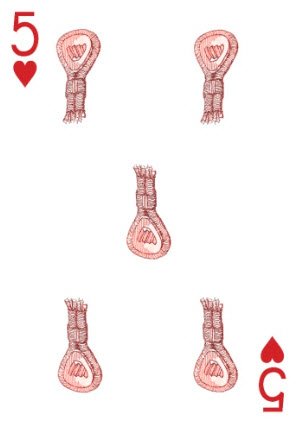
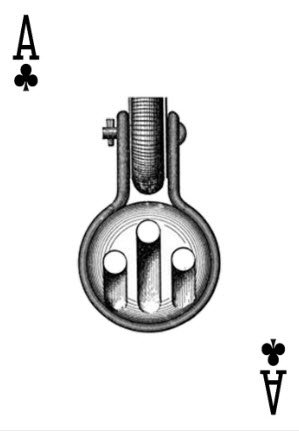
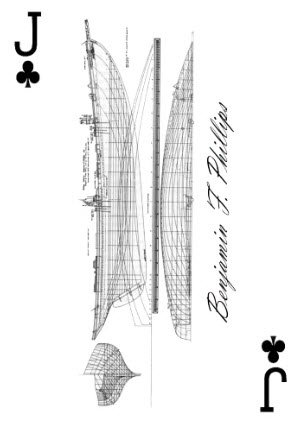
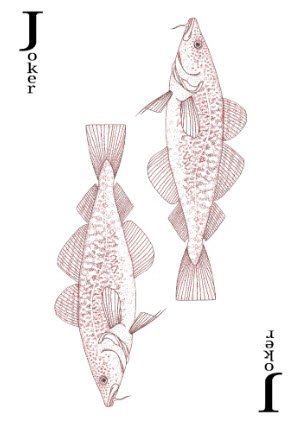
I had custom cards printed by youreondeck.com Backs are the body plan for Aspinet Spade pips are replaced by eye splices Diamond pips are replaced by rigging blocks Heart pips are replaced by .... hearts Club pips are are replaced by deadeyes Each face card is a different fishing schooner from Chapelle's book Though not used in cribbage, the jokers delivered with the poker deck may as well be custom. Since it fished the Grand Banks (or so I presume), I made them cod.
-
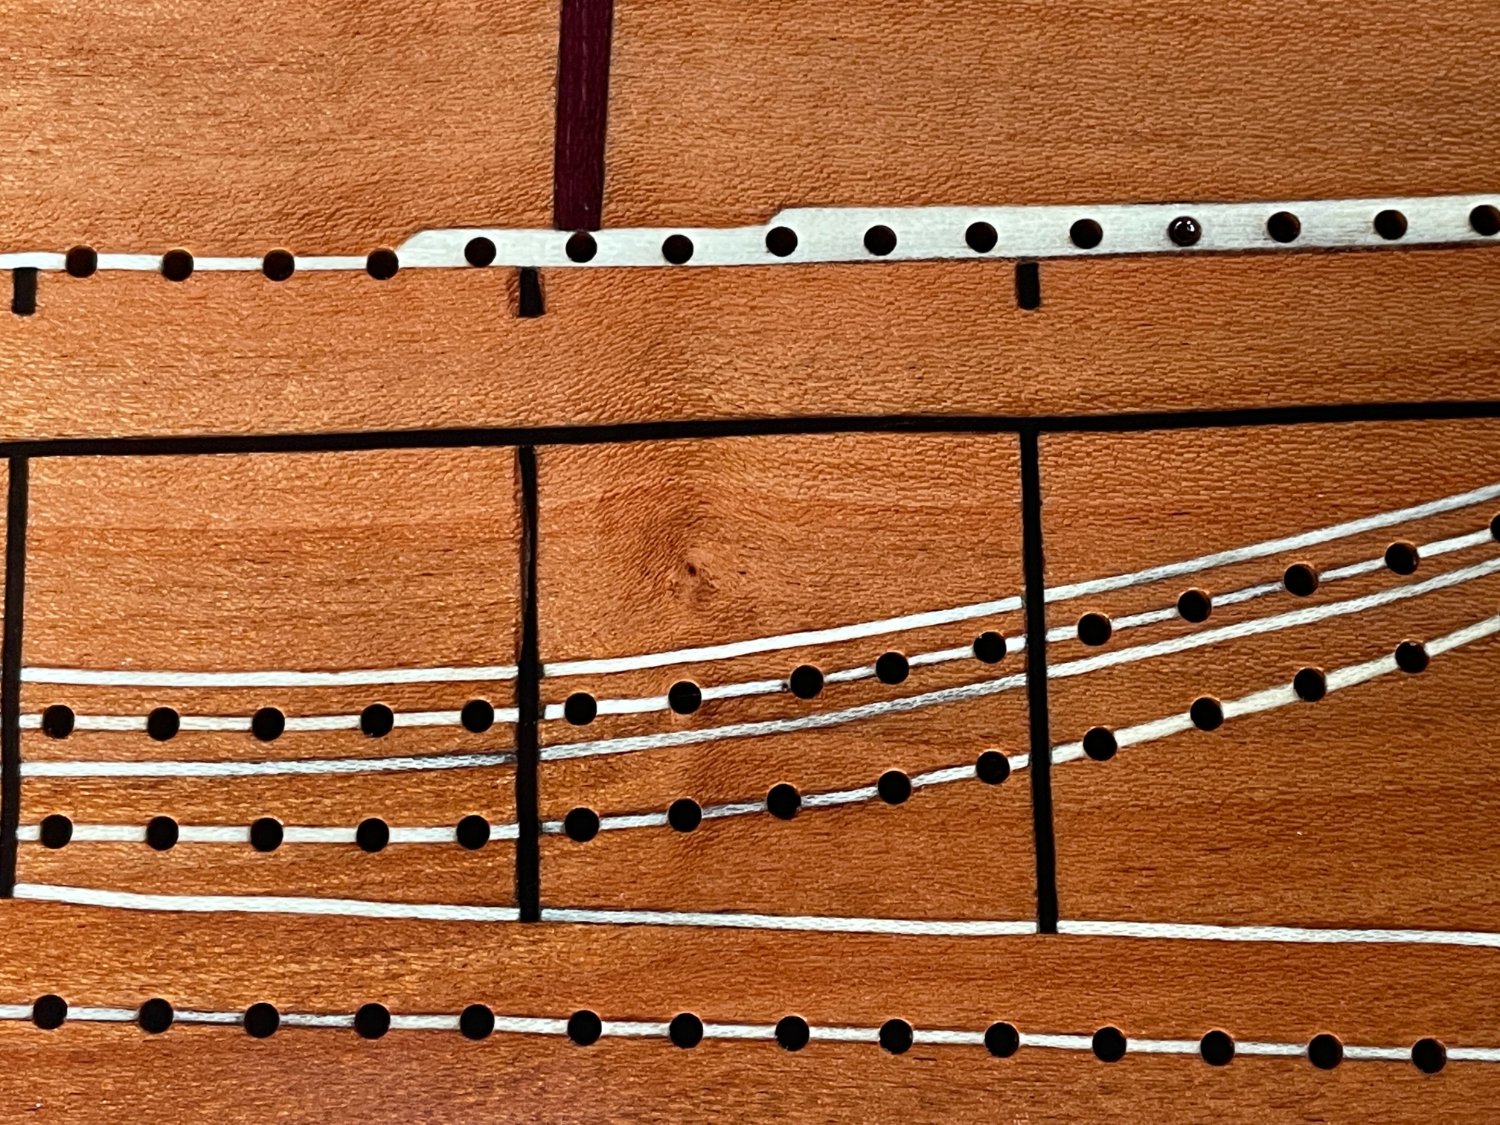
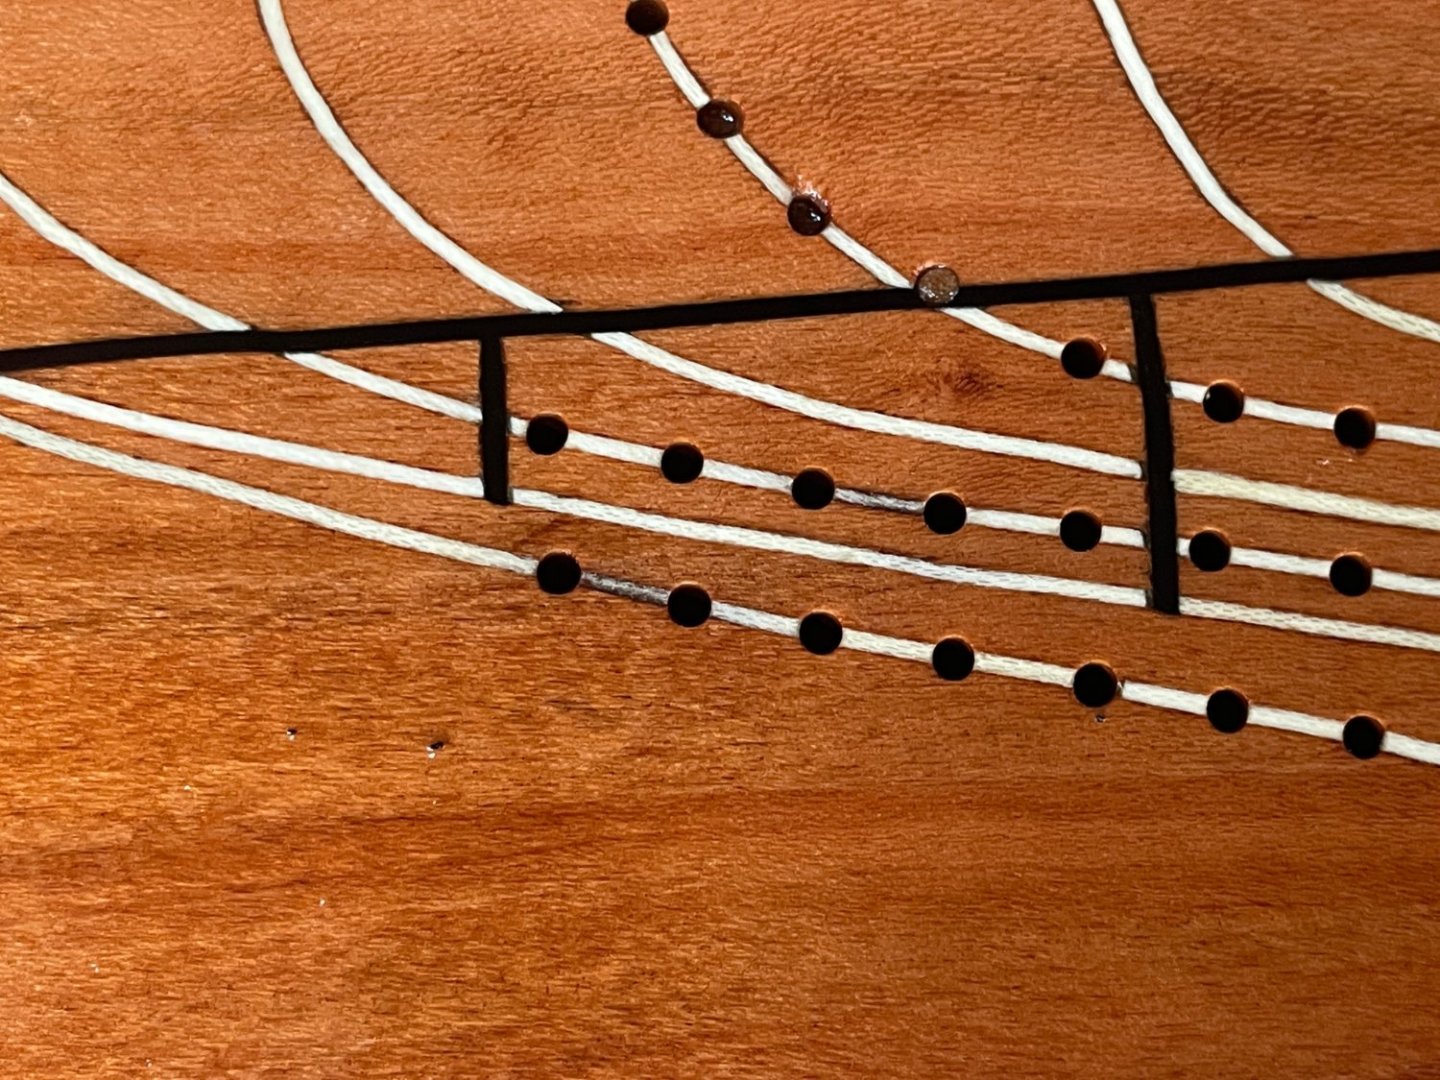
I am pretty disappointed with myself for over-sanding and over-estimating how far I was driving the holly into the grooves (as opposed to just crushing the top that got scraped and sanded away). The pieces that were driven in well are still nice and white. Those that were not got sanded too far, and the glue is making it look gray. However, most people said they like the effect (maybe just being kind), and I'm afraid that if I try to fix it at this point the cure will be worse than the disease.
-
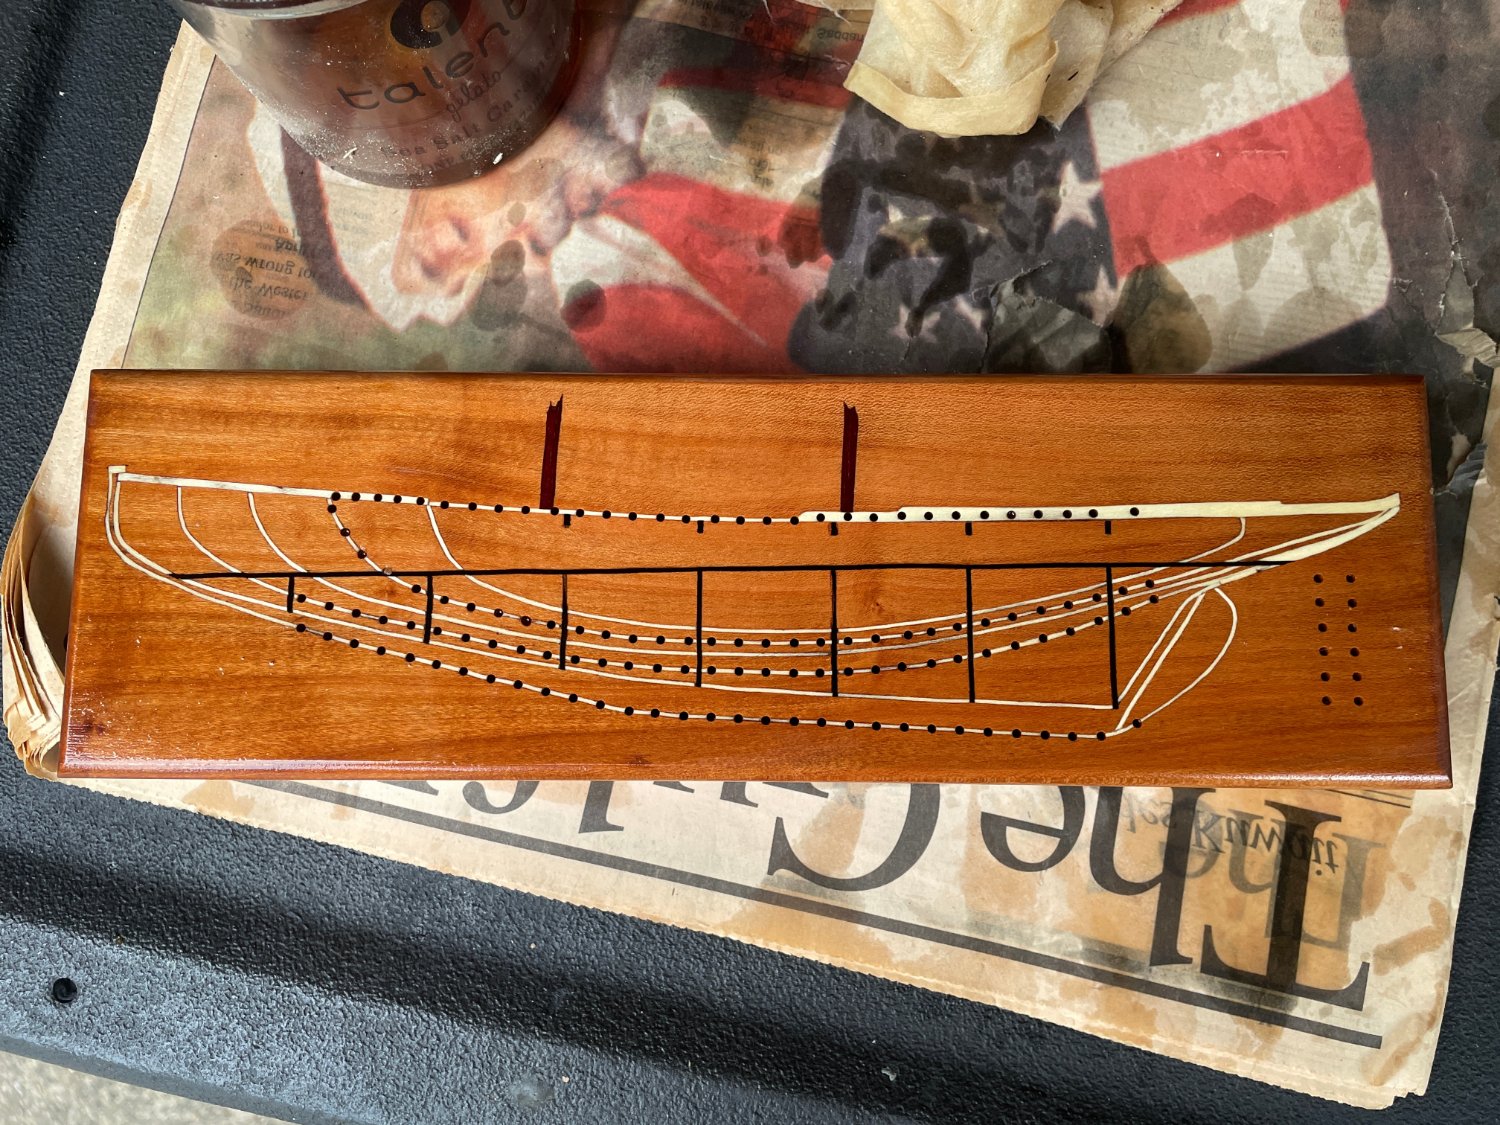
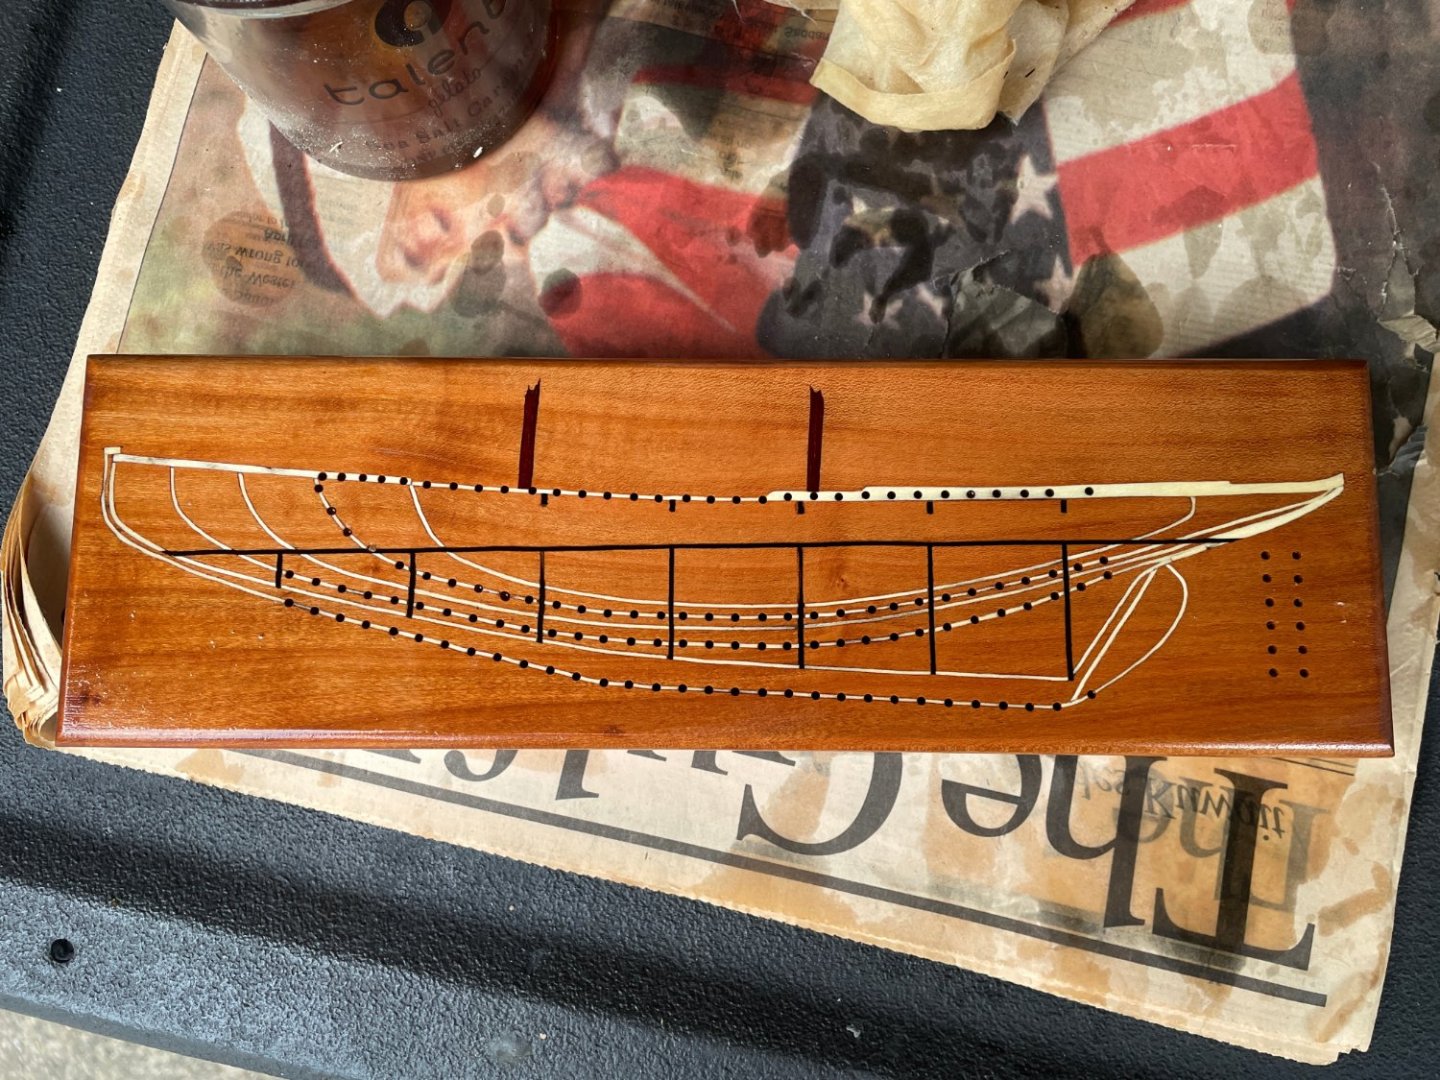
After applying Watco Danish Oil
-
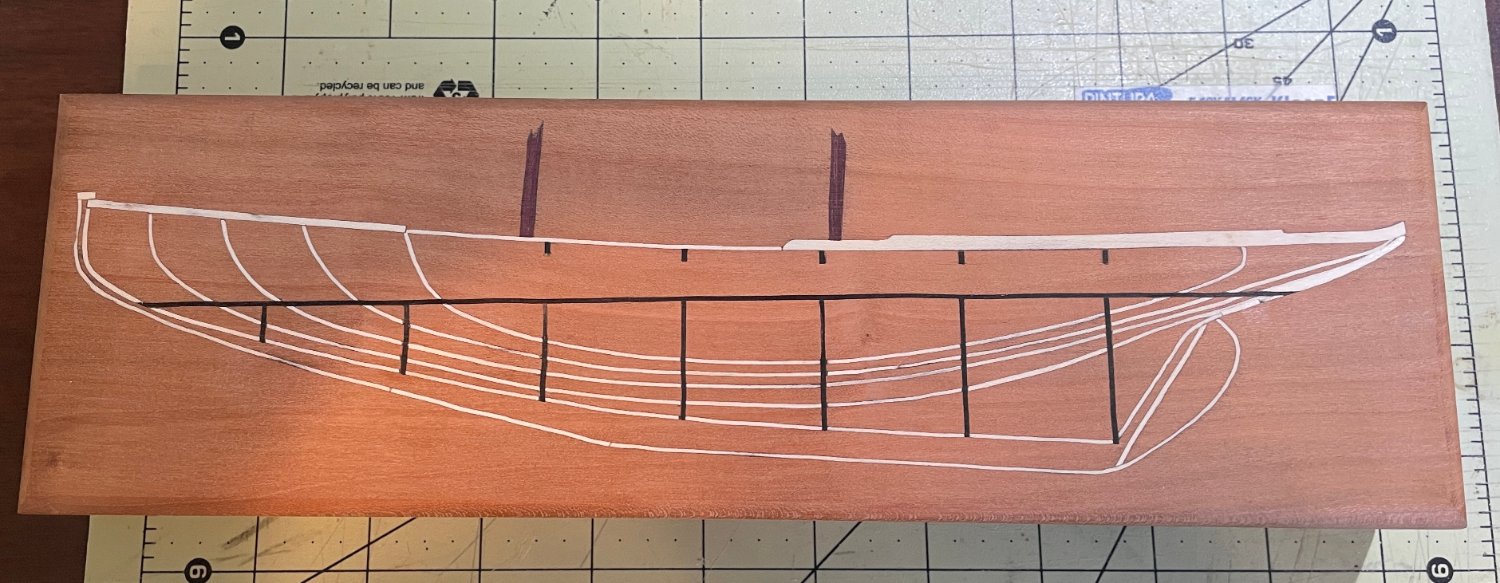
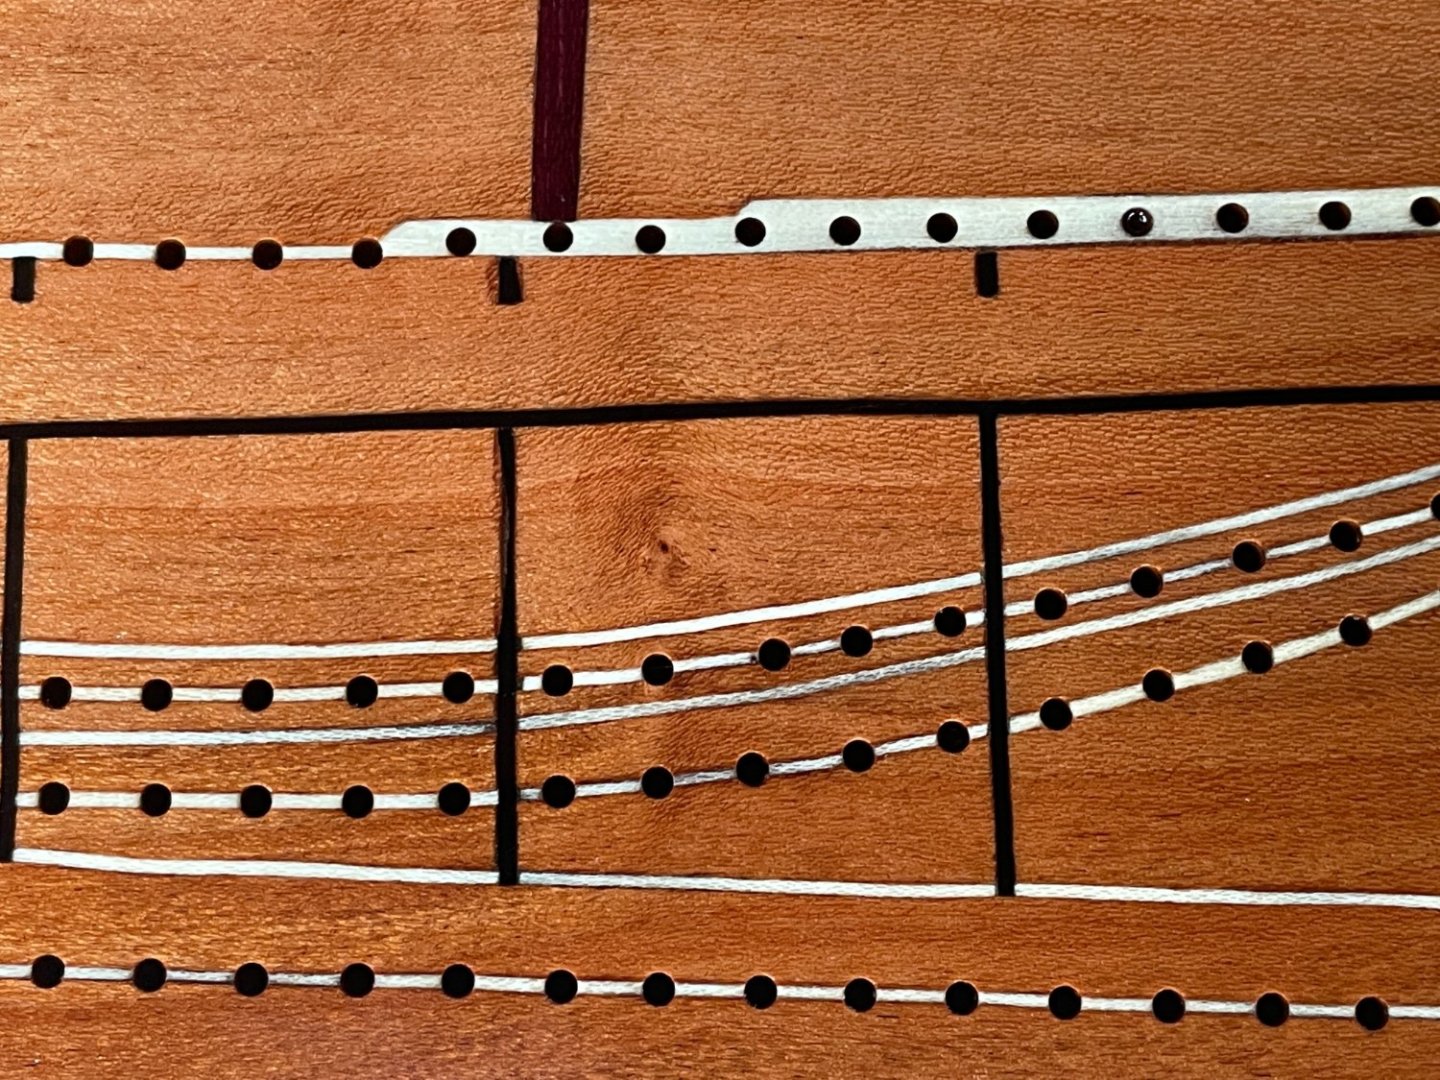
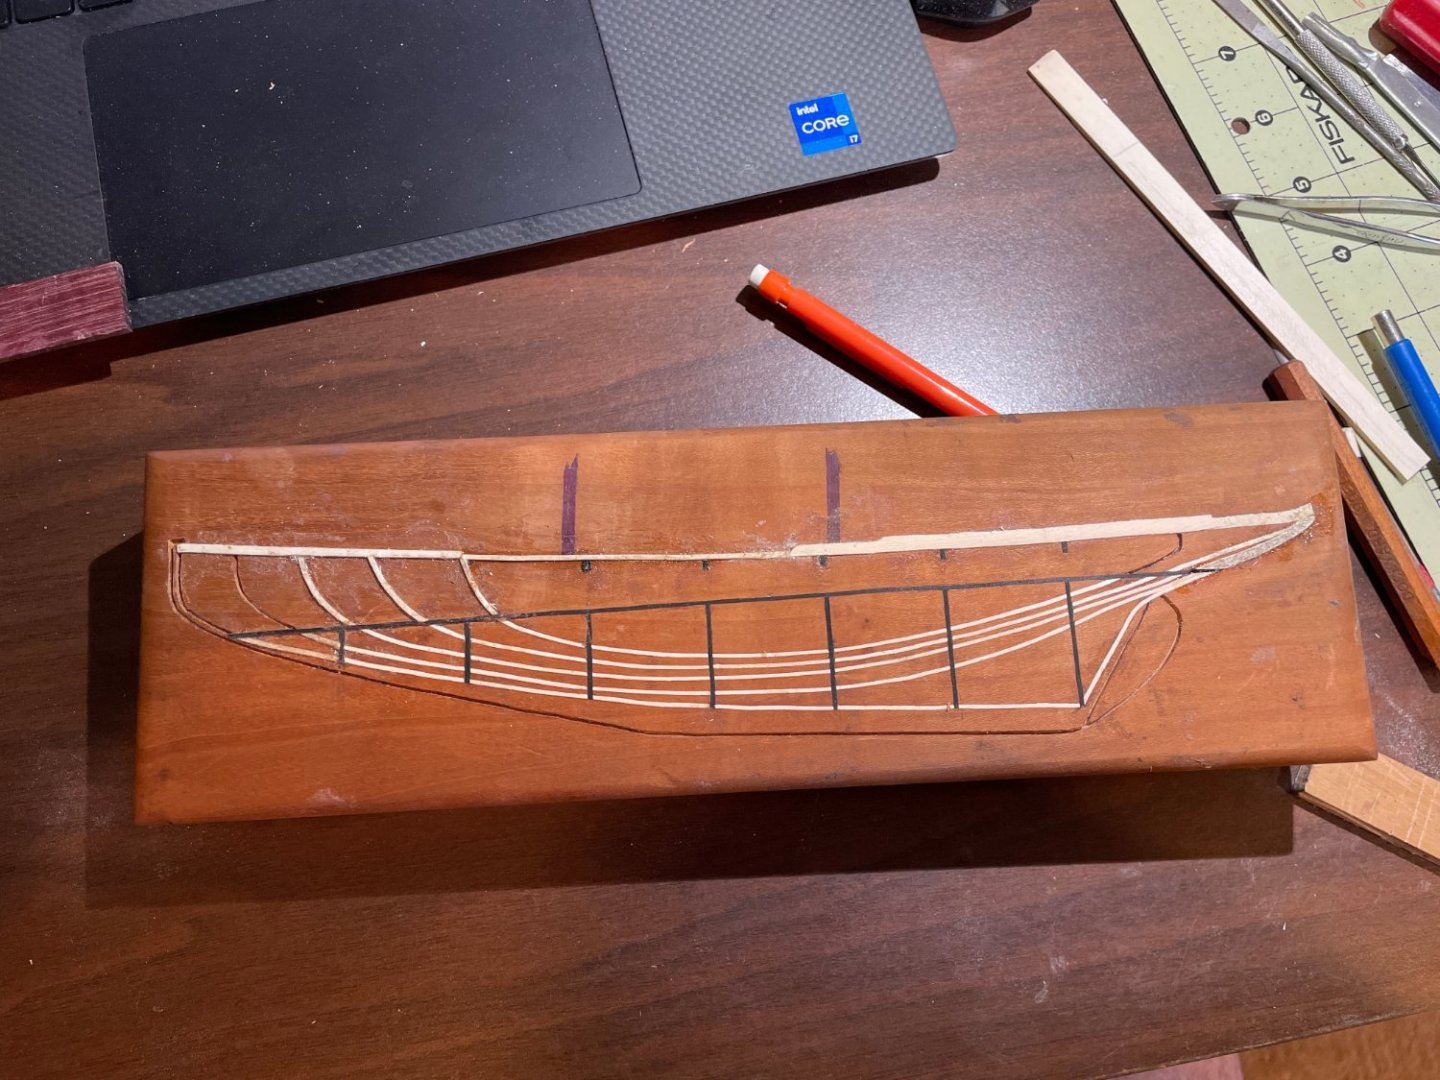
Mostly done with the inlay at this point.

-
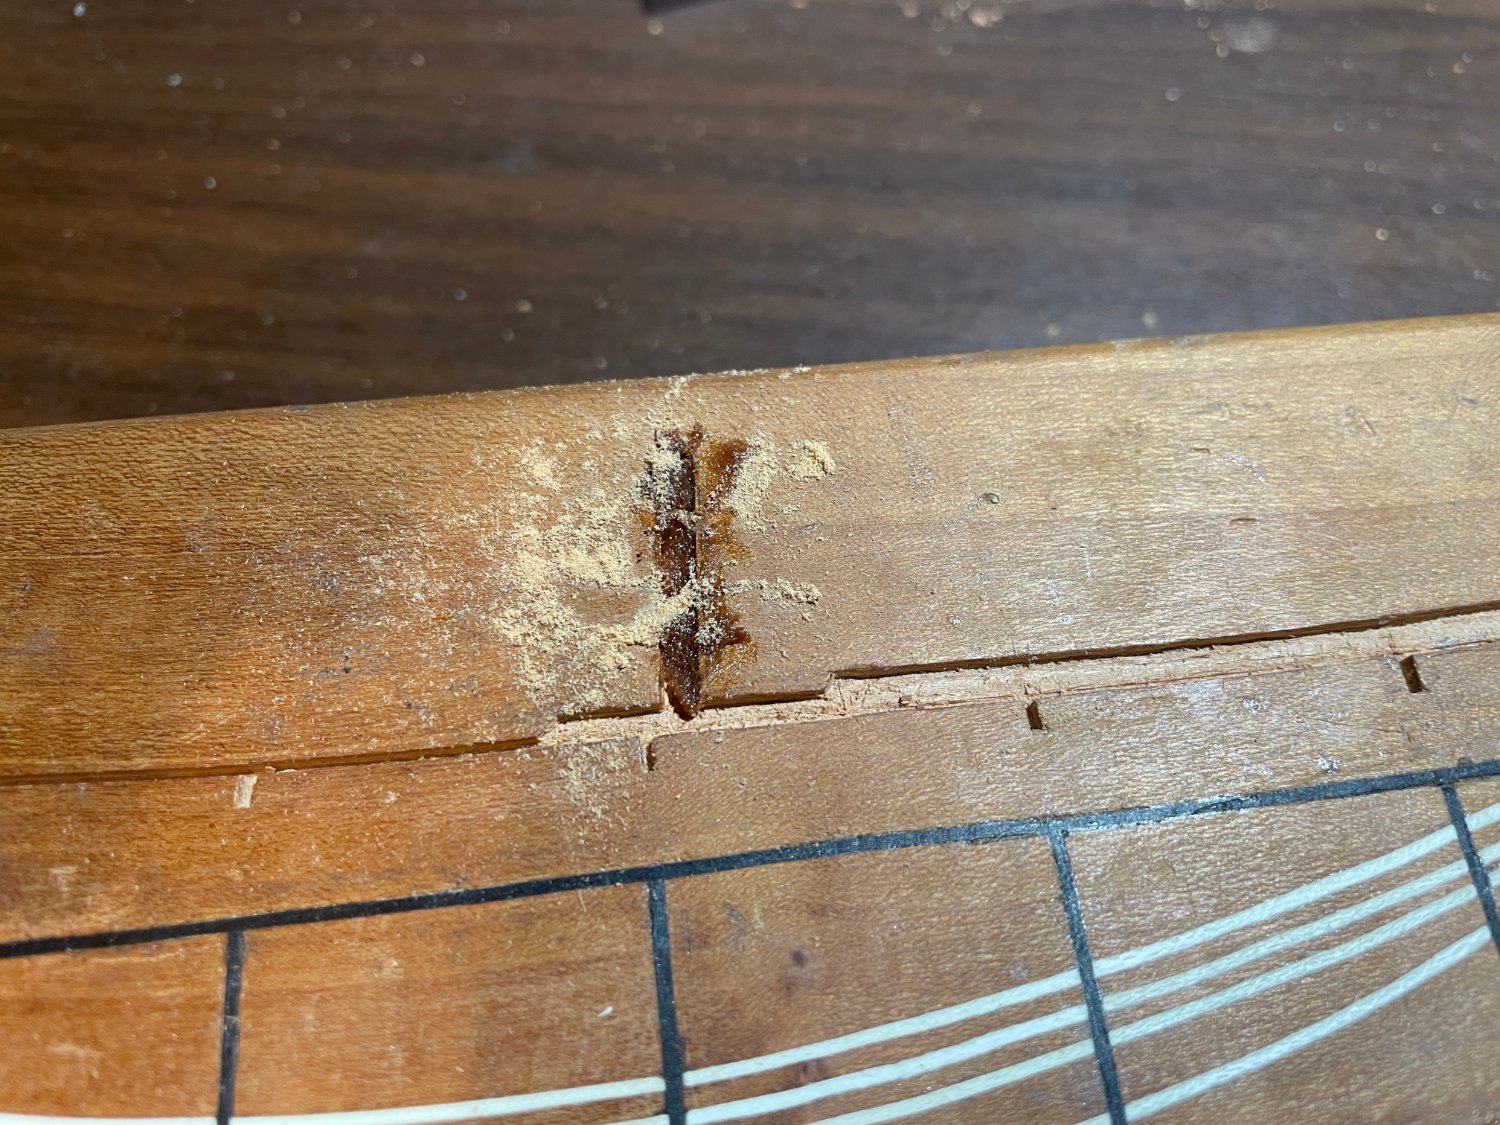
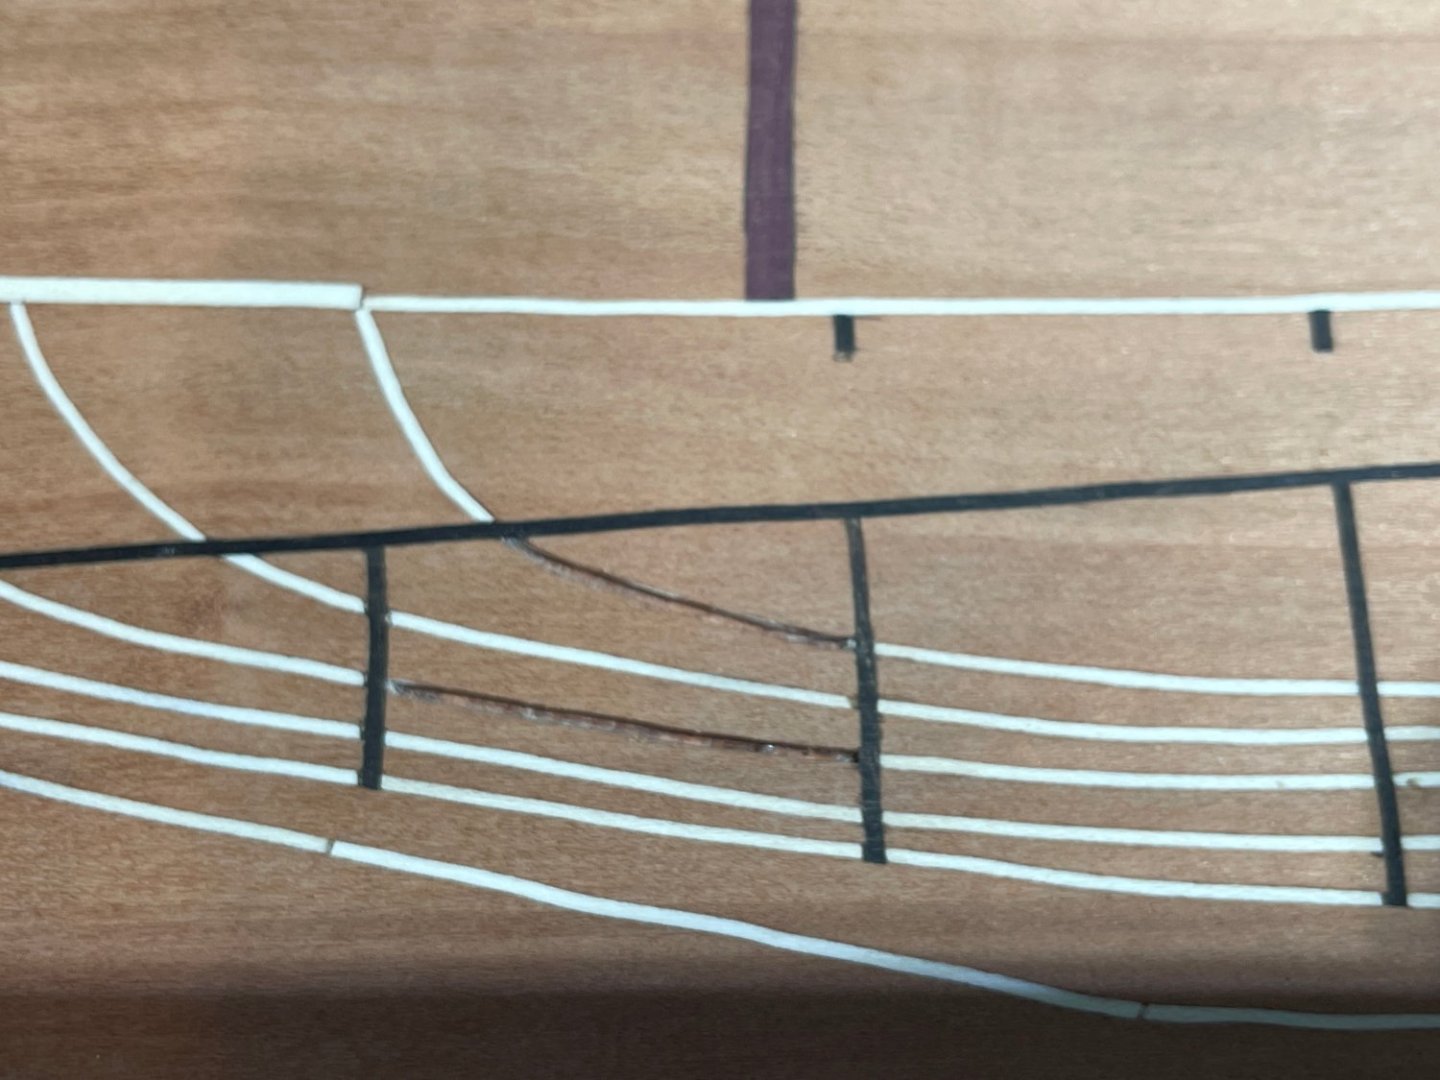
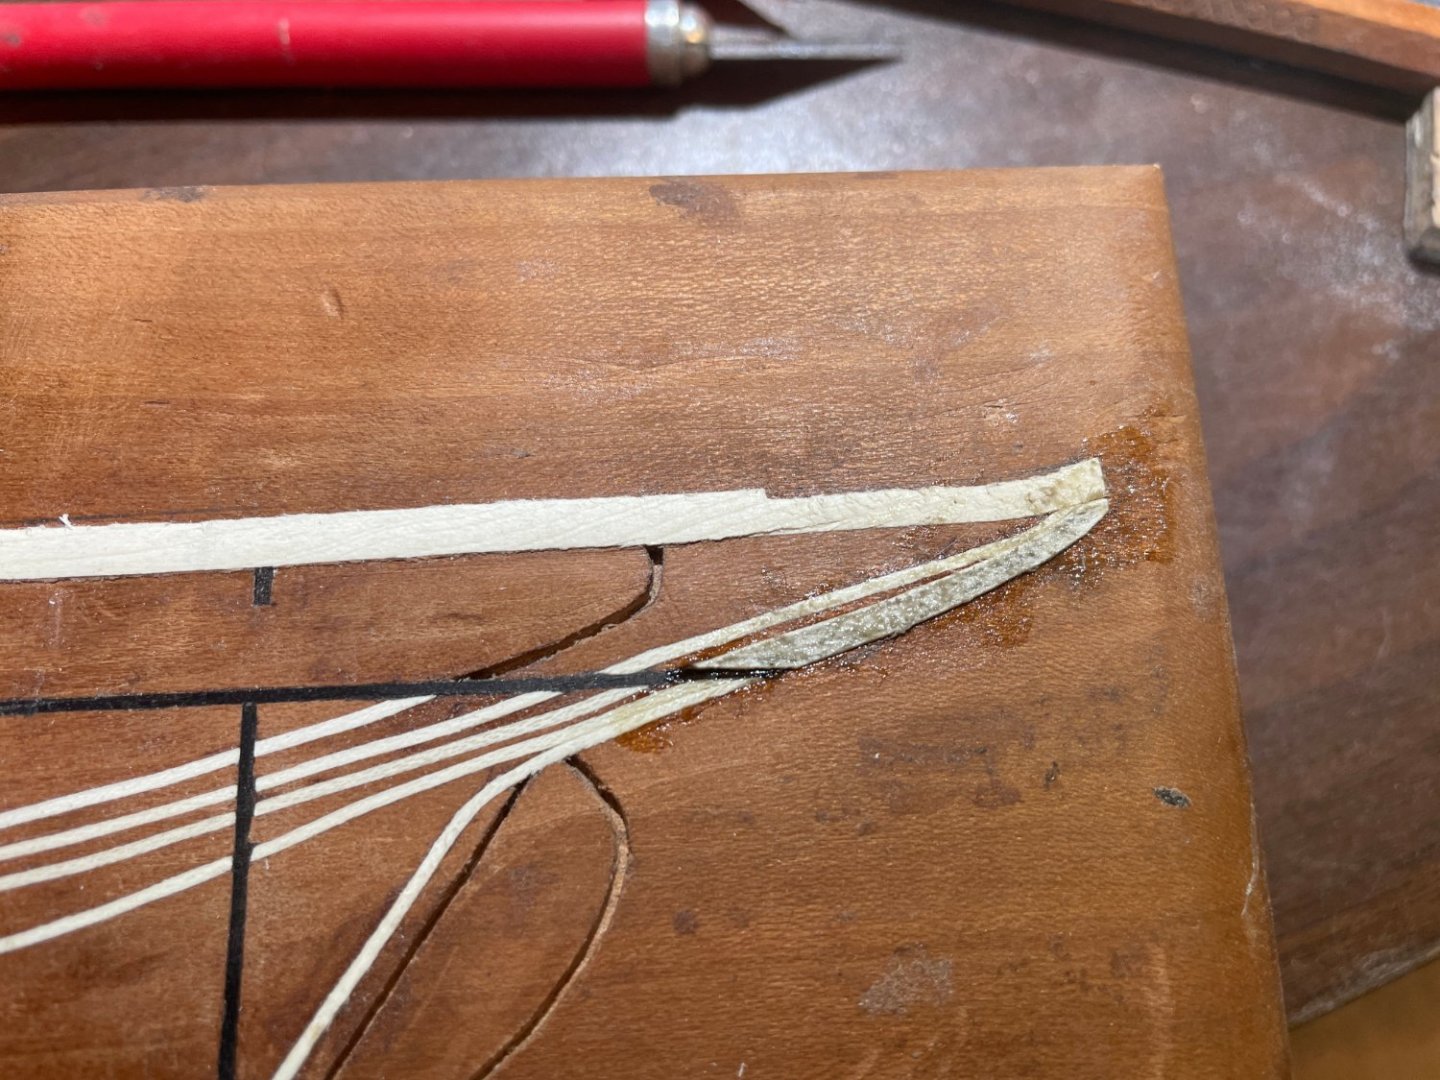
Some gaps were revealed after scraping well and a light overall sanding. I gouged out the worst areas to rework.
-
Moving along....
-
The masts are another mystery species of wood. Both were given to me by a friend whose late husband did working as a hobby. I regret choosing the purplish tone. A darker brown would have been better.
-
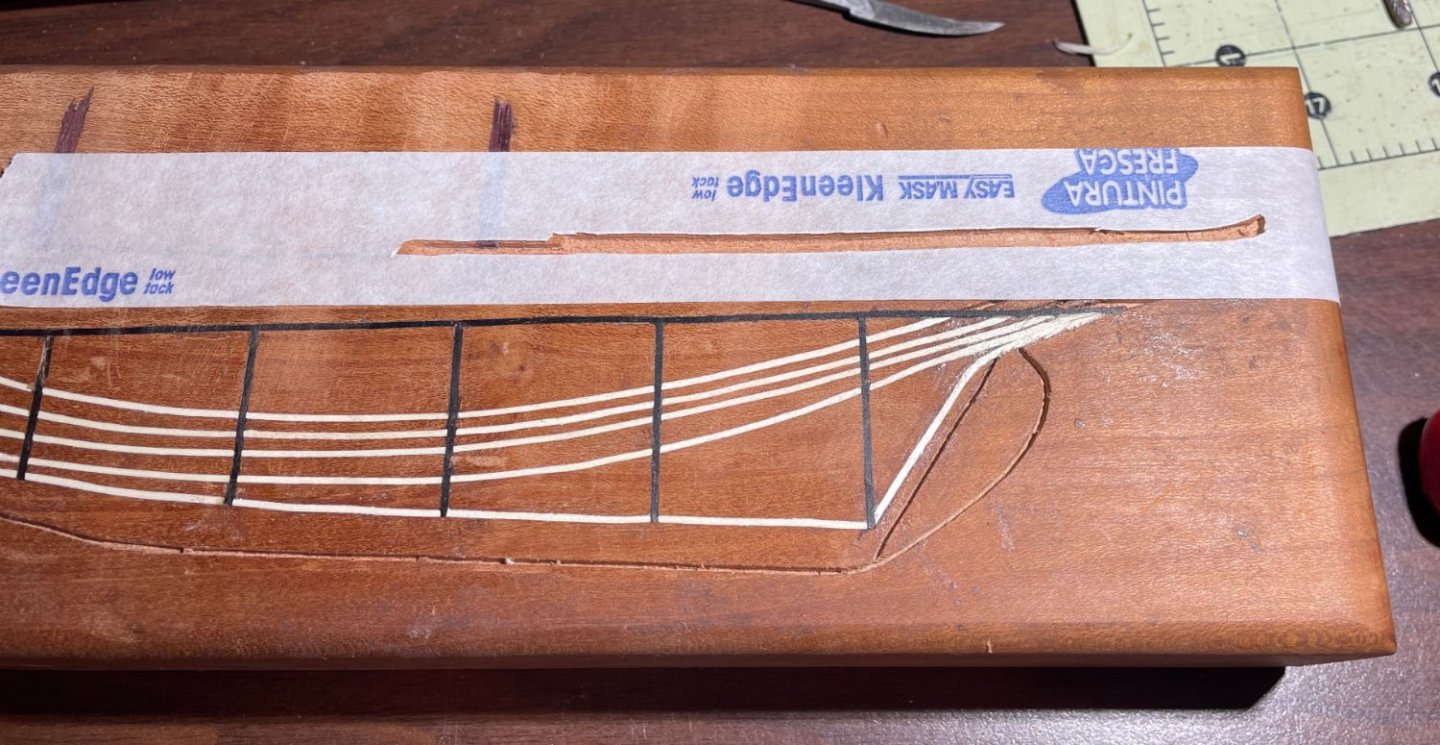
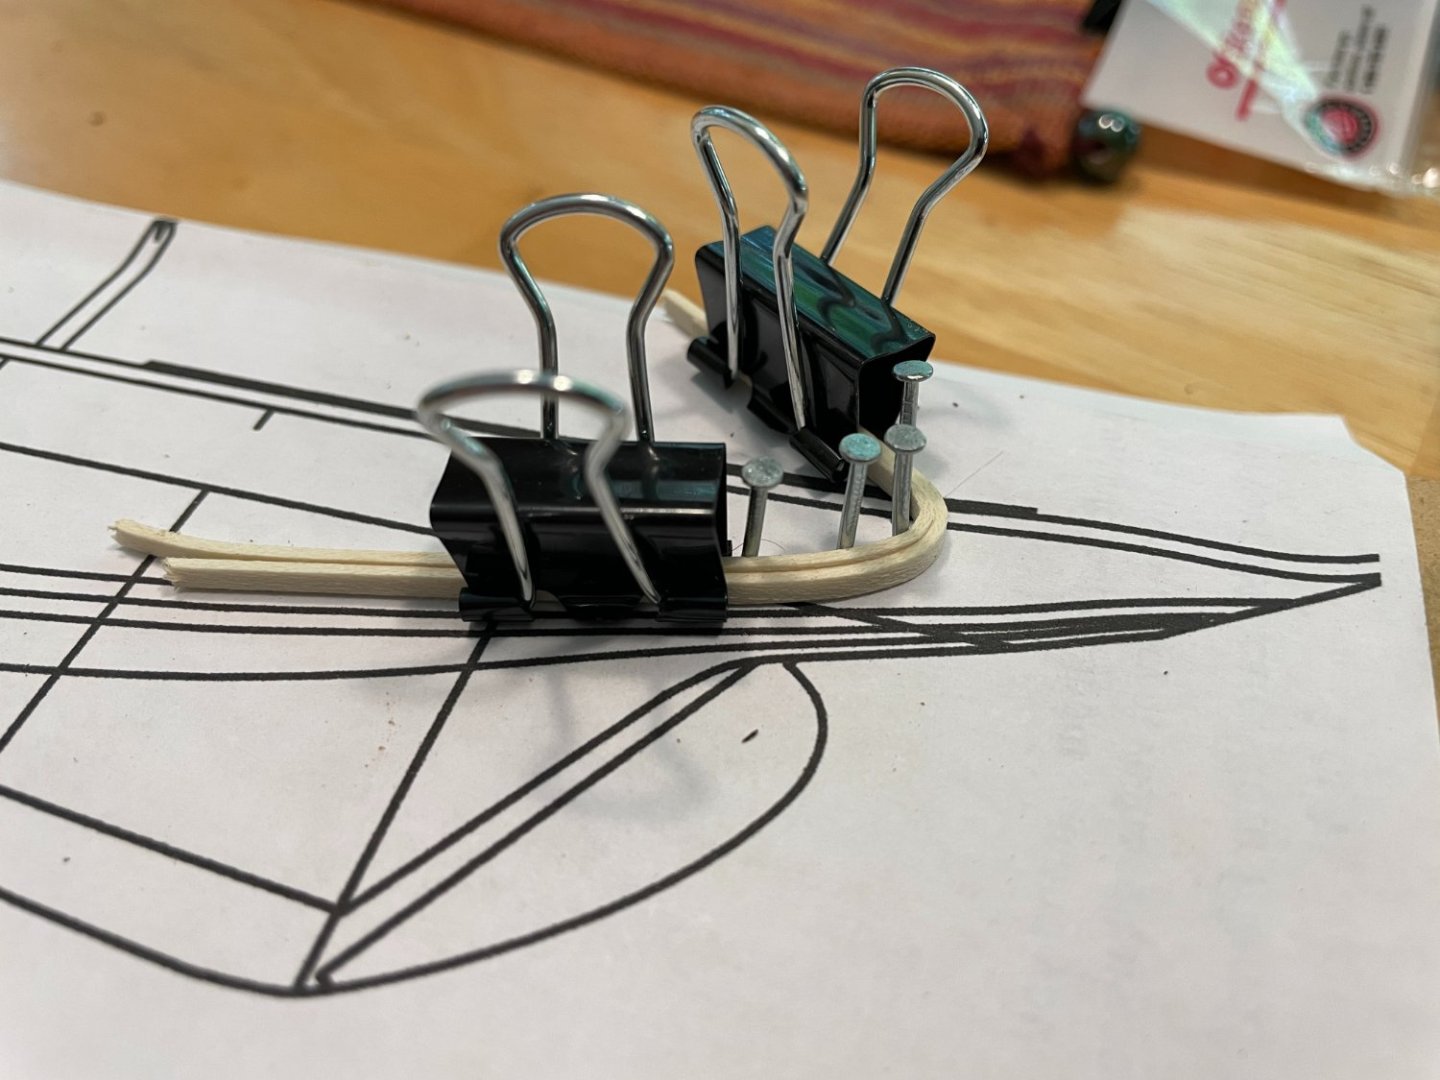
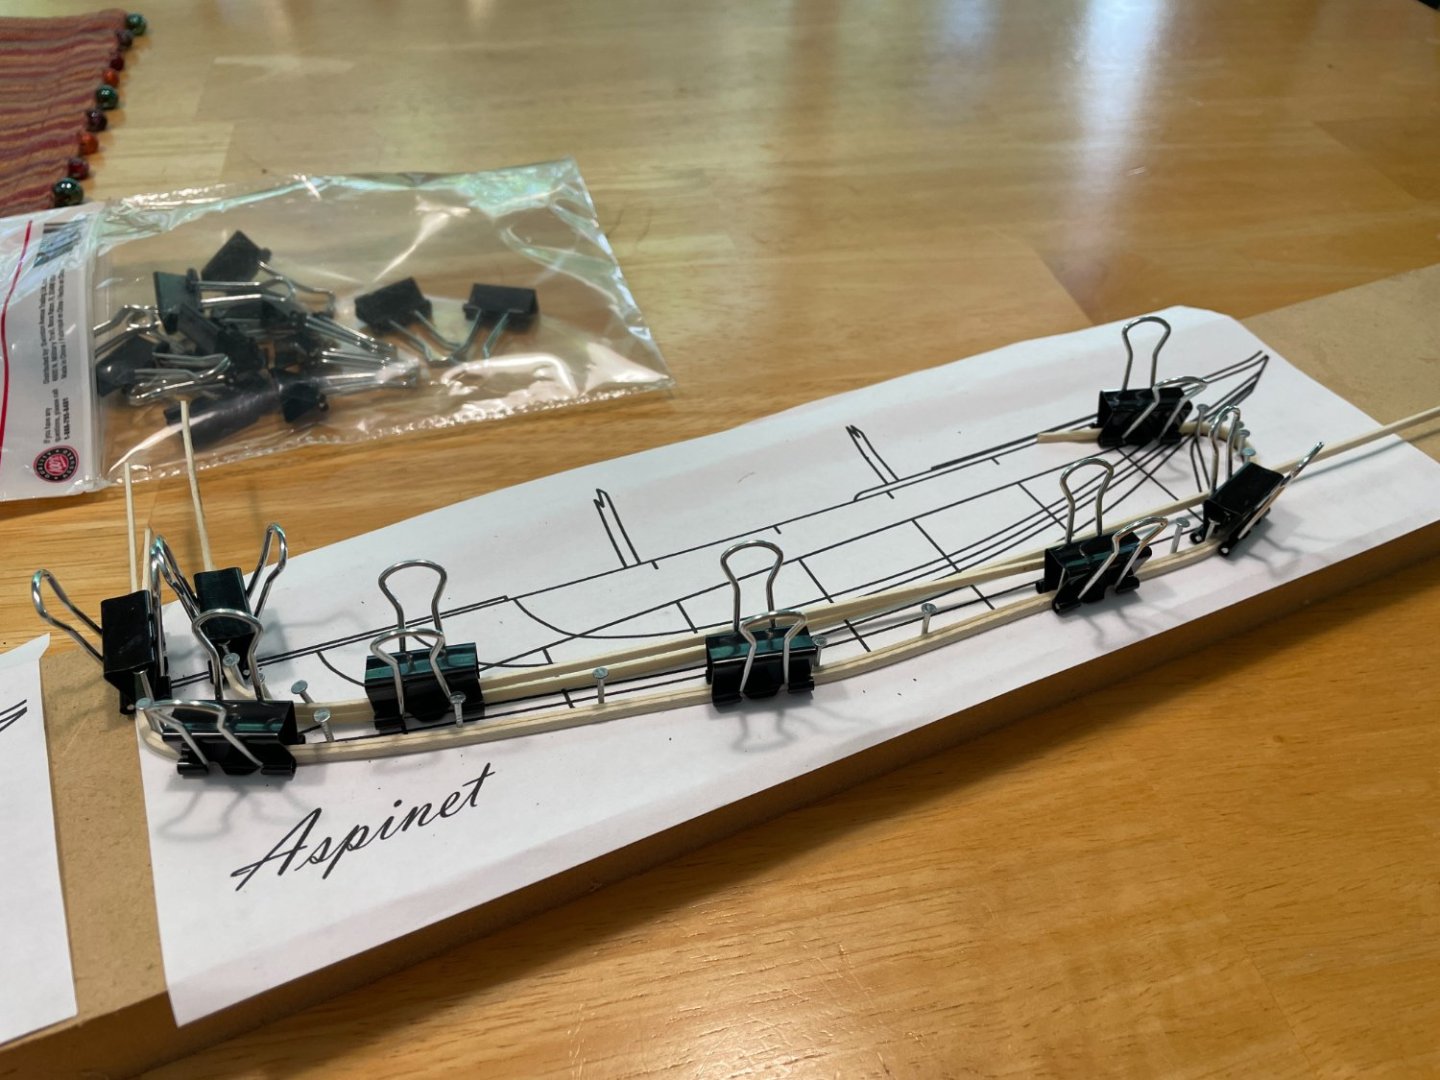
I steamed an pre-bent the holly for some of the tighter curves. The holly would bend well enough dry, but this way I wasn't fighting it so much.
-
I managed to get a pretty good fit on each piece. But to be sure, I mixed some cherry sawdust in with the glue, hoping the color of any visible glue line would be a better match.

-
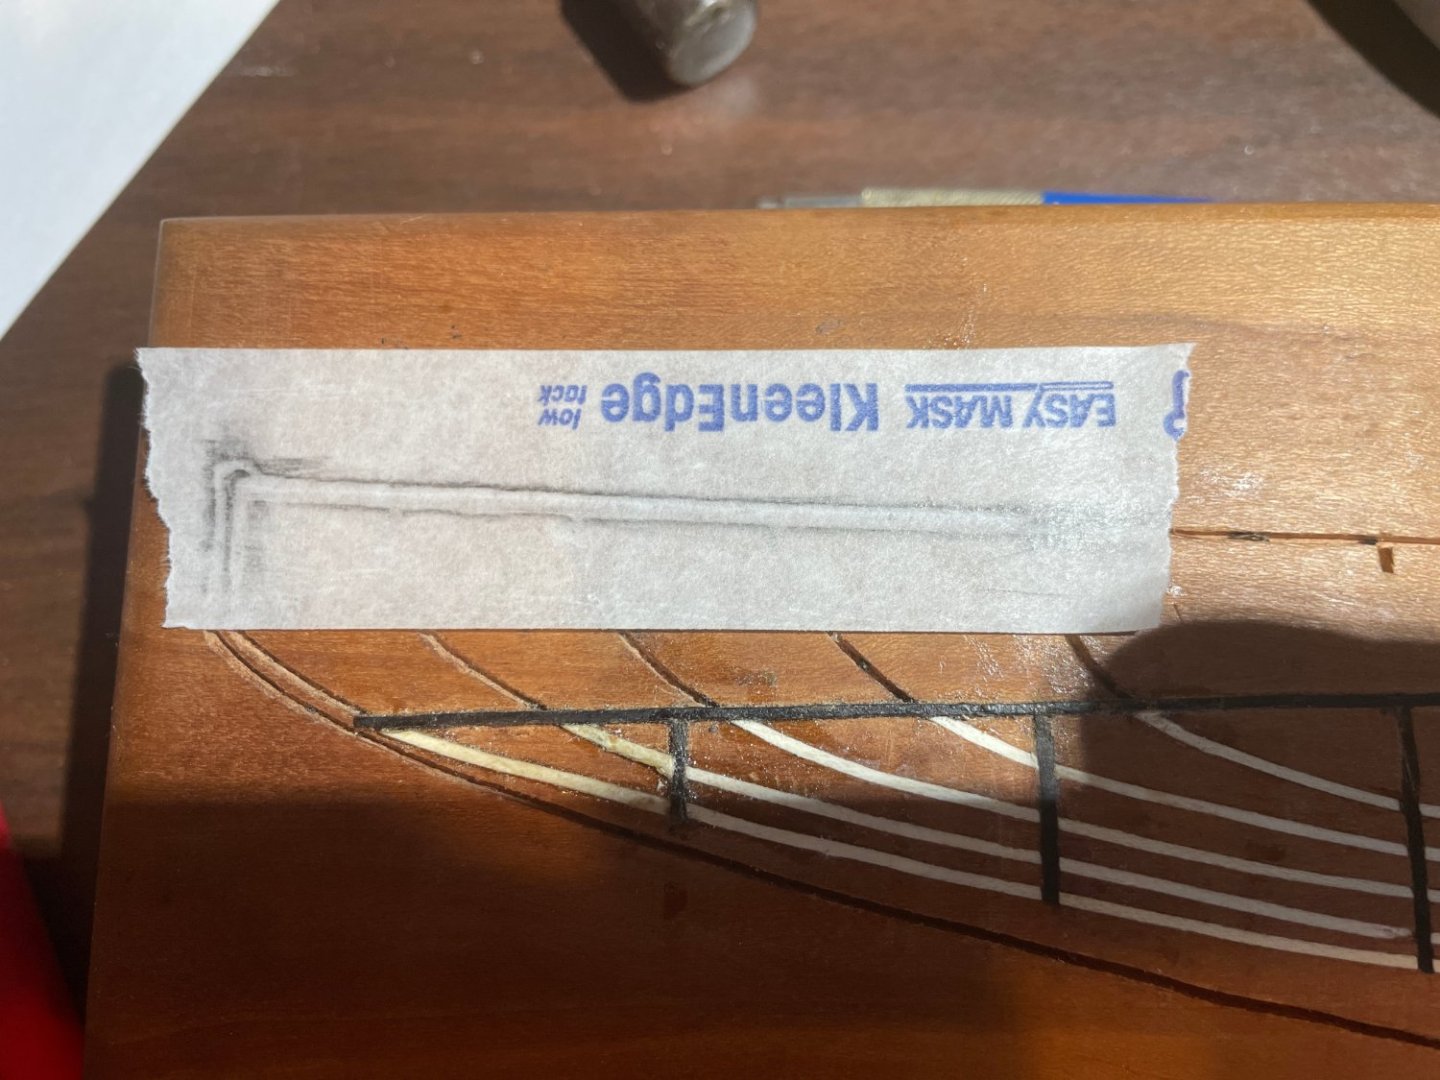
I tried doing a rubbing for the areas that were not just narrow grooves. Cutting with a knife was more accurate. In either case I cut well outside the trace mark and slowly sanding my way in.