Farbror Fartyg
-
Posts
178 -
Joined
-
Last visited
Content Type
Profiles
Forums
Gallery
Events
Everything posted by Farbror Fartyg
-
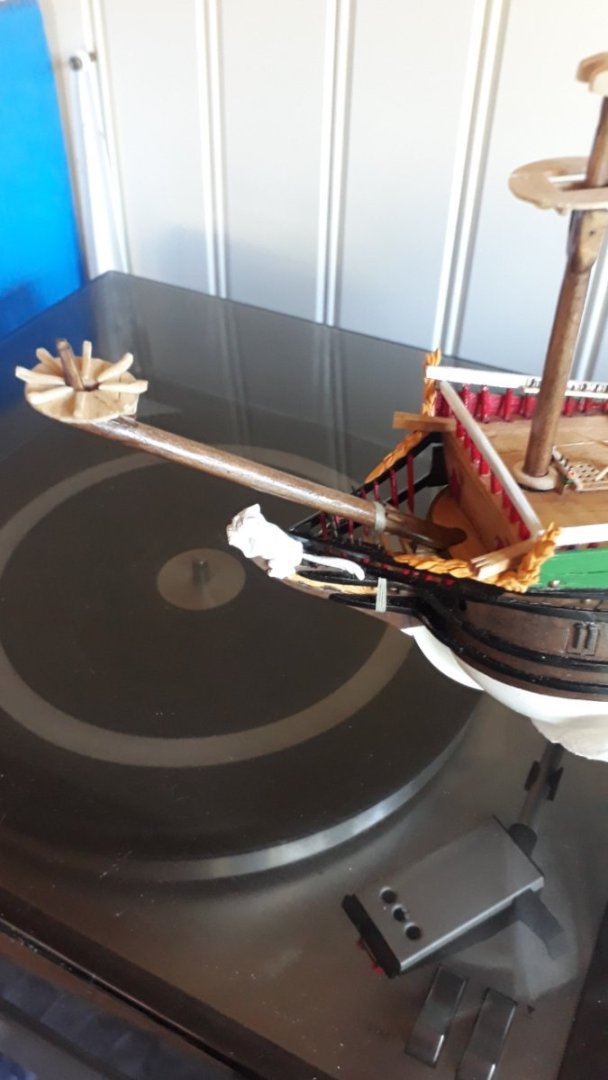
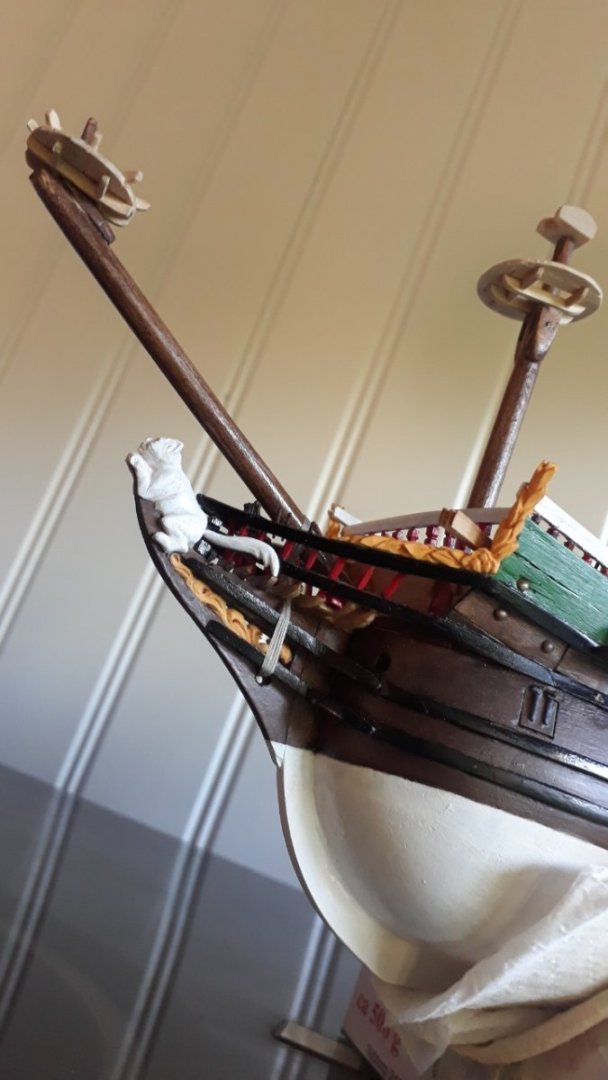
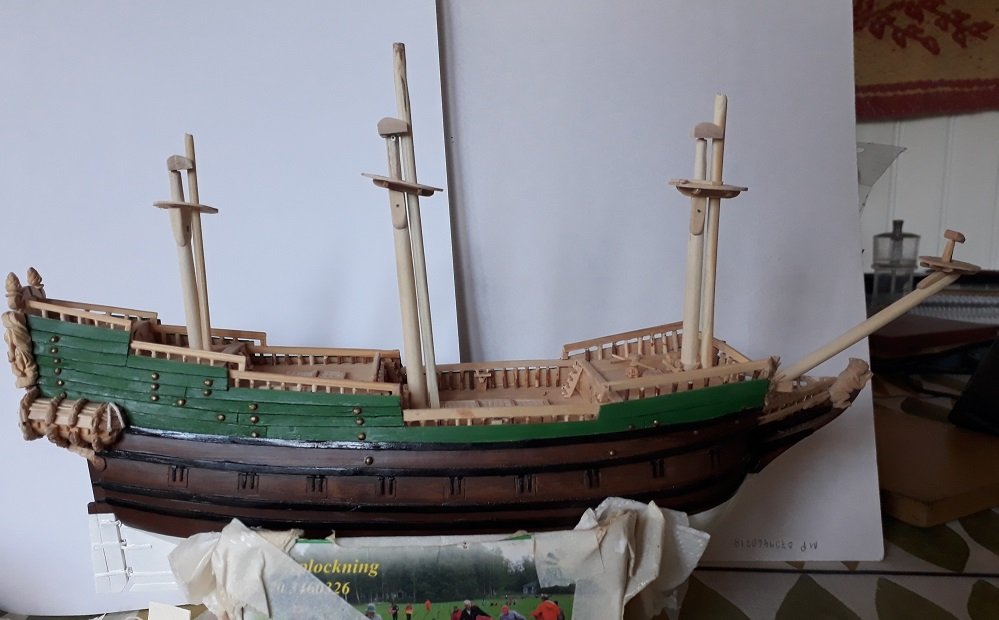
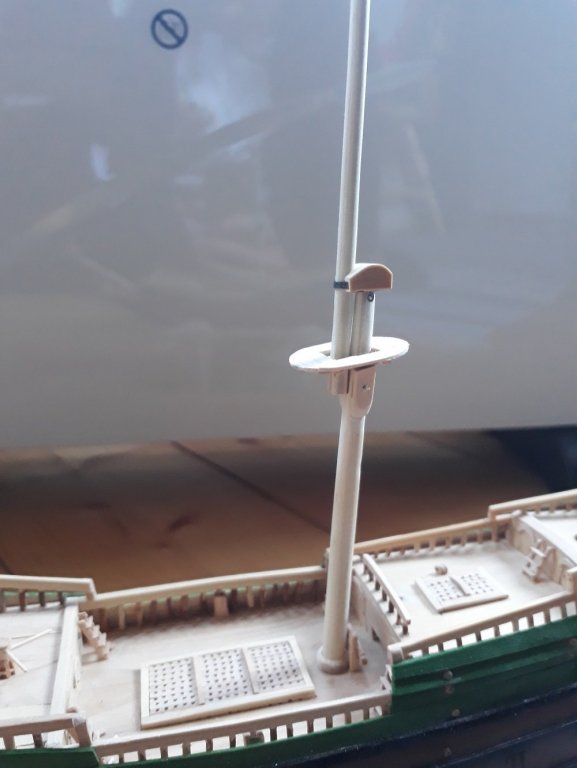
 Hello again! Man ... I feel almost embarrassed posting this year's progress - truly a very minute step indeed for both man AND mankind. It's been a busy summer so far ... But I have finally started adding some actual cordage to the standing rigging - bowsprit gammoning done. Other than that I've made a new batch of deadeyes for the shrouds. Speaking of shrouds, the threads dangling from the main top are from a little test I conducted to see if there was enough room for all the ropes. Turns out there was. Well, I'm off for the city again. Cheers! Sam
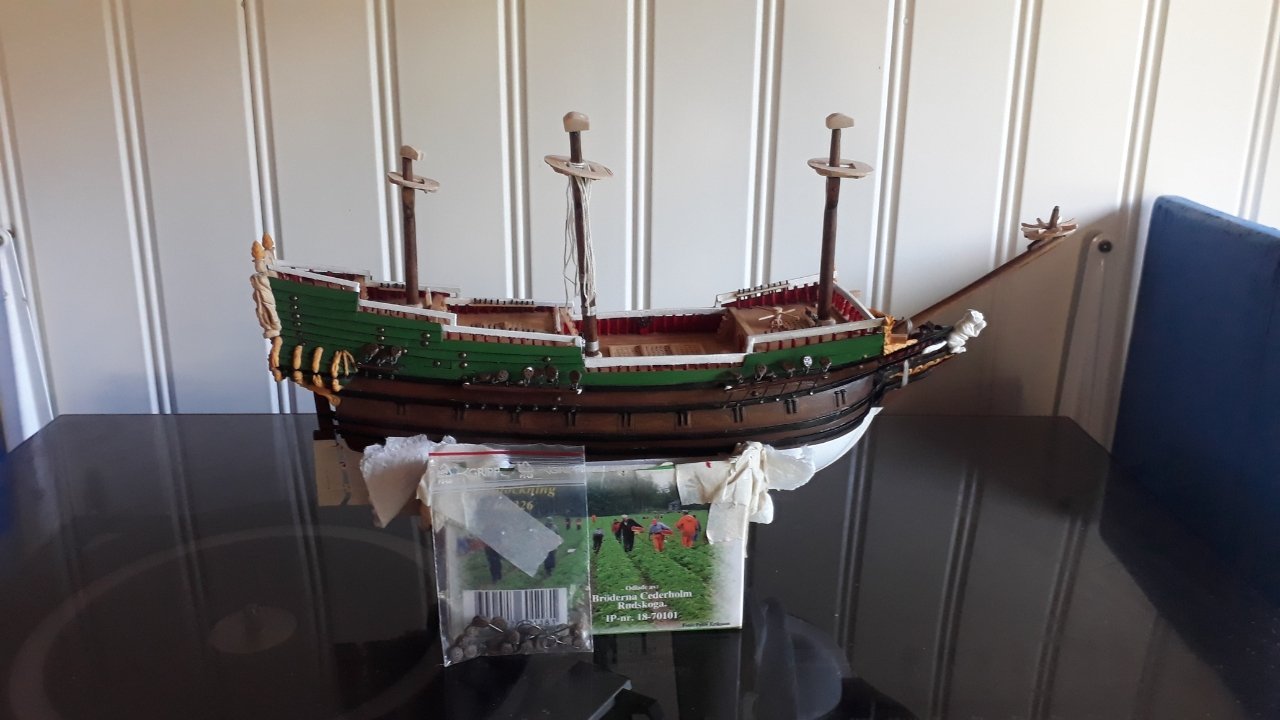
-
Thanks! Since the summer cottage, where I'm building her, is in Arvika Municipality I feels the town's coat of arms has to be on one of the flags. Swedish flag too - an obvious choice. Other than those, I haven't really decided yet. Any suggestions? /Sam
-
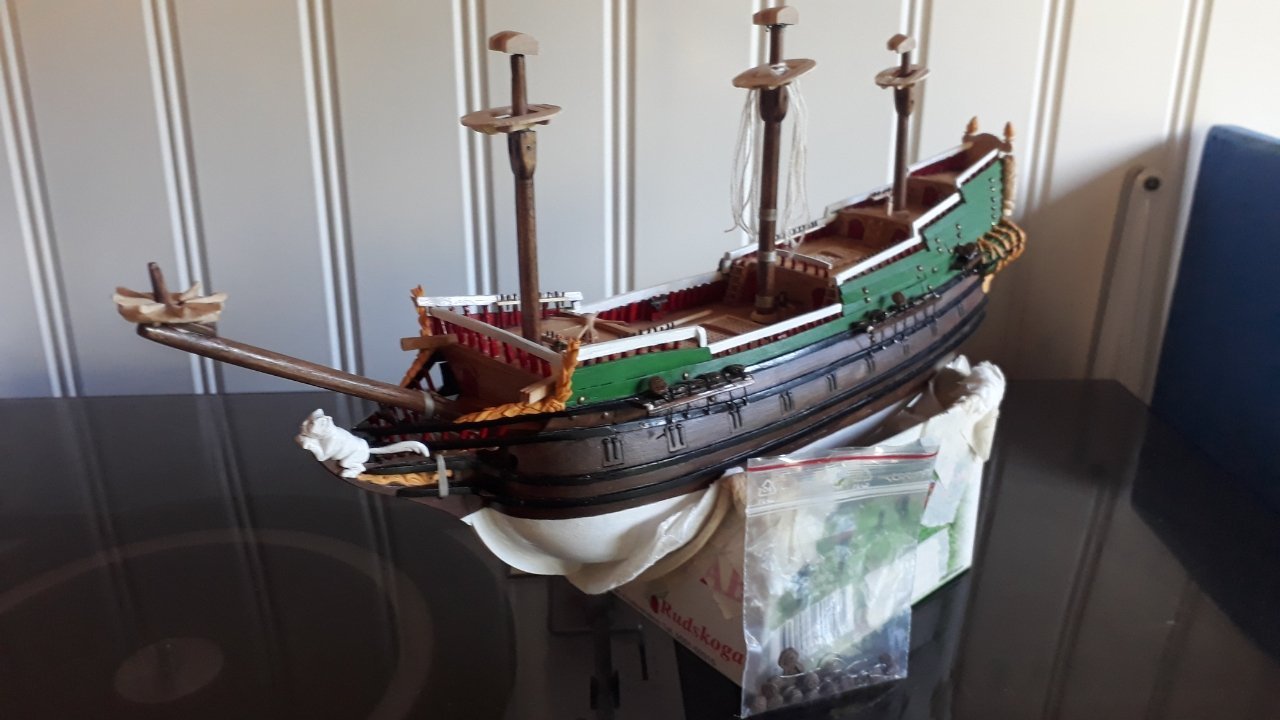
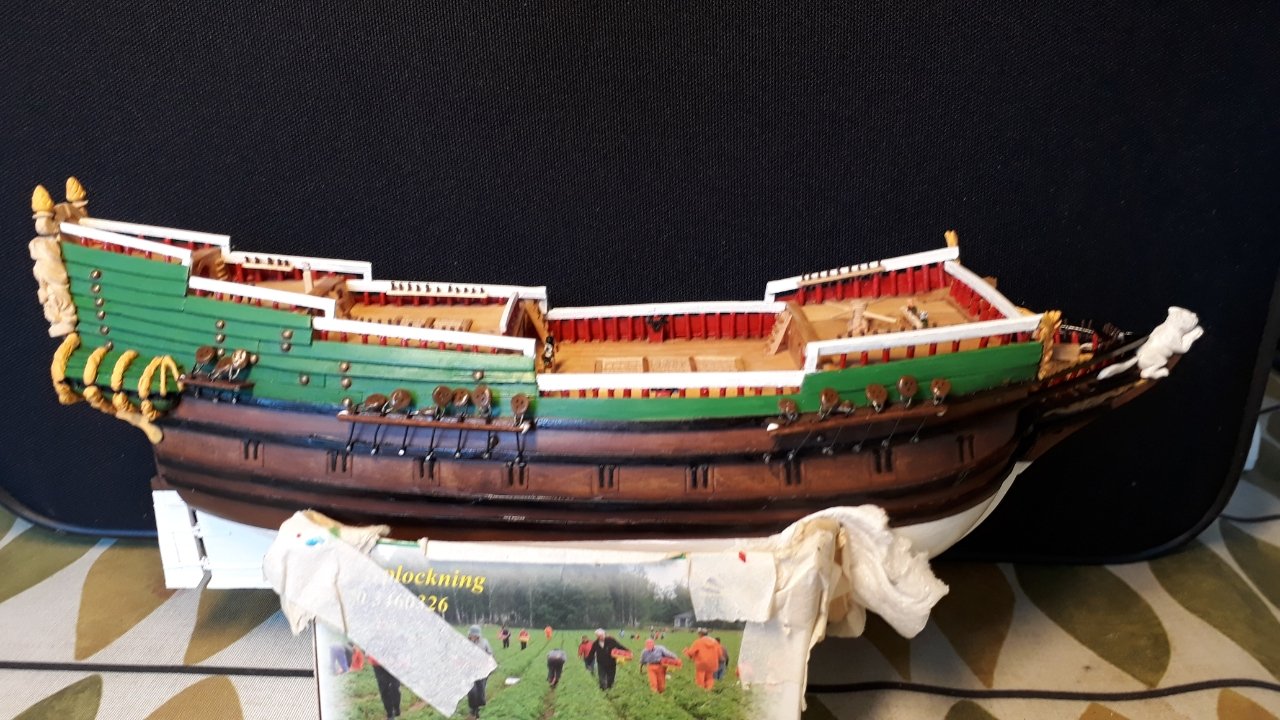
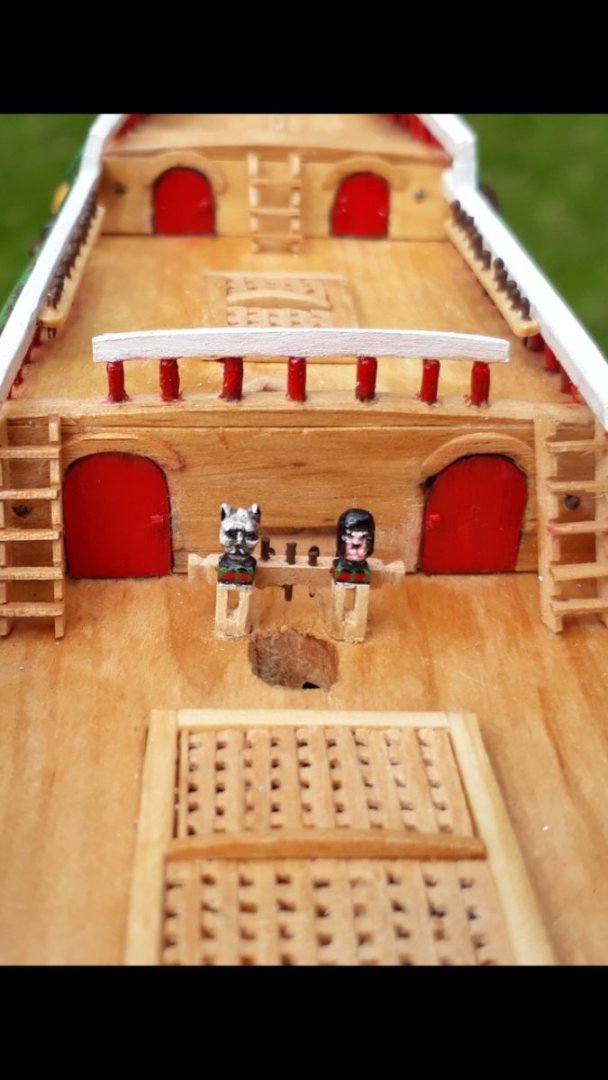
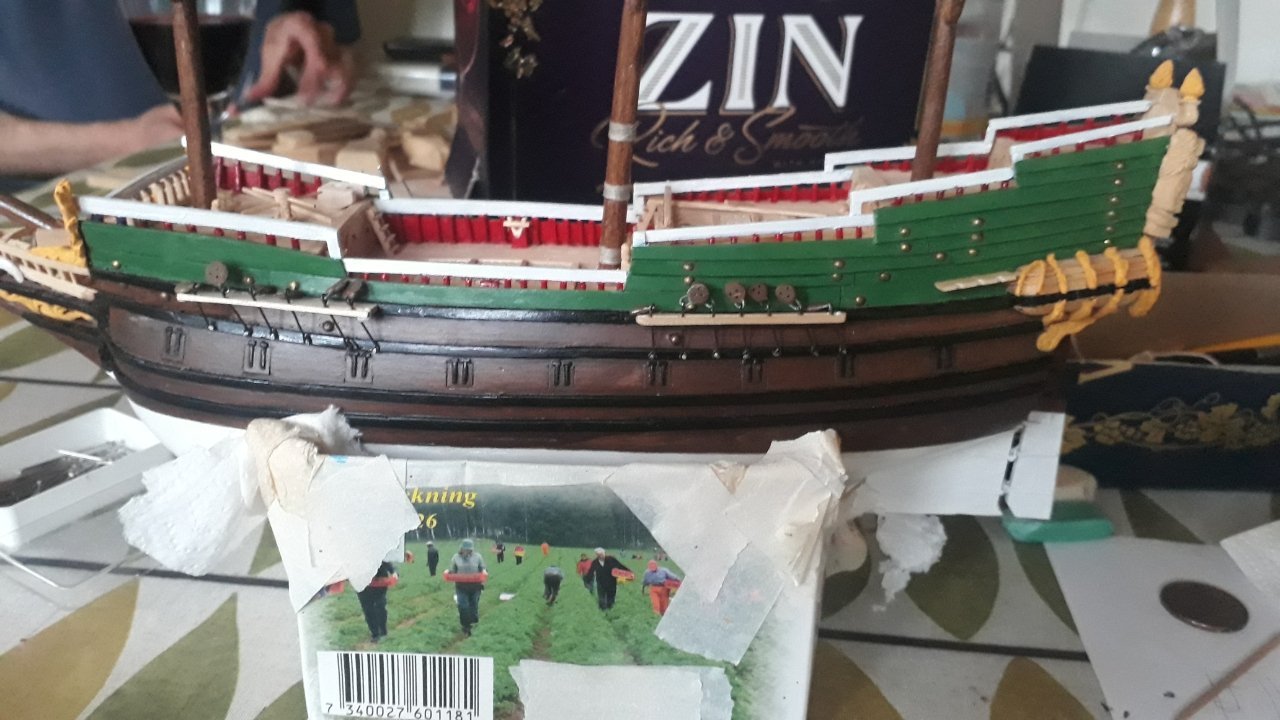
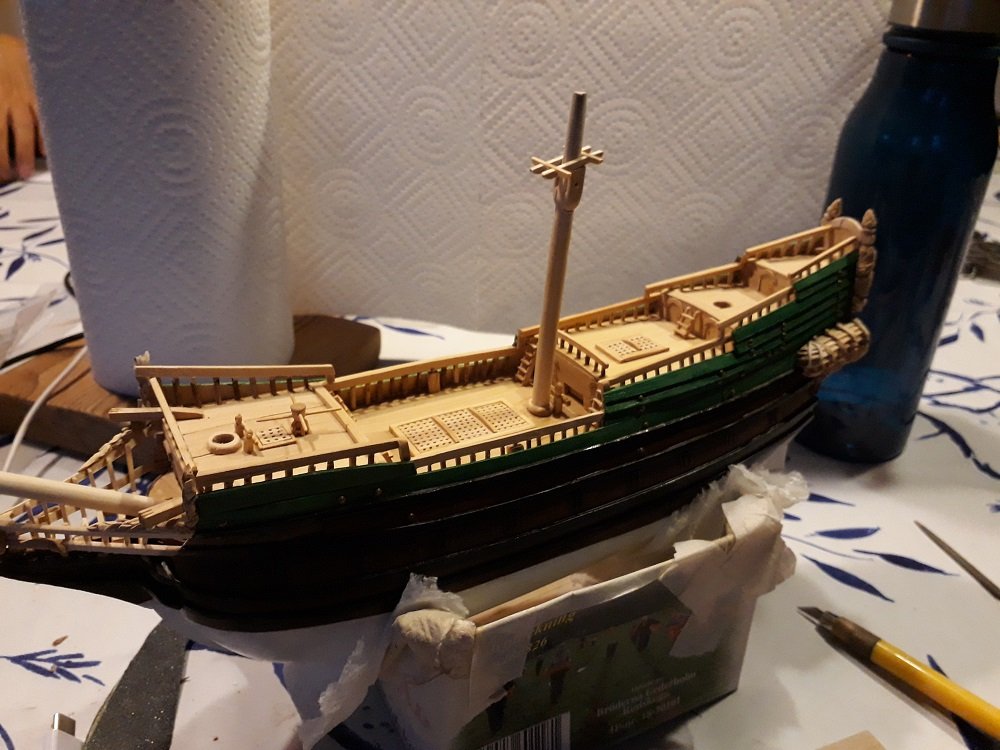
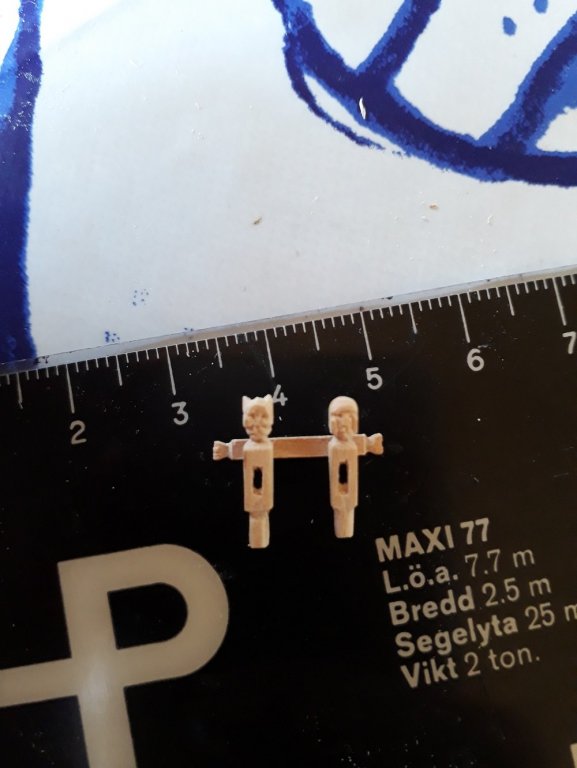
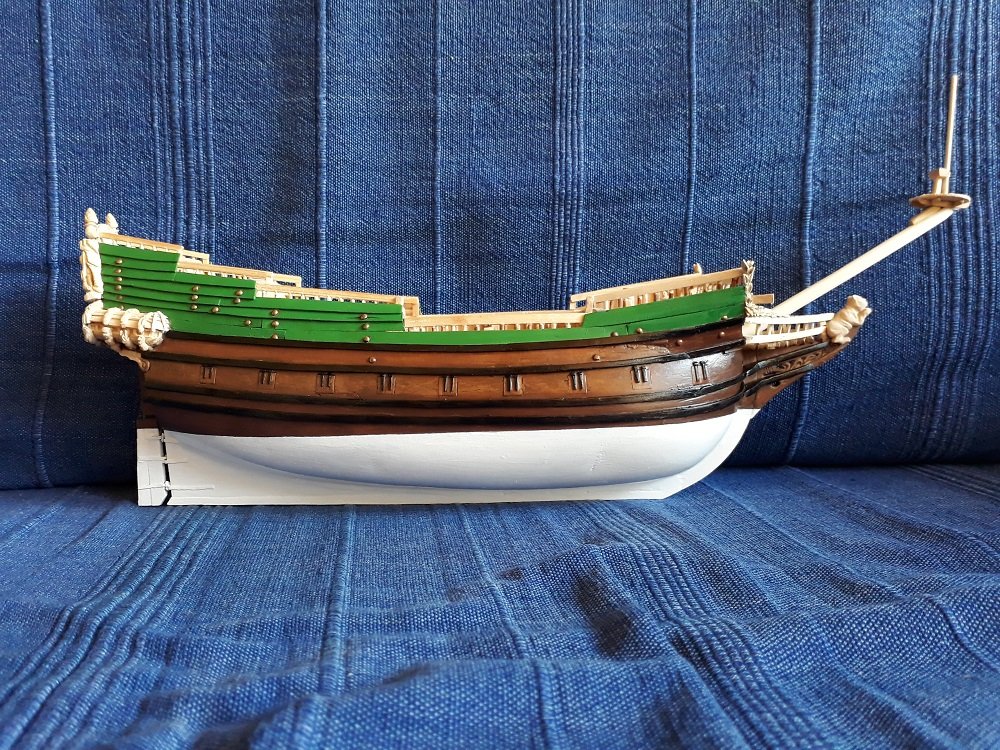
Green is the colour of my try love's hare ... I painted the quarter galleries red. It would be wrong to say that it didn't work - it kinda did. It made the green and the yellow pop nicely, but ... green is better. More of a unified look with green. Still need to tidy things up and repaint some yellow bits but this is the colour scheme. My dudes by the main mast got painted too. I'll probably have time to touch up a few things and go over the decks with another coat of varnish before I have to go back to the big city. Sigh. Oh! And I installed the pin racks. They don't look too horribly out of scale, actually. Things I've learned this year: 1.) Paint things before you attach them. 2.) I remembered why I stopped using enamels back in the misty, mysterious past called the late eighties. Smelly. The thinner is unpredictable. They either dry too quickly or are too runny. Well See you next year, I guess ... I'll try to work on the Akagi build log a bit when i get back. The best of everything to the most excellent people following this build log! /Sam
-
At long last - update time! I've worked on her for a week or two now and some good progress has been made. Past me did a sub-par job on the paint work, so present me scraped 'an 'a-sanded the lumps and bumps away. Still not perfect, but better. She'll have red doors. Maybe my stomping around the decks of the Batavia influenced this decision. Could be. I'll paint the knight's heads but the rest of the decks will just get a coat of varnish over the natural wood. The channels got some paint. The beakhead got some paint. Belaying pins have been made and installed in said beakhead. Speaking of belaying pins - tiny, yet comically out of scale, pins have been made for all the masts and are now awaiting paint. Cheers and salutations all around! /Sam

-
Congratulations! I'm gonna miss this one ... I've said it before - prettiest ship I've seen. Thank you! Sam
-
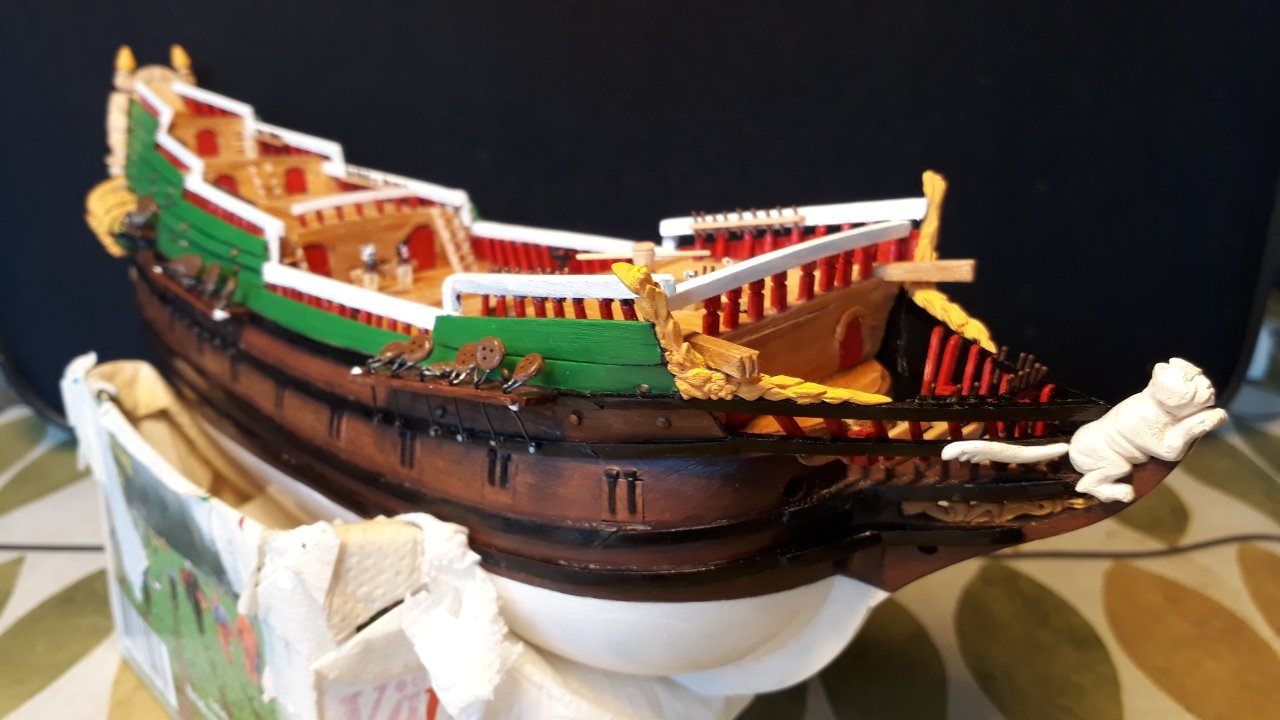
Well, there it is. Dunno what the mizzen channel's attached to - there's no wale there. I imagine cap'n Gloryhard et.al. using the loo in the quarter gallery aren't too pleased about the view obstructions. Hey ho. Oh well. Have a nice one Sam
-
"I'll make sure to always put it in the same place, so I'll know where to find it" = it's behind the telly. "I had it just a second ago ..." = it will never be recovered. Quantum effects have sent it into a black hole. "I'll put this away to work on it later." = If you sacrifice to all the Gods of the underworld, the item in question MAY be in one piece/the same place when you go to retrieve it. /Sam
- 739 replies
-
- 4
-

-
- Tudor
- restoration
- (and 4 more)
-
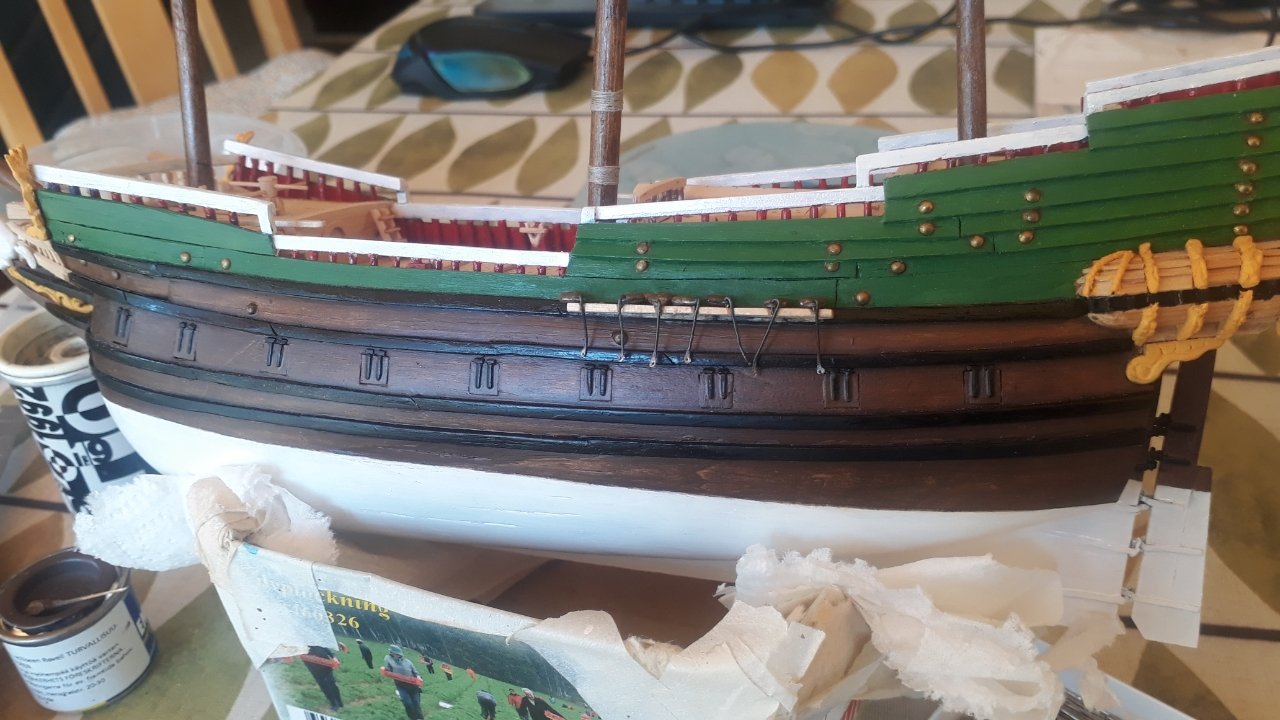
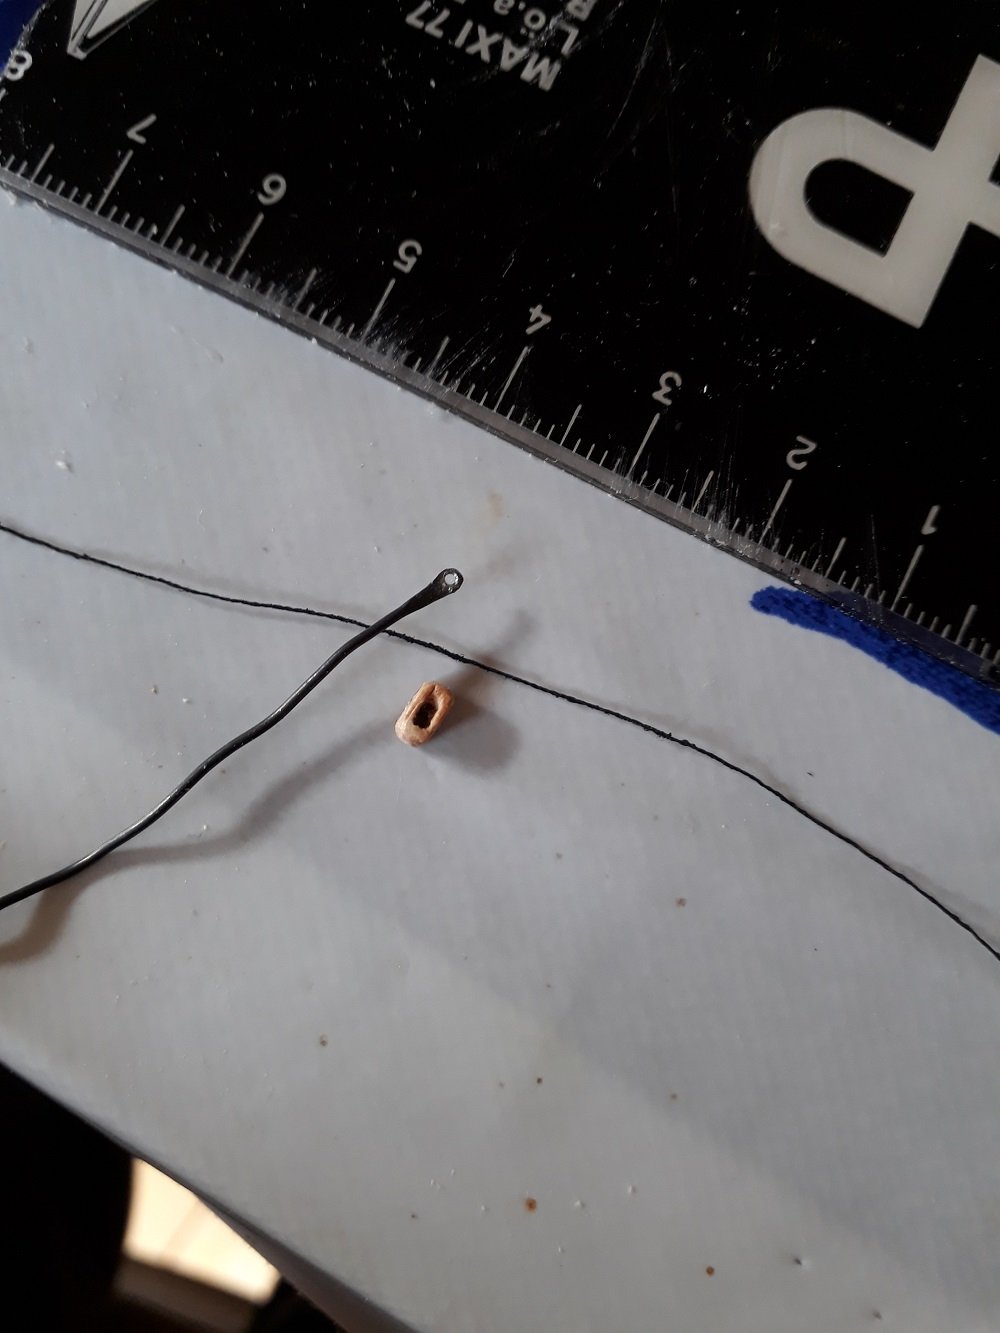
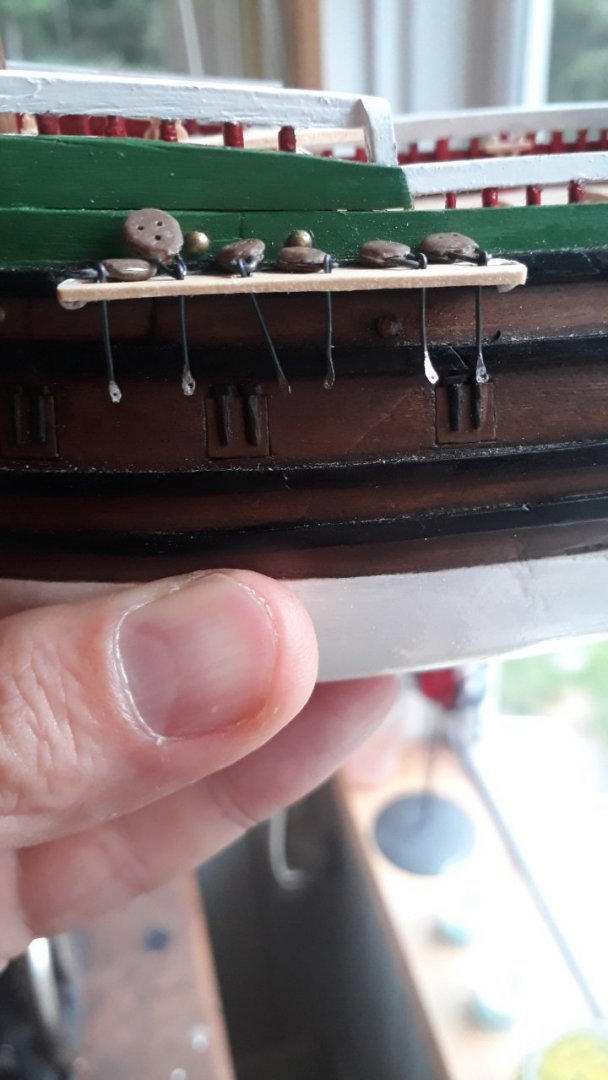
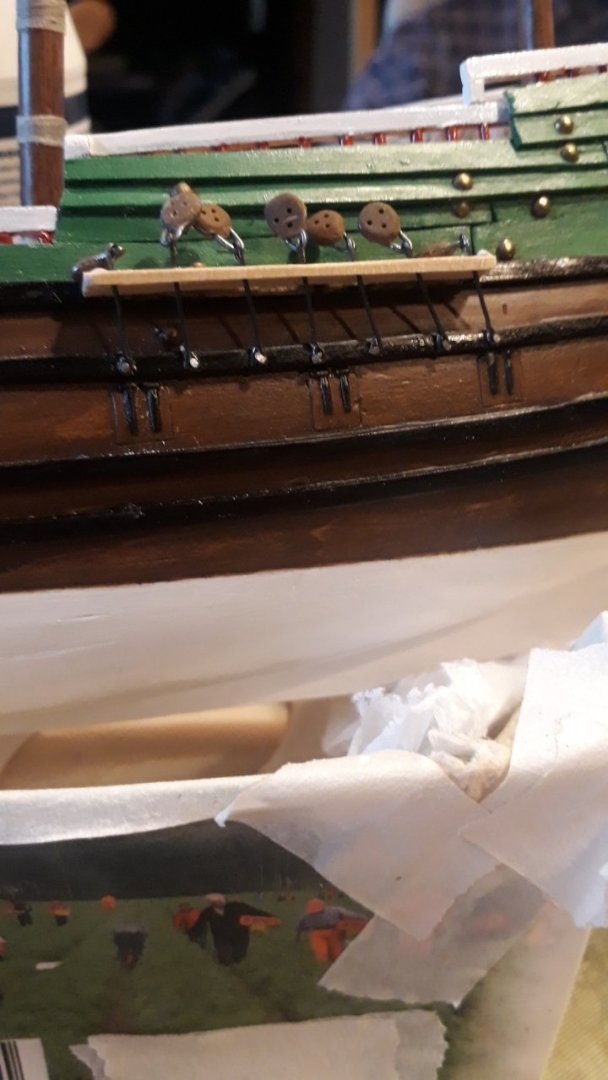
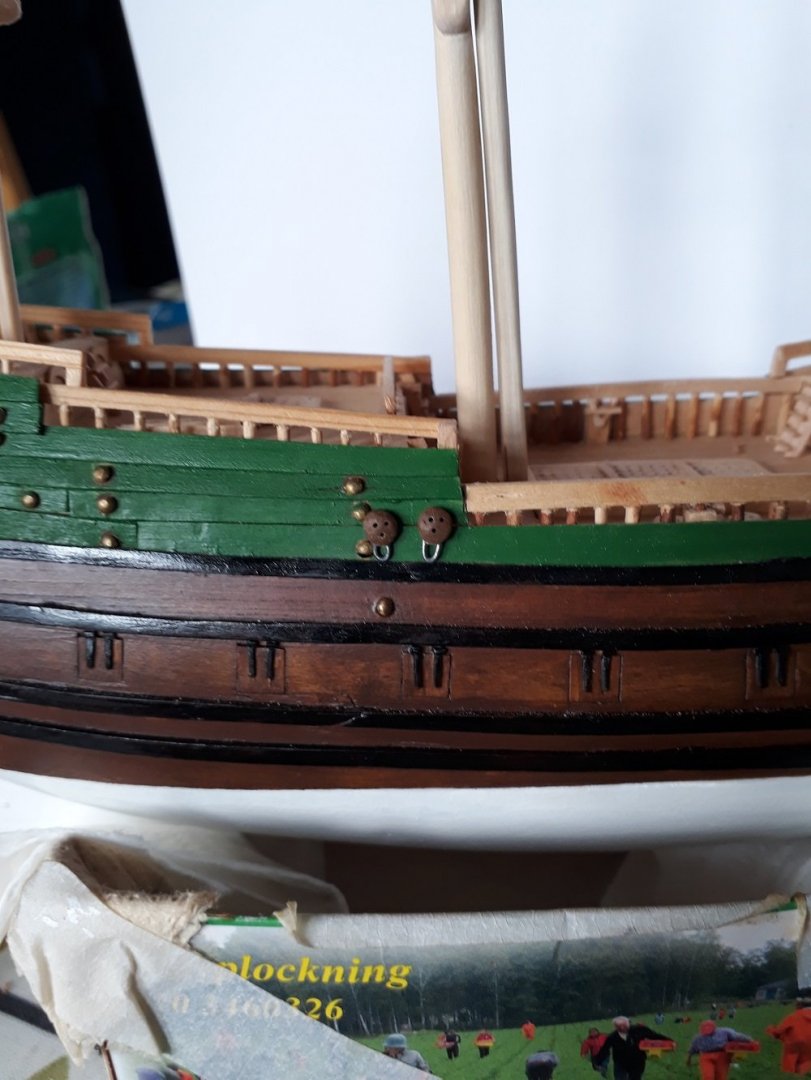
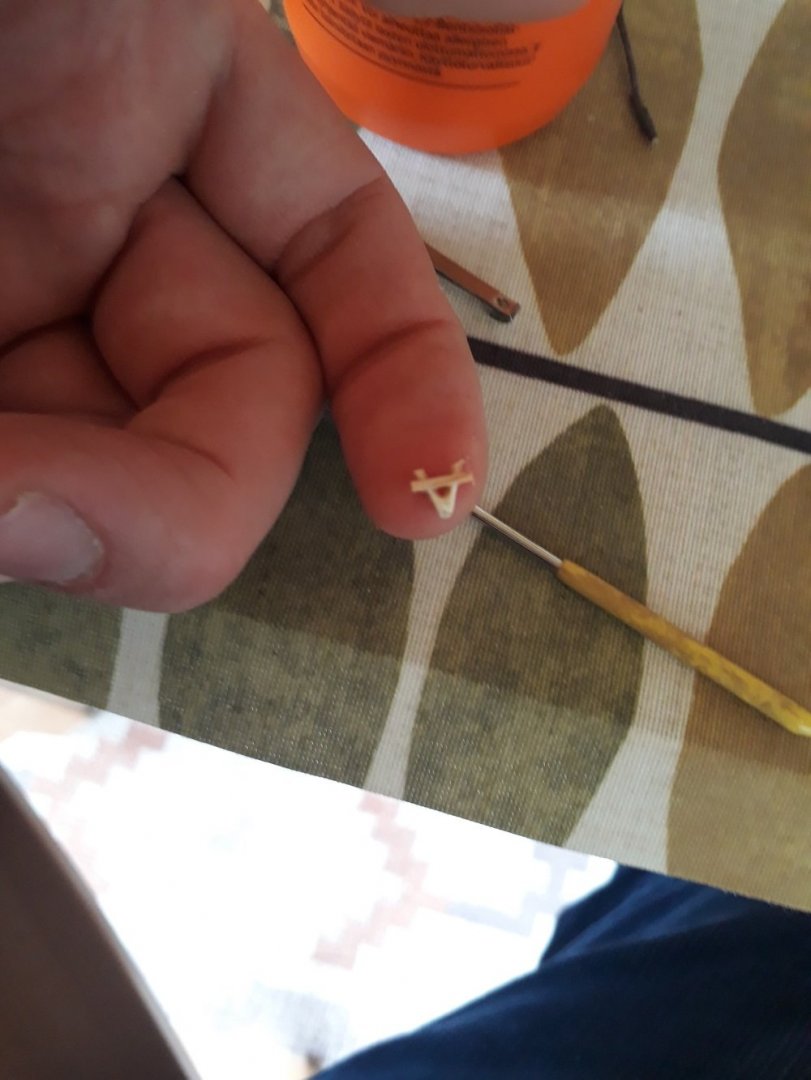
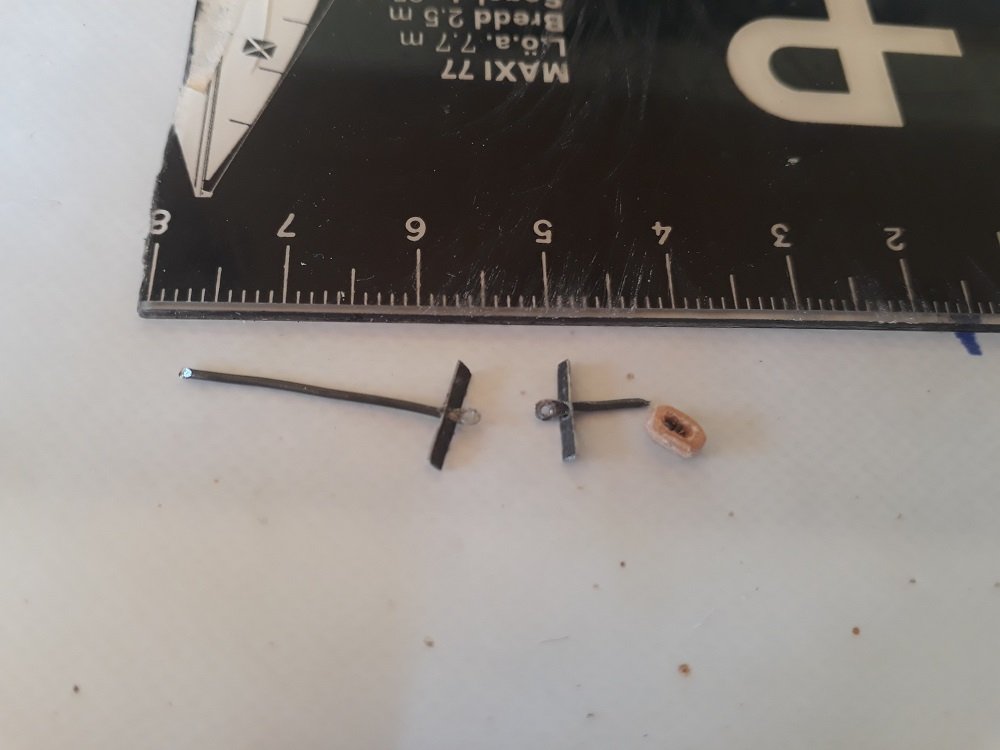
Originally I planned to drill a little hole into the wale, saturate it with glue, and then press the perforated bottom end of the chain in place and let the glue act as a kind of 'nail', but after a good ponder I decided I wasn't happy with that. The forces involved at this scale aren't exactly huge, but the pull of the shrouds will still be a thing, and the chains/channels will have to take it. It would be jolly annoying to come here one summer and find that the rigging had unravelled itself. So I decided to go for a more secure way of attaching the chains to the hull. Old chains. New chains. Looks alright, I think. Perhaps file down the nail heads a bit, a lick of gloss black, and job's a good'un. Cheers! Sam *EDIT* ... and that's when he realised that he had left half the explanation out ... What I've done is to attach the chain to the hull by way of a tiny pin/nail:
-
I know what you mean. It can be hard to find time and/or inspiration to keep at it. I'm extremely glad you did though! This is my favourite build log on here. I absolutely adore your work. The colours, the attention to details, the crispness. Brilliant! Sam
-
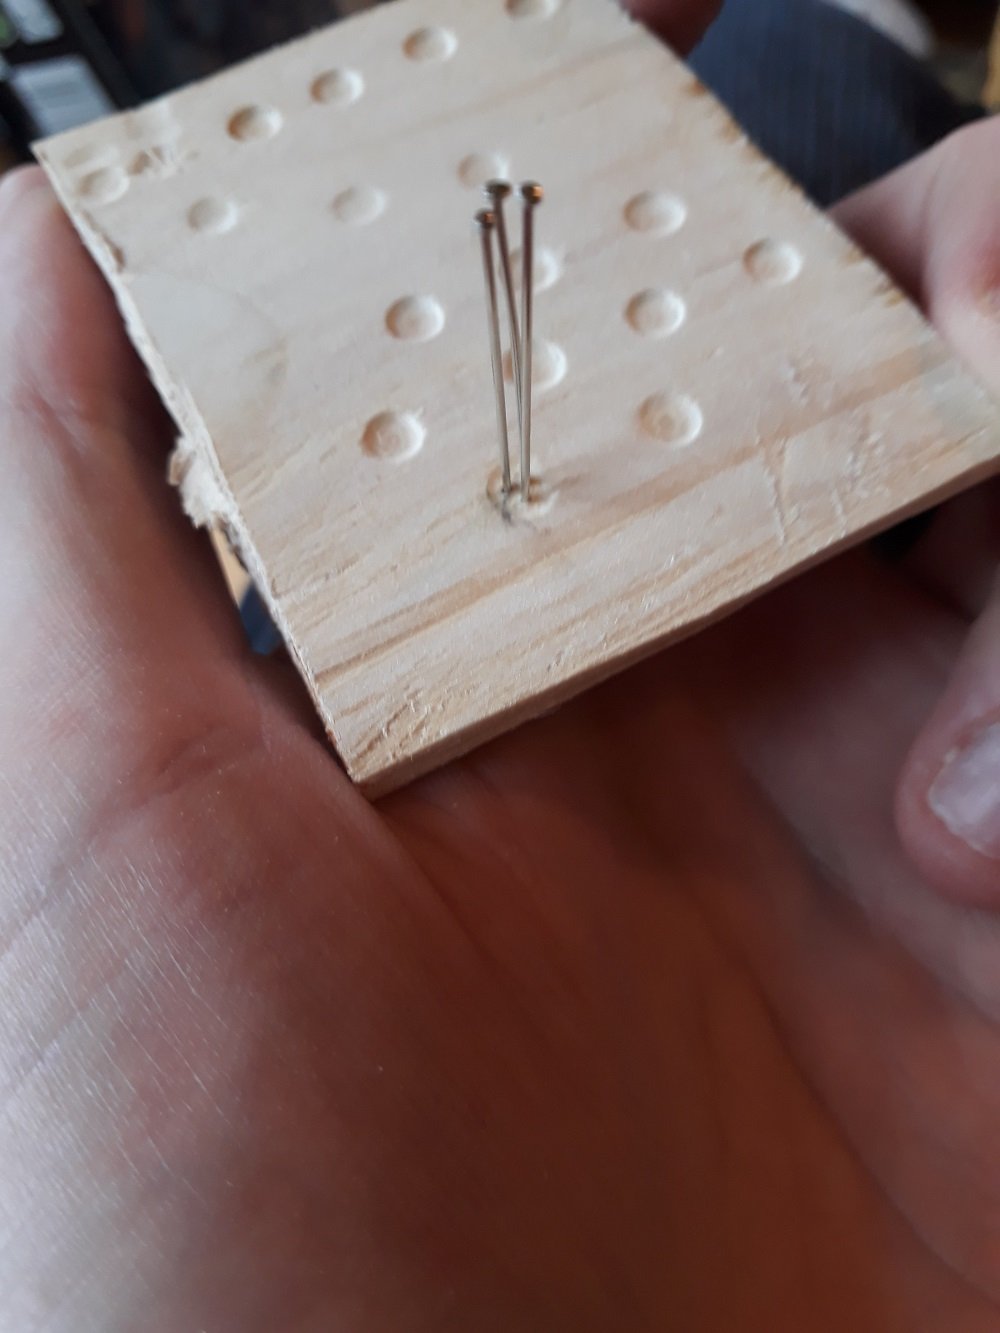
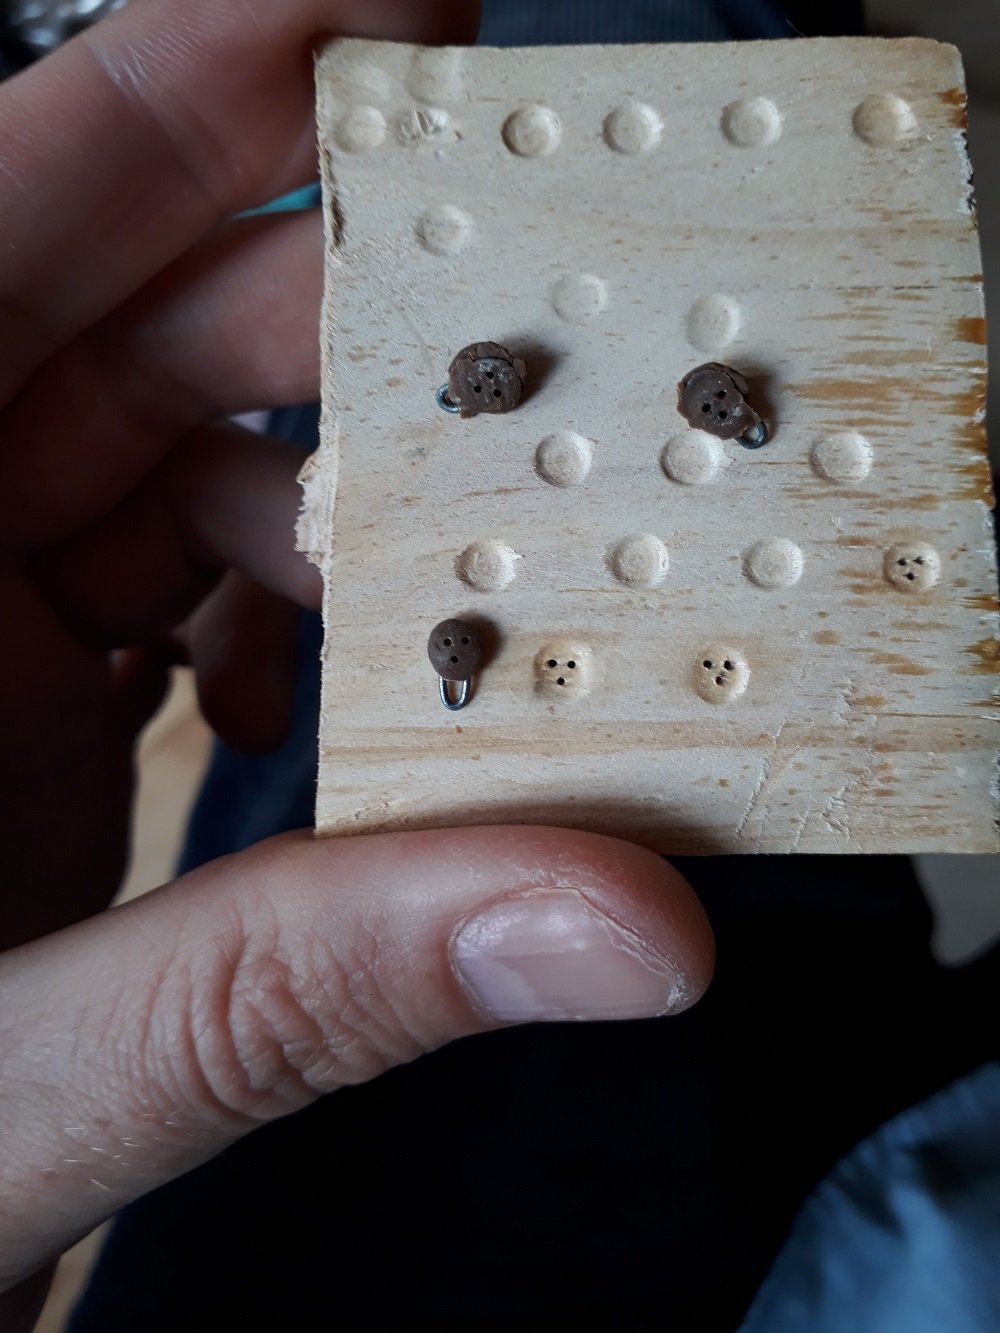
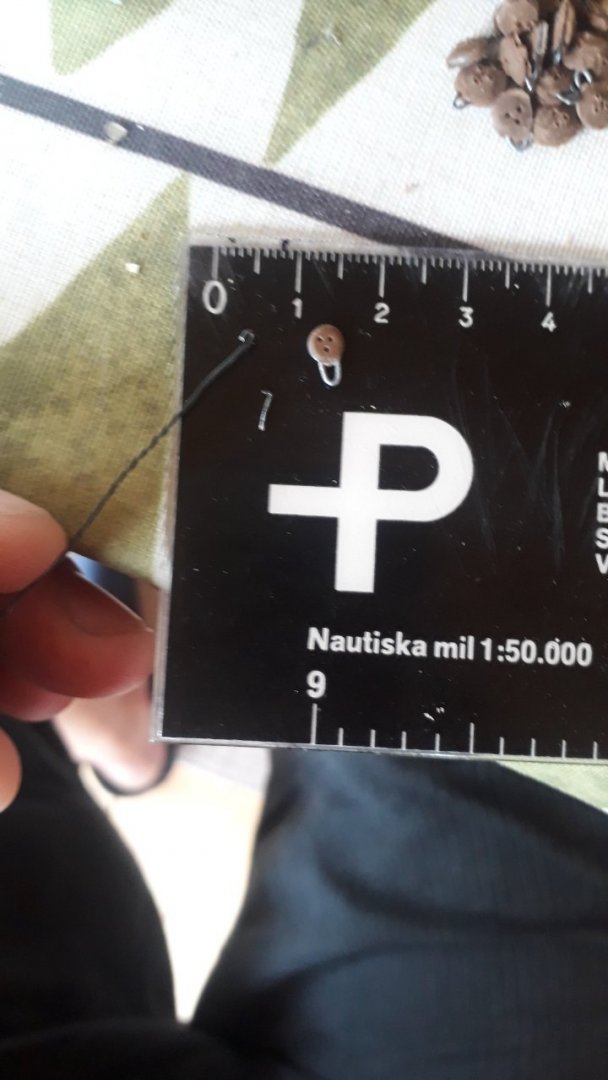
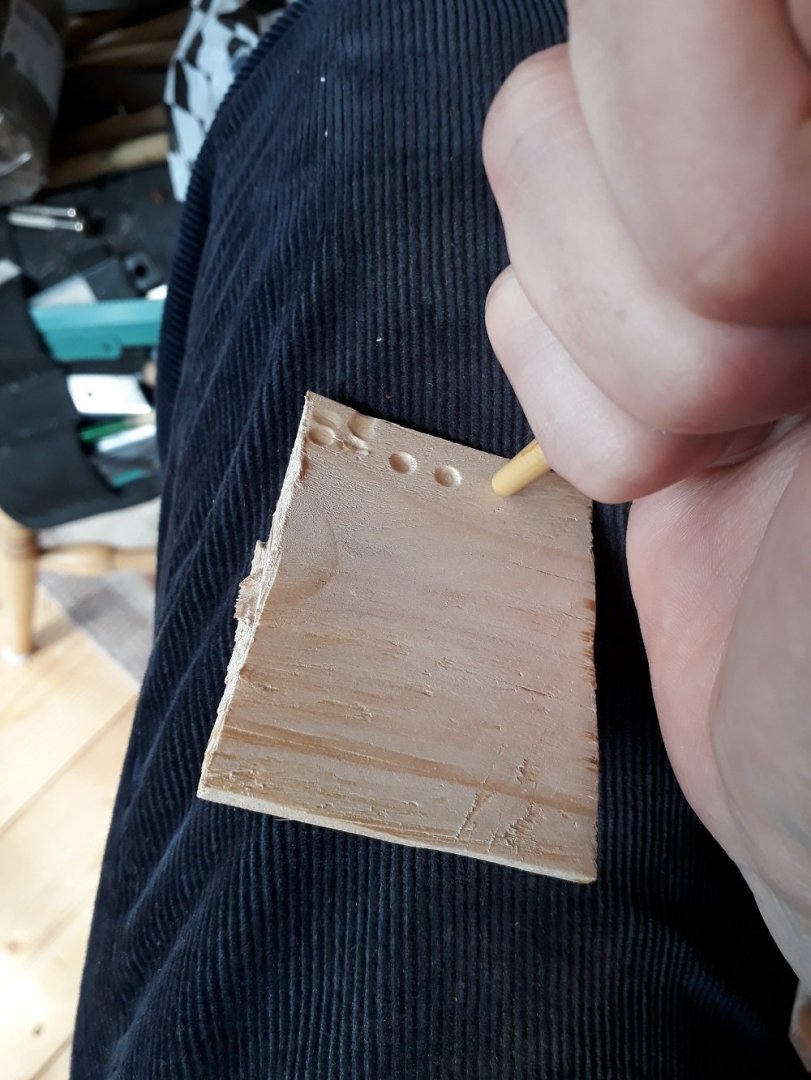
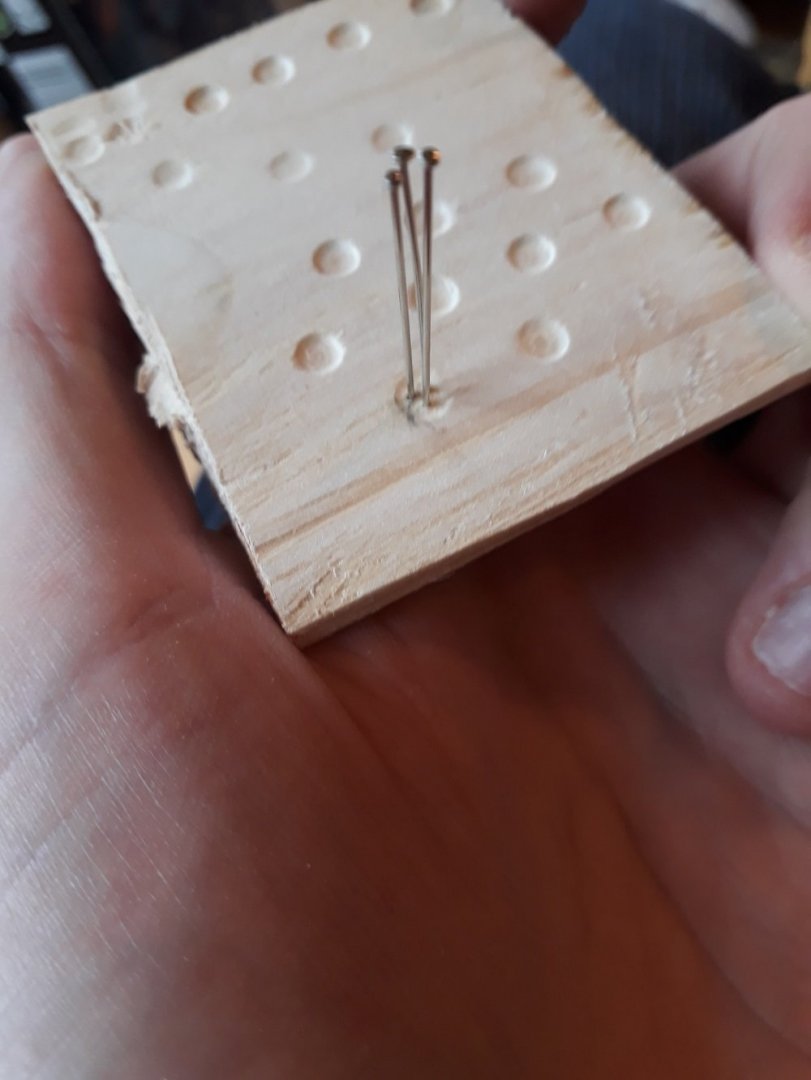
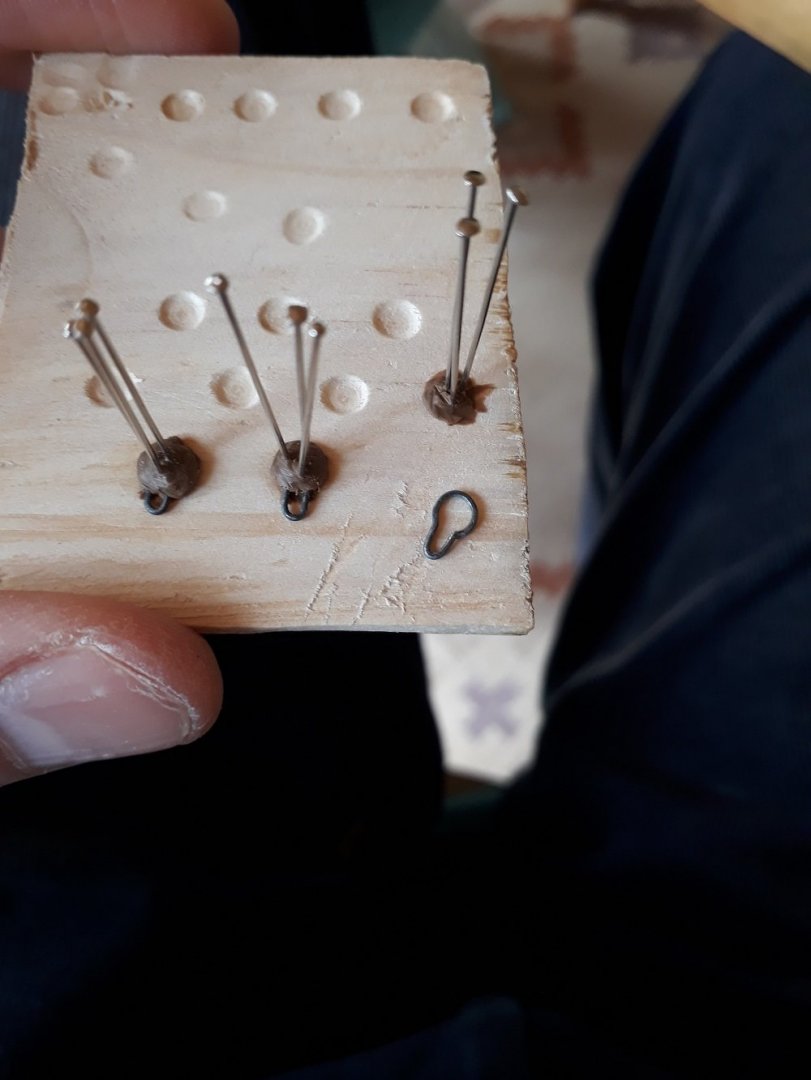
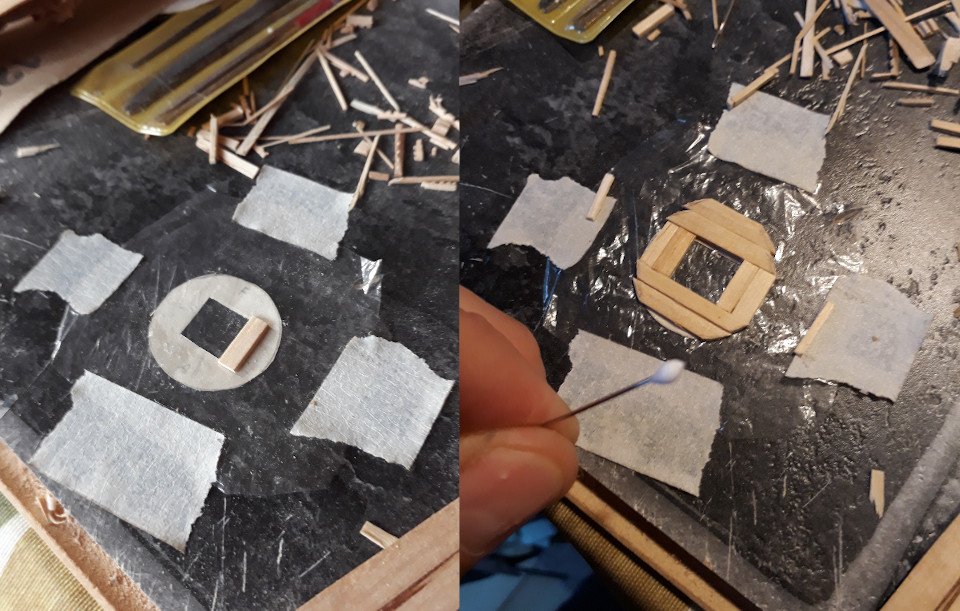
I came up with the following method for making deadeyes: Sand a piece of wood smooth and flat and then make indentations in the surface - pretty shallow for deadeyes. Push pins into the indentations. I used three pins in a triangle pattern. Push bake-in-the-oven clay (I used one called "Sculpey III") into the indentations and in and around the pins. It´s important to make sure the clay gets in everywhere and that you really push it in. When you´re happy with the placement the clay, make a hoop (strop?) from wire and push it into the clay. Obviously you need make sure the right side is up. When the wire is in place, you slap on more clay to form the other surface of the deadeye. Now you bake them in the oven. Pins, wood and all. When they´re ready and cool, remove them from the wooden block, remove the pins and clean them up as much as you need to. Looks alright, I reckon ... The advantage is that they come out of the oven stropped and ready - just clean ´em up a bit and you´re ready to rock. A tad on the fiddly side, perhaps, but not too bad.

-
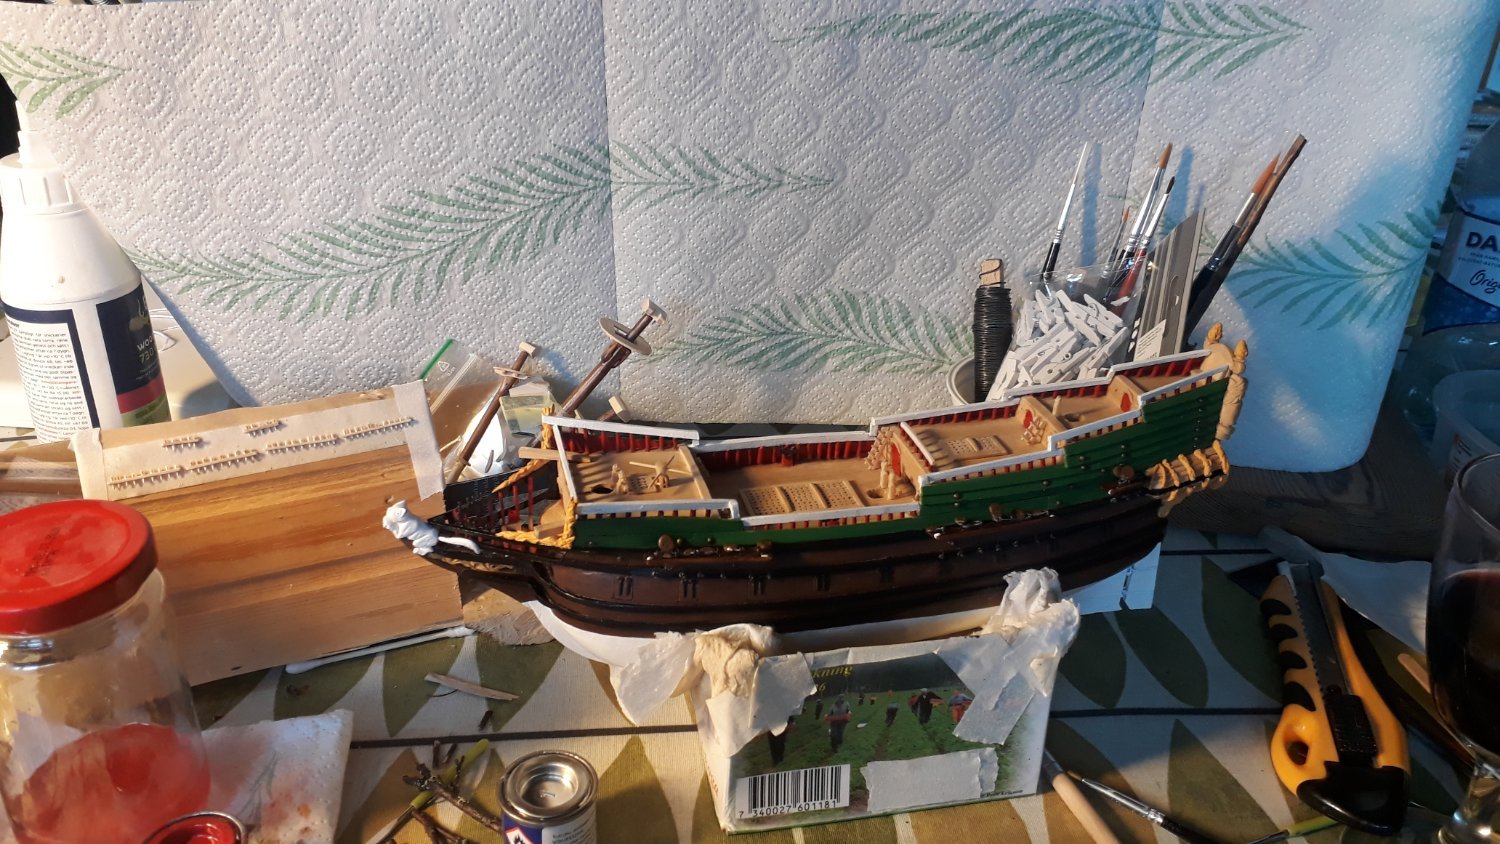
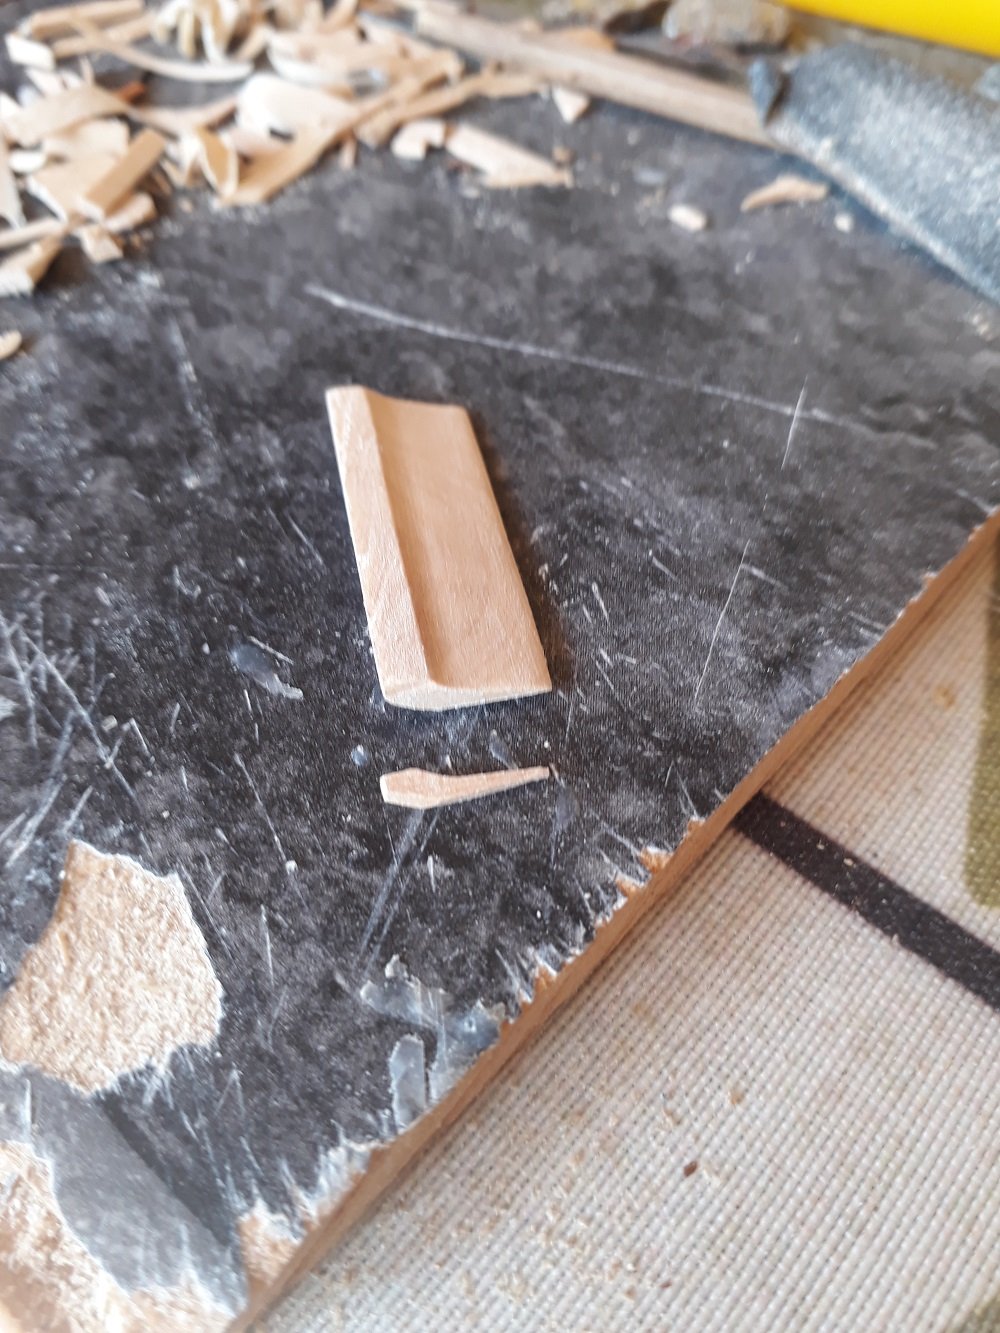
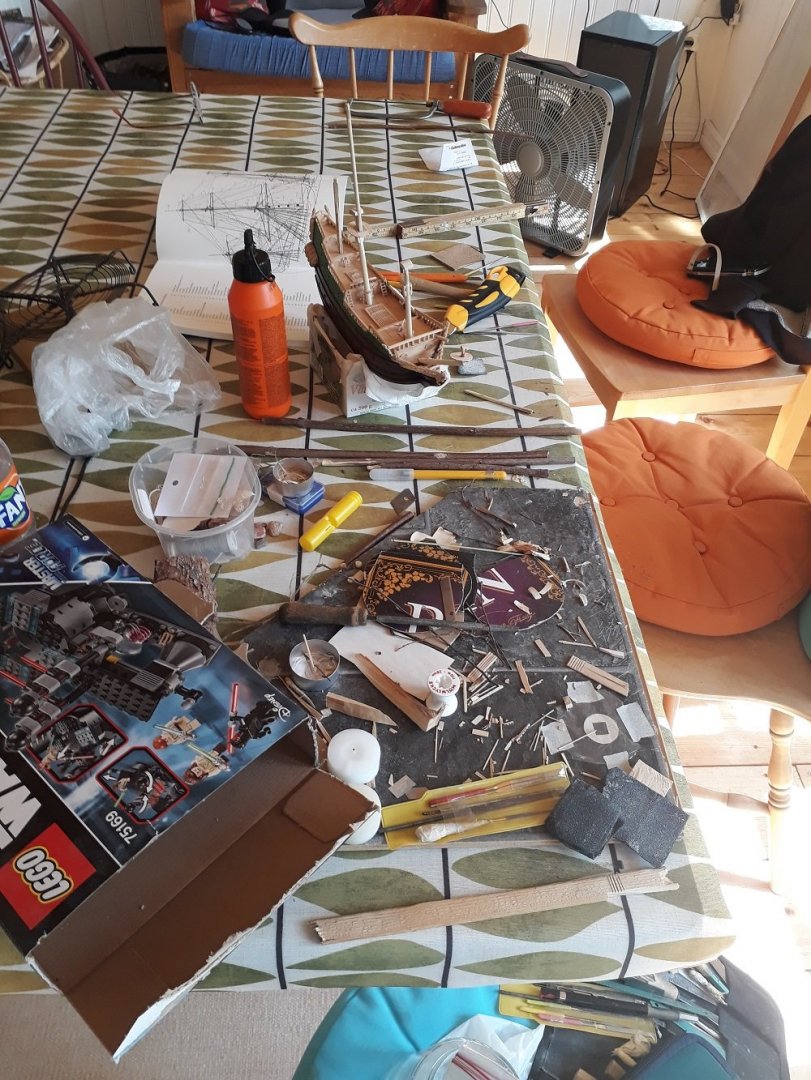
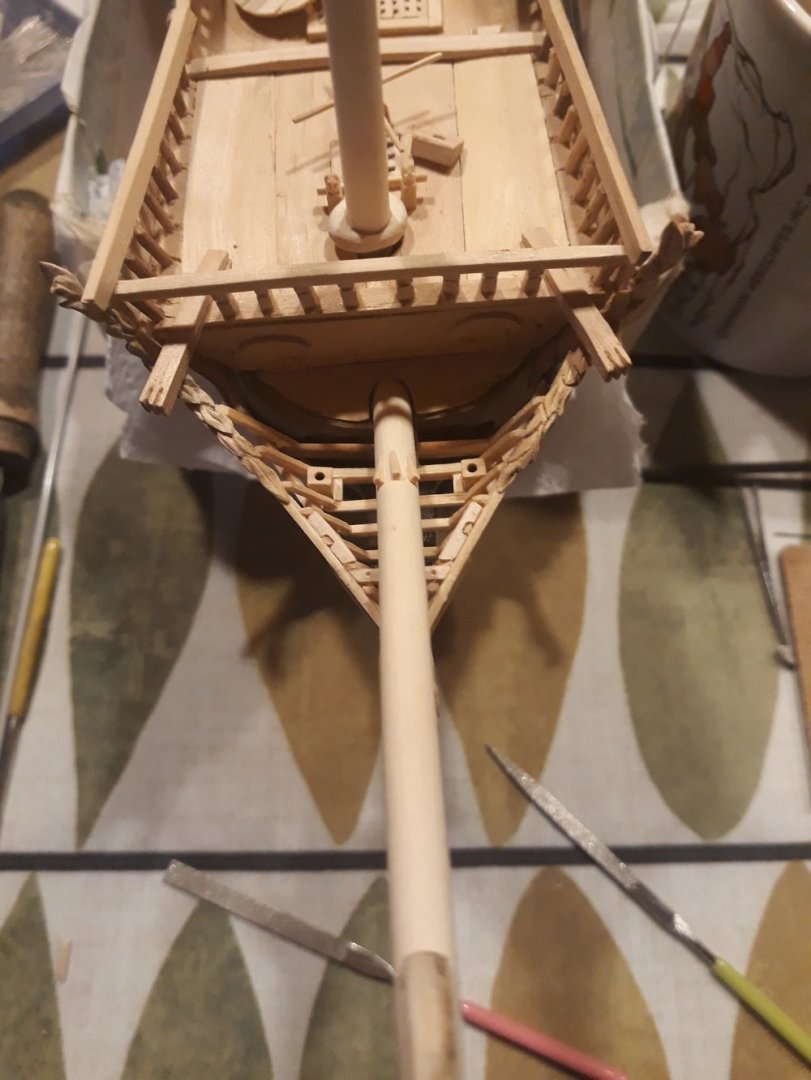
Well if it isn't that time of the year again. I've been here for about a week now, the shipyard is once more up and running, and stuff has happened. Cleats for the gammoning on the bowsprit, and somewhere to belay: A few kevels here and there: More work has gone into the tops: And the masts are coming along nicely: I'm thinking about painting her next. The masts will be stained a darker brown (and varnished), but the decks I think I'll leave as they are. Good to be back! /Sam

-
Glad to have you, Popeye, as always! Yeah ... an allegory about life itself, this project: 2011 - "I feel like making a toy ship!" ... ... ... Spends the better part of decade adding bits, and wishing more planning had gone into the first steps. Cheers!
-
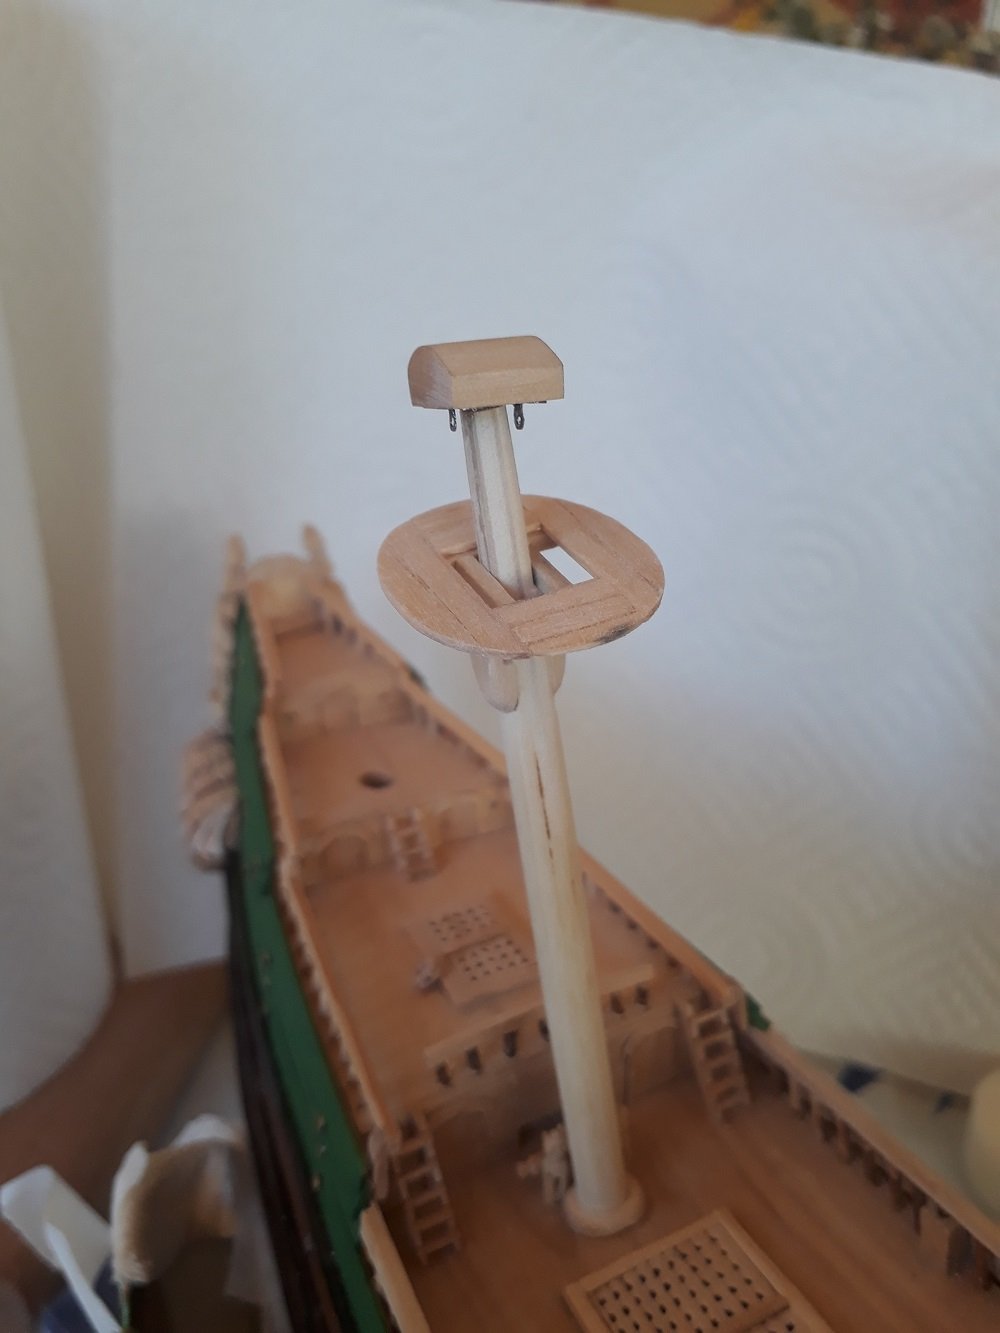
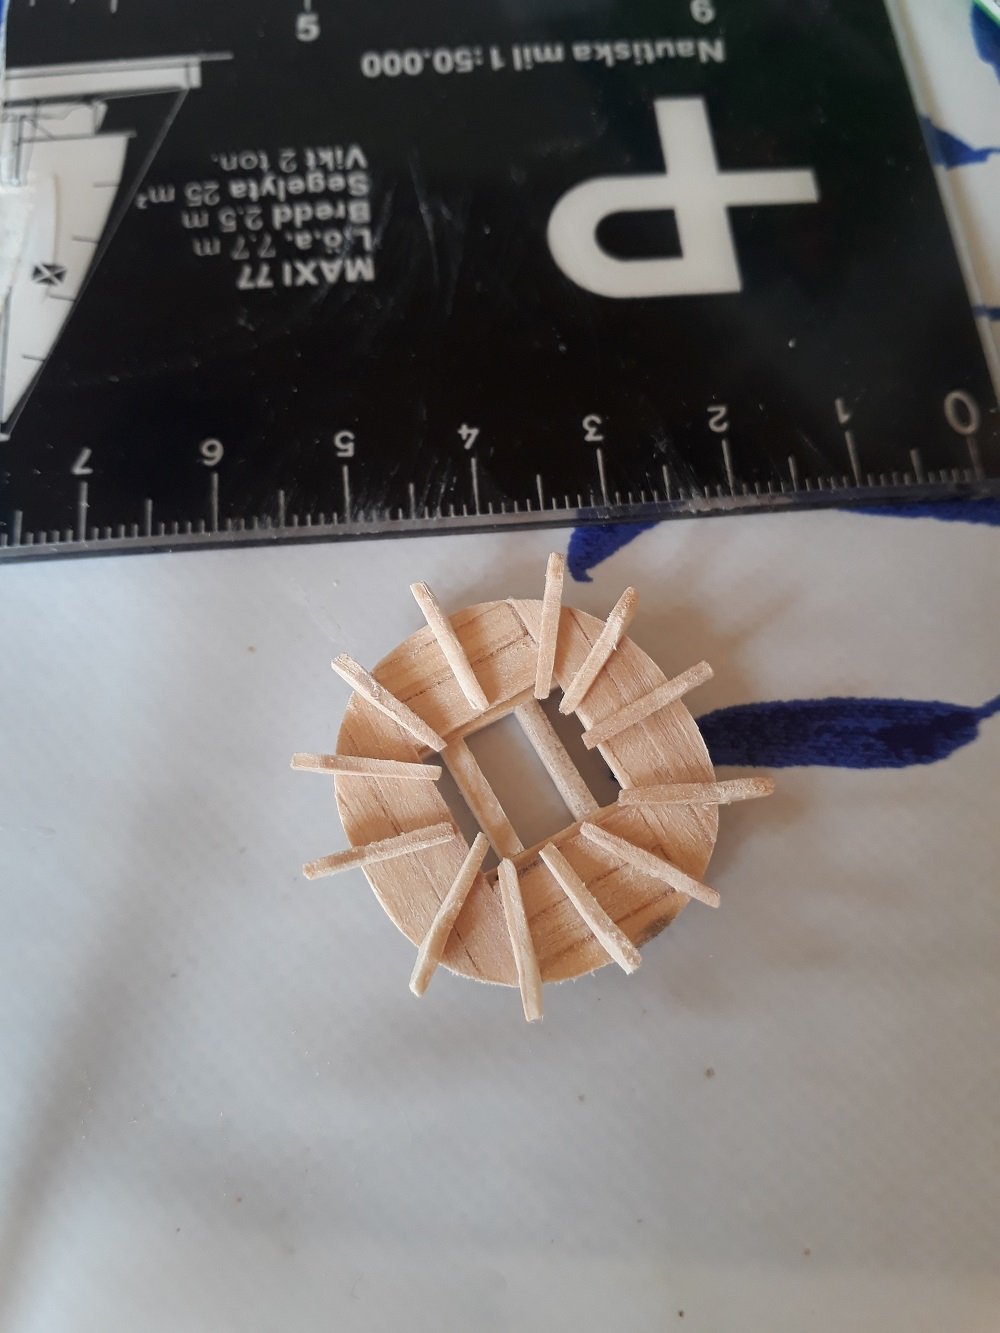
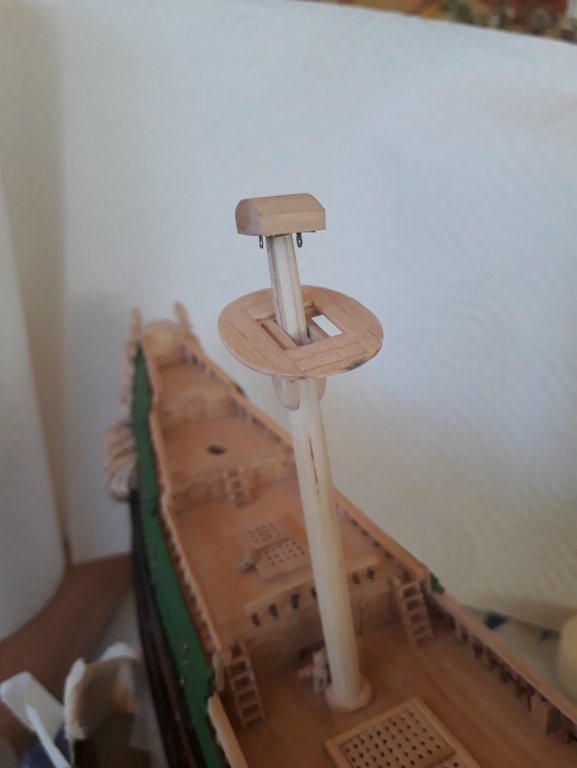
Main mast: I'm making it like the one on the Vasa - dutch style cap, but without yard ties going over the cap. Nothing is quite finished/glued down yet. I need to make sure everything fits before Mr. Glue is introduced - for example, I'll have to see how much room the shrouds and main stay need when they pass round the mast and over the trestle trees. Cheers! Sam


-
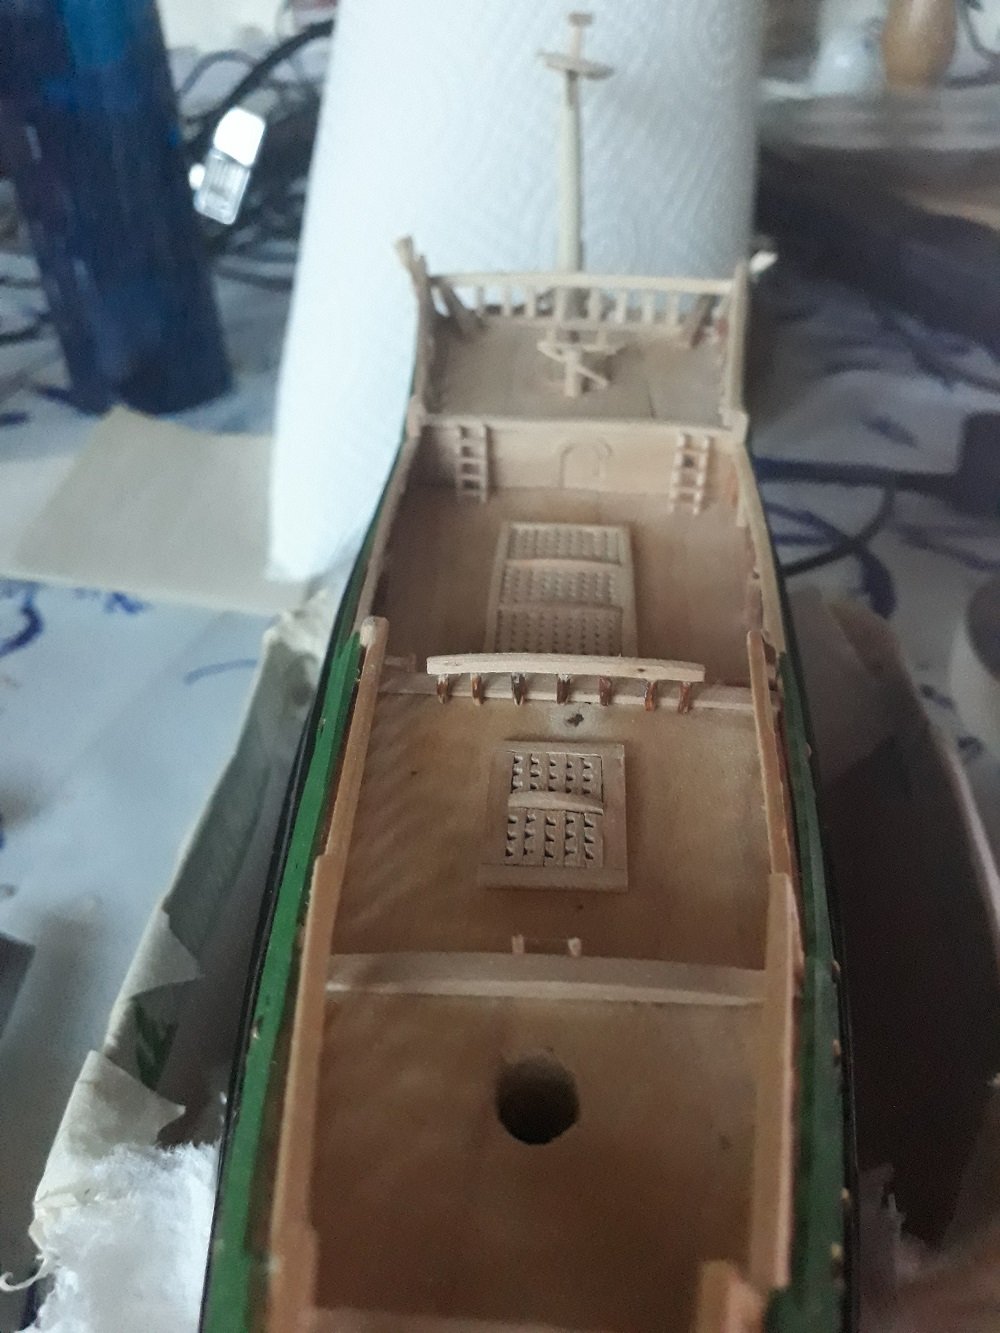
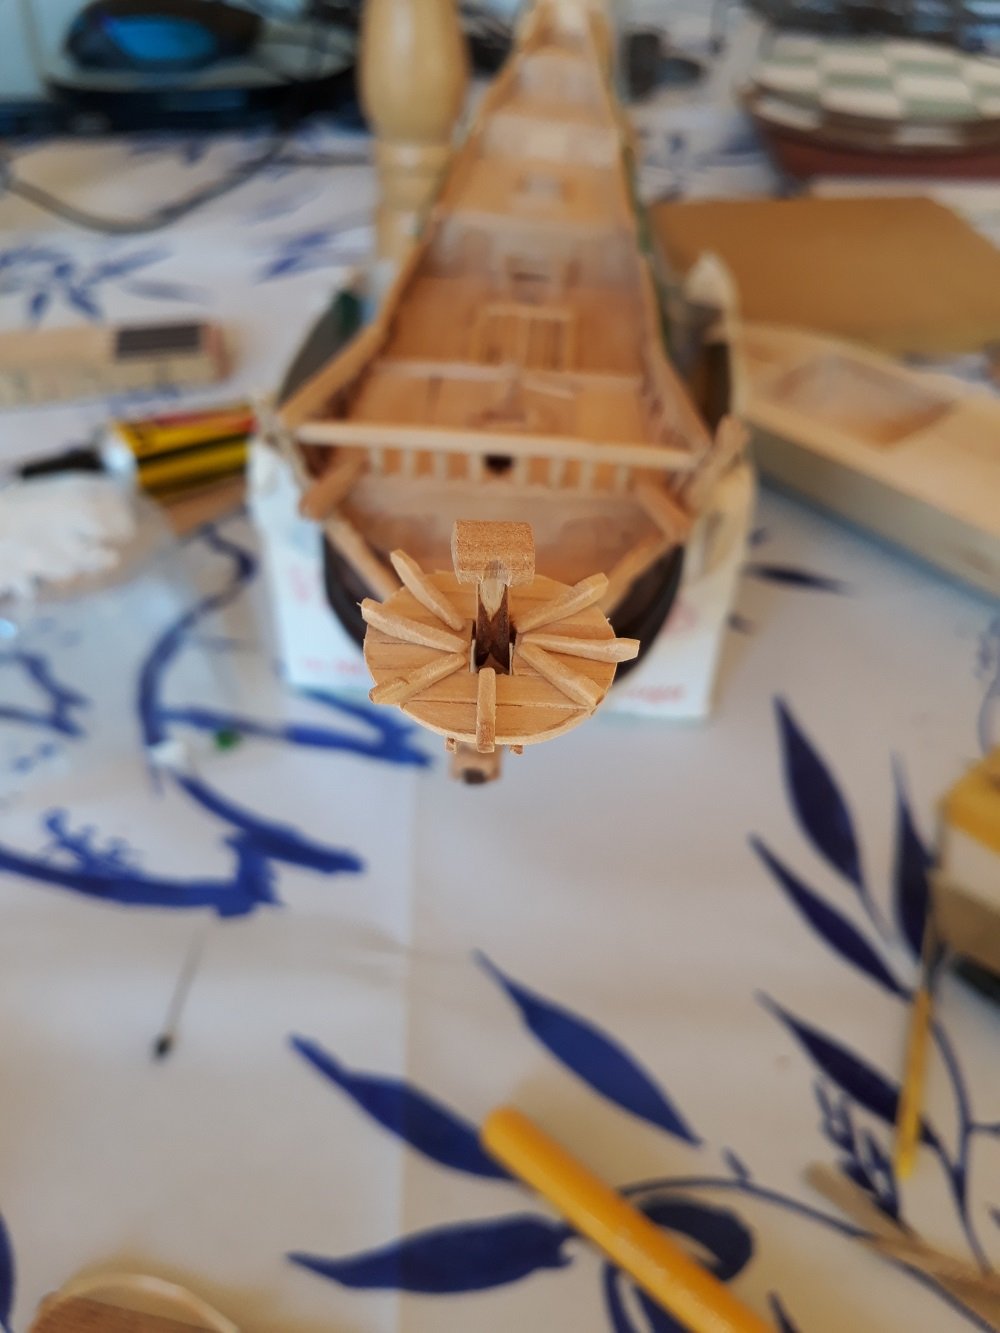
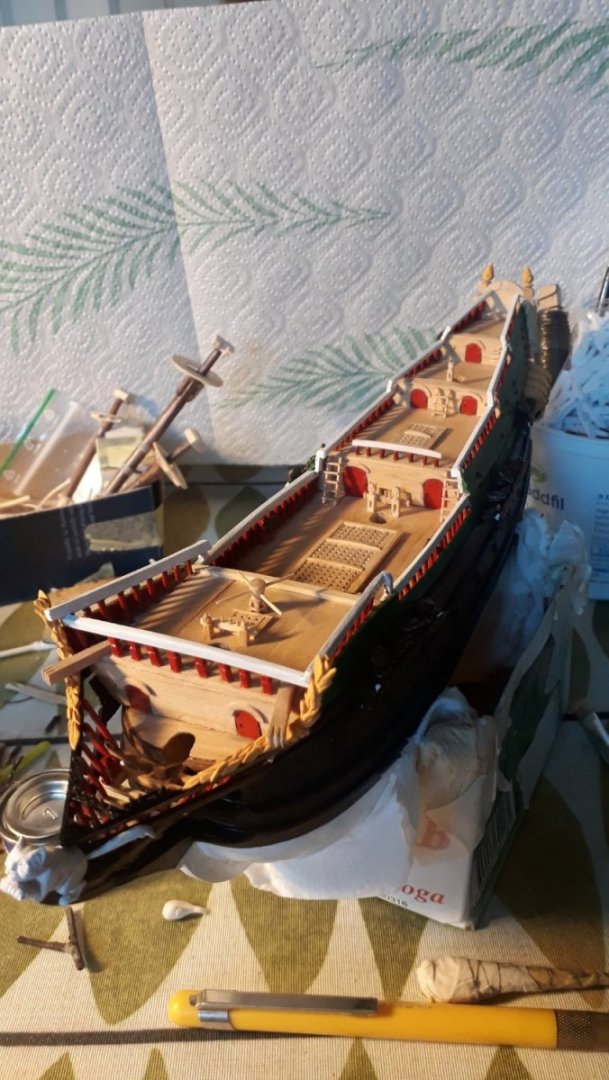
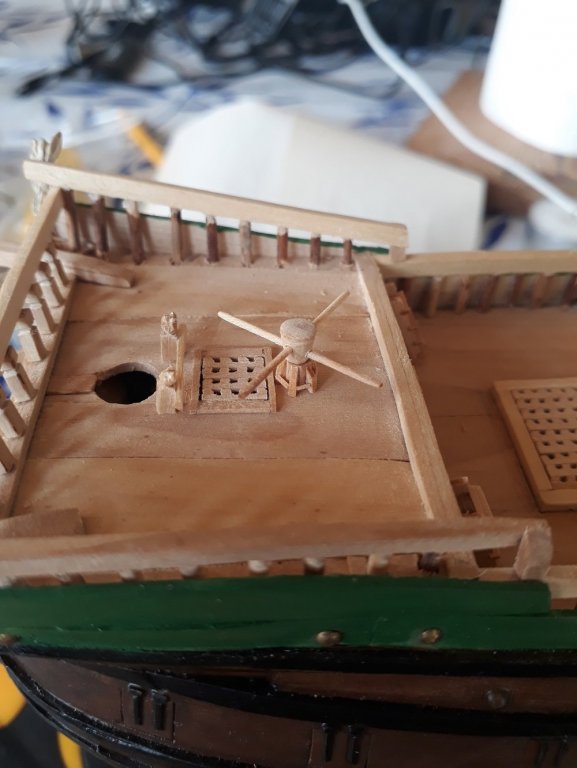
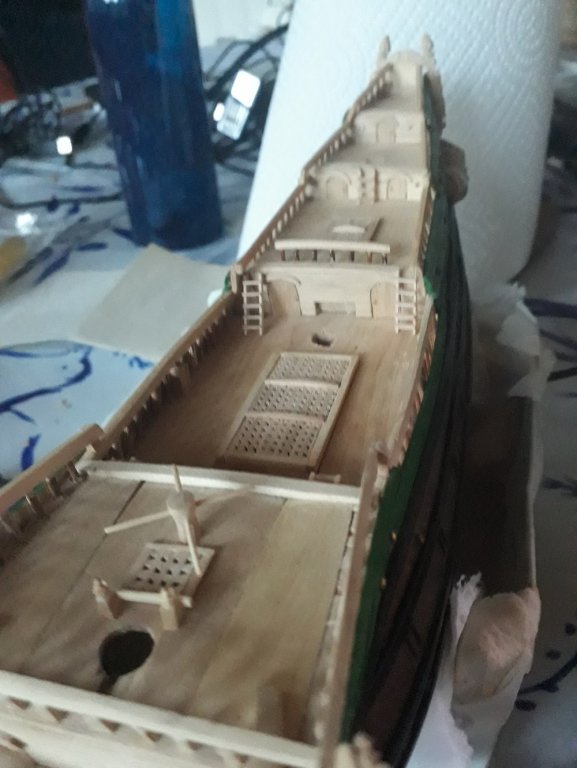
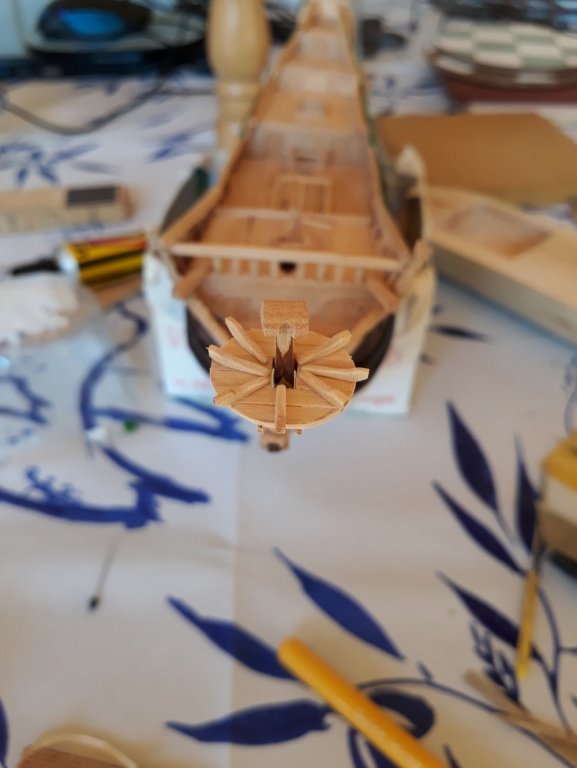
I said last year that I'd jump straight back into painting this year, but, well, the wood called to me. More things redone/finished: Built and installed all the ladders. Made a new pair of knights for the main mast. Finished the capstan. I may add the little stopper-thingy for it. We'll see. More to follow in a bit Sam
-
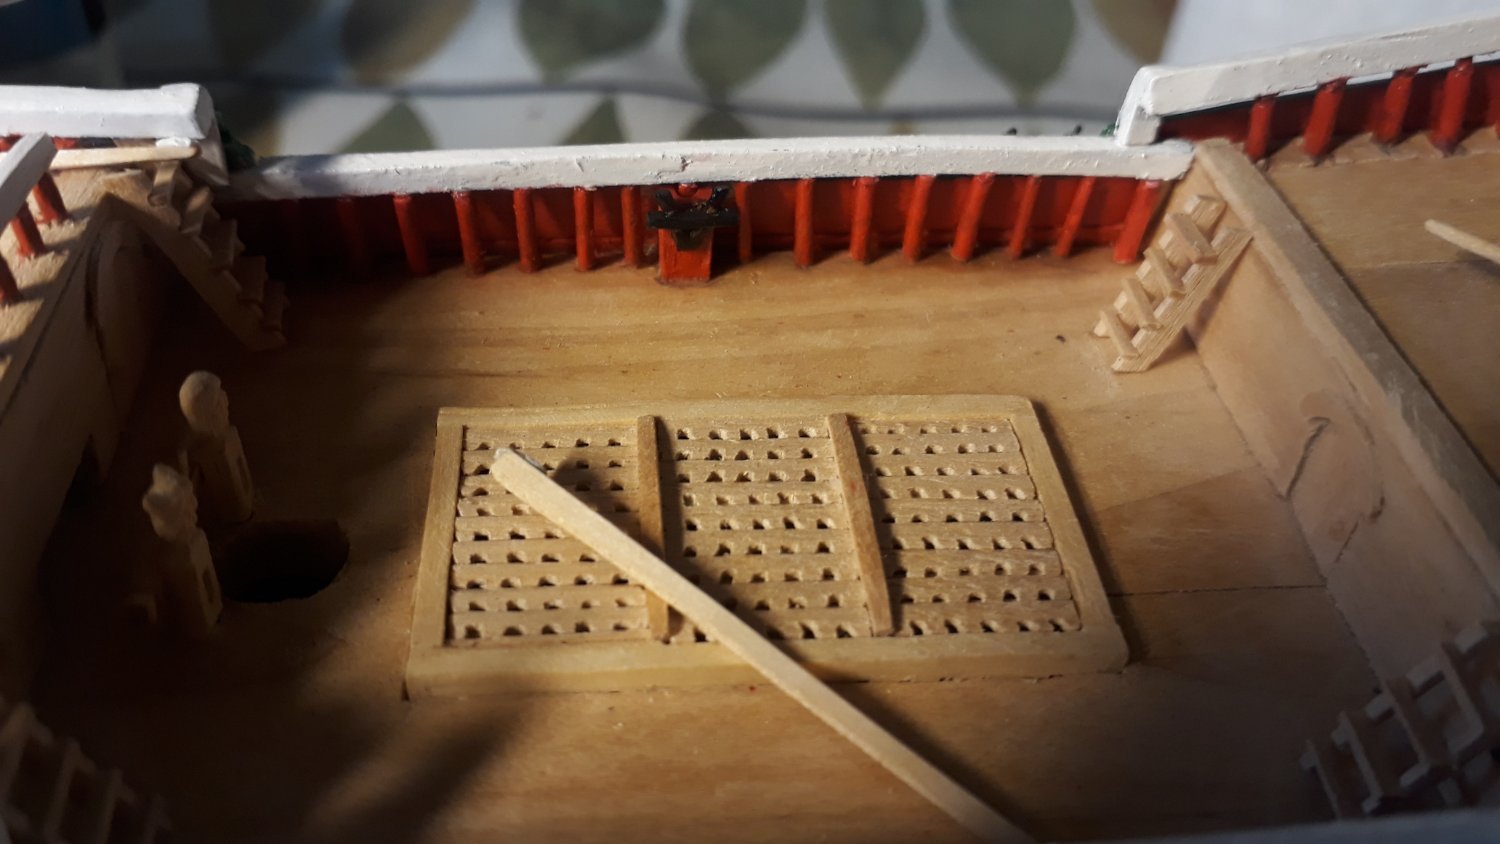
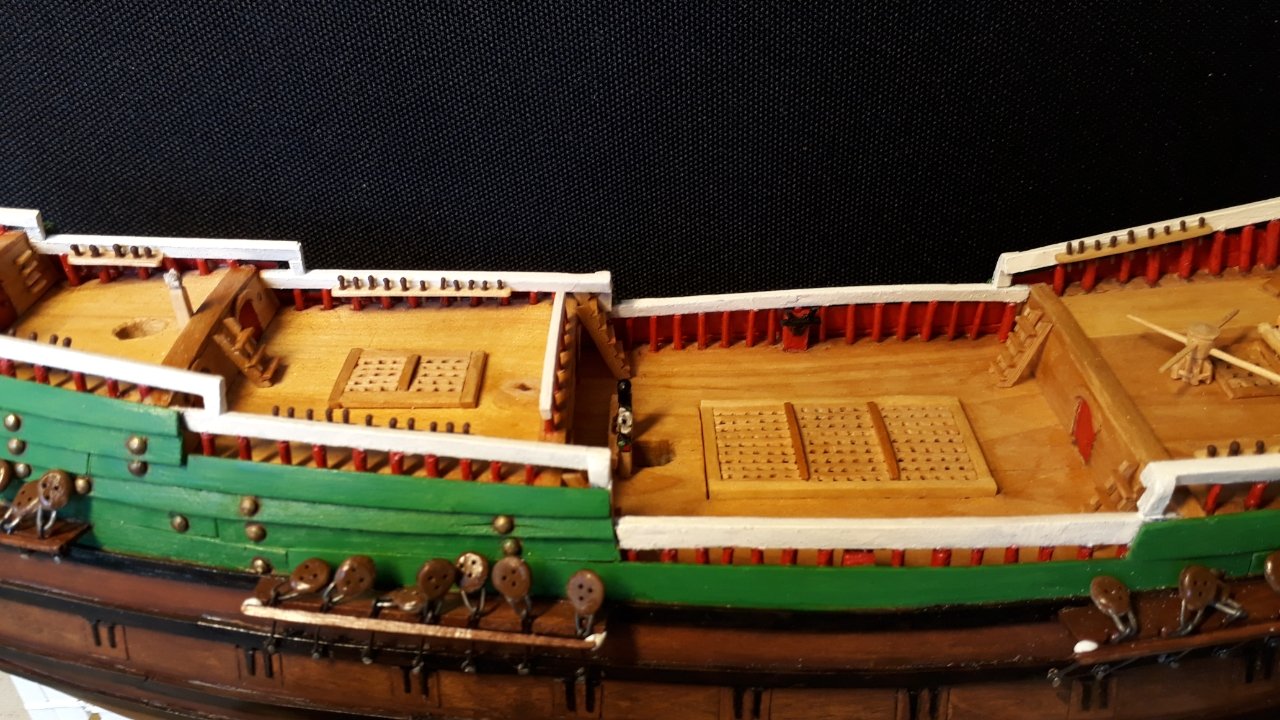
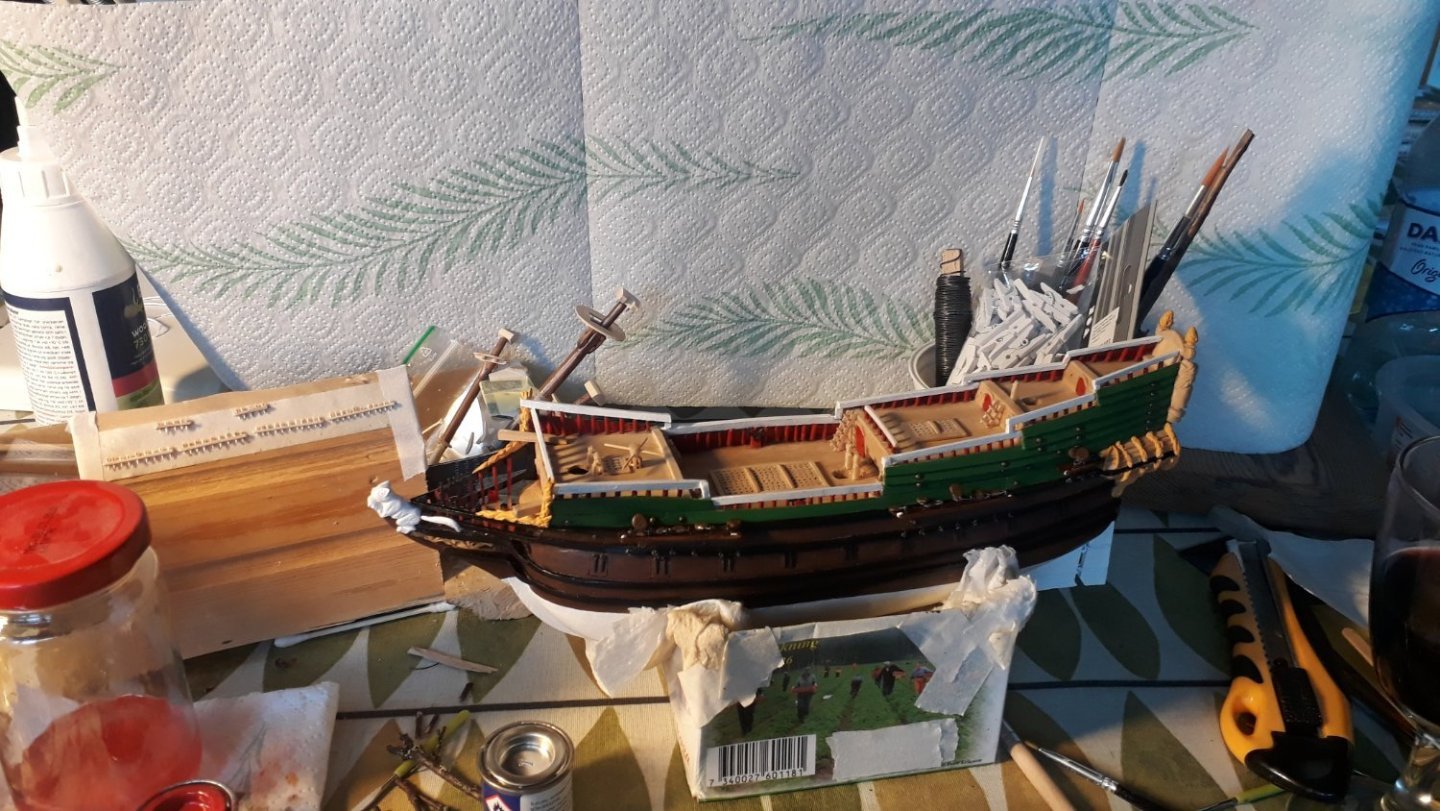
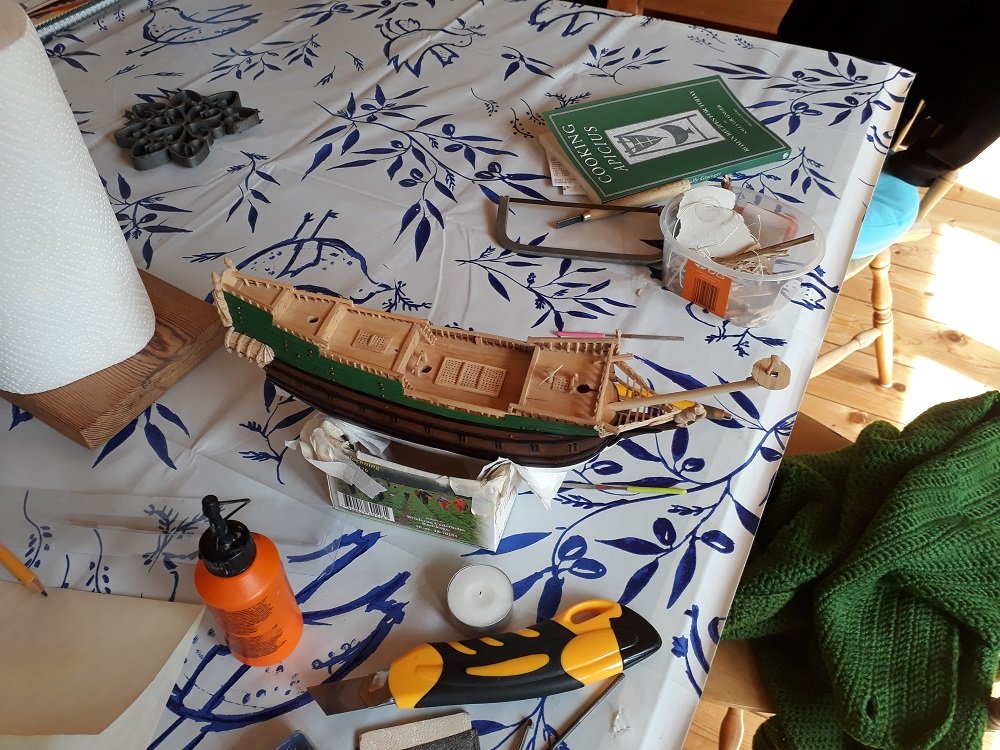
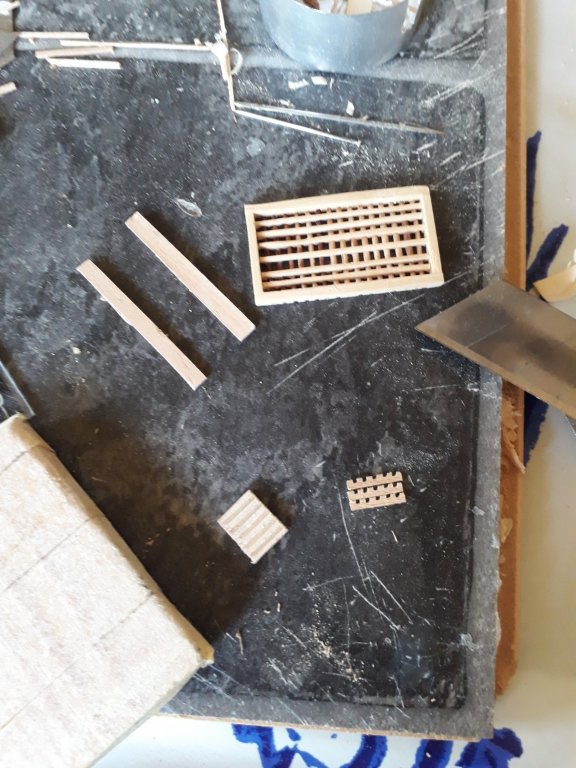
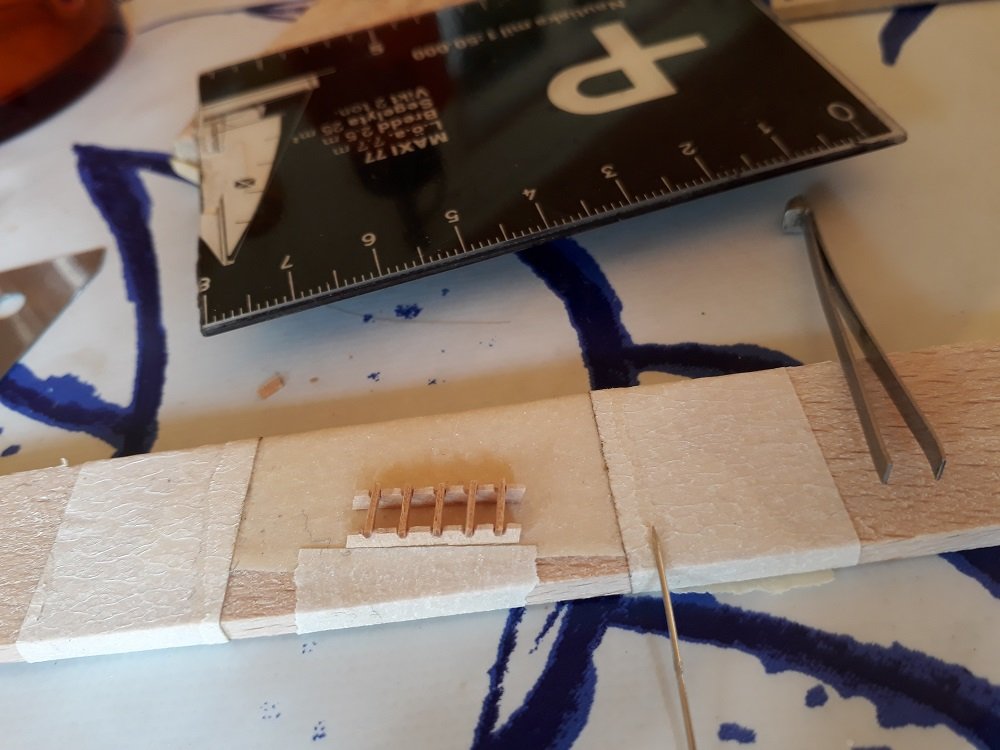
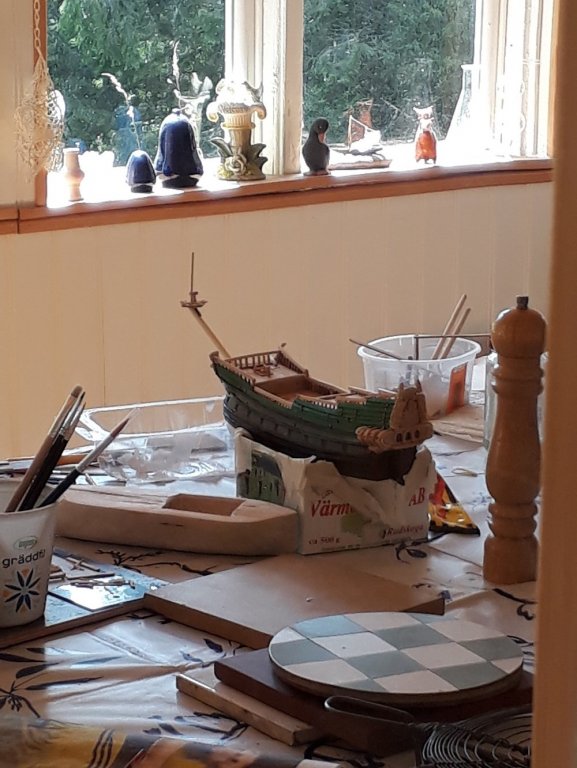
It had to be done. Those gratings were pretty crap. They may have been fine for a toy "floaty-boaty" - as I originally envisaged her - but for a ship headed for the top of the "posh" chest of drawers in the living room (display case and all), they were no good. I'll still dunk her, though. Don't you worry - no way I'll miss such a potential for hilarity. Anyway here's this season's progress so far: The best Sam

-
Yeah, what's there to say really ... Keep it up! You're an inspiration. Sam
- 1,035 replies
-
- 5
-
-
- royal katherine
- ship of the line
- (and 1 more)
-
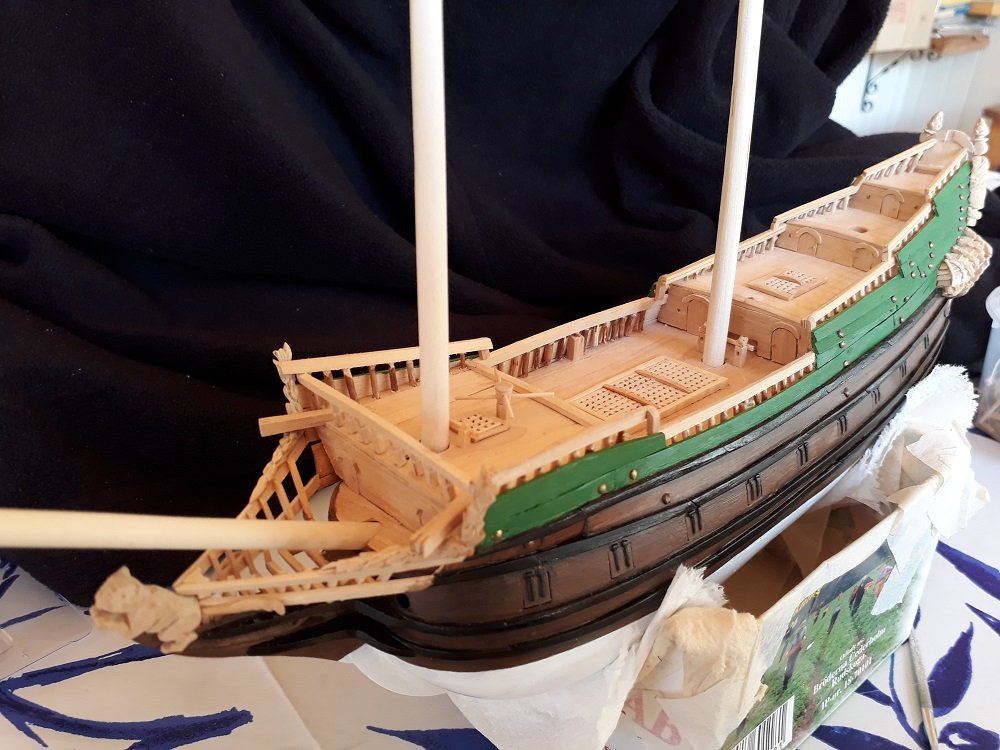
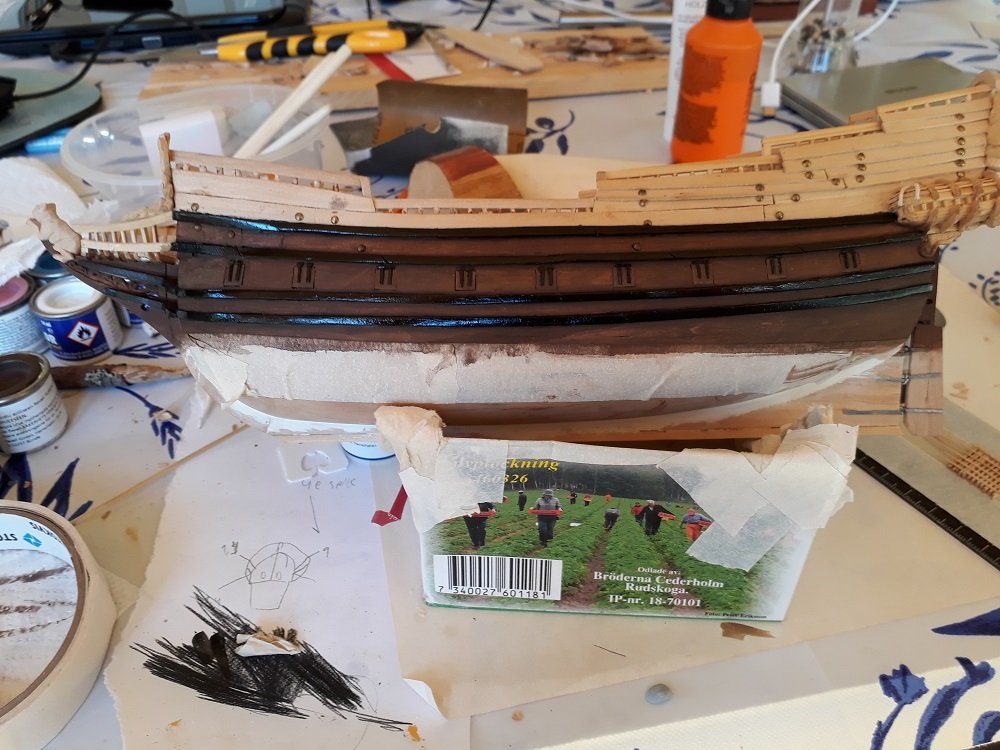
Thanks! It felt really good to start on the painting. The varnish really gave the hull brown some depth and shine. I was aiming for something a little lighter initially, but the dark brown works well with the white and green, I think. The over-sized nails look like some sort of ornaments when left unpainted - works. I bought loads of paints just after I got here - I'll leave them here so I can jump right in next summer. Still haven't worked out a complete colour scheme. Something to do back in town I guess. Akagi - still on the topmost flight deck. Darn colour just won't look right. Sam
-
I'm taking an early train back to the big city tomorrow, so I guess this is goodbye for this year. Not liking it one bit ... not one bit. BUT! We've had ourselves some serious fun! I'm well pleased with the progress made this summer. Last night I gave Tulpijn a final coat of varnish and did some work on the bowsprit. Top's coming along nicely. Her hull ... so smooth ... so shiny Well, Ok, so ... that's it for this year then ... Bye bye Tulpijn, bye bye ... be a good daddy while girl is gone now ... I guess I'll have to go home and do some work on Akagi, then. Thanks you all for following along! Really appreciate it! Cheers Sam
-
There. About 2 billion coats of gloss white later:
-
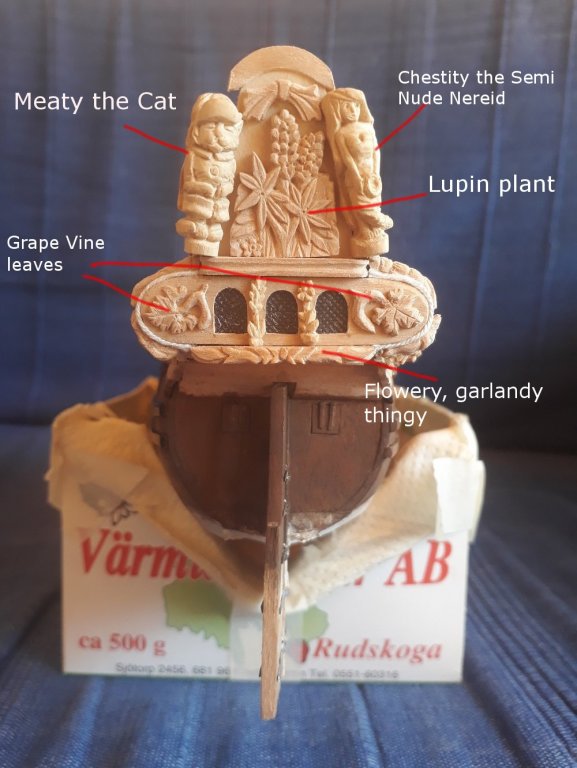
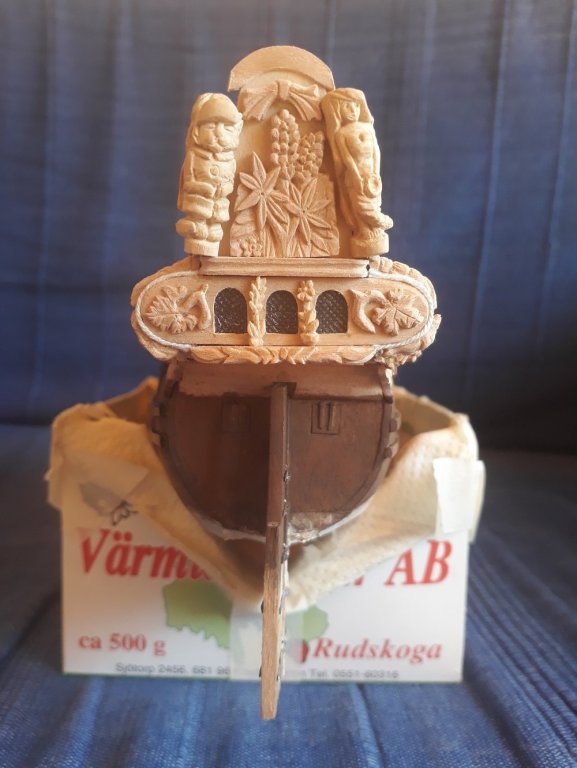
Depends on how much vine-juice one's had, I suppose. Or, Dionysus forbids, how many "potted" plants one's eaten. *EDIT* Oh, oh! I get it! Druxey, you mean the lupin plant in the middle don't you! Look at the following image: Yeah, lupin leaves do look like pot.
-
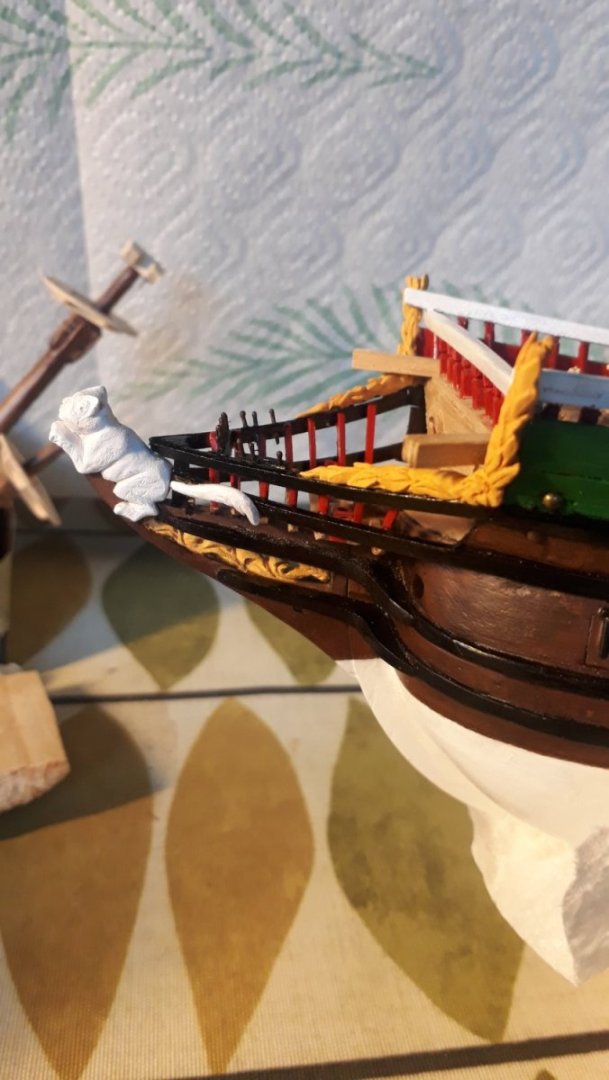
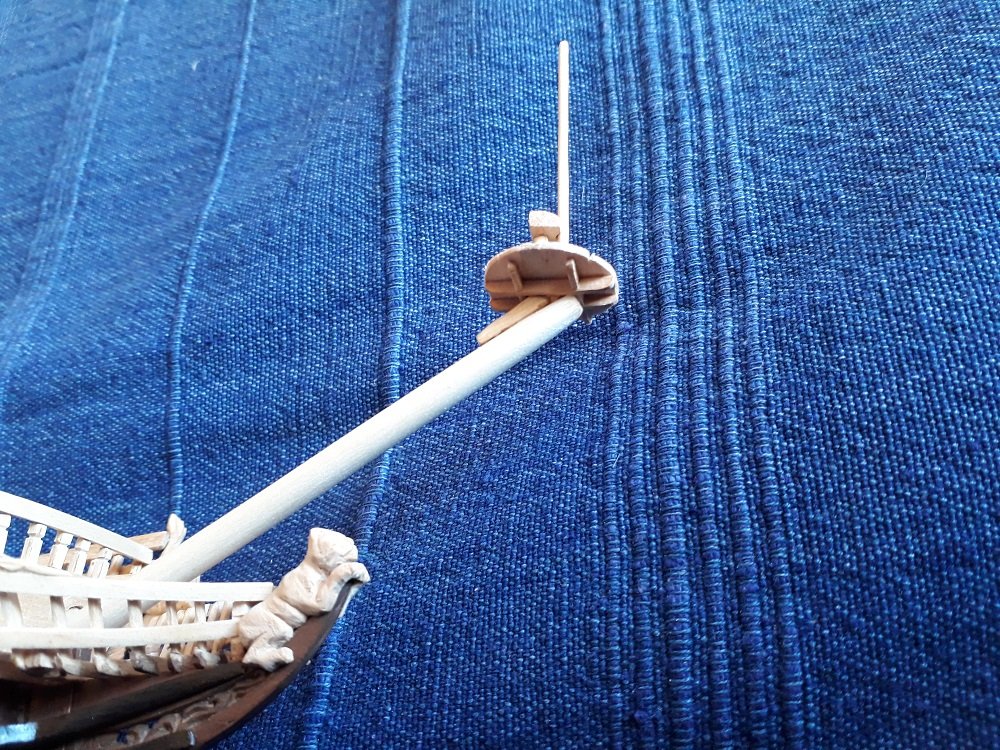
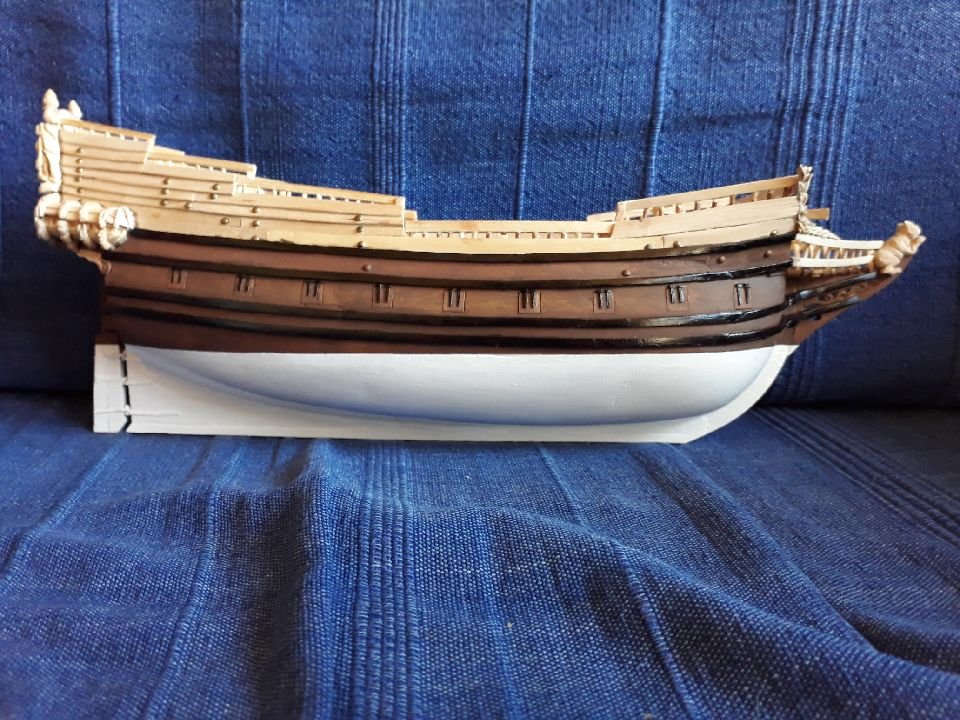
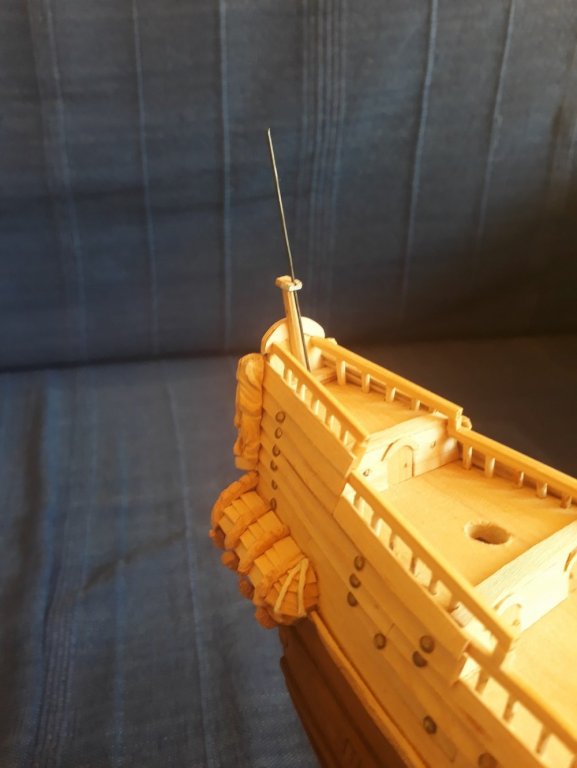
A few more small steps towards the grand goal, off somewhere in a hazy, formless, unforeseeable future. I've redone the flag pole. It hasn't been glued on yet - too easy to accidentally knock it loose. When finished, the bottom of the pole will pass into a hole in the "bench-like structure" on which it sits. The catheads are glued on - it was easier now that the decorative knees (for want of better terminology) that go under them are on. I've also carved a little flowery, garlandy thingy to go below the windows on the transom. The port side "brown bit" and wales have been painted. Cheers! Sam
-
I did that on purpose, totally. To express the ... state of the world... No seriously, good eye there, sir. Tulpijn is sat on a chest of drawers, in an empty house, in temperatures that can vary between - 20°c and +25°c, for most of the year. If the glue on a bit here and there looses adherence, I'm not surprised. Rectified! /Sam