stevenmh
-
Posts
157 -
Joined
-
Last visited
Content Type
Profiles
Forums
Gallery
Events
Everything posted by stevenmh
-
 I used Minwax stainable wood filler, which was easily painted over. If you are not going to paint you might need to find a filler that matches the color of the wood. I think Elmers makes filler of different colors.
 -
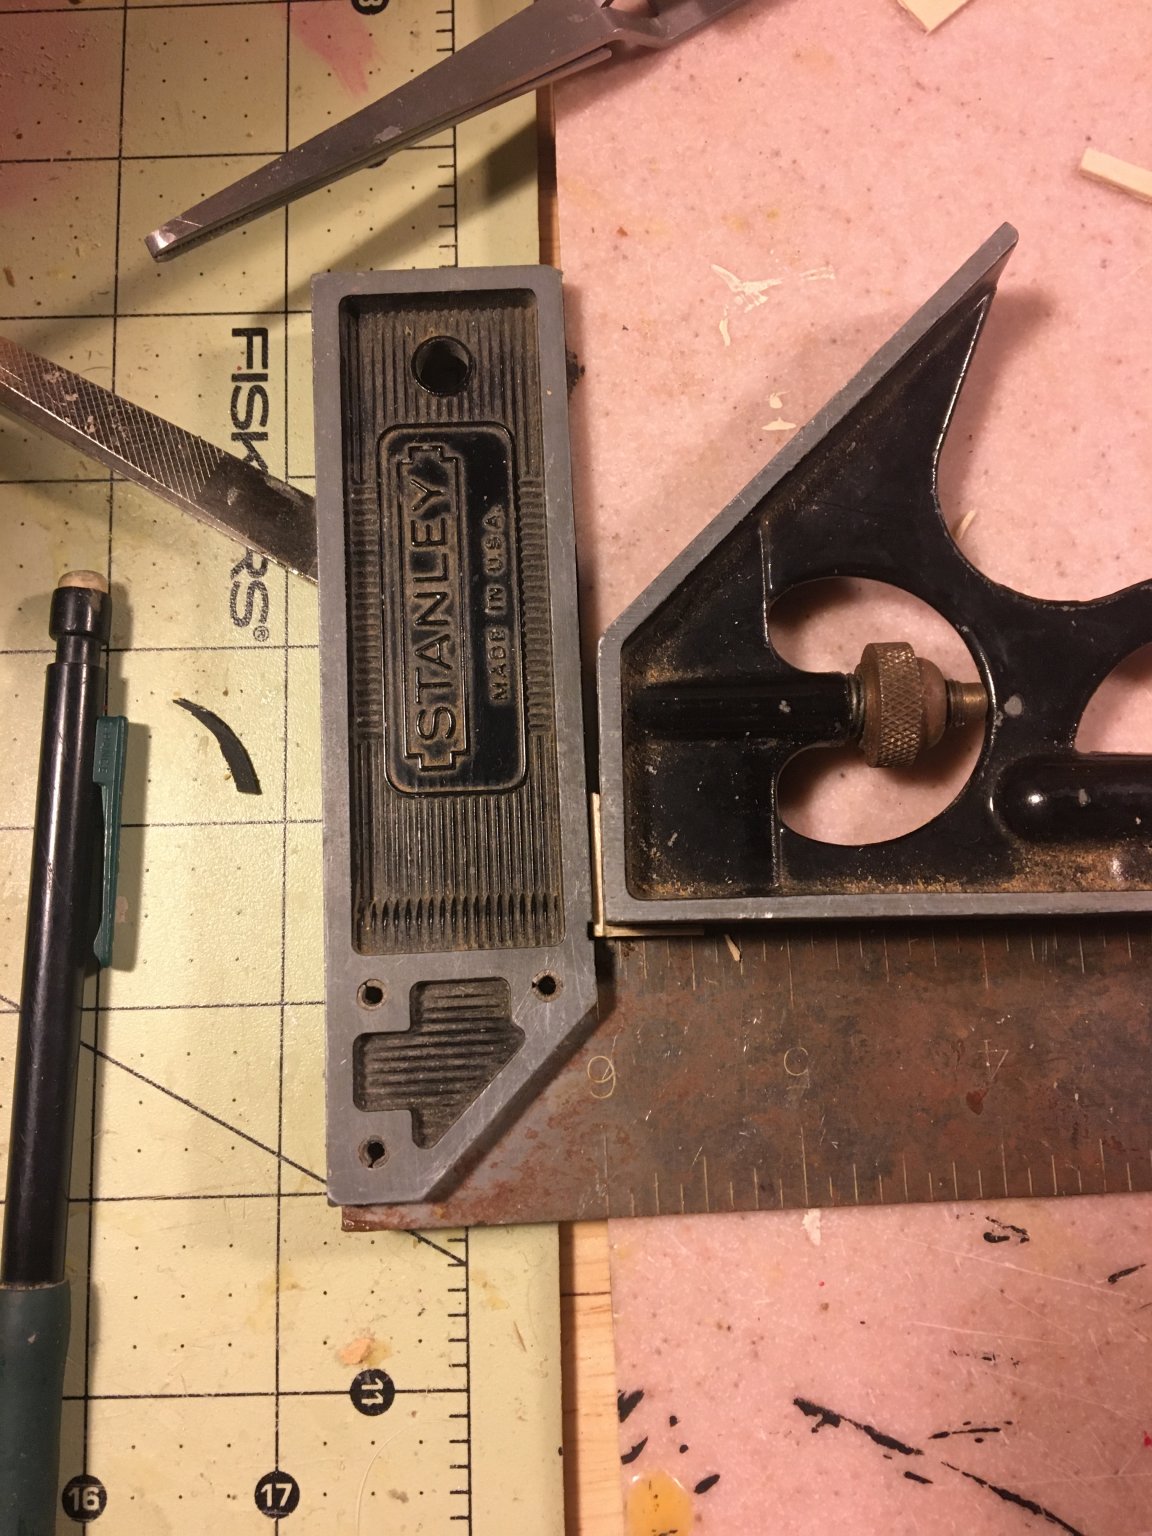
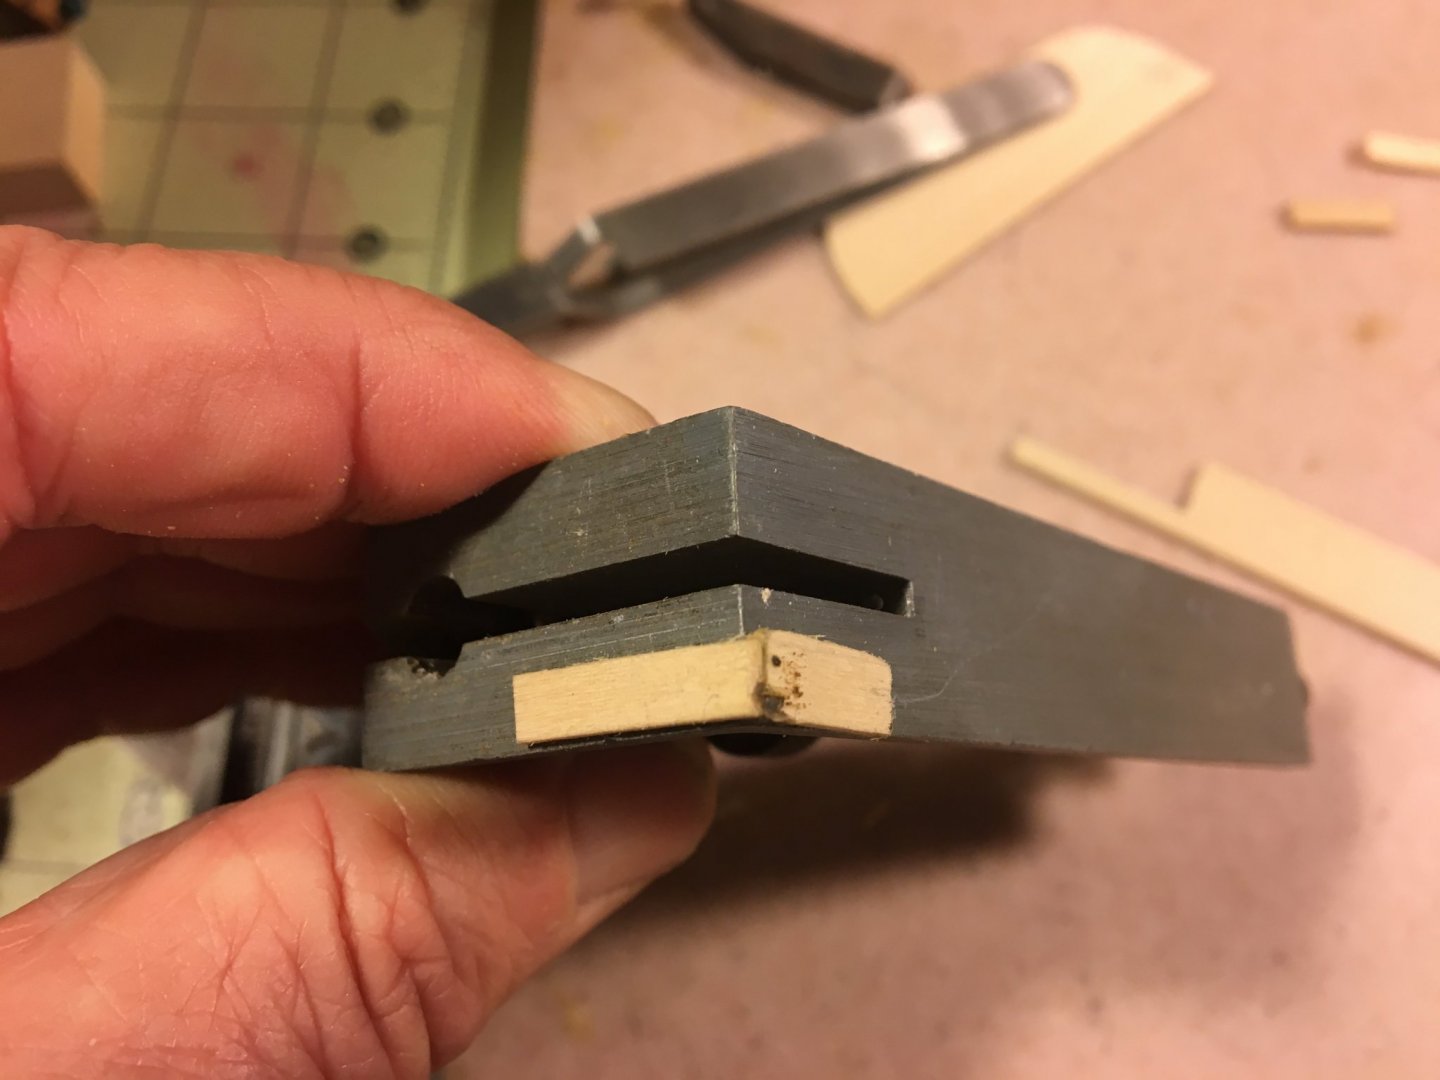
I'm sure there are easier ways to make square corners for the deck structures, but I'm not sure exactly how...

- 21 replies
-
- 2
-

-
- model shipways
- Finished
- (and 1 more)
-
here is the relevant section of the spreadsheet: PCT Size mm size " Size to Buy mm MAINMAST - LOWER Fore tackle pendant 60% 0.797 0.032 Tackles 30% 0.398 0.016 Shrouds 62% 0.823 0.033 0.8 Lanyards 30% 0.398 0.016 0.4 Stay 100% 1.328 0.053 Stay Collar 92% 1.222 0.049 Lanyard 30% 0.398 0.016 Preventer Stay 60% 0.797 0.032 Preventer Stay Collar 60% 0.797 0.032 Lanyard 23% 0.305 0.012 MAIN - TOPMAST Burton Pendants 34% 0.452 0.018 Tackles 17% 0.226 0.009 Futtock Staves 62% 0.823 0.033 Futtock Shrouds 20% 0.266 0.011 0.25 Topmast Shrouds 33% 0.438 0.018 0.4 Lanyard 17% 0.226 0.009 0.25 Backstays 42% 0.558 0.022 0.5 Lanyard 20% 0.266 0.011 0.25 Topmast Stay 51% 0.677 0.027 Lanyard 21% 0.279 0.011 Topmast Preventer Stay 37% 0.491 0.020 Lanyard 18% 0.239 0.010 MAIN T'GALLANT MAST Futtock Staves 33% 0.438 0.018 Futtock Shrouds 17% 0.226 0.009 0.25 Topgalland Shrouds 17% 0.226 0.009 0.25 Lanyard 8% 0.106 0.004 0.1 Backstays 22% 0.292 0.012 0.3 Lanyard 10% 0.133 0.005 0.12 Topgallant Stay 25% 0.332 0.013 0.3 Royal Backstays 10% 0.133 0.005 0.12 Lanyard 5% 0.066 0.003 0.08 Royal Stays 13% 0.173 0.007
- 48 replies
-
- 1
-
-
- mamoli
- constitution
- (and 2 more)
-
I used that spreadsheet I posted a while back and then just scaled it down - in another spread sheet: Constitution RIGGING DIAMETERS.xlsx
- 48 replies
-
- 1
-
-
- mamoli
- constitution
- (and 2 more)
-
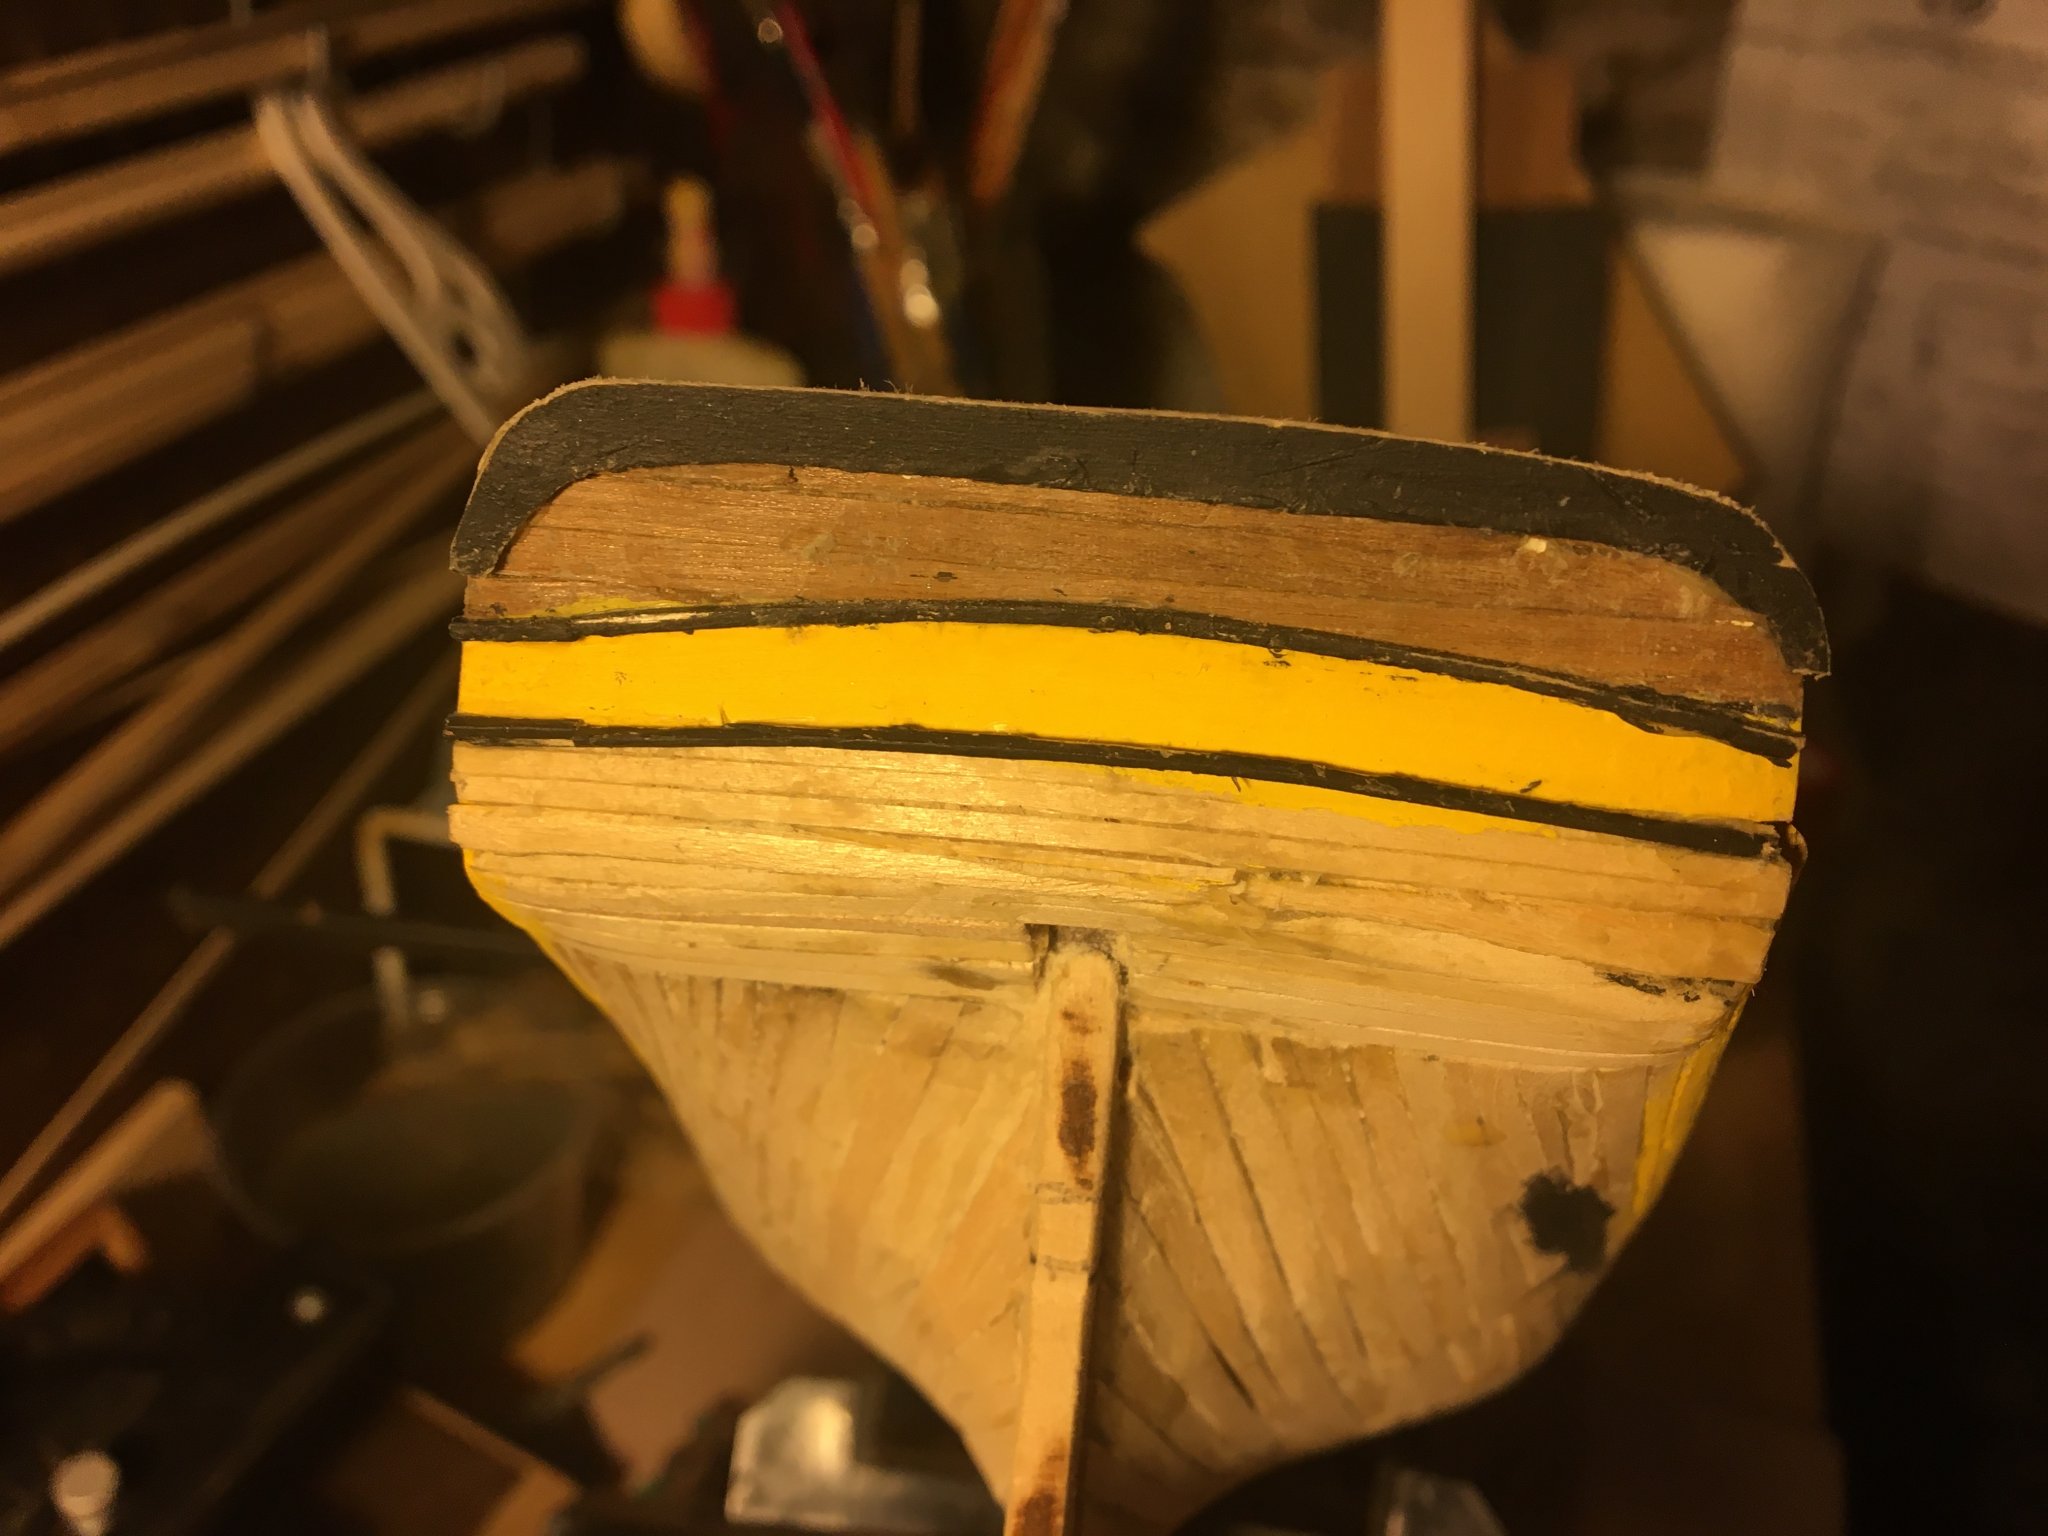
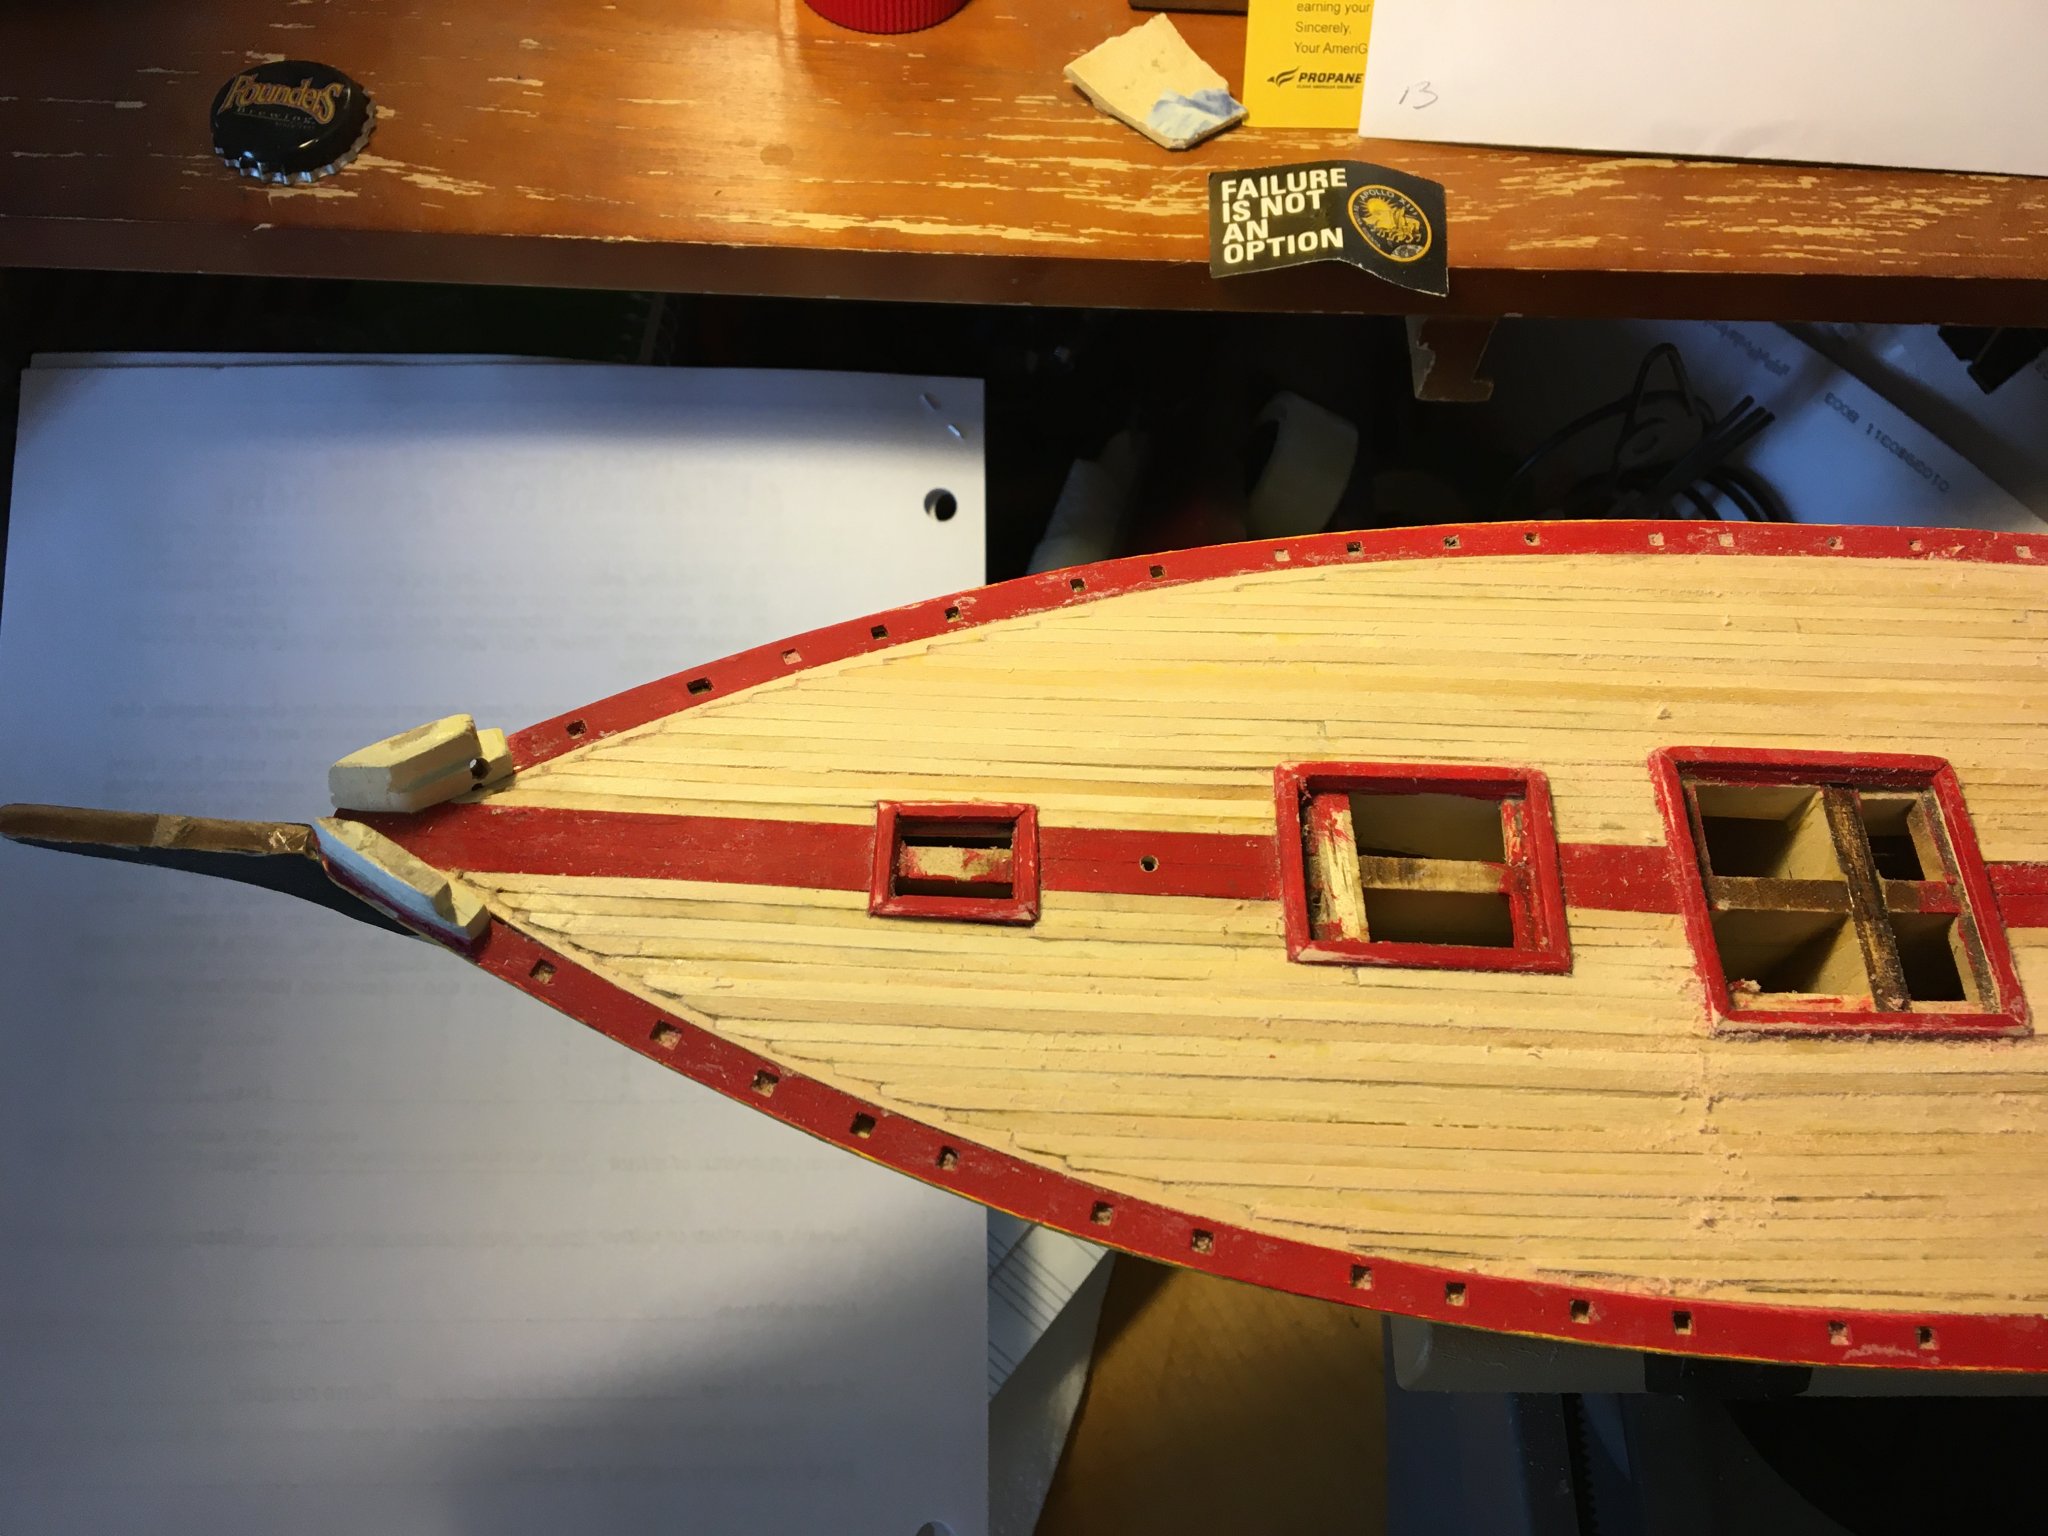
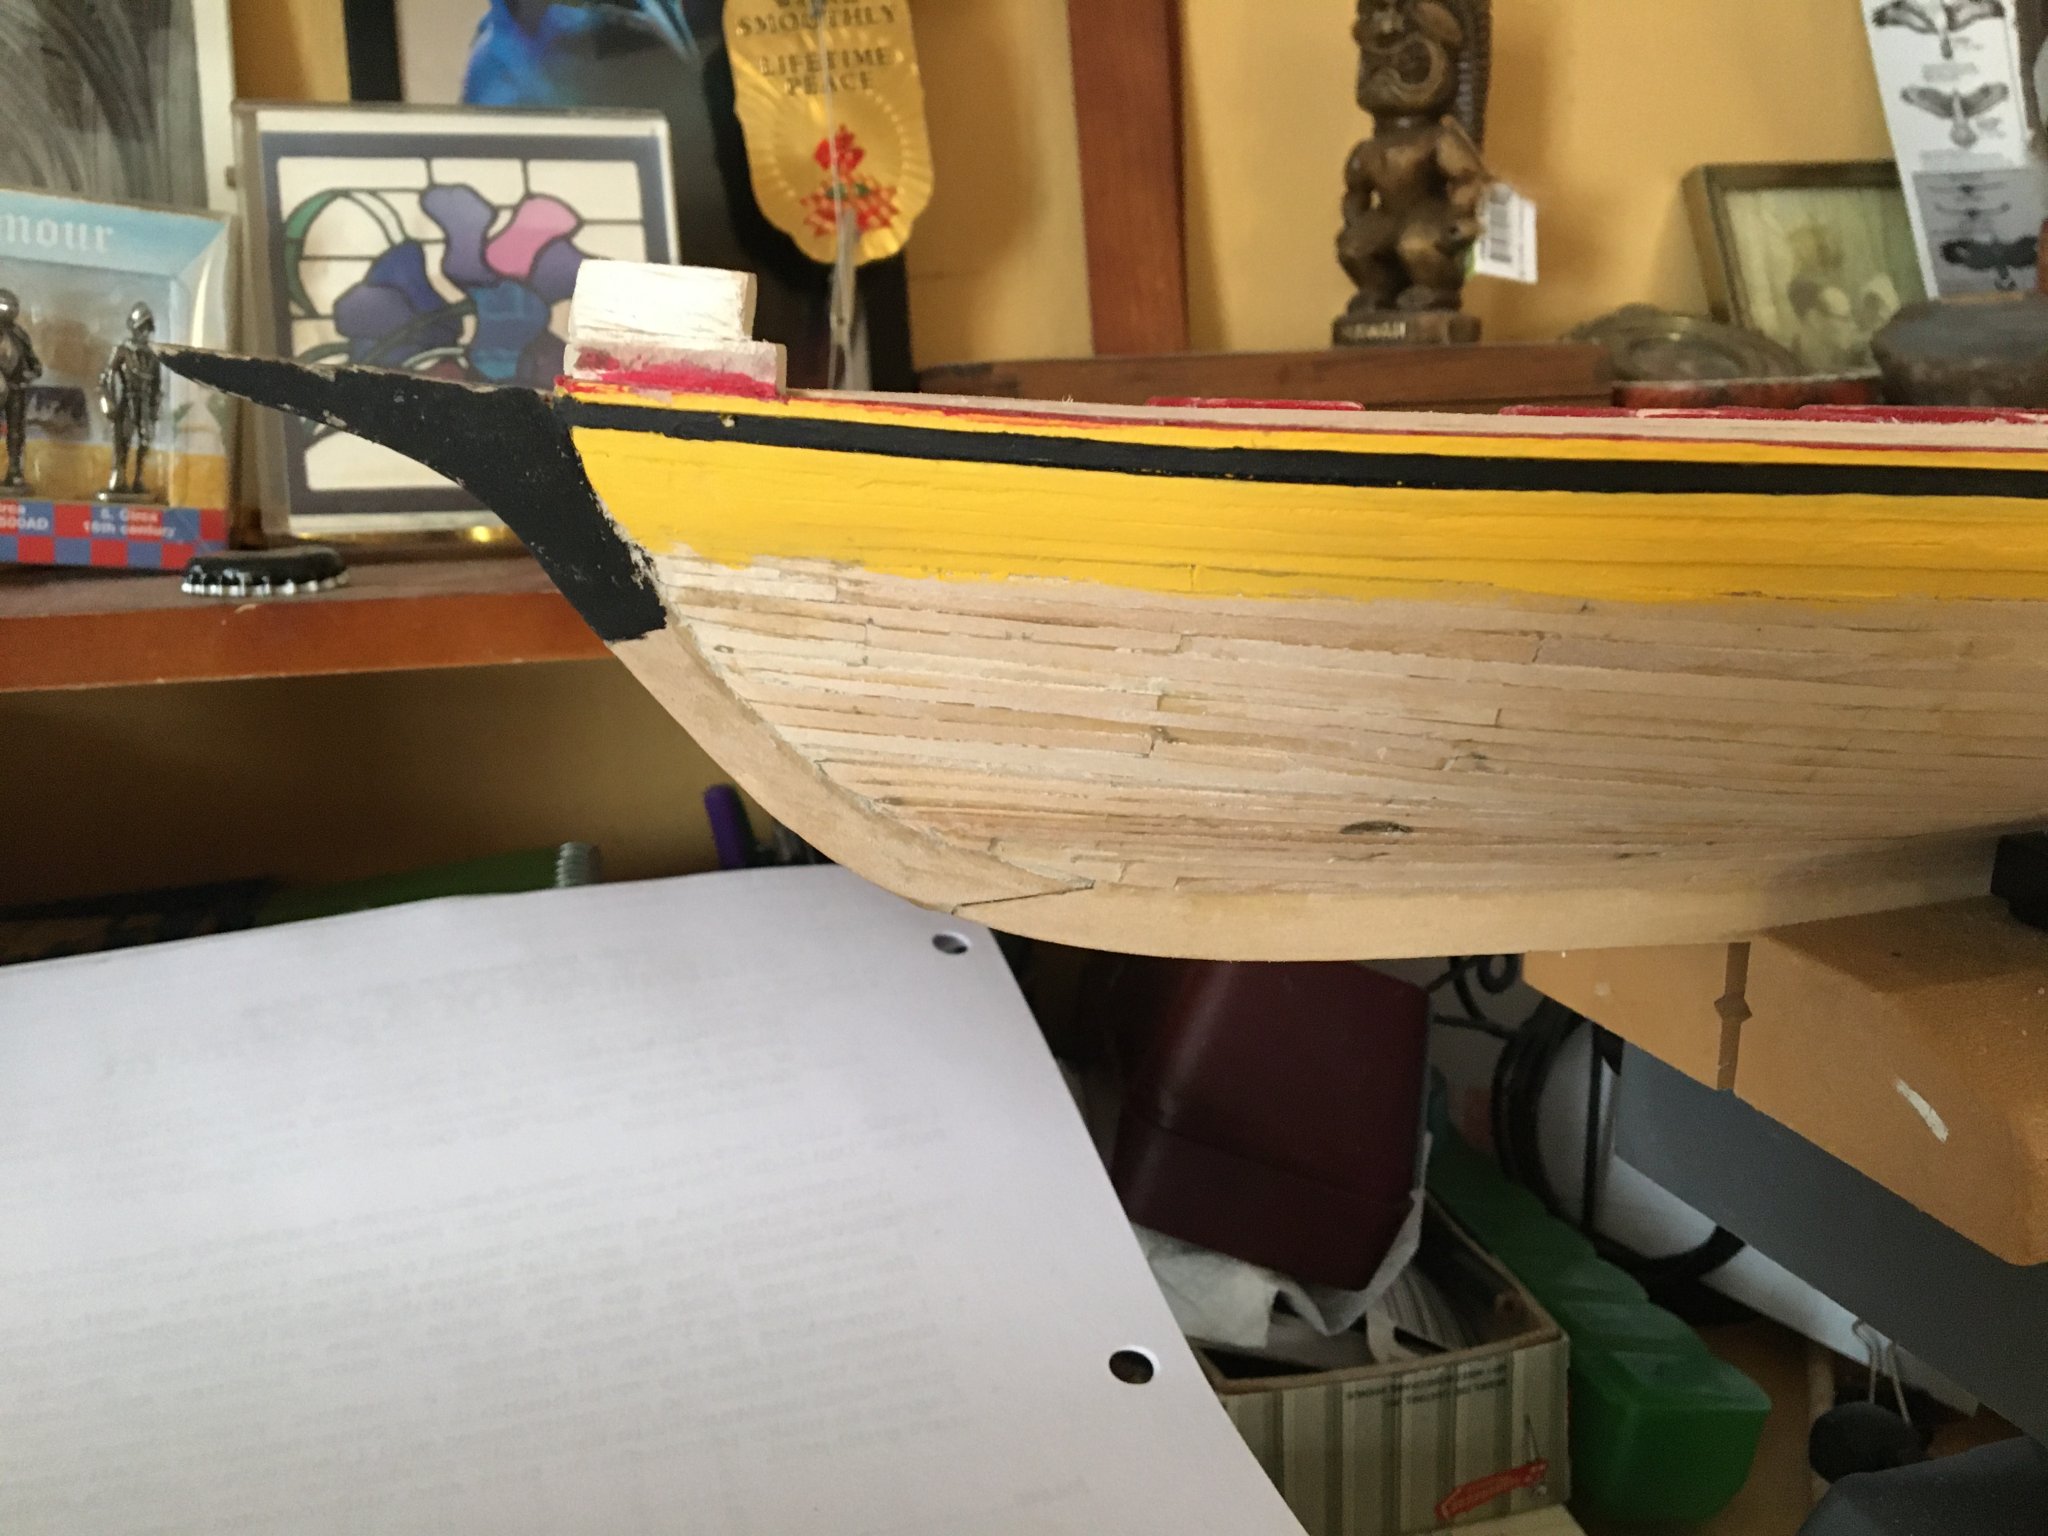
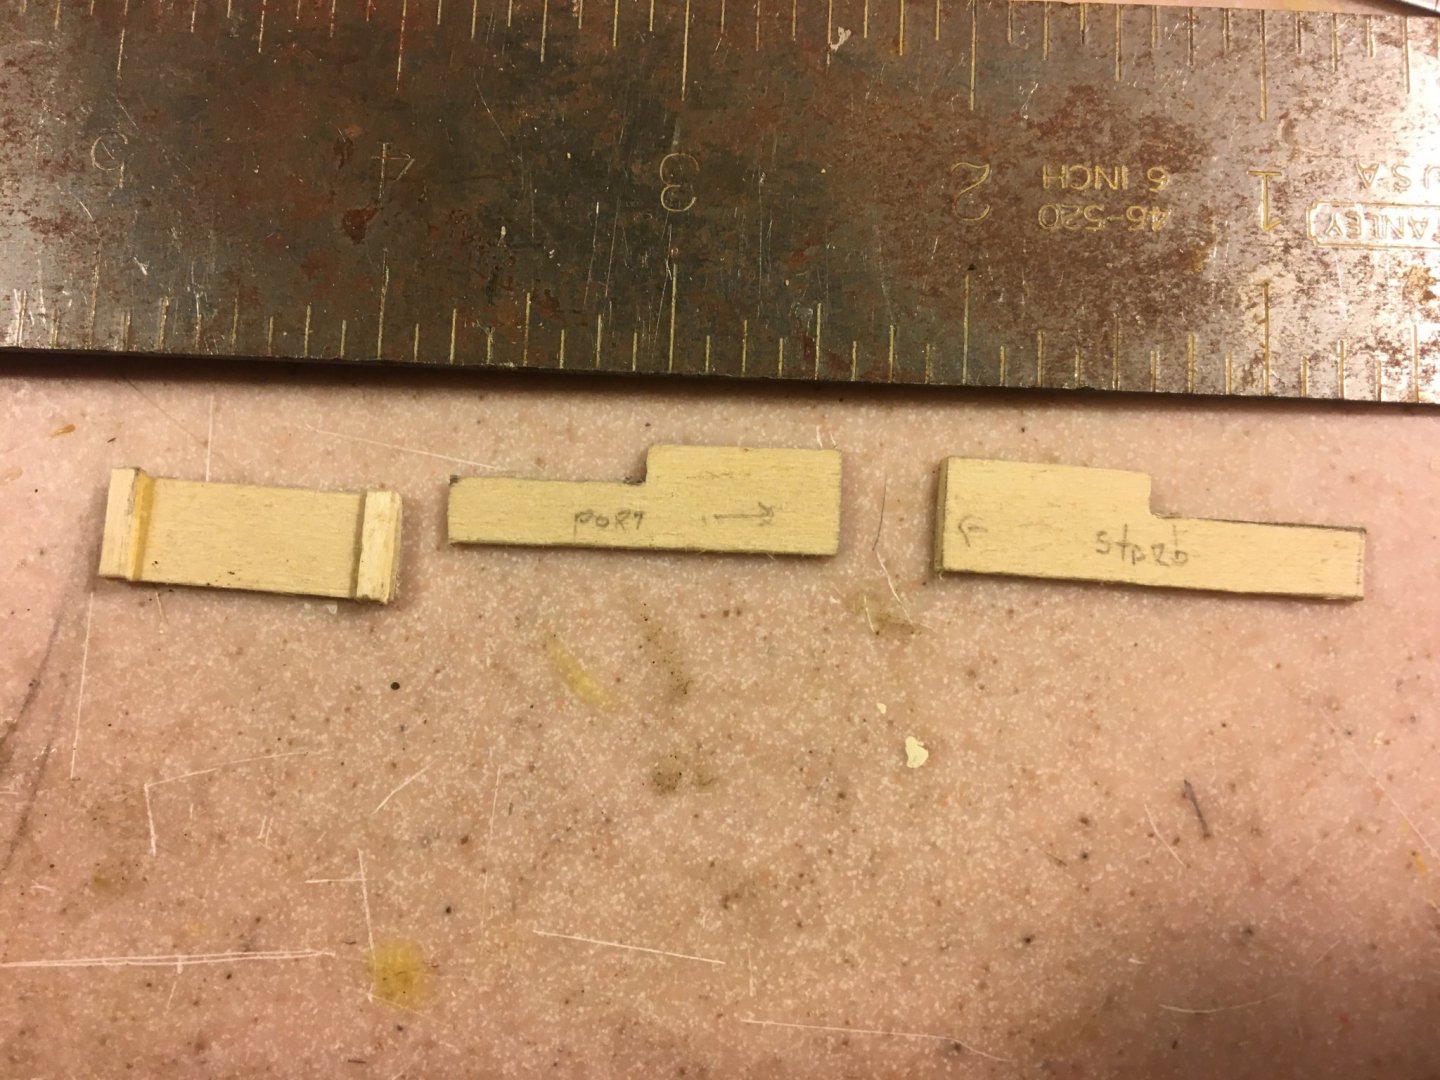
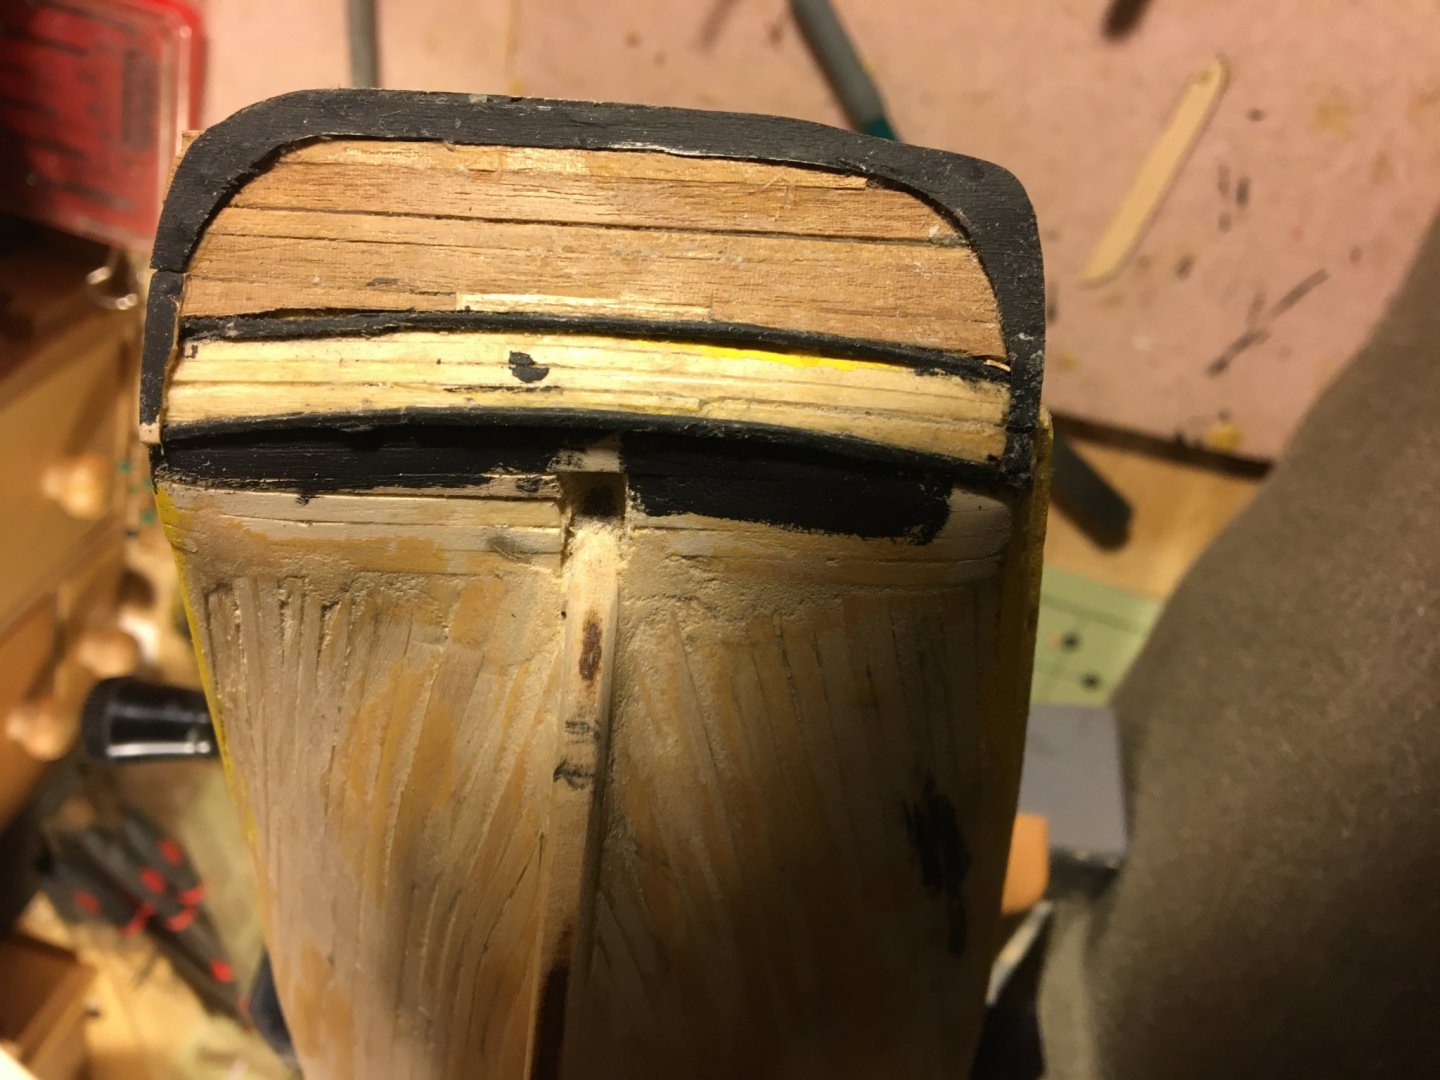
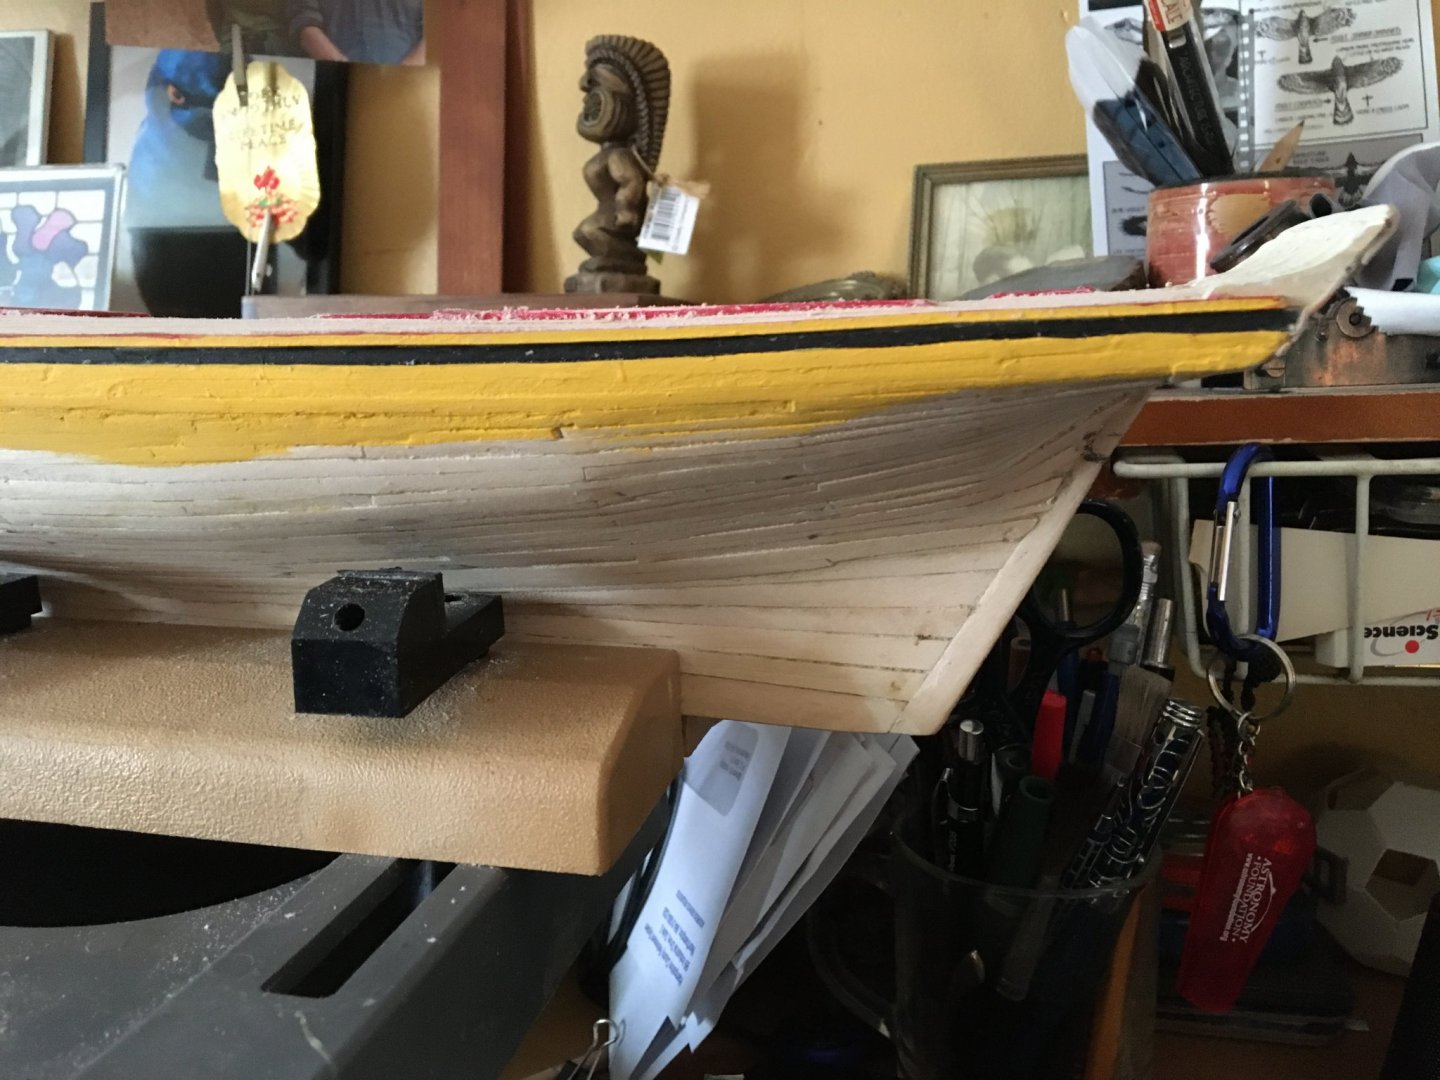
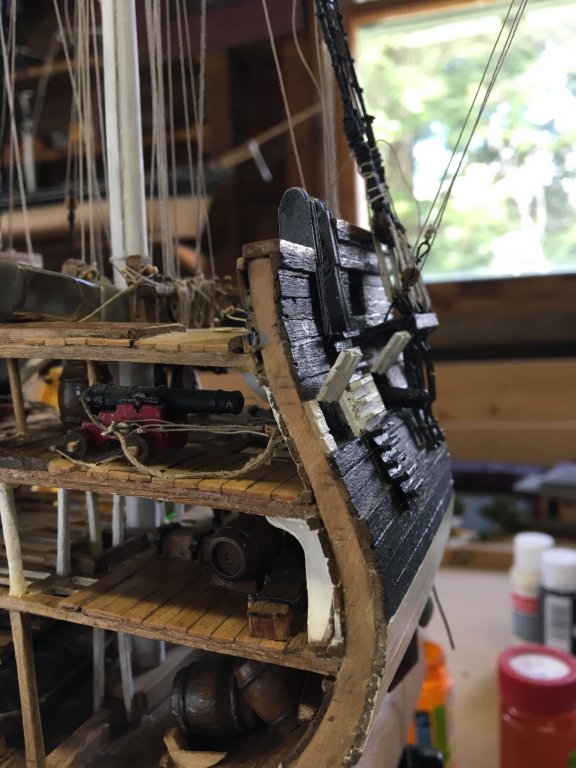
While waiting for my tons of wood filler to dry and be sanded and dry and be sanded ... I decided I really did not like the way the stern looked, so here is my first try at re-inventing it. I will need to trim and paint a bit more, but am first going to glue on the side fashion pieces. Original attempt 2nd try - the walnut planks (left over from my Constitution) will be poly'd to look more like mahogany)

- 21 replies
-
- 1
-
-
- model shipways
- Finished
- (and 1 more)
-
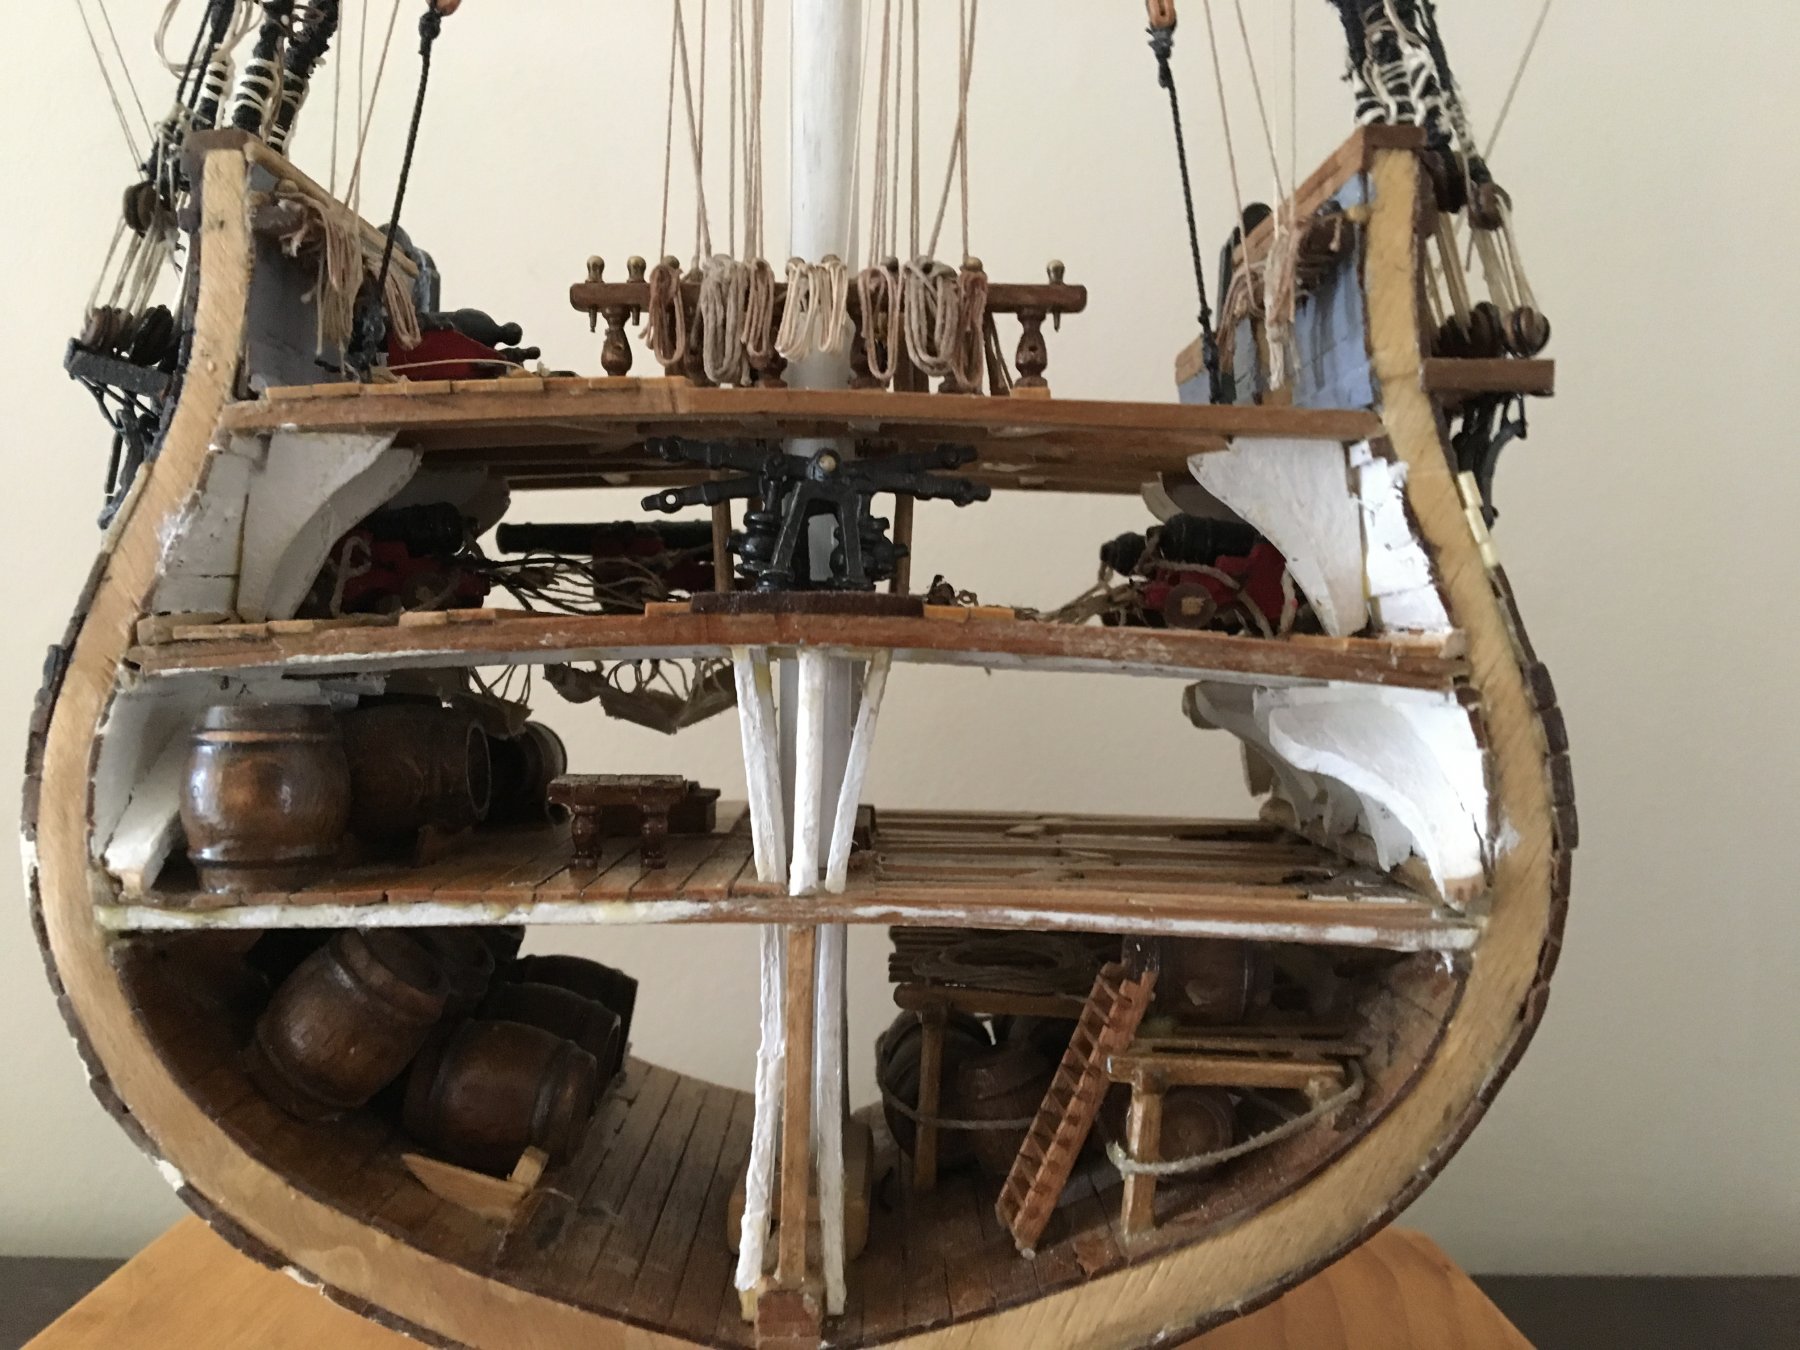
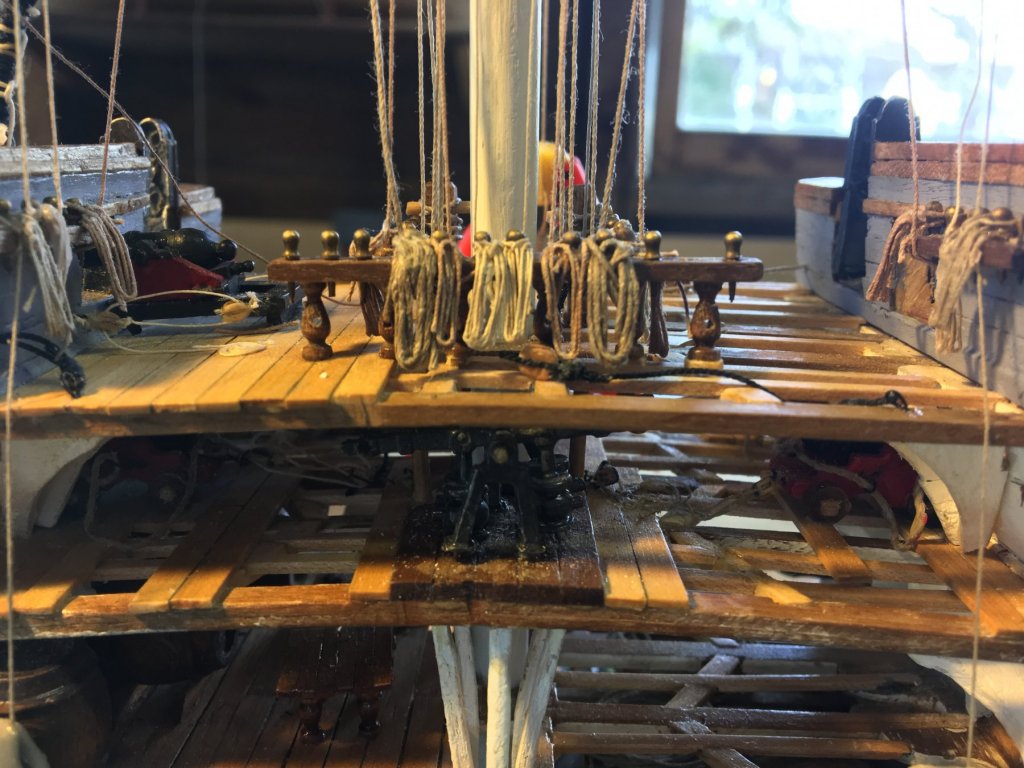
I replaced it all - if you look closely at Chuck's rope you will see it really looks like heavy duty rope with the turnings and all. Both standing and running rigging vary in diameter depending on where it is being used, so, for example, the backstays supporting the main mast are thicker than those supporting the top mast, which are thicker than those supporting the t'gallant mast... Likewise for the running rigging There is some useful information and a spreadsheet in the articles section of this website - I also made one of my own for this ship. Since the rigging diameters are calculated first as a % of the main mast diameter for the main stay and the rest as a % of the main stay, this can be converted for any ship. The ropes of the lower jeer block on the right go through the wrong hole - RIGGING DIAMETERS.xlsx
- 48 replies
-
- 1
-
-
- mamoli
- constitution
- (and 2 more)
-
I replaced all the blocks, deadeyes and cordage with parts from Syren Ship Model Company - I even used Chuck's build-it-yourself double sheave block kits to make the triple sheave jeer blocks! His parts made a big improvement on the kit furnished materials. (ignore the rigging error - it eventually got corrected)
- 48 replies
-
- 5
-
-
- mamoli
- constitution
- (and 2 more)
-
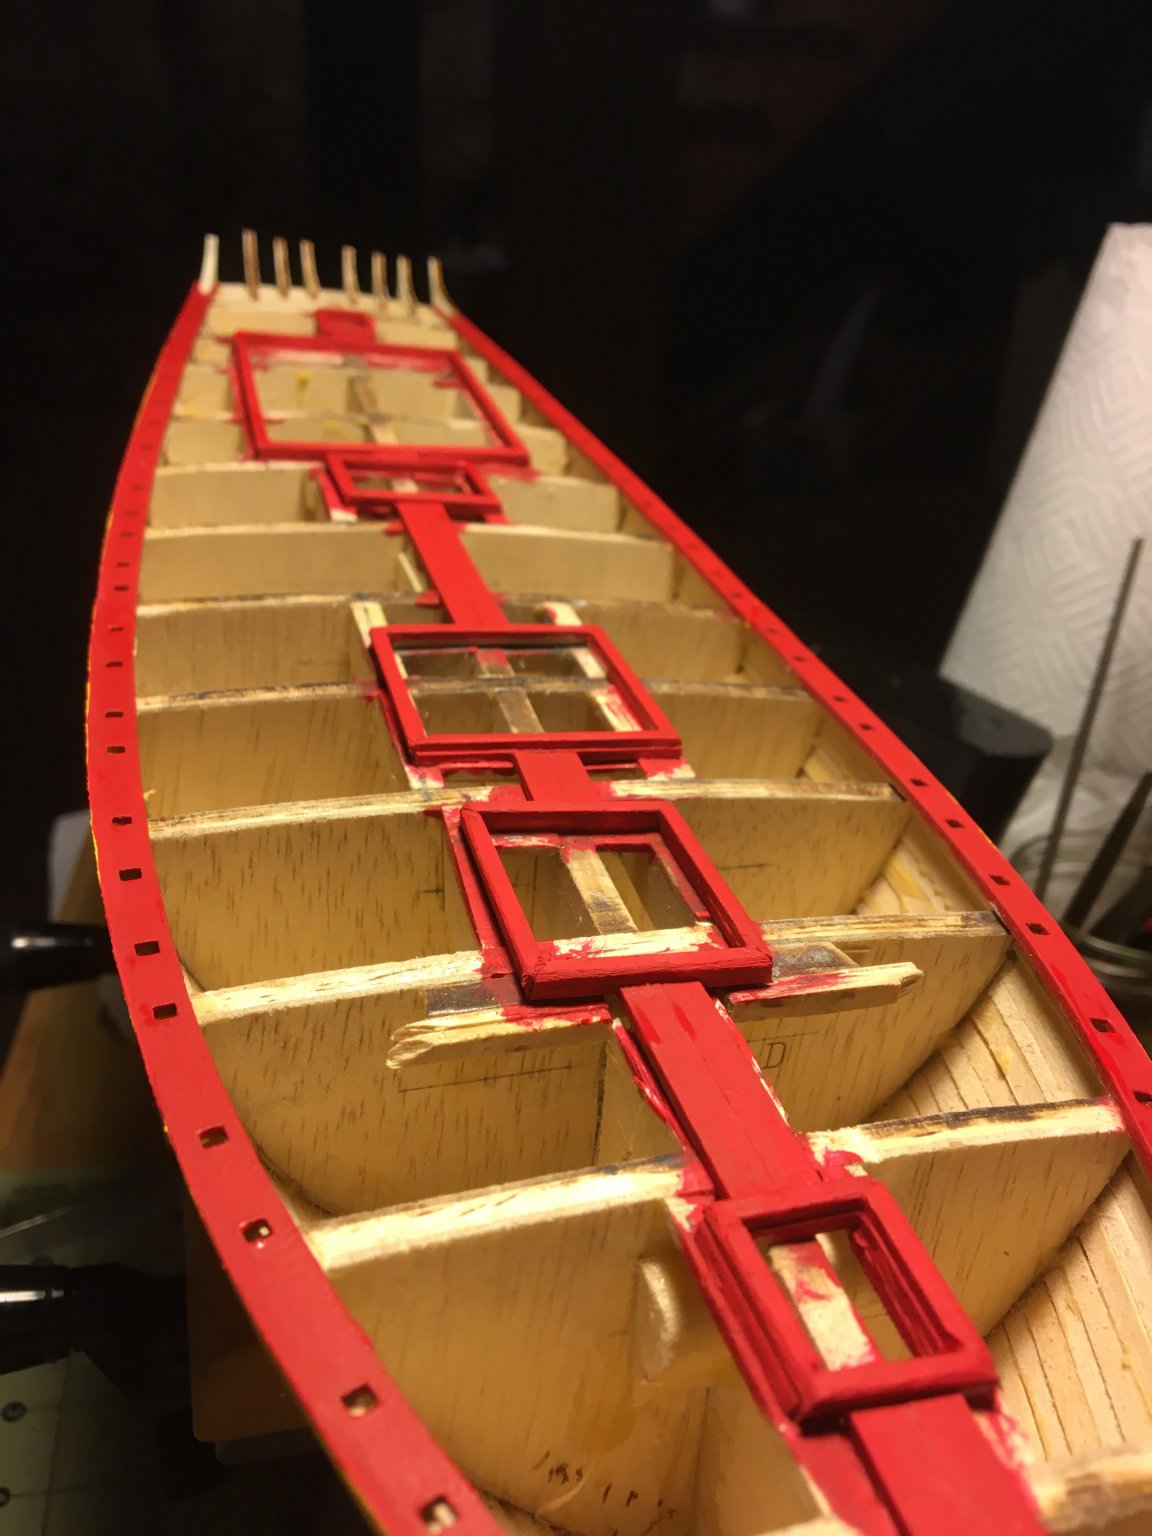
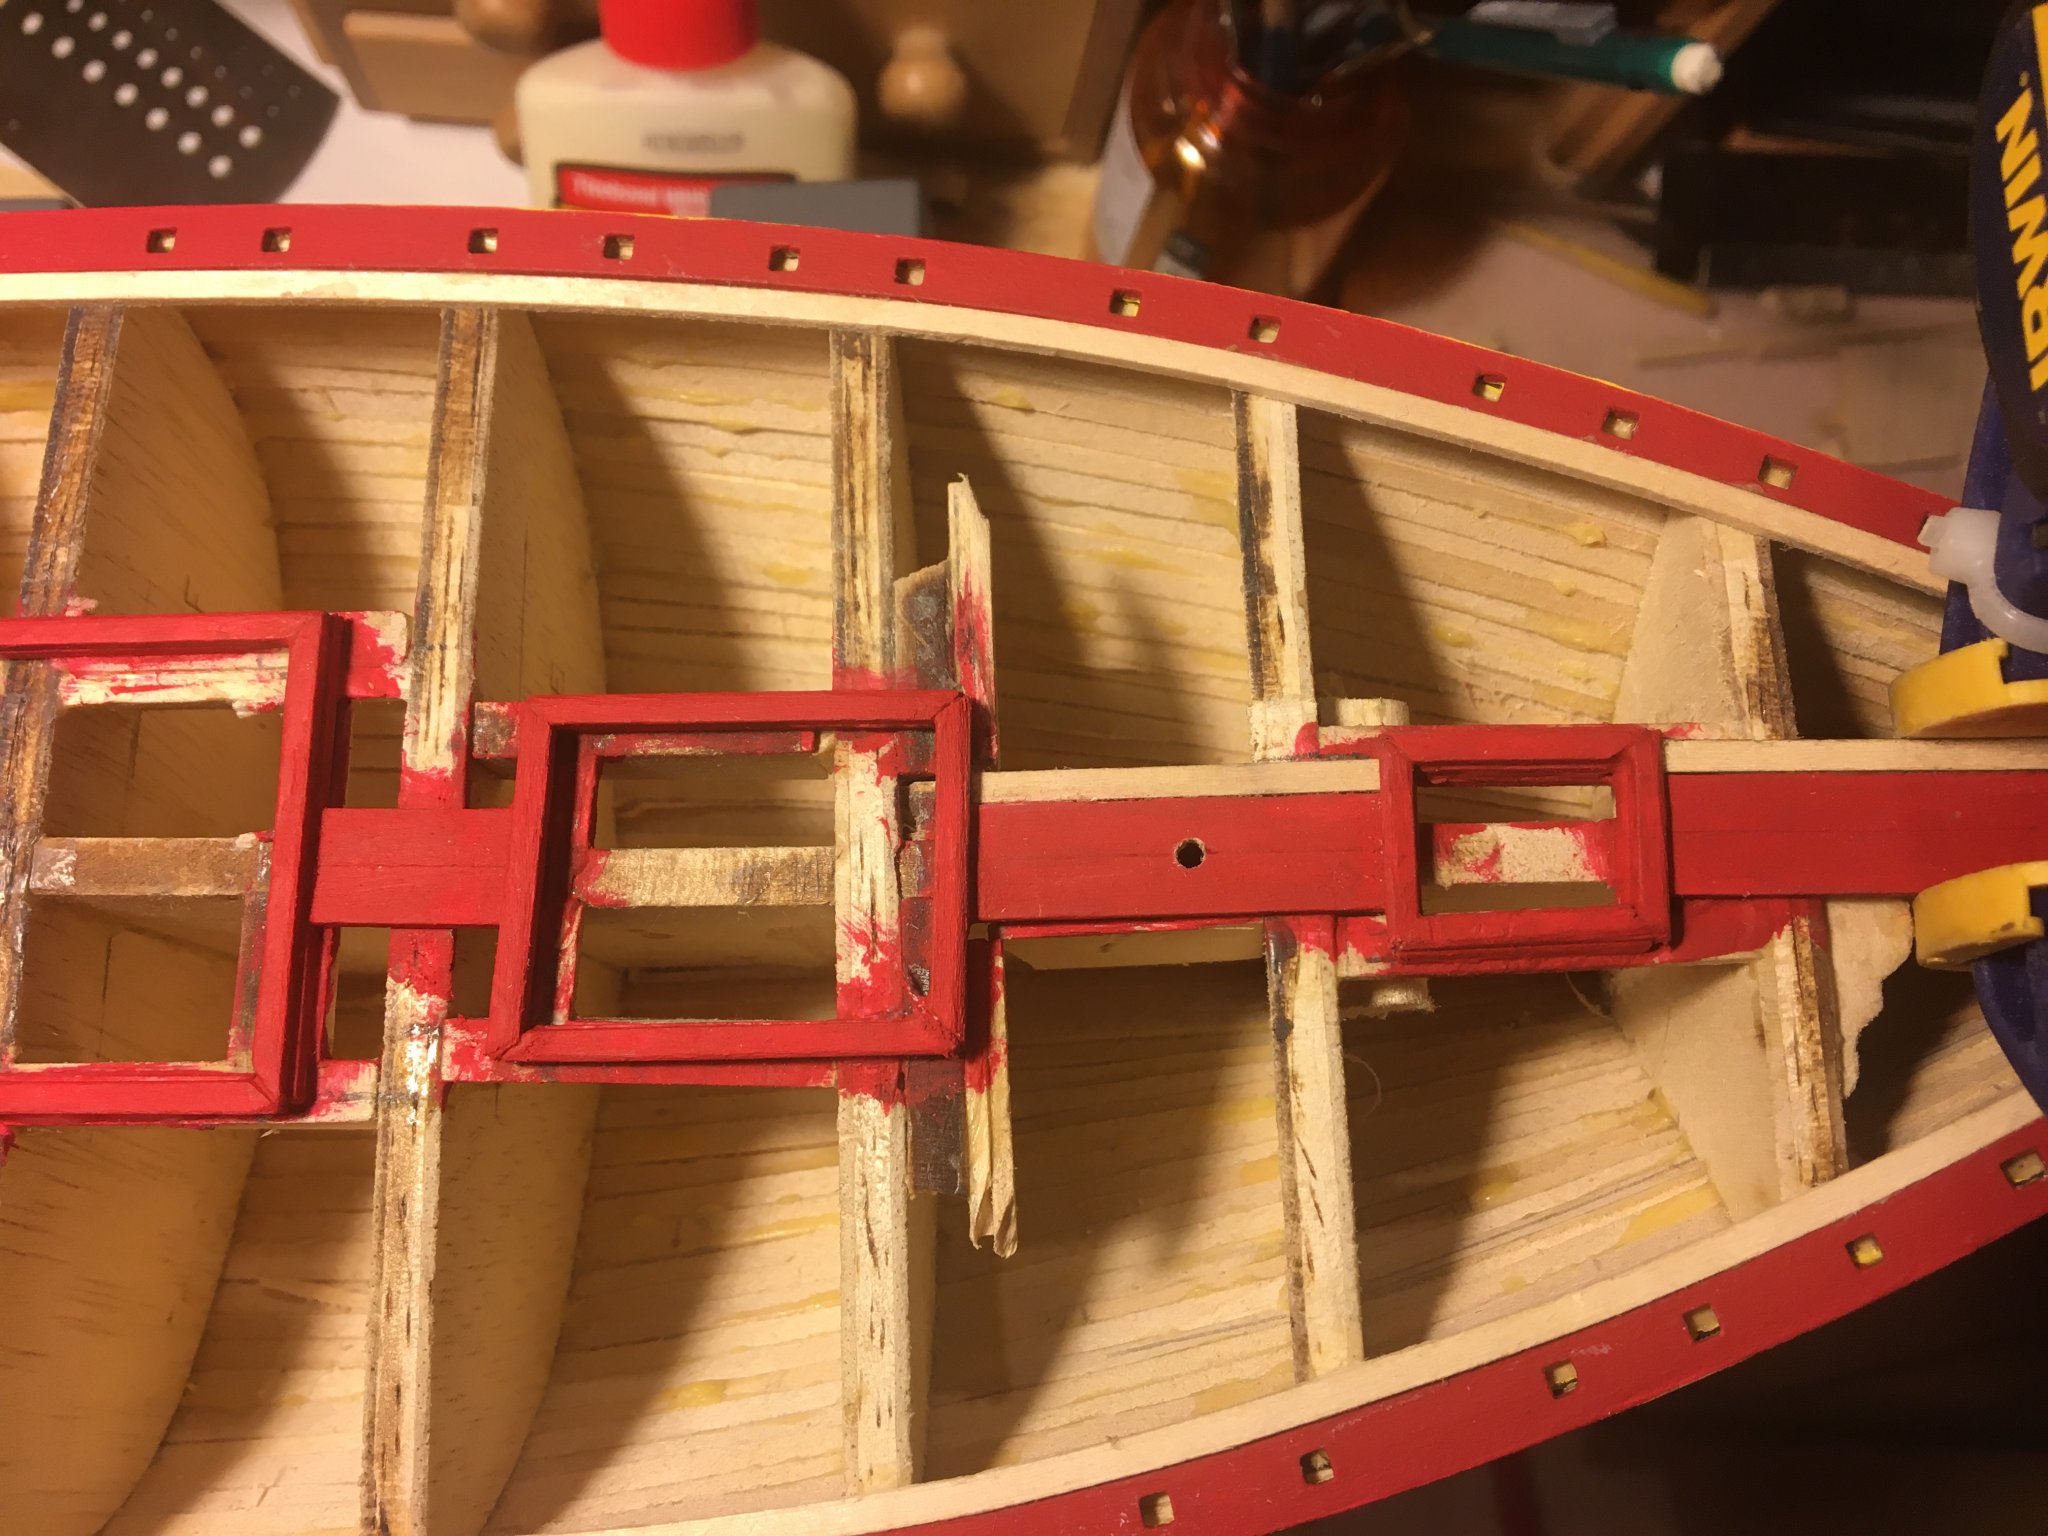
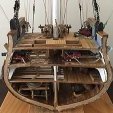
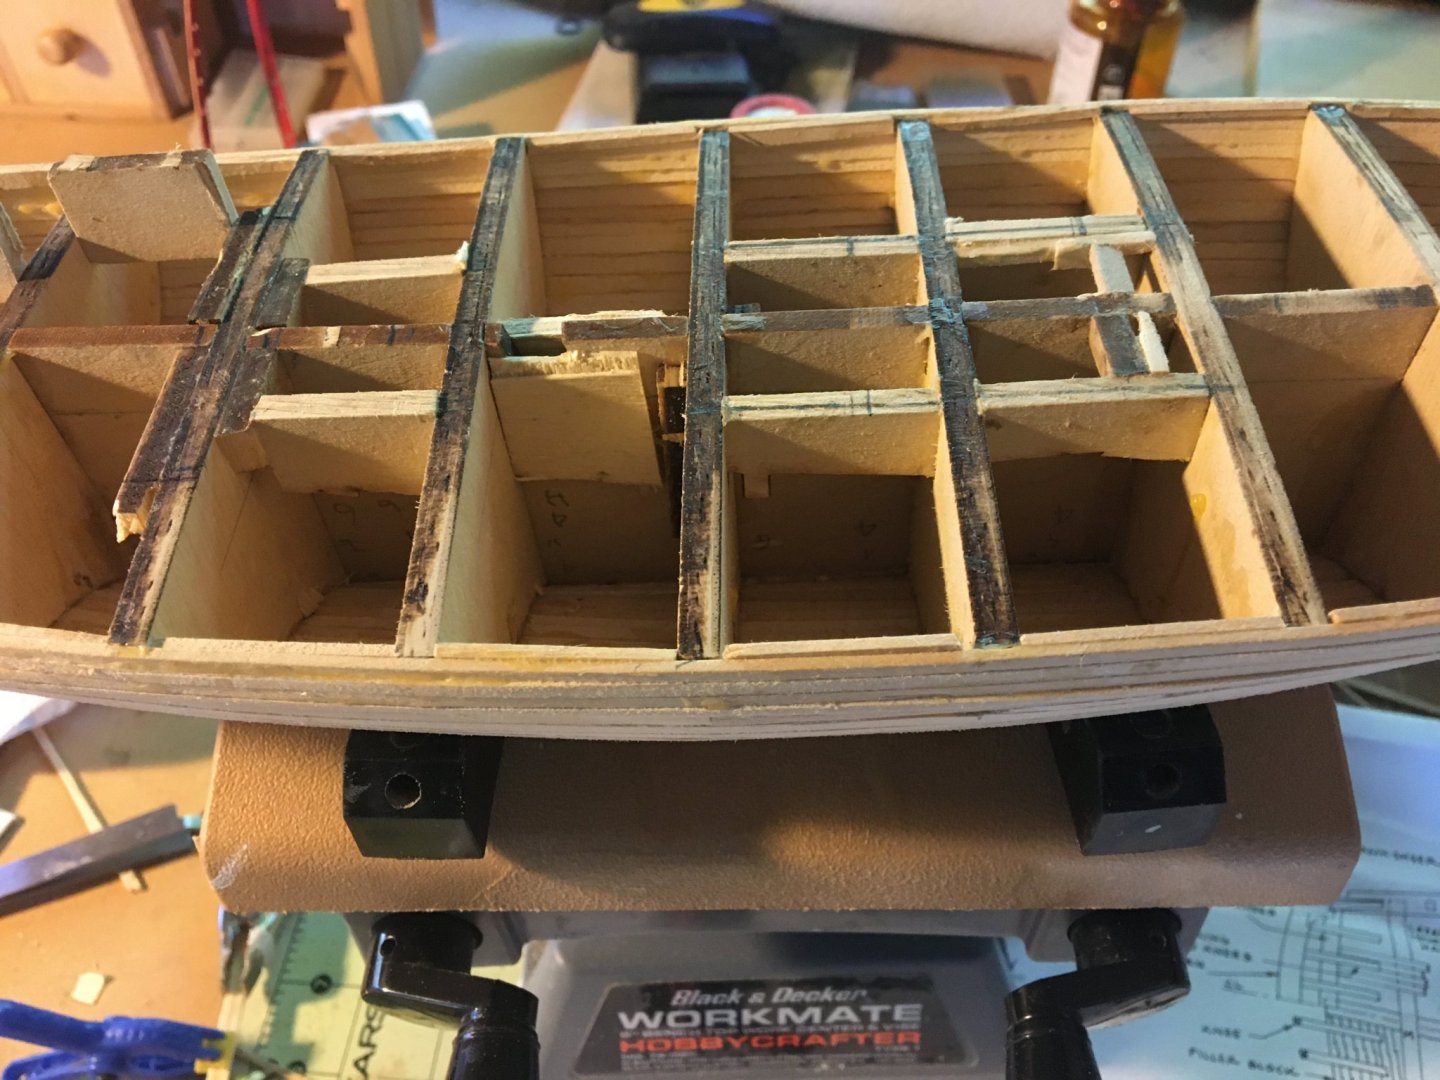
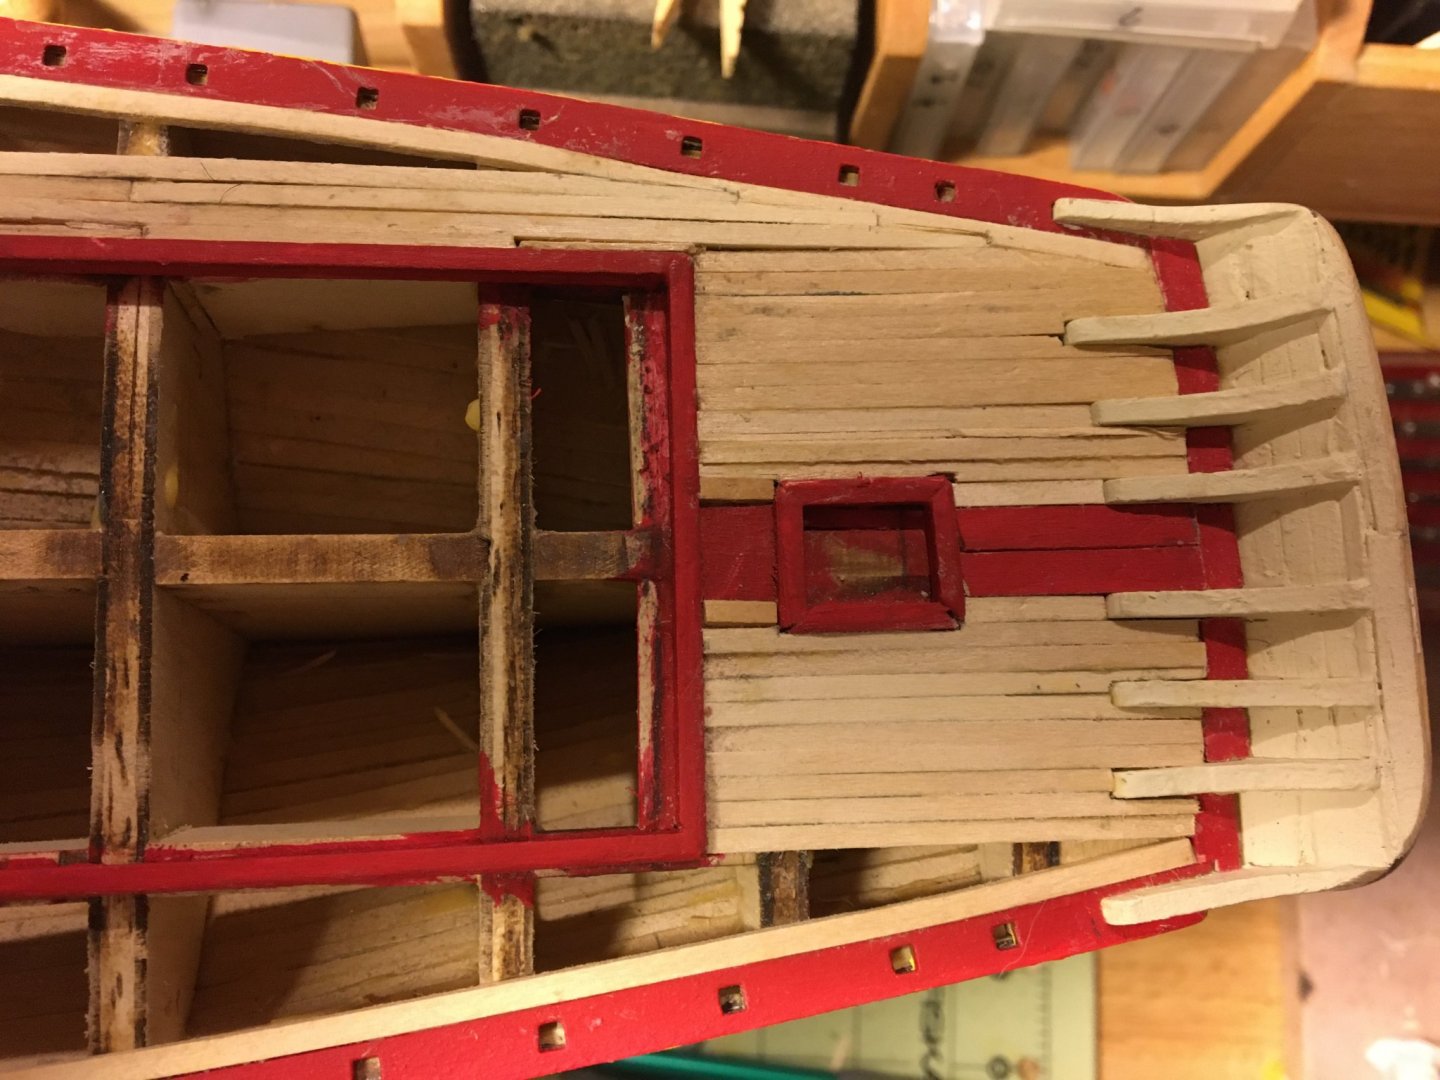
Thanks to you both for the timely encouragement. I actually never quite gave up the ship, but have been frustrated with my efforts. Even when I felt I had measured thrice and then again before cutting or gluing, the results have been problematic. Often, as with the hull planking, I did not realize things were off until much later when the mistakes mounted up. For instance, blocking out where the coamings would go - looks ok to the eye, but eventually when I did the deck planking I noticed there were places where the tops of the blocking was not exactly level with the bulkheads, so the planks, especially where there were joints, would have a dip in them. The coamings themselves - despite measuring several times from the center bulkhead former - sometimes ended up being off center and more often than not were not square. I had debated whether to build them first off the model or to jut cut the lengths and glue the parts directly on the model. I chose the latter, but next time will try to make them off the boat first, make sure they are really really square and glue the complete parts in place. This flaw became highly visible when laying down the deck planks. On the other hand, some of the wood working I'm pretty proud of: At any rate, here is where things stand now, deck is done and now it is time to run through a bunch of sandpaper and wood filler, then on to the bulwarks and waterline.


- 21 replies
-
- 3
-
-
- model shipways
- Finished
- (and 1 more)
-
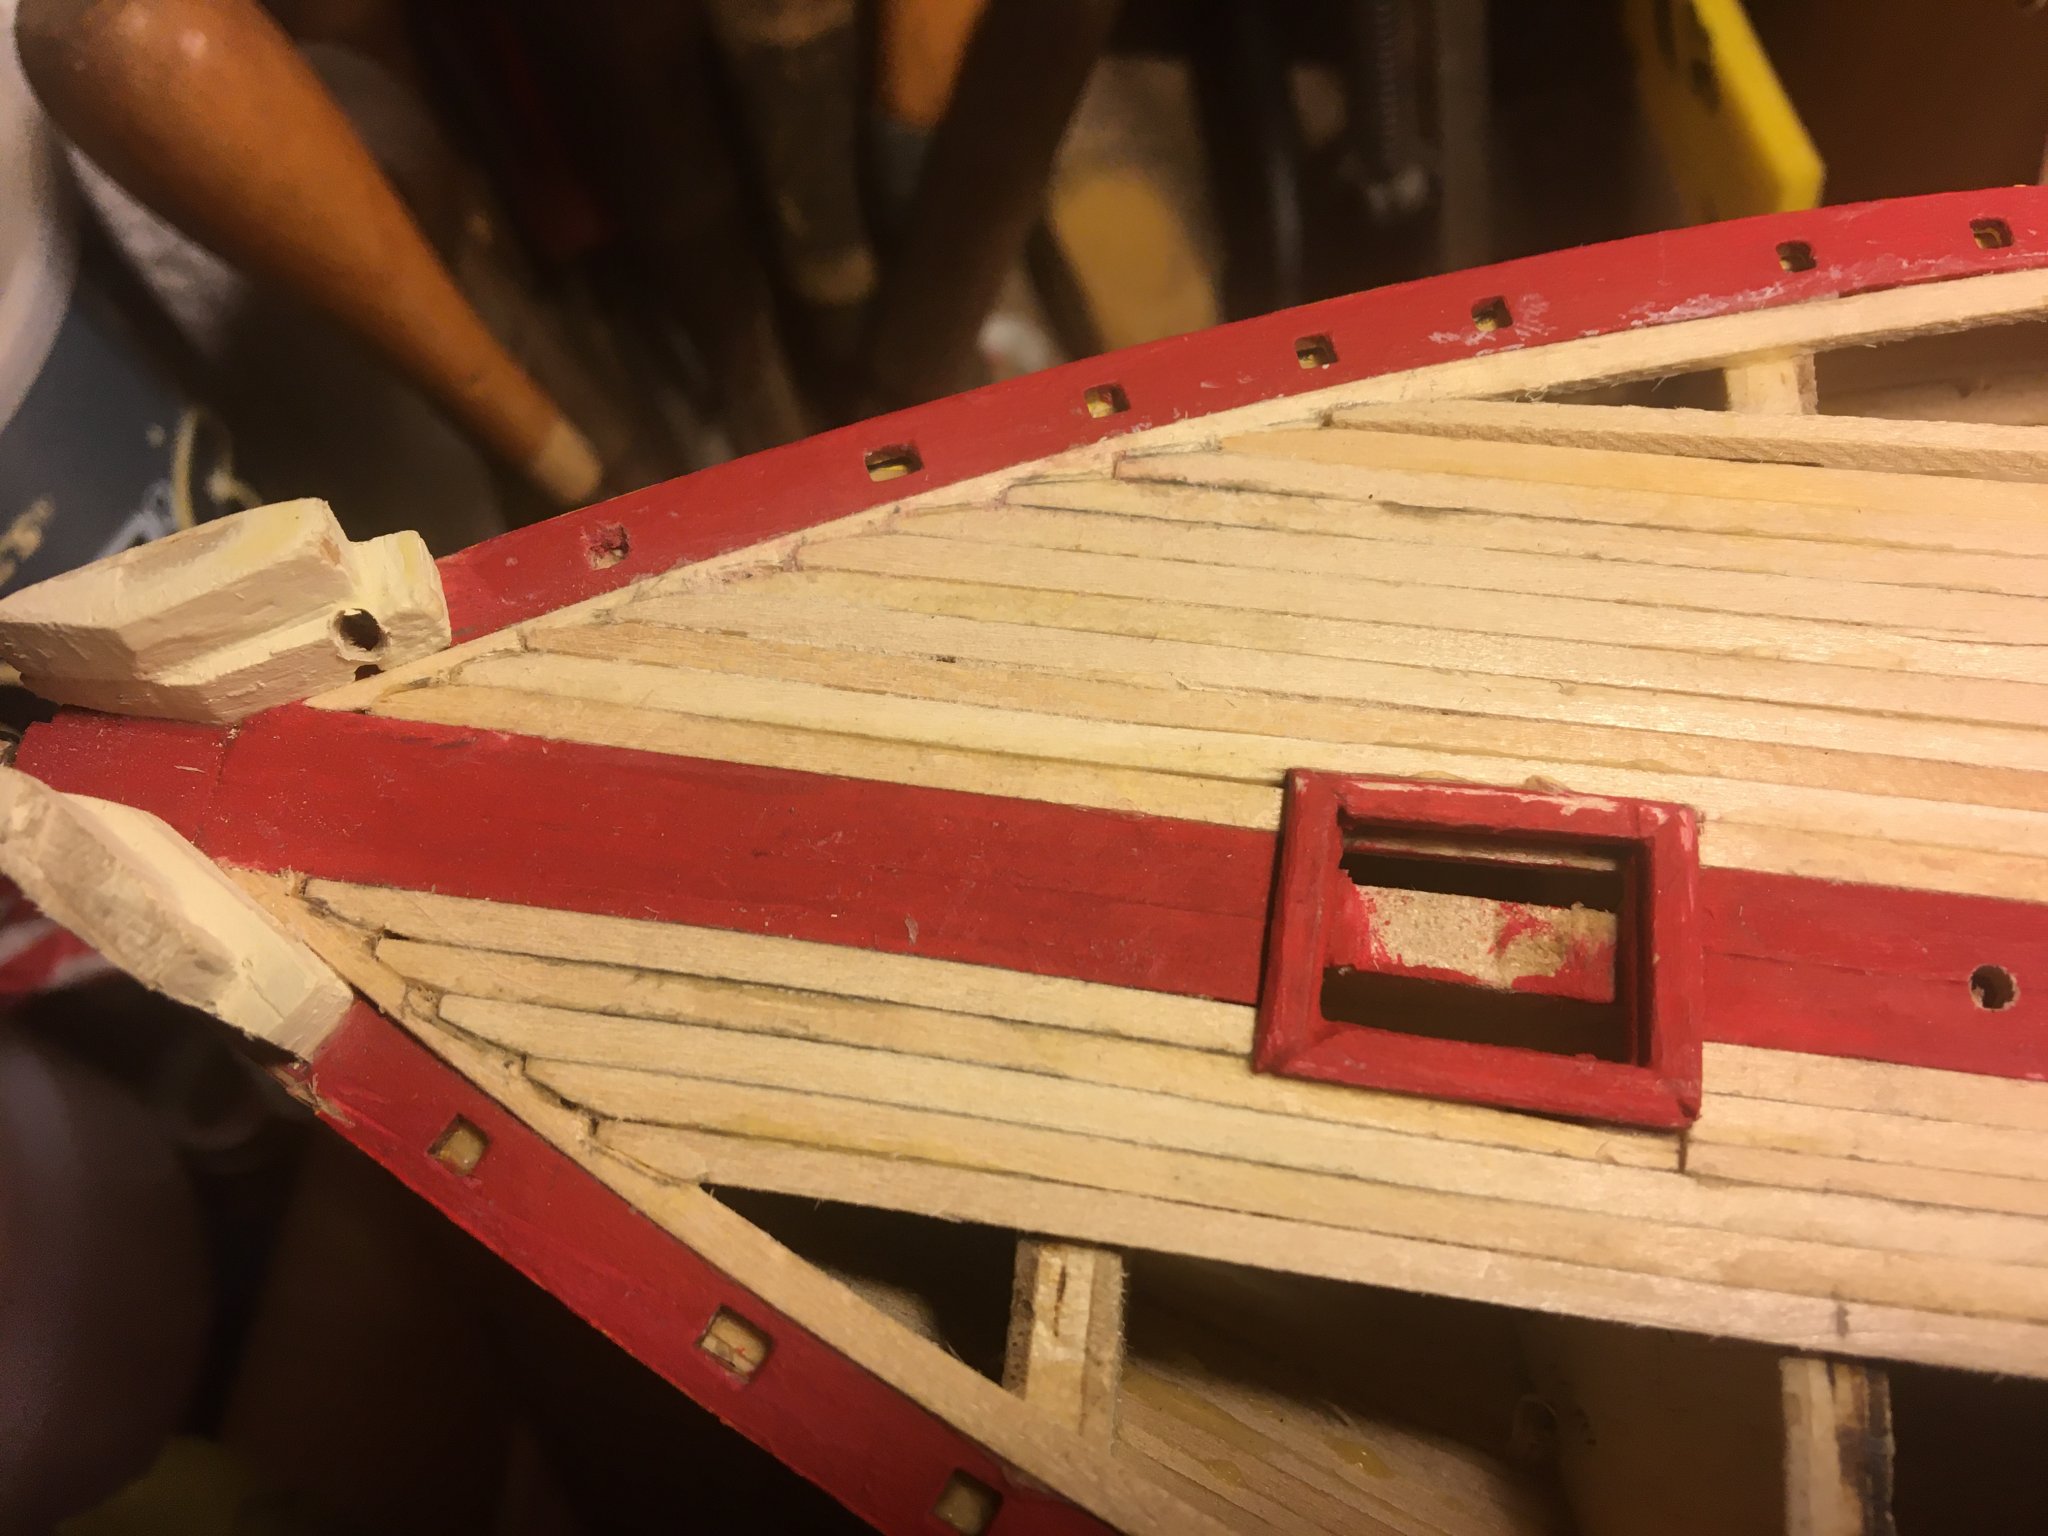
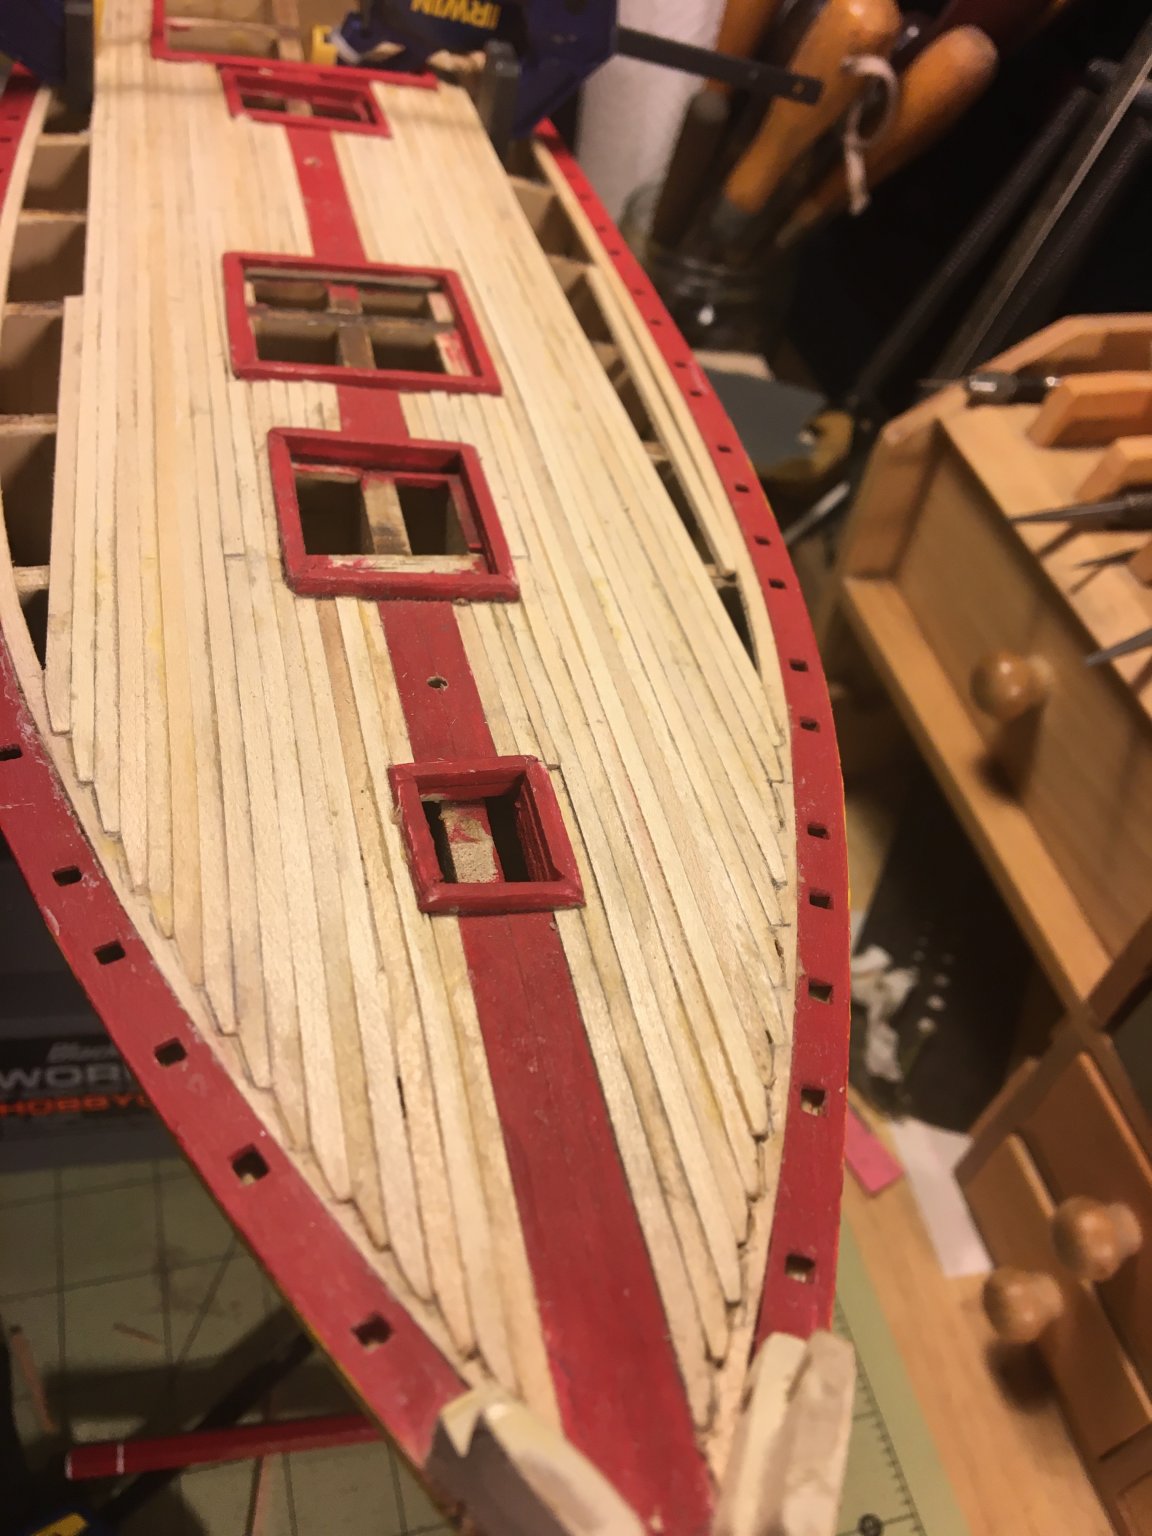
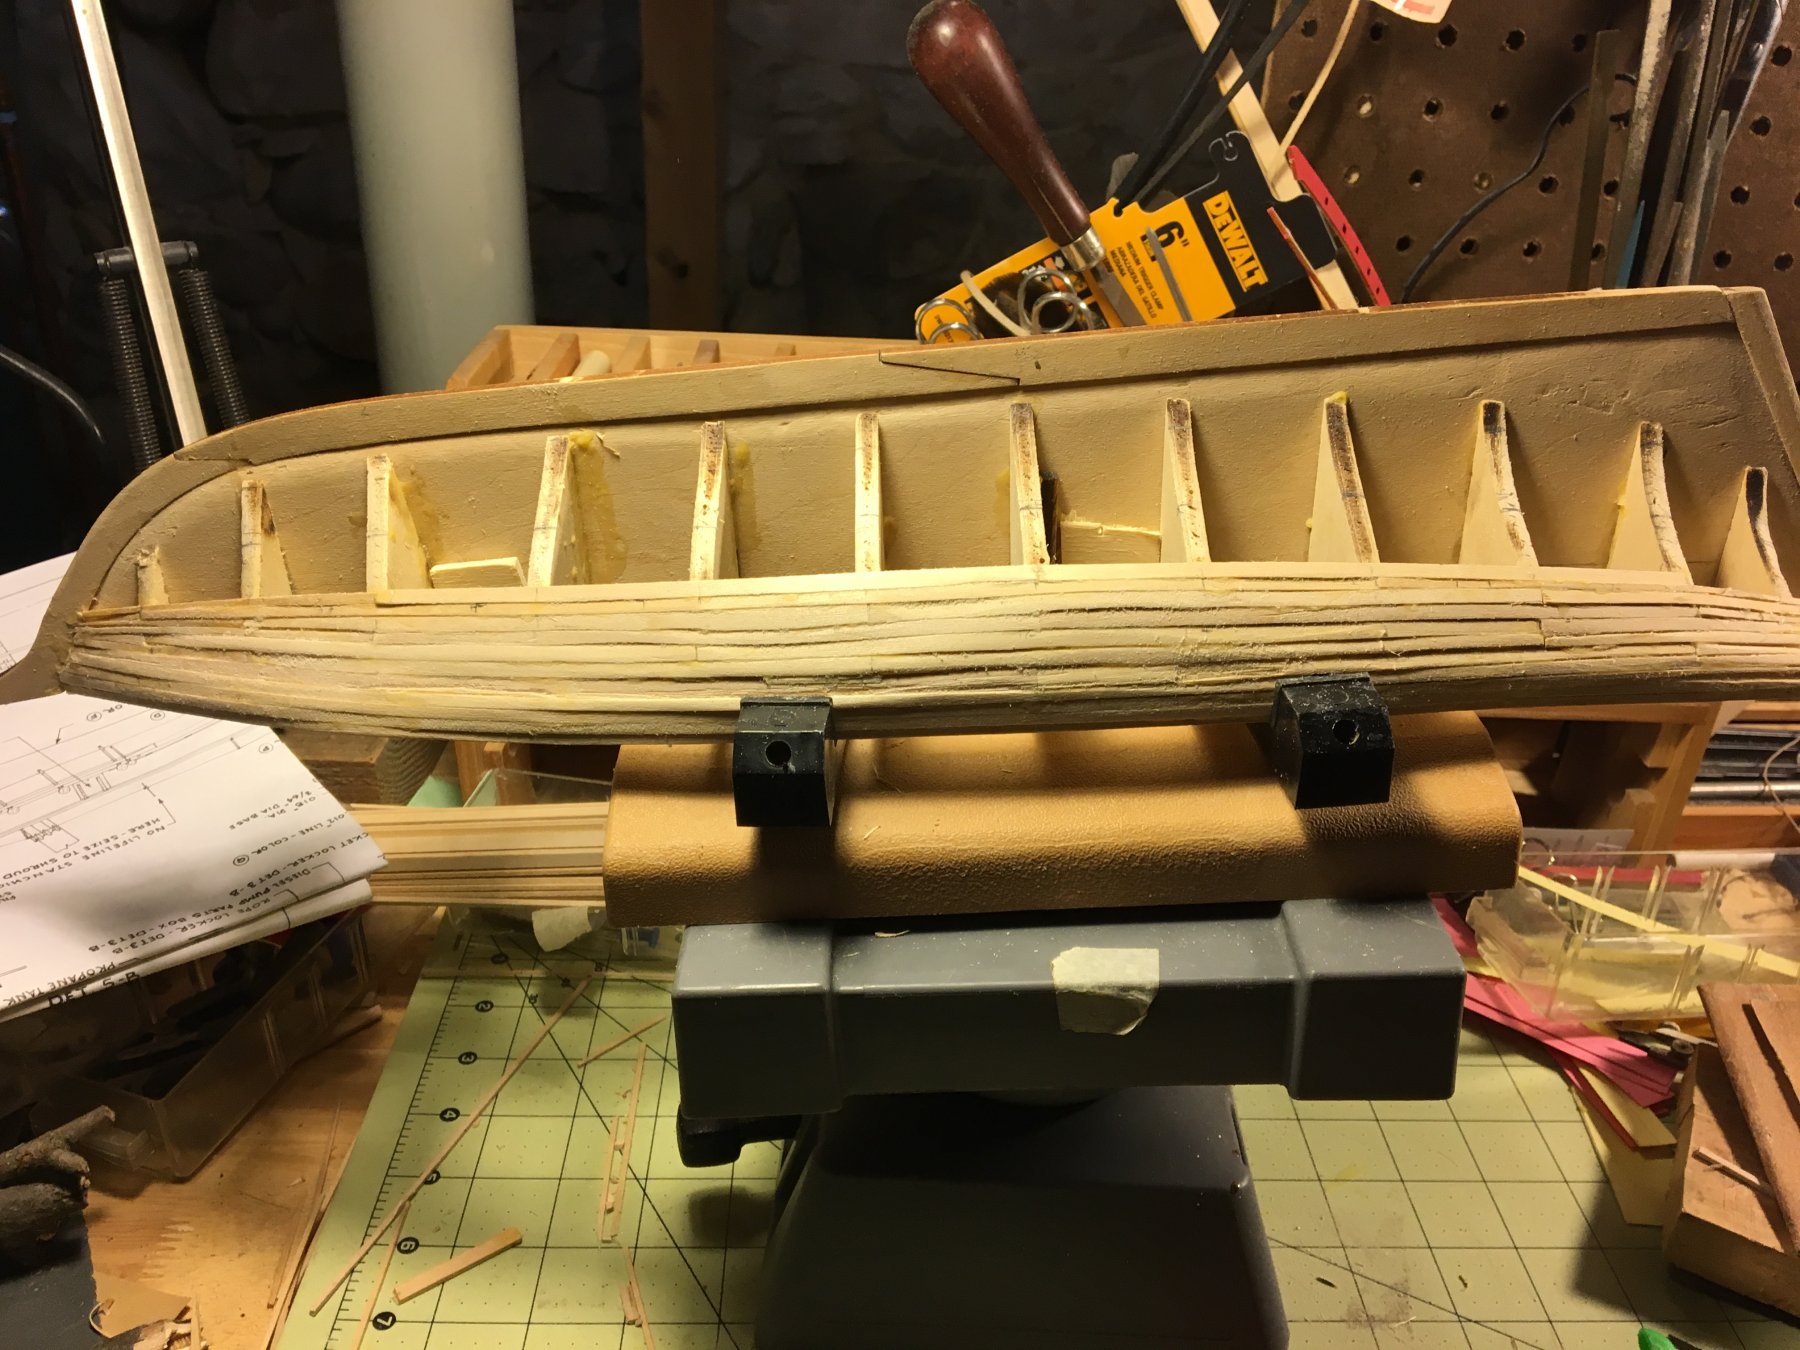
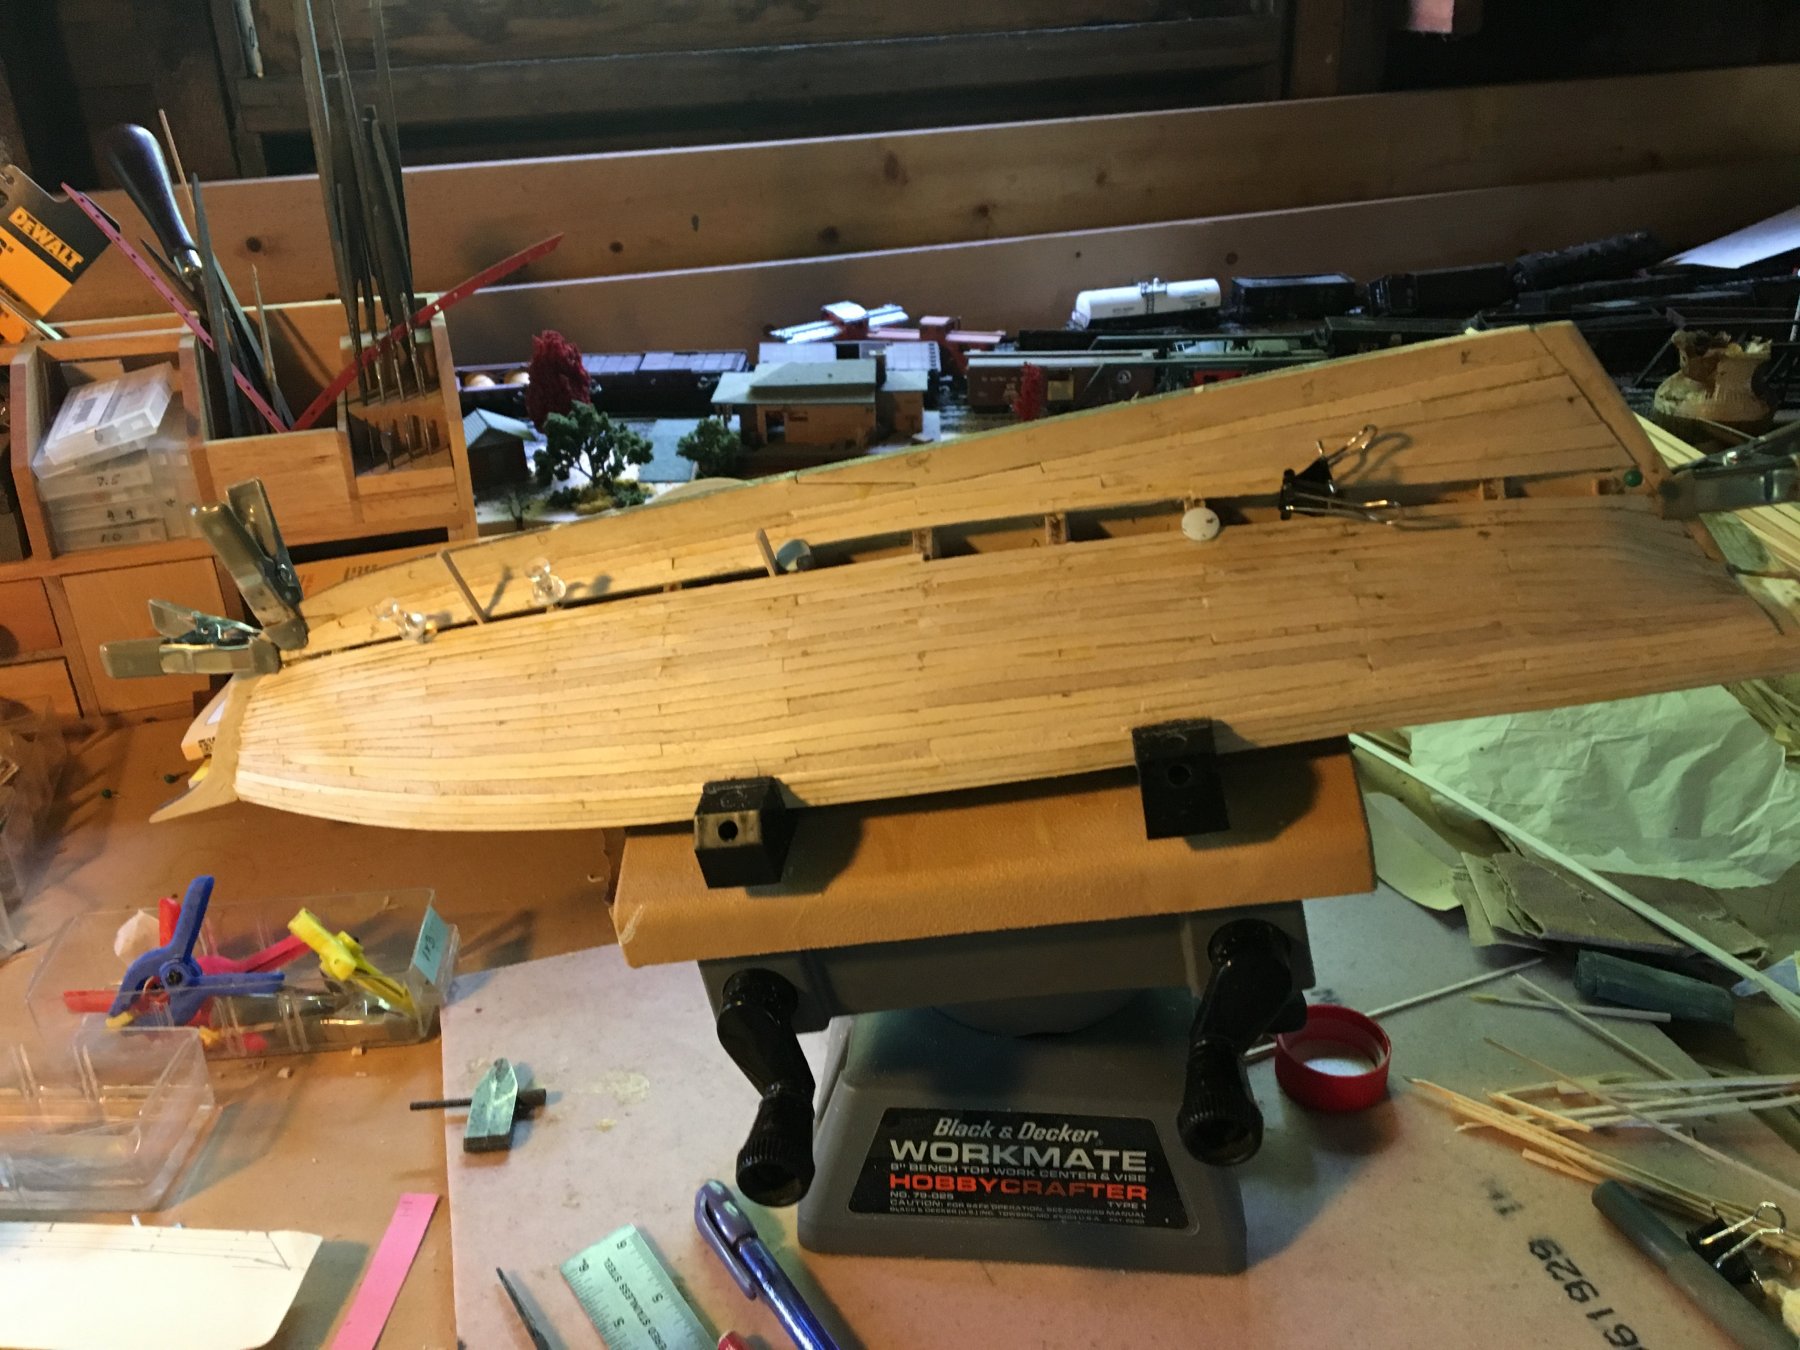
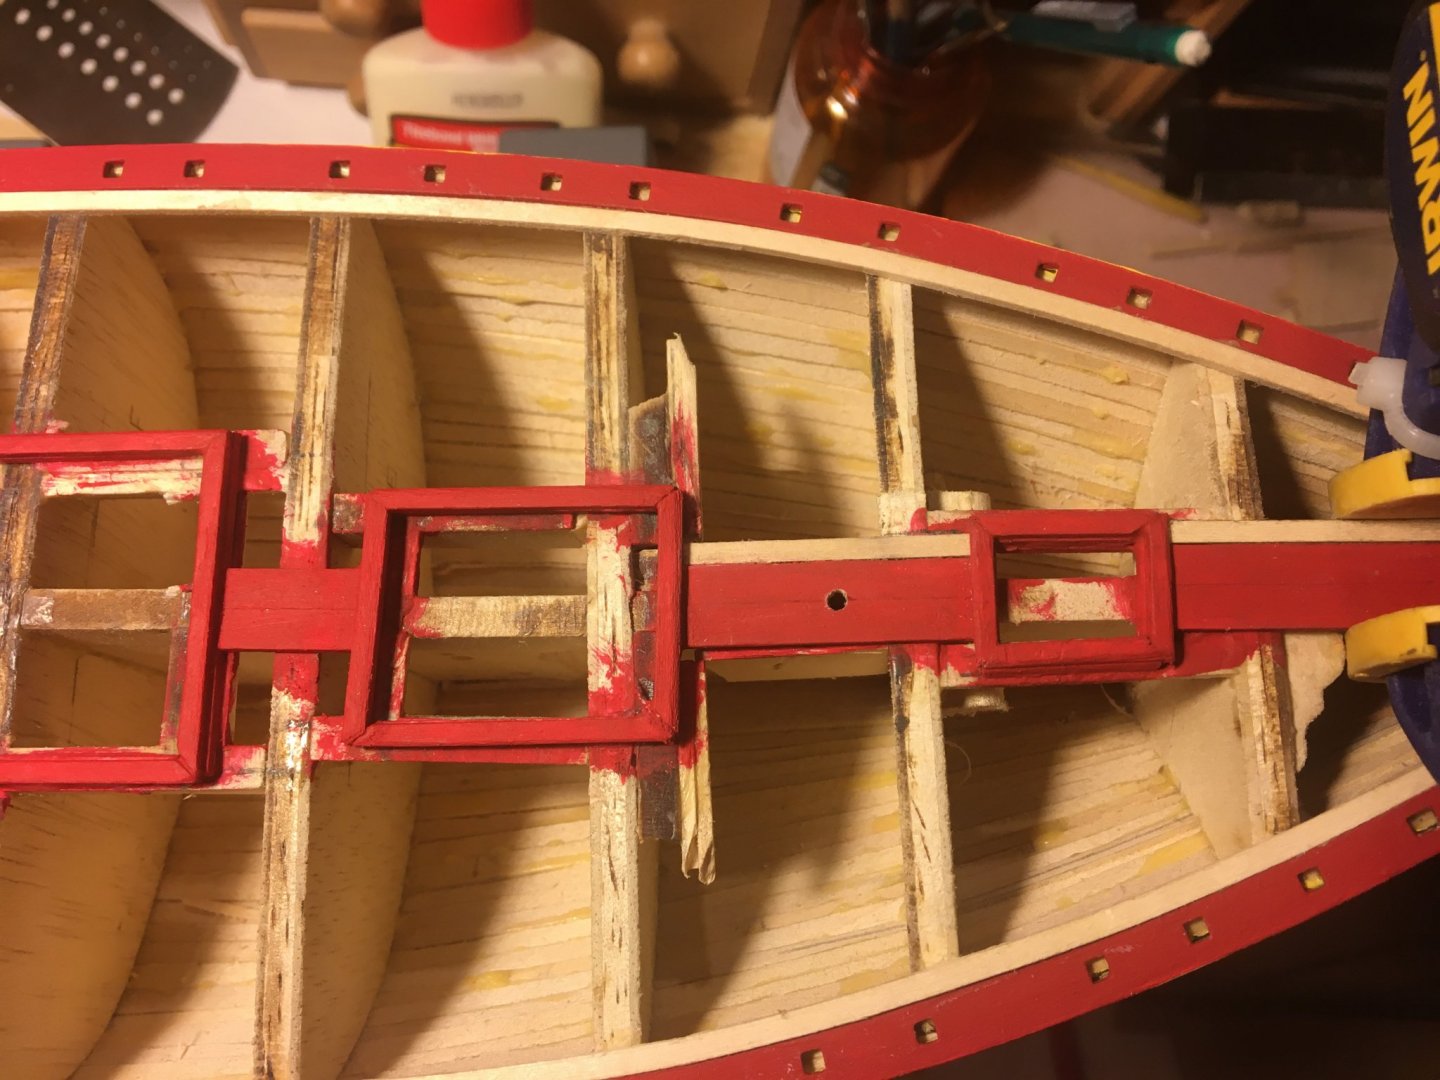
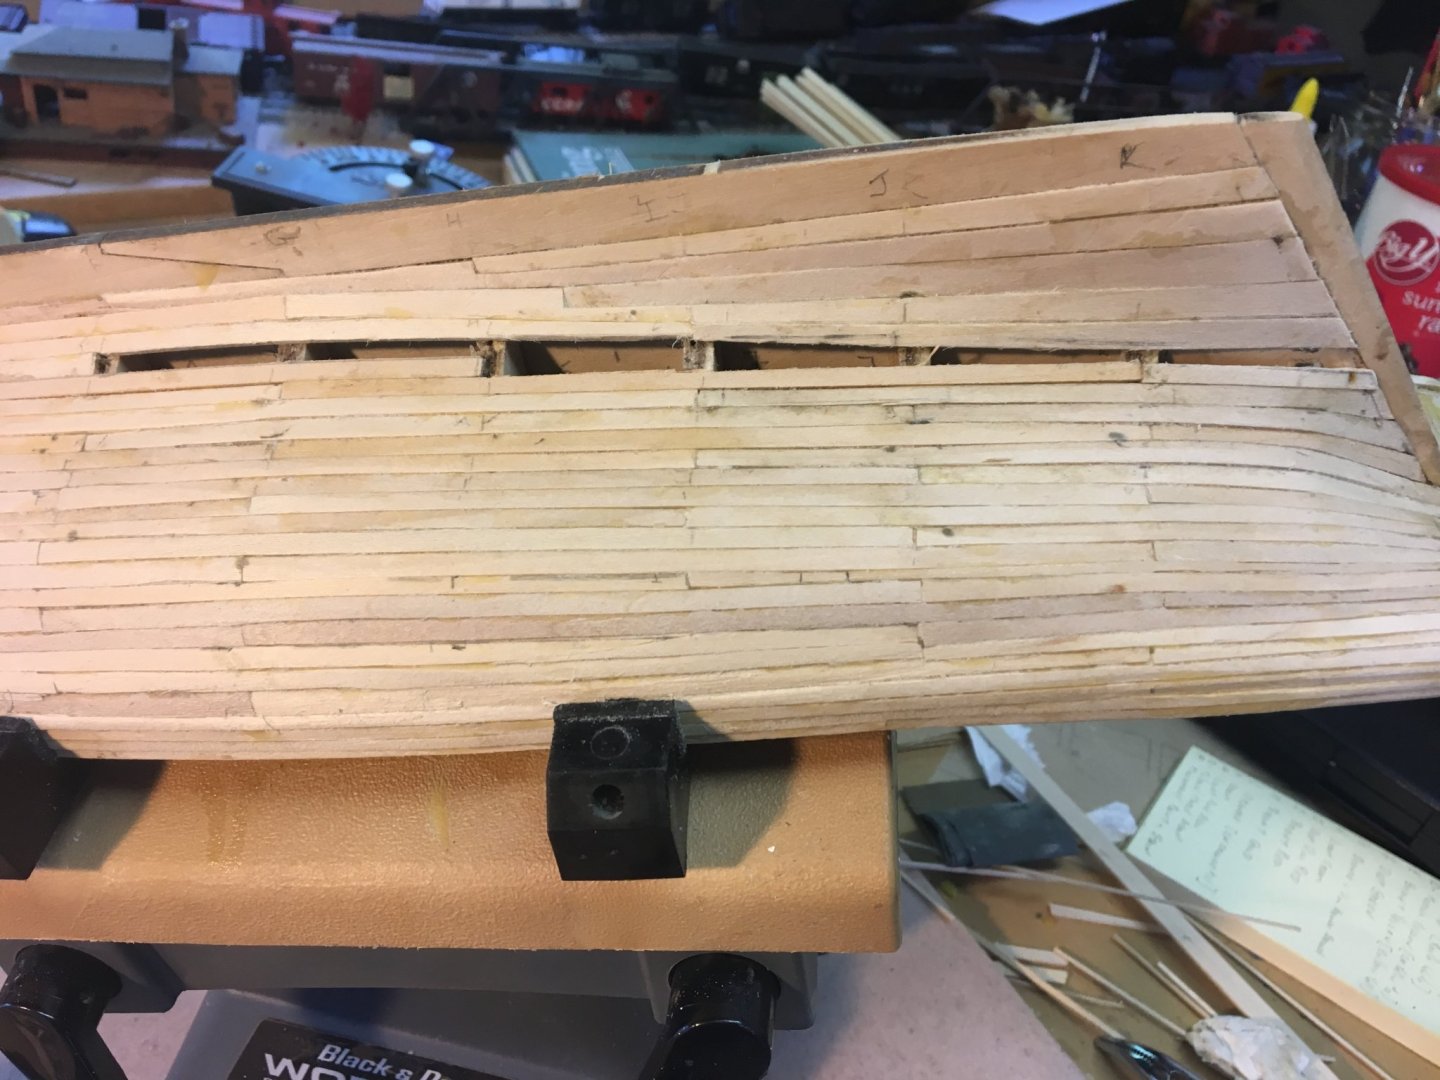
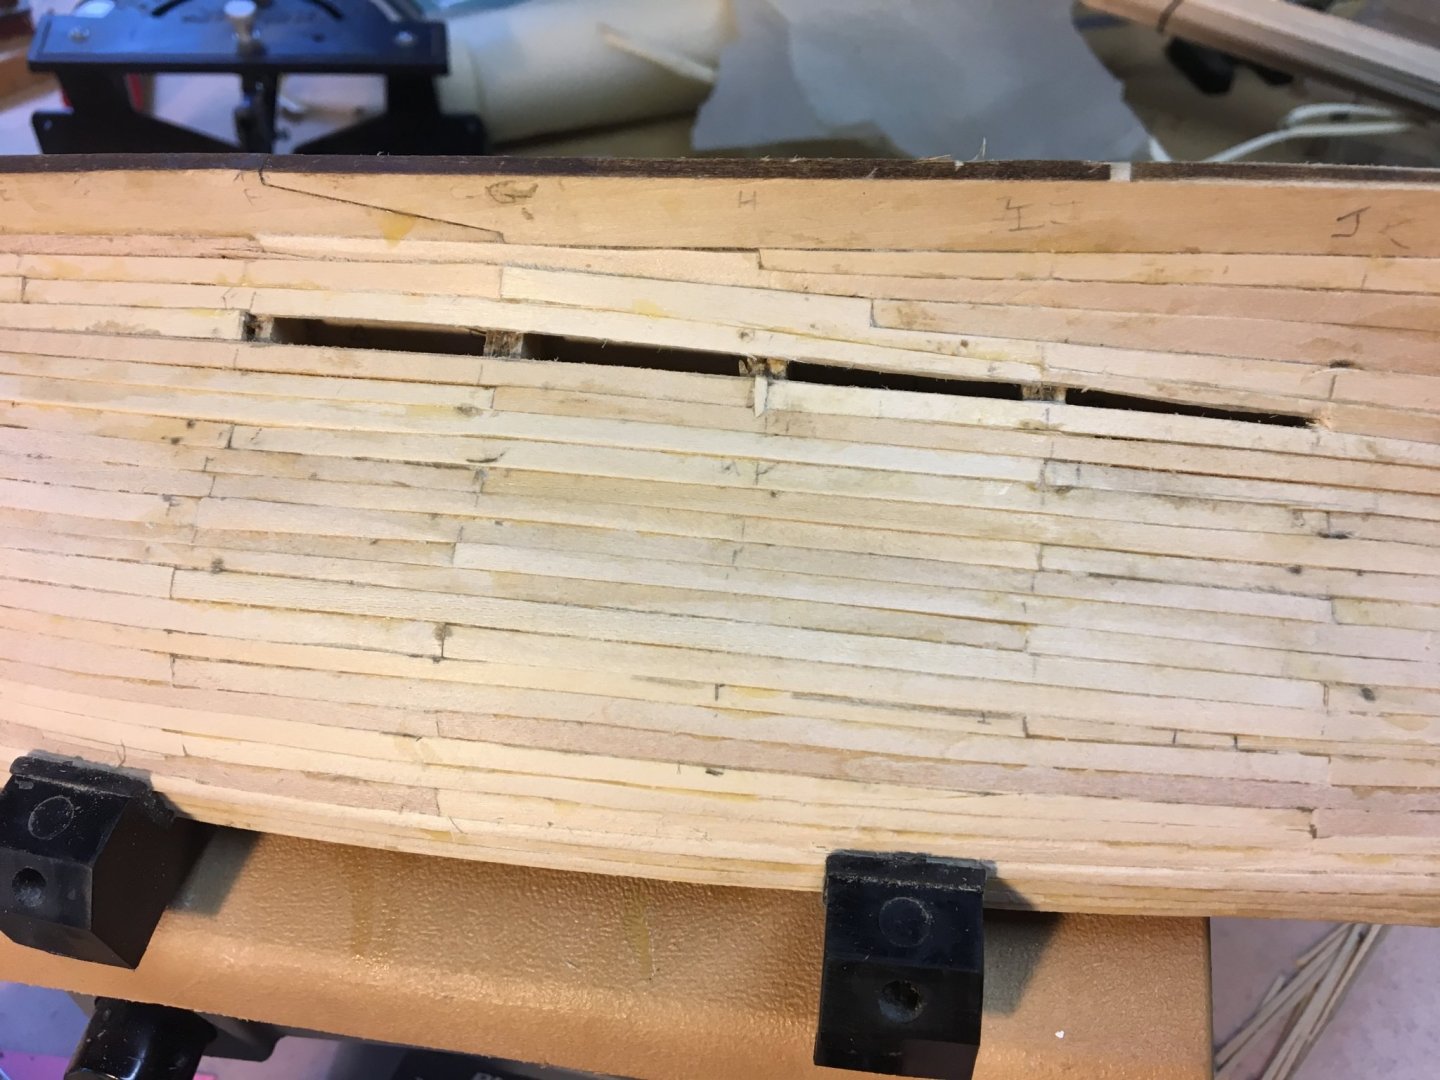
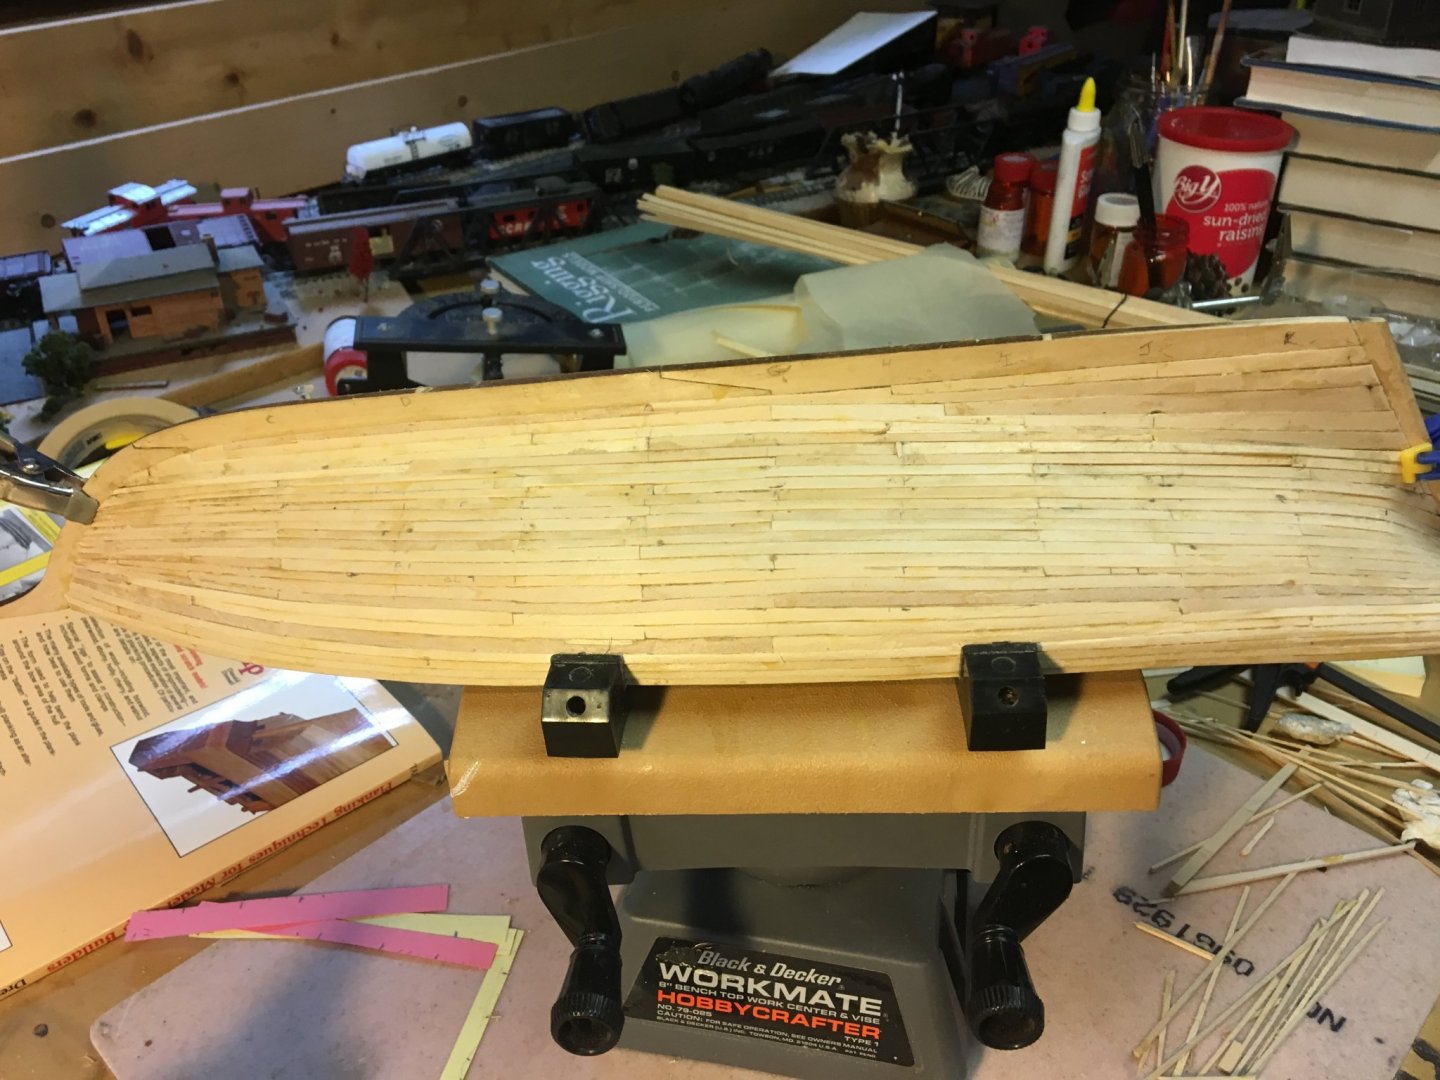
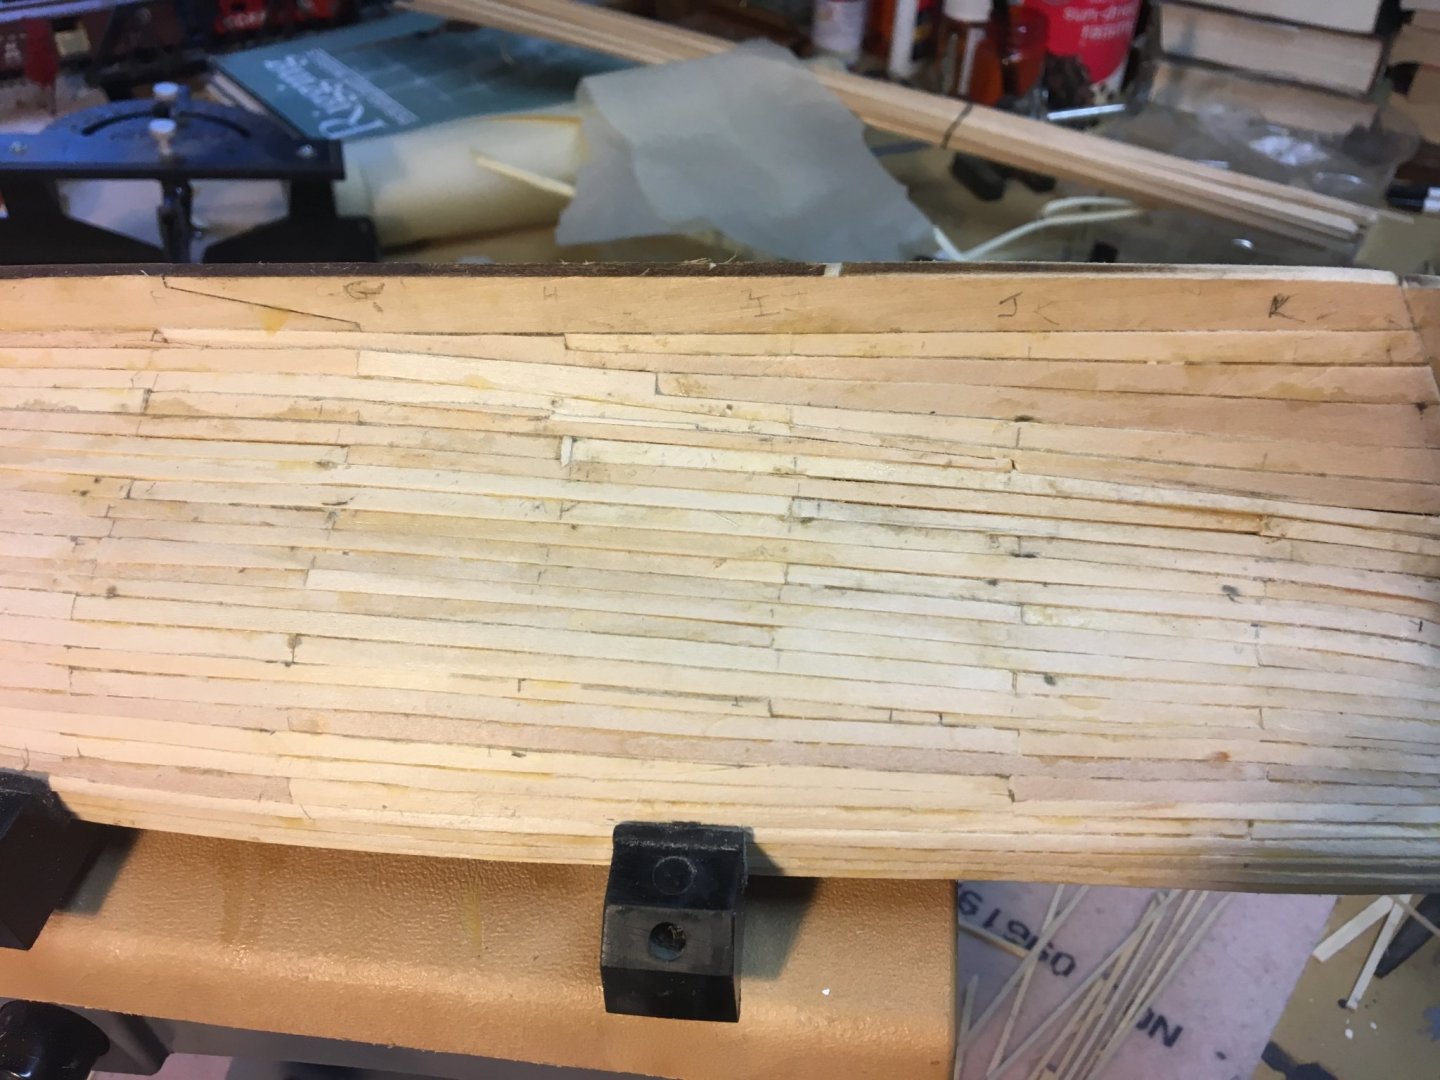
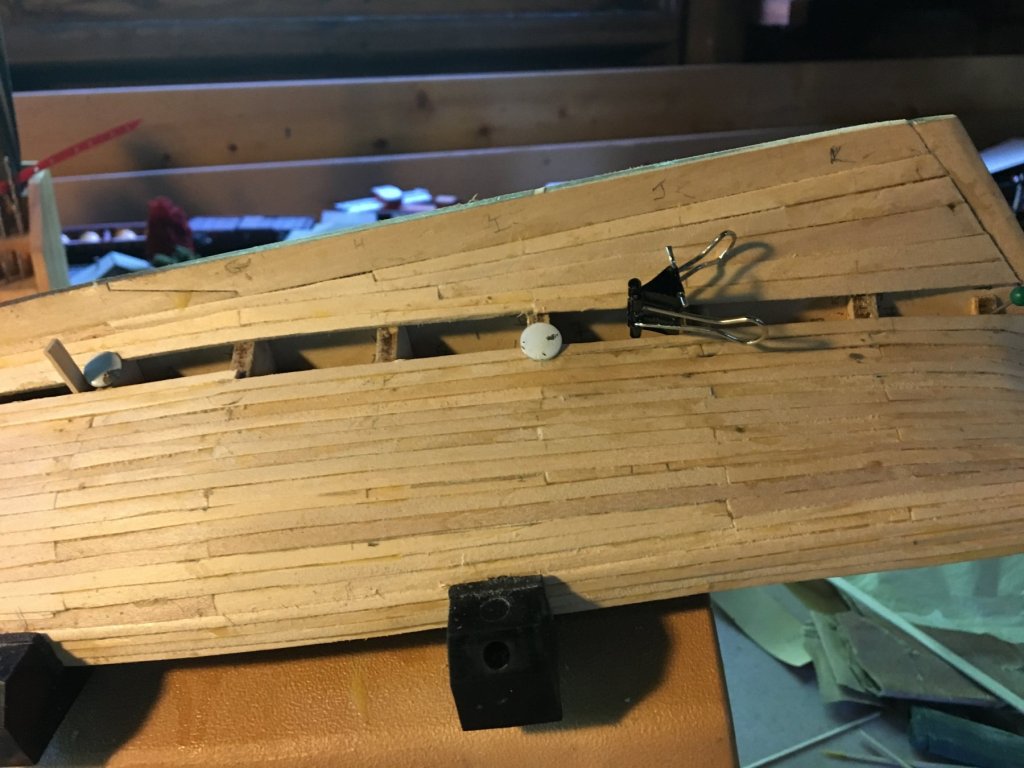
Two planks left to go on the starboard side: One Plank left - uh, Houston, we have a problem: Brain trust work around: Mission Accomplished!??

- 21 replies
-
- 4
-
-
- model shipways
- Finished
- (and 1 more)
-
So lessons learned as demonstrated by the above photos: 1 - when taking photos of the early stages of a planking job, and particularly before you've started sanding, never place your lighting source directly above the hull. Makes every irregularity jump out in high relief. 2 - I tried 2 different ways to determine the dimensions and shape of the planks - a) scribing the shape of one side from the shape of the edge of the preceding plank with an old architectural compass and then adding the width of the plank at each bulkhead to get the line for the upper edge; b) assuming the edge of the previous plank is straight and measuring up from that line to the correct width at each bulkhead. I used method "a" for the first band below the wales and found it very difficult since it meant that both edges of the plank would need to be trimmed and tapered, and my cutting skills with an Xacto knife and metal straight-edge were not really up to the task; it also meant that one mistake in cutting accurately got amplified with each succeeding course of planks. So I went with method "b" (and an excess of glue, as you can see). Oh, and I made sure the task light was off to the side when I took the photos, not above the model.
-
Having finished my slightly kit-bashed cross section of the Constitution, which I really enjoyed doing and swore that's the only life for me... I thought I should still learn how to plank a hull. I had already purchased this kit and figured I could learn much and then either go on the more full ships or find more cross sections to build. As soon as I started the mistakes began and continued to pile up, which is why, even though the project started last winter, the build-log did not. But now that the planking is a real mess I figured I'd reveal all and, if nothing else, provide a greatest hits of what not to do. And prove the old adage correct - when all else fails, read the directions (or at least read others' books, practicums, instruction manuals)


- 21 replies
-
- 4
-
-
- model shipways
- Finished
- (and 1 more)
-
Thanks. I got the Pride of Baltimore so I could learn about planking a hull, so I think I will do that one next. I have some ideas about how to improve on the Model Expo deck gun kit (show some deck framing, add a hatch/grating?), and I may work on that at the same time. Hopefully by the time I do those I will feel confident enough to move on the the Syren, and after that, hopefully, the cross section Chuck is designing now at Syren Ship Models.
- 108 replies
-
- 3
-
-
- mamoli
- constitution
- (and 2 more)
-
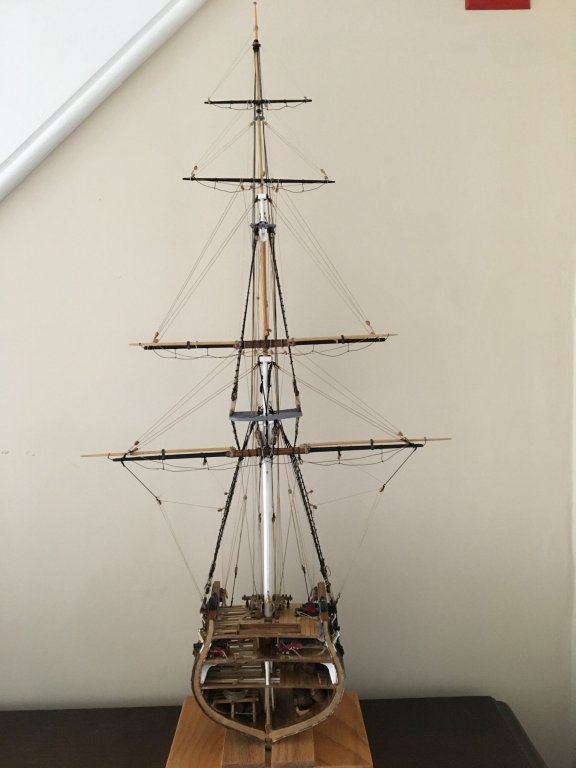
Never thought I'd actually be able to say this, but... Finis Fin Done -30- Now to learn planking


- 108 replies
-
- 6
-
-
- mamoli
- constitution
- (and 2 more)
-
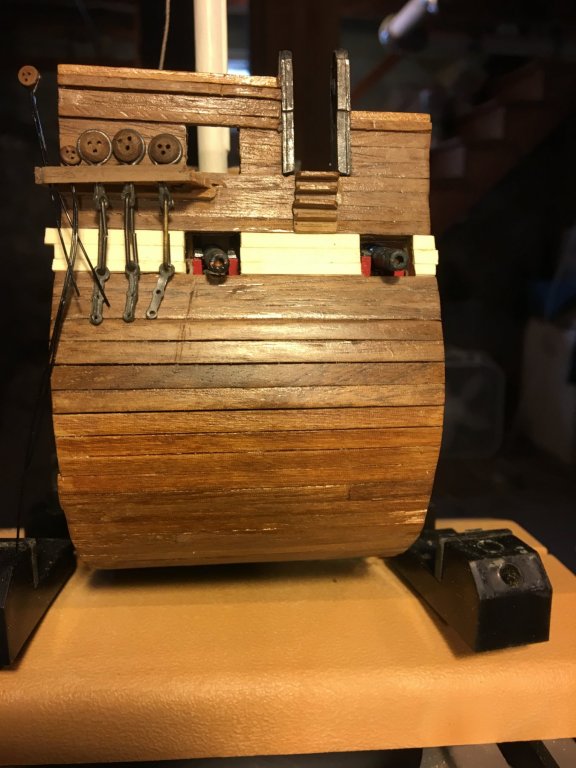
Thank you all for the likes and crucial advise on this long, drawn-out effort. EJ, I wish I had made the decision about the gun port lines before I glued them on - I expect it would be a lot easier to attach the wires if I had drilled some holes through the doors first. Oh well, the learning curve continues
- 108 replies
-
- 2
-
-
- mamoli
- constitution
- (and 2 more)
-
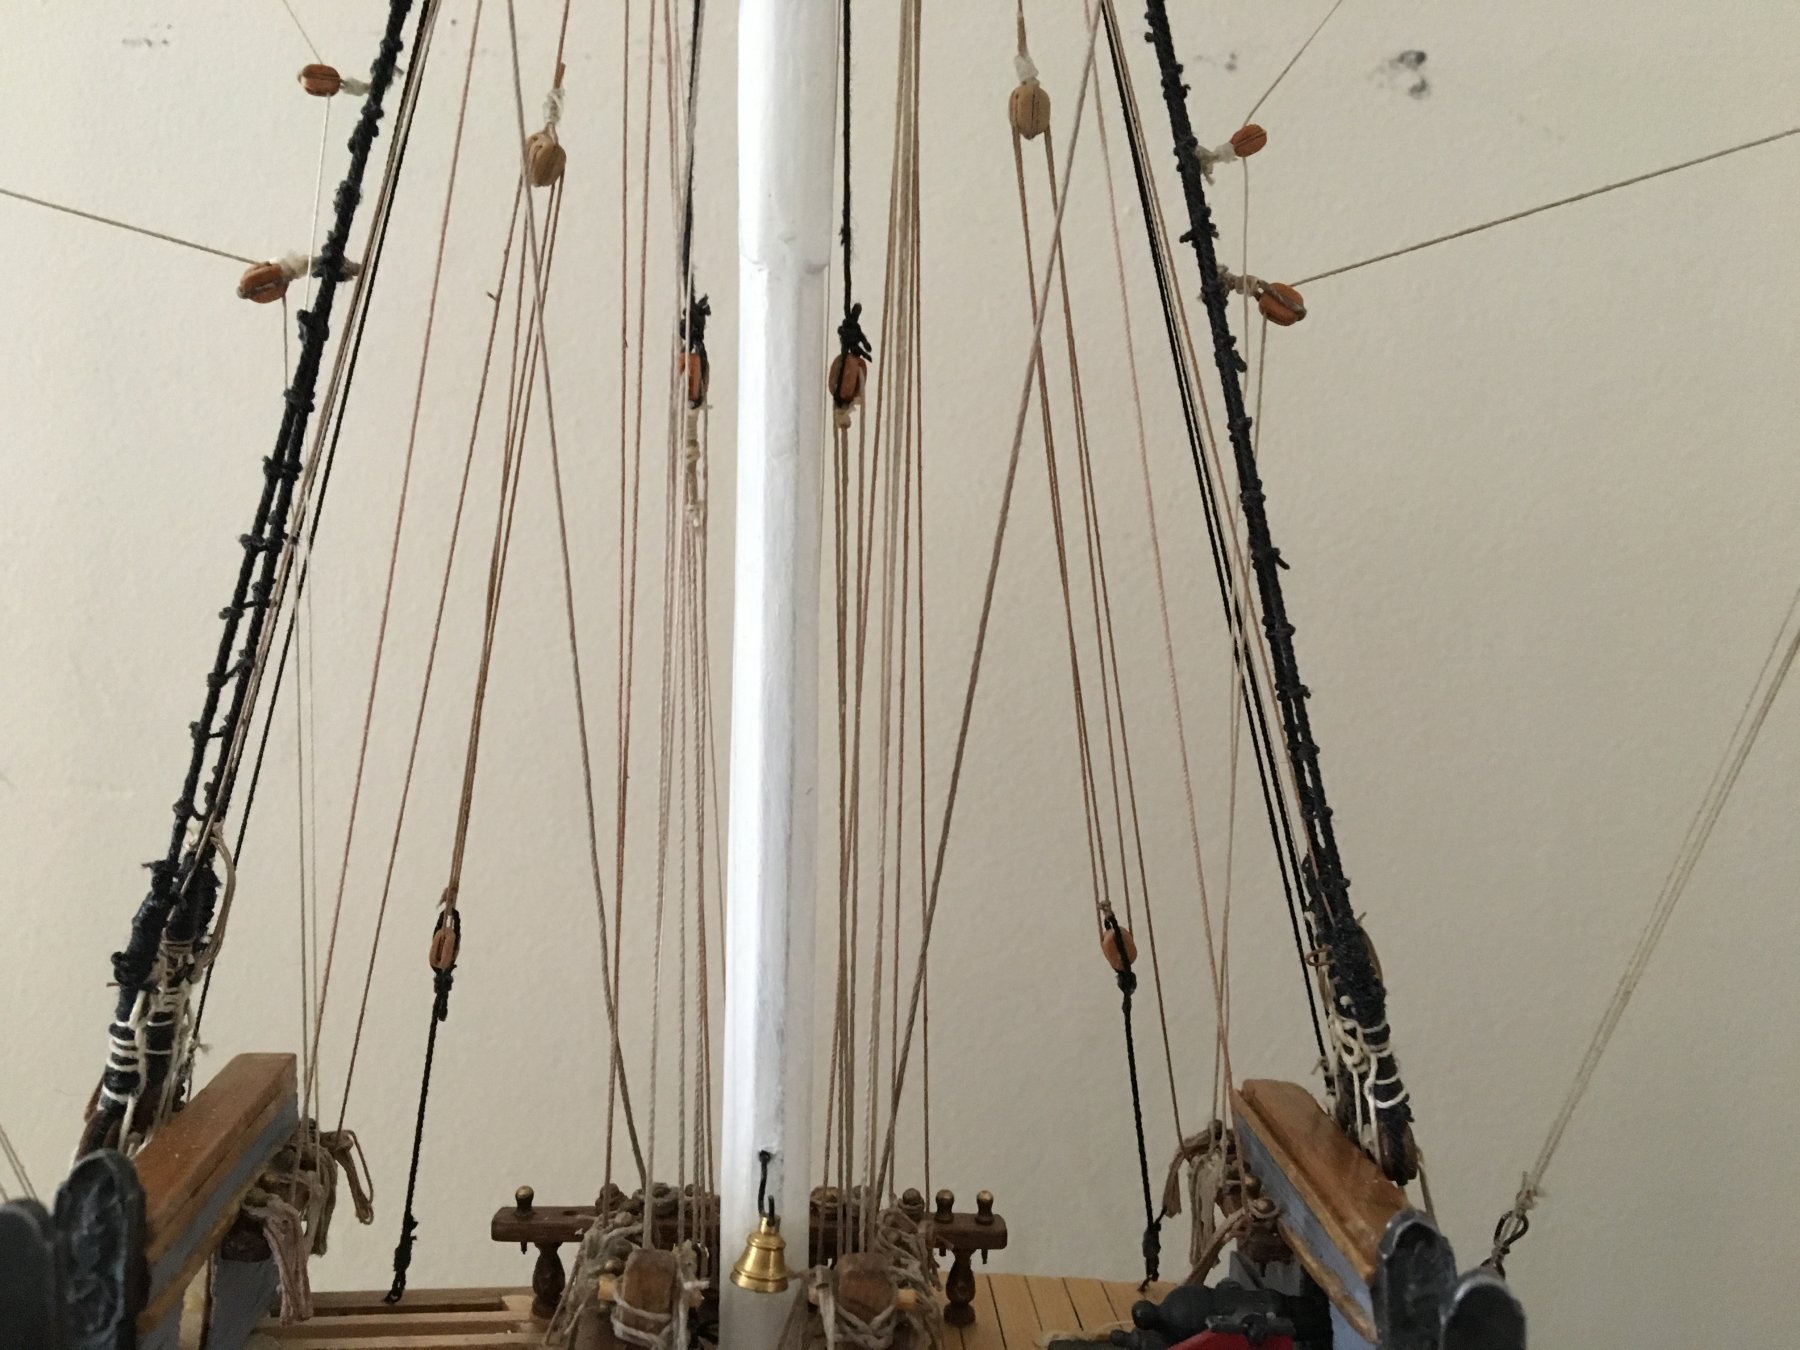
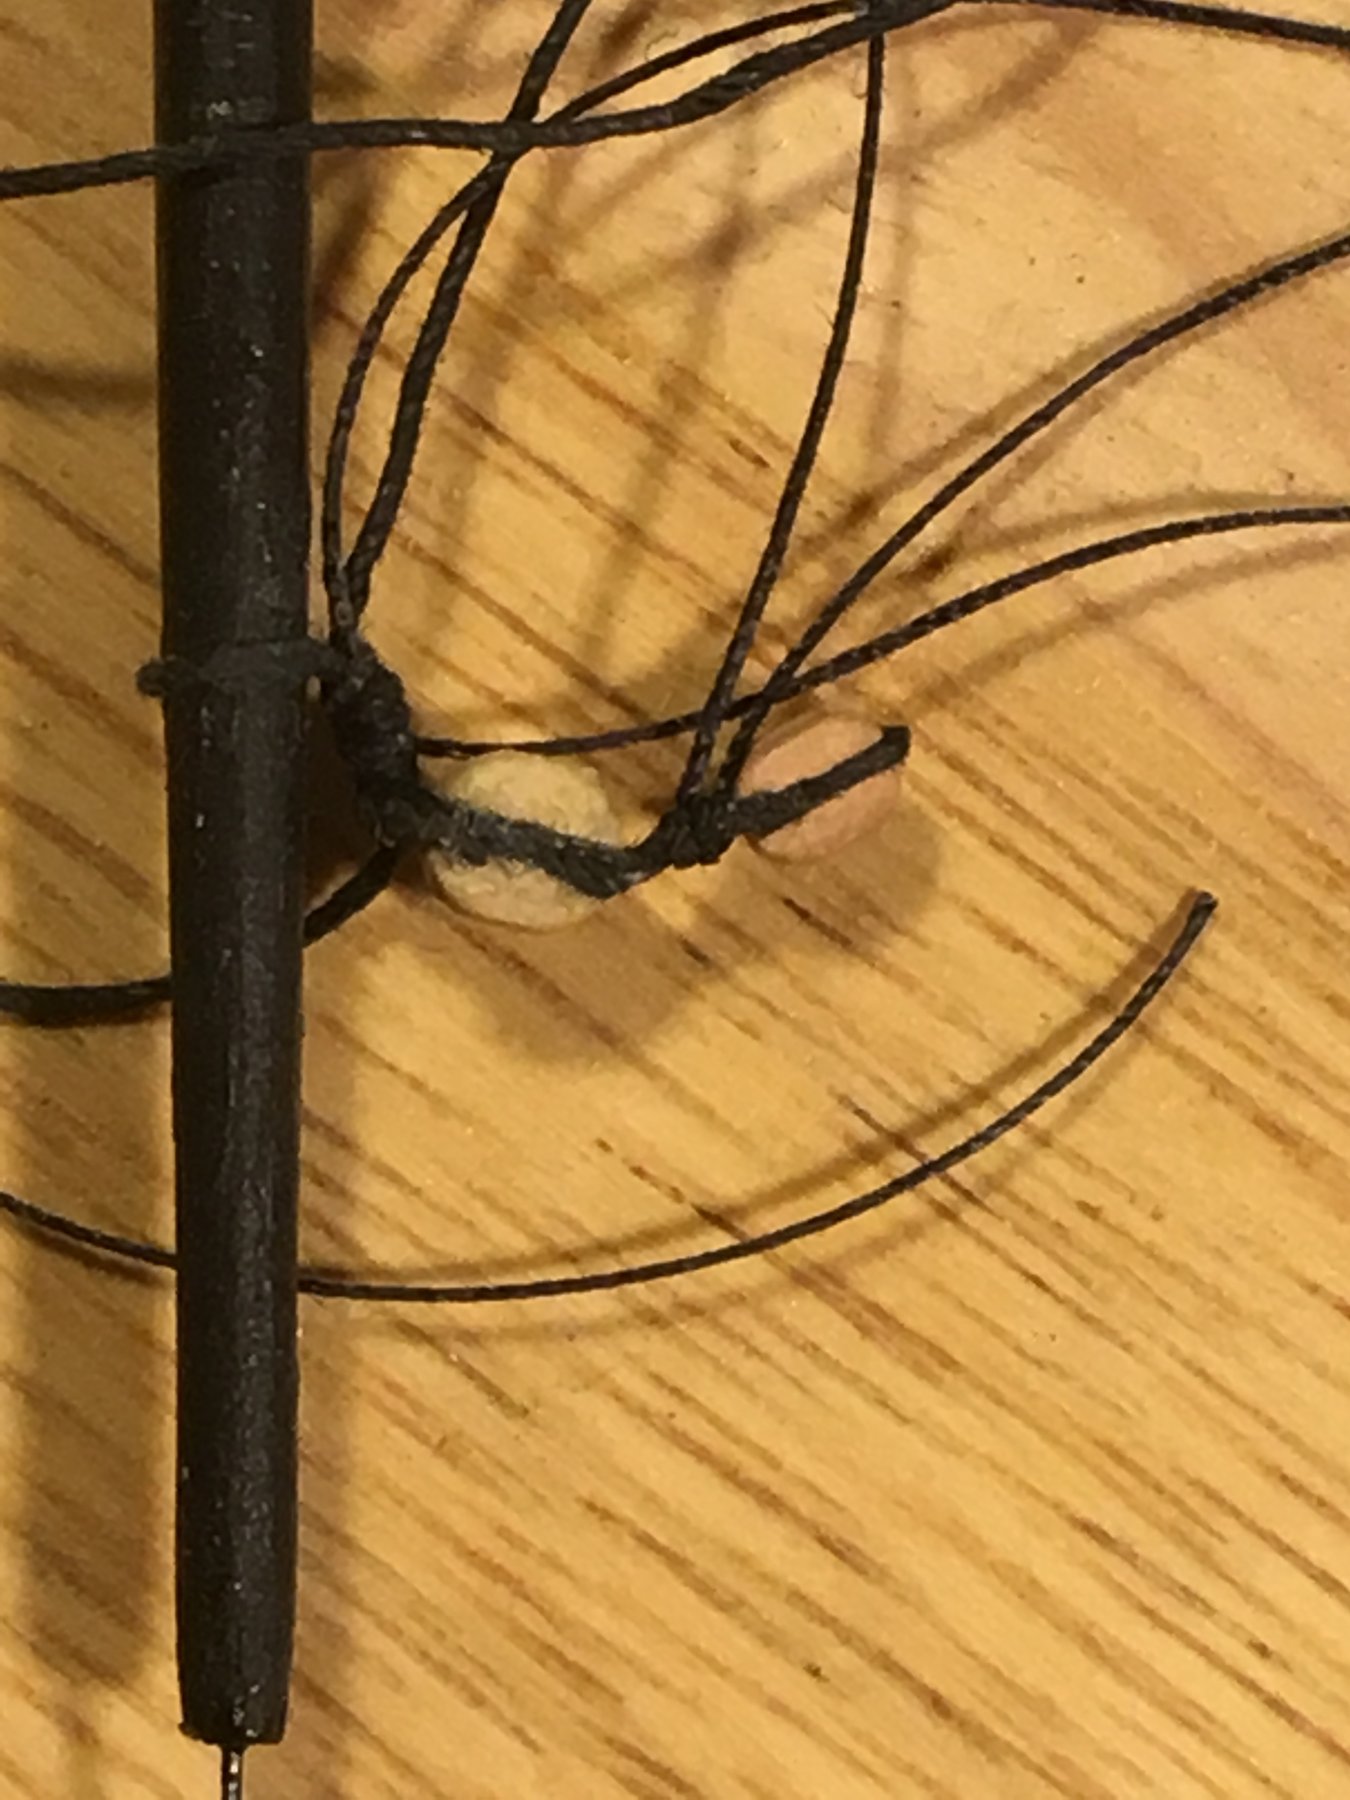
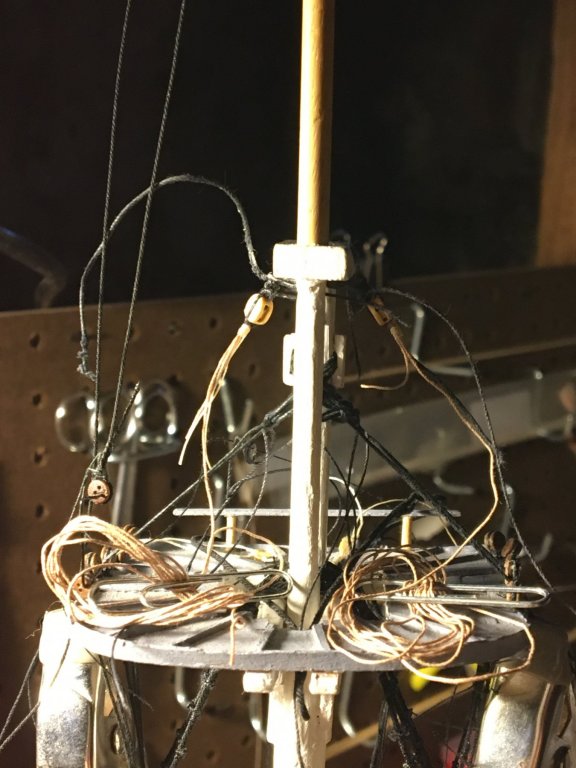
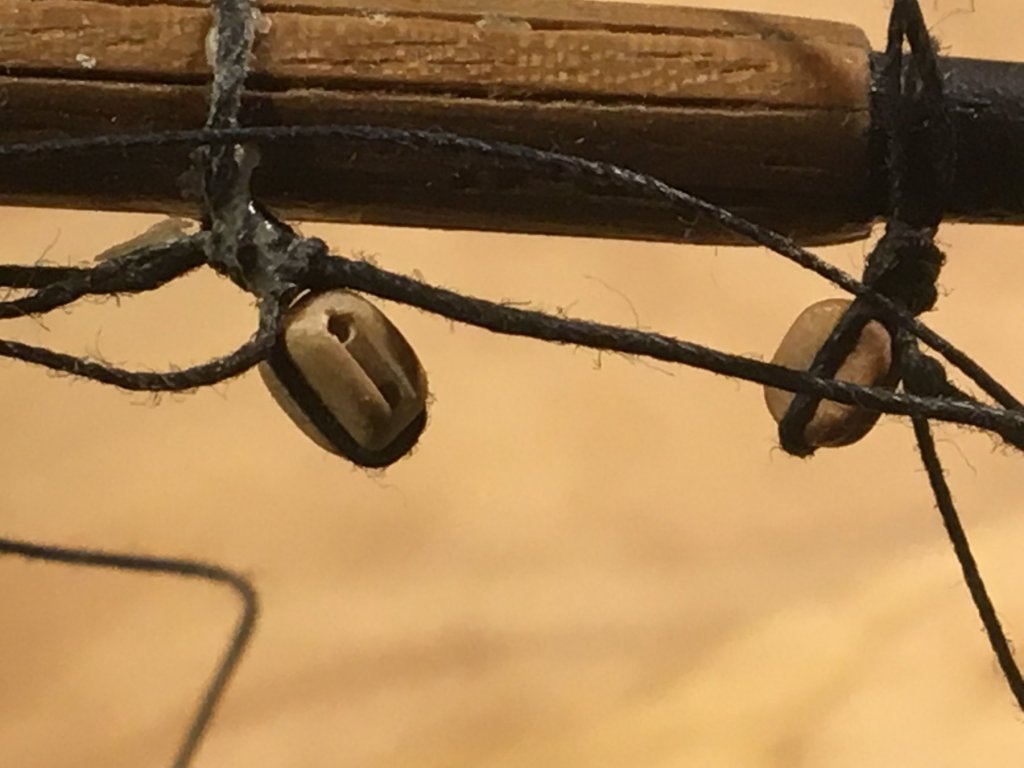
Down to the devilish details. I finally realized it would be easier to tie off some of the lines I want to look as though they had some slack in them if I glued them in one of the blocks. More coils done; since some of the lines are attached to the shrouds I debated whether to make coils for them as well - finally decided what the heck... I'm still debating whether to add some wire to the gun ports to mimic the ropes holding them up.. Just a few more lines and coils, the gun port doors on the unpainted side, gluing to the base (and the hatch grating if time permits) and it is off to the Northeast Ship Model Clubs meeting in New London Saturday
- 108 replies
-
- 4
-
-
- mamoli
- constitution
- (and 2 more)
-
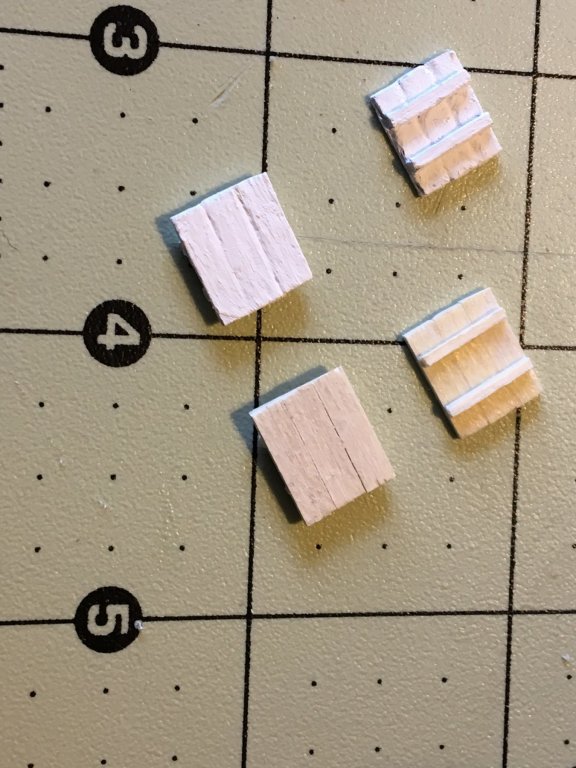
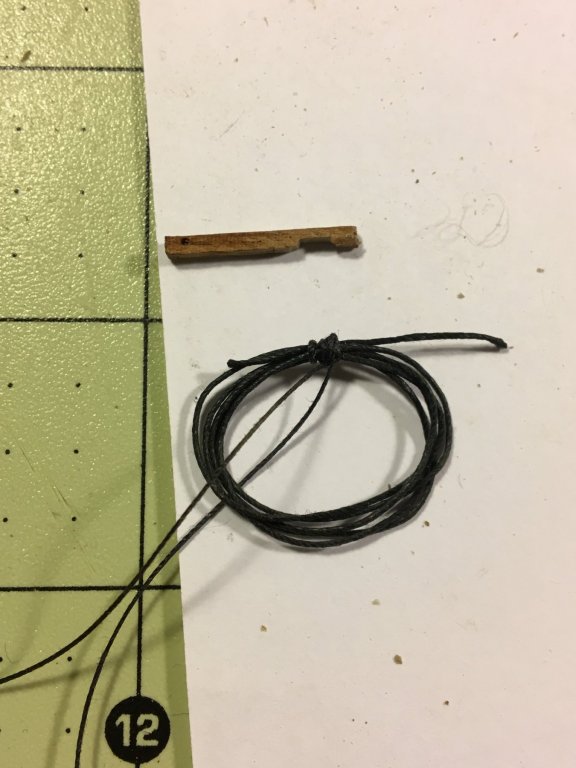
Gun port doors Rope coil jig with built-in loop to hang the coils A couple of finished products
- 108 replies
-
- 4
-
-
- mamoli
- constitution
- (and 2 more)
-
Thanks all for the likes and comments - getting down to the last of the rigging and figuring out the rope coils. Gun ports being fabricated by The Admiral - a former carpenter; will post pictures when she says they're done...
- 108 replies
-
- 3
-
-
- mamoli
- constitution
- (and 2 more)
-
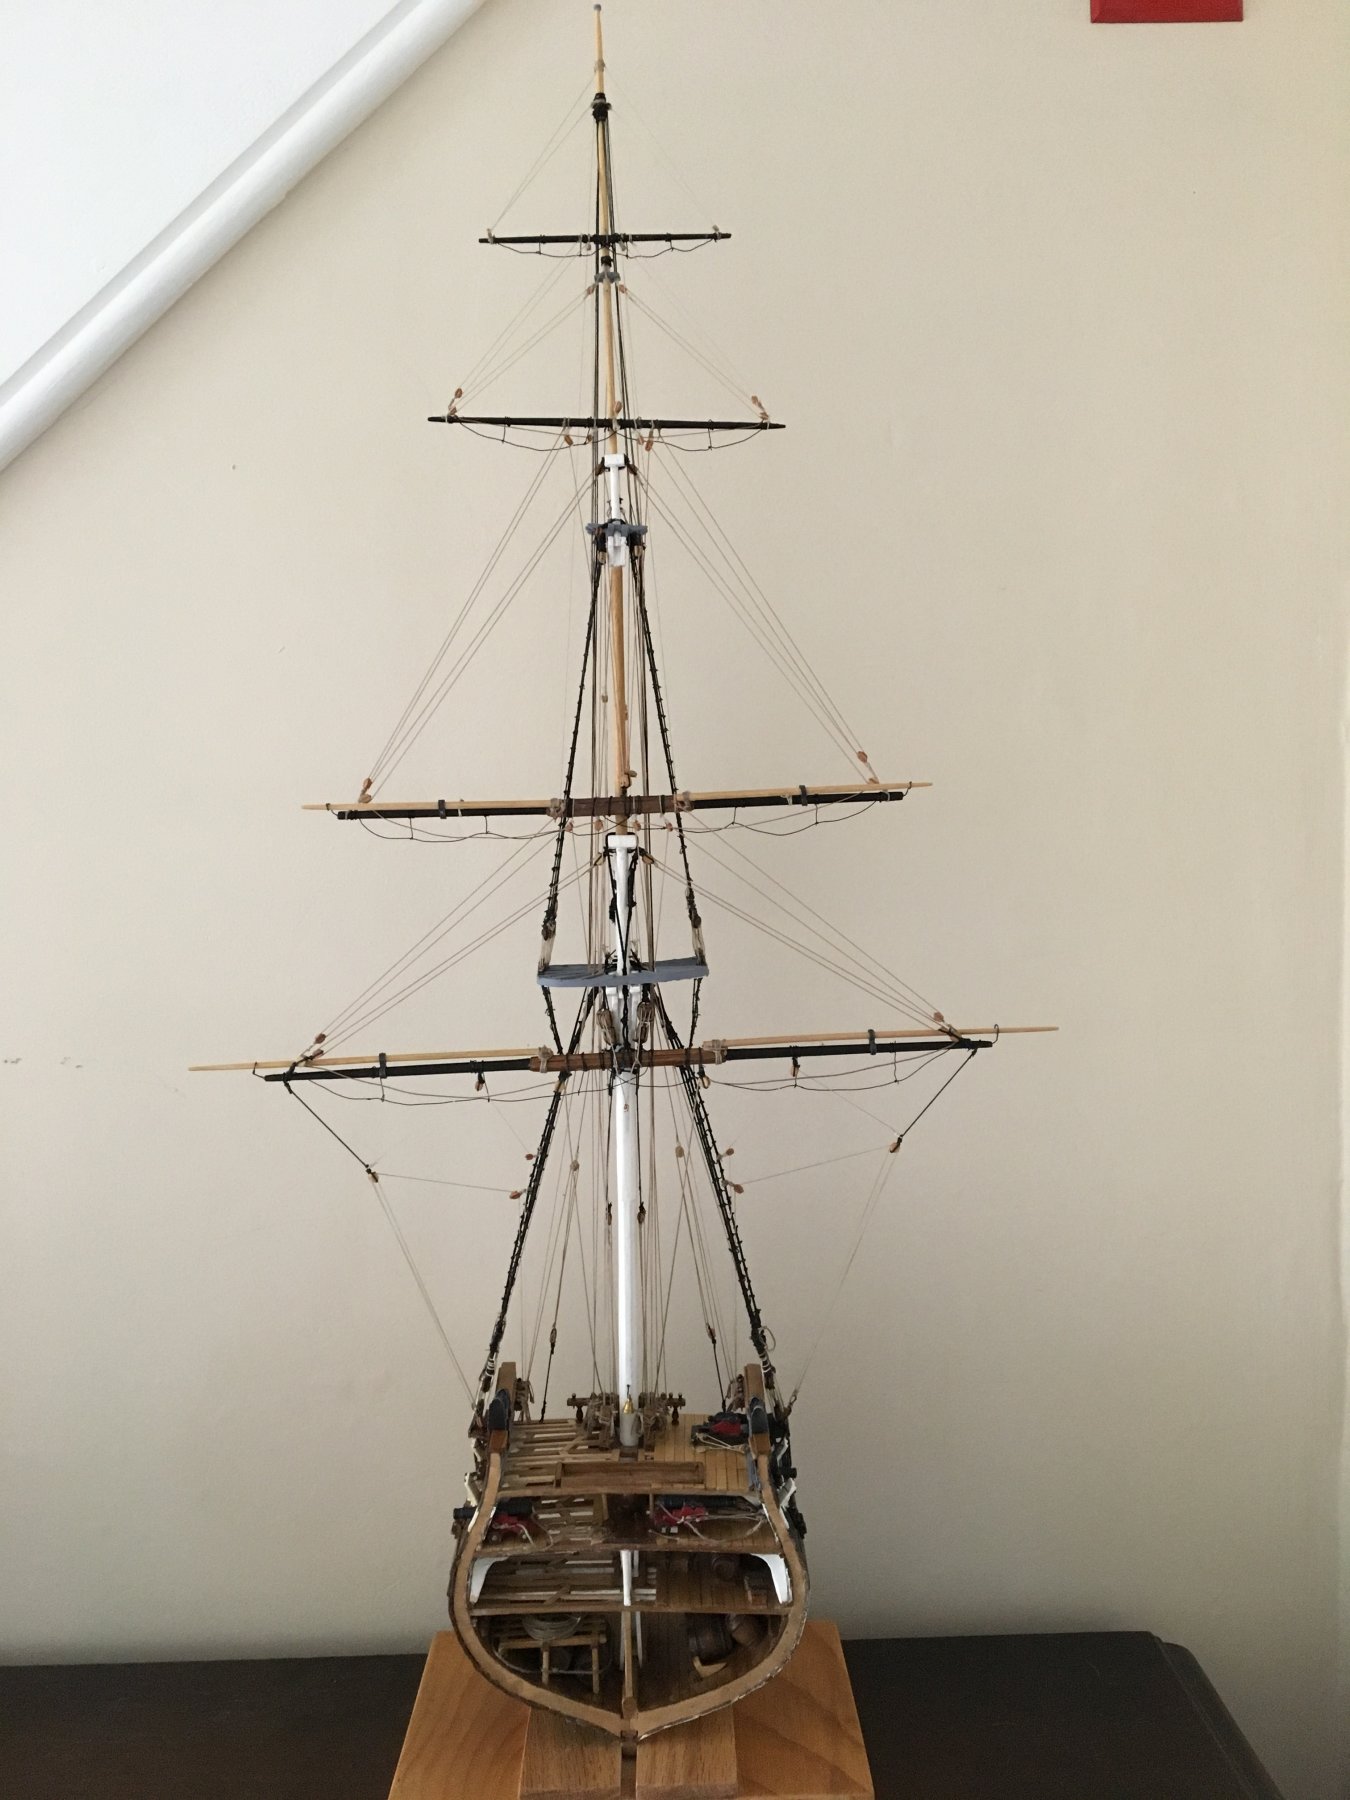
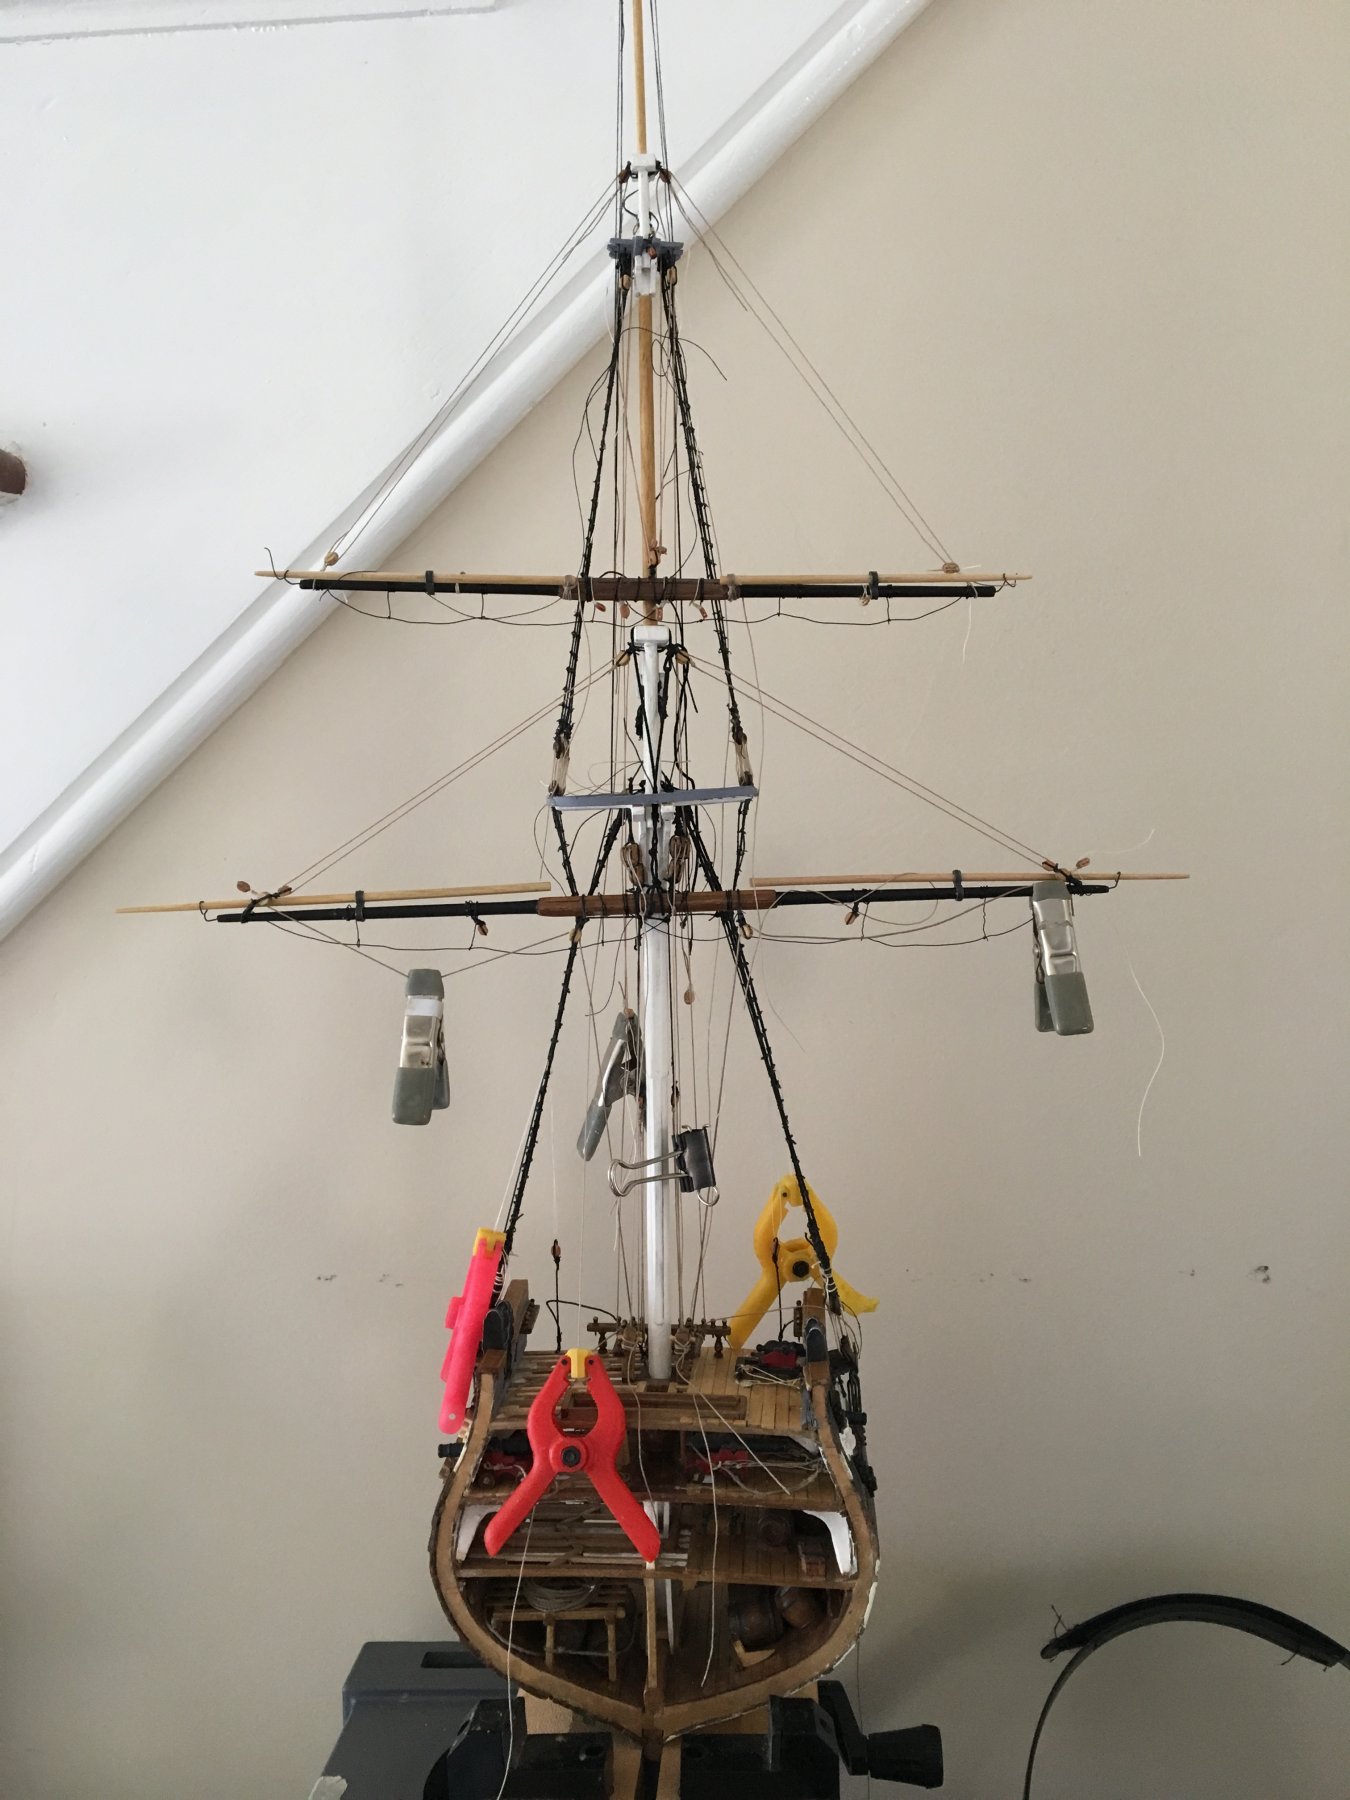
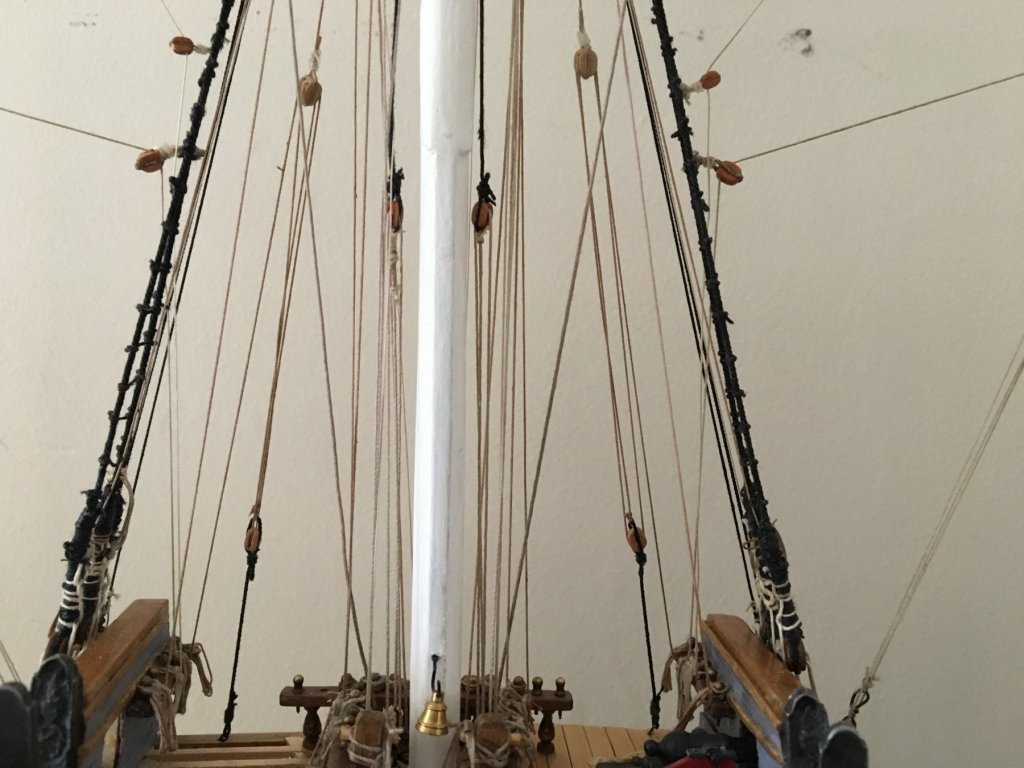
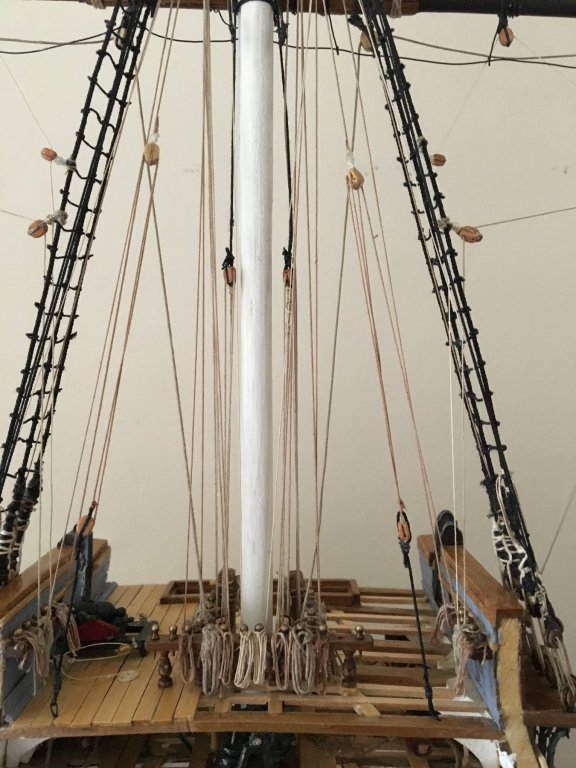
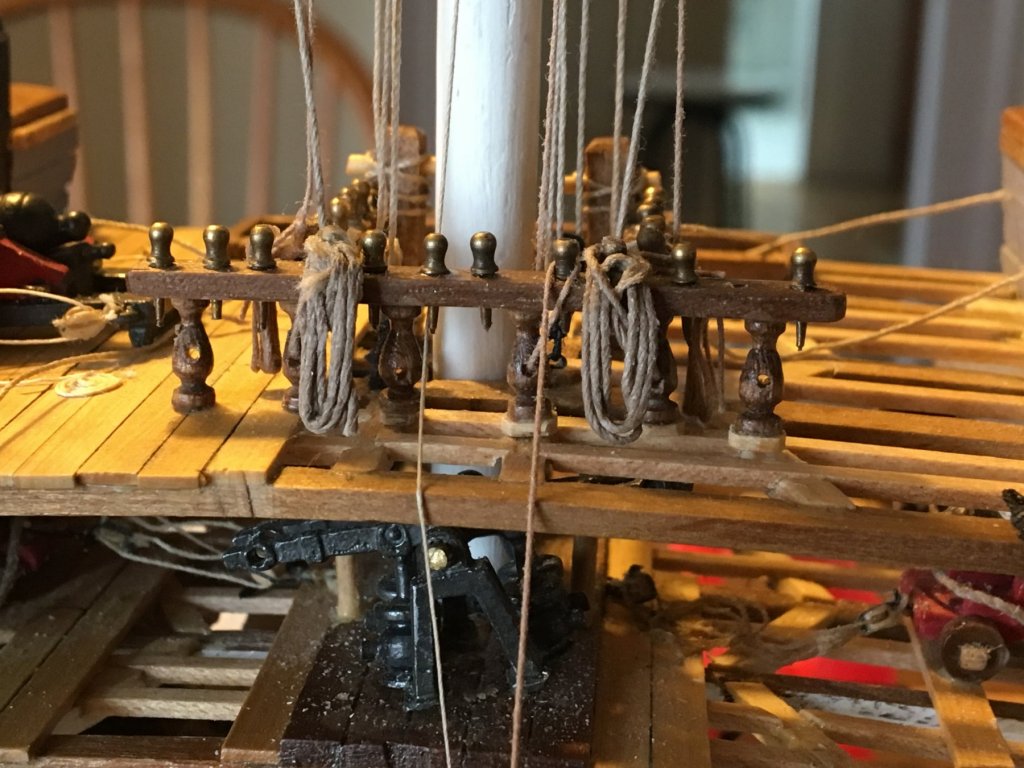
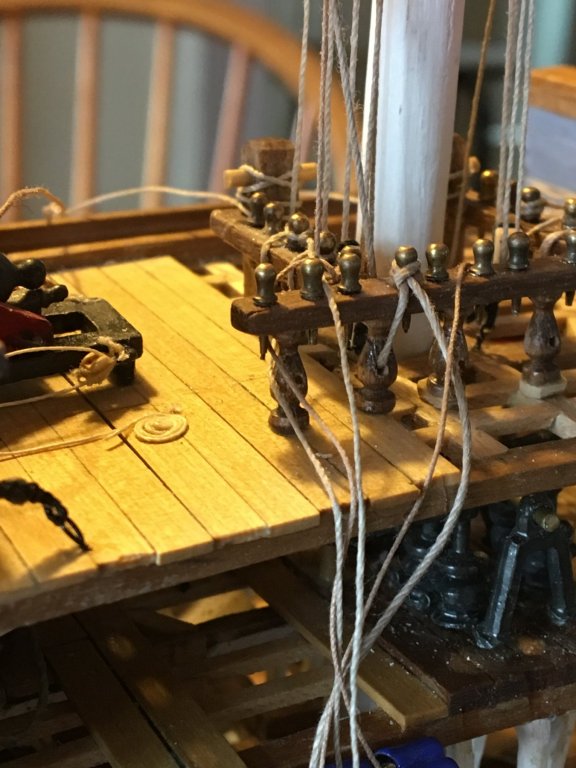
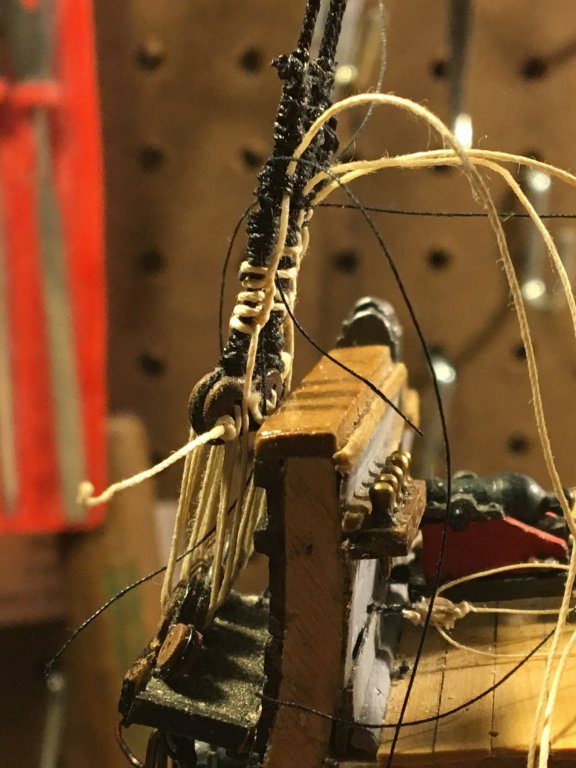
Standing rigging done; working on the running rigging from the bottom up, except for the falls of the braces (the plans for this thing are a bit wacky in some regards) and the topsail lifts - I want to do those last so I have room to work at the pin rails. tying off the ropes at the belaying pins continues to be a challenge. Once the rigging is done I need to make the doors for the main gun ports - don't like the metal ones that came with the kit, and I need to make them out of holly on the side of the ship I am not painting, and the hatch gratings. Then I need to figure out how to attach it to the base (epoxy??) and how to transport it to New London in 2 weeks!


- 108 replies
-
- 6
-
-
- mamoli
- constitution
- (and 2 more)
-
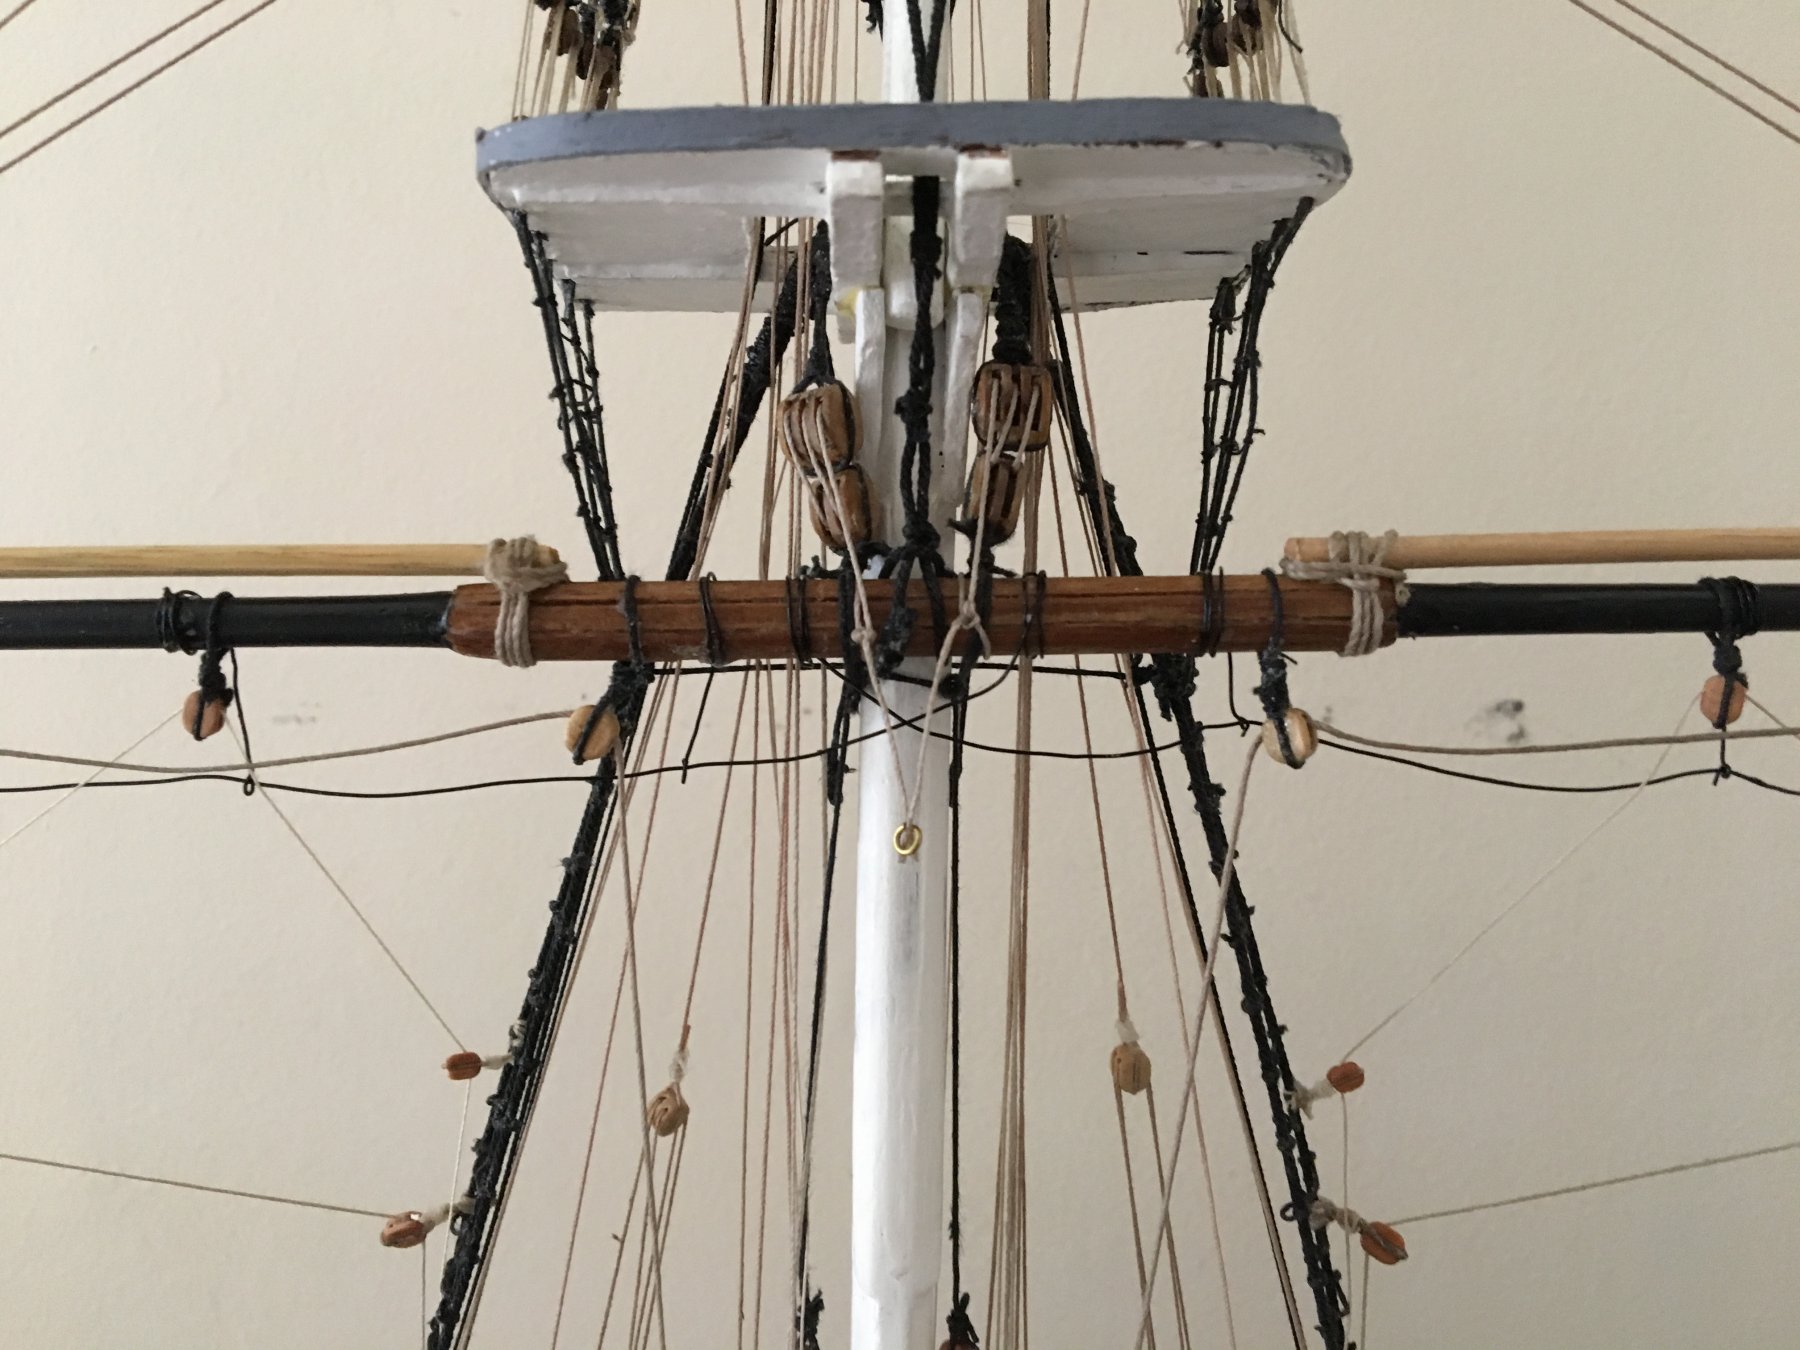
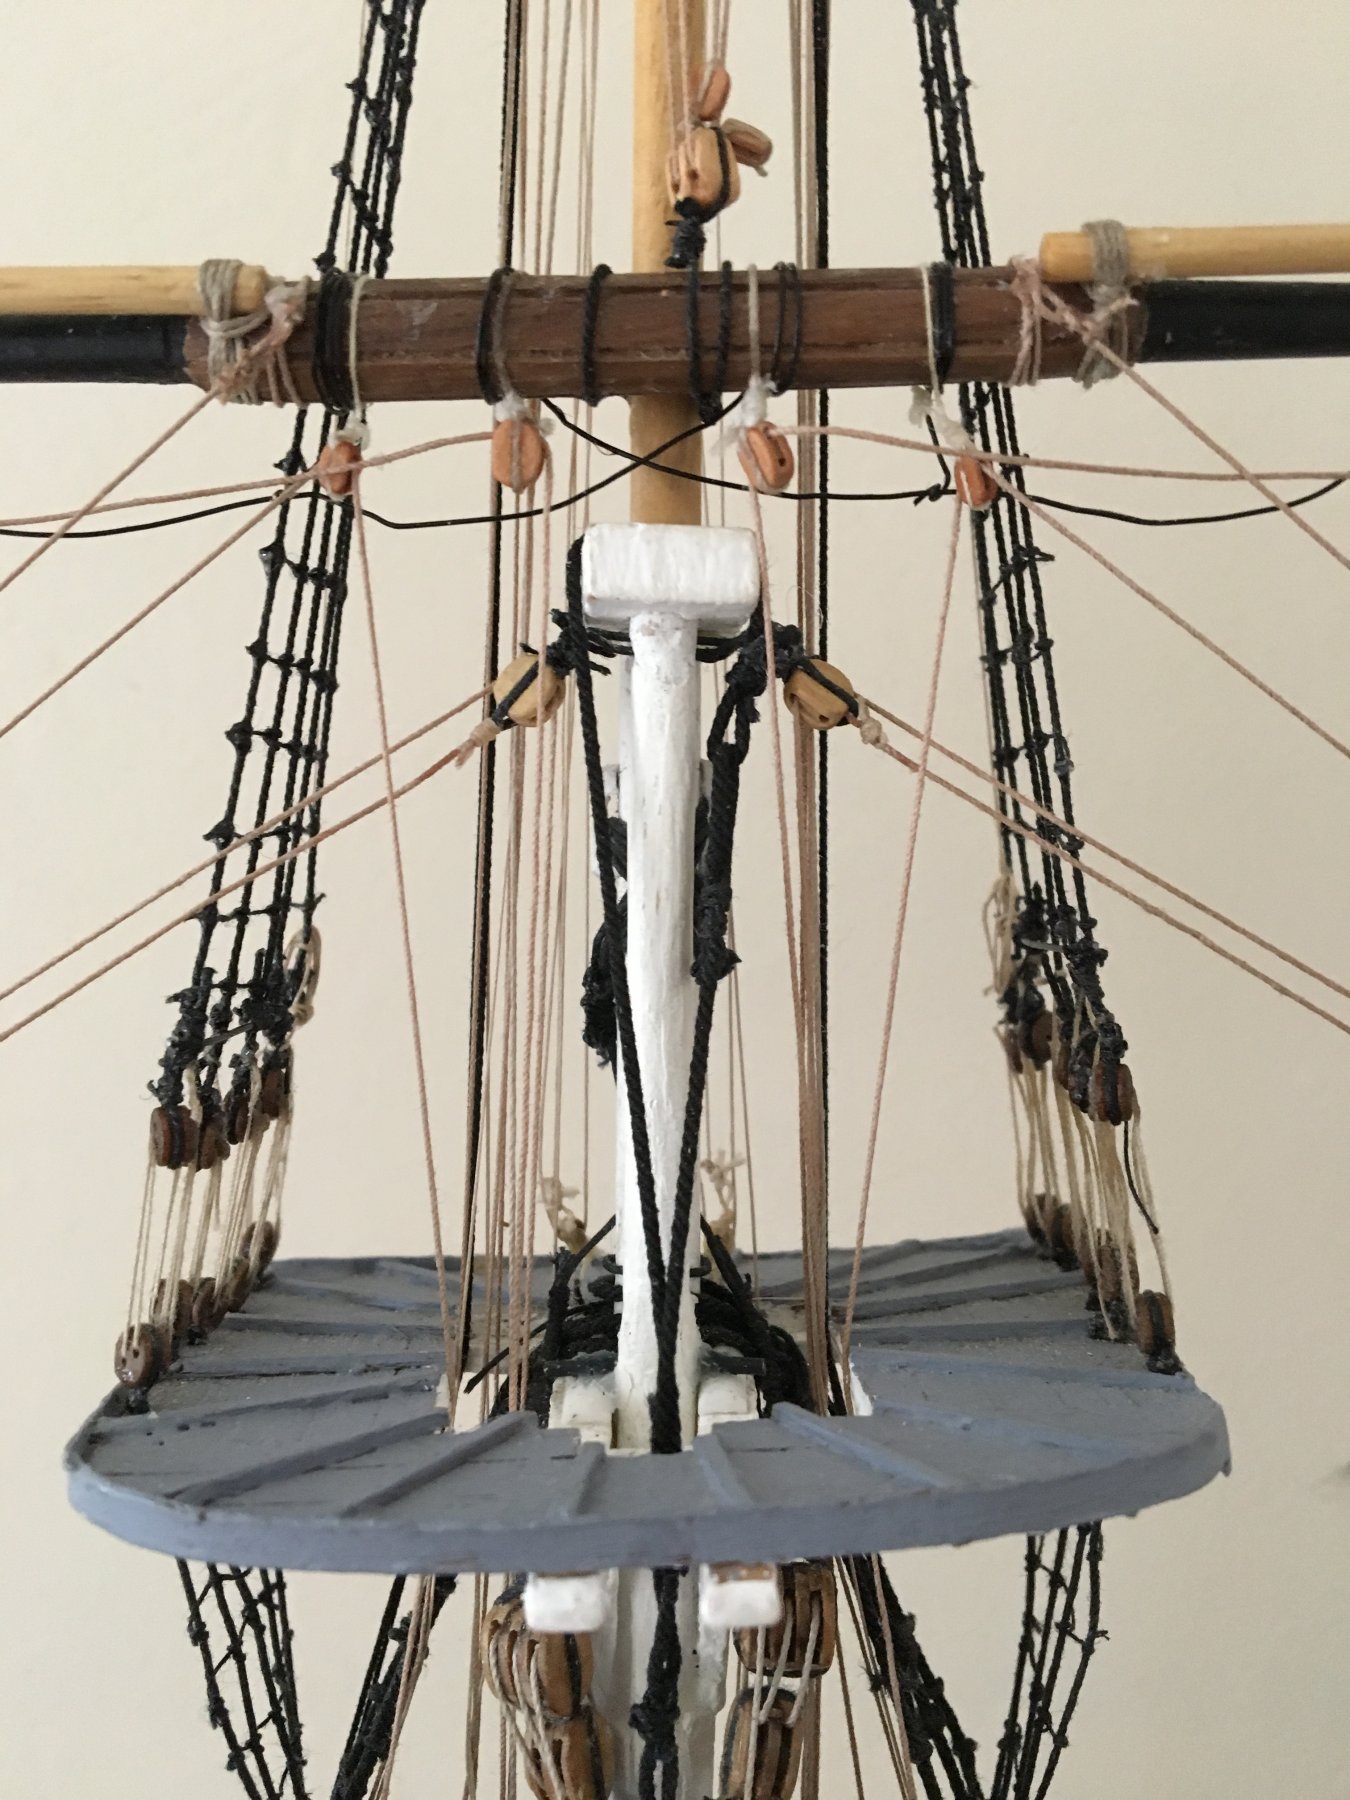
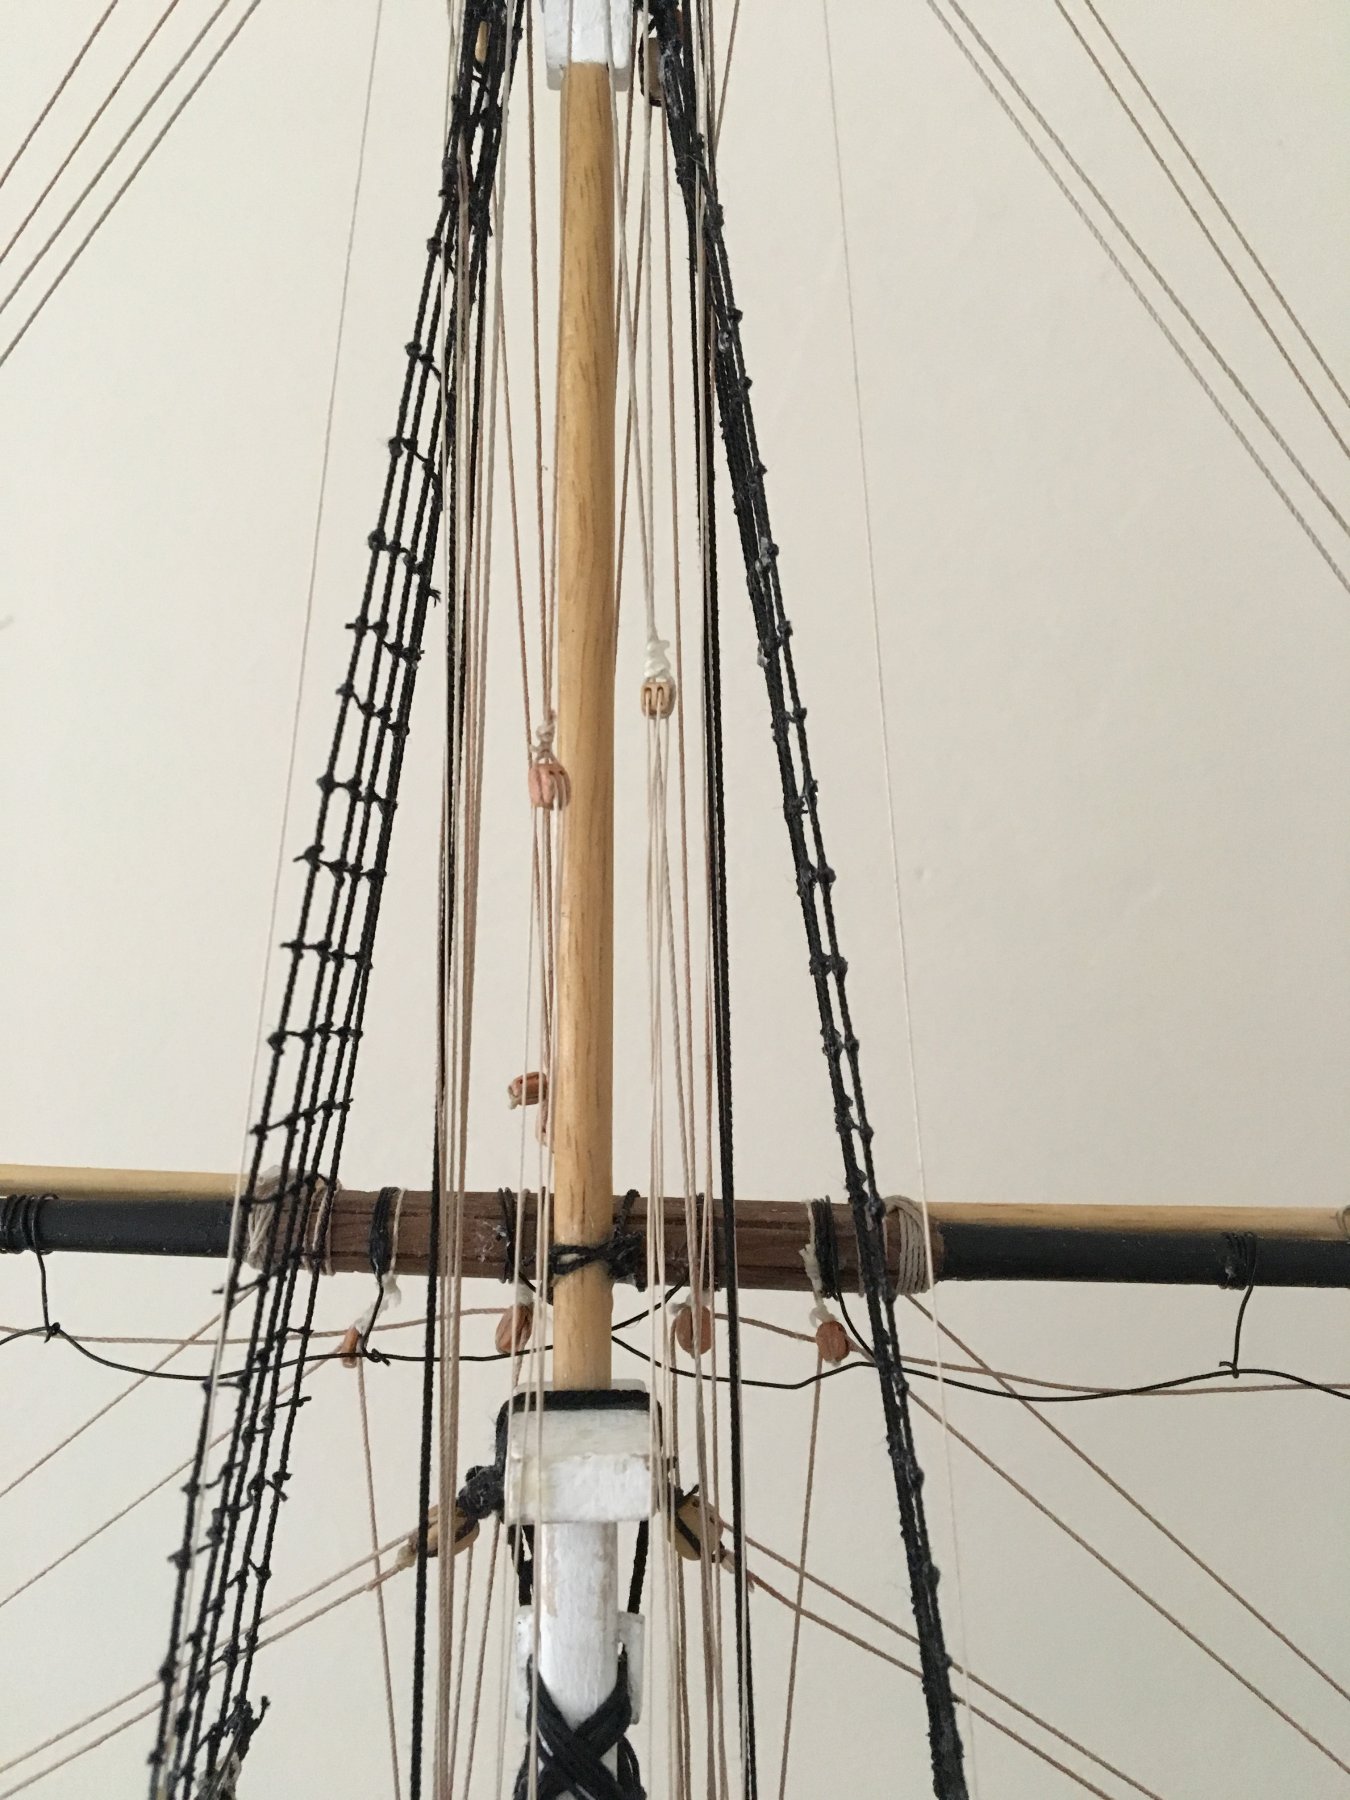
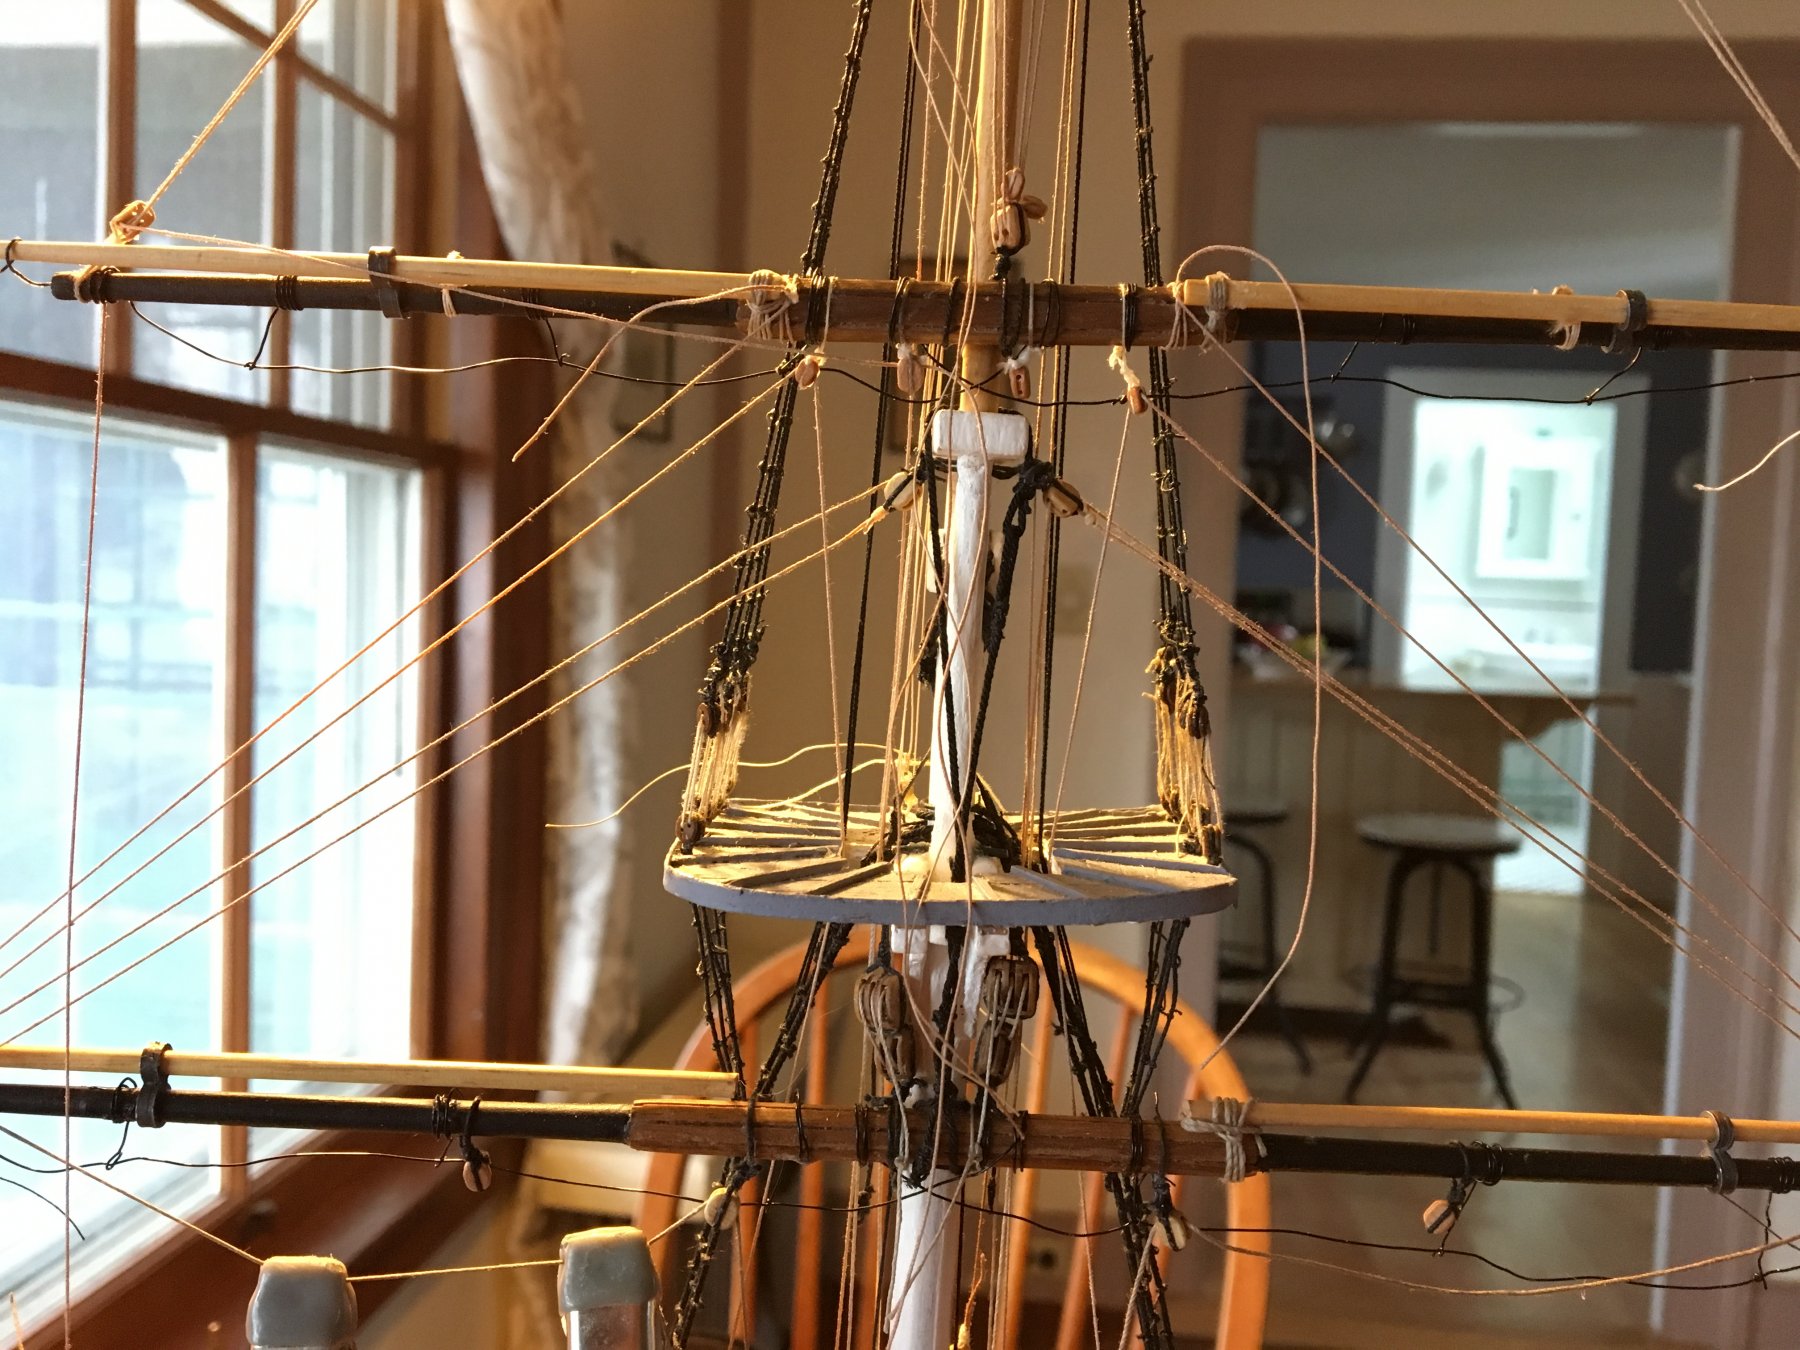
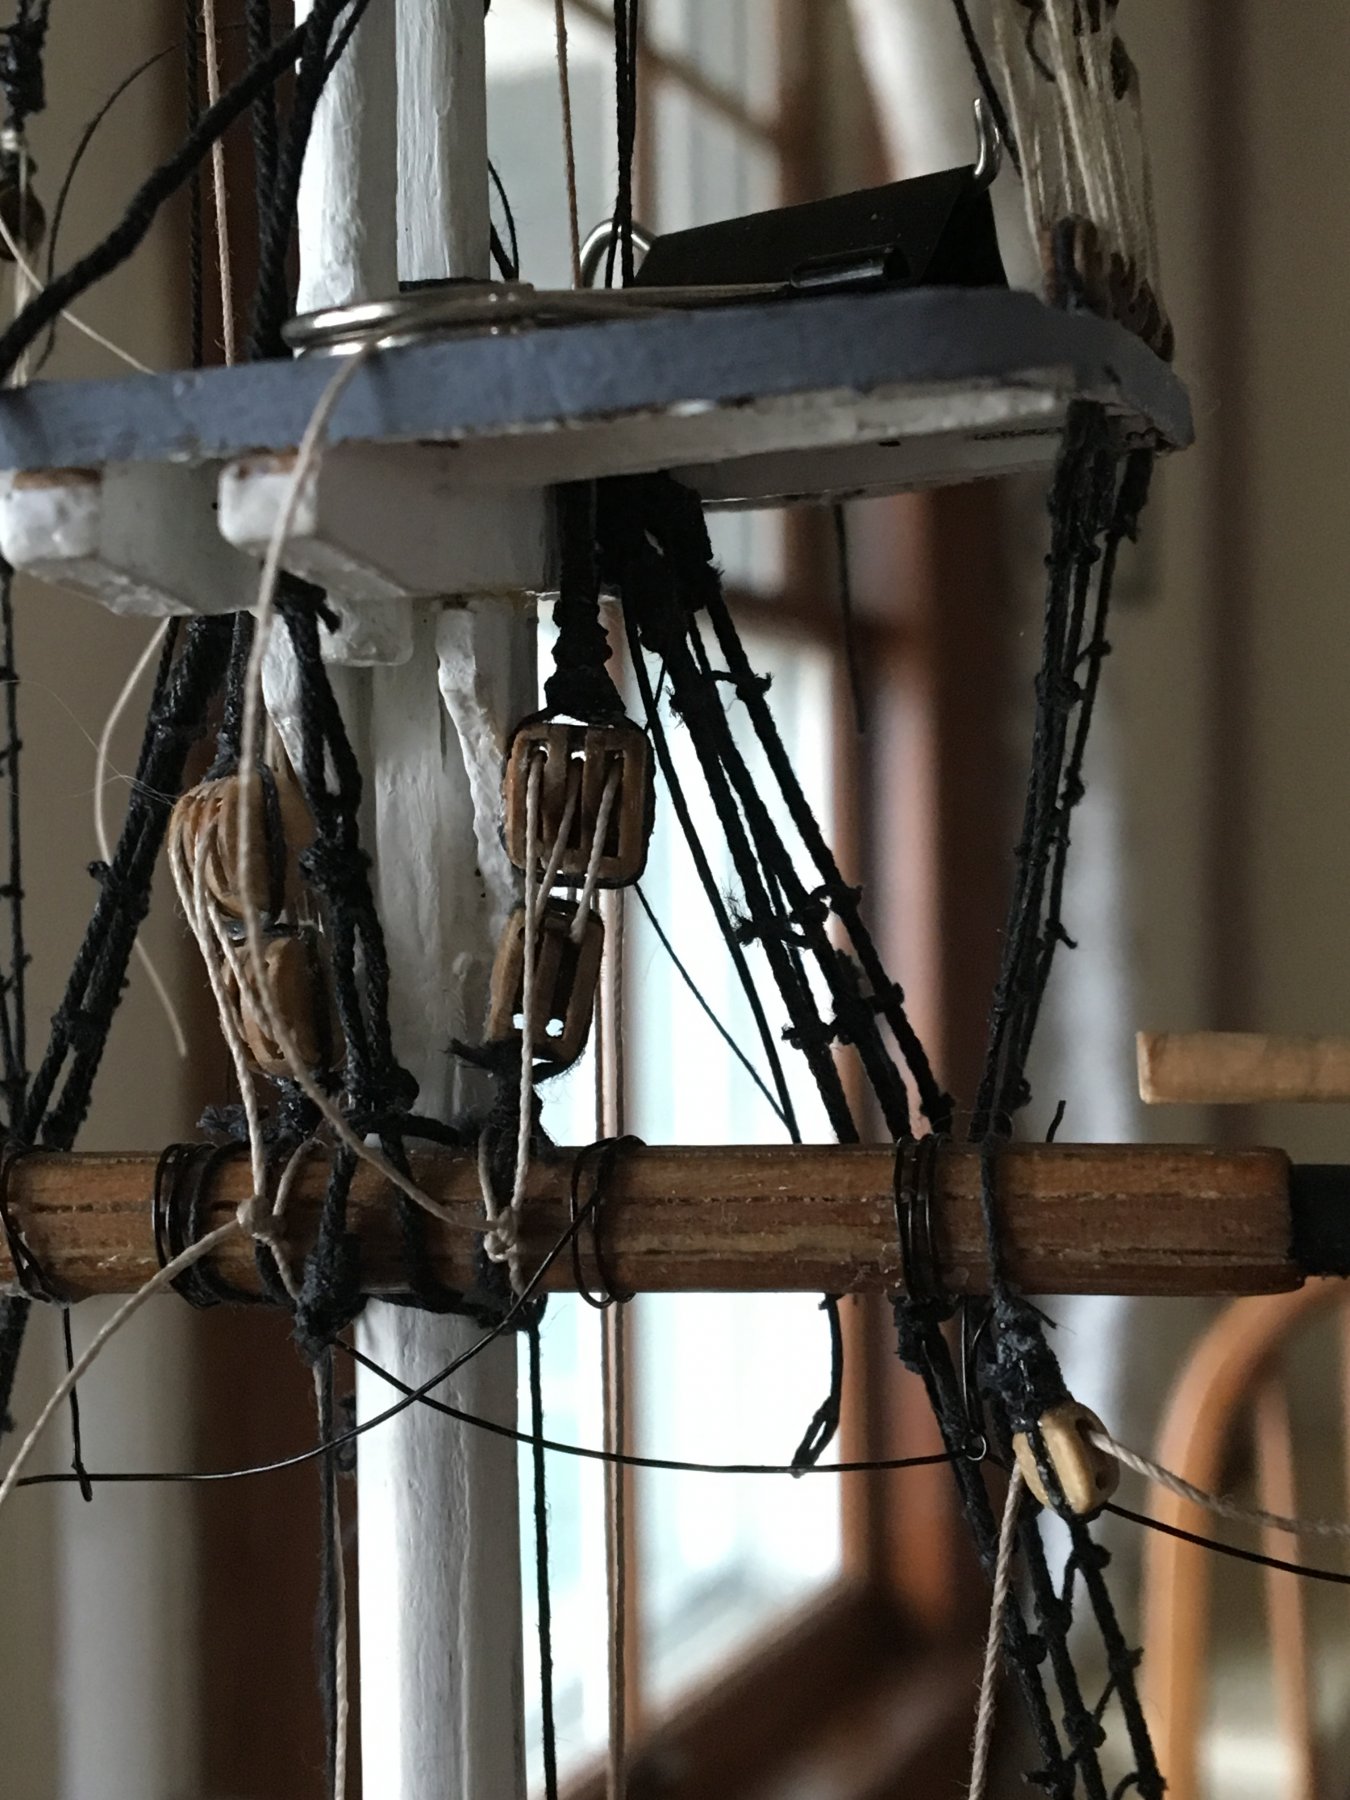
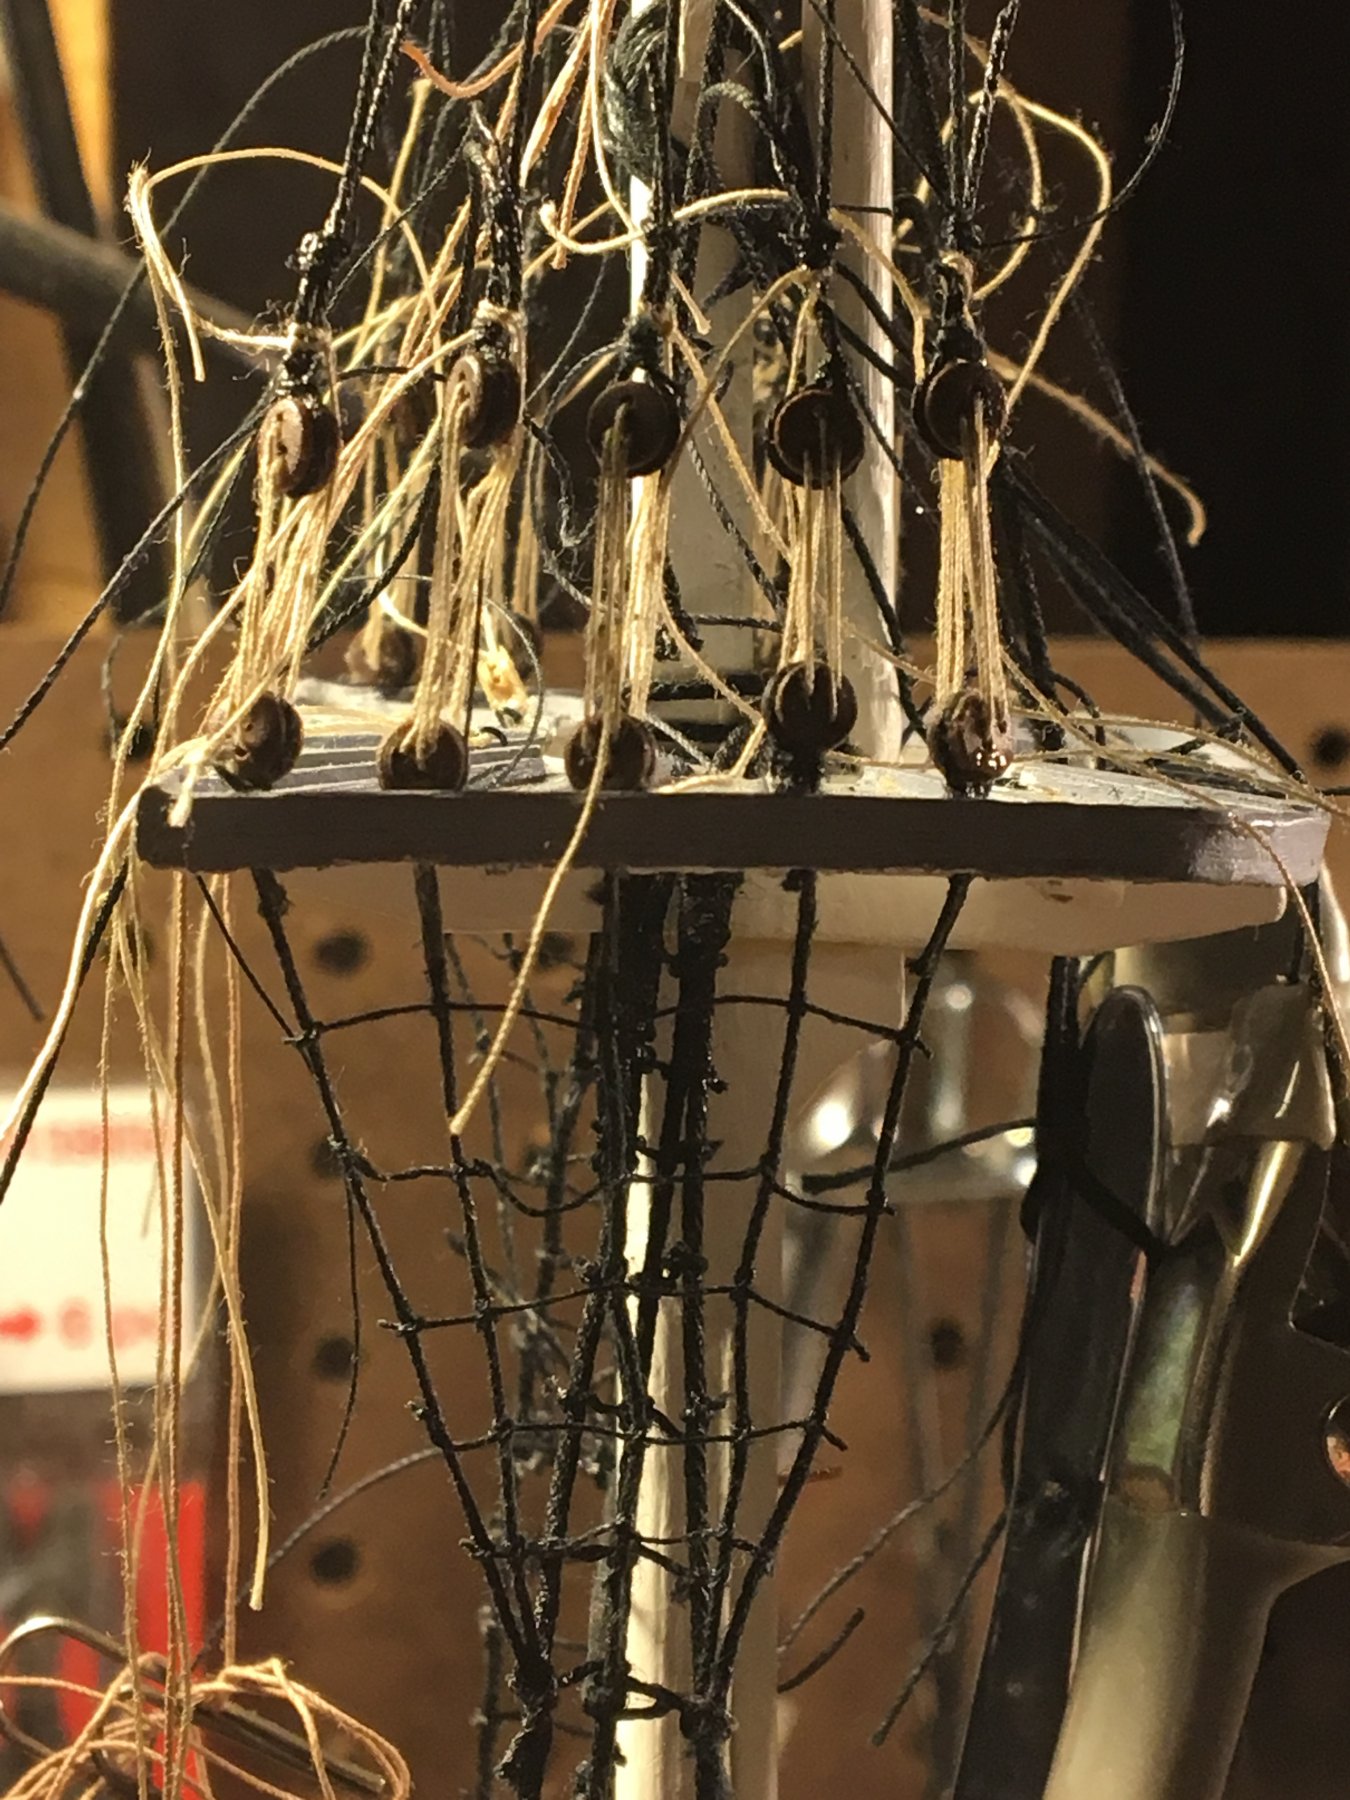
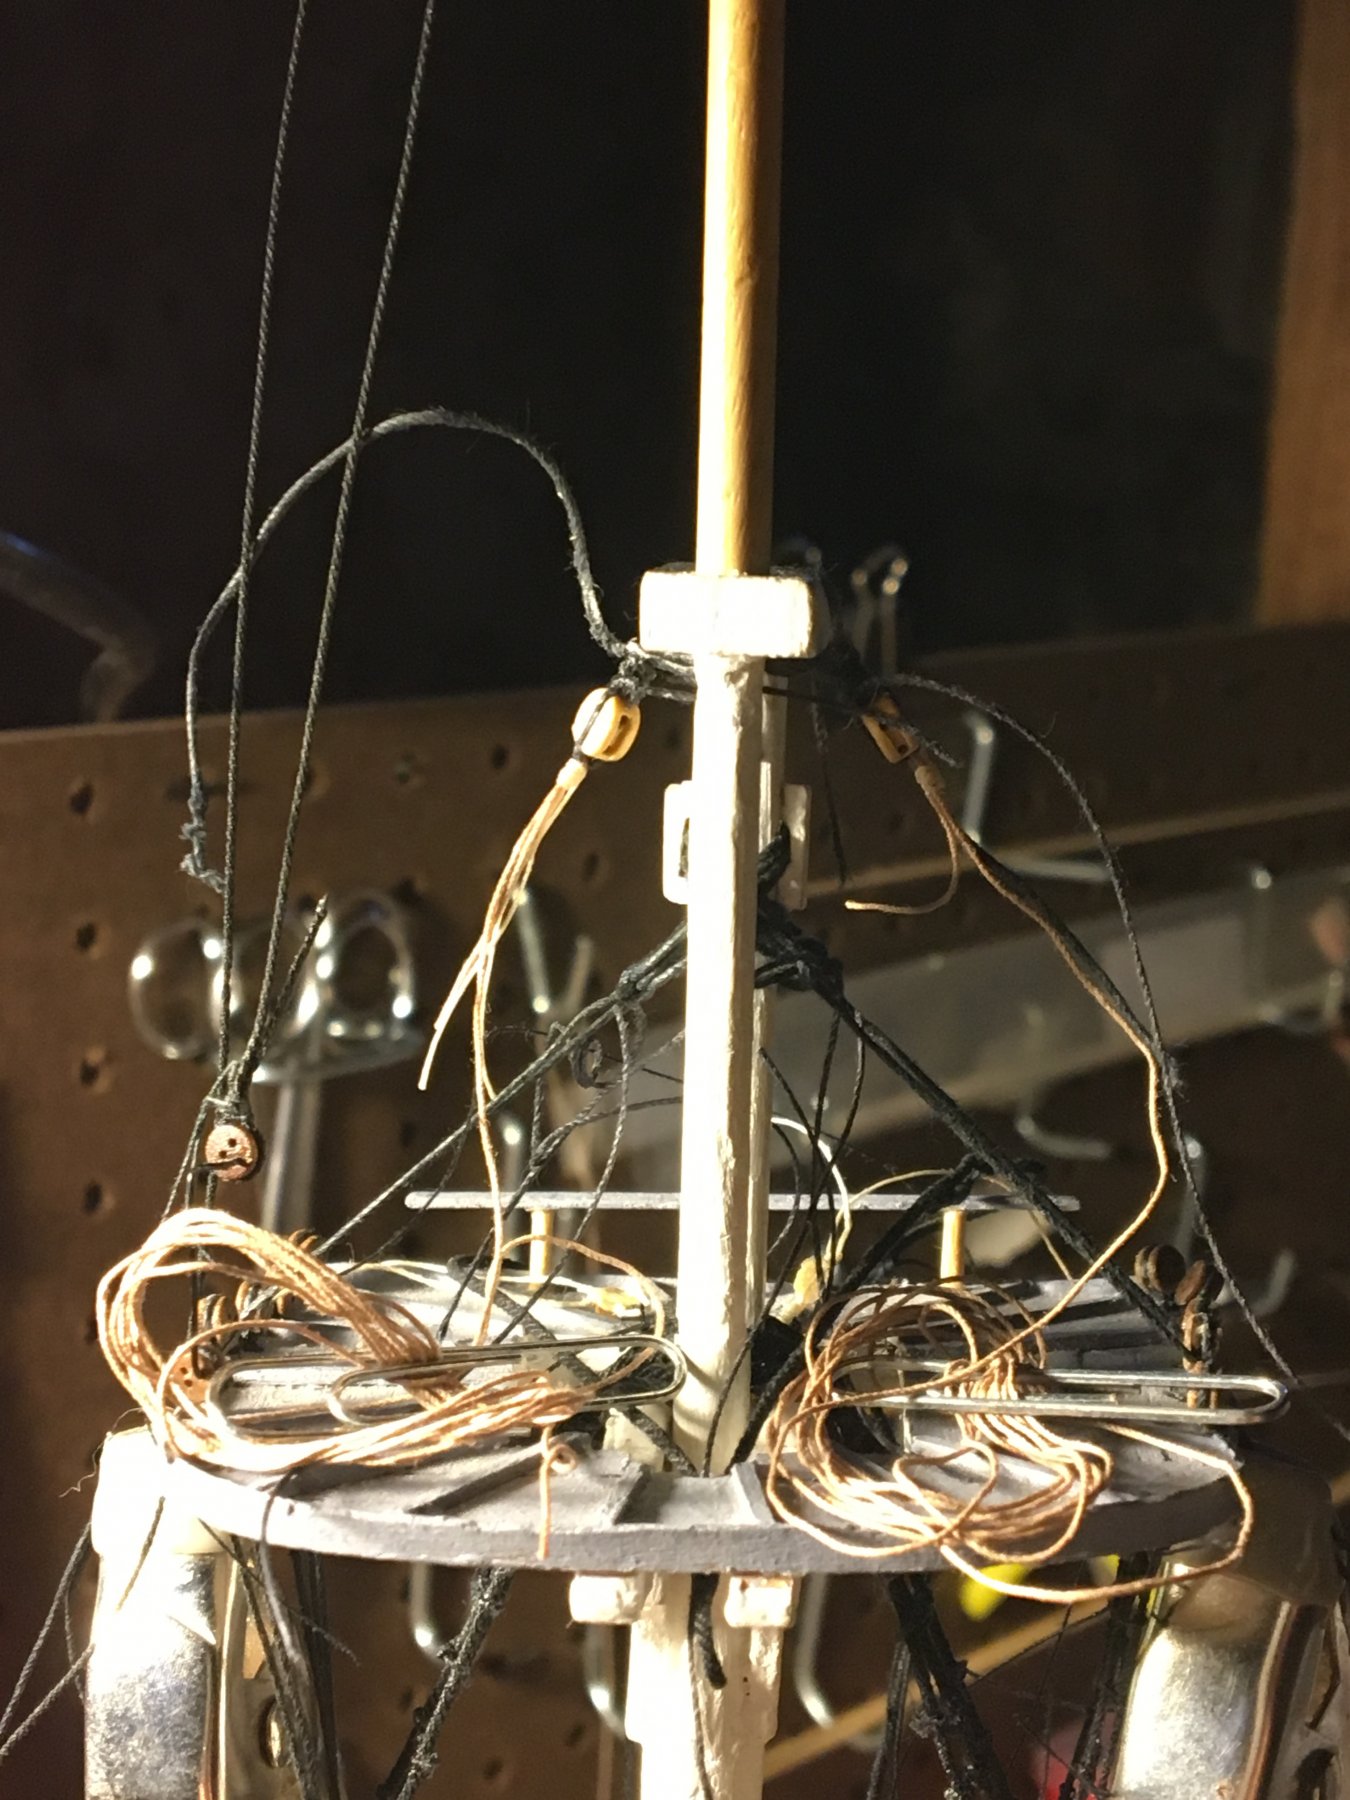
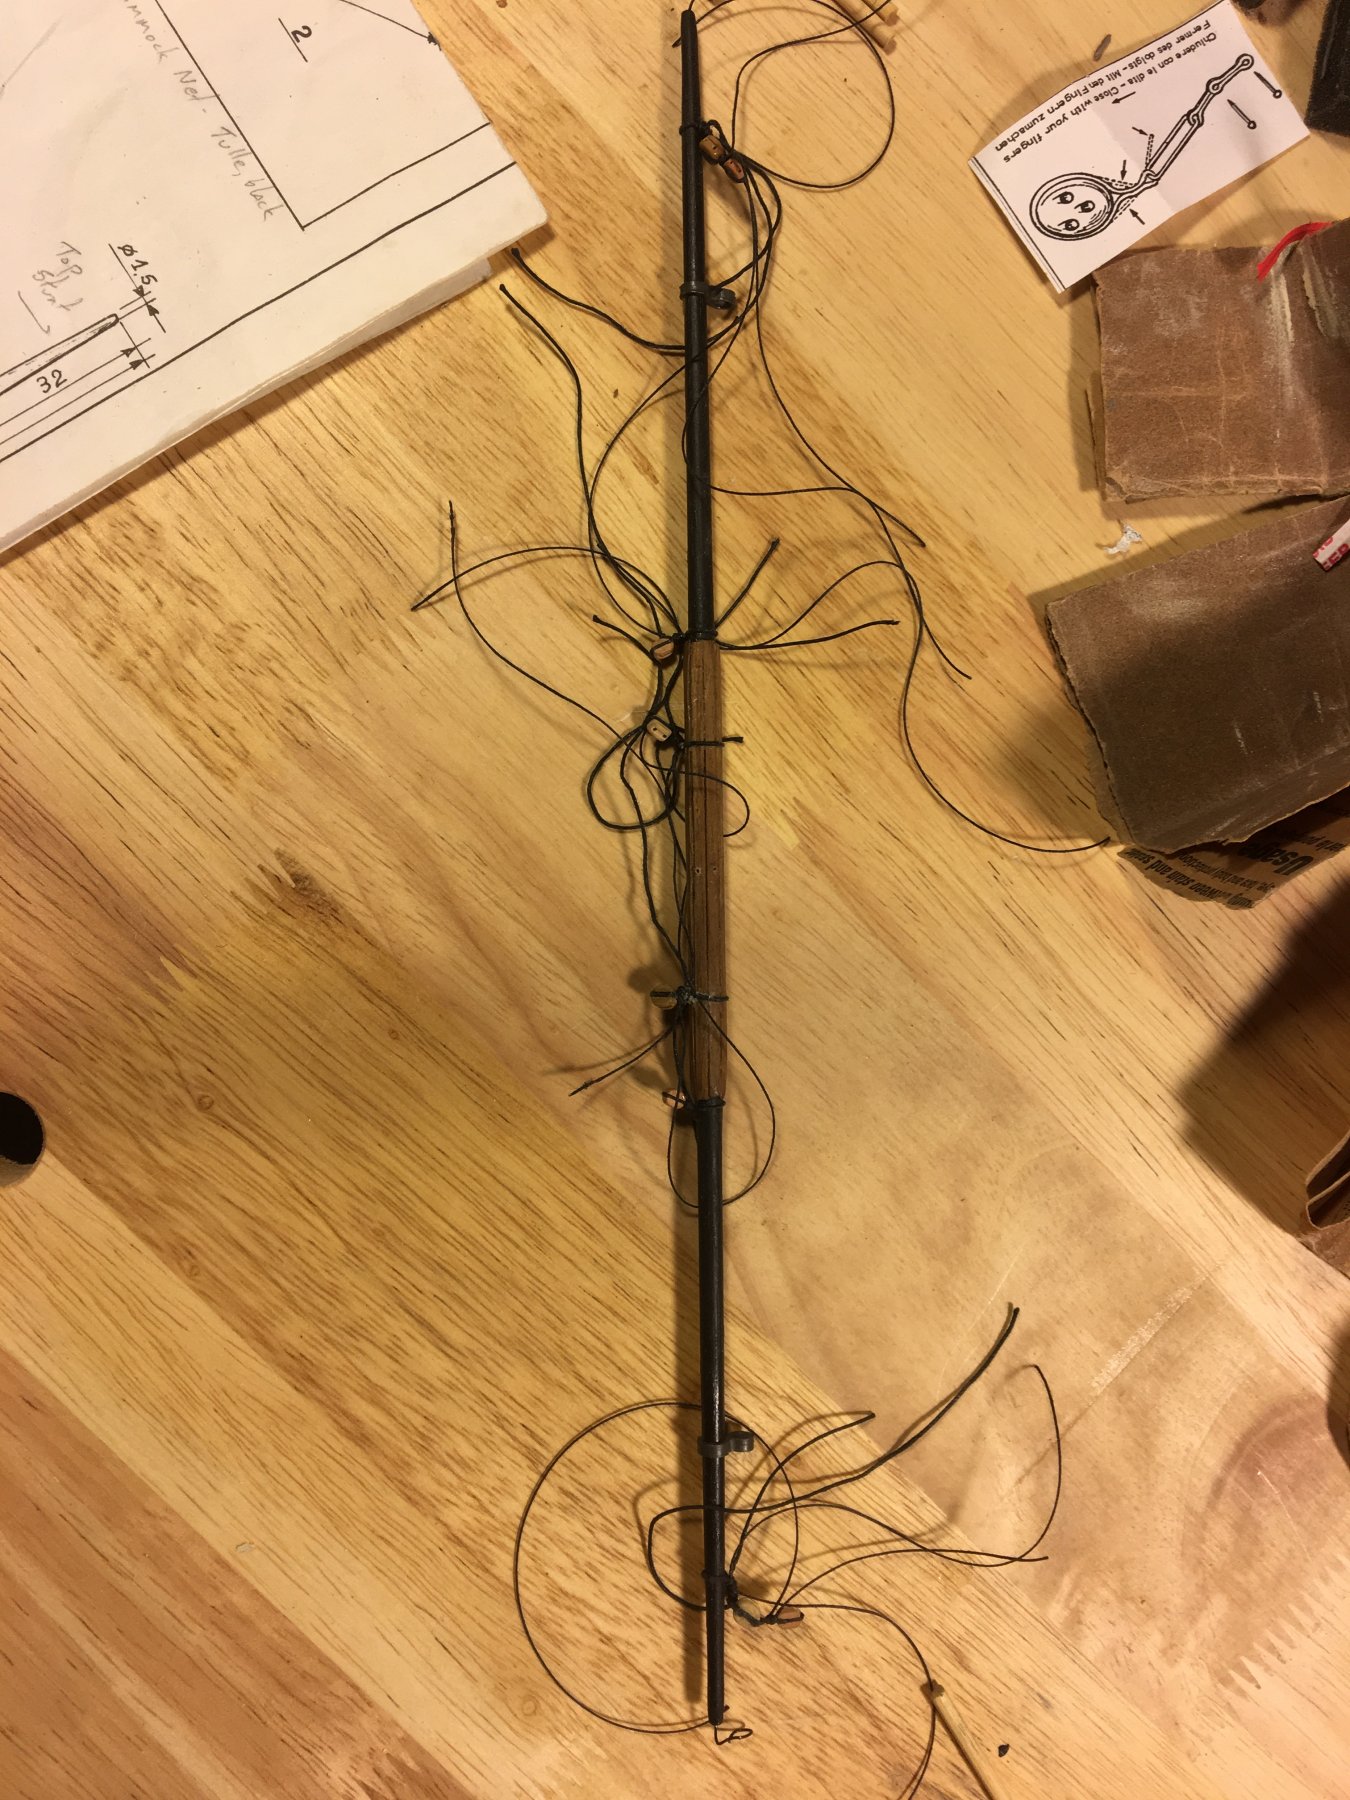
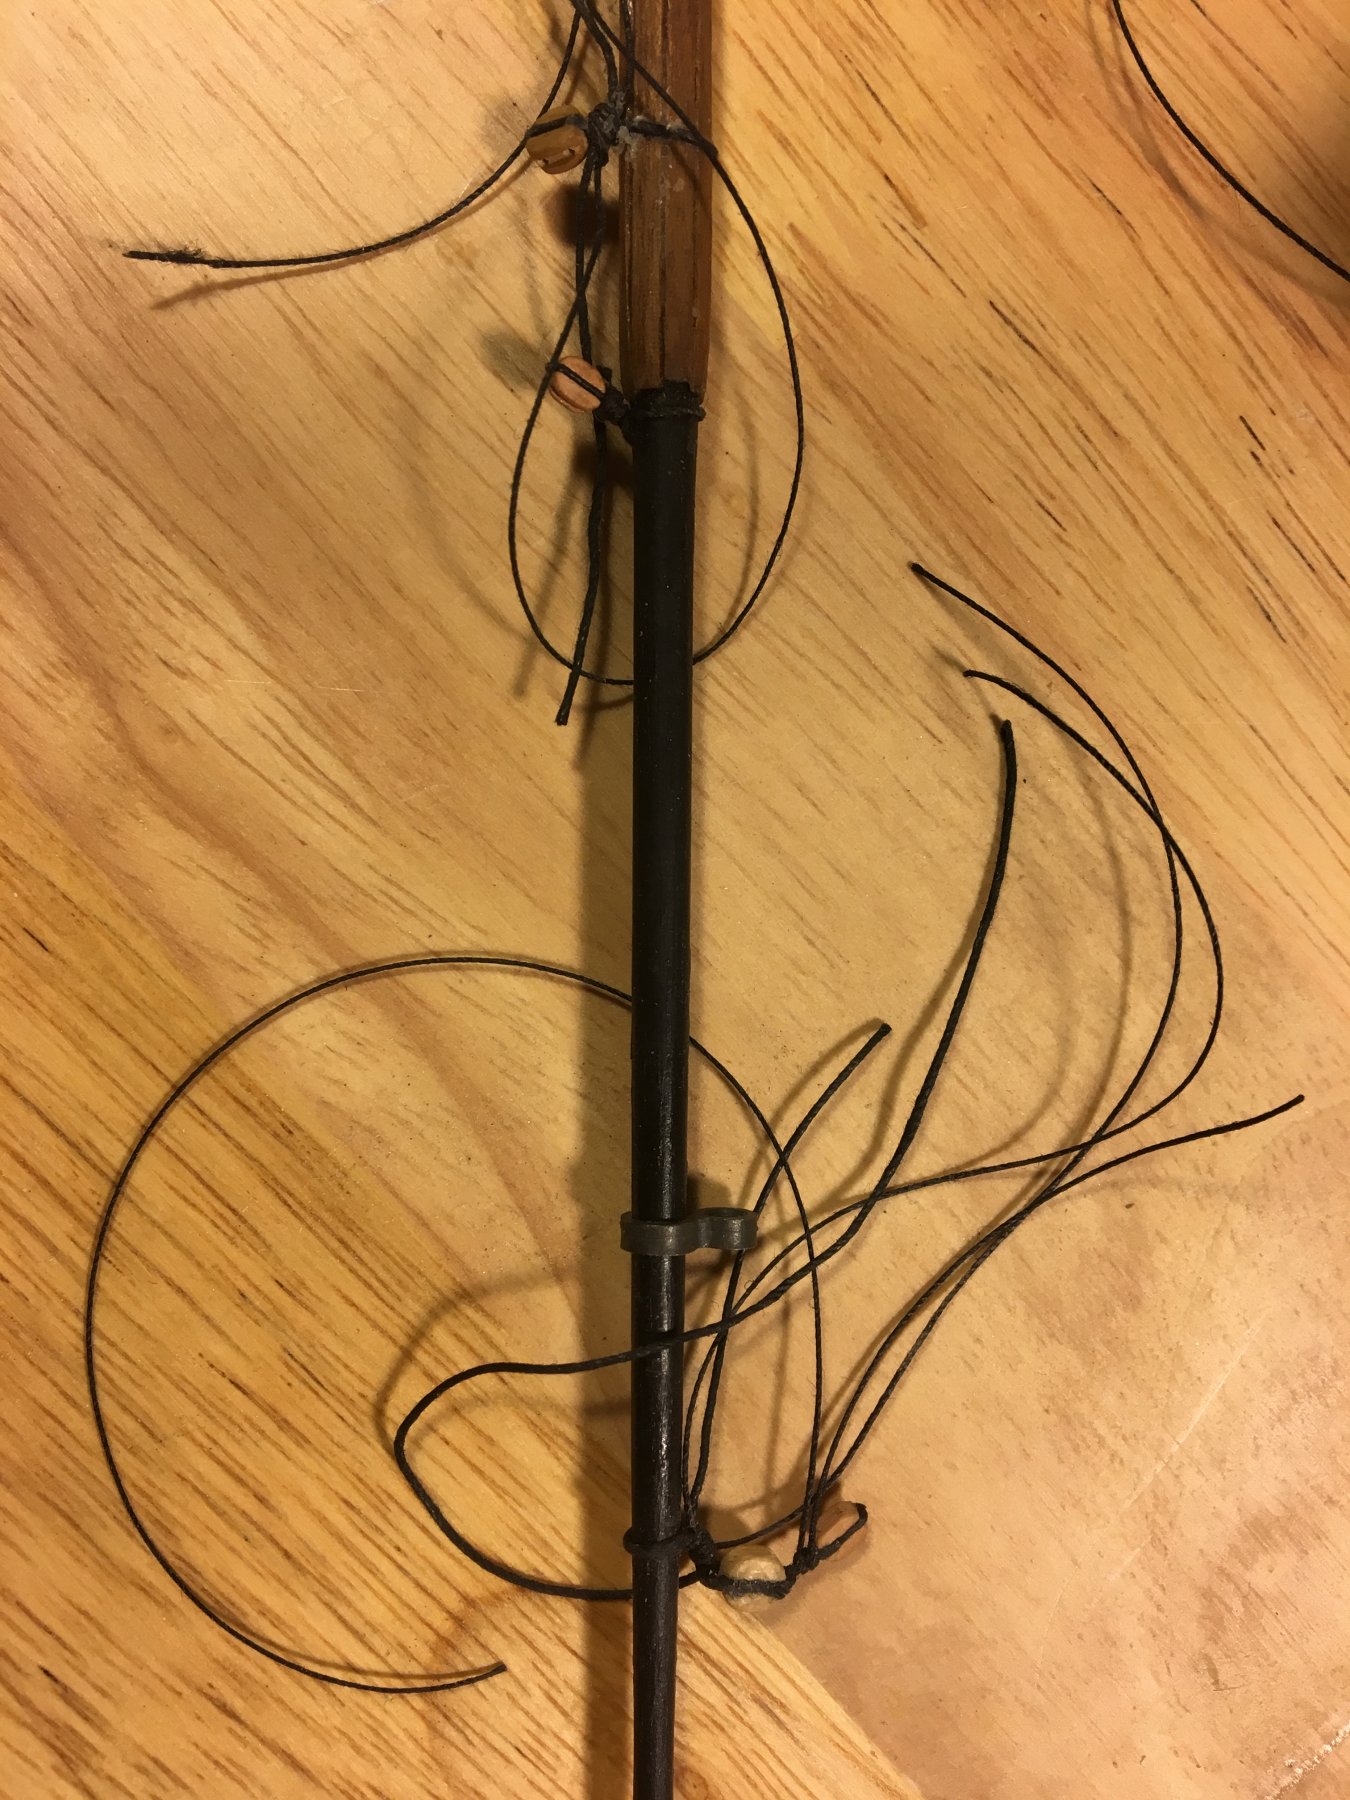
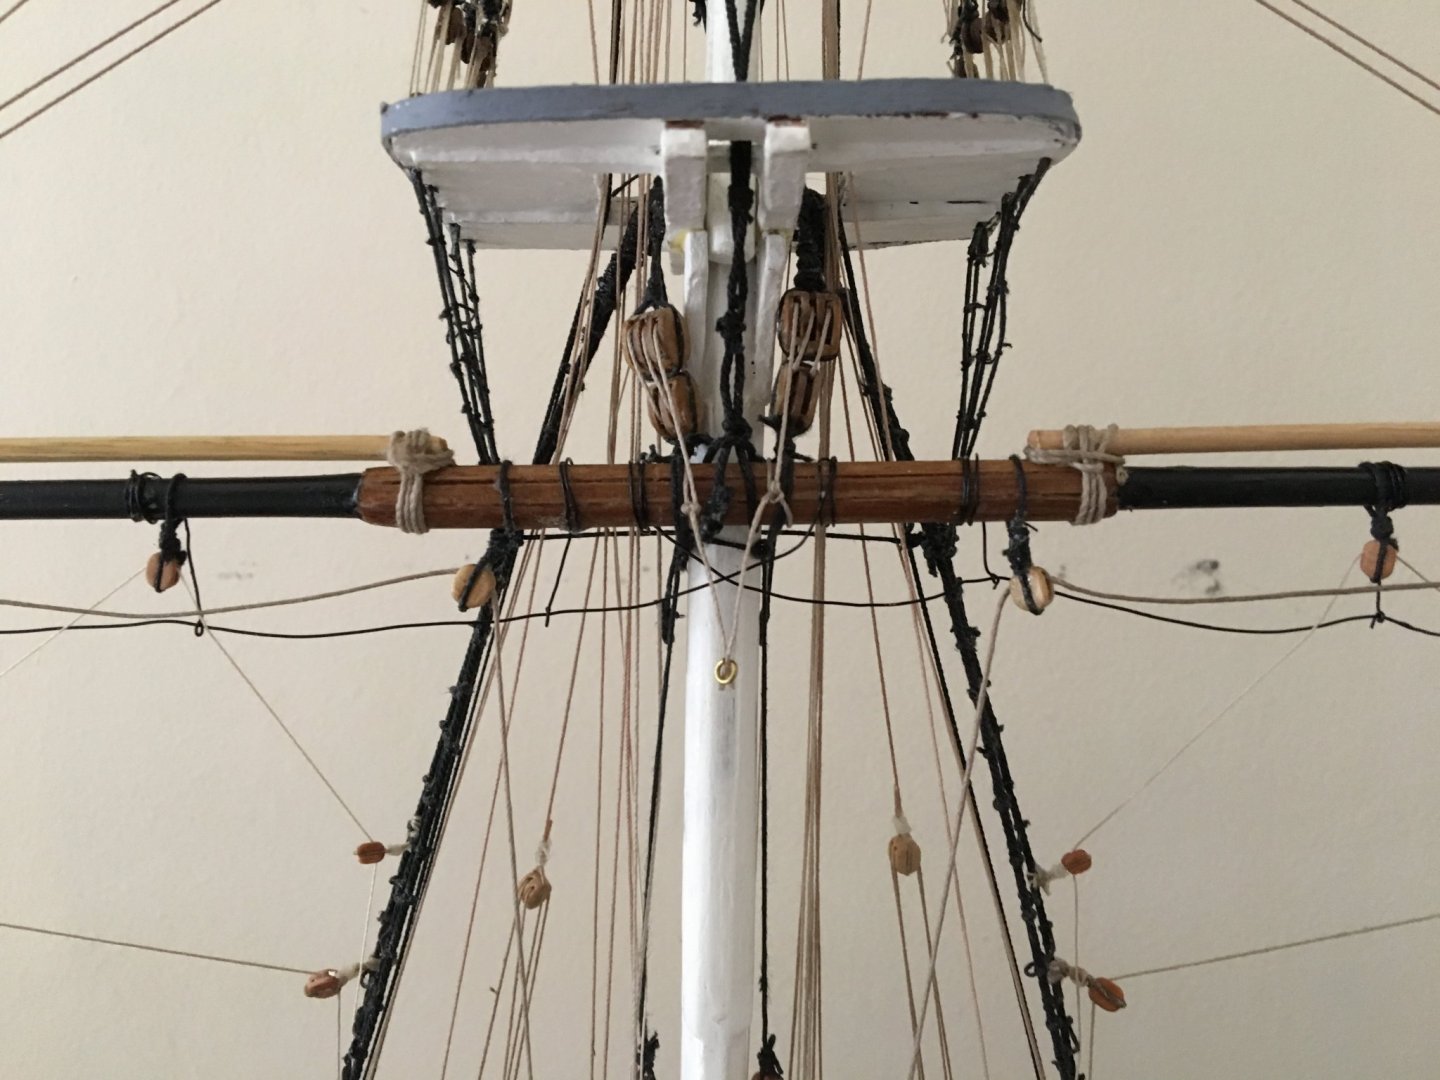
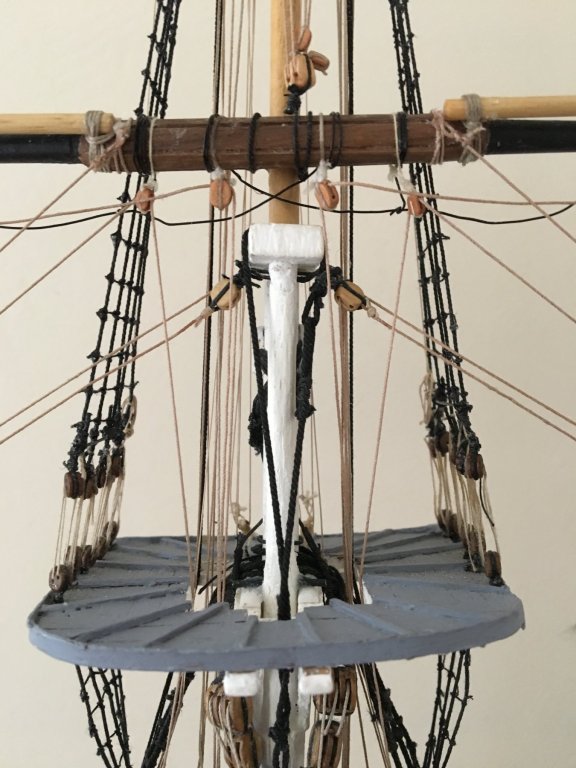
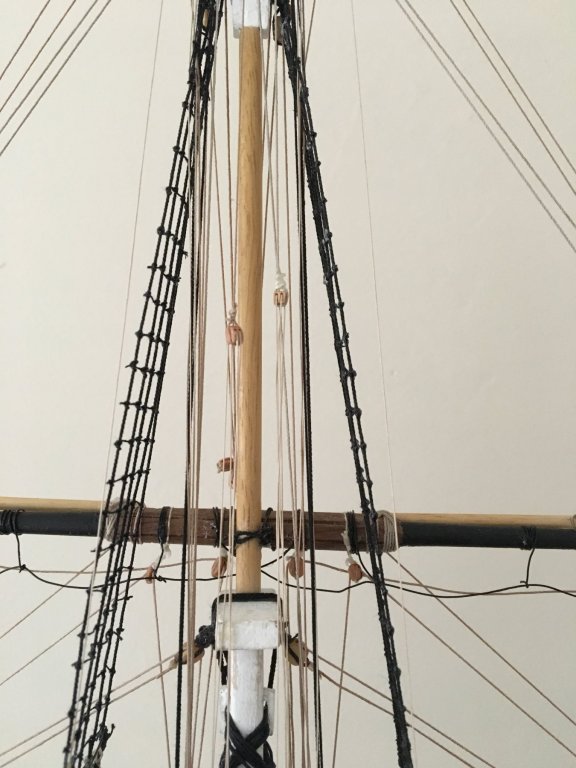
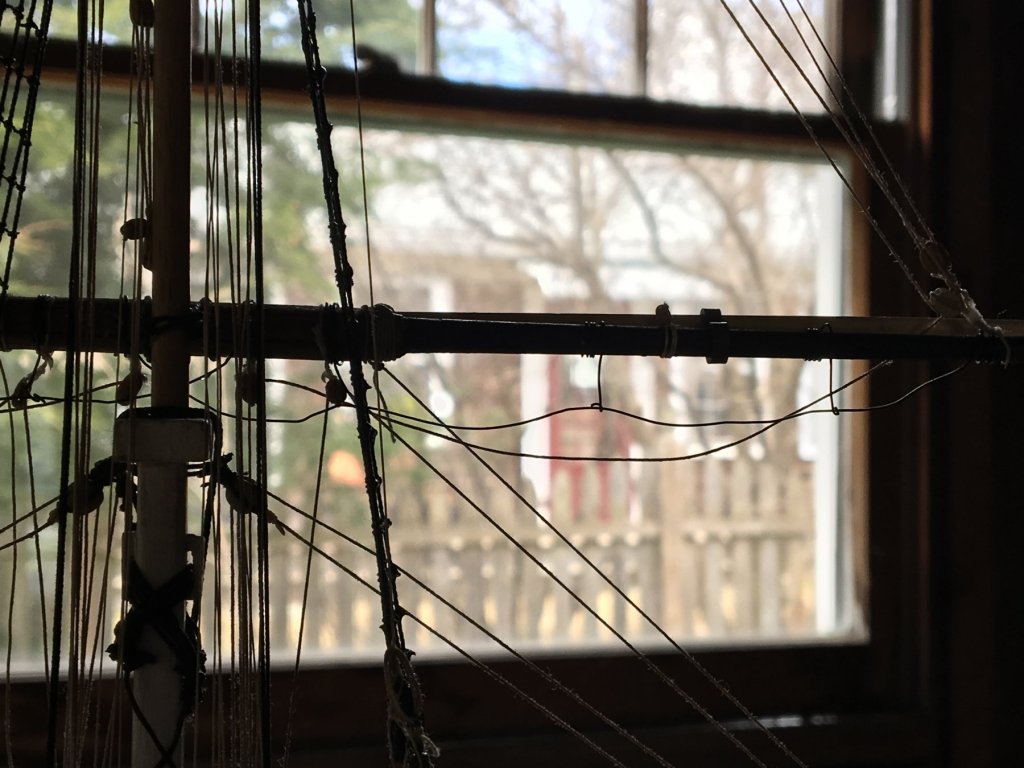
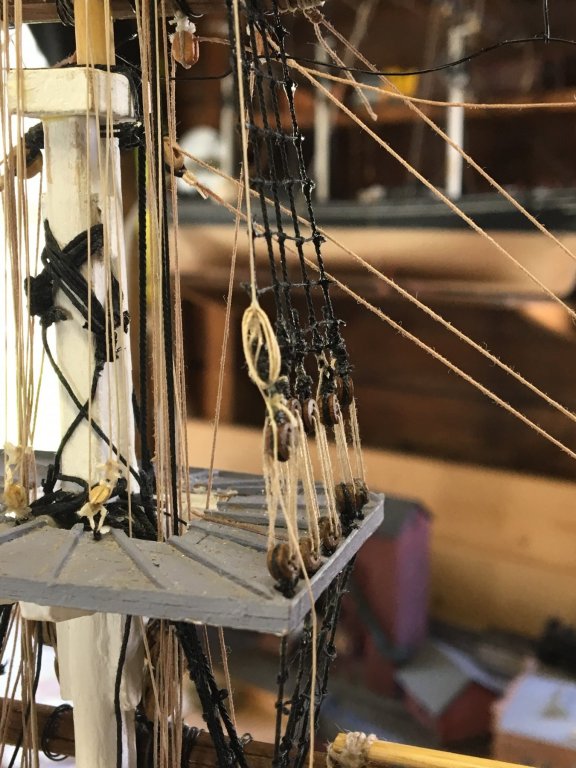
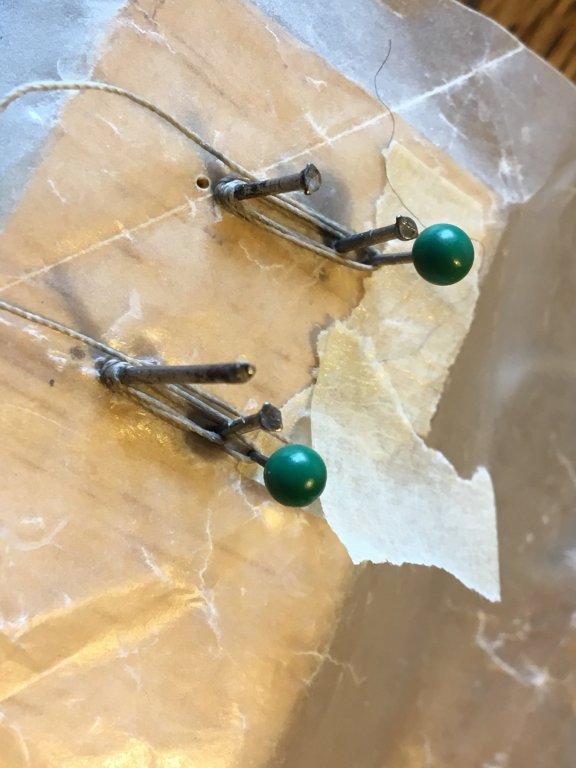
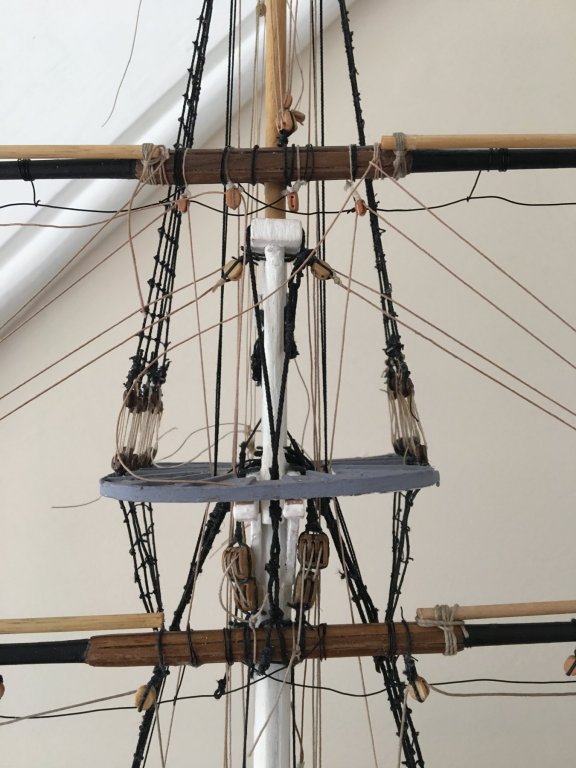
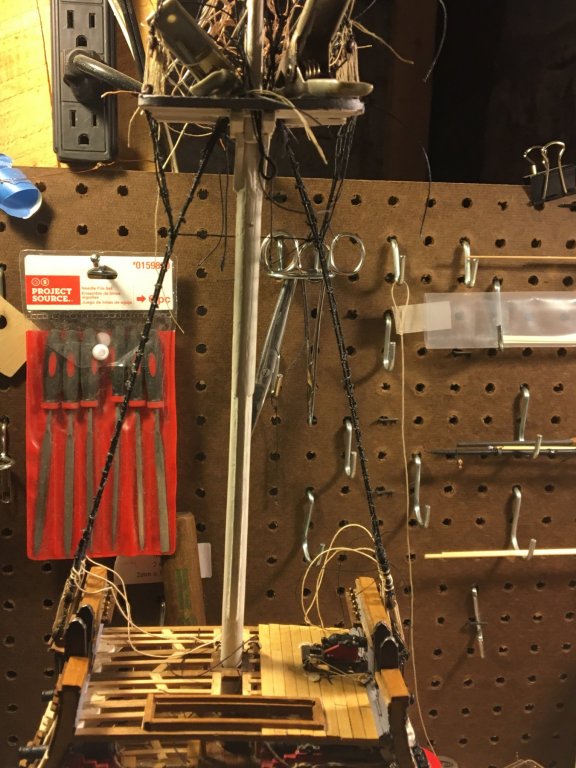
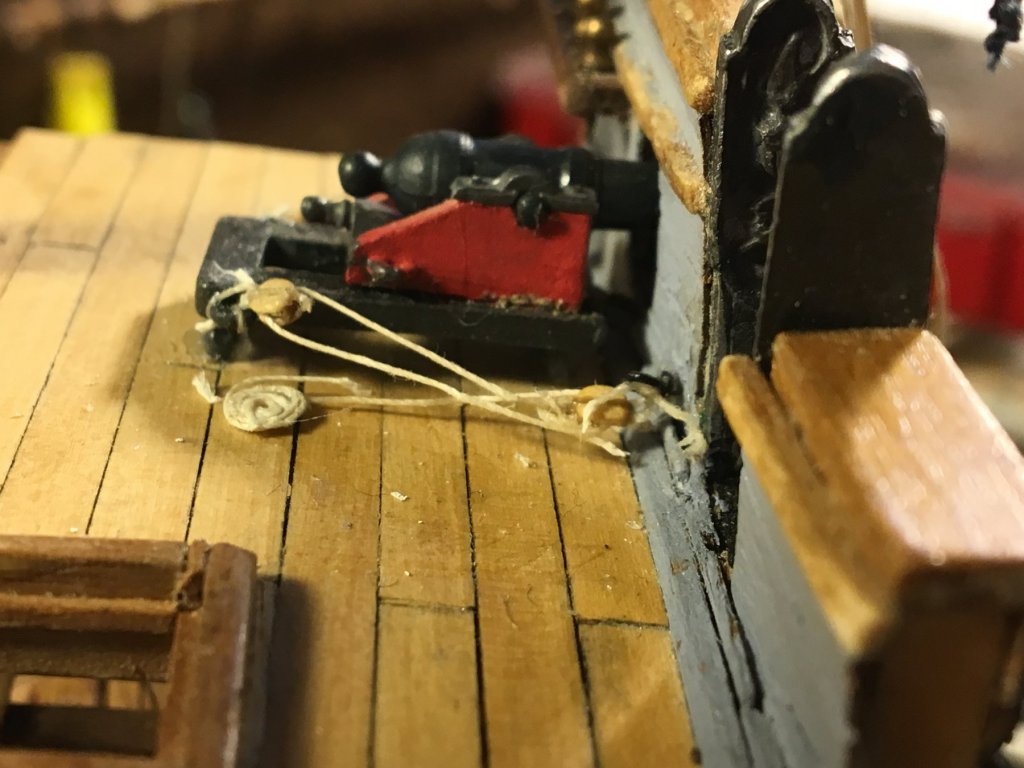
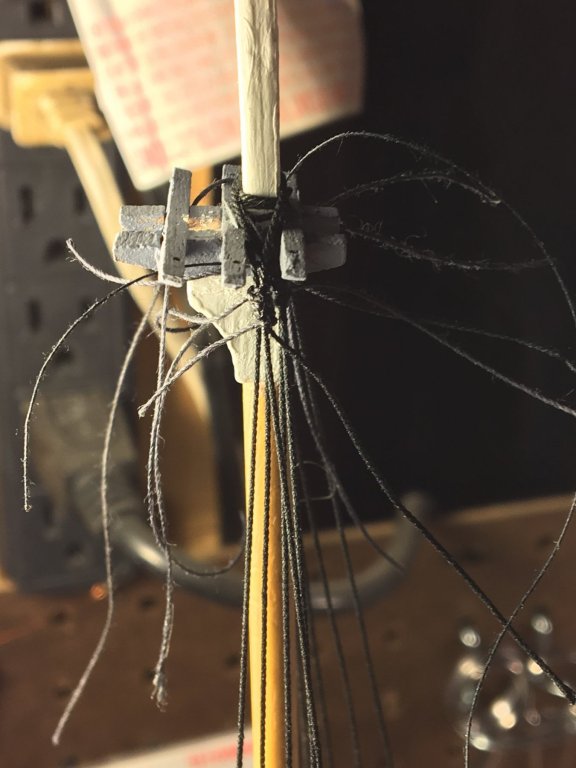
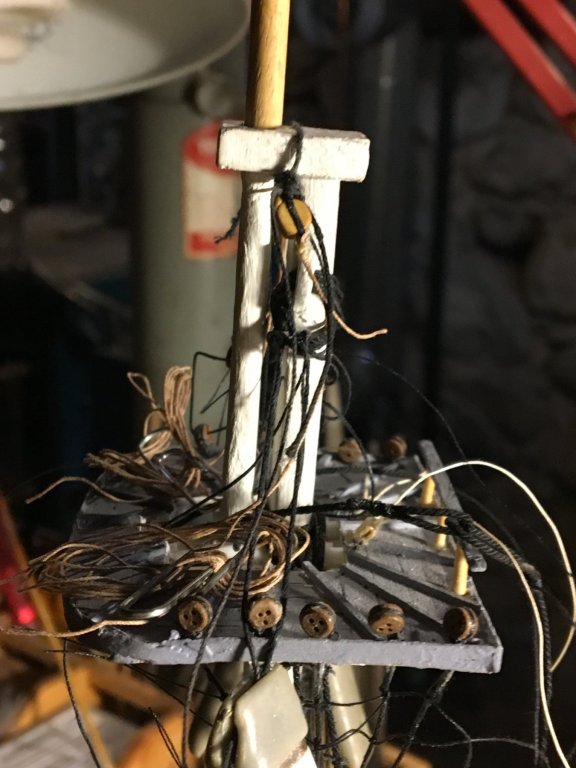
A lack of posts does not mean a lack of progress - just a lack of time if I want to finish in time for the Ship Model Conference at the end of April Cannonade, main chains and main shrouds in place I also had to make the white steps(?) for the side of the ship I am leaving unpainted Spaghetti farm has migrated to the main top, particularly since I have installed the lift blocks and all the line that goes with them to the masthead. One issue I am having is with the deadeyes for the top mast - the upper ones tend to pivot in relation to the lower sets. Any suggestions how to cure that?


- 108 replies
-
- 3
-
-
- mamoli
- constitution
- (and 2 more)
-
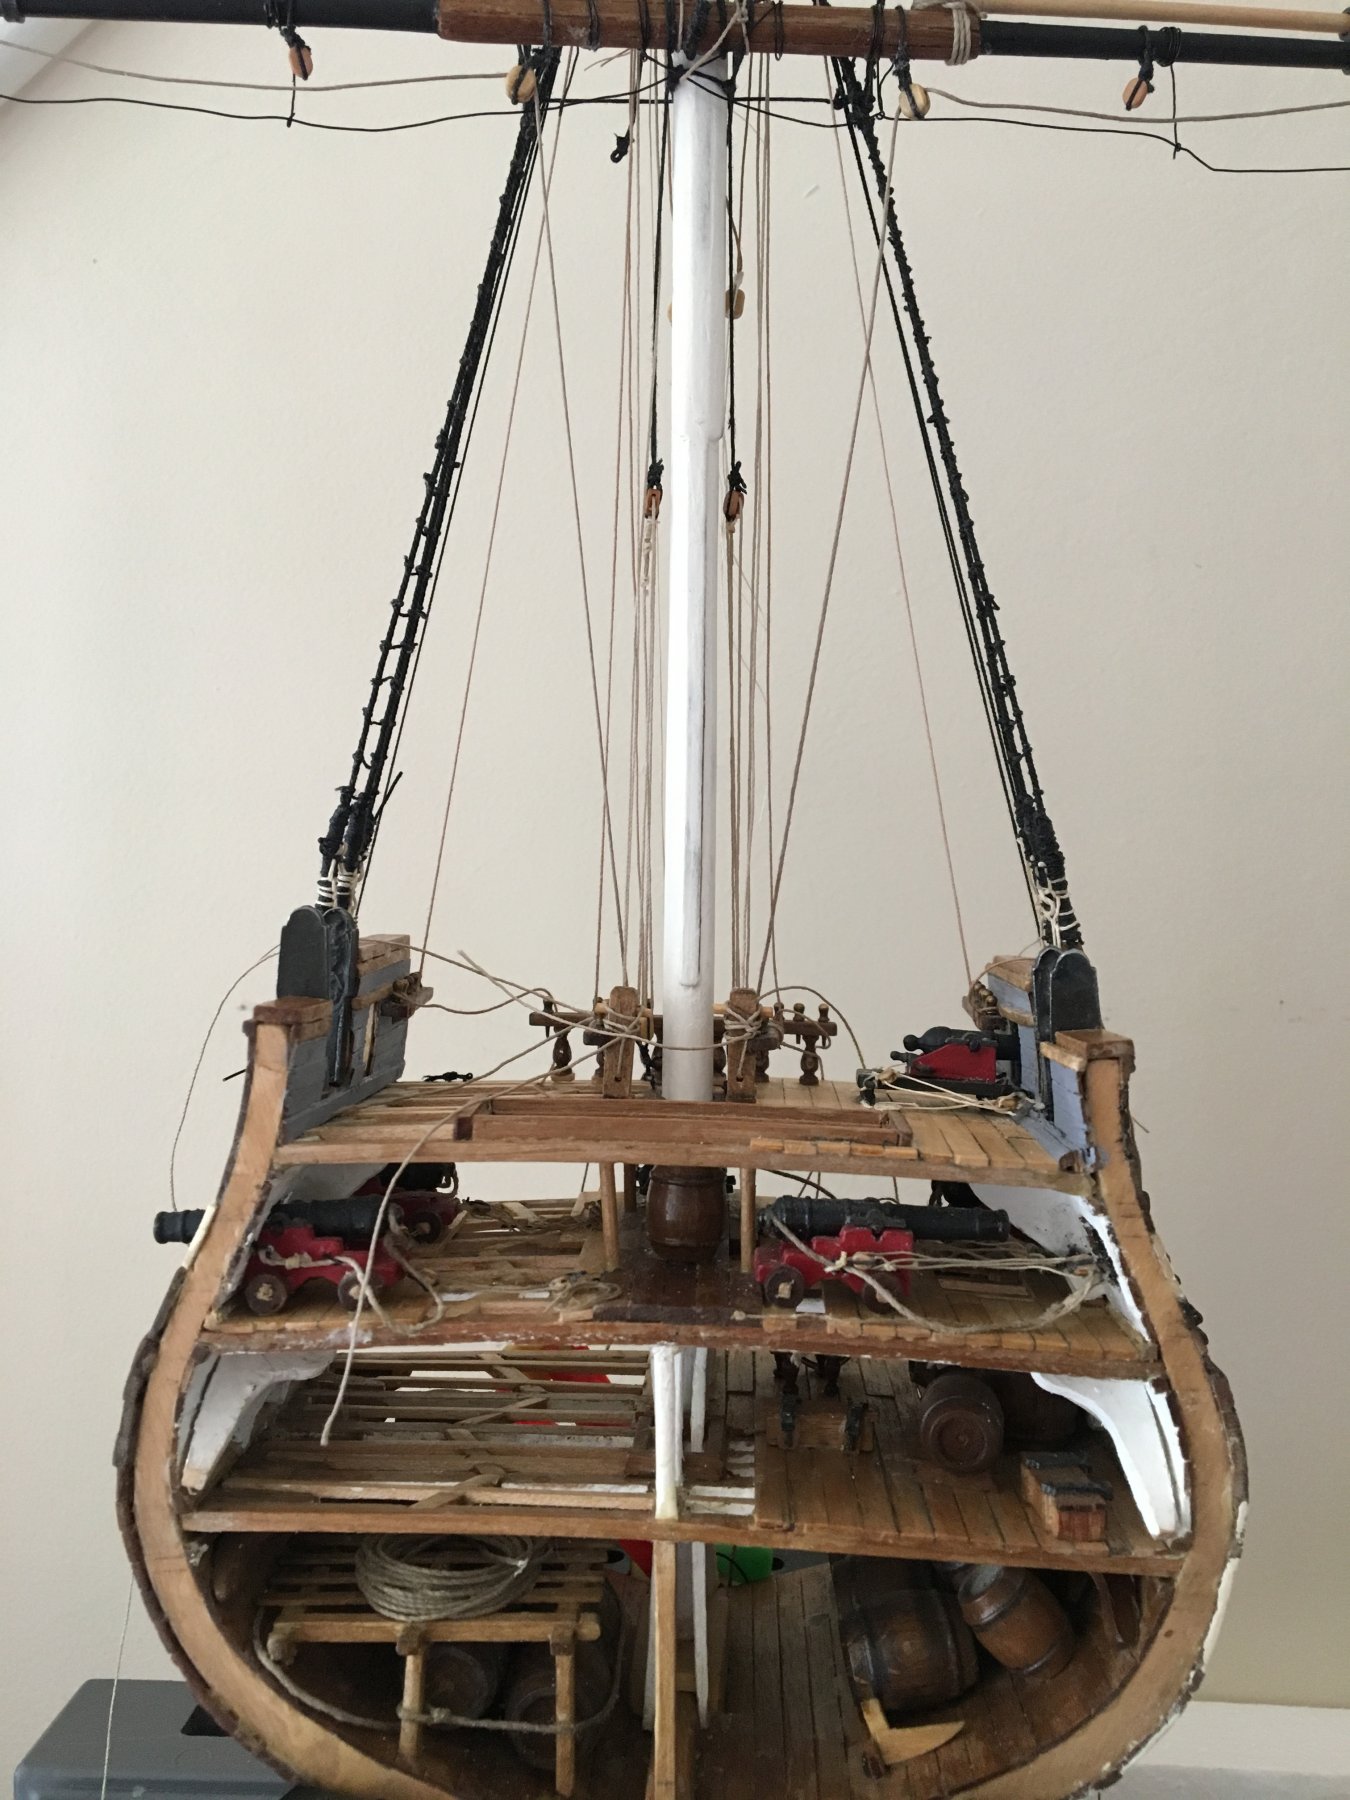
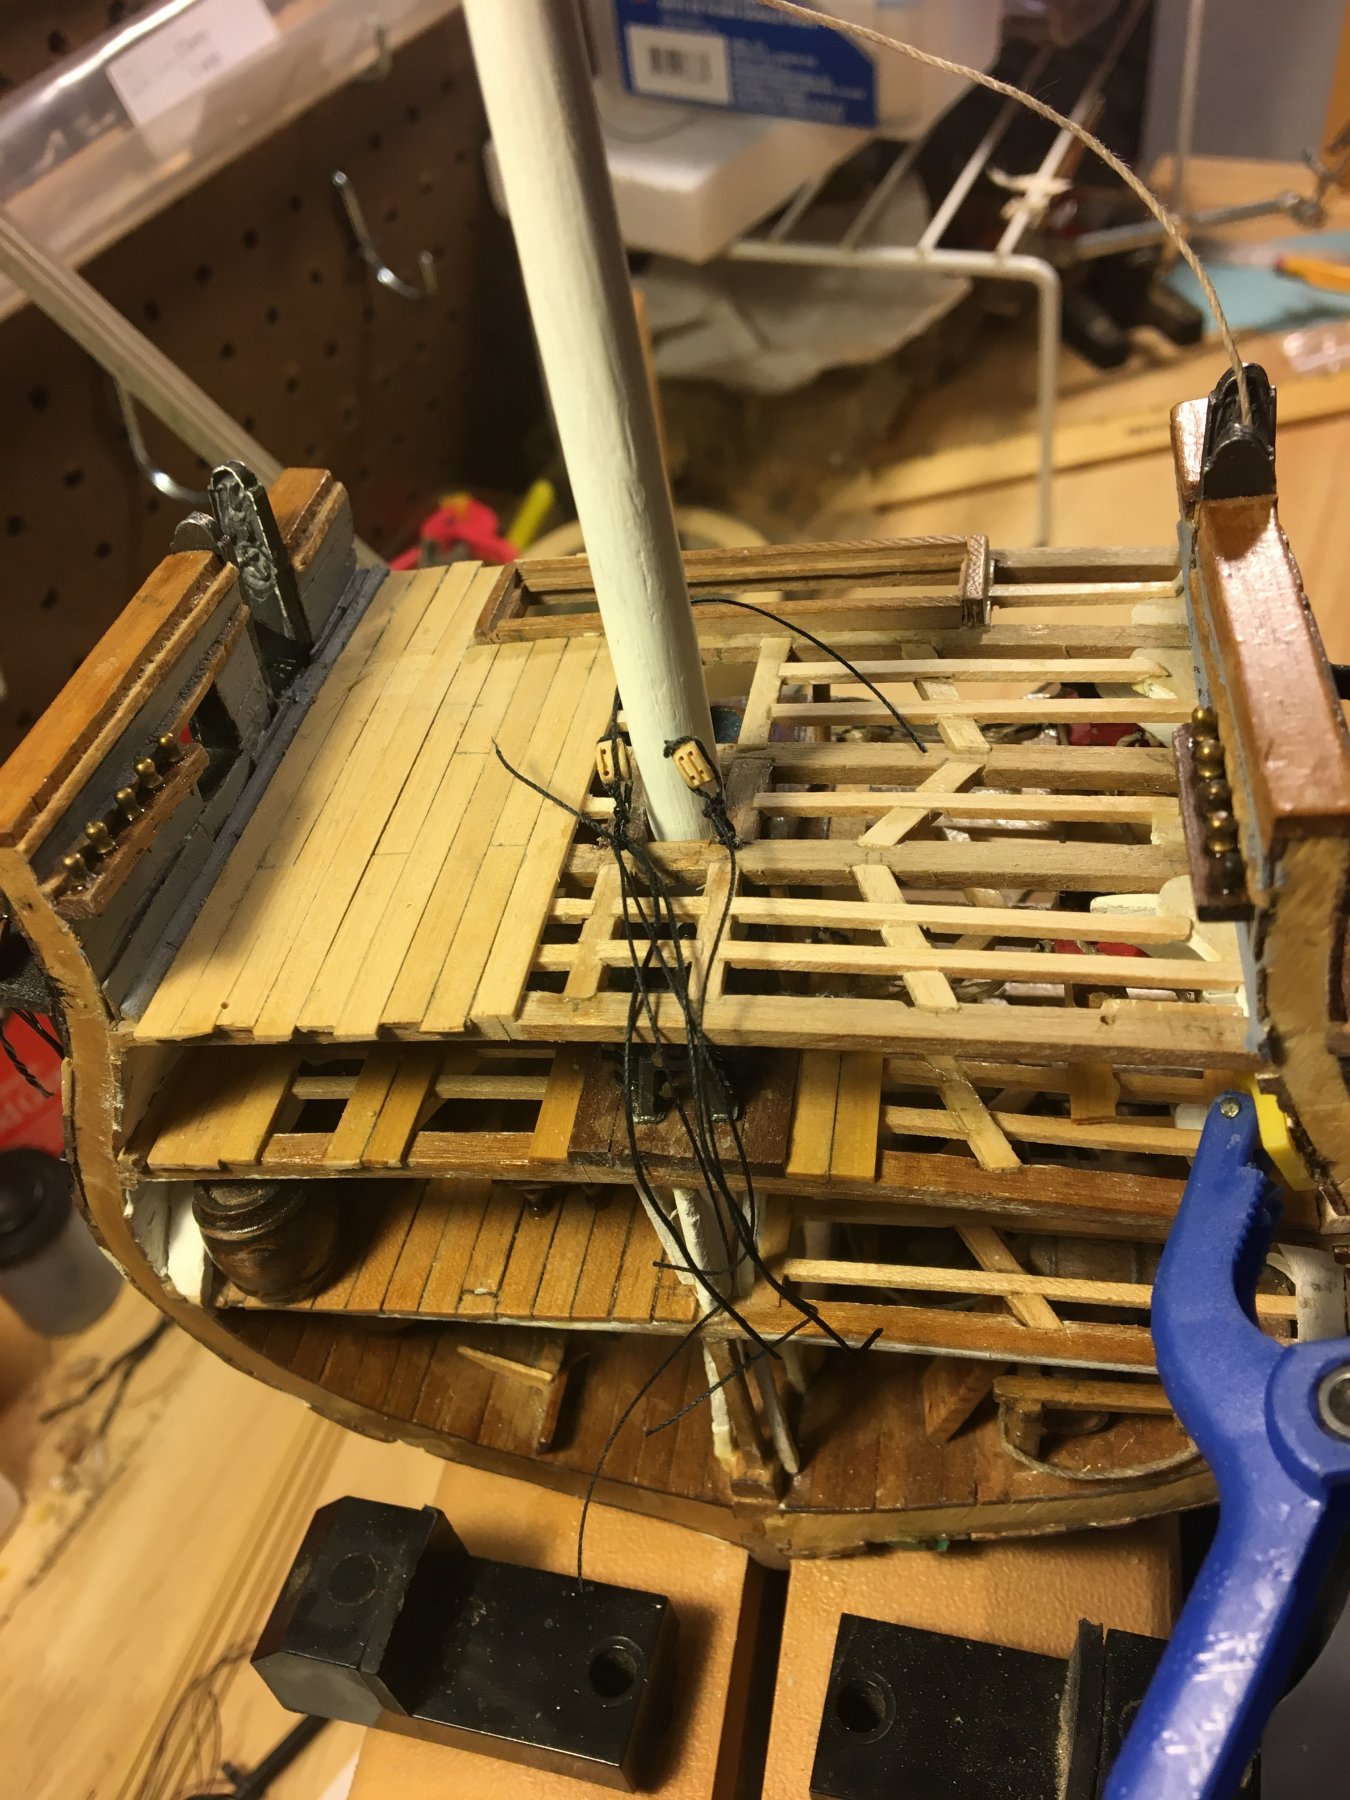
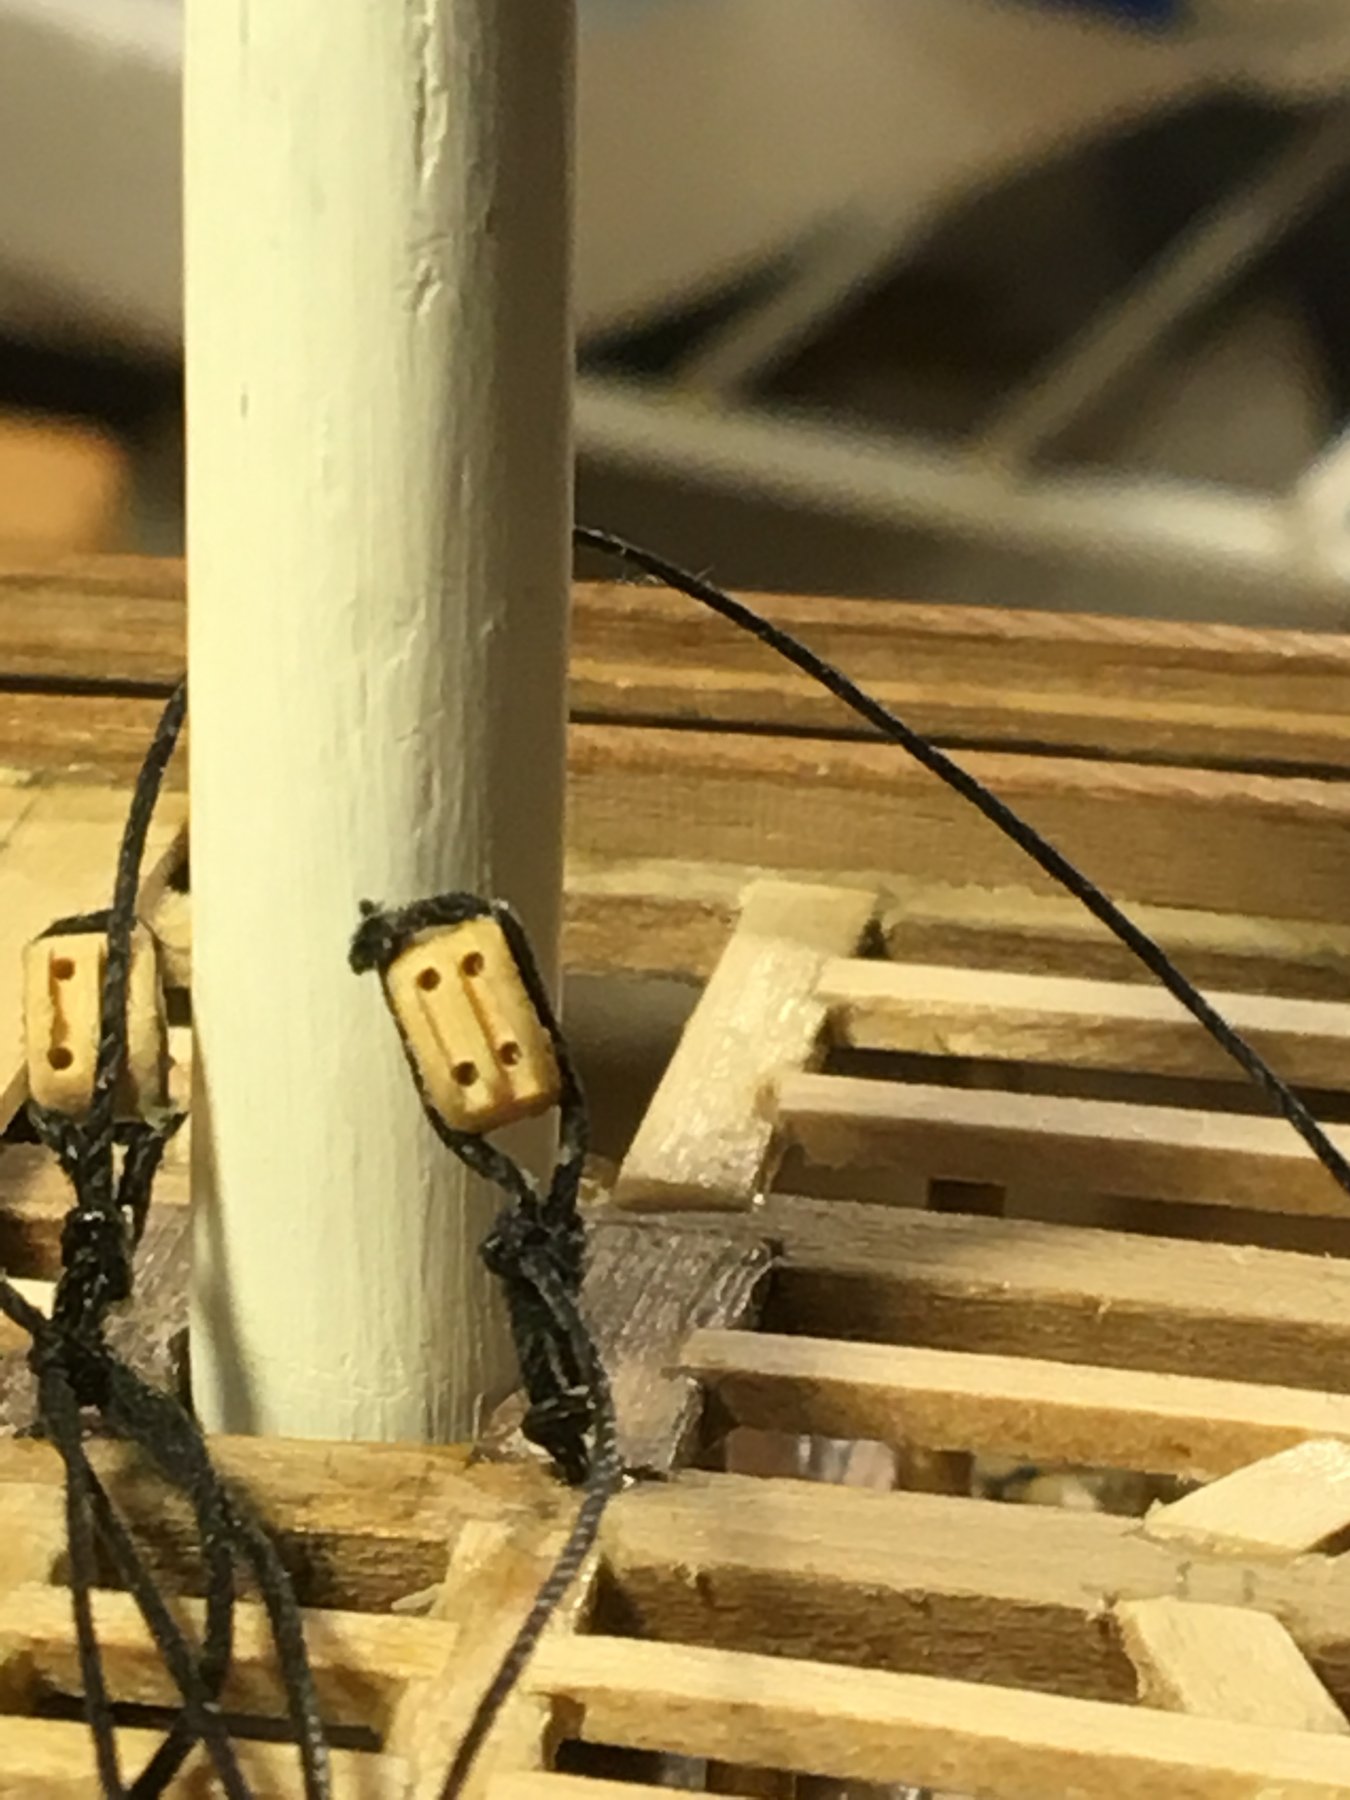
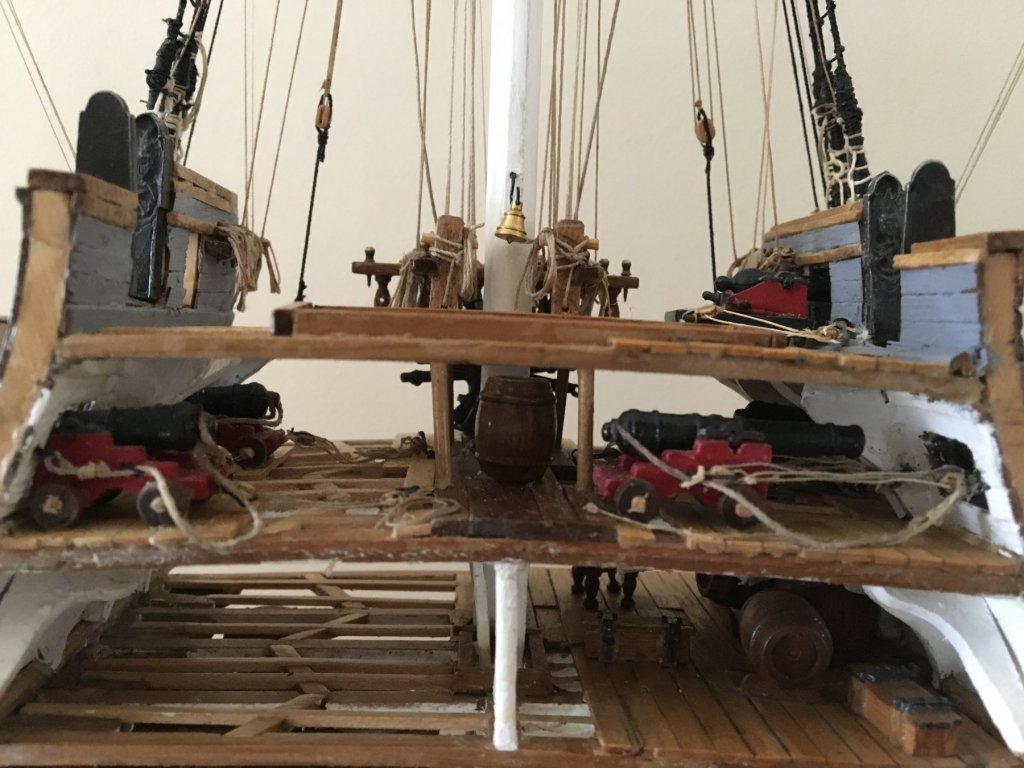
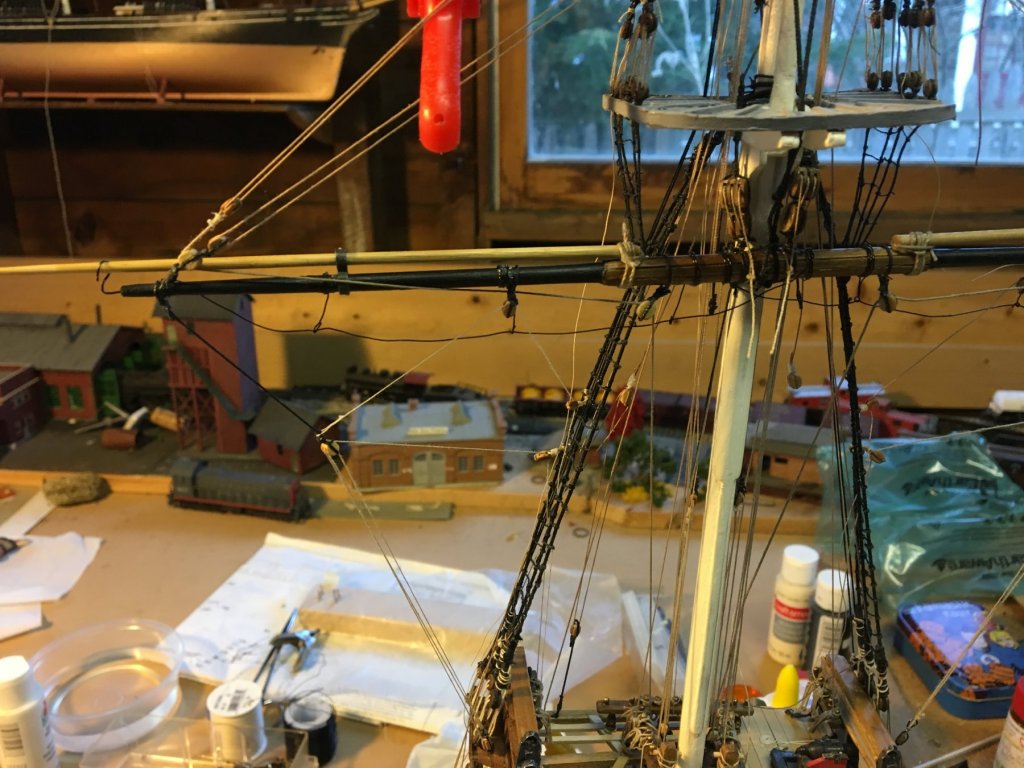
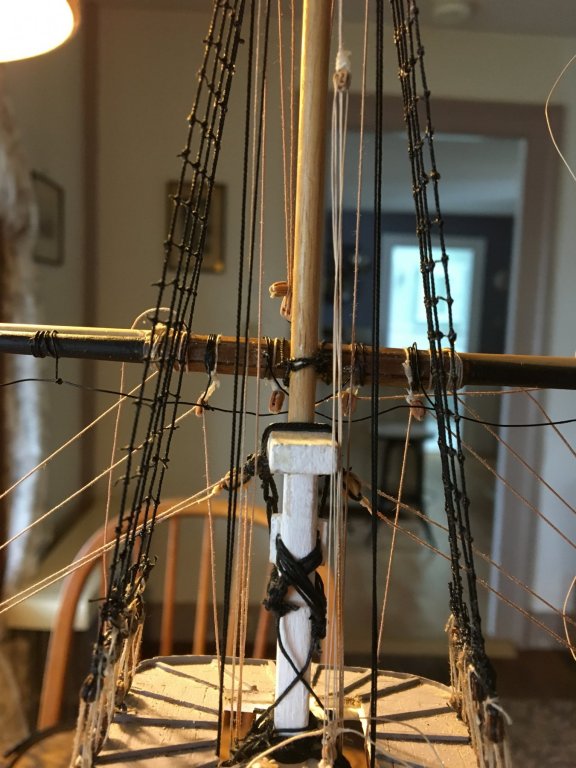
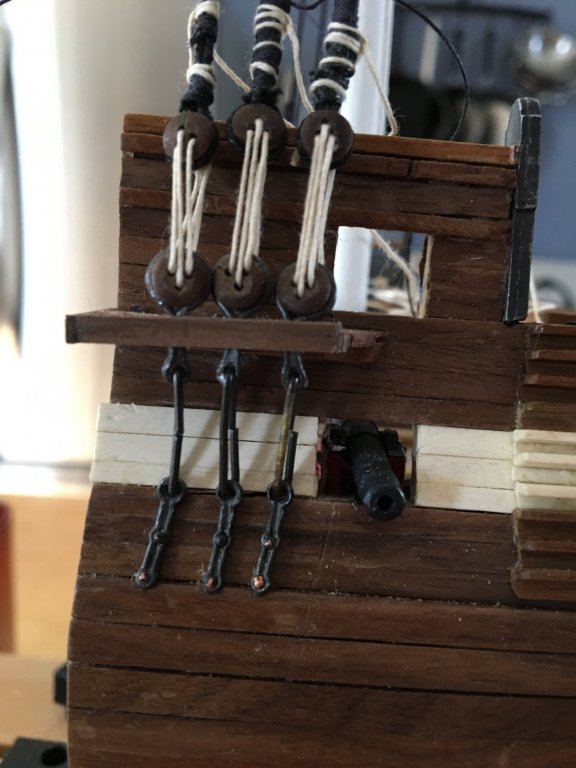
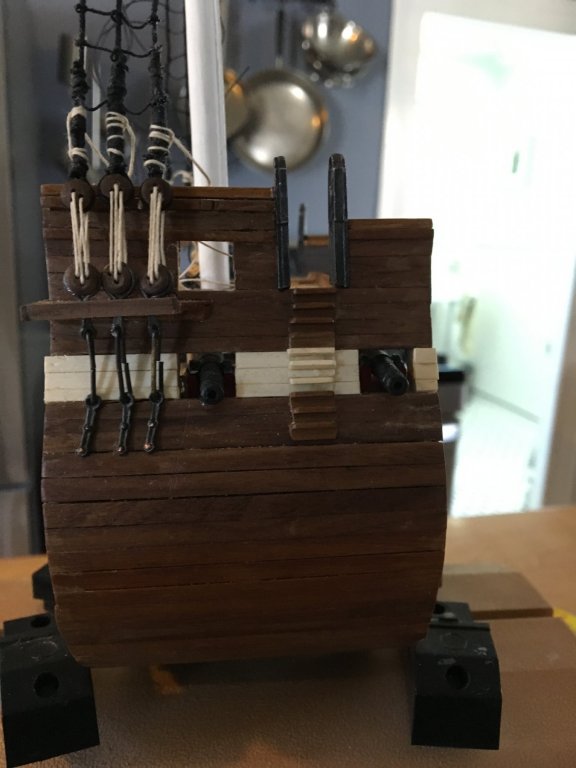
Now that I am getting near to completing the hull, I can start on finishing the yards and starting to rig them and the ship. I've added the holly on the outside of the gun deck to simulate the white-painted strip on the hull - will need to fabricate gun ports of the same wood. You can also see the cut back channel and main chains. I've attached the blocks for the falls of the truss: And I've made the cleats and strops to go at the masthead to attach the pendants for the jeer blocks.


- 108 replies
-
- 3
-
-
- mamoli
- constitution
- (and 2 more)
-
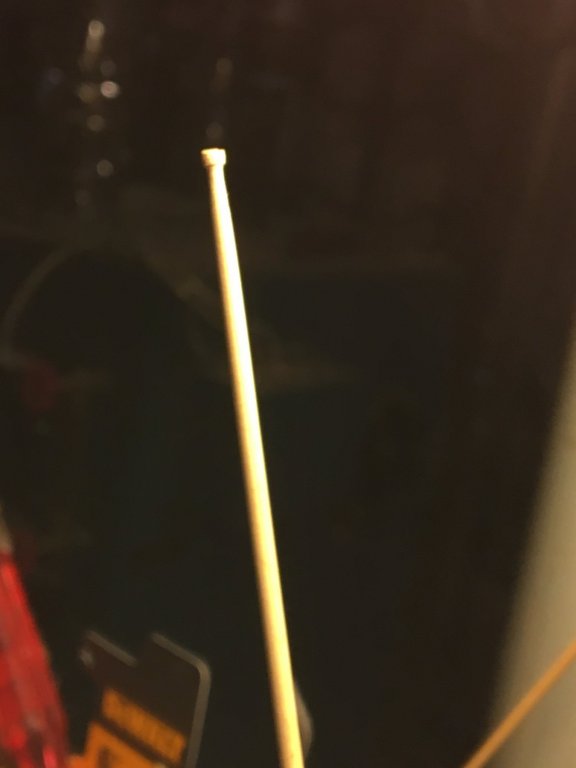
Poor Man's Lathe disasters
stevenmh replied to stevenmh's topic in Modeling tools and Workshop Equipment
I looked up the Proxxon on ebay - they go for north of $200, which is a little steep for me at the moment. Using the "updated" setup, I have managed to finish the spars for my cross section - was particularly worried about the topgallant mast and royal yard, bit managed a reasonable product. Clearly before starting my next build I will have to rethink this - by then maybe I will have found a lathe at a reasonable price, or at the least figured out how to install a dimmer.