Geoff Matson
-
Posts
681 -
Joined
-
Last visited
Content Type
Profiles
Forums
Gallery
Events
Everything posted by Geoff Matson
-
 Thanks for all the pictures. Hope you had a good time
 -
USS Constitution by mtbediz - 1:76
Geoff Matson replied to mtbediz's topic in - Build logs for subjects built 1751 - 1800
That pump looks great. I appreciate all the time that went into making the pump -
With spring time lots of outside stuff to get done. I do not like rigging so it is easy to find things to do first. I will be back hard at it this next week. Thanks for the interest and I will be posting soon
-
That is a lot of detail, but that is what makes the model. Nice job
-
Looks like all is coming together nicely. Lots. of work, but big rewards. Have fun
-
It always amazes me that all the work we put into our models. But, there is only one way to do things, and that is the right way. Great job.
-
You are right about the rigging. That is where I am right now. I seem to find any excuse to avoid rigging. I do not know why it is such a hurdle to get down to business. That is the one good thing about Model Ship World, it will motivate you get going. You might want to check out other build logs when you start to do the planking. You might need to put in some spacer blocks or braces between the bulwarks to aid in your fairing. Things are looking great and keep up the good work.
-
Looking good. It seems like when you think you have it right you can always find a little more to do. Your final test will come when you have your bulkheads all faired and then using a text plank to check how things fit.
-
You got the stern filler blocks looking great. Now with the bow filler blocks, it should go a little faster by applying what your learned from the stern filler blocks. GREAT progress so far.
-
USS Constitution by mtbediz - 1:76
Geoff Matson replied to mtbediz's topic in - Build logs for subjects built 1751 - 1800
Those pumps look realistic. Again, great job with your metal work. -
USS Constitution by mtbediz - 1:76
Geoff Matson replied to mtbediz's topic in - Build logs for subjects built 1751 - 1800
Great job on the metal work. -
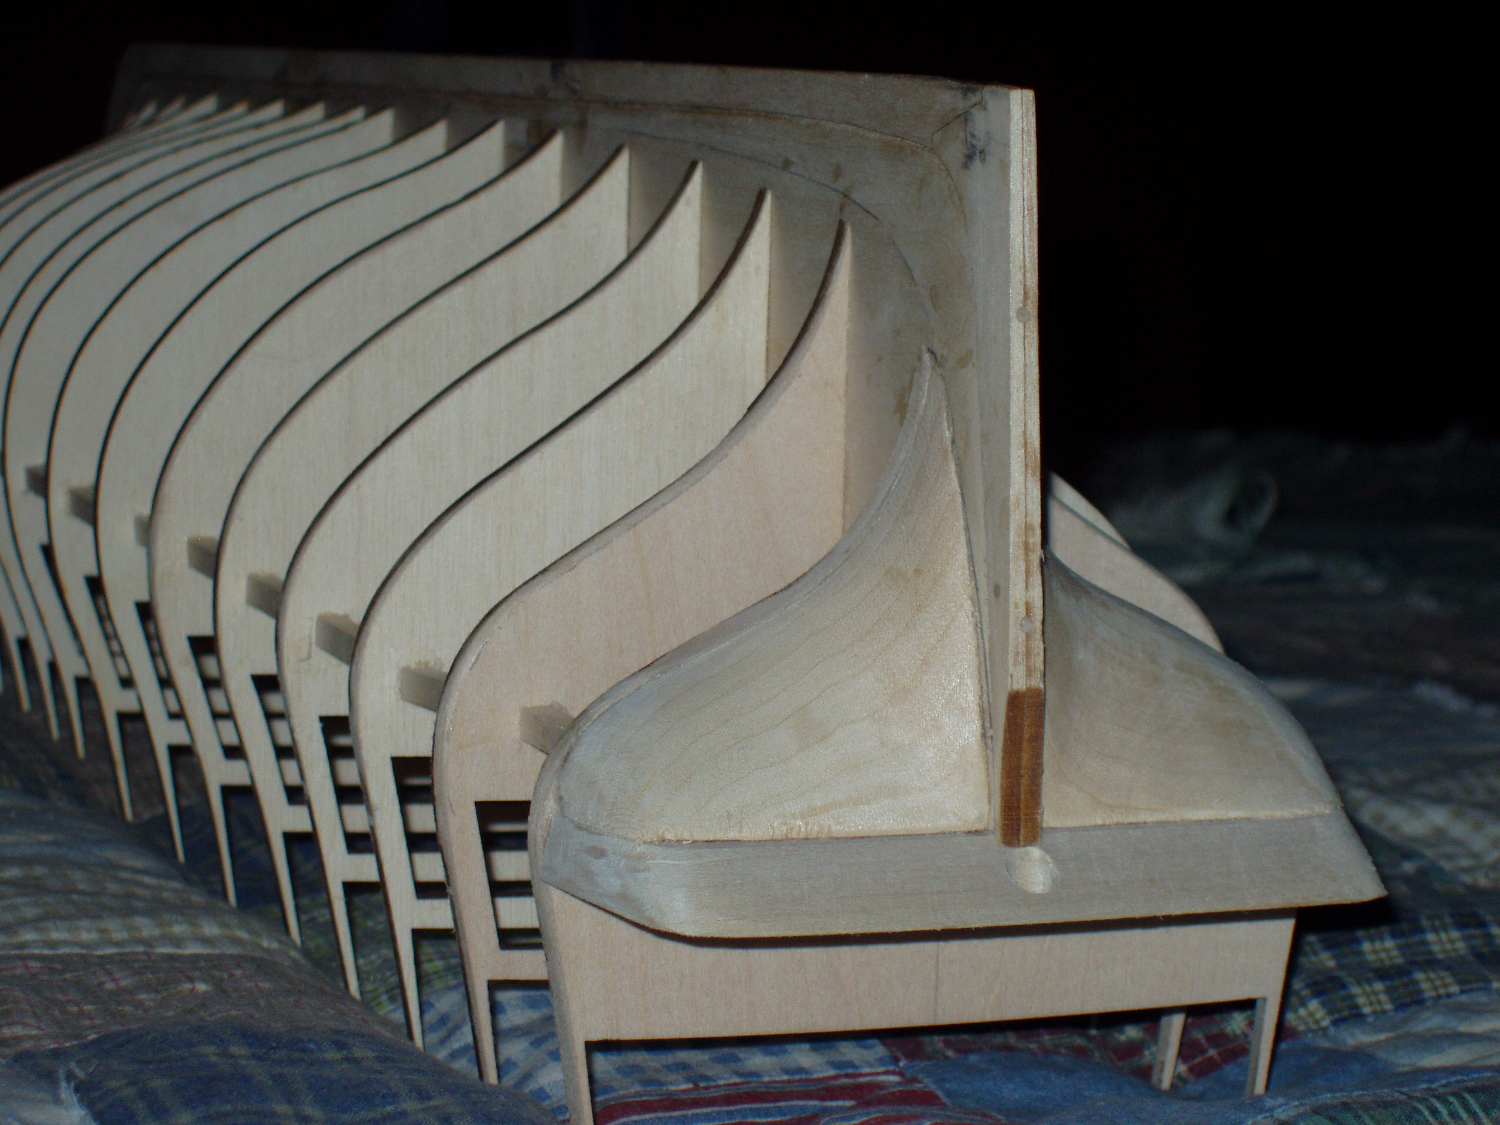
Here is a picture that might help you some. If I remember right, my finish filler block was about half the size of my initial cutout. Lots of sanding and fitting. I just sanded it down until I could get a test plank to flow along the bulkheads and fit into the rabbit joint. You cn see the tail of the filler block gets pretty narrow. Just take your time and be patient. It will all work out. Do not glue the block in until you have it right. (I learned that the hard way).

-
I am also building the Constitution using Bob Hunt's Practicum. You really need to read each step and then think about it and then proceed. LOTS OF DRY FITTING AND FIDDLING AROUND TO MKE SURE THINGS FIT RIGHT. I too, made mistakes and had to go back and redo some parts. I think we all find out a little mistake in part one can lead to a big mistake by the time you get step 10. However, I could not have built the Constitution with the kit plans. Bob Hunt's practicum really opened the door for my ship building. ERS Rich build log should help you out. The biggest problem about the Constitution is it takes a long time to build. As I built the Conny my modeling skills increased and I wish I had those skills when I started. Have fun, make some sawdust, and remember it is only a hobby.
-
USS Constitution by mtbediz - 1:76
Geoff Matson replied to mtbediz's topic in - Build logs for subjects built 1751 - 1800
Great job! -
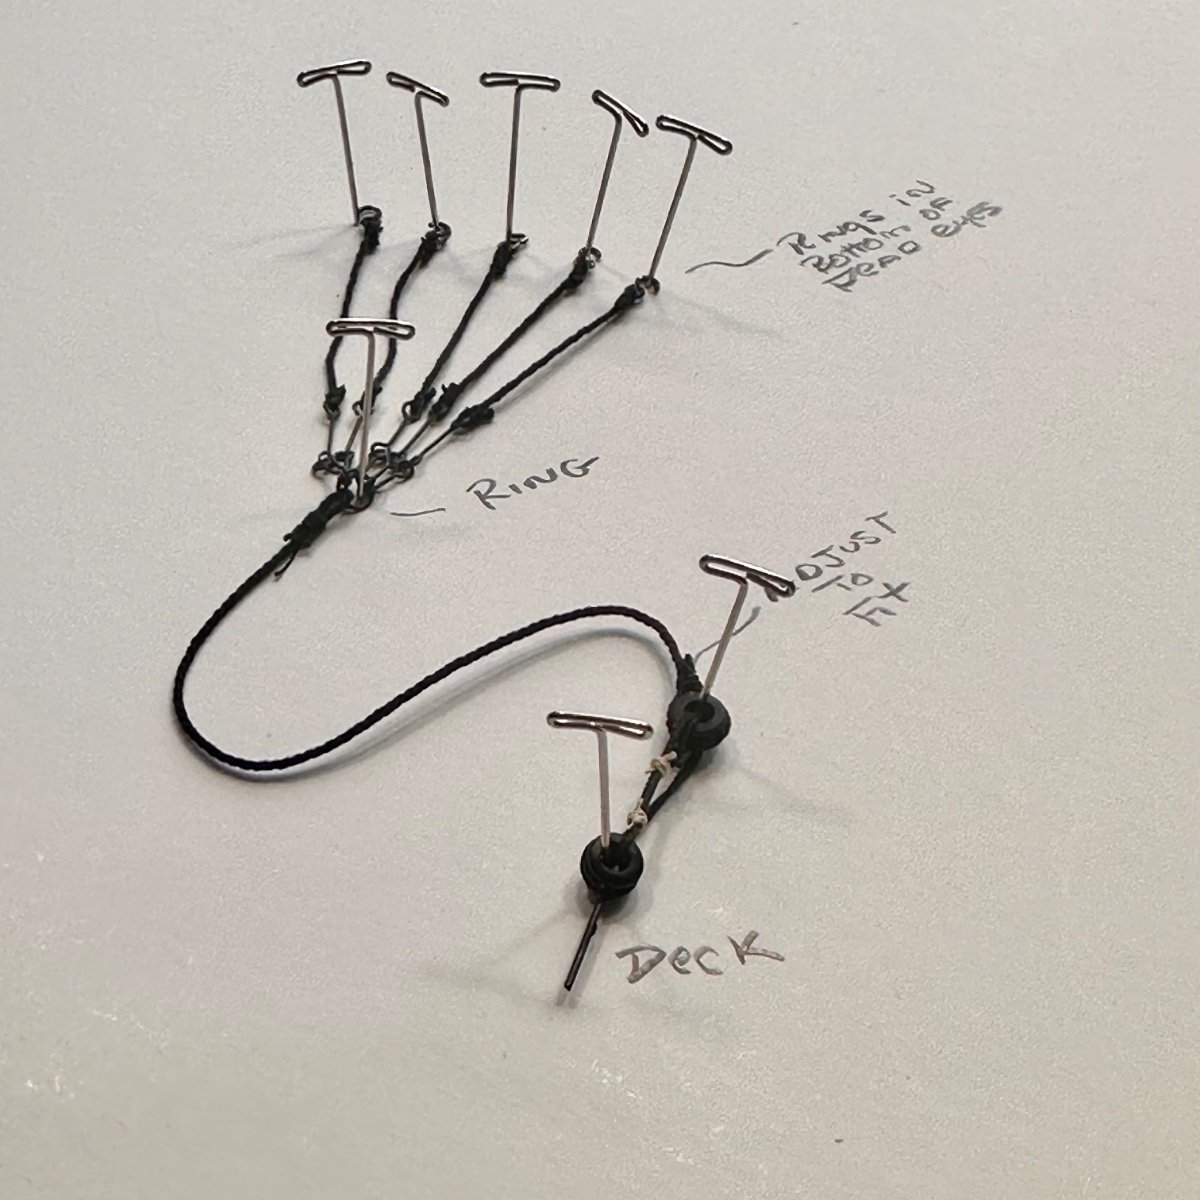
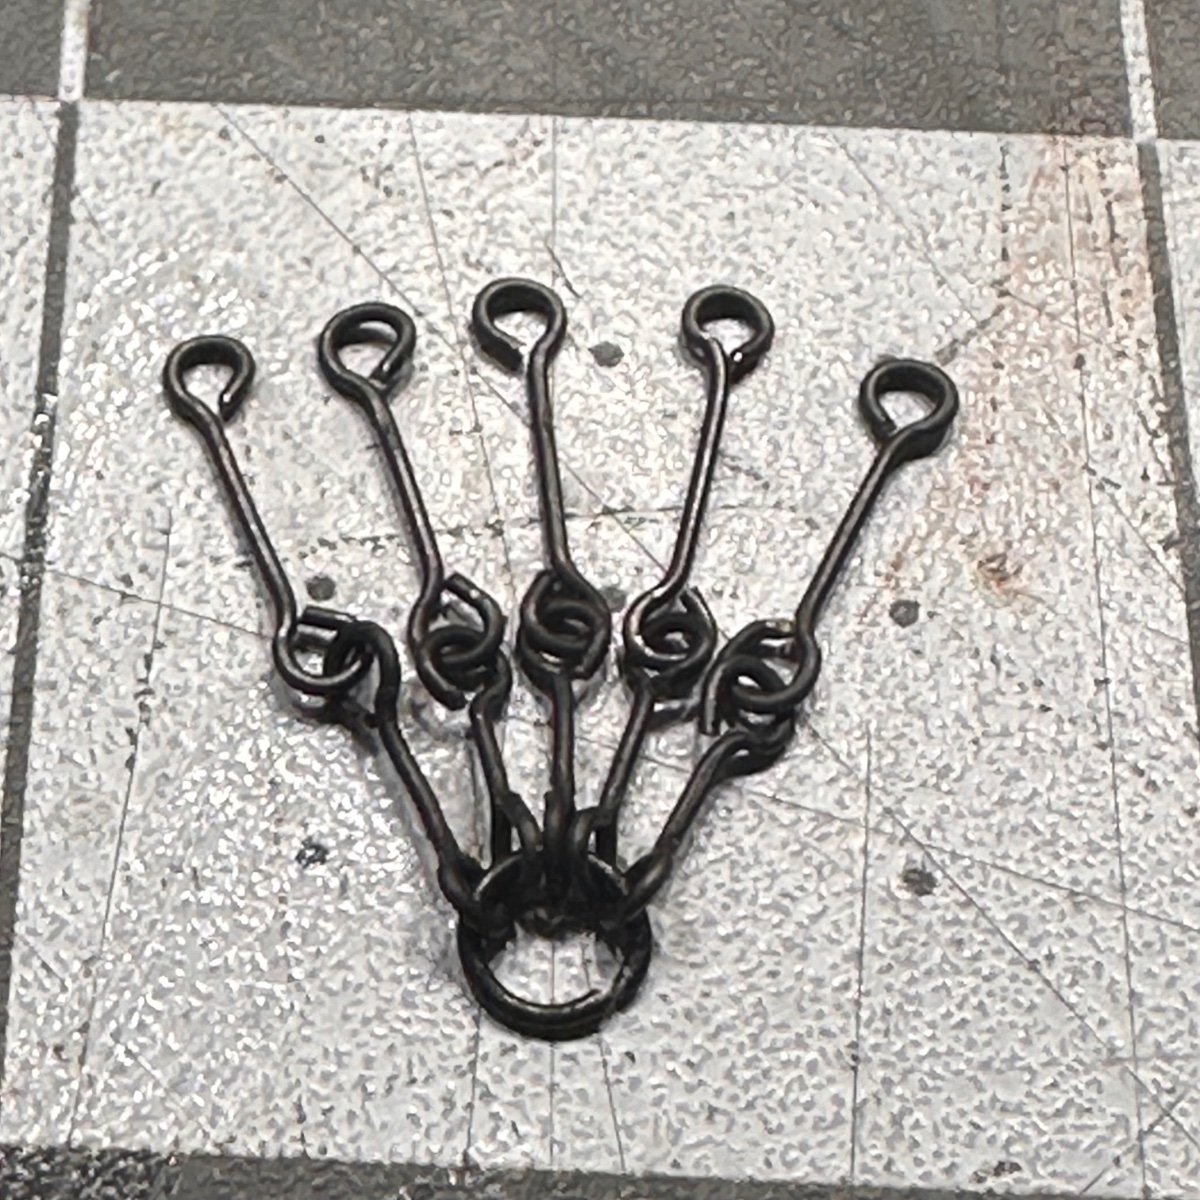
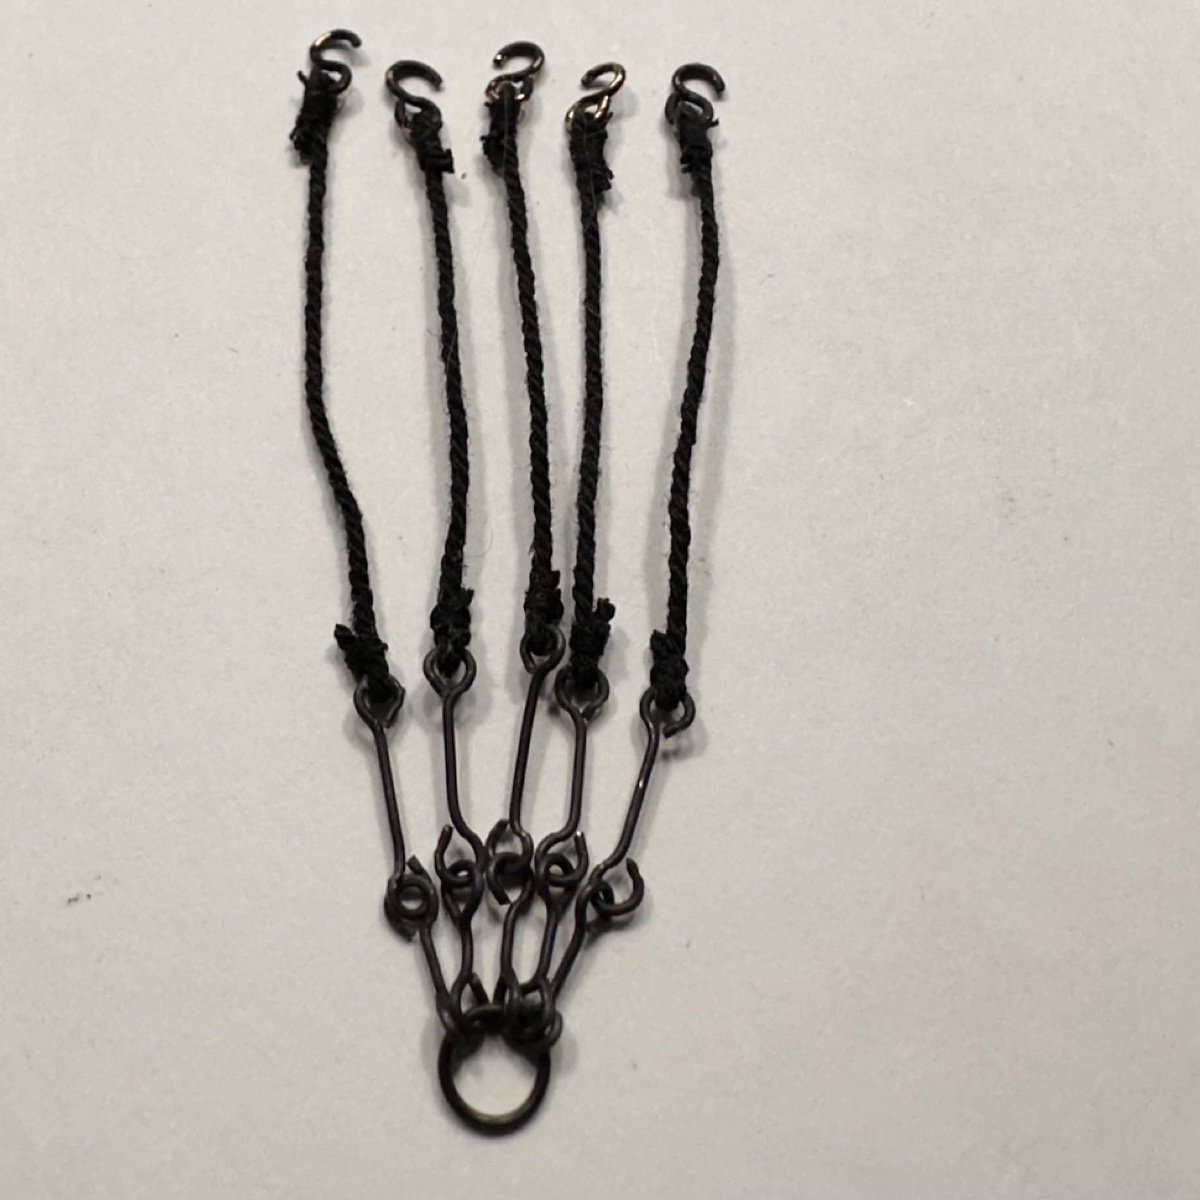
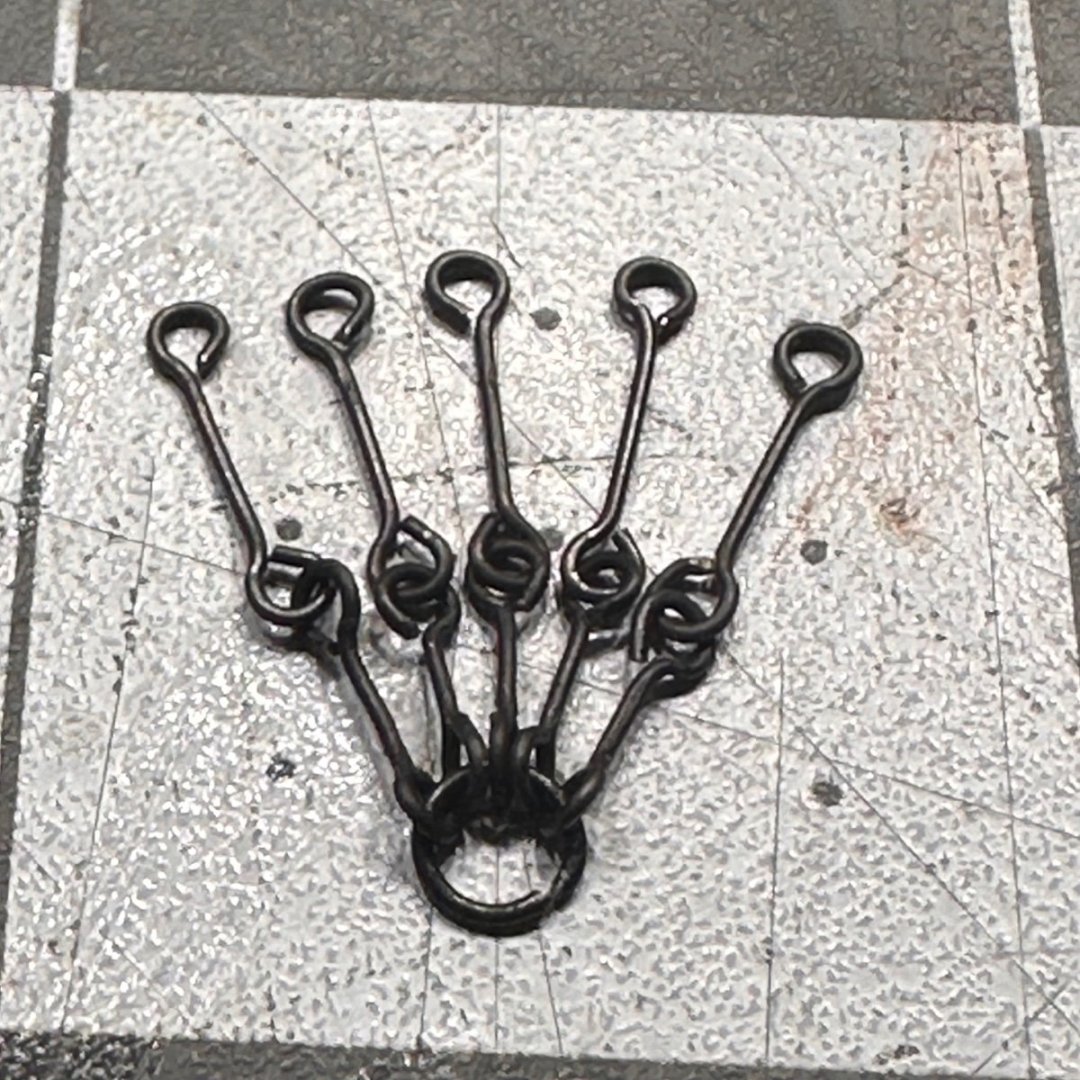
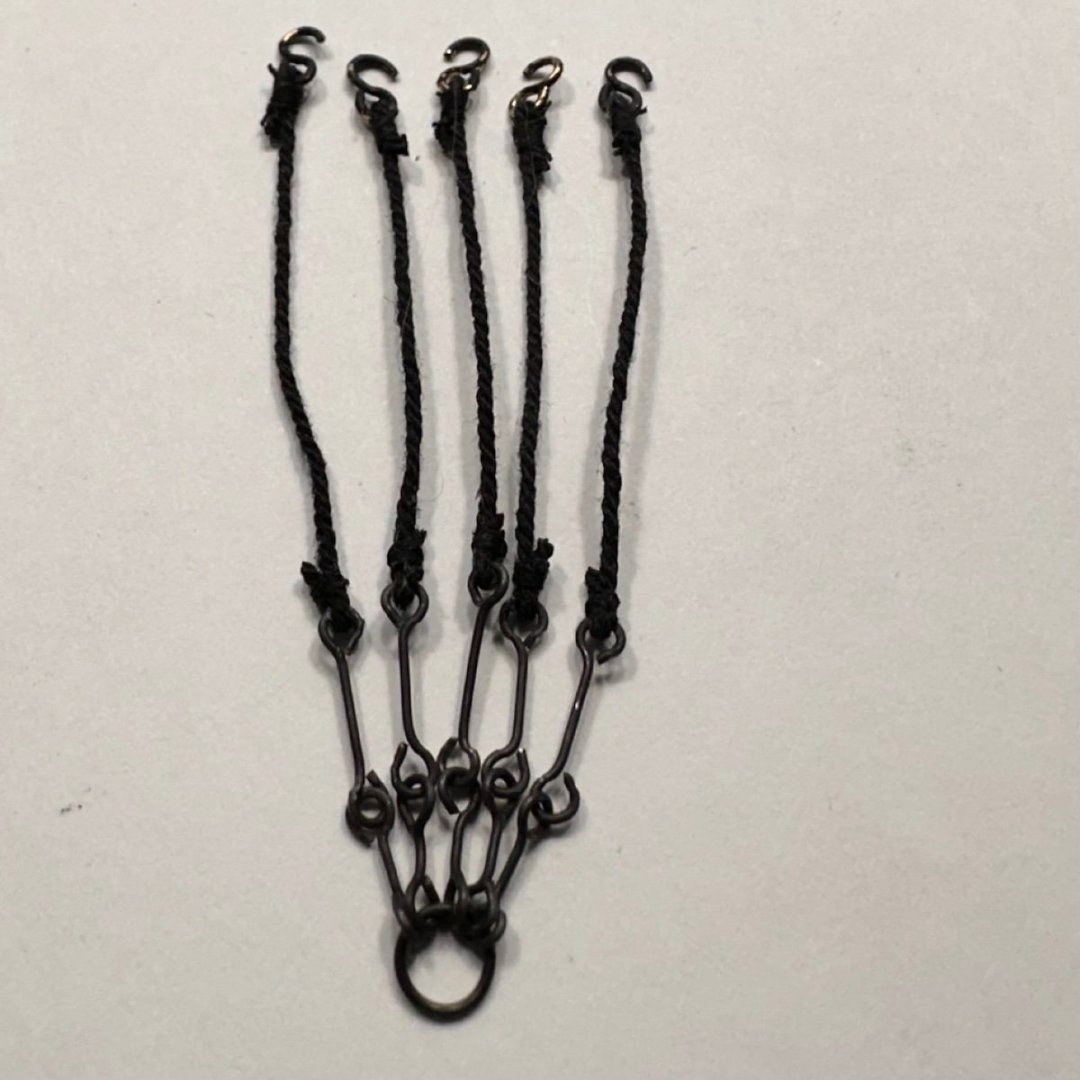
I have finally made my goal. I can fully rig the futtock and bentinck shrouds off the model. All I have to do is fish the hooks through the ringing and attach them to the bottom of the deadeyes. Then glue the pin in the bottom of the bentinck rigging in the deck. And lastly use the seizing at the top thimble to make the final adjustment, glue it place with diluted white glue and snip off the end. Now all I have to do is make four of these subassemblies and I am good to go.

-
THe larger the scale, the more detail you add. For us old guys the photo etched parts are a little hard to work with.
-
Looking great. Lot's of thought and planning Jon
-
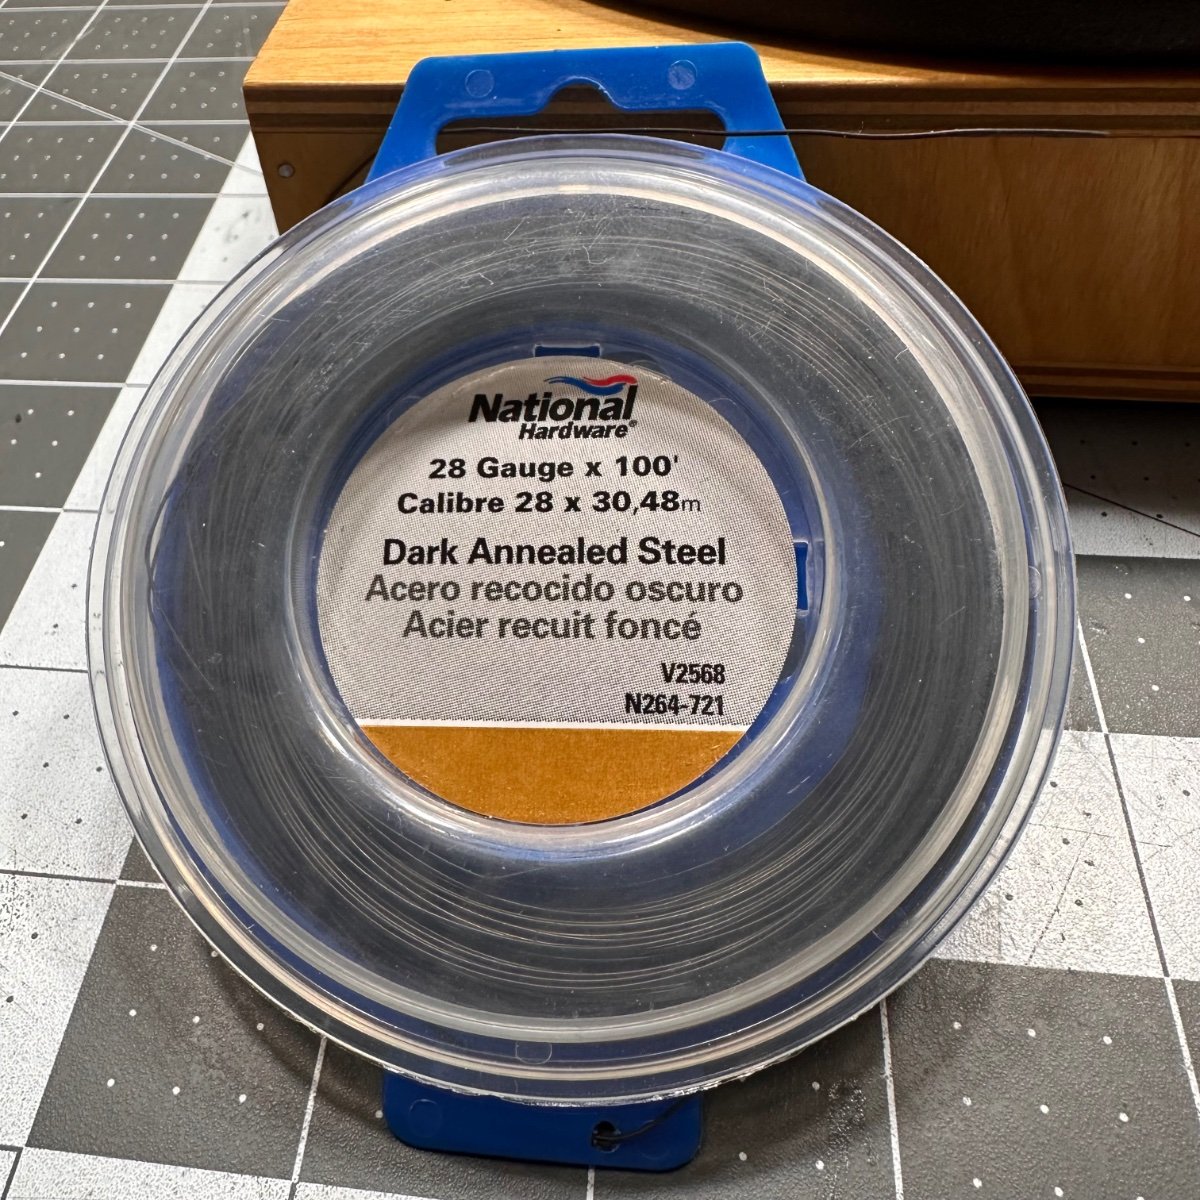
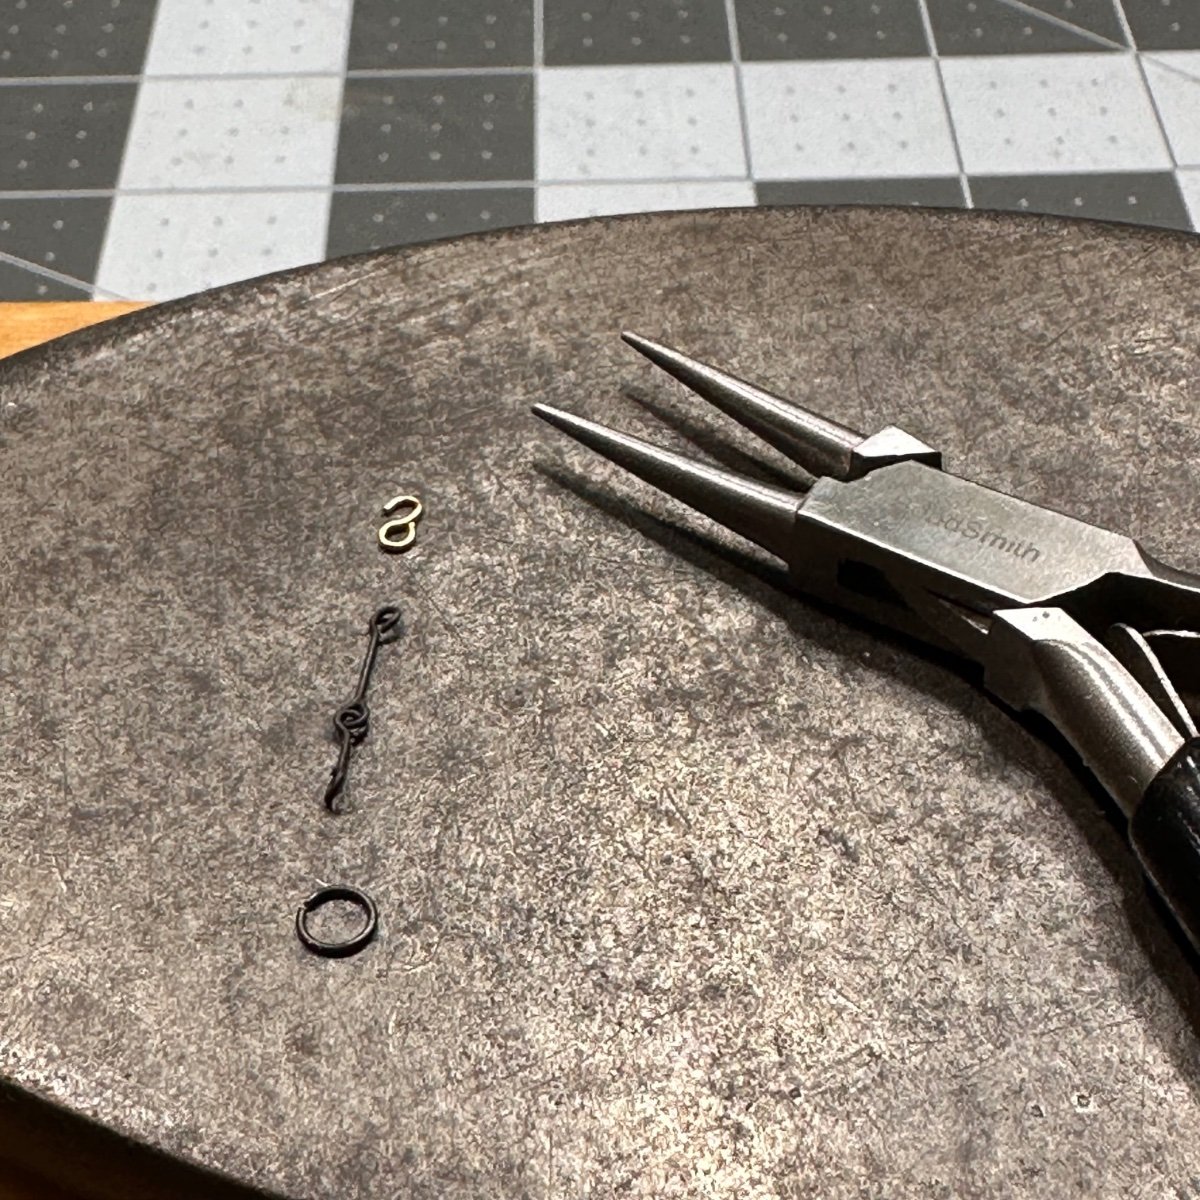
Sometimes when you don't post for several weeks, it doesn't mean you were not working on your model. In my case, it was several weeks of mistakes and figuring out how to do things. I decided to scrap several plans of rigging the futtock and bentinck shrouds on my Conny. After doing lots of research and viewing the pictures from the above posts by GSGerson I decided to go a different way. My main plan was to rig as much as I could off the model. When you view the photos on the real Constitution, the area of rigging under the fighting tops looks like a big spiderweb. Then if you figure in all the seizings it just looked clunky. I made all the metal parts using 28 gauge black annealed wire. My main tool was my needle nose pliers The end of my pliers was the diameter of my ring. There was a little learning curve, but it all went well. I even tried to simulate the serving on these parts with line. But, it was beyond my pay grade. I feel this gave me a less cluttered look and it looks more realistic. The real trick was to get these parts made and make them look close to scale. Please realize I have some paint touch up on the rings and metal parts. This is part one of the subassembly


-
Great job on a real tricky concept. The one thing about this KIT, is you will be an accomplished scratch builder after completing your build. I know there are many frustrating parts, but you learn so much and solve so many problems. Again, great job
-
USS Constitution by mtbediz - 1:76
Geoff Matson replied to mtbediz's topic in - Build logs for subjects built 1751 - 1800
I like how neat and crisp all your cannons look. Nice work on your home made ropewalk. The line looks great. You are making great progress. I enjoy following your progress. -
Looking good and a good job on your problem solving.
-
I used dry transfer lettering on my Constitution.
-
Jon, this should help. HMS Sphinx 1775 by glennard2523 - FINISHED - Vanguard Models - 1:64 - V2 Kit by Glenn Shelton